Essential Ruler Quilting Challenge, Part One: Lines
Welcome to the Essential Ruler Quilting Challenge! The challenge starts with rulerwork quilting straight line designs. If you missed the first introductory post with the supply list, please watch the Essential Ruler Quilting Challenge introduction video, download the supply list and “I’m All In” social badge.
![]()
Join the challenge and download the image above. Share it on social media. Let quilting friends know about the challenge. Use the hashtag #rulerquiltingchallenge
Essential Ruler Quilting Challenge – Lines
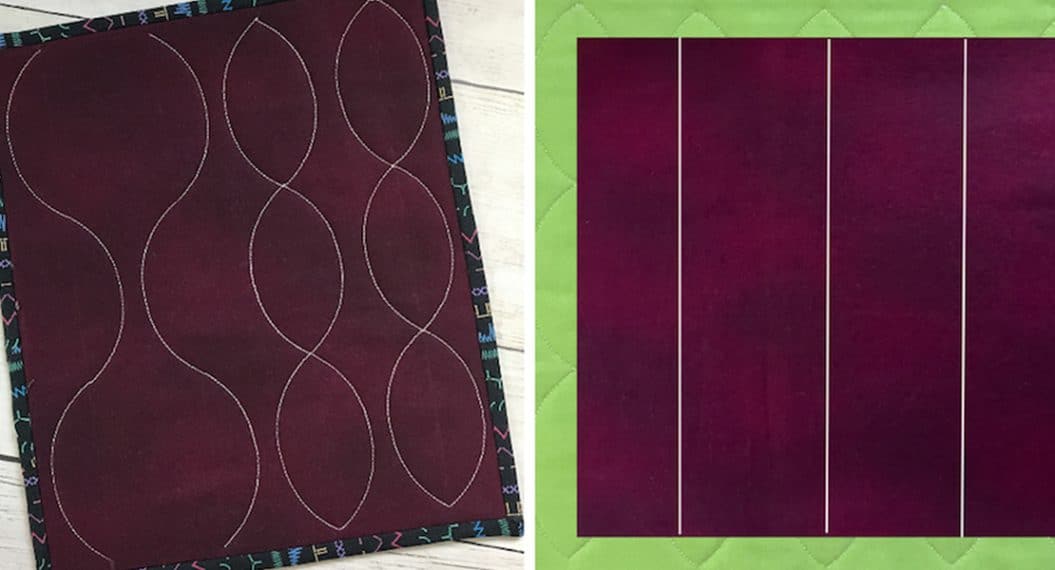
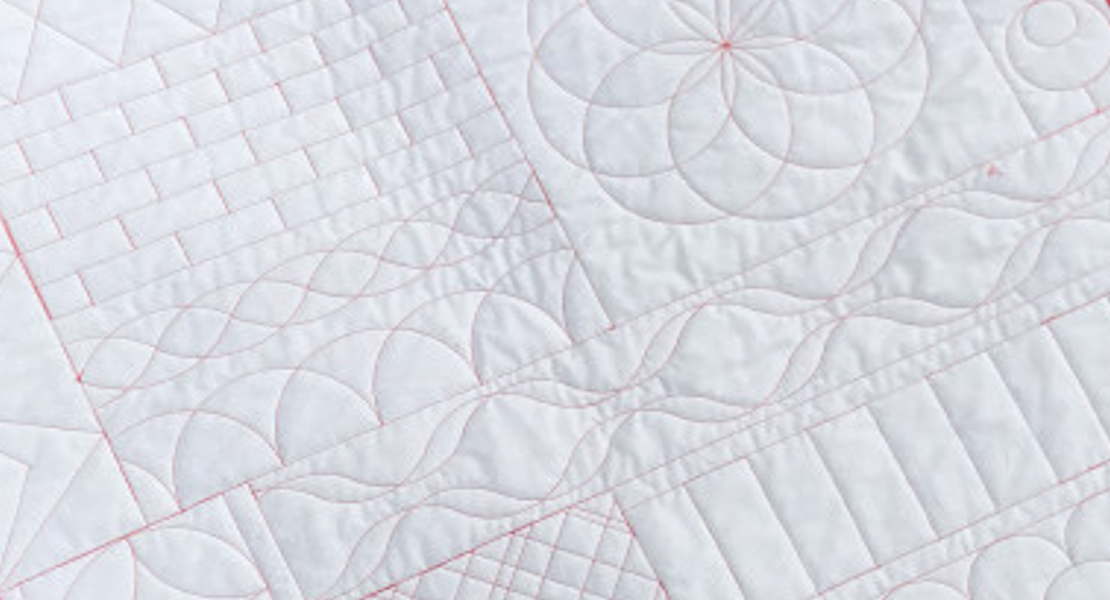
A straight ruler has numerous possibilities. The ruler quilting challenge includes three rulerwork designs and stitching techniques using a straight ruler.
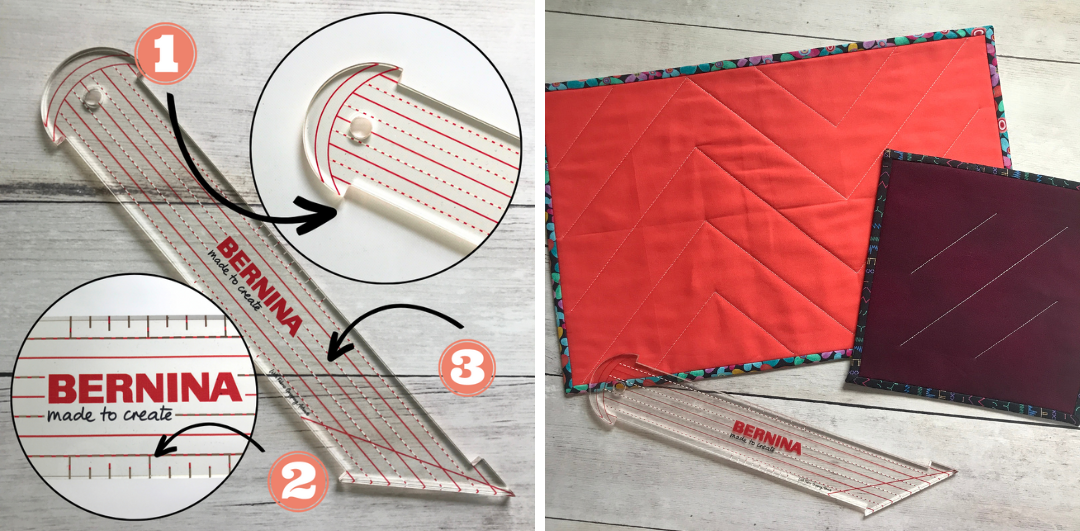
Rulerwork With A Straight Ruler
1- The same extension at the curve and points of the ruler indicates a 1/4” distance from the ruler’s long straight edge or the needle position.
2 – The short lines, in the middle of the ruler and perpendicular to the long lines are a 1/4” apart.
3 – The long parallel lines are 1/4” apart. The first line is 1/4” away from edge of ruler.
Step One
Make the small quilt sandwiches as indicated in the supply list.

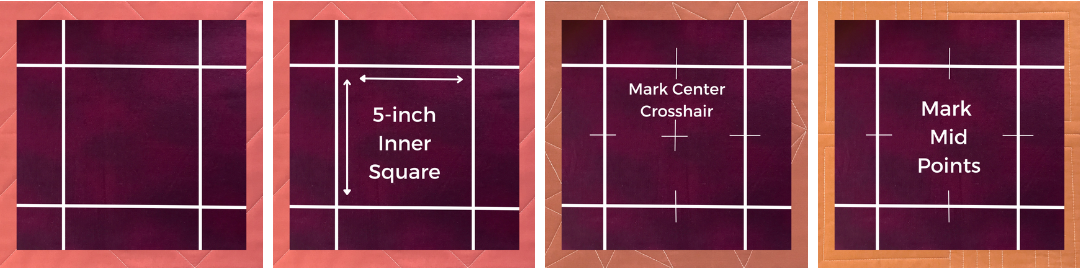
Step Two
Mark a 5-inch square on the fabric. Next, mark a small line 2-1/2” from the corner on all sides of the 5” square.
Step Three
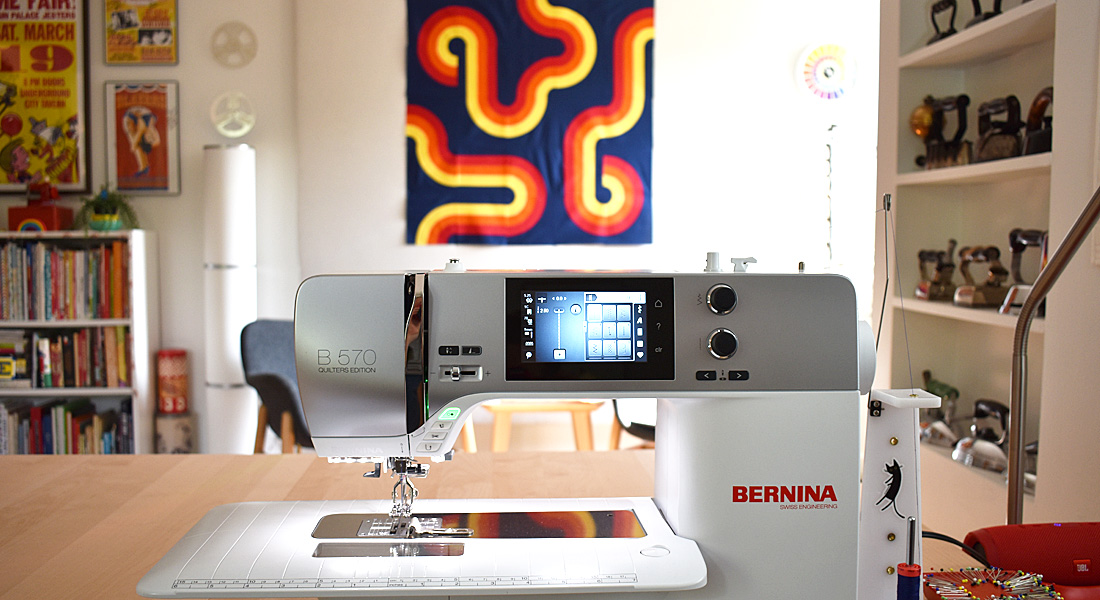
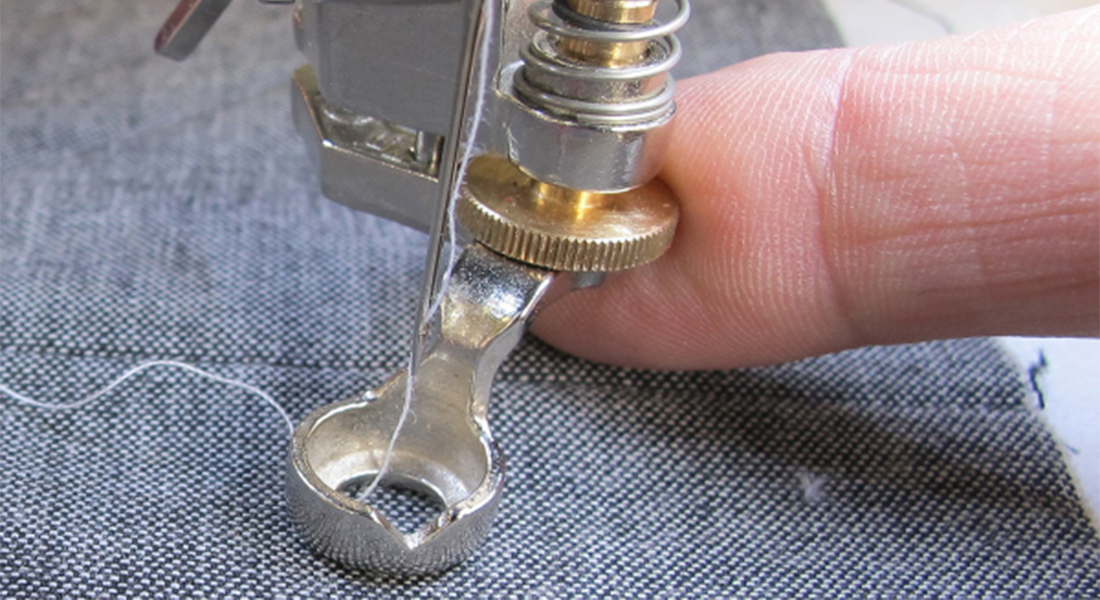
Set up a home machine or a longarm for free-motion ruler quilting. I used a bernette 79 Sewing and Embroidery machine. Learn how to attach the bernette ruler foot in this video tutorial.
Step Four
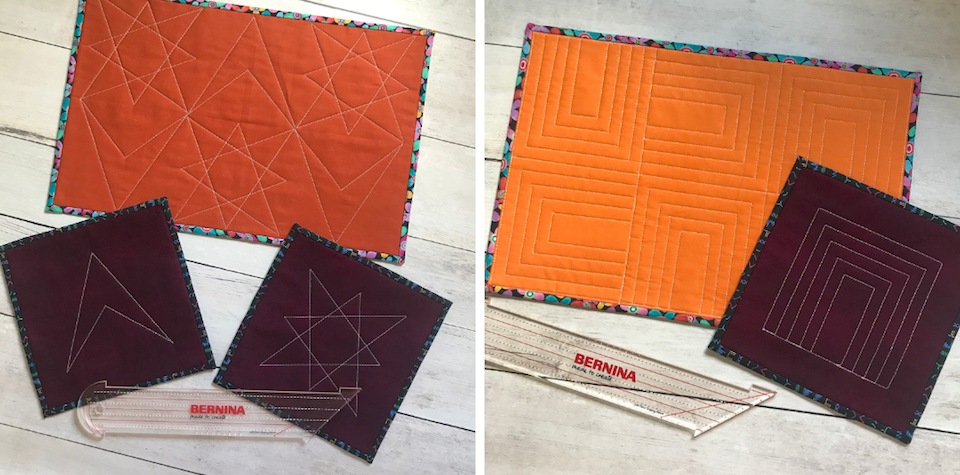
With the small practice quilt sandwich stitch the three-line zigzag, echo, star and arrowhead patterns. Watch videos below.
Step Five
Apply the stitching techniques to a larger quilt sandwich to create a zigzag design.
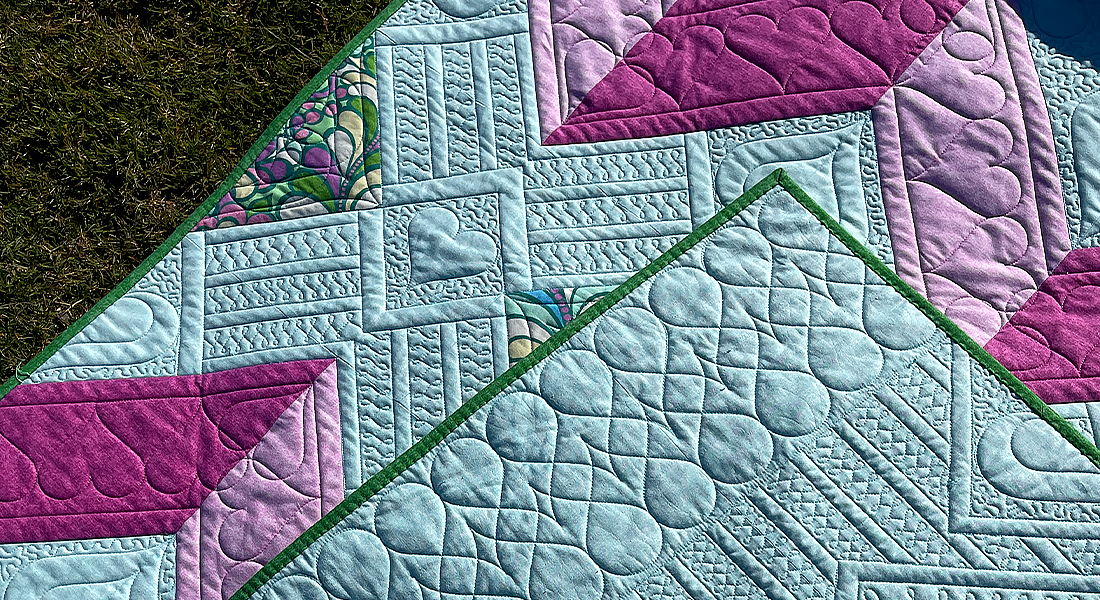
Rulerwork Zigzag Design
Rulerwork Echo Design
Quilted echoes are a good way to add texture to a quit. Echoes may be spaced 1/4”, 1/2”, 3/4” or 1” apart or more. Let’s stitch them a 1/2” apart.
Rulerwork Arrowhead & Star Designs
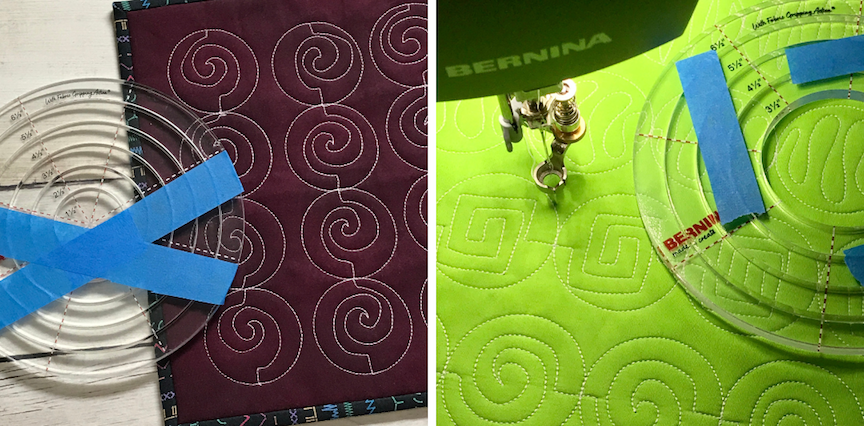
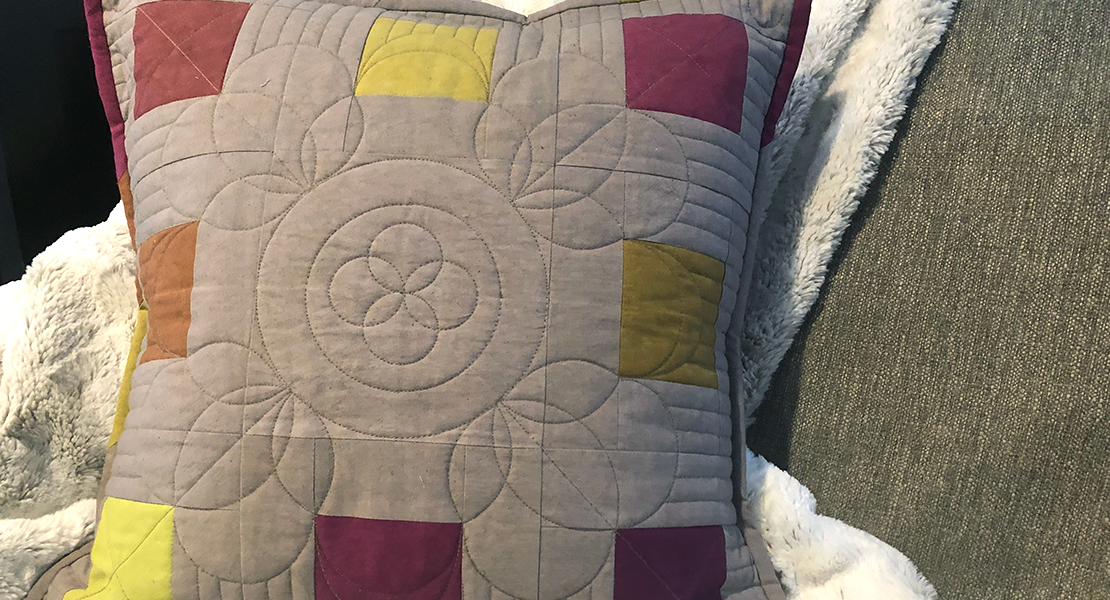
Essential Ruler Quilting Challenge Part Two
Let’s continue the Essential Ruler Quilting challenge next week by stitching ruler quilted circle designs. One design includes free-style free-motion in the center of ruler quilted circles.
Used Products


What you might also like


10 comments on “Essential Ruler Quilting Challenge, Part One: Lines”
-
-
Hi! Fantastic, I am excited for you. I recommend beginning with the small quilt sandwiches. Learn and stitch the designs in the small quilt sandwich and when you are ready try your favorite designs on the larger quilt sandwich.
-
-
Hi Geraldine, I bought the longarm ruler kit from Bernina when it first came out. Those rulers didn’t have all the markings that the rulers you are working with have. As the original rulers were expensive, I can’t afford to buy a new set of the rulers. Did Bernina make any sticky plastic overlays that I could purchase to put over the existing rulers that I have? Thank you so much, Ann West.
-
Hi Ann,
Currently, I use Westalee Design Stable Tape sold by Sew Steady to help the rulers stay in place. I recently learned about Odif Grippy Spray for acrylic rulers. I have not used it, but I plan to give it a try.
-
-
Will Bernina be offering a deal for owners of the previous rulers that do not have the wonderful markings? if not, please consider doing so.
-
I will pass along your suggestion to BERNINA.
-
-
I also purchased the original ruler kit as commented above. I find they are difficult to work with. Is there something we can do to make them more user friendly. The dealer where I purchased them did not have any suggestions for me. Do ou have any recommendations? Thank you
-
Currently, I use Westalee Design Stable Tape sold by Sew Steady to help the rulers stay in place. I recently learned about Odif Grippy Spray for acrylic rulers. I have not used it, but I plan to give it a try.
-
-
Thank you, Geraldine, for giving this long time sewer, intermediate quilter the courage to take this beginner ruler work challenge. Looking forward to quilting inside the box and not just in the ditch!!!!
-
You are welcome Connie! 🙂 I am thrilled you are in the challenge. Hope to see some of your progress in the challenge. Please tag me on social media when you share.
-
Leave a Reply
You must be logged in to post a comment.

Hi Geraldine, I am excited to begin this learning experience! I have organized the 17 small quilt sandwiches- should I make 17 of the larger ones as well? Thanks so much, Cheryle