Shamrock Table Runner Quilt Along, Part Four
Happy St. Patrick’s Day, Quilters! I’m Lori Kennedy of Lori Kennedy Quilts, BERNINA Ambassador and author of 25 Days to Better Machine Quilting.
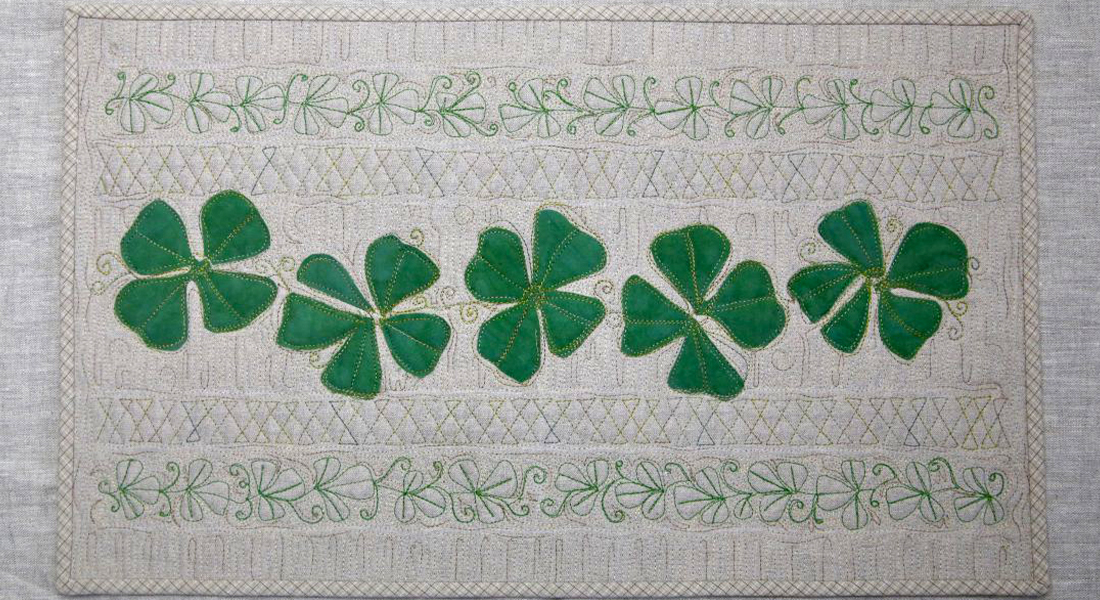
Welcome to Part Four of the Shamrock Table Runner Quilt Along. This series is designed to help you learn a variety of free-motion quilting techniques while creating a small art quilt or table runner. Many of the skills learned in this project can be applied to your larger quilting projects.
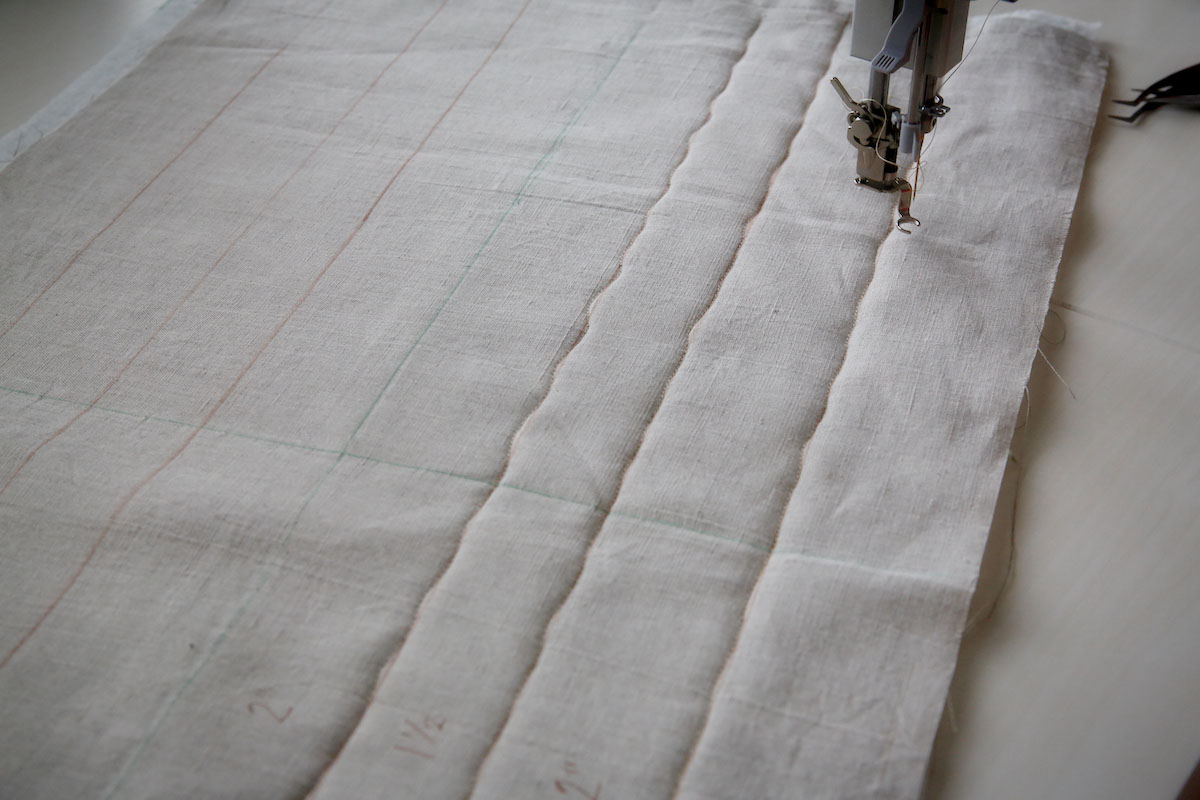
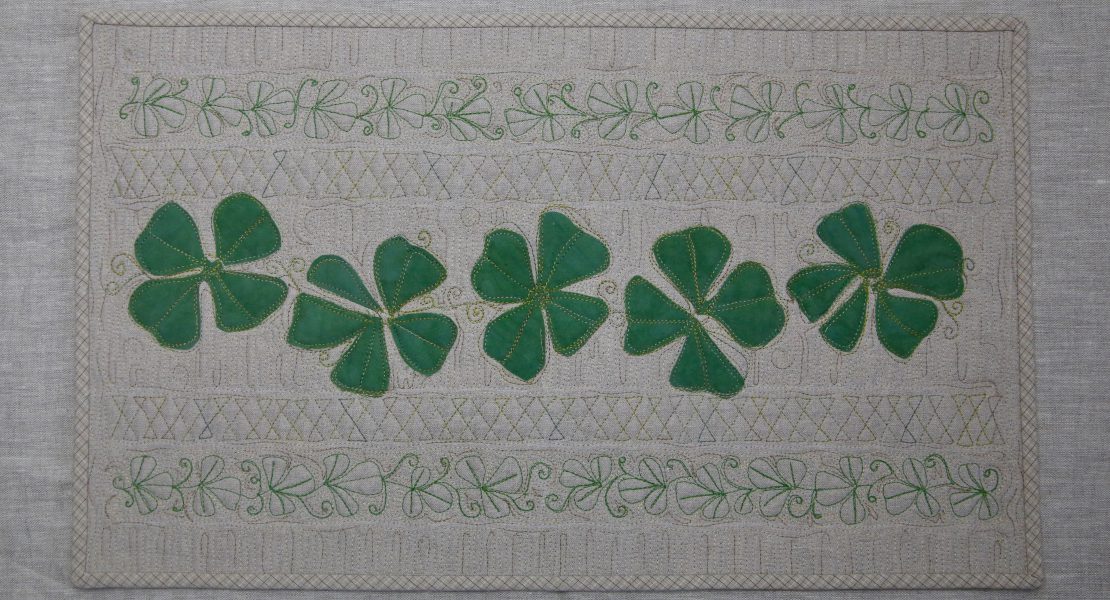
In part one, we created the basic framework for a table runner or art quilt. We layered a quilt sandwich and marked a few guidelines. We free-motion quilted lines to divide the project into sections for further design.
Download the Quilting Line Diagram and Shamrock Appliqué Template.

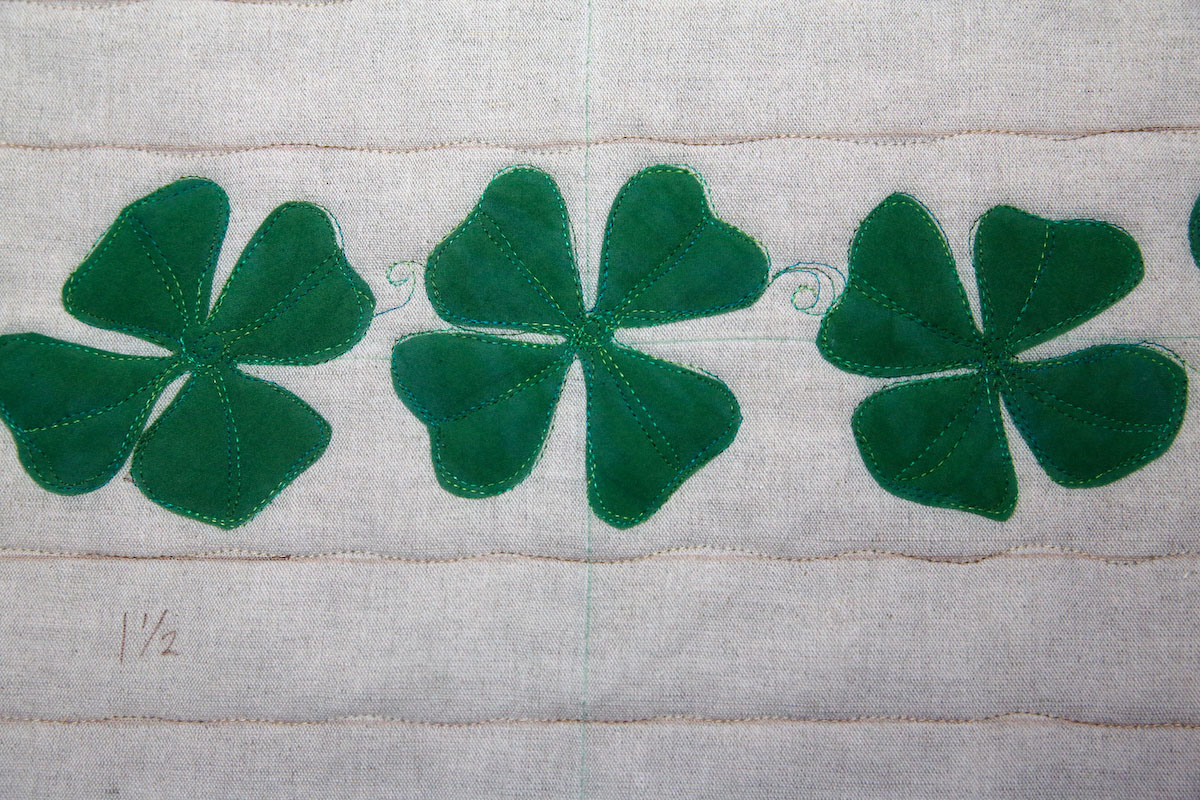
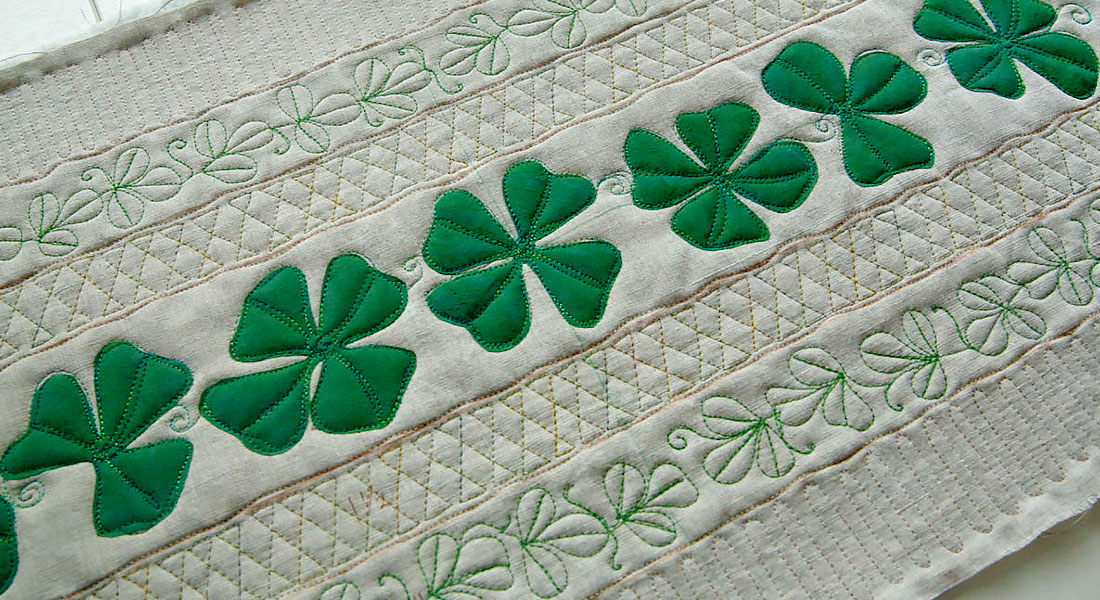
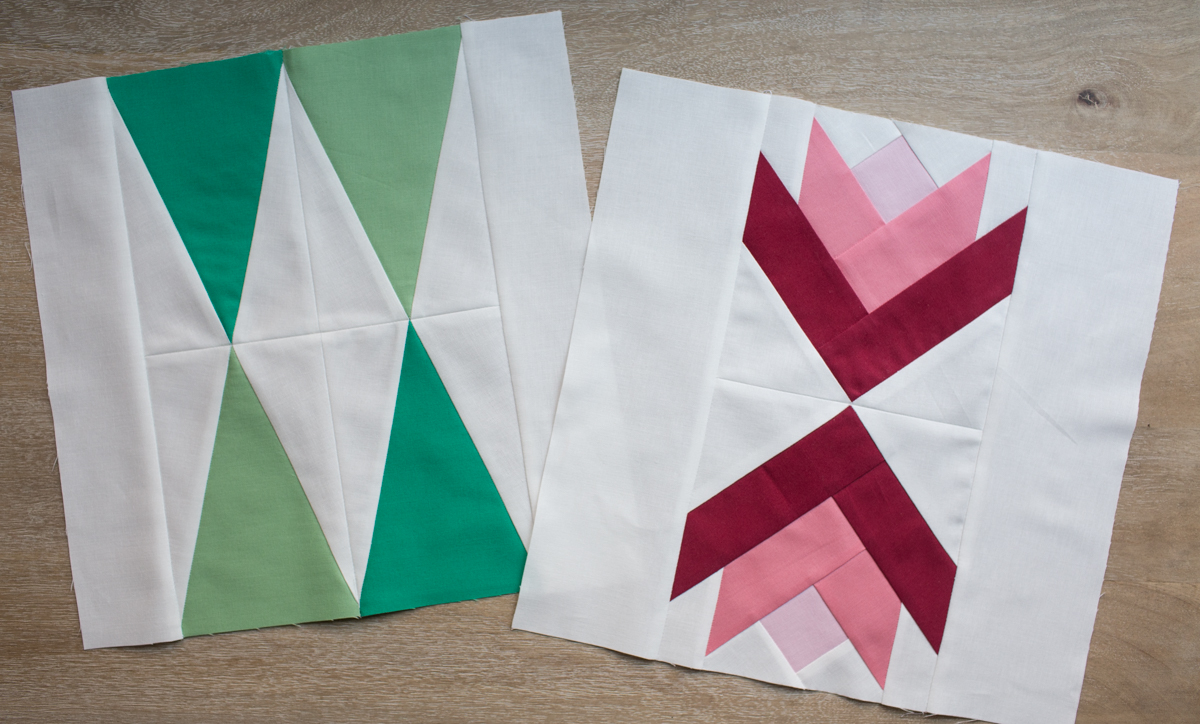
In part two, we added applique shamrocks to the center row of the quilt. We used fusible web to create the applique and free motion quilted the edges and contours of the shamrocks.
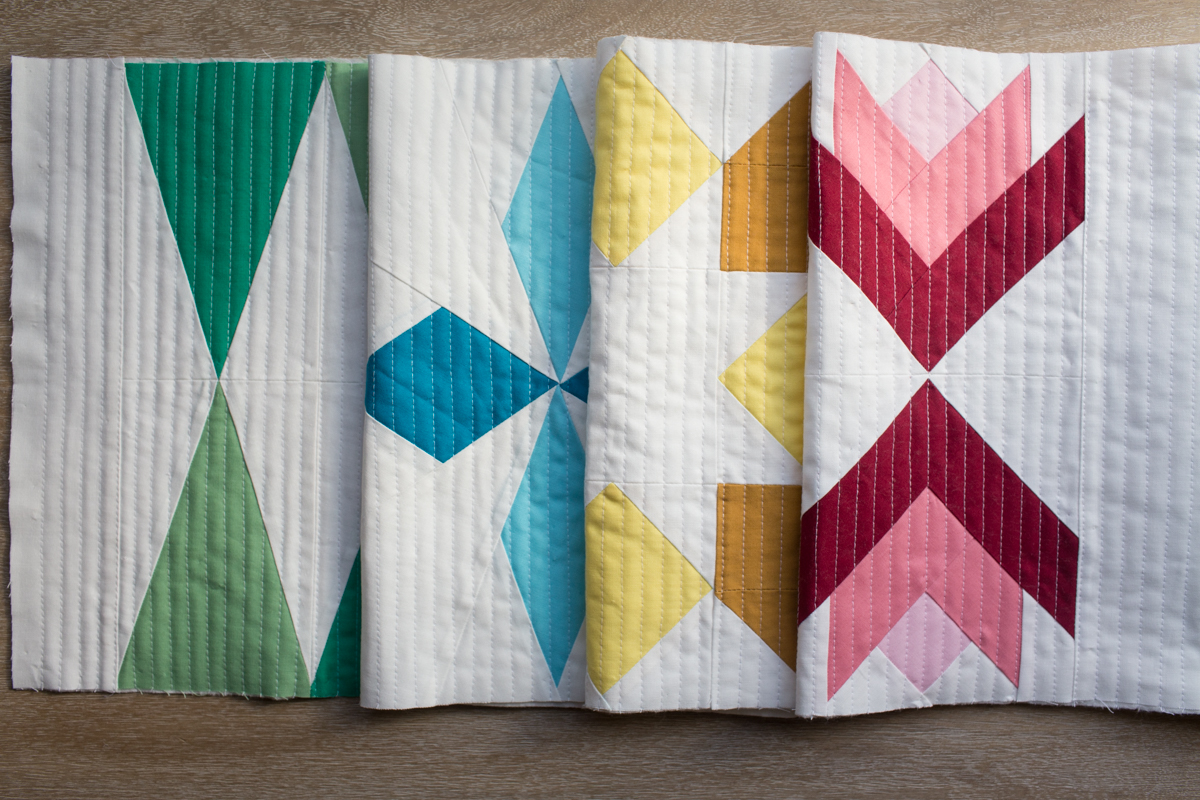
In part three, we added three rows of quilted motifs to further embellish the table runner.
In this lesson, we will add optional quilting details and finishing techniques. We will also review the process of creating a quilt and plan a new project!
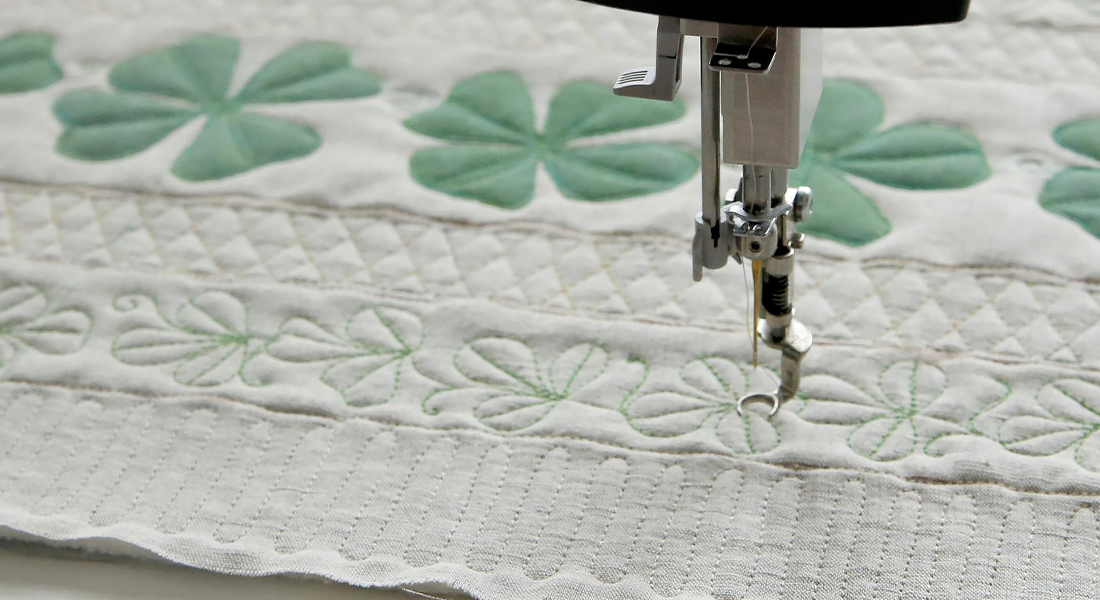
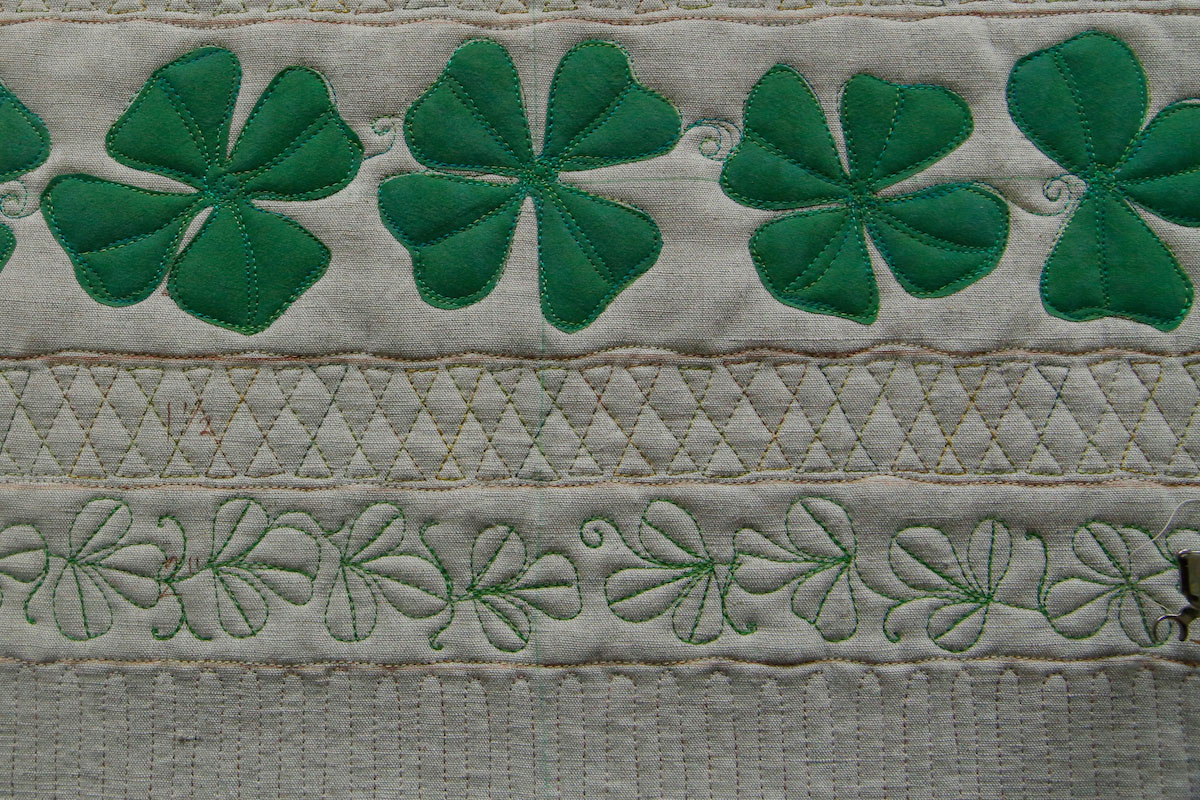
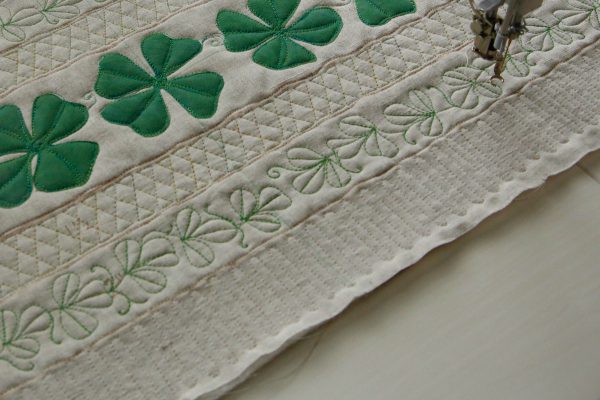
Background Fill the Shamrock Rows
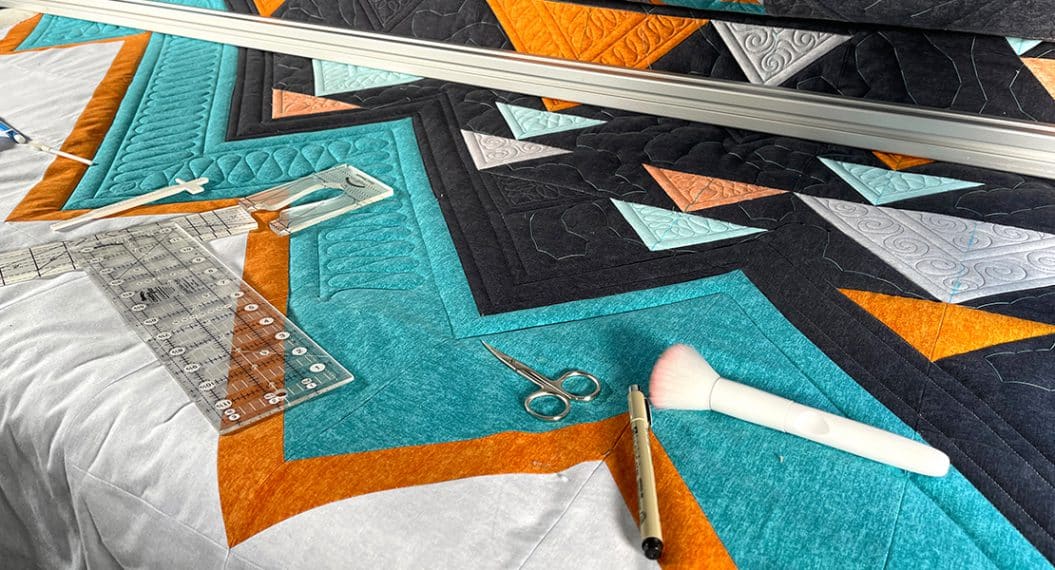
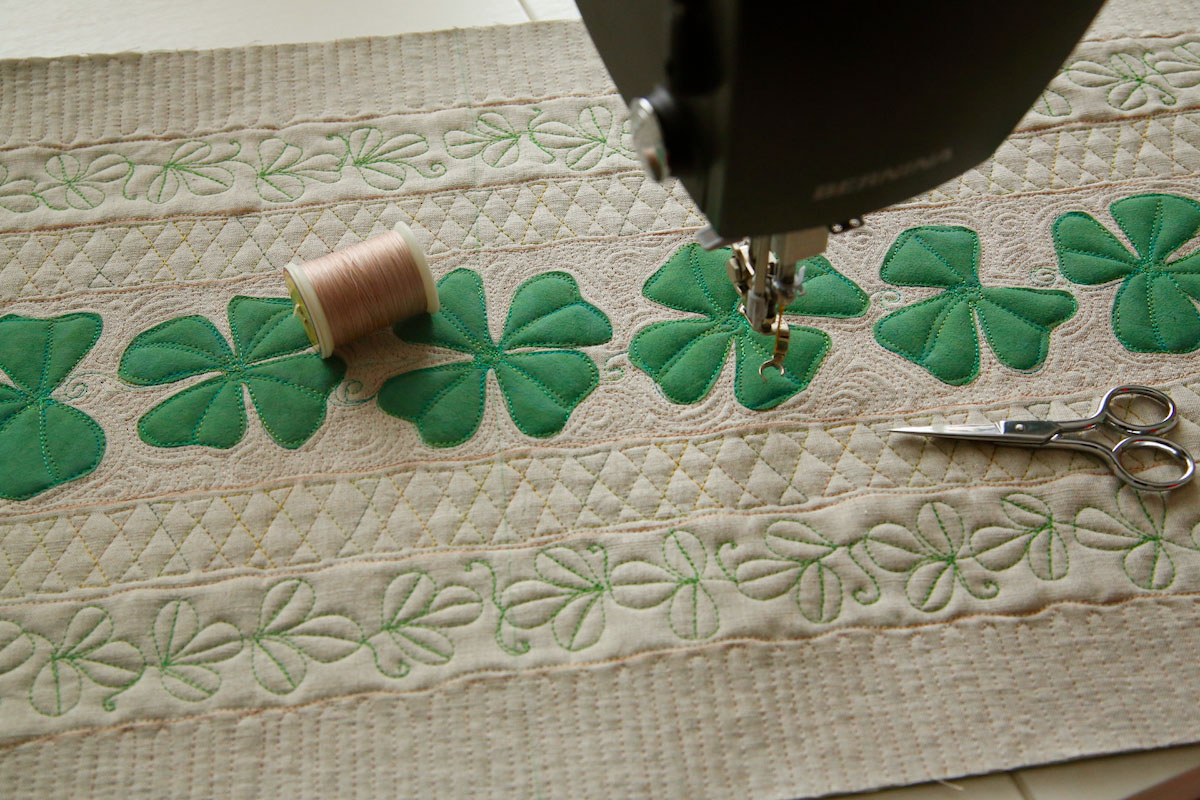
The shamrock appliqué and motif rows contain some negative space around the leaves. It is not necessary to quilt this area, but if you would like to challenge yourself, free-motion quilt around the shapes. Add several rows of closely spaced echo stitching to fill the space. Quilt an occasional wavy line or spiral to add more interest.

Use gloves, grips or rings to improve your precision and free-motion quilting control. Read more about hand position and gripping options for free-motion quilting on WeAllSew.
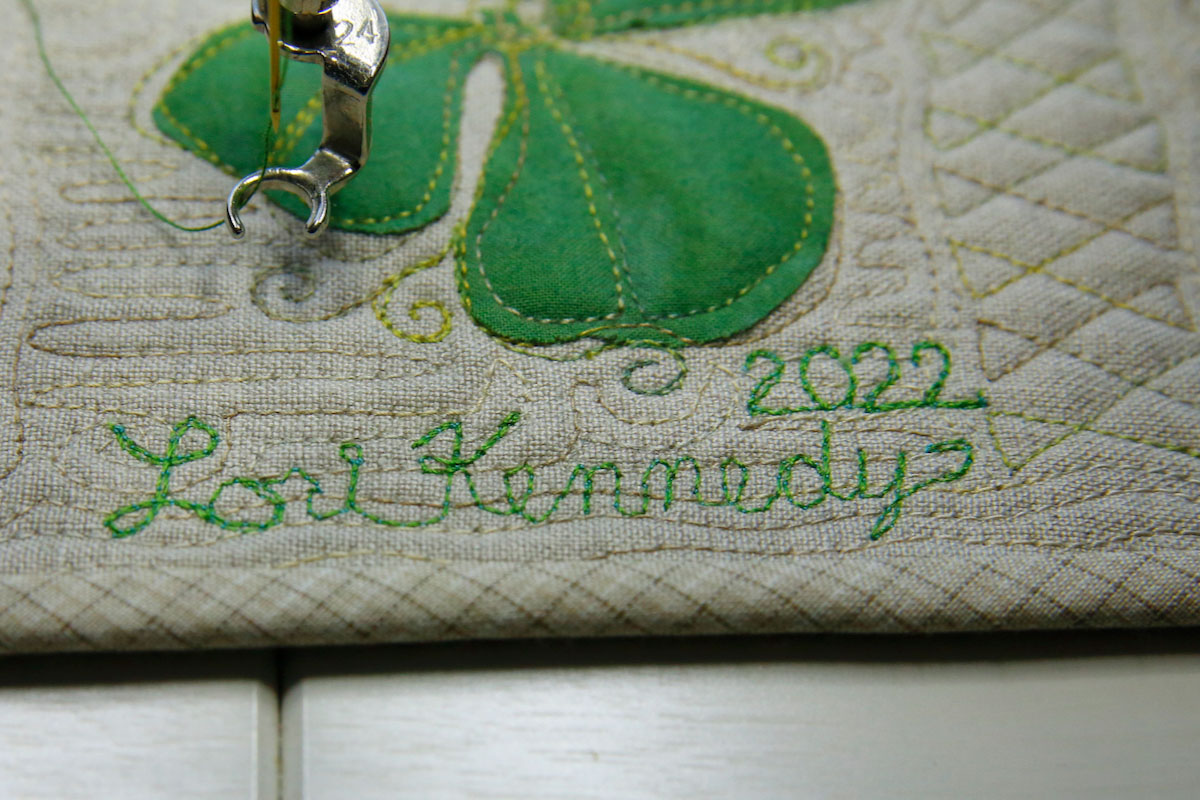
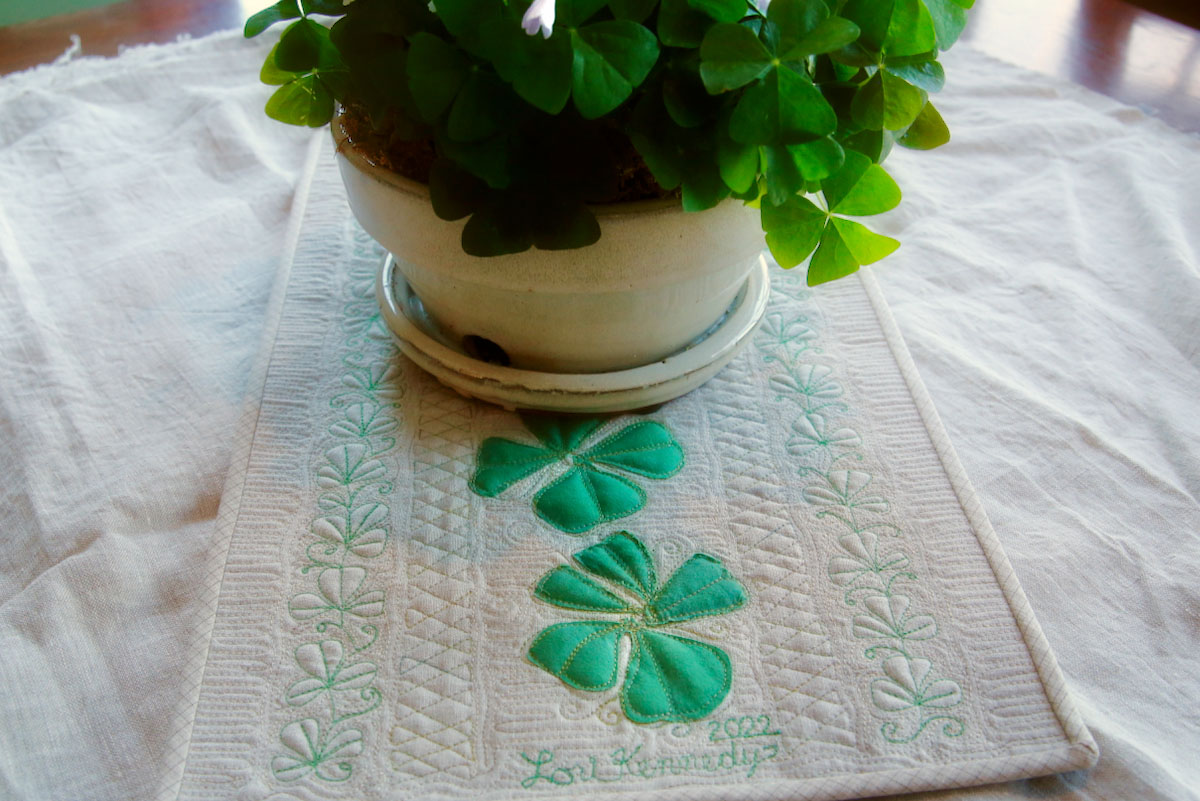
Sign Your Work
Finish your table runner with your free-motion quilted signature and date. While we all promise to put labels on our quilts . . . just in case, add your signature while you are still creating your quilt. It’s a beautiful and permanent way to personalize all of your quilts.
Read more on how to add handwriting to quilts.

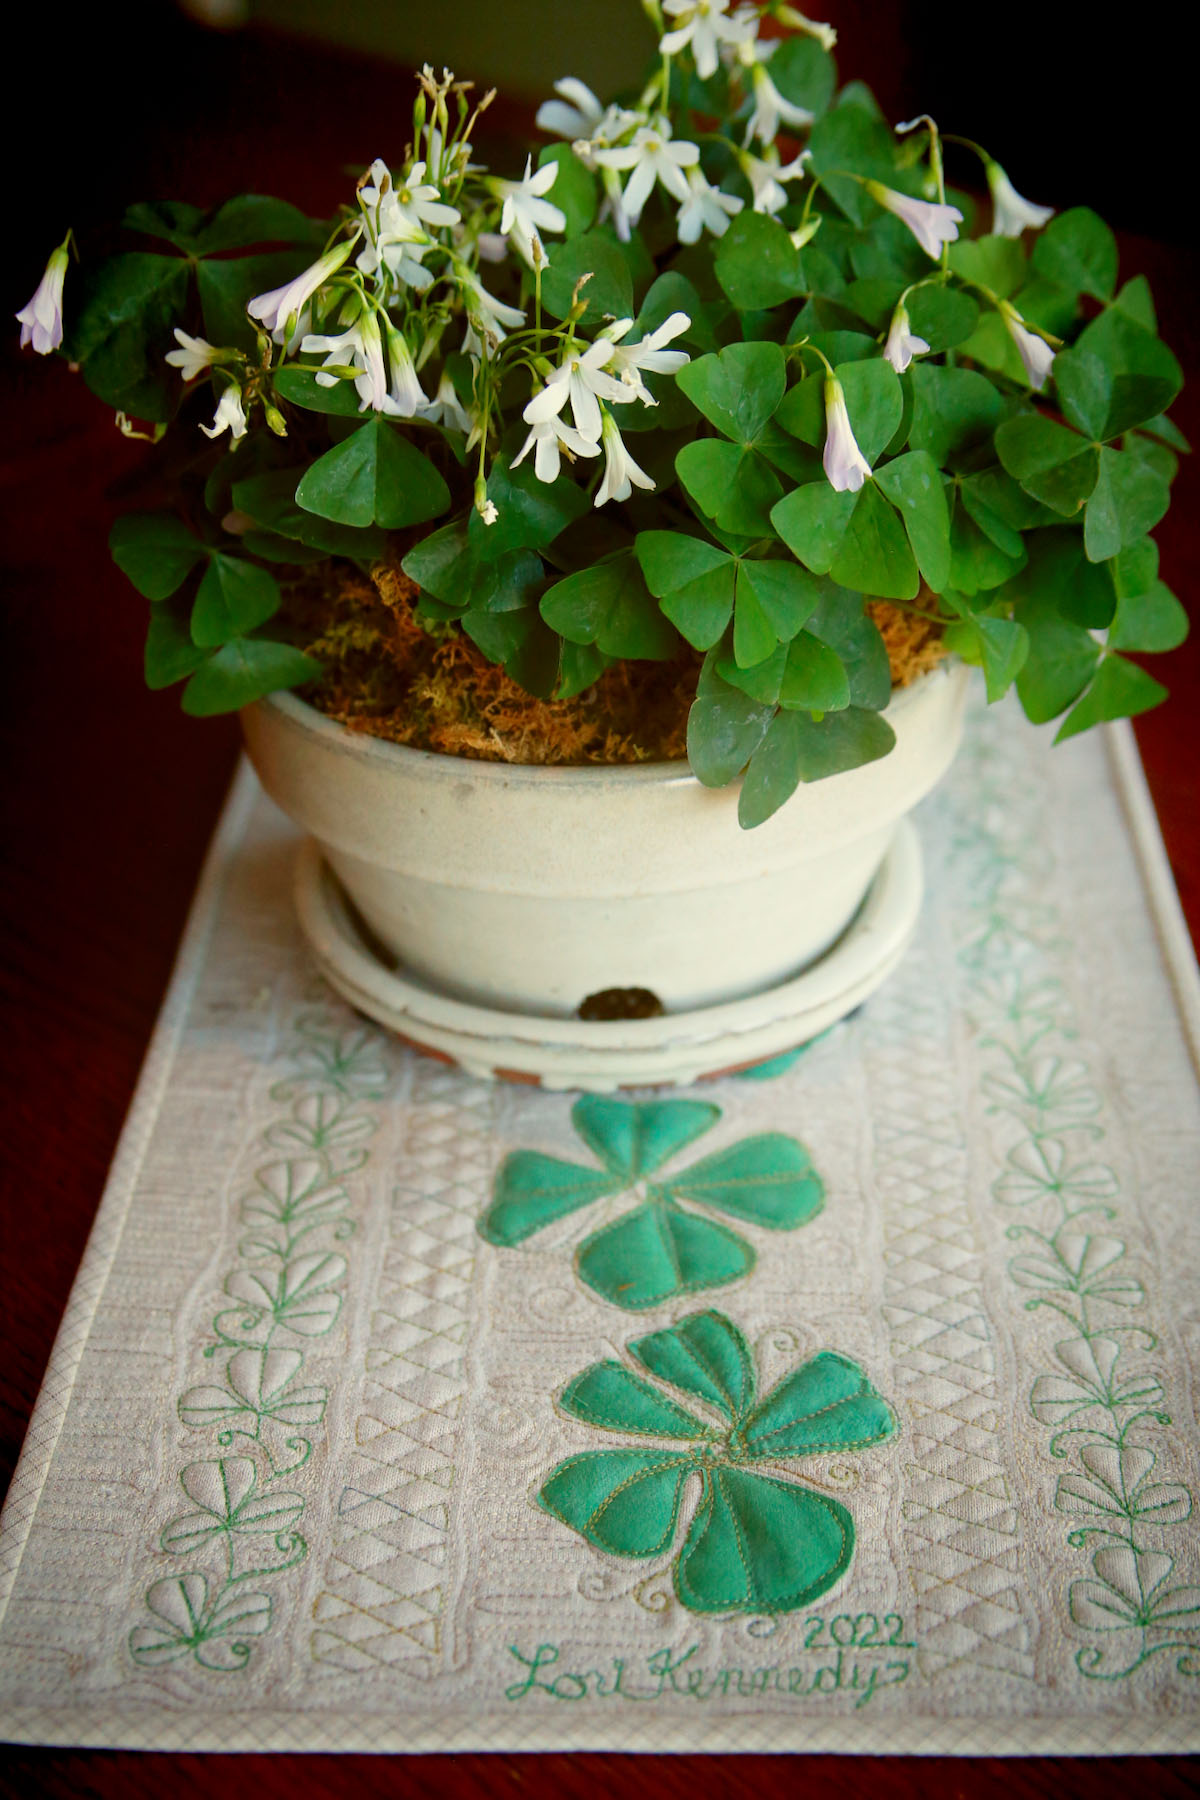
Square the Quilt and Add Binding
Once all the quilting is complete, square the table runner. Use the center lines we marked at the beginning as guidelines. If you need to trim off small wedges of the straight line quilting, it won’t be noticeable.
I recommend the binding tutorial by BERNINA Ambassador and quilt judge, Annie Smith.
Review the Process
The overall process for the shamrock table runner is similar to the process of designing a larger quilt:
- Choose Top and Backing Fabric
- Choose Batting
- Baste the Quilt Sandwich
- Mark
- Stitch long axes of the quilt
- Fuse and stitch applique
- Choose motifs
- Pick thread
- Quilt sections with similar motifs and thread
- Layer in additional quilting
- Sign and date
- Square
- Bind
- Celebrate
- Review and Critique
 Critique Your Work

After you bind your table runner (binding makes every quilt look better) pat yourself on the back (pun intended)! Congratulations! You’ve created a beautiful heirloom decoration for your home! As you admire your work, consider each step in the process. Think about what worked well and what didn’t. Every project is an opportunity to learn something!
First, consider the materials:
- Do you like the fabrics you chose?
- Does the thread enhance the design?
- How does the batting affect the look of the table runner?
Then review the process:
- Did you enjoy making raw edge applique or would you prefer a different method?
- Is free motion quilting fun and challenging for you or frustrating?
- Which free motion skills require more practice? Knots? Close stitching? Motifs?
Reviewing your work is an important part of improving your free-motion quilting skill. Be thoughtful in your critique and avoid being overly harsh and critical. Free motion quilting is a skill that takes a long time to master, but each project helps you gain both the knowledge and skill.
Plan Your Next Project
The basic framework for this table runner is a great place to jump-start your next project.
- Make the table runner longer or wider.
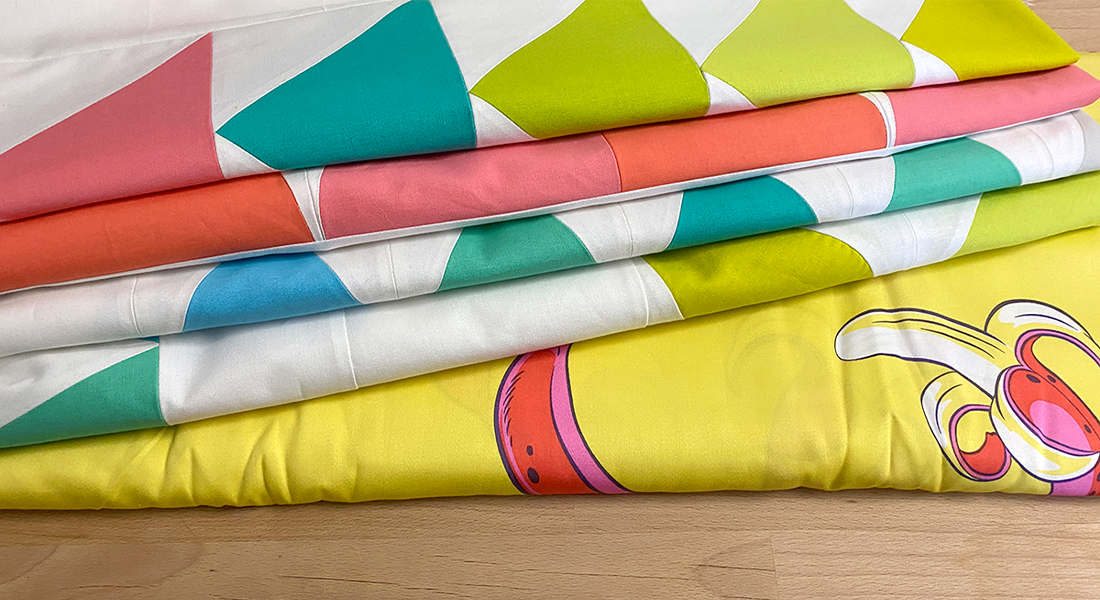
- Use a colorful fabric instead of linen.
- Applique summer sailboats or fall leaves in the center row.
- Add seasonal motifs to complement the applique
- Try a different batting
- Experiment with different thread colors and weights
Improve Your Skill
Refer to your self-critique to determine which areas of free motion quilting are challenging for you and Search the WeAllSew or Lori Kennedy Quilts blogs for tutorials!
Have fun along the way–and use your table runner. Do NOT point out the mistakes to anyone–I promise– everyone will LOVE your shamrock table runner!
Please share your progress and projects tagging @lorikennedyquilts and @berninausa on Instagram, using the hashtags #berninaquiltalong, #quiltwithlori and #quiltalong. We would love to see what you’re making!