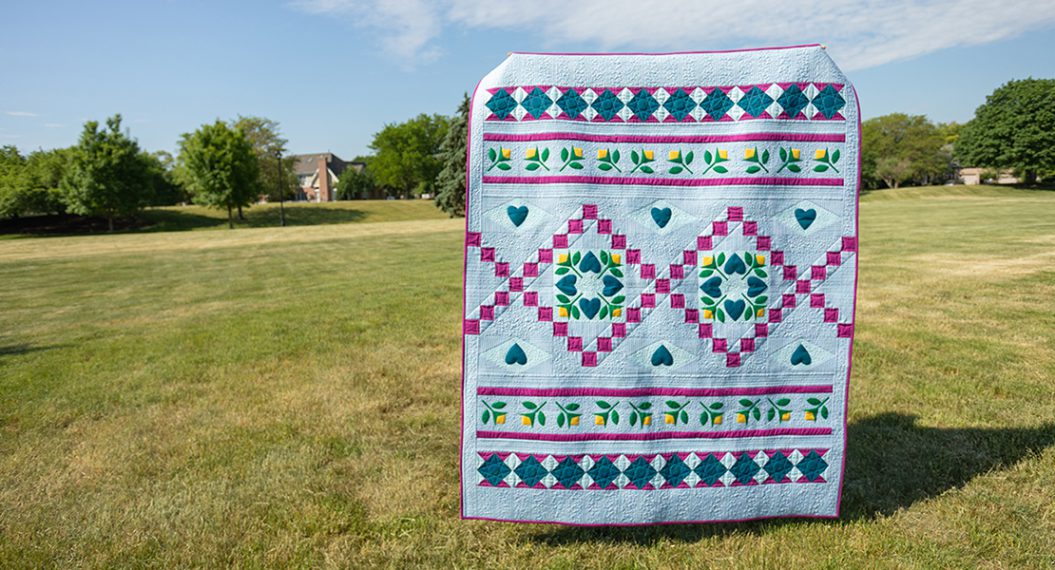
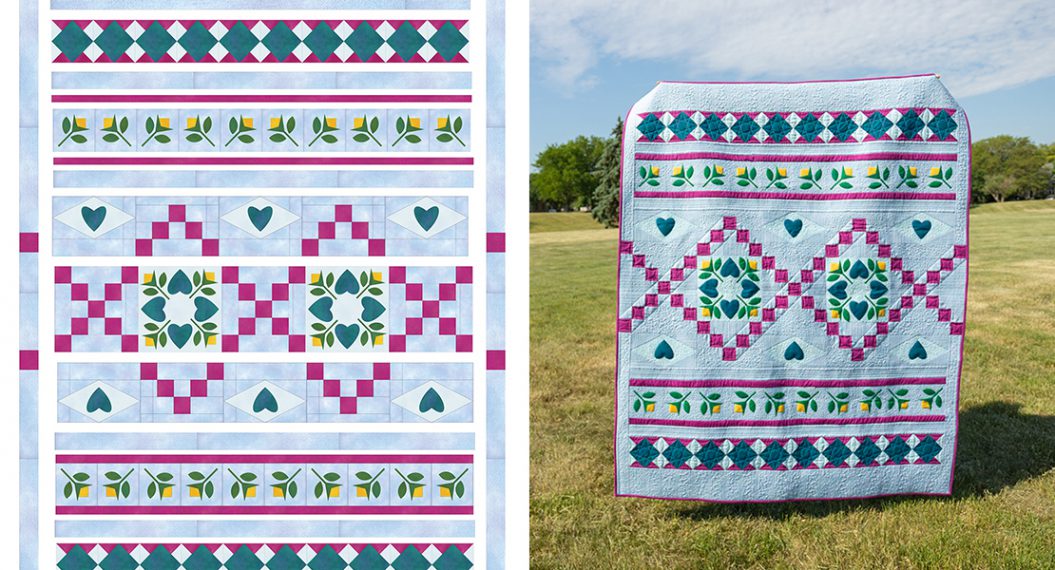
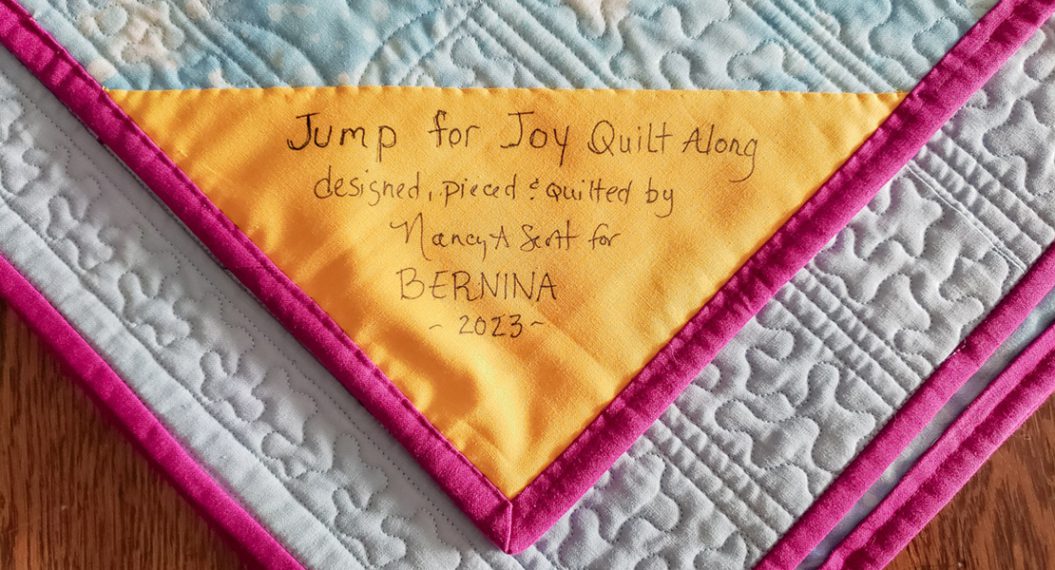
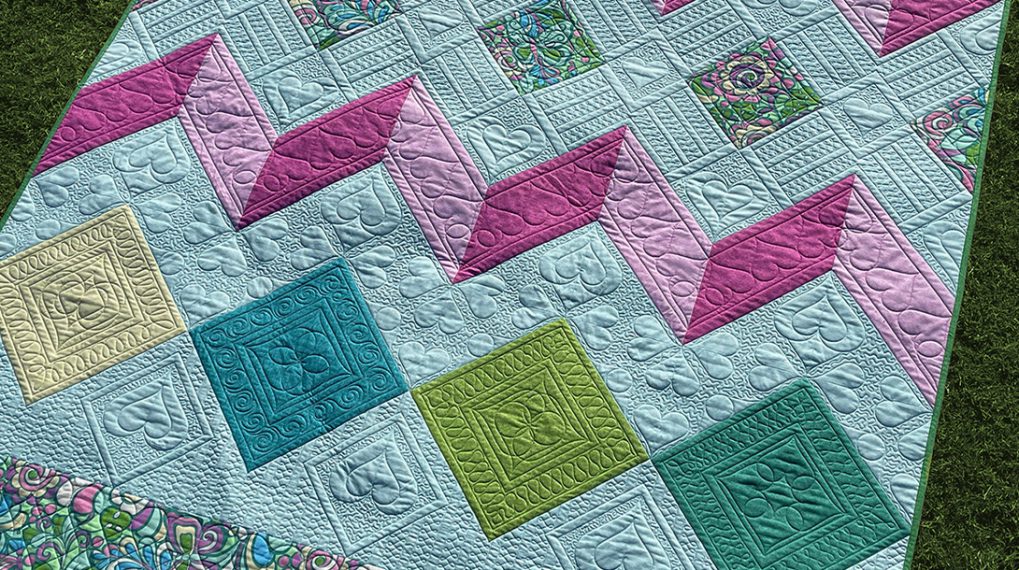
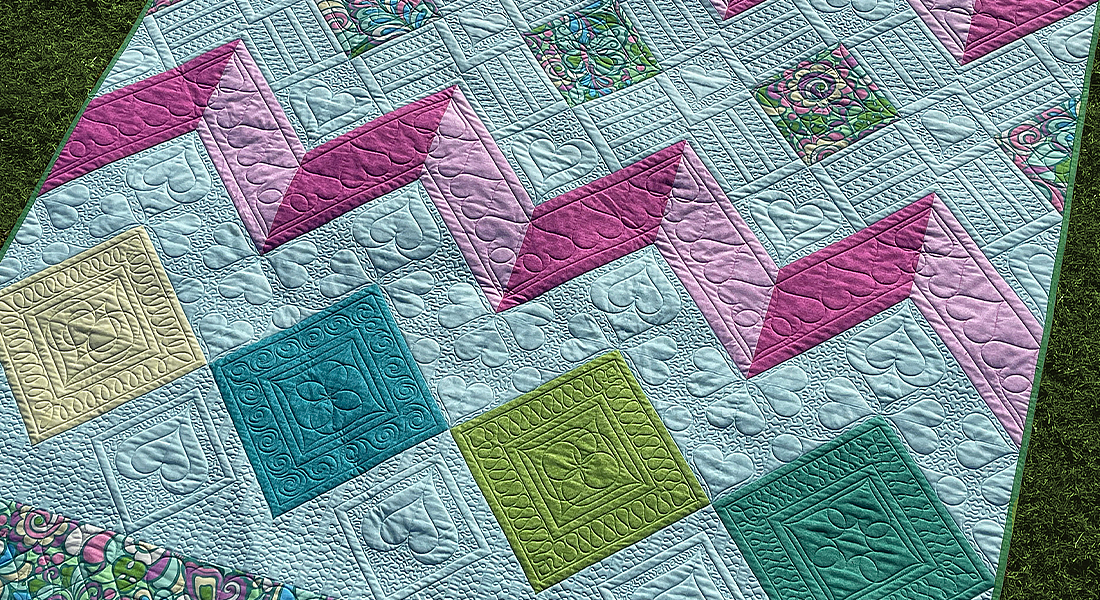
Jump for Joy Quilt Along, Part Four: Diamond Block
This month we are wrapping up piecing the quilt blocks with the Diamond block. This post focuses on the last block that you will be making for the Jump for Joy quilt. You will be making a total of 20 blocks this month, but since they are all the same, you can use chain piecing to make the assembly quicker.
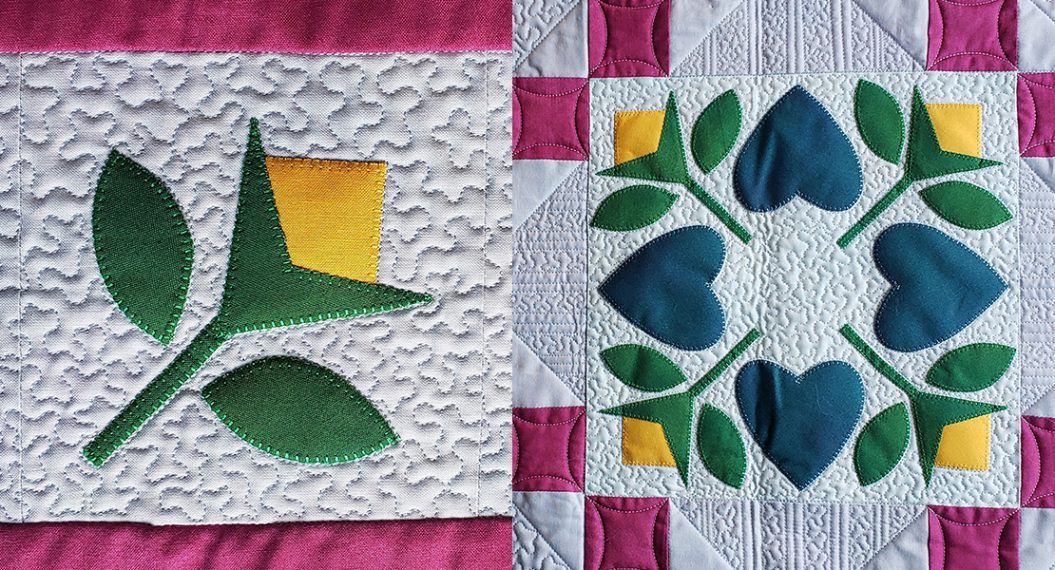
If you aren’t familiar with it, patchwork is one of the most popular types of quilting and the diamond block is easier to make than it appears. Skills you will learn include: basic patchwork, sewing a quarter inch seam and working with bias edges.
If you are finding the Jump for Joy Quilt Along for the first time, it’s not too late to join. I’d love to have you be part of it.
Here is the link to the first post Jump for Joy Quilt Along, Part One which includes the fabric requirements and cutting instructions.
Jump for Joy Quilt Along, Part Two: Raw Edge Fusible Applique focuses on raw edge fusible applique. Jump for Joy Quilt Along, Part Three: Chain Block
Jump for Joy Quilt Along, Part Three: Chain Block contains information about the popular Chain block and perfecting the quarter inch seam. Please link to Part Three on WeAllSew.
This month you will be making the Diamond blocks using the following pieces: L squares and M and N triangles.
Materials Needed
- BERNINA 790 PRO
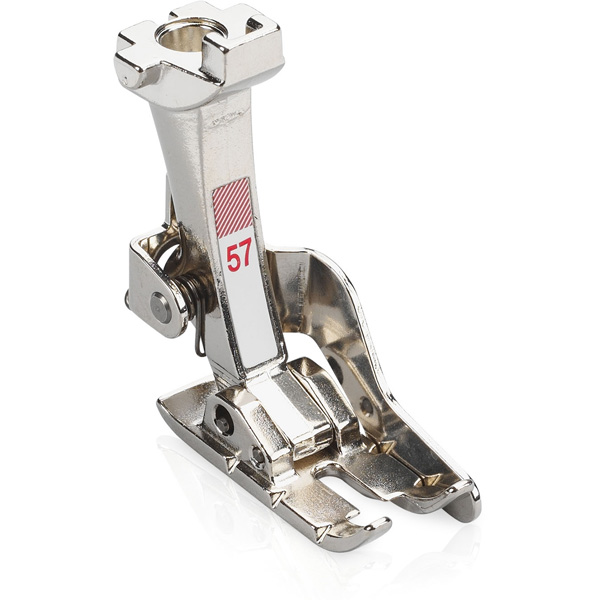
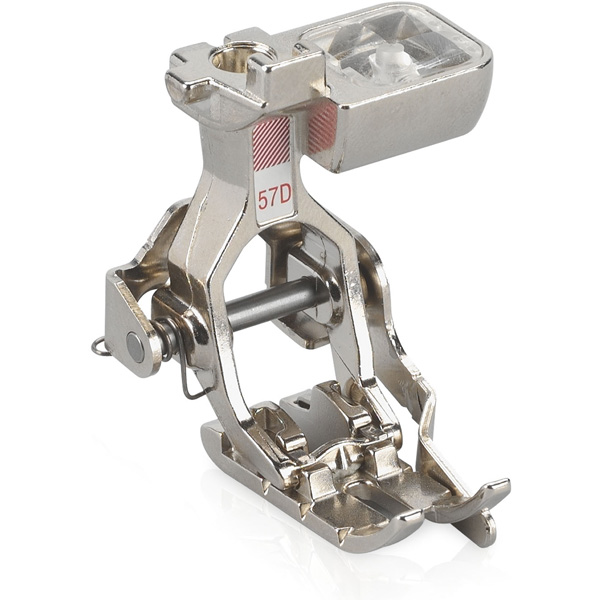
- BERNINA Patchwork Feet #37/37D, #57/57D or #97/97D
- Month 4 Diamond Block Pattern Download
- Piecing thread – Mettler Silk Finish Cotton 1081

Many BERNINA dealers have everything you need to make the quilt; the fabric, the supplies as well as the machines, available for you to purchase. If you don’t already shop there, click the link to locate the closest dealer locator to you. Find a Dealer – easily find your nearest BERNINA dealer. – BERNINA
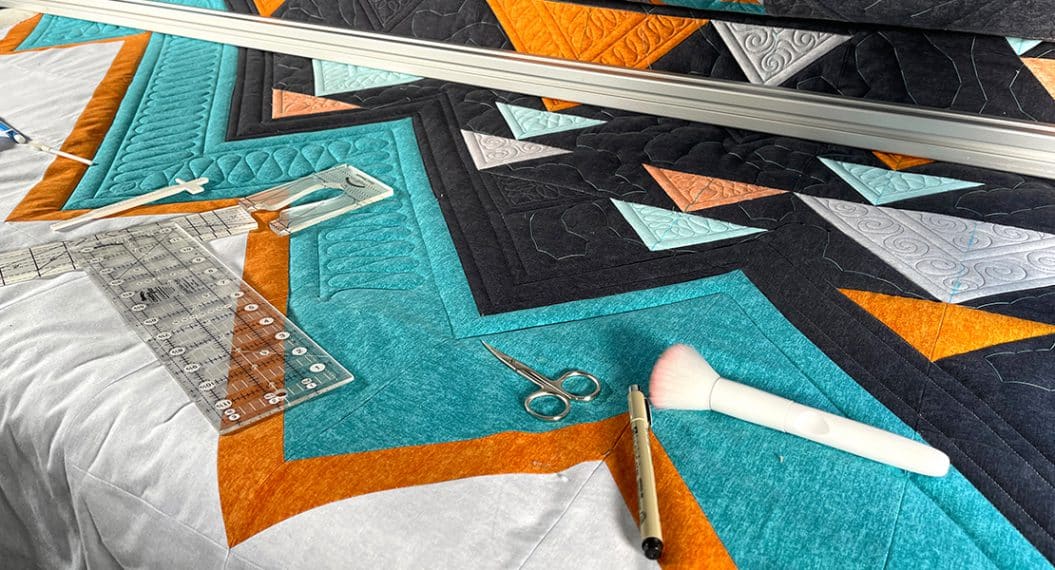
In addition to sewing an accurate quarter inch seam which you practiced last month making the chain blocks, this month you will be sewing with bias edges. It is important not to stretch the fabric as it is being sewn. If this happens you can end up with a distorted seam and a quilt that doesn’t lay flat, which isn’t fun.
So what exactly is a bias edge? When cutting width of fabric strips (from selvedge to selvedge) or length of fabric strips (parallel to the selvedge), you are cutting on the straight of grain. When you cut a straight of grain strip on the diagonal, you are cutting across the grain or weave of the fabric and the result is called a bias edge and it behaves differently than a straight of grain cut. A bias edge has stretch which can be good and bad. Good if you are sewing around a curve and you want the fabric to bend. Bad if you are trying to sew a straight seam and it starts curving when you don’t want it to.
Here are some tips when working with bias edges.
- Starch the fabric. This will add stiffness and structure by holding the cut edges together so they don’t stretch as easily.
- Press don’t iron. Pressing is the process of setting the iron in one spot and then lifting it to move to a new spot. Ironing is the process of dragging the iron across the fabric which can pull the fabric as you move.
- Handle pieces gently. Leave the cut pieces stacked until you need them and make adjustments on your sewing machine to prevent the feed dogs from unnecessarily pulling the fabric.
- Pin as needed especially with longer strips. The pins will keep the fabric from shifting and hold the edges together.
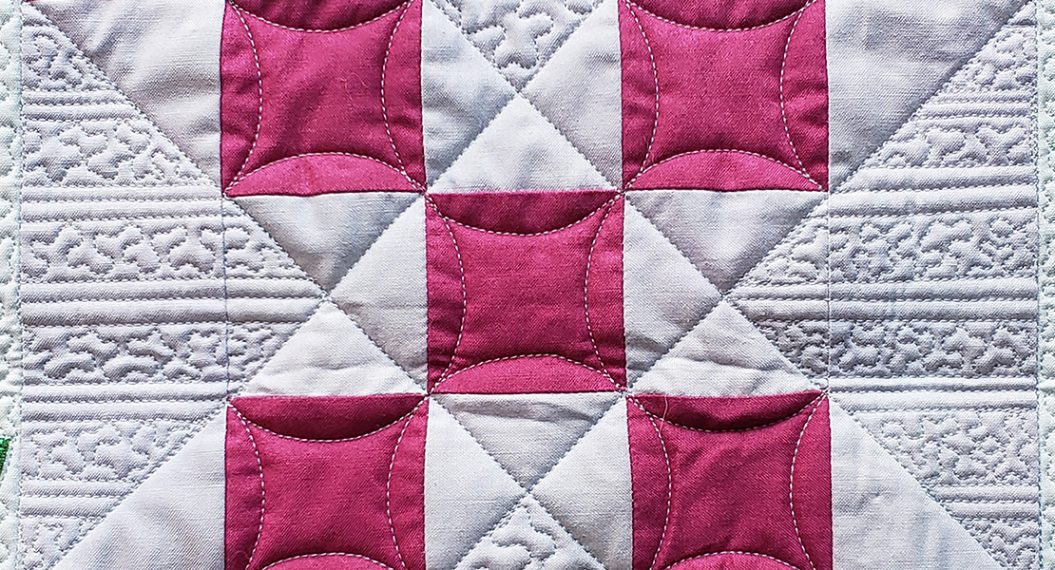
Making the Diamond Blocks
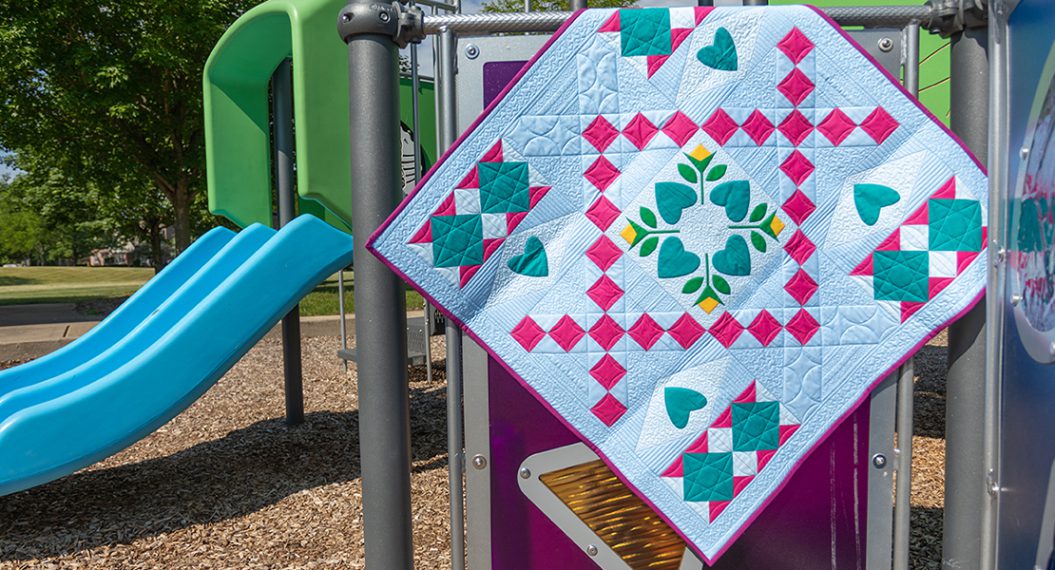
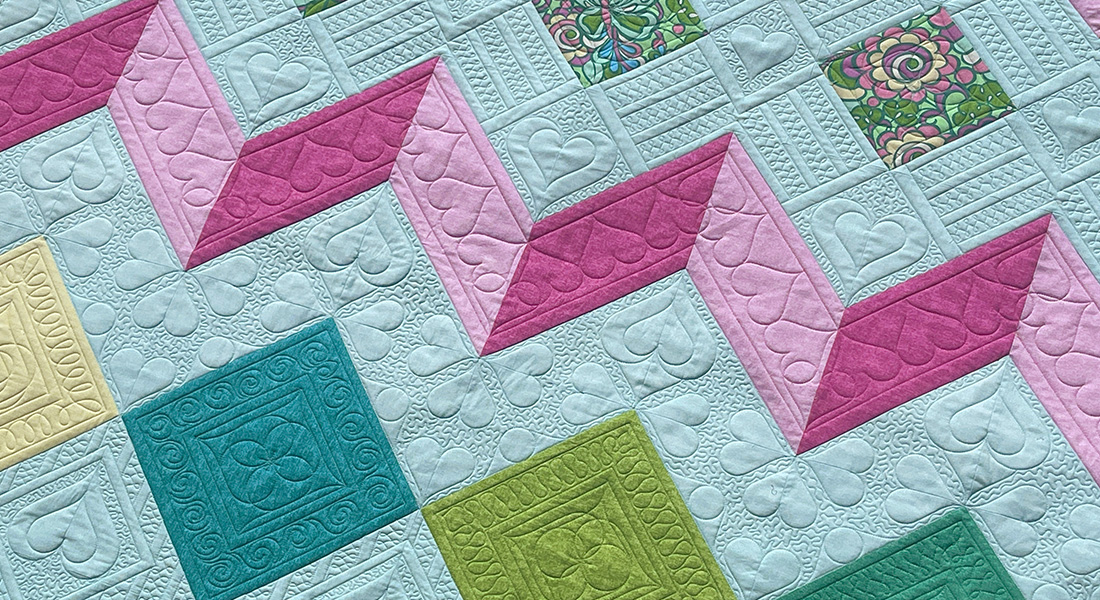
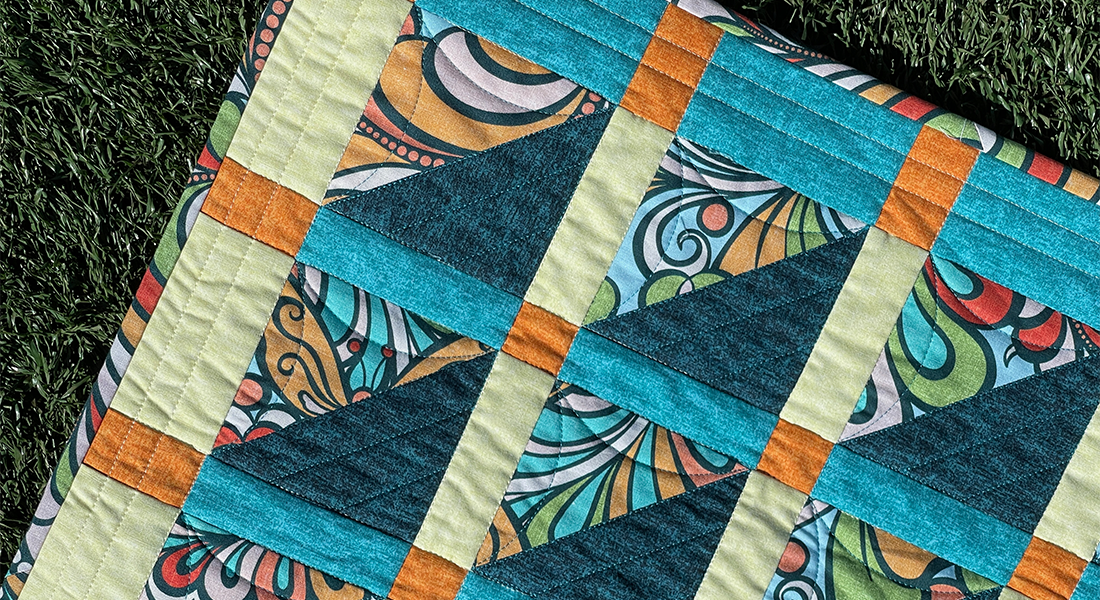
The diamond block is easier to construct than it appears. Fabric placement is everything. The first step is constructing the two-triangle units. Following the pattern instructions, you will make a total of 40 M-N units.
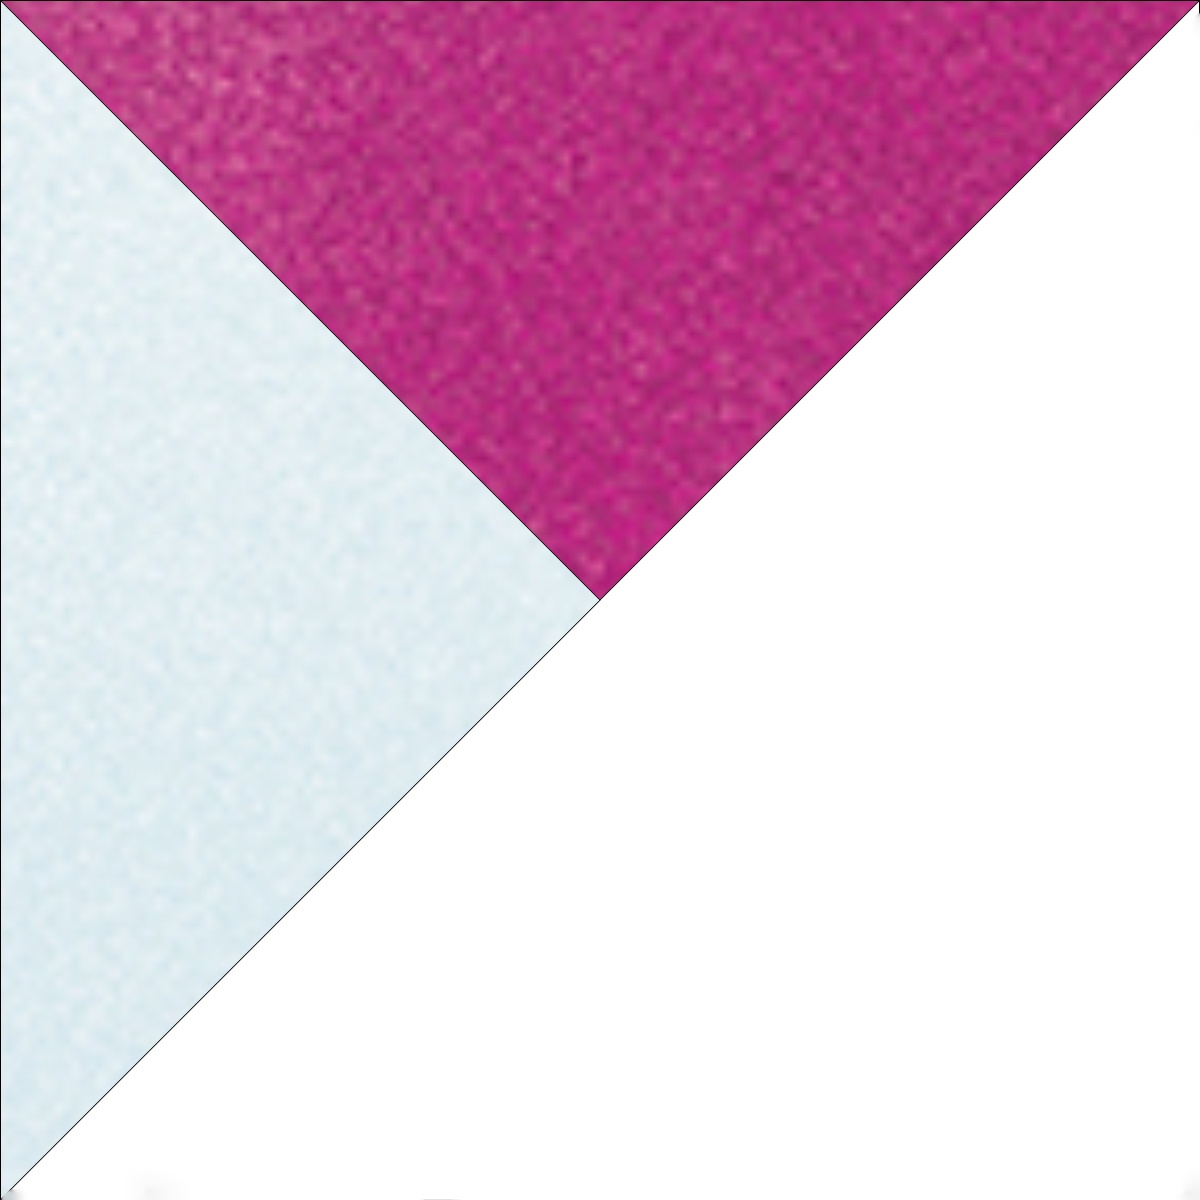
When sewn in this orientation, the bias edges of the triangles are stitched between the two triangles and the straight of grain edges are on the outer edges. The longer side is still bias, so be sure to handle with care and press, not iron, the seams.
Next, you will change the placement and make a total of 40 Reverse M-N units.

To speed up the process when sewing the units together, you can chain stitch and then cut apart when finished.
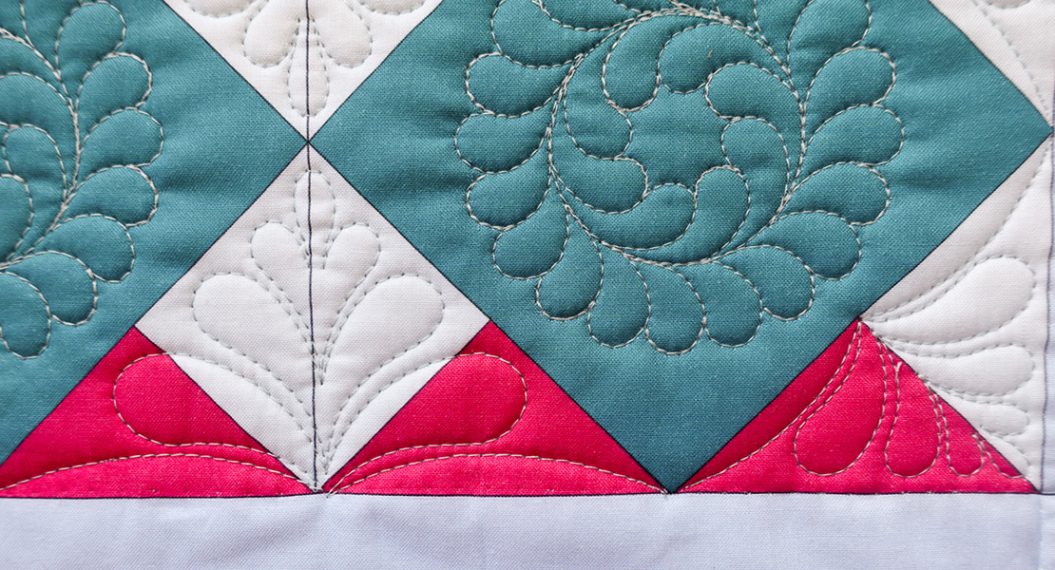
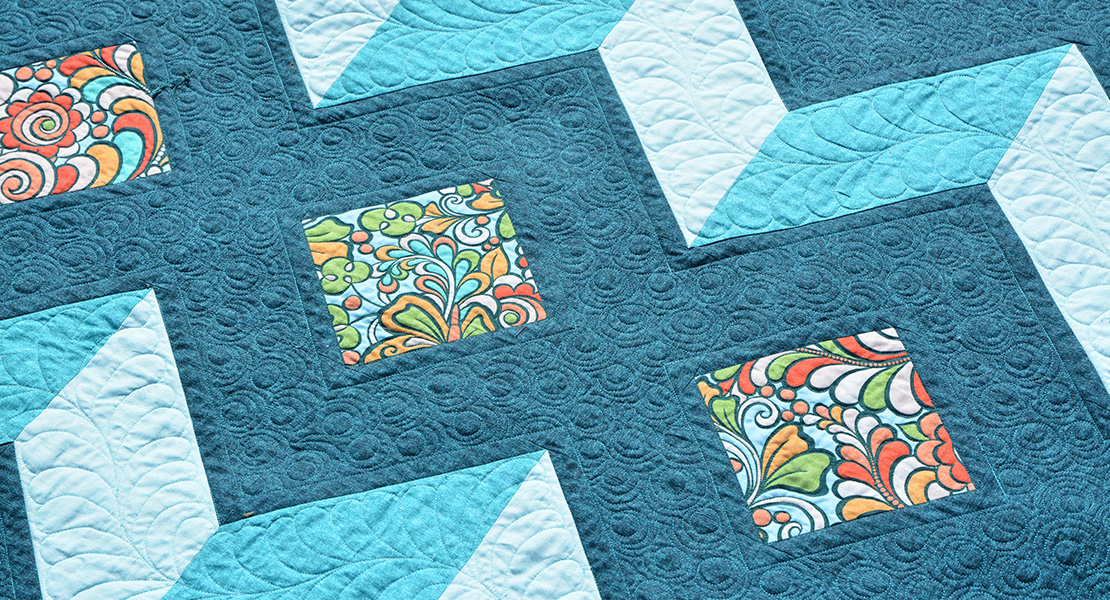
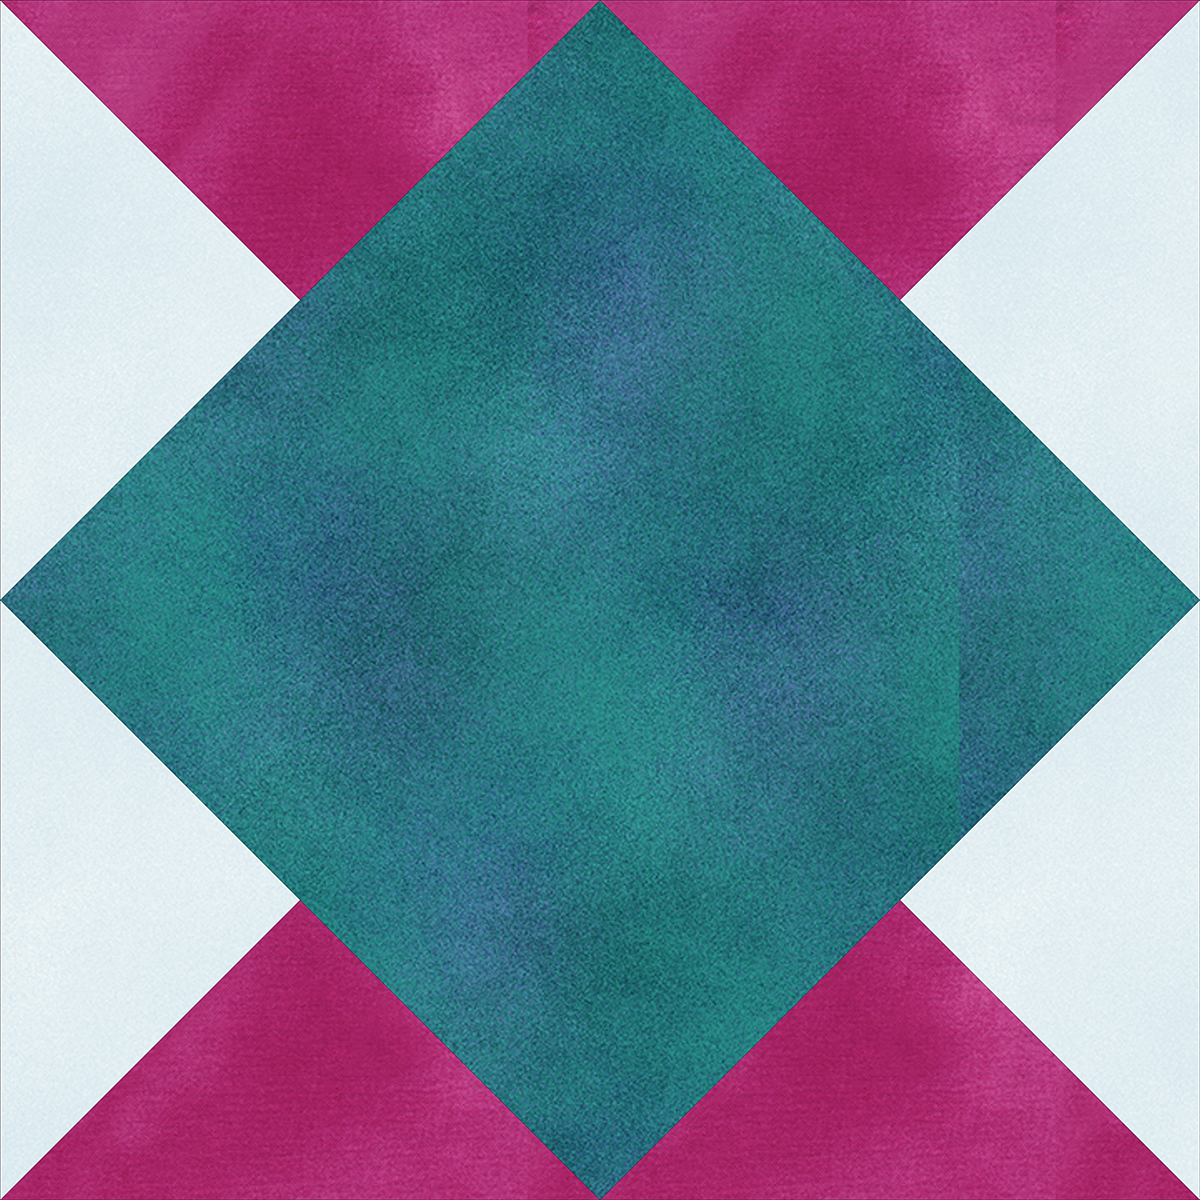
The next step is sewing M-N units on opposite sides of a L square. The L squares are cut on the straight of grain, so you will be sewing the long bias edge of the M-N unit to the non-bias edge of the L square. My suggestion is to place the L square on the bottom against the feed dogs to minimize stretch potential.

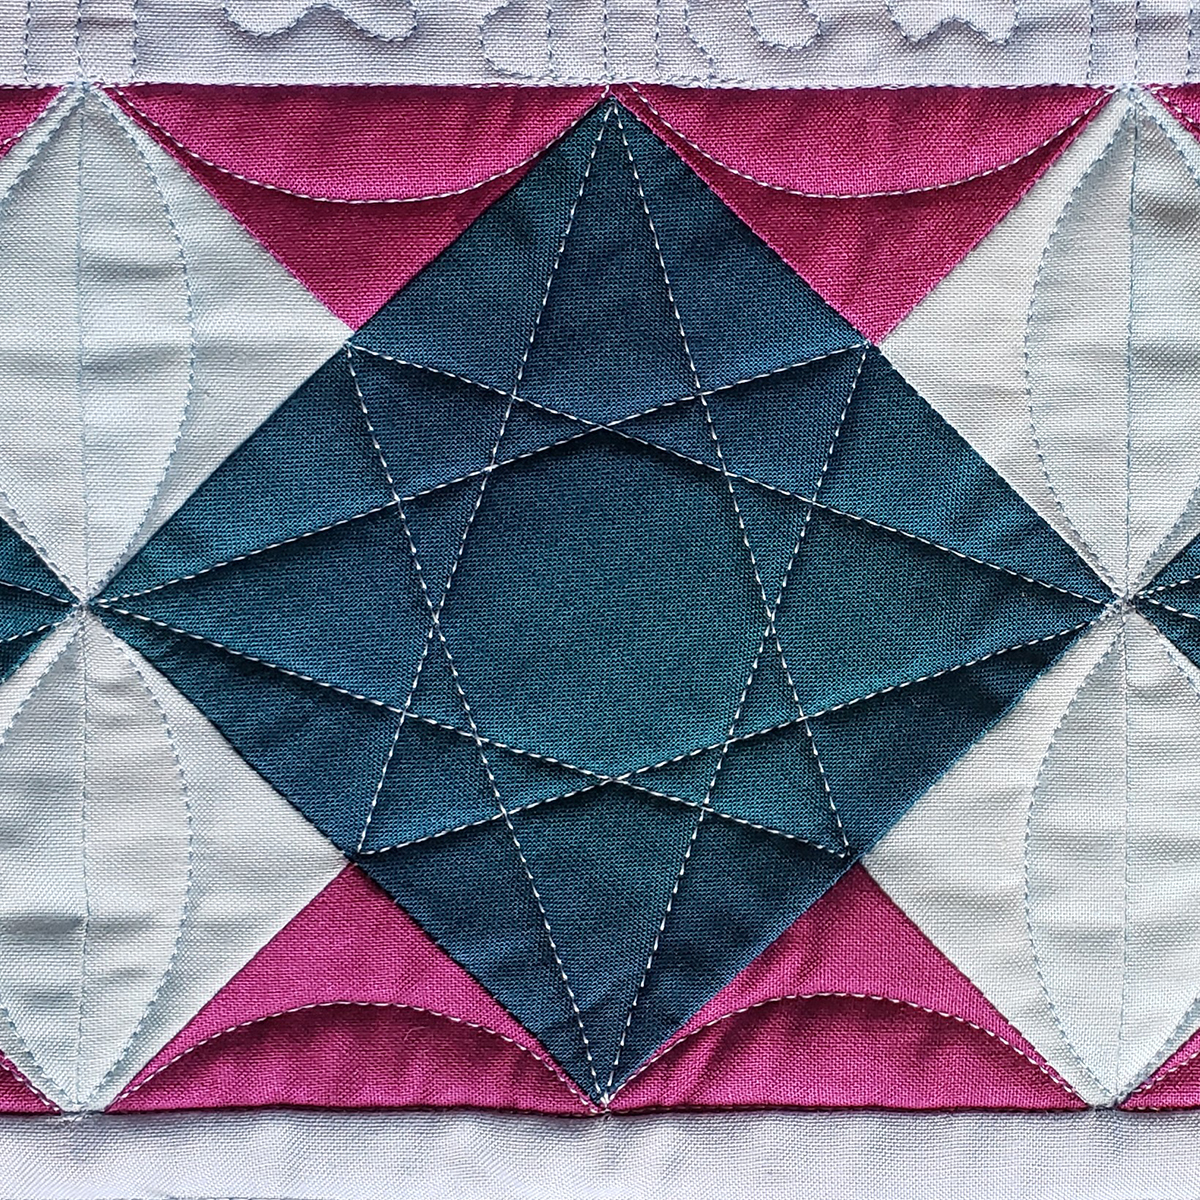
The final step is adding the Reverse M-N units to the remaining two sides of the L square to complete the Diamond Block. You will make a total of 20 Diamond Blocks.
Trim the block, if needed, to measure 5-1/2” x 5-1/2” square.
If you struggle with stitching an accurate ¼” seam or your patchwork skills aren’t where you want them to be, reach out to your local BERNINA dealer and ask about quilting classes that they offer. If you don’t already shop there, here is a link to the dealer locator to find the closest one to you: Find a Dealer – easily find your nearest BERNINA dealer. – BERNINA
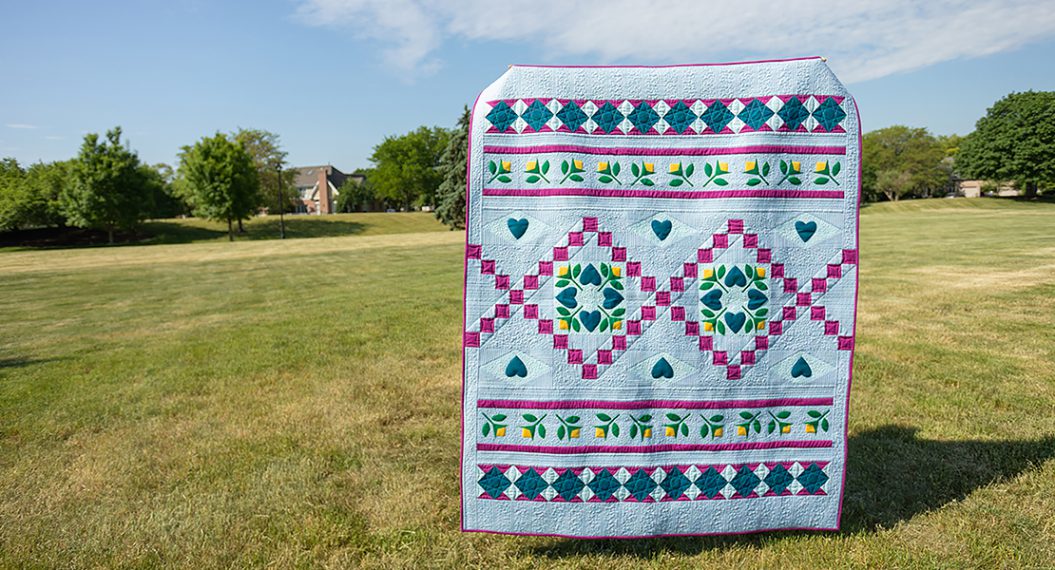
That’s it for today! This is a quilt along that you will definitely want to participate in and be sure to share it with all your quilting friends and quilt guilds. Quilting is always better with a friend.
Next month, you will assemble all the blocks into rows to complete the quilt top. It’s always so exciting to see everything come together. See you then!