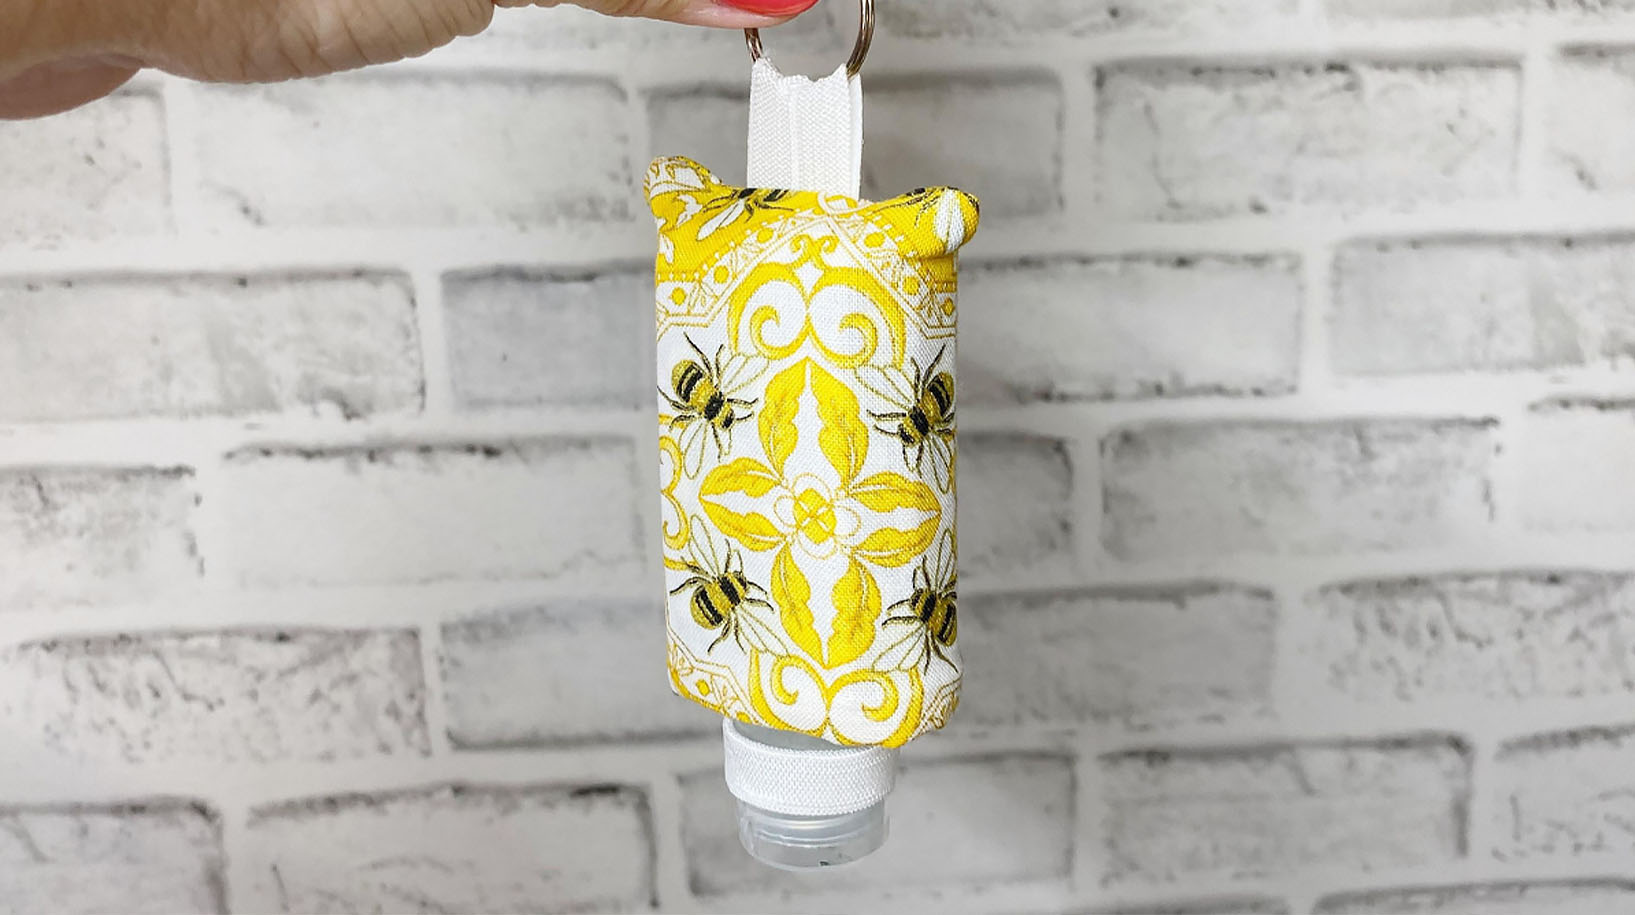
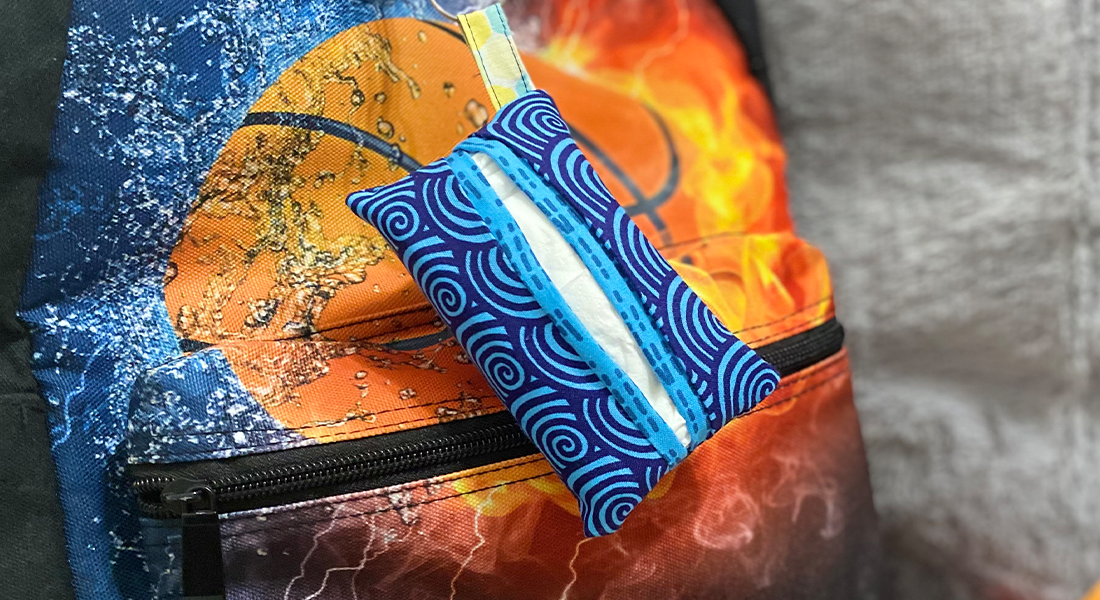
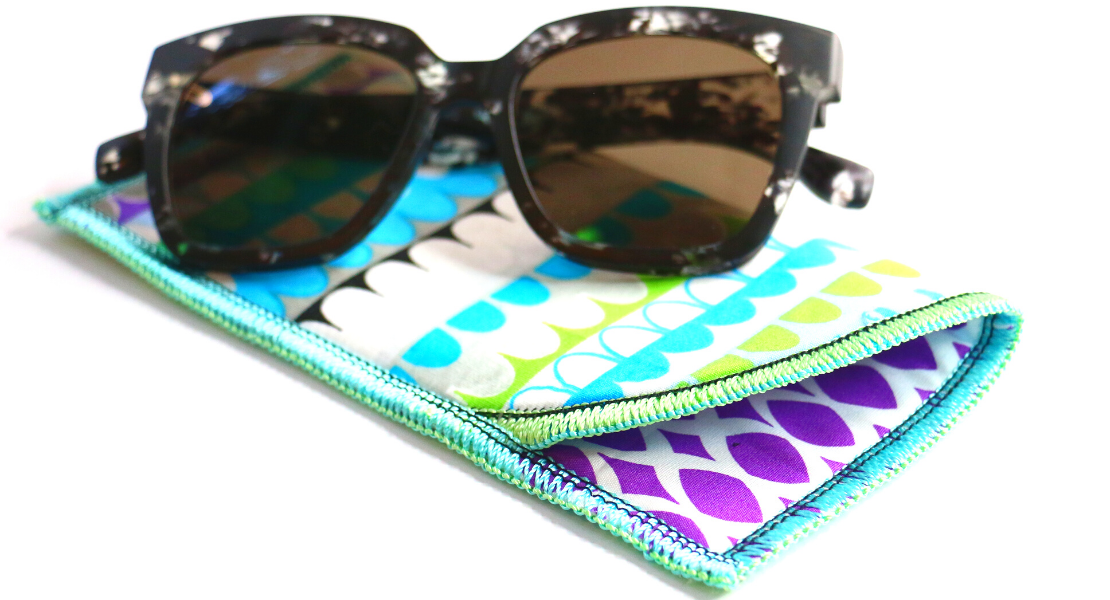
How to Make a Tissue Case with a Serger
Sergers can be intimidating, but honestly, they can be your best friend once you get to know them. Today I will be teaching you how to use a basic 4-thread serger stitch to create a super fast and easy tissue case!
Hello my Sewing Bees, my name is Sue O’Very owner of Sookie Sews and BERNINA Expert. You can find me on Instagram at @SookieSews, my website SookieSews.com, and on my YouTube Channel SookieSewsTV.com where I have hundreds of sewing projects, machine sewing patterns, embroidery designs and In-the-hoop projects. Ok, let’s get stitching!
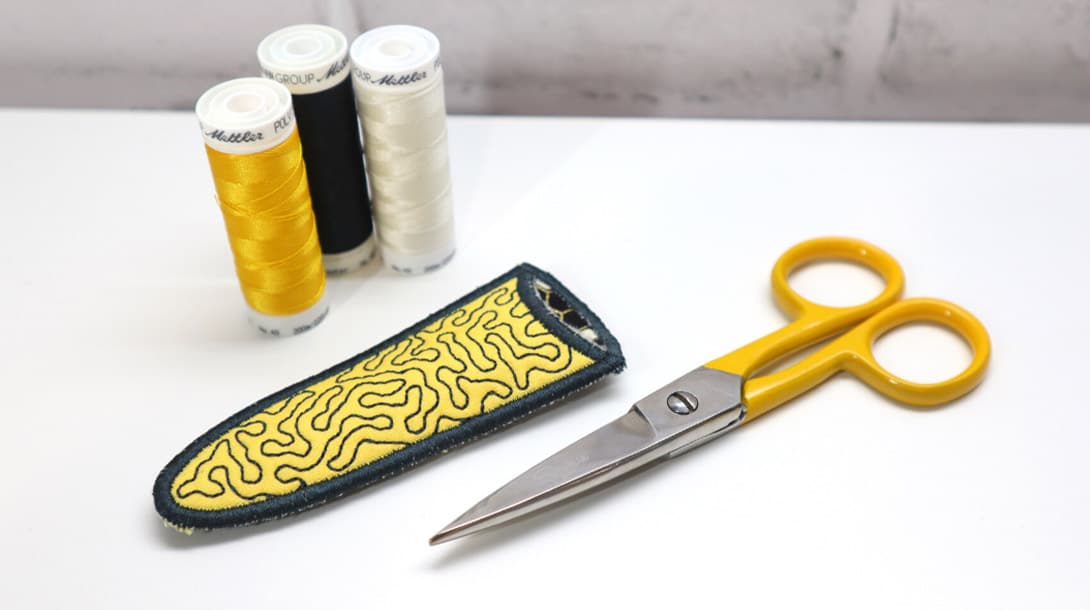
Materials and Supplies to Make a Tissue Case
Measurements are Width by Height
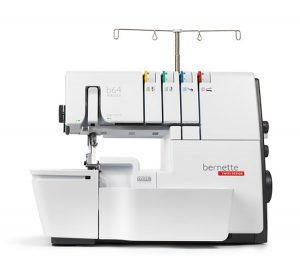
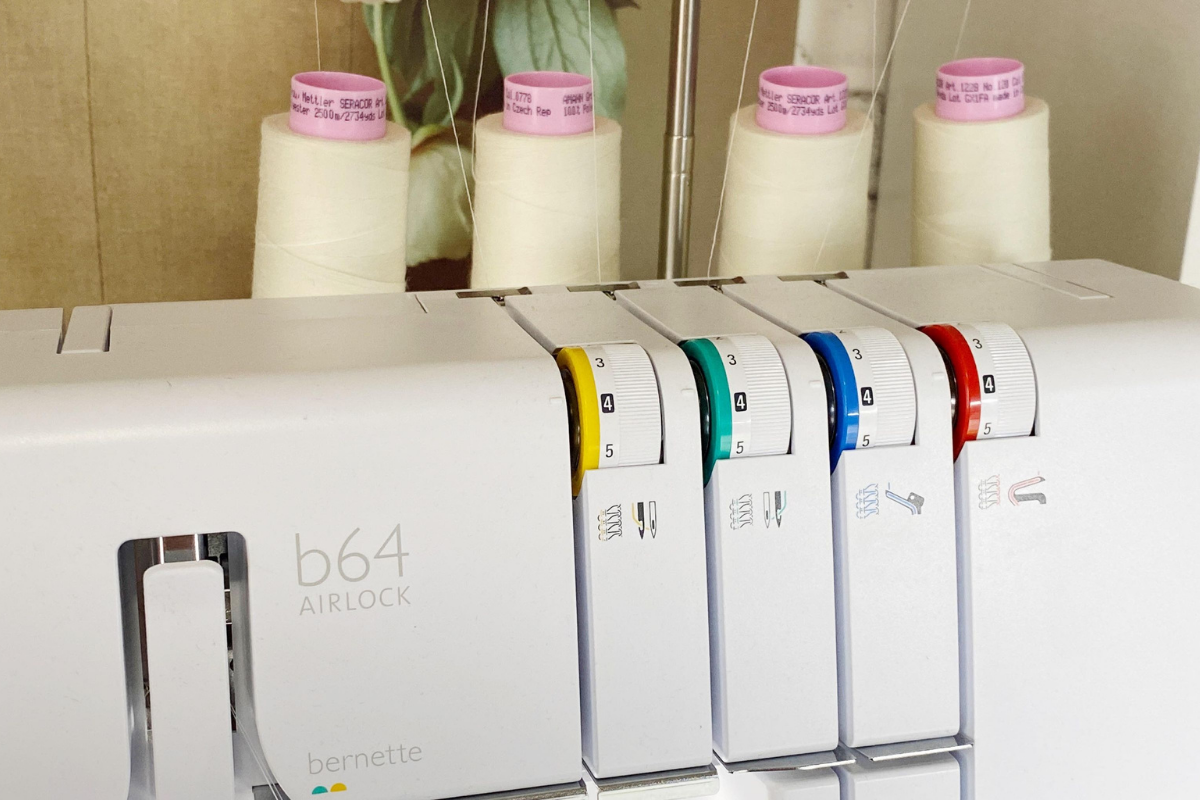
- Serger (I used my bernette 64 AIRLOCK)
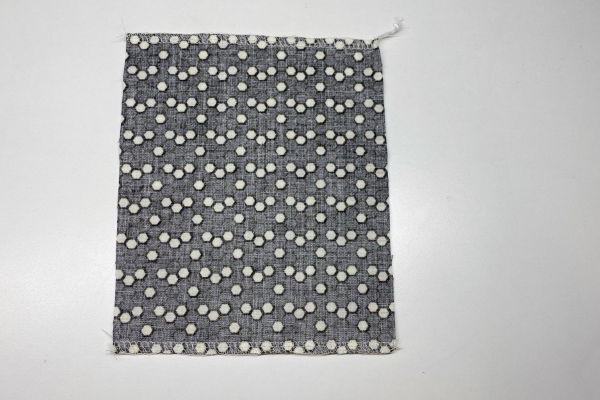
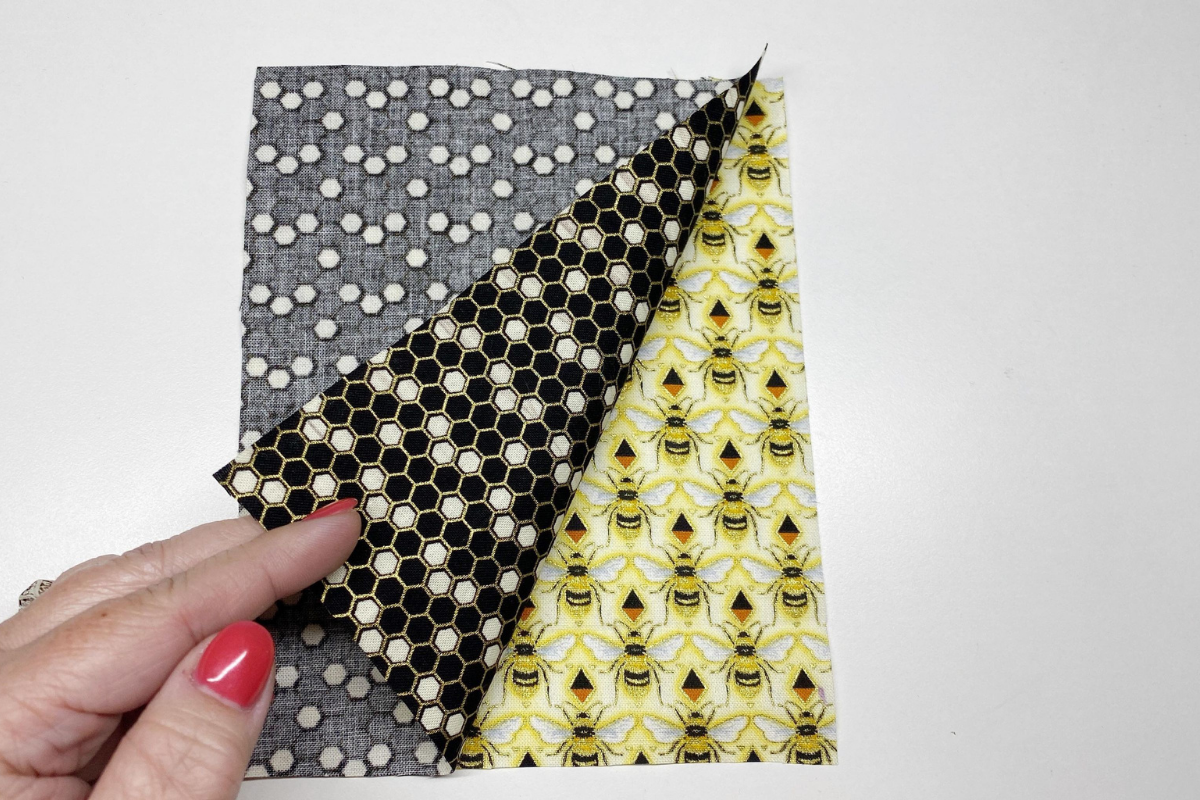
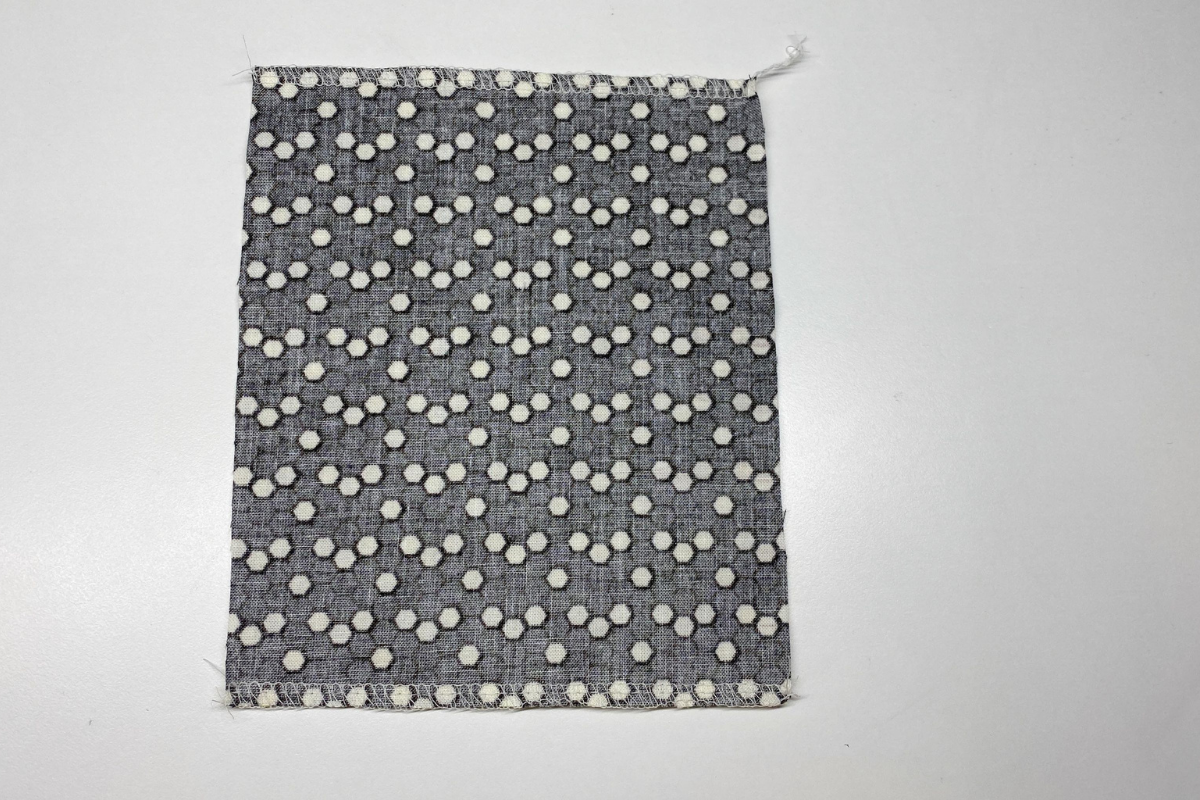
- (2) 5-1/2″x7″ Outside and Lining
- (4) spools standard serger thread
- Wonder Clips
- Iron and pressing surface
Steps to Make a Tissue Case
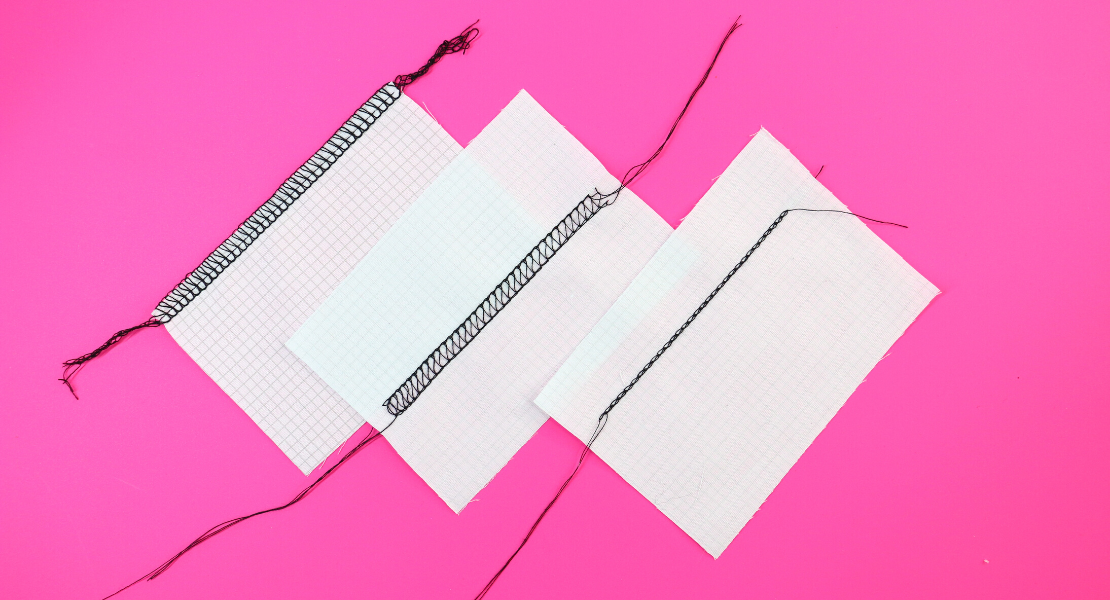
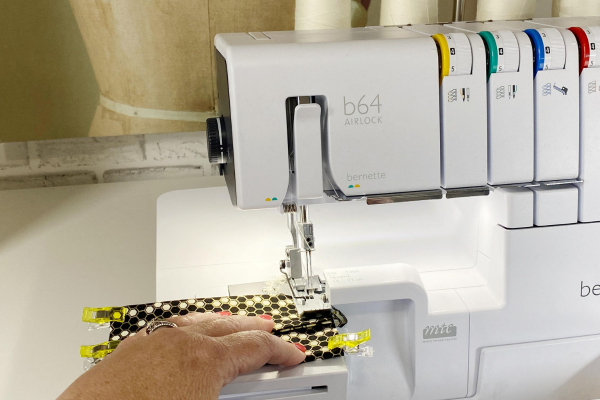
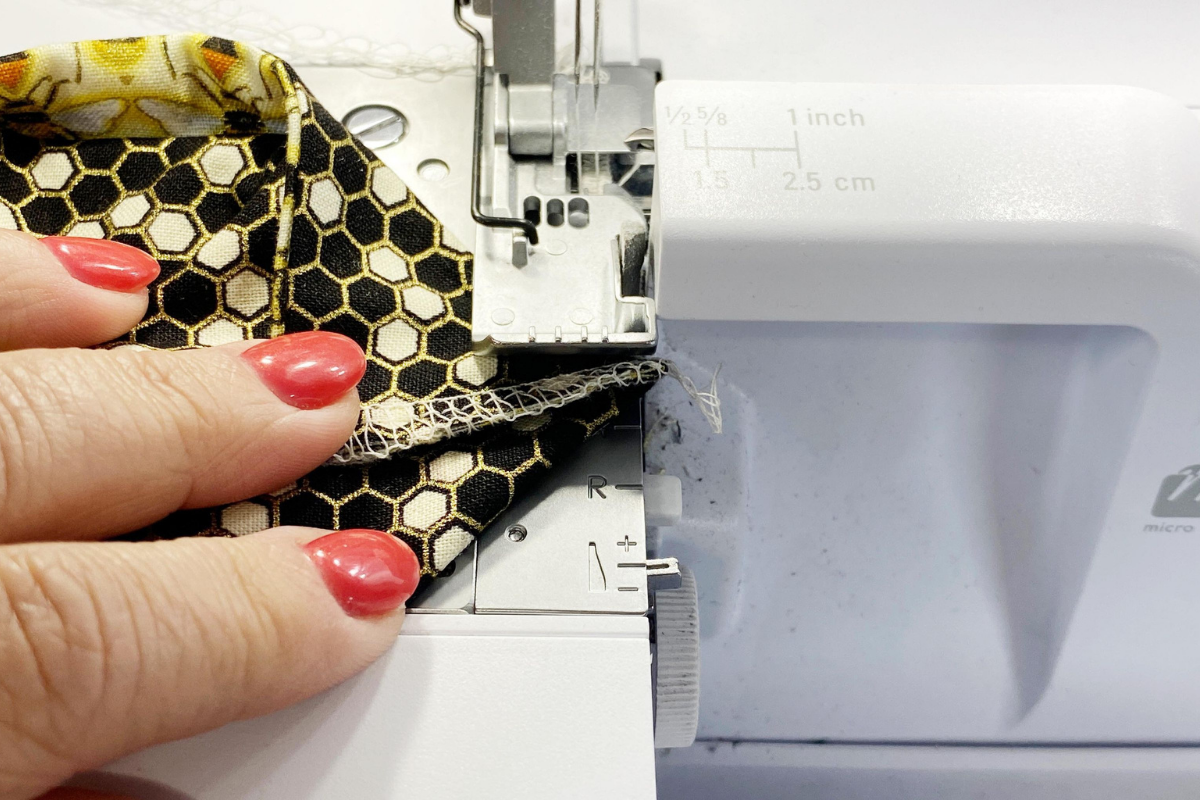
- Set the machine up with four standard serger threads and 4-thread overlock. My tensions were set to 4 for my two needles and two loopers.

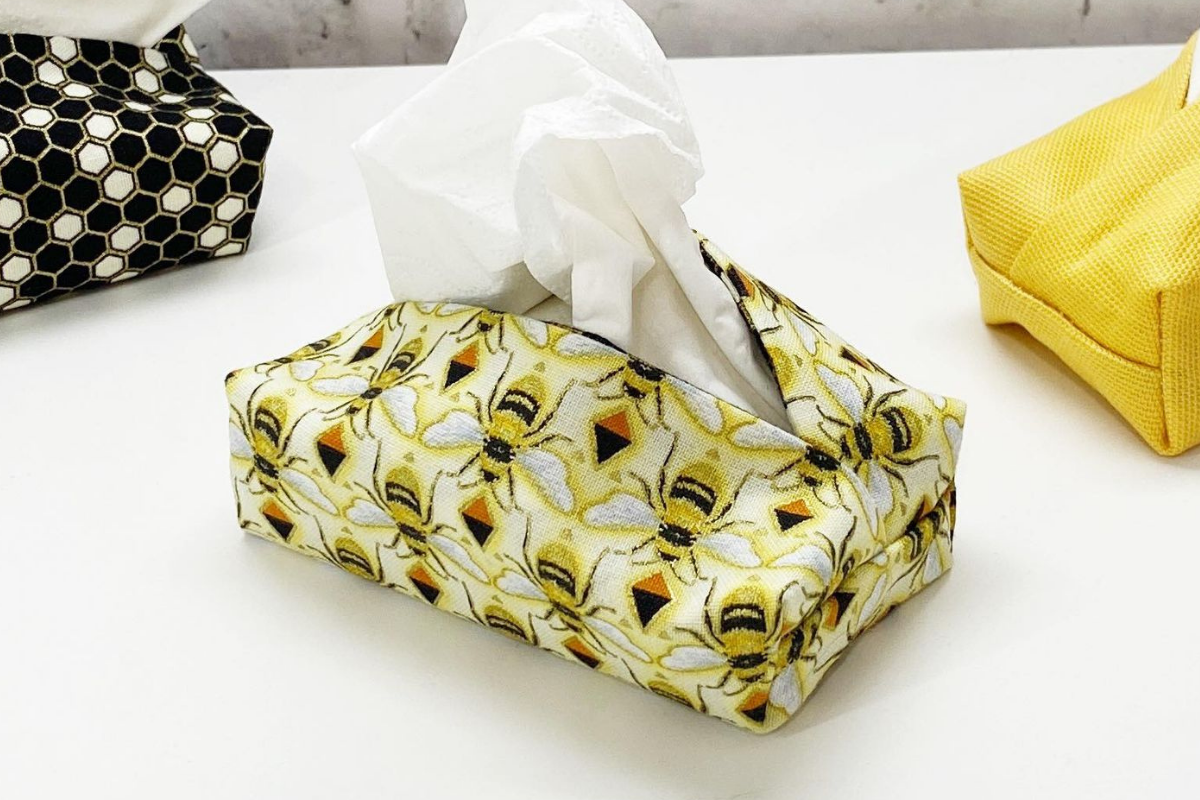
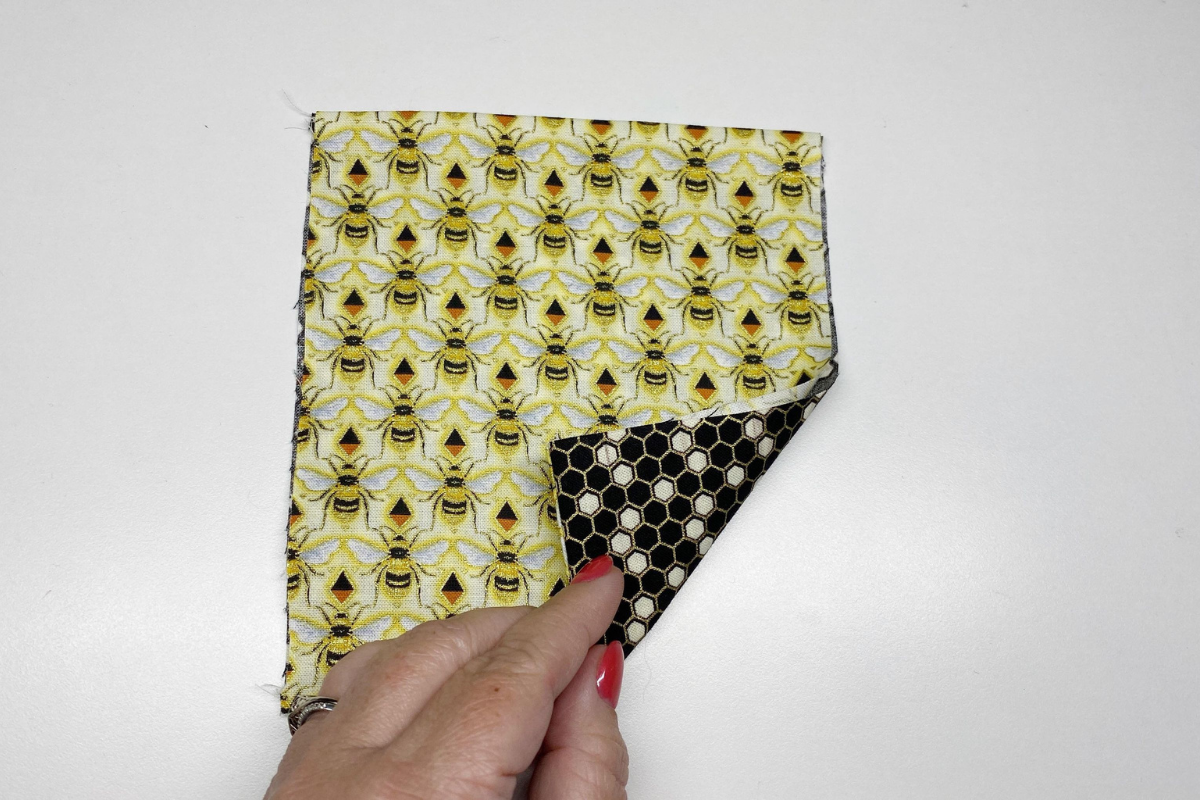
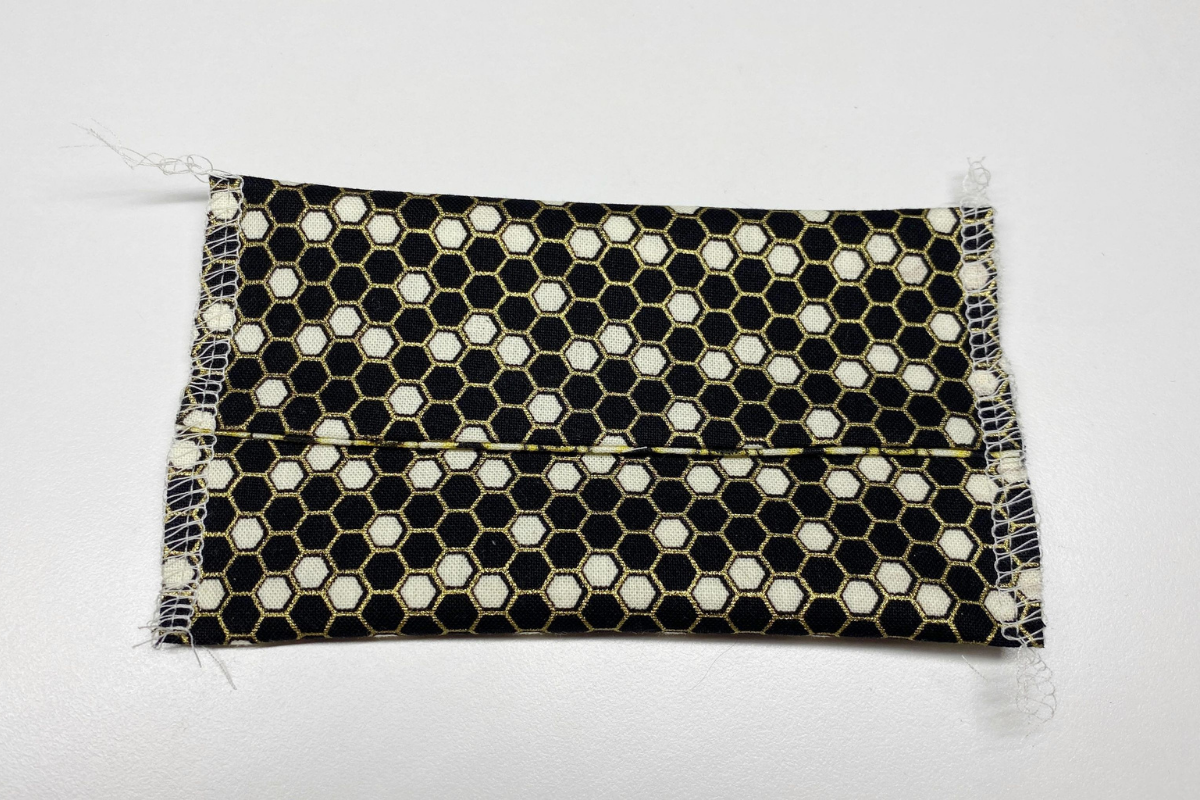
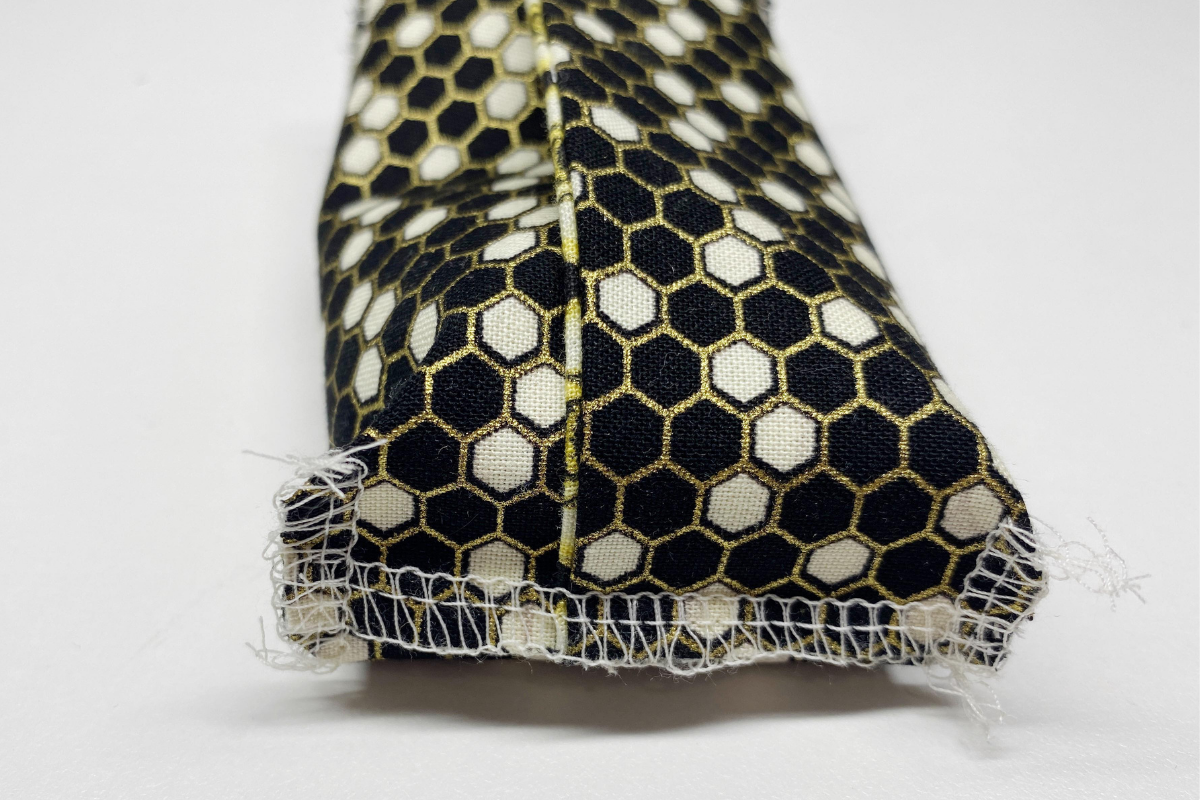
- Place the Outside and Lining right sides together and serge along the top and bottom seam cutting off about 1/8″. Press serged seams flat, turn right side out, and press top and bottom seams flat. The two finished seams will be the top opening of the case, where the tissues come out.


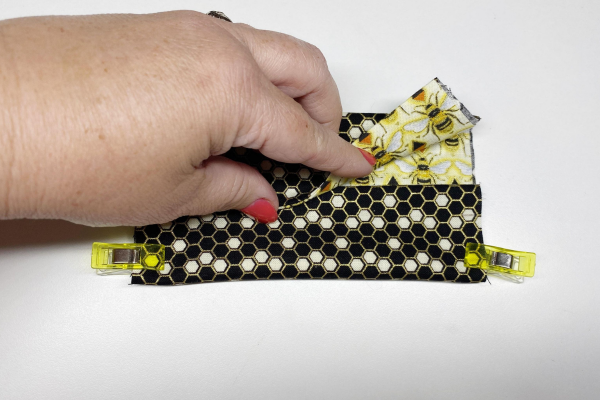
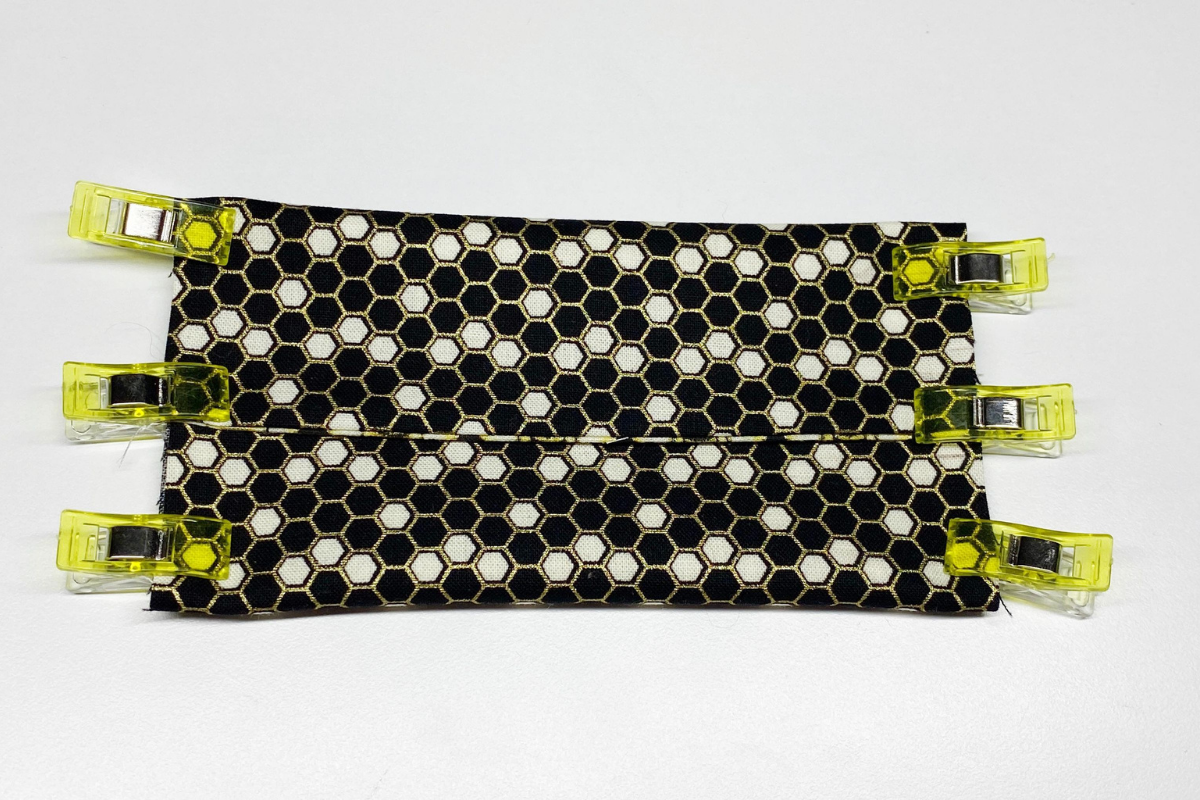
- With Lining side facing out, align raw edges on each side, overlap the two top finished edges by 1/4″, and clip side seams in place. Serge both side seams cutting off about 1/8″.

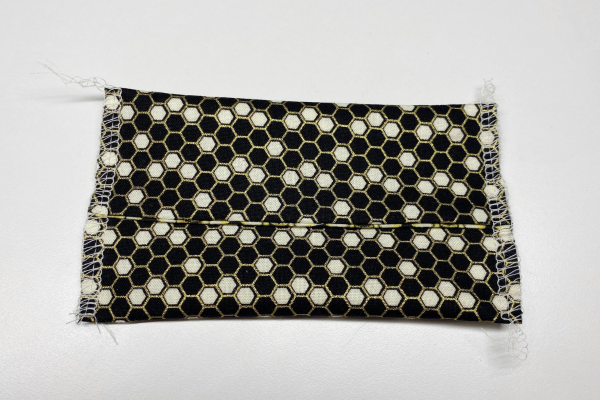

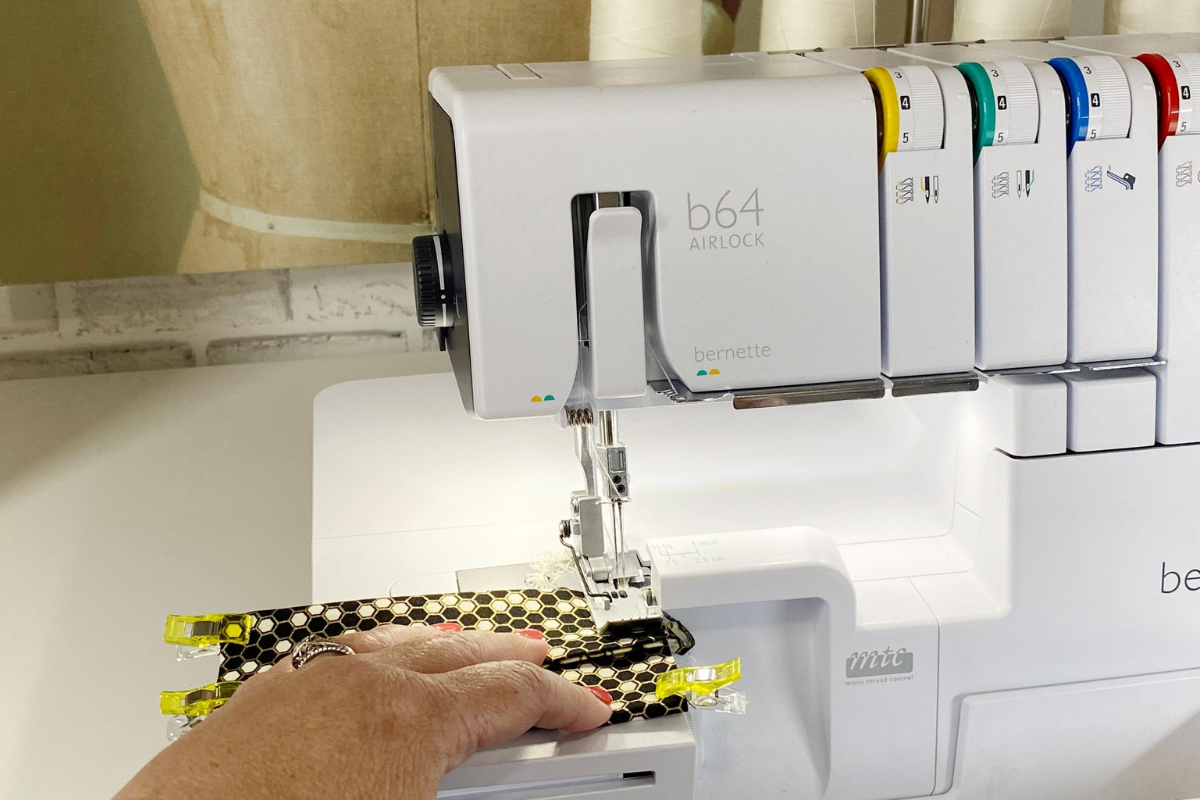
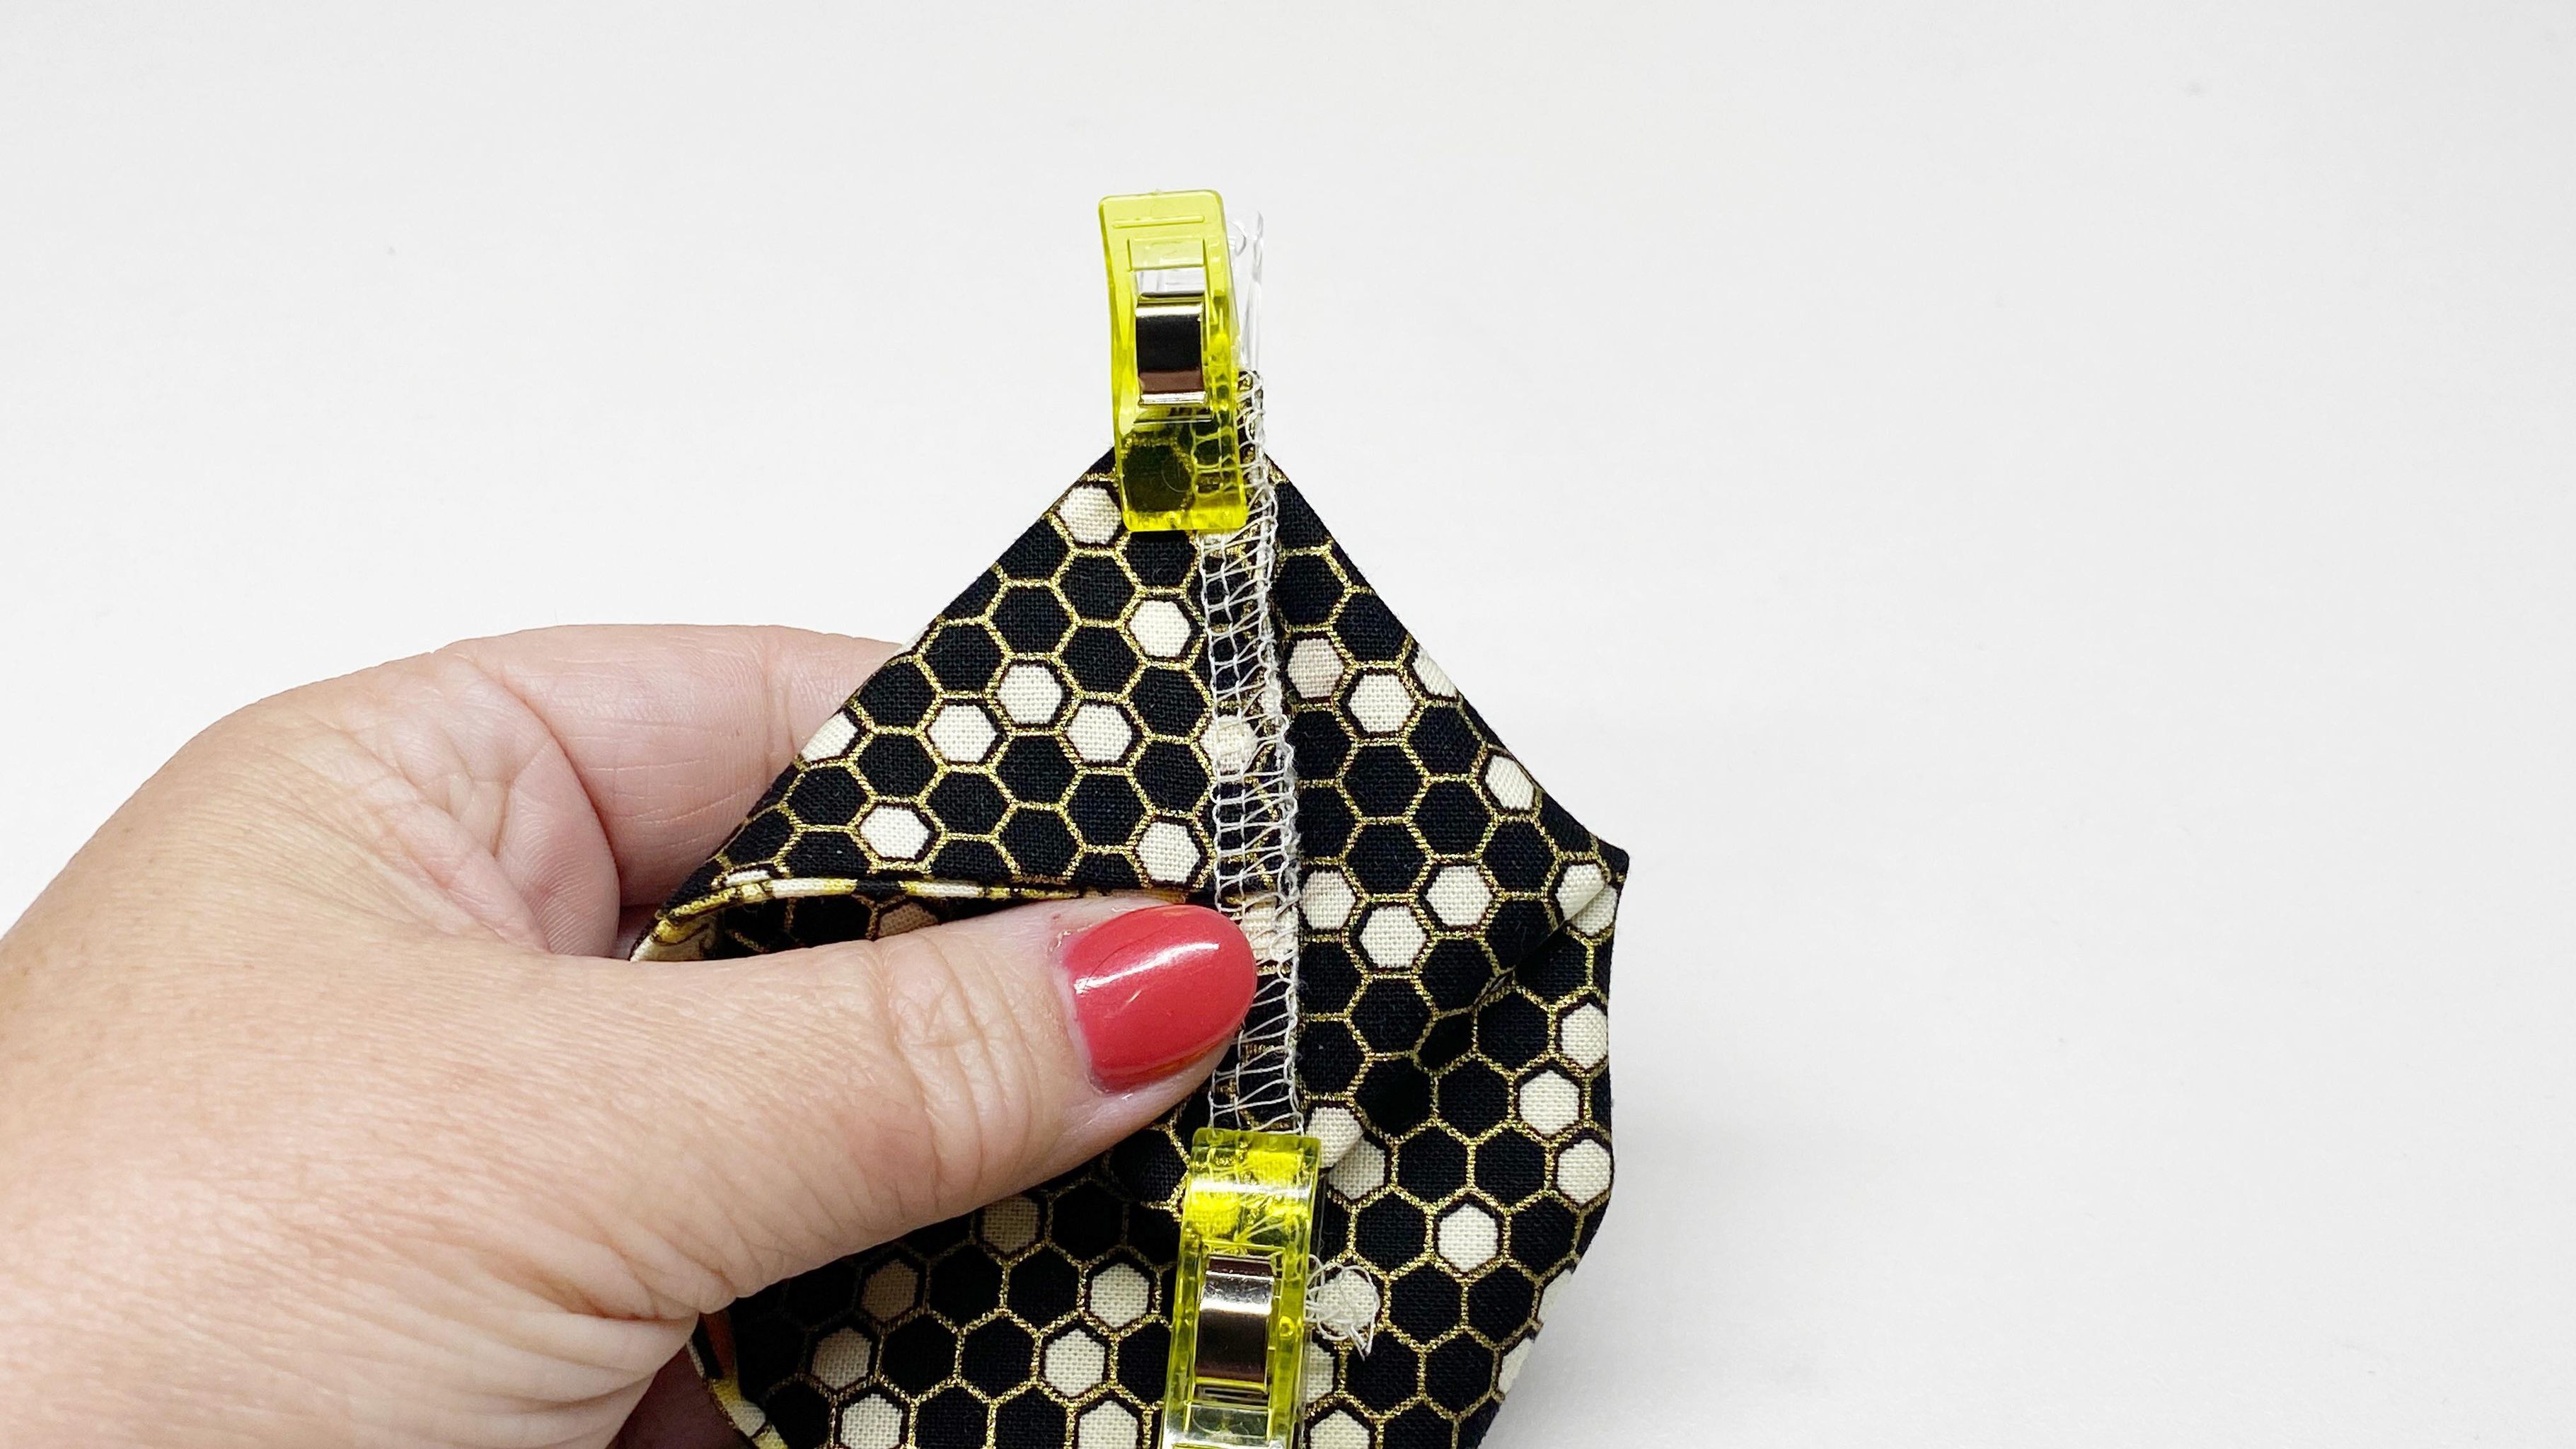
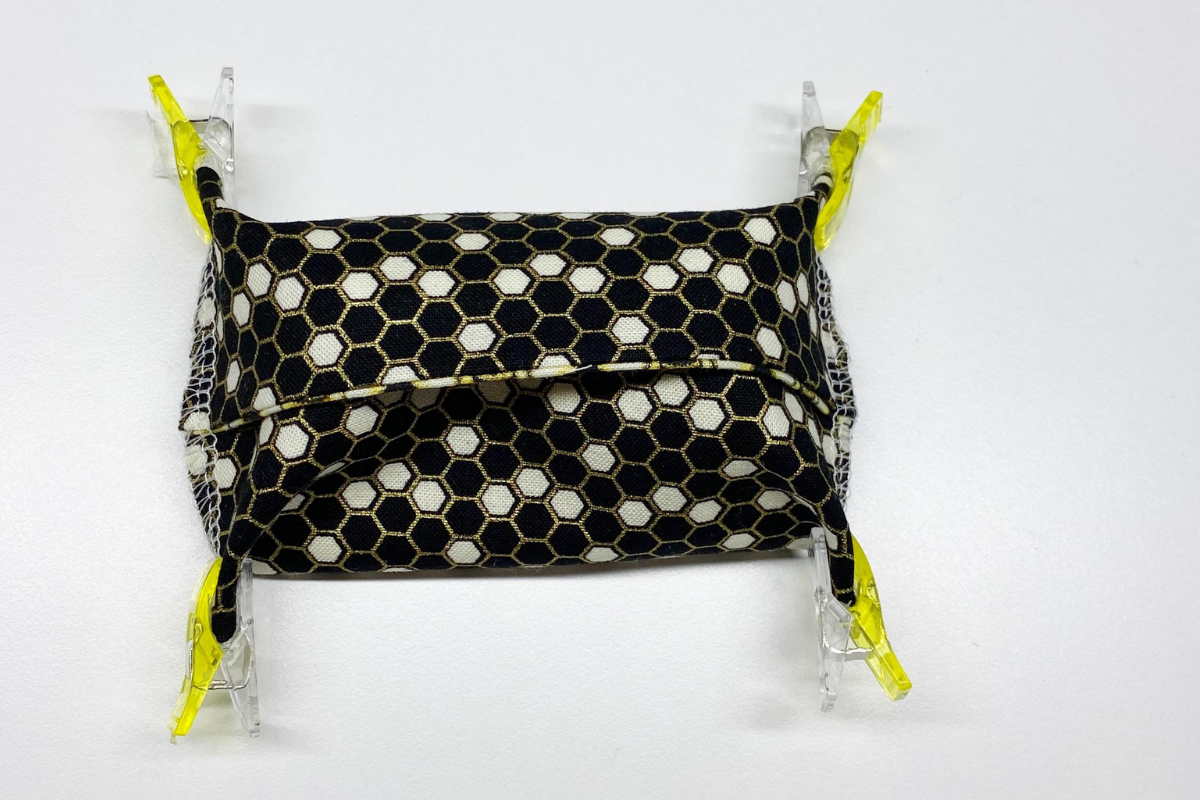
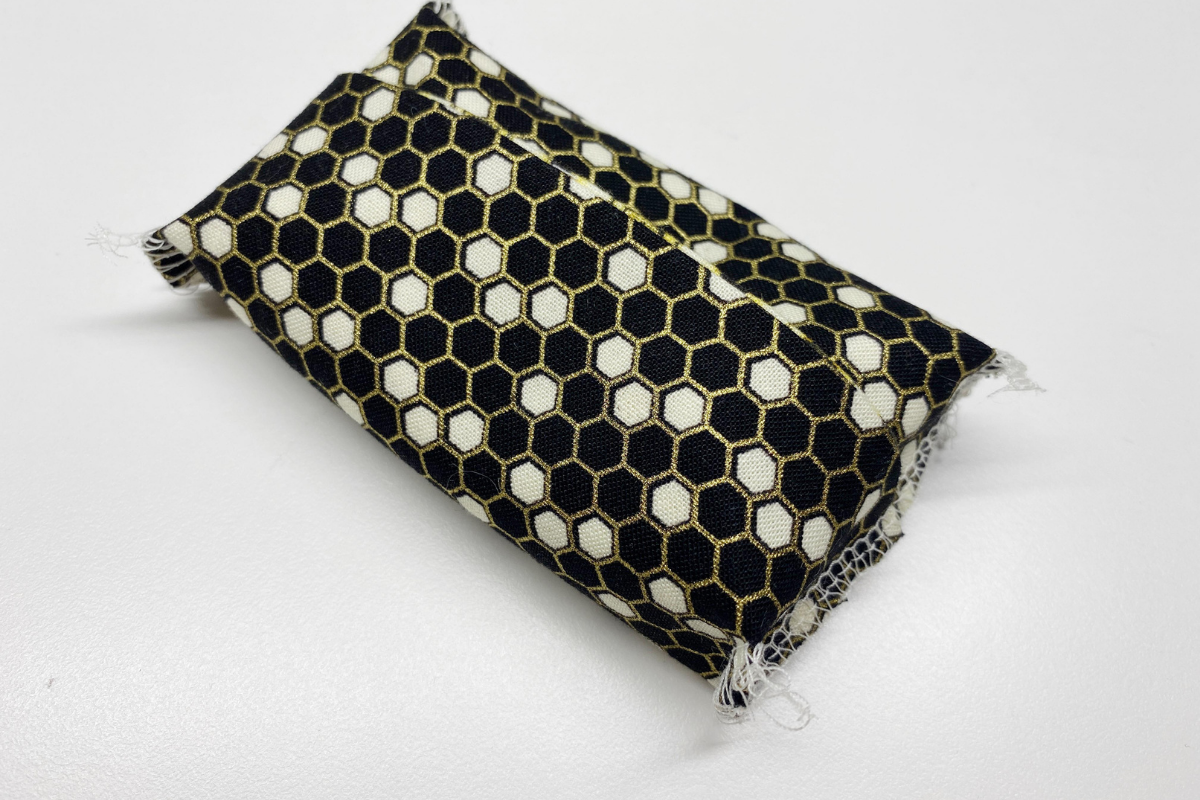
Create squared ends on each corner by folding the side seams away from the opening. Clip each corner flat with seam facing the back, serge each corner cutting off about 1/8″ which will create squared corners.
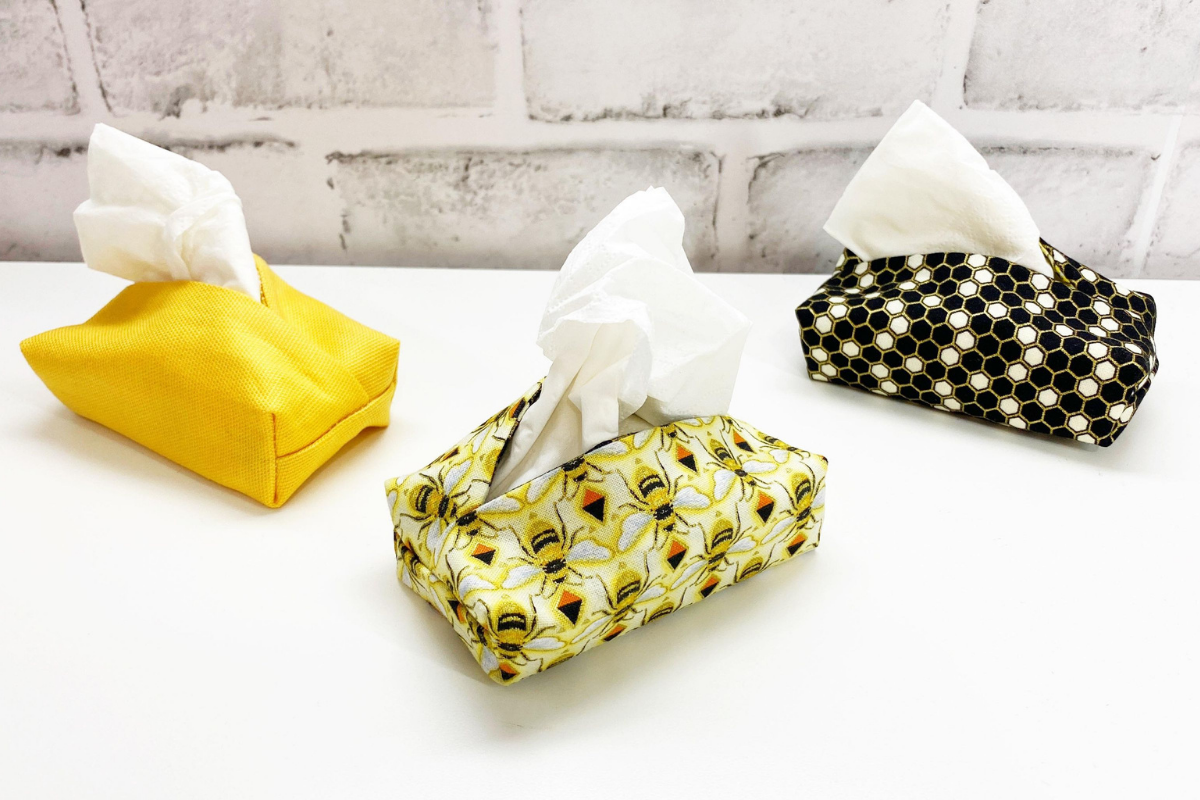
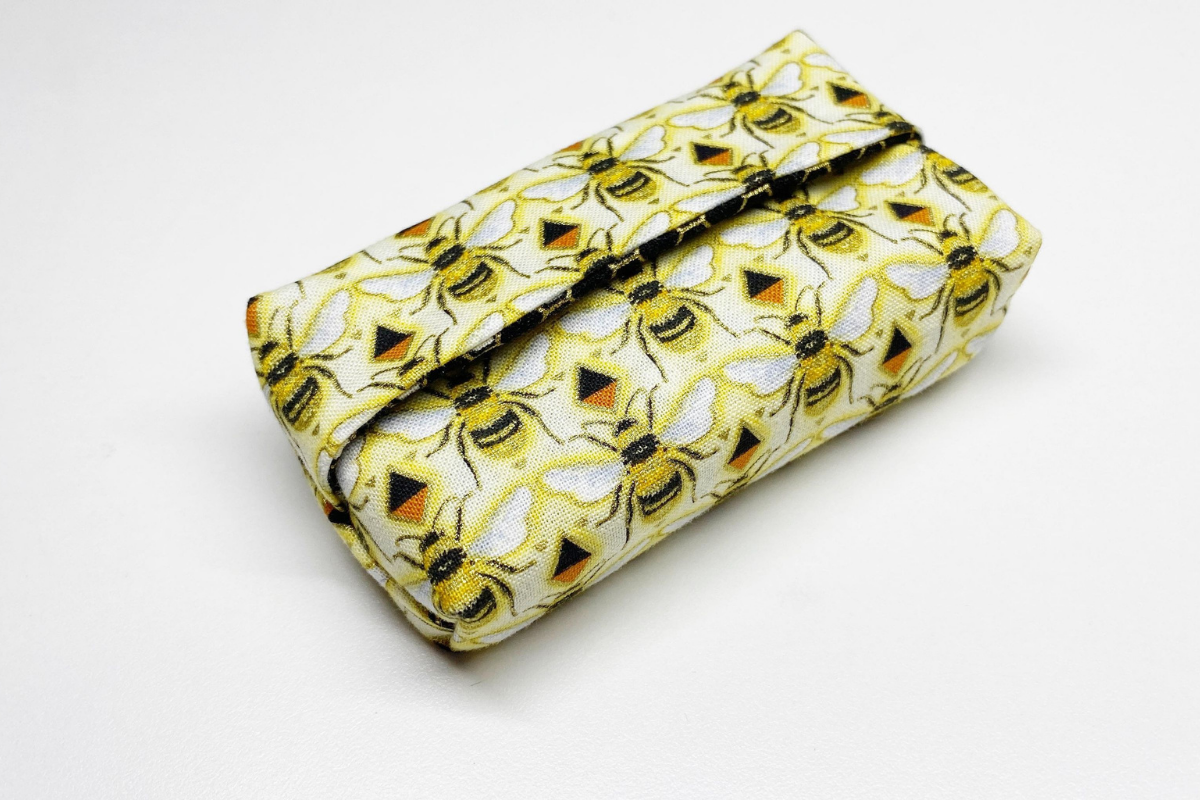
5. Turn right side out and press as needed. Remove the tissues from the plastic package and insert into your serged tissue case. Pull a tissue from the center and you’re finished, now how easy was that?


I hope you enjoyed this easy serger project and enjoy making all of my easy serger projects! When you make yours, please snap a shot and tag me @SookieSews and @BERNINAUSA!!