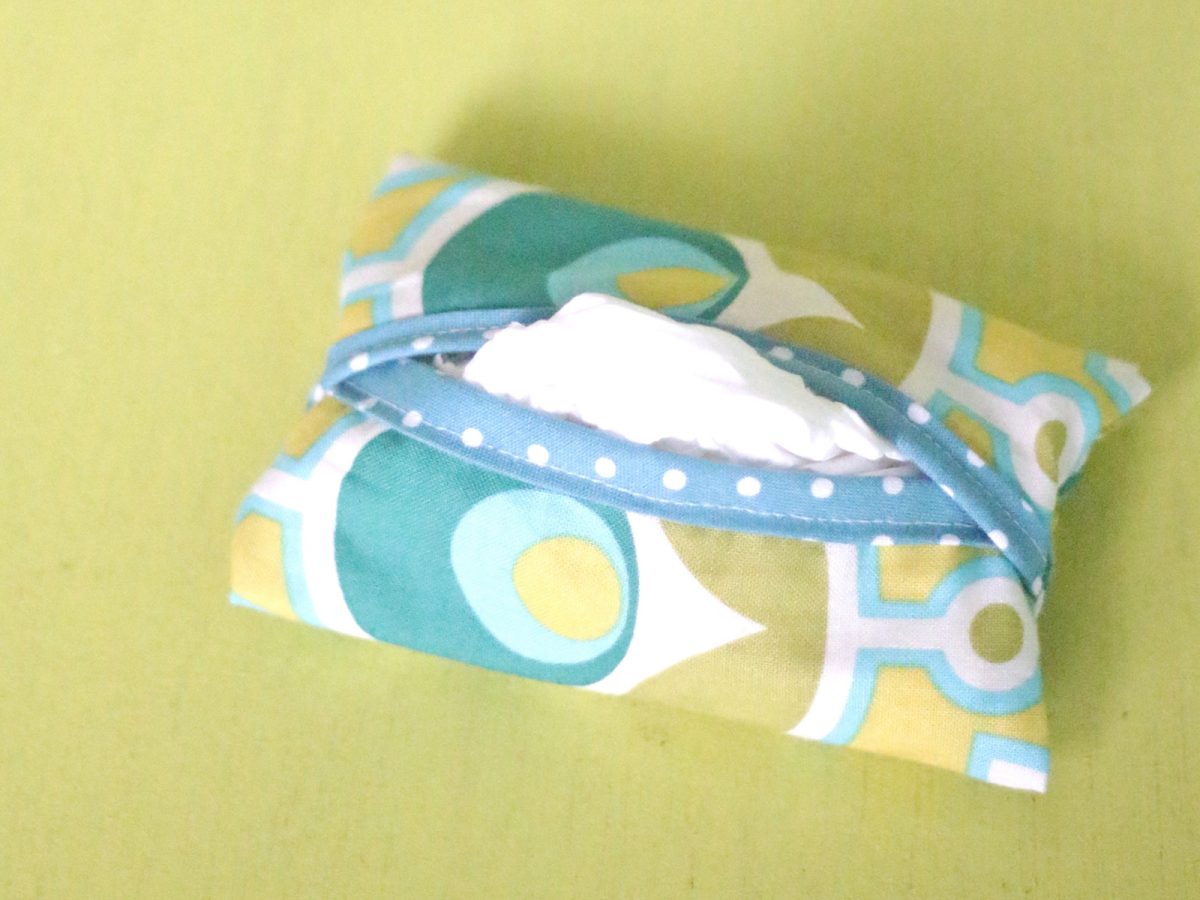
How to Sew a Keychain Tissue Holder
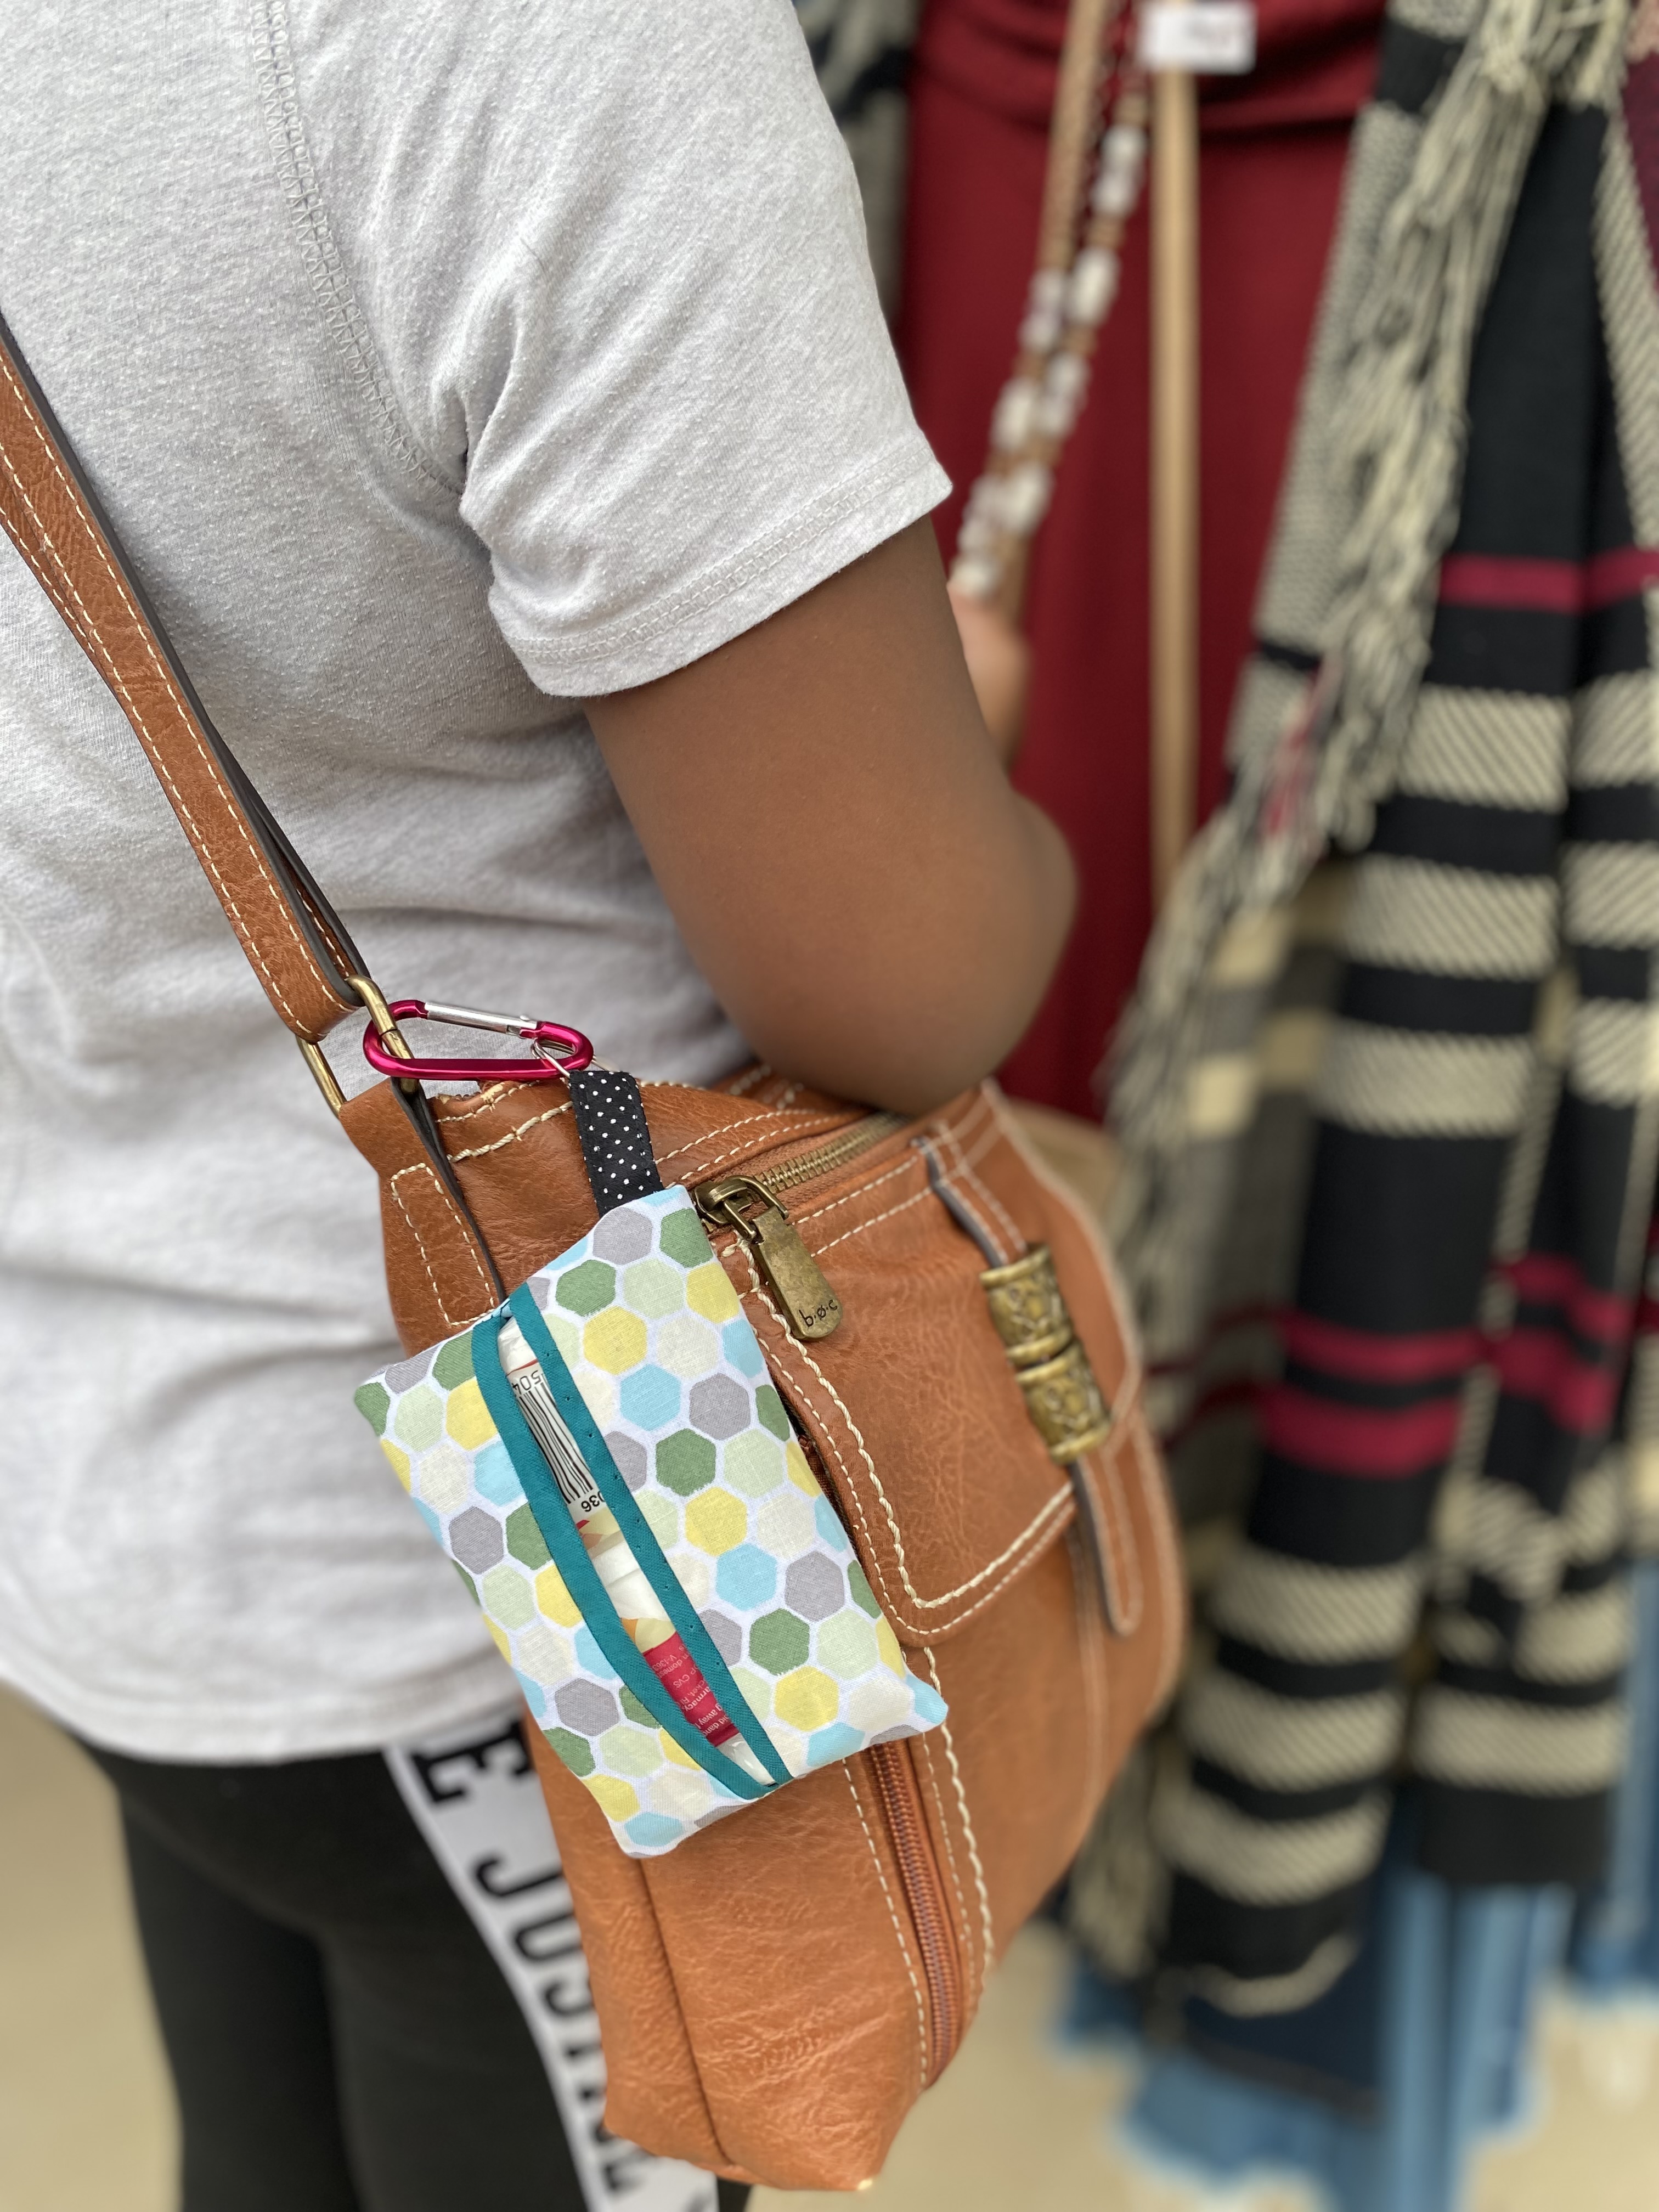
Every time the season changes my mom and I start sneezing and experiencing itchy and watery eyes. We’re always in need of some type of tissue and have to keep it on hand close by. This keychain tissue holder allows us to clip tissues to our purses or keys, and it’s a really great project for anyone that is just learning how to use their sewing machine.
Materials to Sew a Keychain Tissue Holder
- Main fabric: 5 1/2″ x 6 1/2″
- Lining: 5 1/2″ x 7 1/2″
- A scrap of fabric for the tab: 3 1/2″ x 2″
- Iron and ironing board
- Scissors
- Pins
- Matching thread
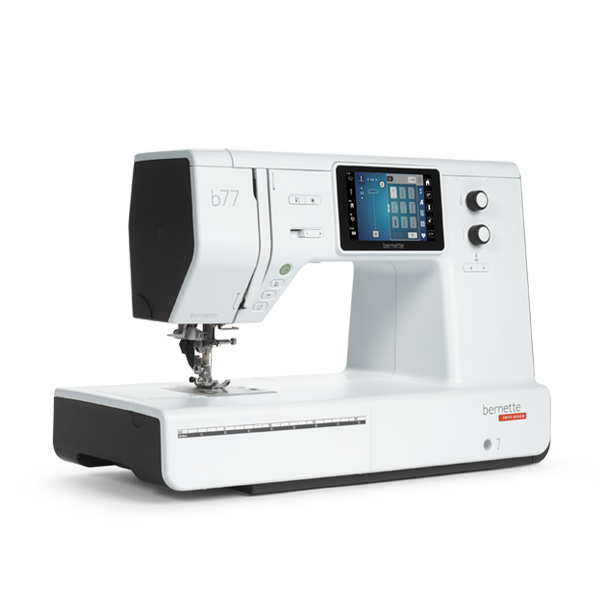
- Sewing machine ( I am using my bernette 77)
Steps to Sew a Keychain Tissue Holder
Step 1: Pick Your Fabric
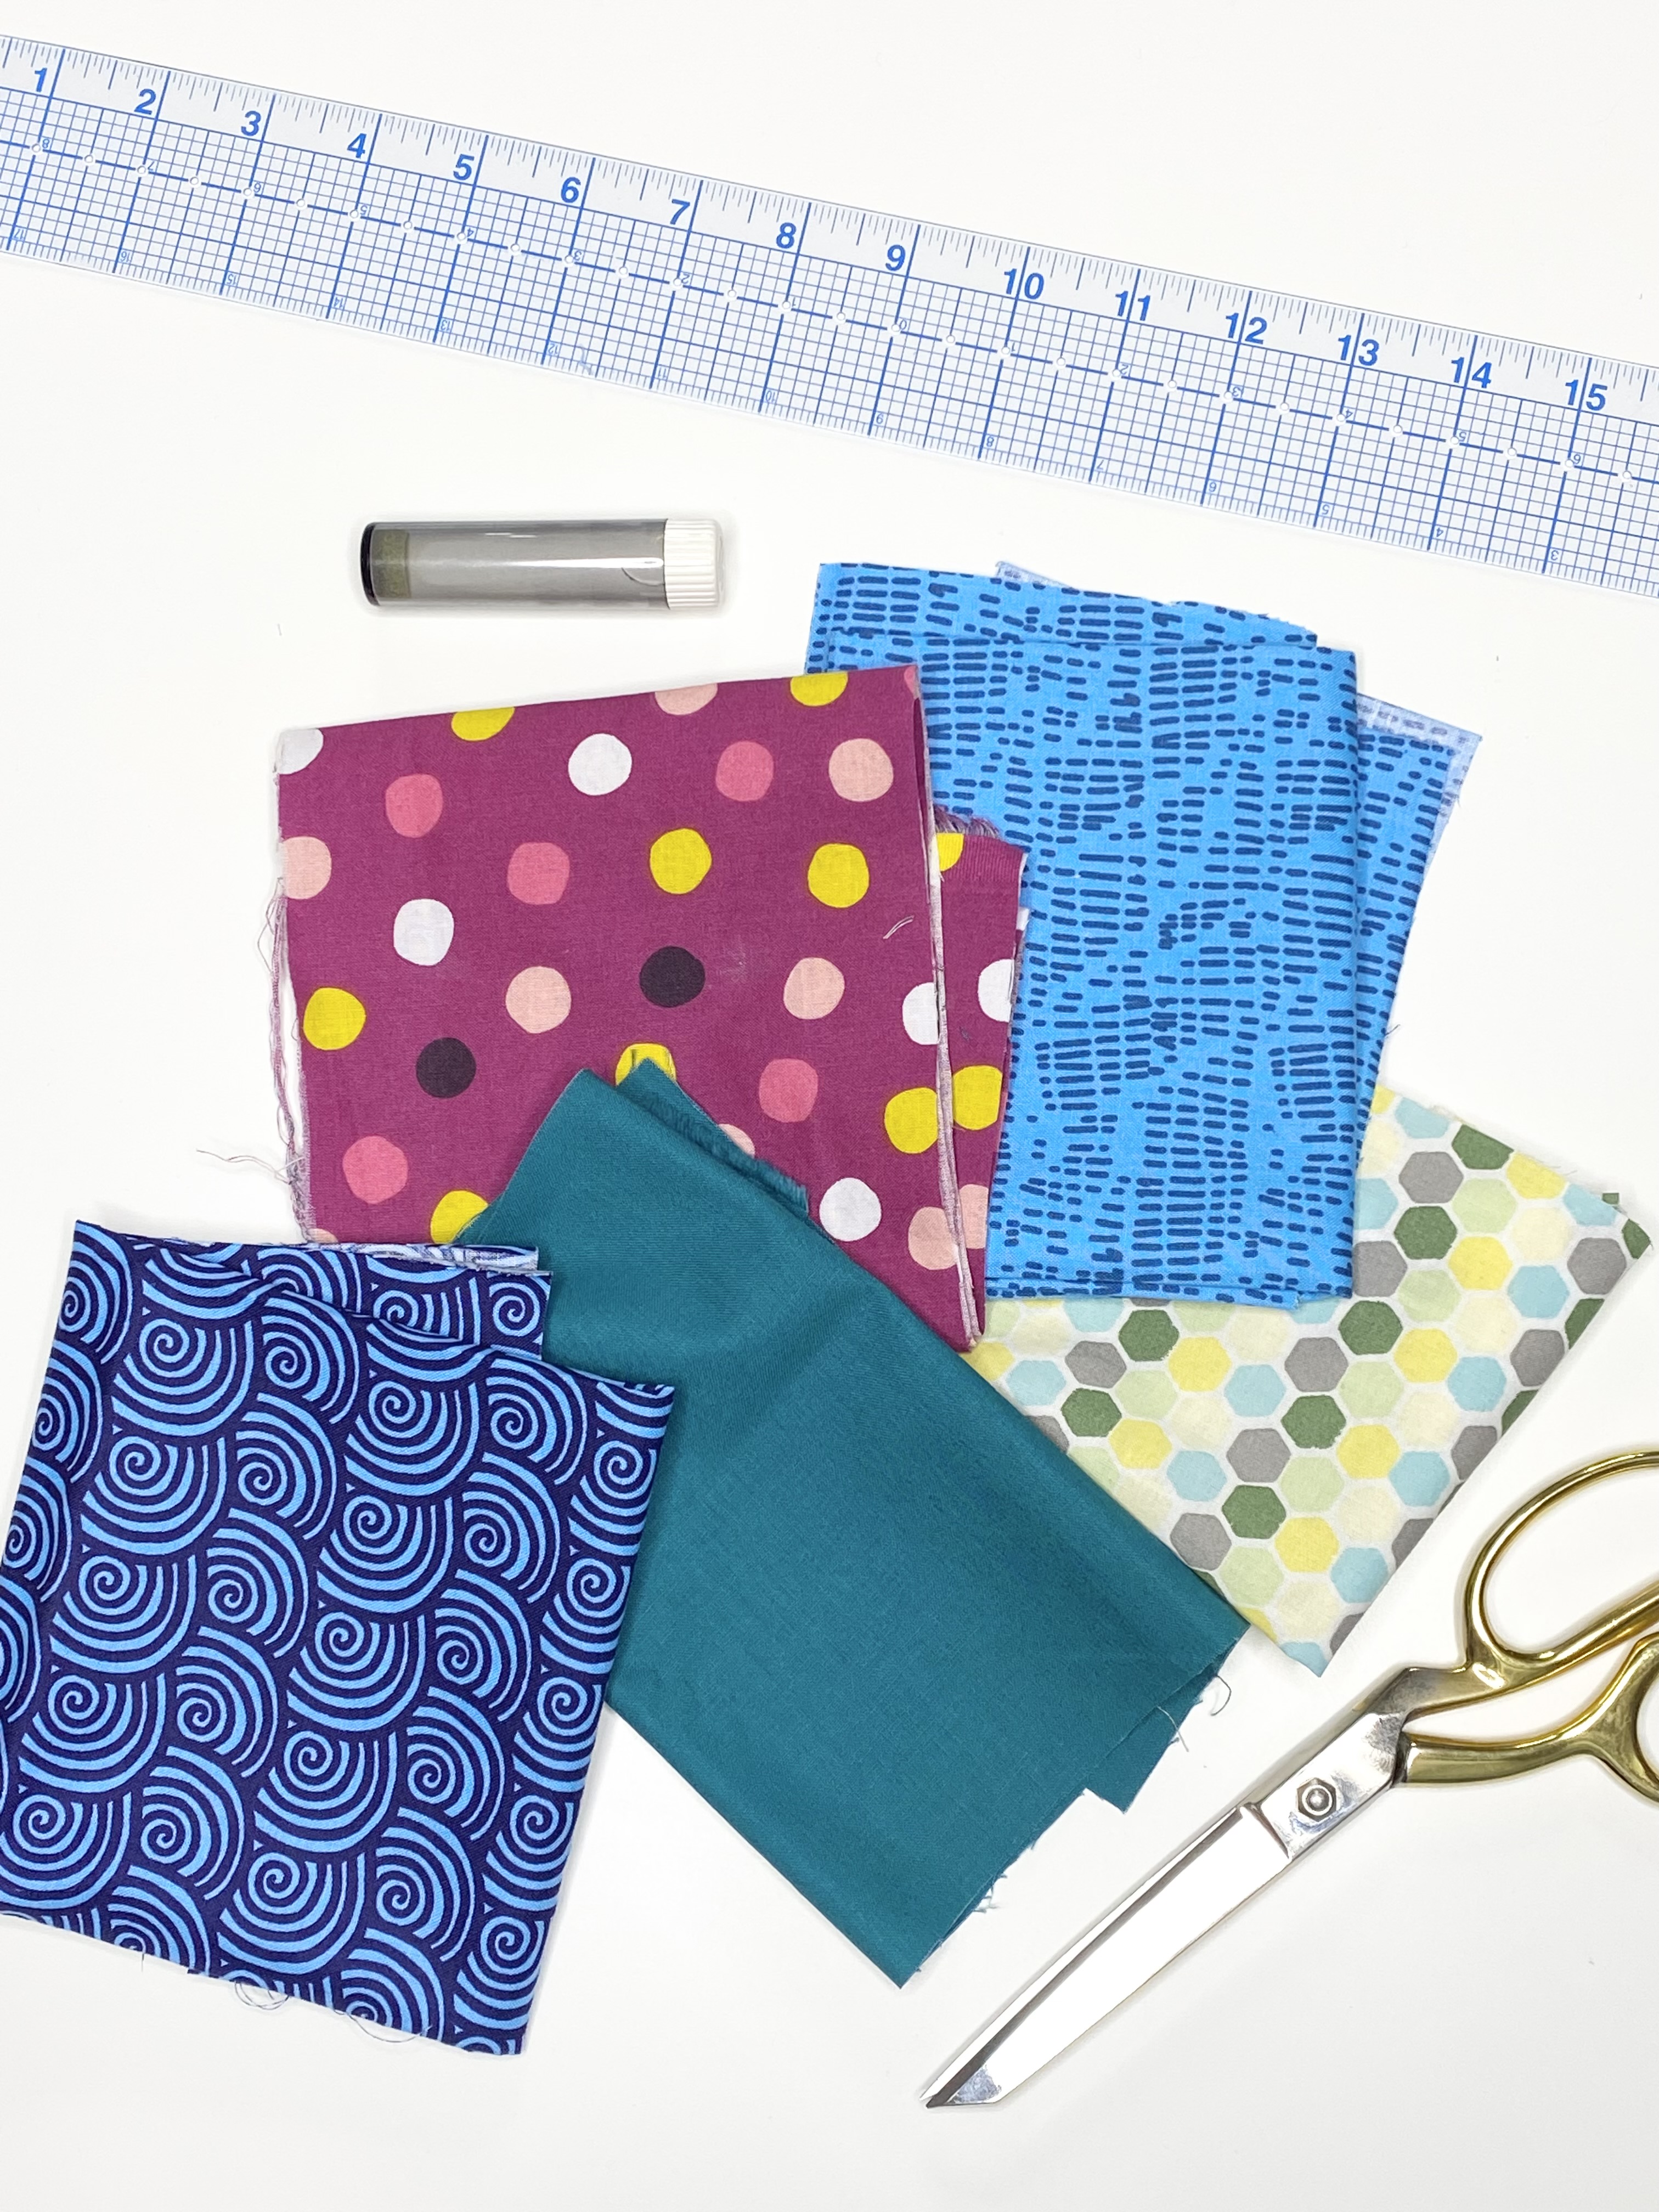
For this project, you can very easily use some fabric scraps that you have on hand because you only need a small rectangle of fabric. If you are brand new to sewing and don’t have a fabric scrap stash then you can simply use two fat quarters of your choice. One for the main body and the tab of your tissue holder and one for the lining and trim.
Once your fabric has been cut out you can press it to make sure it is wrinkle and crease-free.
Step 2: Cutting

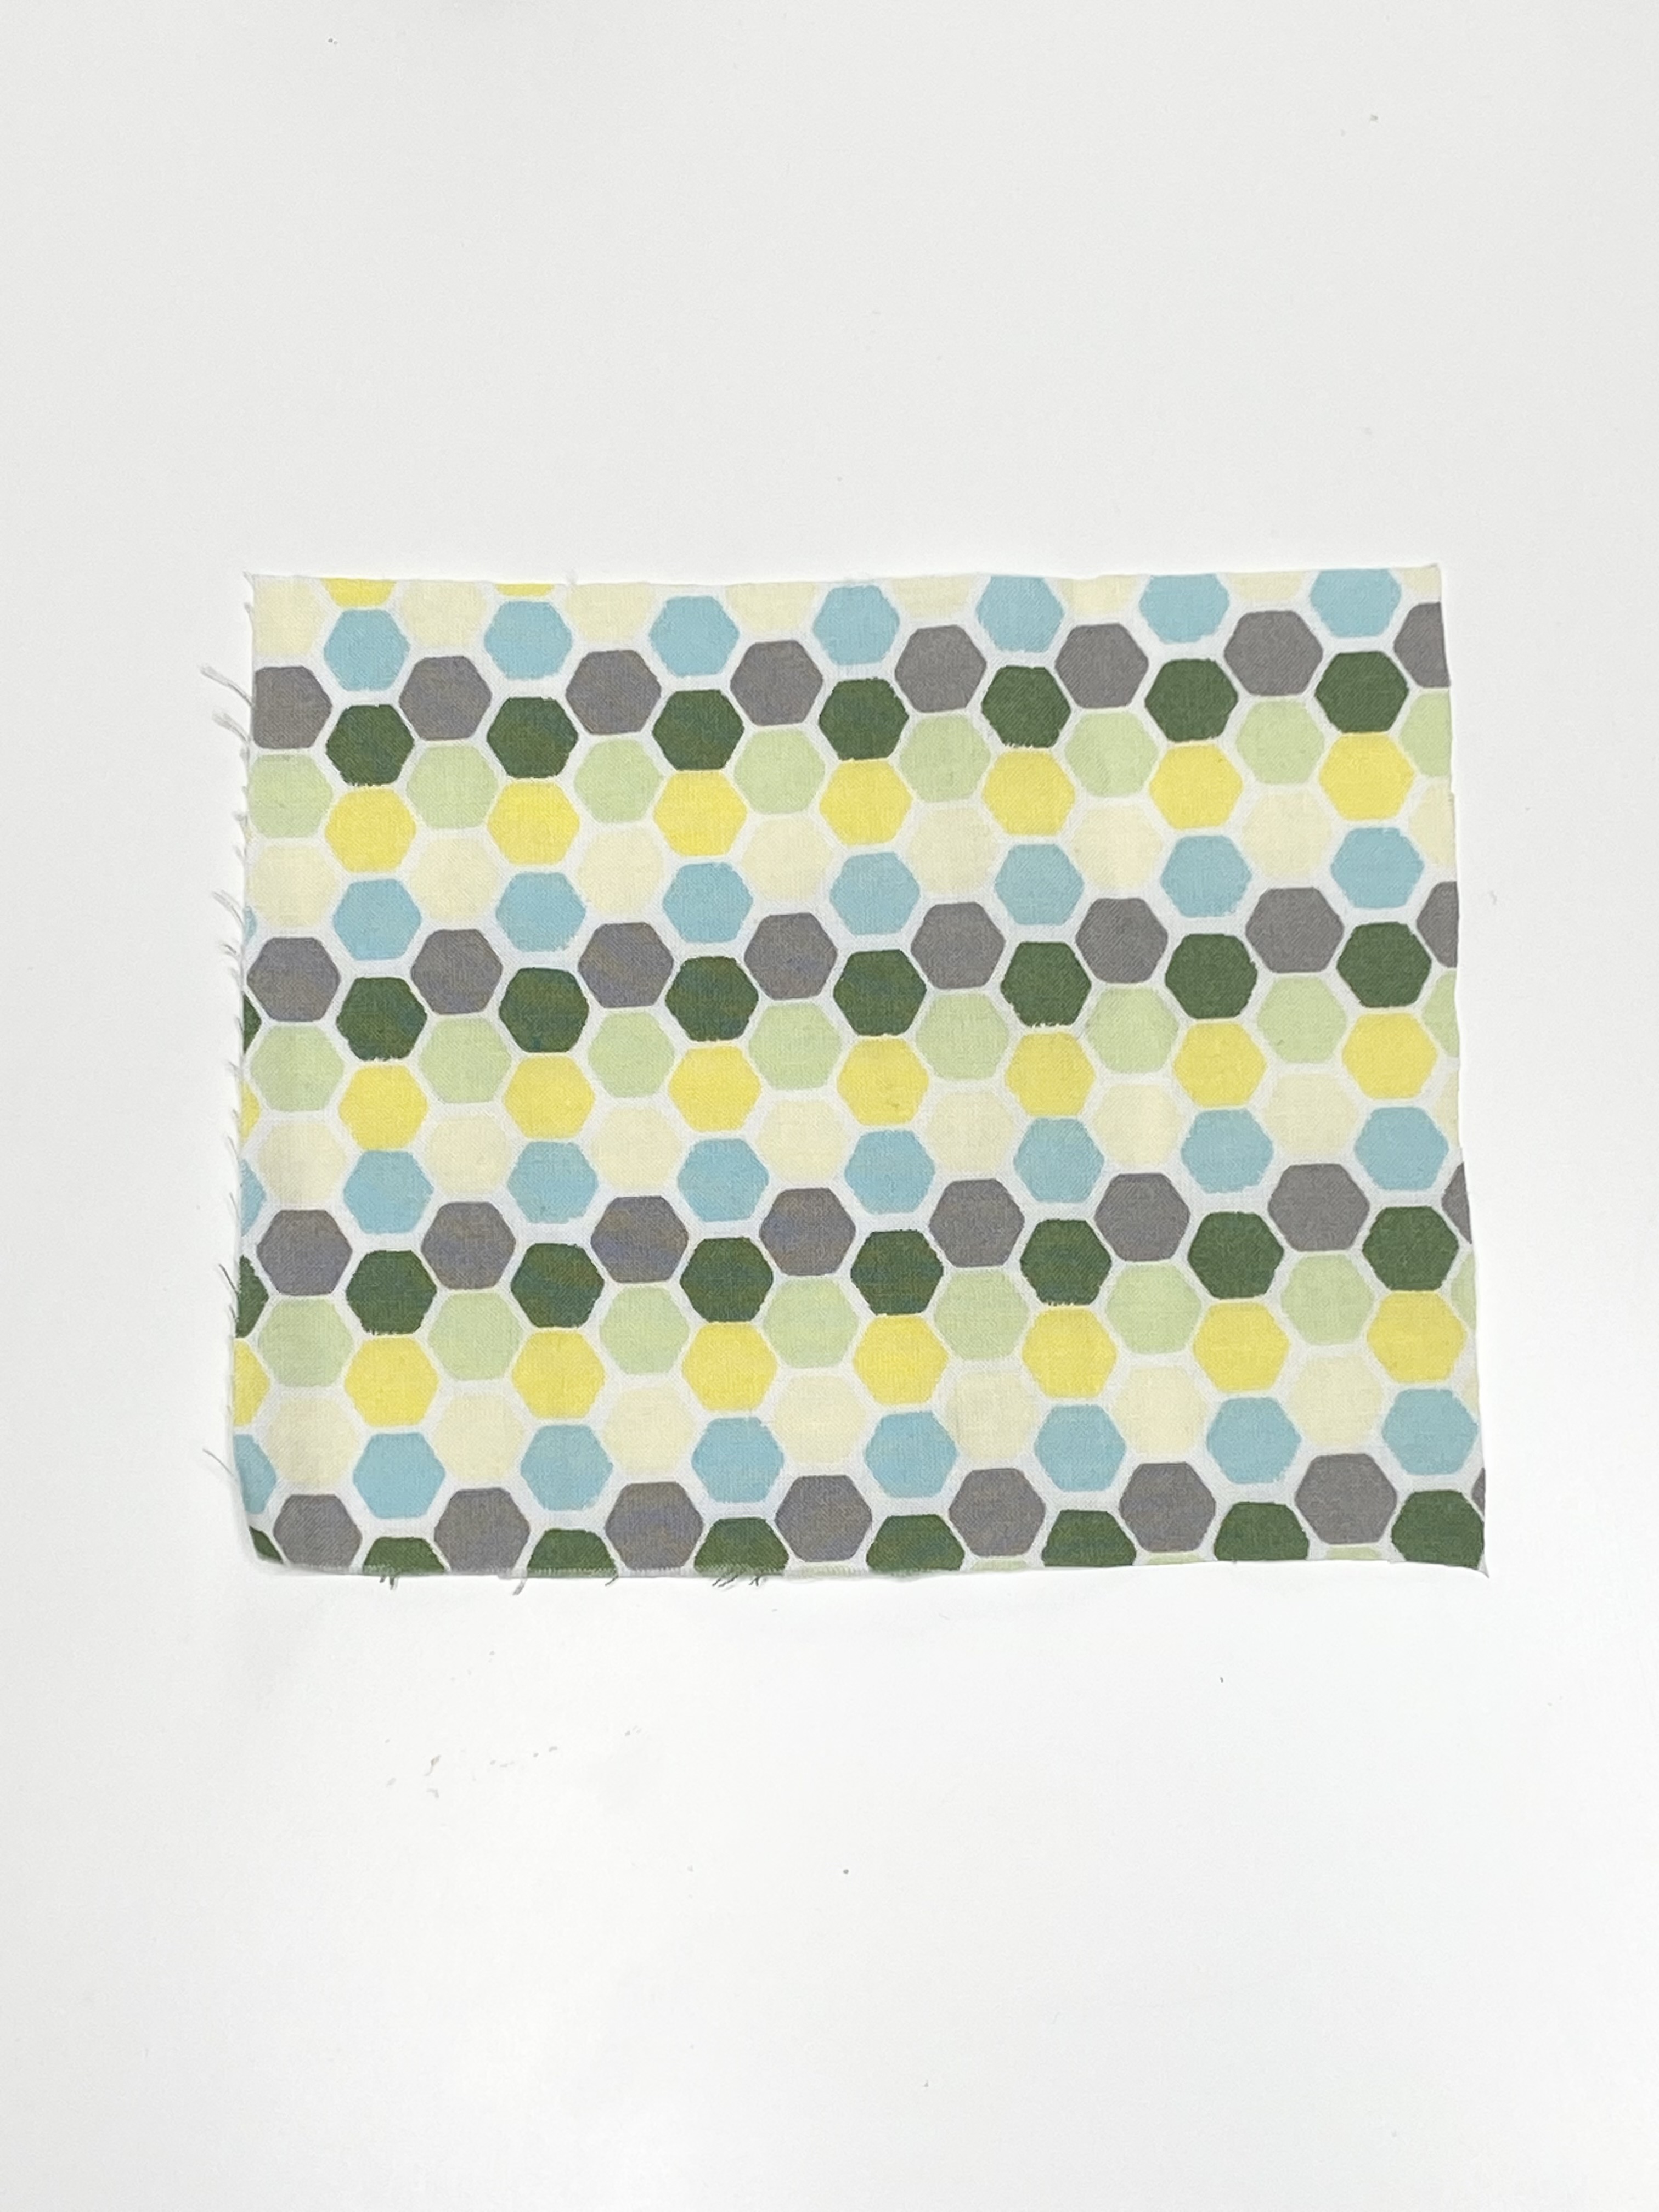
Take the fabric that you intend to use as the outside of your holder, and cut it so that you have a rectangle that is 5 1/2″ x 6 1/2″. This will be your main fabric. Next, cut a rectangle of fabric that is 5 1/2″ x 7 1/2″, and this will be your lining and trim fabric. You also need to cut a small piece of fabric that will go on your key chain that is 3 1/2″ x 2″, and this will be your tab.
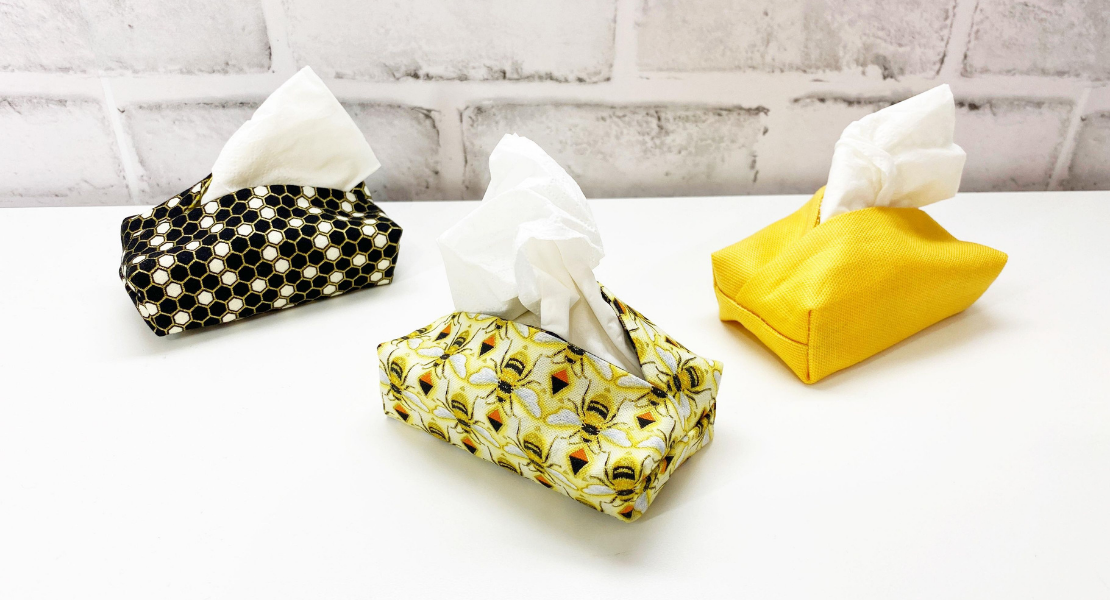
Note: The fabric that you use for the tab can be made out of the main or lining fabric or you could make it really fun and use a totally different fabric print altogether as I did in the picture above.
Step 3: Prepping for Assembly
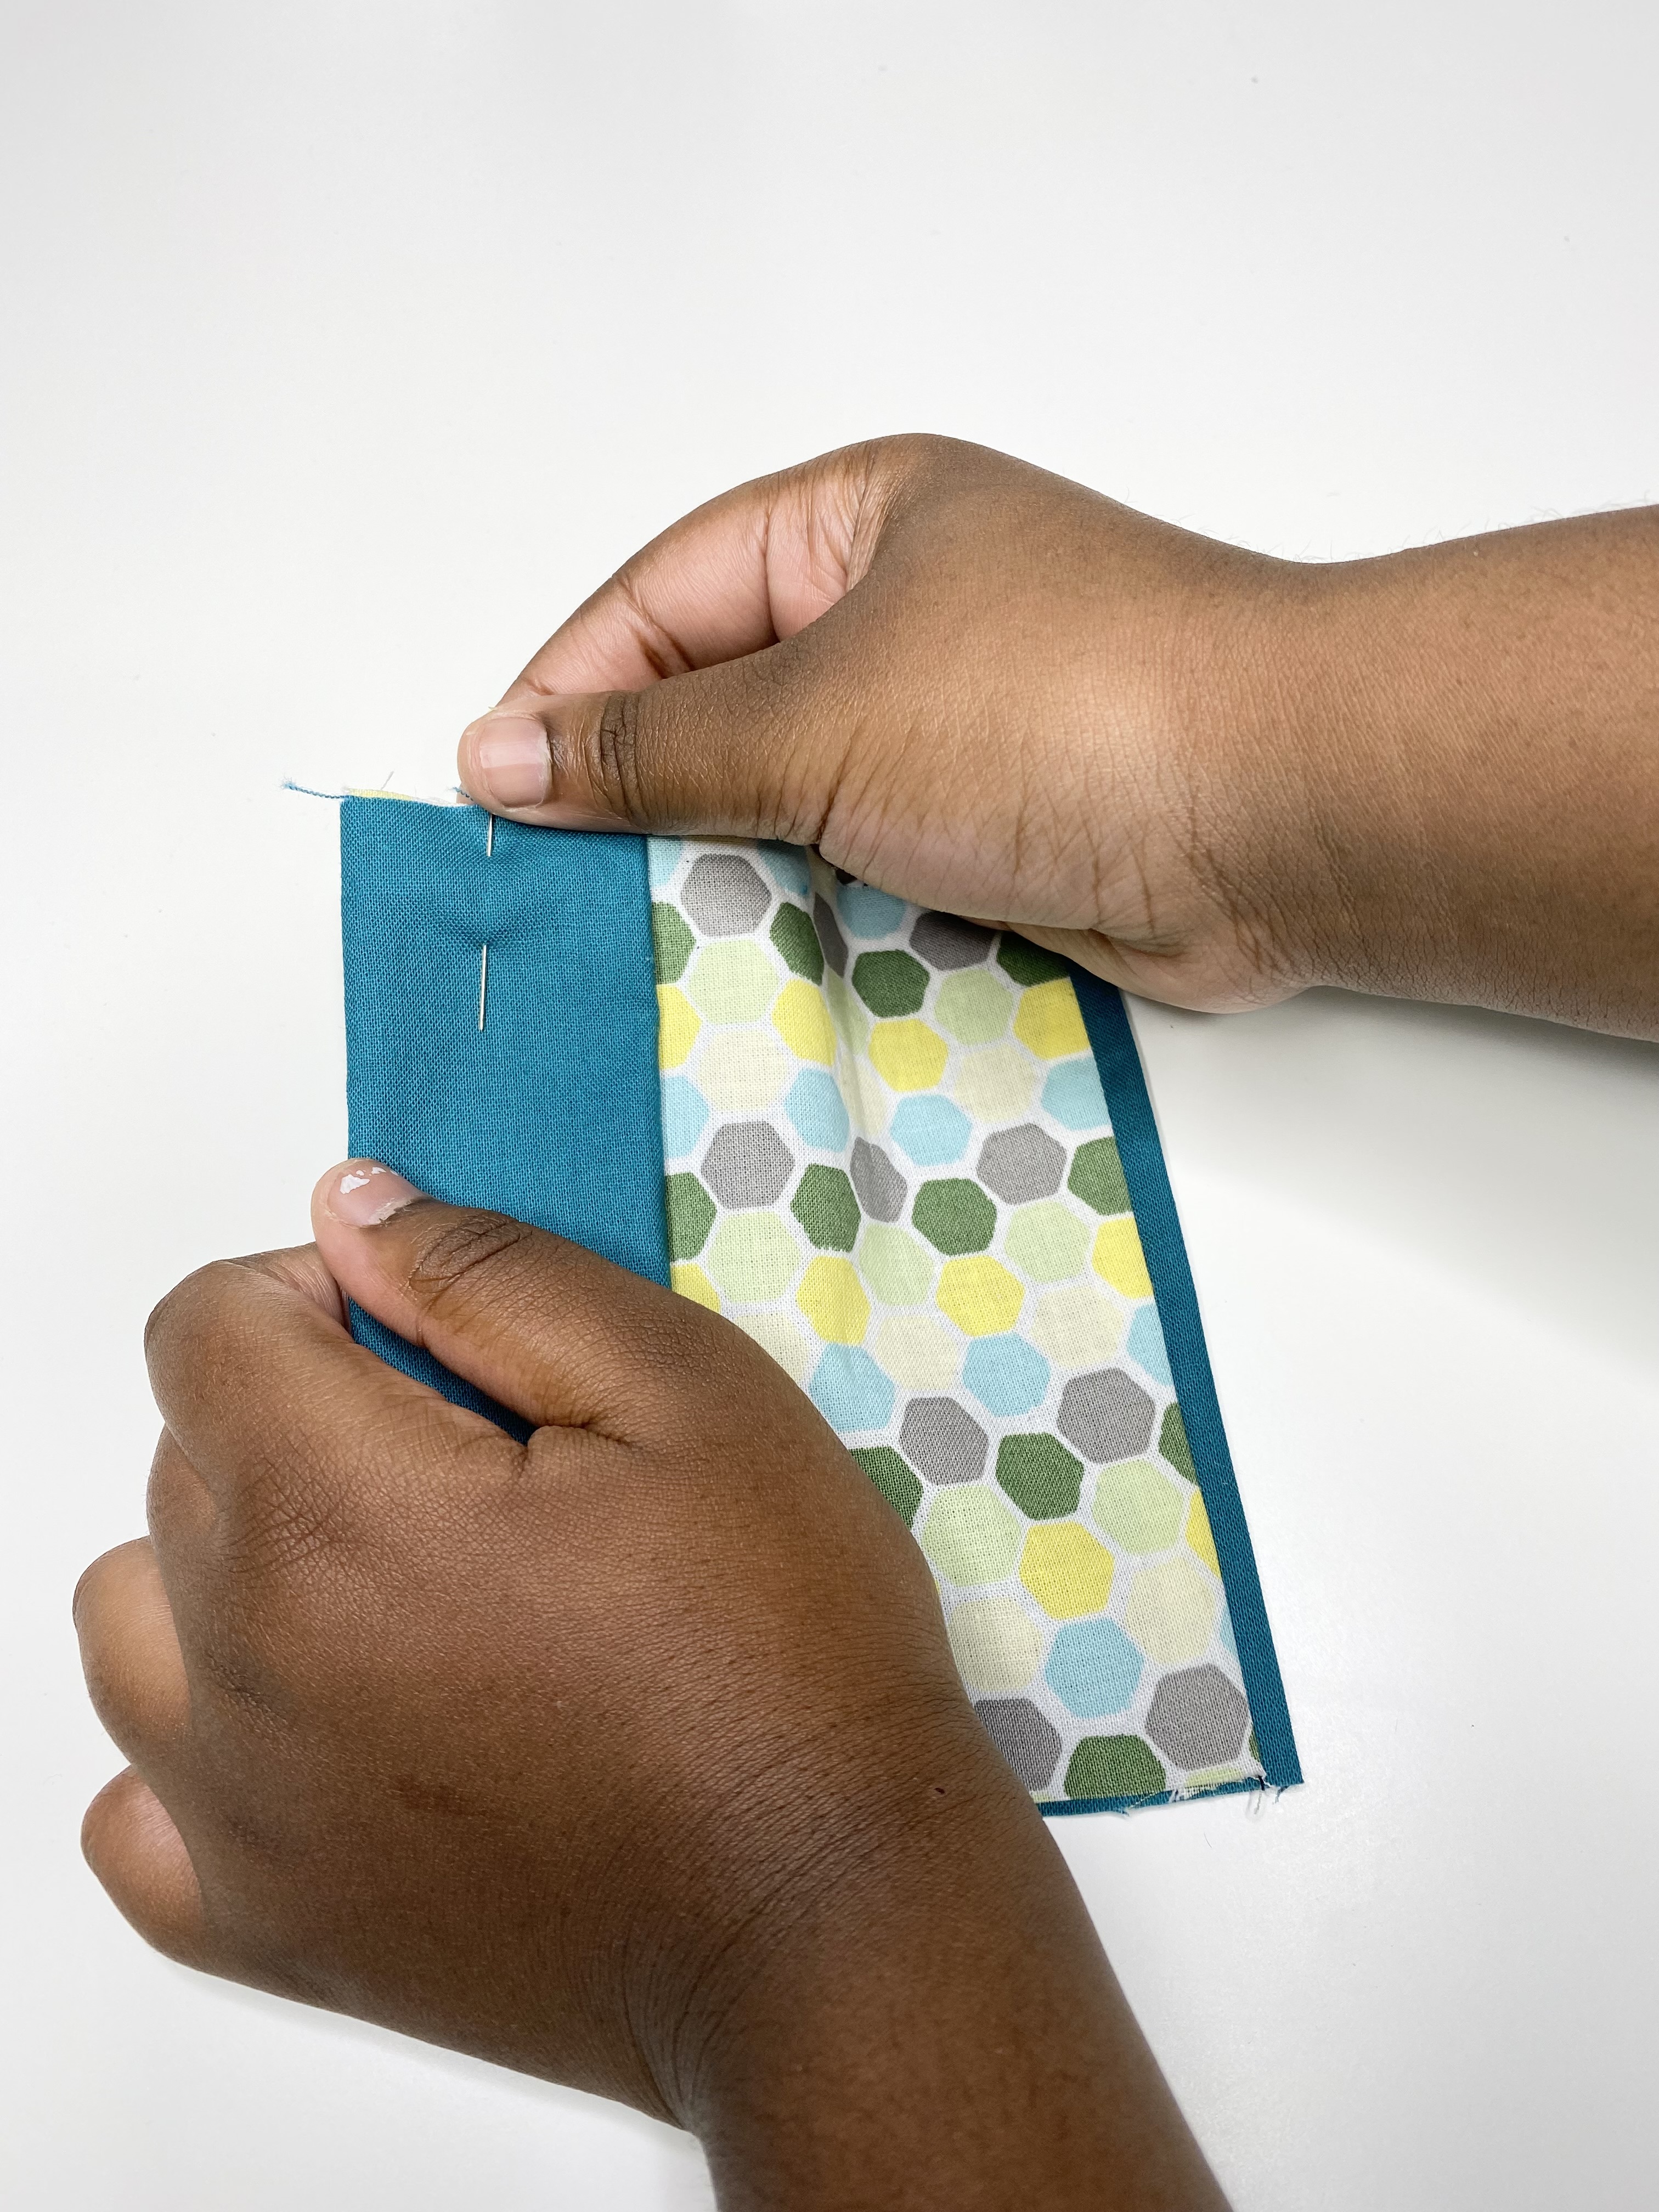
Take your main fabric and lay it down with the right side (the pretty side) facing up.
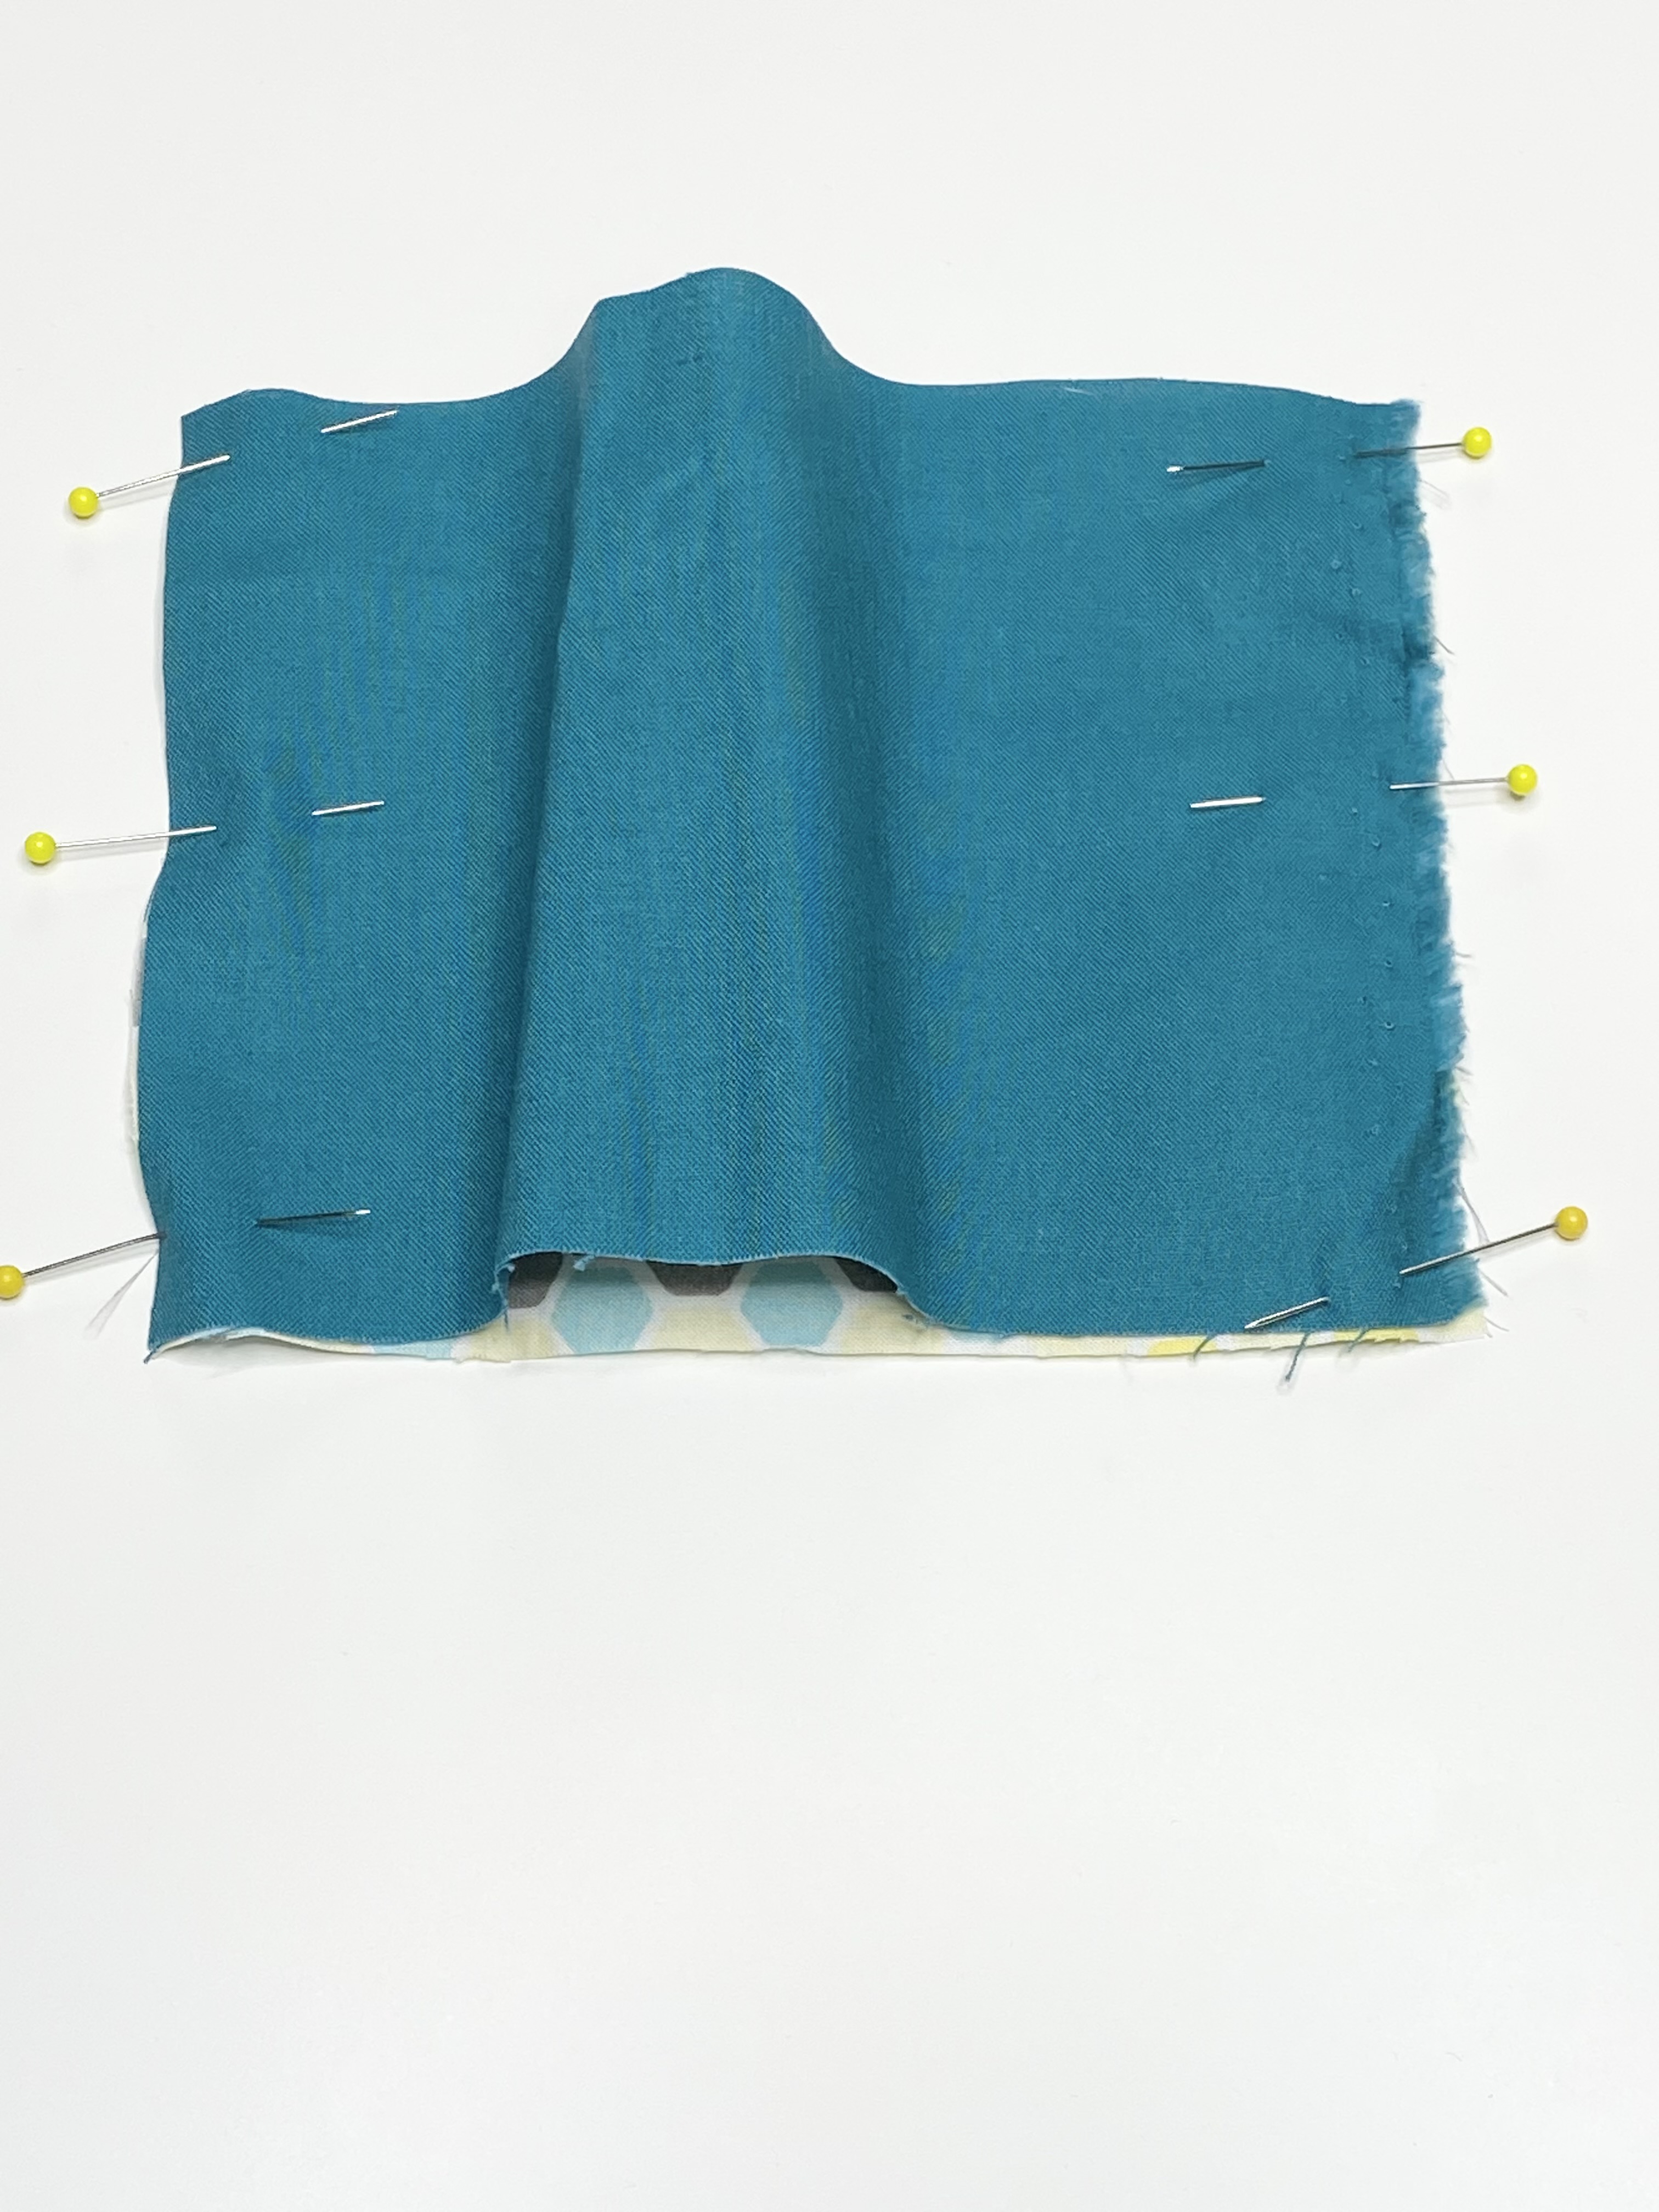
Lay your trim and lining fabric with the right side facing down on top of the main fabric. Bring the short sides of the fabrics together and pin them in place. Remember, the fabrics are not the same size so you will have to bring the sides together to make the raw edges meet evenly. There will be a little bubble in the fabric because the lining is longer than the main fabric and it is ok you want to see that bubble. That means that you have pinned it correctly.
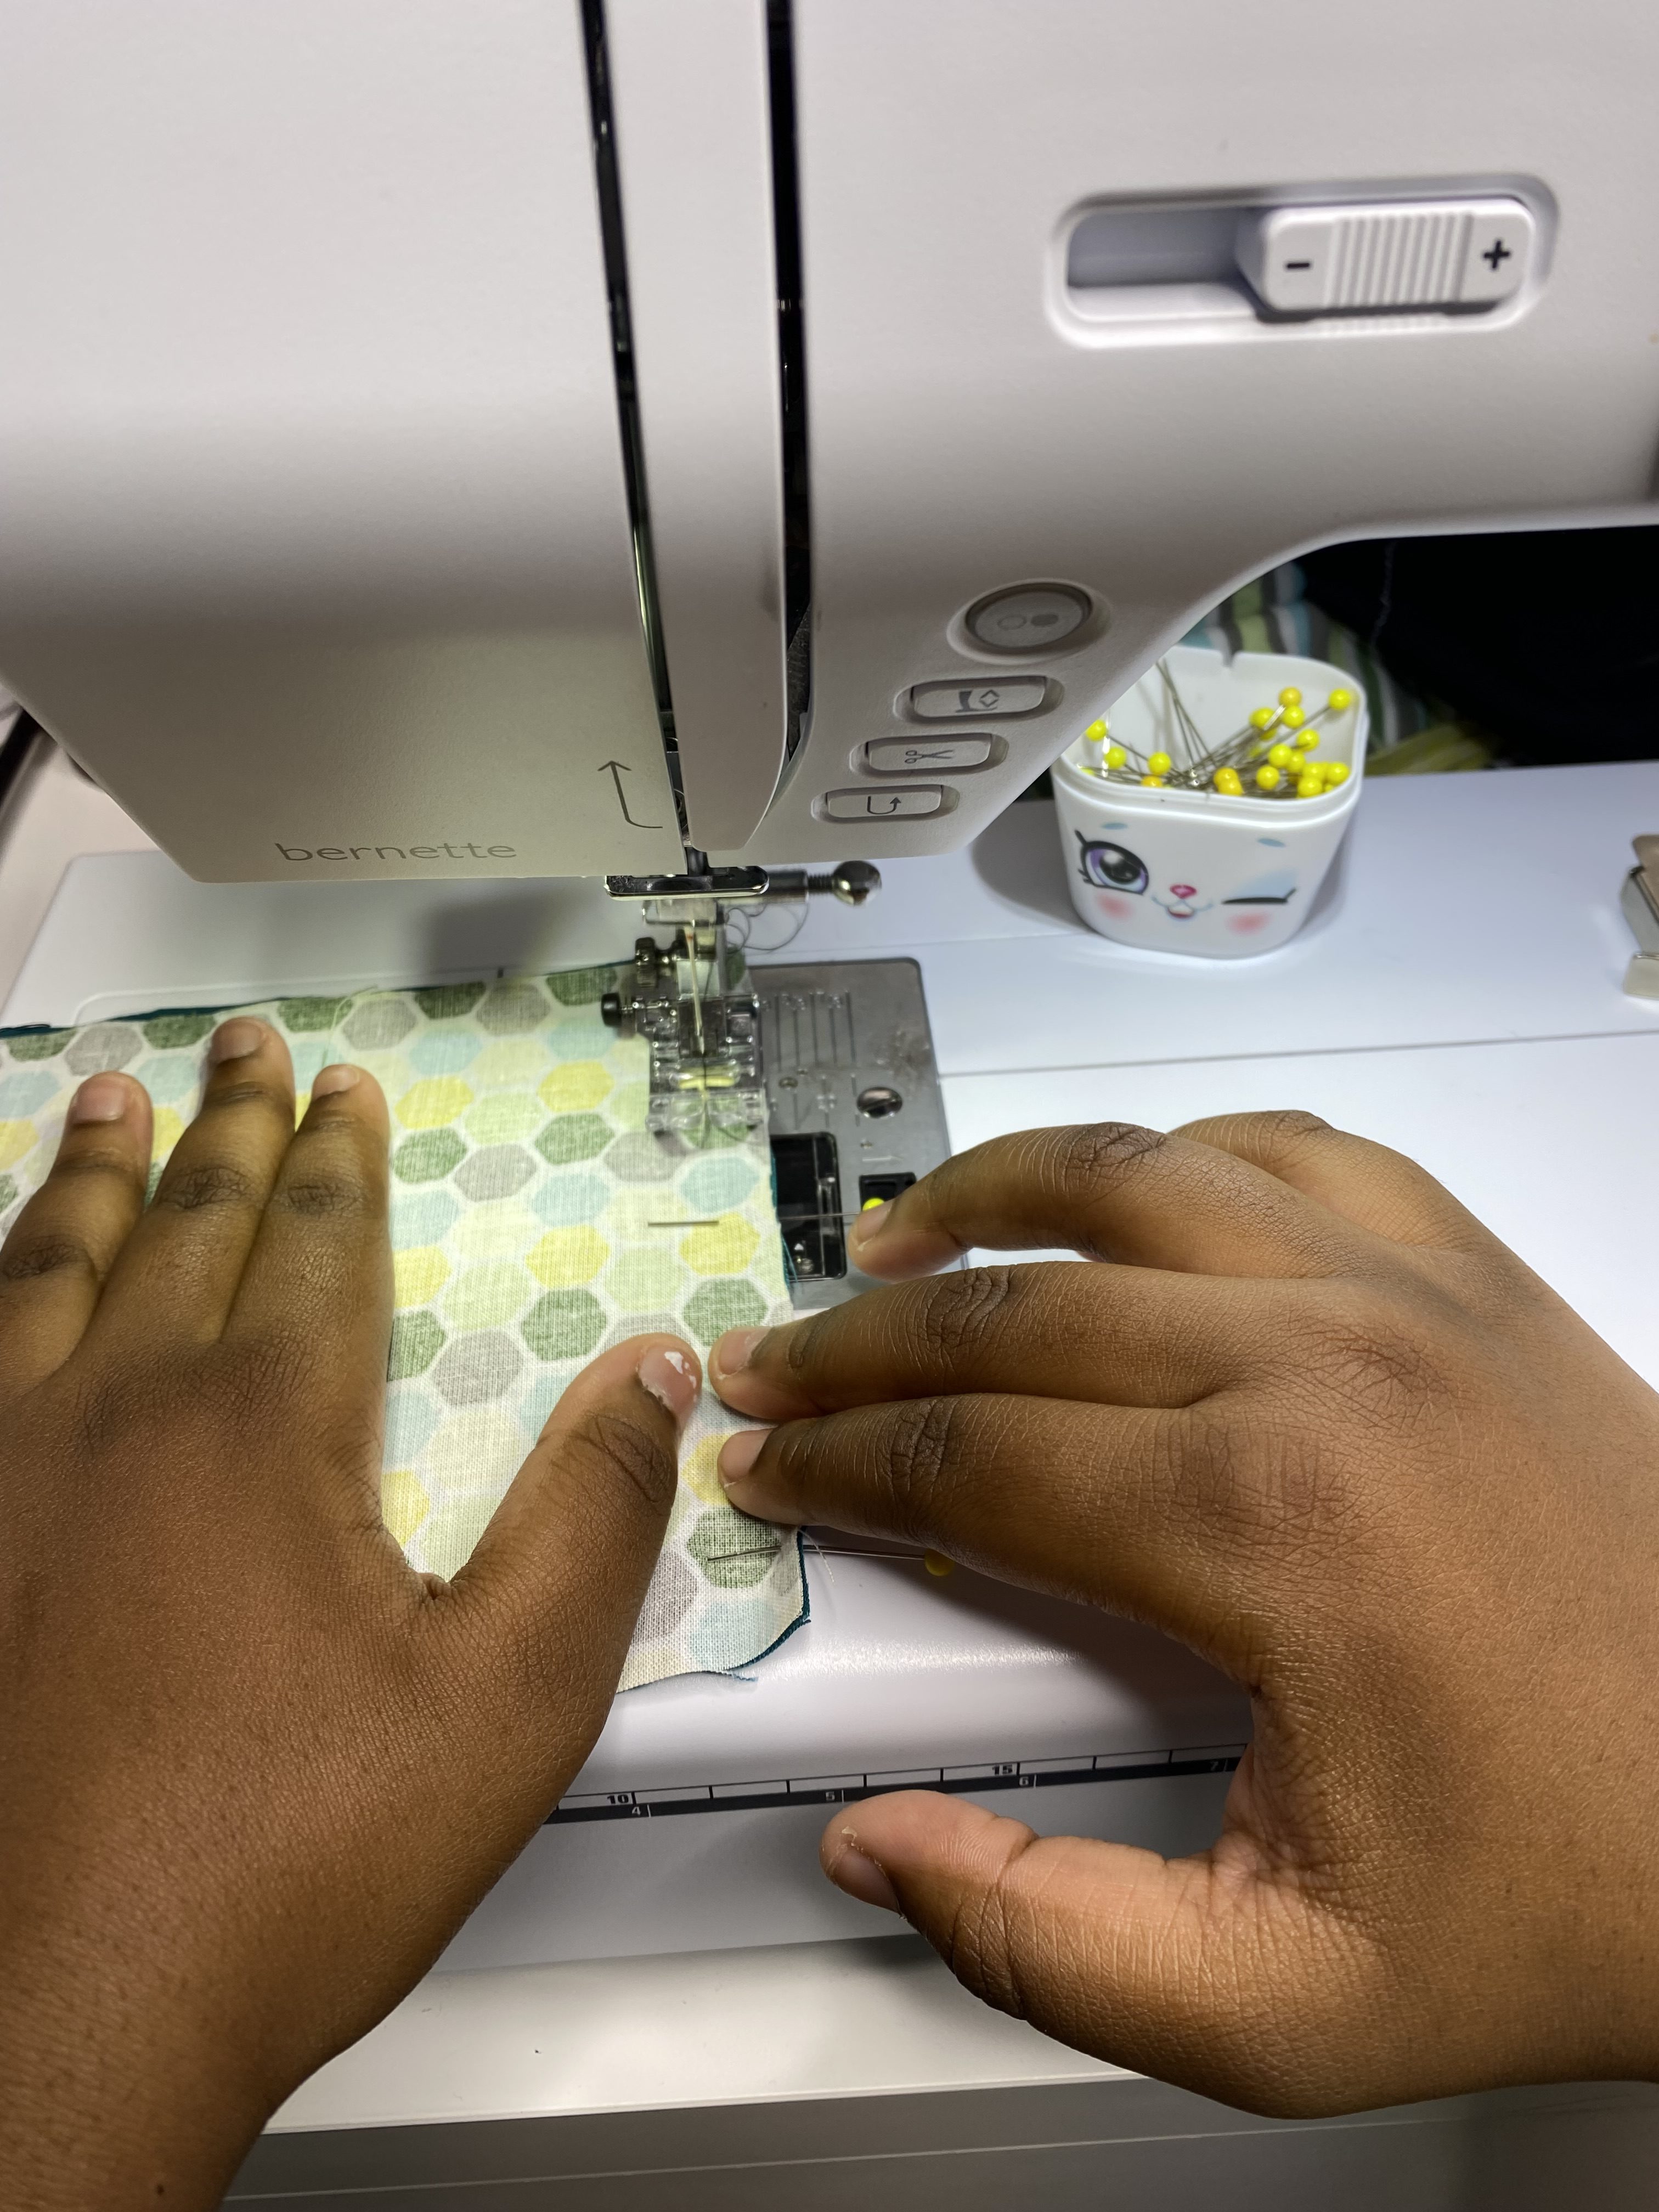
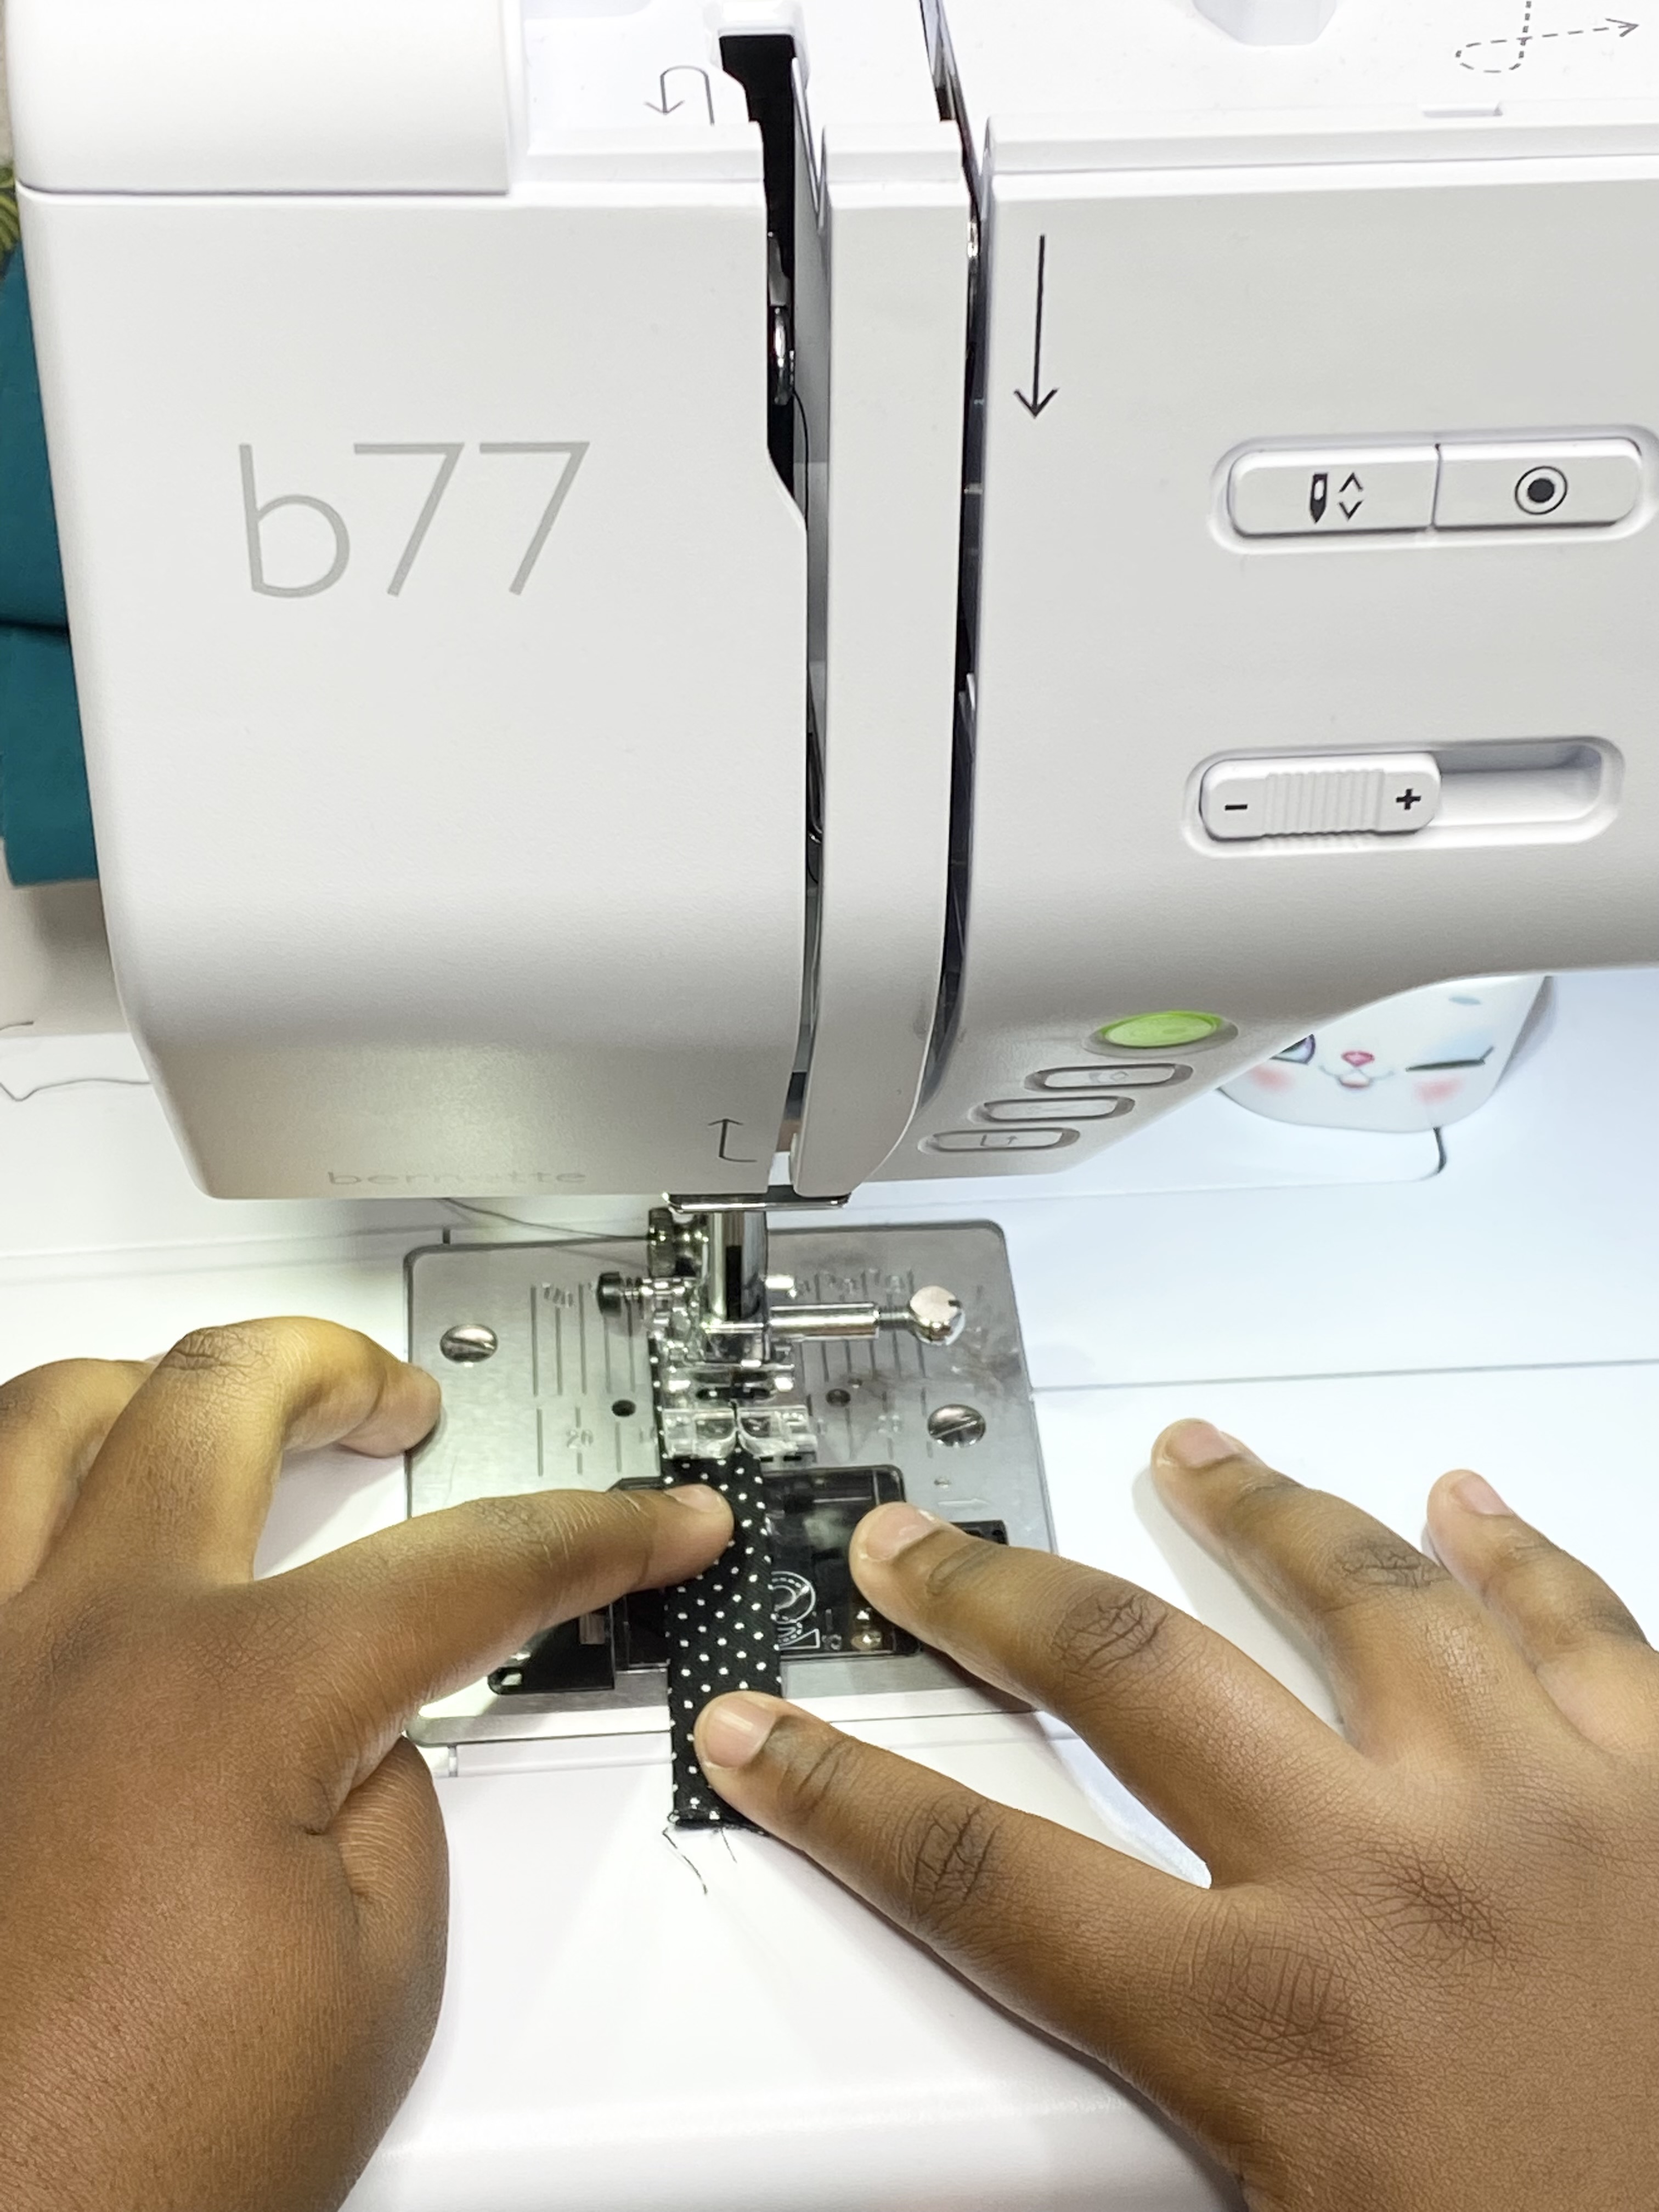
Using a 1/4″ seam allowance, sew down both of the short sides of your tissue holder making sure that you backstitch at the very beginning and end of each seam. Backstitching makes sure that you lock your seams so that they won’t unravel over time.

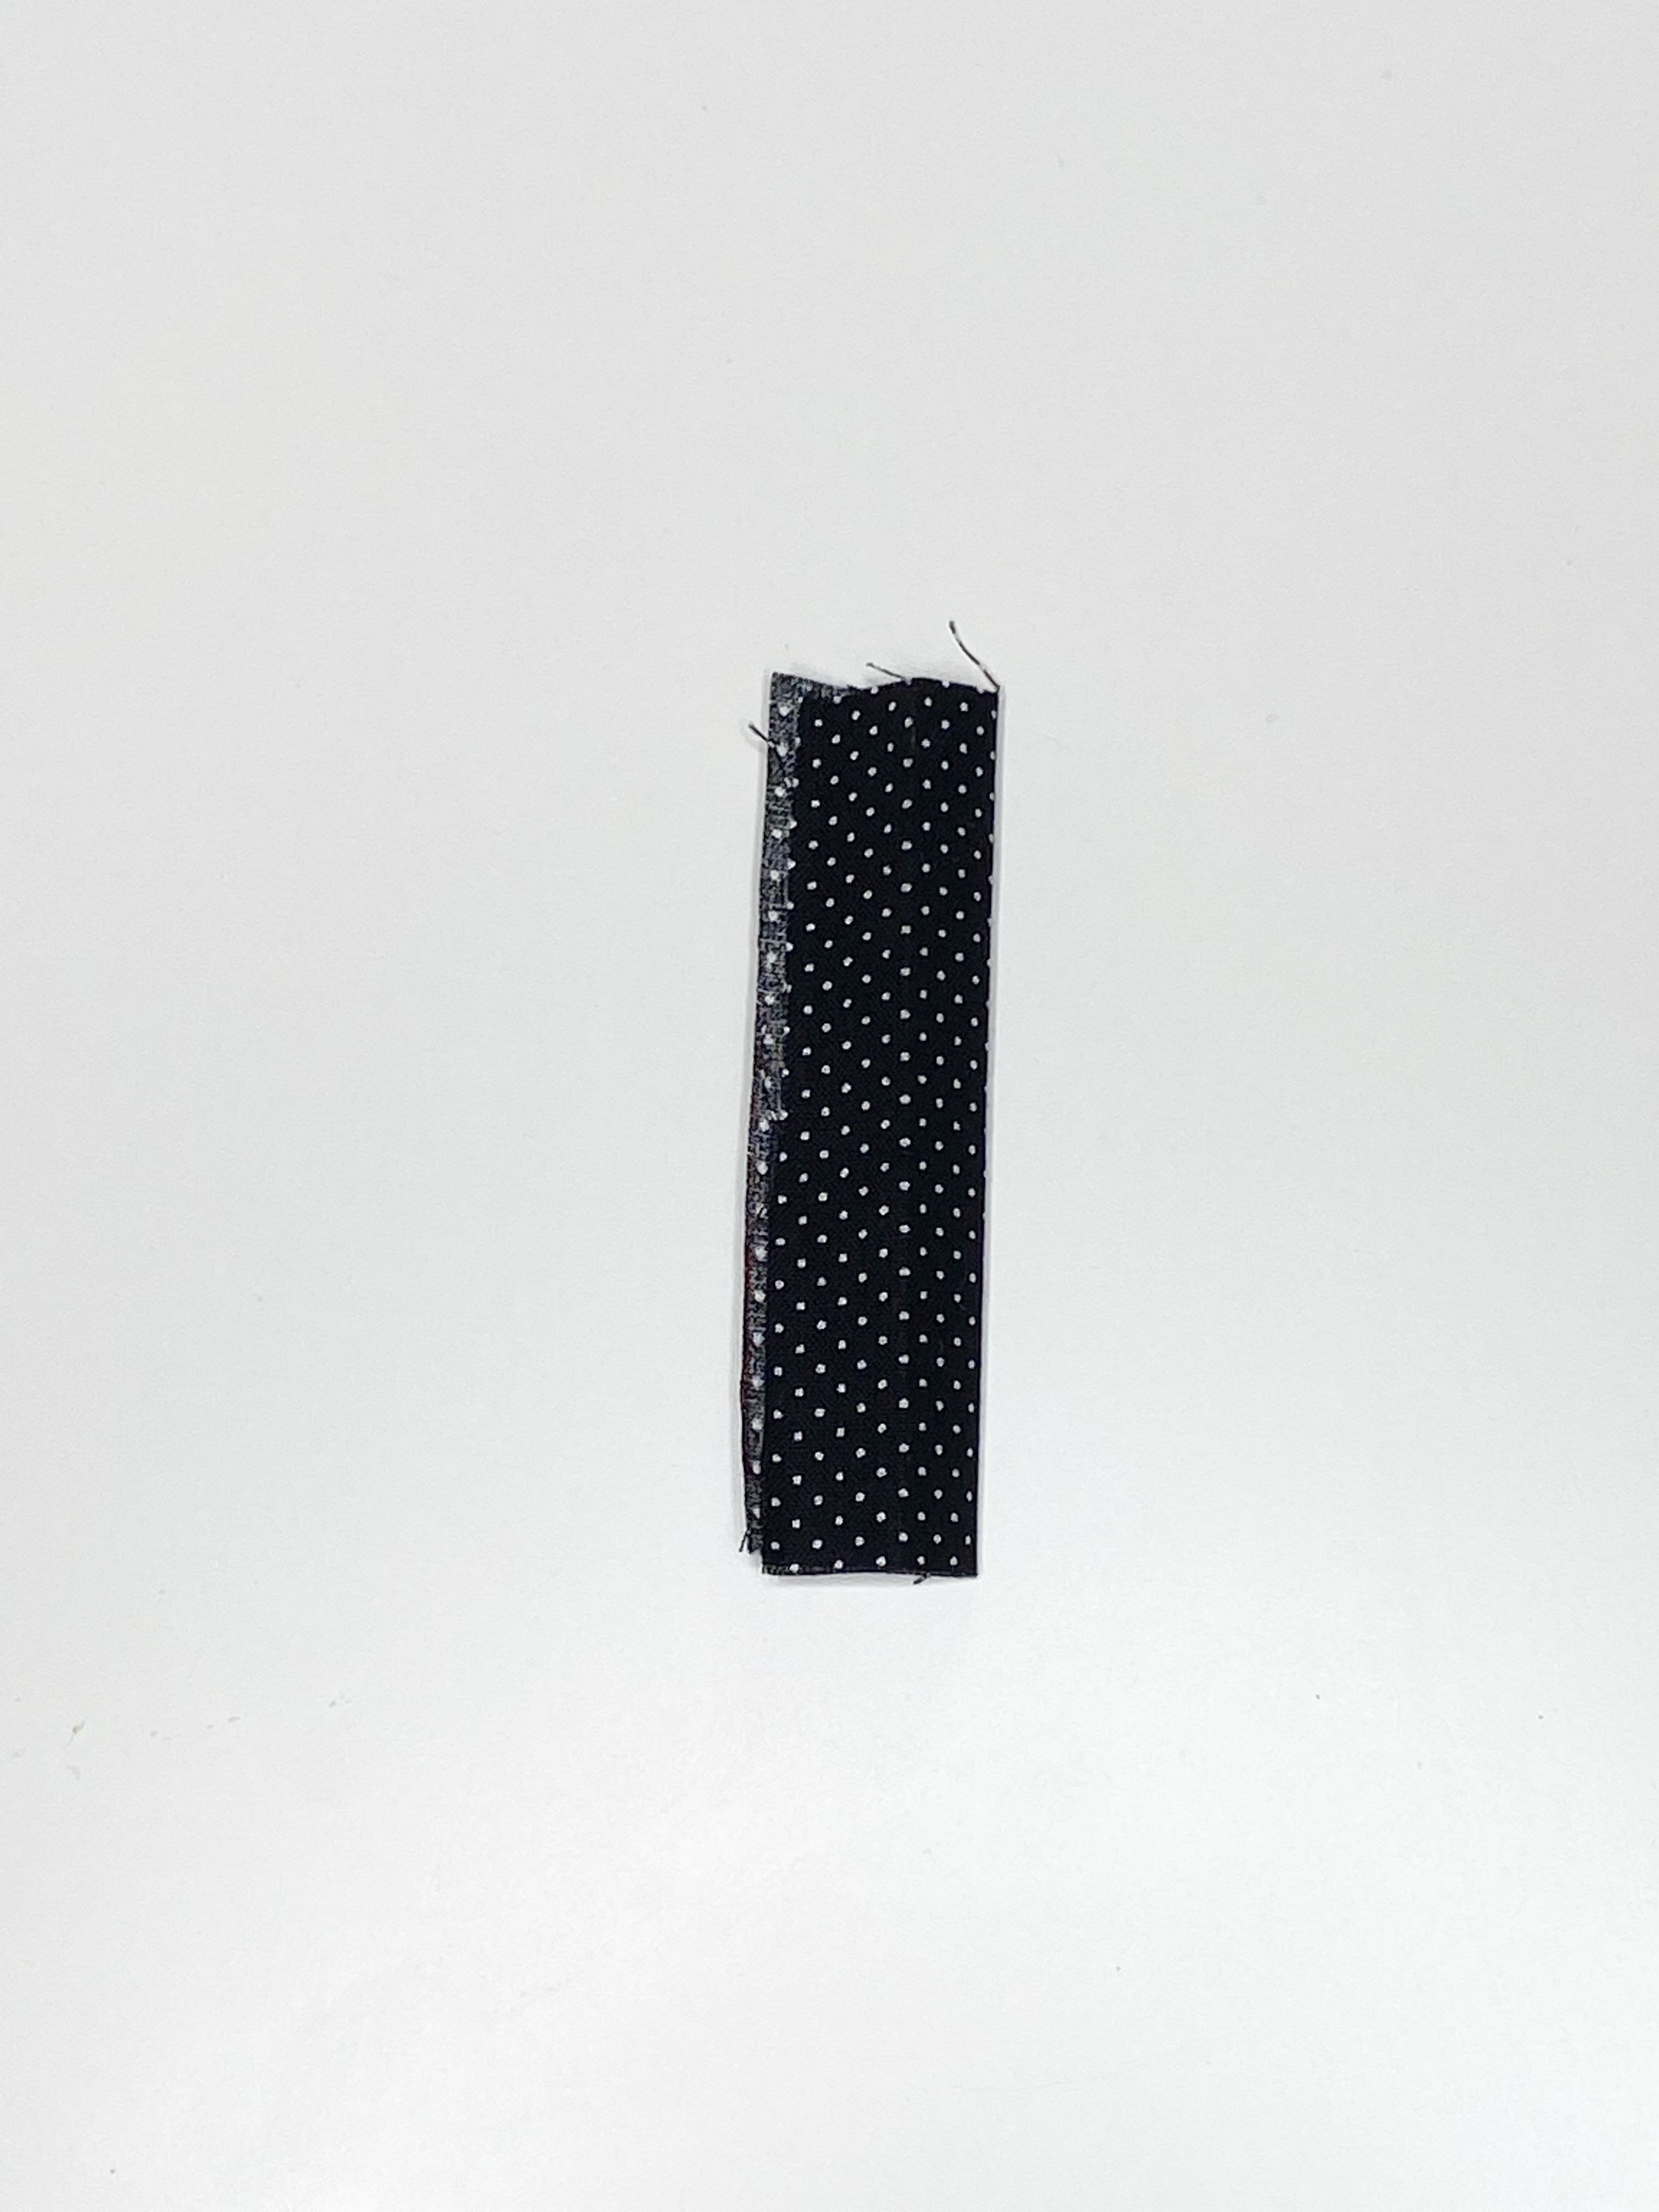
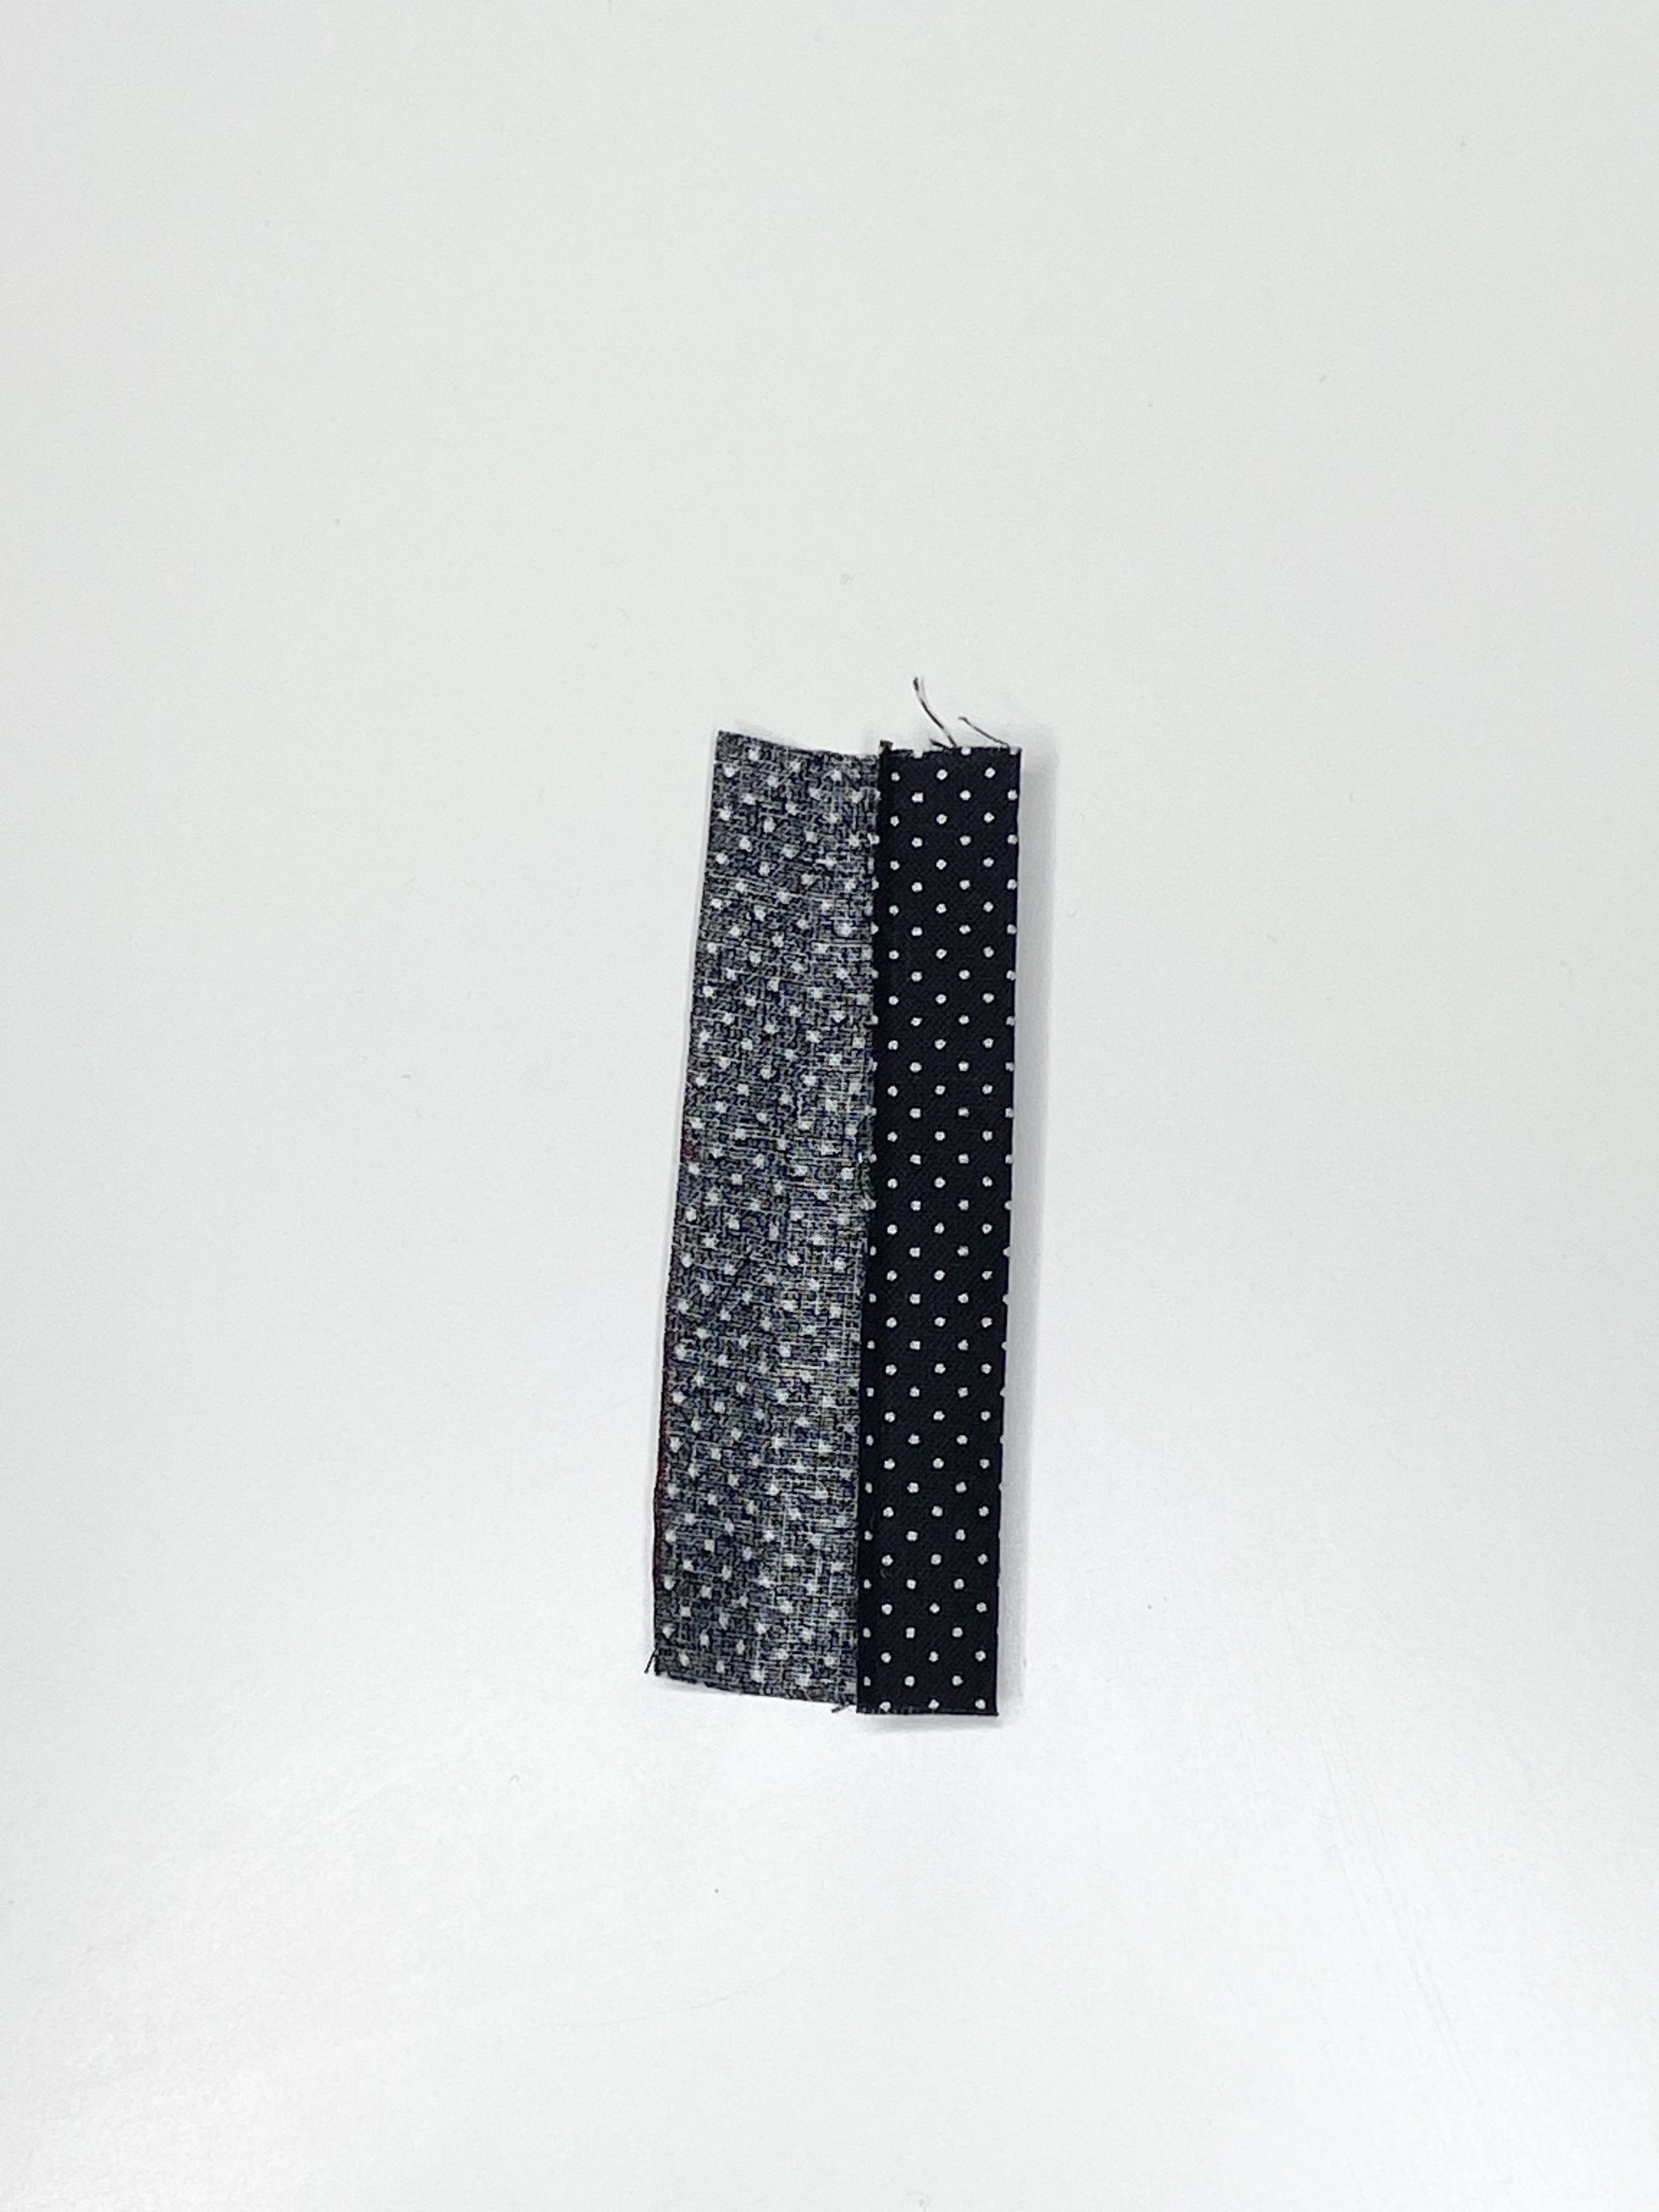
Flip the fabric right side out. Make sure the main fabric is facing up and the lining is facing down. Press the fabric so that the lining sticks out about 1/8″ – 1/4″ from the sides of the main fabric creating the look of a trim. Your keychain tissue holder should now look like this once it has been pressed.
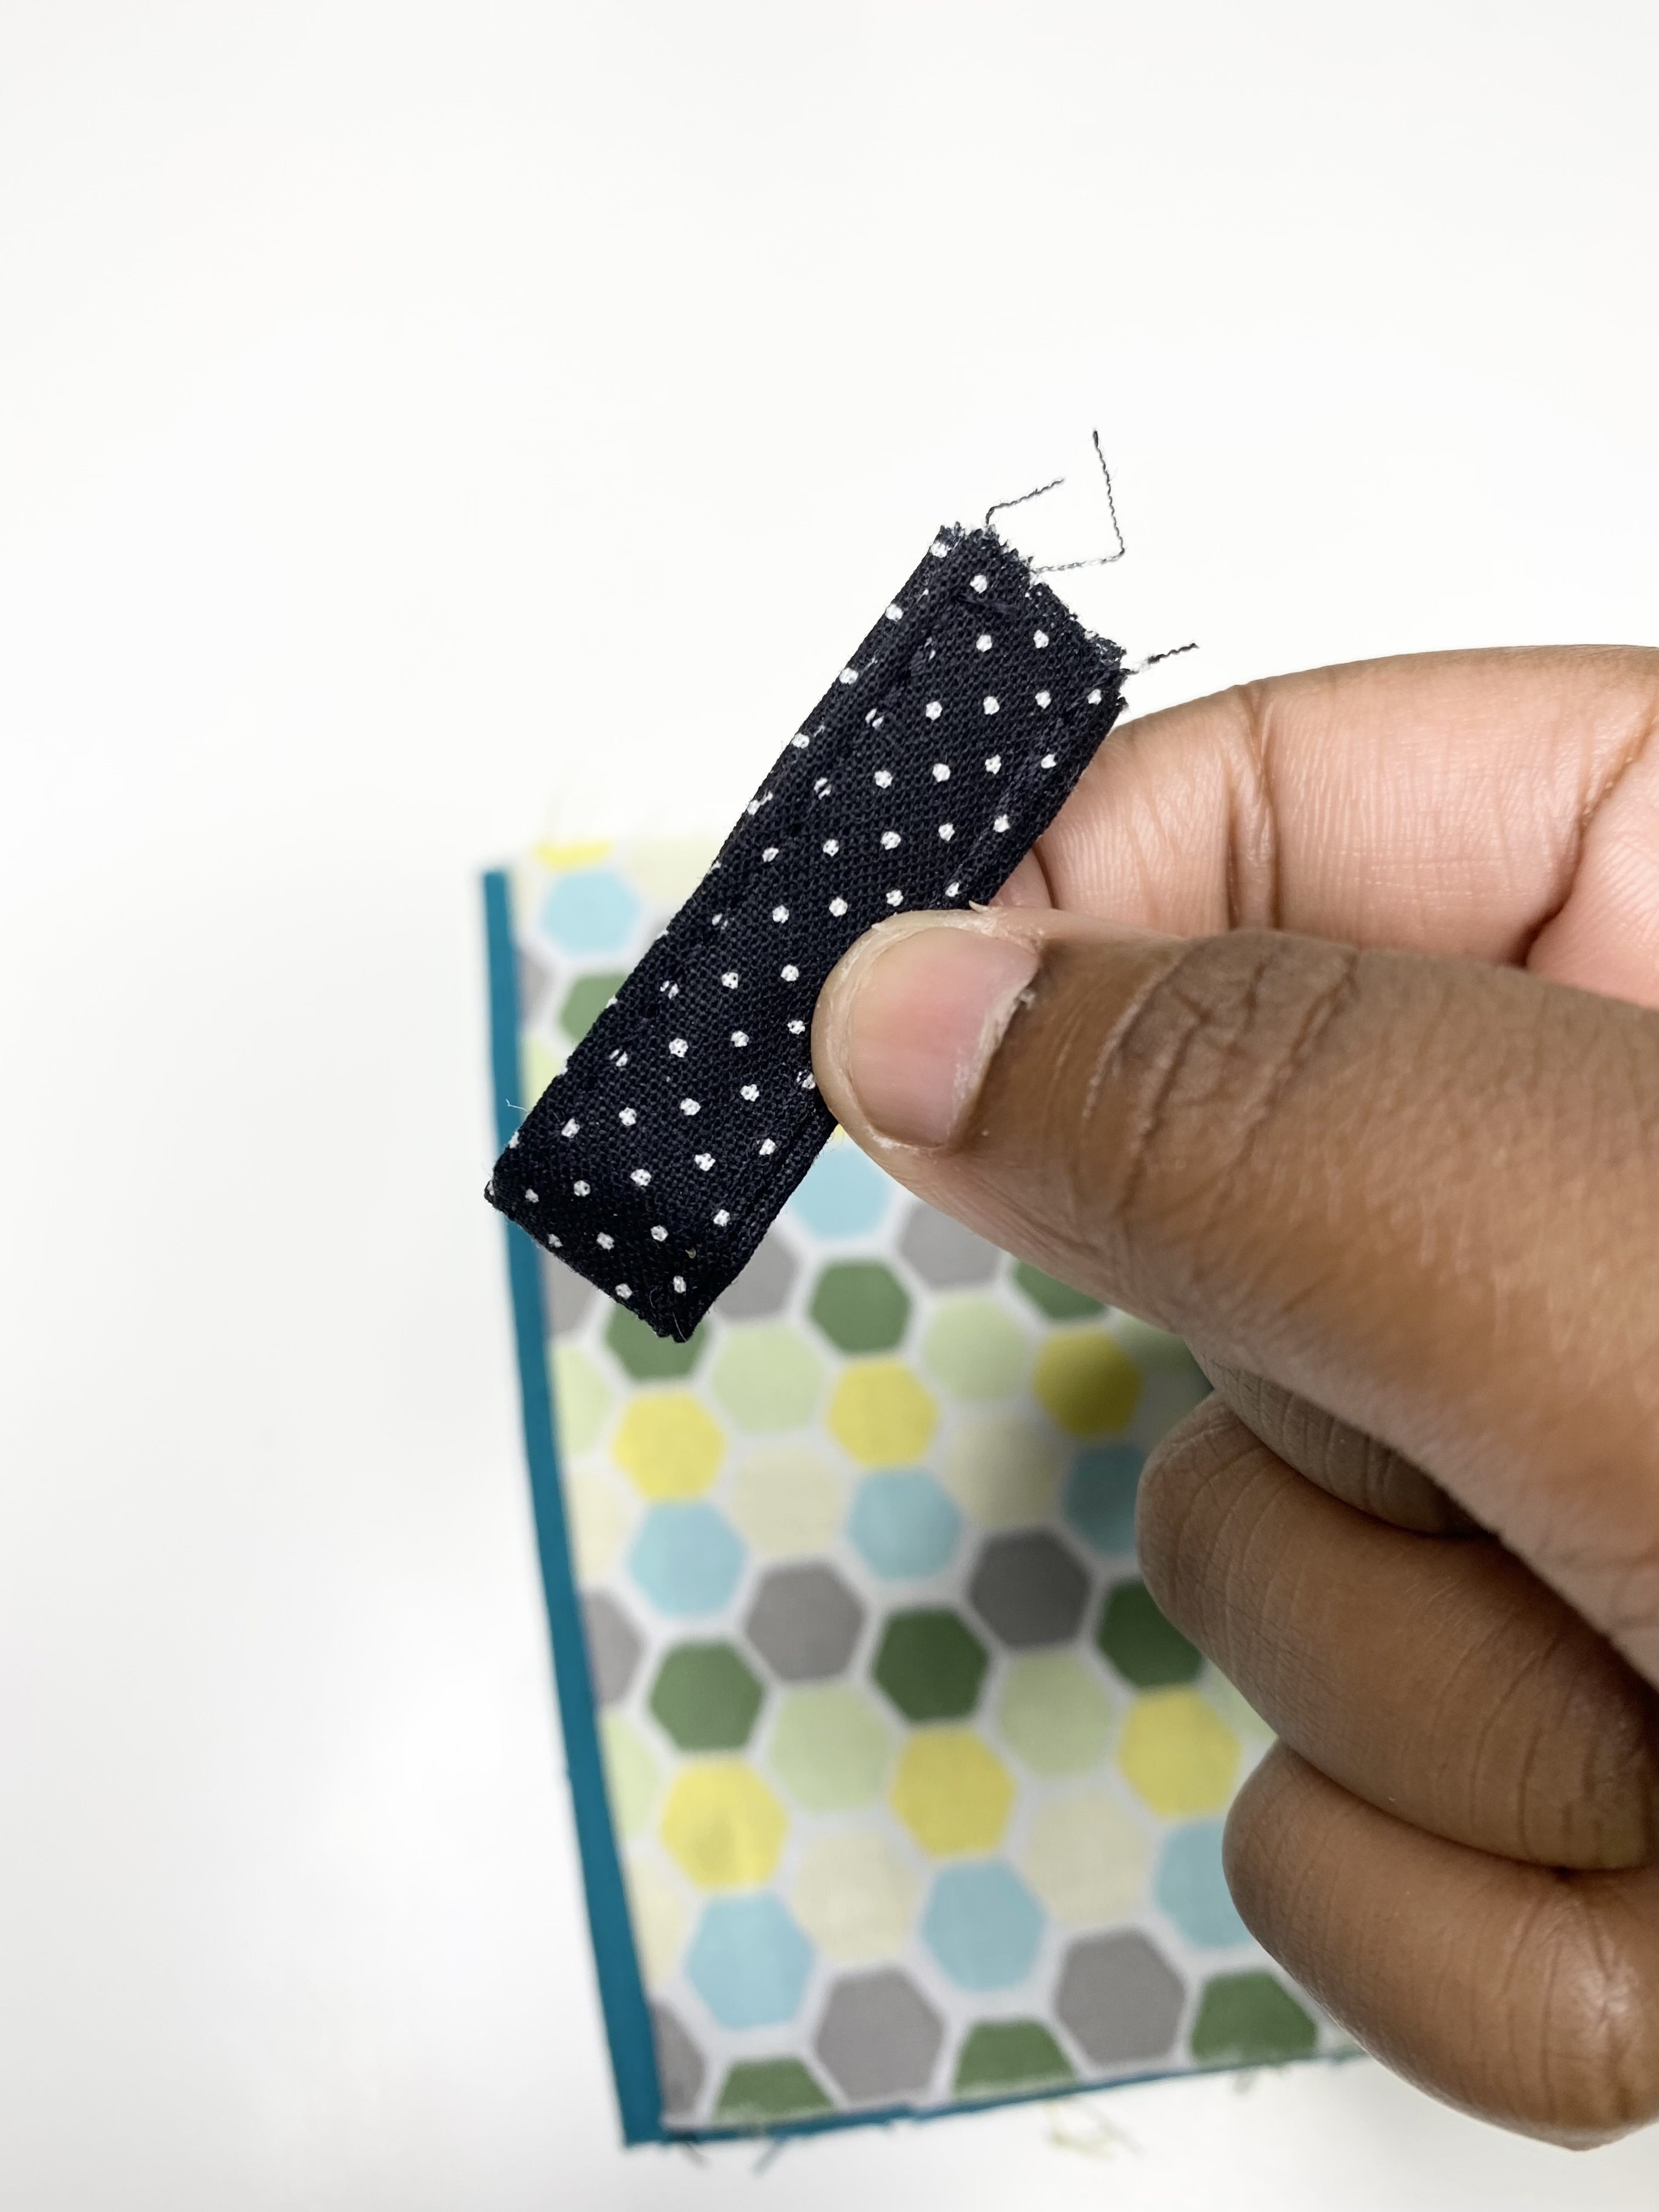
Step 4: Creating the Tissue Holder Tab
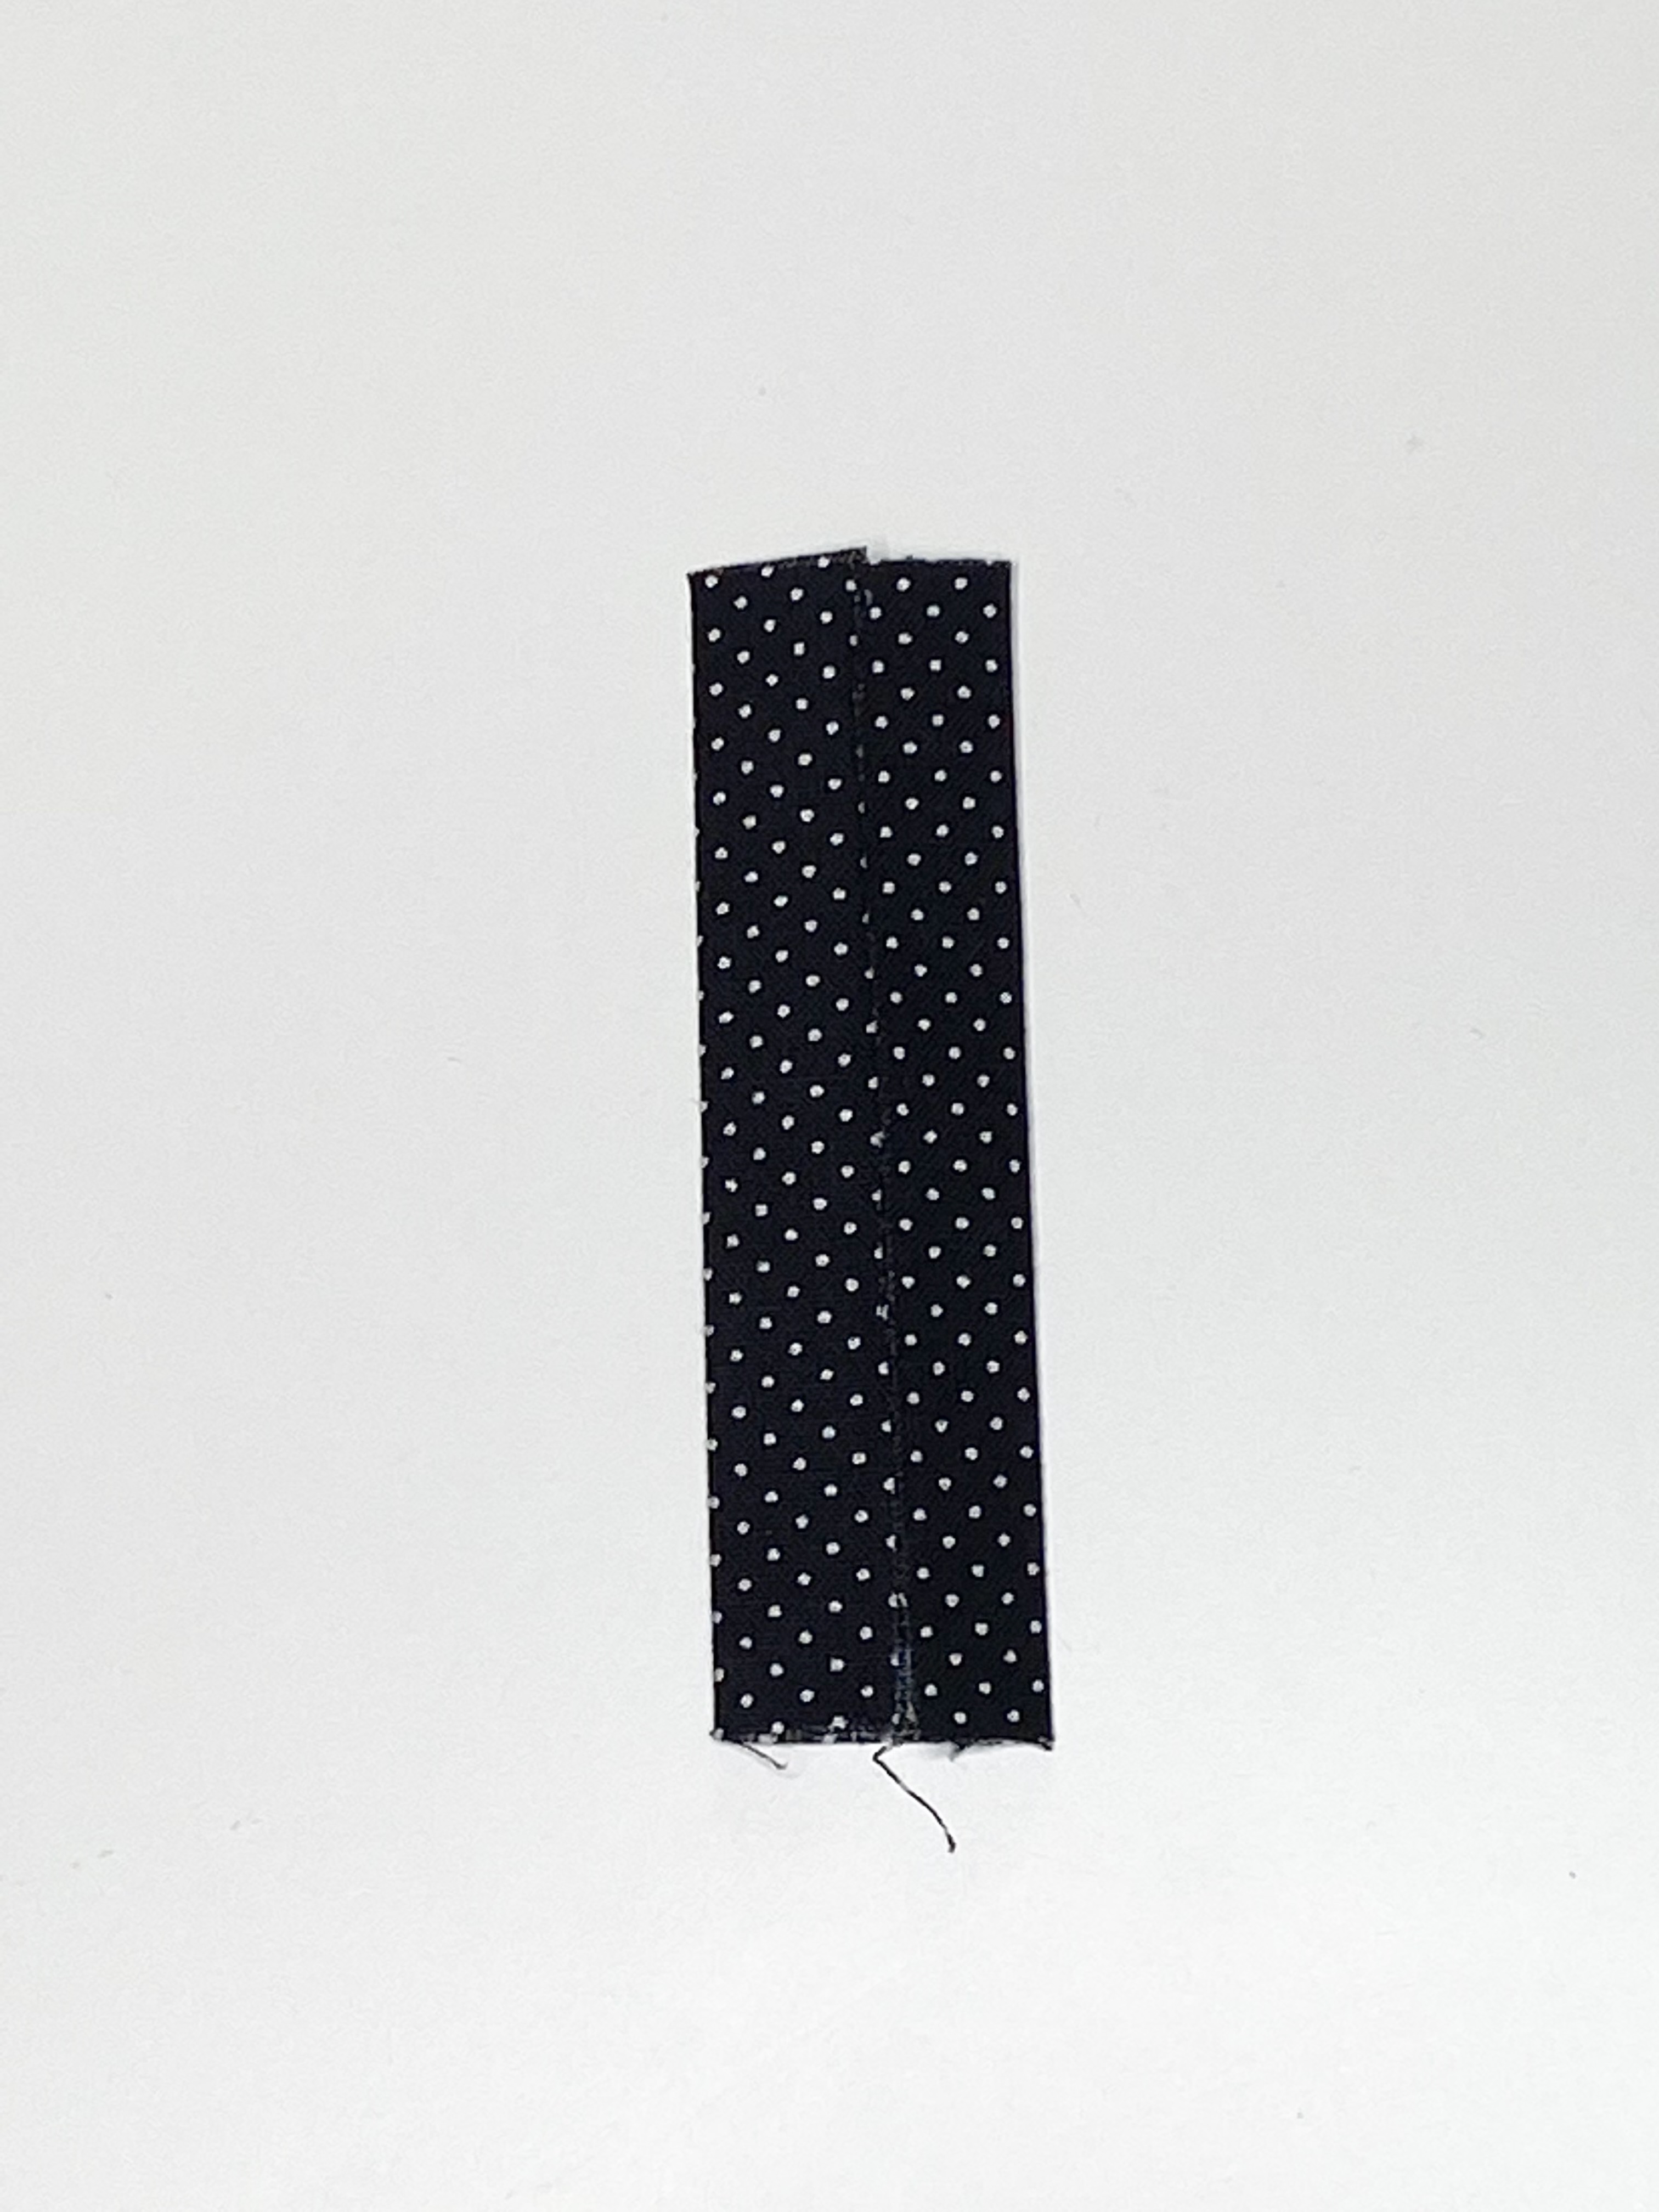
Take the fabric that you are using for the tab that is 3 1/2″ x 2″ and fold it in half with the wrong sides together and press. You should have a sharp crease in the center of the fabric.
Now open it flat and lay it with the wrong side (the side without the print) facing up. Take one long side of the fabric and bring it to the center and lay it along the crease in the center of the fabric and press. Repeat this process with the other long side.
You should have both of the long sides turned inward and pressed like this pic above.
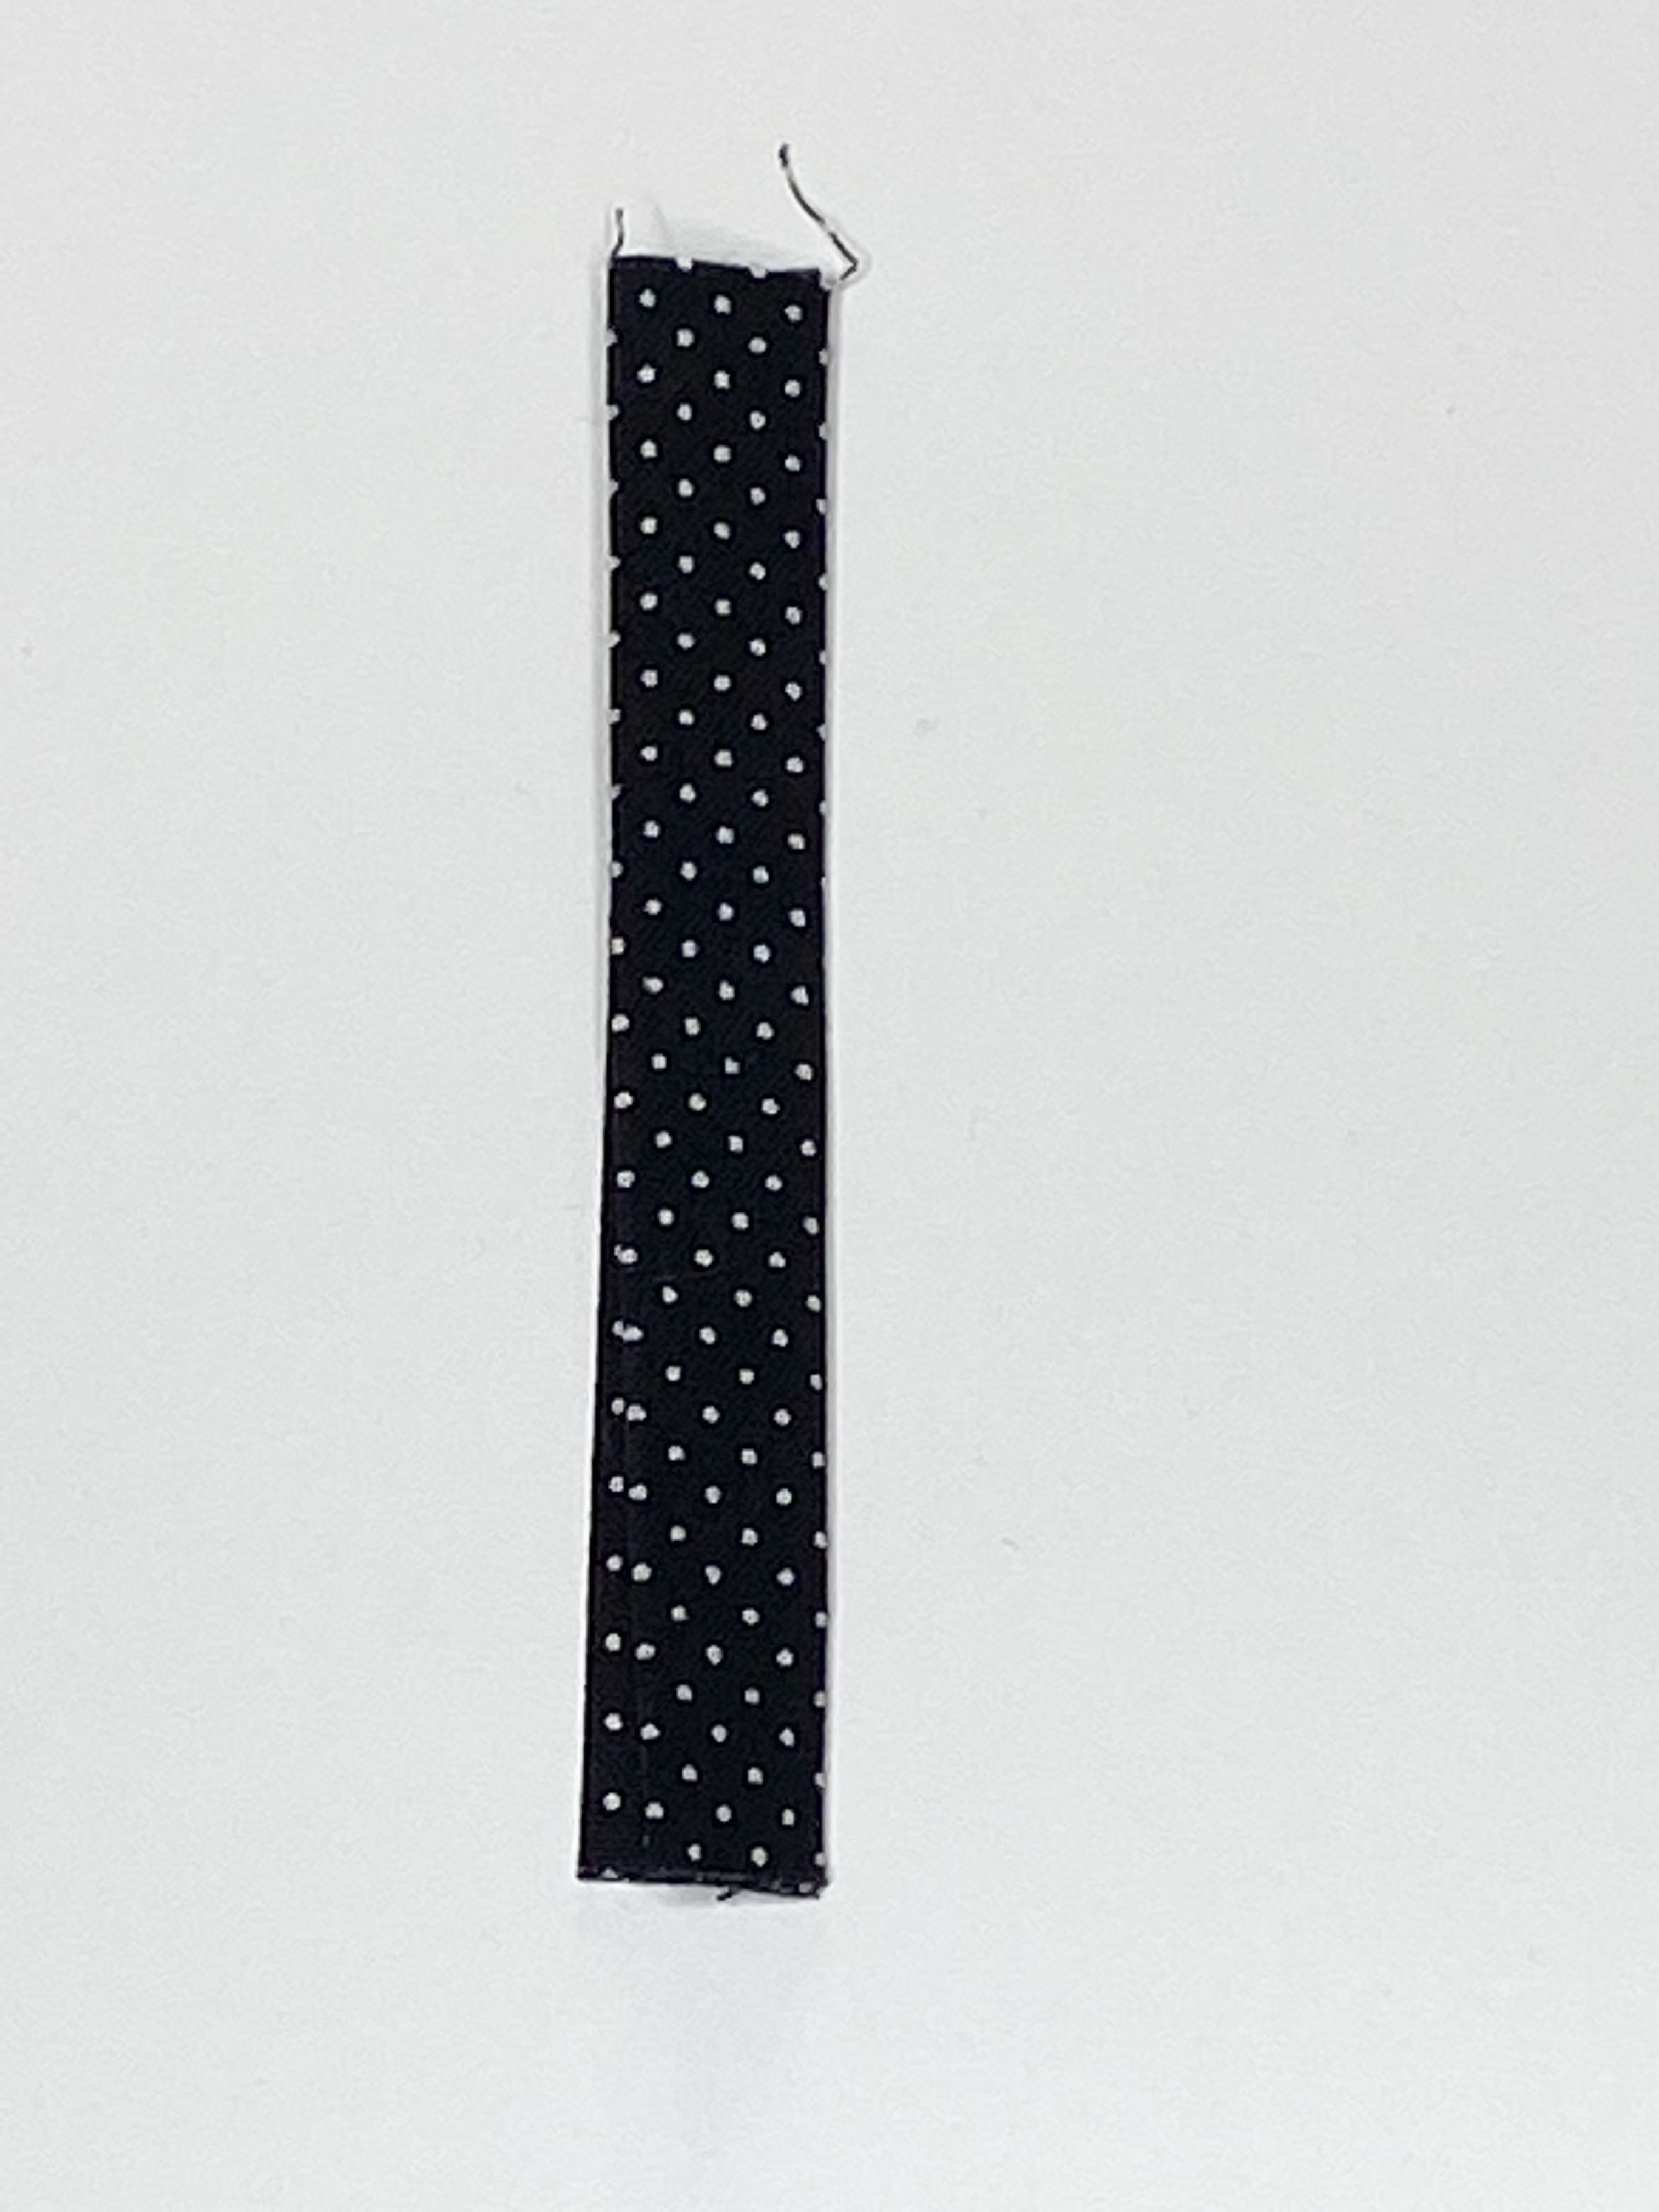
The next thing you want to do is finish your tab. To finish the tab fold the fabric in half so that the raw edges are hidden in the center.
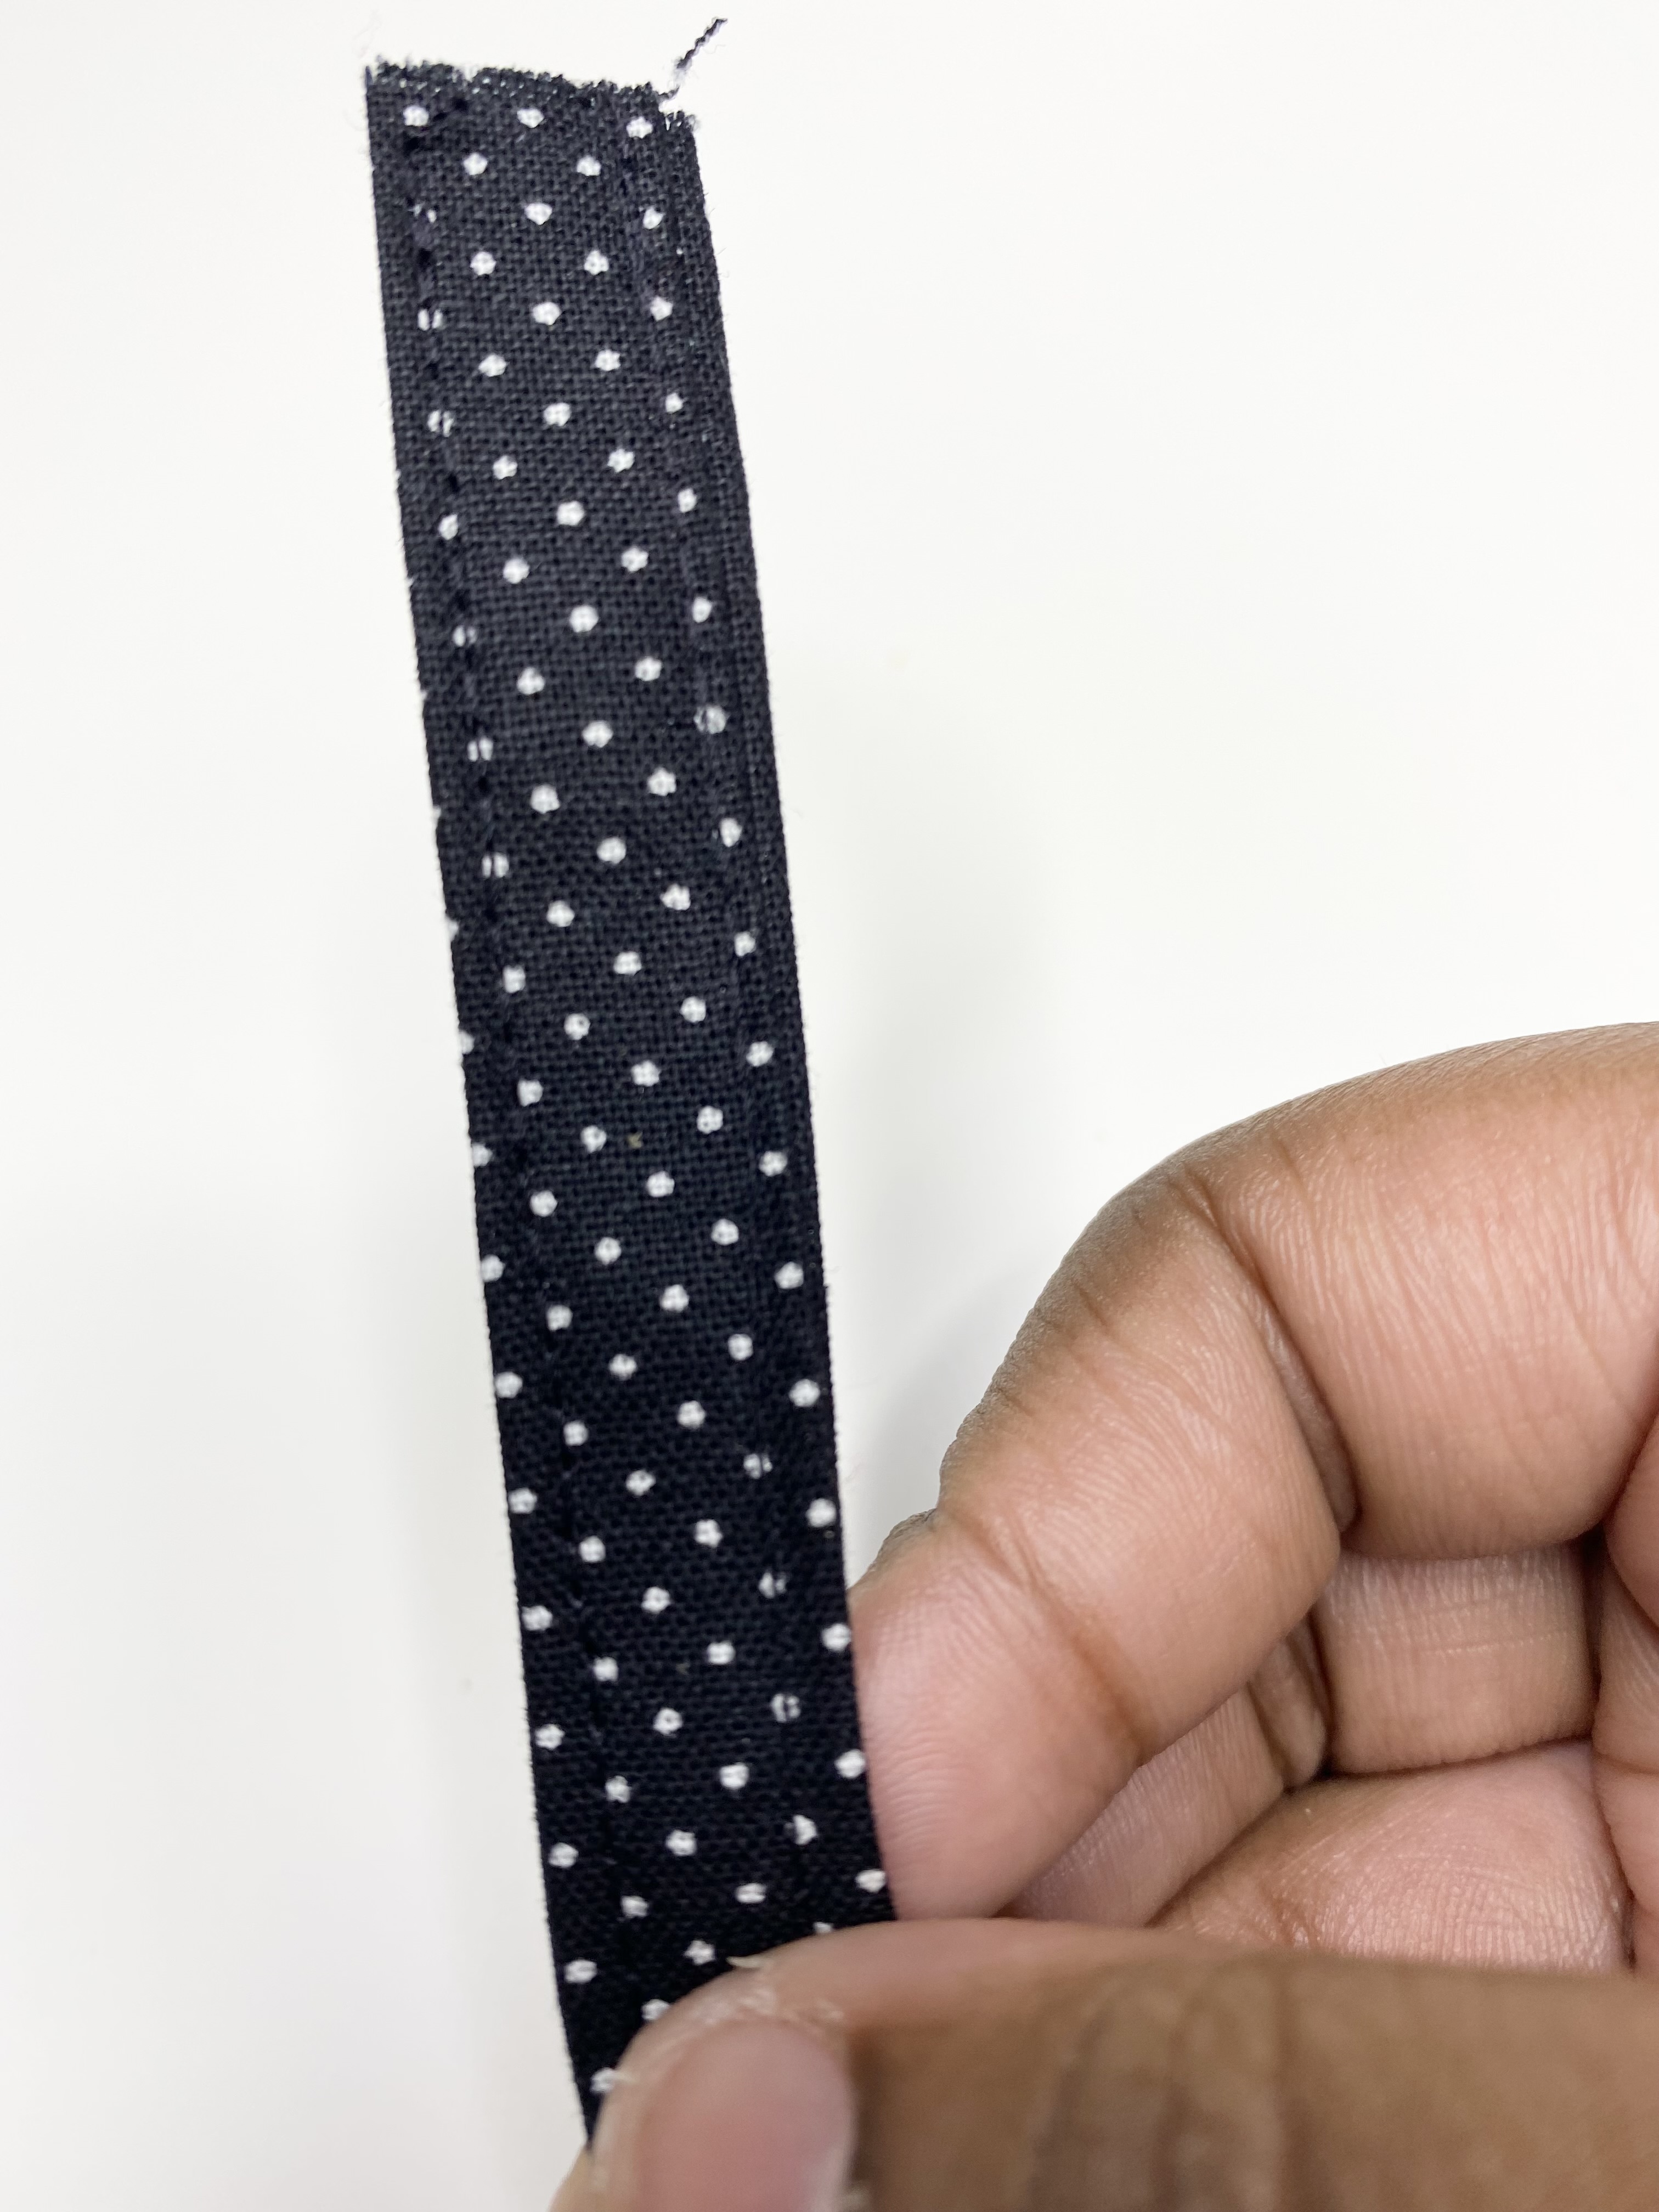
Edgestitch close to each of the long sides to finish off your tab.
Step 5: Assembling the Tissue Holder
Grab your keychain tissue cover and make sure that it is laying with the right side facing up. This would be the side that has the main fabric in the center and a small piece of lining on the sides as a trim.
Take the left end of the fabric that has the lining trim showing and place it in the middle of the fabric and pin it in place.
Fold your tab in half with the raw edges facing touching each other.
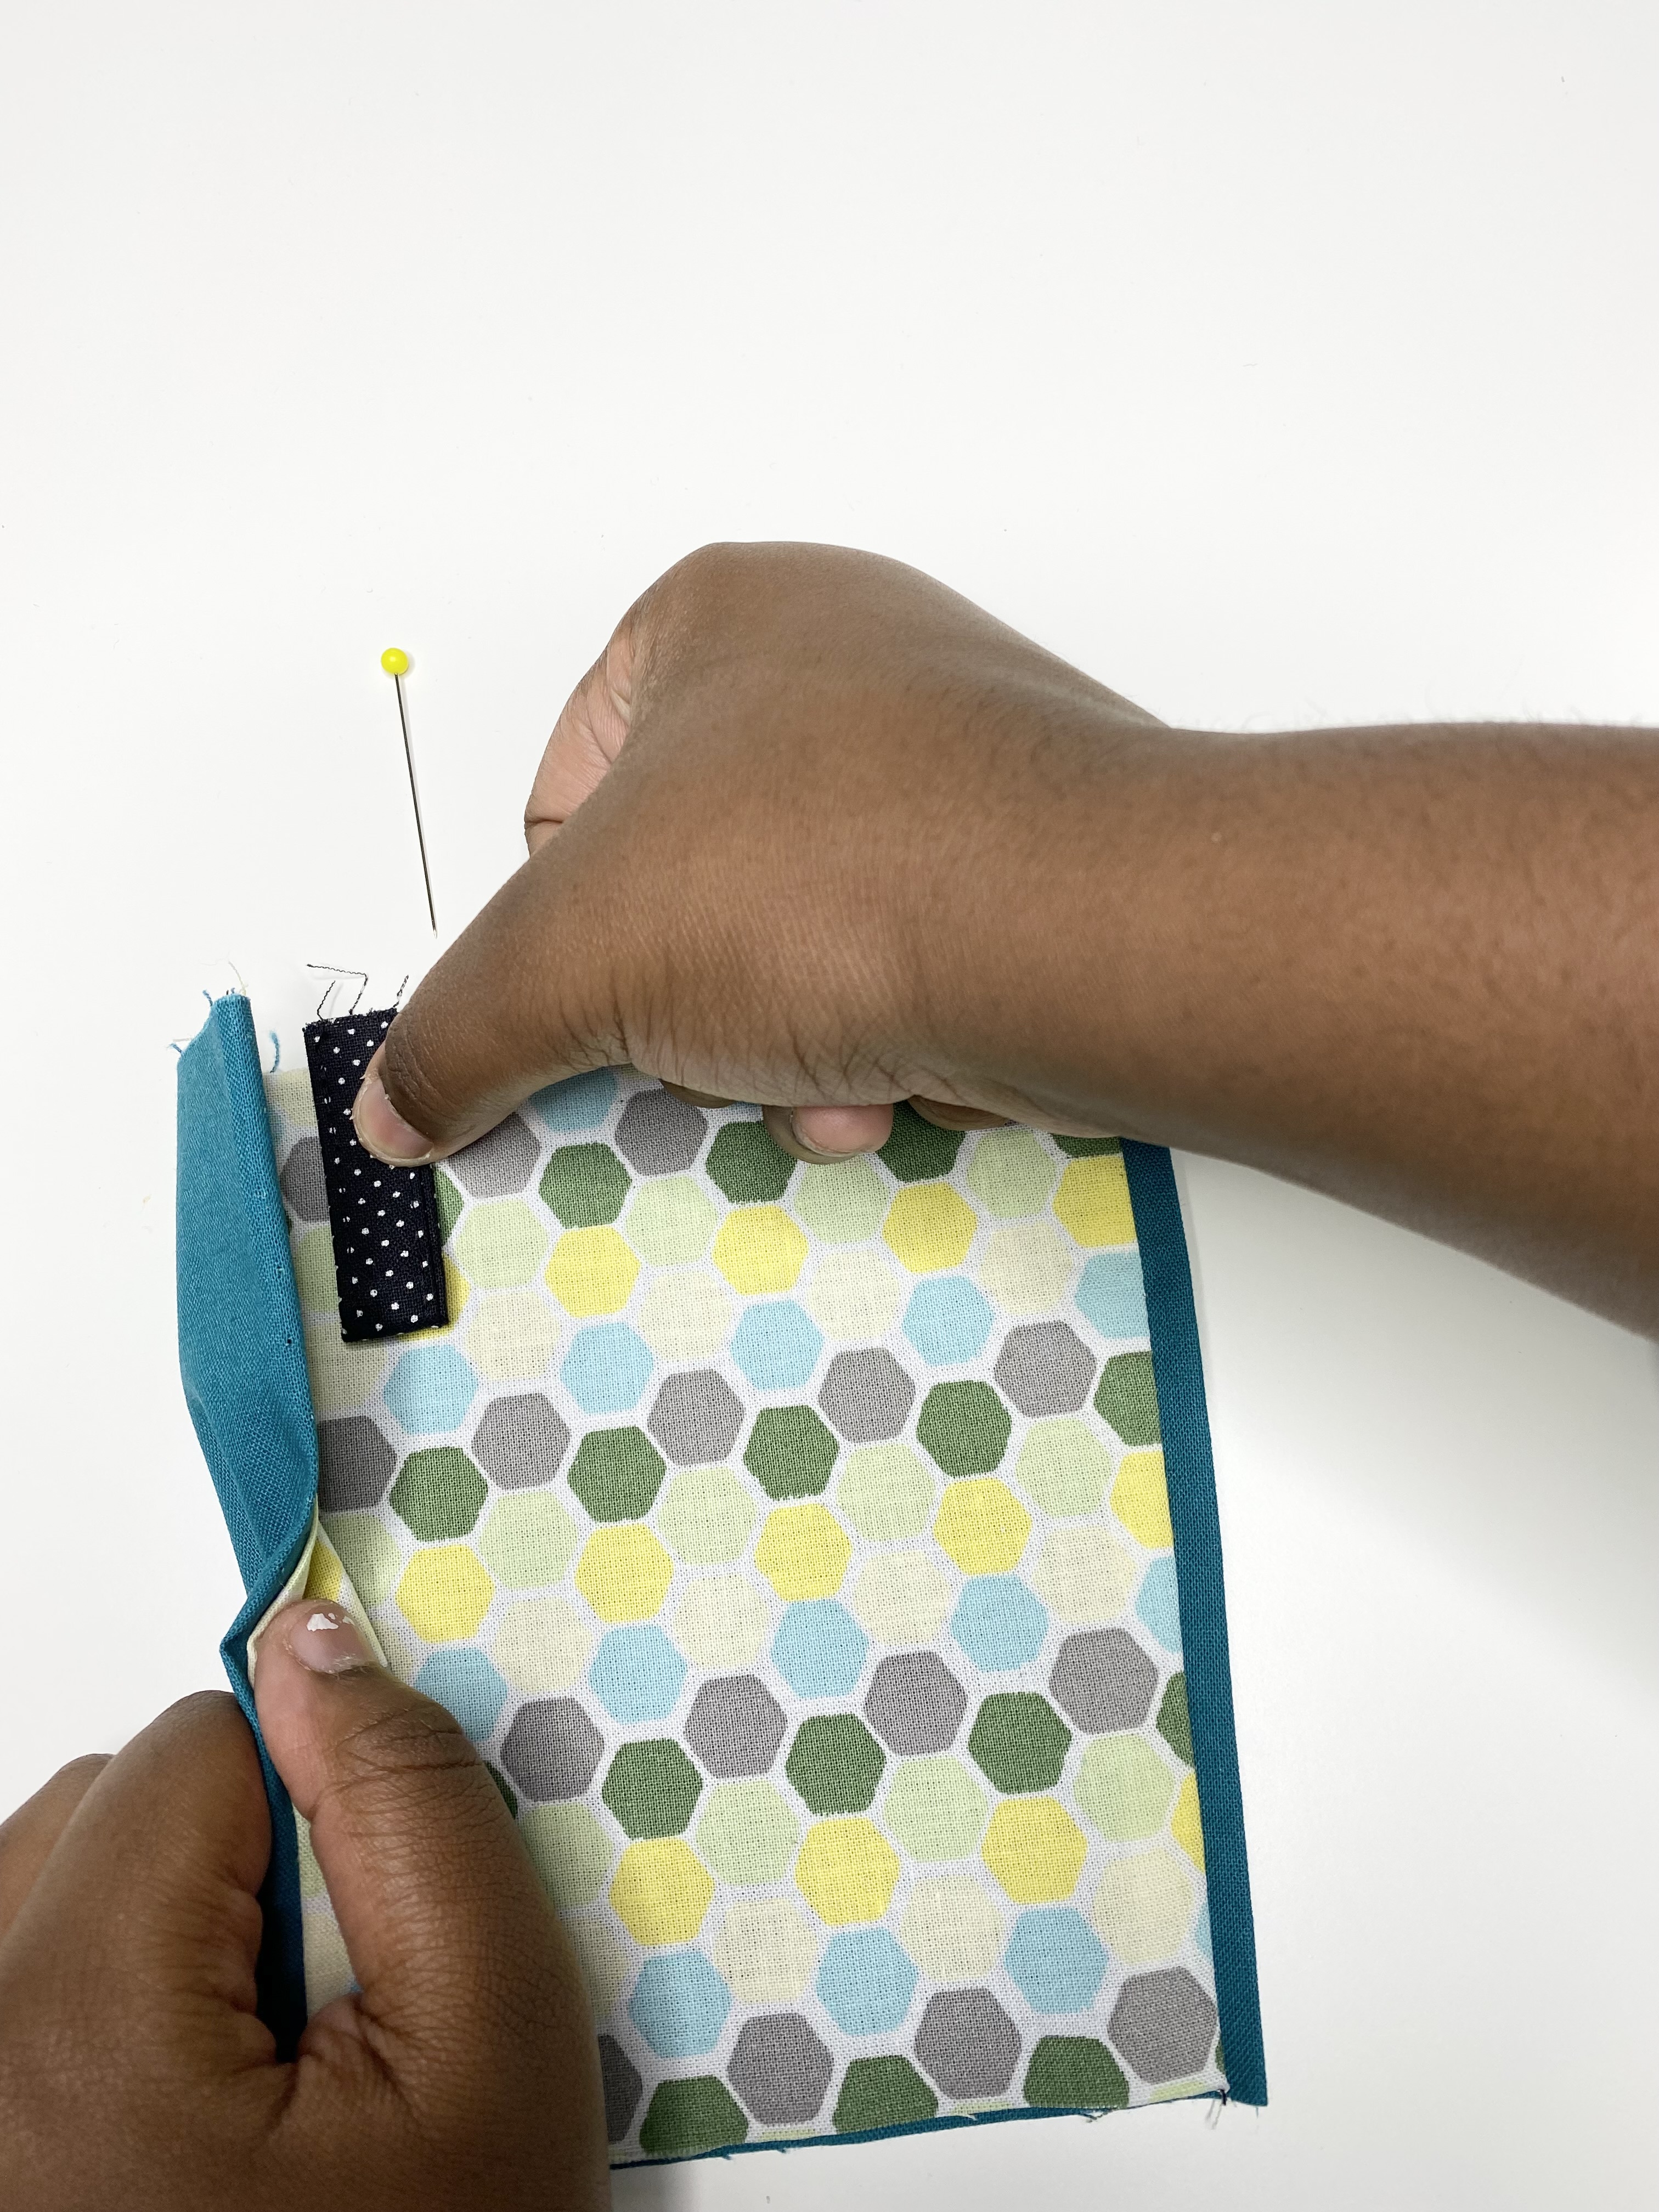
Take the pins out of the tissue cover and place the tab on the far left of the tissue cover with the fold of the tab facing toward the inside of the cover. Make sure the raw edges of the tab are sticking out slightly as shown in the picture above and re-pin in place.
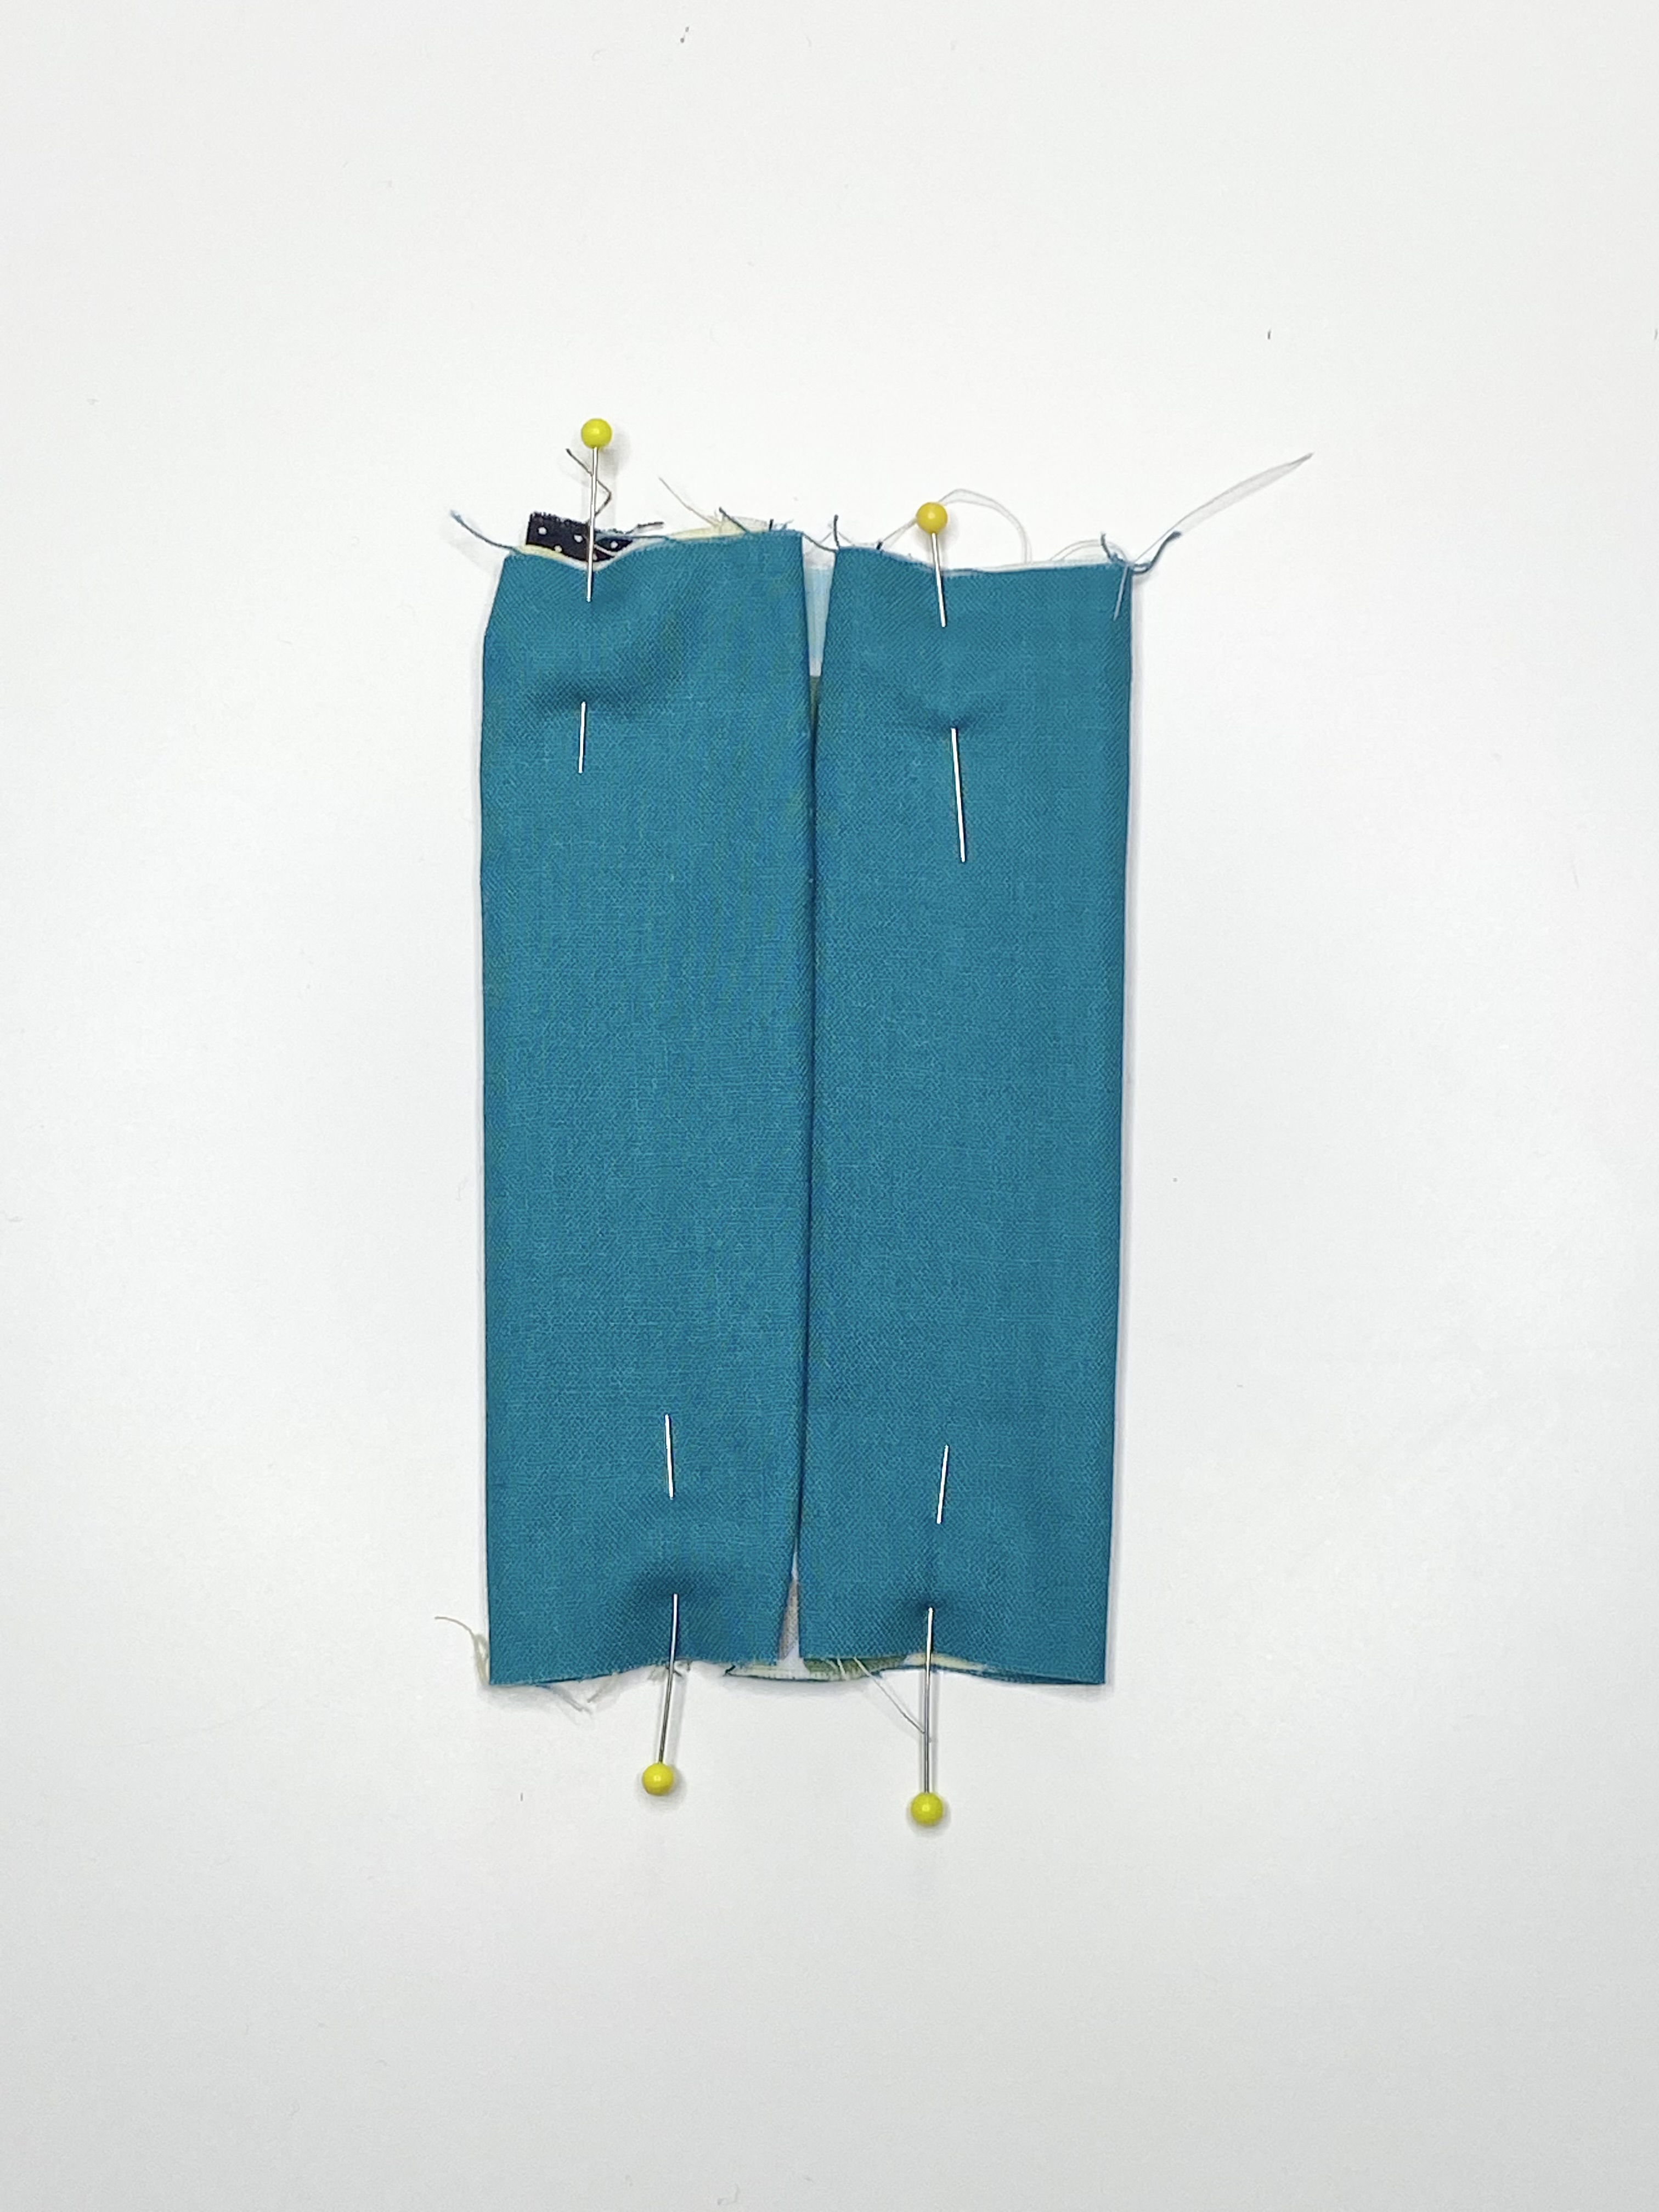
Fold the right side of the tissue cover that has the lining trim toward the inside to meet the left side in the center and pin in place. Pin the opposite side of your holder as well so that both of the short sides are pinned. Your keychain tissue cover should now have the lining showing on the top and the bottom, and the short sides should be pinned and ready to sew.
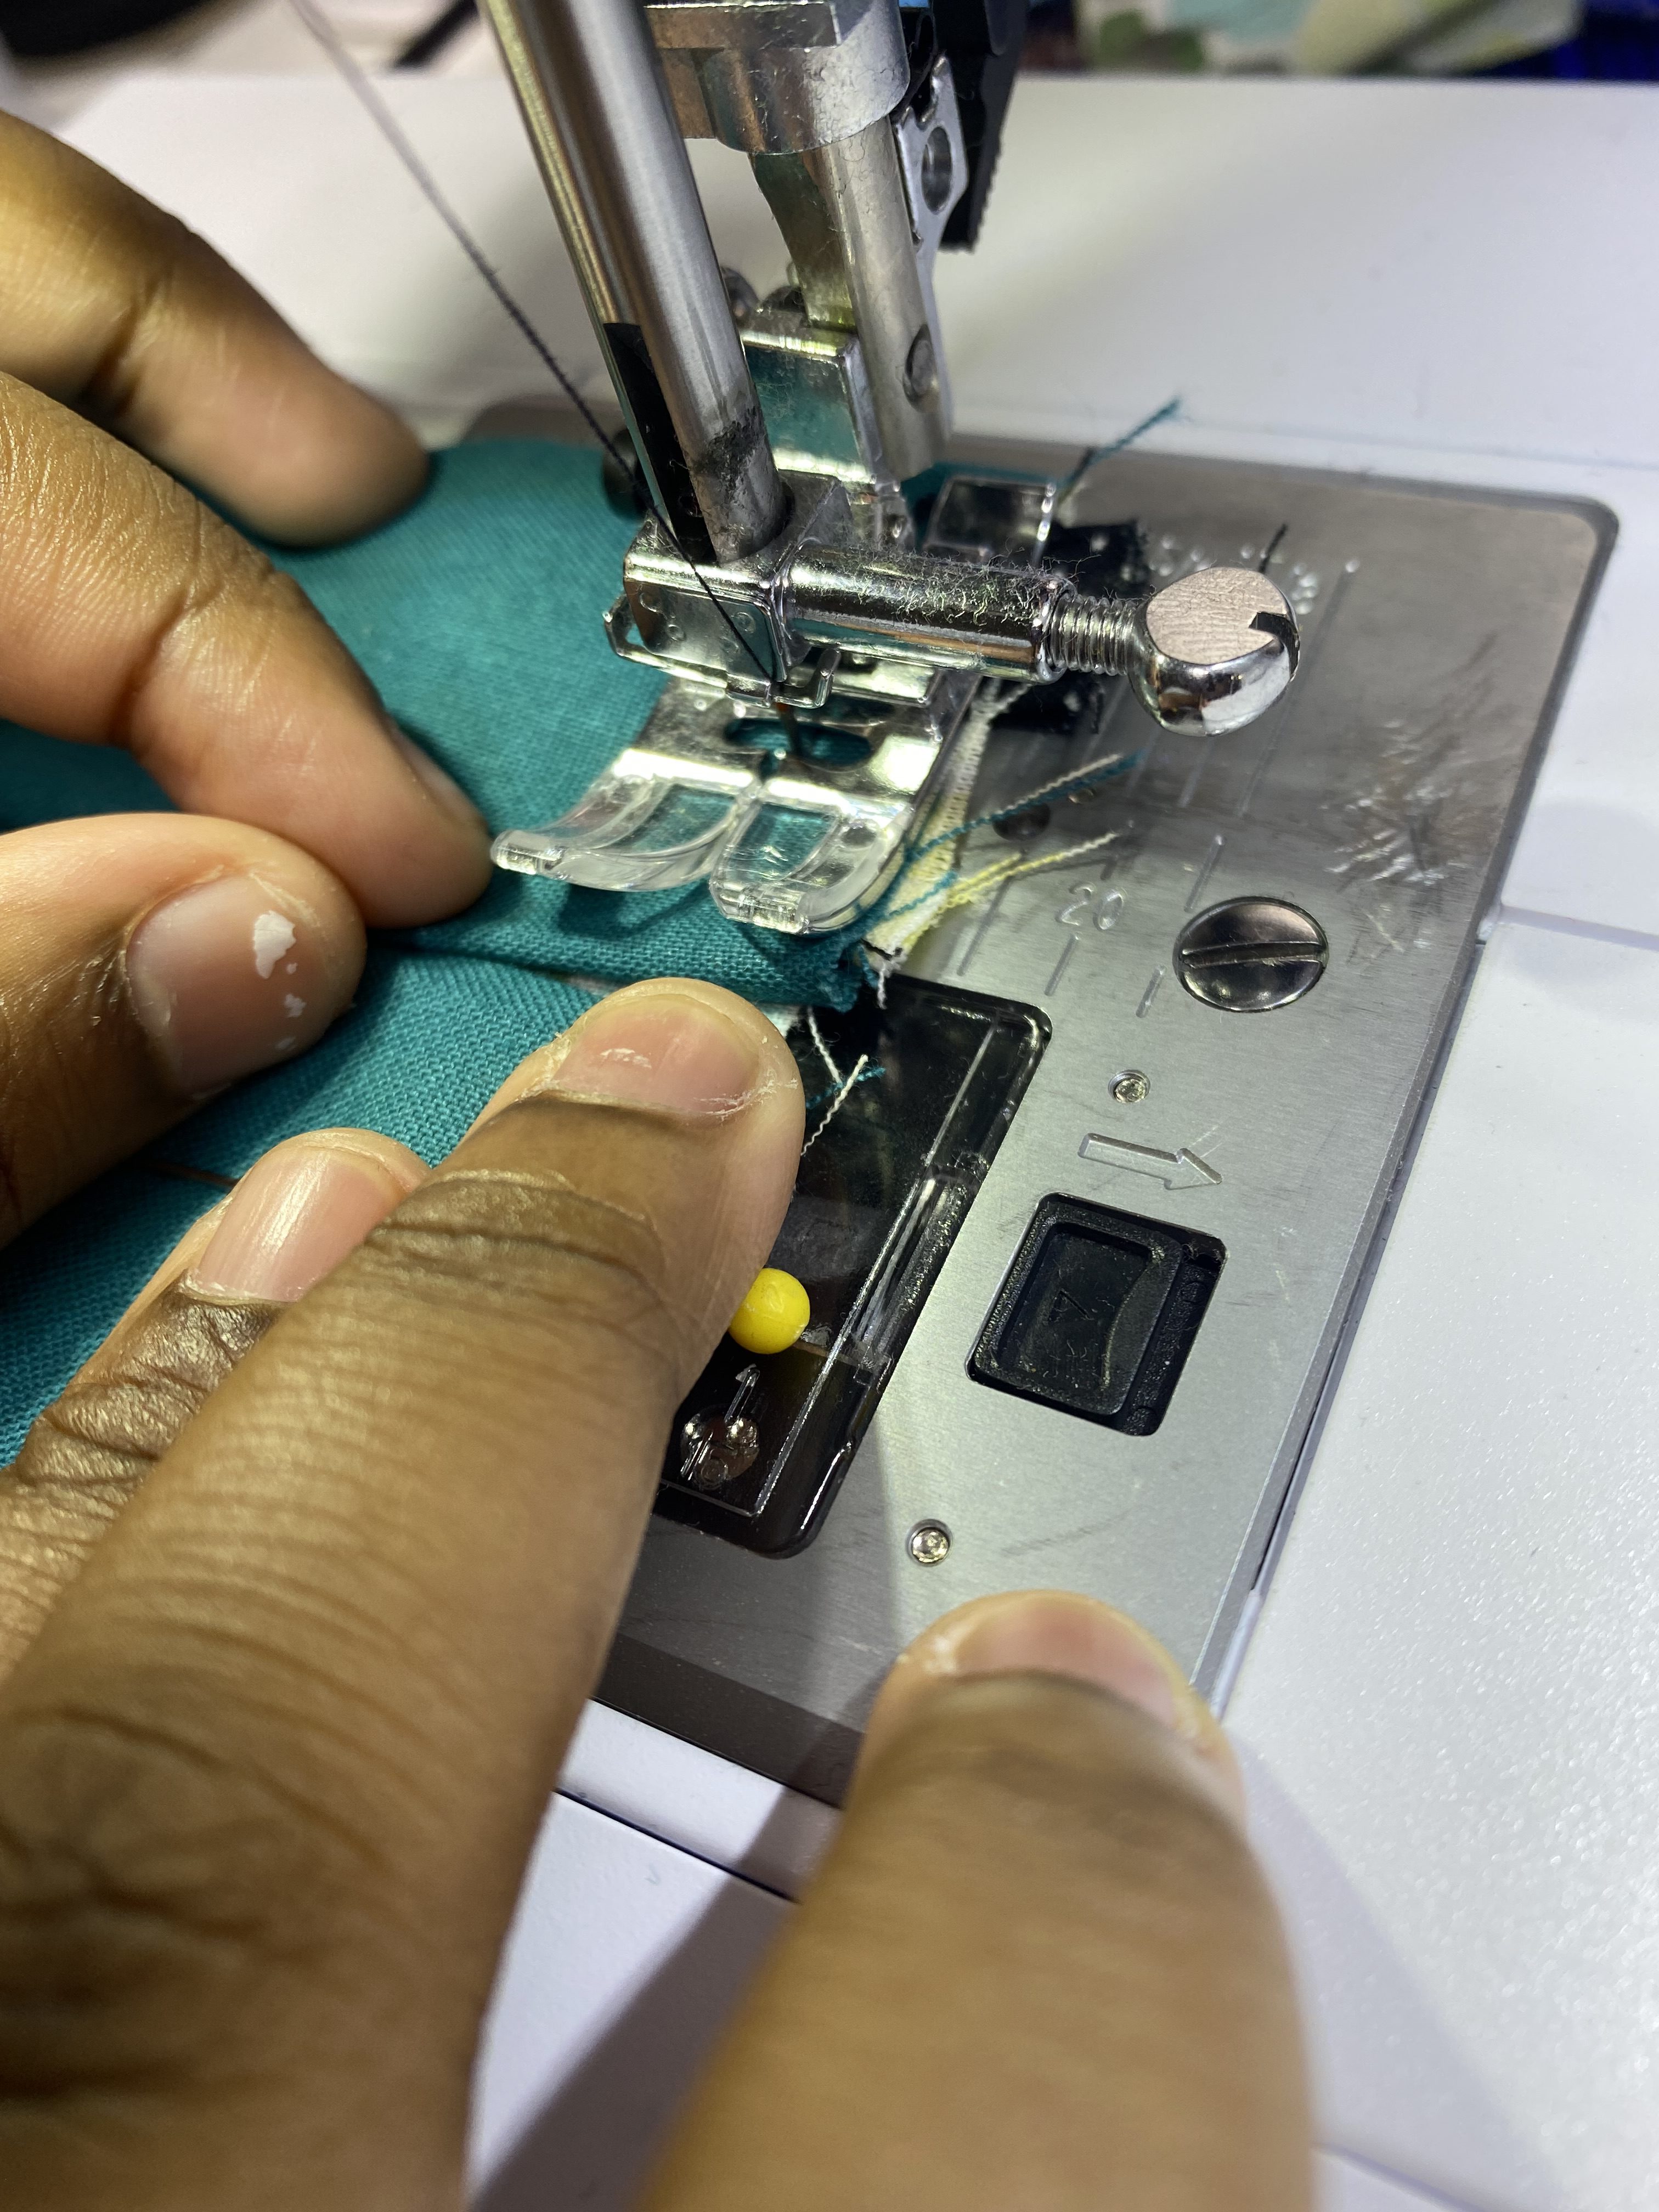
Sew down the short sides of your tissue cover, and remember to backstitch at the beginning and the end of each seam. Make sure you completely sew over BOTH the raw edges of the tab that is sticking out so that the tab is tightly secured to the tissue cover.
Step 6: Filling the Tissue Holder
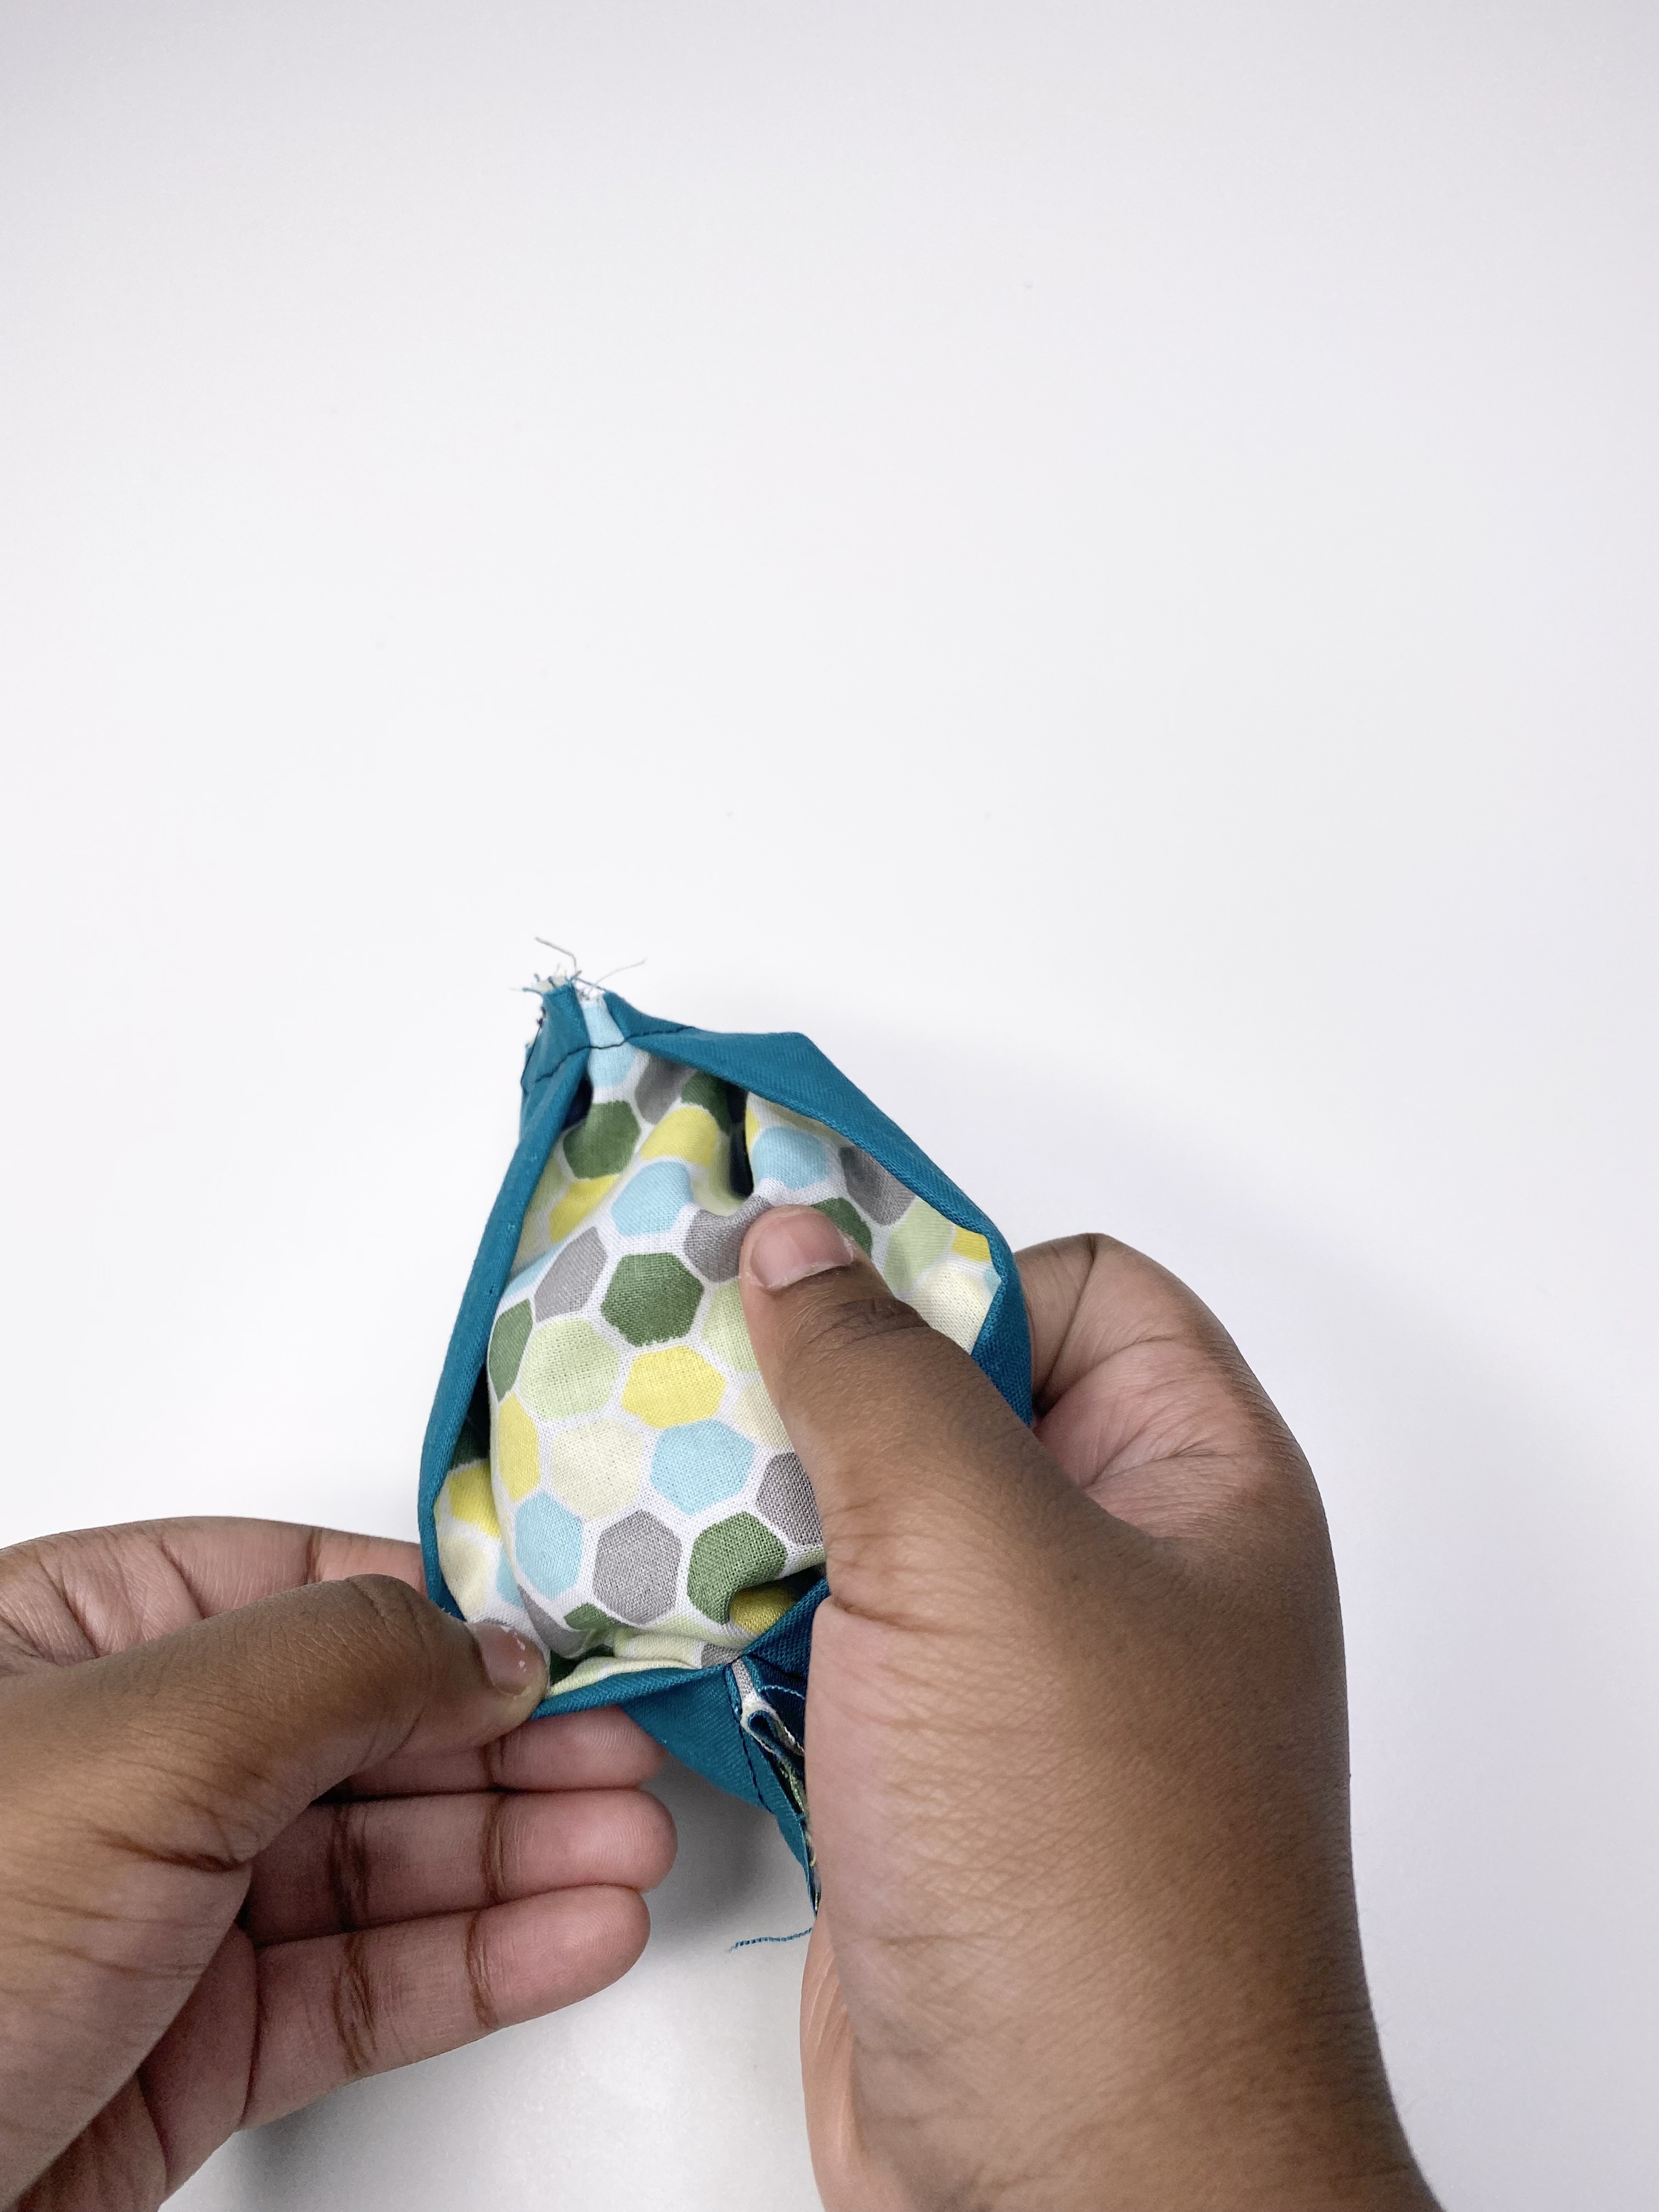
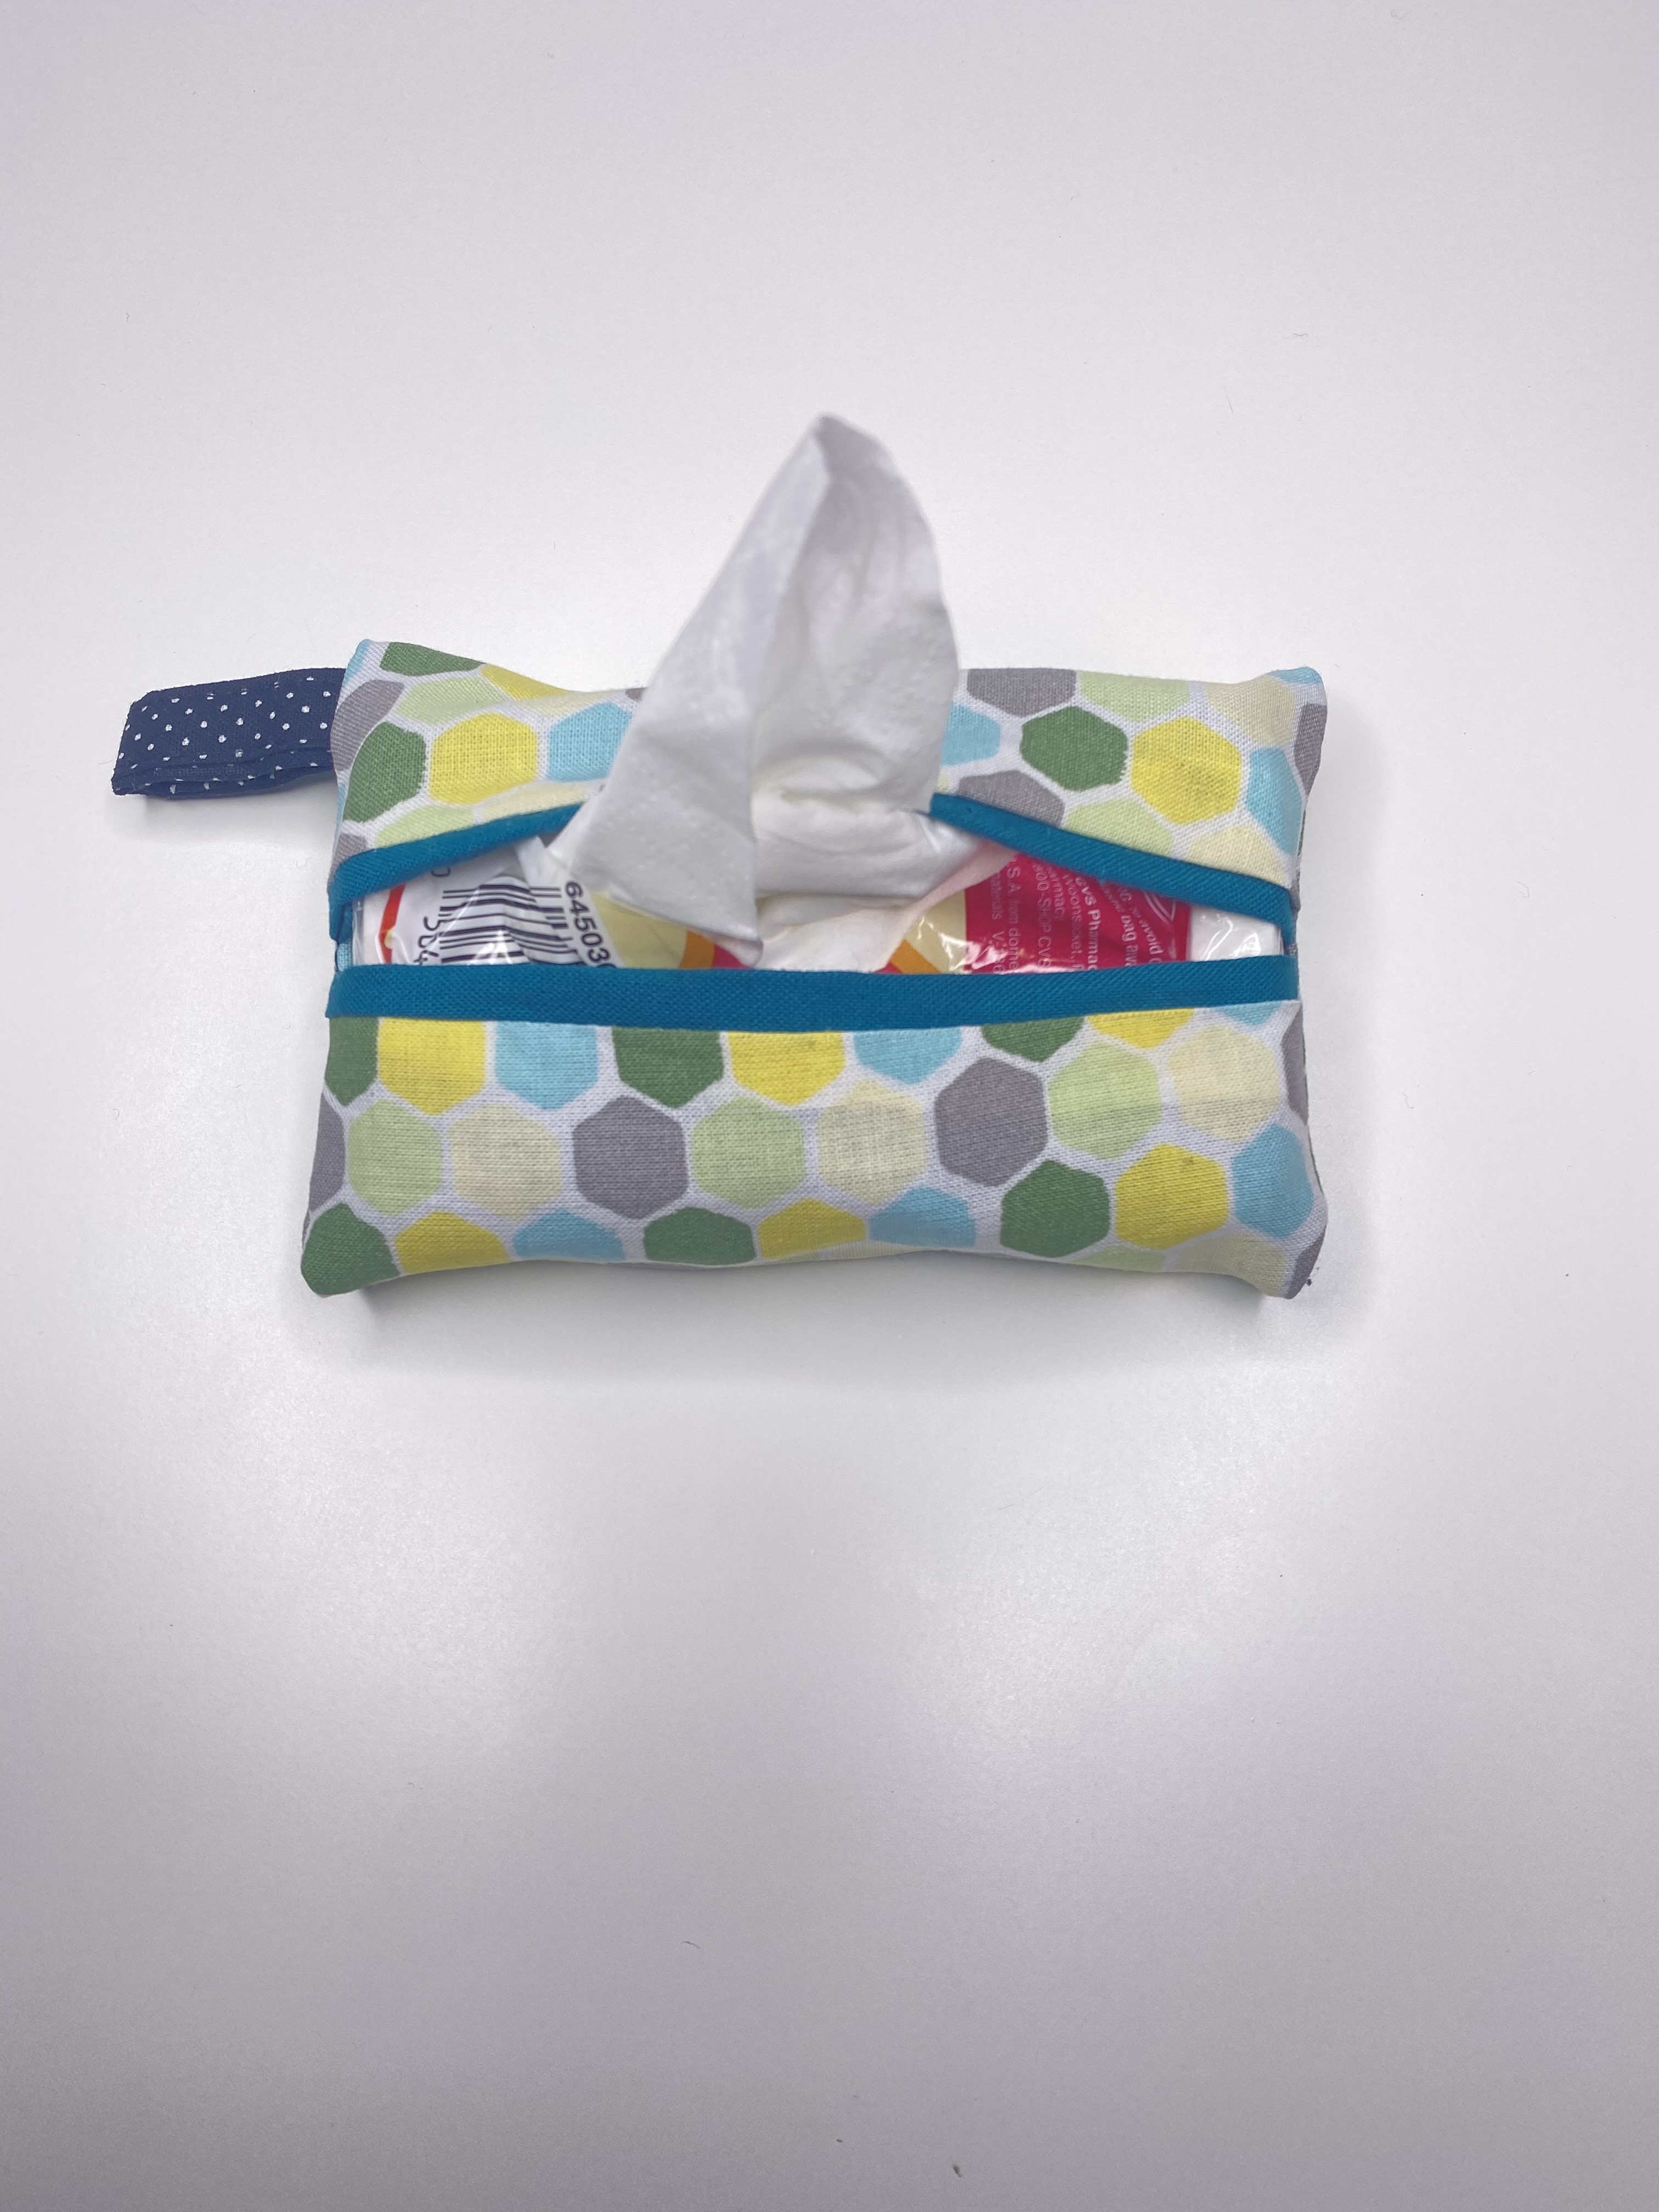
The keychain tissue holder is ready to be turned right side out and filled with tissue. Simply turn the project right side out from the opening in the center of the holder. Once you do this the inside of the tissue holder can be filled with small pocket-sized tissue.
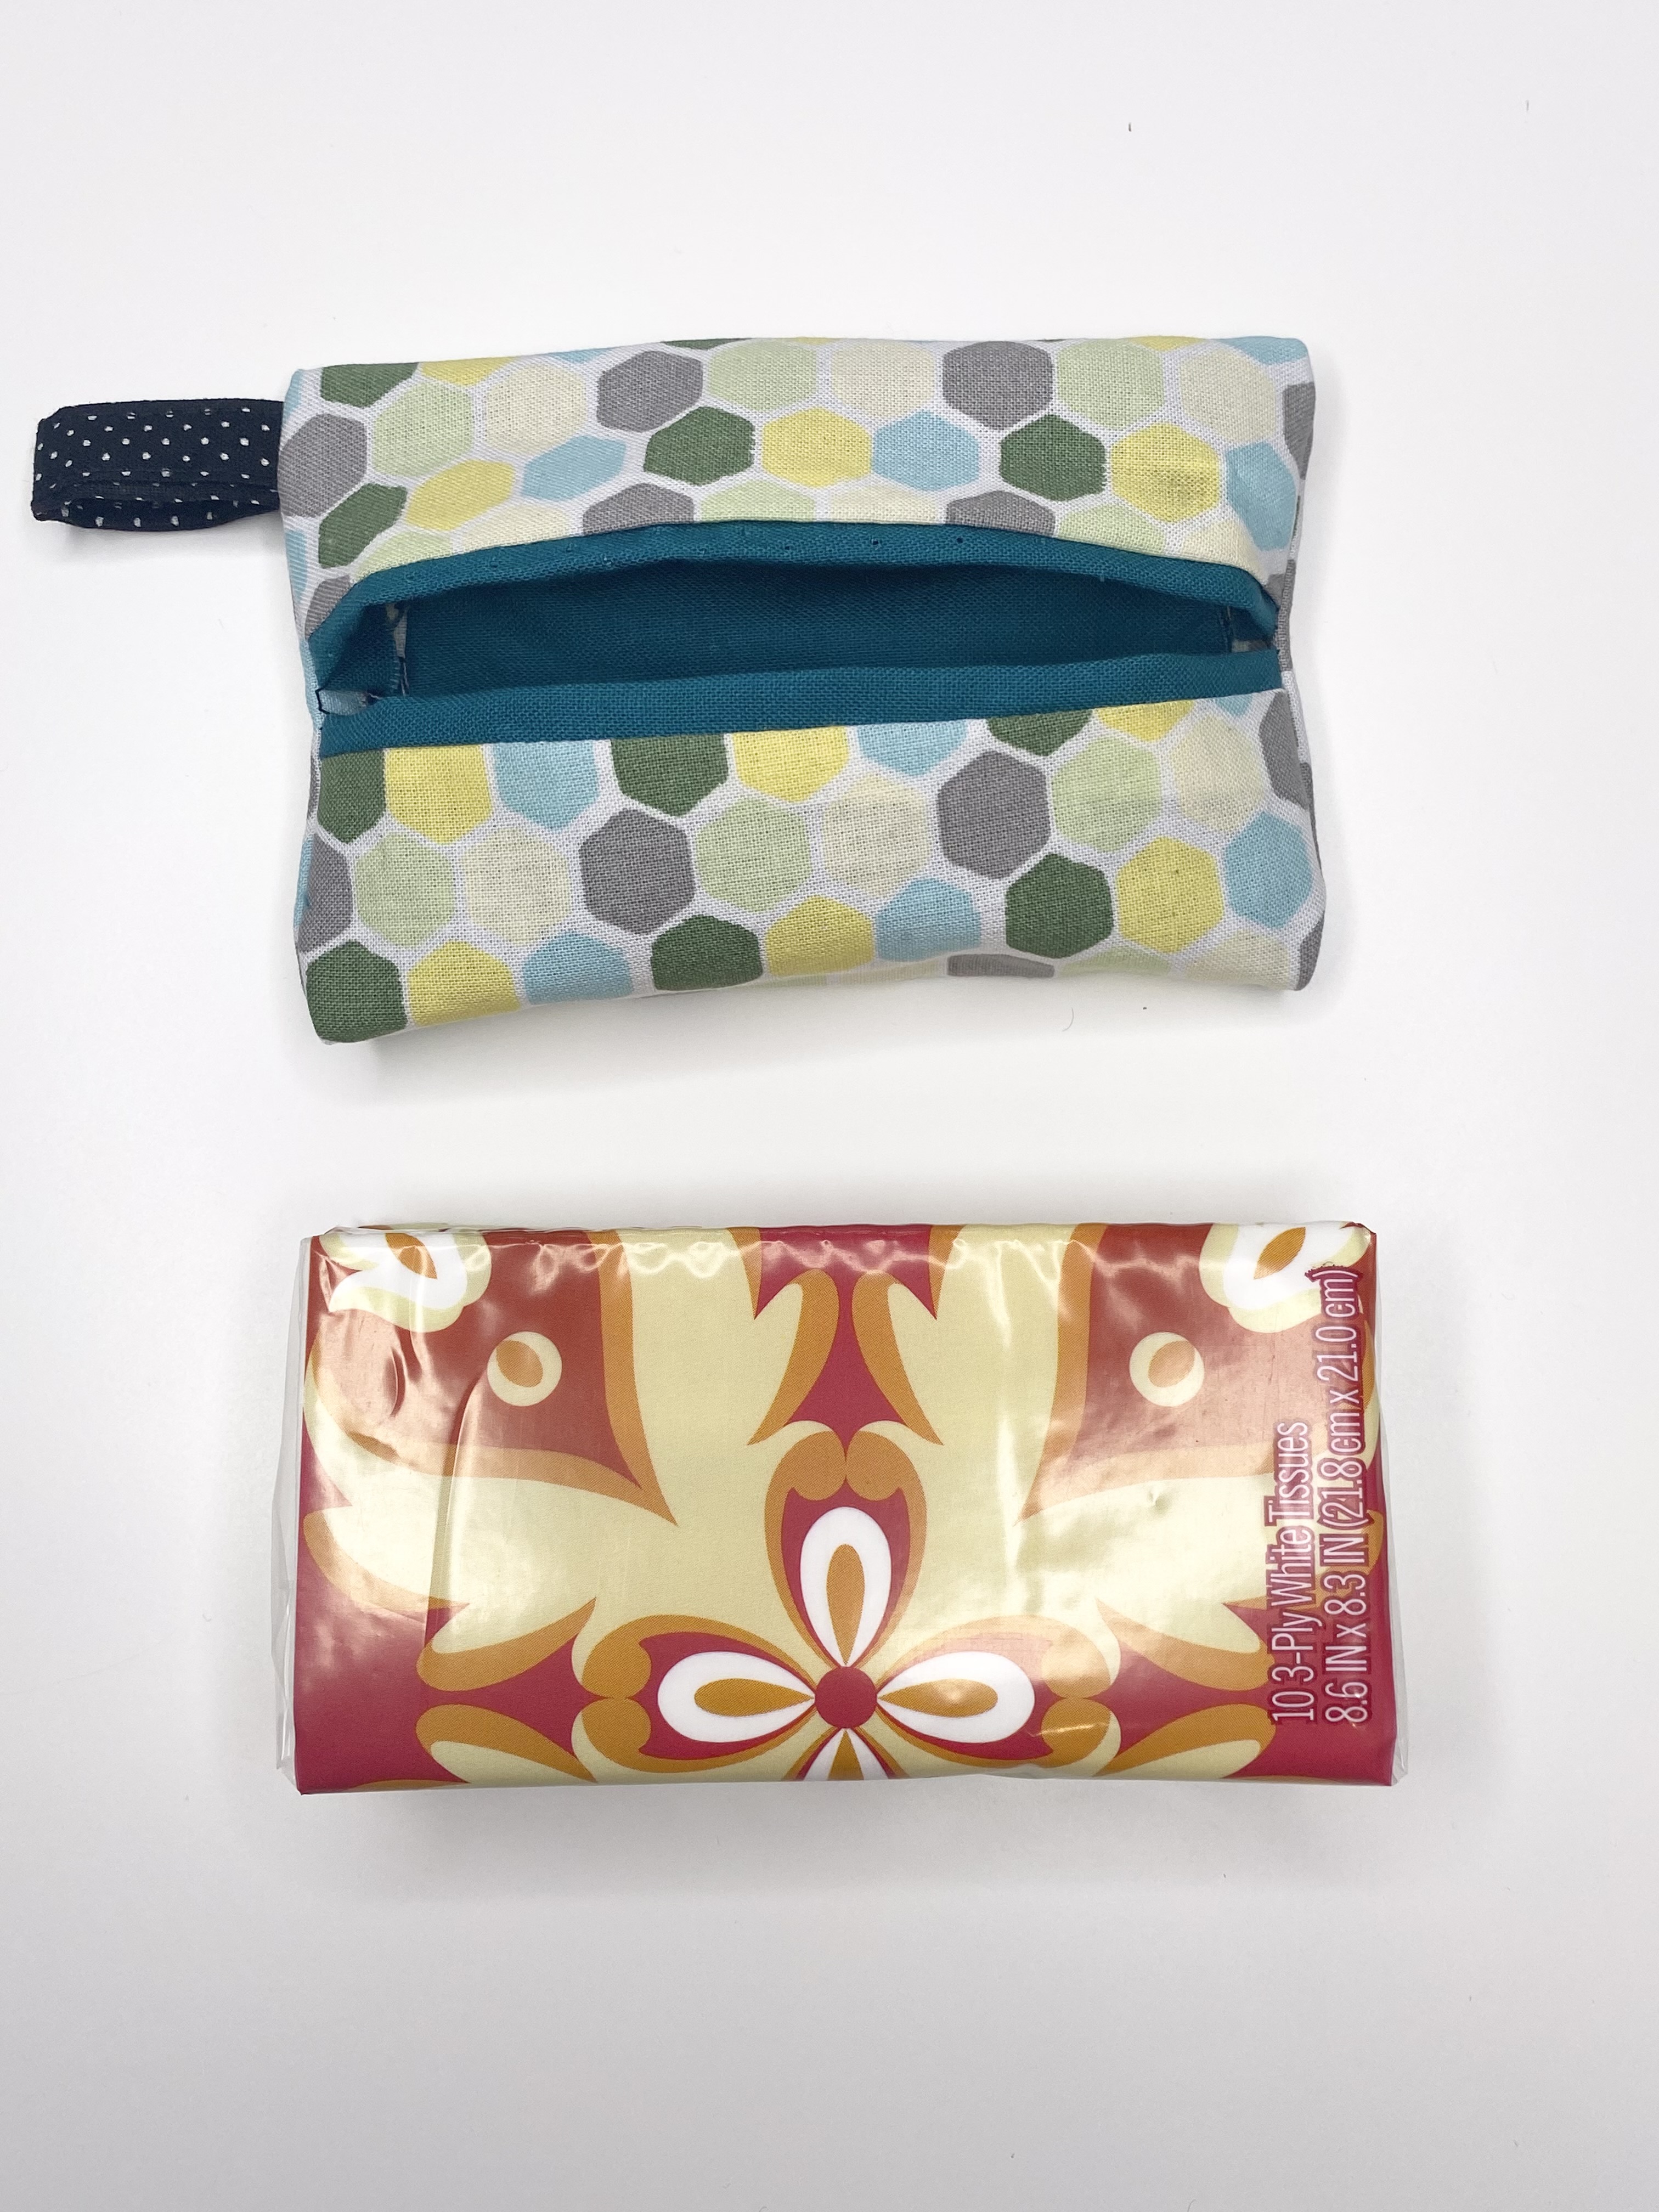
Here is the small pack of tissue that I use. You can use whatever you like, but most pocket-sized facial tissue will fit inside of the tissue holder.
Choose whether or not you would like to keep the plastic on the tissue or remove it completely. If you decide to remove the plastic, be careful so that the tissue doesn’t unravel and lose its shape because it is hard to get the tissue to get back into a neatly pressed stack of rectangles.

To keep the plastic, open it along the perforated edges and then place it inside of your tissue cover.
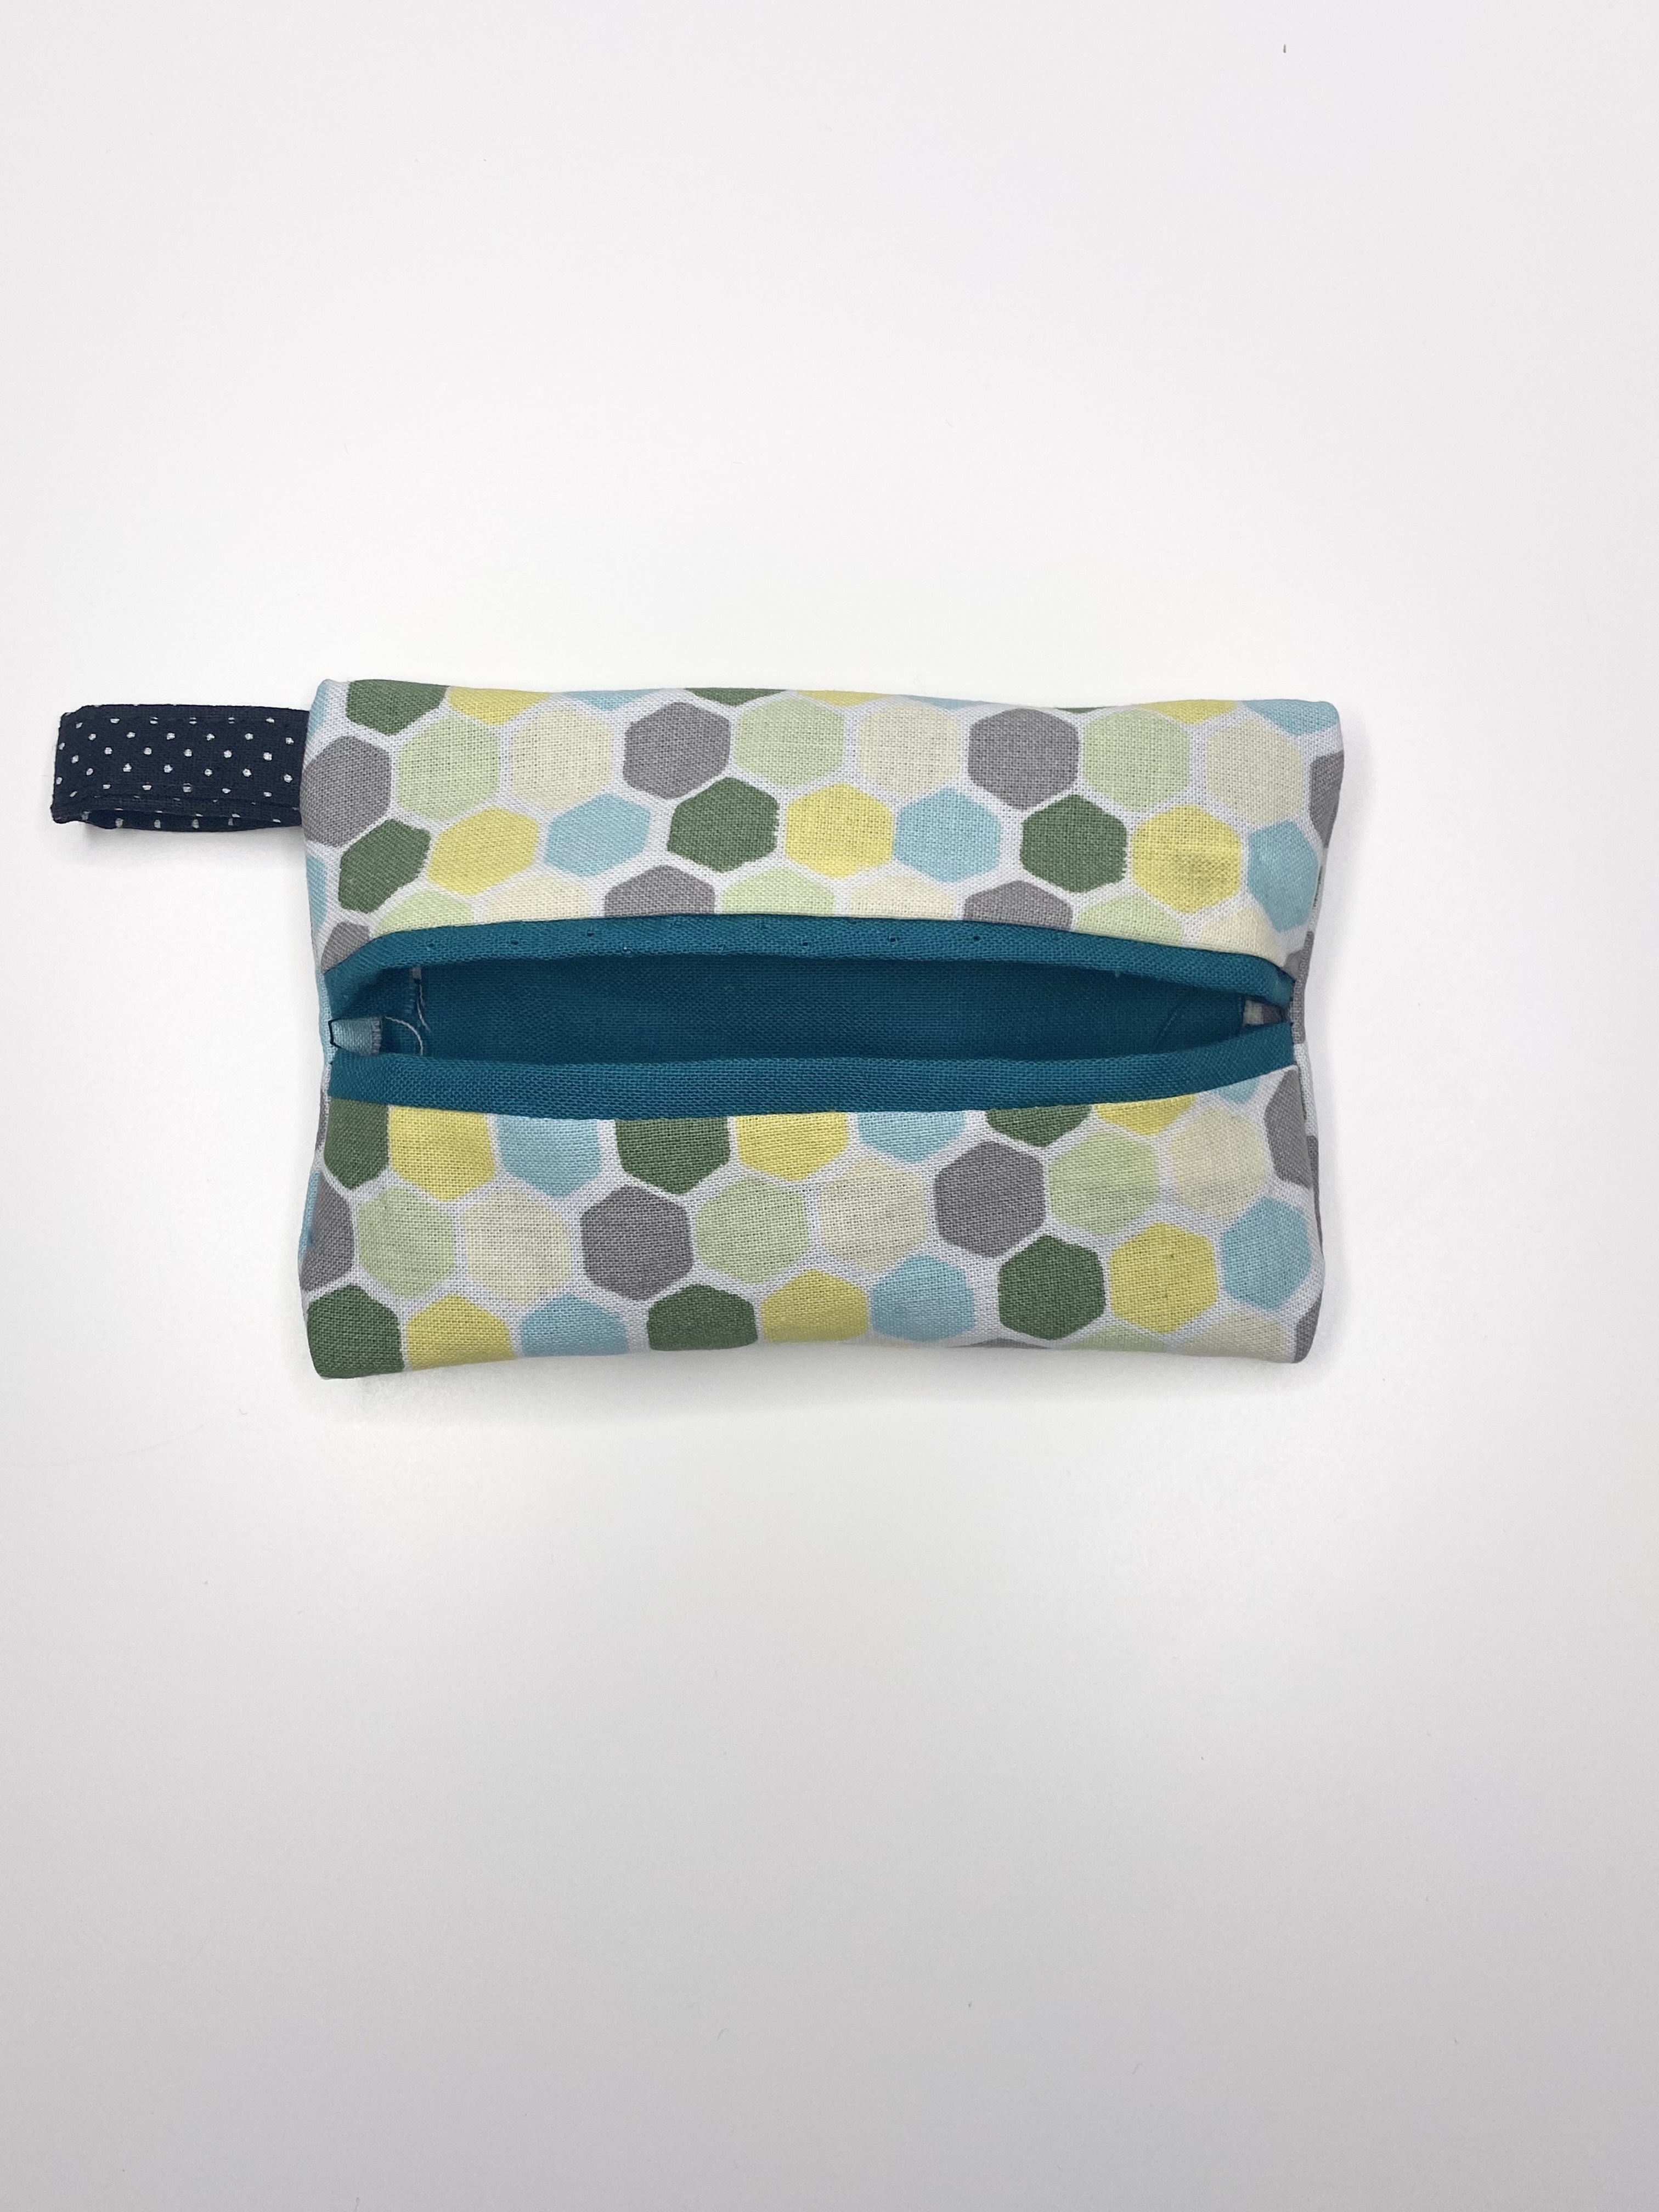
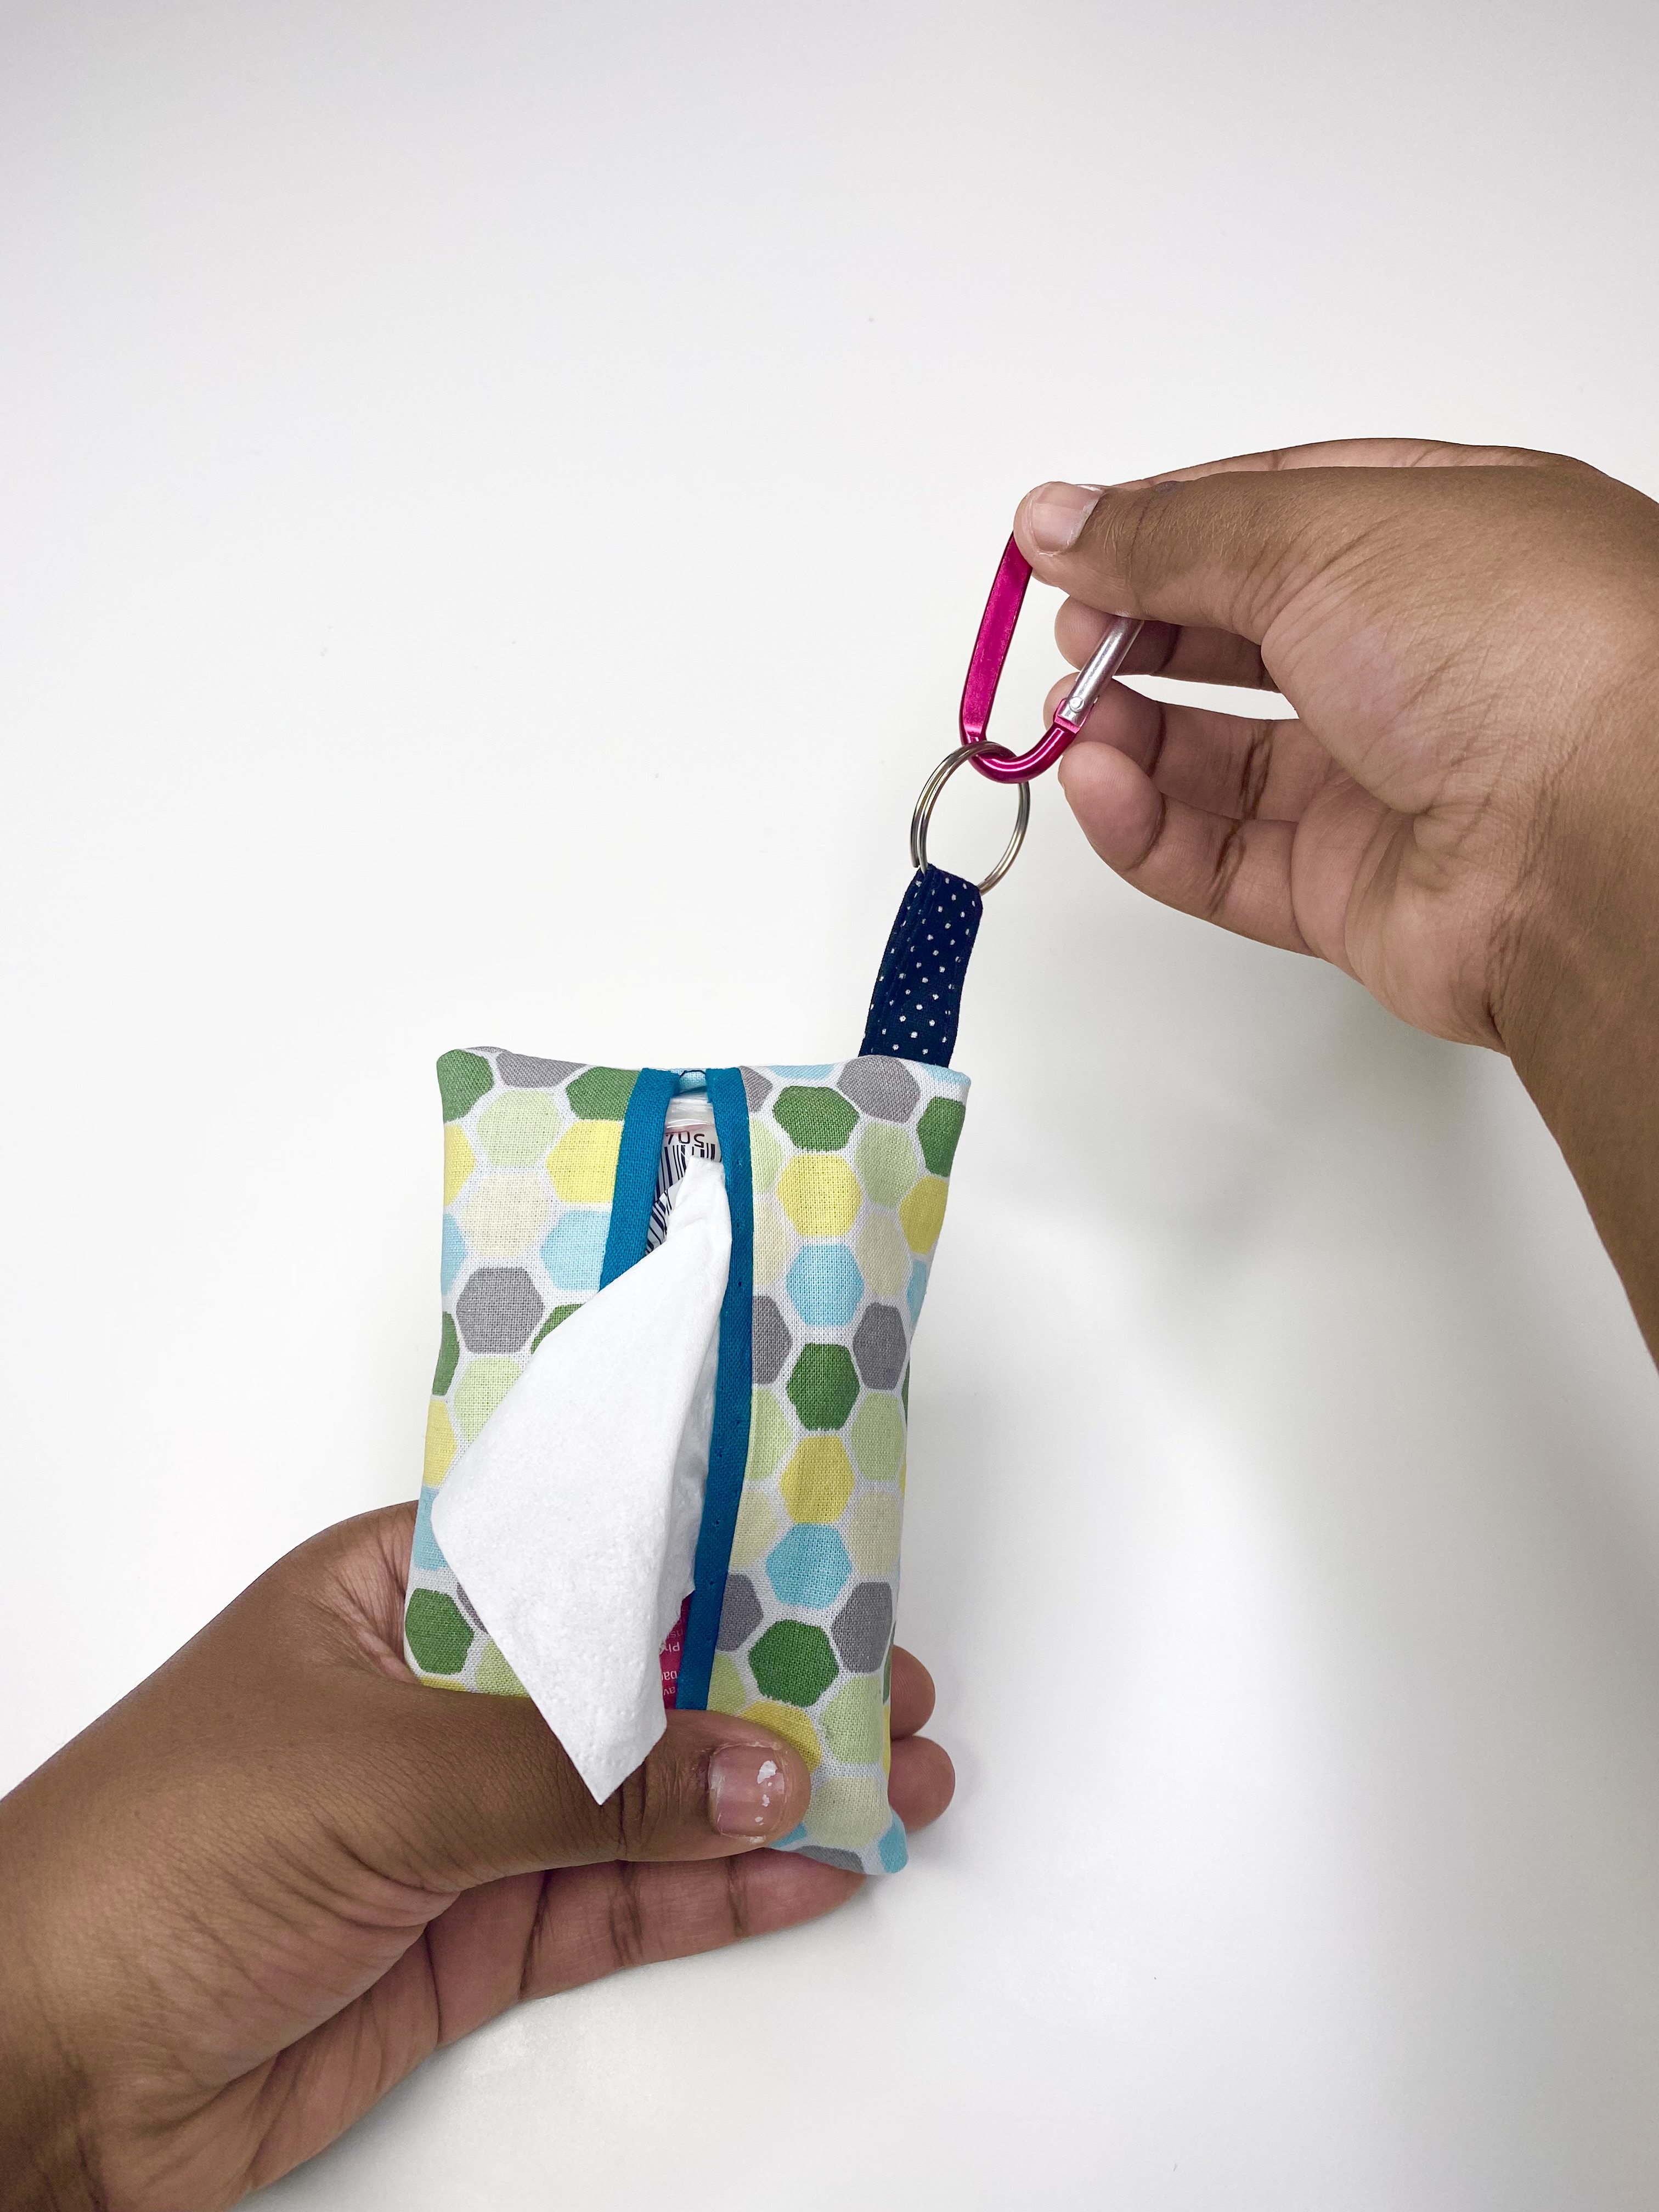
Step 7: Attaching the Tissue Holder
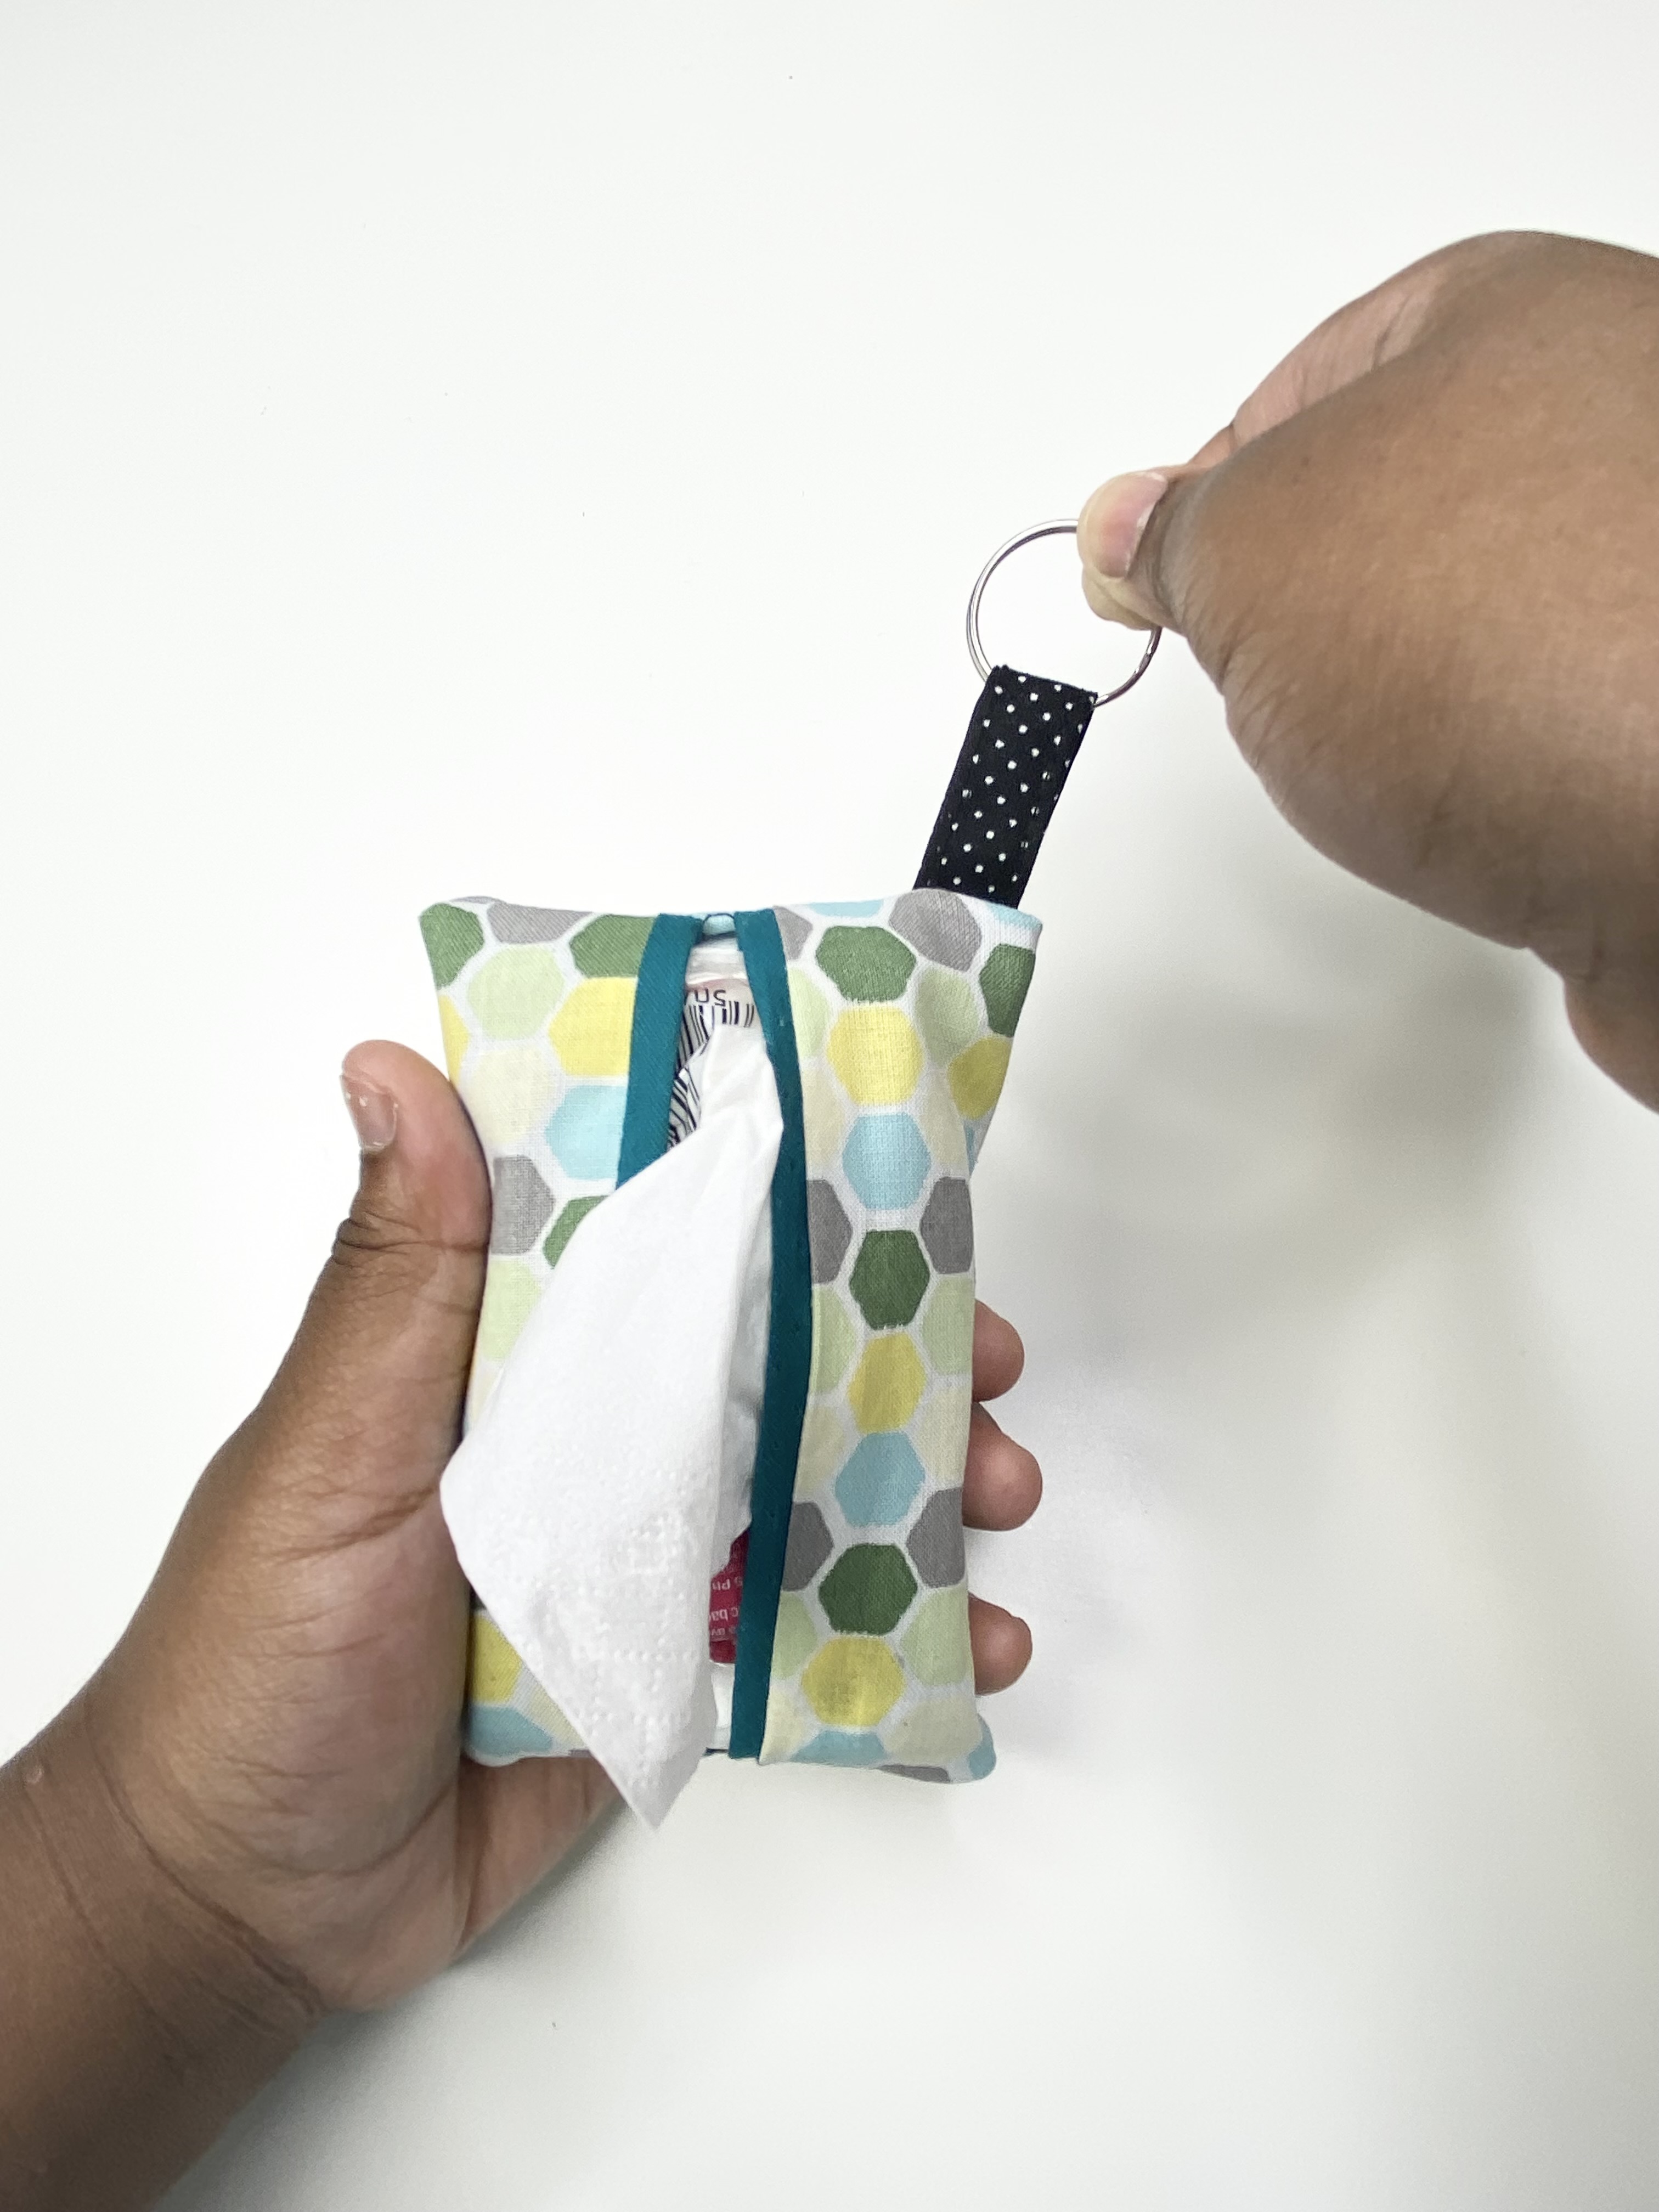
Take a keyring and slide it onto your tab so that you can attach it to your keys. Use a simple clamp to attach it to your purse, backpack, and even belt loops!
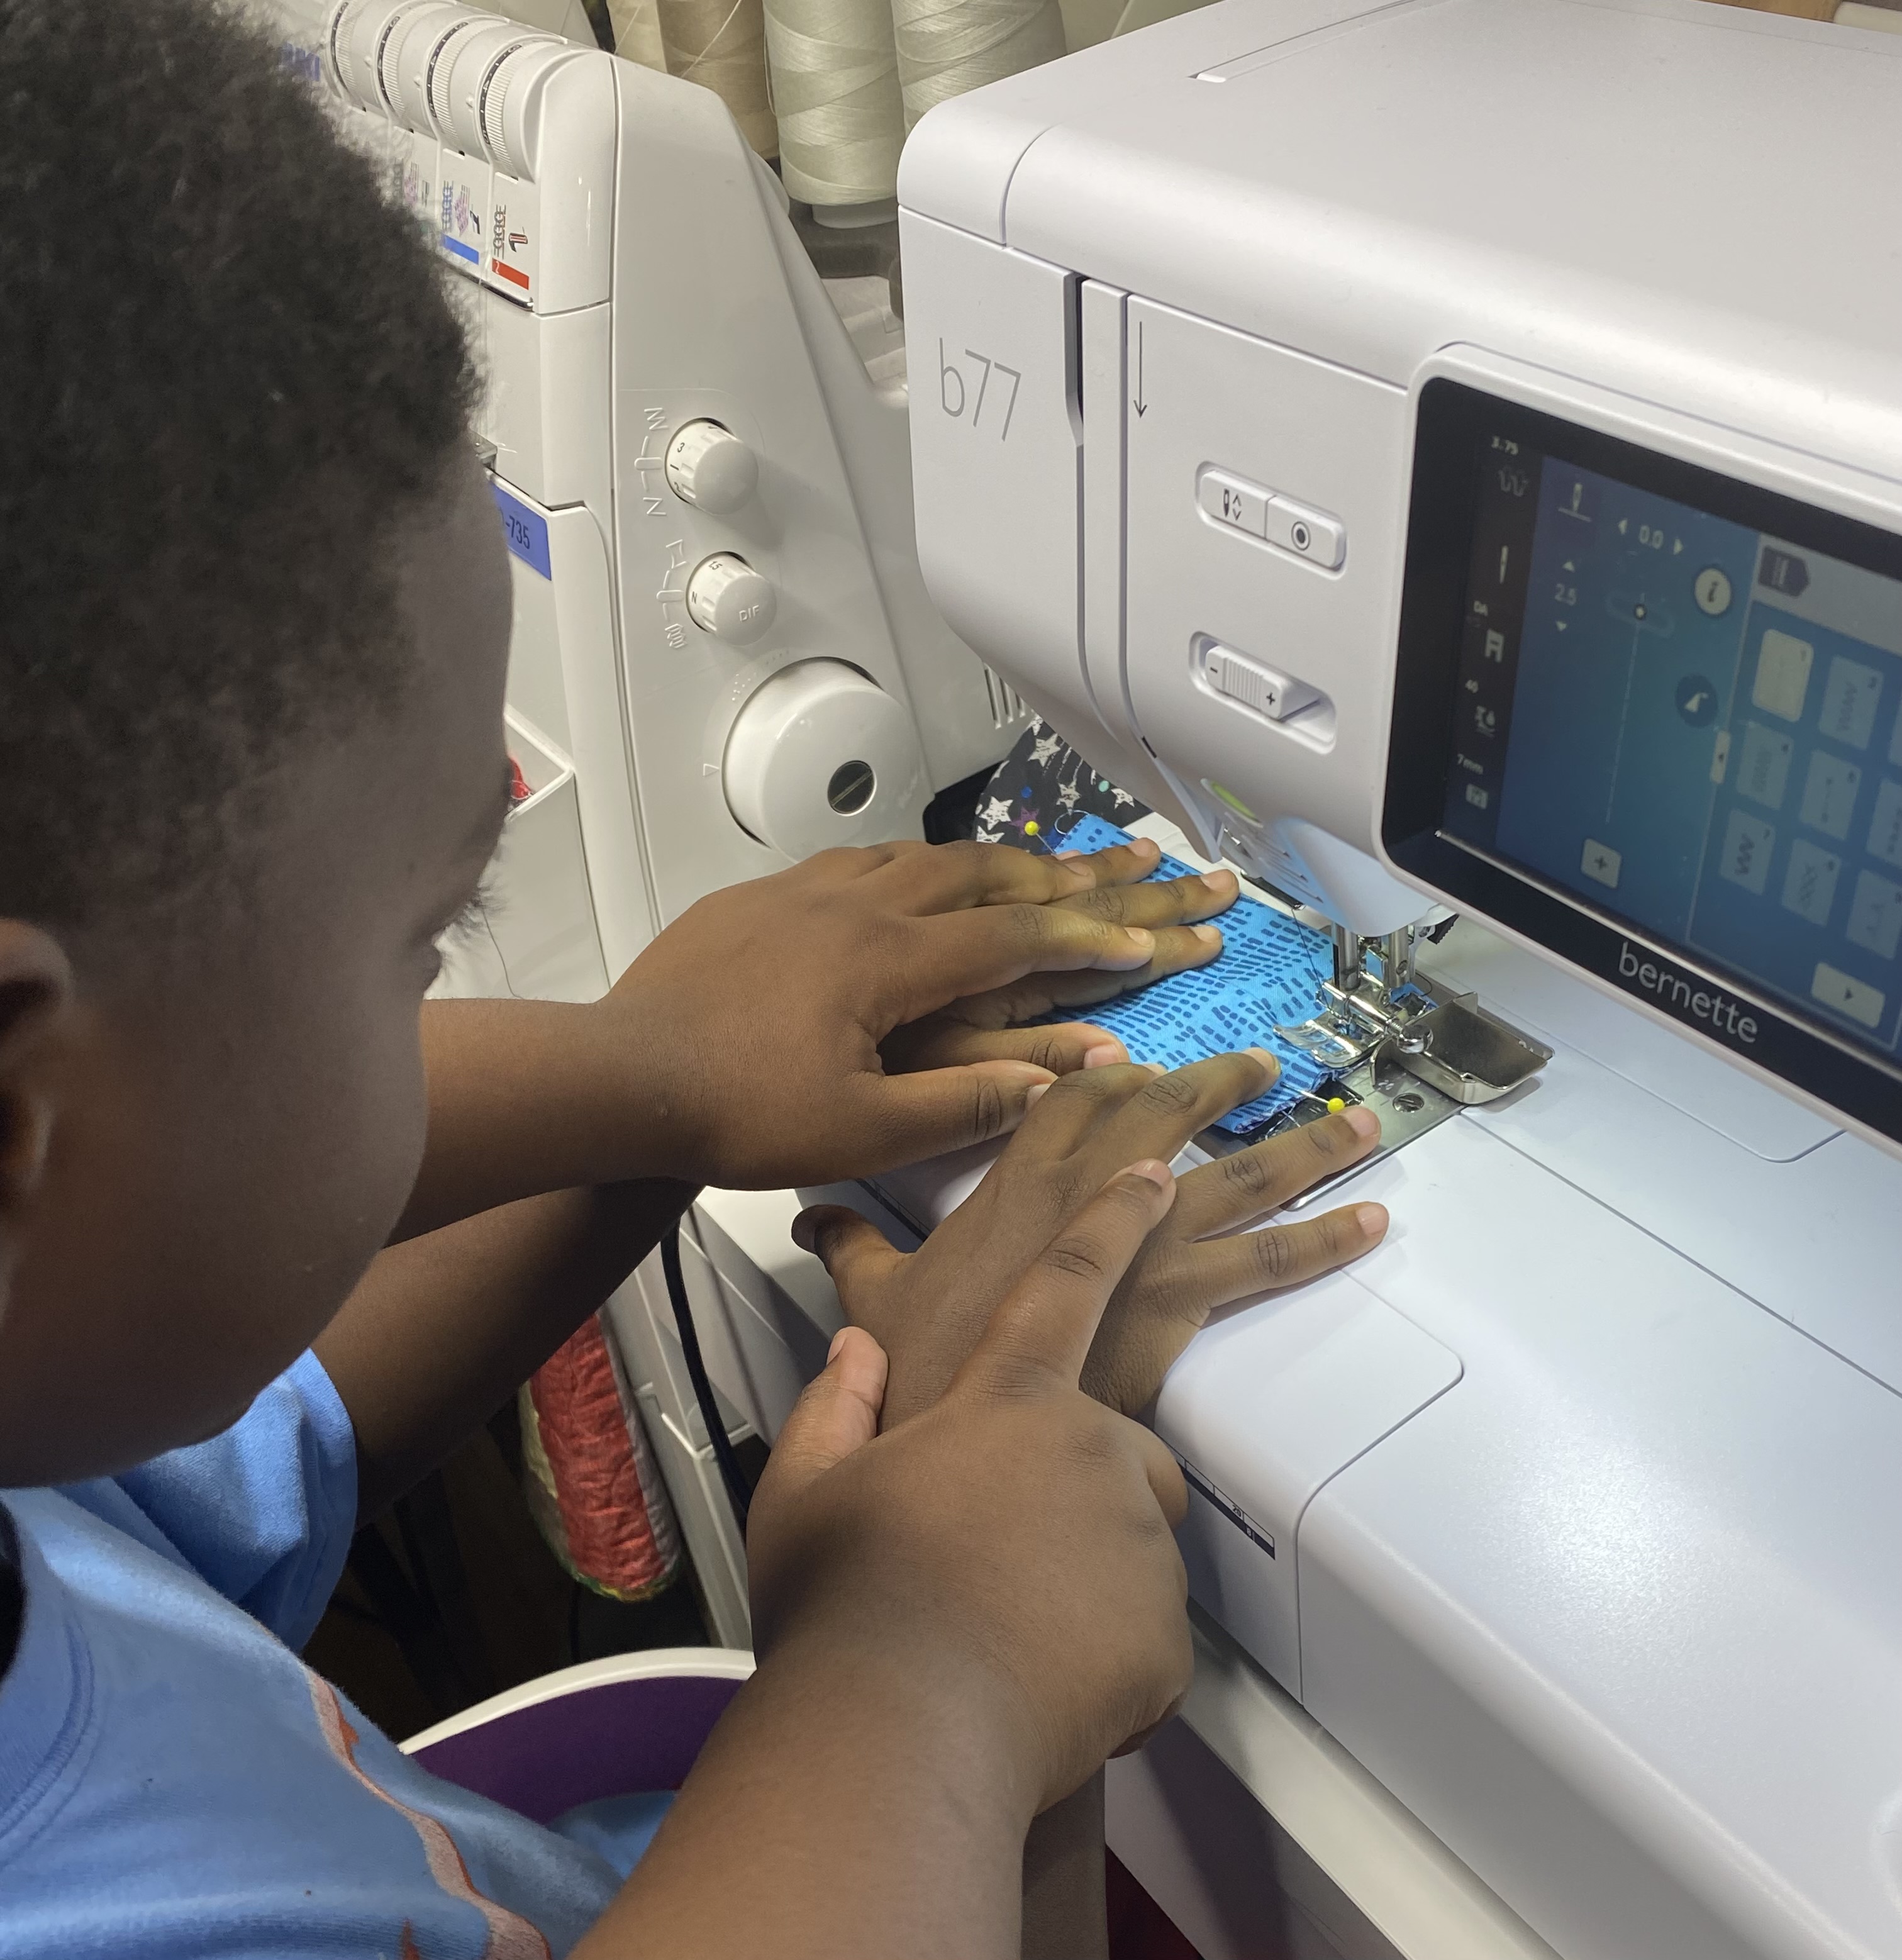
This is a wonderful project for kids just learning how to sew. It’s quick and super easy, and it will allow them to make gifts for friends and family. I taught my little brother how to make them as gifts for all of his friends!
Used Products
What you might also like


8 comments on “How to Sew a Keychain Tissue Holder”
-
-
Great! Let me know how it goes!
-
-
Several years ago my Mother wanted tissue holders for her friends and I used a ‘recipe’ just like this one. After step 3 I sewed down next to the trim to keep it in place. That was easy using a topstitch type foot with a guide.
When sewing the ends I made sure the lips met when I folded them to the center, often by making a couple of stitches by hand to hold them together. At the time I had no serger, but that would have been perfect for sewing those short ends in step 5.
It sure did cut down on my scraps, and made her extremely happy. I made a bazillion of them but without the key holder.-
OHHH THAT’S A GREAT IDEA! I’m going to try that topstitching technique.
-
-
Love this idea! i’m going to make for my friends and me and my daughter will appreciate also for her 18 months baby boy who is yet chocolate addict! this will save the baby sweats 🙂
thank you.-
Ha ha ha! Enjoy!
-
Leave a Reply
You must be logged in to post a comment.

Love it! Plan to make one or several today.