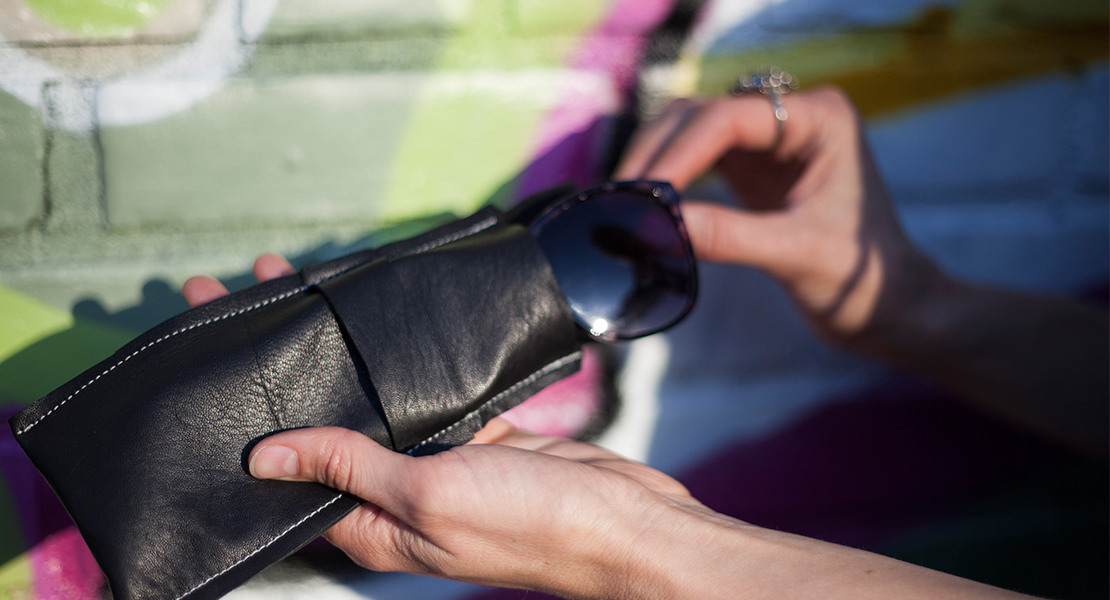
How to Sew an Eyeglass Case
If you wear glasses as I do then I’ve got a beginner-friendly project just for you! This quick and easy eyeglass case is really handy for people who wear glasses every day, but it’s also great for people who wear sunglasses regularly too! It’s quick and easy, and it’s the perfect first project for anyone that is learning how to sew.
Materials to Sew an Eyeglass Case
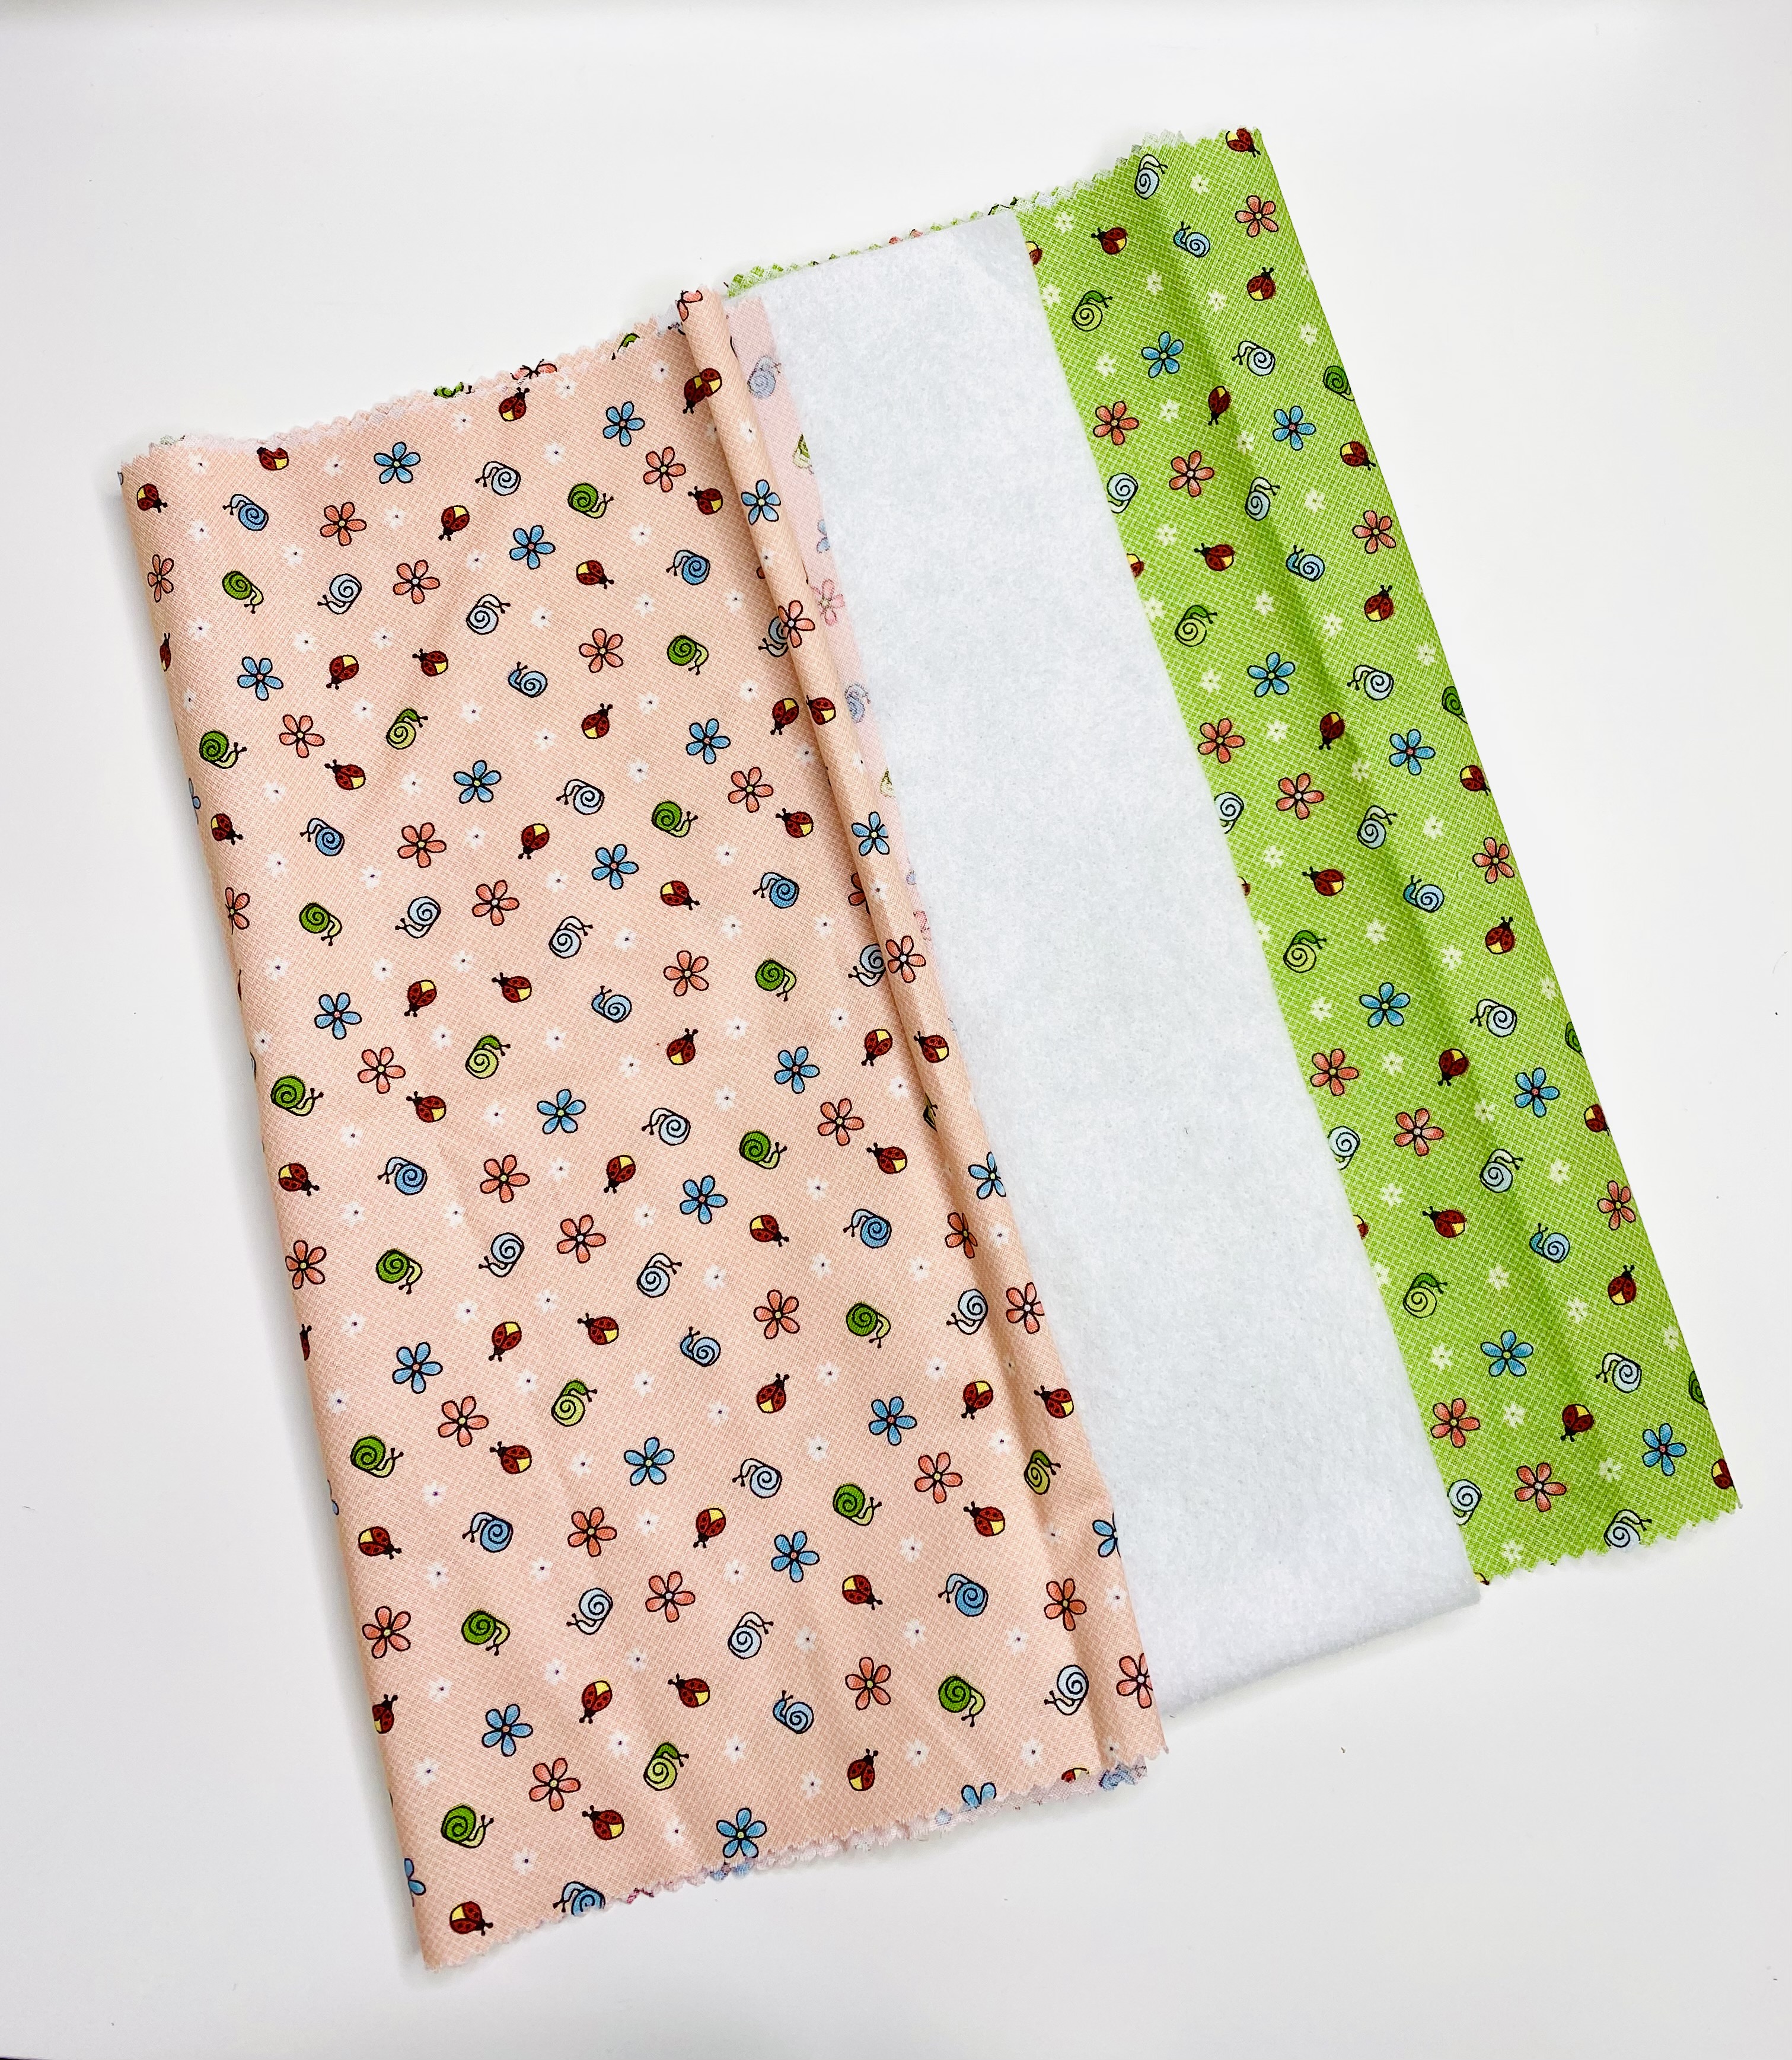
- Main fabric: (2) 4 1/4″ x 7 1/4″ pieces
- Lining fabric: (2) 4″ x 7″ pieces
- (2) 4″ x 7″ pieces of thin batting
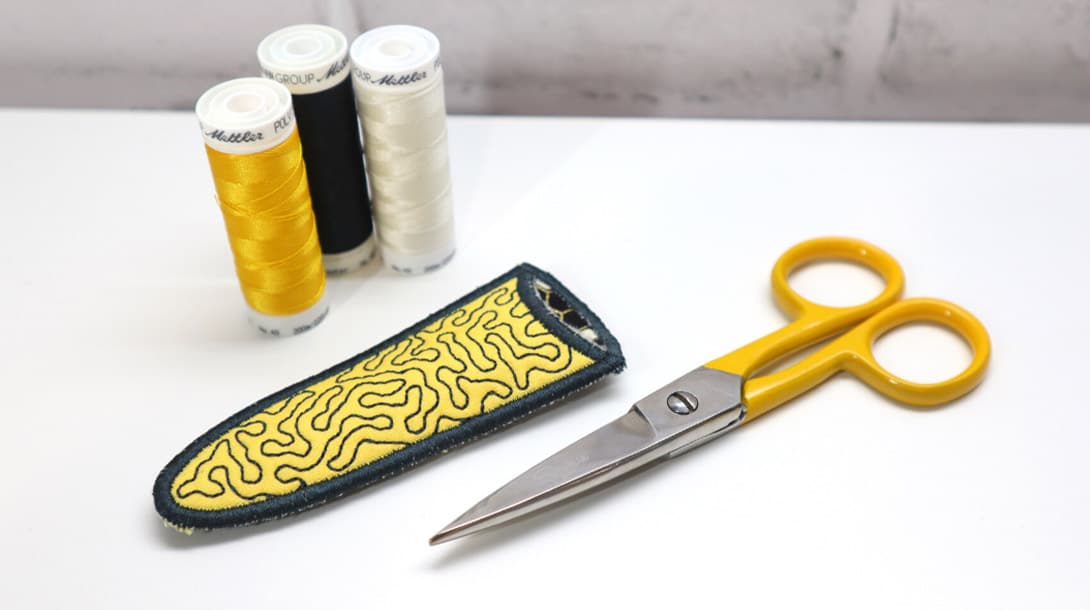
- Fabric shears
- Straight Pins
- Iron and ironing mat
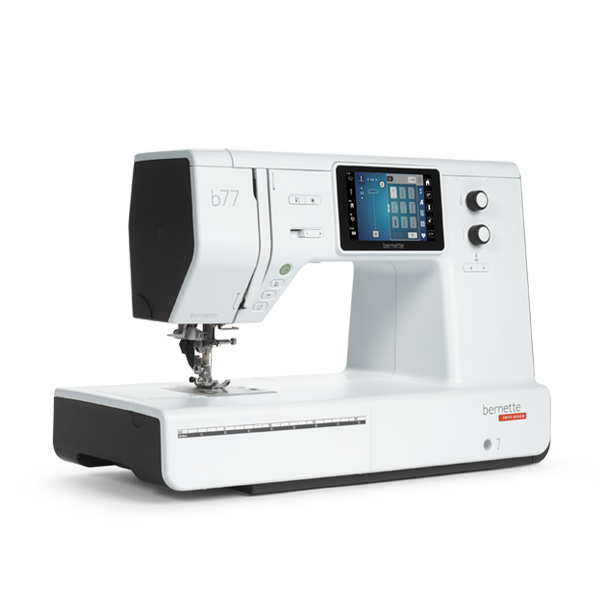
- Sewing machine ( I used my bernette 77, but I also recommend bernette 35 it’s perfect for beginners)
- Matching thread
Steps to Sew an Eyeglass Case
Step 1: Pick Your Fabric
The first thing you want to do is pick some fun fabric for your eyeglass case. You can use the same fabric in different colors like I did or you can use two totally different fabrics. If you prefer, you can use the same fabric for both the inside of your case and the outside.
Step 2: Cutting
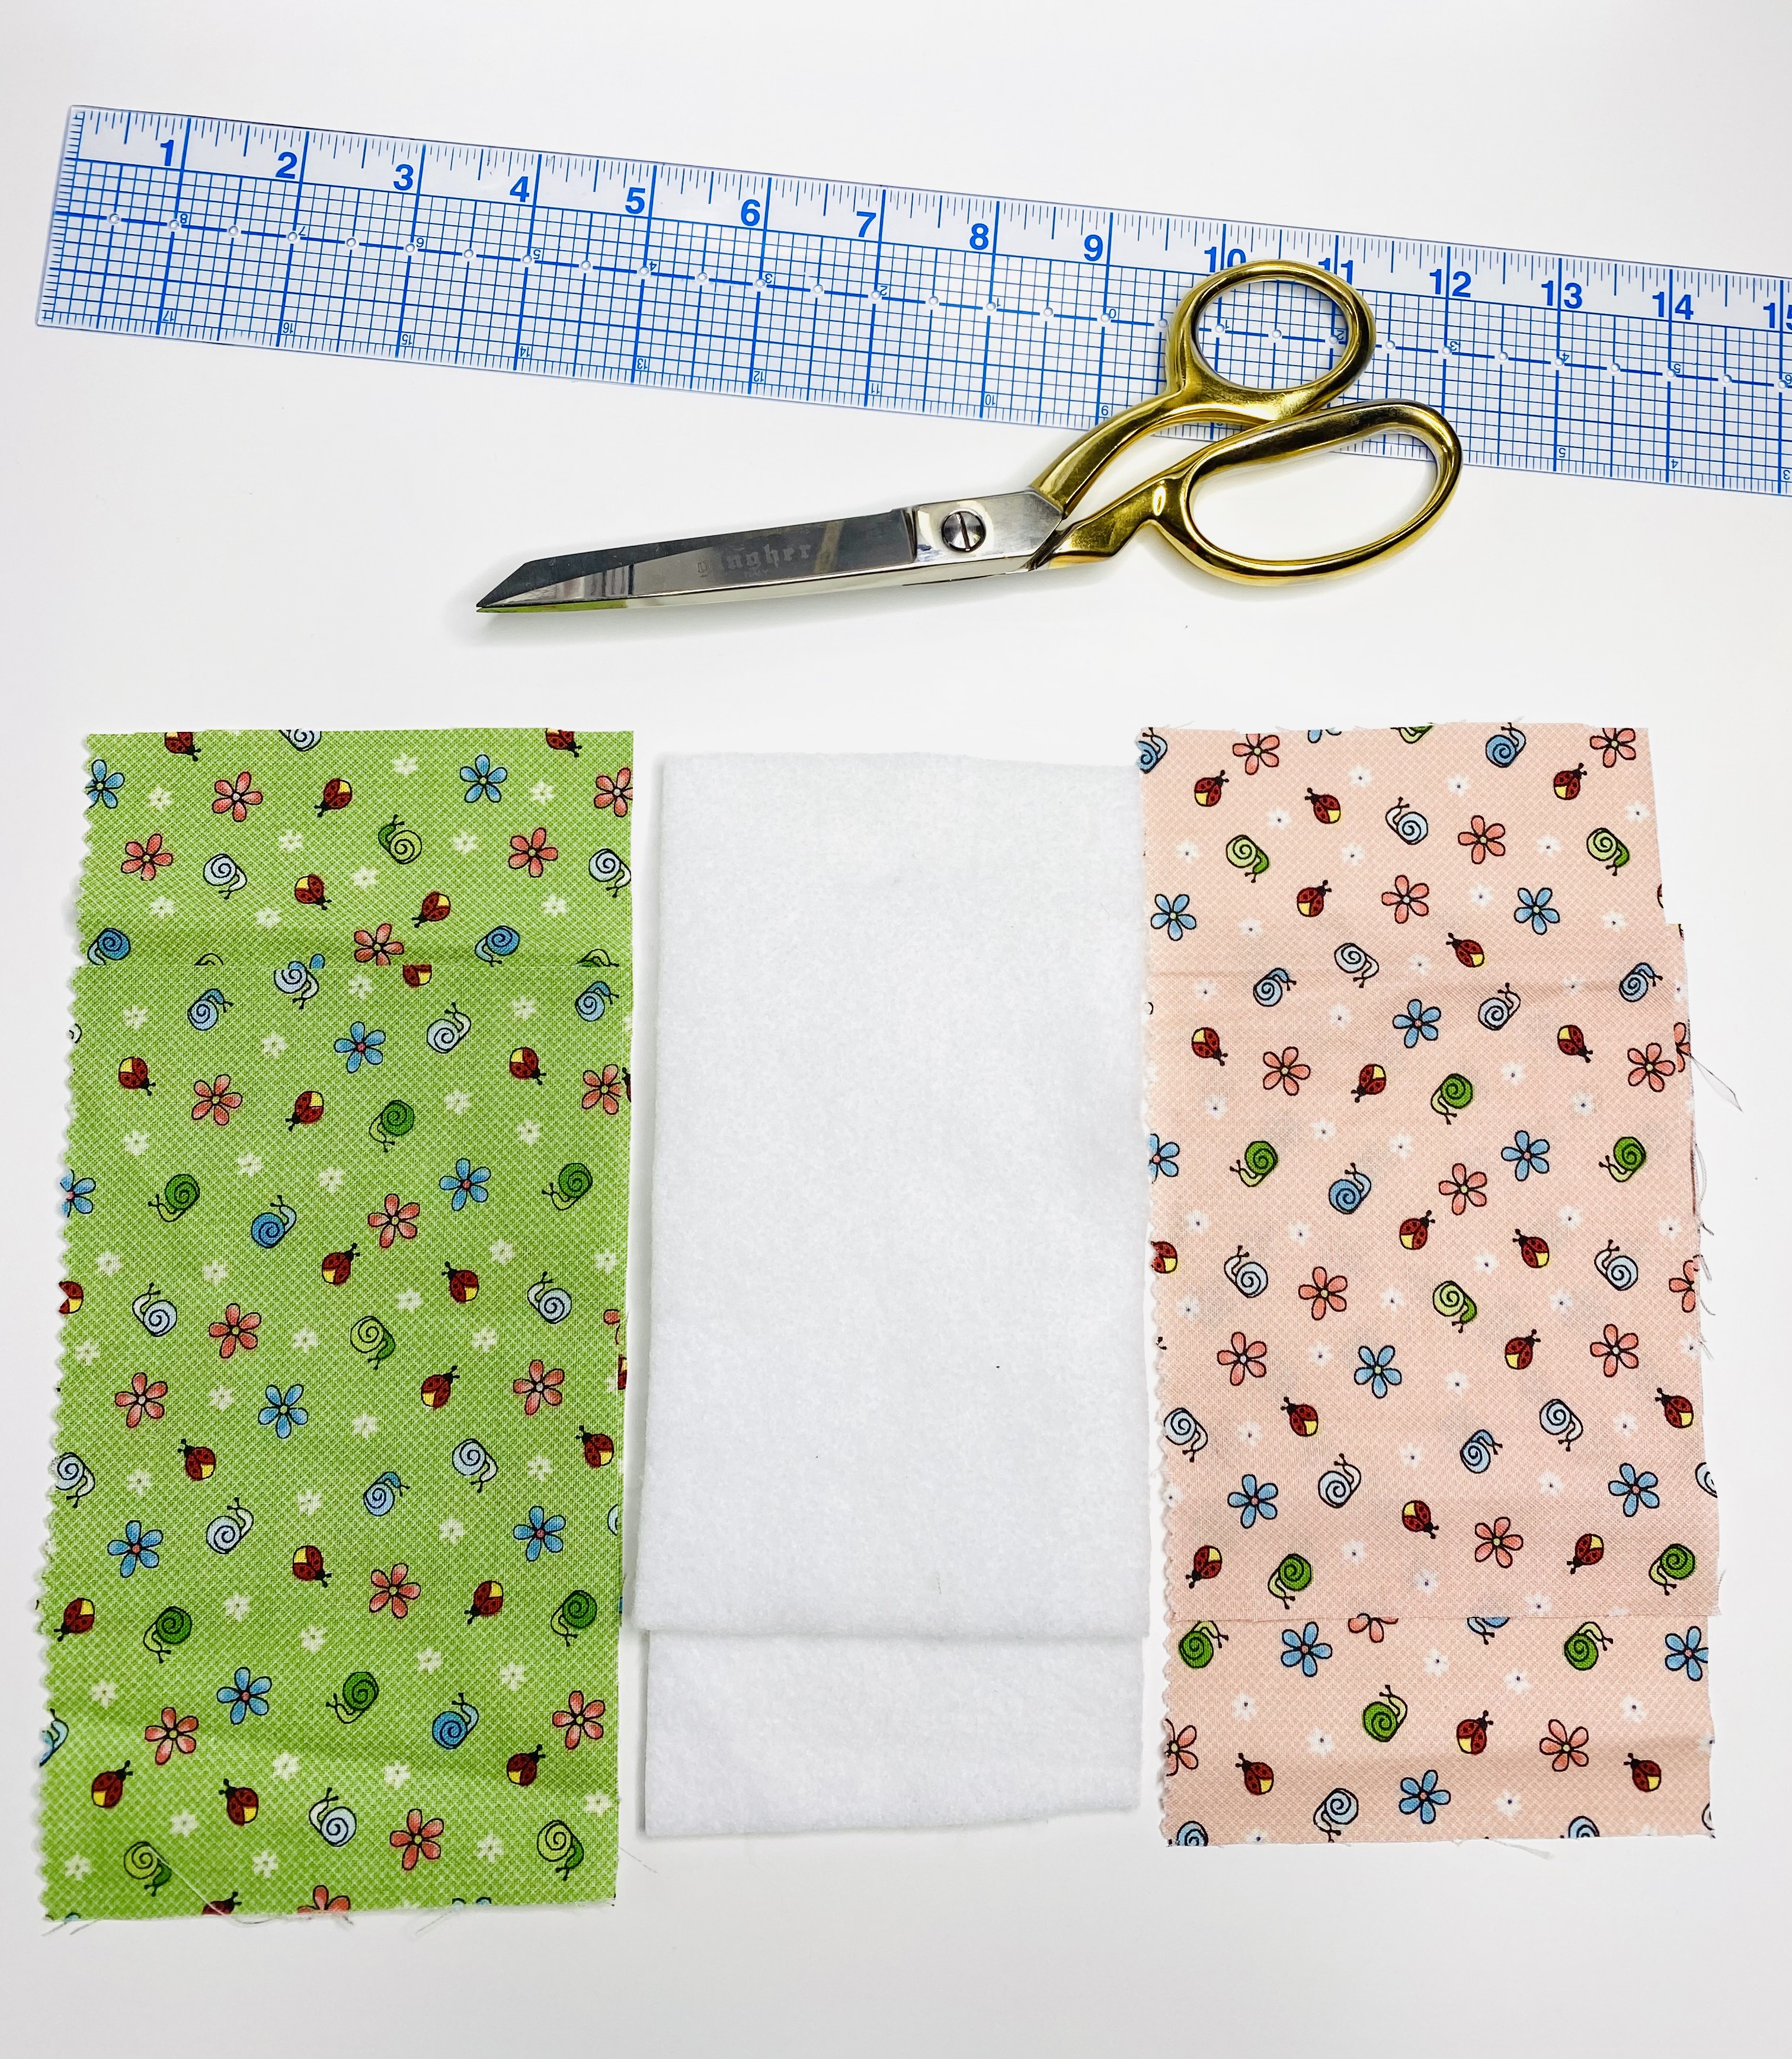
Once you’ve determined what kind of fabric you would like to use it’s time to cut out your eyeglass case. First, take your main fabric (which will be used for the outside fabric of your eyeglass case) and cut (2) pieces 4 1/4″ x 7 1/4″.
Next, take your lining fabric and cut (2) 4″ x 7″ pieces.
Finally, cut (2) pieces of your batting that are also 4″ x 7″.
Step 3: Assembly
Here’s where the fun begins because it’s time for us to assemble and sew our eyeglass case!
Place the wrong sides of your main fabric facing up towards you.
Grab your batting and place it on the wrong side of your main fabric and pin it in place.
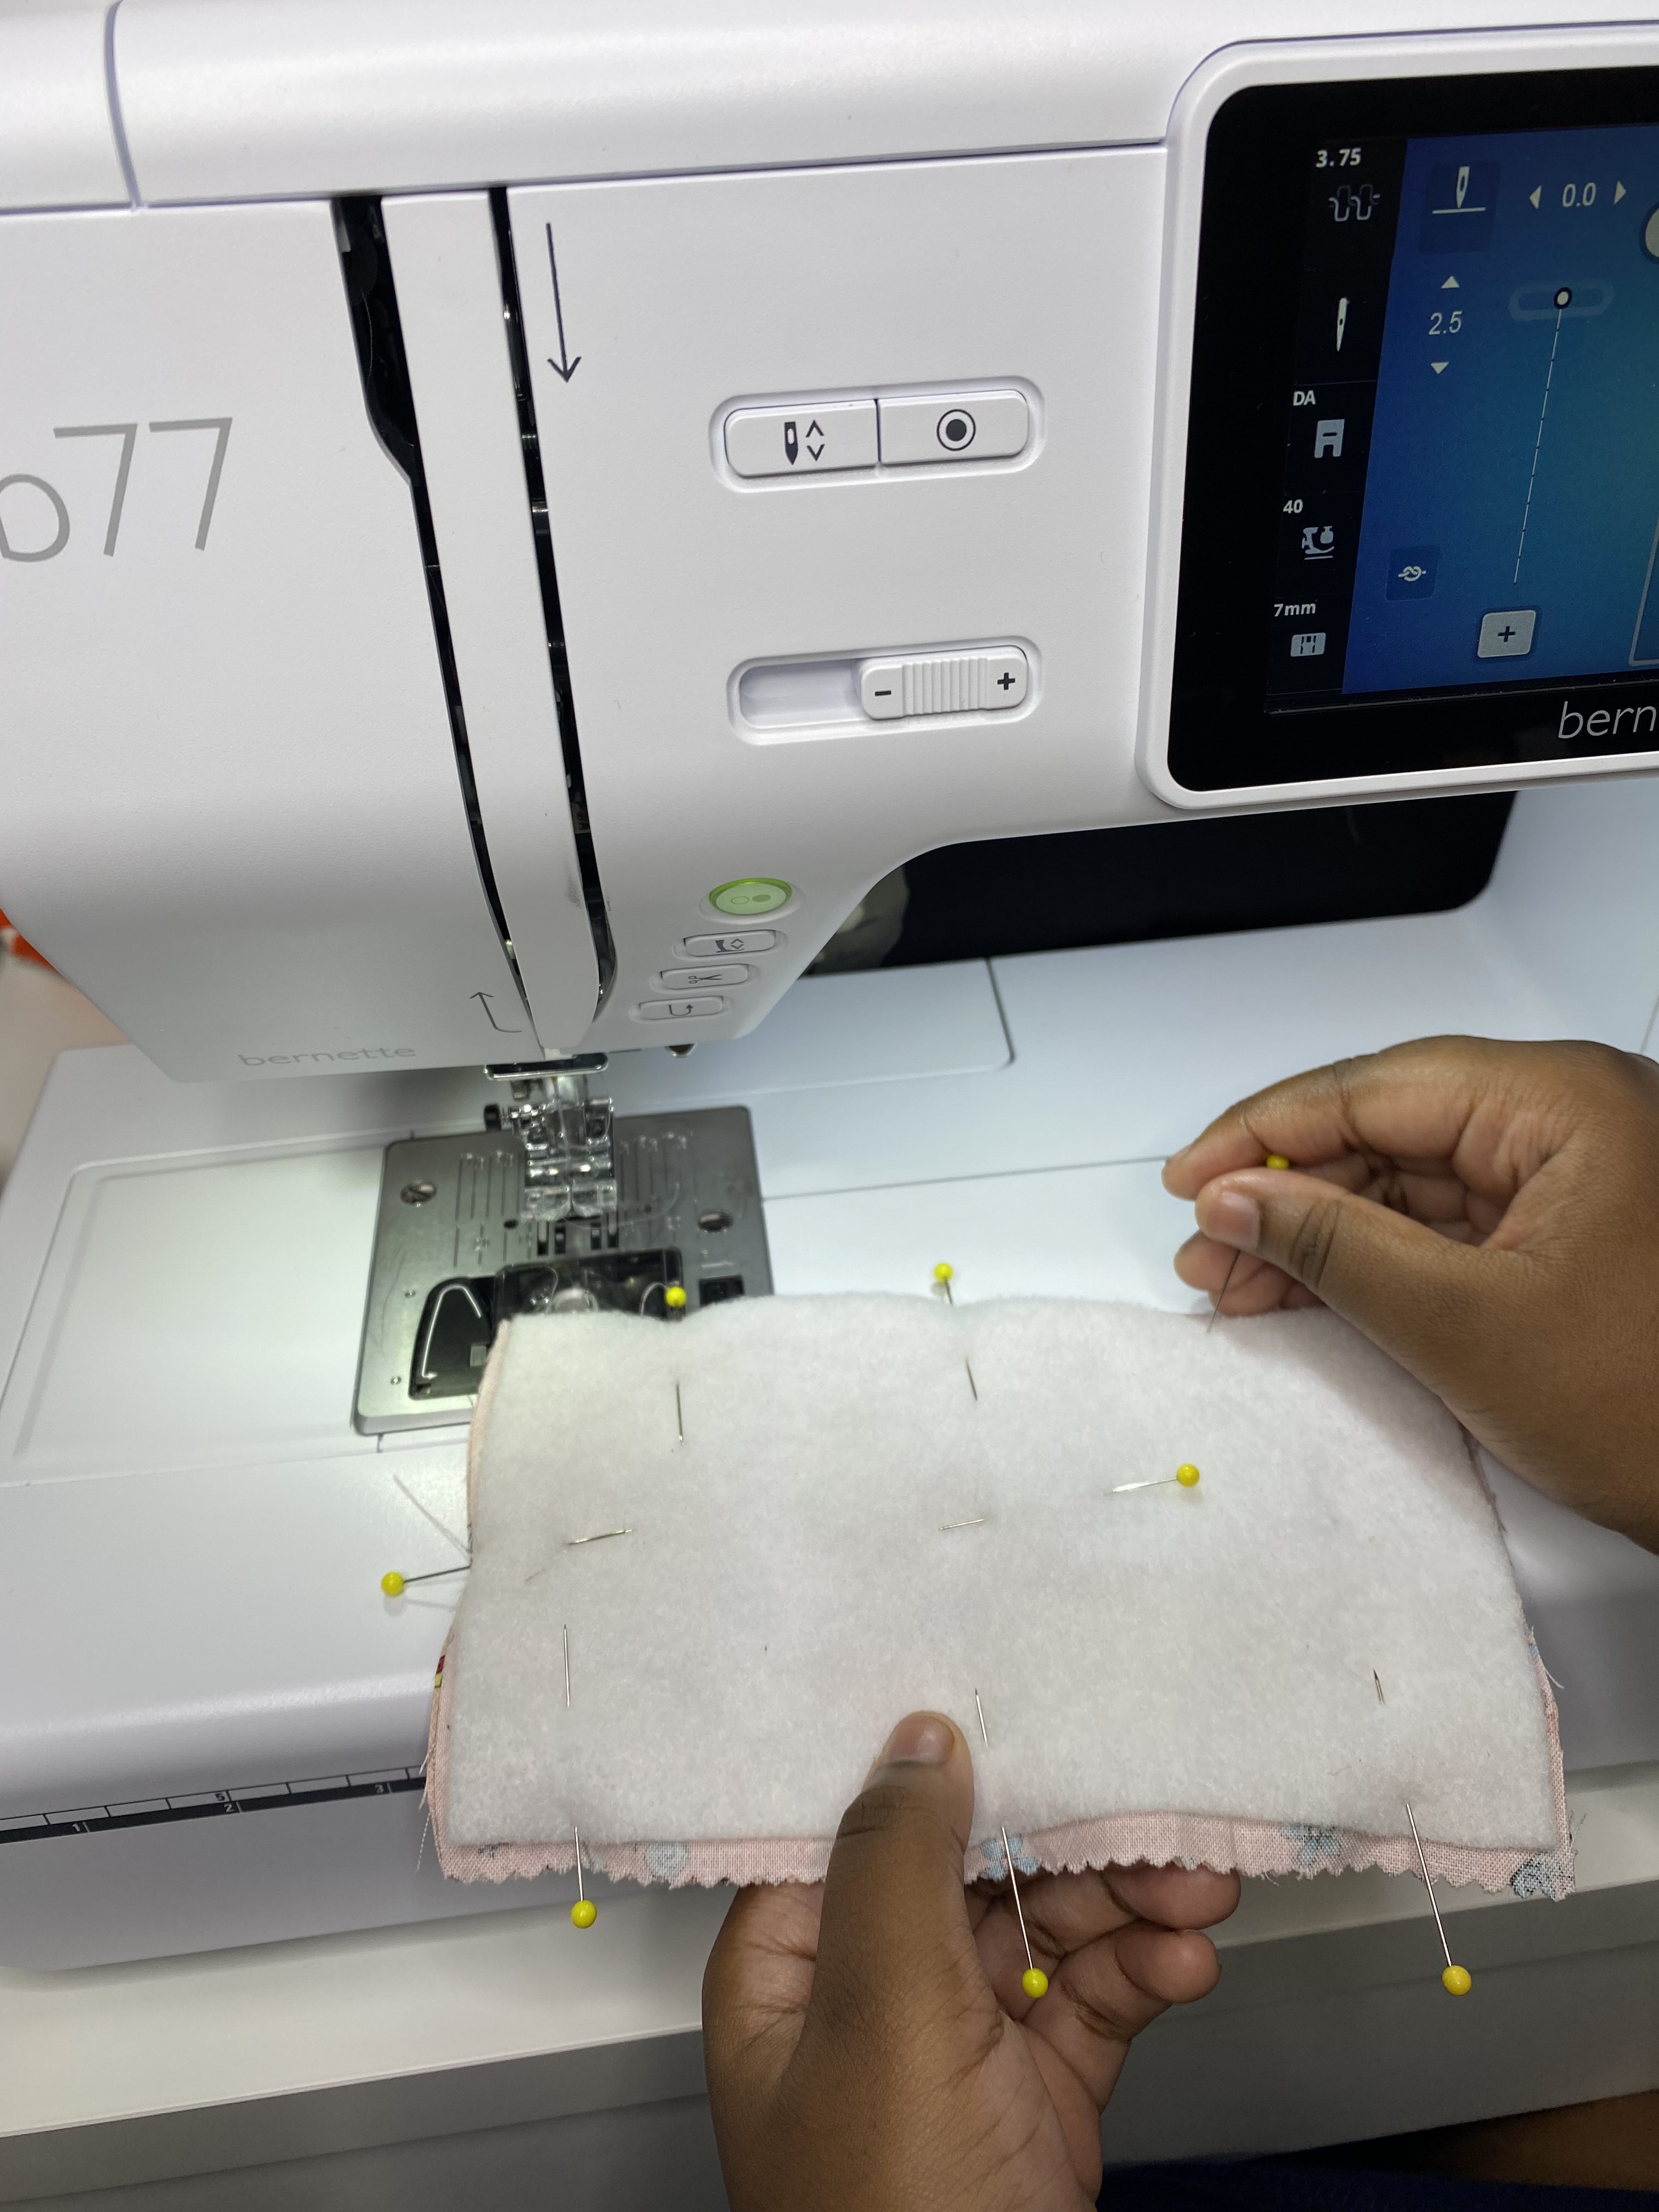
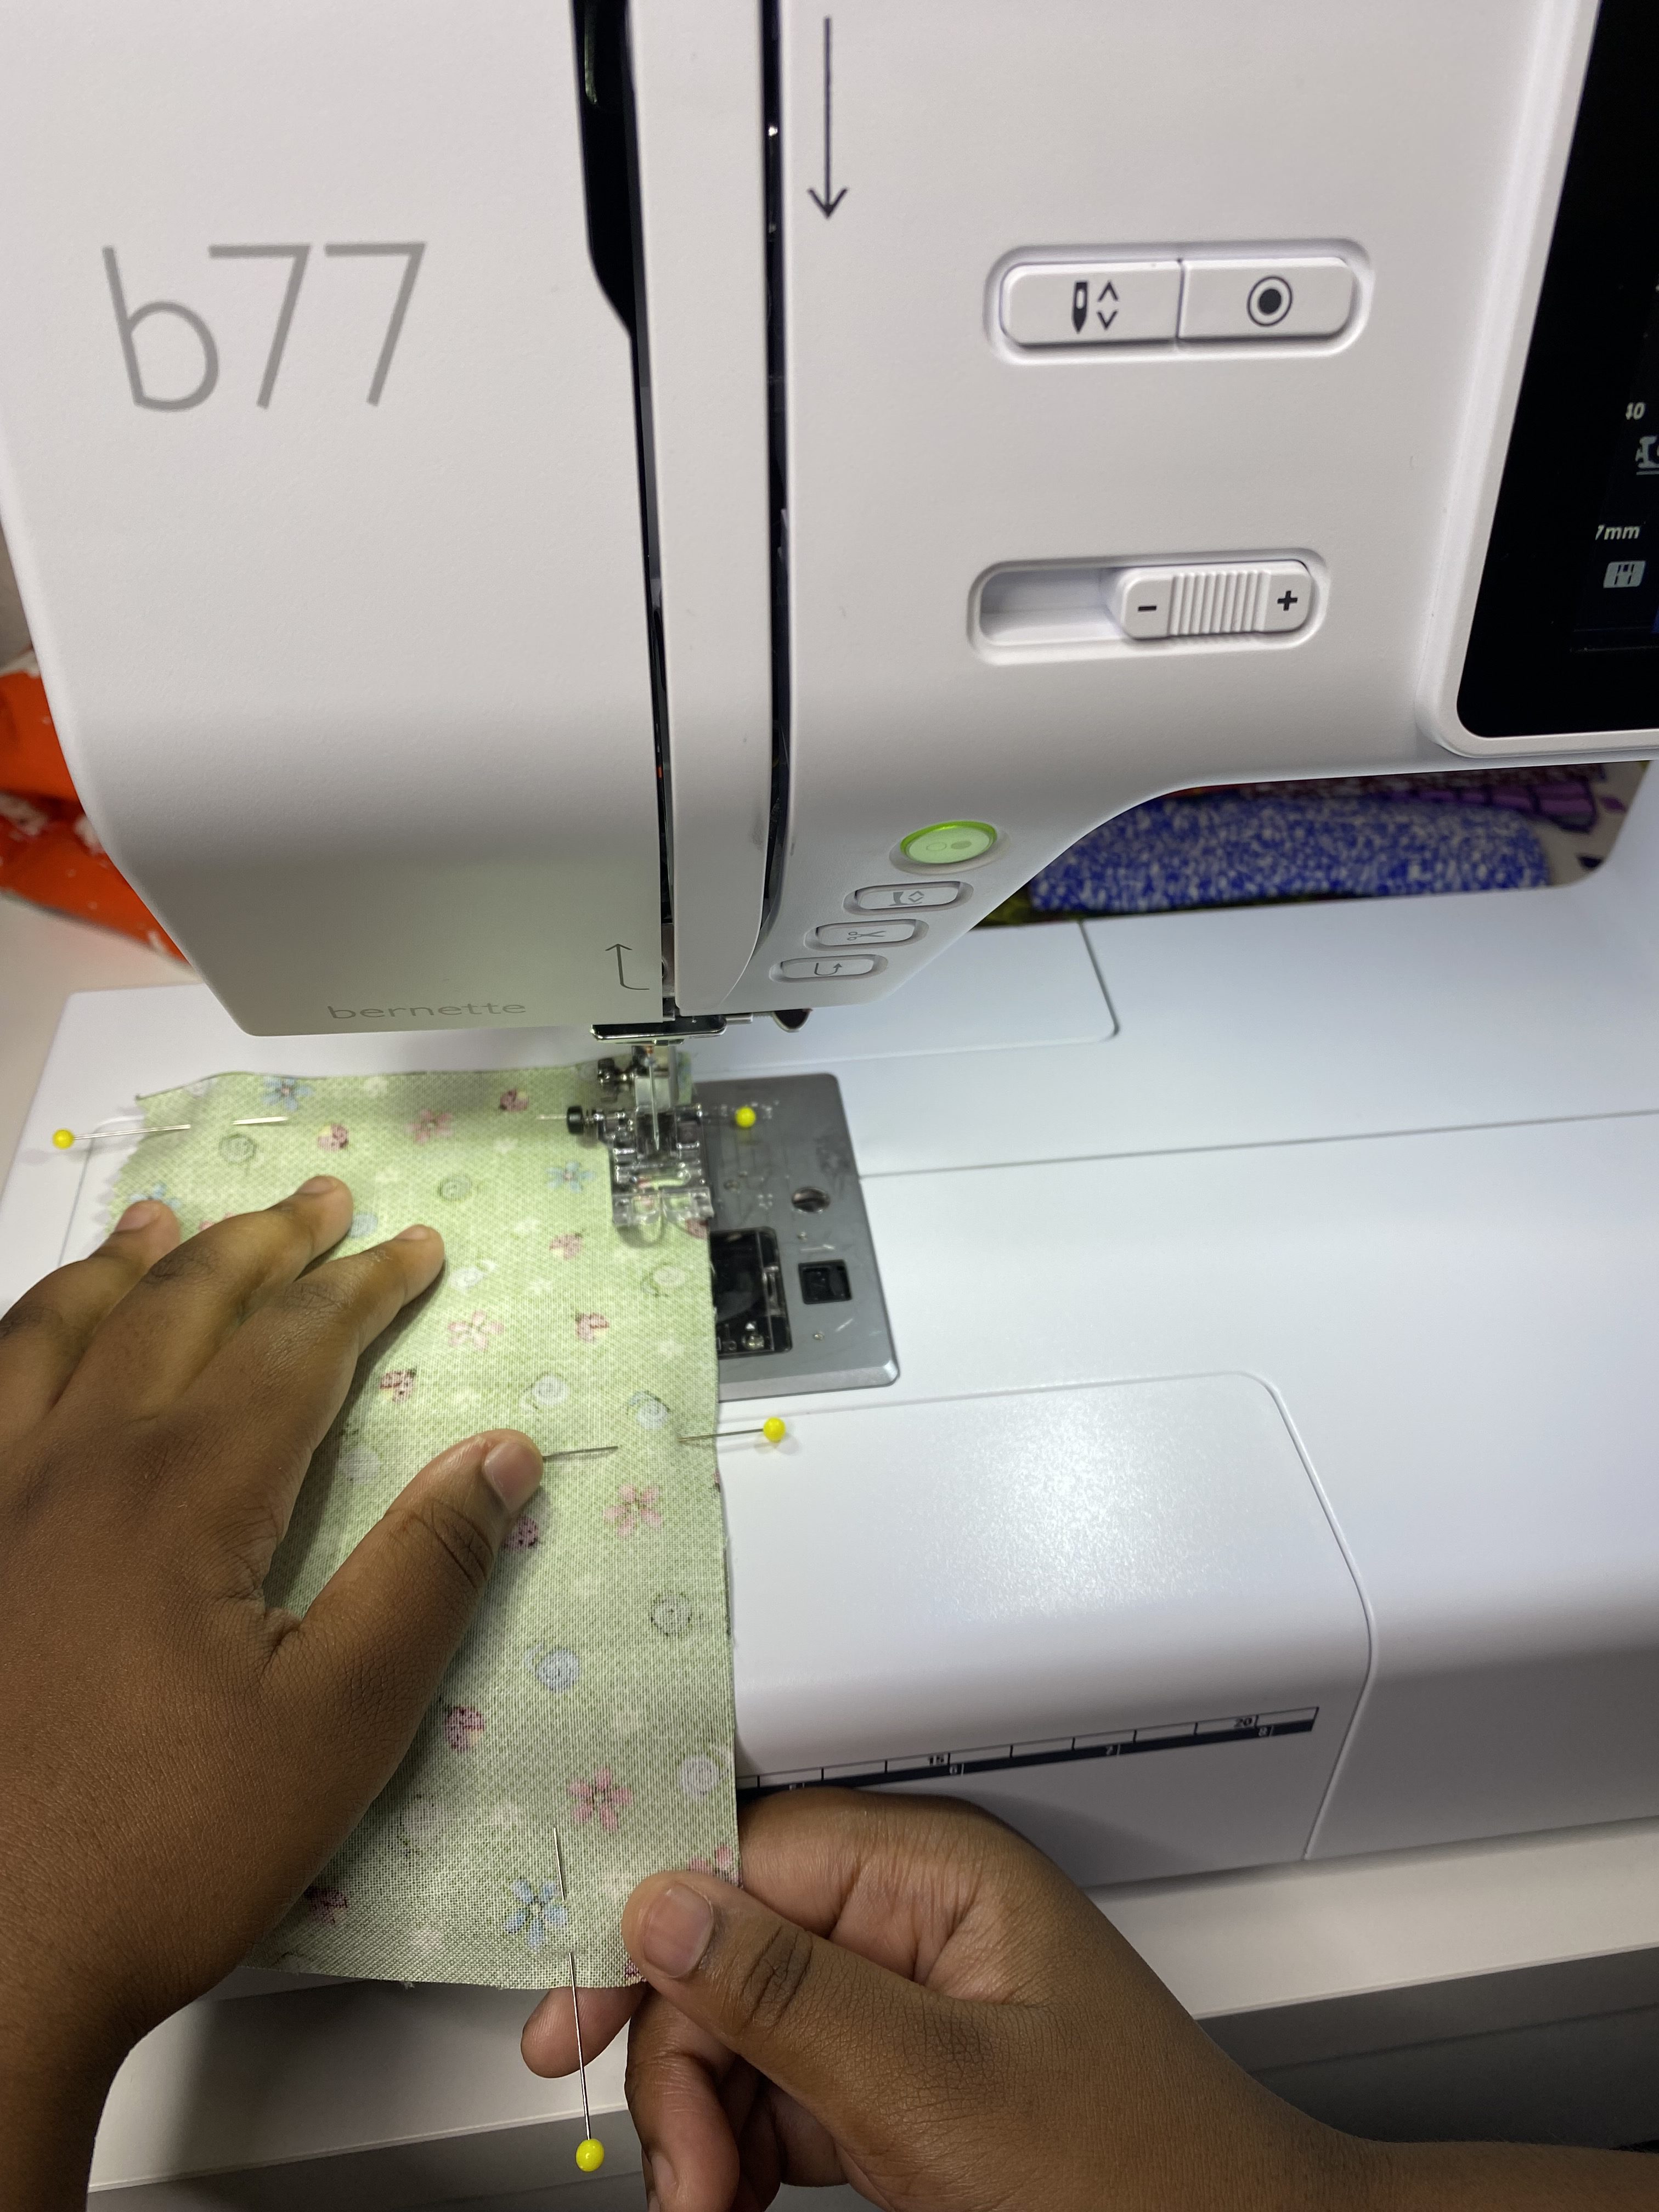
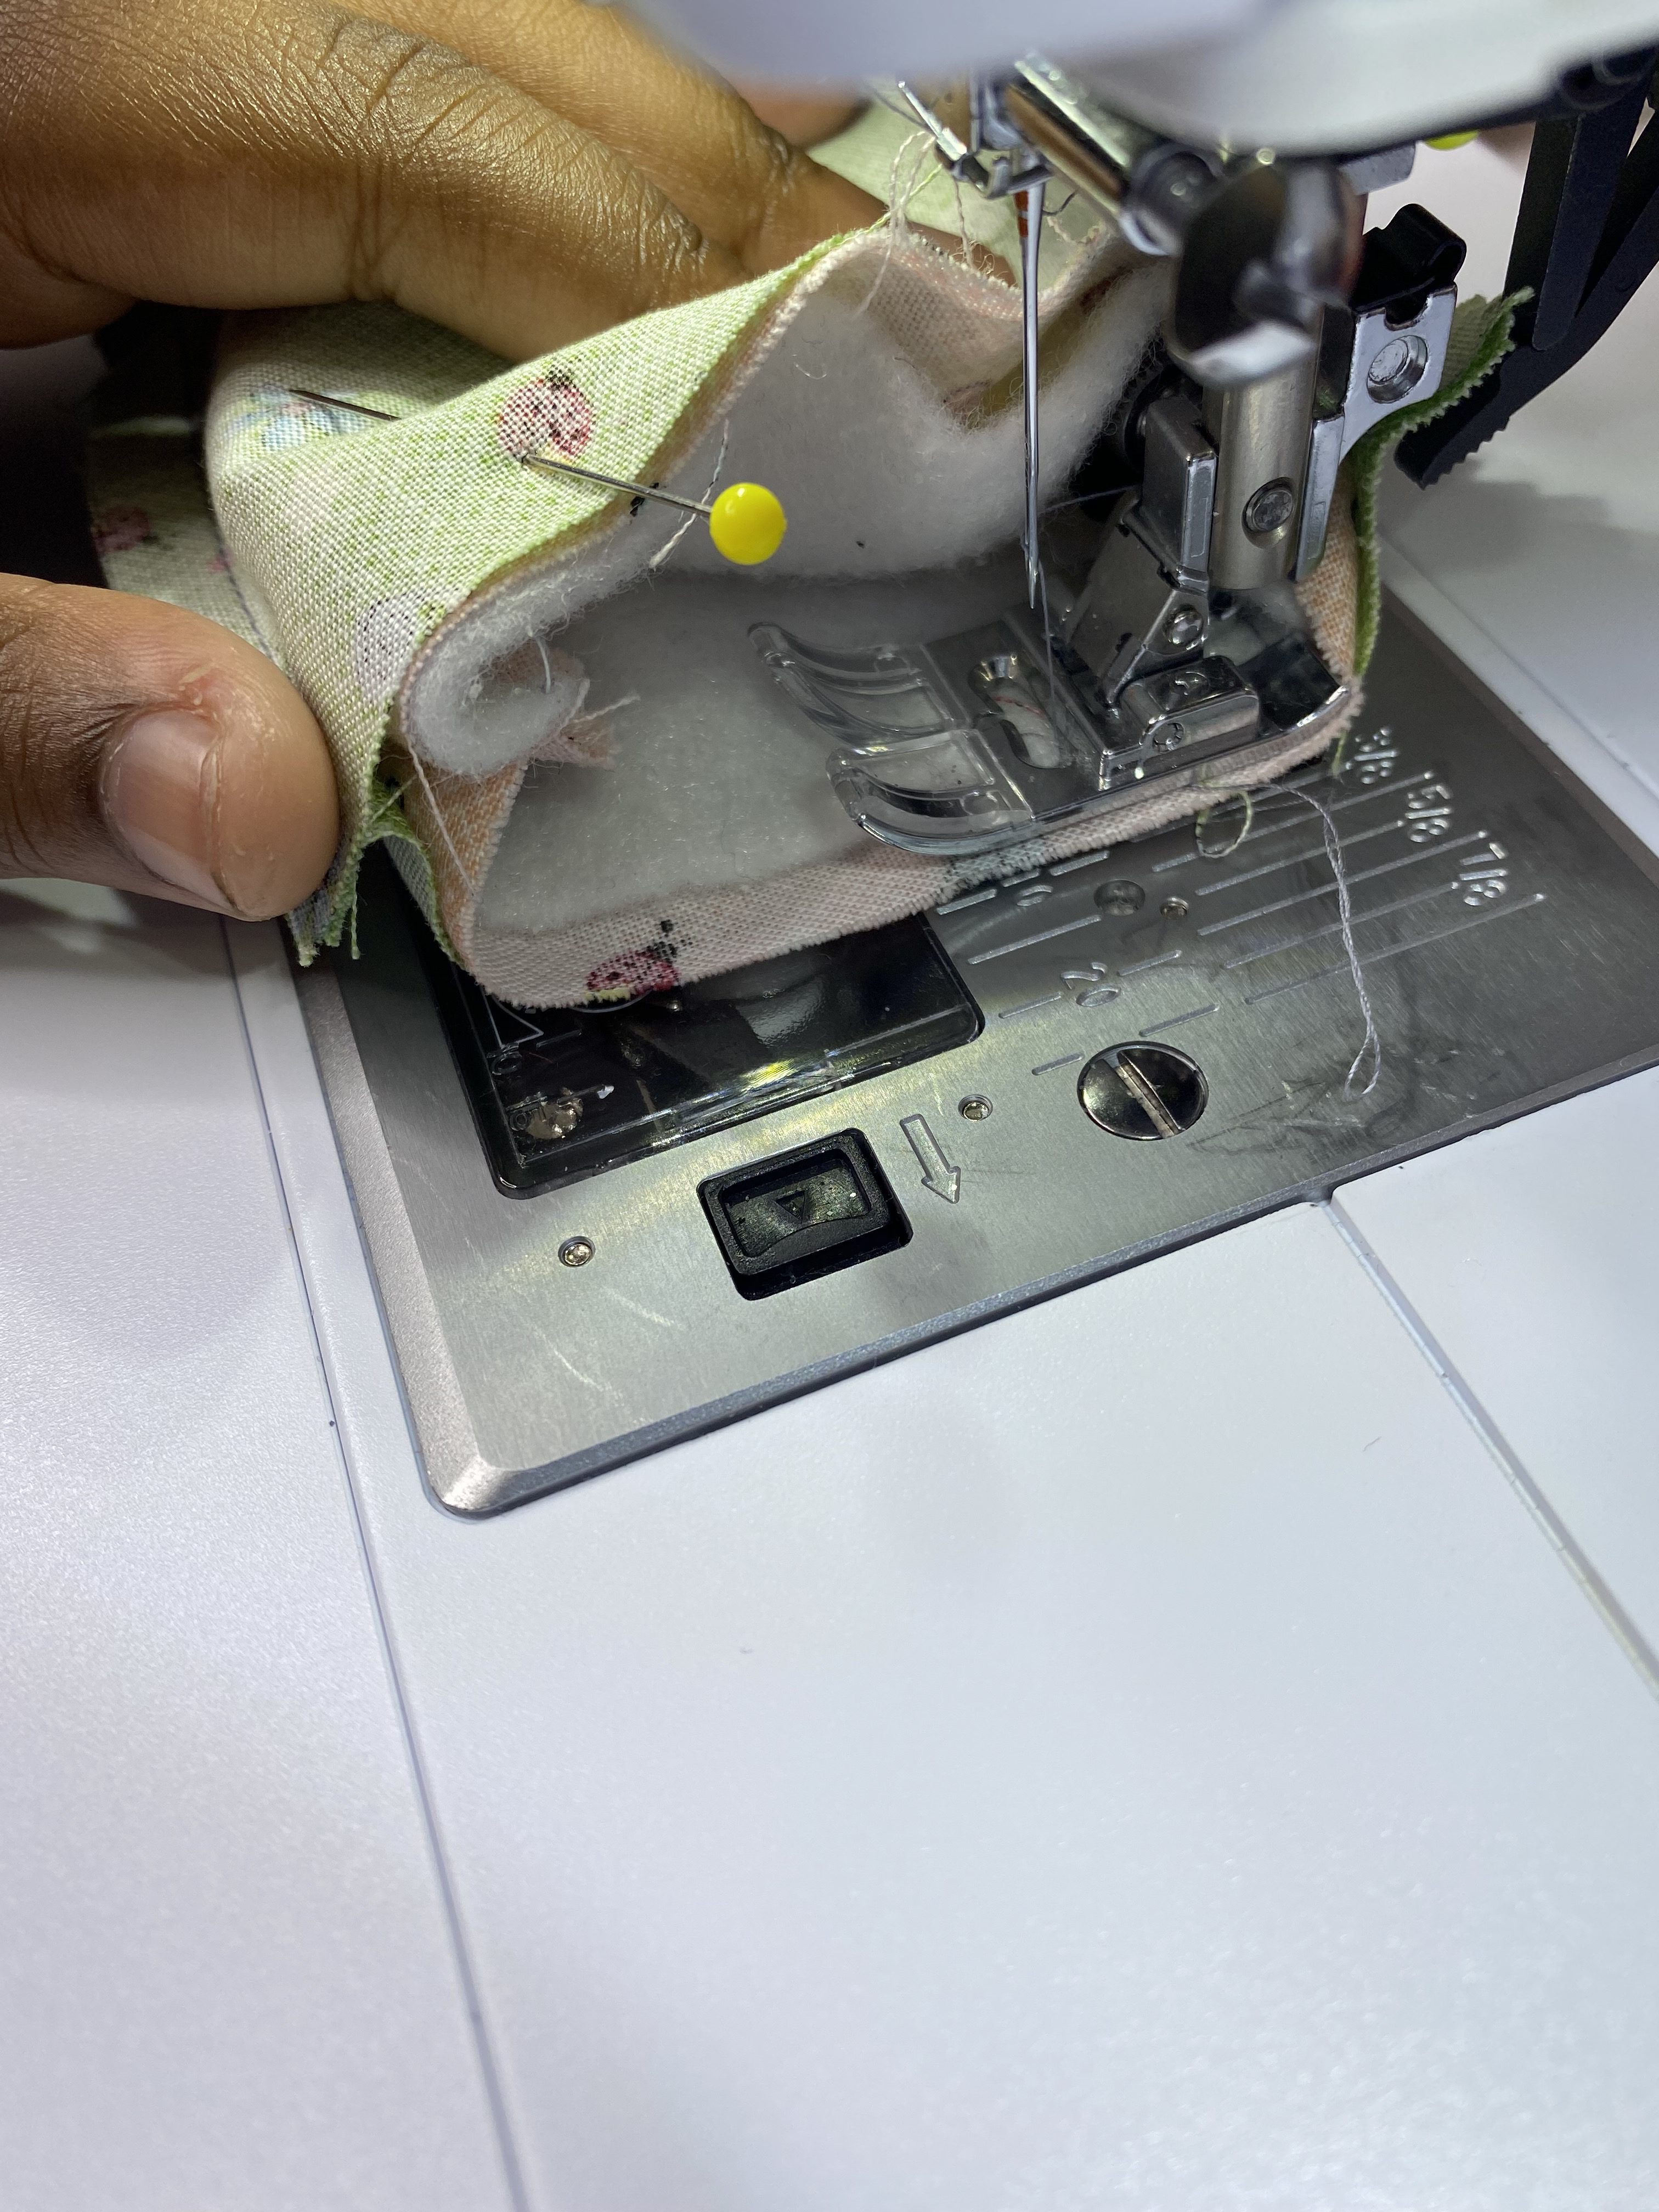
You will have (2) pieces of fabric with batting on them. Now you should place these (2) main fabric pieces with the batting pinned to them right sides together, and pin down the sides and the bottom leaving the top open.
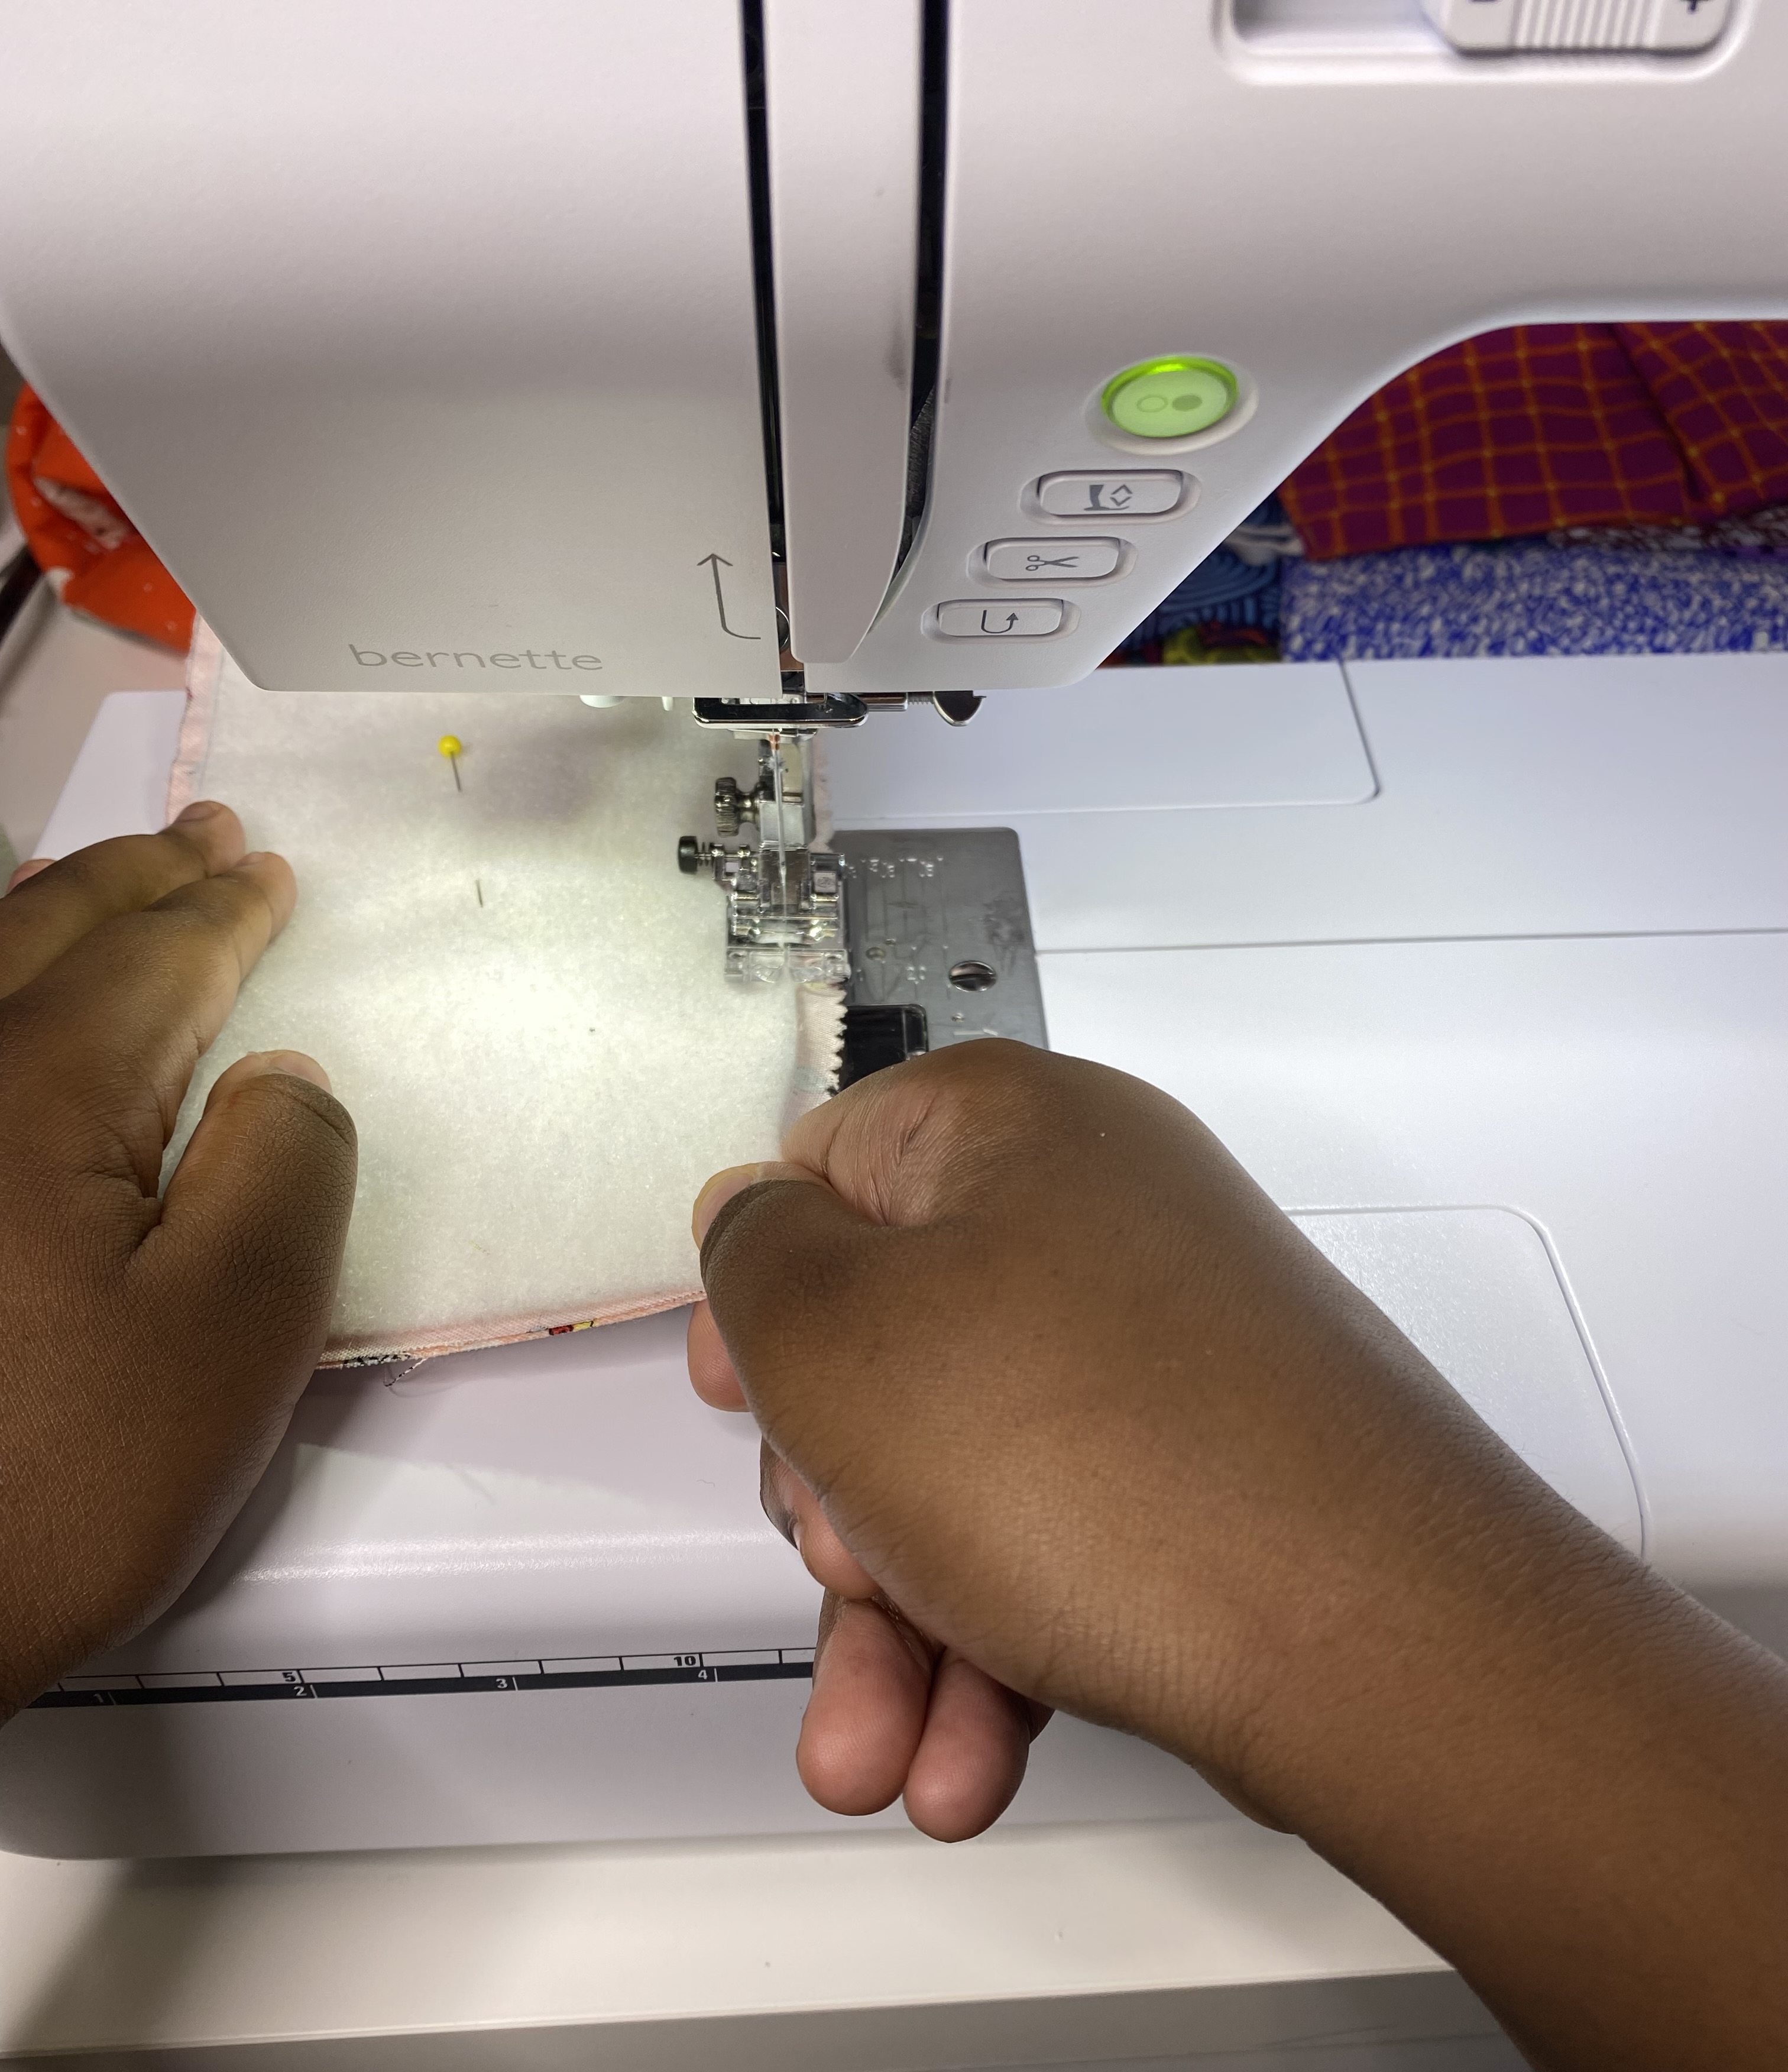
Using a 1/4″ seam allowance sew all around the sides and bottom of your eyeglass case backstitching at the very beginning and the end. Make sure that you do not sew the top of your eyeglass case remember to leave it open.
It’s time to flip the case to the right side. I very gently use my fingers to simply turn the case right side out. Once you’ve done that you can give your case a good press and set it to the side.
Here’s a little tip: If you clip the bottom corners on an angle before you turn the case right side out you’ll have sharper points. Just make sure that you don’t accidentally clip into your stitching line.
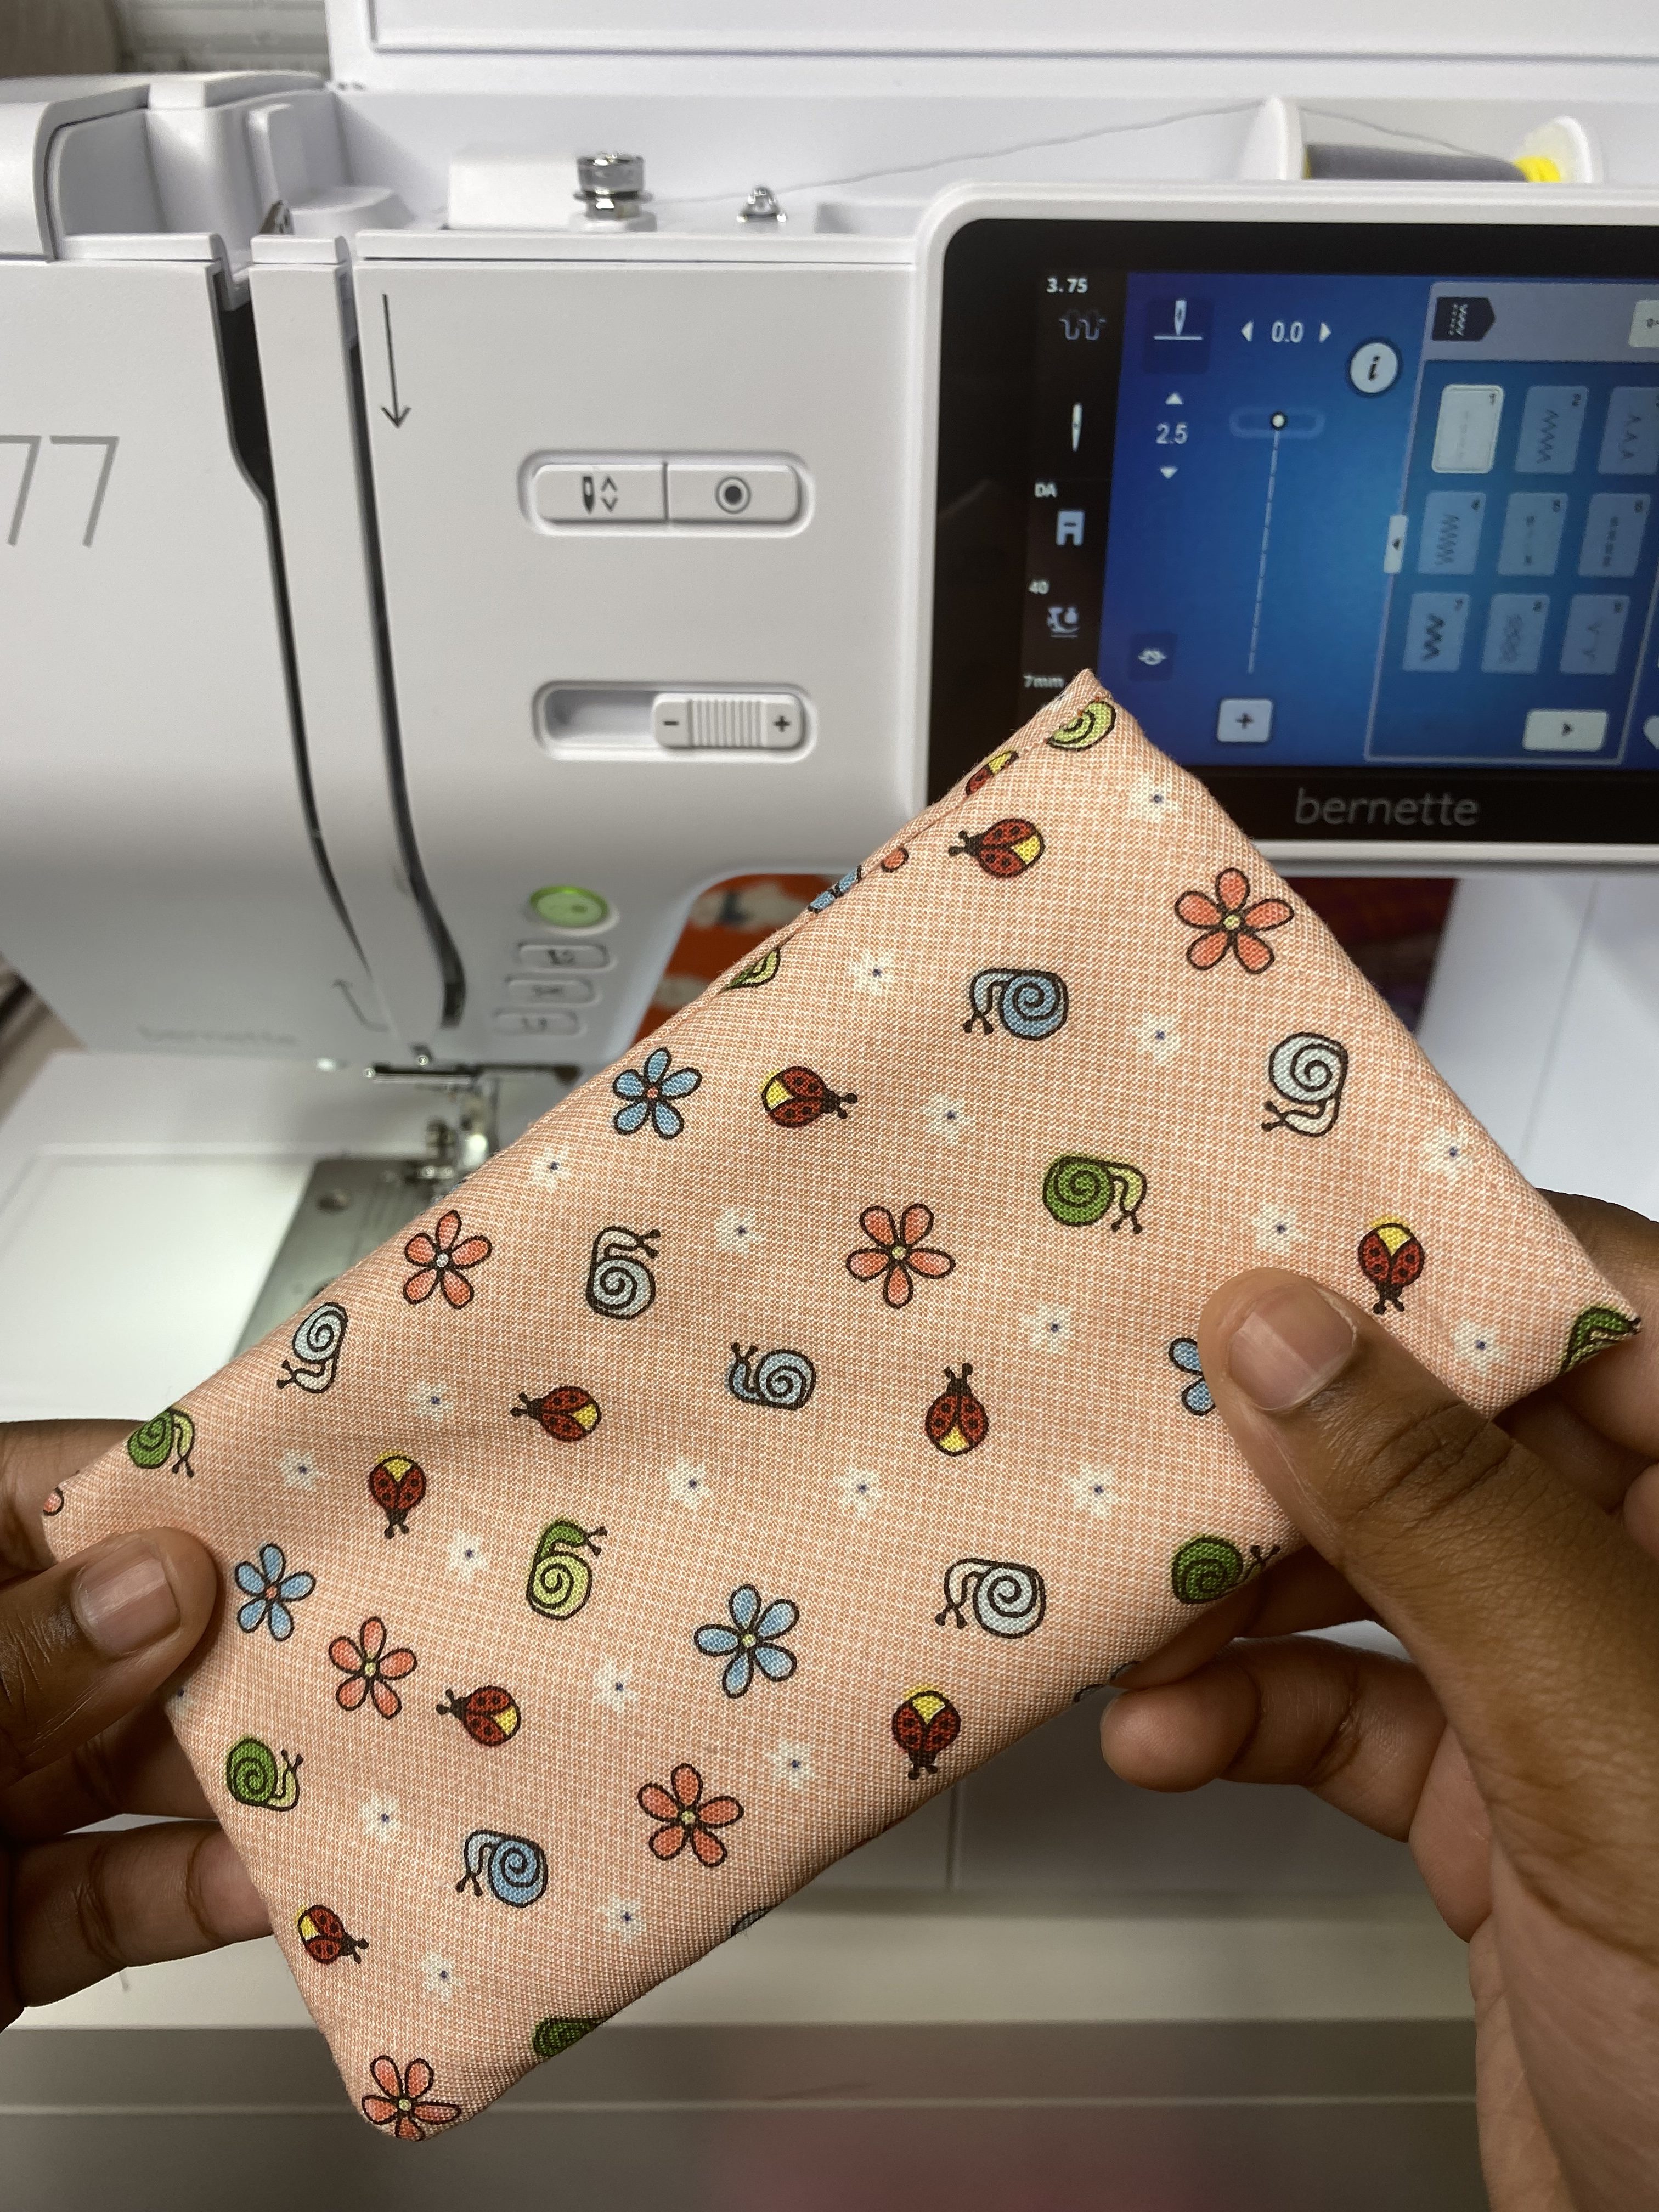
Part 1 of your eyeglass case is complete, and the top of the case should be open and have raw edges.
Sewing the Lining
Now, we are going to repeat the same assembly process that we did for the outside of the case for the lining, but we will add a few changes.
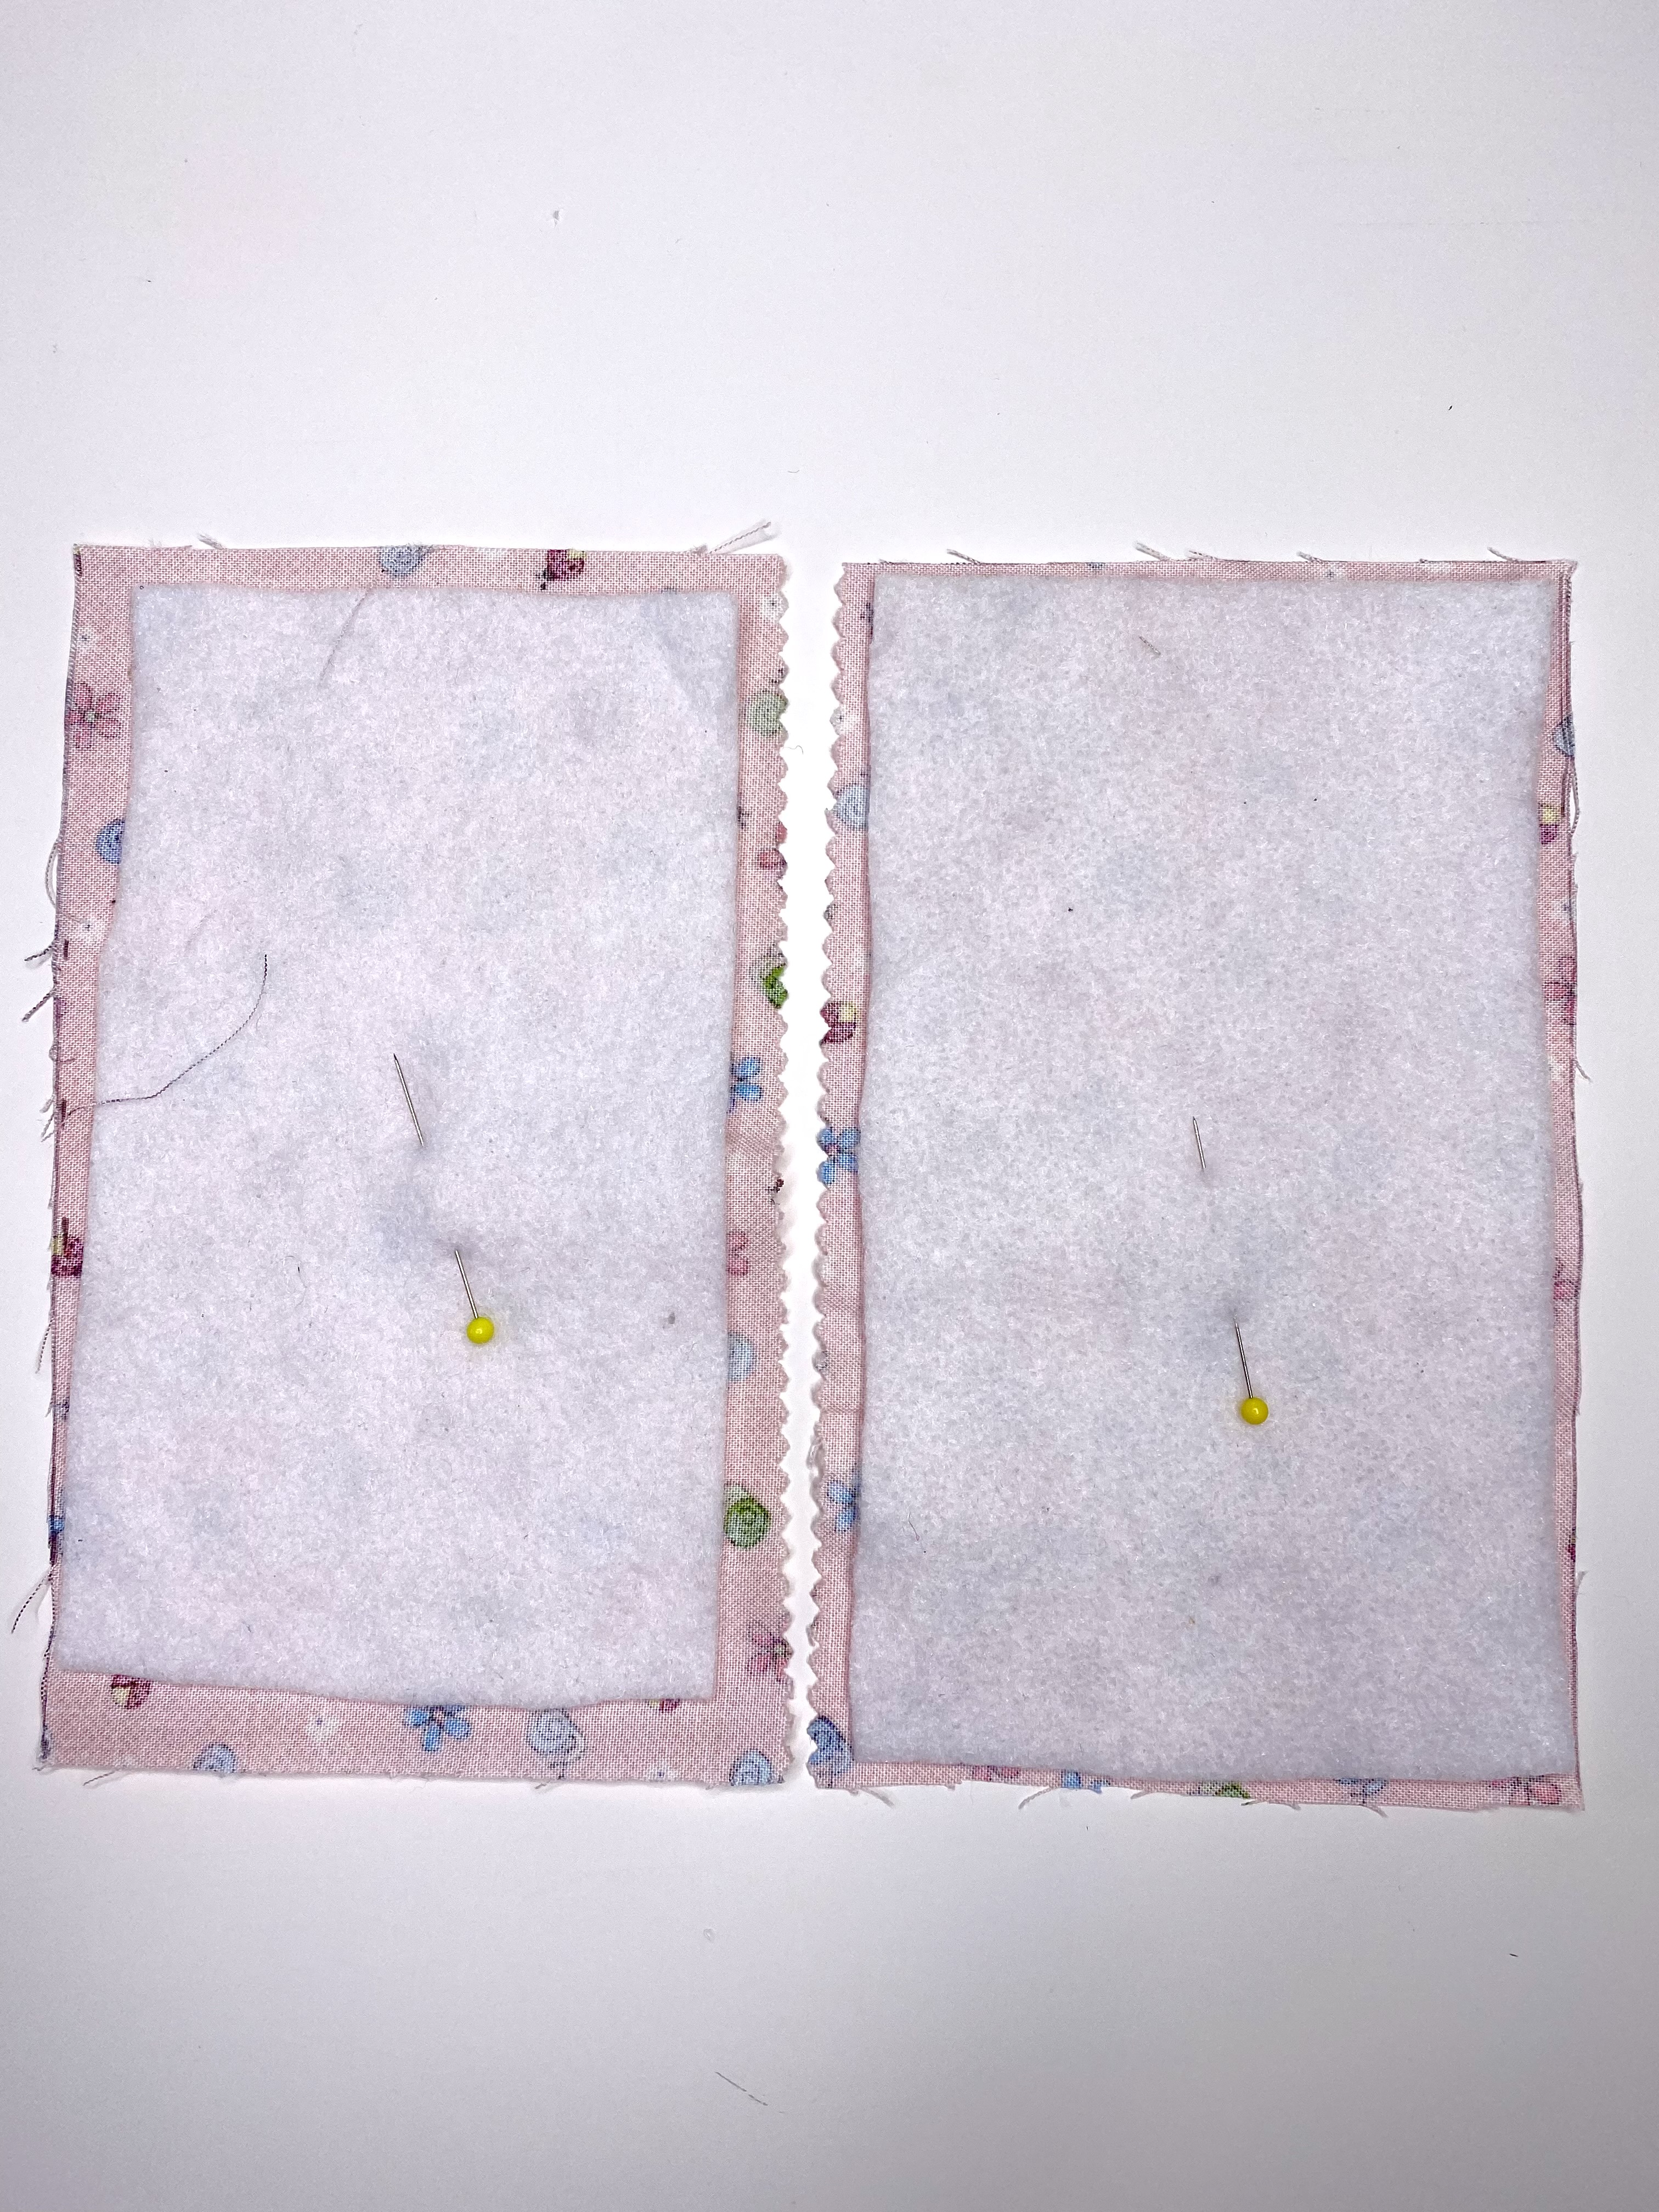
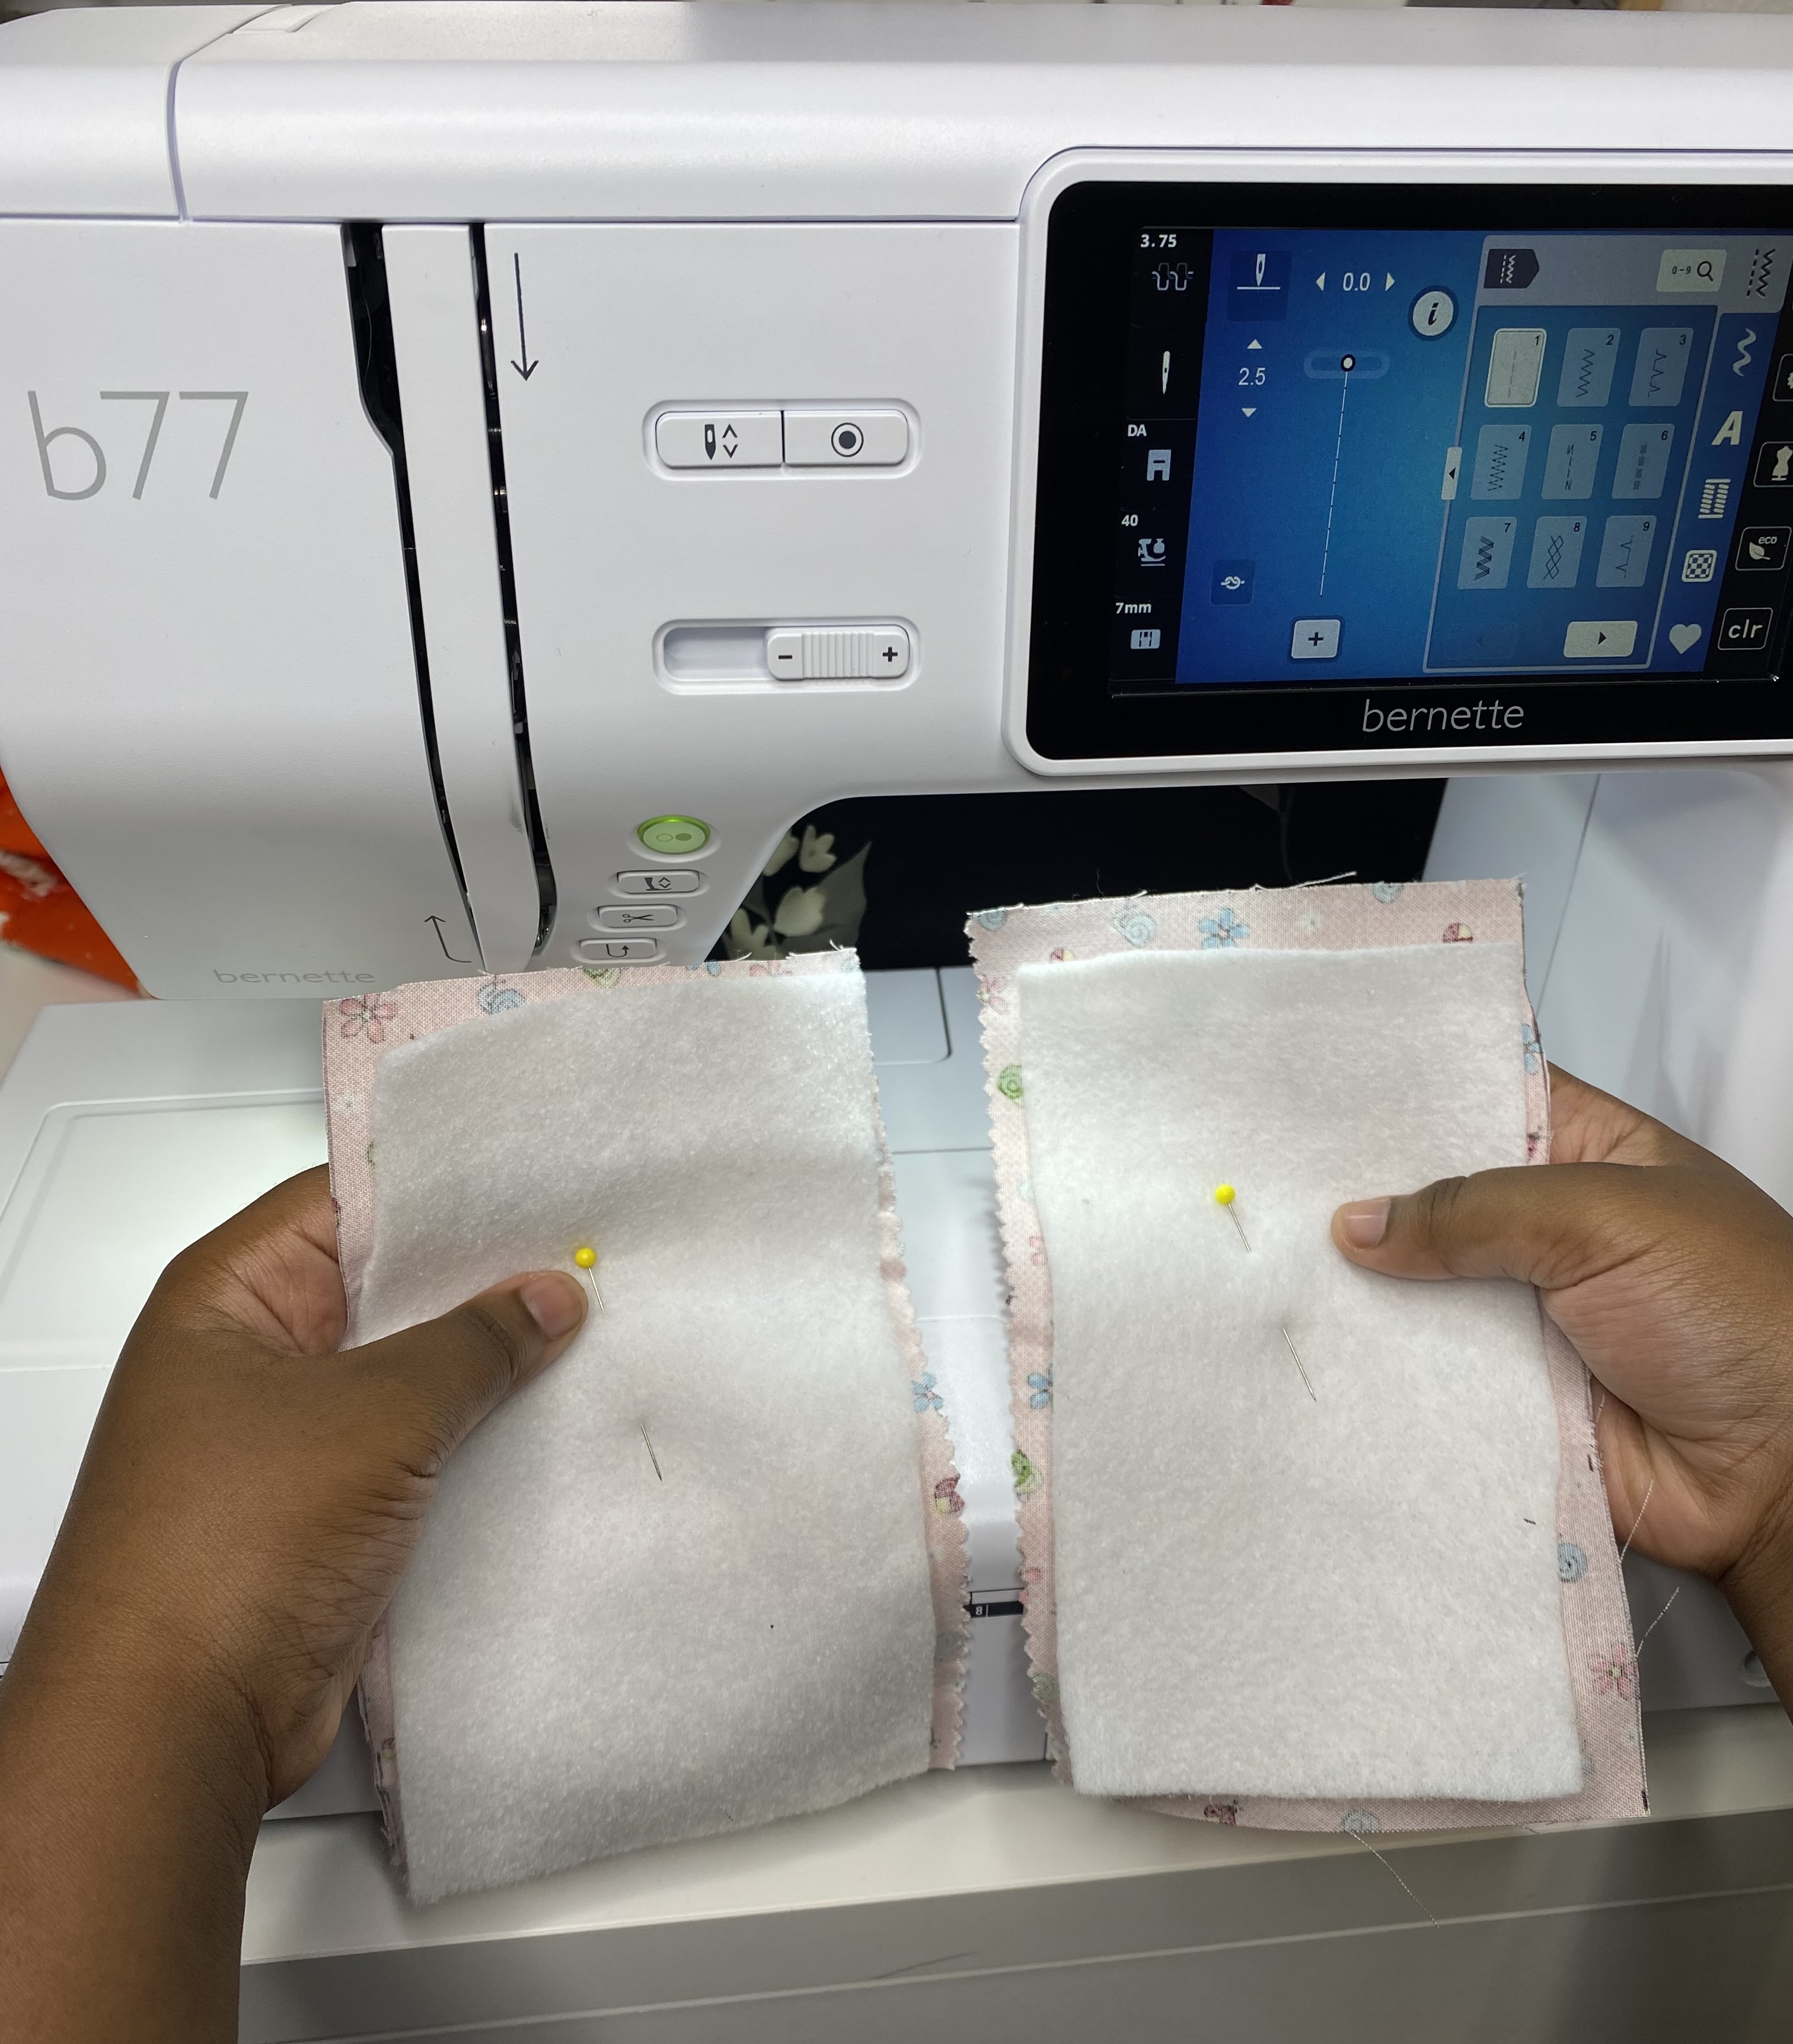
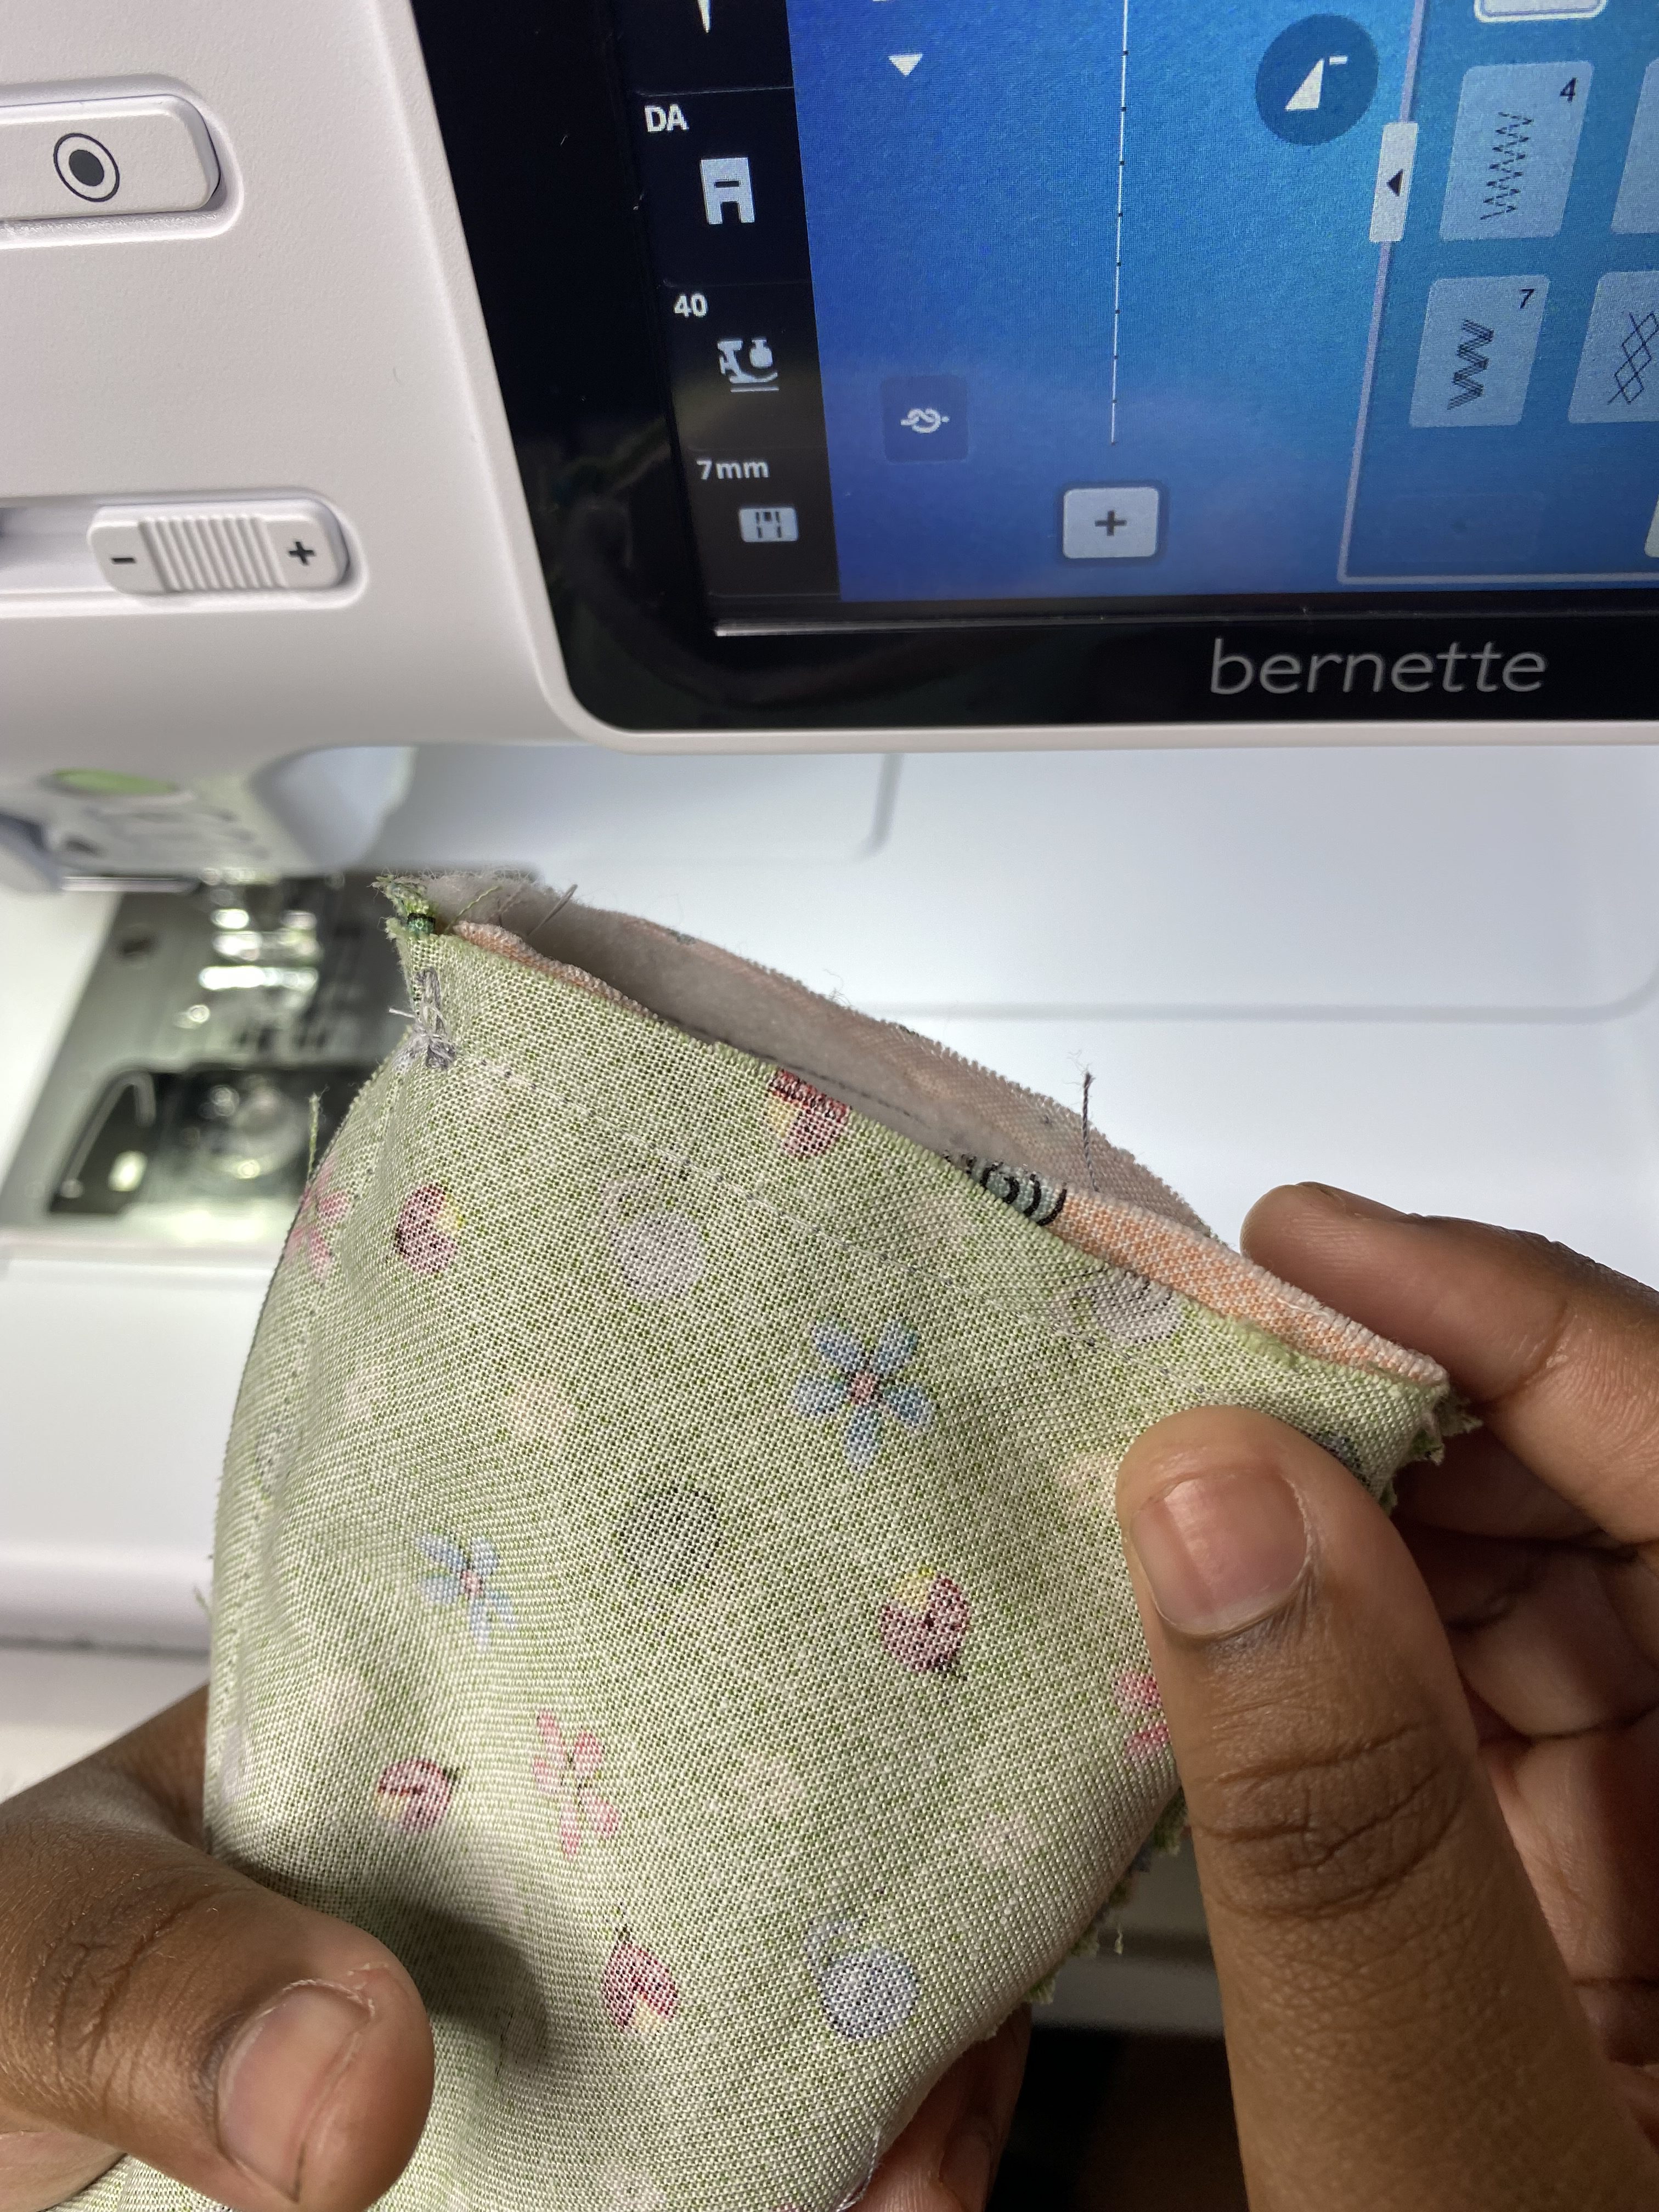
Take your (2) lining pieces and lay them right sides together. Pin along the sides and bottom of the lining pieces and sew them together backstitching at the beginning and the end of each seam. At the bottom of the lining leave a 1 1/2″ opening in the middle, and make sure that you don’t sew the top of the lining at all.

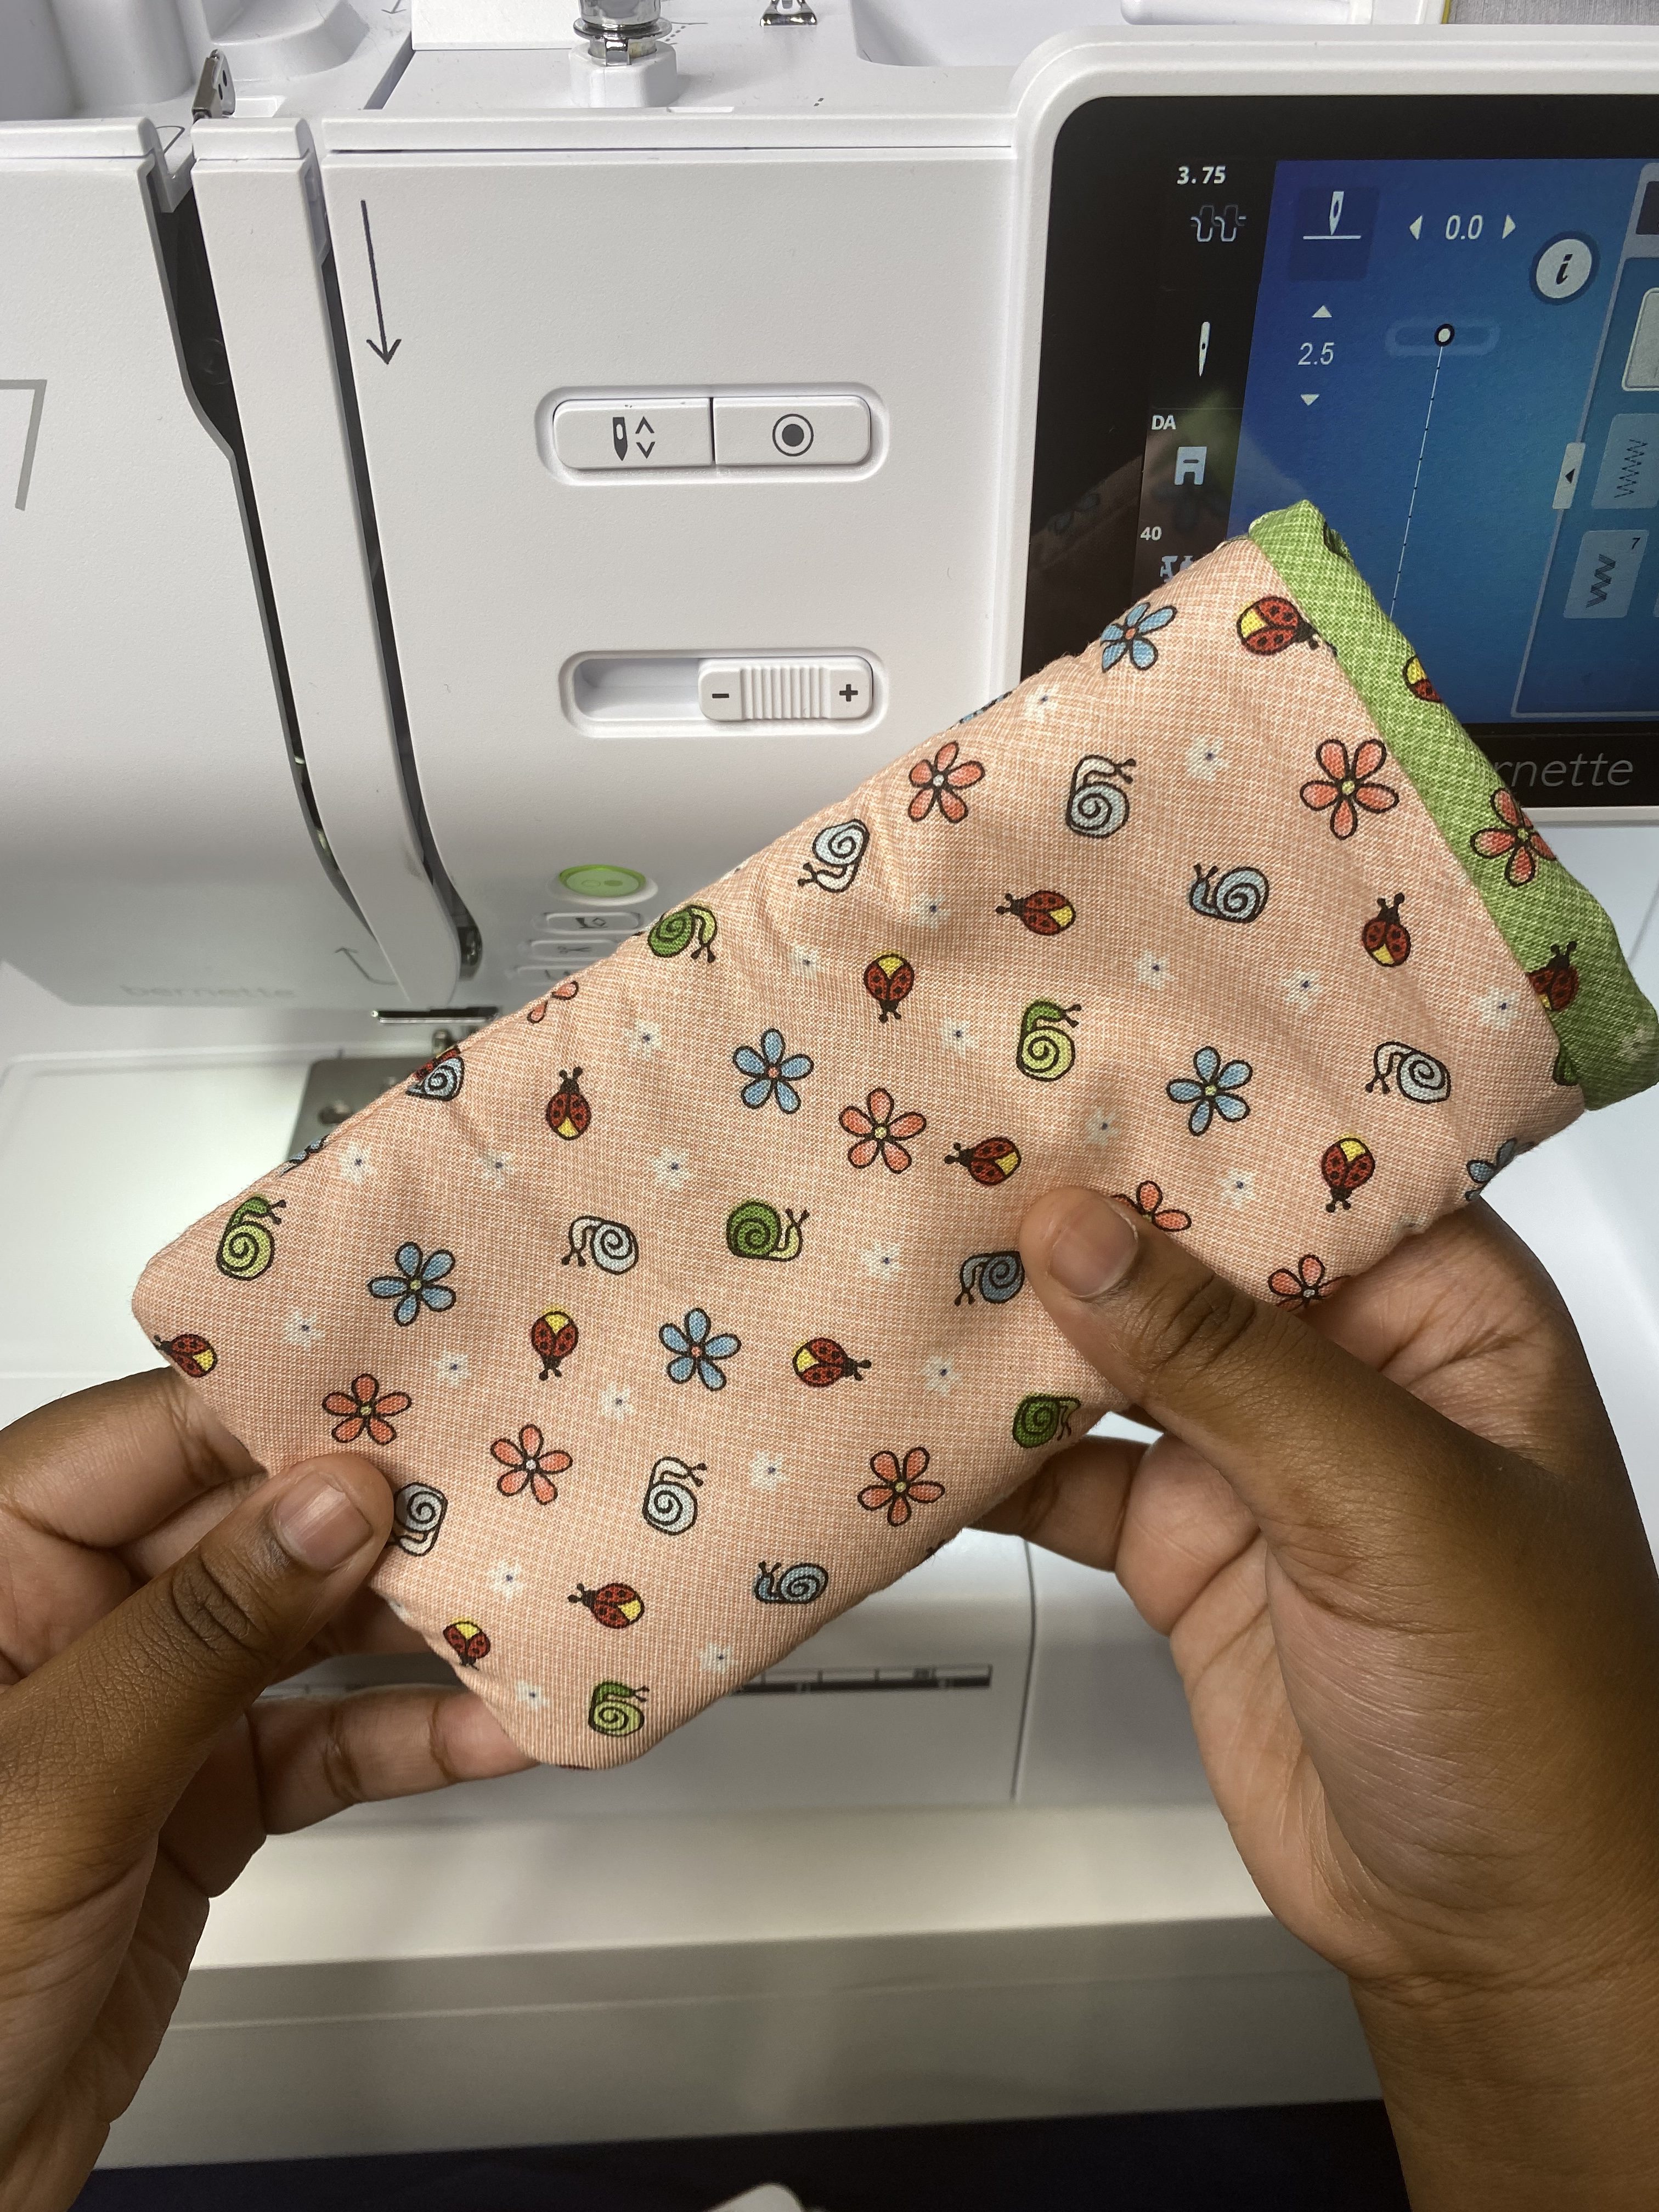
The top of your lining should be completely open, and you should have a small opening at the bottom of your lining that looks like the picture above.
You should now have (2) separately assembled pieces. The first one being the outside of your eyeglass which case has the batting in it, and the second one being the inside lining of your case.
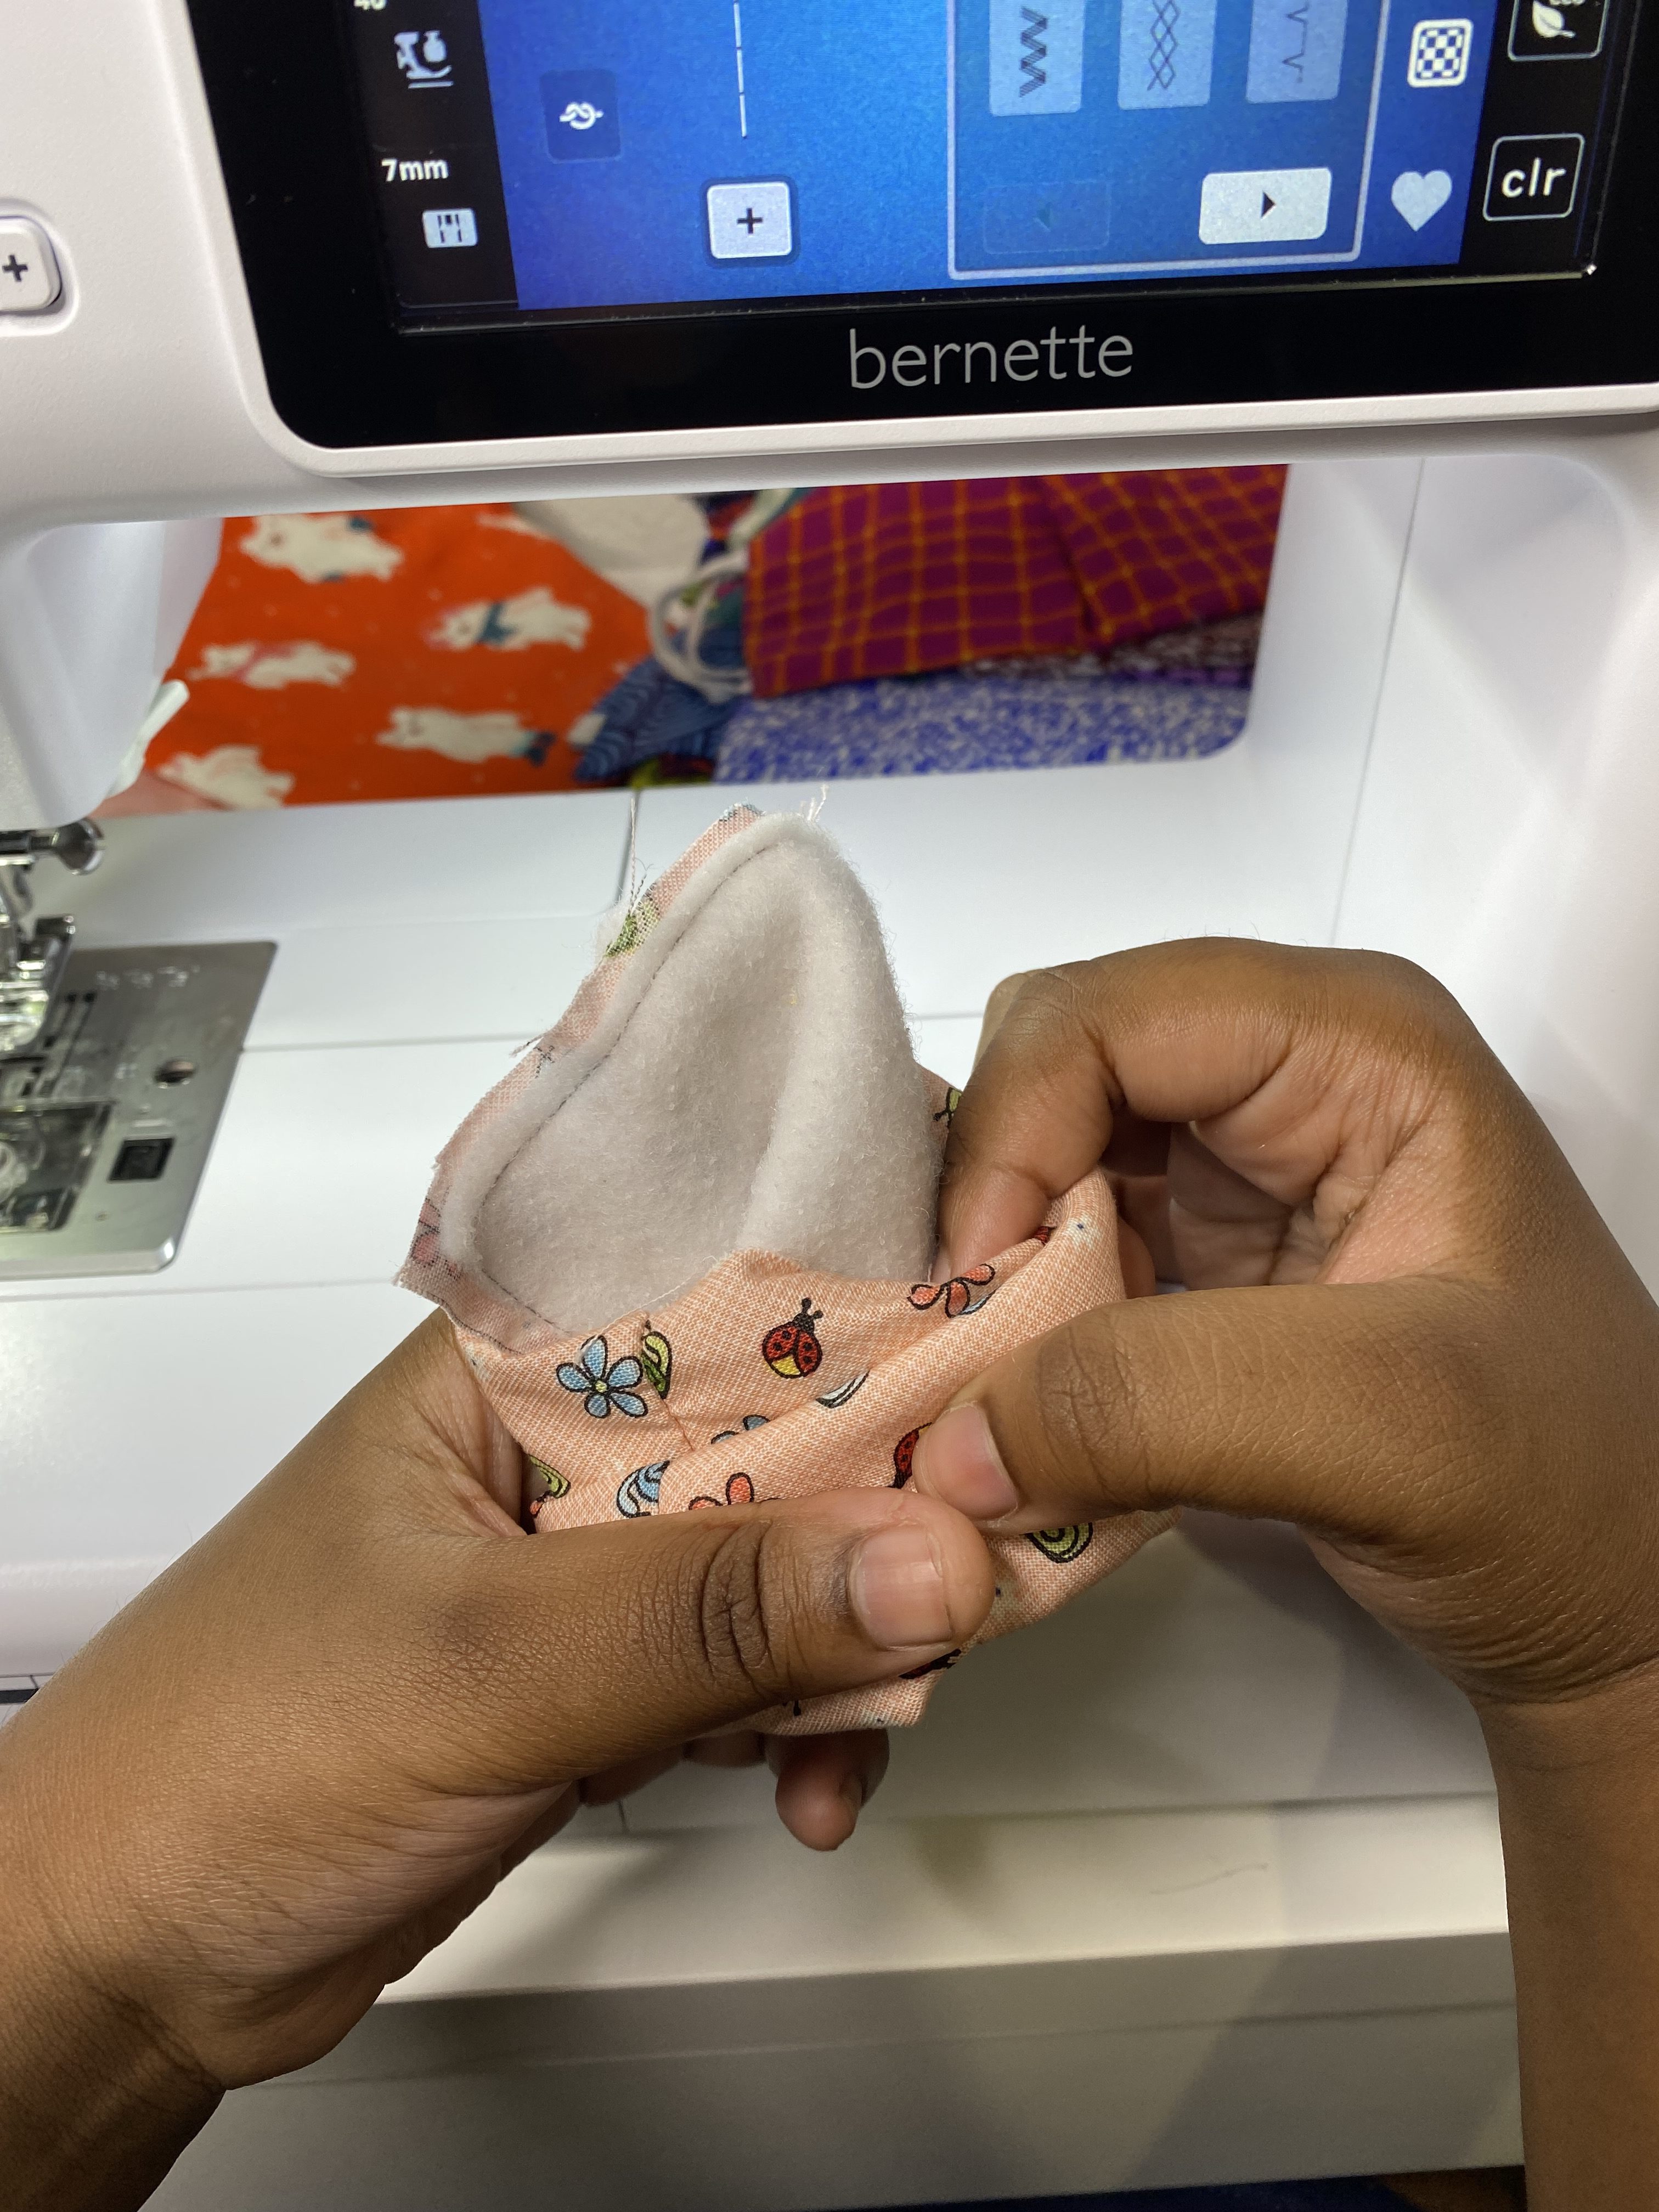
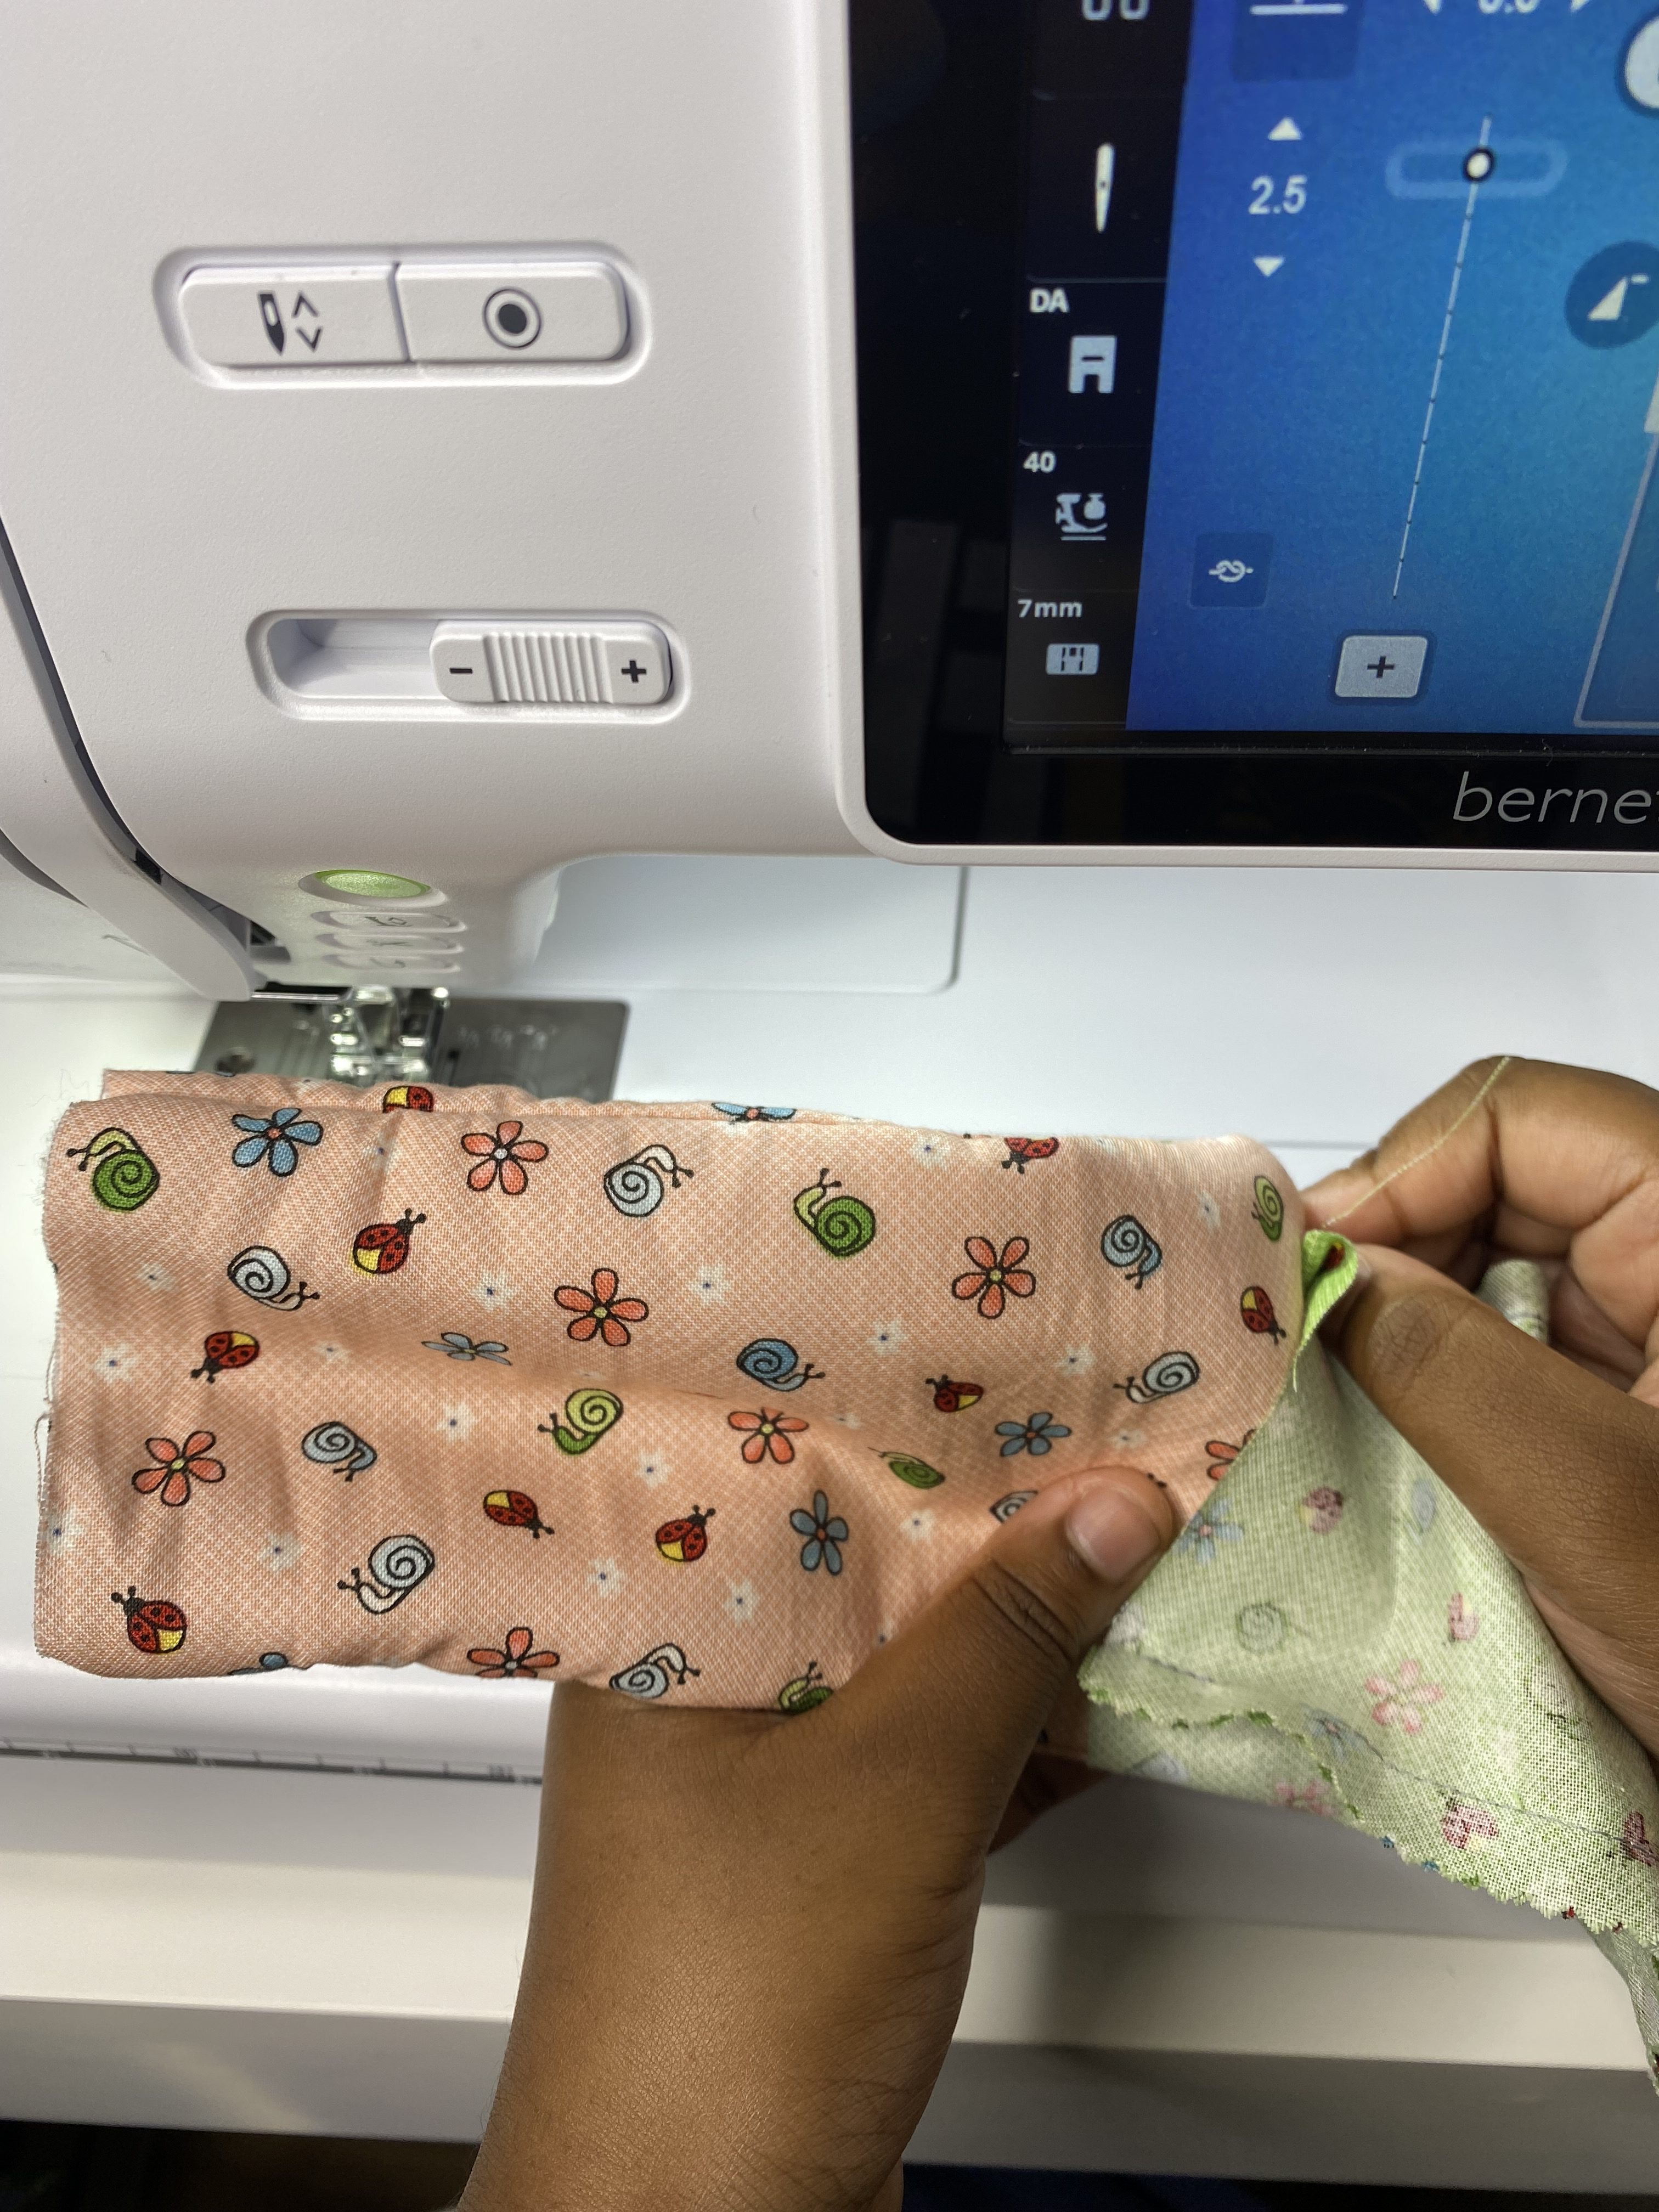
We will now attach the outside of the eyeglass case to the lining. Take the outside of the eyeglass case and gently stuff it inside the lining. The outside of the case will have the right sides of the fabric facing out and the inside lining will have the wrong sides facing out.
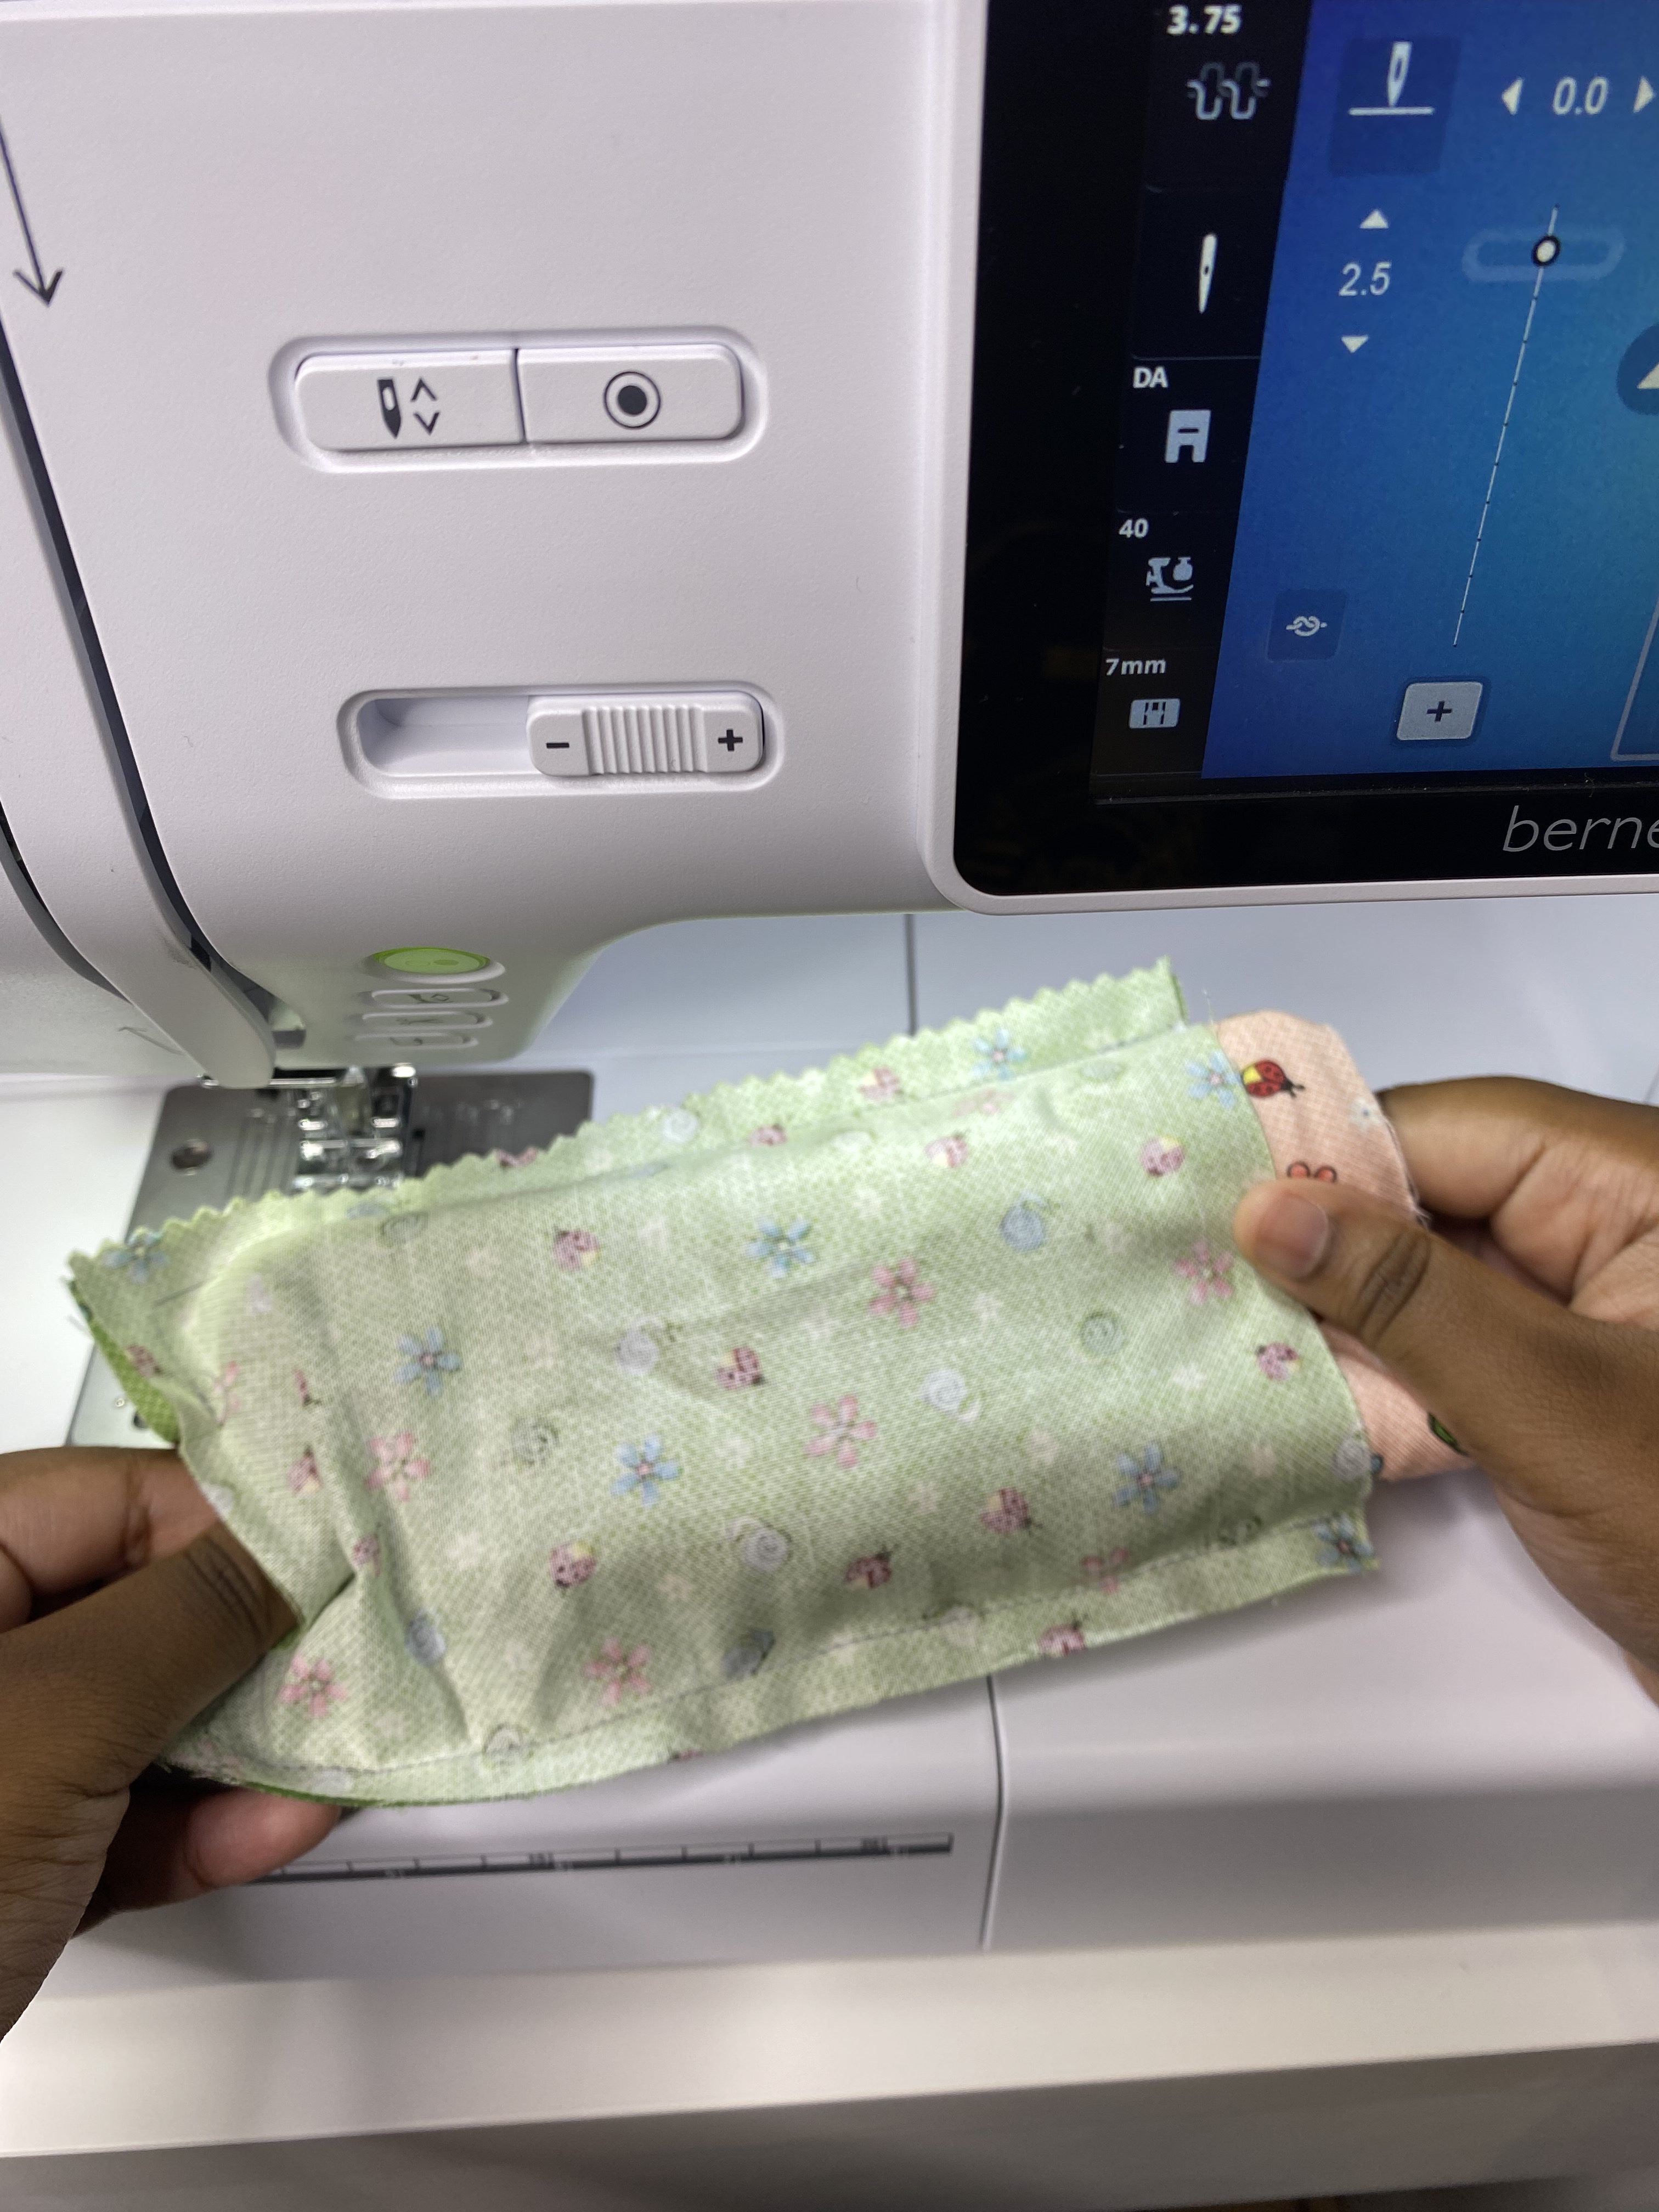
I have found that it is easier to sandwich the outside of the fabric inside the lining. To do so, reach inside of the 1 1/2″ opening at the bottom of the lining and pull the main fabric of the eyeglass case inside until the raw edges of the lining and the main fabric line up at the top of the case.

Use your fingers to smooth all around the raw edges at the top of the case.

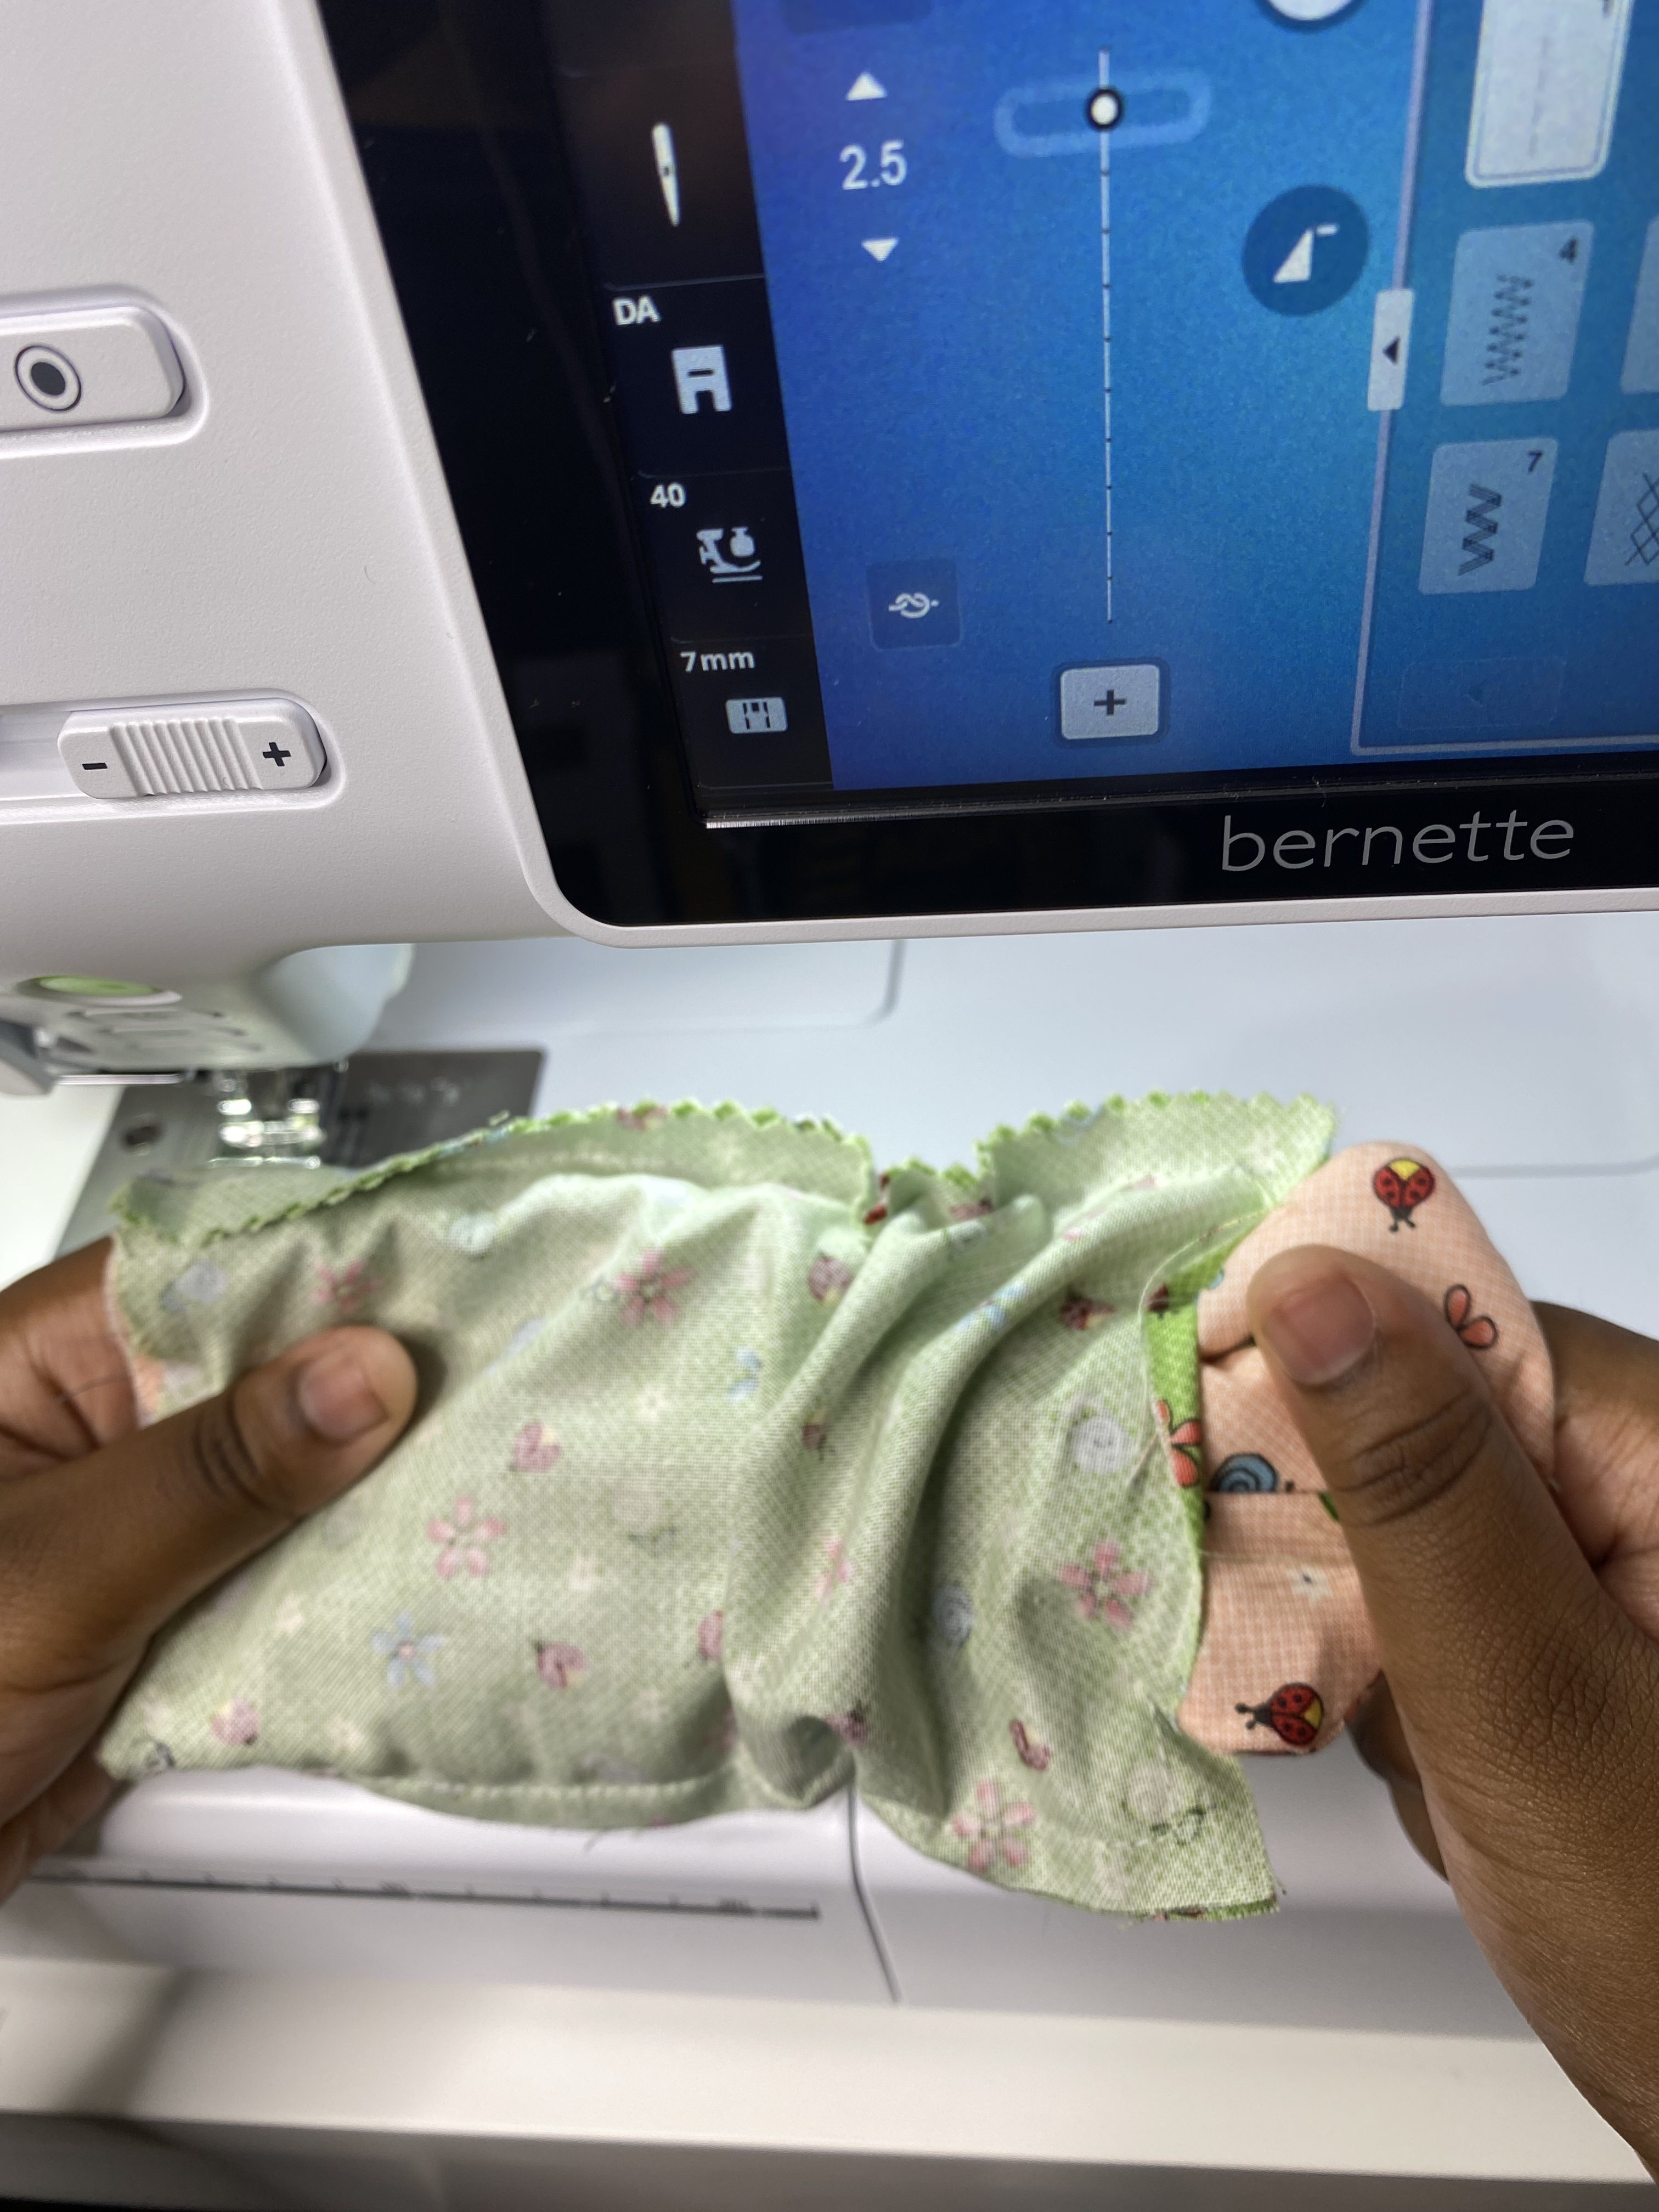
Pin all around the top of the eyeglass case. Make sure that the raw edges are evenly aligned and sew around the top using a 1/4″ seam allowance.
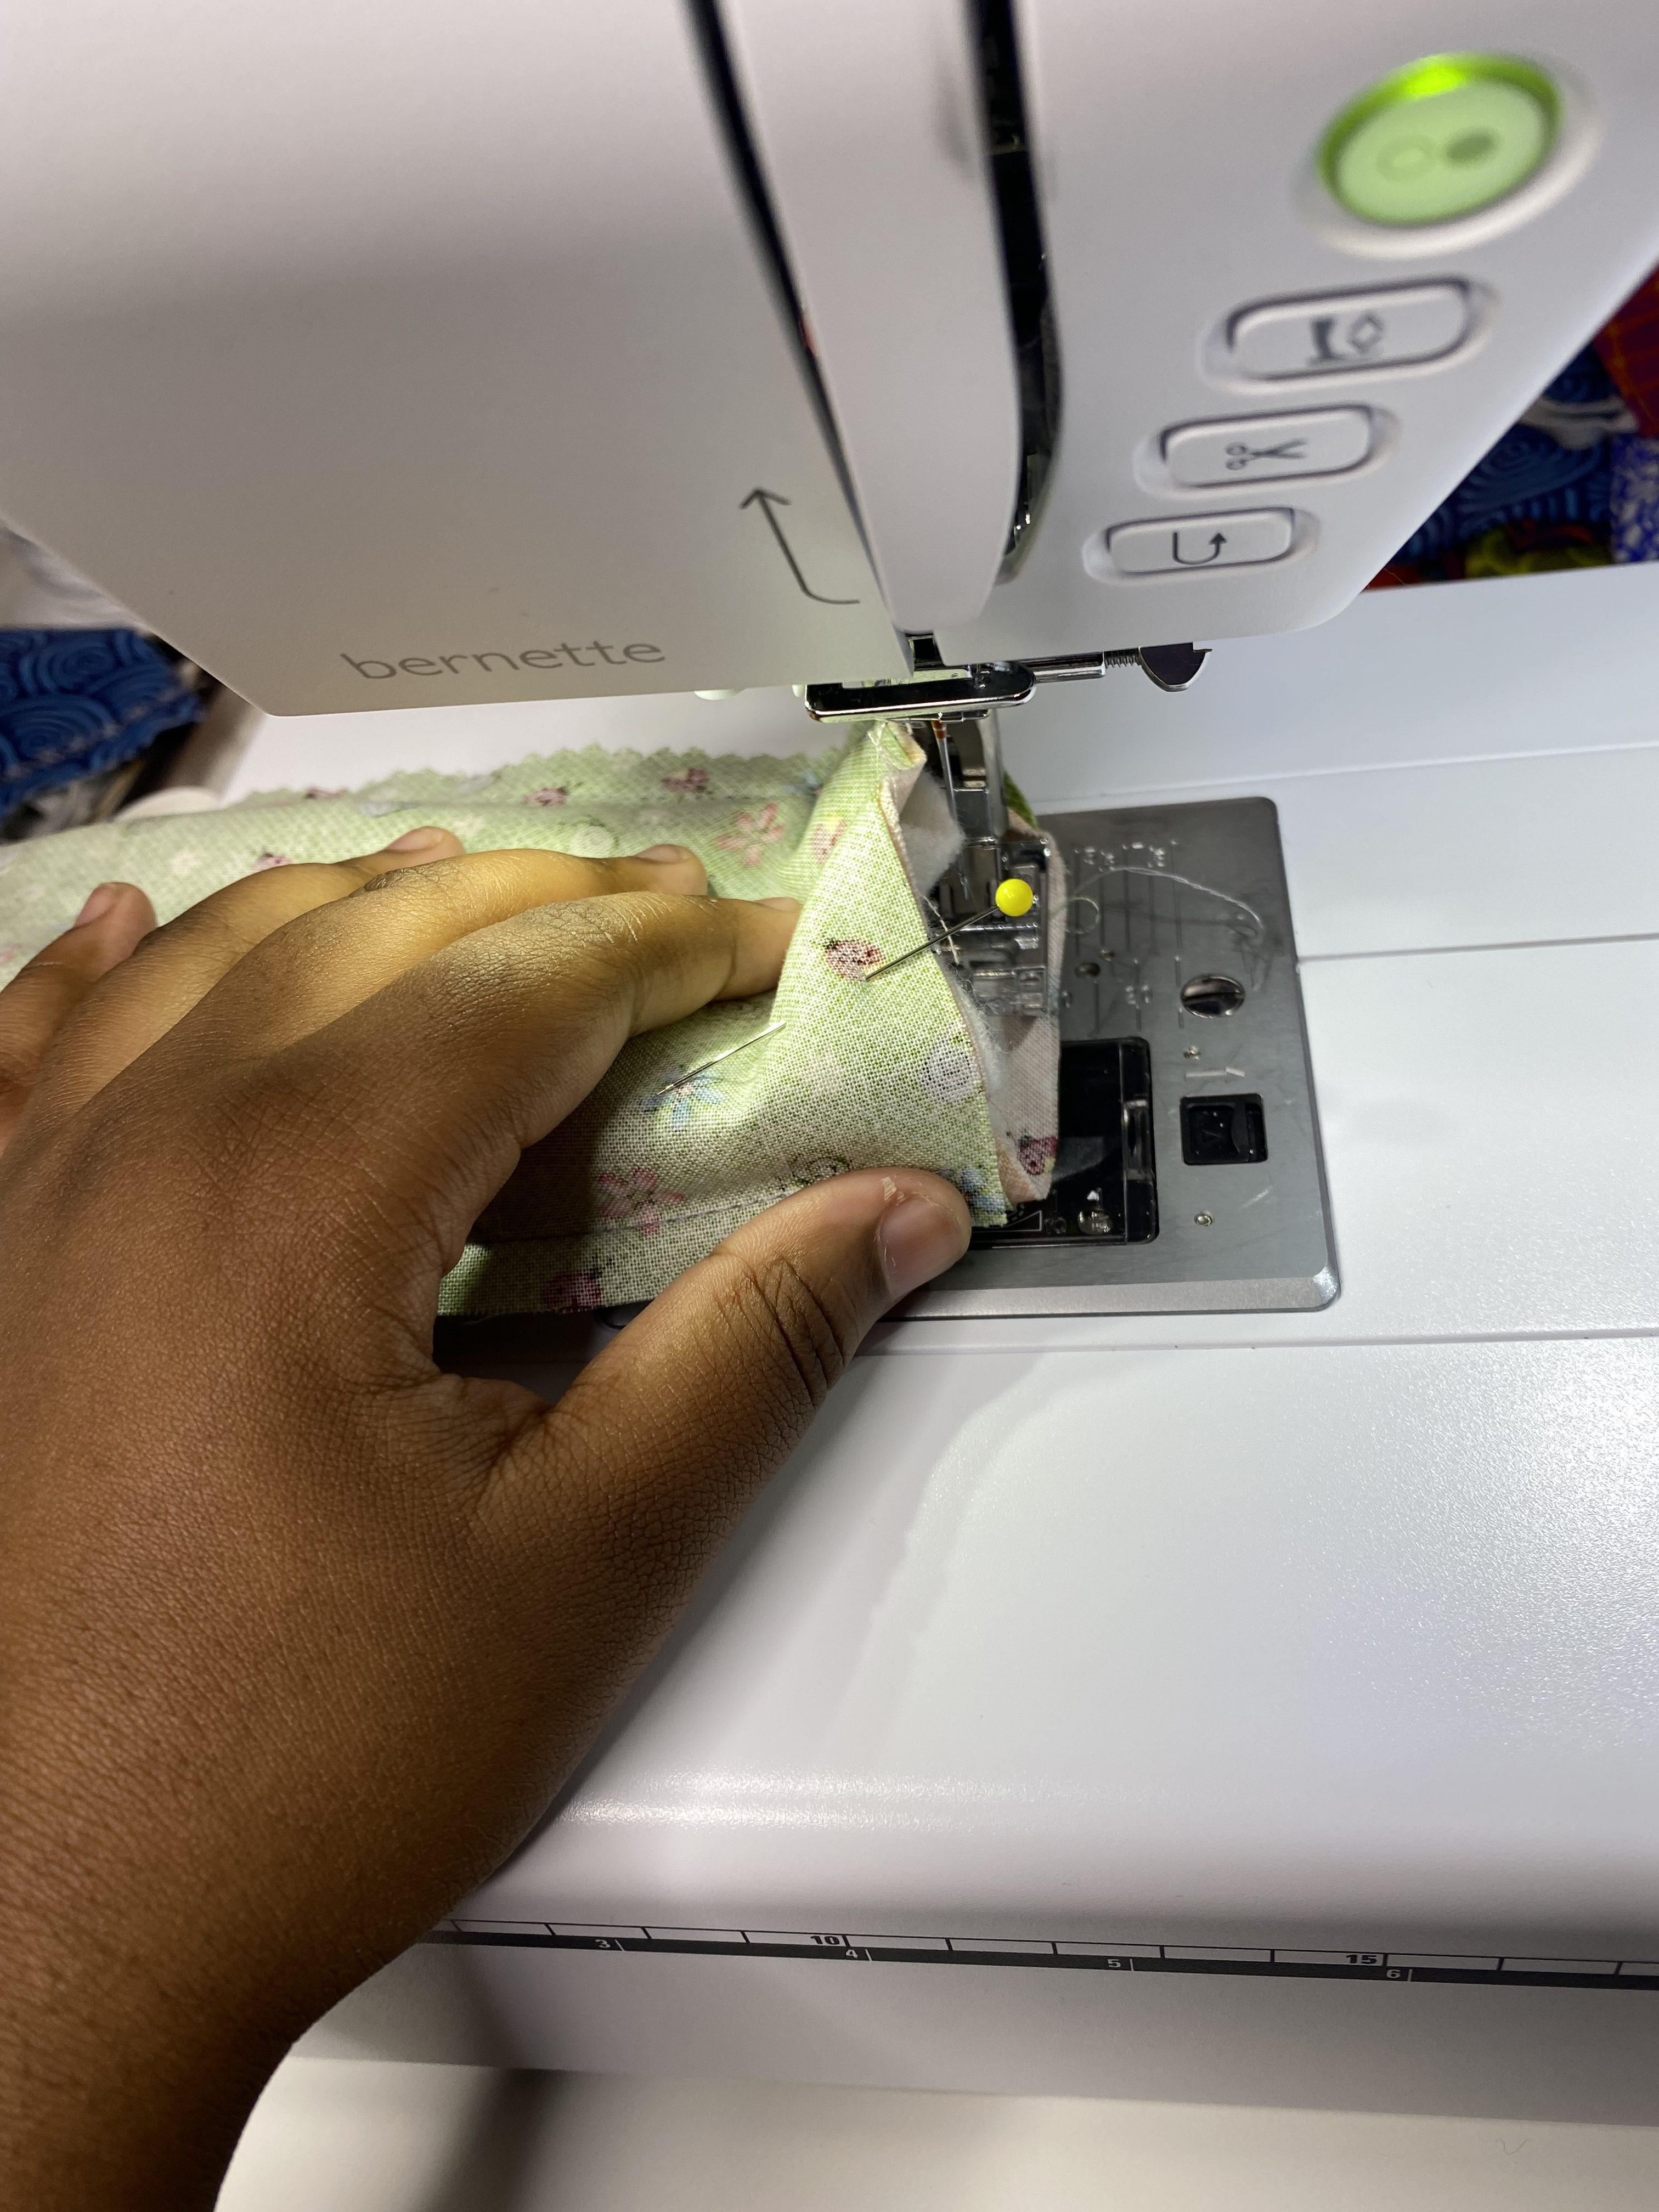
Sew all the way around the top of the eyeglass case remembering to backstitch at the beginning and the end.
The top of your eyeglass case should now look like the picture above. We are now ready to turn the entire eyeglass case right side out.
To turn the case right side out gently take your fingers and pull the main fabric through the 1 1/2″ hole that we left in the bottom of the lining.

Once your main fabric and lining have been turned right sides out, it is time to sew the 1 1/2″ opening that we left in the bottom of the lining closed.
Next, take the lining and turn the raw edges inward and edgestitch all the way across the bottom of the lining.

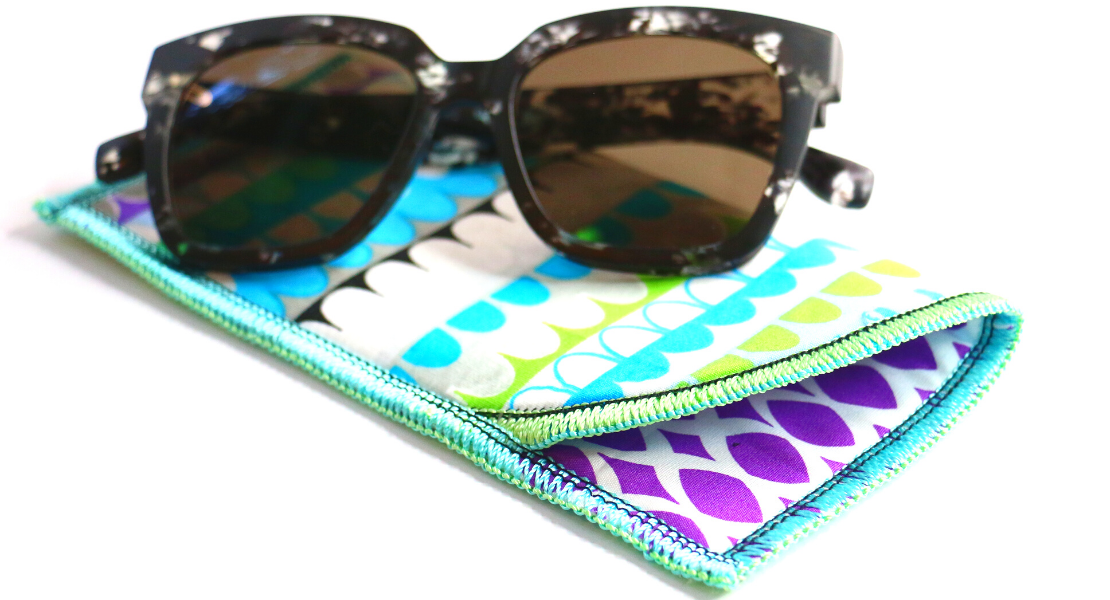
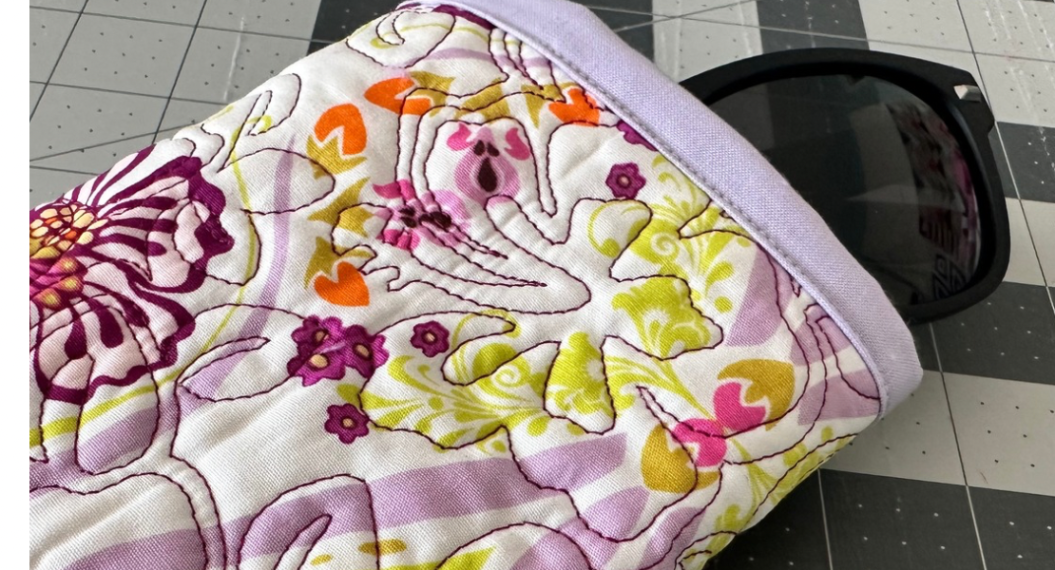
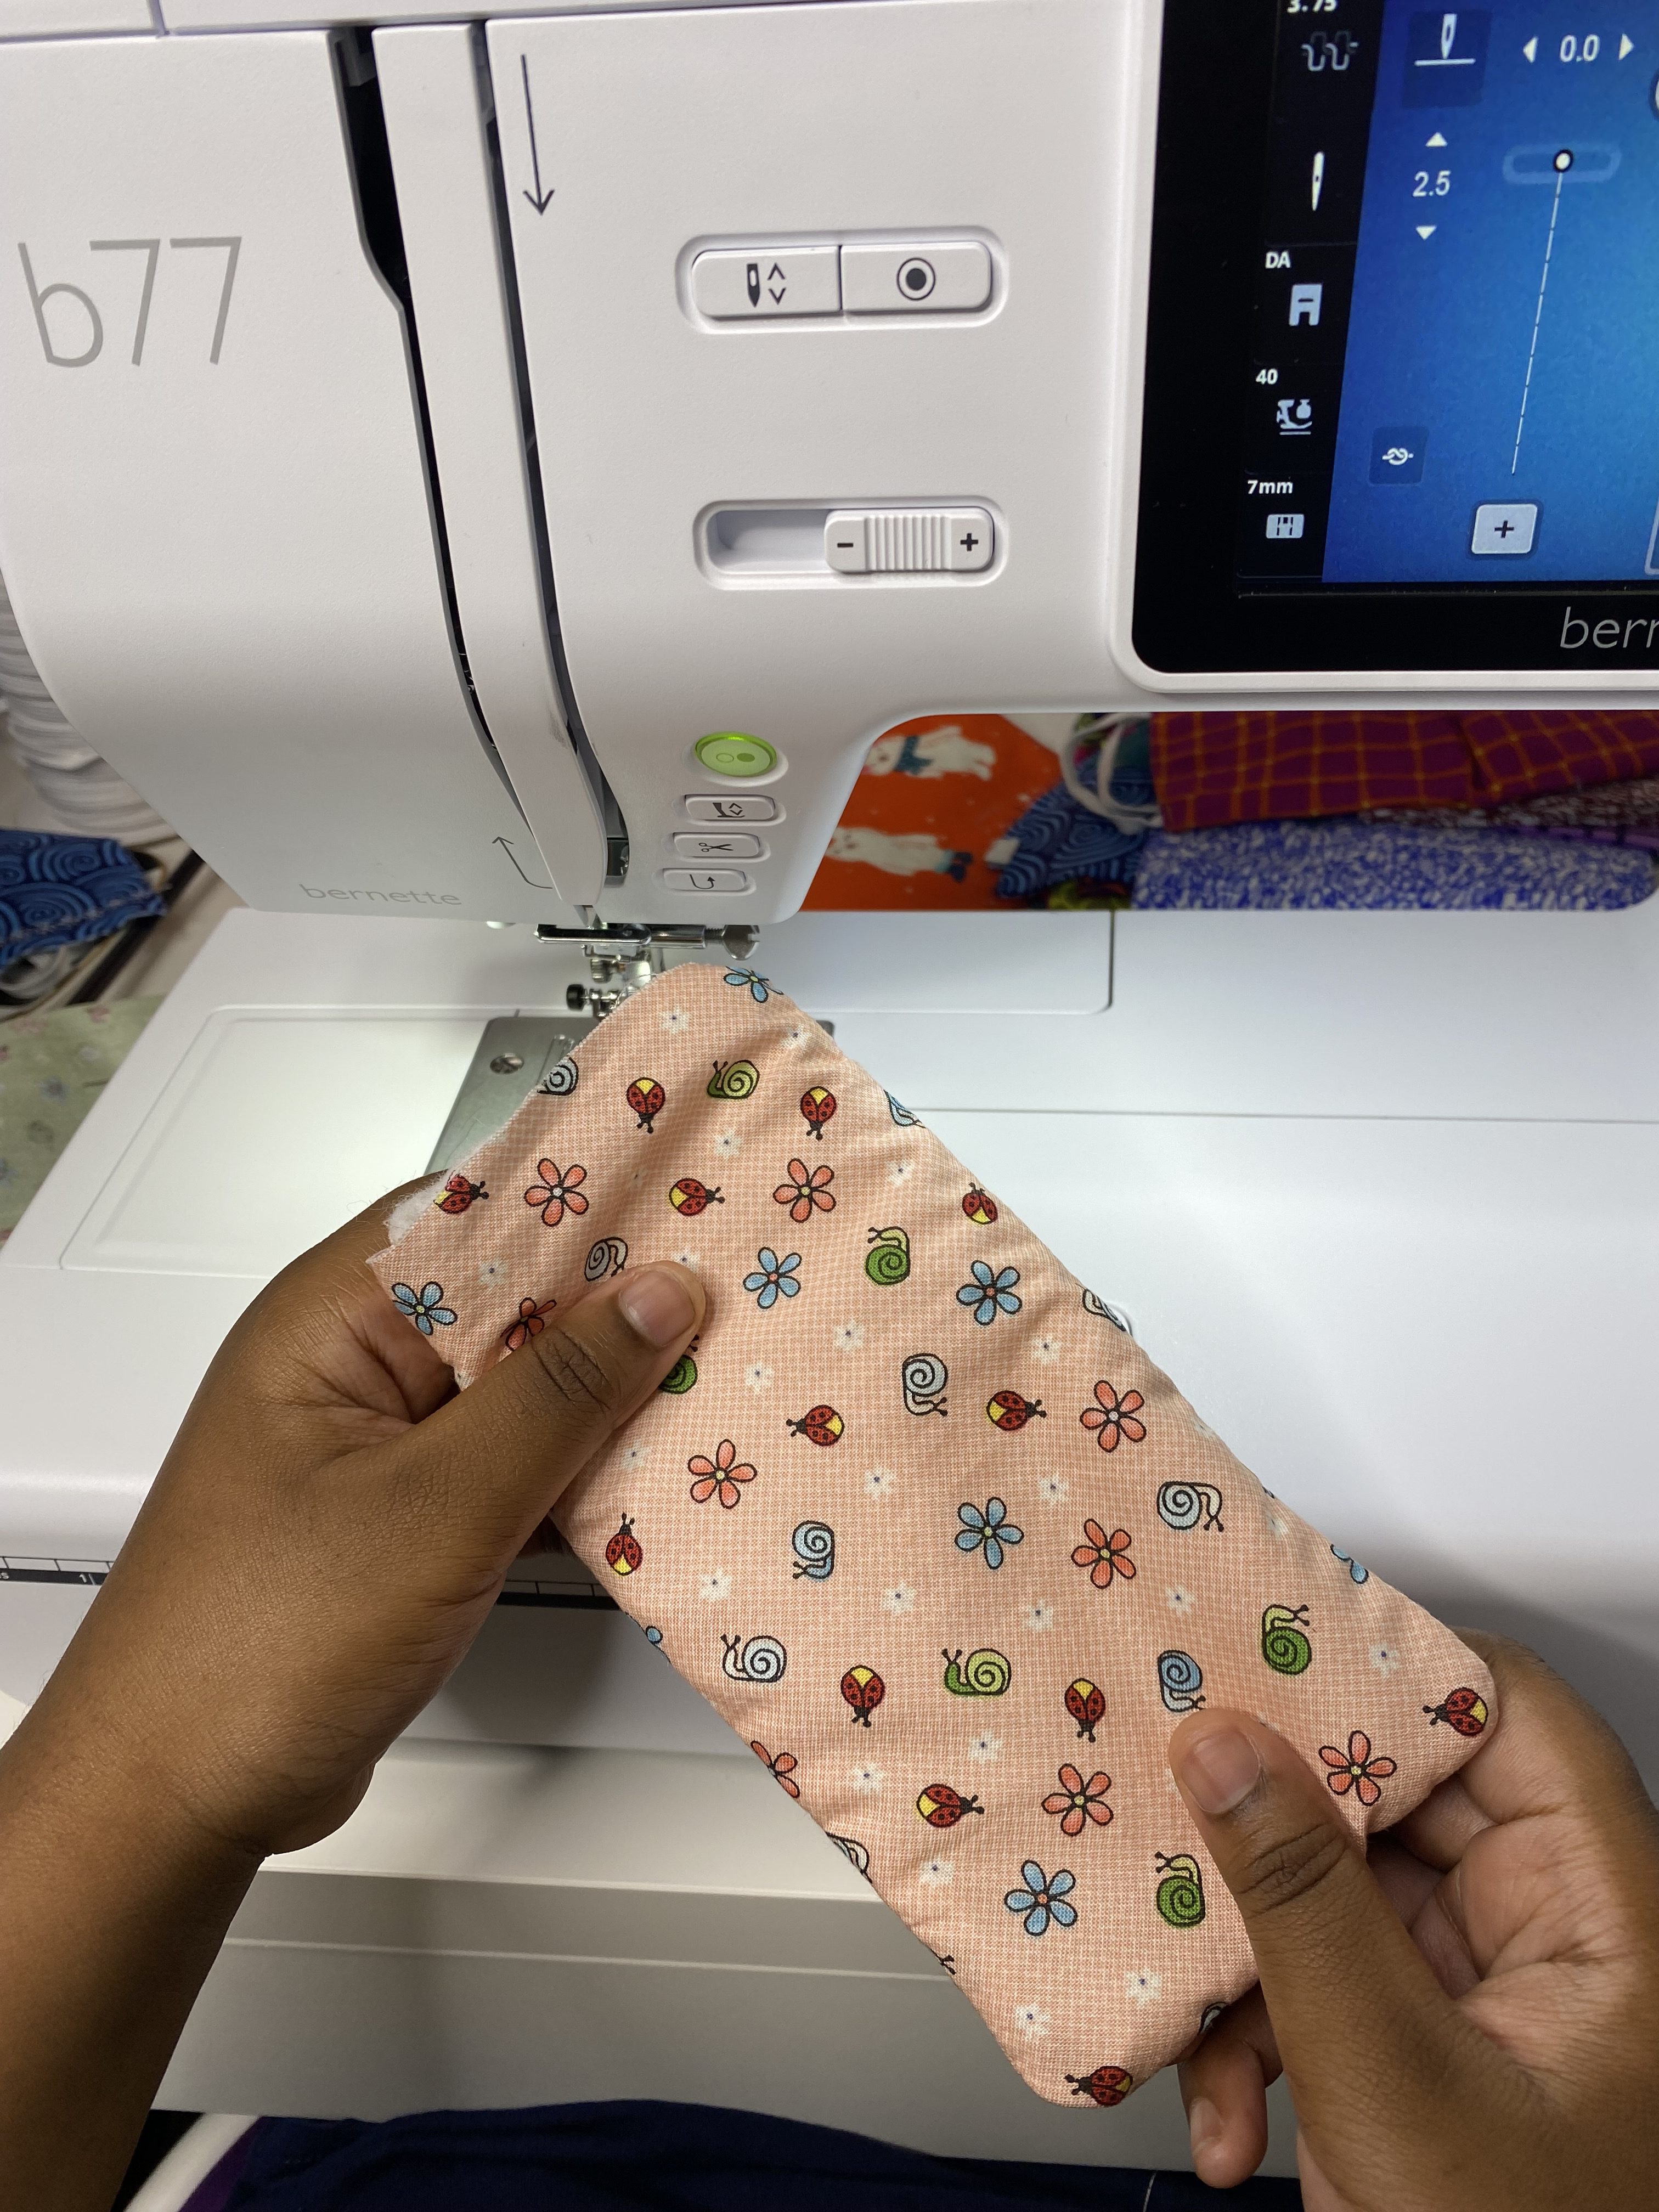
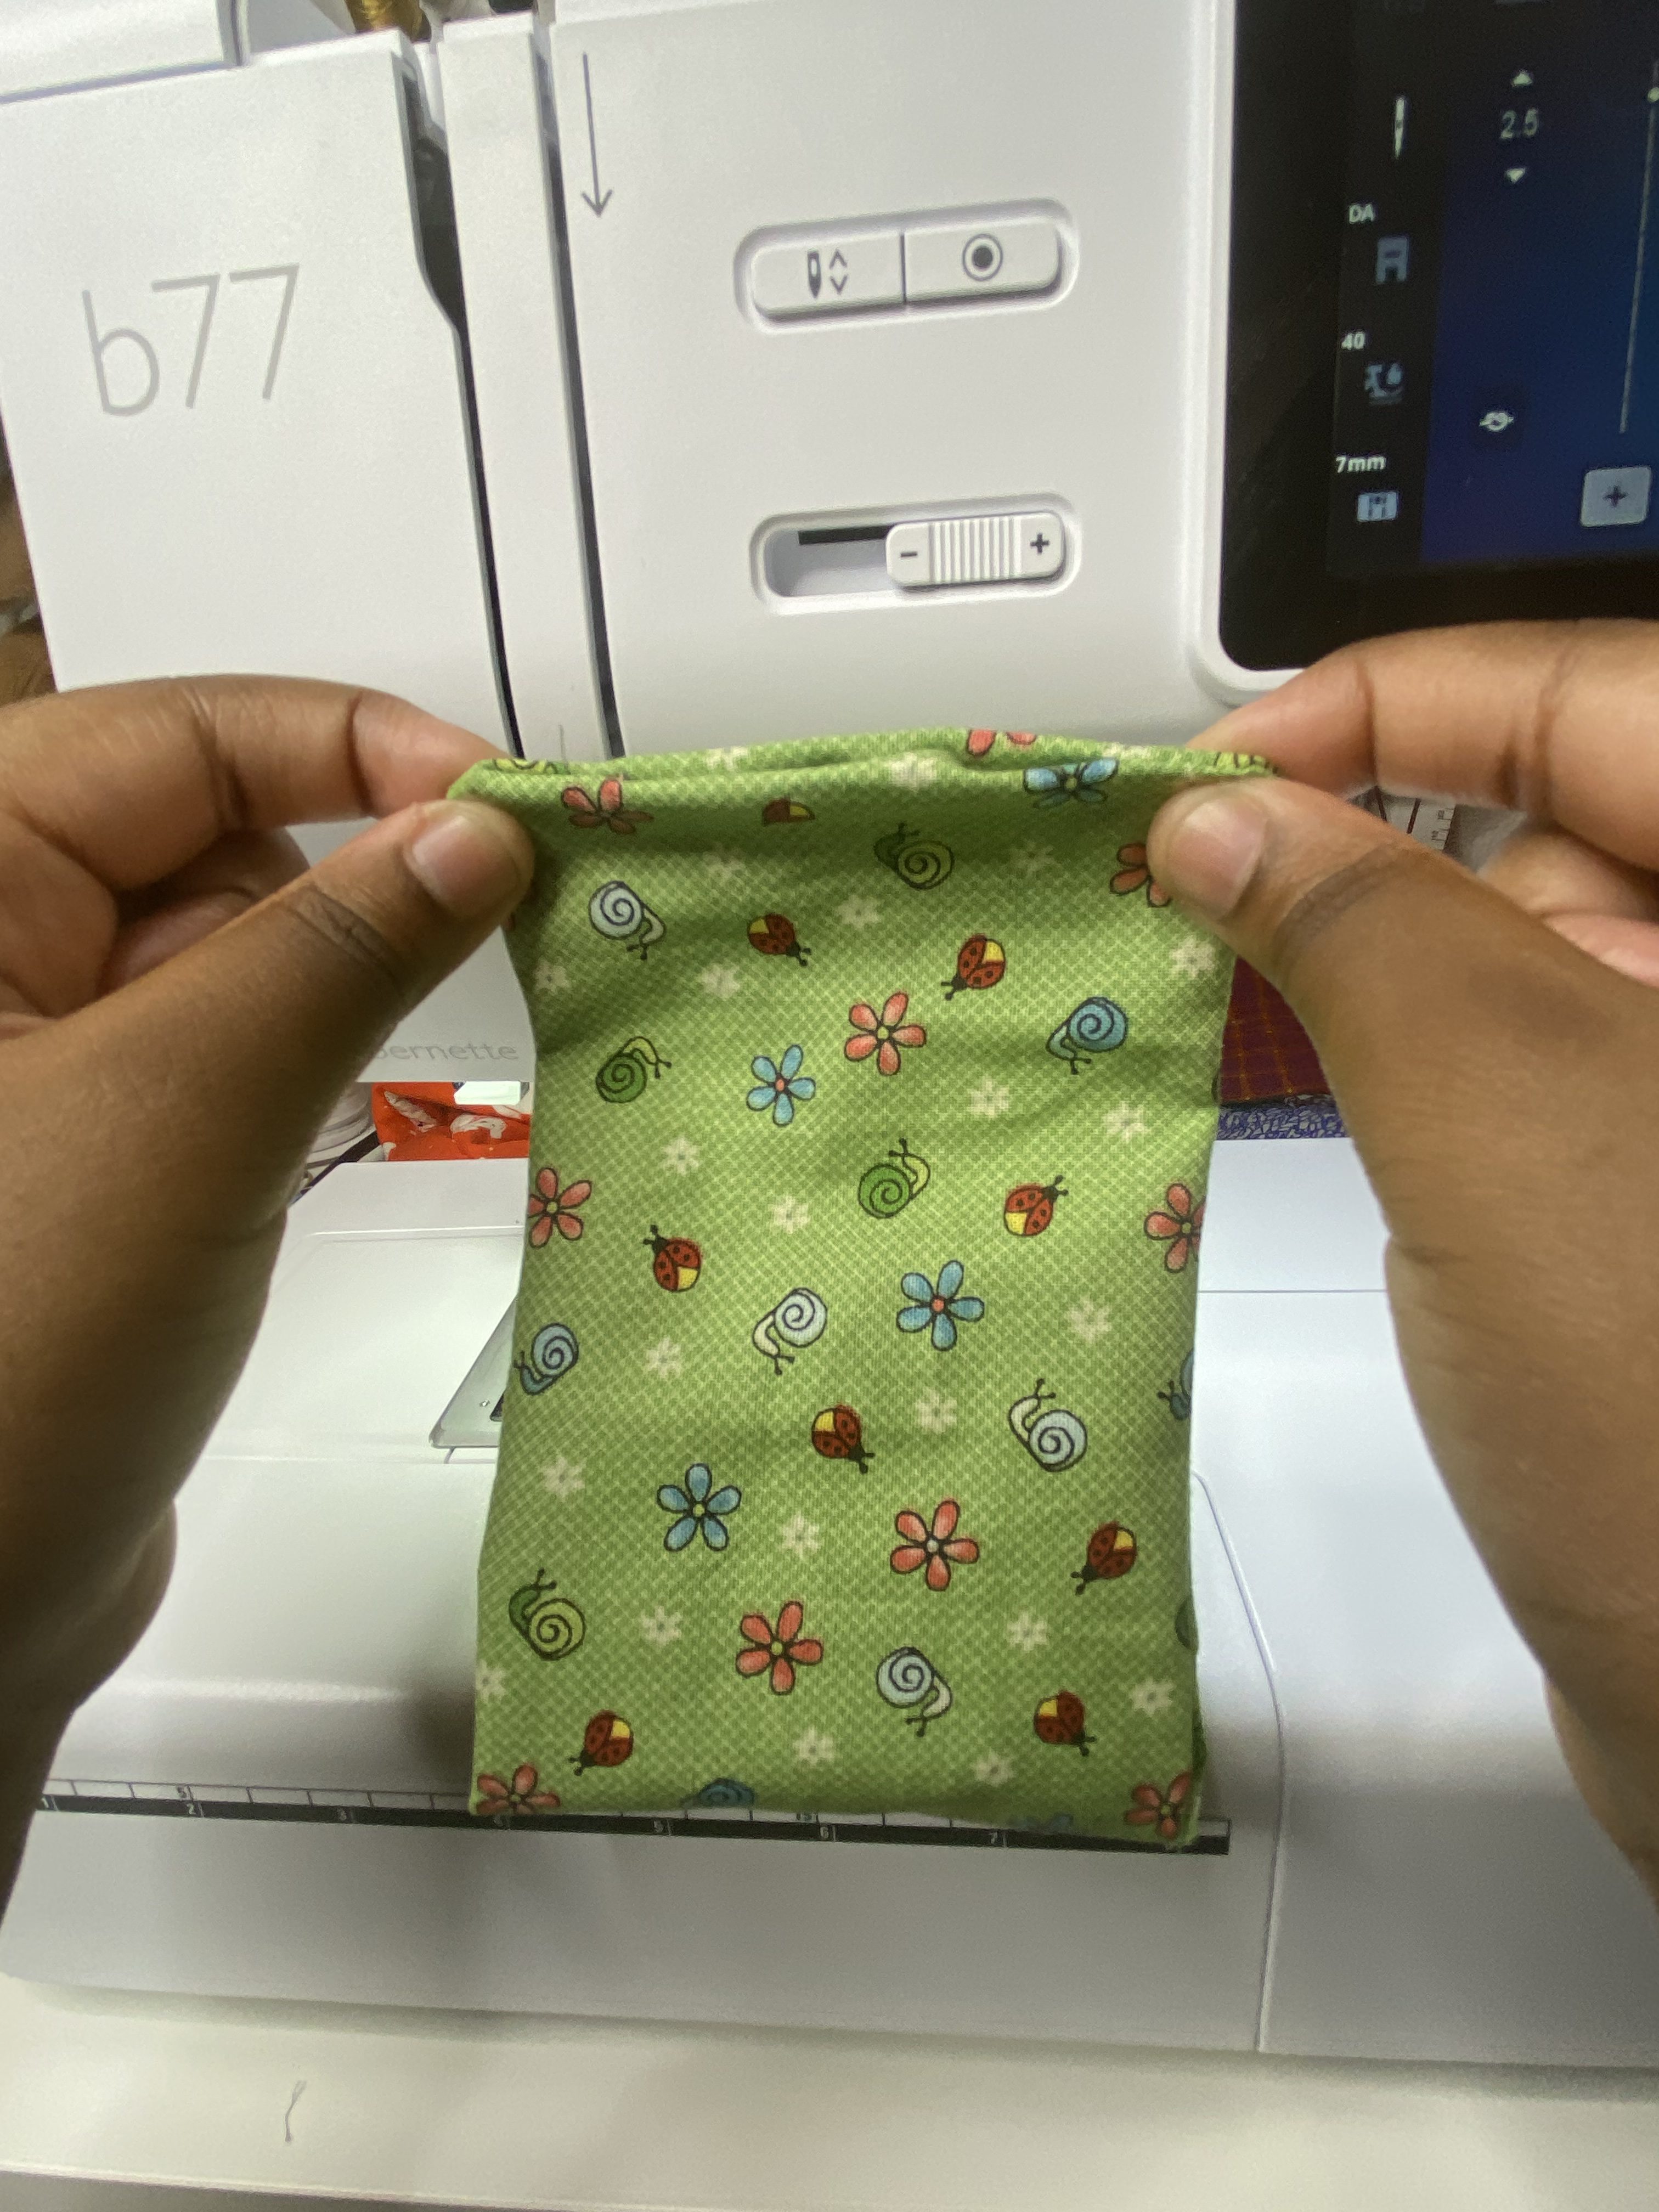
Now simply stuff the lining inside of the main fabric and give your eyeglass case a good press. When stuffing the lining inside of the main fabric, there are two different looks that can be achieved.
For example, you can push the lining inside of the main fabric so that it sits flat and doesn’t show on the outside (shown in the picture above).
You could also topstitch all around the opening to make sure your lining stays put inside the eyeglass case.
However, I like the second look best (pictured above).
To achieve this look you will stuff your lining inside of your main fabric. Be sure to leave a little bit of it showing on the outside like a border or a trim.
In the image, you can see that I made a thicker border. Though, you can make a thinner border by showing less of the lining.
Stitch In The Ditch
After you have pressed your border in place you may decide that you want to topstitch around it. I suggest using the stitch in the ditch technique.
To stitch in the ditch, simply stitch directly in the little groove that differentiates the outer fabric from the inner lining fabric.
Stitch in the ditch all the way around the top of your eyeglass case and you’re done!

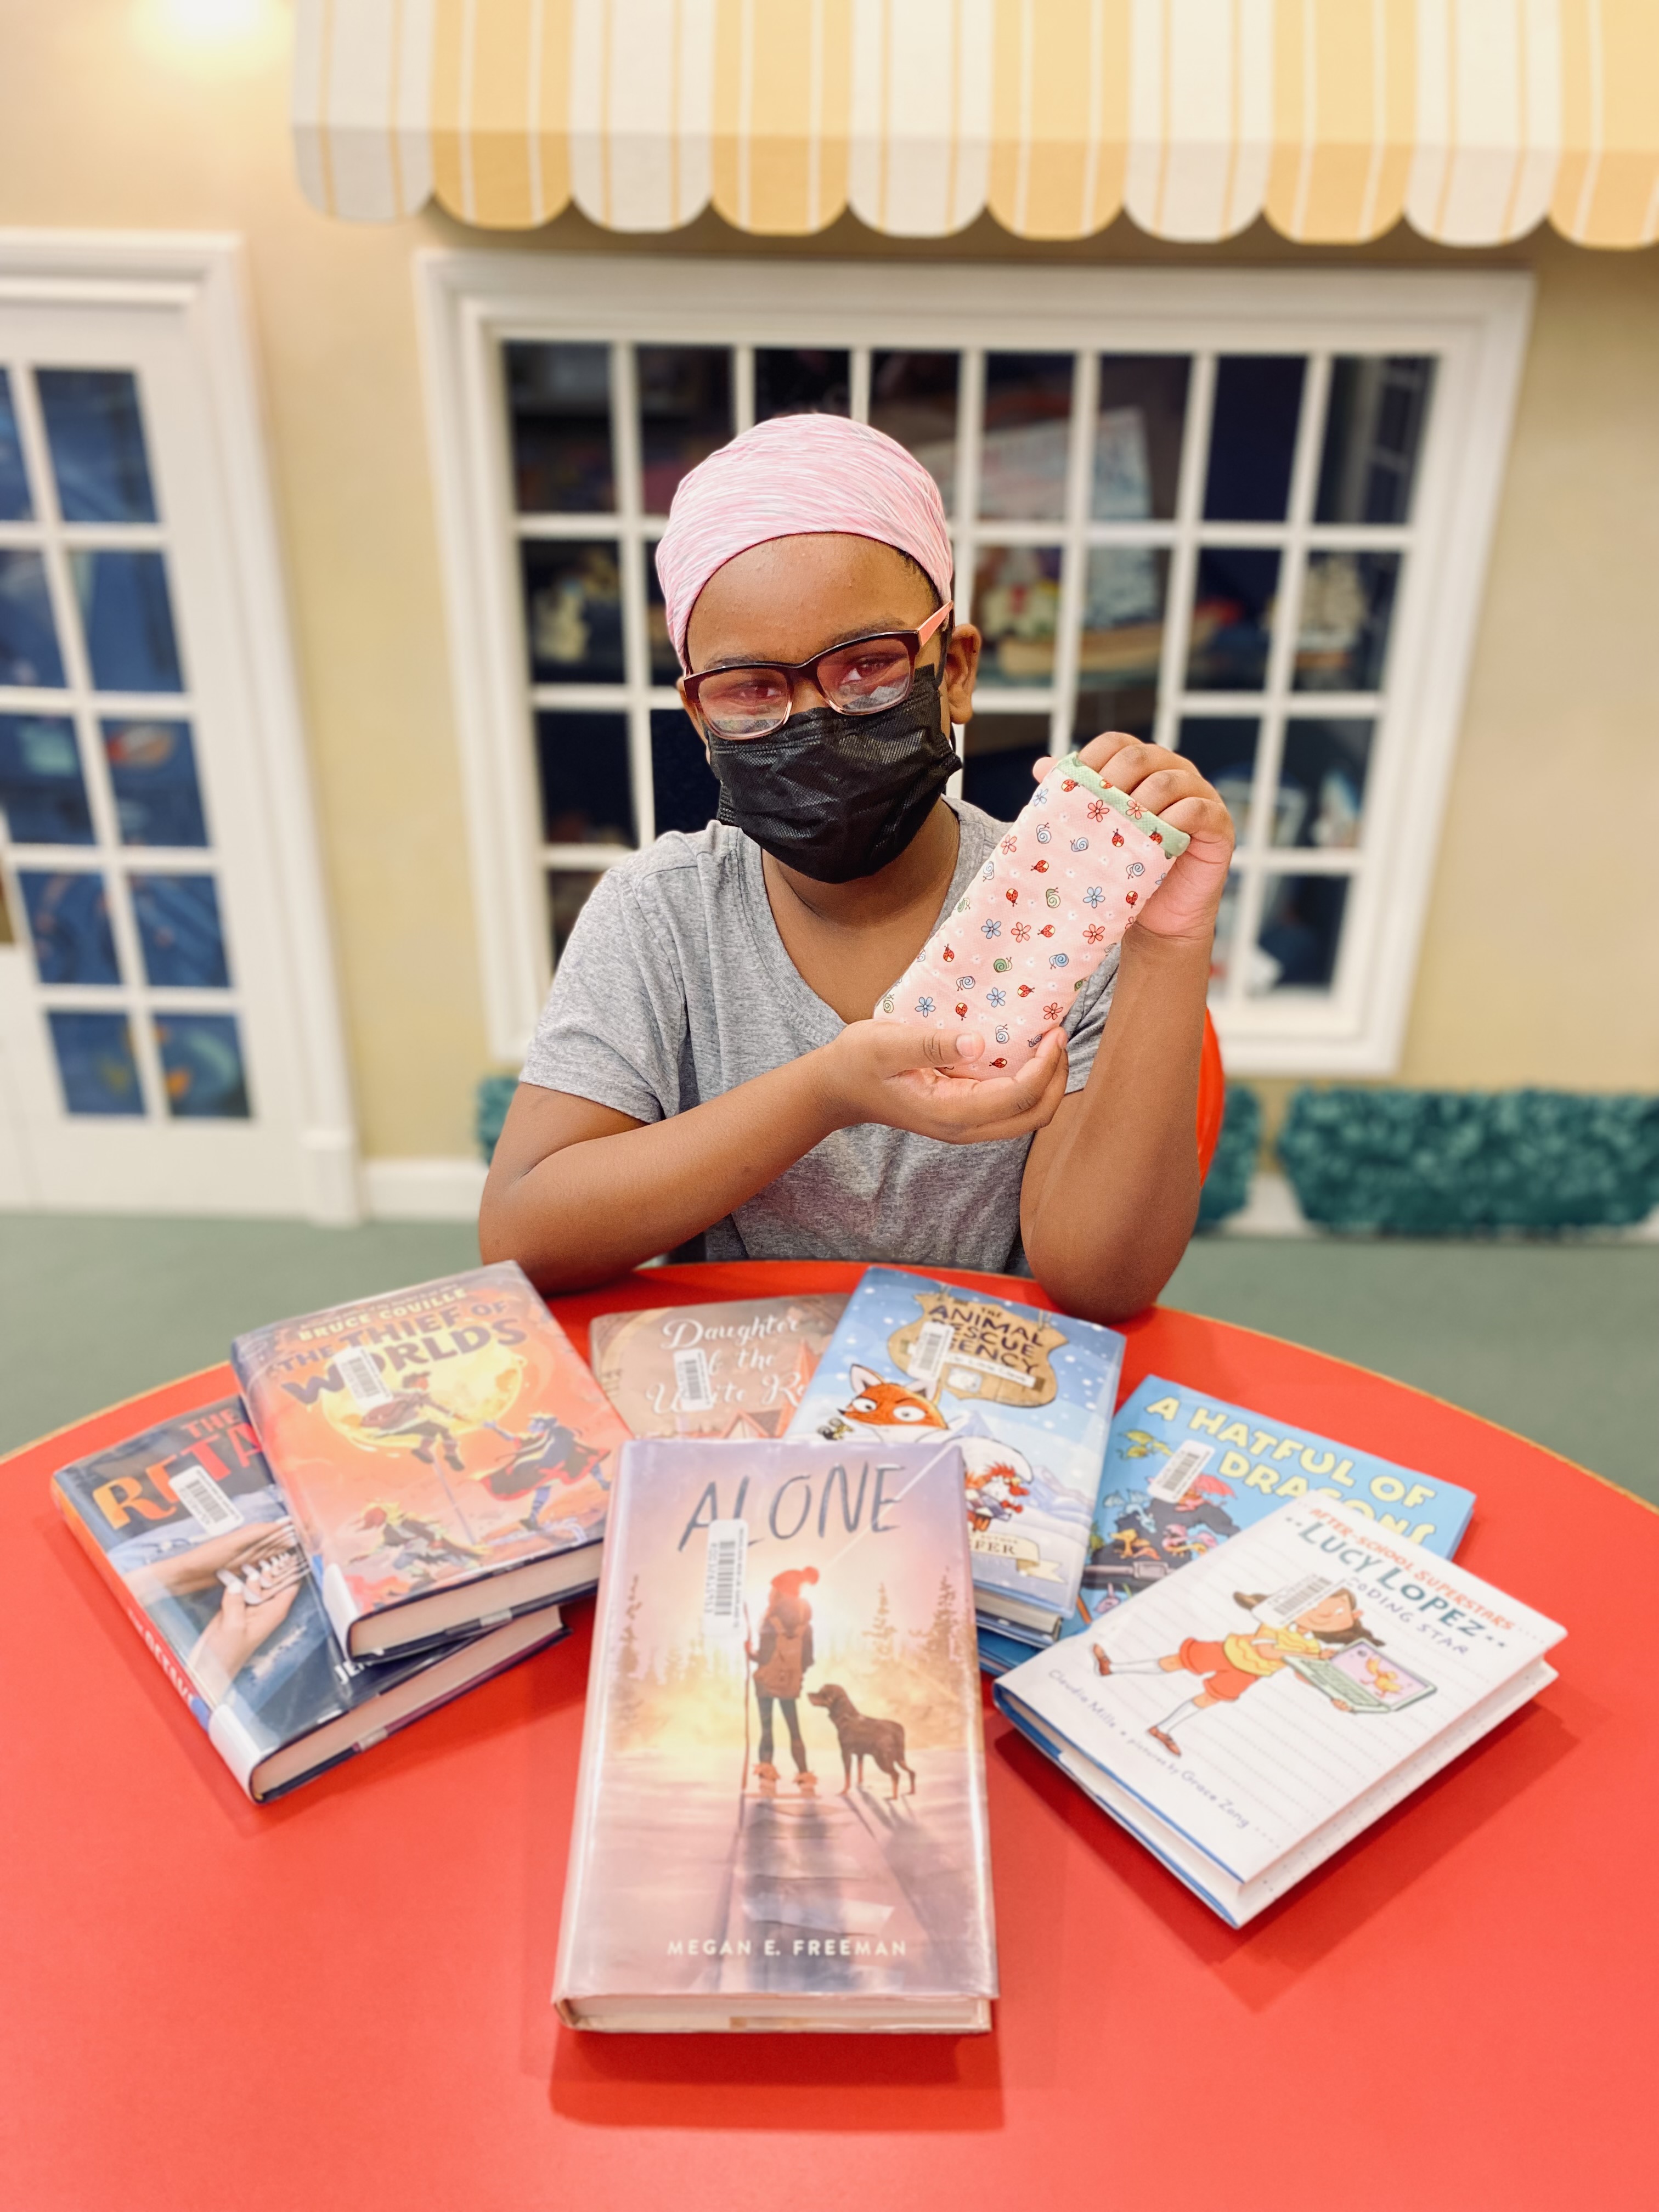
This project is perfect for kids and even adults that are just learning to sew. It’s a super easy project that doesn’t take a lot of time or fabric.

If you are new to sewing, and this is your first project, remember to have fun; however, don’t be hard on yourself if it’s not perfect. Sometimes your project won’t be absolutely perfect, and I have learned that it’s actually ok if it’s not. Just keep practicing over and over and the more you do it the better you’ll become.