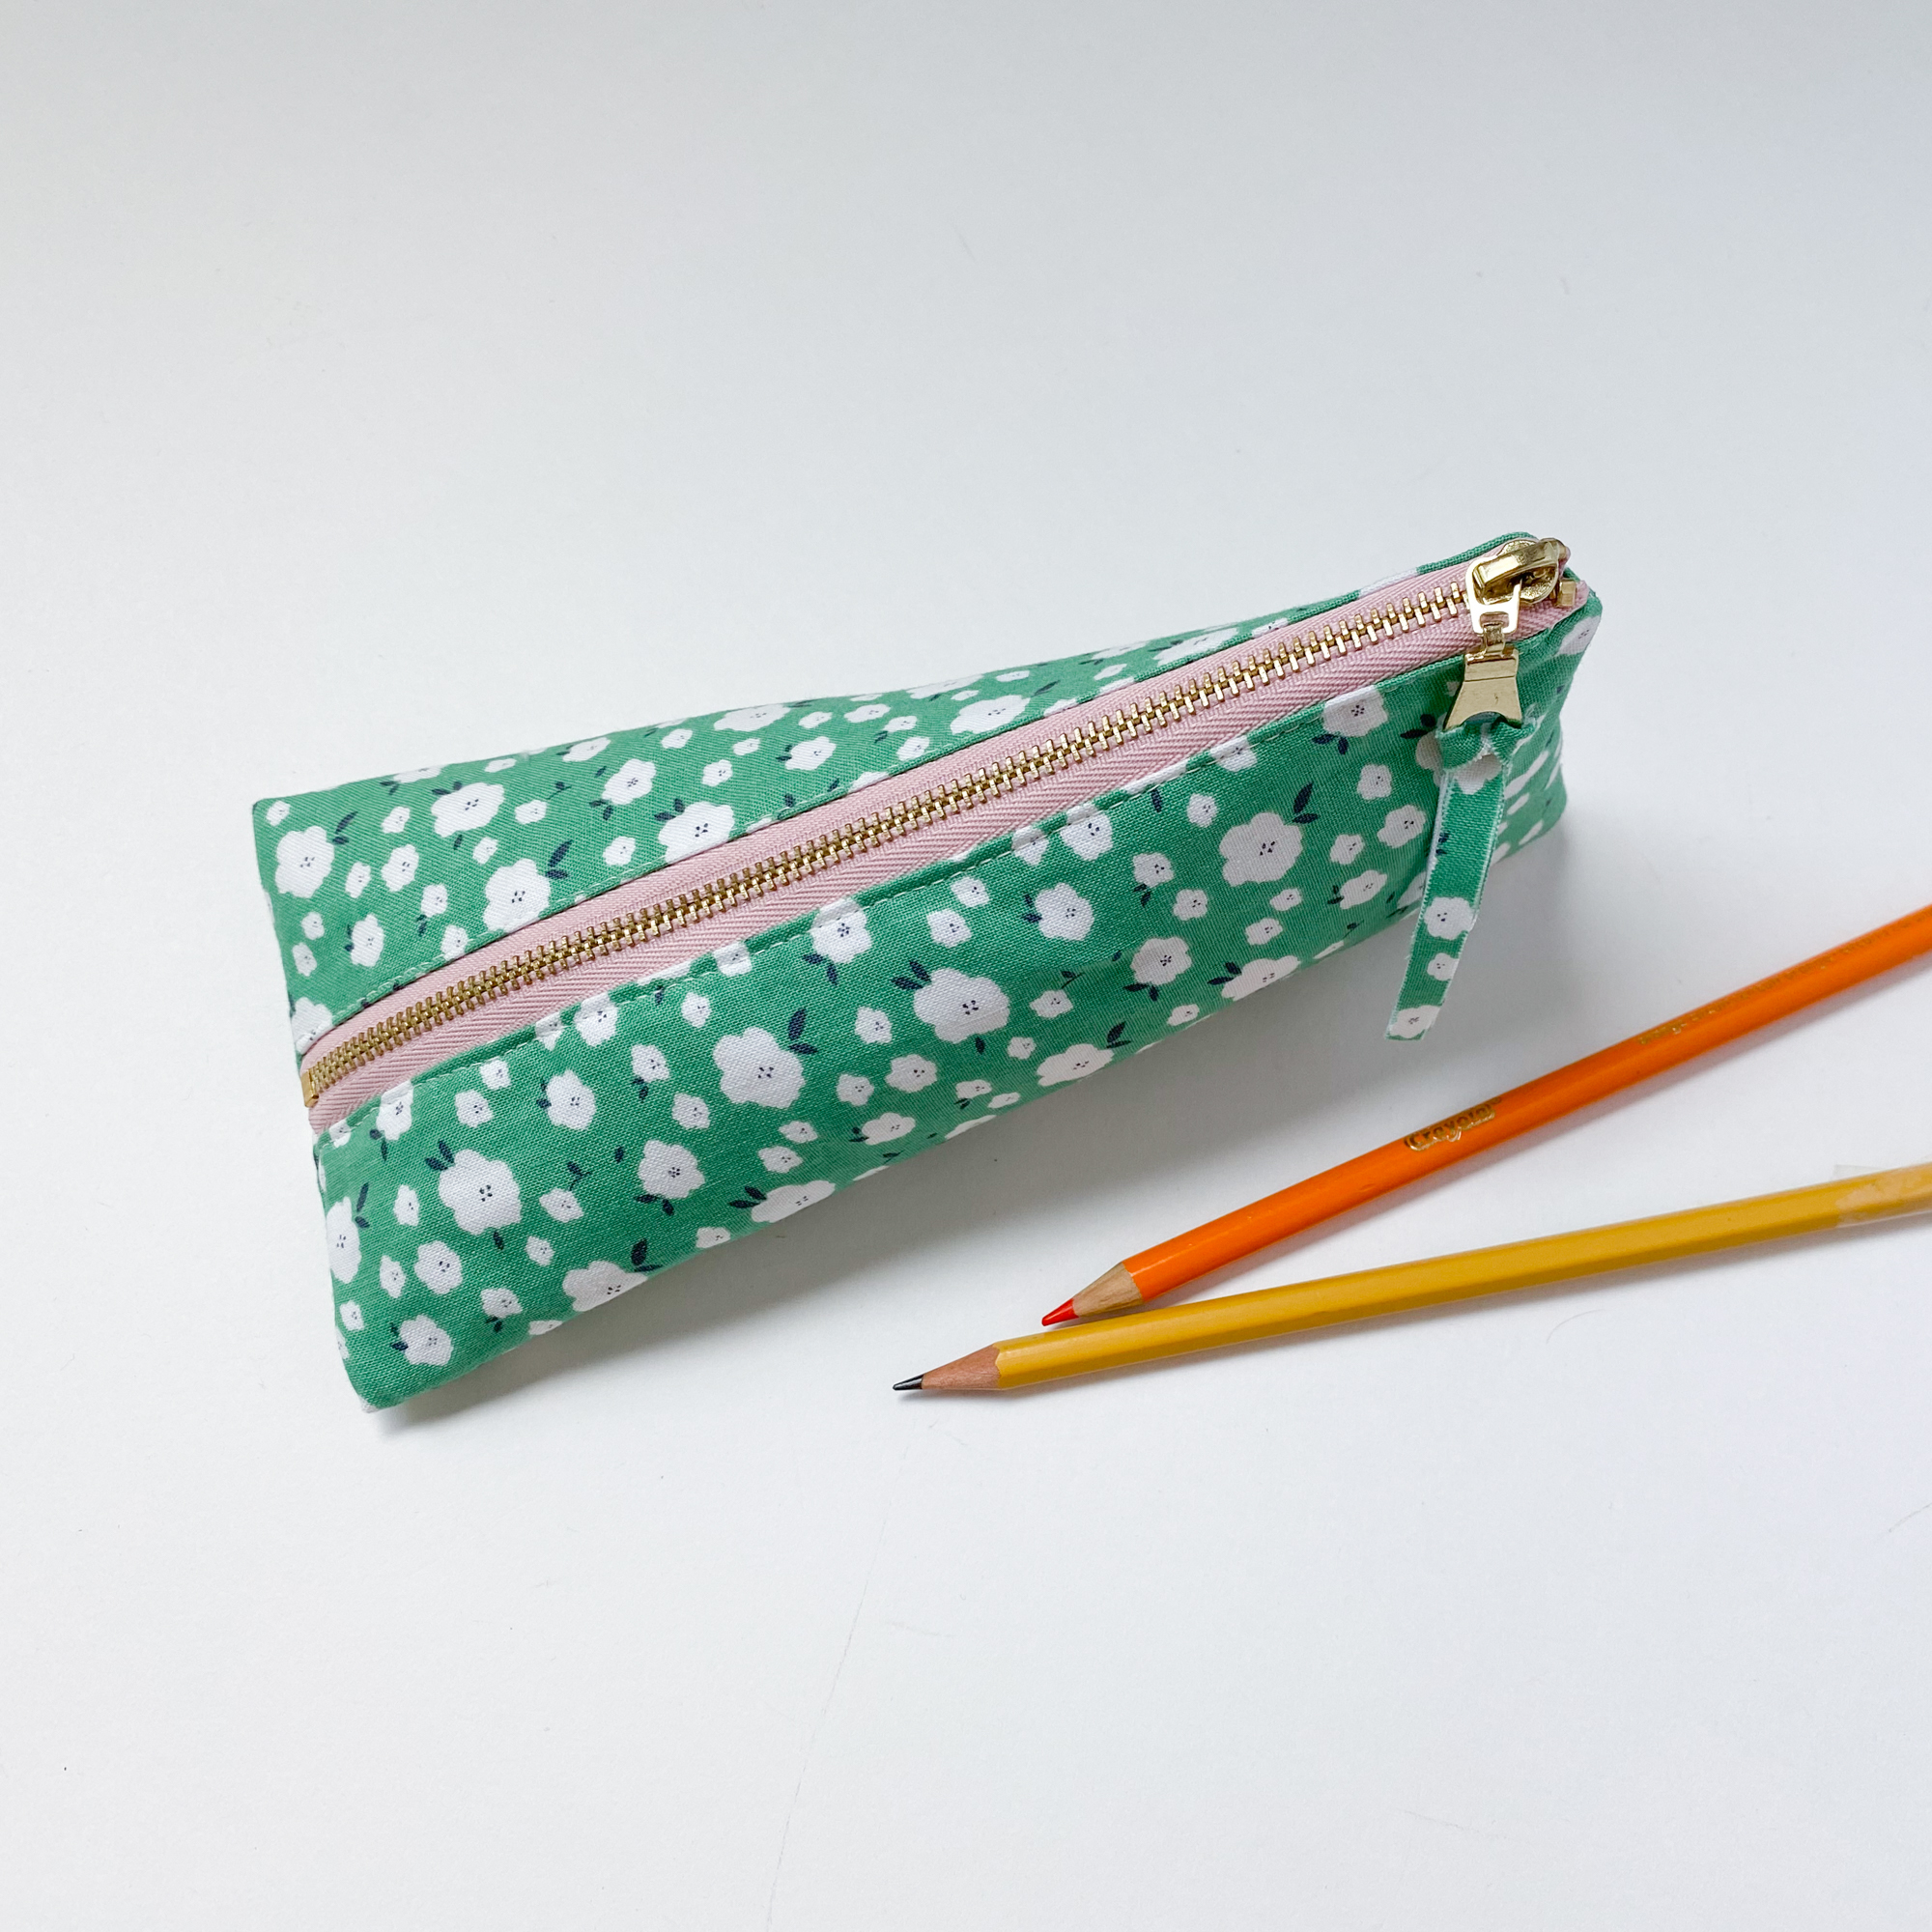
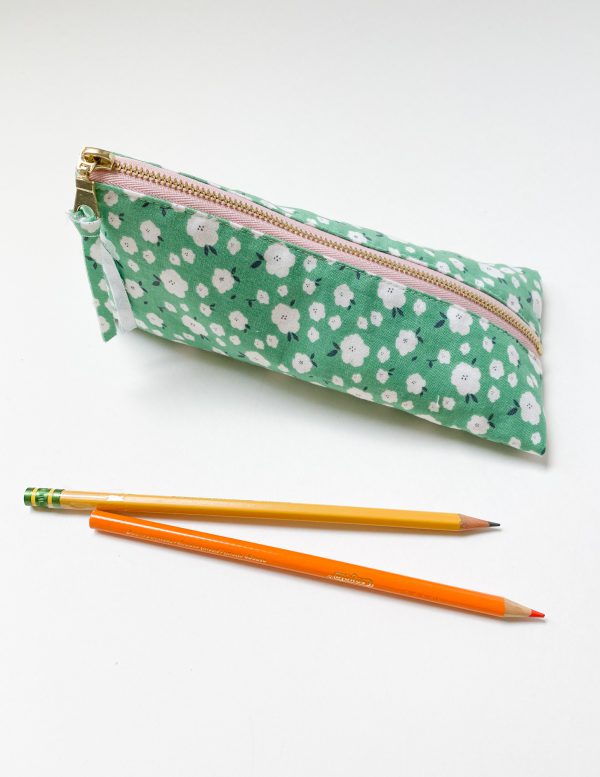
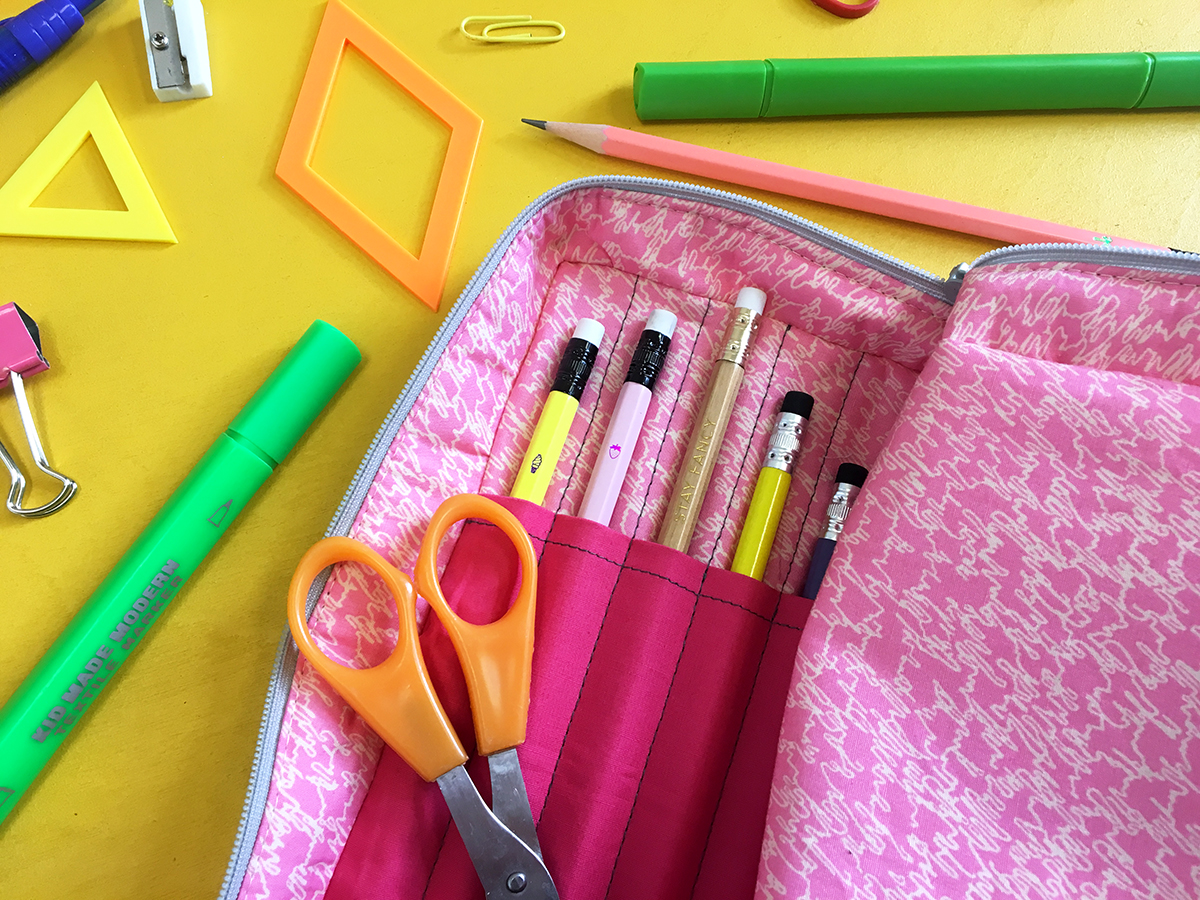
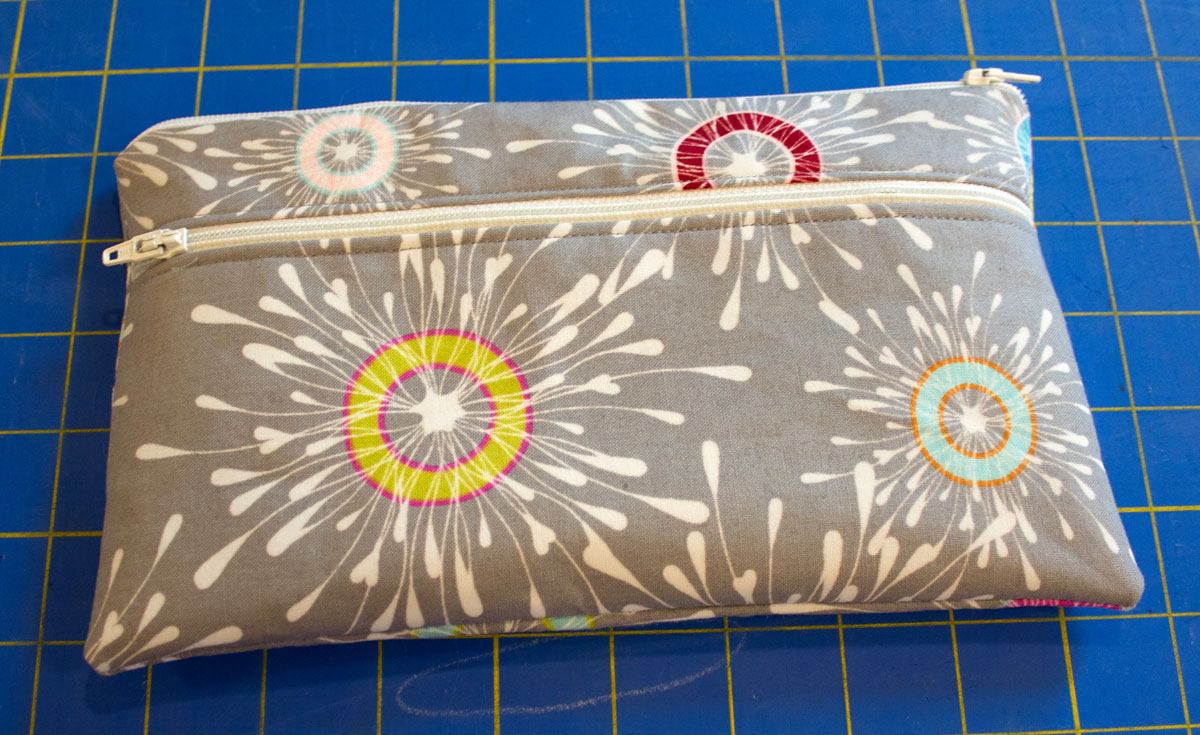
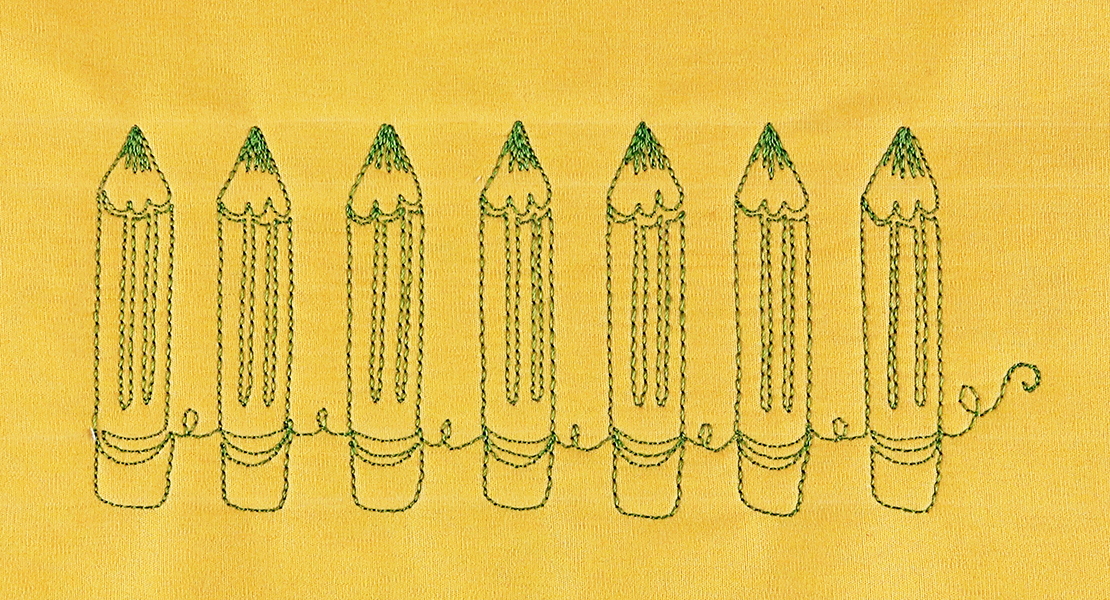
How to Sew a Pencil Case
Hello WeAllSew readers,
It’s Minki Kim, and you can find me on Instagram @zeriano and MinkiKim.com. I also design fabric for Riley Blake Designs and I have my own line of sewing patterns. You can also find my video tutorials on my YouTube channel, YouTube.com/Minkikim that I upload new tutorials every Monday and Thursday.
I am excited to share this fun Pencil Case today.
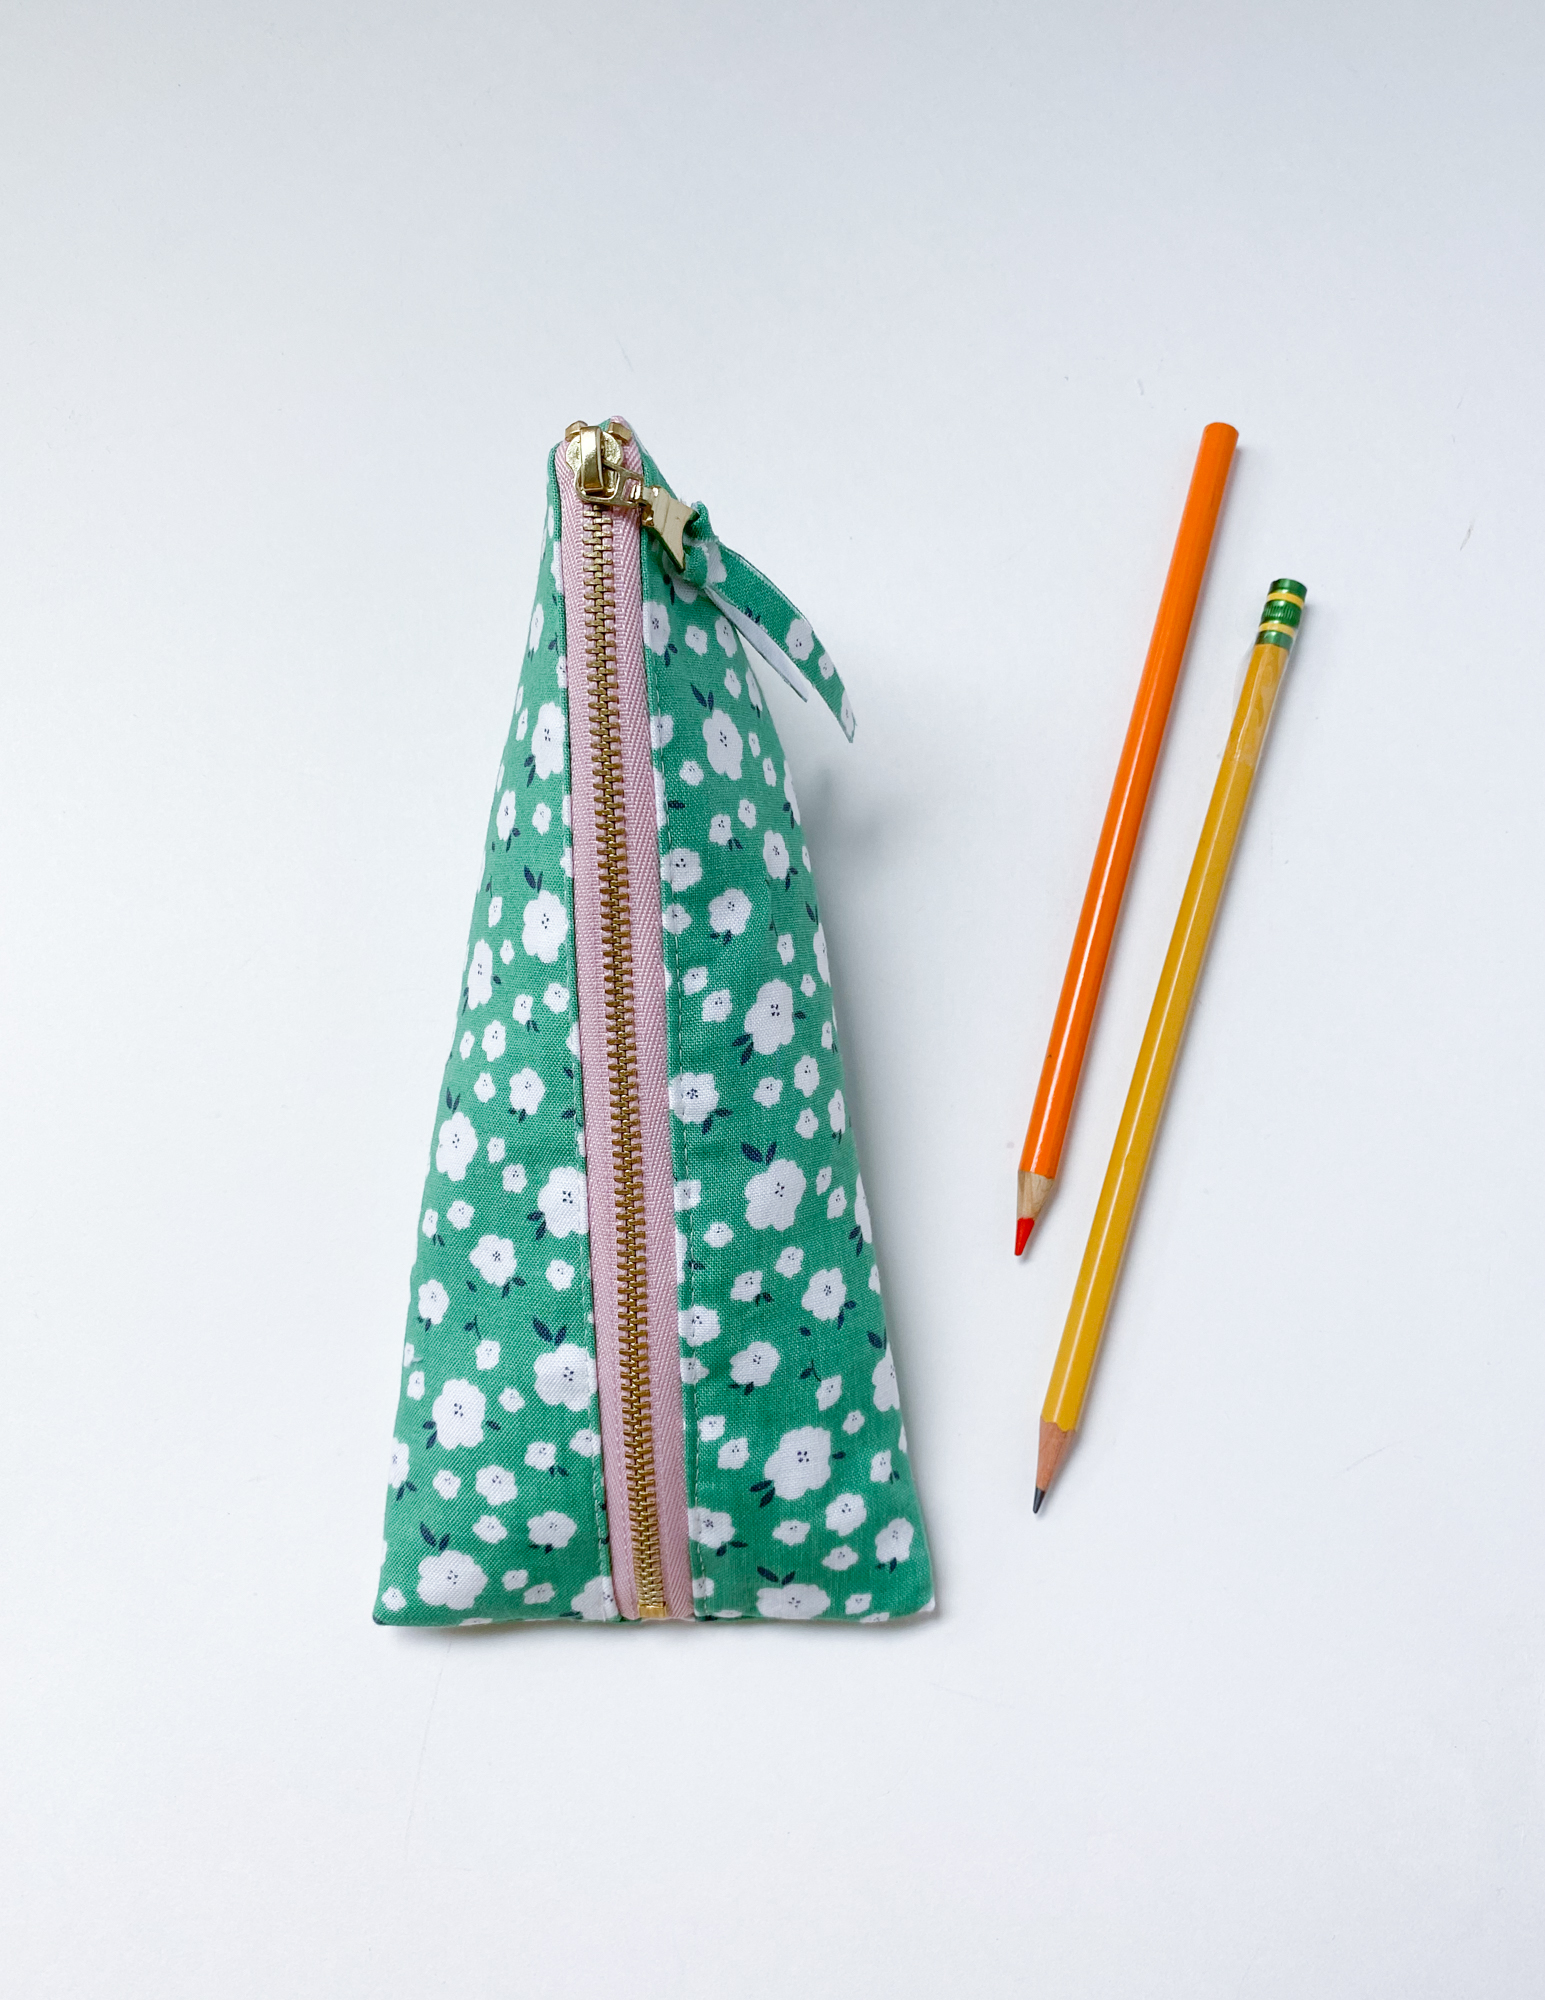
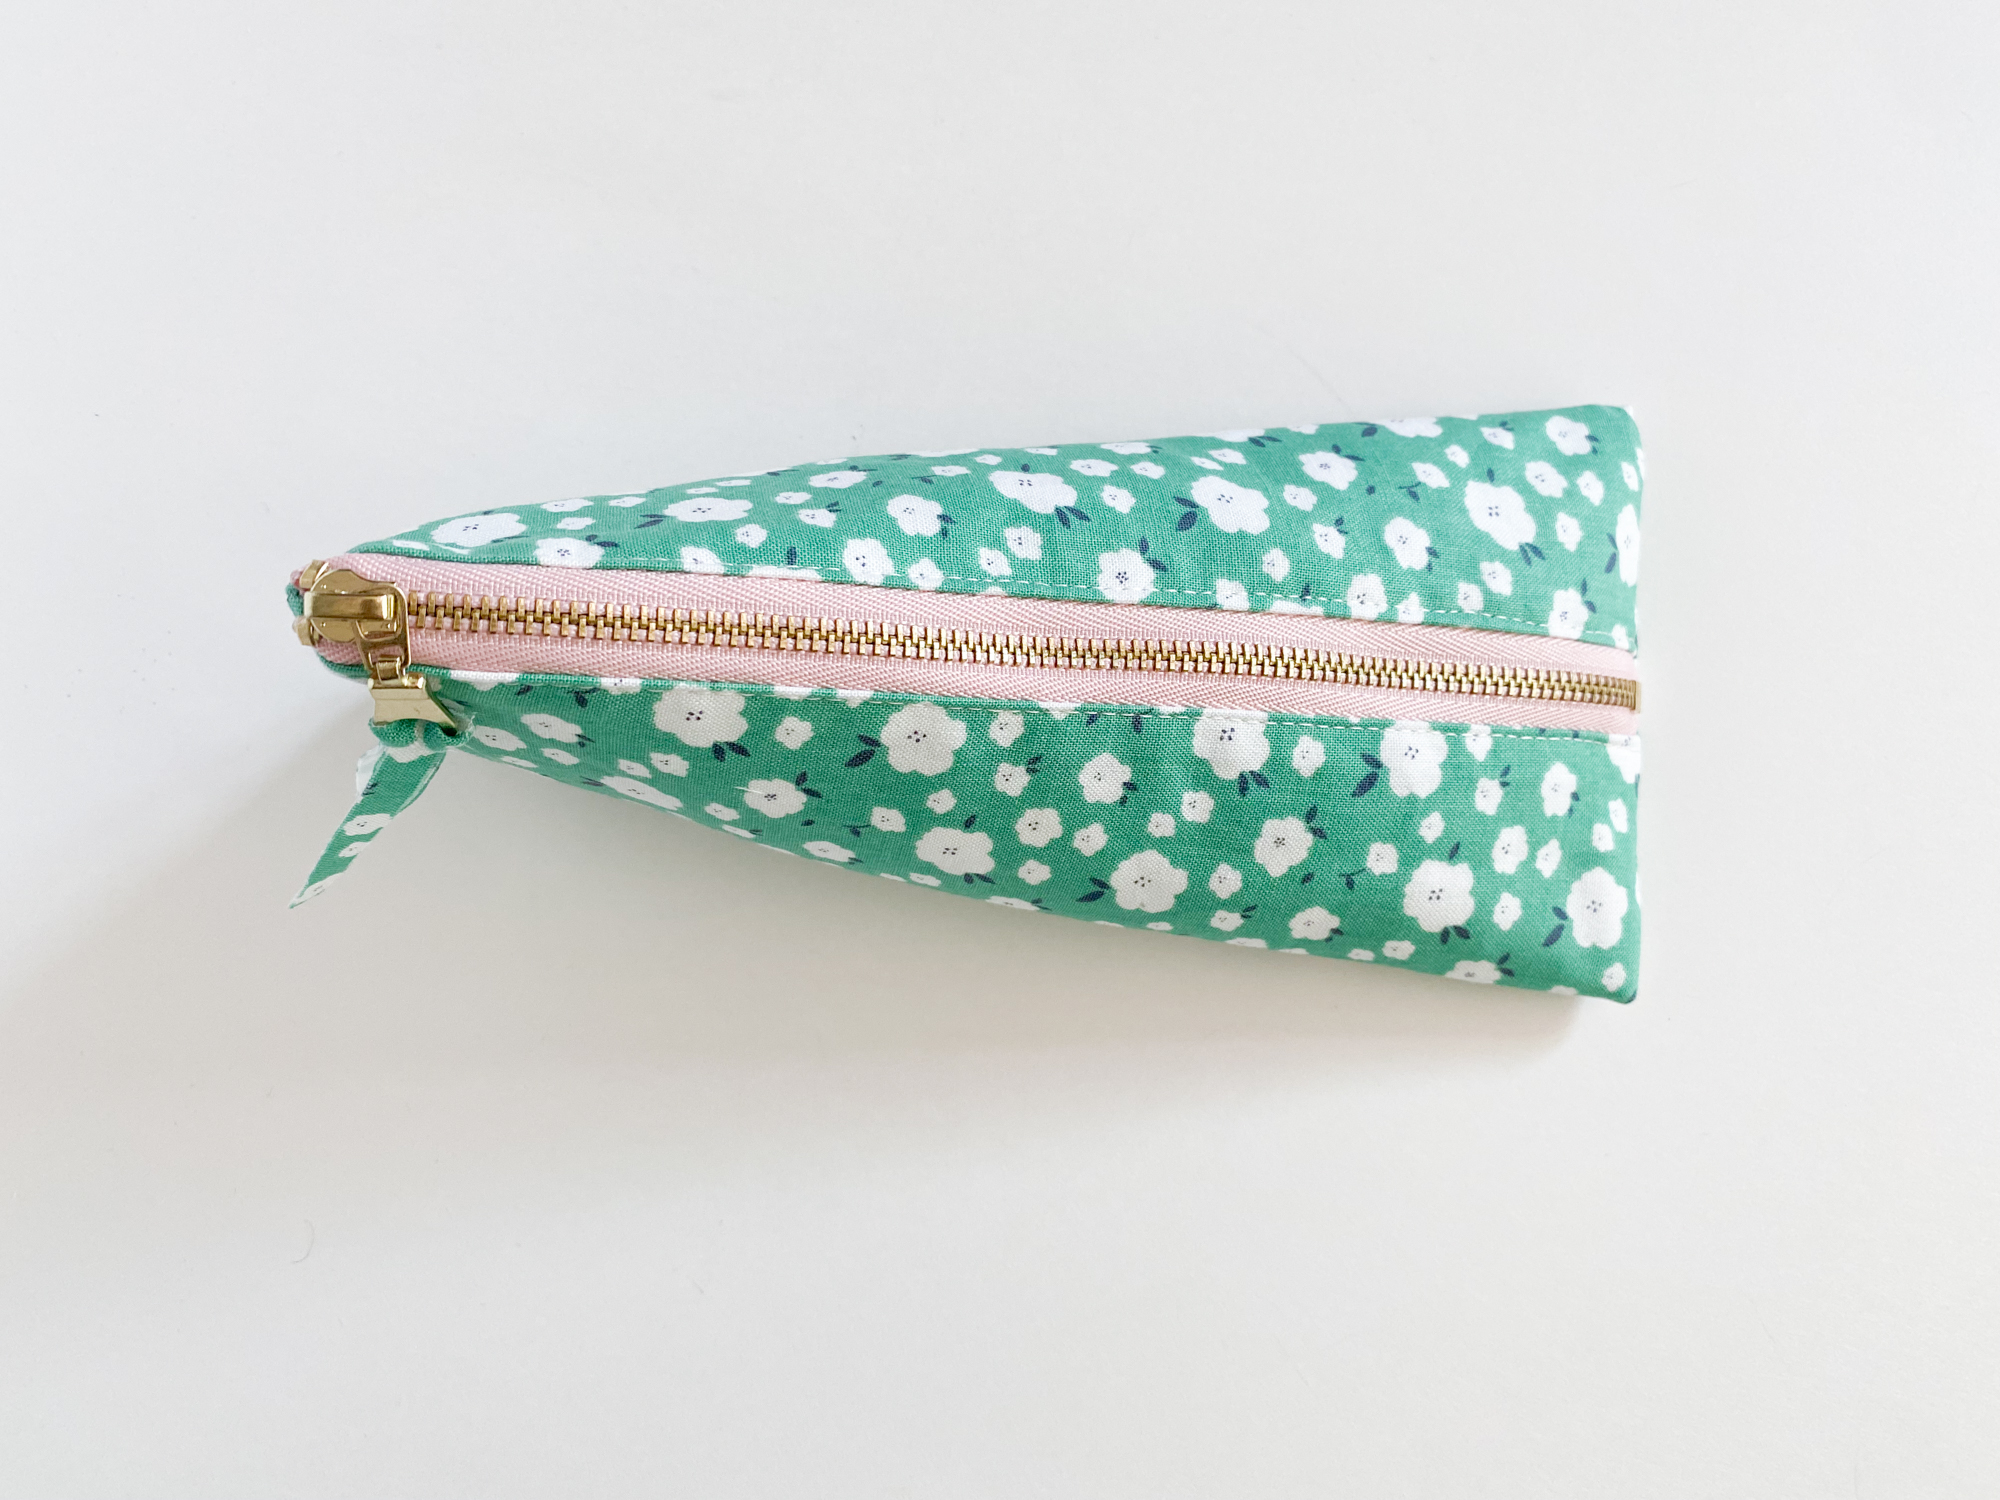
Finished size: 8″ wide x 5 1/2″ height x 2″ deep
Materials to Sew the Pencil Case
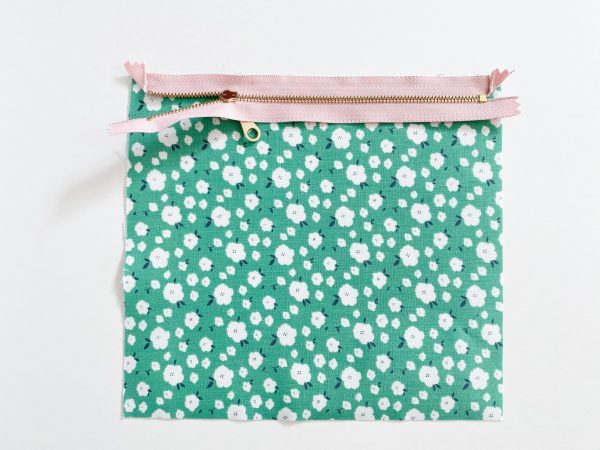
- Pouch exterior: one (1) 8 3/4”W x 8”H
- Pouch lining: two(2) 8 3/4”W x 4 1/4”H
- Fusible interfacing: one (1) 8 3/4”W x 8”H, two (2) 8 3/4”W x 4 1/4”H
- Zipper: 8”, metal zipper
Notes:
- Seam allowances are 1/4″ unless otherwise noted
- Fabrics used: my newest fabric, Hidden Cottage for Riley Blake Designs

Steps to Sew the Pencil Case
- Fuse the interfacing pieces to the wrong side of the exterior and lining panels.
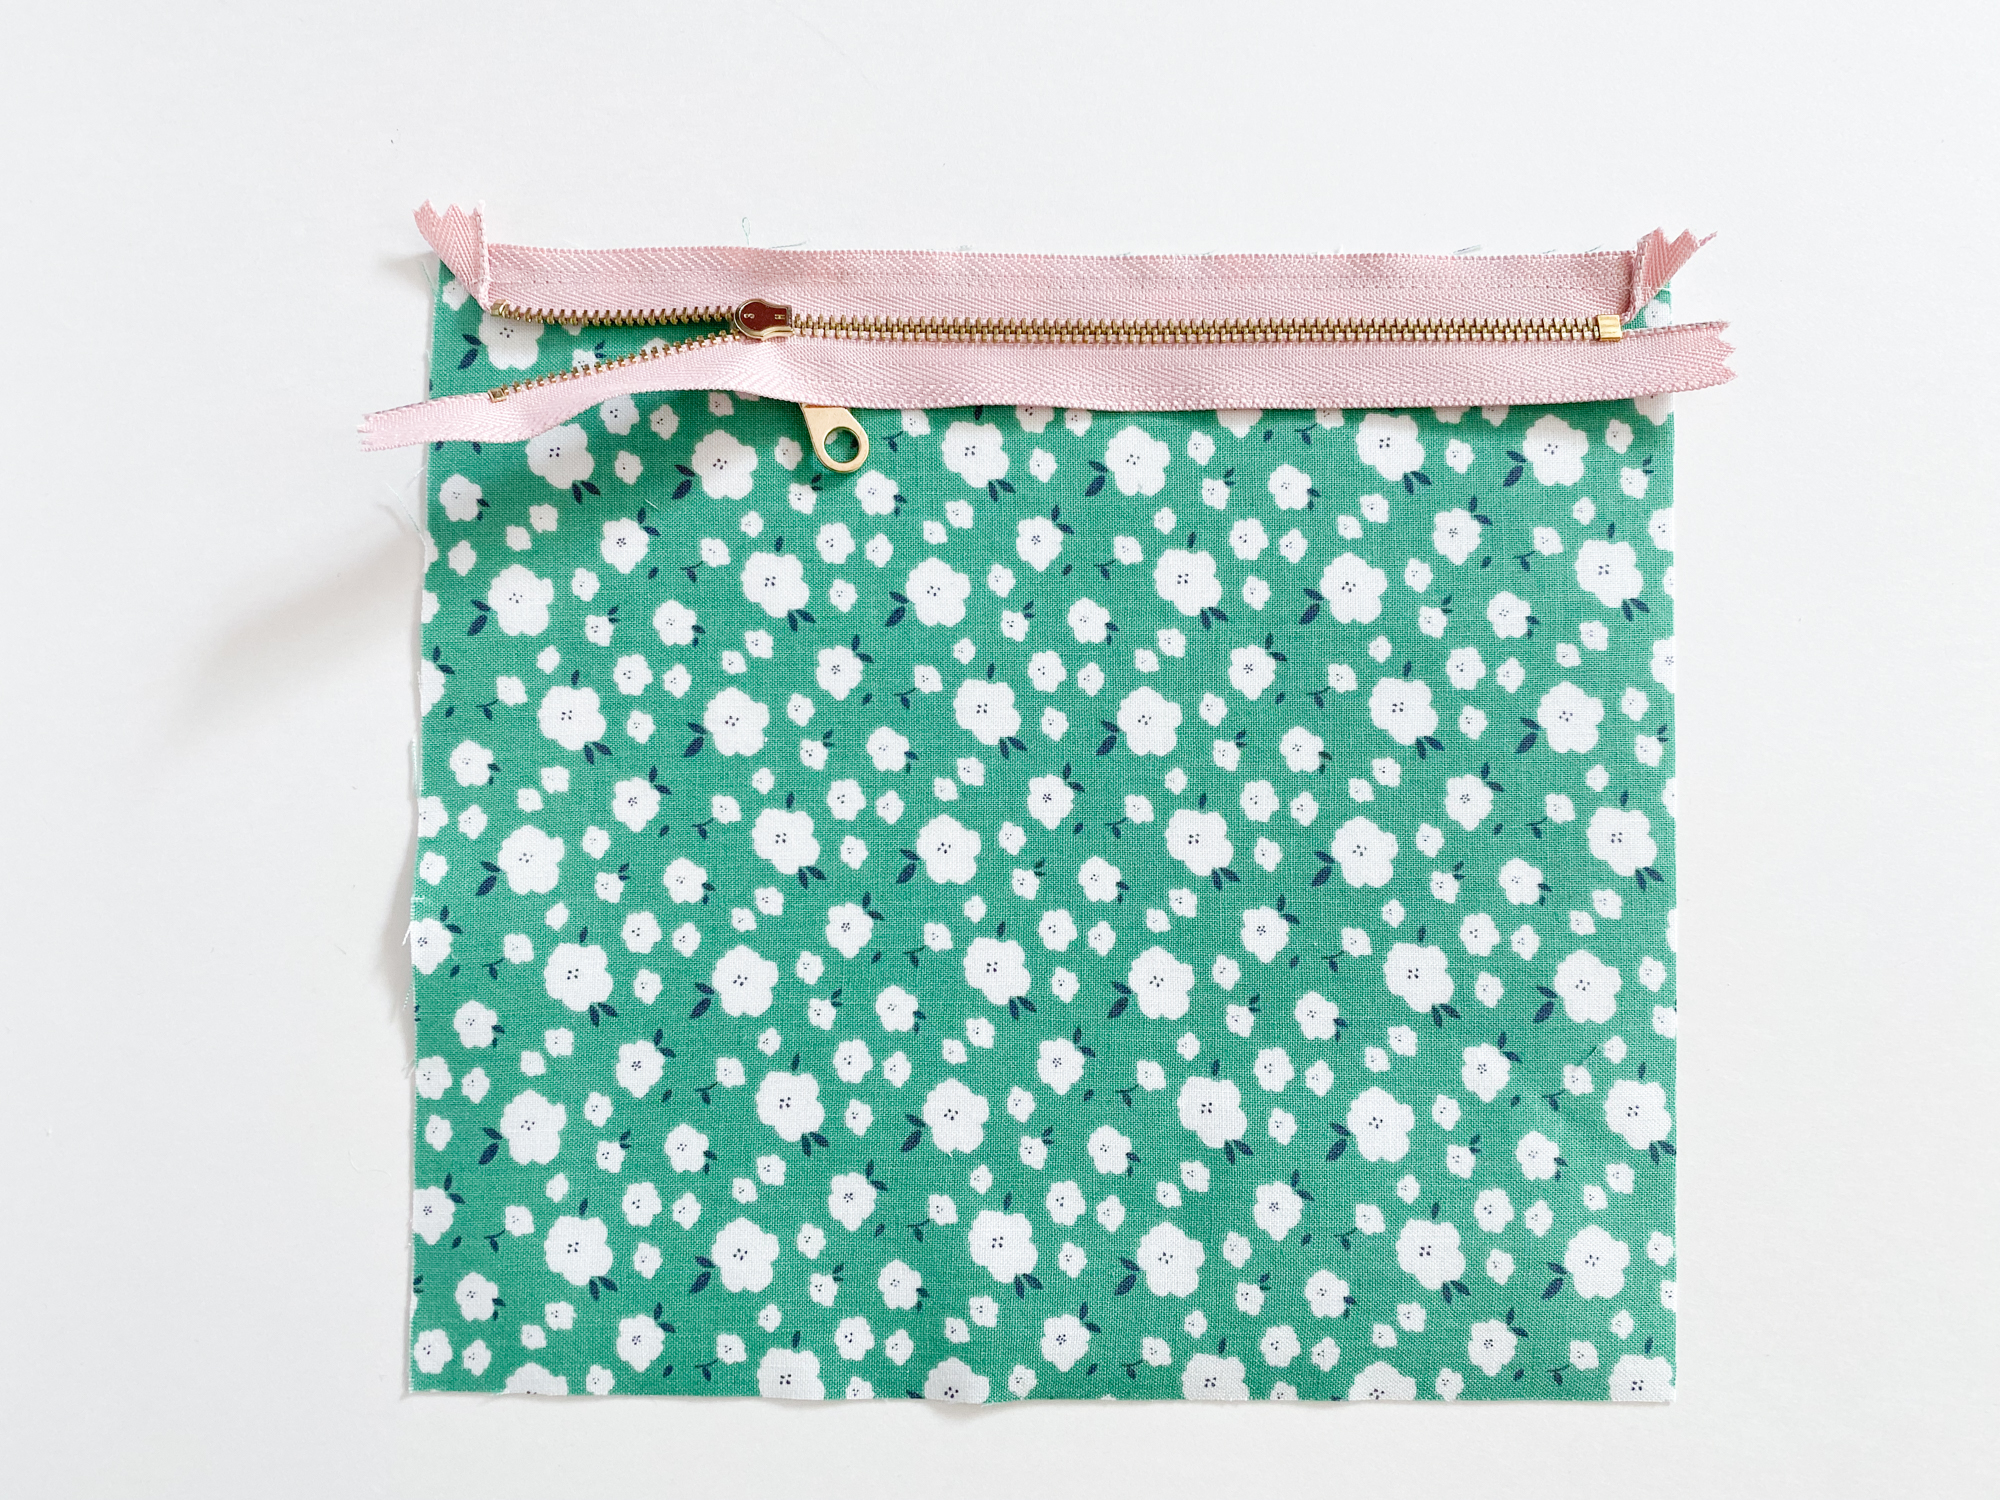
- With right sides down and zipper pull left, center the zipper and pin in place. Change to a zipper foot and stitch the zipper.
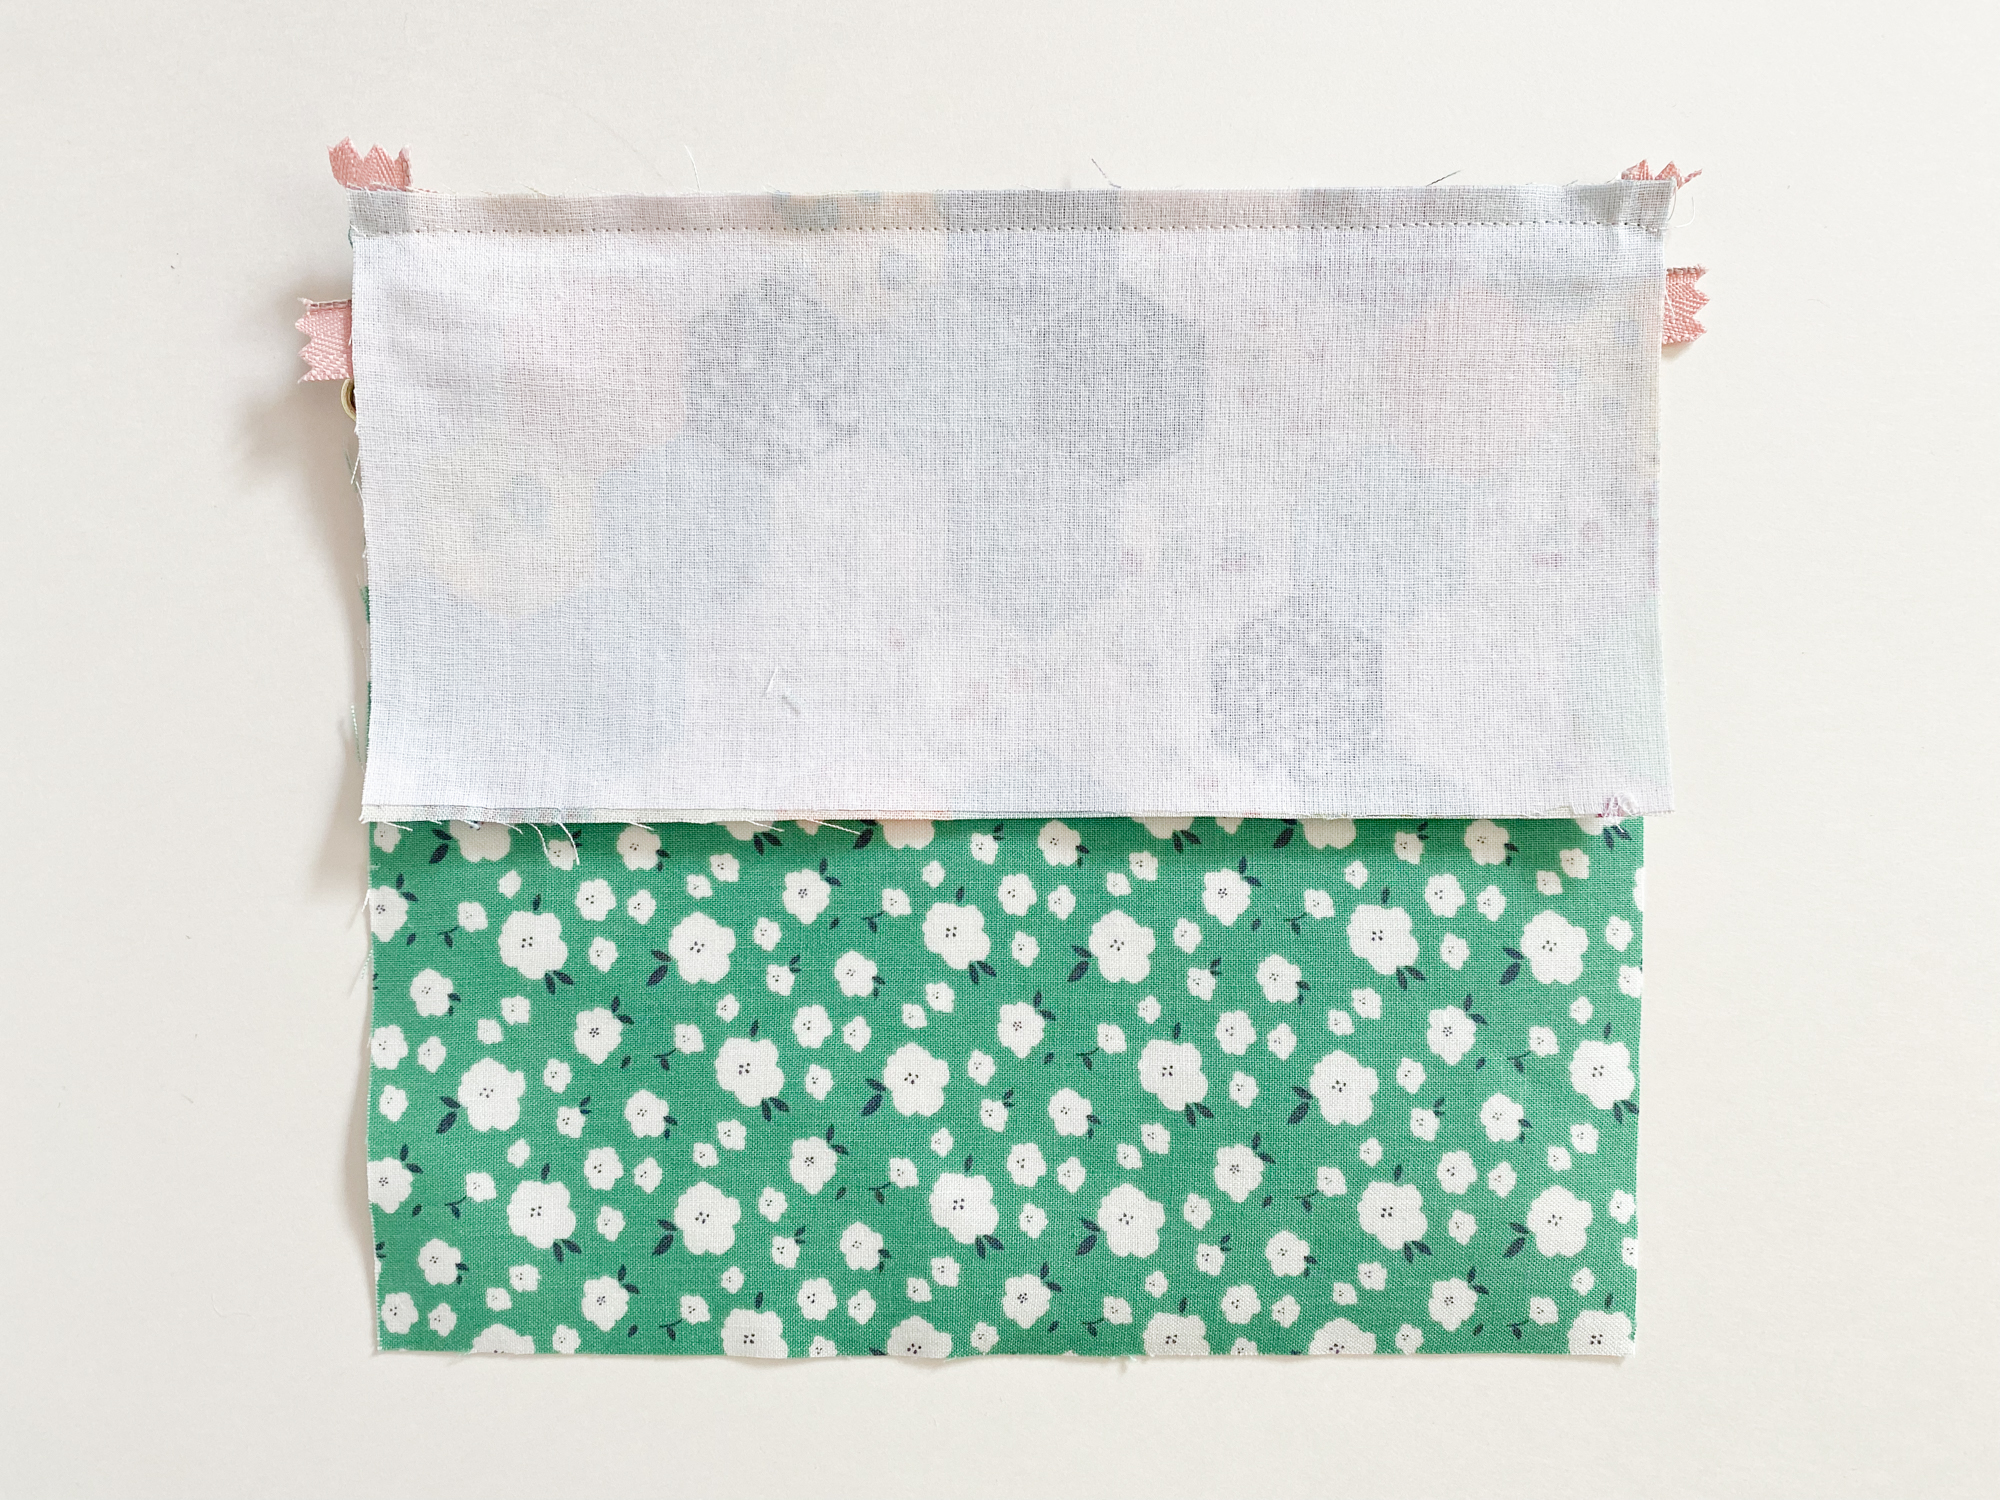
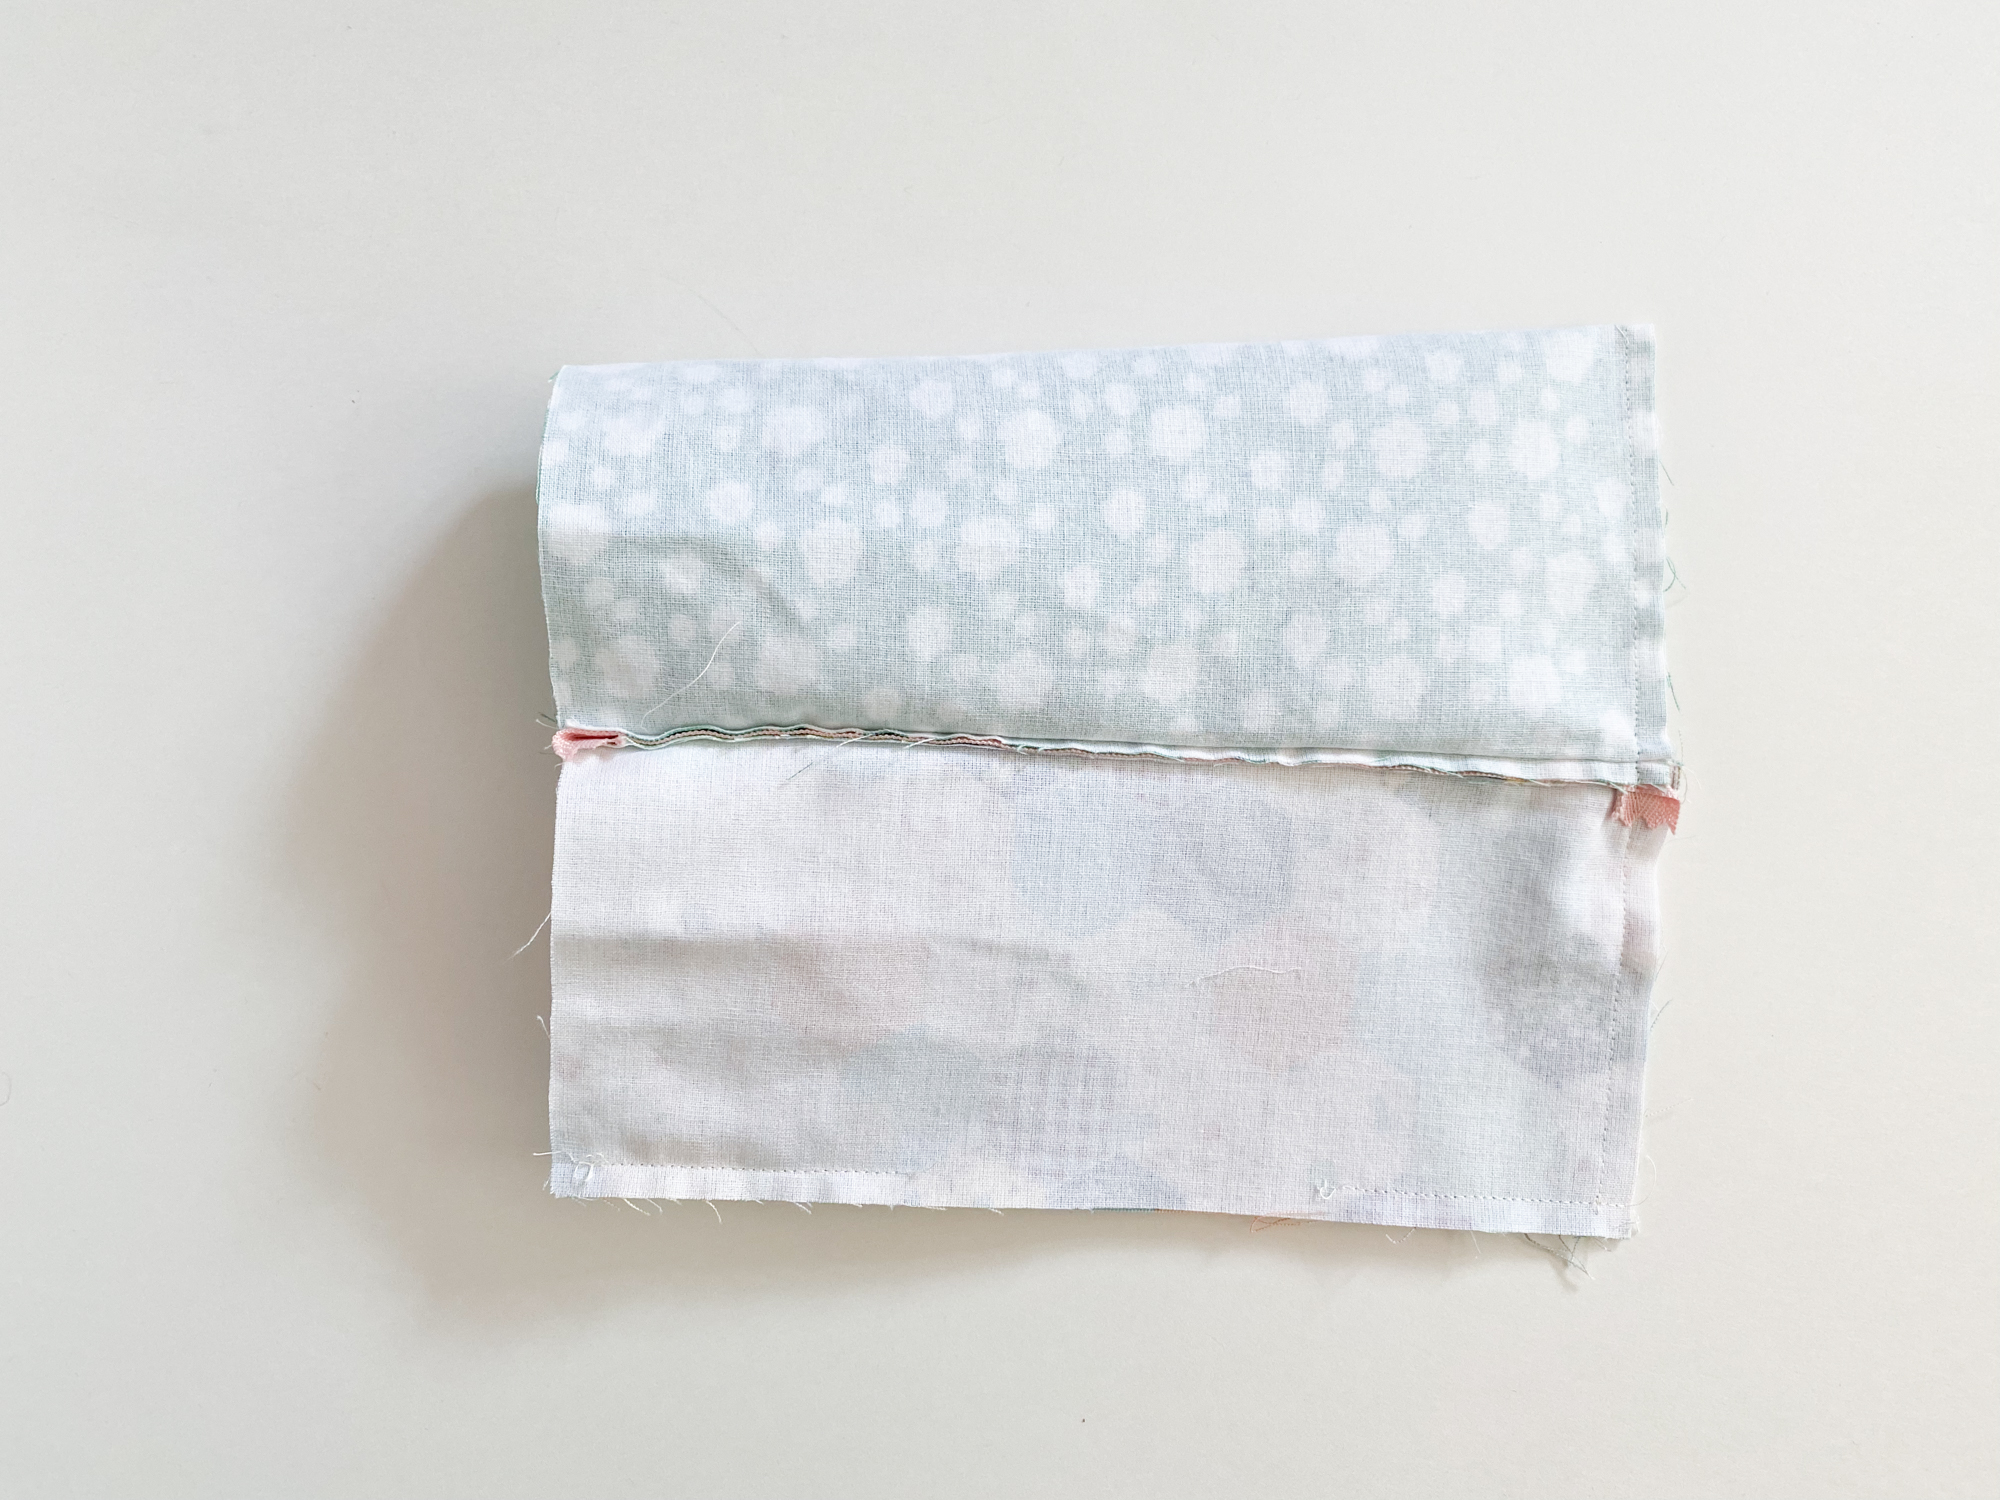
- Layer the lining panel on the zipper and stitch with right sides together, aligning long raw edges.
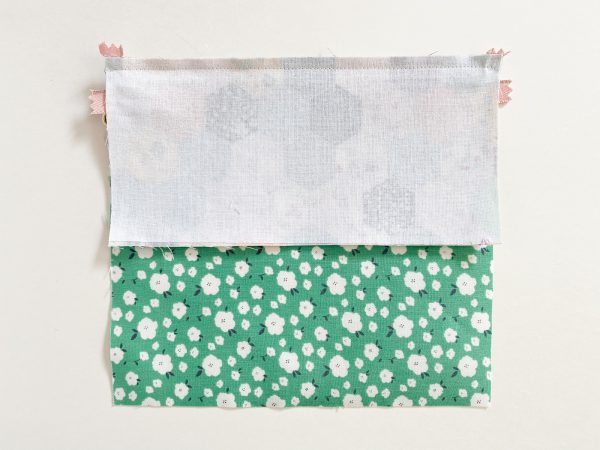
- Bring both panels away from the zipper and press. Topstitch using a 1/8” seam allowance, backstitching at the beginning and end.Note: Do NOT stitch both 1/4” ends.

- Bring the exterior panel bottom edge up and align with the top zipper tape. Pin and place and stitch along the pinned edge.

- With the wrong side up, stitch the remaining lining panel to the zipper tape.
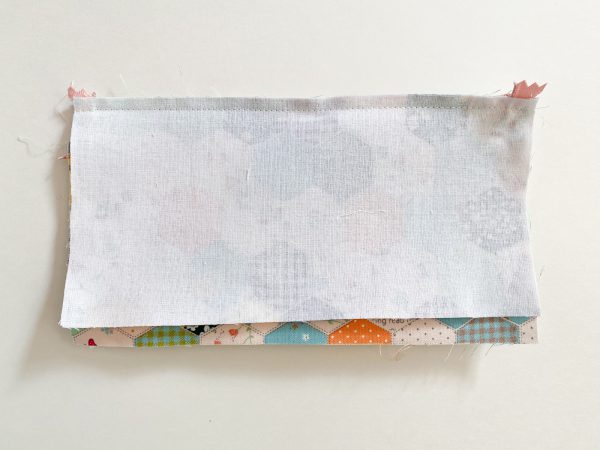
- Repeat step 4 and topstitch.
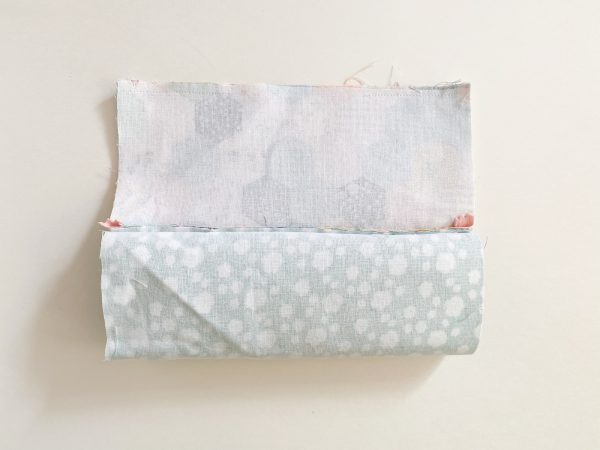
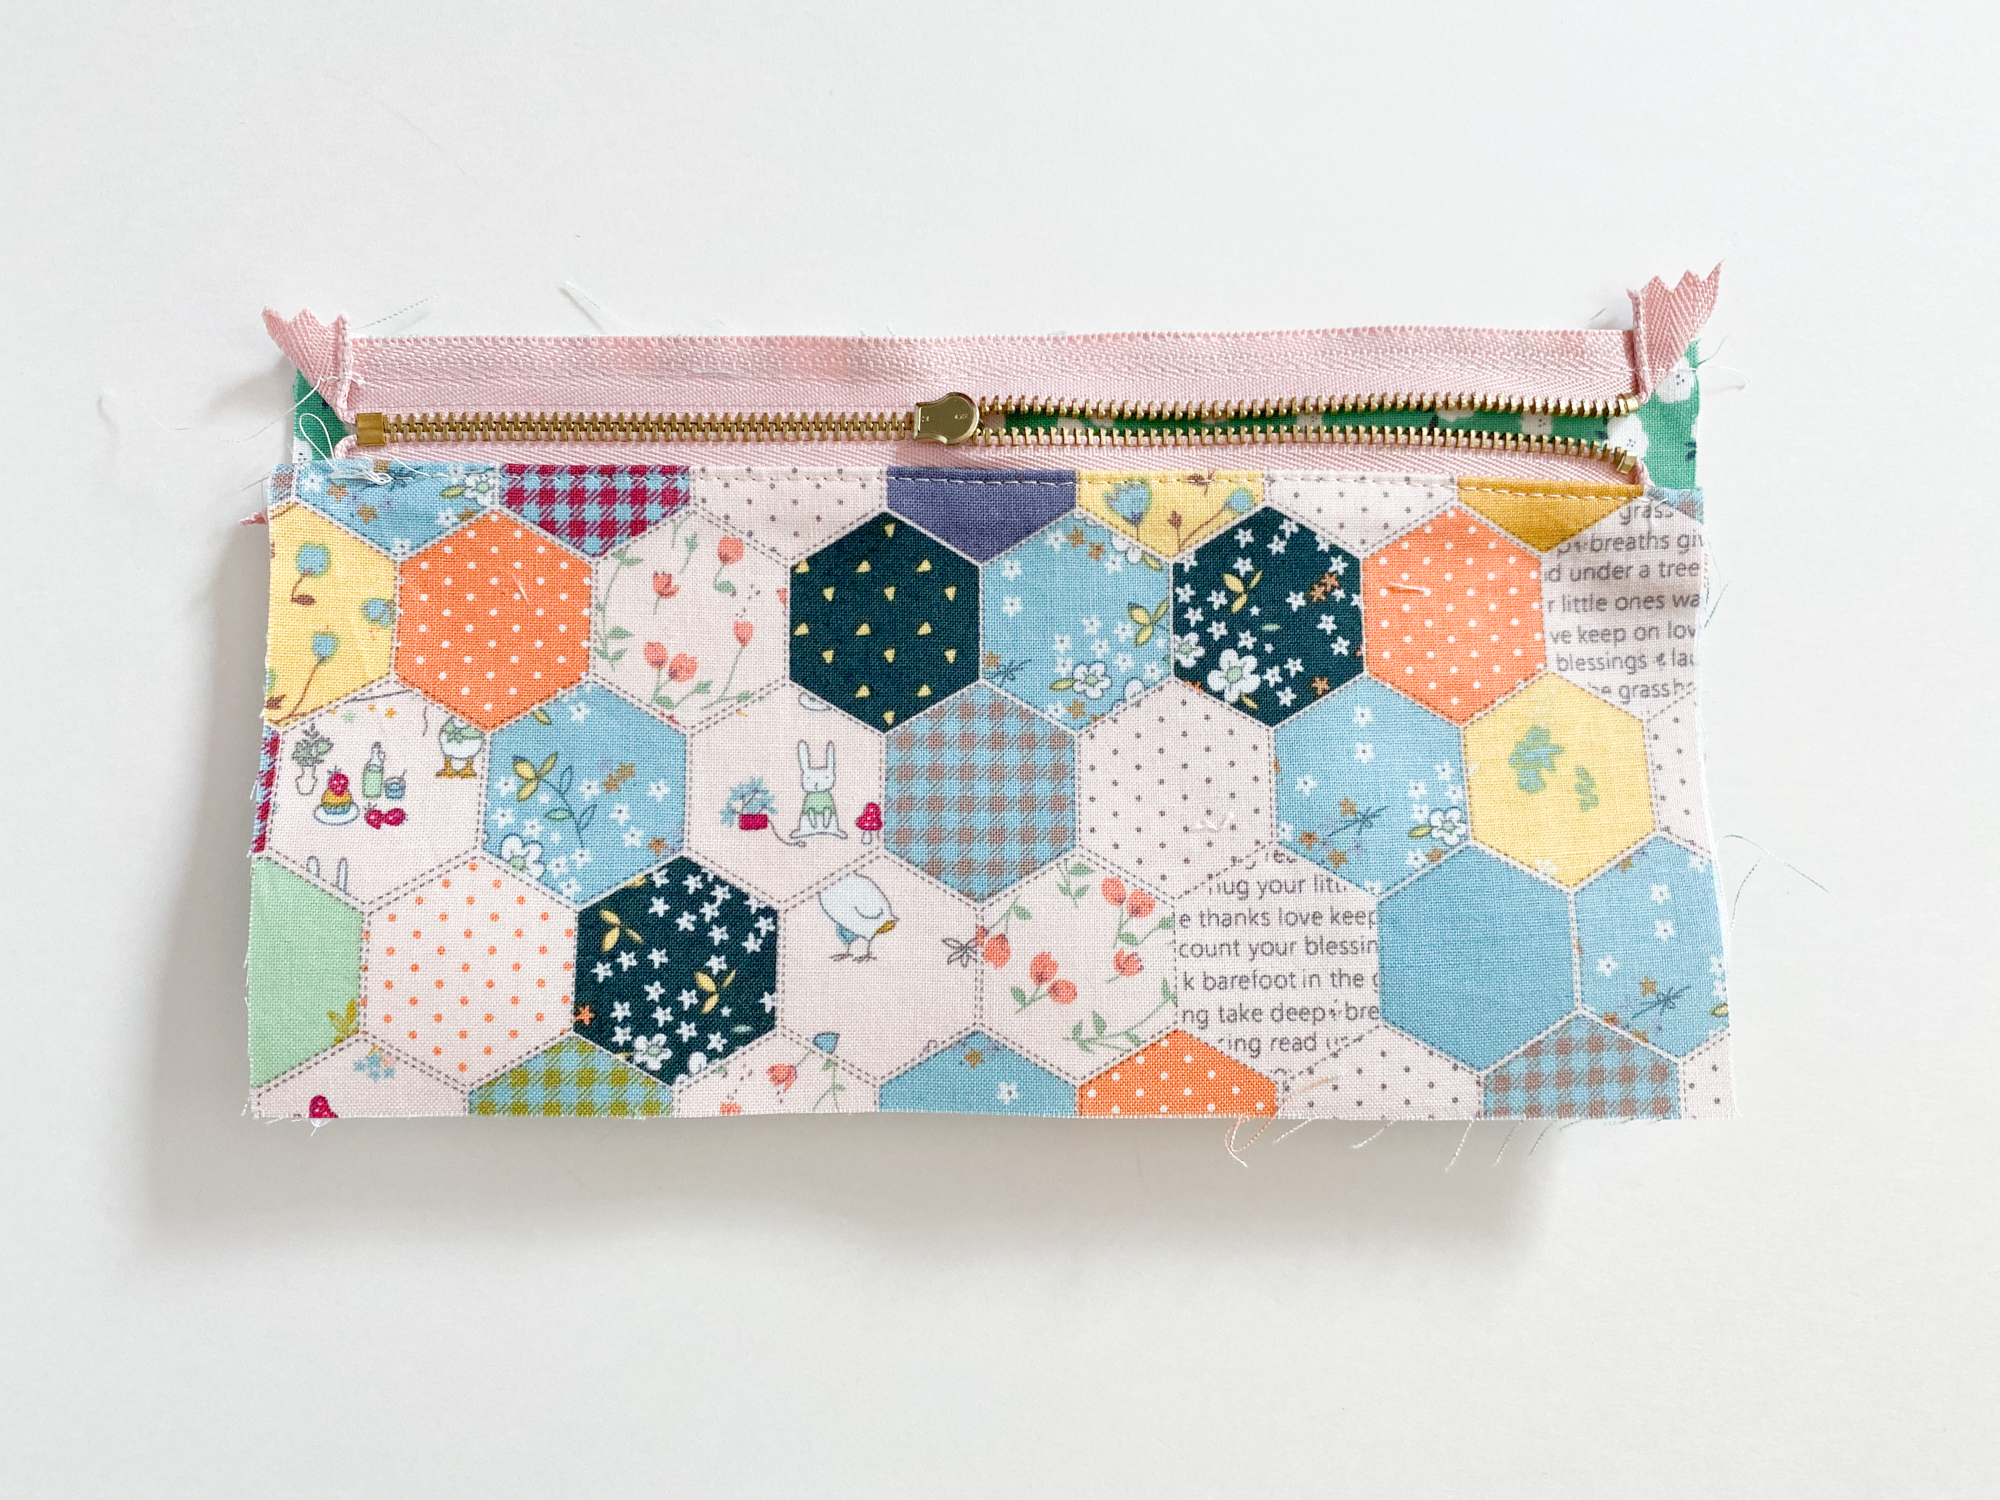
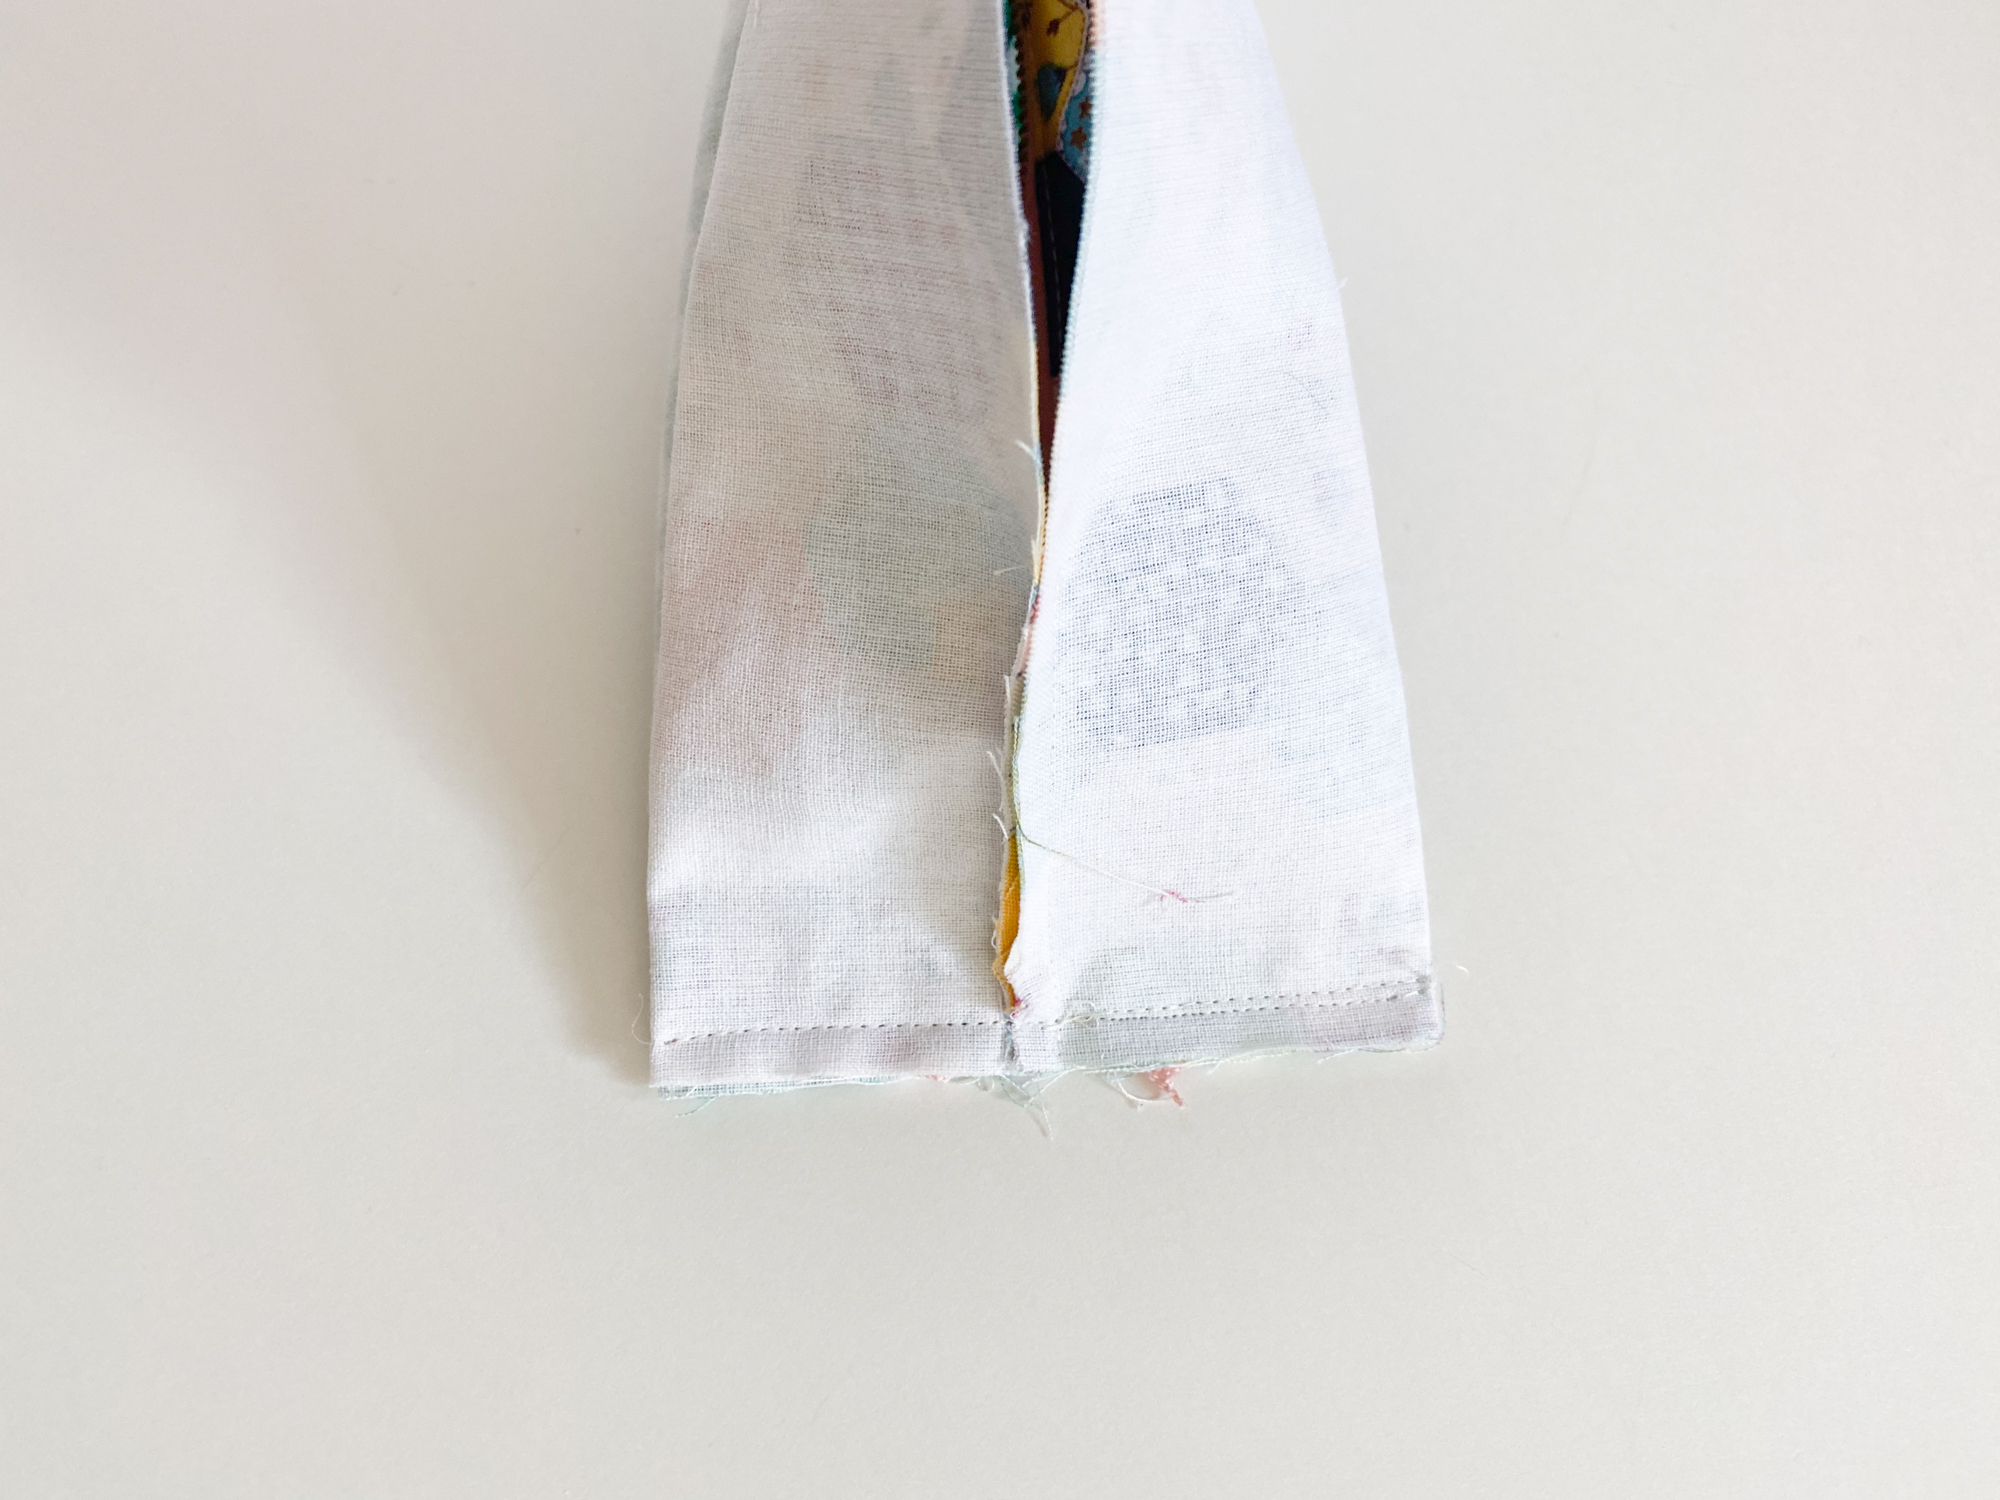
- Open the zipper halfway, align and pin the lining panels, long raw edges together. Stitch along the pinned edge, leaving about 3” opening.
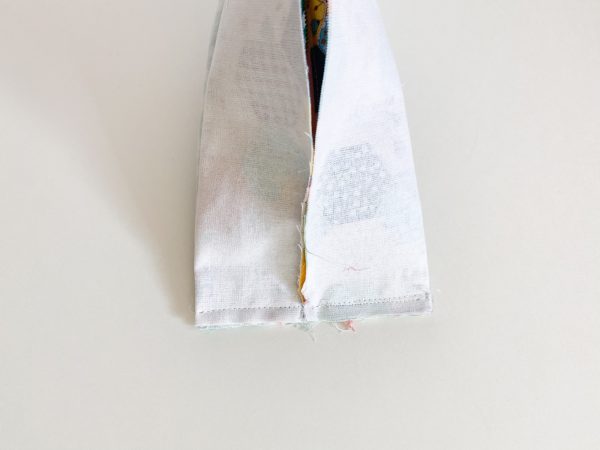
- Stitch the zipper pull-side edges together as shown.

- With right sides together and zipper on the center, press the opposite side edge flat and pin in place.
Stitch along the pinned edge, backstitching at the beginning and end.
-
Turn the pouch right side out and hand stitch the gap closed.


I enjoyed this project x2. I saved a couple of steps by sewing the lining and exterior fabrics to the zipper at the same time. I found that if I don’t sew within 1/2 inch of either end on the zipper seams it turns out smoother in the final step.