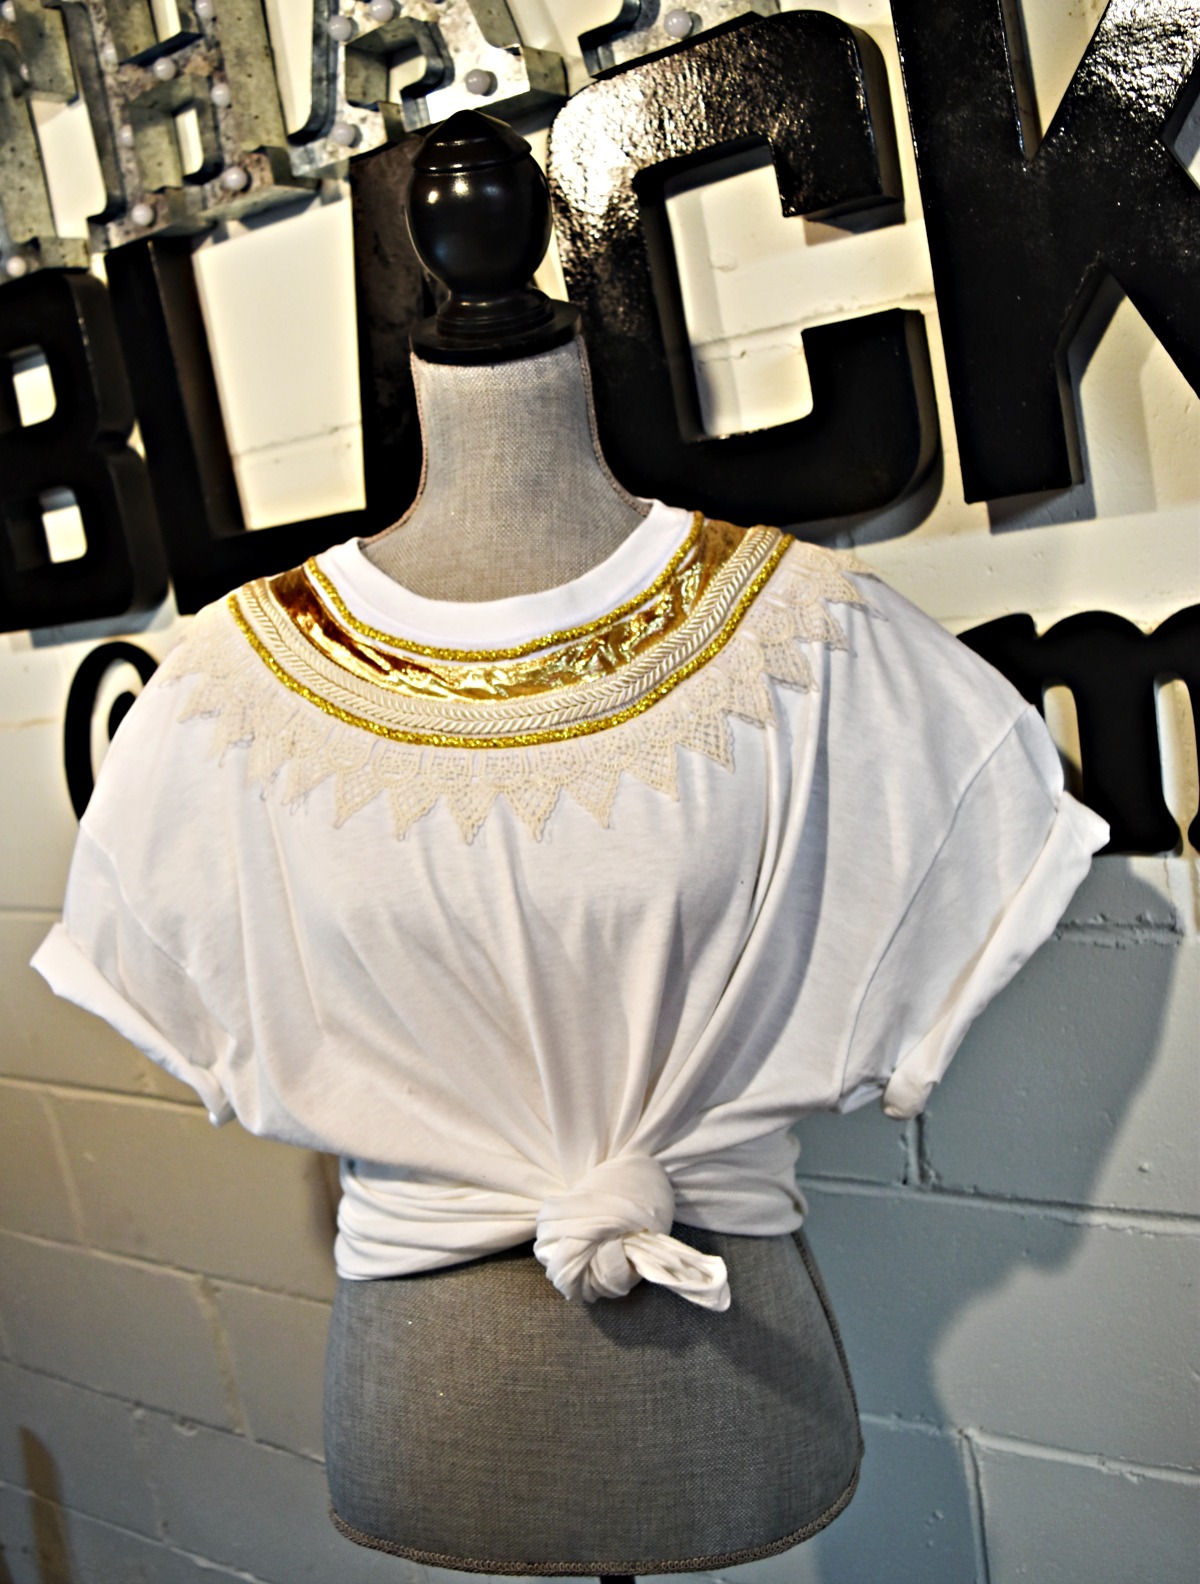
T-shirt Tutorial + Free Stitch Guide

Since I got my BERNINA 1300MDC last month I have been playing non-stop with all the new features. As a combination overlock and coverstitch machine, it has 24 different stitches and can do hems, specialty overlocking, and chain stitches. It’s all very exciting, but also a lot to learn!
To help me master these new features, I planned a simple T-shirt project to share with you that uses the overlock, coverstitch, and chainstitch features. This is a great first project to try on the 1300MDC as it lets you use each of the main types of stitches to create a final garment. Follow along to get started!
Sewing a T-Shirt on the BERNINA 1300MDC
Materials:
- Favorite knit T-shirt pattern
- Knit fabric
- Scrap of woven fabric for pocket
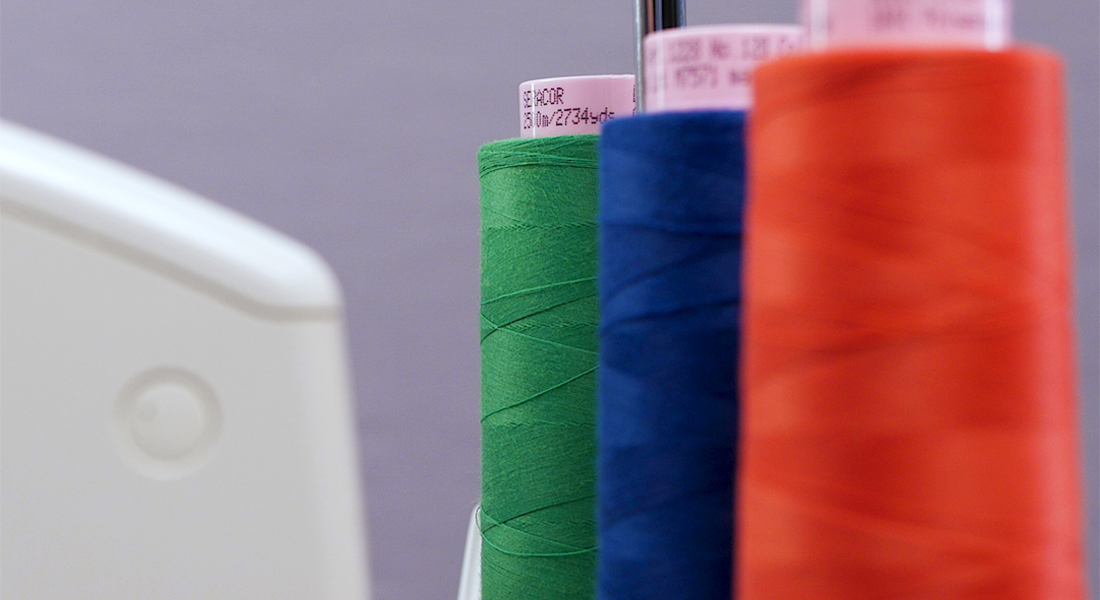
- 4 spools of thread for the overlocker
- 3 ball point needles
- Hot iron
- Scissors, pins, and other sewing notions
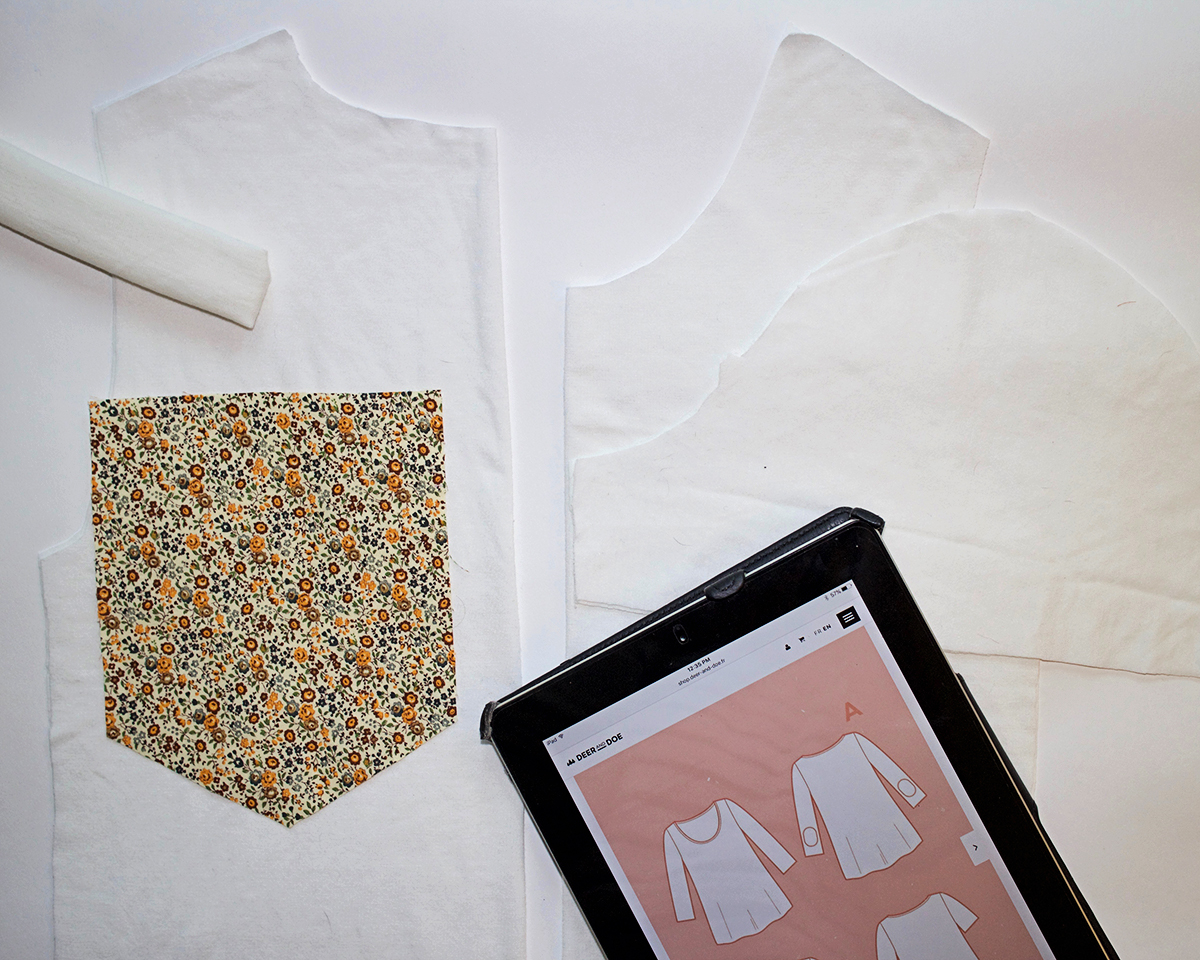
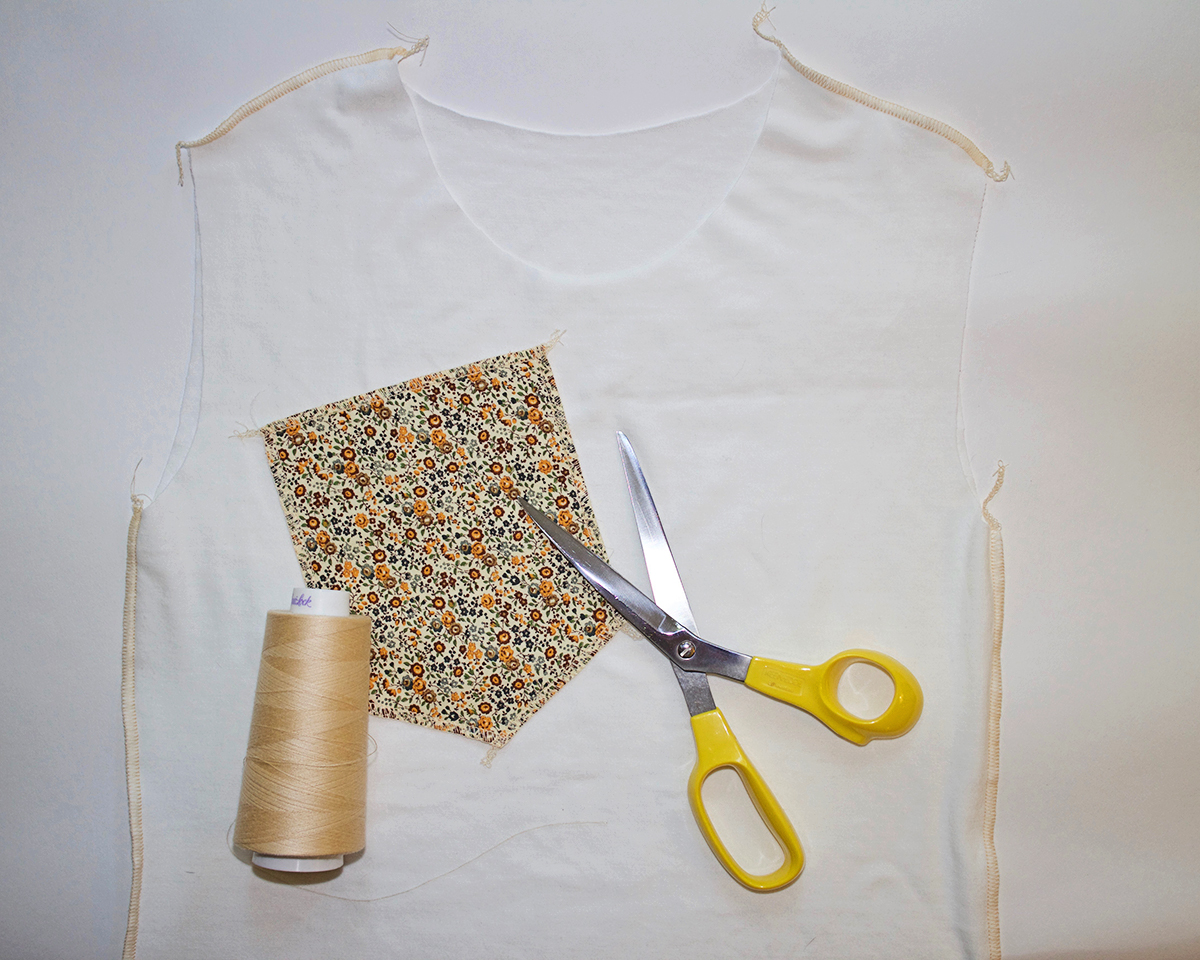
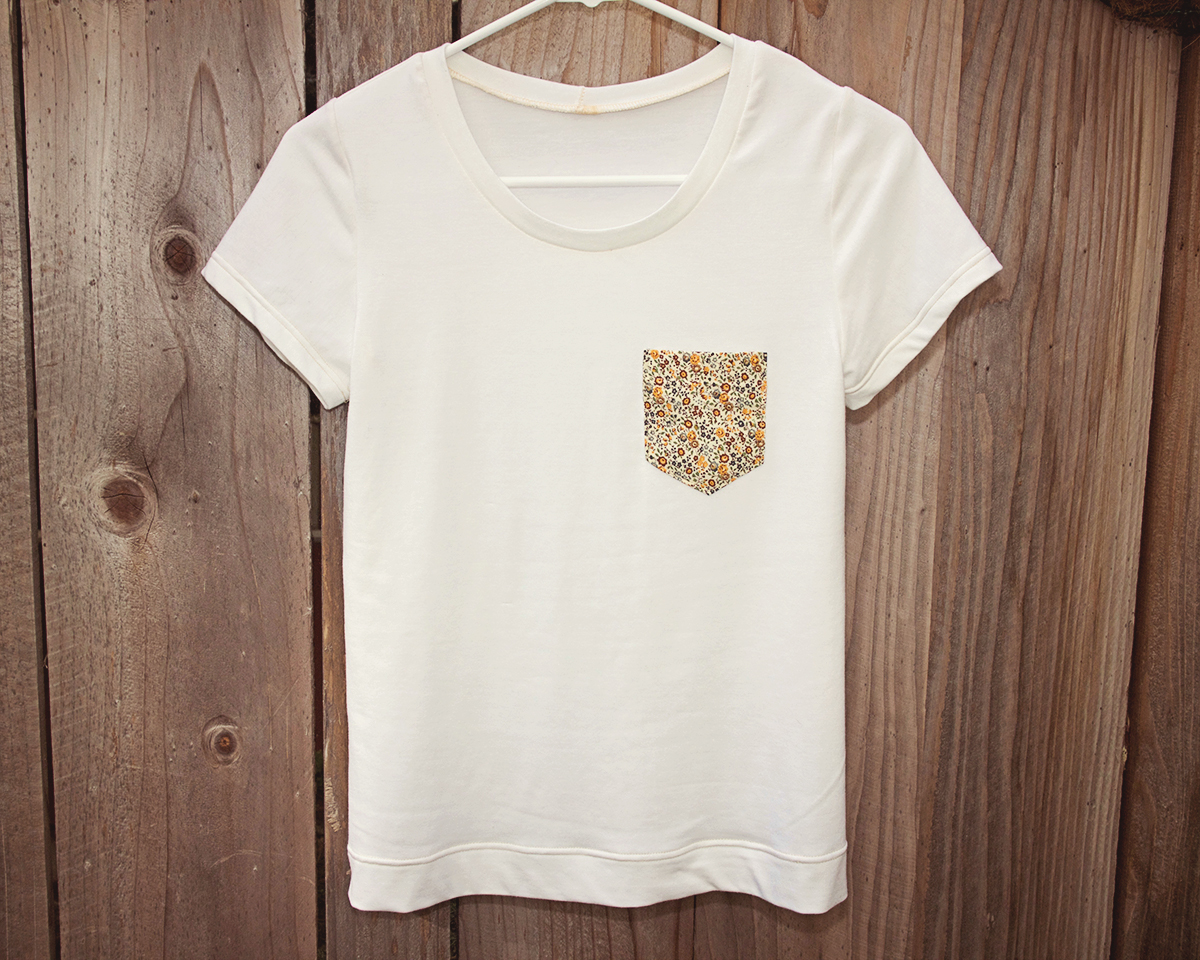
To begin, cut out your favorite T-shirt pattern, following the instructions. I used the FREE Deer & Doe Plantain T-Shirt, which I have fitted with sloping shoulder and swayback adjustments and some modifications to the sleeve cap and waist shaping. I also cut a patch pocket from a coordinating woven cotton fabric to include on my T-shirt.
Step 1: Sewing 3- or 4-Thread Overlock Stitches
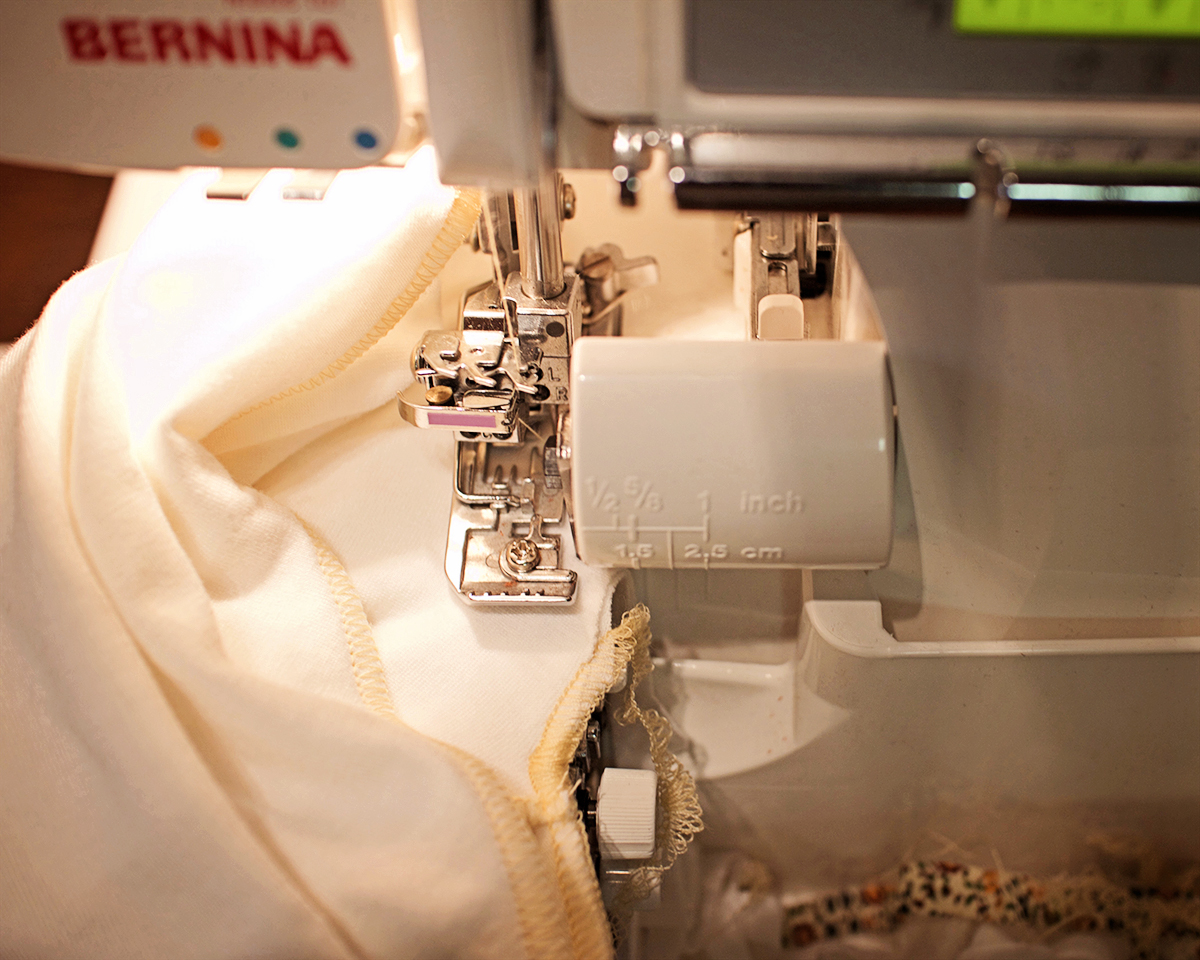
For the side and shoulder seams, I use a 3- or 4-thread overlock stitch (stitches number 1, 3, or 4). I like to use the overlock 3-thread stitch with a narrow allowance (stitch 4) because it uses less thread and gives a nice, narrow seam. To do this, I thread the overlocker using only the right needle. With thread tension set to 4 on all threads, I stitch down the seam with a 5/8″ seam allowance. The threads should overlock cleanly at the cut edge, and the seam should not be stretched and wavy. The BERNINA 1300MDC is great for sewing T-shirt knits because you can adjust the feed dog dial so that it doesn’t stretch the fabric out.
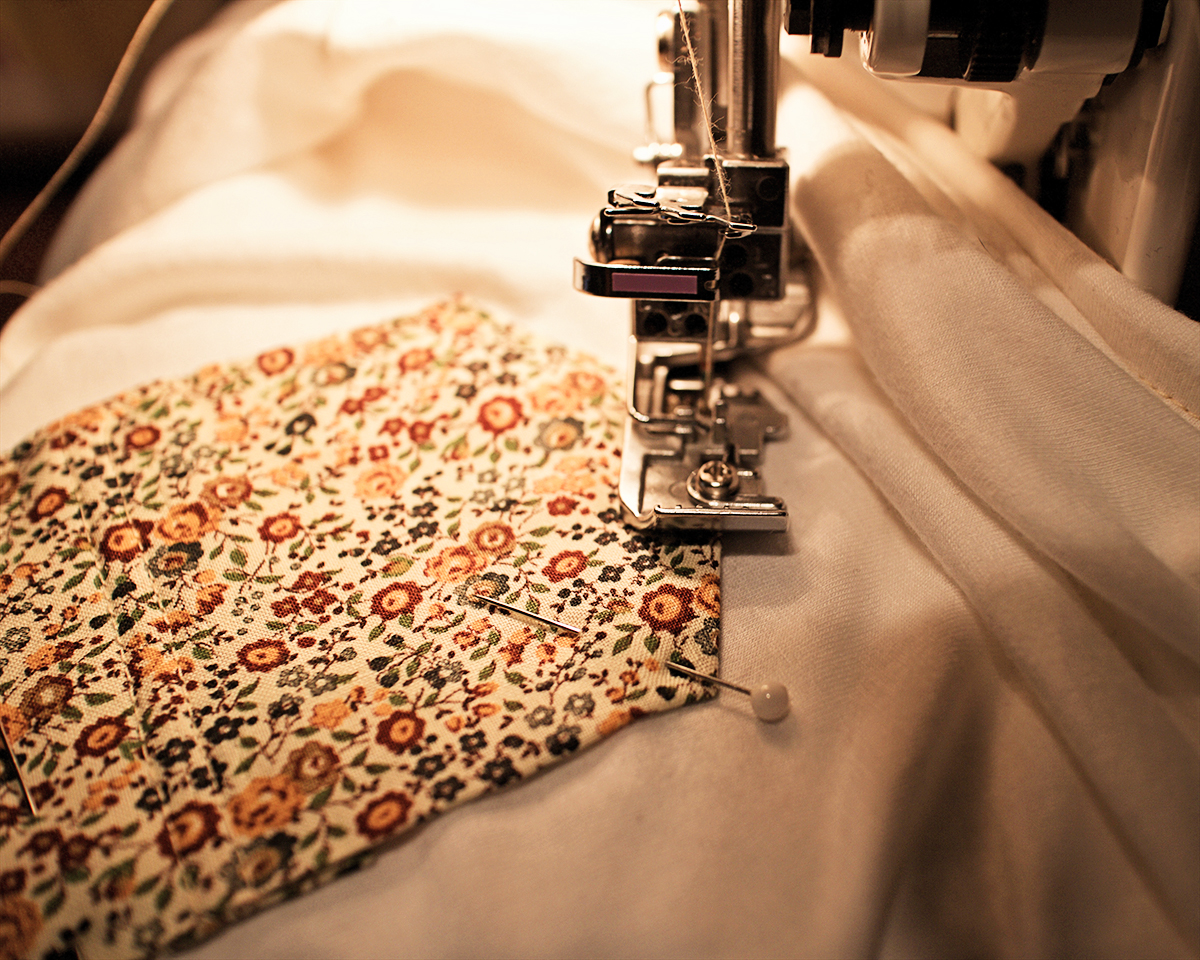
For a nice clean finish, I also overlocked the edges of my woven cotton pocket using the same 3-thread stitch. This prevents the raw edges from unraveling on the inside of the pocket, and is a nice touch.
Press all seams for a tidy finish, pressing the seam allowance toward the back.
Step 2: Stitching Sleeves and Neckband in the Round
To attach the sleeves and neckband in the round, start stitching at the raw edges using your standard 3- or 4-thread overlock stitch. Slowly cut in to your desired seam allowance. Continue stitching around the opening until you arrive back at the place where you cut in. Stitch over a few of the beginning stitches and then, keeping the machine running, turn and stitch off of the garment at a 90 degree angle. Snip the threads and weave them in to the seam.
The Front Foot Lift feature on this machine is great for sewing in the round, as it easily sews over the bulky shoulder and side seams you have to cross as you sew. For trouble spots, gently pull the fabric through the machine as you go.
Note: If you use pins for this step, be VERY careful to not sew over them. Sewing over pins will cause them to break and can damage the knife.
Press seams.
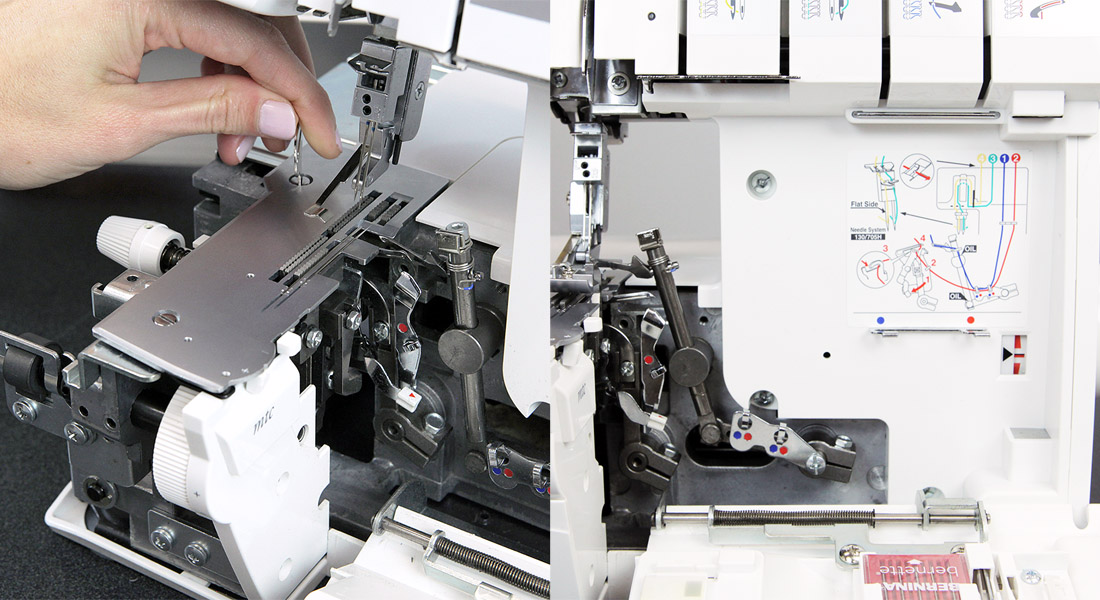
Step 3: Coverstitching the Hems
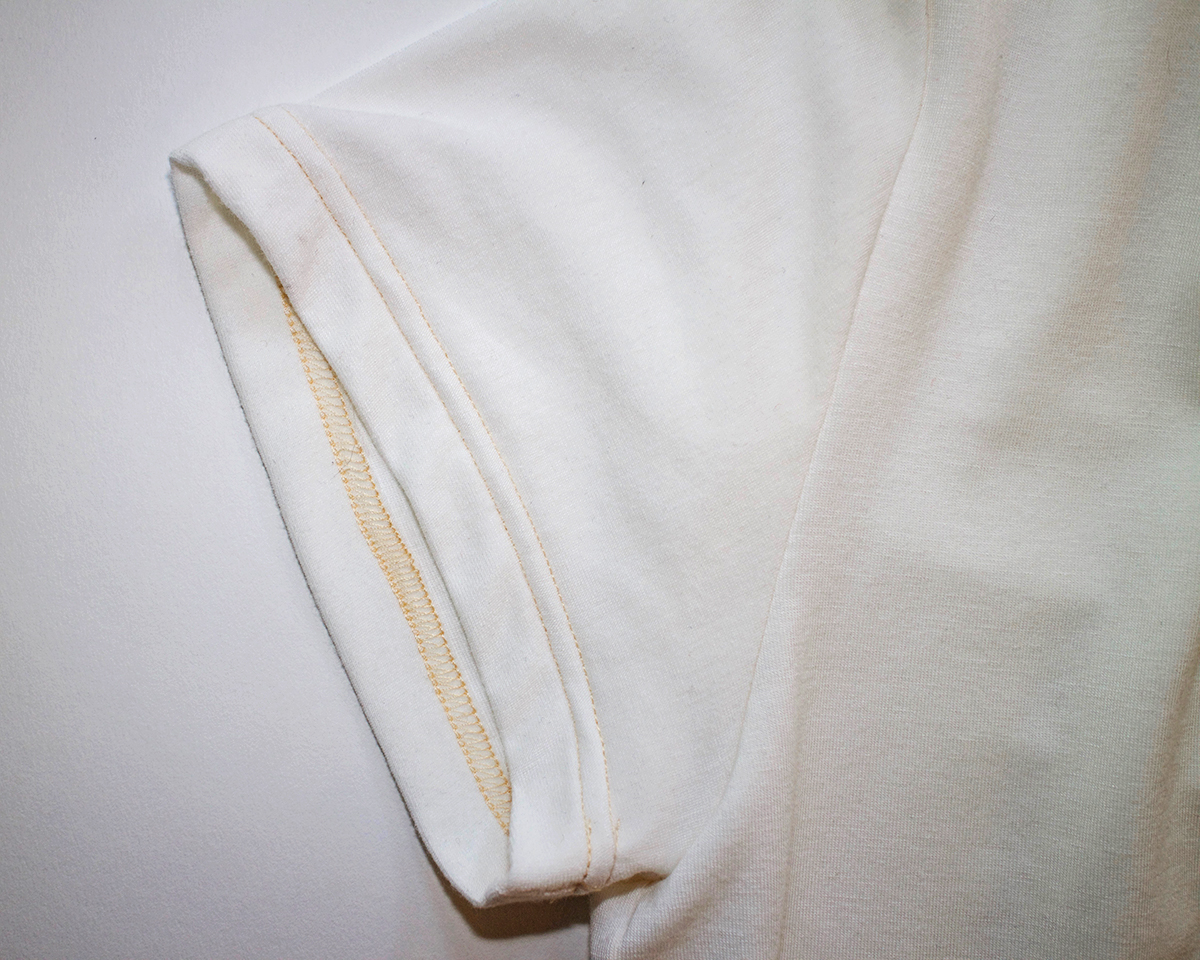
Unlike the regular overlock seam which cuts off and binds the raw edge of the fabric, the coverstitch allows you to hem a folded edge without cutting. To coverstitch, thread the machine for stitches 21, 22, 23 or 24 following the instructions (here is a helpful video for threading). I like to use stitch 22, the 3-thread overlock stitch.
Prep your hem by folding under the raw edge under (toward the inside) and pressing. As always, it helps to be precise. Then, place the fabric in the machine by lifting the foot and placing the folded hem directly under the needles. Sew in the round around the hem, stitching over the first stitches when you arrive back at the beginning to secure the seam. The stitches should catch the raw edge underneath, giving a nice neat finish. Trim any fabric that extends past the stitching on the inside.
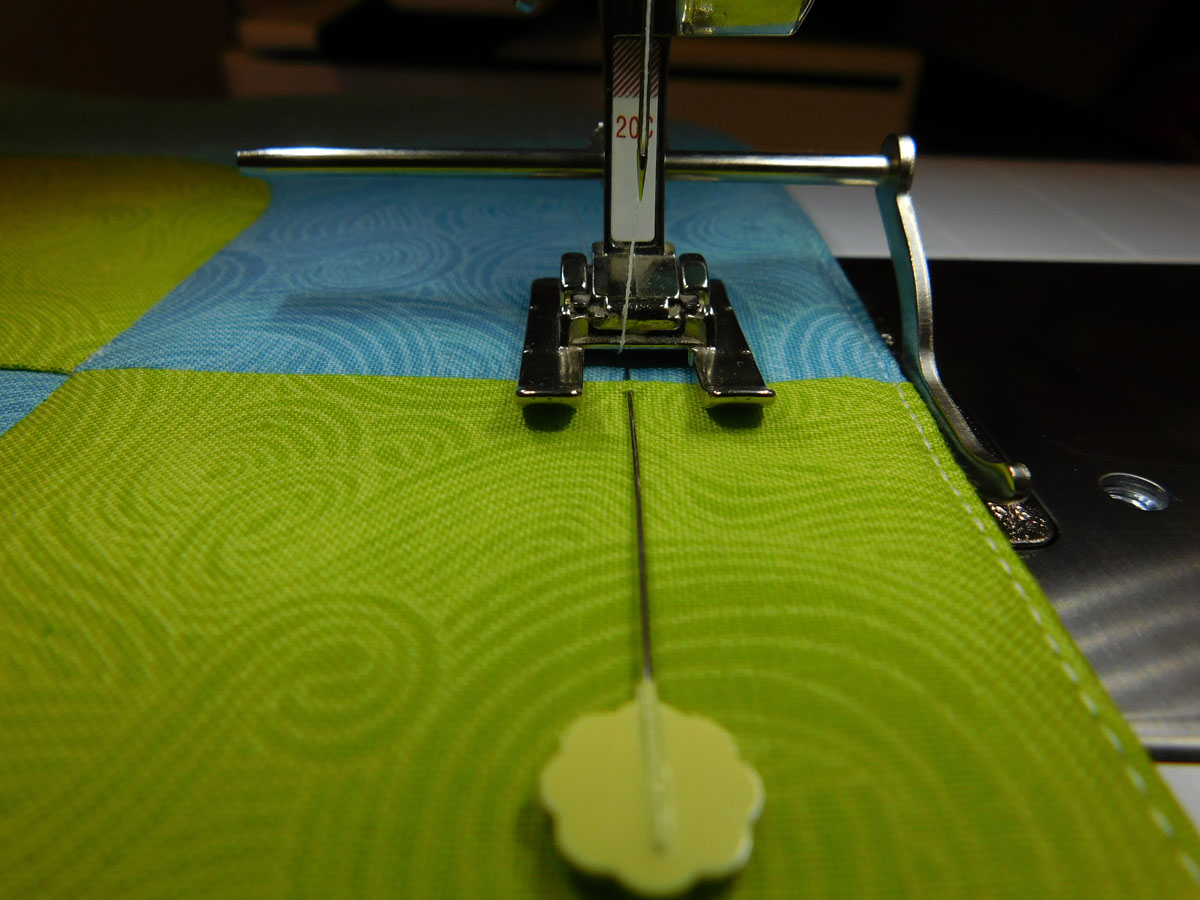
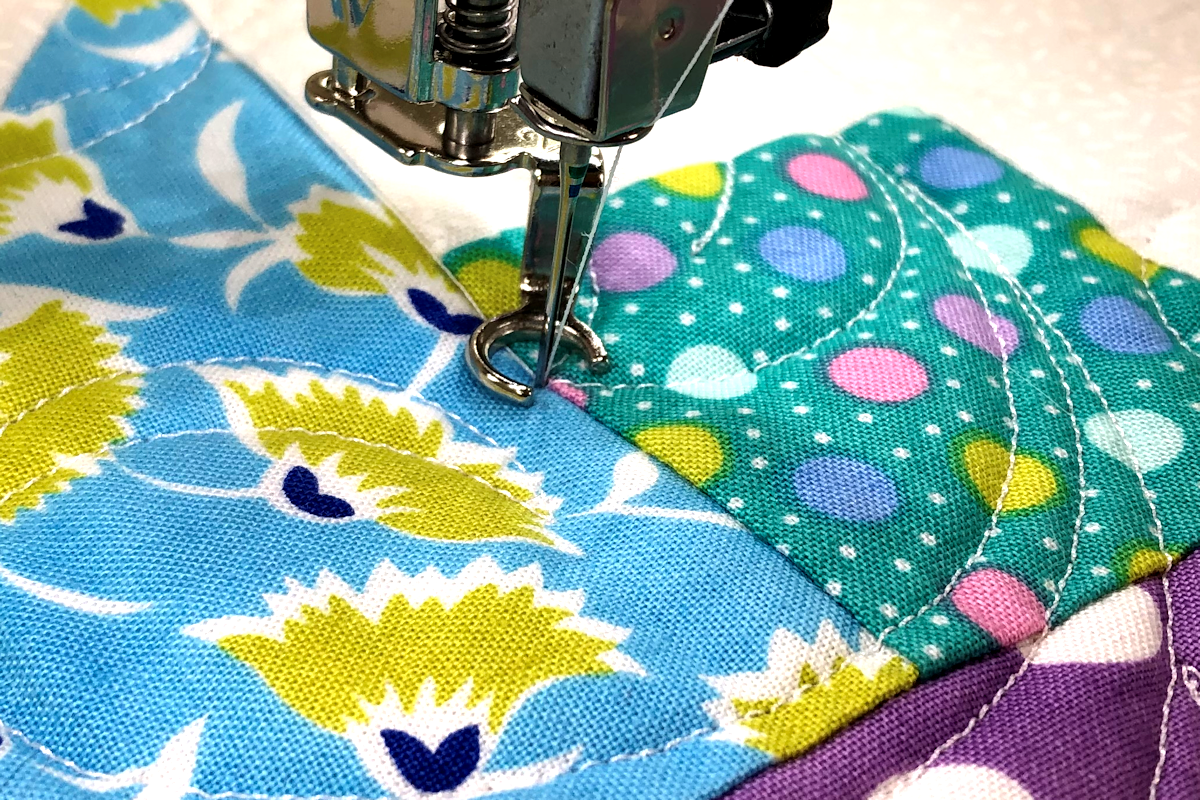
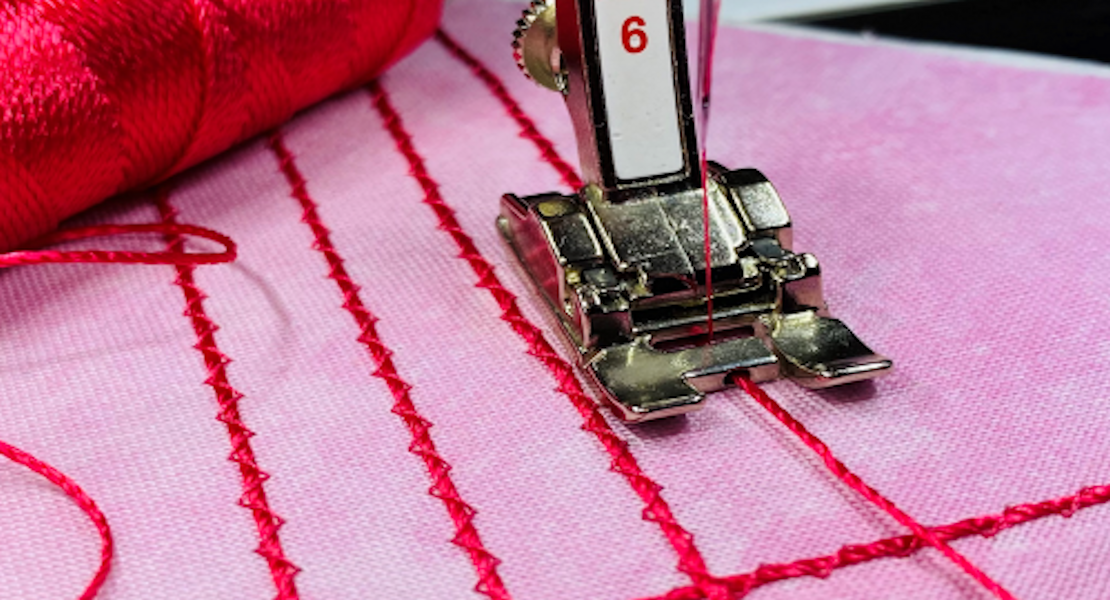
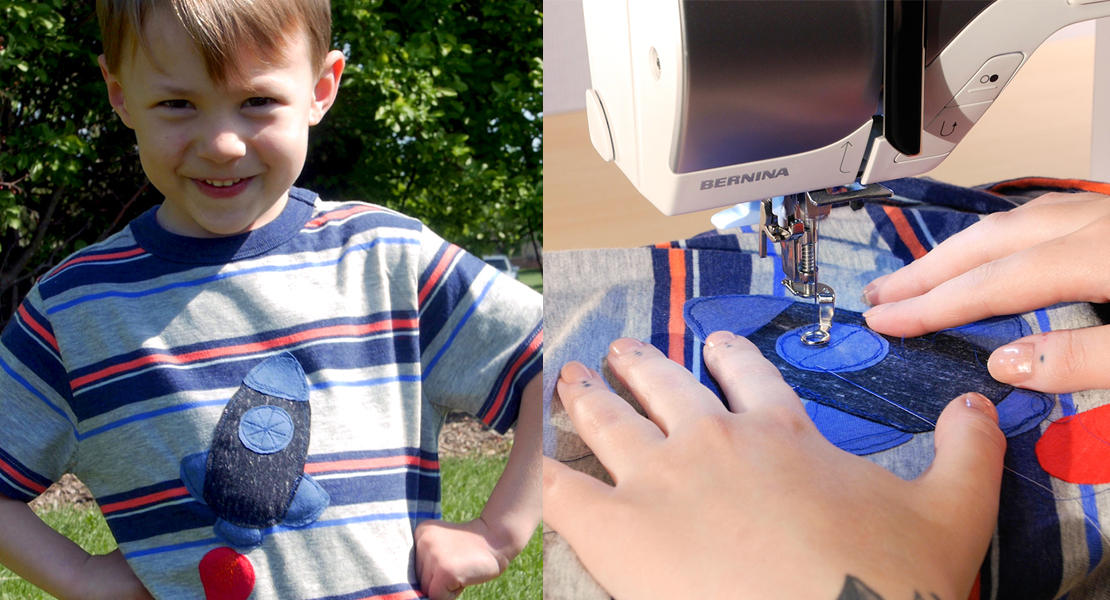
Step 4: Chainstitching the Pocket
The chainstitch allows you to make a straight stitch similar to a conventional sewing machine. We will use this to attach the pocket.
Once you have the machine threaded for coverstitching, it is easy to set up a chainstitch. Simply unthread the left needle and you’re ready to go. Pin the pocket in place and topstitch close to the edge. As with a conventional machine, you can pivot at the corners by lowering the needle, raising the presser foot, and turning your work. After stitching, pull the top threads through to the back and knot to prevent the stitching from unraveling.
Tips:
- Use ball-point needles when working with stretch fabrics, especially those containing spandex
- Always test your stitches on a piece of scrap fabric first to ensure that you have the correct tension, threading, and other settings
- For detailed threading directions, check out the quick reference guide
You’re now all done with your first project! If yours is anything like mine, it won’t be perfect but you will have gotten much more familiar with the basic overlock and coverstitch functions (not to mention a good understanding of how to unpick overlock stitches!). I highly recommend trying a simple project like this to get started.
As a bonus, I have also compiled a quick reference guide for the 24 overlock and coverstitch stitches. It contains a simple explanation of when to use each stitch, as well as the machine set up to achieve it. I found this really helpful when figuring out what I needed for this project without having to thumb through the entire manual.
Get the free Overlock Stitch Guide on the Made by Meg blog here.
Good luck, and please leave any me any questions!


What you might also like


2 comments on “T-shirt Tutorial + Free Stitch Guide”
-
-
Thanks Marisa!
-
Leave a Reply
You must be logged in to post a comment.

This is fabulous!! Thanks!