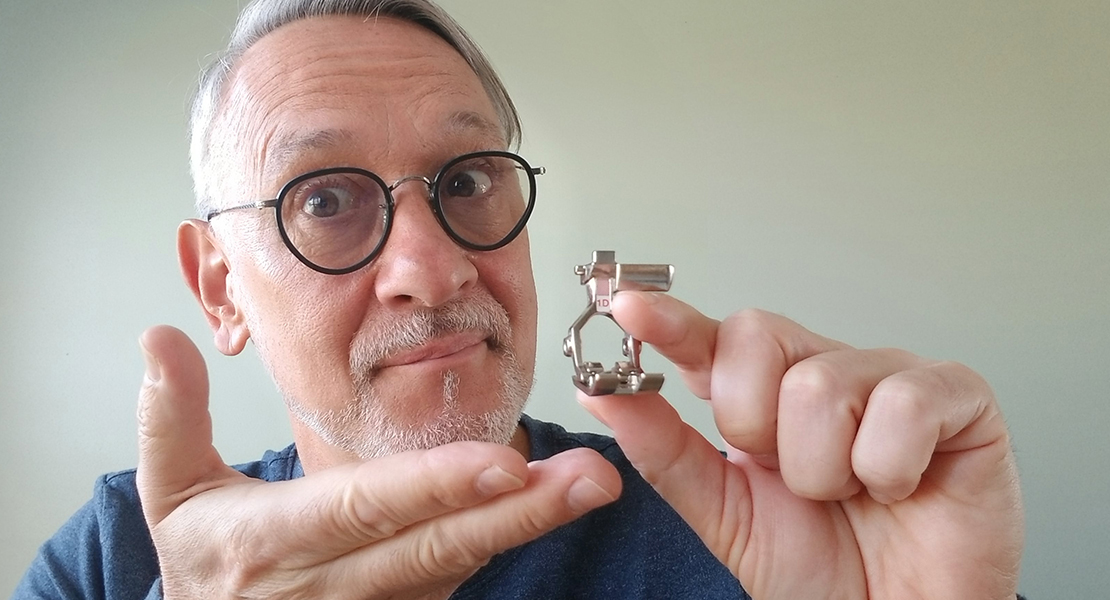
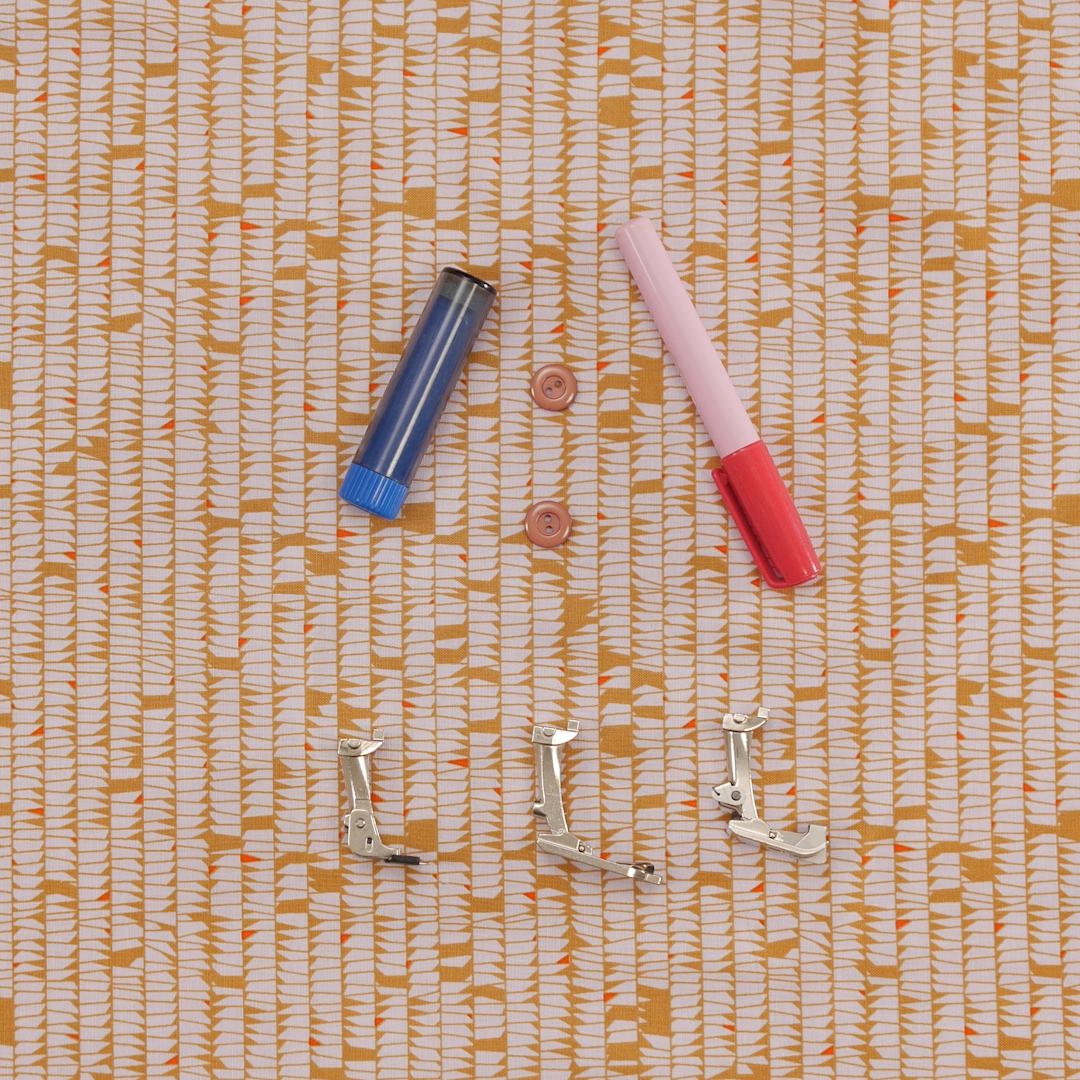
Helpful Presser Feet for Making Doll Clothes, Part Two
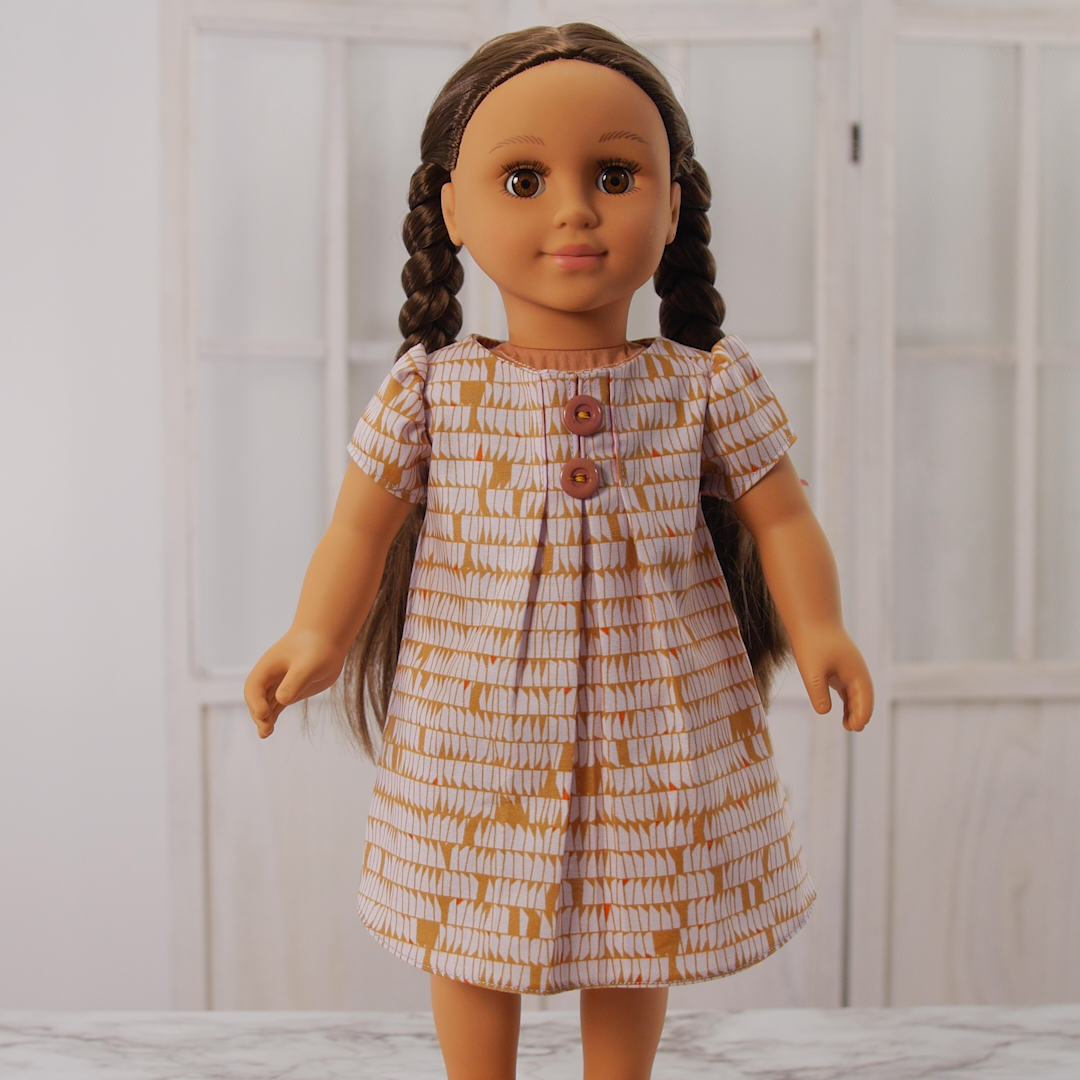
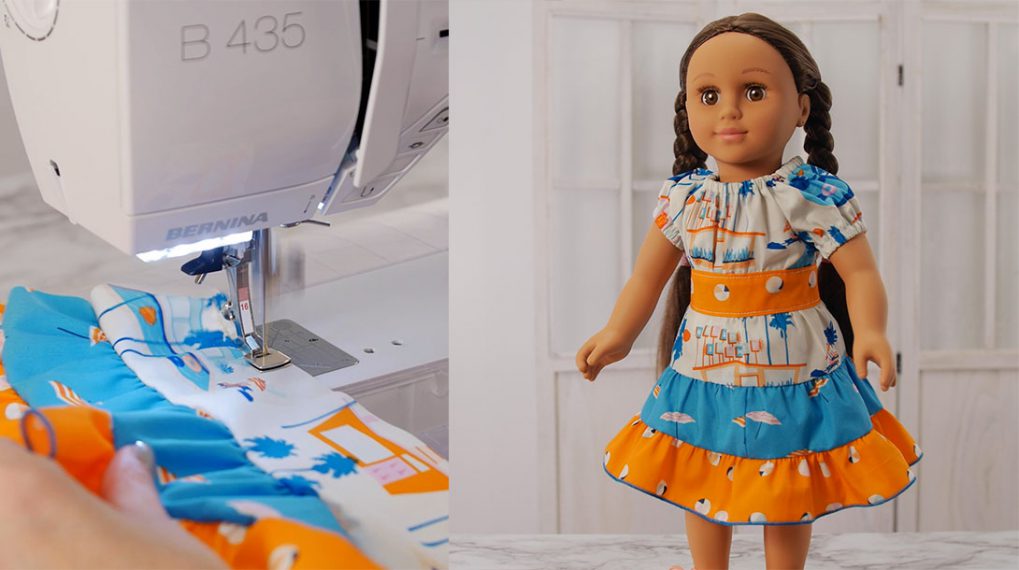
I love to sew these fun doll dresses, but the scale of sewing small can sometimes be a little harder to sew. This is a great chance to match the right presser foot to the task. This simple pleated dress gave me the chance to use three unique BERNINA presser feet. Erin Hentzel’s book, Doll Dress Boutique, is a great resource for making doll clothes for the popular 18” dolls.
Machine Featured: BERNINA B 435
Pattern Book: Doll Dress Boutique by Erin Hentzel
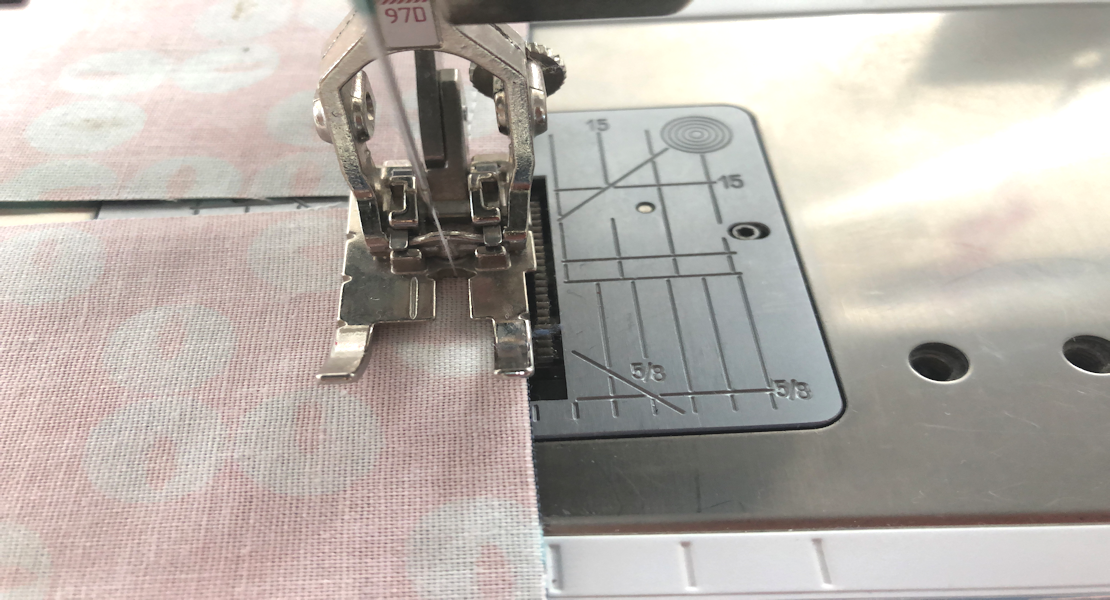
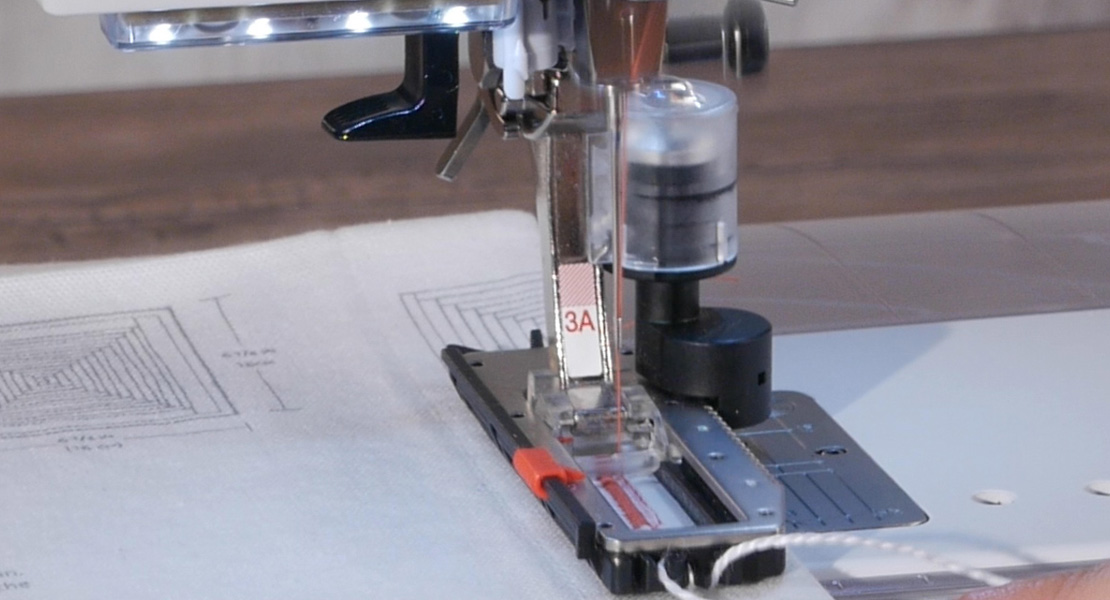
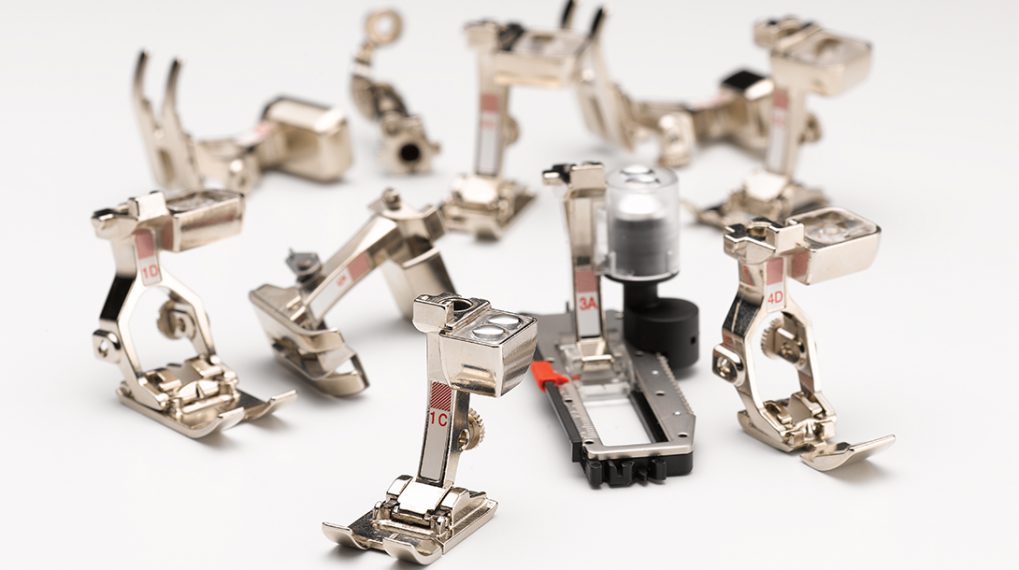
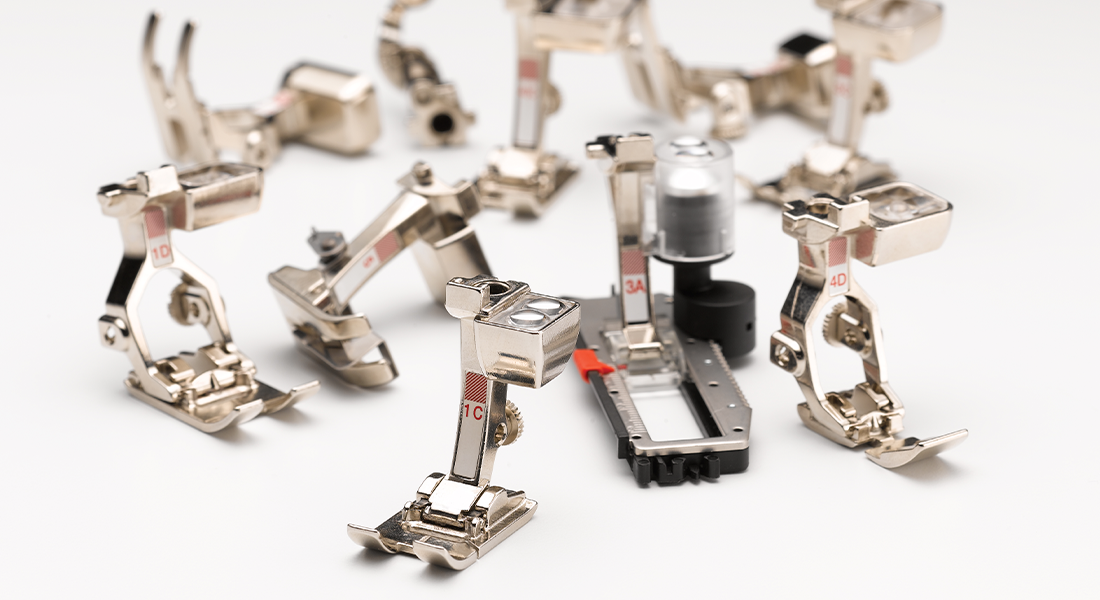
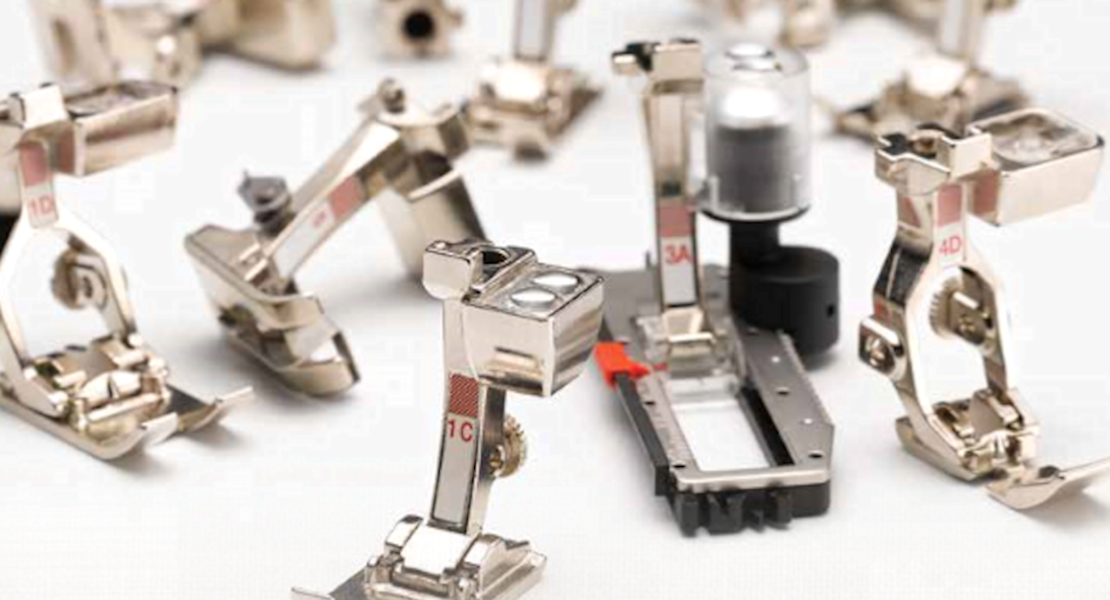
Foot 1. Hemmer Foot
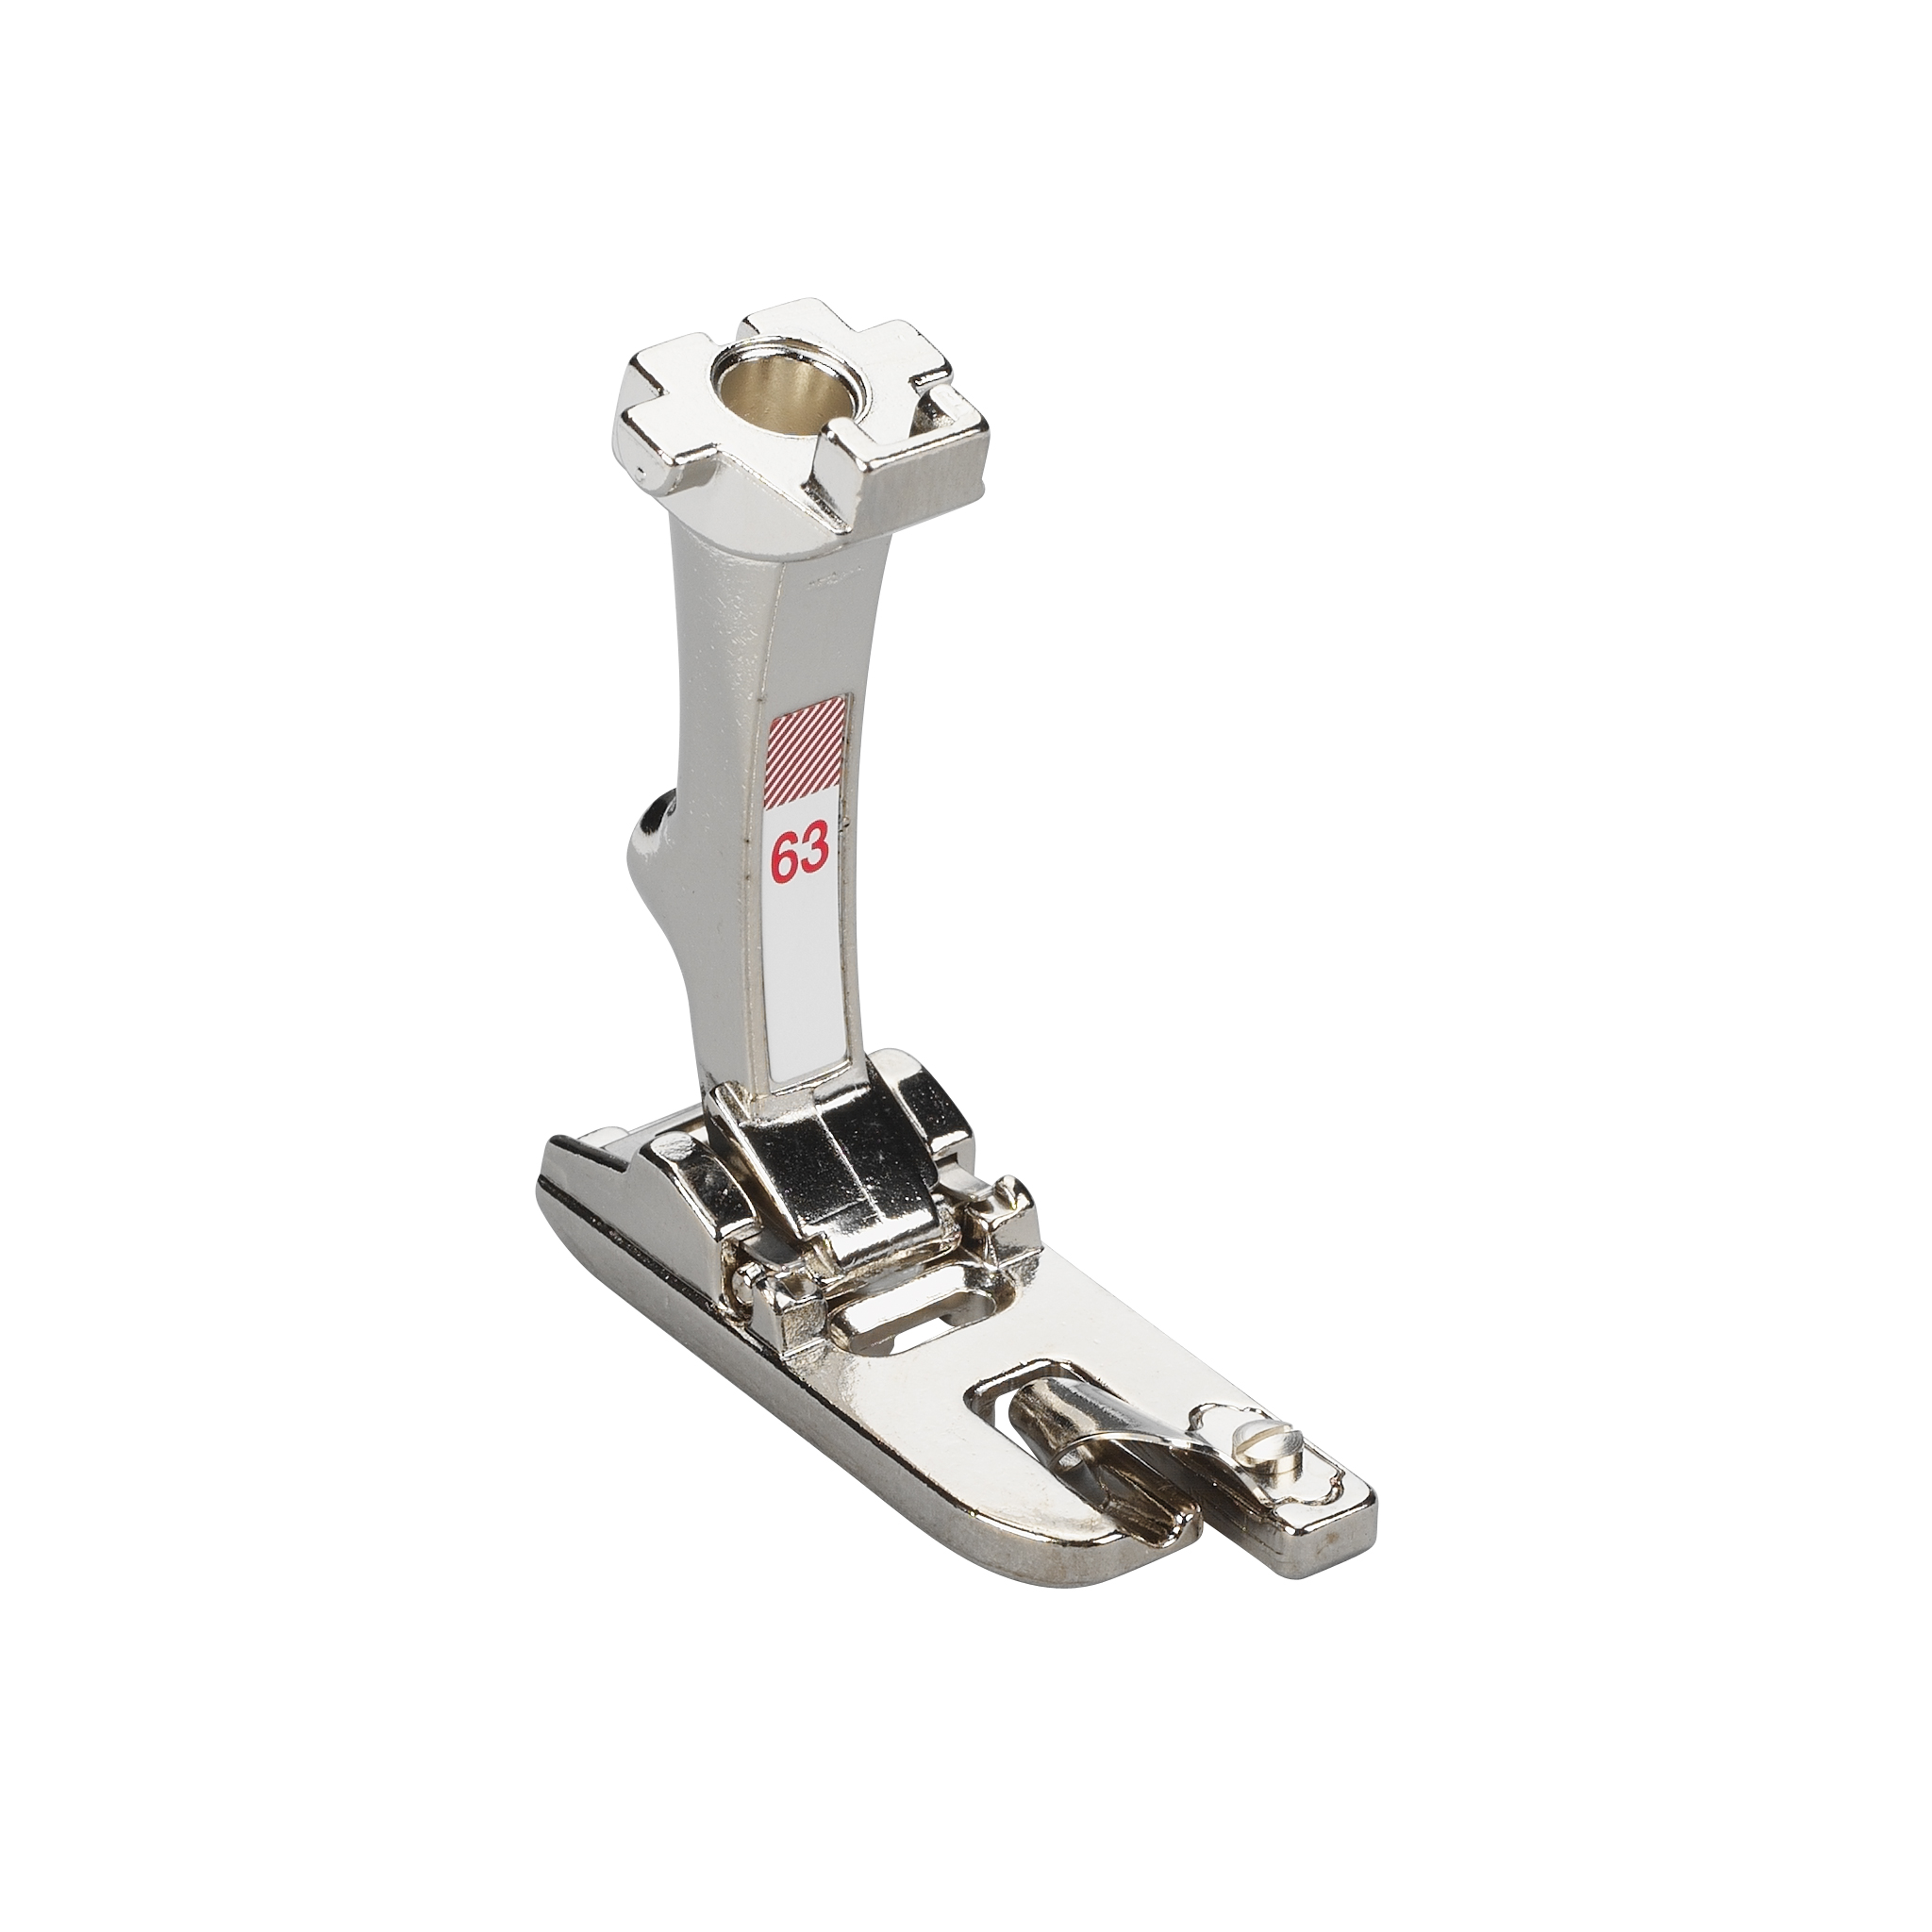
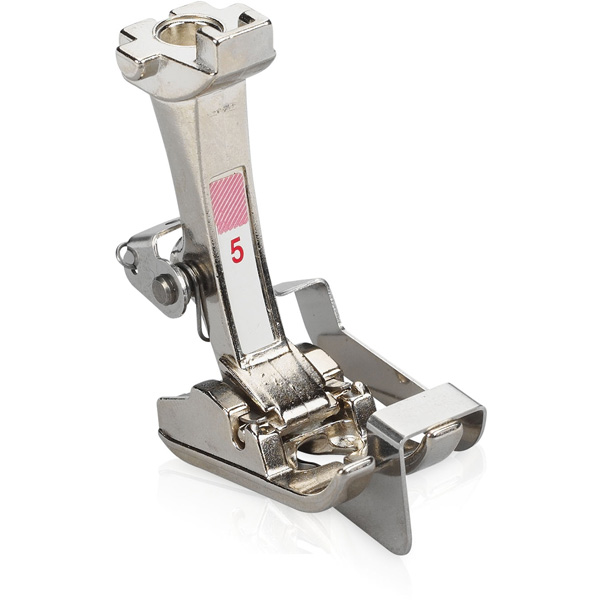
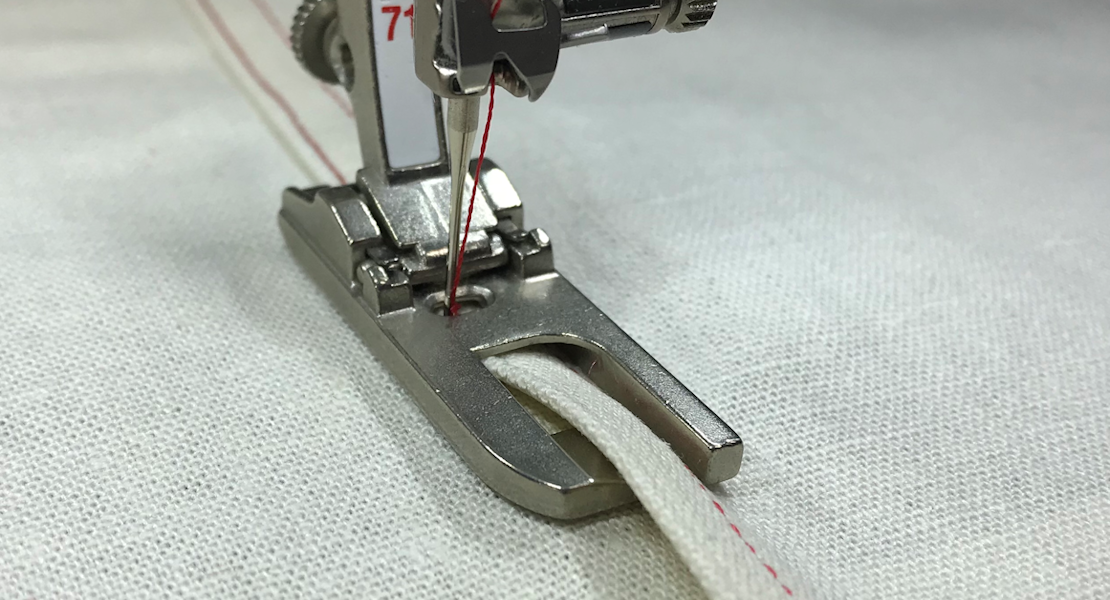
There are so many different versions of hemmer feet that you can choose from, seven in fact. Each of these presser feet is available in one version that works with all models of BERNINA machines. The most notable feature of the hemmer feet is the coil at the front of the foot, where the fabric is fed into the channel on the bottom of the foot. Some of these feet are straight stitch and some allow for 5mm stitch width. The channel on the bottom with dictate the width of the finished hem. To learn more about these feet, check out this post here.
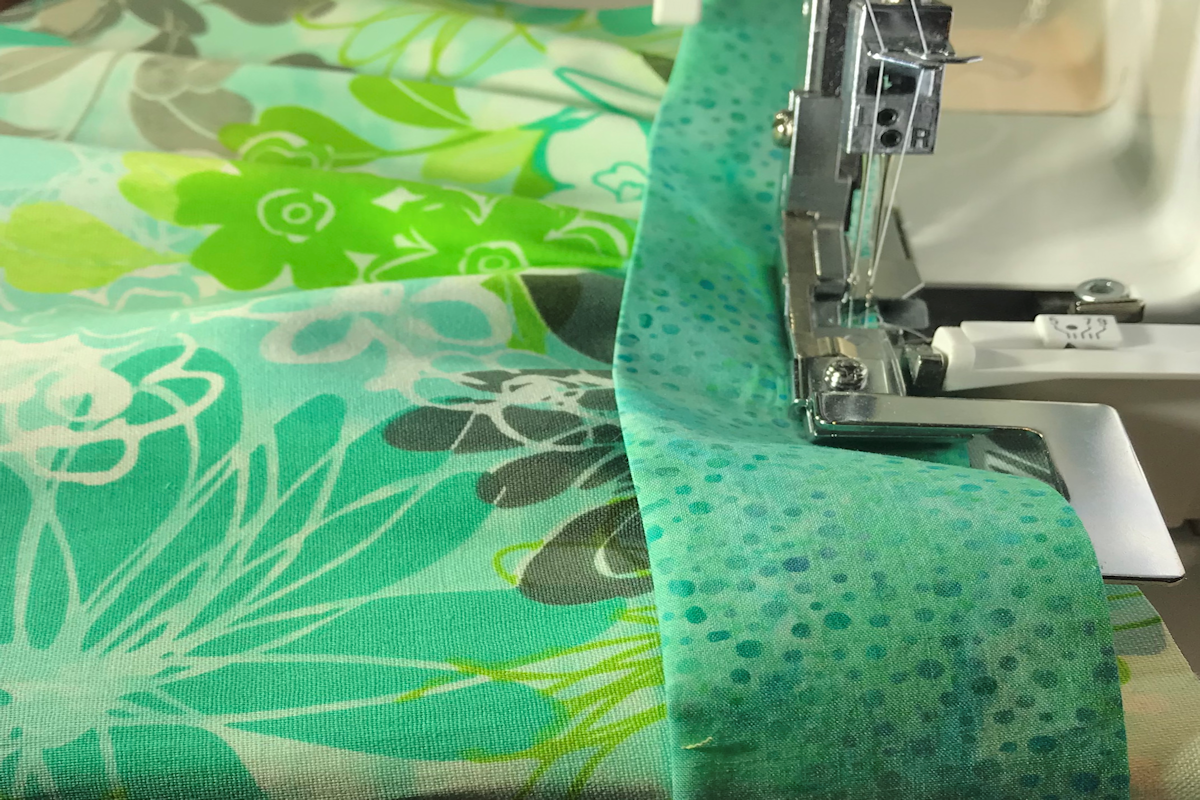
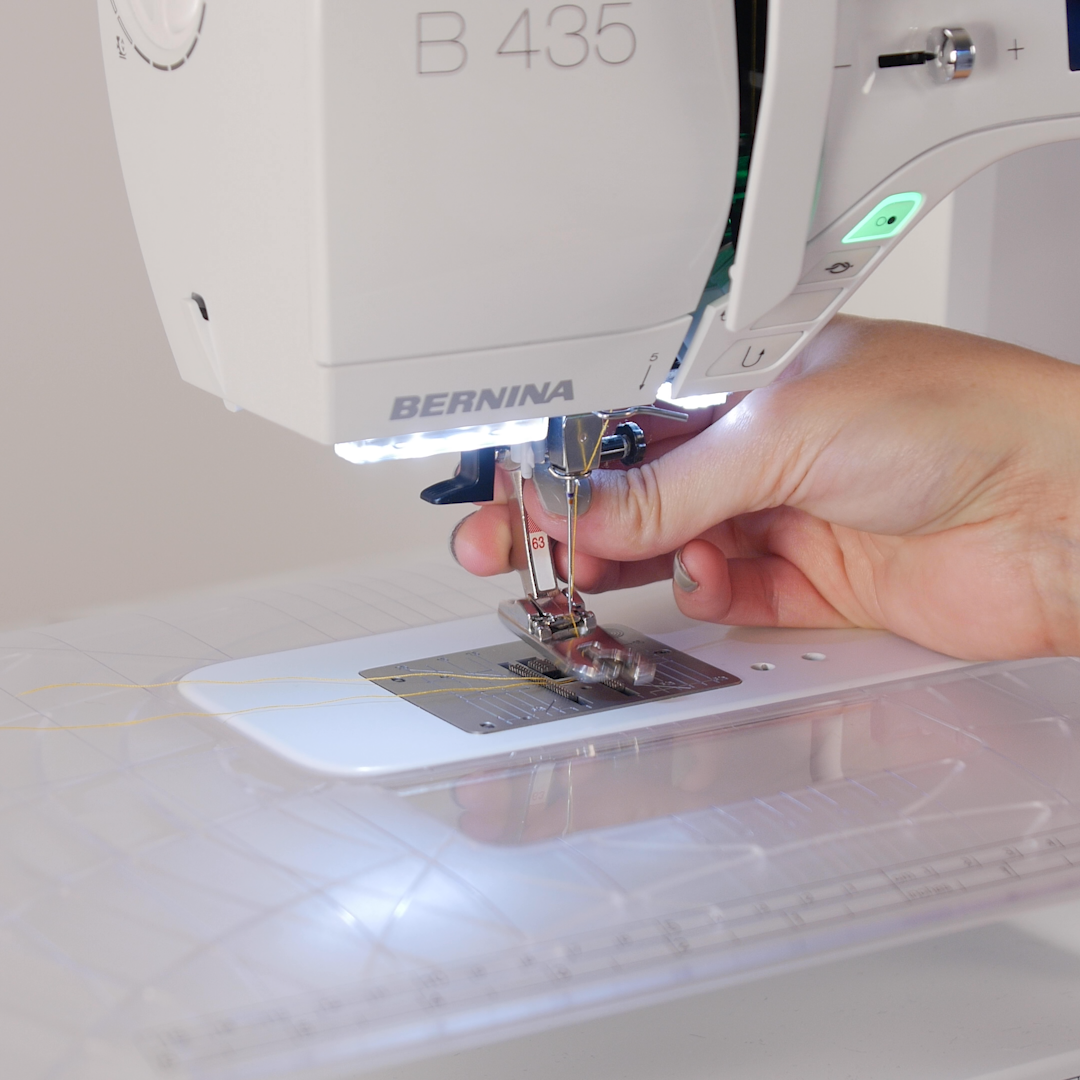
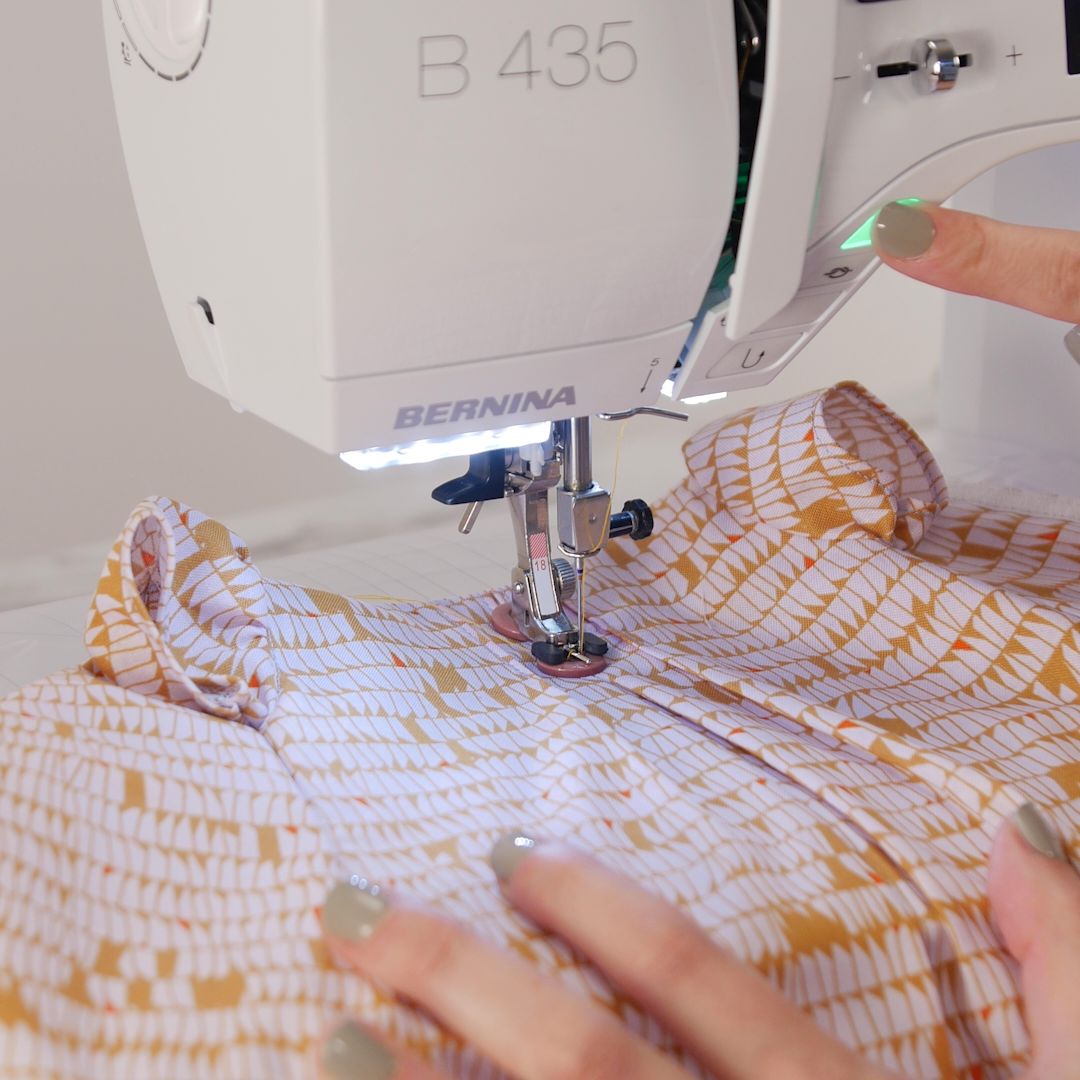
I think the most versatile hemmer foot is Hemmer Foot #63. This foot creates a 3 mm hem finish and can be used with straight, zigzag or decorative stitches up to 5 mm wide. It is perfect for medium weight fabrics and is designed to sew around curves—this is the biggest advantage to me because most hems have so some kind of curve to them. I used this foot to hem the front and back pieces, as well as, the sleeves of this doll dress. Because I am sewing small—it was easier to do this hemming first and assemble the dress later.
To load the foot, start by sewing a few stitches (1/2”) into the fabric edge. Lift the presser foot and holding the thread tails, pull the fabric into the coil of the foot. Then lower the foot with the fabric feeding into the coil and begin sewing the hem. It takes some practice, but gets easier—I promise.

Tip: Chain piece the hems for all pattern pieces at the beginning, then assemble the pieces into the finished garment.
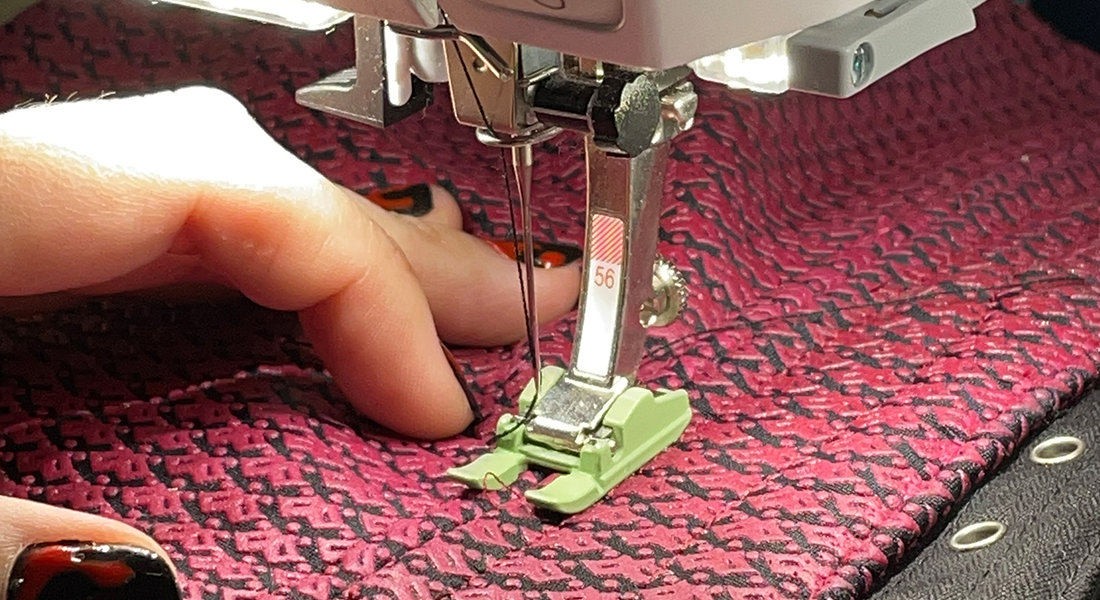
Foot 2. Edgestitch Foot
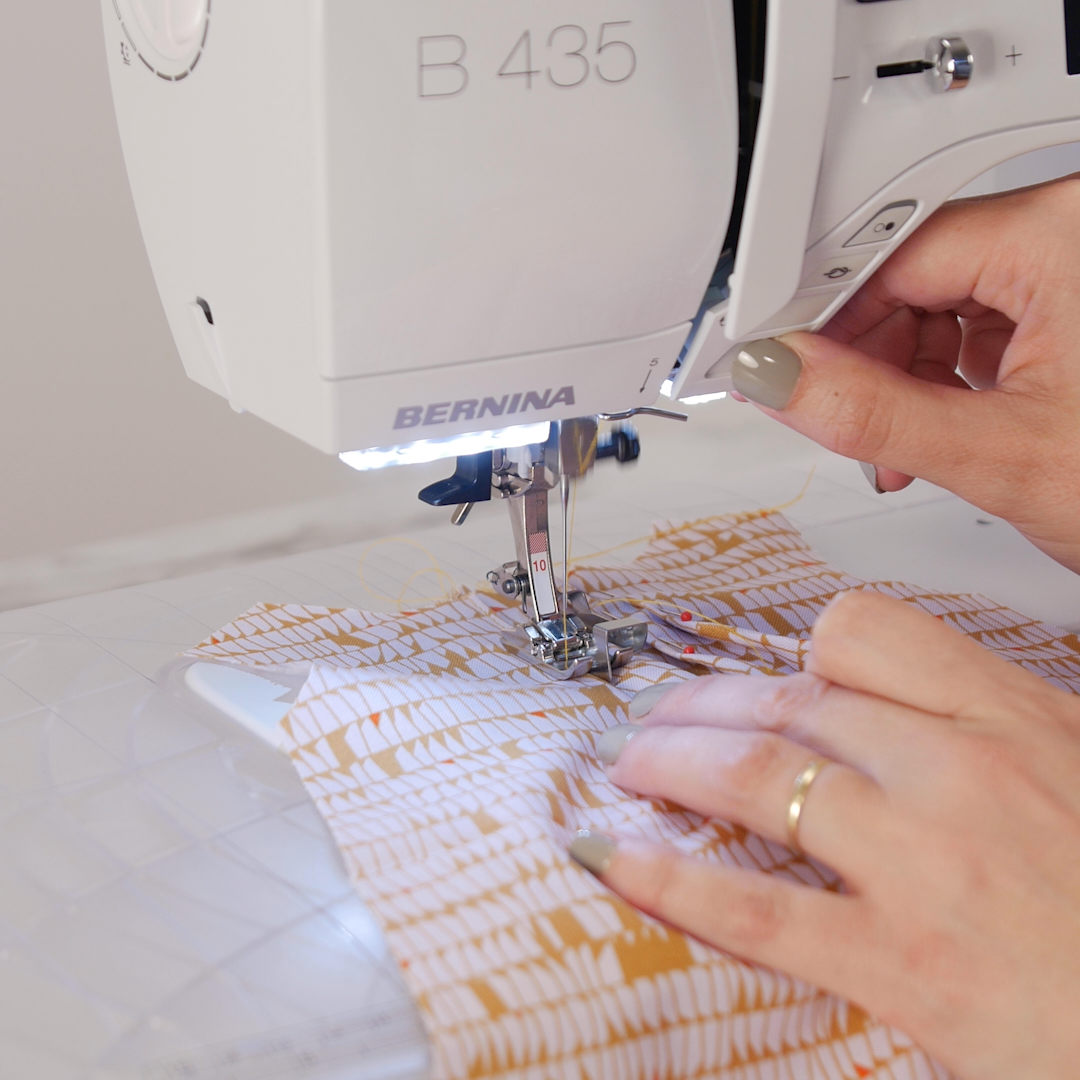
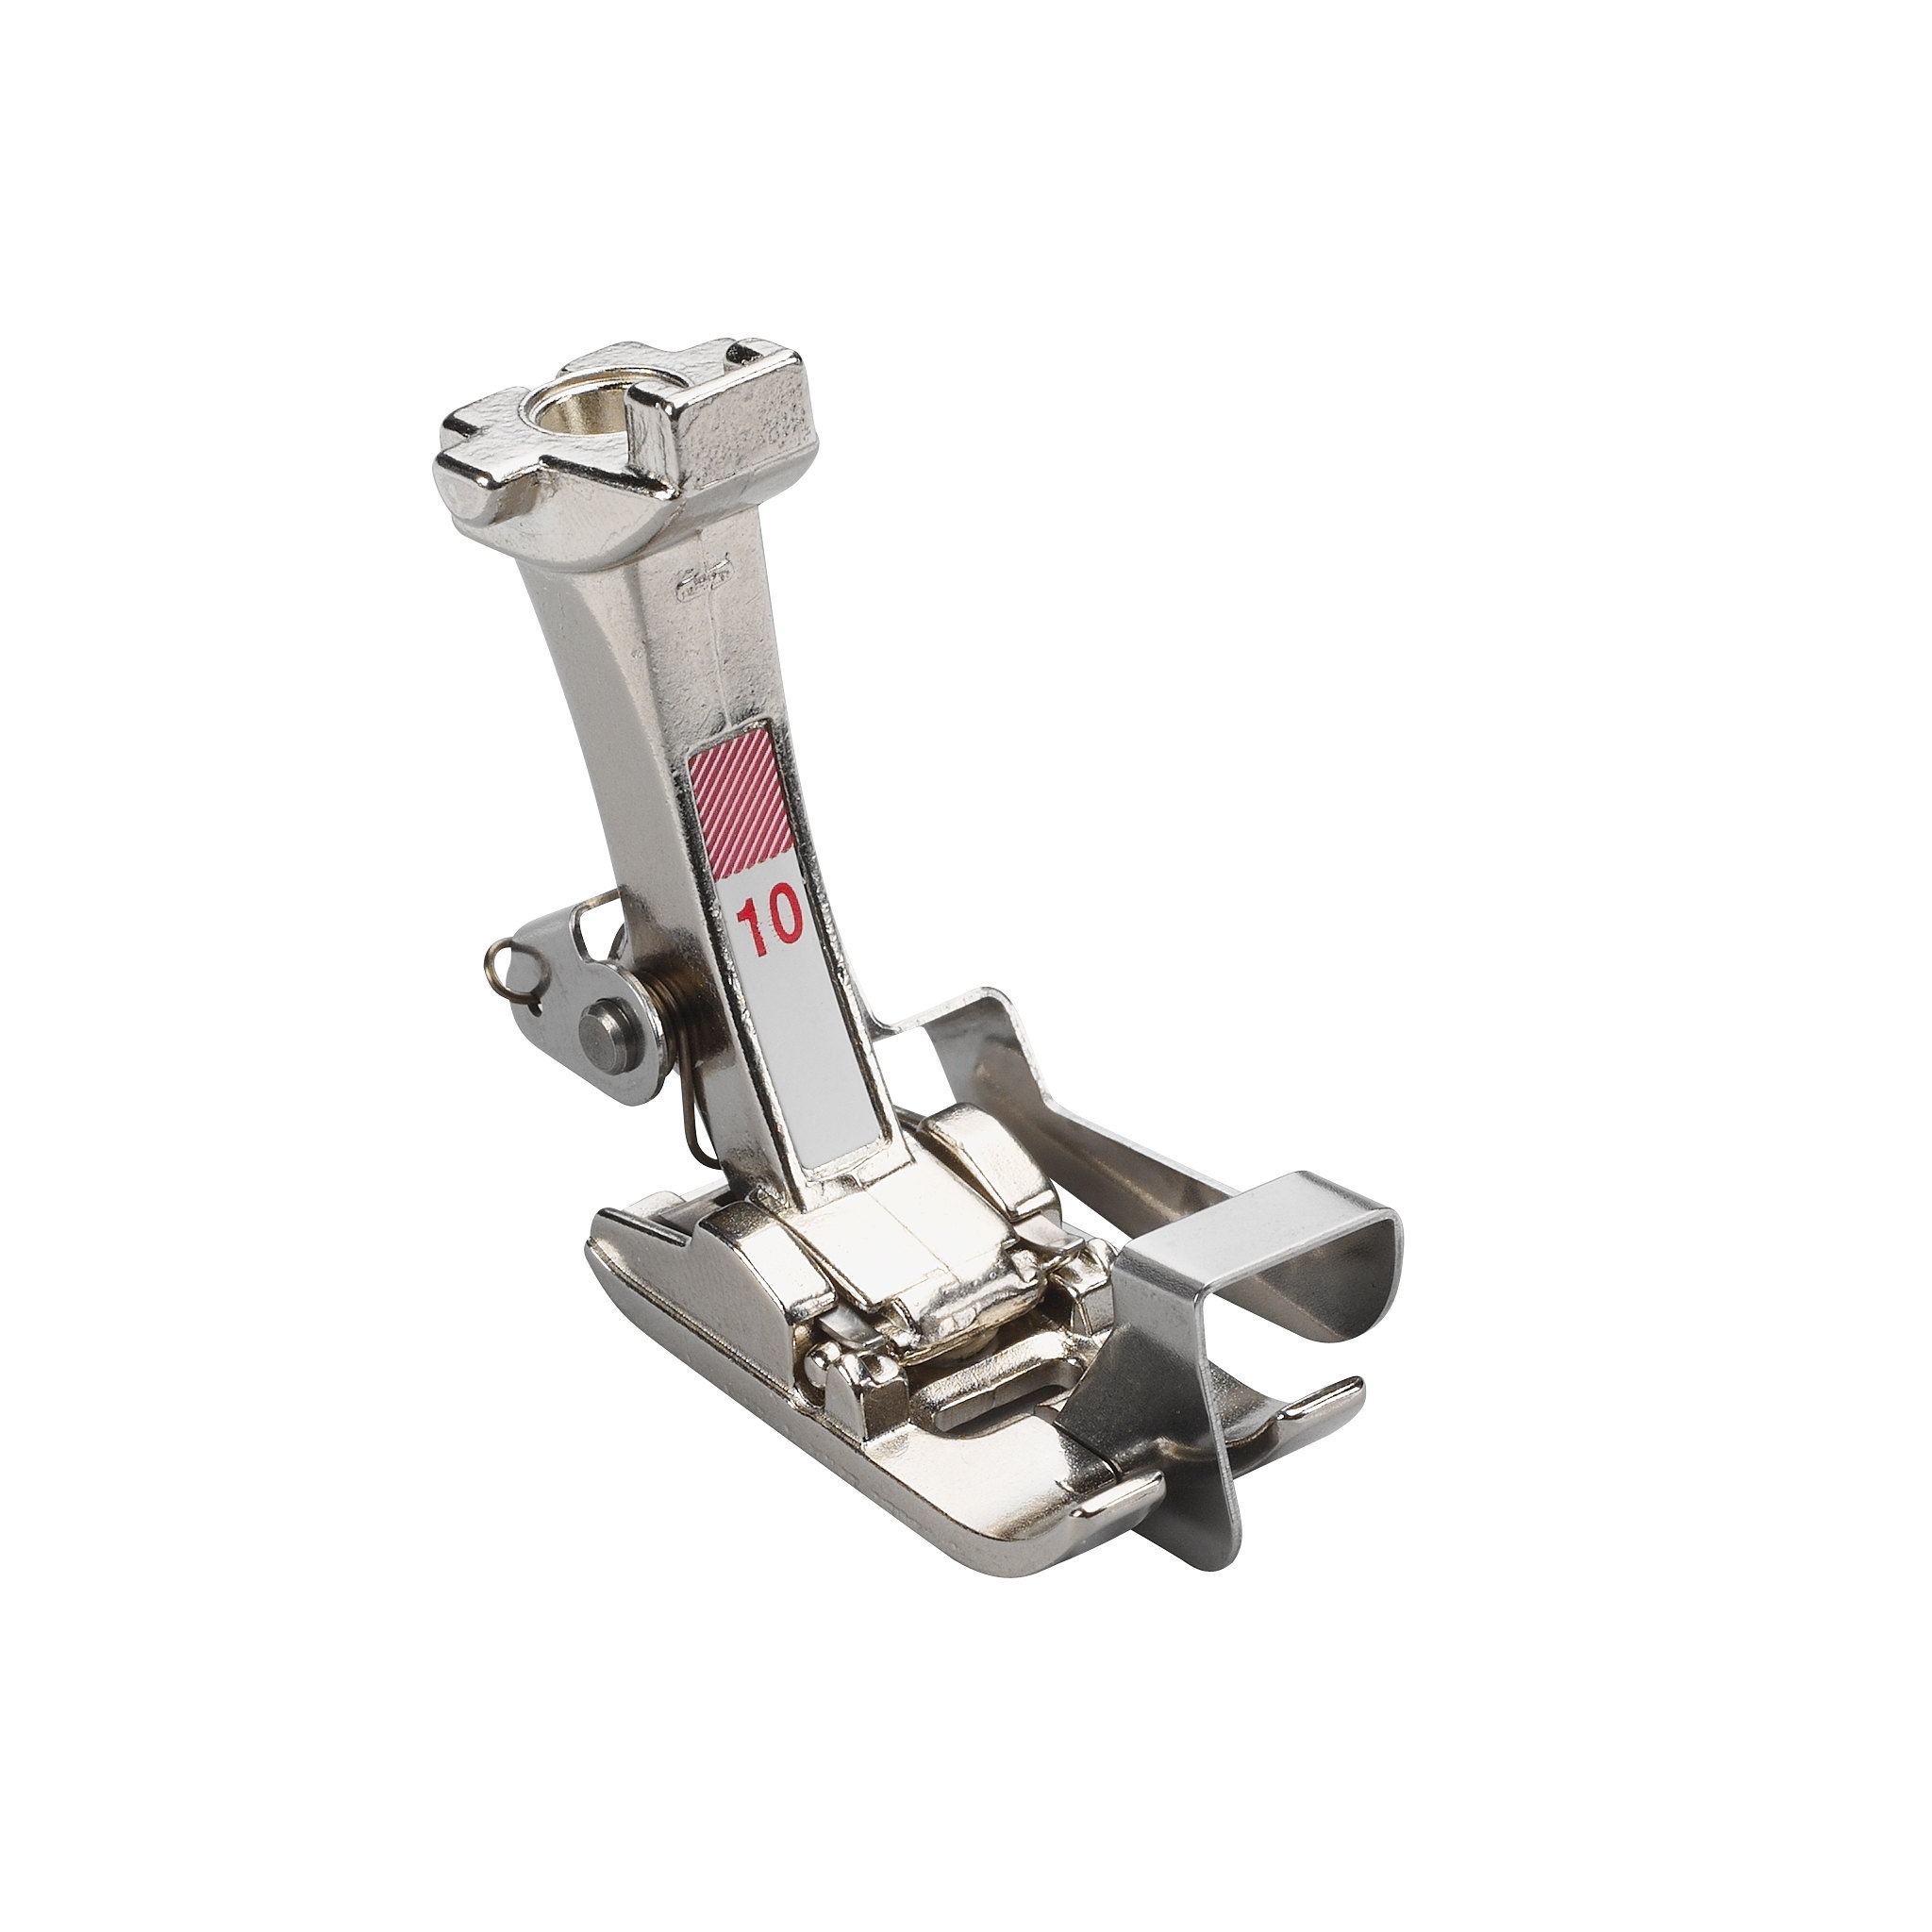
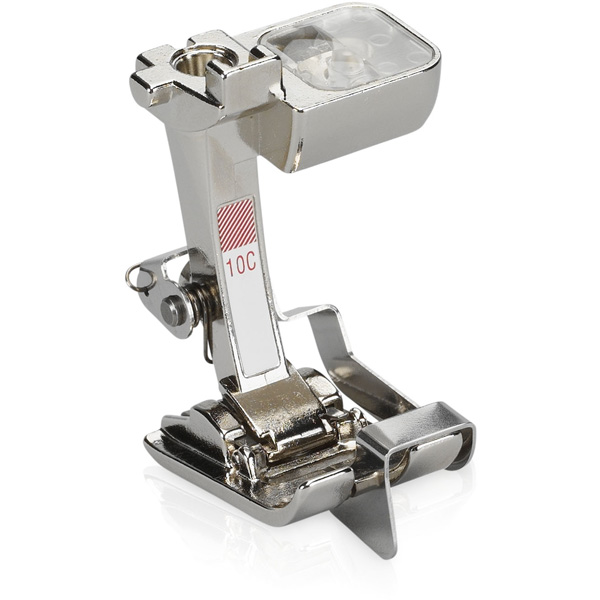
BERNINA edgestitch feet are hands-down, my favorite presser feet and one I always recommend for every sewist. There are three versions of the Edgestitch Foot #10/#10C/#10D. Match the foot to your machine feed dog system.
The guide on this foot is shorter than that of the Blindstitch Foot #5 and does not extend into the center of the foot. This means that you can choose any needle position for perfect edgestitching on either side or stitch-in-the-ditch sewing. You can also do decorative stitches with this foot. It is genius! I used this foot to sew the pleats along the front bodice of this dress. It is easy to do, just move the needle position and sew along the folded edge.
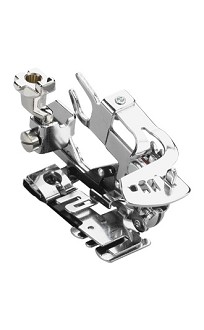
Foot 3. Button Sew-On Foot
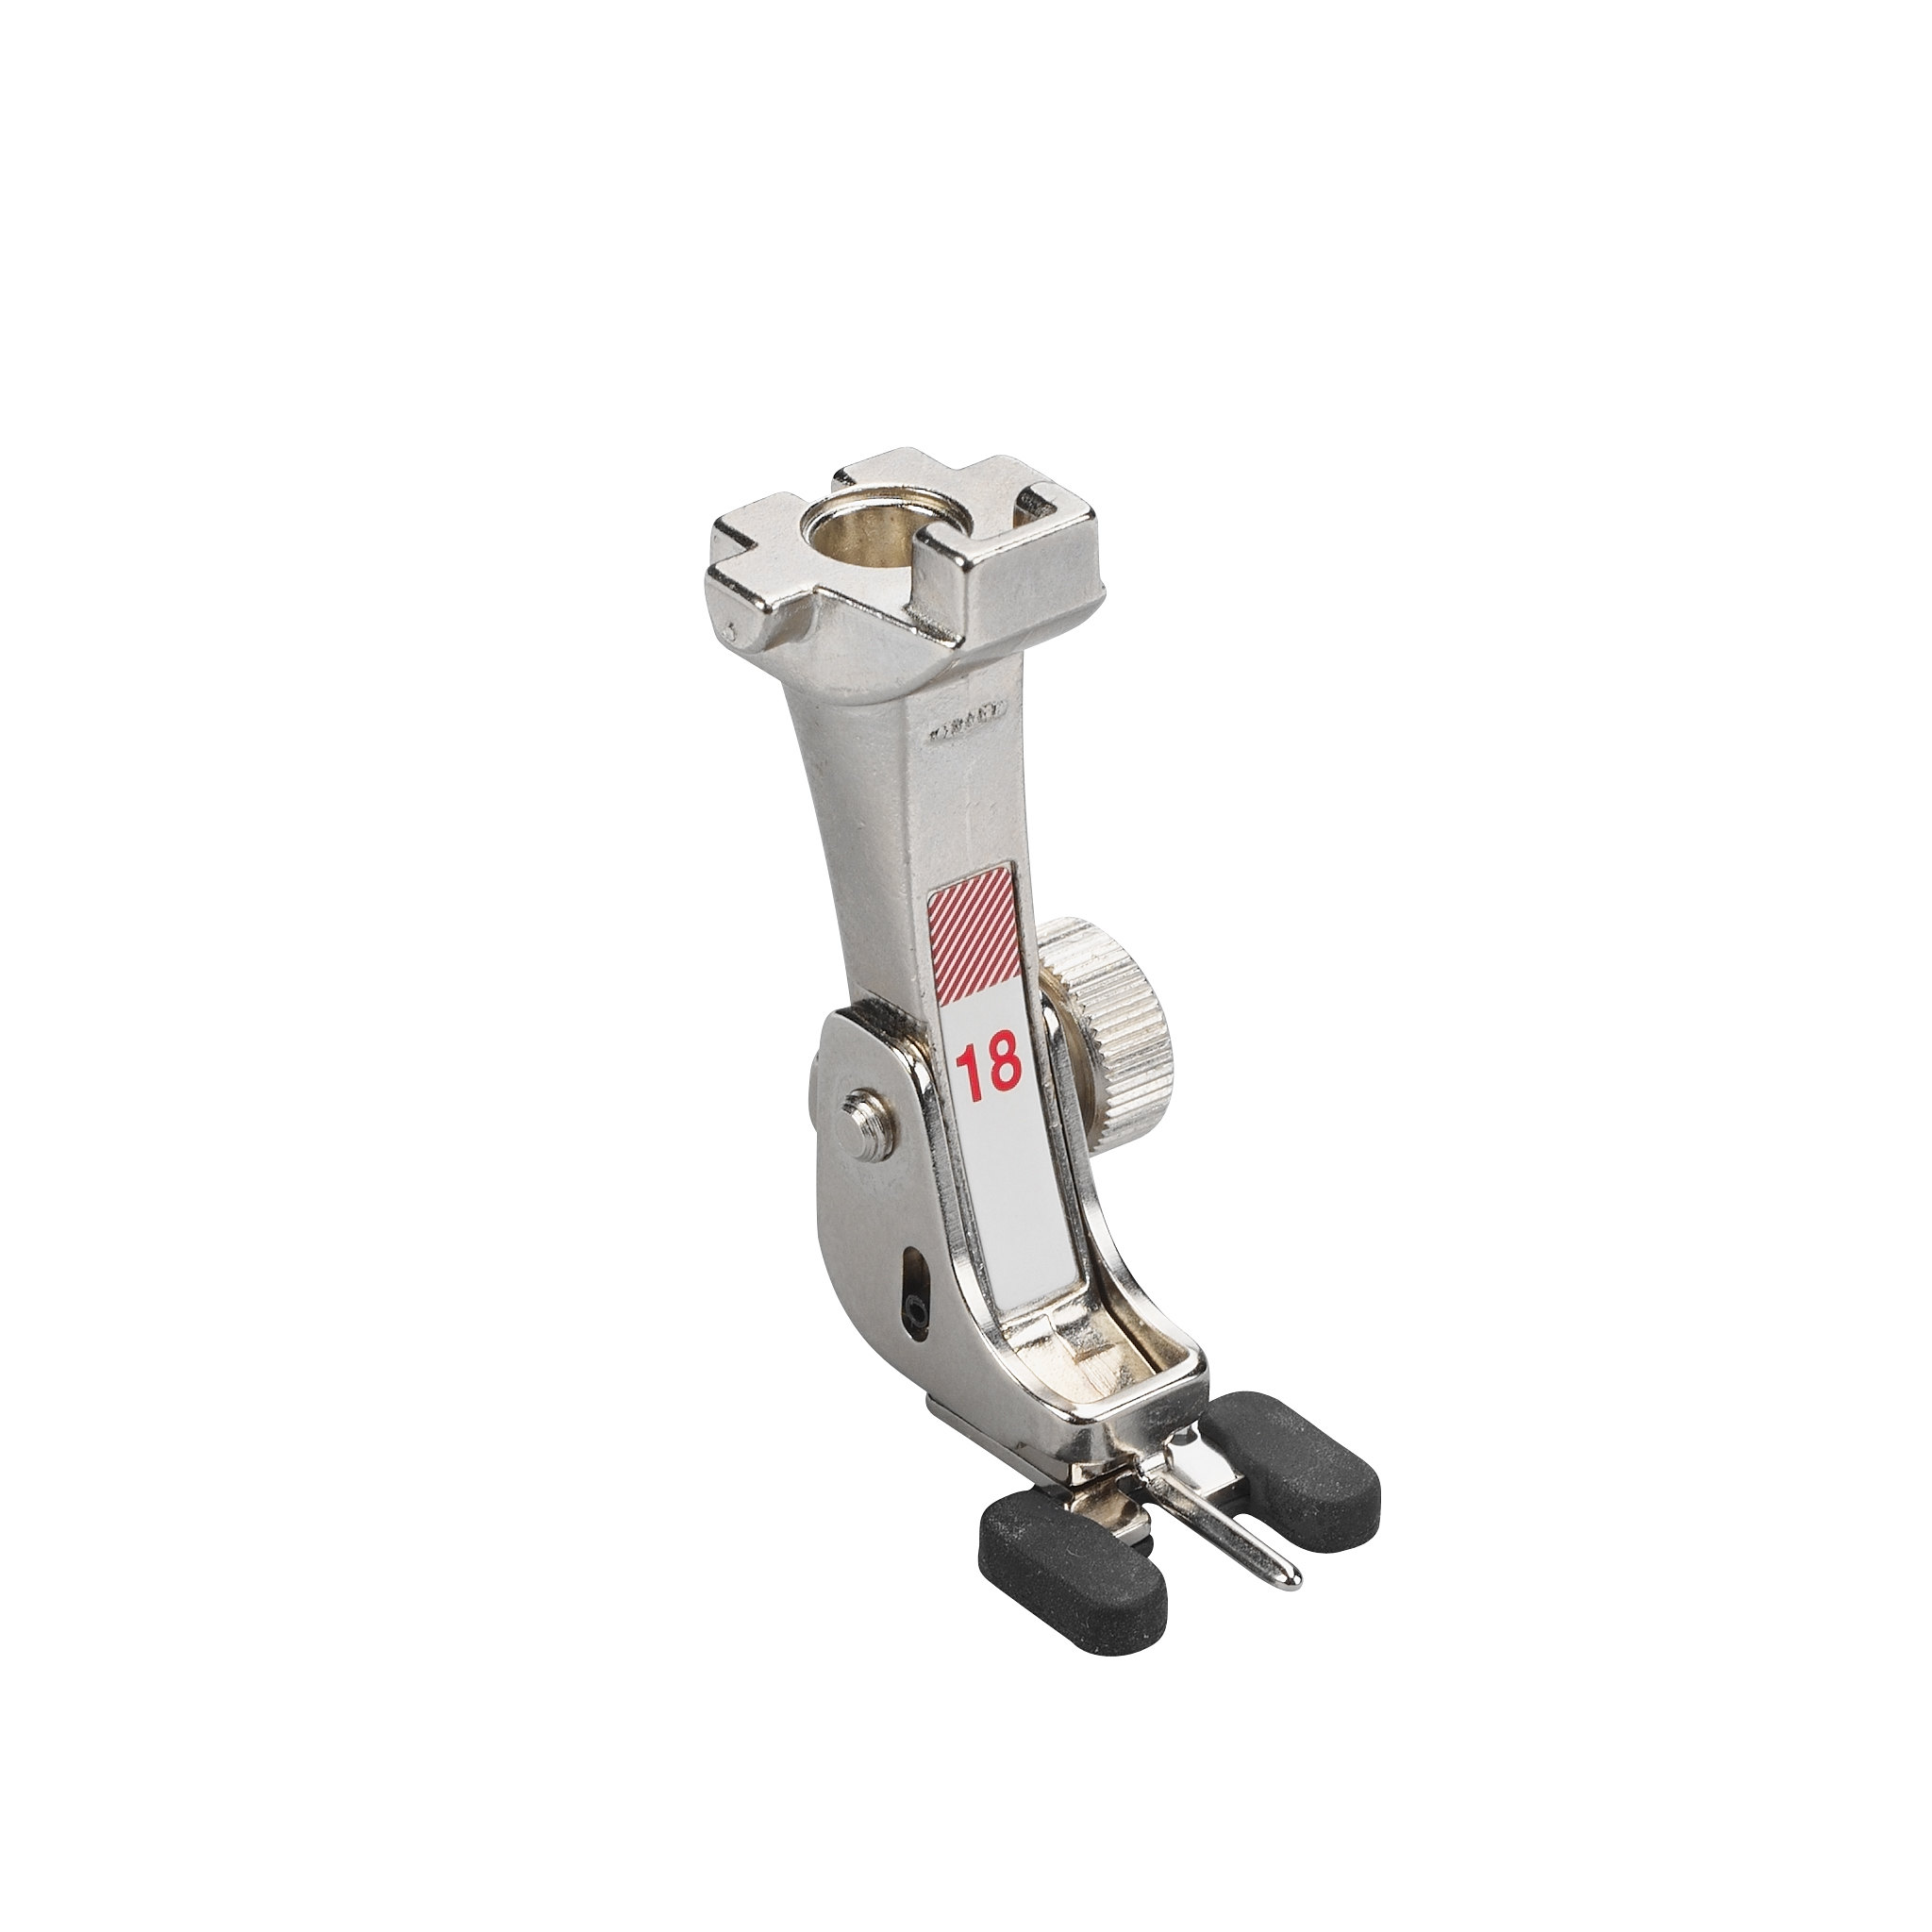
Another go-to presser foot in my collection is the Button Sew-On Foot #18. This foot works on any BERNINA machines regardless of feed dog system. You will also have a special pre-programmed stitch on your BERNINA for sewing on a button. You can find this stitch in your buttonhole menu, on most modern machines (stitch number varies from machine to machine). This stitch has zero stitch length and is programmed to stitch in place to secure the stitch at the beginning and end of the stitch sequence.
Slip the button under the foot with the holes arranged between the two toes of the presser foot. Before stitching, turn the handwheel to check the position of the button. Most button spacing is the same regardless of how large or small the button is, but if you need to you can adjust the stitch width to set the spacing for your button.
You may notice that there is an adjustable metal bar in the center of this foot. Use this to create a shank on the button if you are sewing buttons onto thicker materials like coats. You can flip the shank up and out of the way if you really need to just tack something like a hook and eye or decorative embellishment. I use this foot regularly to mend my shirts that have lost a button—why sew by hand when your BERNINA can do it for you! Right?
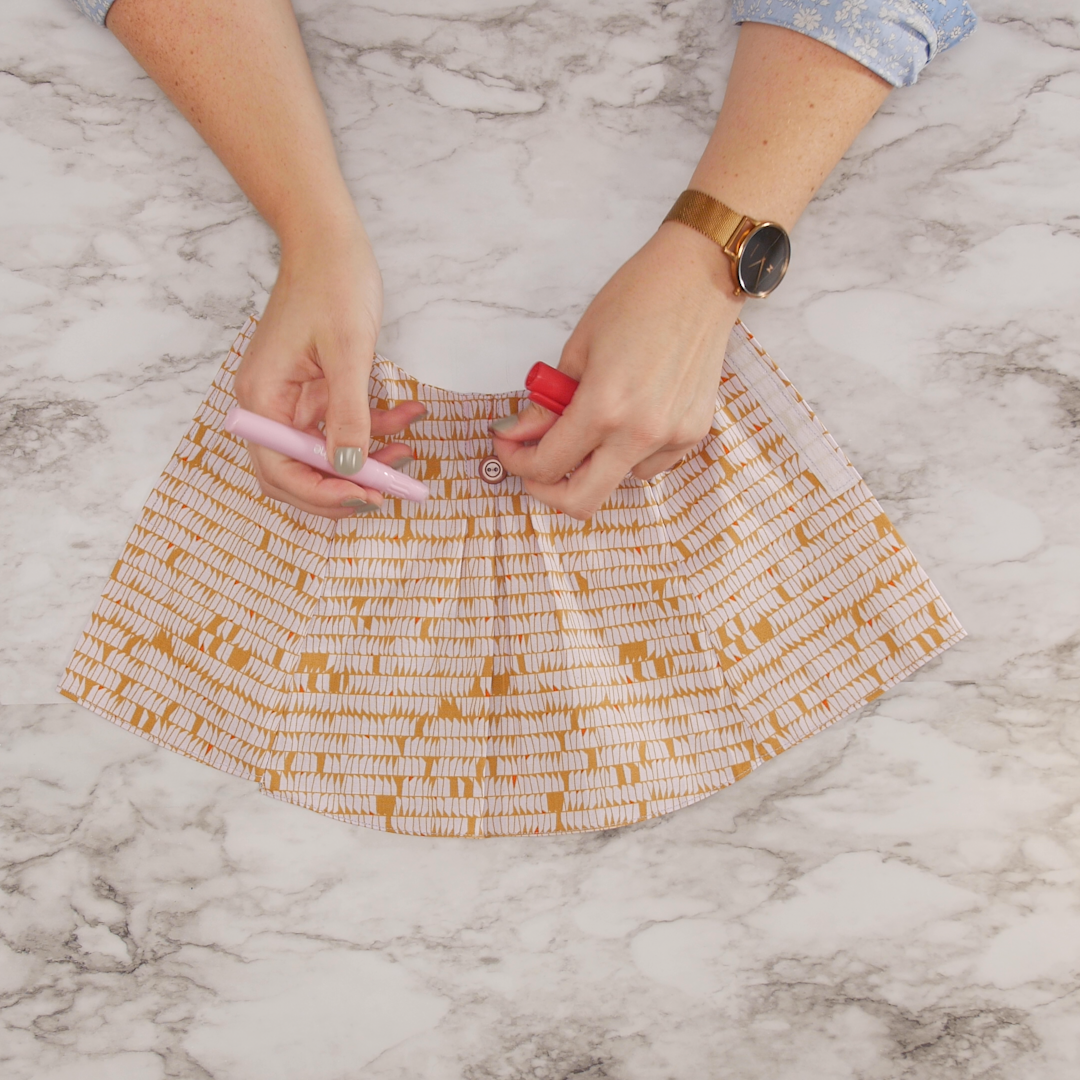
Add a few of my other favorite presser feet recommended in my first doll dresses post (here) to sew the seams and add hook and loop tape. Your little doll dress is finished and you learned some new skills—way to go!