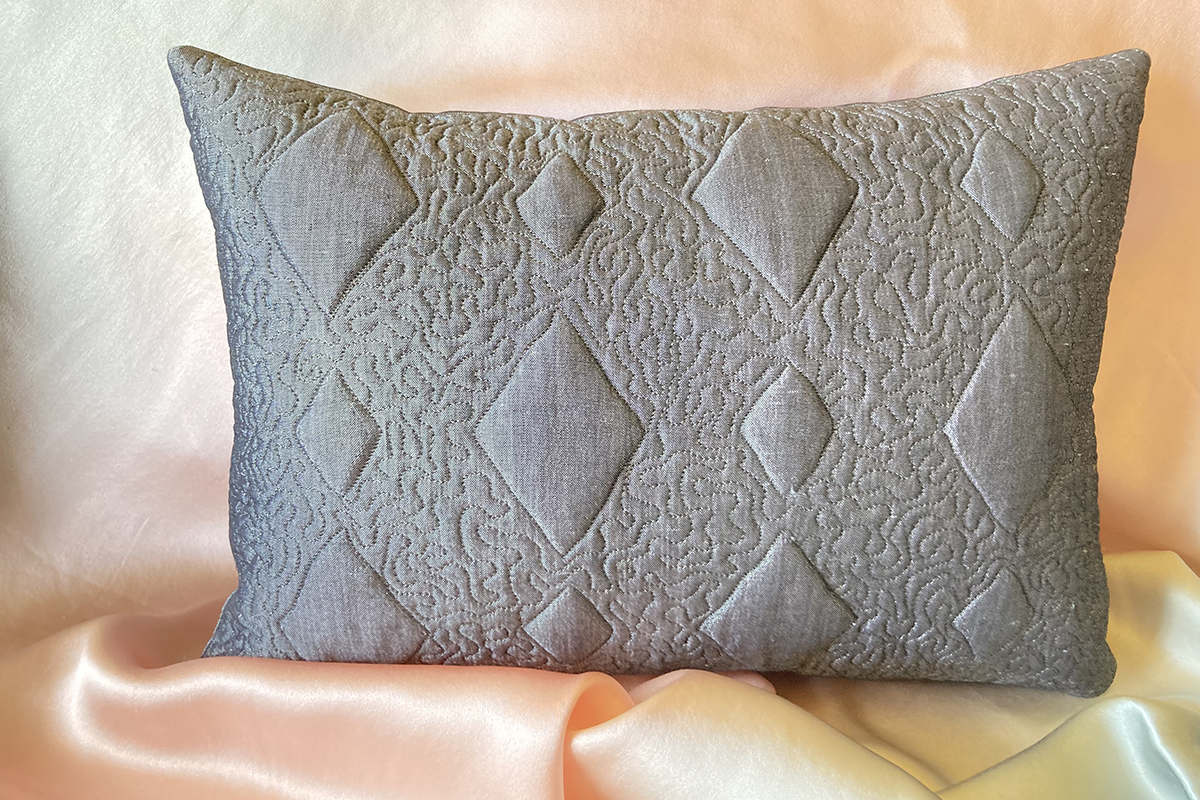
Trapunto Silk Pillow
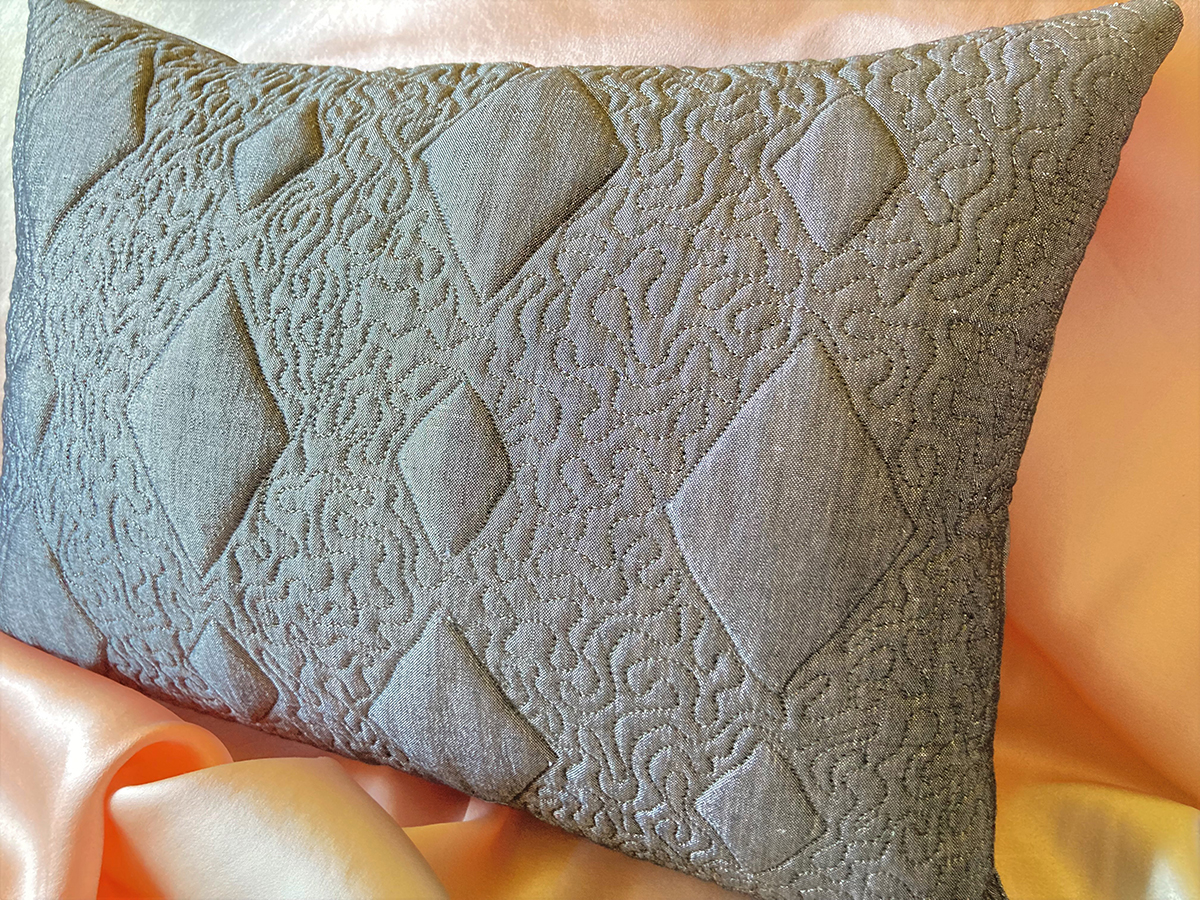
Have you ever wanted to add a little extra dimension to your sewing or quilting projects? Consider trapunto! This technique elevates parts of your design resulting in a beautiful three-dimensional effect. I’m going to combine rulerwork quilting with trapunto to make a silk pillow.
Come along with me on this adventure!
If you want to learn more about Trapunto, check out my webinar here: Explore Trapunto.
Note: When choosing your fabrics, make sure they can handle getting wet. Pre-wash if you are concerned about shrinkage or color running.
1/2″ seam allowance unless otherwise indicated.
Materials and Supplies
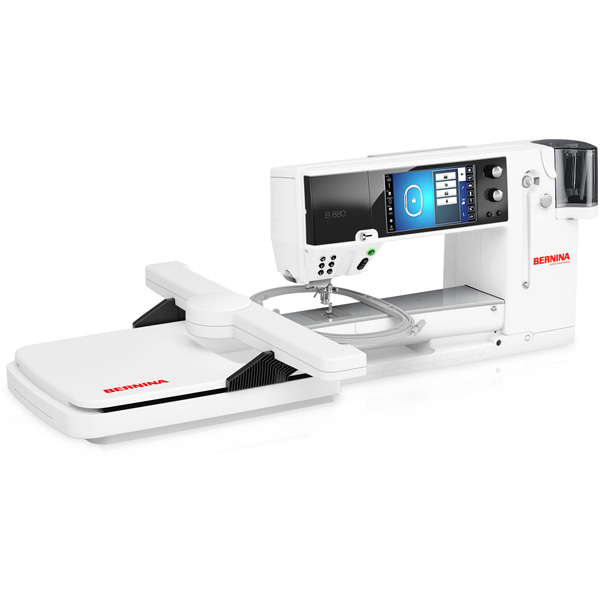
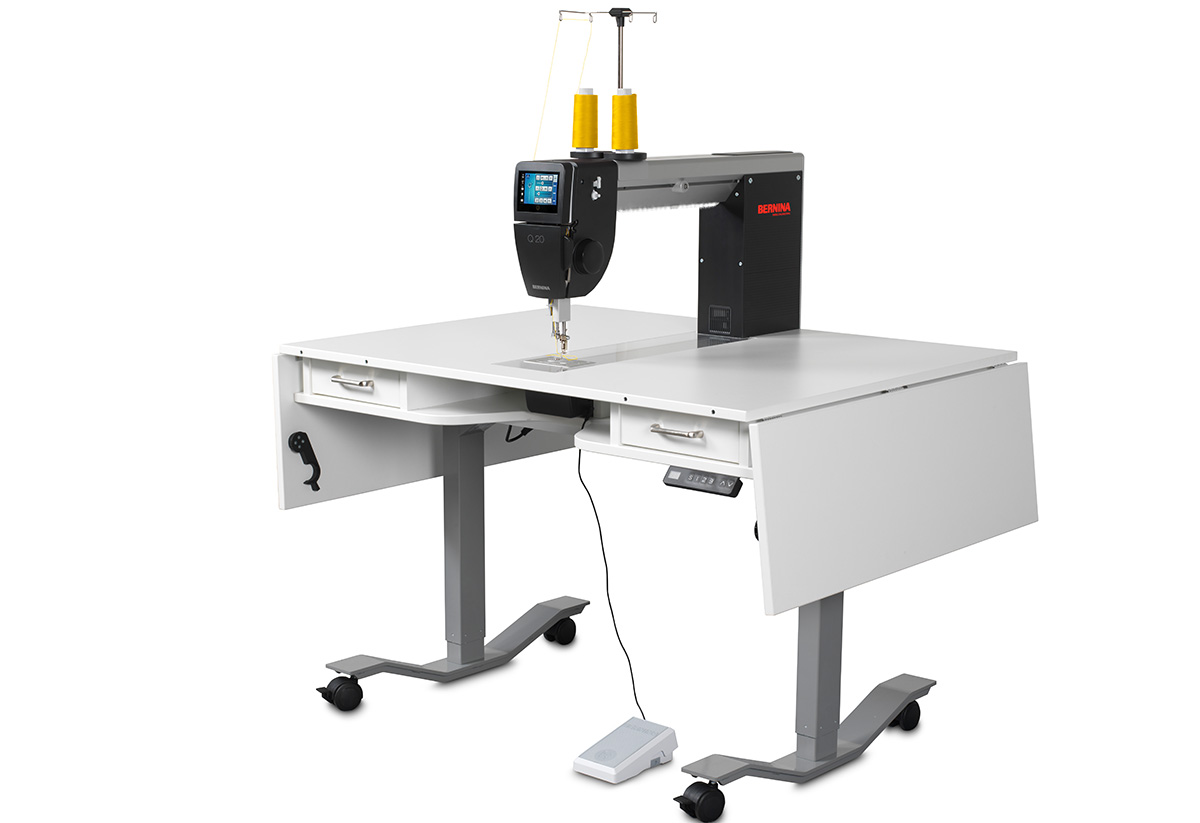
- Sewing Machine (I used the BERNINA Q 20 Table Model for quilting and the BERNINA 880 Plus for sewing)
- BERNINA Stitch Regulator (BSR) #42 if quilting on a compatible sewing machine
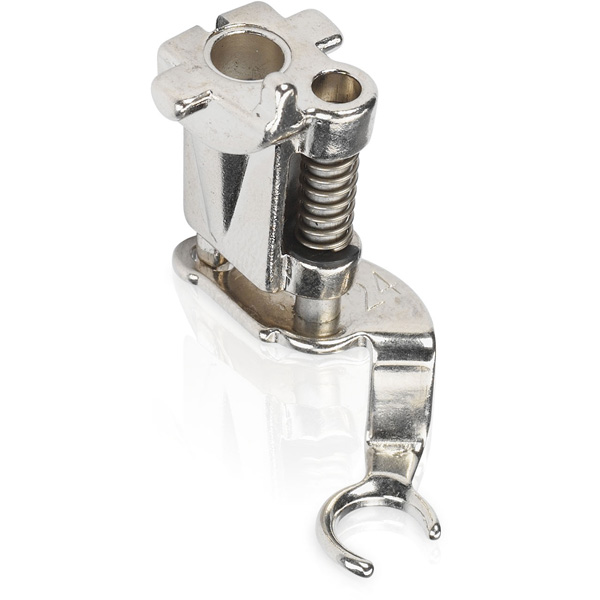
- Free-motion Embroidery Foot #24 or Adjustable Stippling Foot #73 if quilting on the Q 20 or if you do not have a BSR
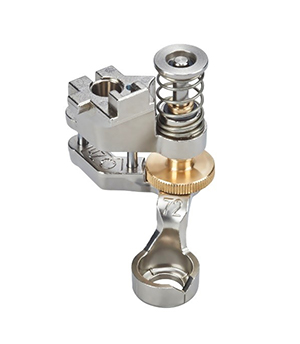
- Adjustable Ruler Foot #72 or Adjustable Ruler Foot with Slit #72S
- Invisible Zipper Foot #35
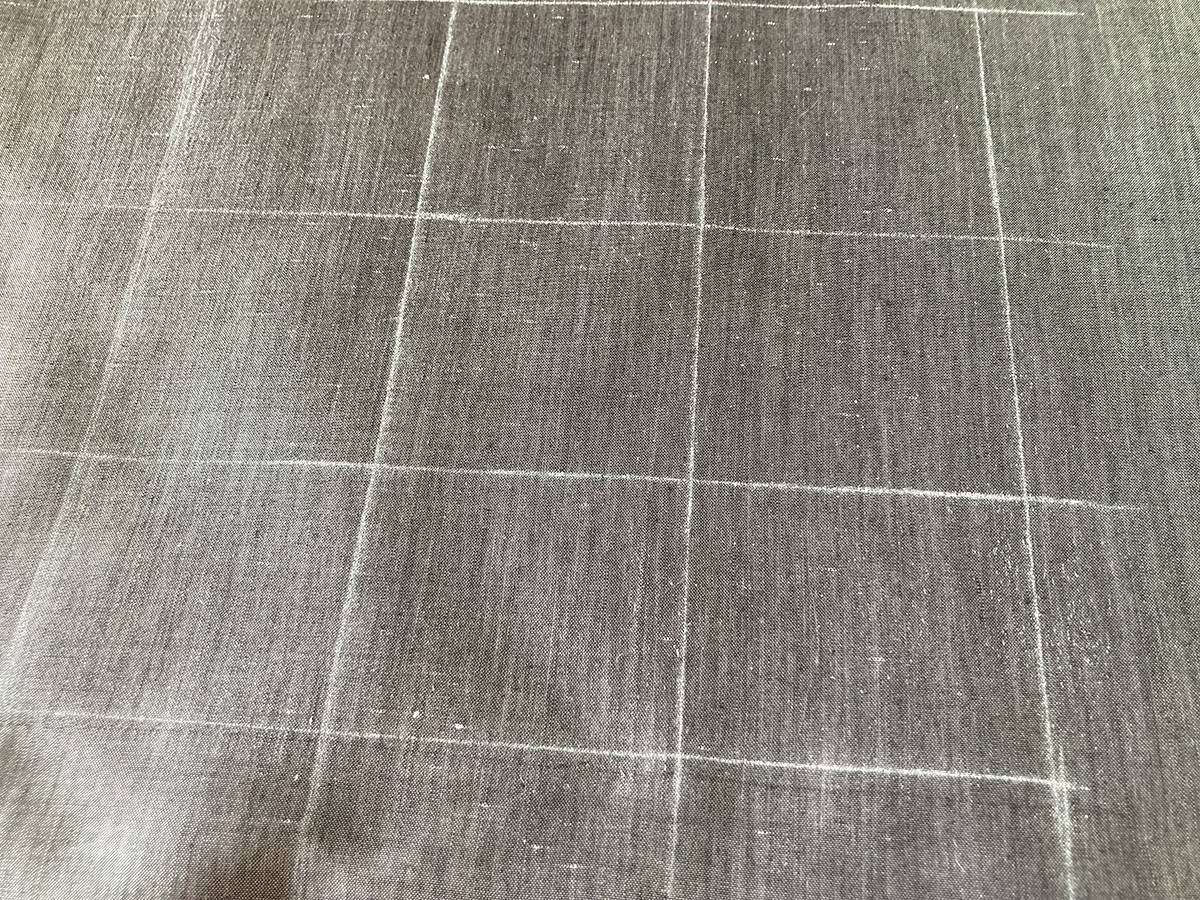
- Two fabric pieces several inches larger than your pillow form (I used grey Silk Dupioni)
- One cotton fabric piece for lining the pillow front
- Woven fusible interfacing cut to fit both silk fabric pieces, such as Shape Flex by Pellon
- Threads of choice for sewing and quilting
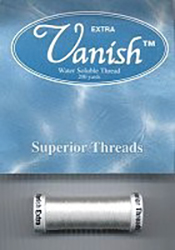
- Wash Away Thread
- 60 wt thread in one bobbin
- 90/14 needle for the Wash Away Thread
- Needle to match your thread weight and fabric for sewing and quilting
- Fluffy batting for the trapunto (I used a high loft polyester batting like this)
- Thin cotton batting for quilting (I used this)
- Chalkwriter
- Straight ruler
- Rulerwork rulers (I used the Mini Lollipop and Everyday Lollipop 2 Rulers by Amanda Murphy)
- Applique scissors (AKA duckbill scissors)
- Small, sharp pointed scissors (I like these by Karen Kay Buckley)
- Invisible zipper several inches longer than length of pillow
- Pillow insert (mine is about 11” x 15”)
- Basic sewing and quilting supplies
Preparation
For added stability, fuse the interfacing to the wrong side of the silk pieces.
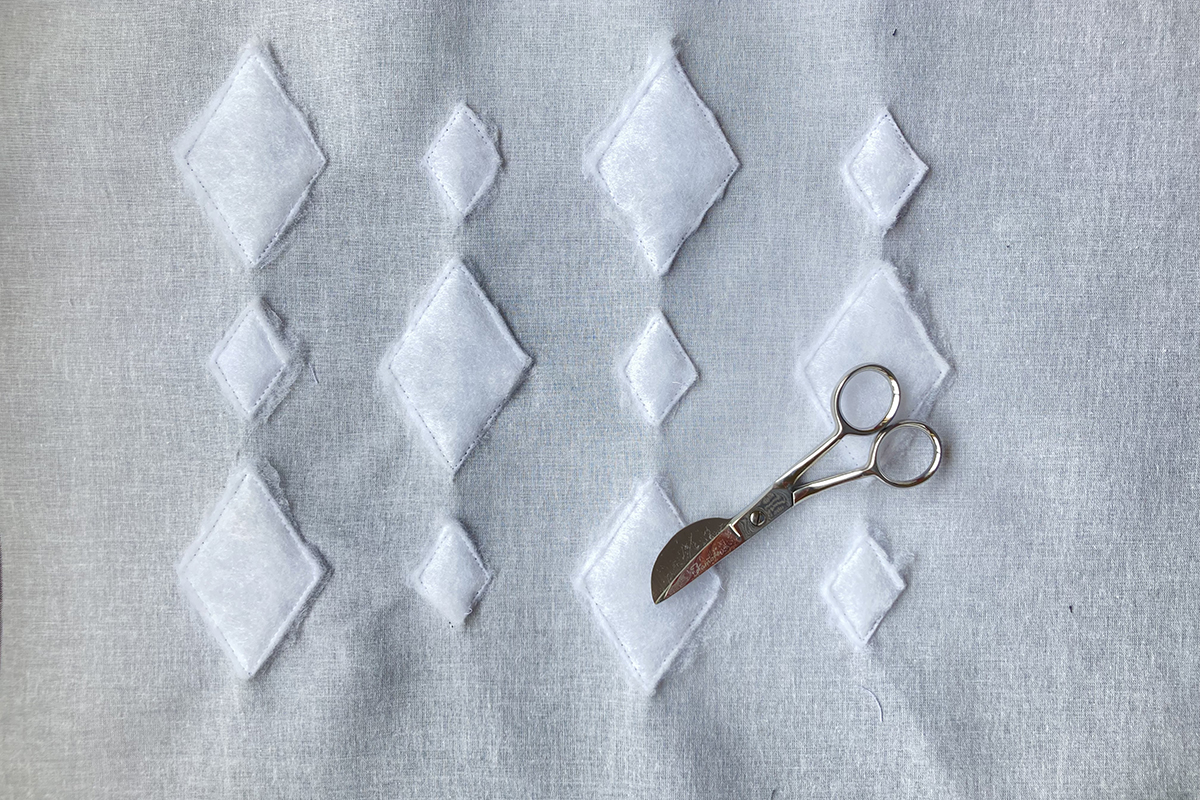
Using the Chalkwriter and a ruler, mark a 3” grid on the right side of the pillow front. The diamonds will finish at 1 1/2″ and 3” tall.
Layer the marked fabric on the high loft batting.
Insert the 90/14 topstitch needle and thread with the wash away thread. Install the bobbin with the 60 wt. thread.
Attach the rulerwork foot to your machine. This is an adjustable foot. Depending on the height of your batting, you may need to adjust the height of the foot. You want to just skim the top of the fabric. The difference between the Adjustable Ruler Foot #72 and the Adjustable Ruler Foot #72S is the slit that is in the toe of the foot. This allows you to easily place your thread under the foot.
Sewing the Diamonds
Lower the presser foot and bring up your bobbin thread. Remove the “key” in the ruler and slide the foot in the groove until the foot is in the opening of the diamond. Replace the key. I recommend placing the ruler in this manner so that you don’t accidentally lower the presser foot onto the ruler.
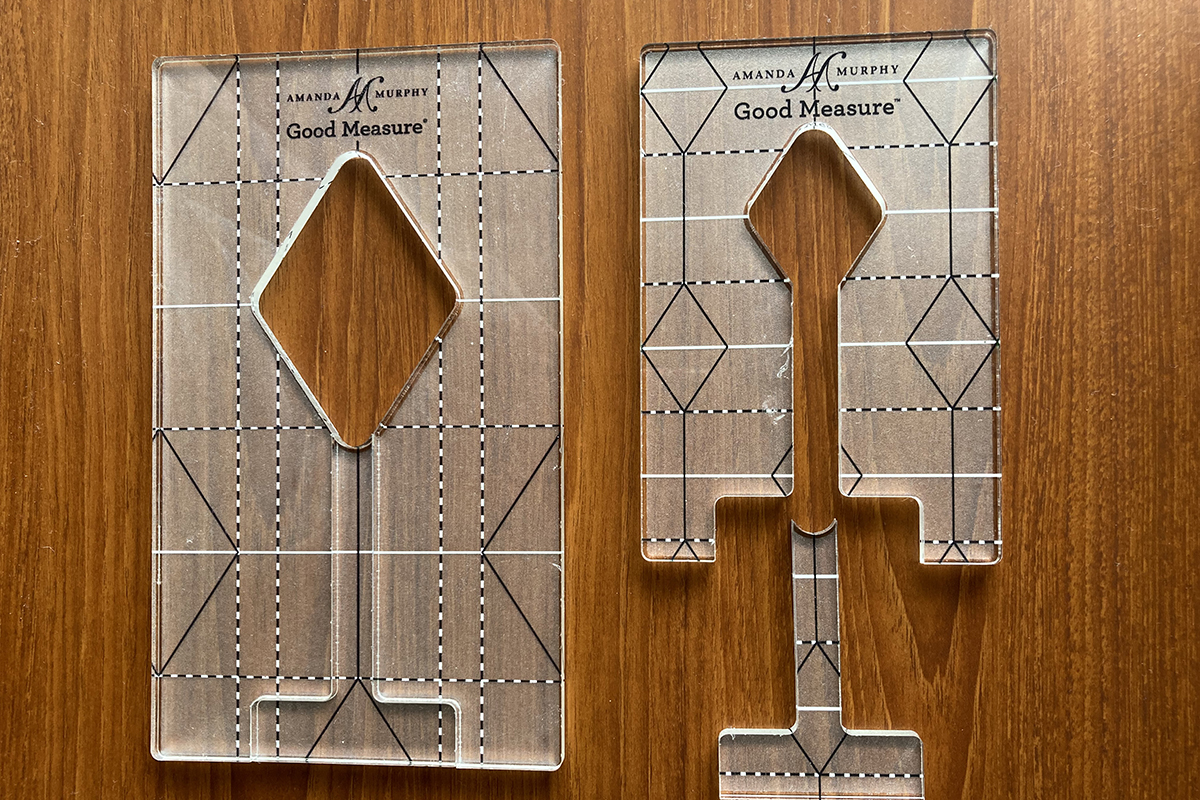
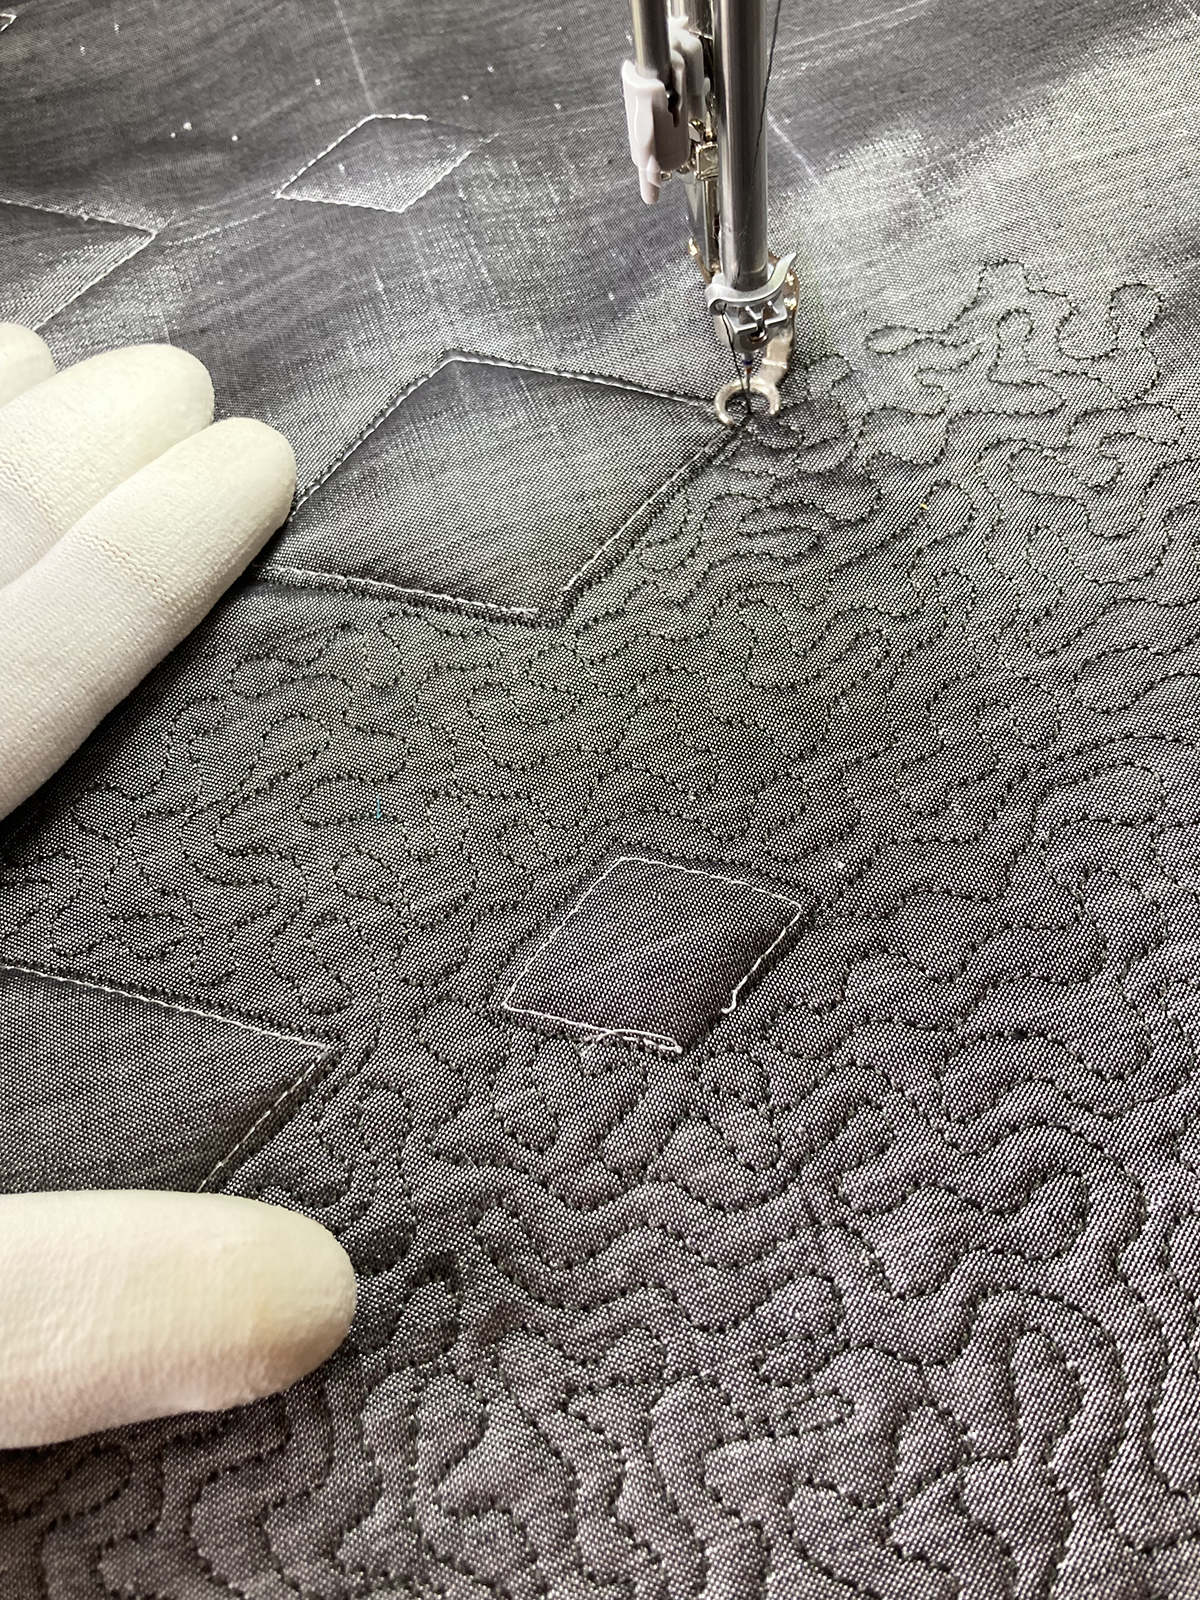
Following the lines on the grid, sew columns of diamonds, alternating sizes. Place the diamonds so that the intersection of the grid marks runs through the center of each of the diamonds. Do not connect the diamonds with stitches, but tie off each one. And you don’t have to worry about keeping perfectly even stitches…this thread is going to disappear!
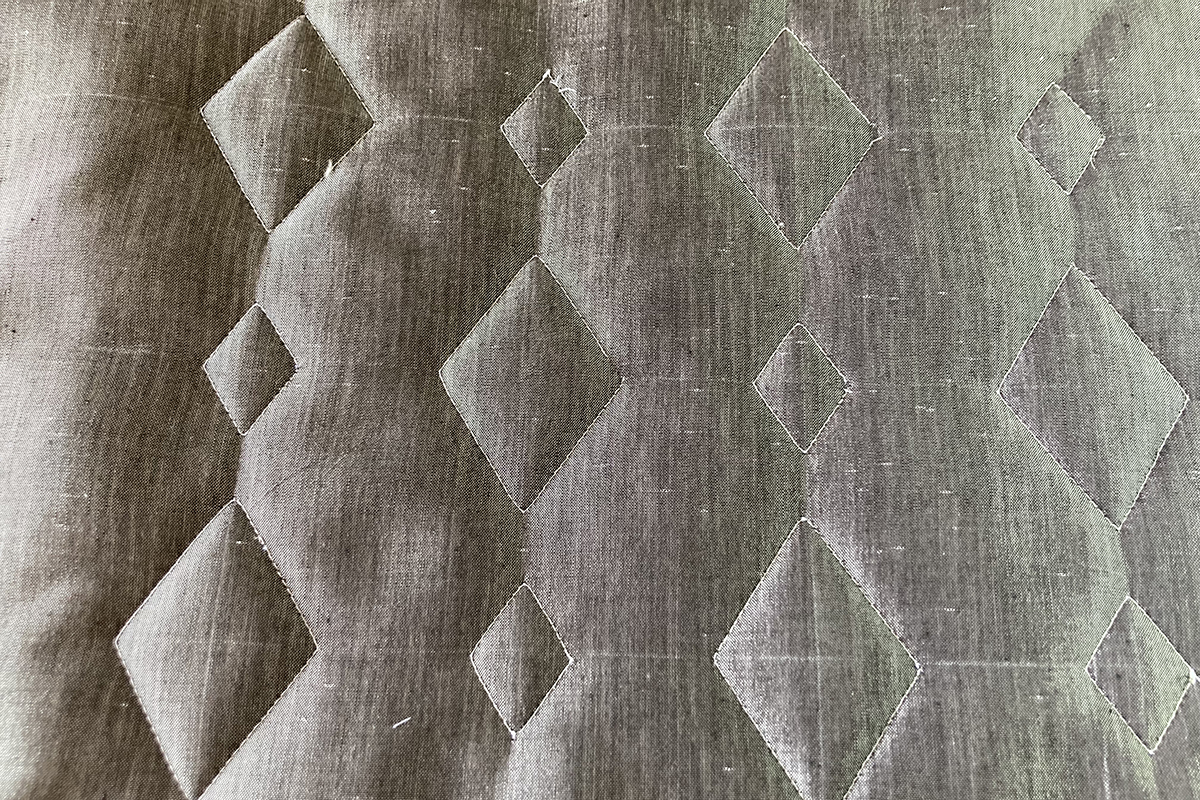
Turn the pillow front over and trim the batting around each of the diamonds using the applique scissors. Trim as close as you can. To avoid trimming your fabric, place the duckbill blade between the batting and the fabric. For the tight spots, carefully use your sharp pointed scissors.
This is also a good time to remove the wash away thread and the 60 wt. bobbin from your machine and replace with your quilting threads. You certainly do not want to do the next step with thread that will wash away! (Tip: Store your wash away thread in a marked baggie or container so there is NEVER any doubt as to what kind of thread it is!) Change your needle as indicated by your thread choice.
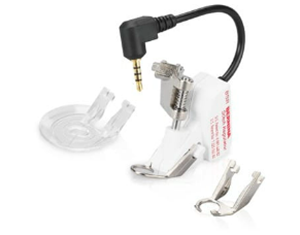
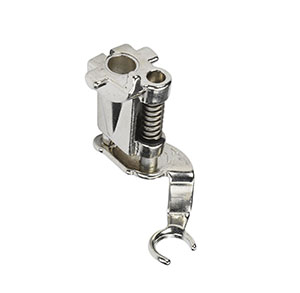
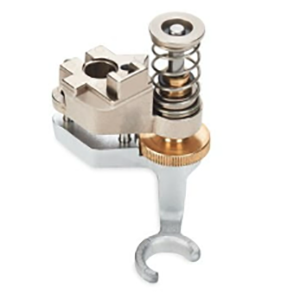
I like using an open toe for better visibility as I stitch the small stipples. Attach the BERNINA Stitch Regulator (BSR) #42 with the Open Toe Sole, the Free-motion Embroidery Foot #24 or the Adjustable Stippling Foot #73. An added benefit of the Adjustable Stippling Foot is that you can adjust its height according to the thickness of your quilt. You want the foot to skim along the fabric for smooth stitching. The BERNINA Stitch Regulator reacts to the movement of your fabric and adjusts the speed to give you consistent free-motion stitches. There are two stitch regulators built into the Q Series machines so that you get perfect stitches using a variety of free-motion feet
BERNINA Stitch Regulator (BSR) #42
Free-motion Embroidery Foot #24
Adjustable Stippling Foot #73
BERNINA Q 20
Quilting the Pillow Front
Make a quilt sandwich with your diamond-stitched piece, the thin cotton batting and the lining fabric. Here is where the magic is going to happen! You are going to quilt with small stipple stitches on the pillow front and as close to the diamonds as possible (without stitching over the wash away thread). Watch as the diamonds start to pop! You want to flatten the cotton batting as much as possible to accentuate the diamonds, so really fill the blank spaces with quilting. You may also want to shorten your stitch length for smoother curves.
Once you have quilted the entire pillow front, it’s time to remove the wash away thread. Fill a sink or large bowl with water and submerge the entire piece for one or two minutes until the thread dissolves. If you opt to just get the stitching areas wet, you run the risk of water spotting on the silk. Just dunk the whole thing! The bobbin thread will be easy to remove from the back once the wash away thread has disappeared.
Lay the pillow front flat to dry on a towel.
Pillow Assembly
Trim the pillow front and back so they are 1” larger than your pillow insert.
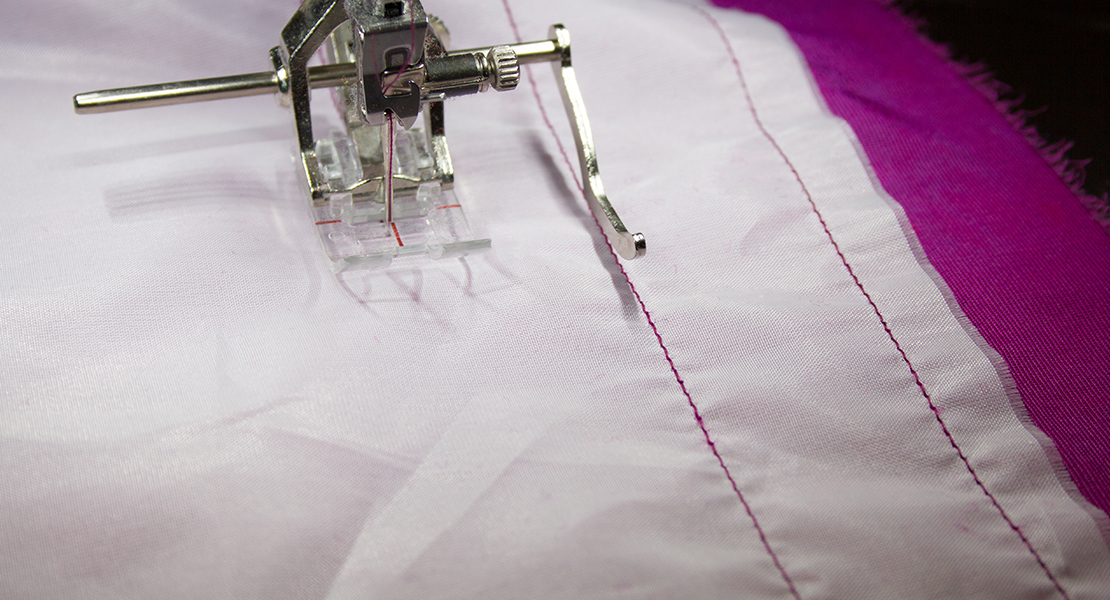
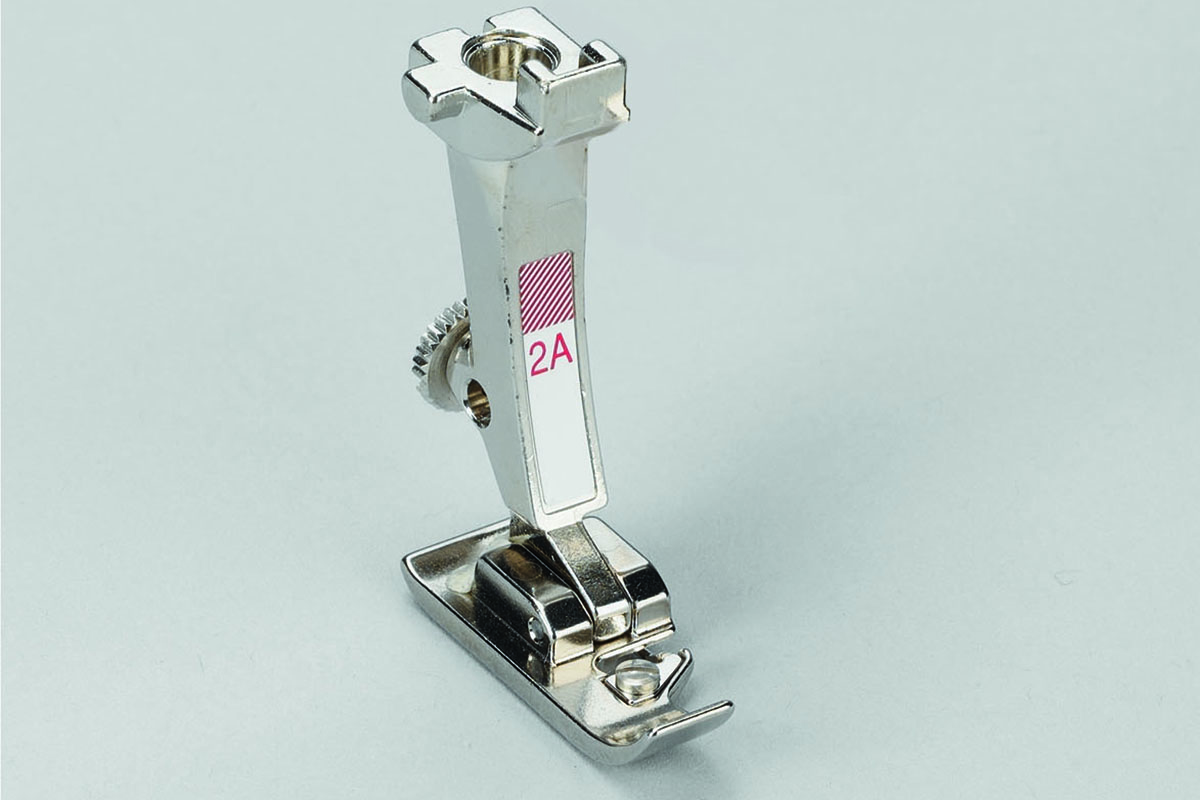
I recommend overcasting the raw edges before assembling your pillow. You can use a zigzag stitch and your basic sewing machine foot, but I like to use my Overlock Foot #2A and the Vari Overlock Stitch #3. The edge of my fabric is reinforced and there isn’t any tunneling. You can also use a 3-Thread Overlock stitch on your overlocker.
Before sewing the pillow together, use the Invisible Zipper Foot #35 and insert the invisible zipper along the bottom seam of the pillow. Click on the link for the foot and watch the video to see how to do this…I think it’s the easiest way to put in a zipper and gives a professional, elegant finish!
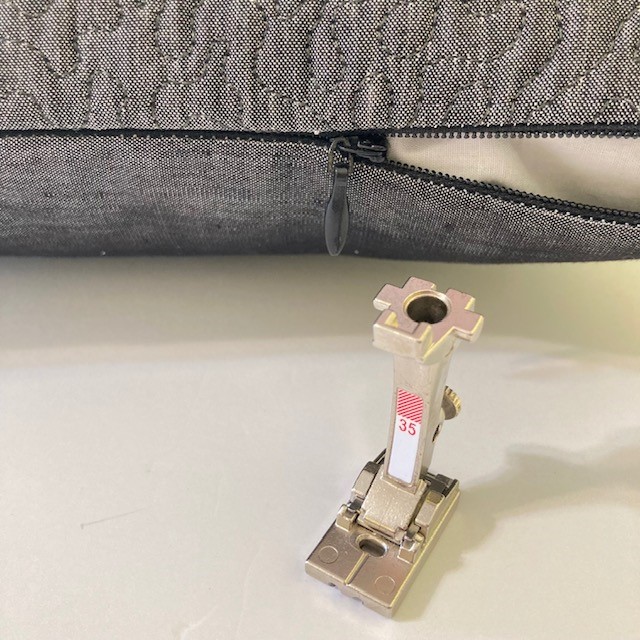
Click on this link for more detailed zipper instructions: How to Make an All Seasons Couched Pillow. Tip: Sew in the Needle Stop Down position and turn off the Hover feature. This will keep your foot down when you pause in your sewing and the coils of the zipper will stay in the foot.
Once the zipper is in, you can sew the three remaining sides together using a 1/2″ seam allowance. Clip the corners, turn right sides out and insert your pillow form. You are done!
I hope you love your beautiful new pillow and have enjoyed learning how to stitch some trapunto. What will you make next? Be sure to tag us @berninausa on social media to share your creations…we would love to see them!
Until next time, be creative!