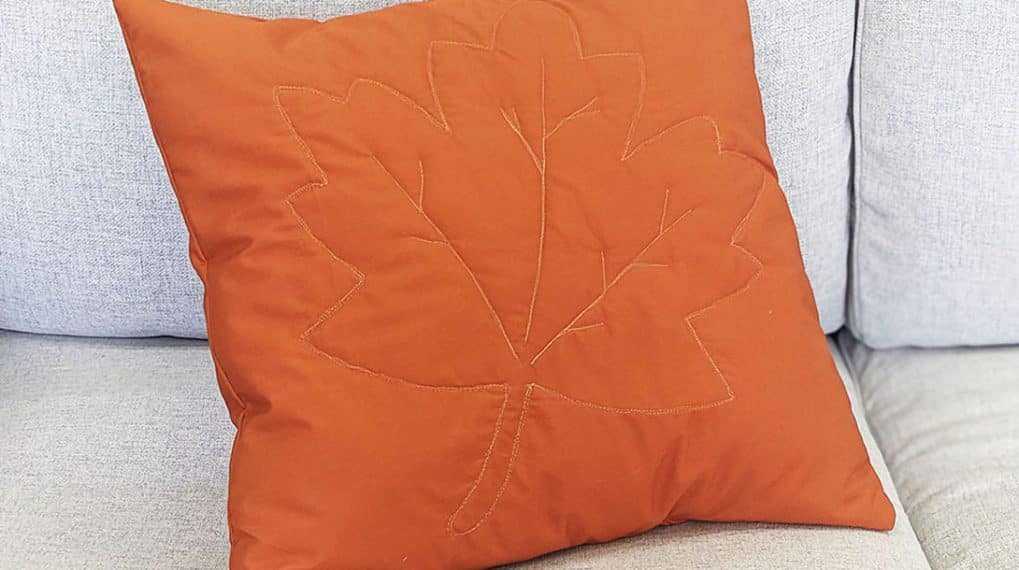
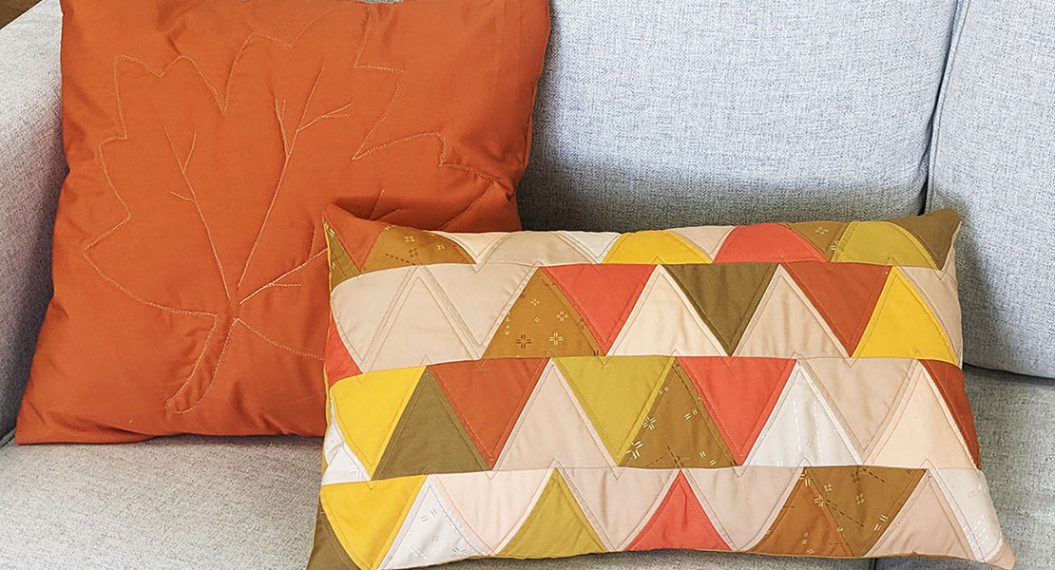
Thanksgiving Pillow Set, Part One: Triangle Pillow

It’s time to decorate the home for your Thanksgiving gathering! Autumn has started, family is coming, and what better way to style your place than by creating a beautiful set of pillows for your living room area for your guests to admire?
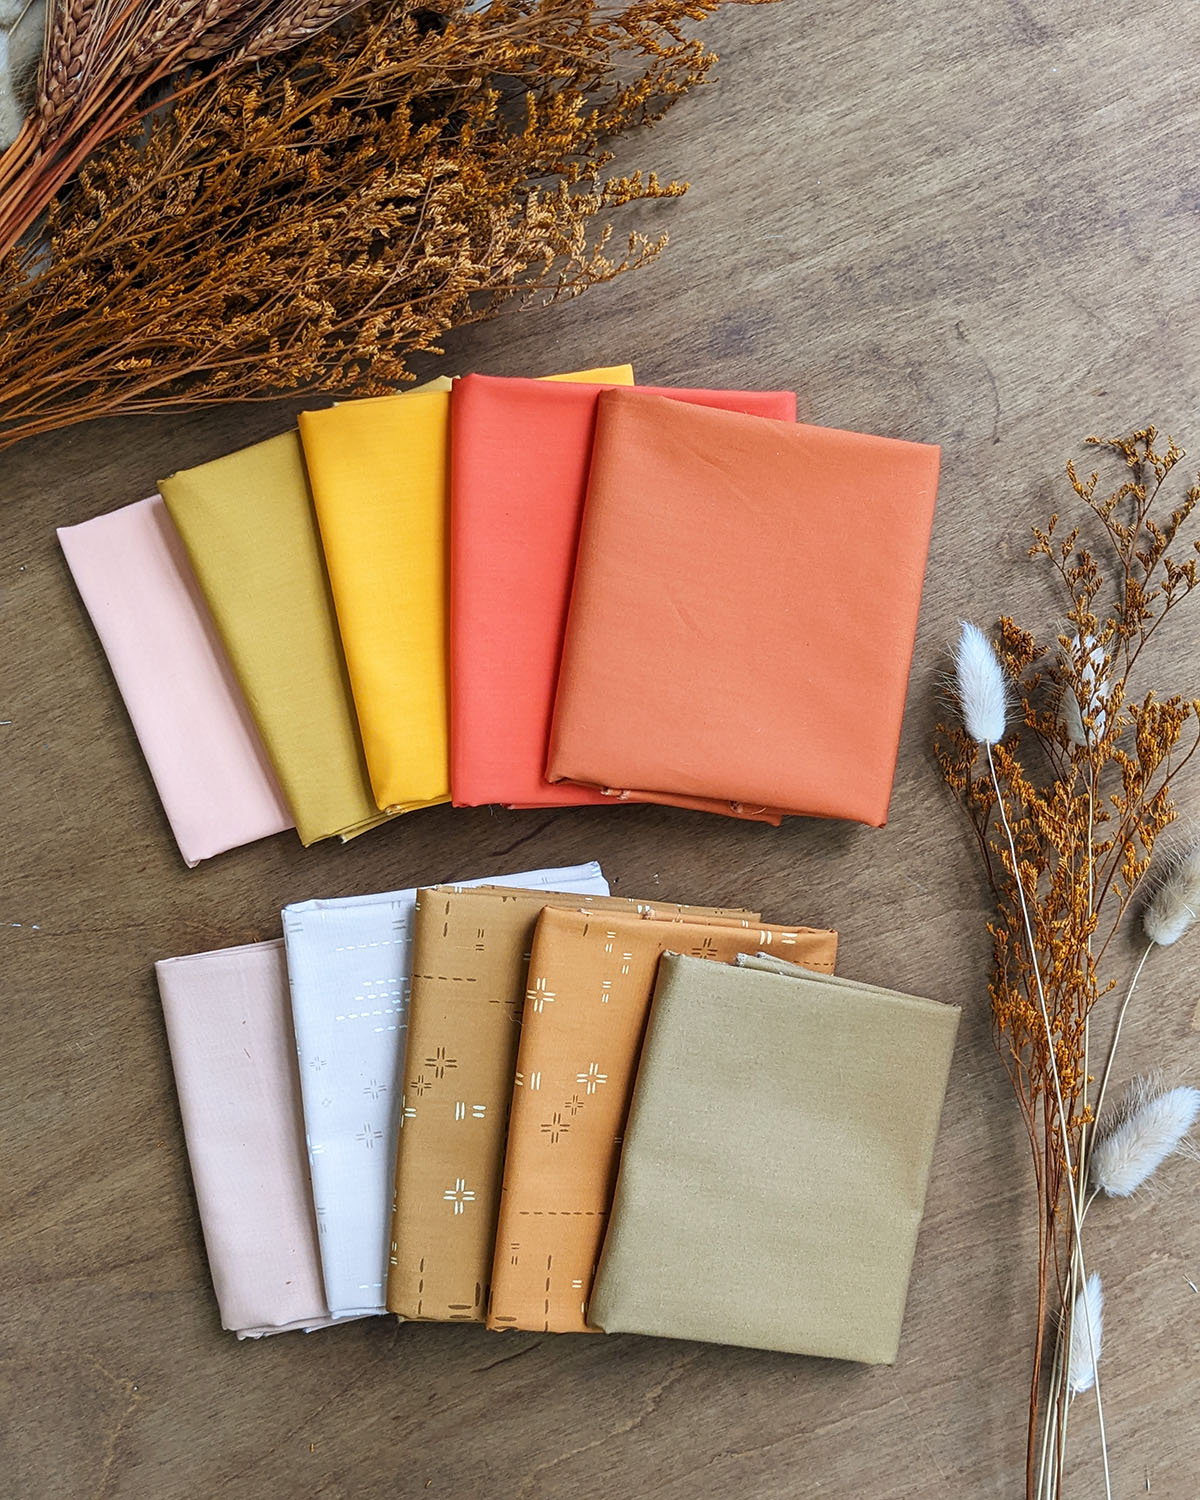
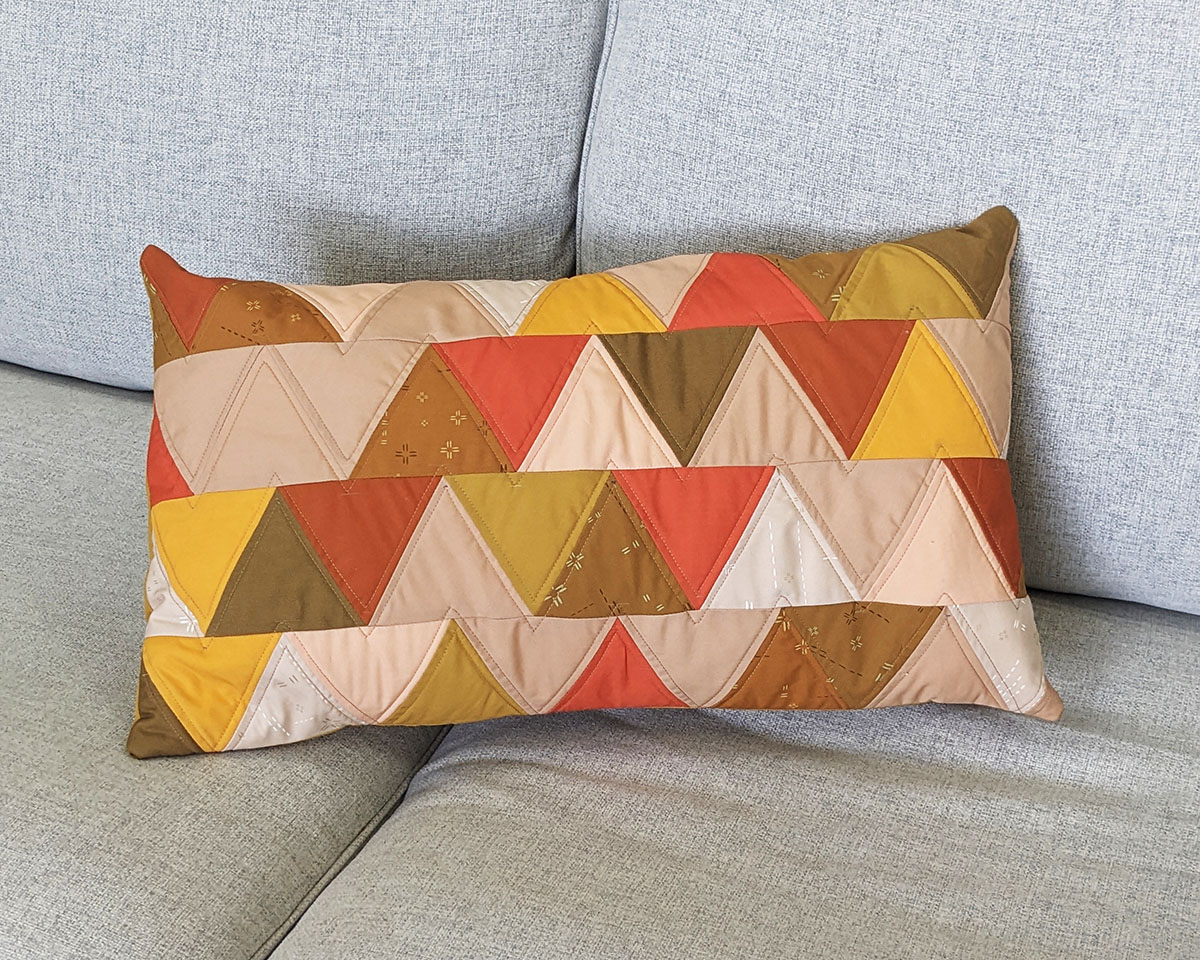
For this blog post, I will teach you how to make the triangle pillow. This 22” x 12” pillow is made with just one triangle template using our Art Gallery Fabrics Pure Solids and Decostitch Elements. So, let’s get started!
Fabric Requirements to Sew the Triangle Pillow
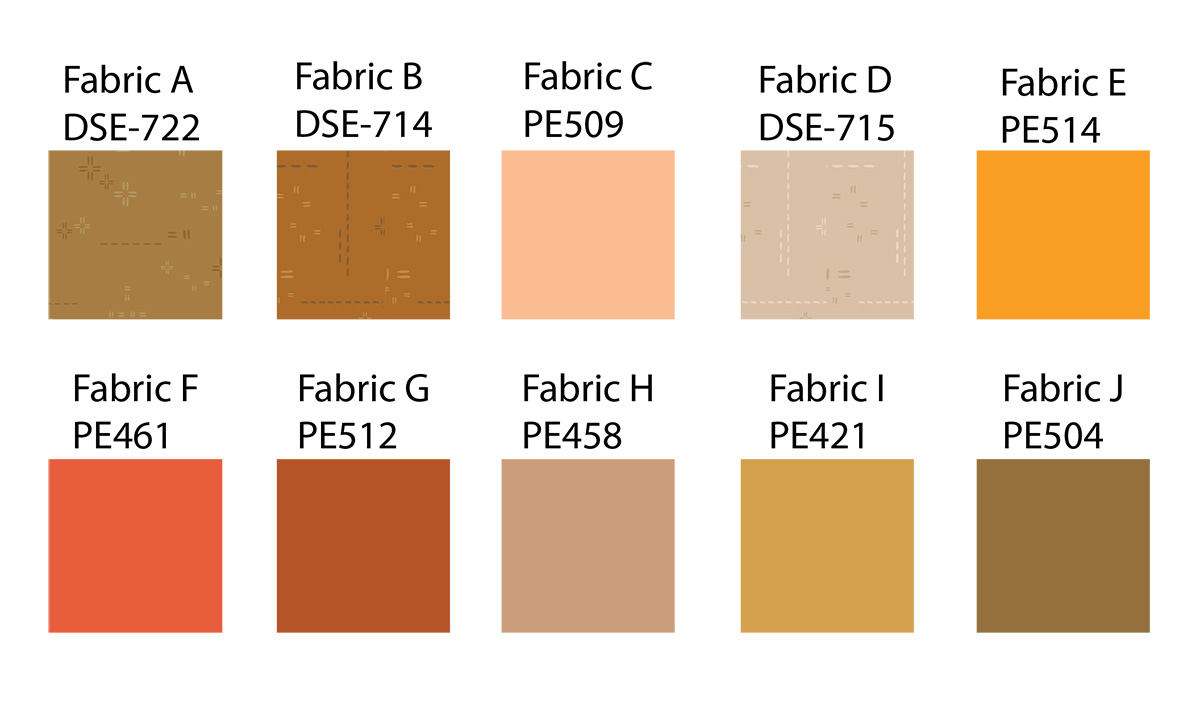
- Fabric A DSE-722 Fat 8
- Fabric B DSE-714 Fat 8
- Fabric C PE-509 Fat 8
- Fabric D DSE-715 1/2 yd
- Fabric E PE-514 Fat 8
- Fabric F PE-461 Fat 8
- Fabric G PE-512 Fat 8
- Fabric H PE-458 1/4 yd
- Fabric I PE-421 1/2 yd
- Fabric J PE-504 Fat 8
Additional Materials to Sew the Triangle Pillow
- One (1) 26” x 14” rectangle of batting
- Coordinating quilting thread
- Reverse-pattern Foot #1D
- Triangle Template

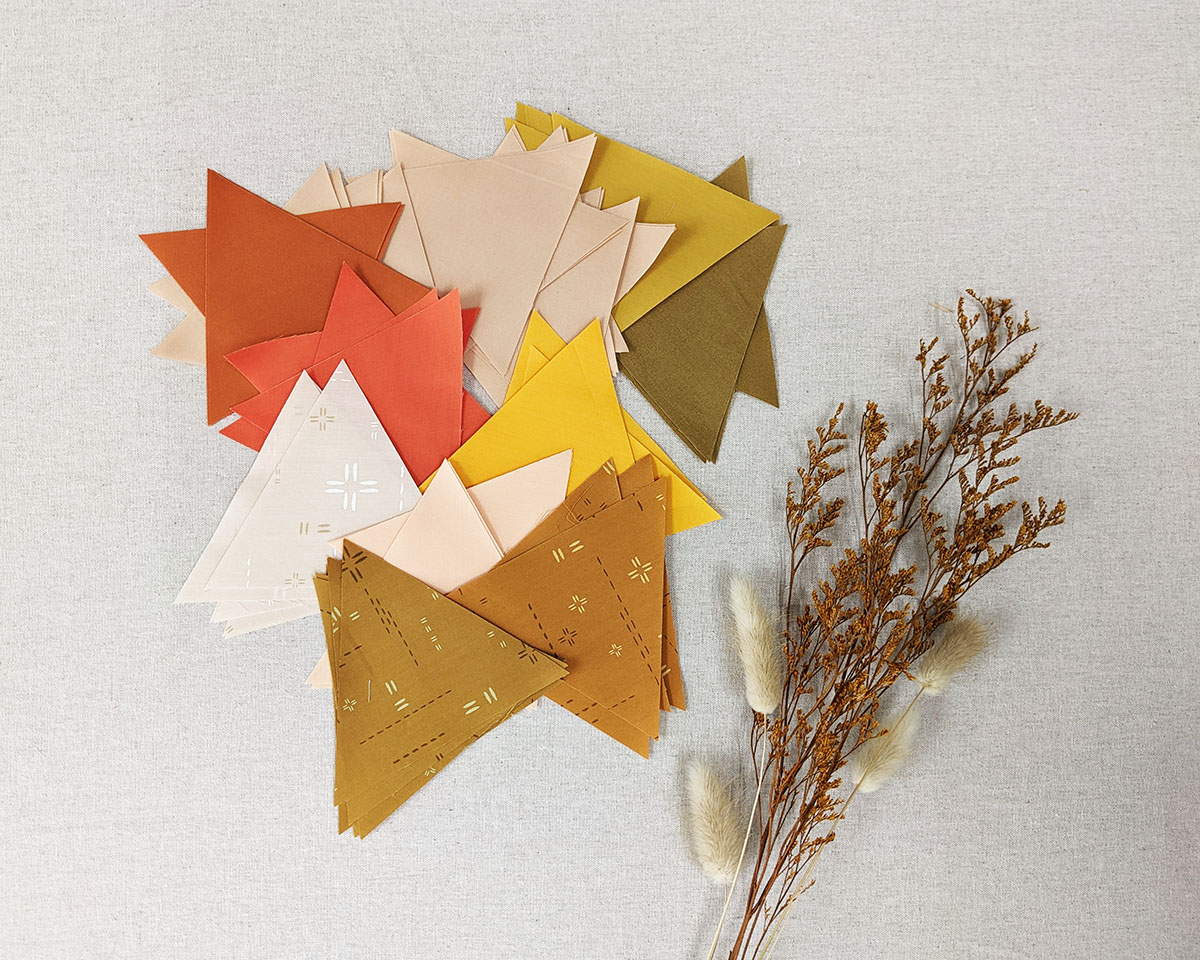
Cutting Instructions
- Five (5) triangle templates from fabric A.
- Three (3) triangle templates from fabric B.
- Four (4) triangle templates from fabric C.
- Six (6) triangle templates from fabric D.
- Four (4) triangle templates from fabric E.
- Five (5) triangle templates from fabric F.
- Four (4) triangle templates from fabric G.
- Twenty-Two (22) triangle templates from fabric H.
- Two (2) 15” x 12 1/2” rectangles from fabric I (back of pillow)
- Three (3) triangle templates from fabric I.
- Four (4) triangle templates from fabric J.
Steps to Sew the Triangle Pillow
Step 1.
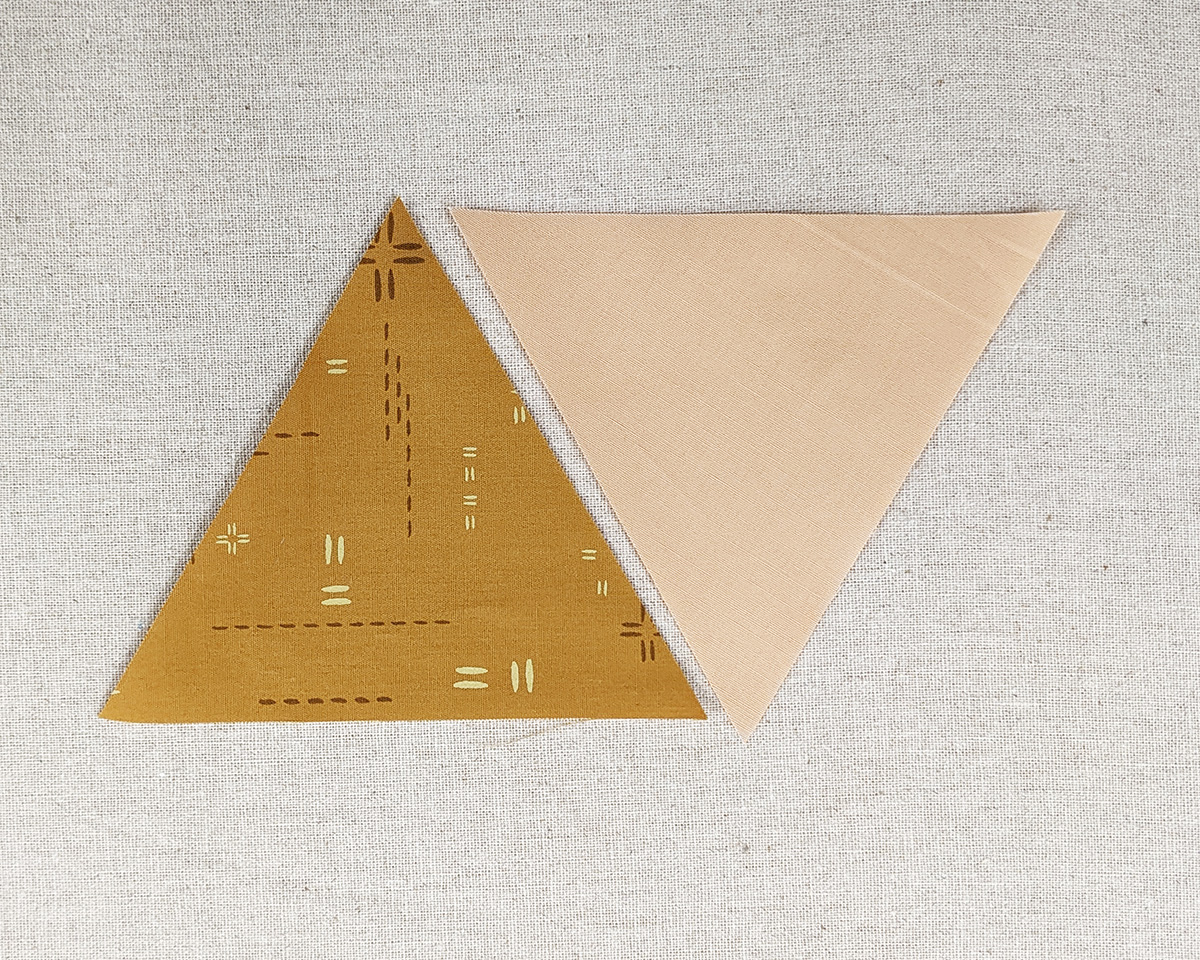
Take your triangle template and cut all of your pieces following the cutting directions.
Step 2.
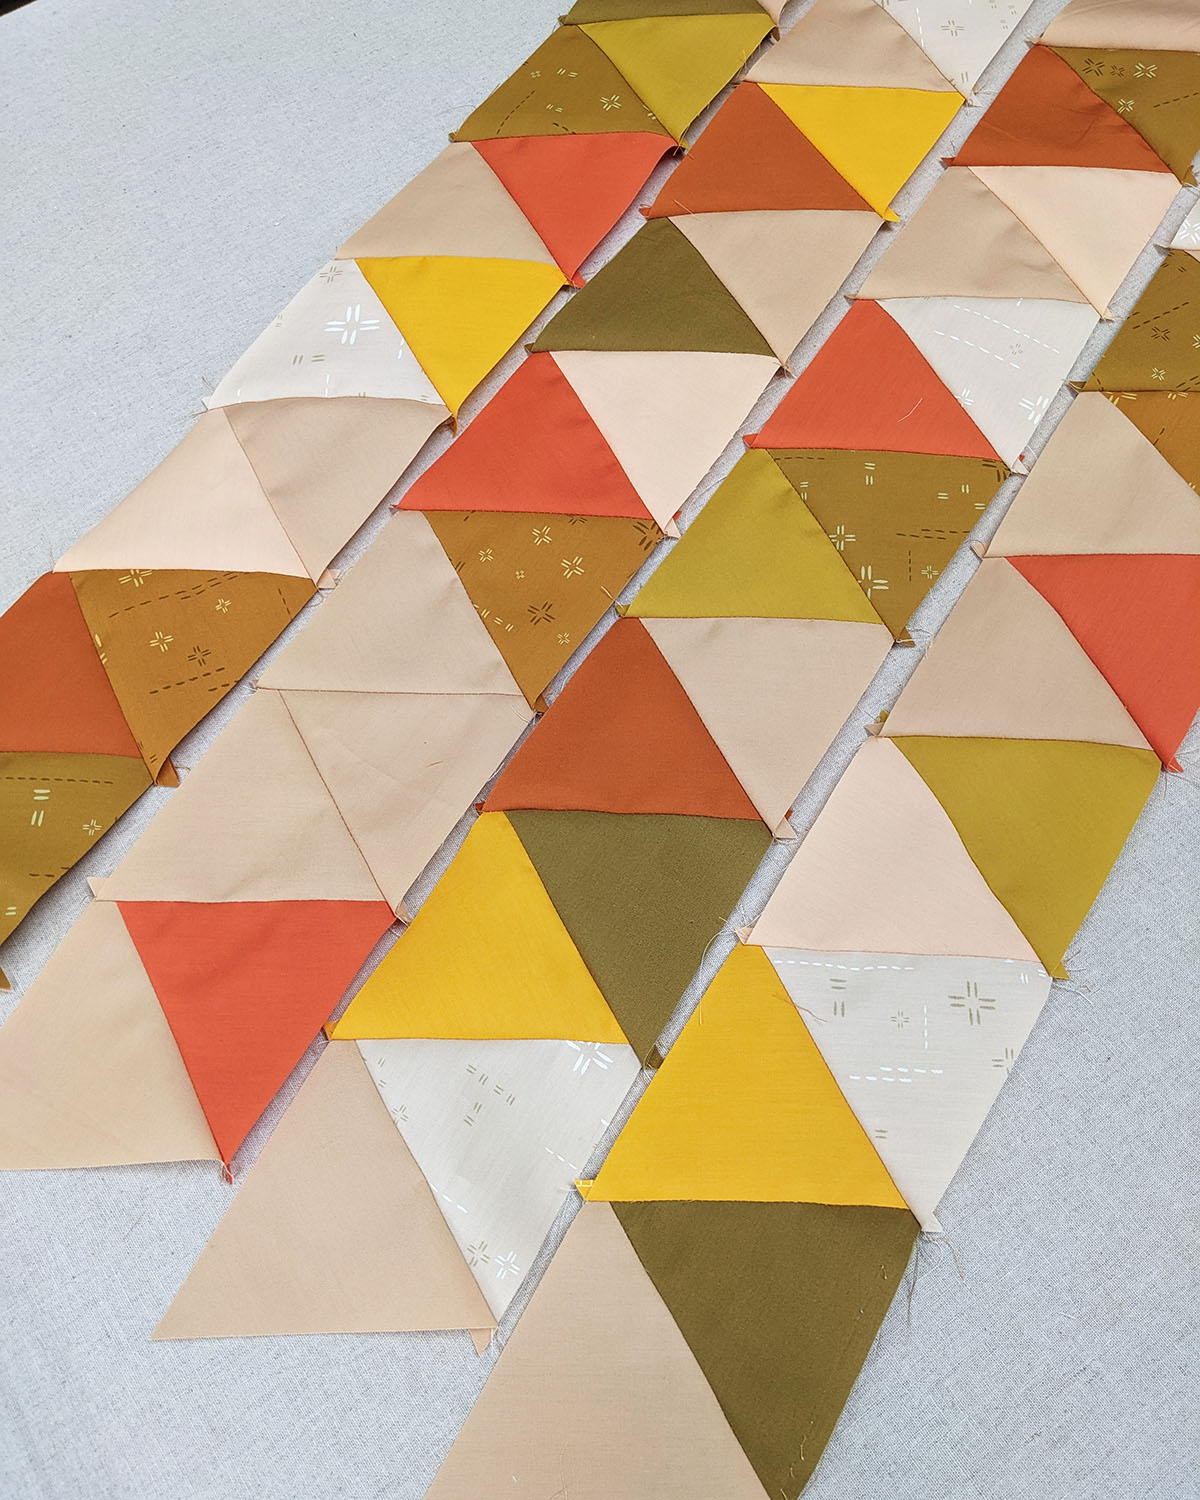
Follow the diagram below in order to sew your pieces. You can also freestyle and sew in whichever order you desire.

If you want to follow the diagram, then start placing fabric H and fabric A right sides facing together, pin and sew at a 1/4” seam allowance.

Step 3.
Continue sewing until you complete your first row.

Step 4.
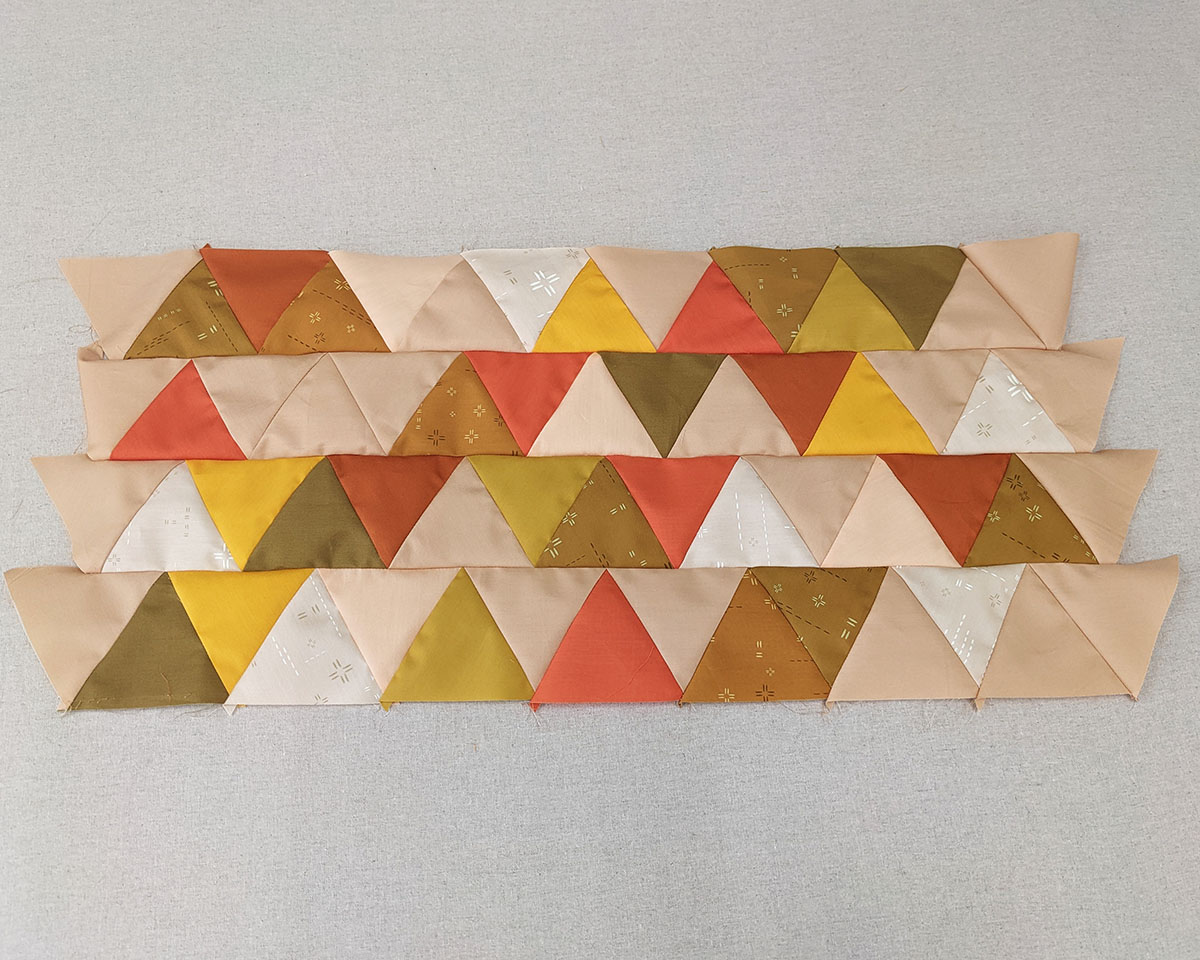
Continue sewing until you complete all four rows.
Step 5.
Sew all of your rows together.
Step 6.
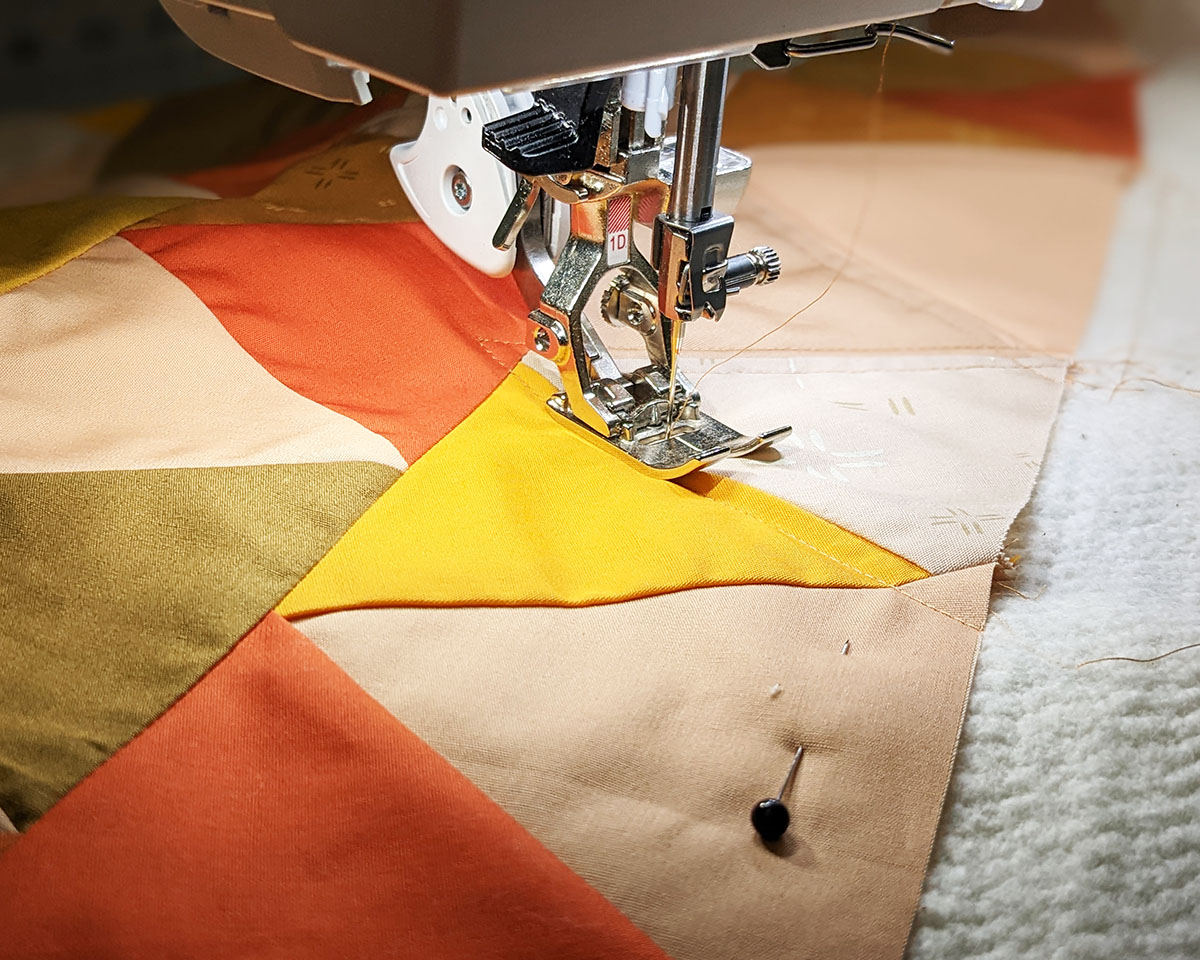
Take batting fabric and place it under your assembled piece. Pin your piece and quilt as desired. using the Reverse-pattern Foot #1D, I made a perfect stitch line.
Step 7.
Once you finish quilting, trim your piece so it measures 22 1/2” x 12 1/2”. Take the back of the pillow from fabric I.

Step 8.
Make your back of pillows from fabric I and double fold your hems on one side of each piece.
Place one fabric I on top of your triangle pillow and on one side, right sides facing and then place the other fabric I, on the other side, right sides facing.

Step 9.
Pin and sew all around. Clip your corners and turn your piece inside out, press and voila!
Now that you know how to make the triangle pillow, stay tuned for my next blog post on how to make the matching pillow!


What you might also like


2 comments on “Thanksgiving Pillow Set, Part One: Triangle Pillow”
-
-
How are you pressing the triangle seams…open or to one side?
Leave a Reply
You must be logged in to post a comment.

Thank you! Love this pillow. Looking forward to the second one :o)