How to Sew a Professional Pillow, Part Two

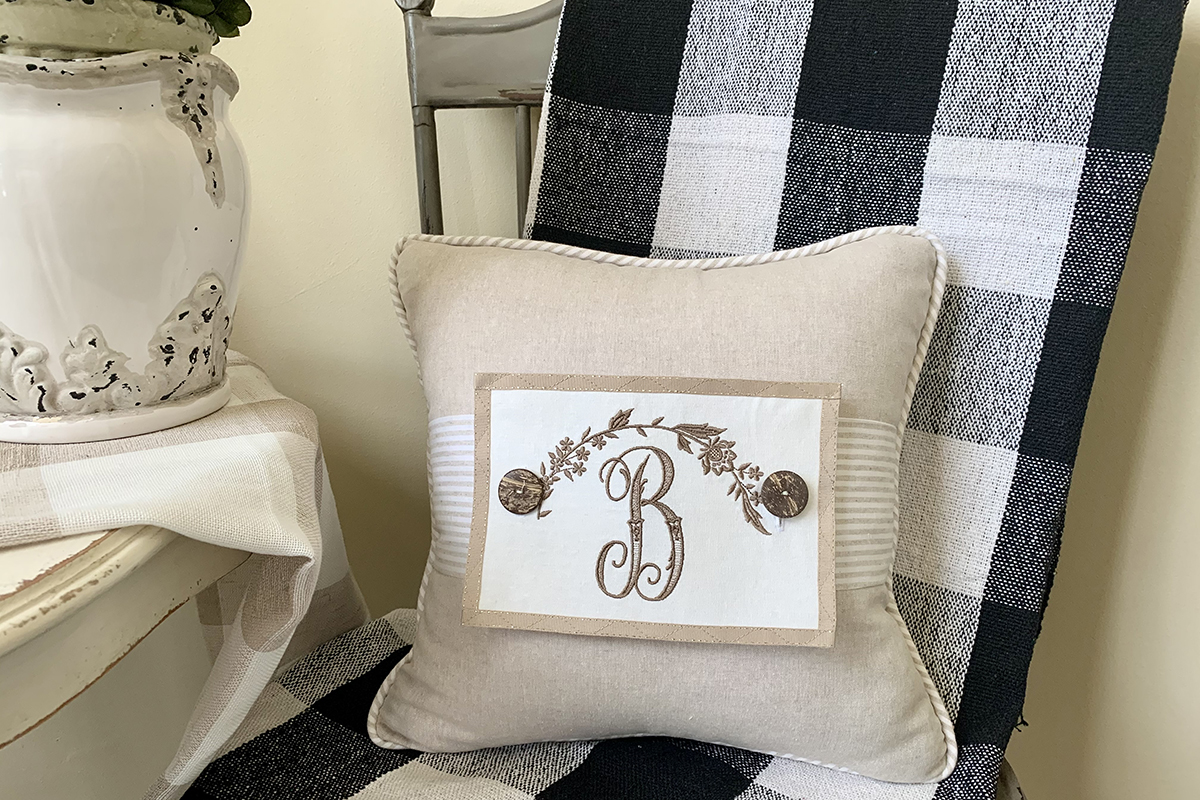
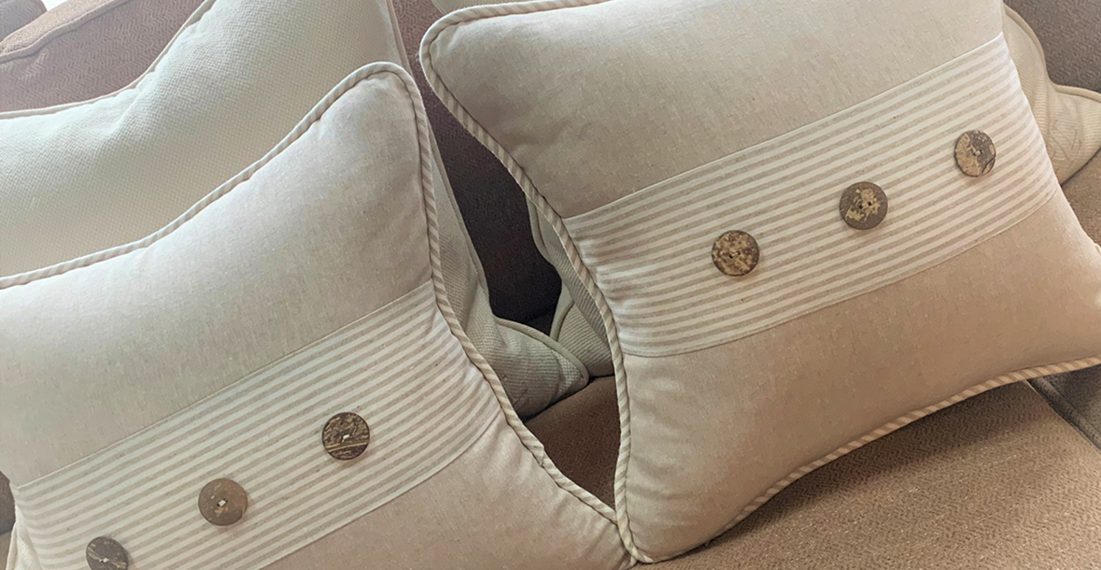
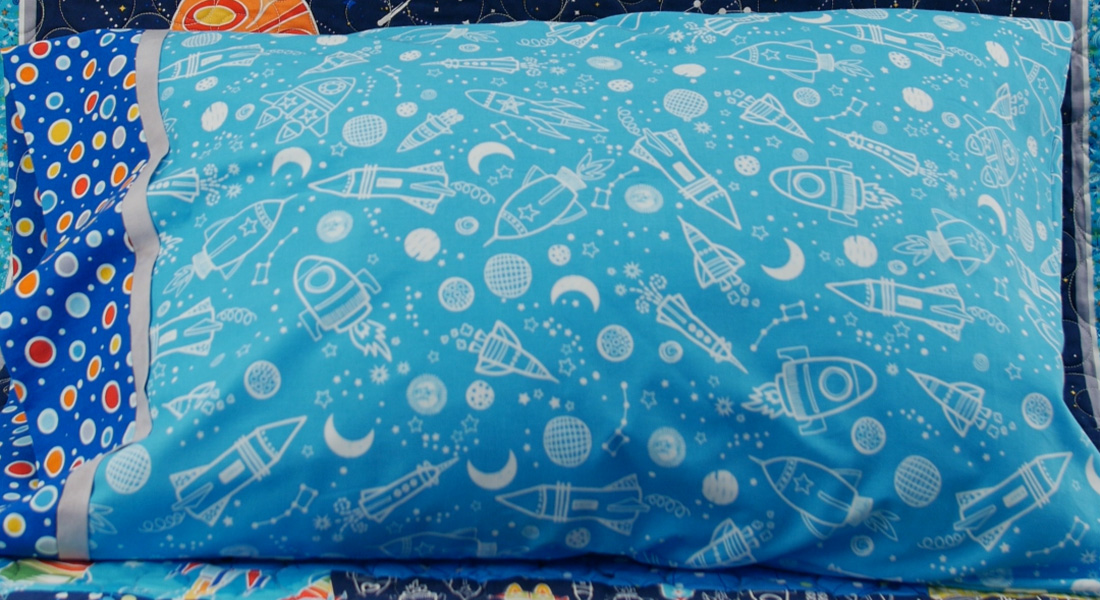
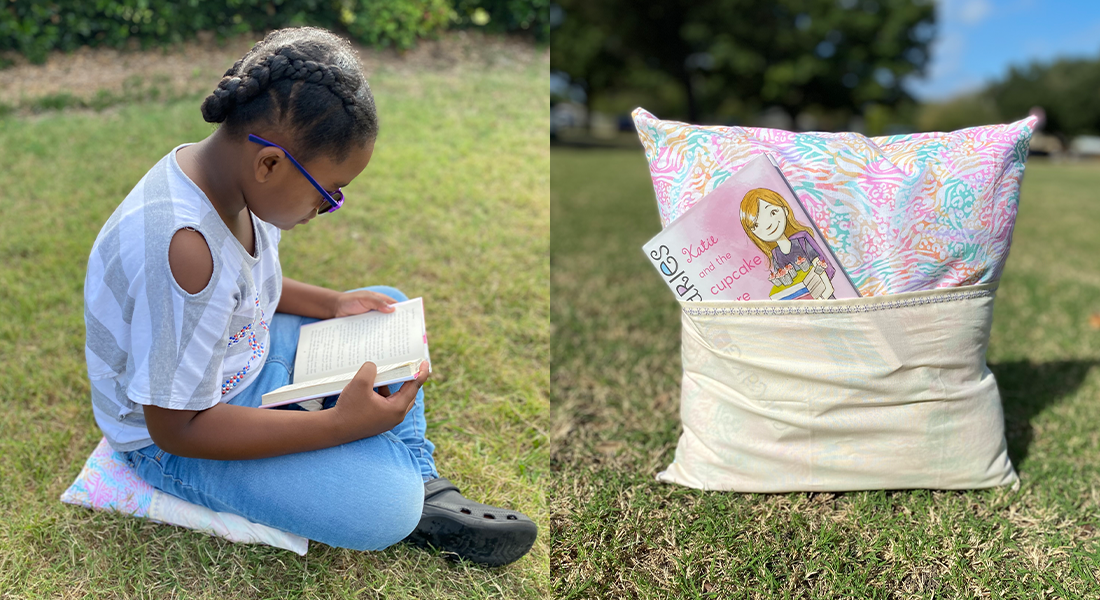
In my previous blog post, How to Sew a Professional Pillow, Part One, I showed you how to make this Professional Pillow. It is an easy-to-construct pillow with three decorative buttons on the front.
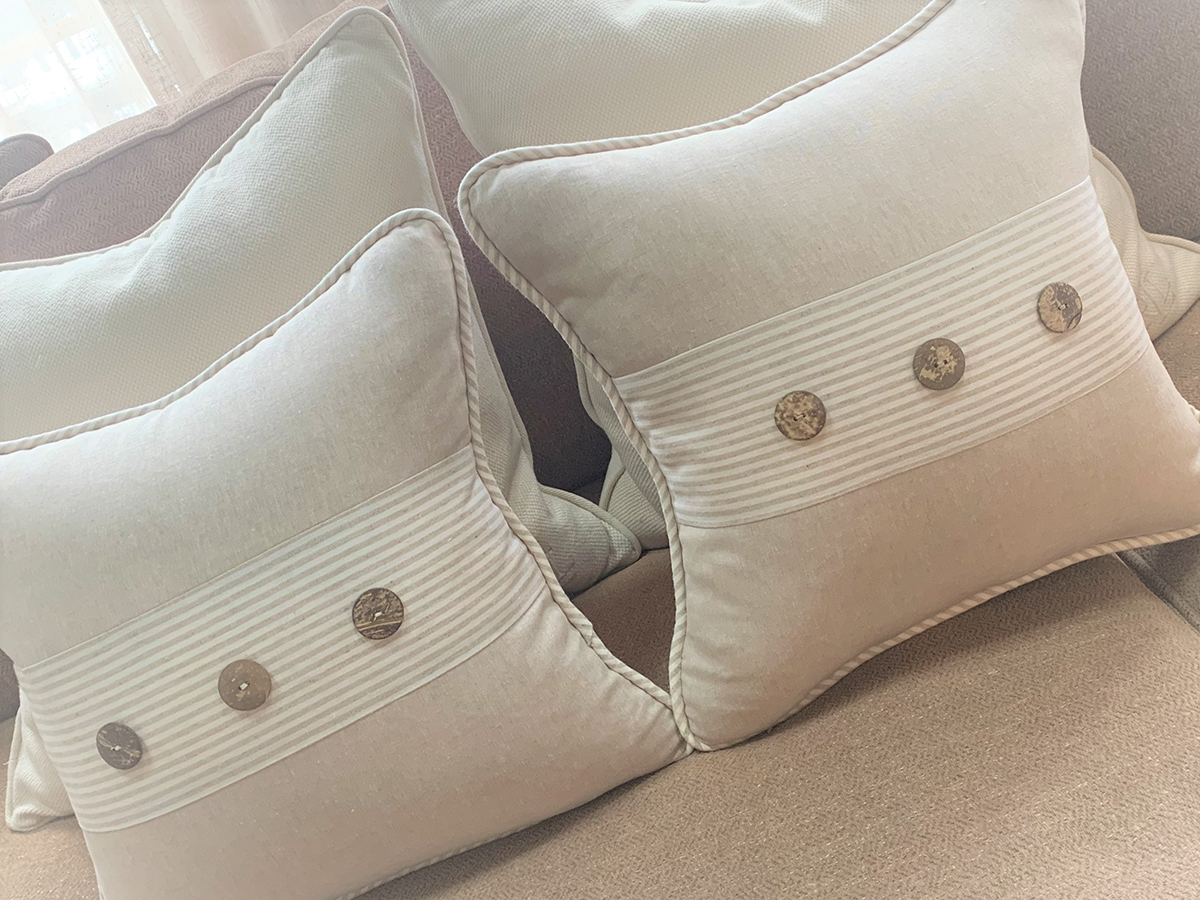
It is wonderful the way it is, but by constructing the panels shown in this lesson and attaching them with the two outside buttons, you can move this project to another level! Construct the pillow from the previous blog, and then get ready to make these interchangeable seasonal panels.
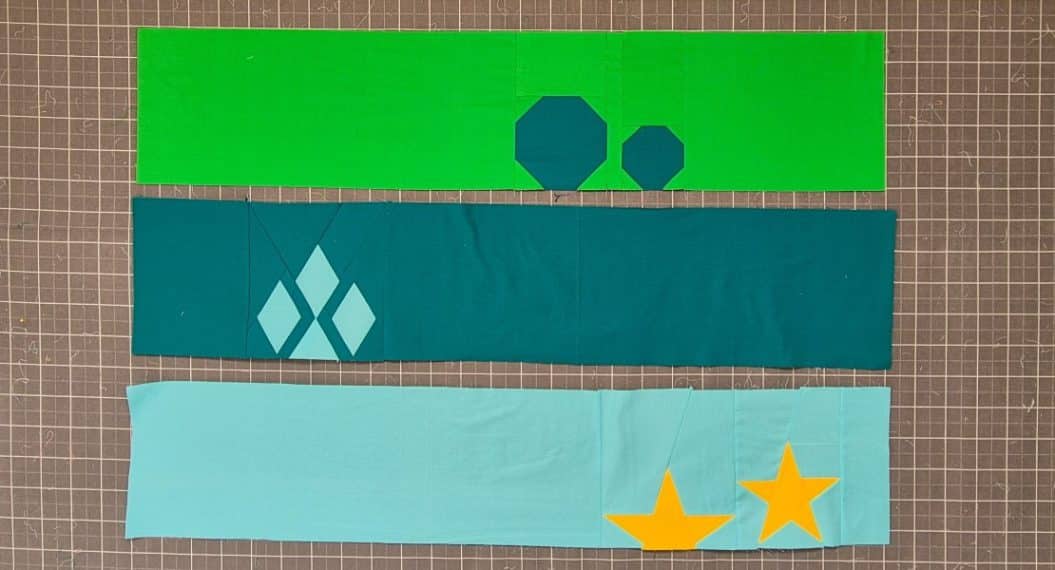
In this blog, we will use the machine’s editing features to create a summer panel for the pillow. Once you work through this BERNINA Made to Create Studio lesson, you’ll be able to easily stitch out the other seasonal panels at home. Then, you can create your own designs for special celebrations and events!
Materials to Make Pillow Panels
Machines, Presser Feet and Accessories
- B 880 PLUS, B 790 PLUS, B 770 QEE, B 590, B 570 QEE (These machines have the editing features that we will need for the panels.)
- Drop-Shaped Embroidery Foot #26
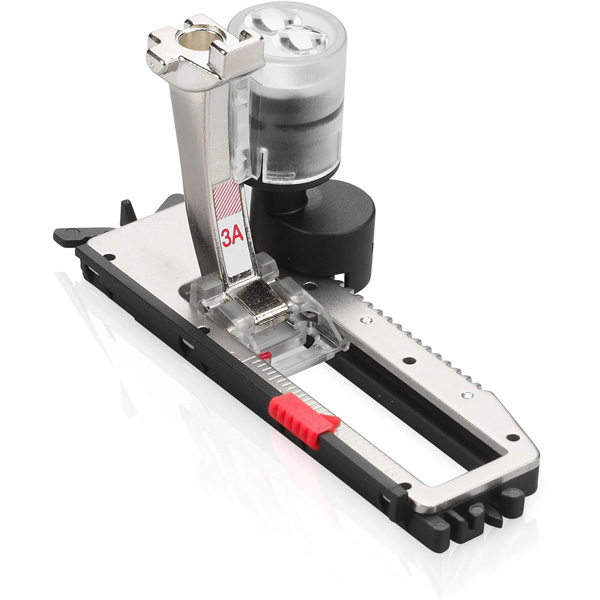
- Automatic Buttonhole Foot #3A
- Open Embroidery Foot #20/20C/20D
- Large Oval Hoop
- Straight Stitch Plate
- 9 mm Stitch Plate
Fabric
- 1 fat quarter cotton or linen canvas
Supplies
- Embroidery Needle
- Topstitch Needle
- Isacord Polyester EmbroideryThread
- OESD Bobbin Thread
- OESD Ultra Clean and Tear Stabilizer – 10” x 14”
- OESD Fusible Woven Stabilizer – 10” x 14”
- OESD Perfect Embroidery Press Cloth
- Sewline Styla Water Erasable Roller Pen
- 505 Temporary Adhesive Spray
- Highlighter Tape
- Iron + ironing board
- Rotary cutter + cutting mat
- Fabric scissors
- Thread snips
Steps to Make Pillow Panels
Step 1: Prepare Fabric
From the cotton/linen canvas:
- Cut 1: 10” x 14”
- Cut 1: 6” x 8 1/2”
OESD Fusible Woven
- Cut 1: 10”x 14”
Ultra Clean and Tear
- Cut 1: 10”x 14”
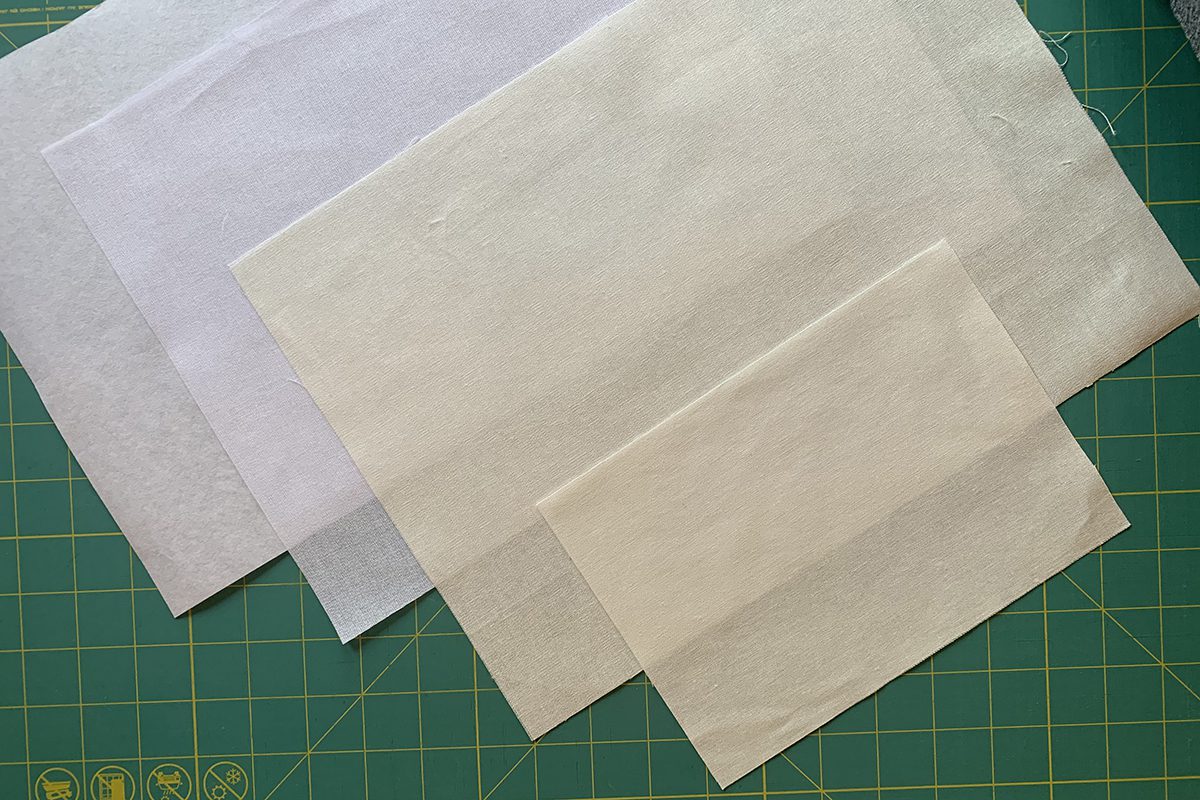
Adhere the OESD Fusible Woven to the wrong side of the 10” x 14” fabric with your iron following manufacturer’s instructions. Then, use temporary adhesive spray to adhere the fused fabric to the Ultra Clean and Tear stabilizer.
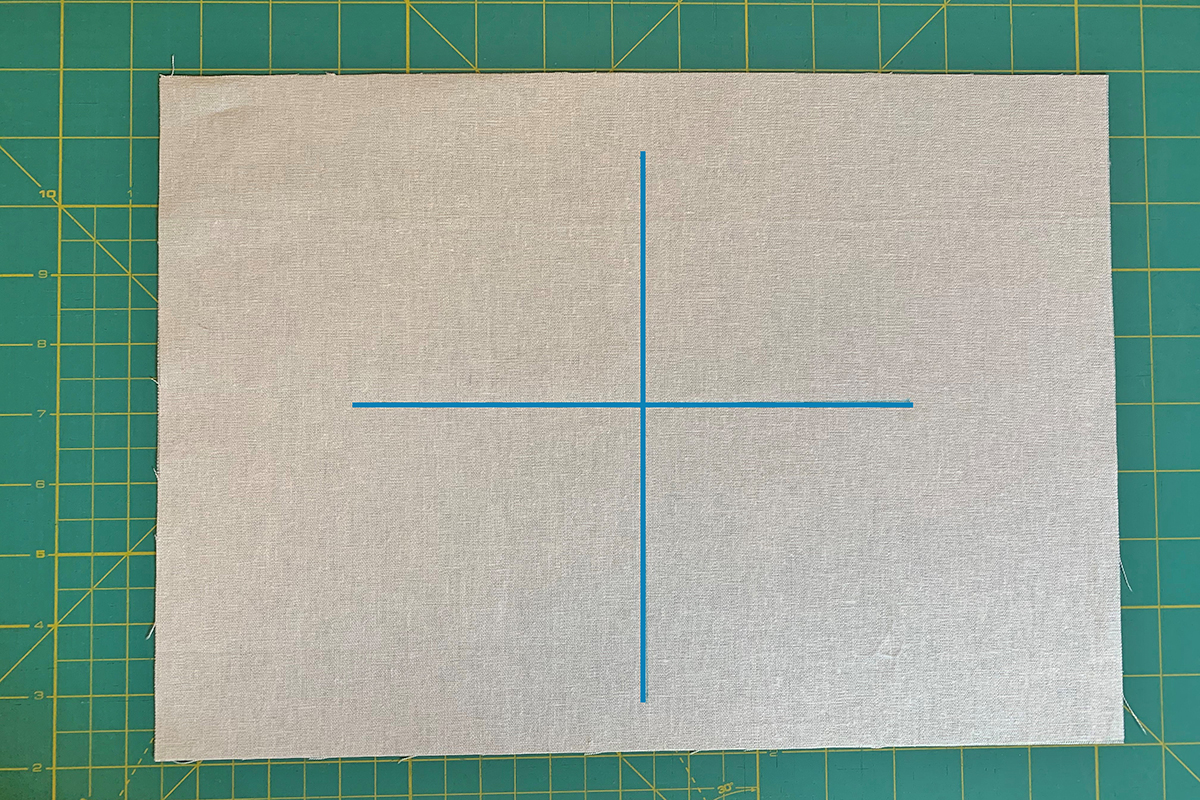
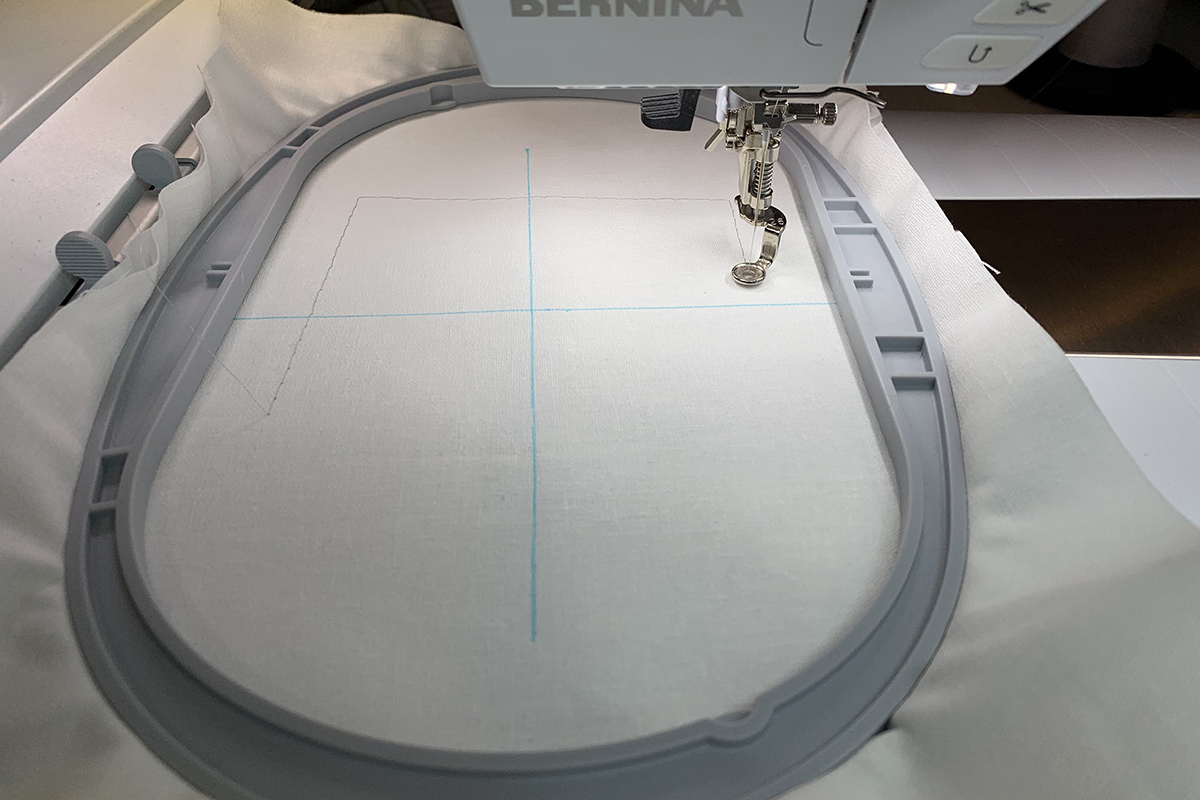
Use your temporary marker to make a center crosshair mark on the fabric. Extend the crosshair lines to help with Pinpoint Placement, trimming, and buttonhole placement later on.
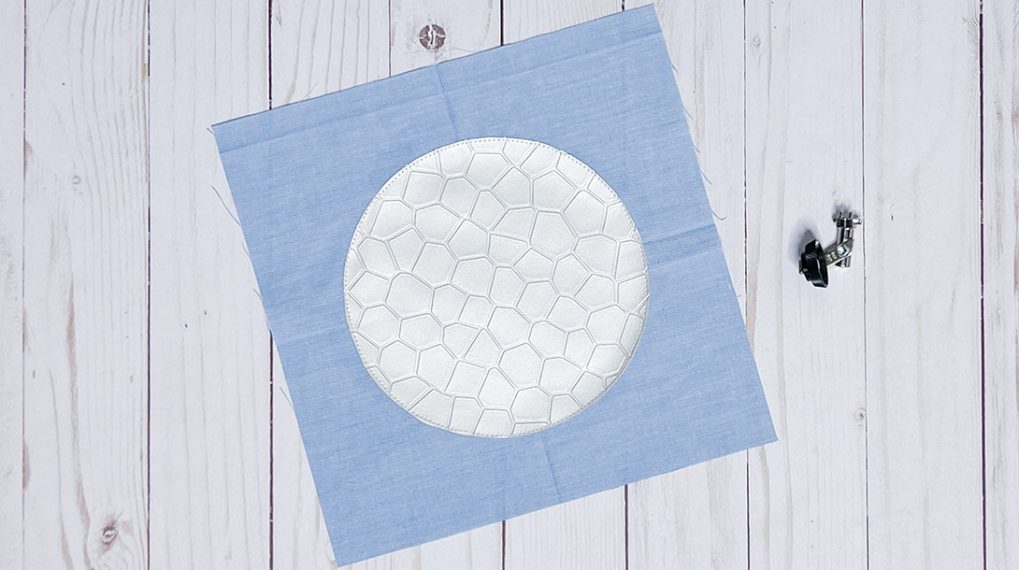
Step 2: Pinpoint Placement and Design Stitch Out
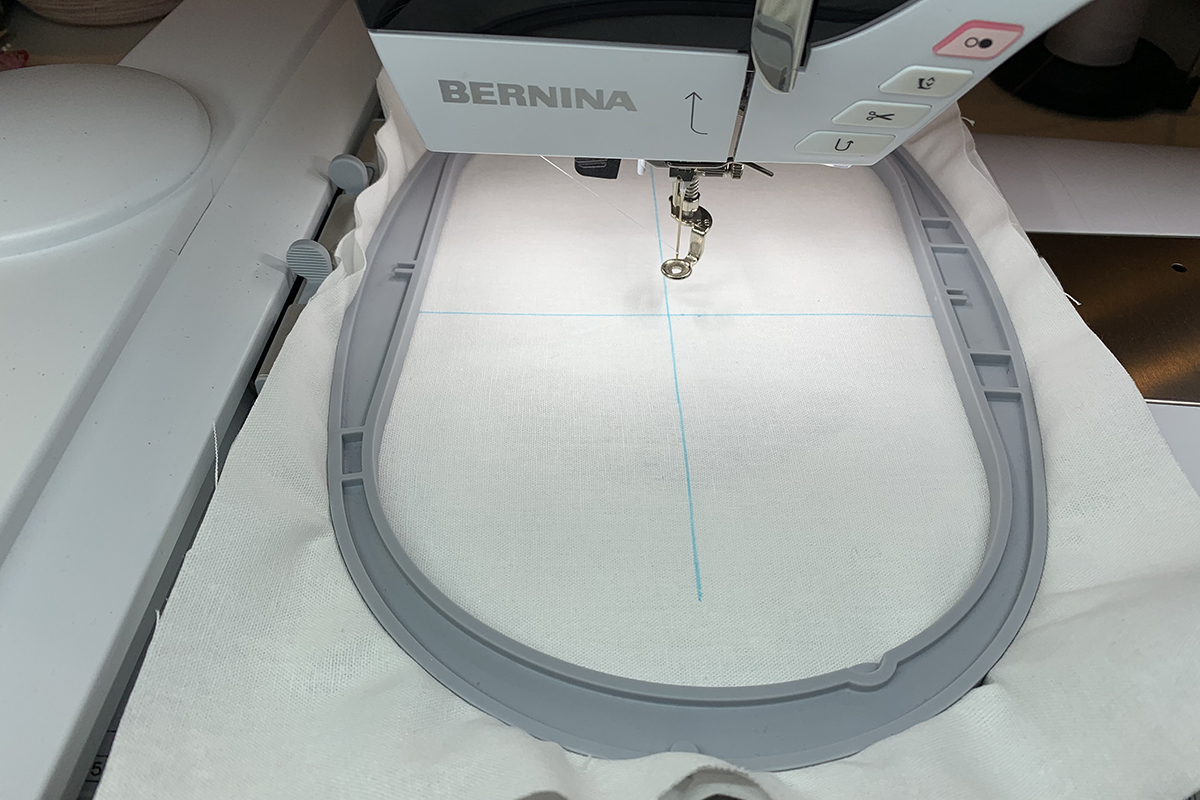
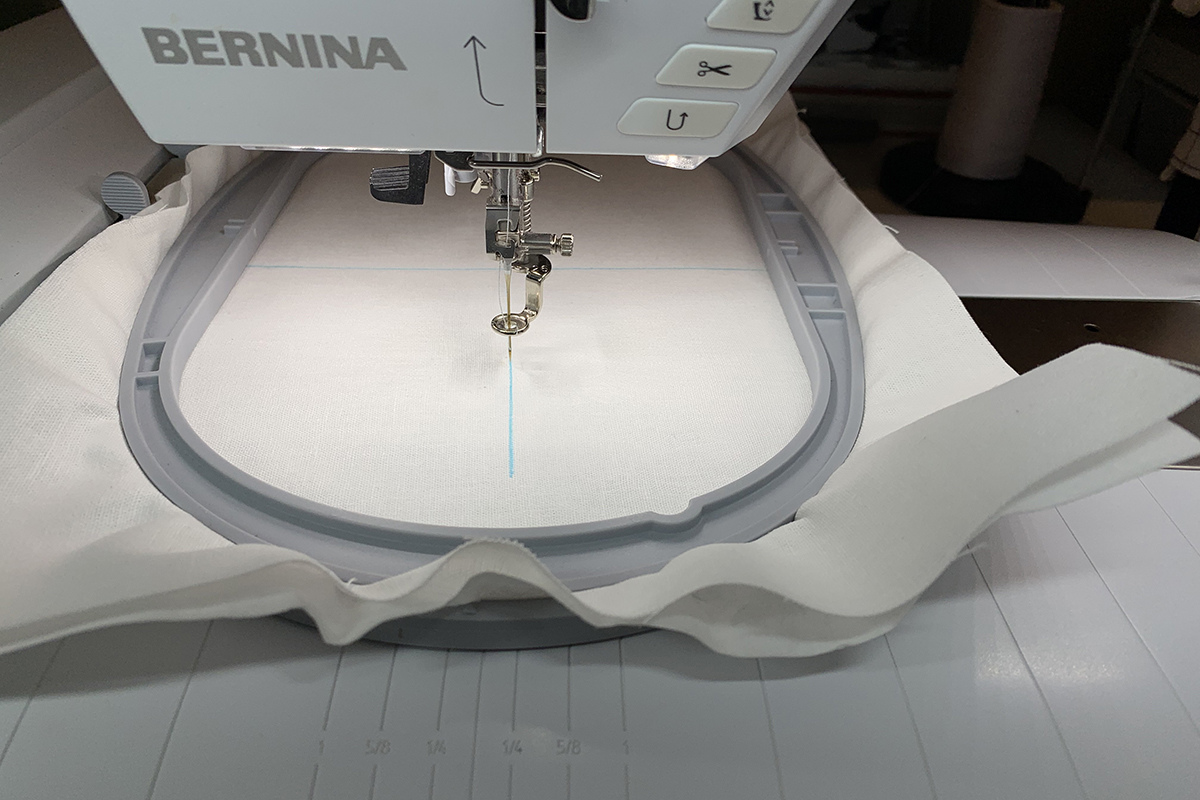
Hoop your fabric in the Large Oval Hoop. If you are using a machine with Pinpoint Placement, you don’t need to be as careful to get the fabric hooped exactly center the panel. Pinpoint Placement will allow you to easily position a design in the exact spot that you want it!
If you would like to create the design yourself using your machine’s editing features, see the Pillow Panel Design Motifs and Fonts handout (written for B 790 PLUS).

You can also download the finished design files at the link below. These files are in the .exp format, so you can download to a USB stick. Save all three file types (.exp, .inf and .bmp) for each design to your USB stick. 
Insert the USB stick directly in the machine Select the USB icon at the top of the screen.

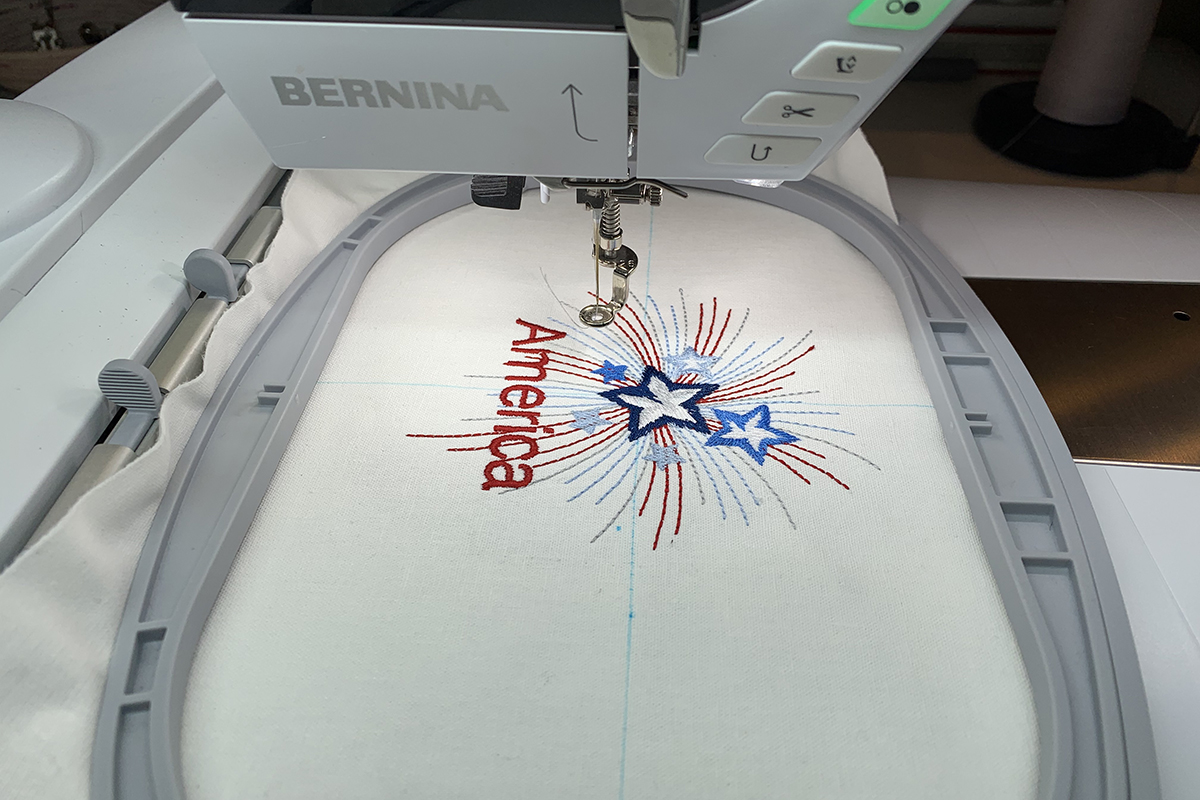
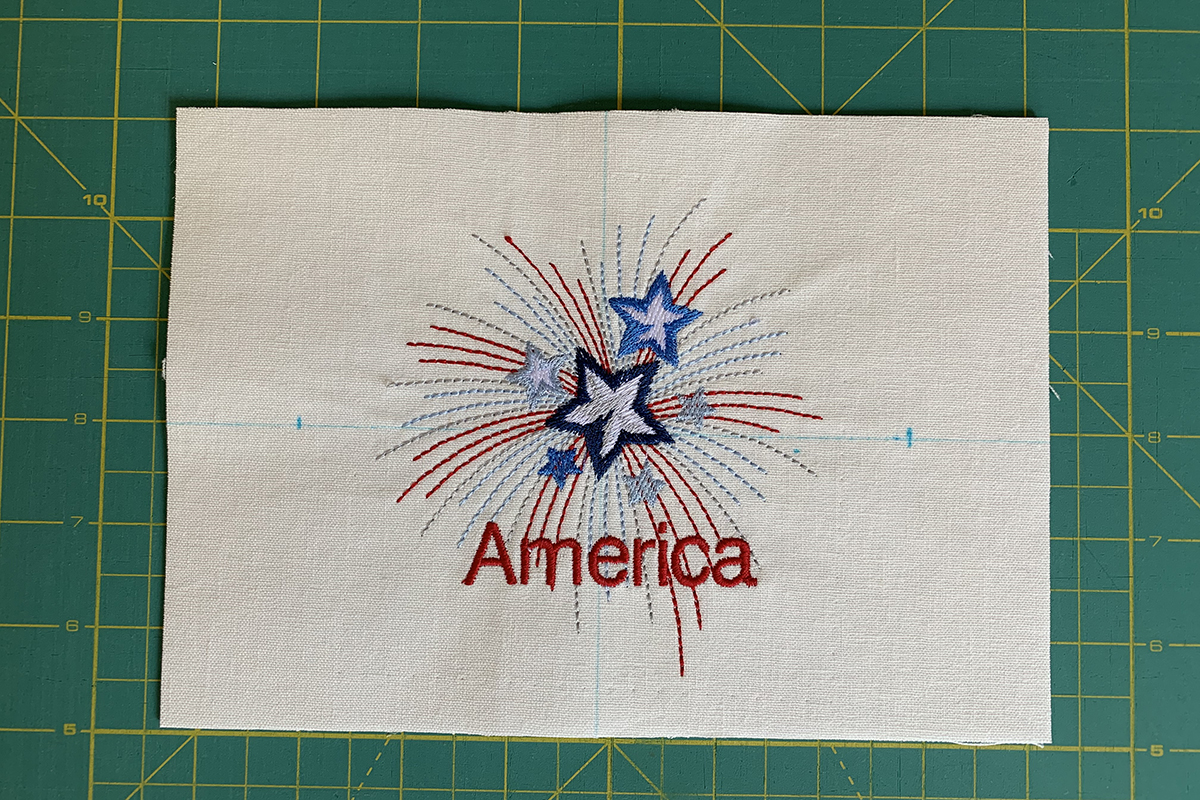
When you select the summer embroidery design (America.exp), it will open on the machine’s screen.
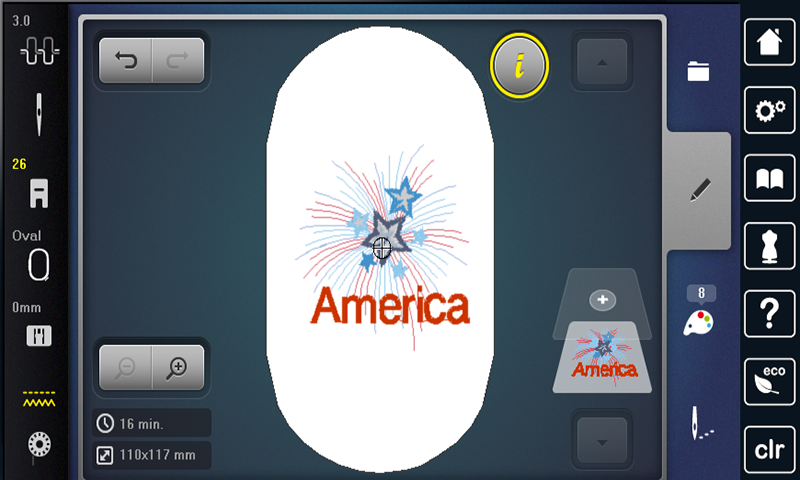
To center the design in the hoop, go into the Information Menu and select the Pinpoint Placement icon. Select the Grid icon. Touch the center dot in the grid.
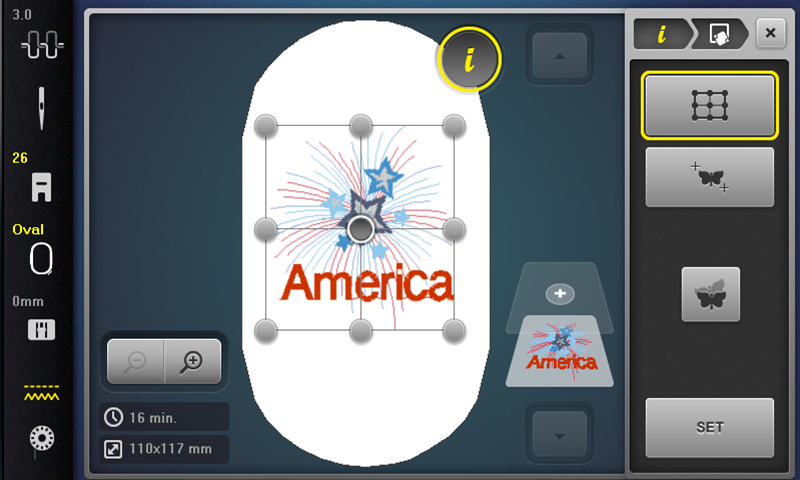
Using the Multi-function Knobs, position the needle directly on the center of the crosshair mark. The Upper Multi-function Knob moves the needle to the left and right. The Lower Multi-function Knob moves the needle up and down. Use the handwheel to lower the needle to check placement. Touch Set to confirm placement.
Select the dot below the center dot on machine screen.
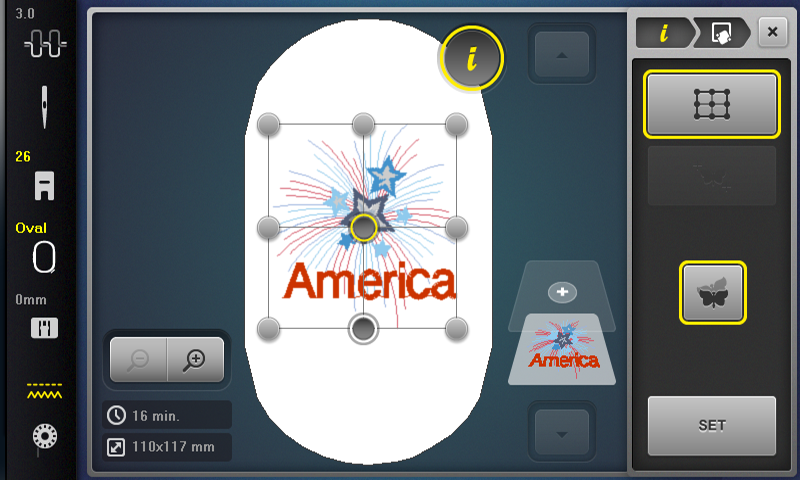
The Upper Multi-function Knob will move the needle left and right; the Lower Multi-function Knob will move the needle up and down. You will need to position the needle directly above the marked line; at this point, you will only use one of the Multi-function knobs to position the needle over the dot. If you use a combination of both designs, the design will resize. Again, use the handwheel to lower needle to check placement. When you are happy, touch the Set icon to confirm.
Now, select the Needle icon to move to the Sewing Screen. The icon for selecting the basting stitch is at the top. Touch the icon one time. If you see a yellow outline around the design icon (always a square), you are set to baste around the perimeter of the design.

If you select the icon again, you will see the yellow outline around the icon of a hoop. You would then baste along the perimeter of the entire hoop.
Touch the icon a third time to deactivate basting stitches. (There will be no yellow outline.)
For this project, select the option to baste around the design. When you start the machine, you will stitch around the perimeter of the design.
Continue stitching the embroidery design, changing thread colors as prompted.
Since we are making a panel, do not remove stabilizer. Only remove the basting stitches.
Place the OESD Perfect Embroidery Press Cloth on ironing board, then place panel right side down on press cloth. Now press with iron and steam. Let cool. This will give you a nice flat panel without puckers.
Step 3: Time for Buttonholes
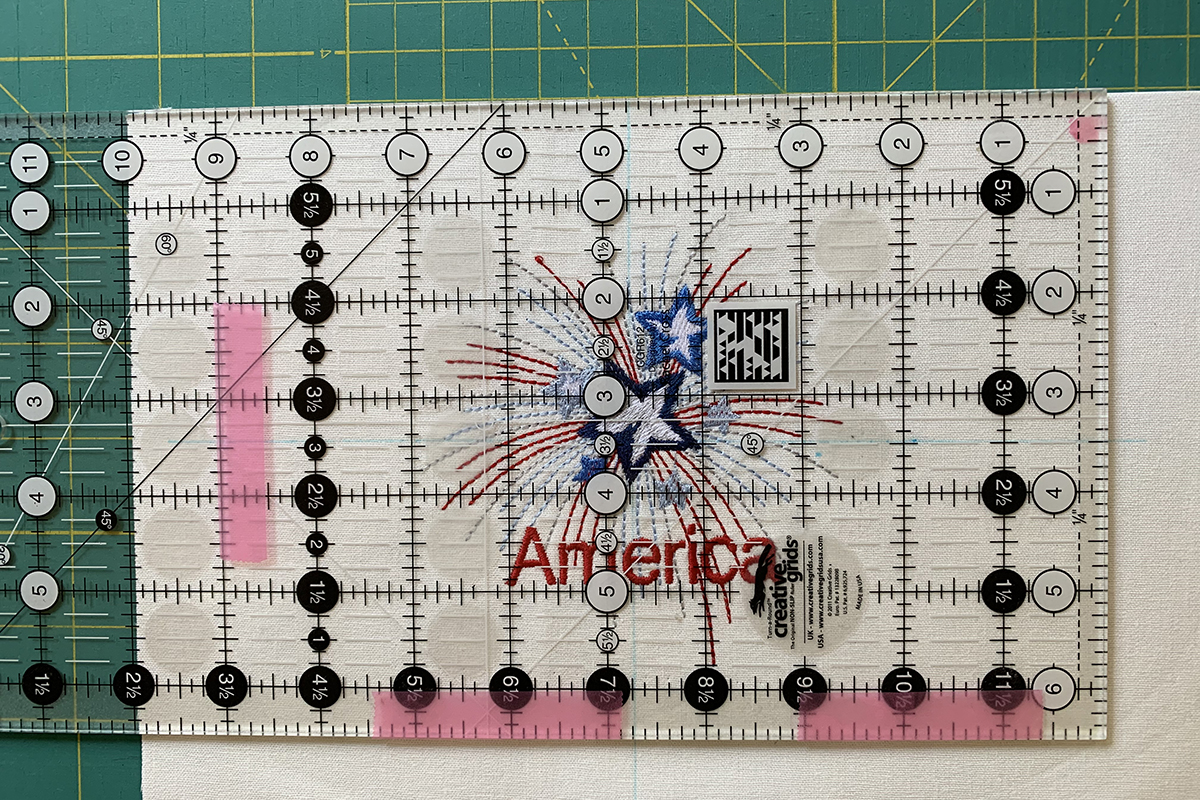
Before adding buttonholes, we need to trim fabric panel to 8 1/2” x 6”. Make sure to center your design when trimming. A couple ways to do this is to use a plastic template cut to size or to use highlighter tape on your rotary ruler. Here I have my ruler marked with highlighter tape so I can easily position my panel. Omnigrid and Dritz both sell highlighter tape. You can use the crosshair mark to help center it. Trim to 8 1/2” x 6”.
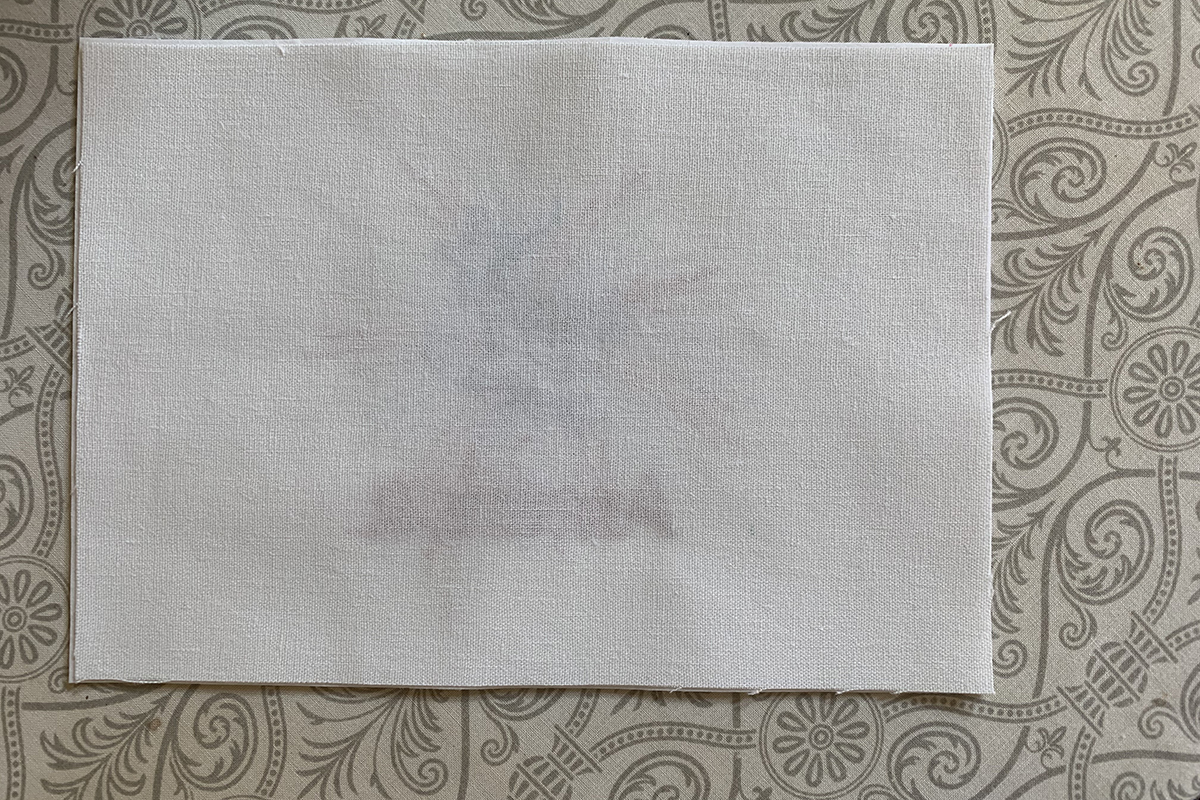
Now, find the 8 1/2” x 6” fabric piece cut earlier and apply temporary spray adhesive to wrong side. Place on the backside of panel. Hand press in place. This covers the stitching on the backside giving a clean finish before we add the buttonholes.
Measure the distance from the centers of the two outside buttons on your pillow. If you made your pillow from the Professional Pillow instructions, it should be around 6”. Using your temporary pen, mark 3” on either side of the center crosshair on the panel. These two marks are where you will stitch the buttonholes.
What length do the buttonholes need to be? My buttons are 1 1/4” in length, so I am going to stitch the same length buttonhole. This happens to be the largest length I can stitch using Automatic Buttonhole Foot #3A. If you need to stitch a buttonhole larger than 1 1/4”, use Manual Mode in the Information menu with Buttonhole Foot #3/3C. If you are stitching a length less than 1 1/4” use the red marker on #3A.
Attach Automatic Buttonhole Foot #3A and the 9 mm Stitch Plate, a topstitch needle, and thread.
At the machine screen, select the Buttonhole Menu. Then select Standard Buttonhole #51. With Automatic Buttonhole Foot #3A, the first button length is set by you. Every following buttonhole is automatically the same length until you re-set the length or turn off the machine.
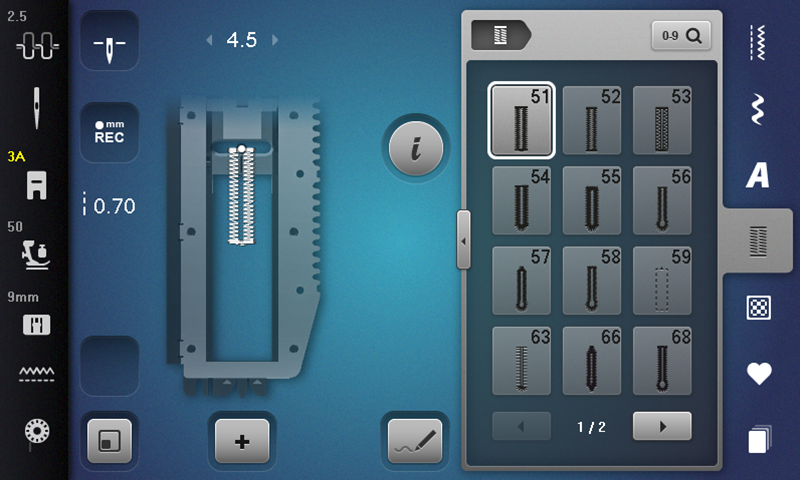
There are two ways to get the first buttonhole length with the #3A Foot. First is the Recording Buttonhole Length icon which is the default. This method records the length of your desired buttonhole in millimeters.
Stitch to the red marker then press the Quick Reverse Button.
![]()
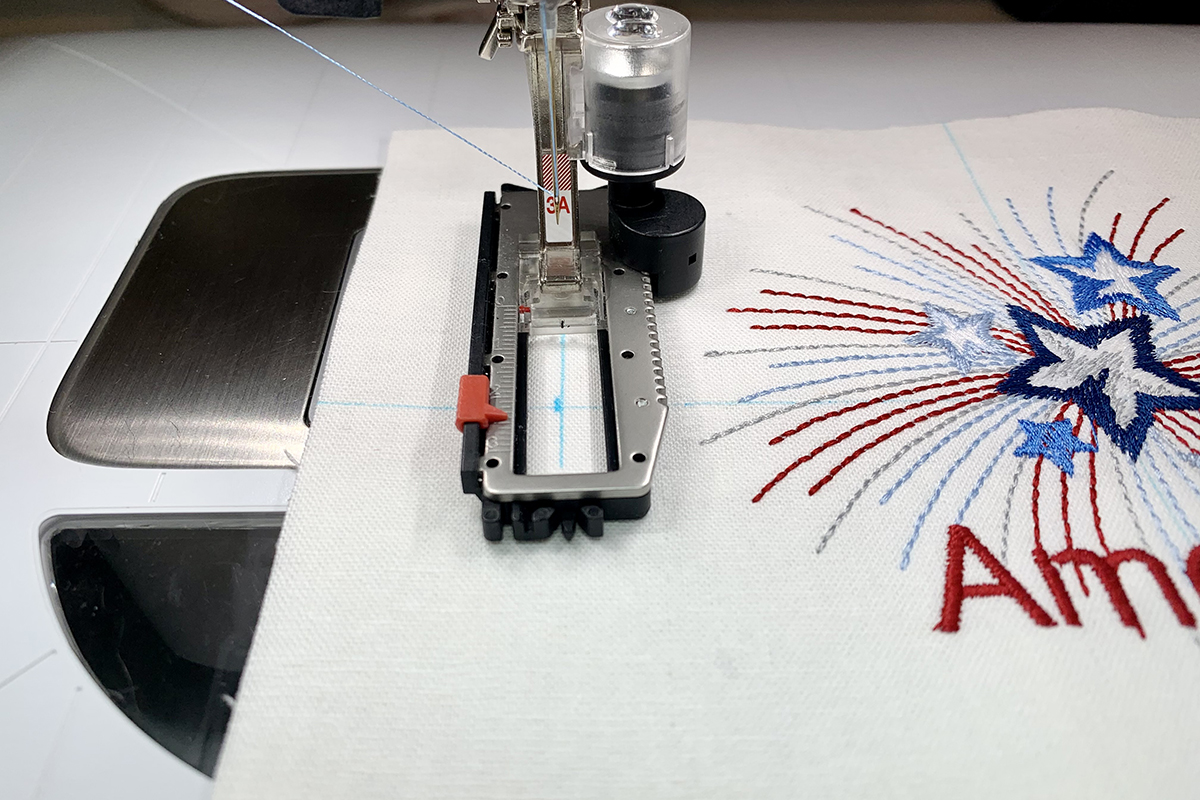
Place the panel under the foot and align the marked buttonhole line with the center mark on the foot.
For the first buttonhole, use your foot control to stitch up to the red marker. I am using the whole length at 1 1/4”. Press the Quick Reverse button and use your foot control to complete the buttonhole. Make sure to keep the center mark on the foot in the center of the foot. Cut threads.
The buttonhole is now set to your desired length and every repeated buttonhole will be the same length.
Line up the marked line for your second buttonhole with the center mark on the foot and press the Start/Stop button. You don’t need to worry about the length, just make sure to keep the center mark on foot in the center. Cut threads.

Step 4: Finishing Edges
There are three options for finishing the edge of the panel: a ribbon trim, a satin stitch edge, or a fringe edge
Ribbon Trim
For the ribbon option, begin by stitching the ribbon down on the short sides and then long sides. Wrap the ends to the back of the long sides before stitching and secure with pins or glue. This way the ends get stitched down also. The wavy decorative stitch seen here is Stitch #1397 in the BERNINA 790 PLUS.
Satin Stitched Edge
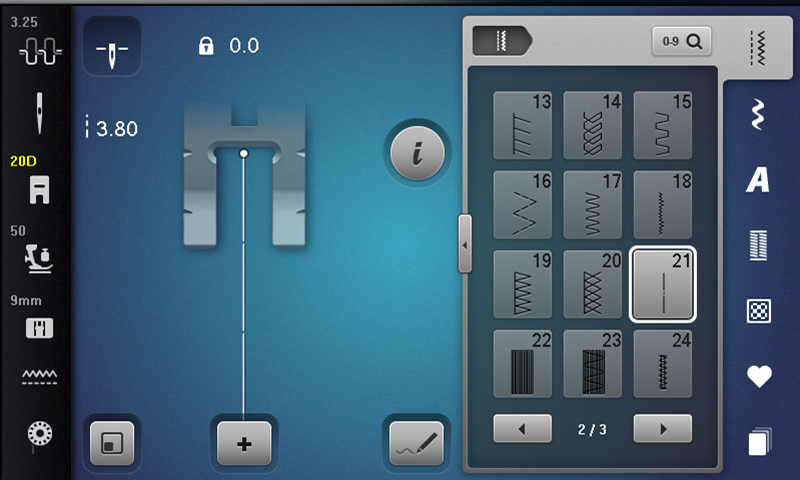
Attach Open Embroidery Foot #20/20C/20D and baste the edges with Basting Stitch #21.
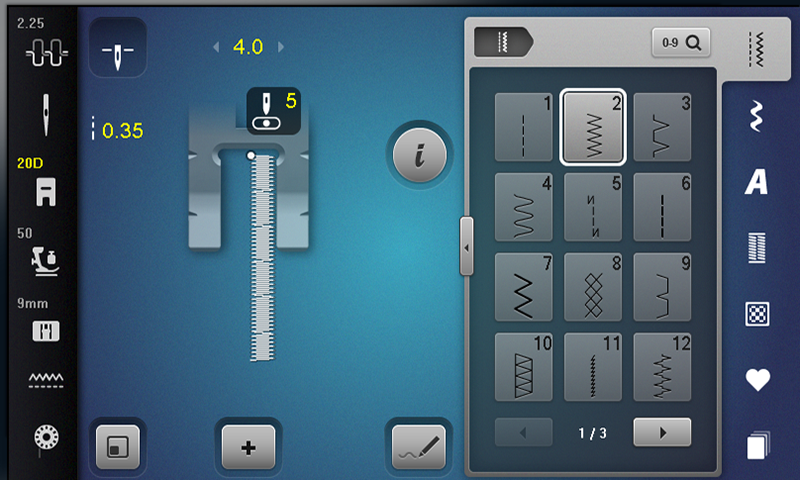
Next, select Zigzag Stitch #2 and change the stitch width to 4 mm and the stitch length to 0.35 mm. Move needle position to 5.
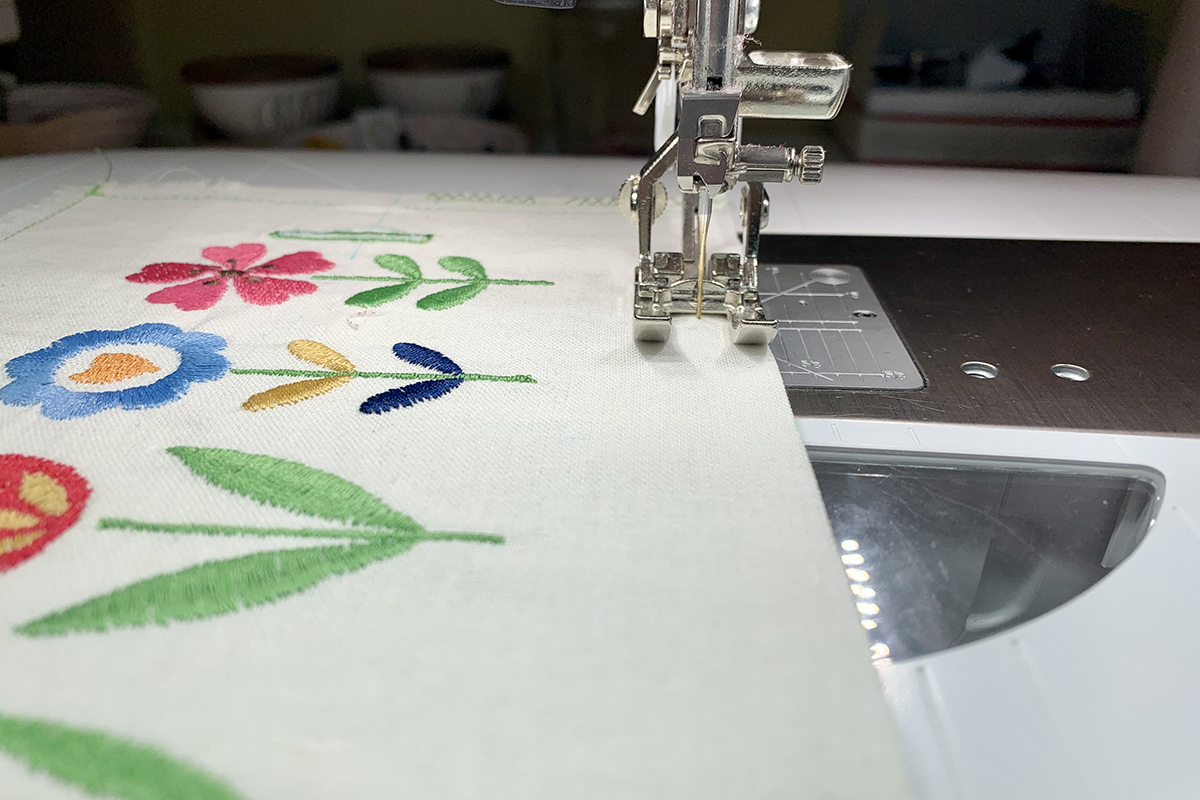
Place the edge of the panel up against the inside right toe and stitch. If you are seeing the white bobbin thread on the front, decrease your upper thread tension.

To fill in the stitches, stitch a second time around, but this time change the stitch width to 4.5 mm and stitch length to 0.3 mm.
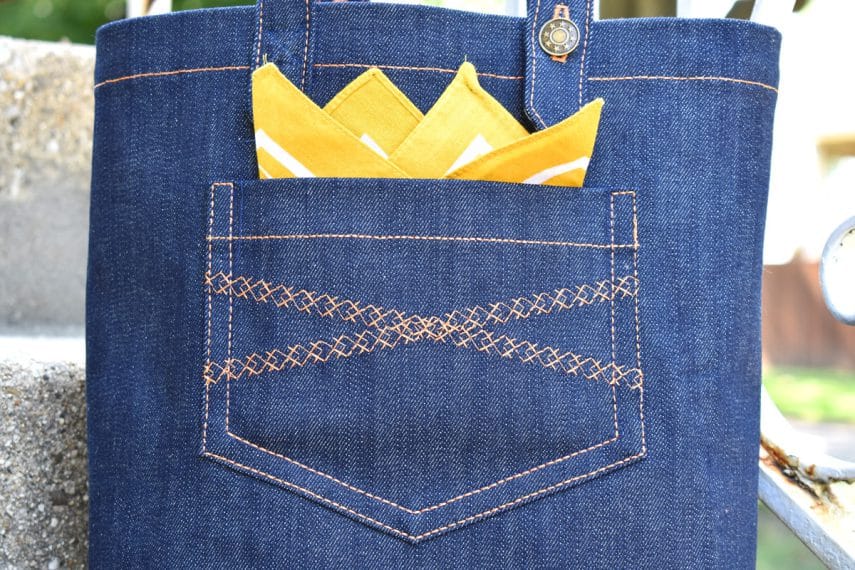
Fringe Edge
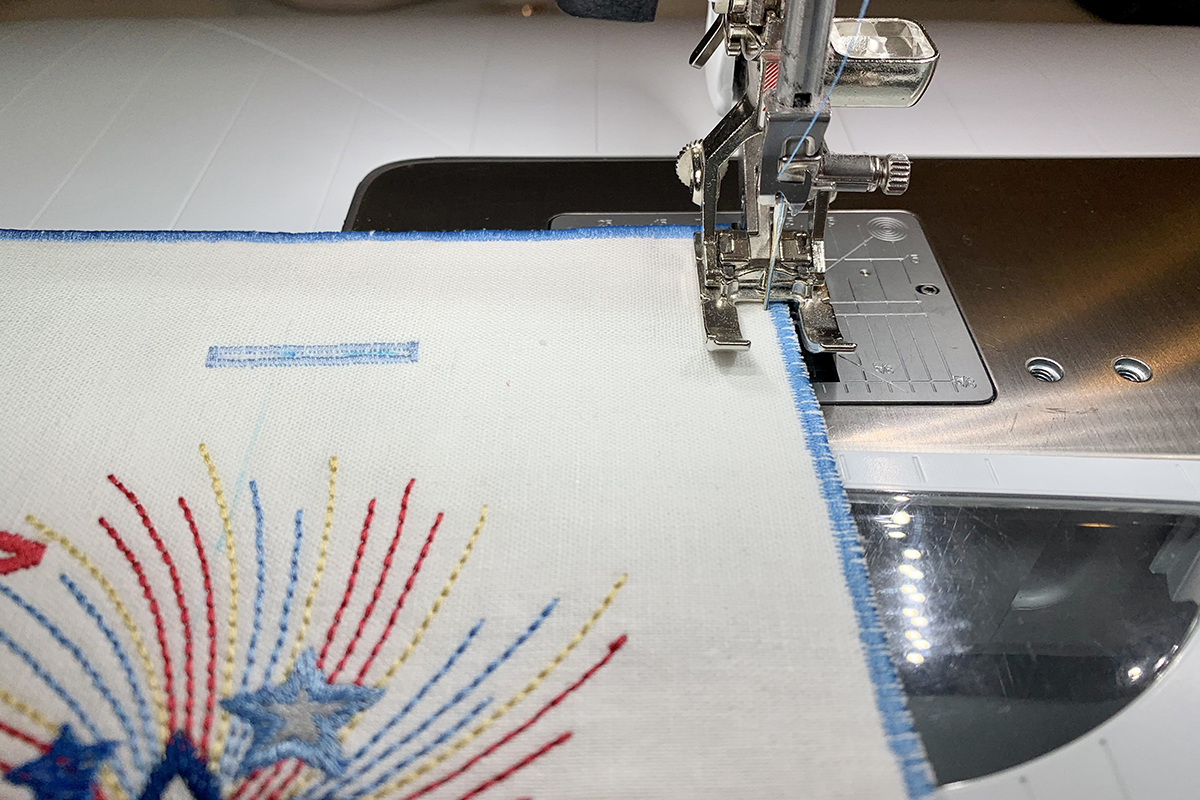
Select Triple Straight Stitch #6 in the Practical Stitches menu.
Stitch around the perimeter of the panel with the fabric edge aligned with the right side of the presser foot.
As you approach the corners, slow down and press Pattern End to ensure the stitch pattern is completed before pivoting to the next side.
After stitching the entire perimeter, tear away the Ultra Clean and Tear from the seam line. Also, gently separate the Fusible Woven from the fabric up to the seam line and trim. Pull fabric threads to create fringe. Use tweezers if it helps.
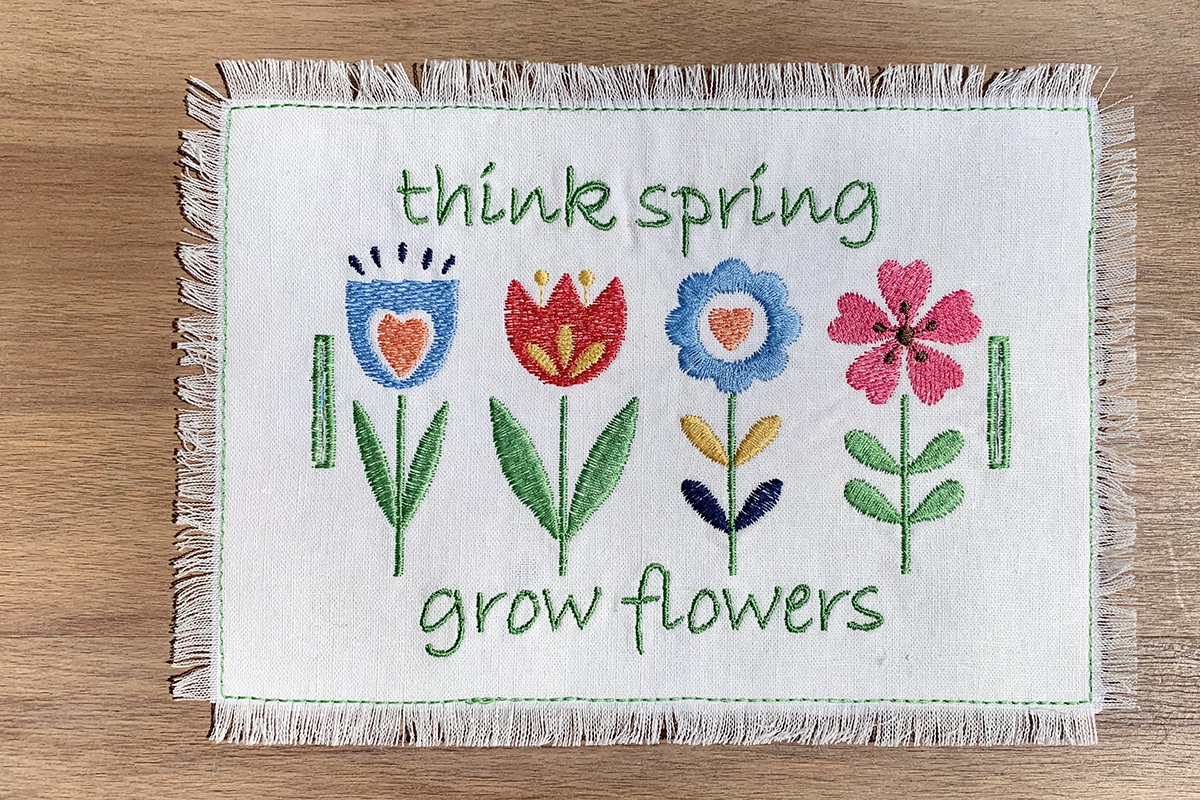
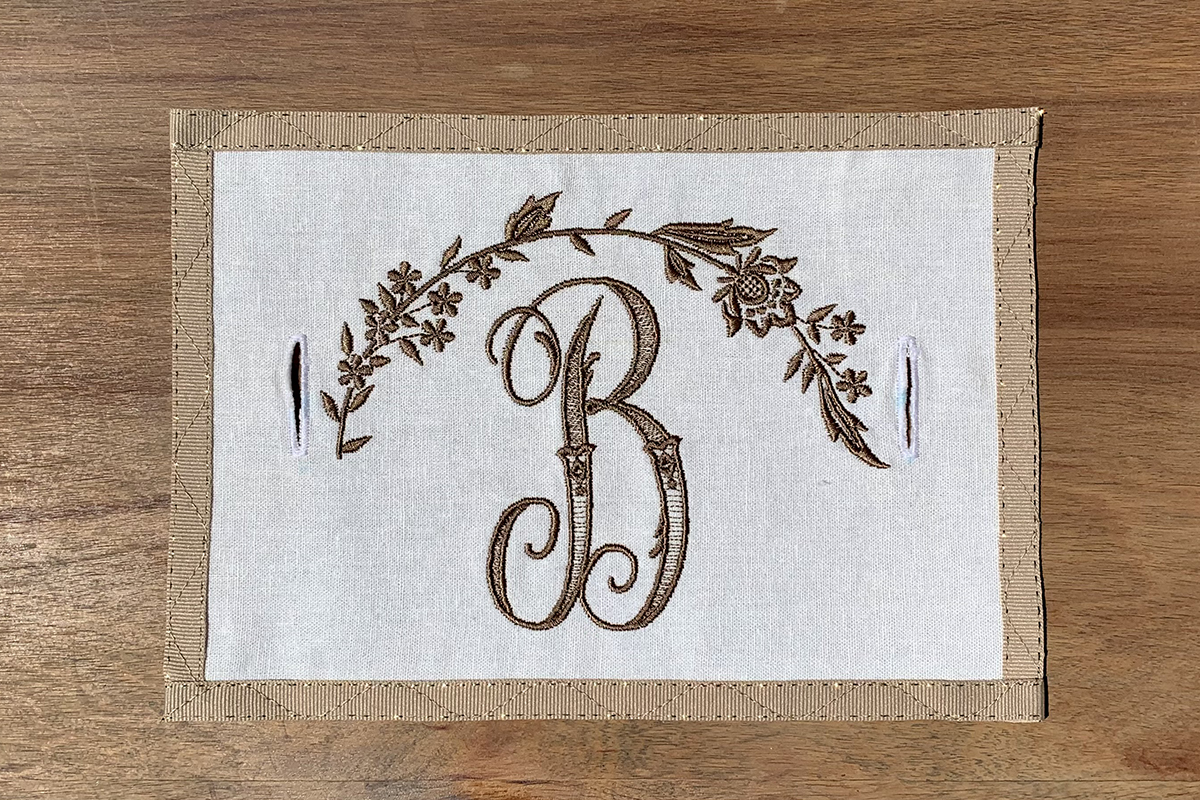
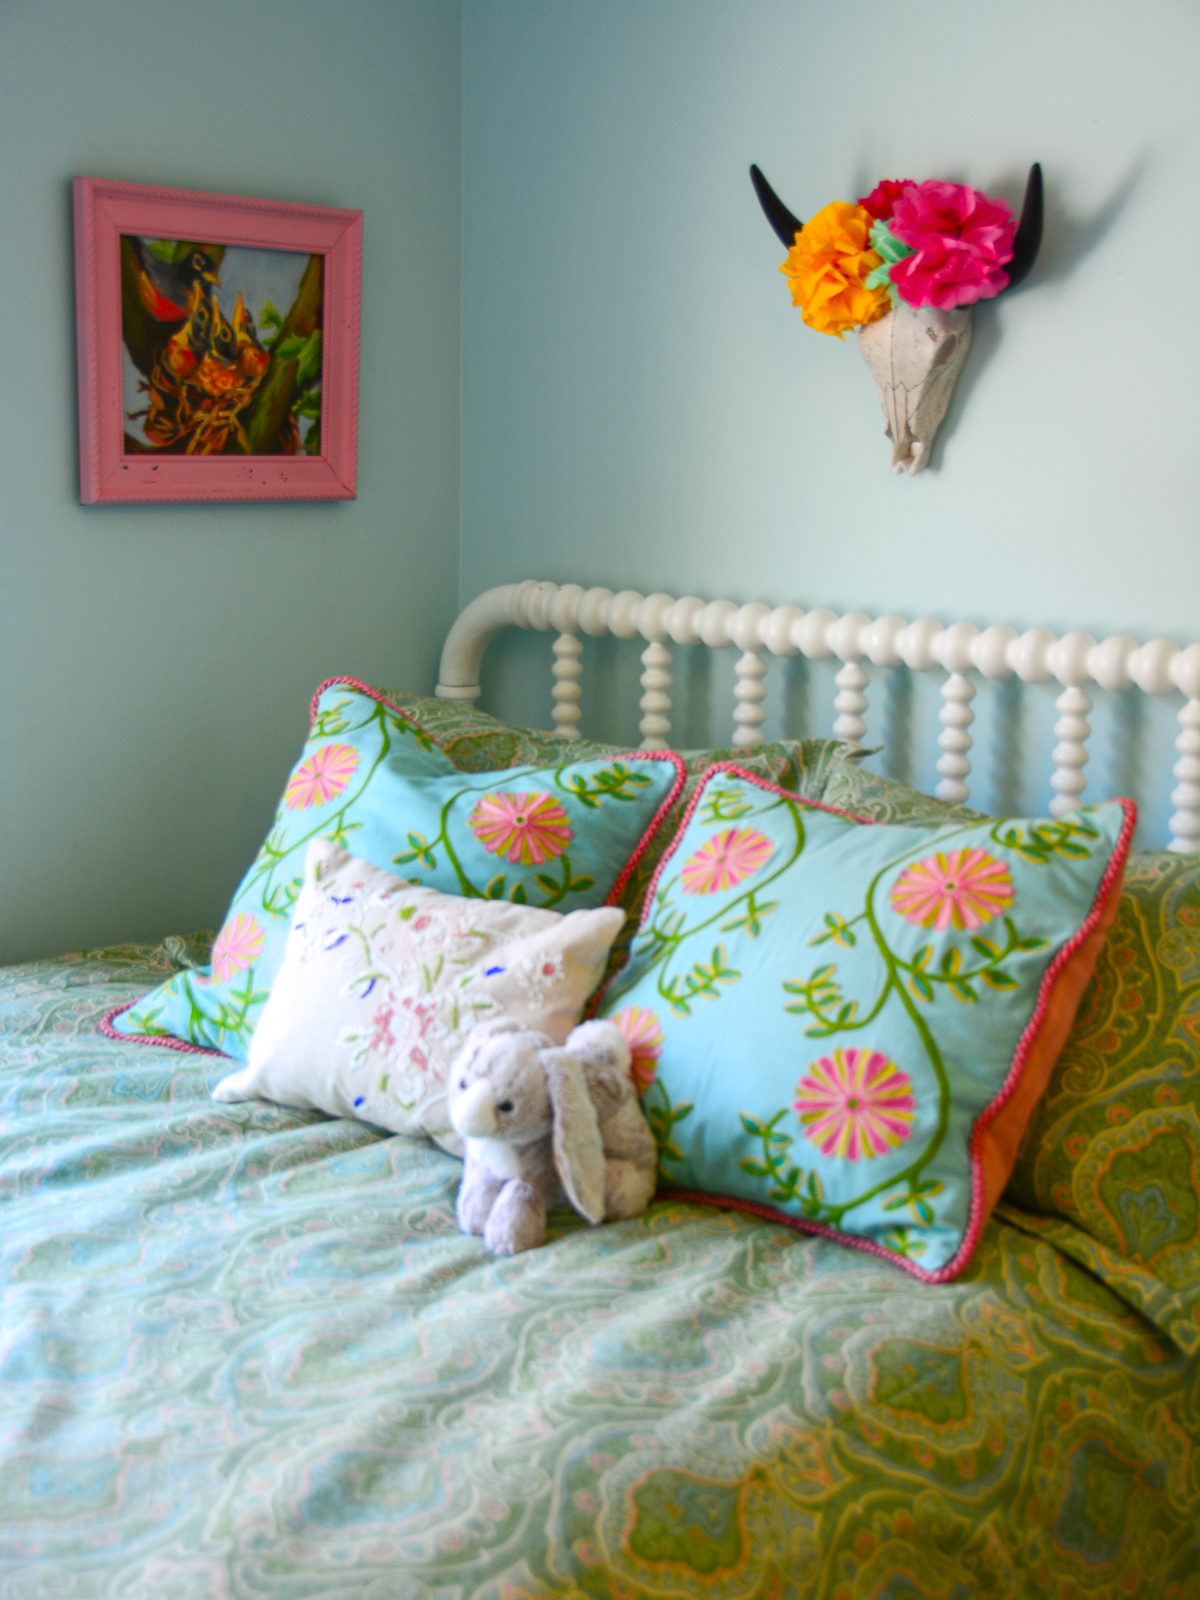
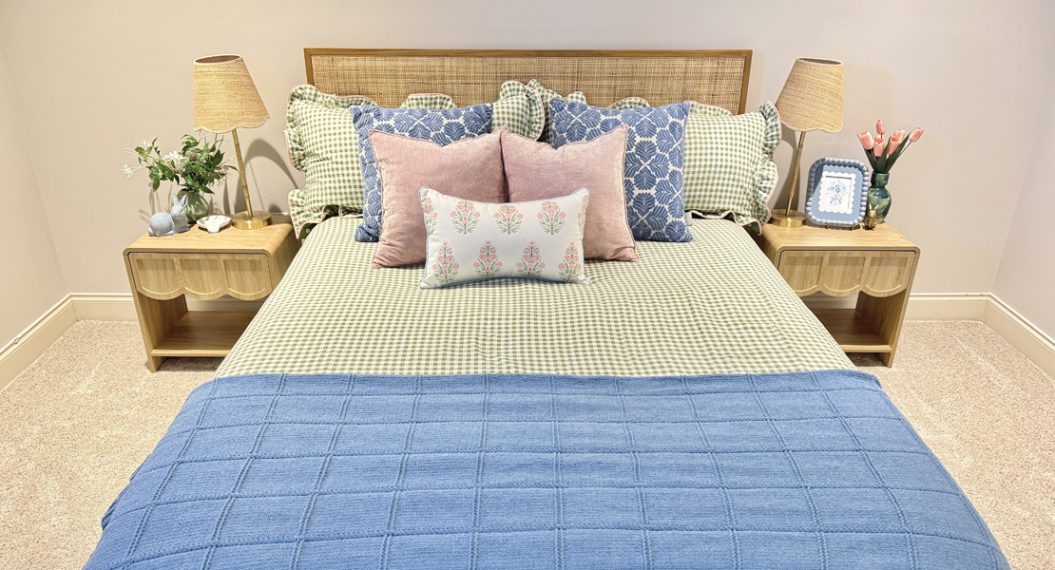
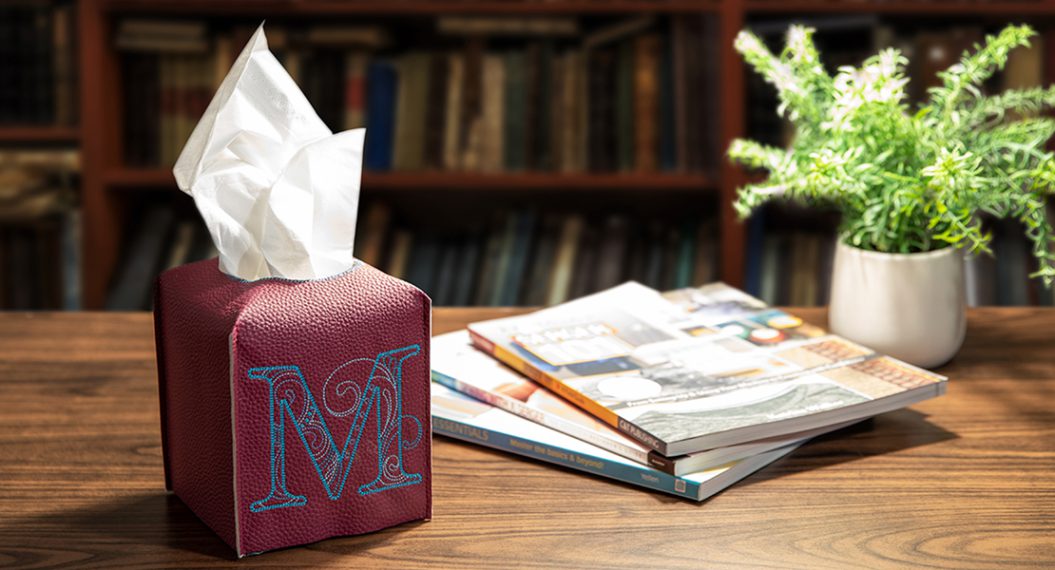
Button the panel to your pillow and place it on a chair with a throw blanket near your front entrance for everyone to see! Once you make these panels, try designing your own. Here is one I made using a monogram. Have fun creating your custom Professional Pillow!
Used Products


What you might also like


2 comments on “How to Sew a Professional Pillow, Part Two”
-
-
Part 1 is available in .pdf format. Please provide a link to also download Part 2 in .pdf format. This will be very much appreciated. Thanks!
Leave a Reply
You must be logged in to post a comment.

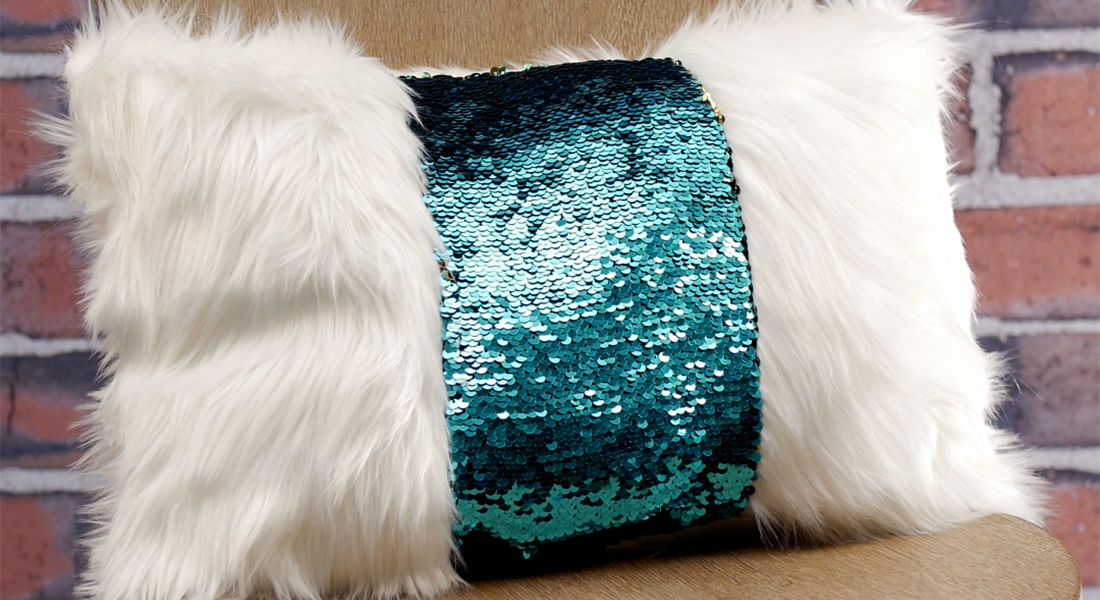
Fun alternative to a pillow wrap!