No Zipper Pillow Case
Somewhere in your stack of UFO’s is a completed quilt block without a future. Until now! Why not turn that unfinished quilt block or a gently used quilt into a quick and easy pillow for the sofa? It’s a swift way to repurpose an old textile creation and give it new life. And here is the best news: there is no zipper to install.

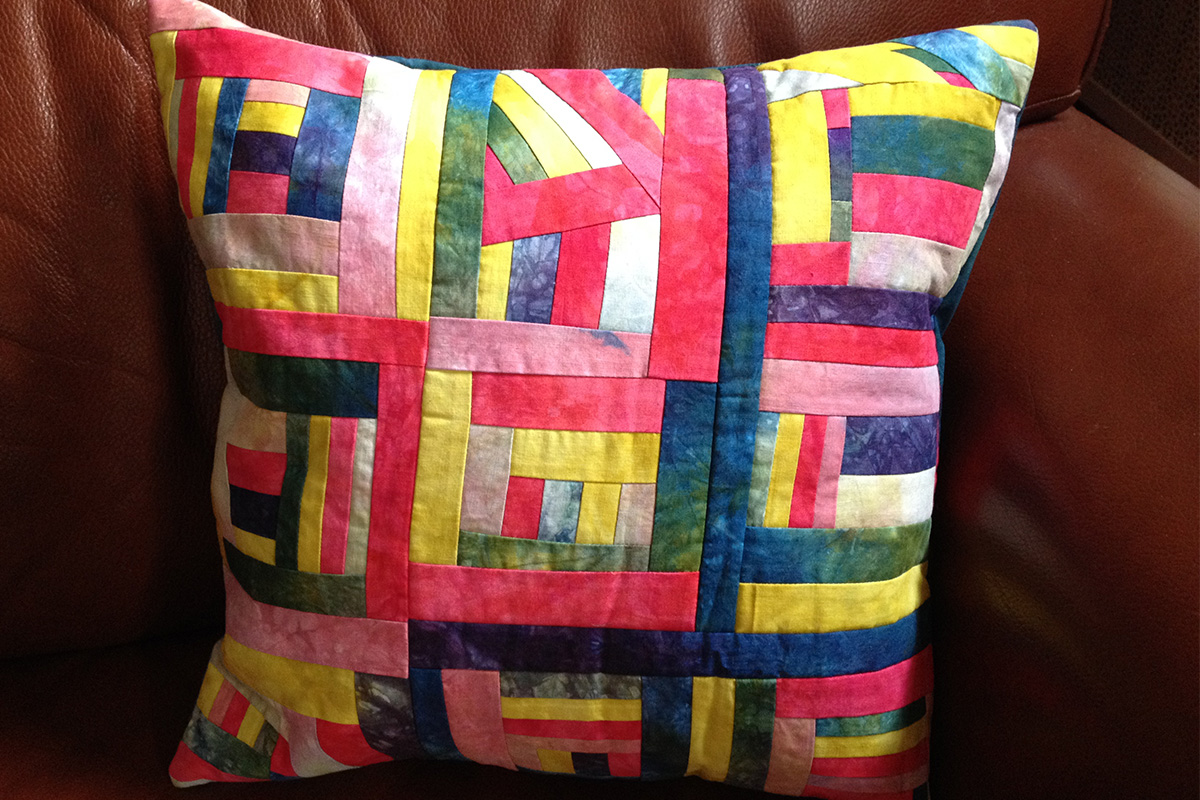
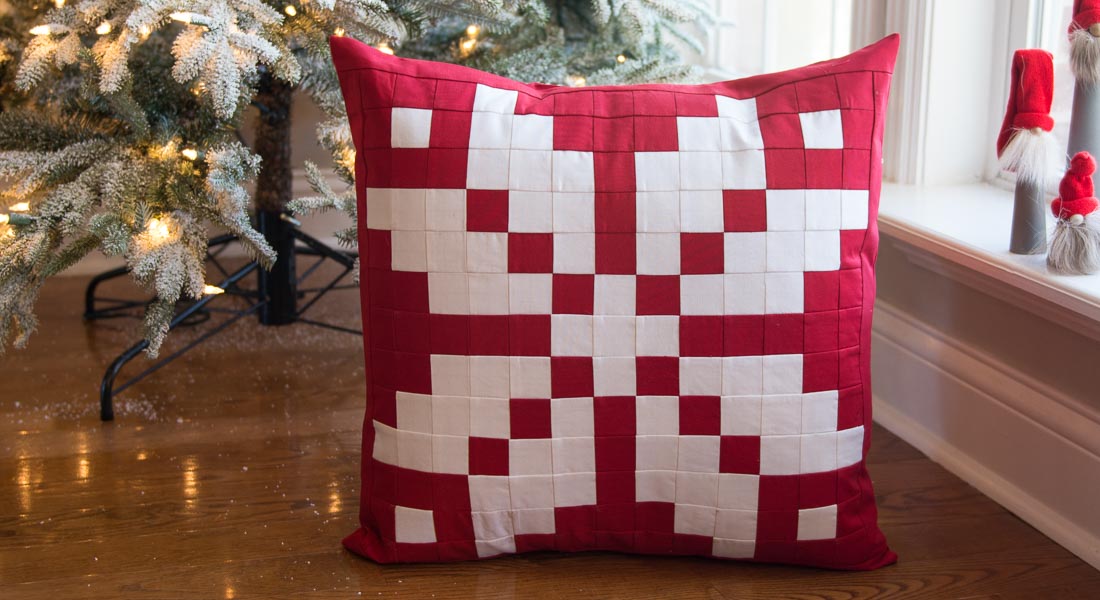
Made in 1996, this small quilt is about to become a pillow.
Materials to create a No Zipper Pillow Case
- Quilt block or quilt (complete with batting and backing) measuring at least 17″ x 17″
- 2 pieces of pillow backing fabric measuring 17″ x 15″
- 17″ square pillow form
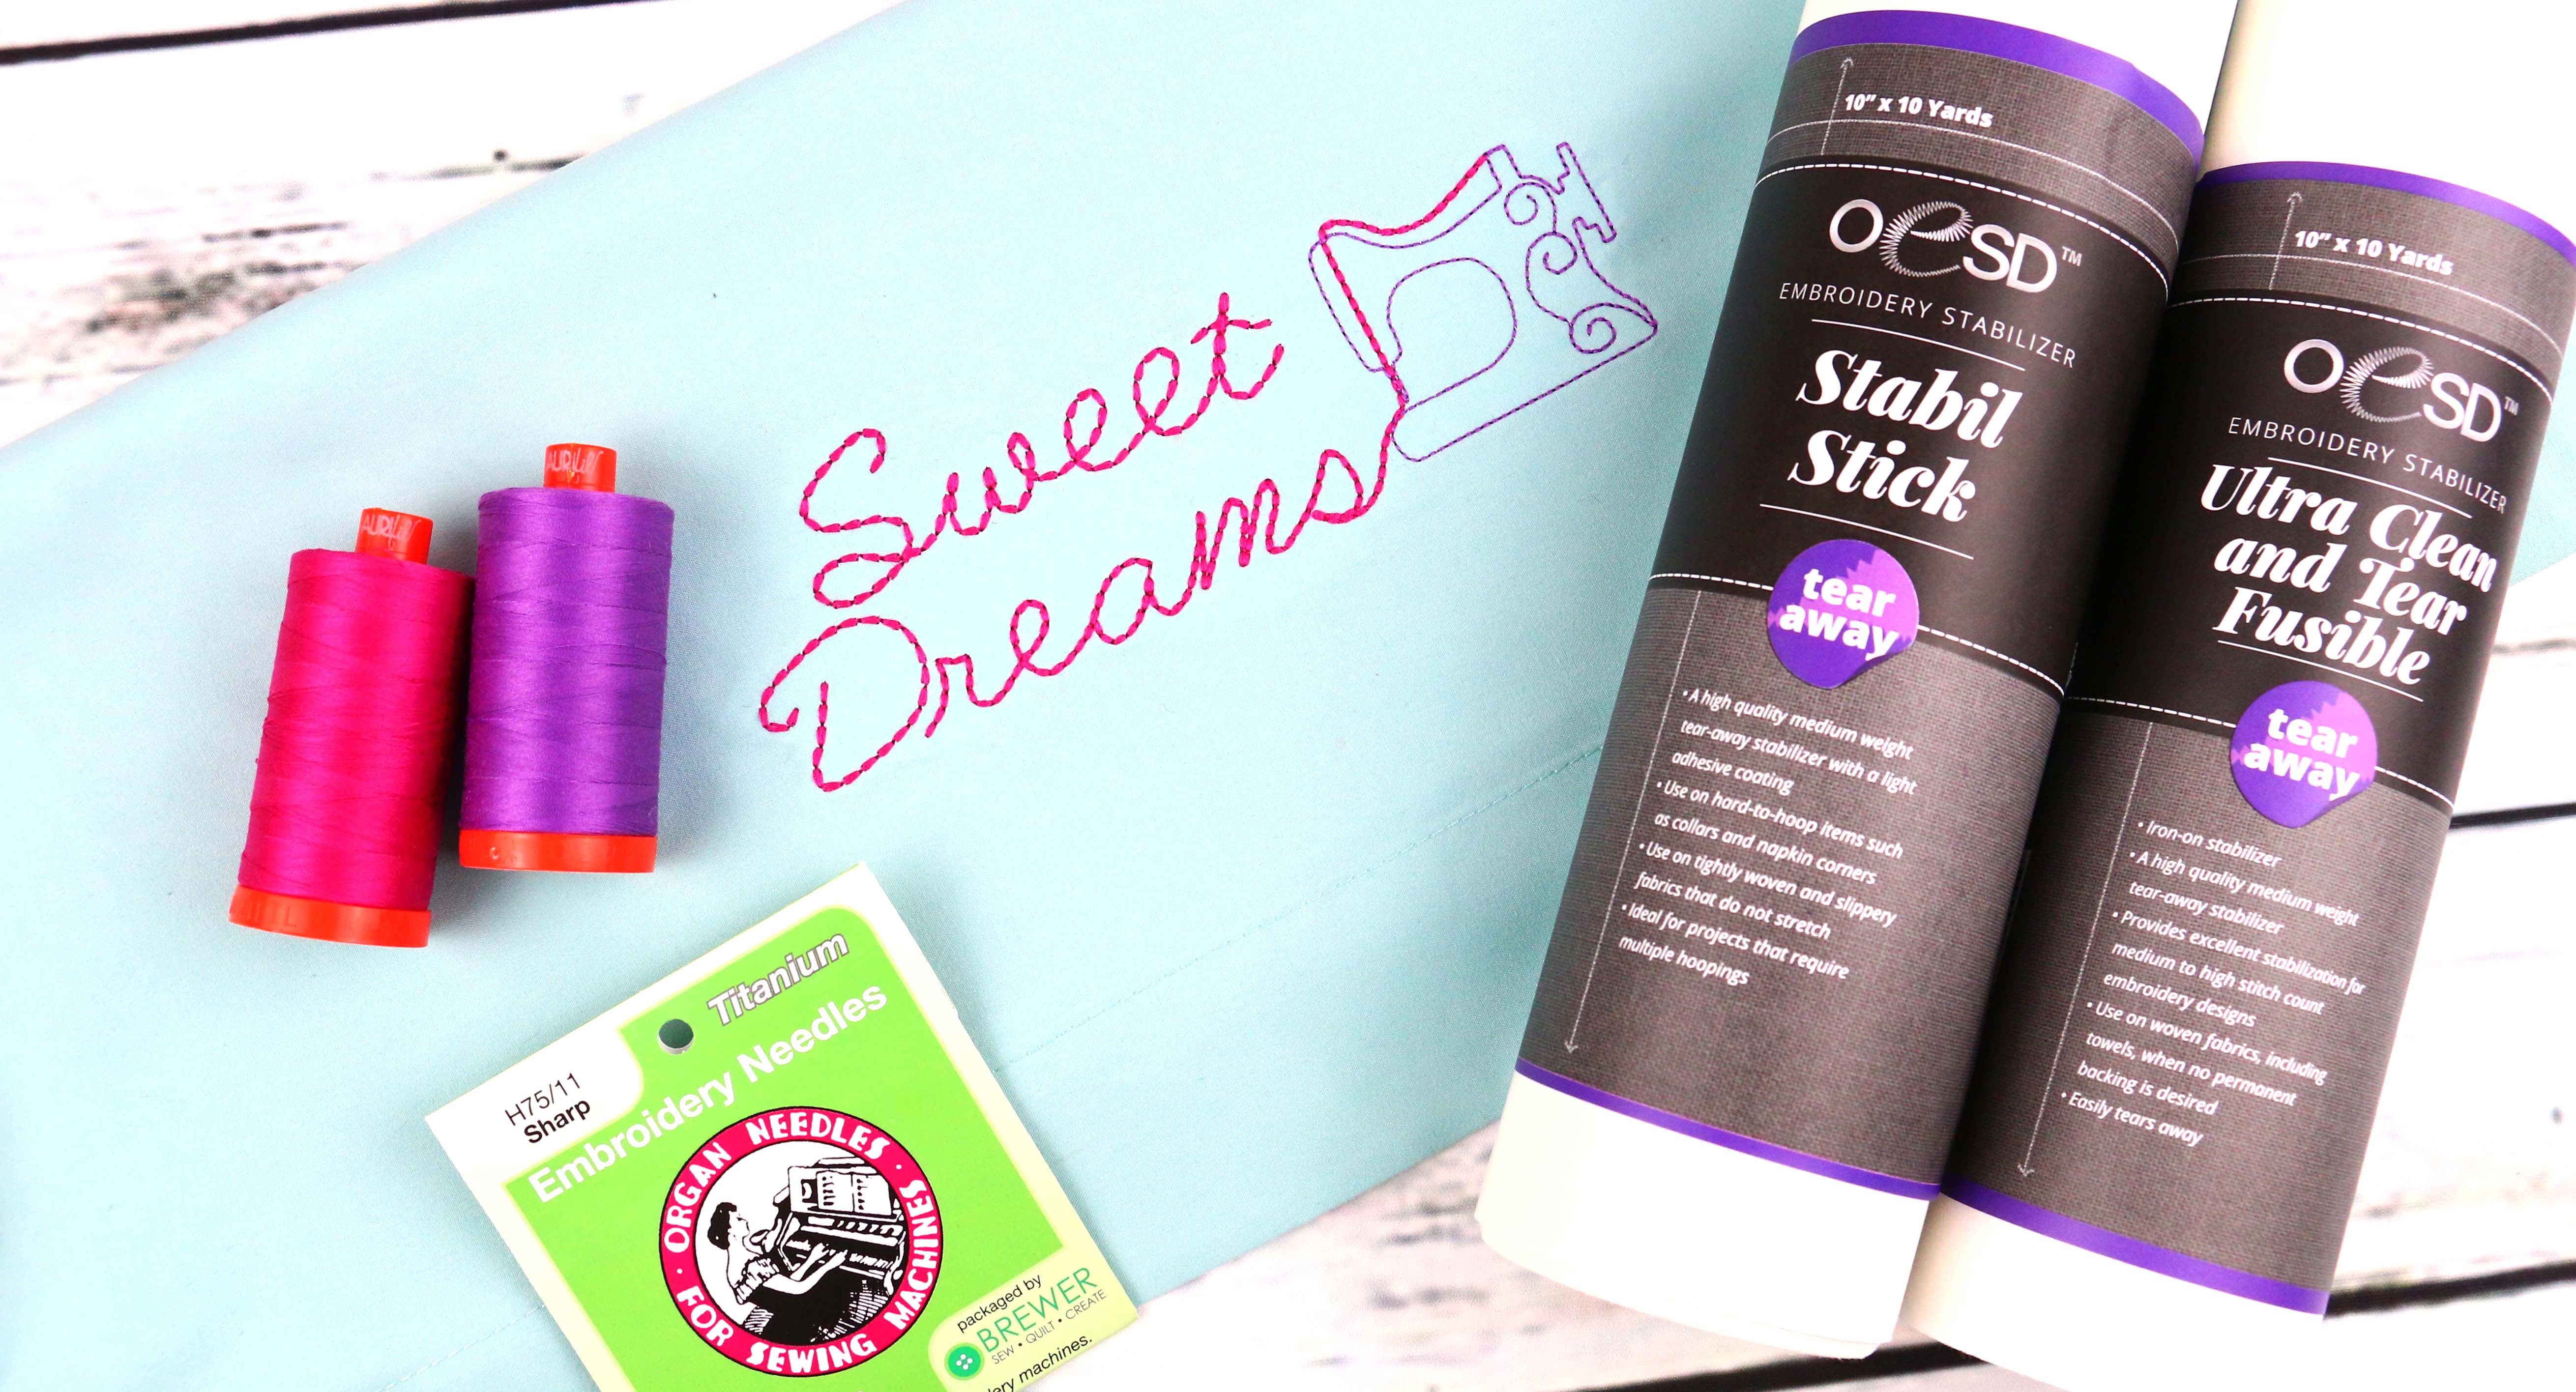
- Thread to match
- Sewing machine, I sew on a BERNINA 750 QE
- Reverse pattern foot #1/#1C/#1D
Instructions how to make the No Zipper Pillow Case
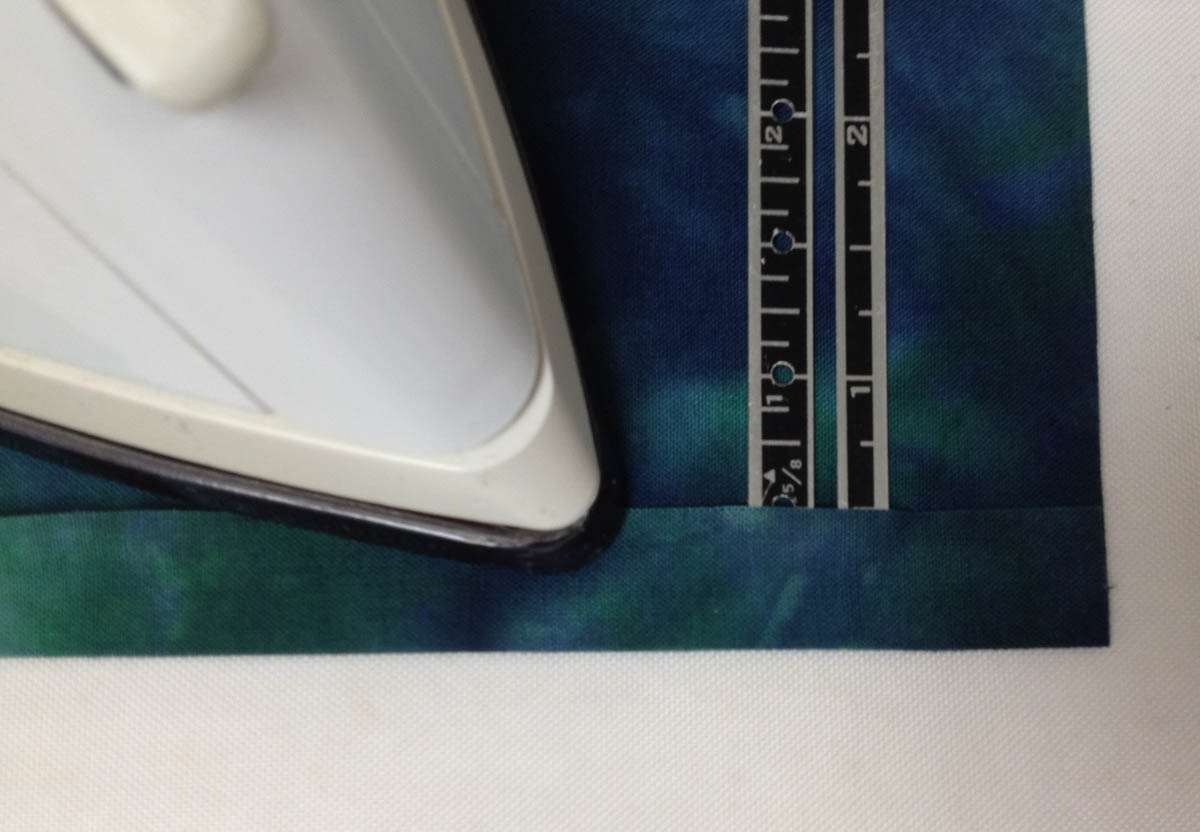
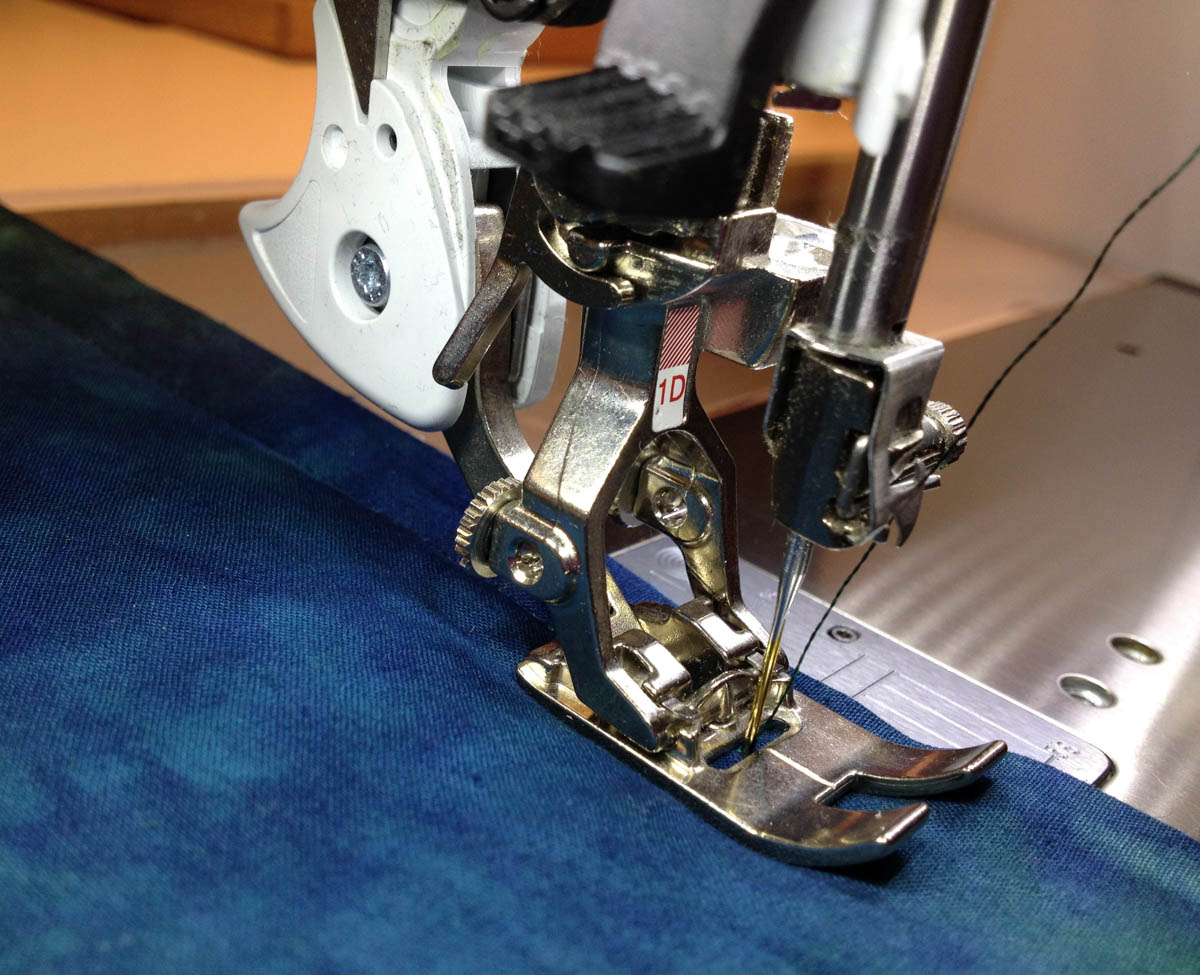
Fold a long side (the 17″ side) of a pillow backing fabric 1/2″ to the back side of the fabric. Press the fold into place. Repeat with the other pillow backing fabric.
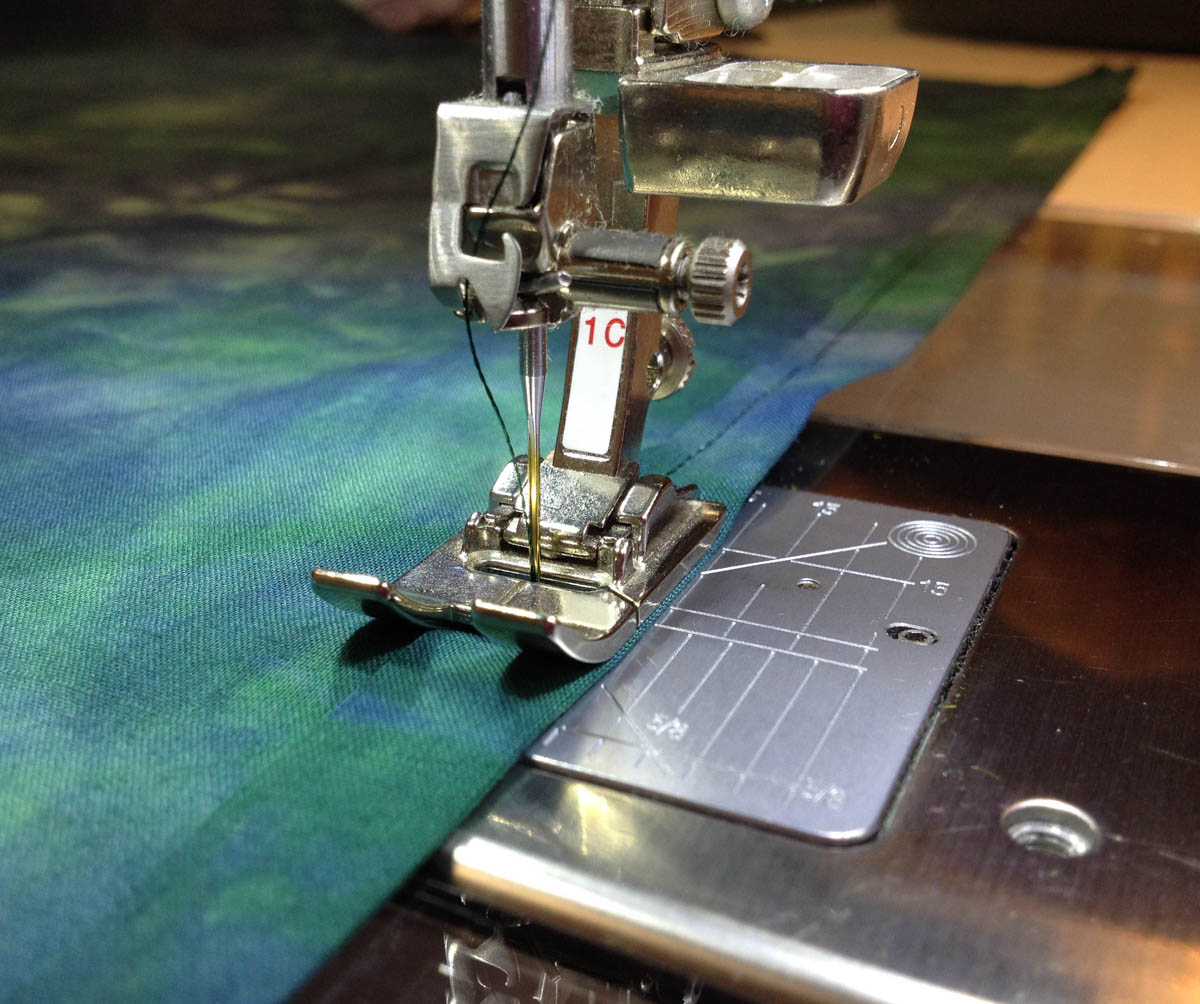
Stitch down the fold of the backing fabric using a 3/8″ seam allowance. I used the Reverse pattern foot #1C and just followed the edge of the presser foot. Repeat with the other pillow backing fabric.
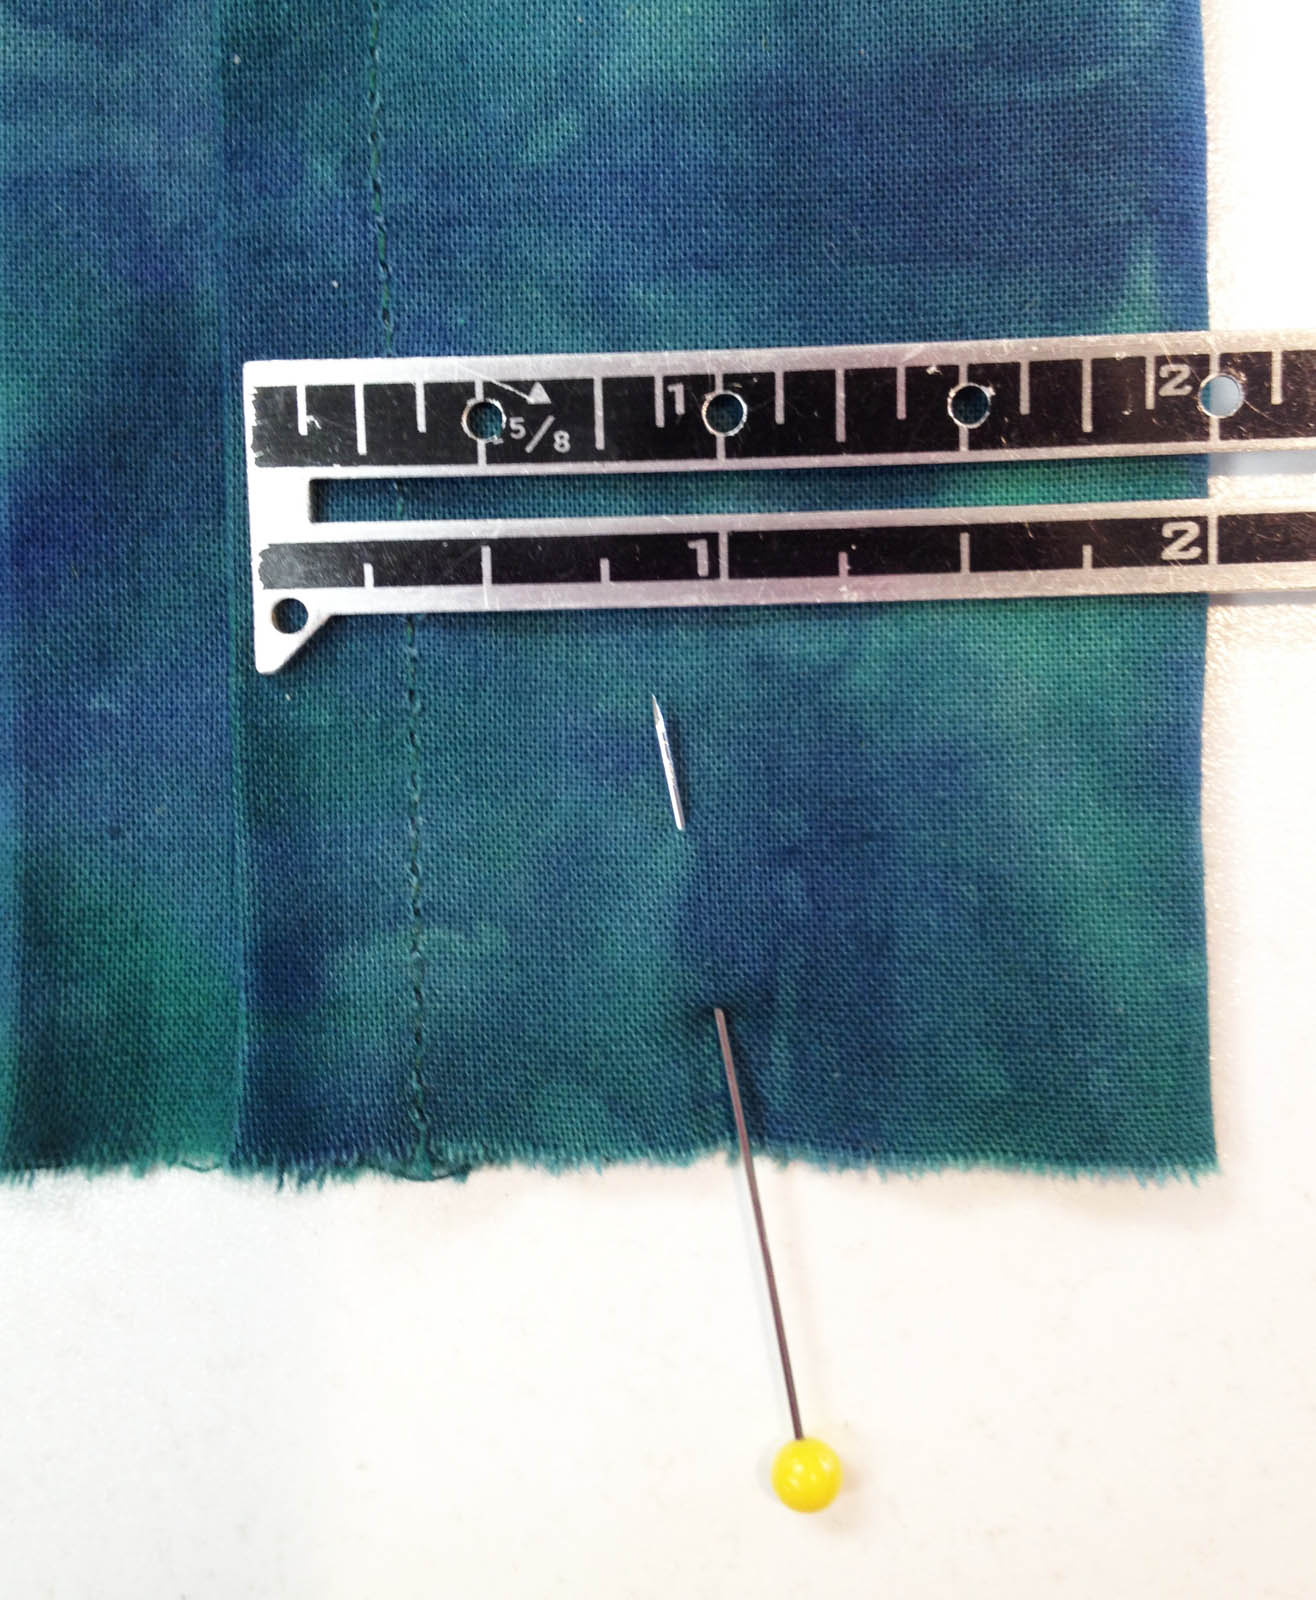
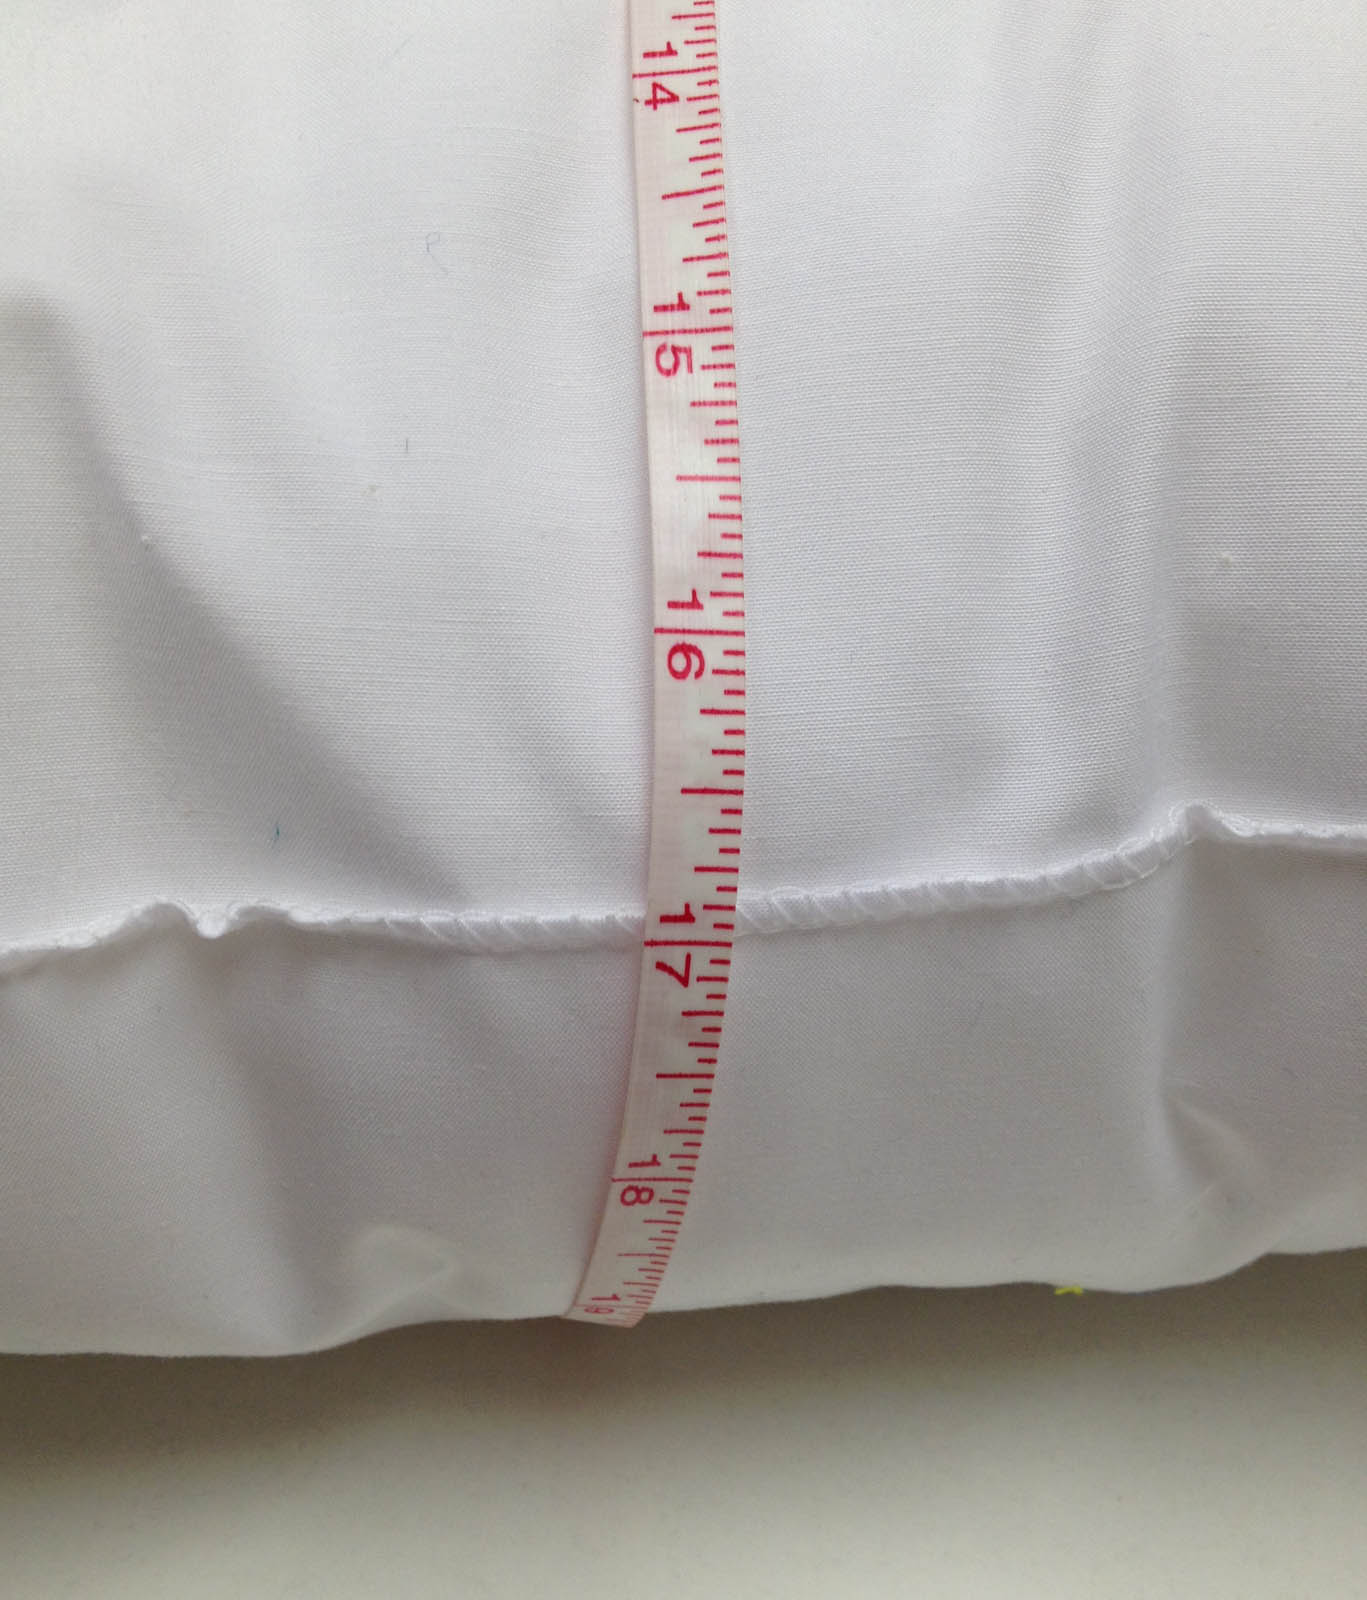
Fold the stitched edge of the pillow backing fabric 2″ onto the back of the fabric. Pin into place. Repeat with the other pillow backing fabric.
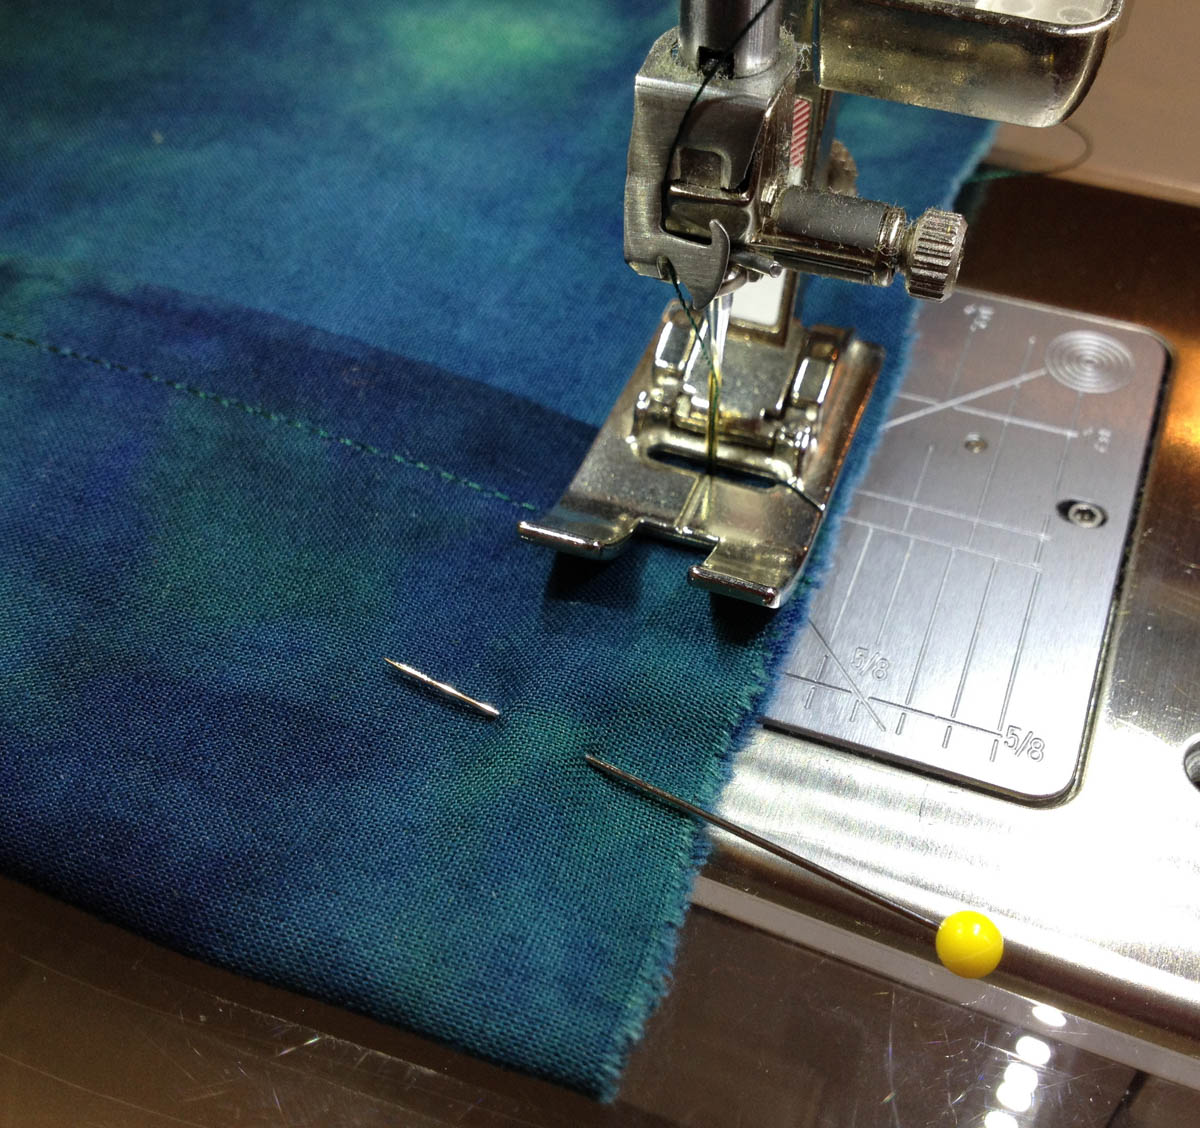
Stitch across the end of the fold using a 3/8″ seam allowance. Repeat on the other end of the fold and on the other pillow backing fabric.
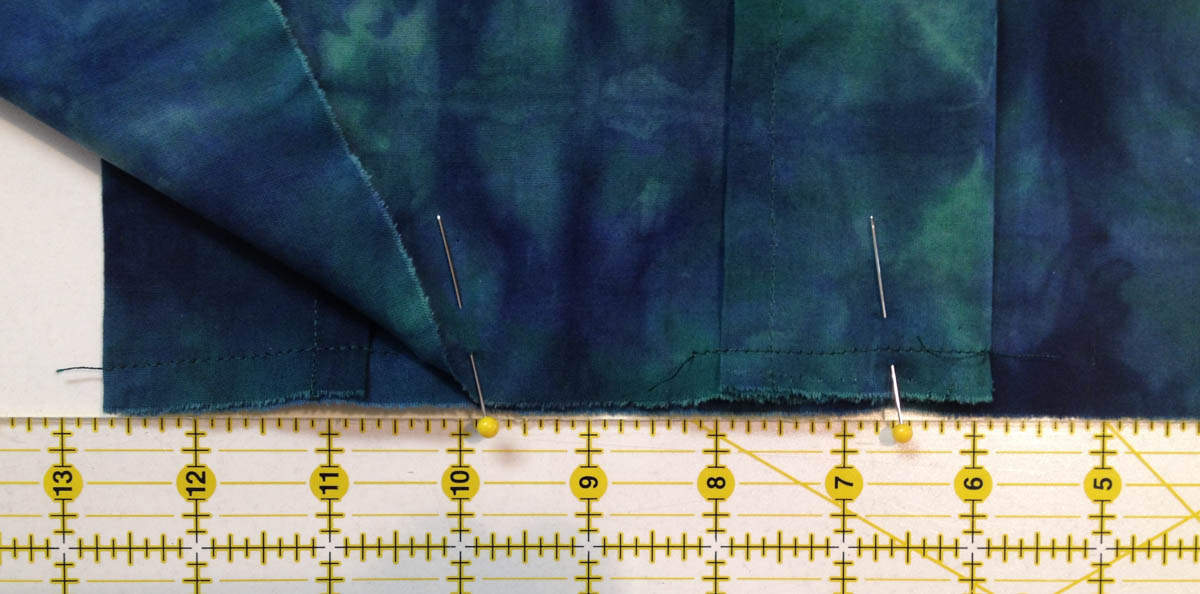
Overlap the pillow backing fabrics on top of each other with the folds facing up.
Adjust the distance across the combined backs to measure 17″. Pin the 2 backing fabrics together.
Stitch the 2 backing fabrics together where they overlap using a 3/8″ seam allowance.
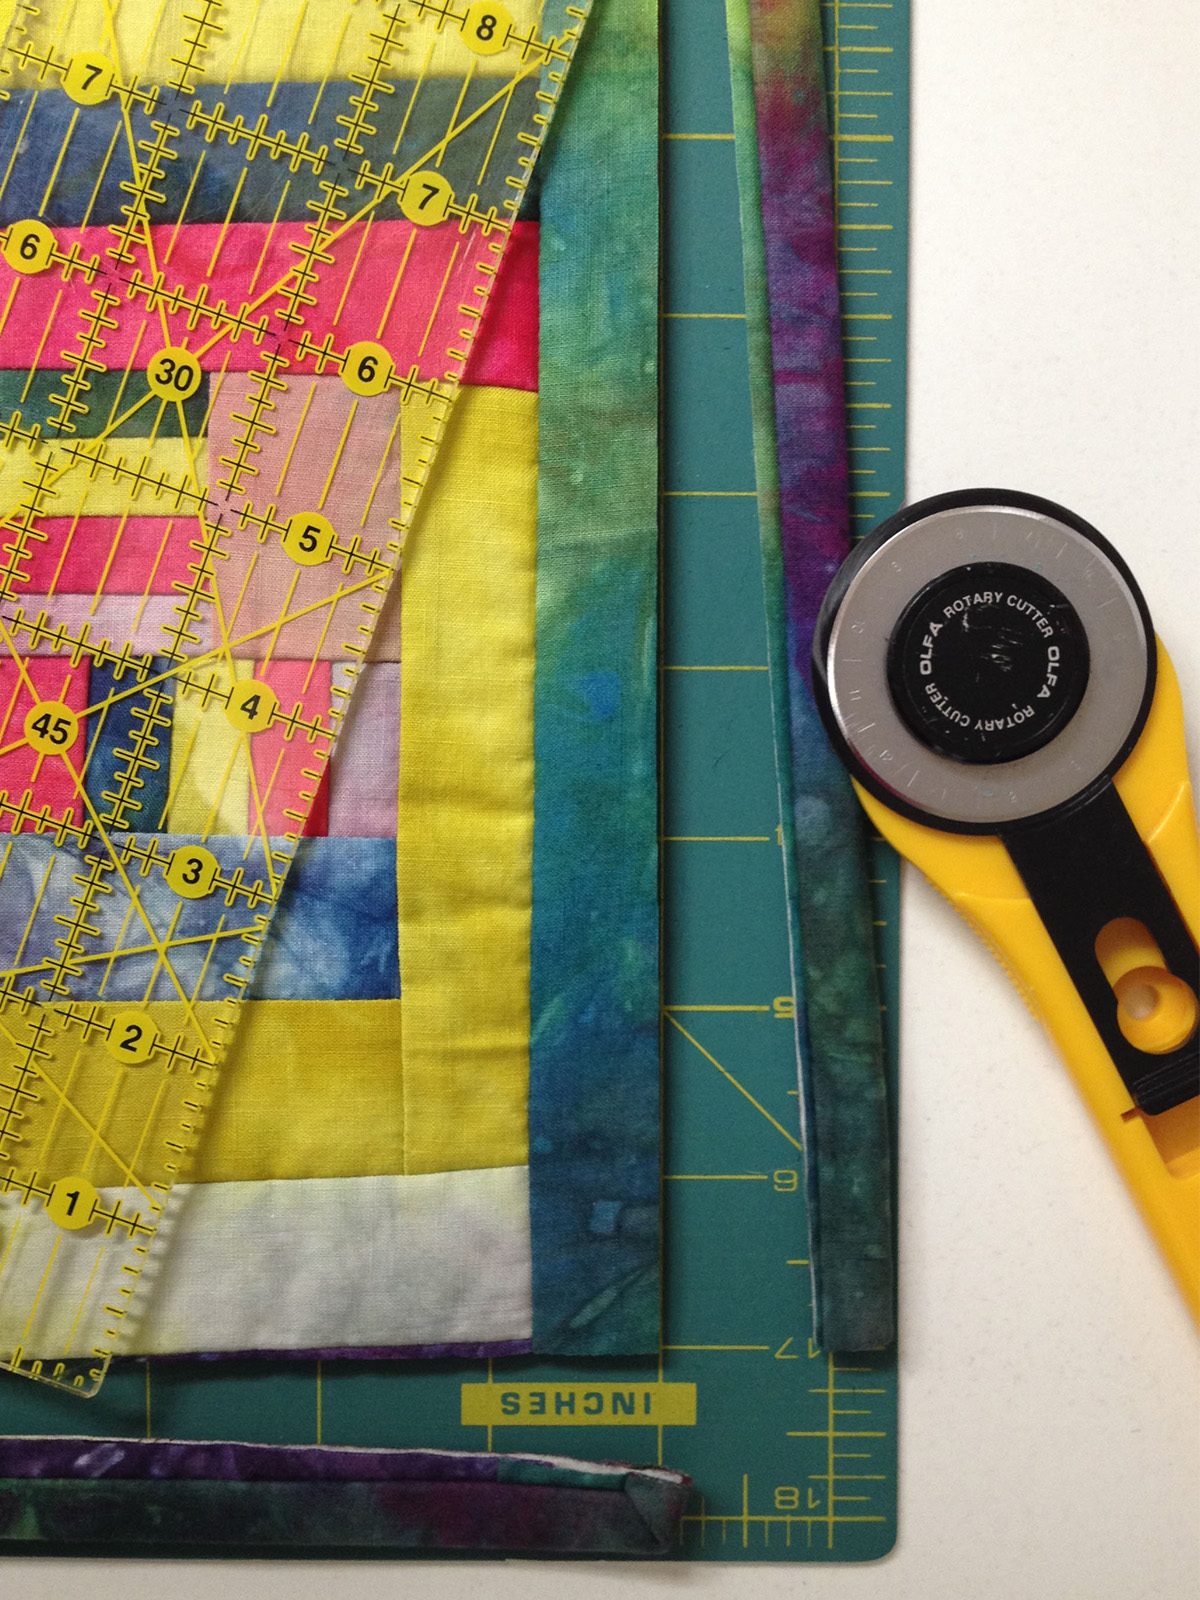
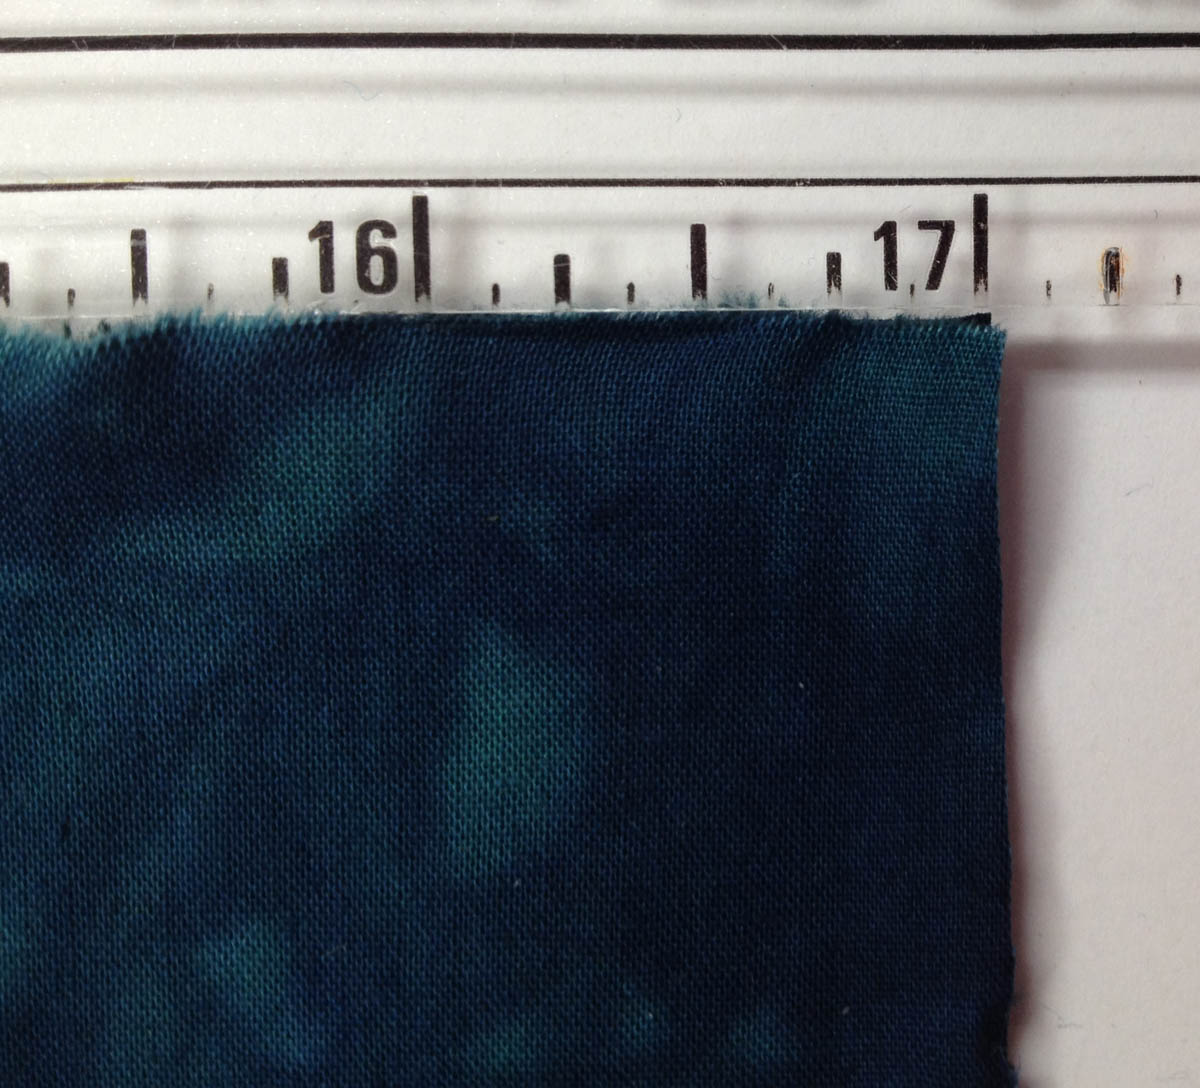
Trim your quilt block or quilt to measure 17″ x 17″. (For a used quilt like this one, remove the binding before trimming it to size.)
Place the right side of the pillow backing fabrics onto the right side of the pillow top. Pin into place.
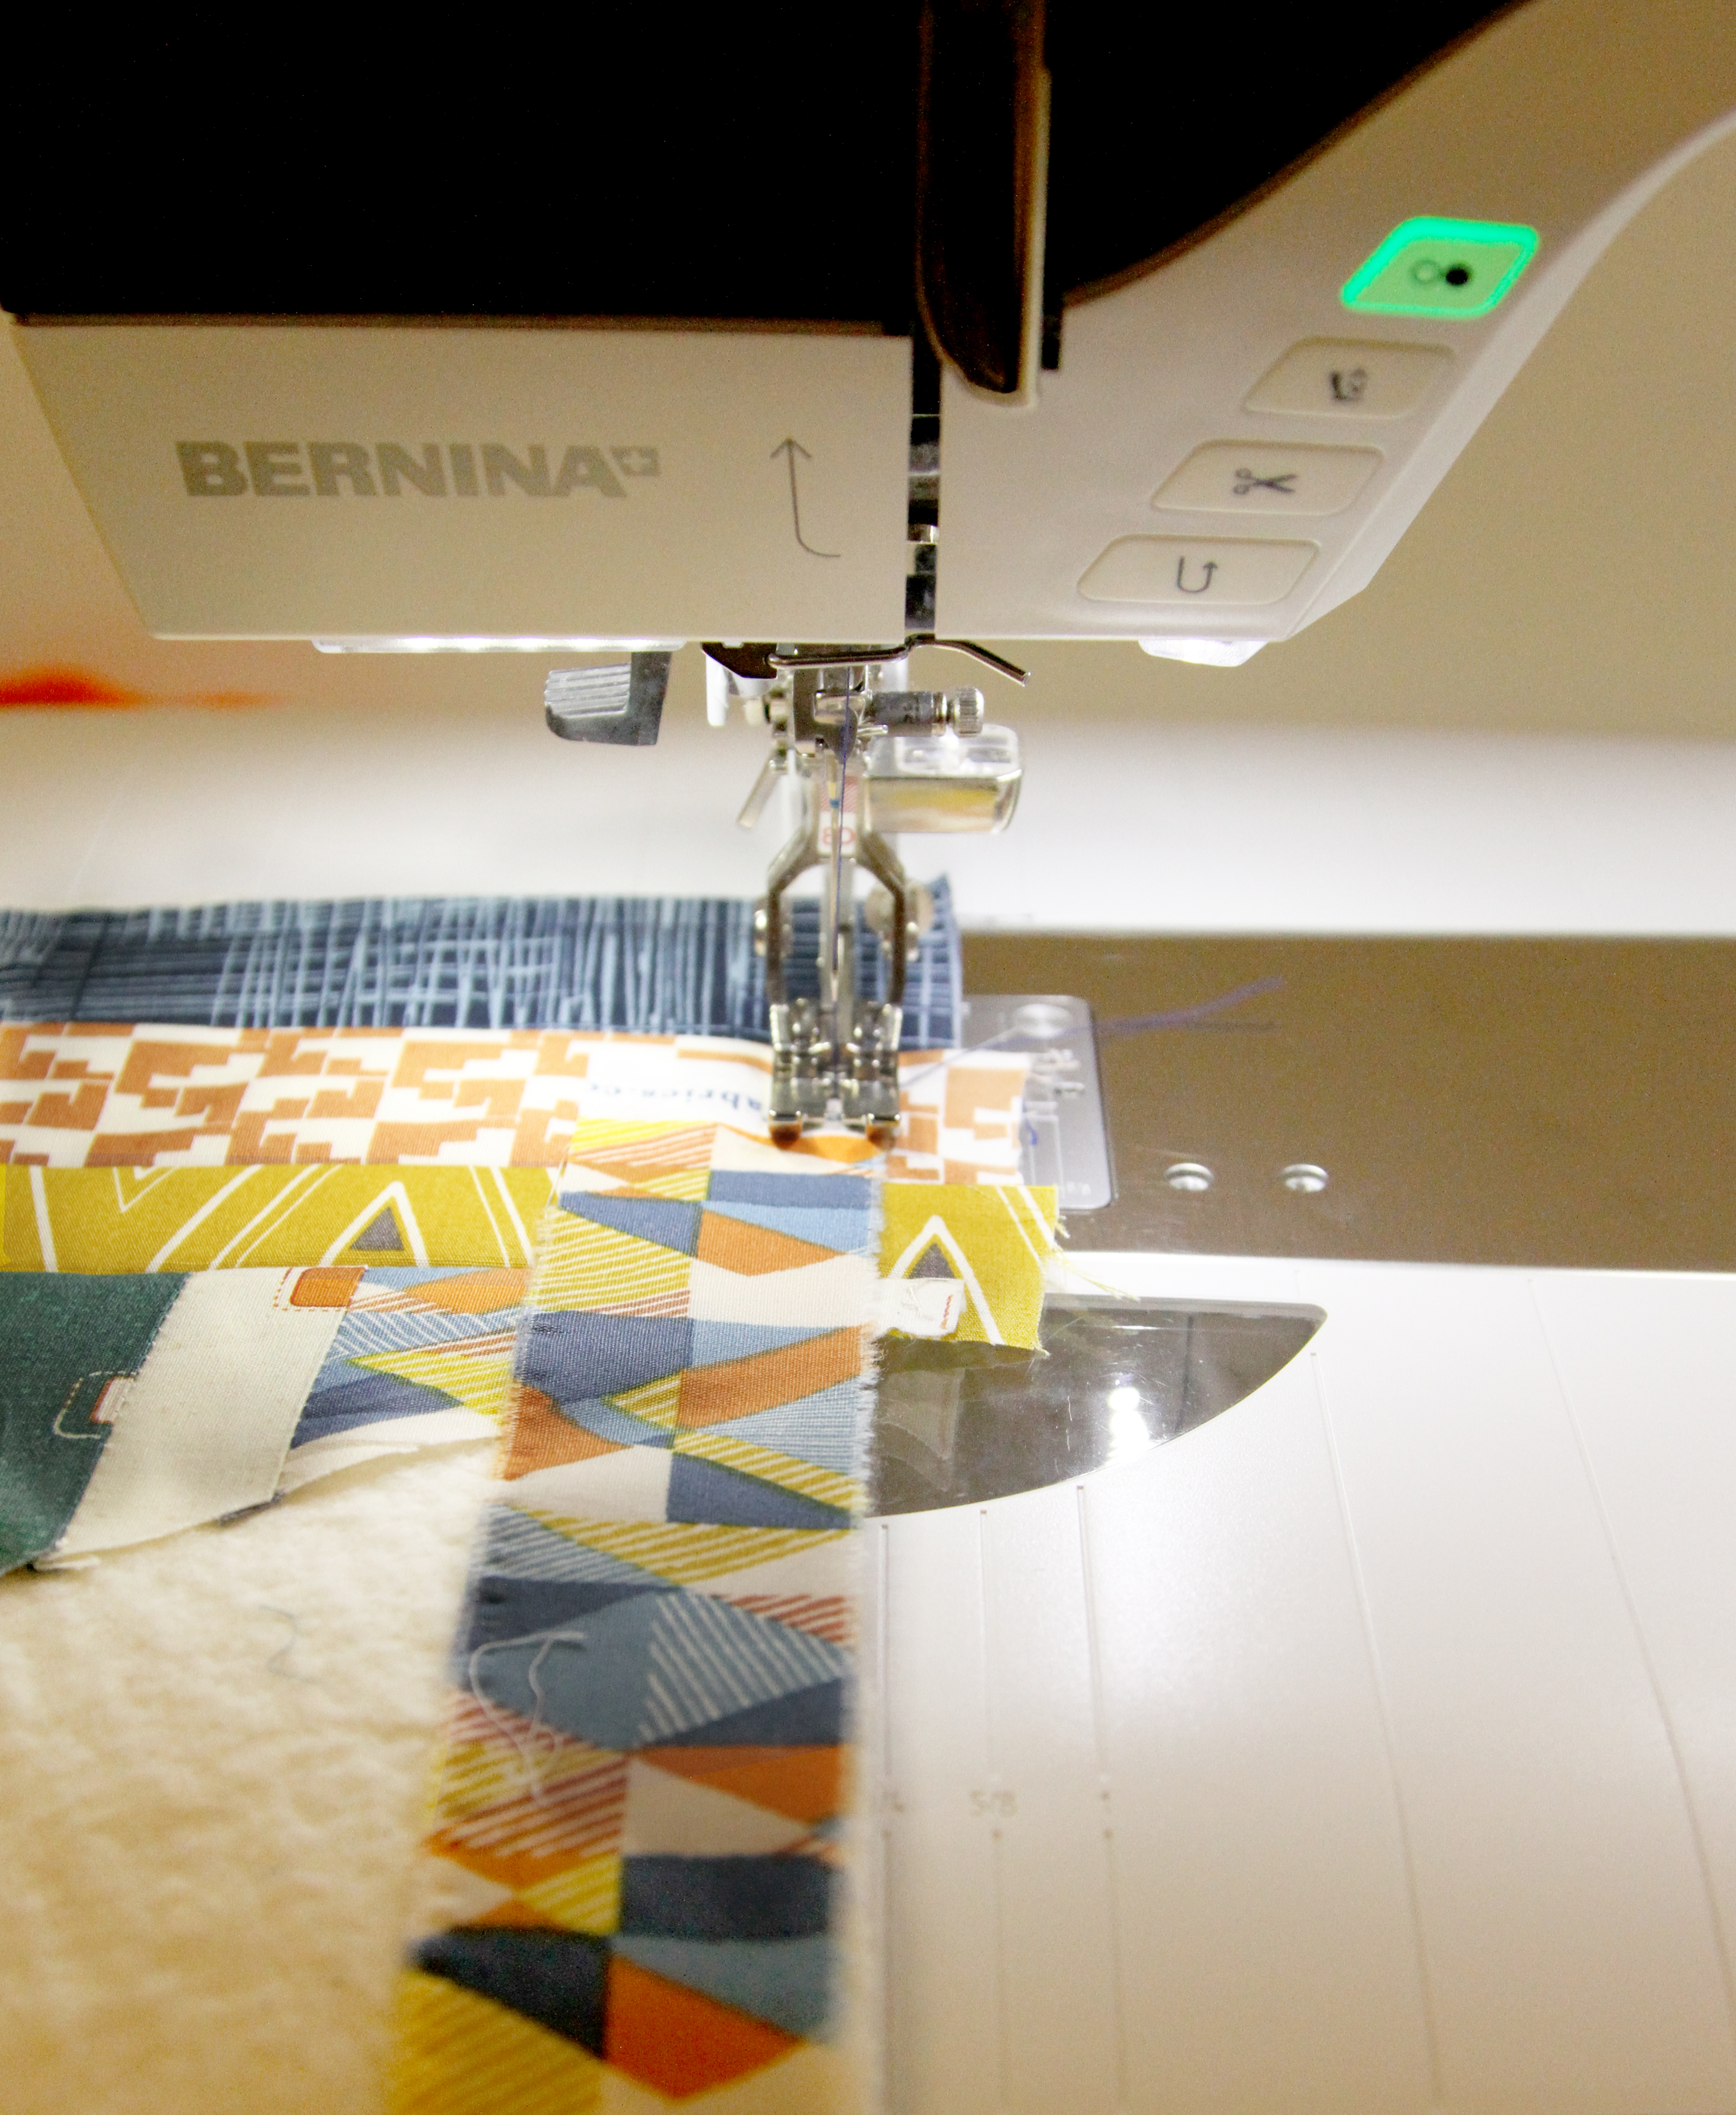
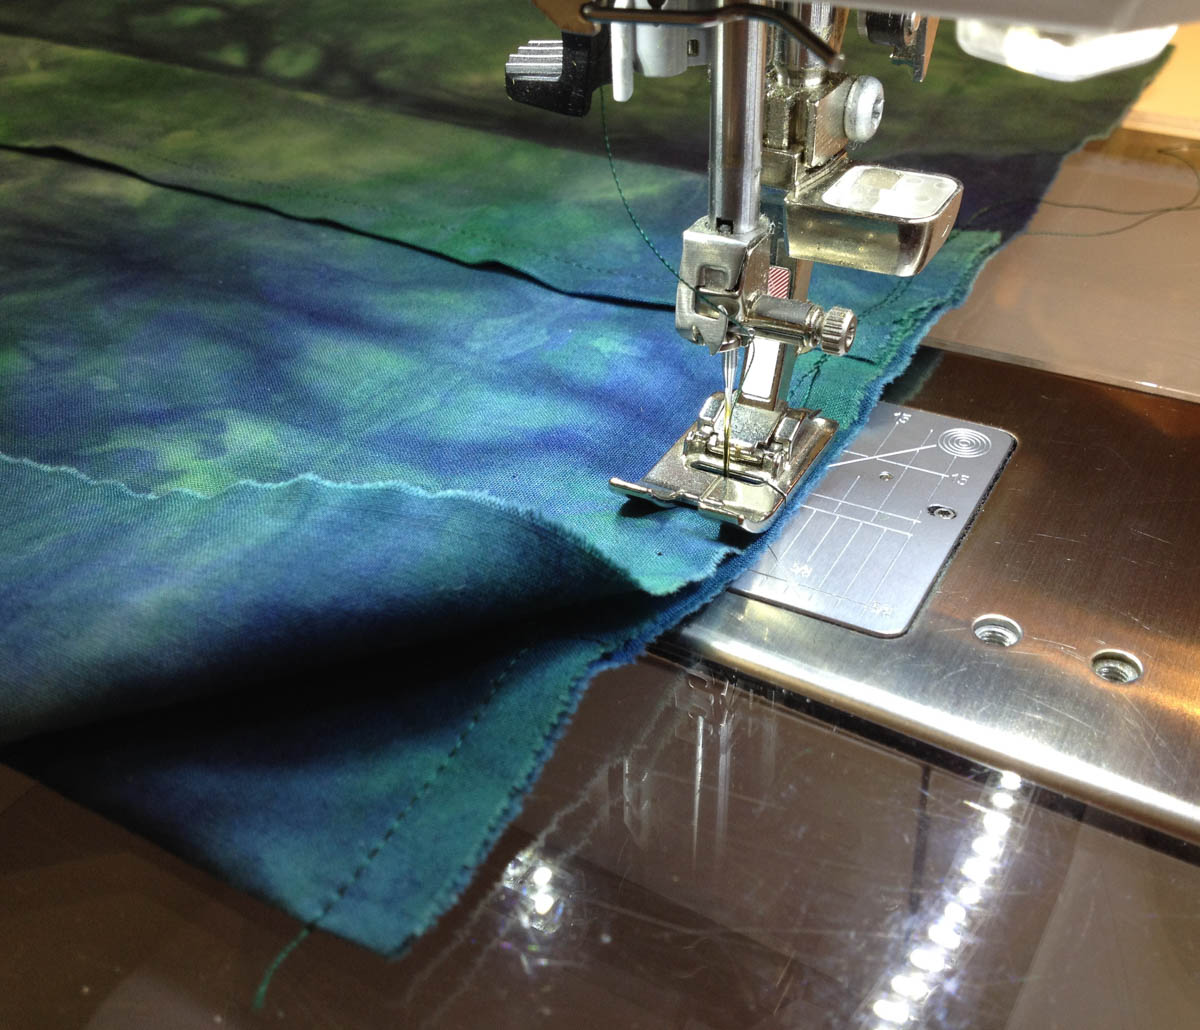
If your pillow top is made from a former quilt complete with batting like mine is, use the Dual Feed feature or the Walking foot #50 to help the layers from shifting on the sewing machine. I used the Reverse pattern foot #1D with Dual Feed on my B 750 QE.
Stitch the pillow top to the pillow backing around each edge using a 1/2″ or 5/8″ seam allowance. Reverse stitch at each corner to secure the corners.
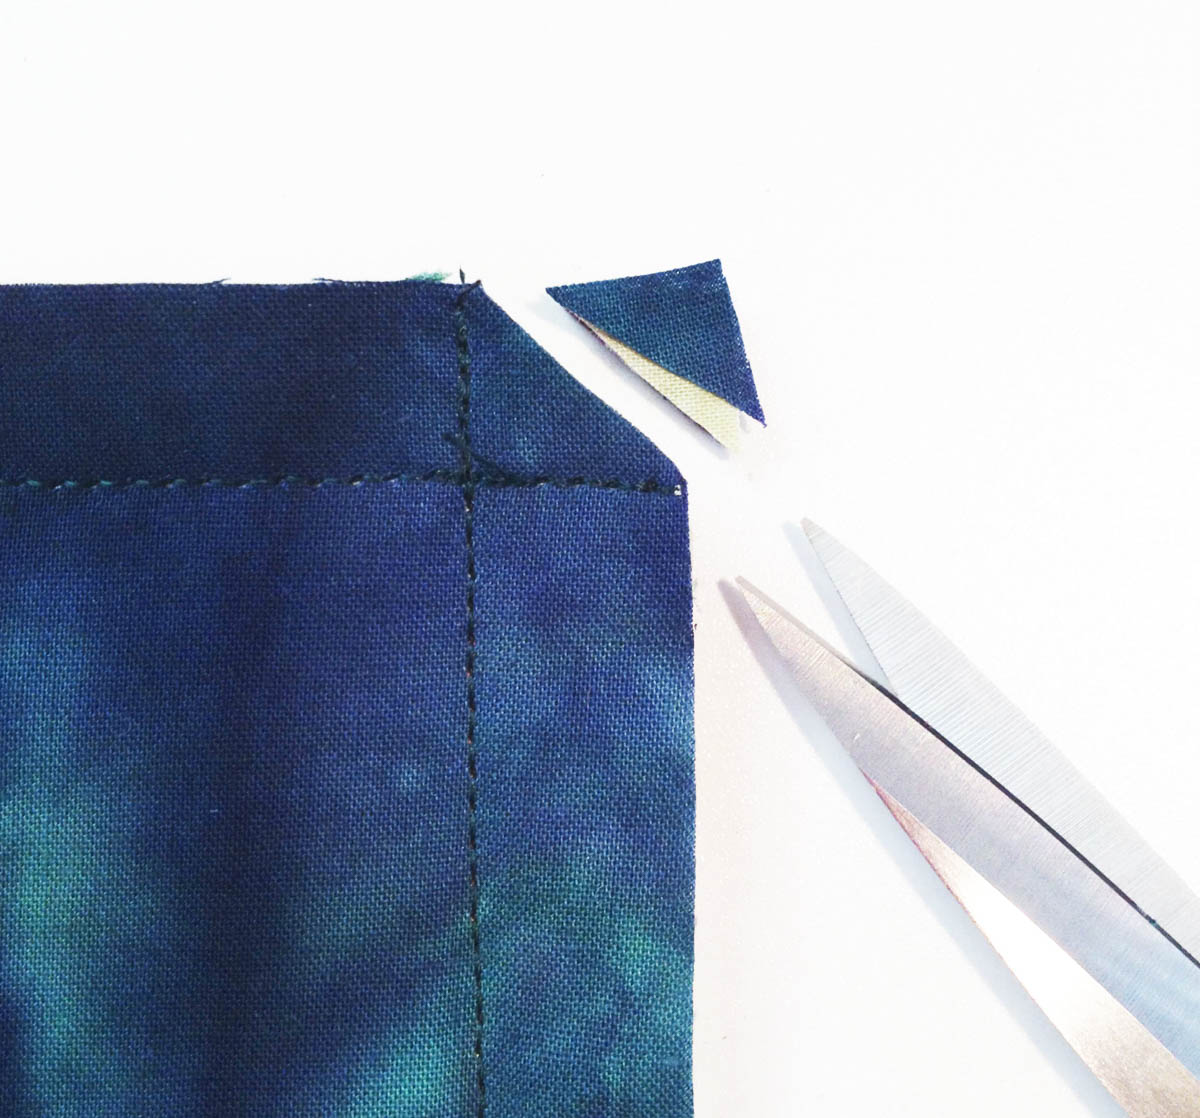
Clip each corner to remove some excess fabric.

Reach inside the opening of the backing fabrics and turn the pillow right side out.
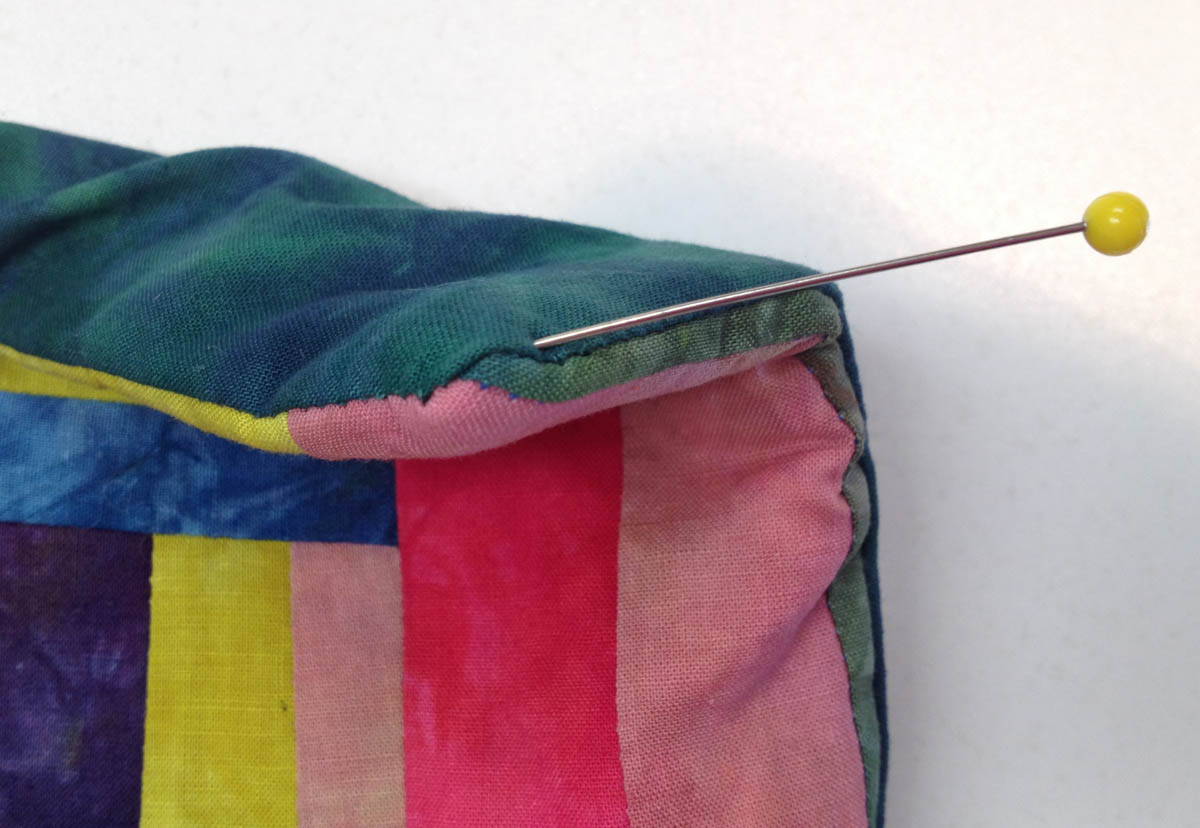
Carefully tease out the fabric at each corner with a straight pin or use a blunt pencil to form the corners.

Insert the pillow form into the pillow topper and move it around to fill out the pillow shape.
Now relax and take a nap with your easy to make pillow case.