Decorative Pillow Cases
Learn how to make beautiful, decorative finished pillow cases with flare in this tutorial from quilter, Heidi Lund.
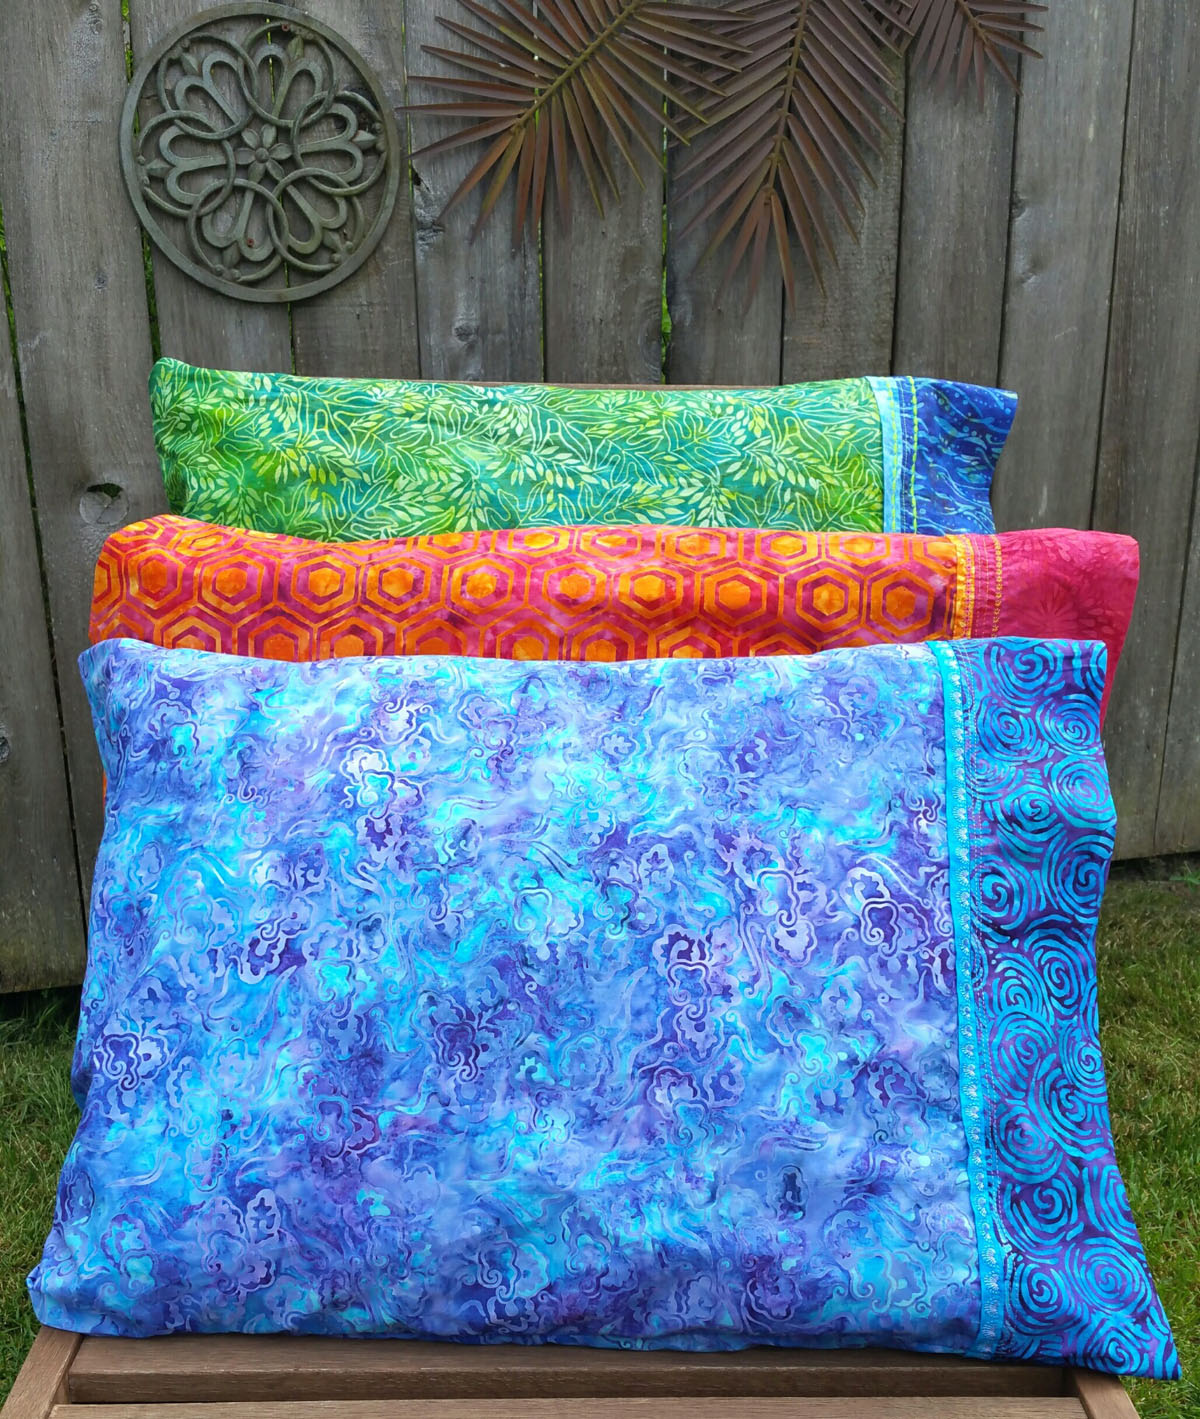
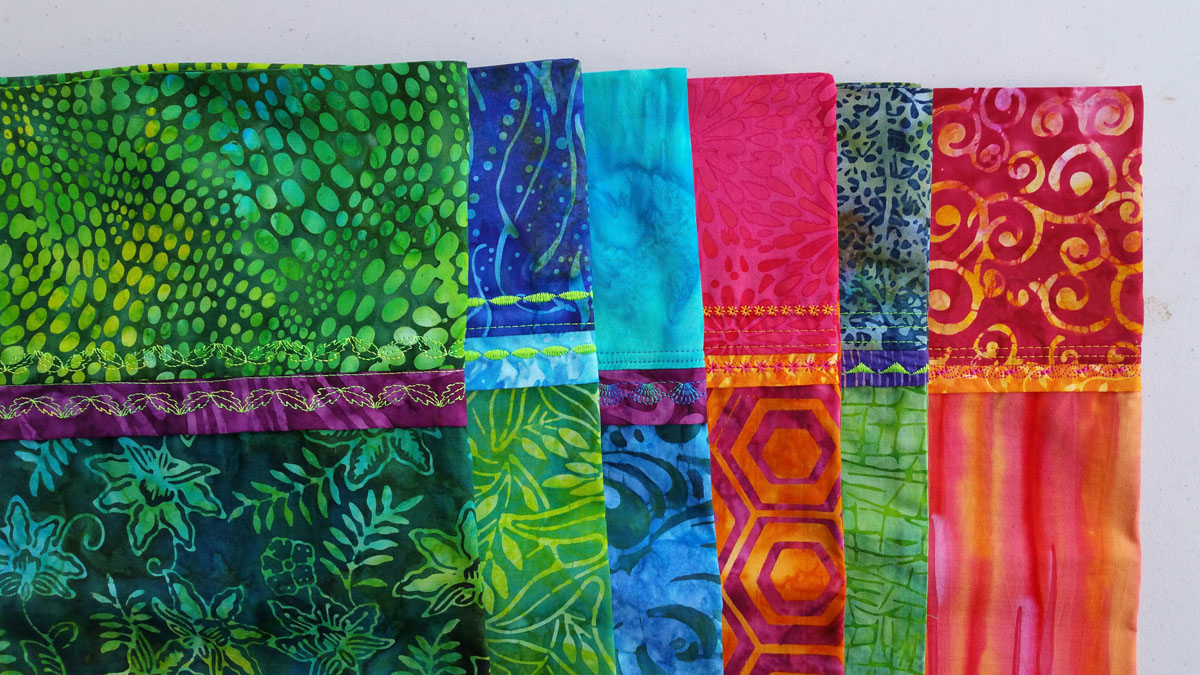
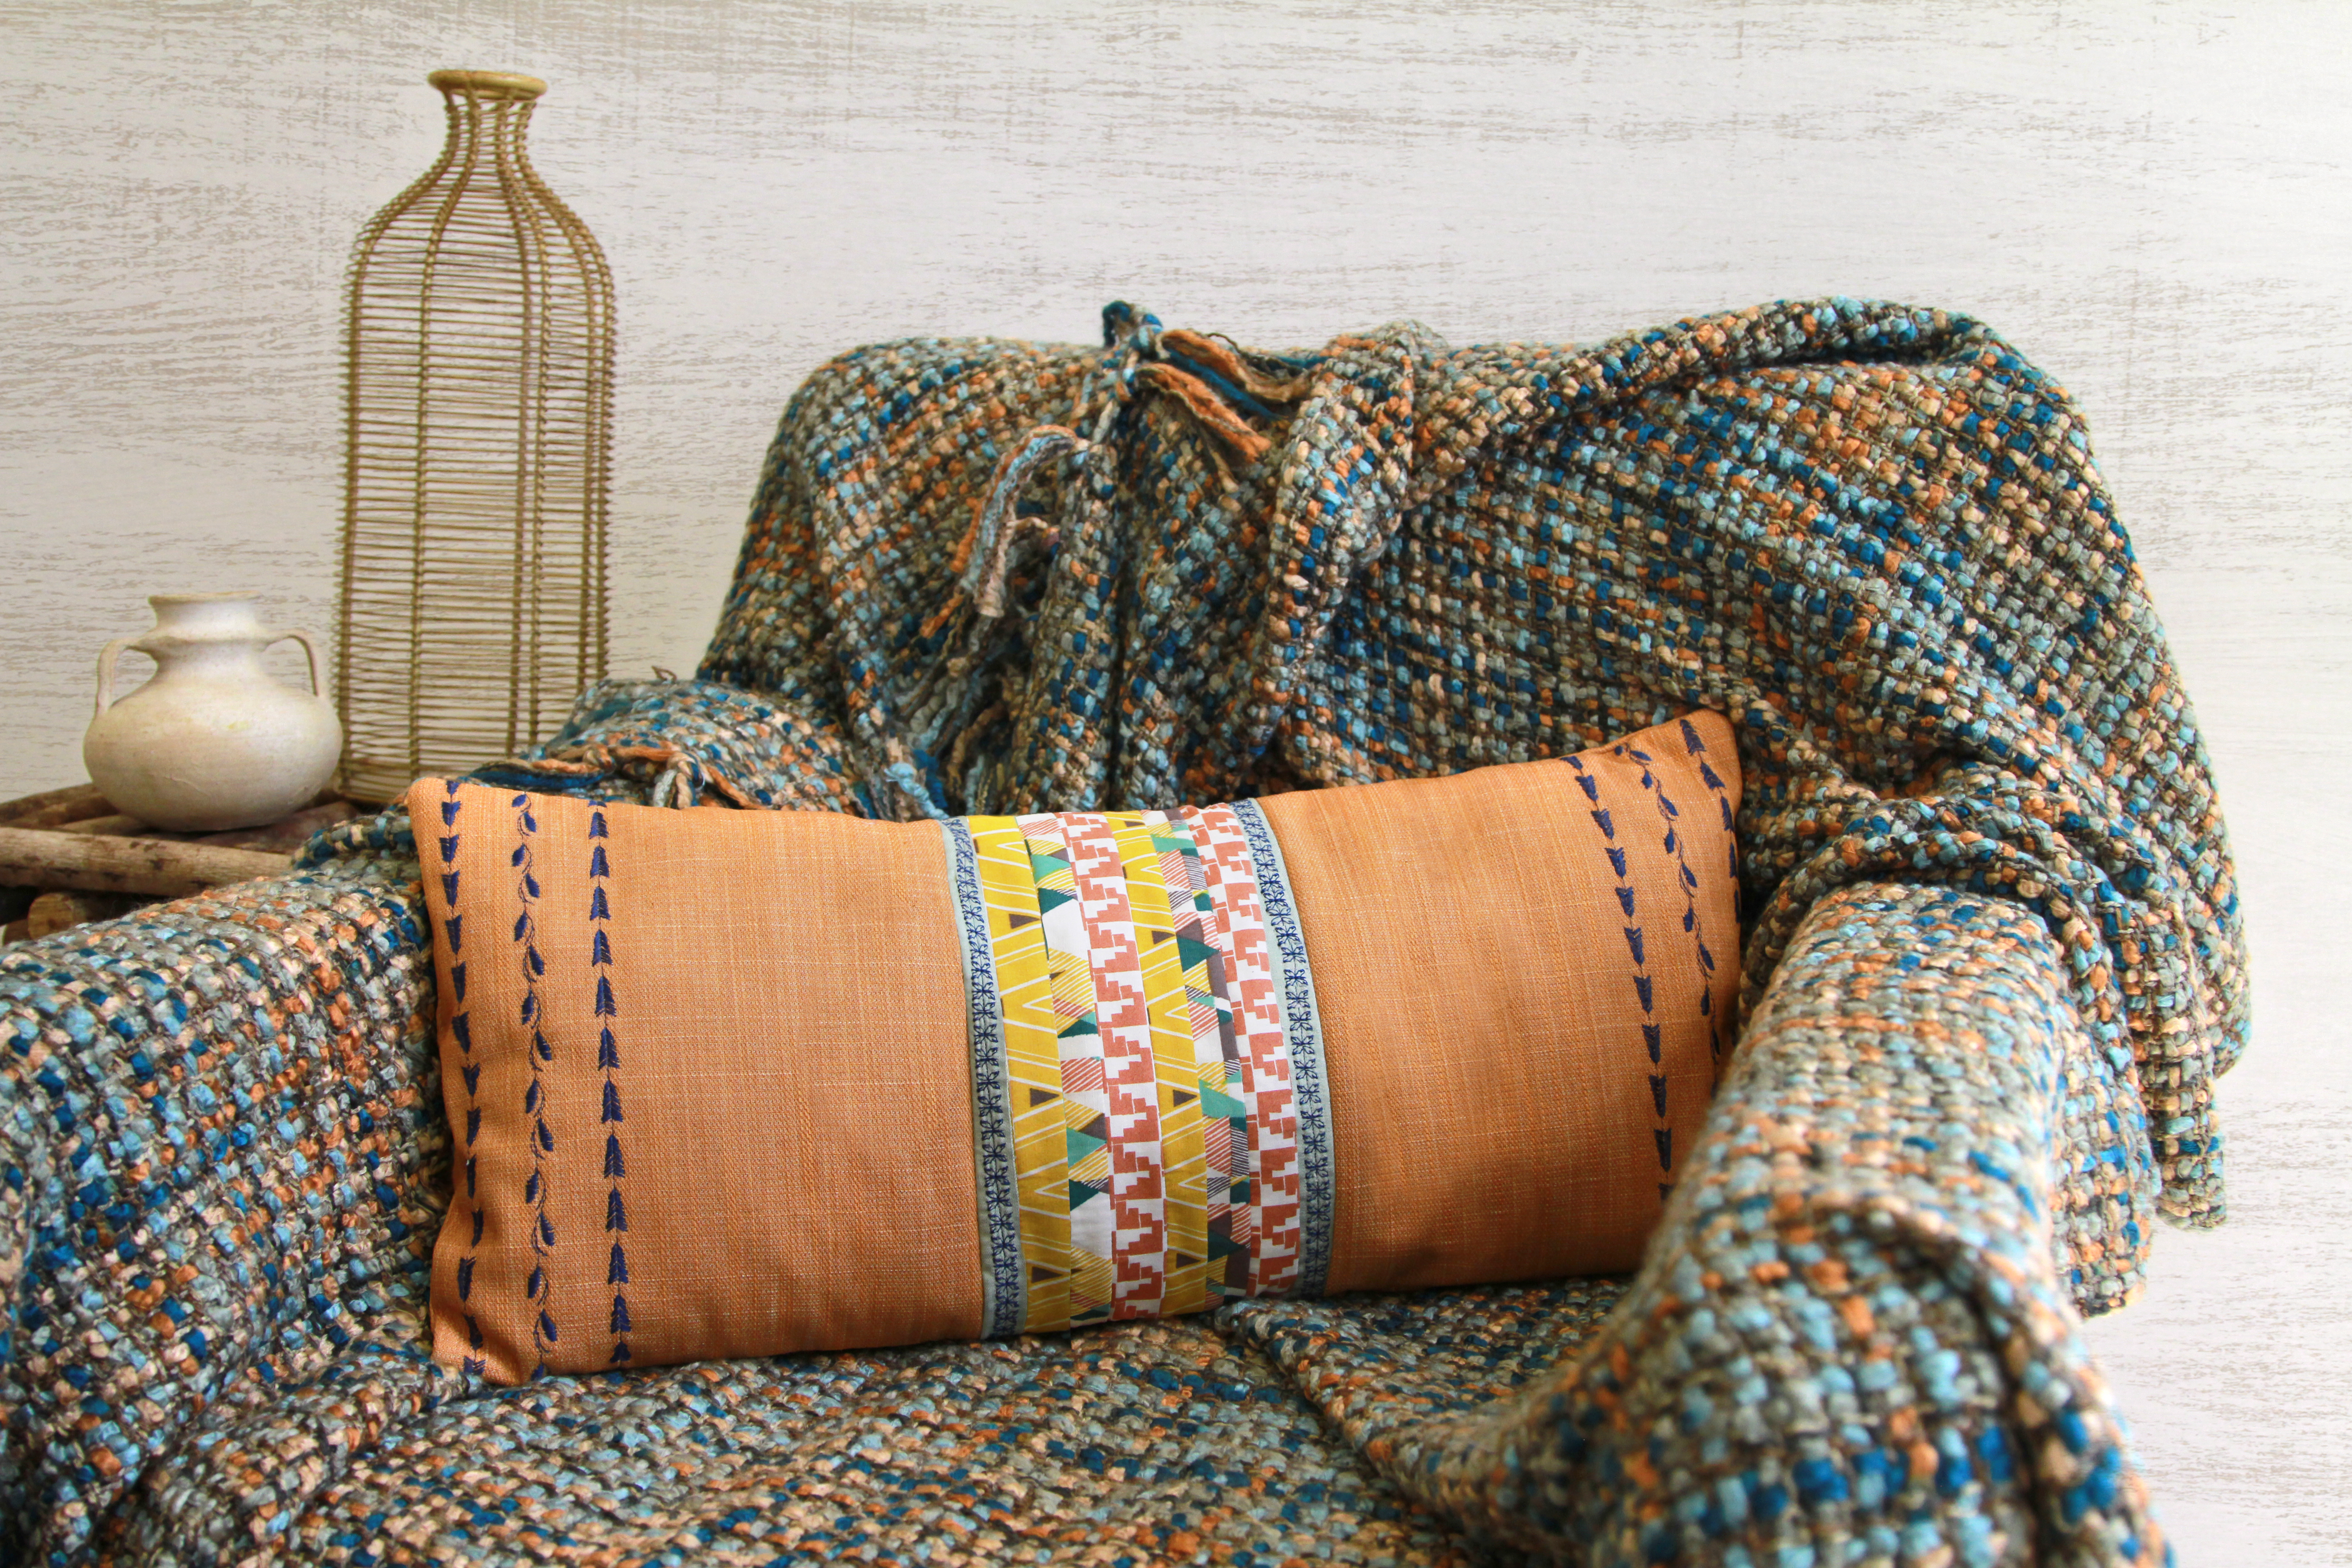
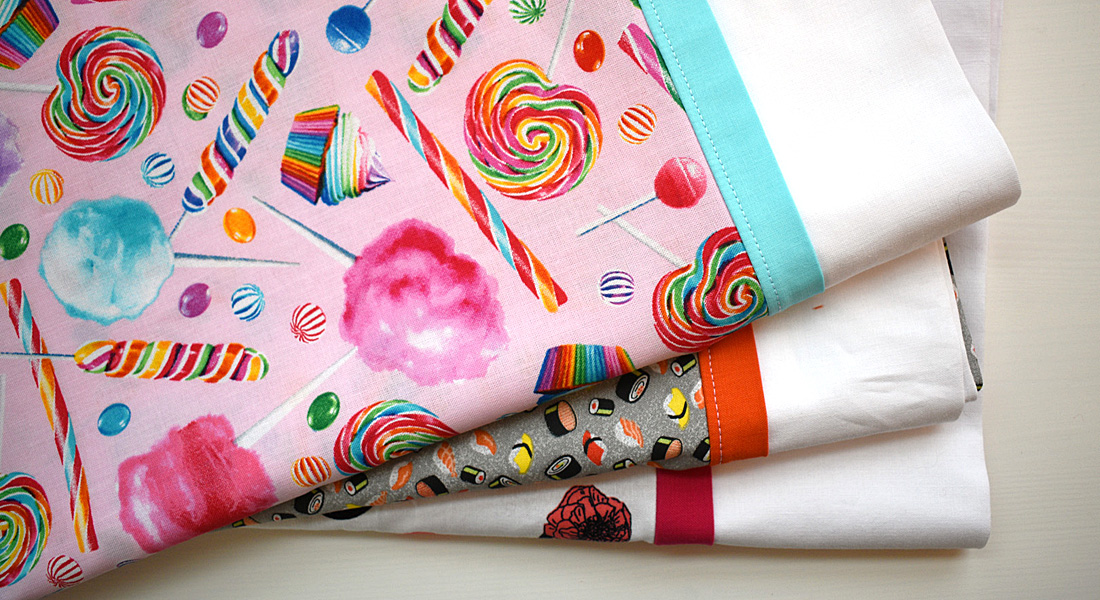
Would you like to make a one-of-a-kind graduation or wedding gift or spruce up your bedding? How about making some wonderful,decorative finished pillow cases? Use a commercial printed cotton, a hand dyed cotton, or a fabulous batik cotton for both, the case and decorative cuff with edge detail.
Materials needed to make a fanciful pillowcase
- 3/4 yard cotton fabric for body of case
- 1/3 yard cotton fabric for cuff
- 1/8 yard for trim
- Matching all-purpose thread for construction
- Contrasting threads for top-stitching
- Sewing machine, I sew on a BERNINA 770 QE)
Cut the fabrics to the following sizes:
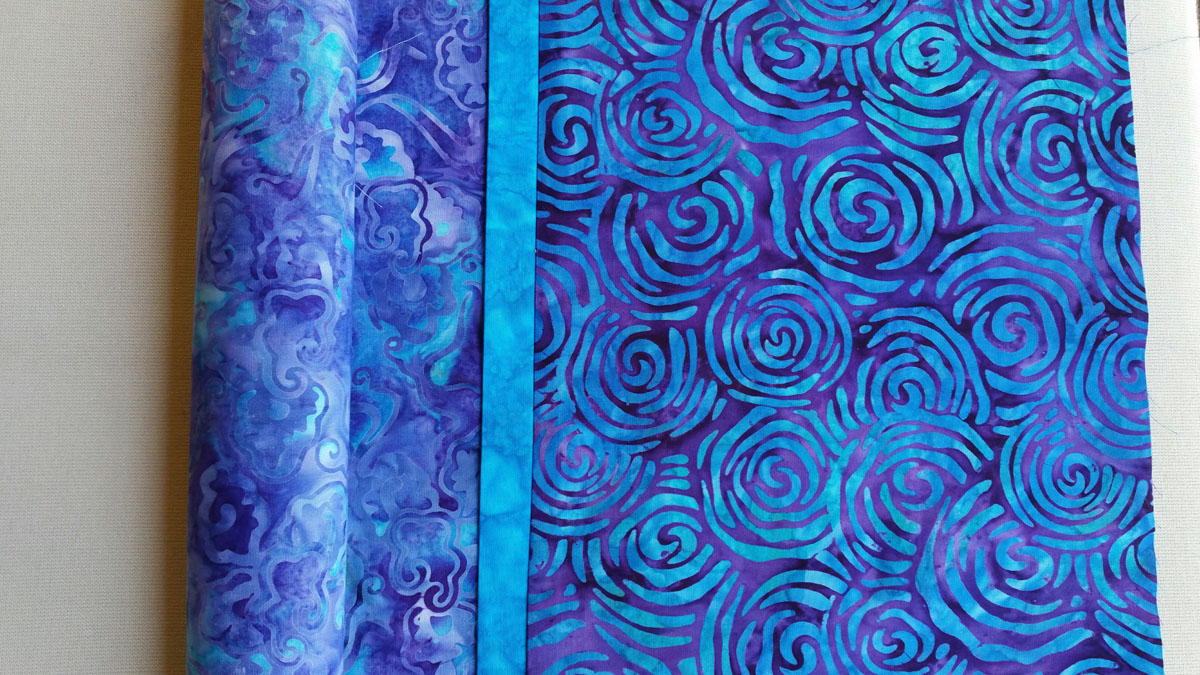
Body of Pillowcase: 27″ x 40″
Trim: 2¼” x 40″
Cuff: 10″ x 40″
Press the trim fabric in half lengthwise, with right sides of fabric out.
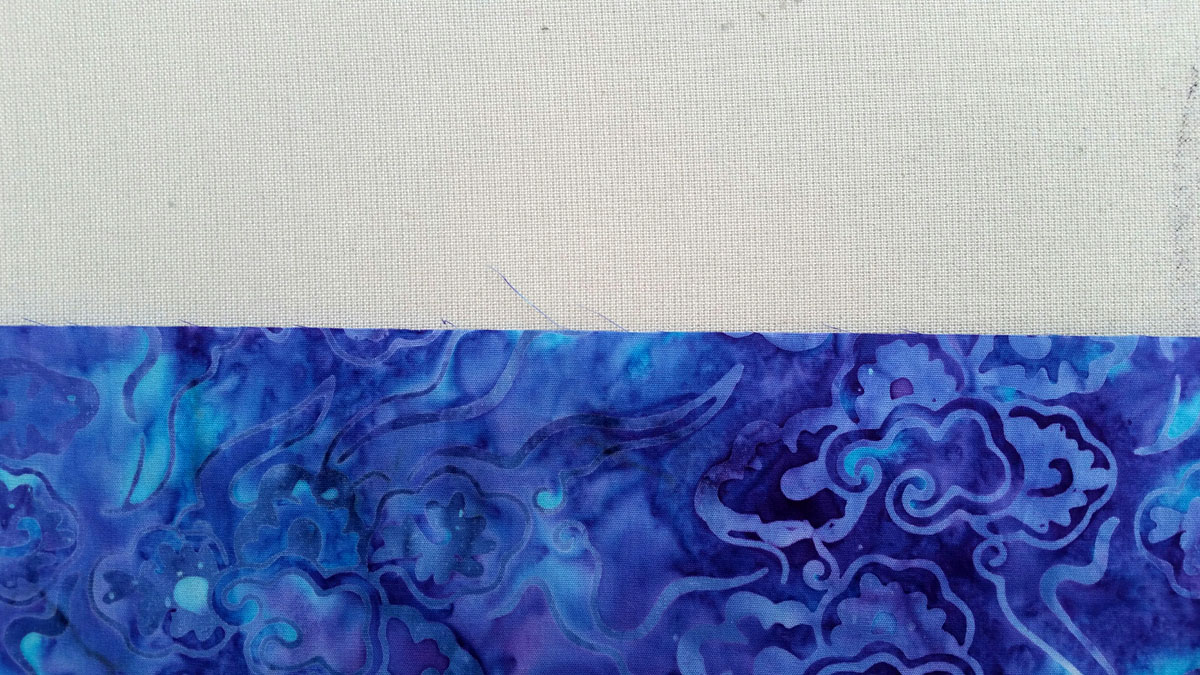
Place body of case on your ironing board or work surface (right side facing up) raw edge on top.

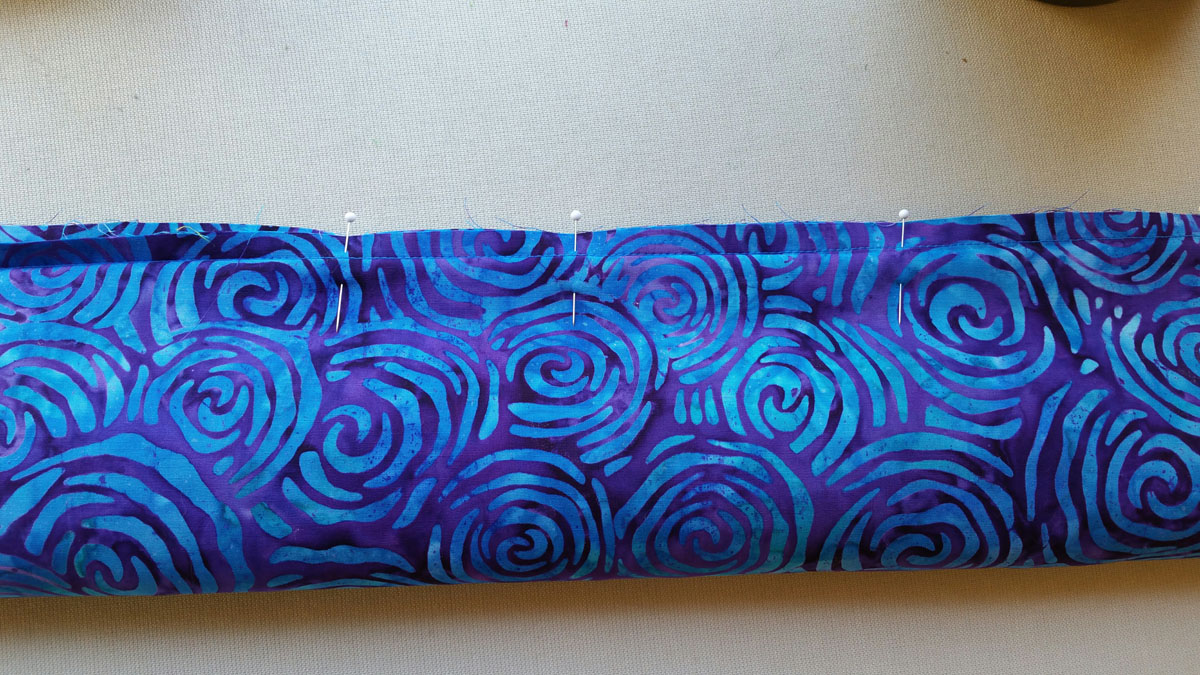
Match the raw edges of the folded trim fabric along the top edge of the body, then place the cuff fabric (right side down) along the same top edge and pin in place.
Set up your sewing machine up for stitching. For assembling the pillowcases, load your machine with a cotton or cotton covered polyester thread in both the top and in the bobbin. Use a 90/14 Top stitch or Sharps needle.
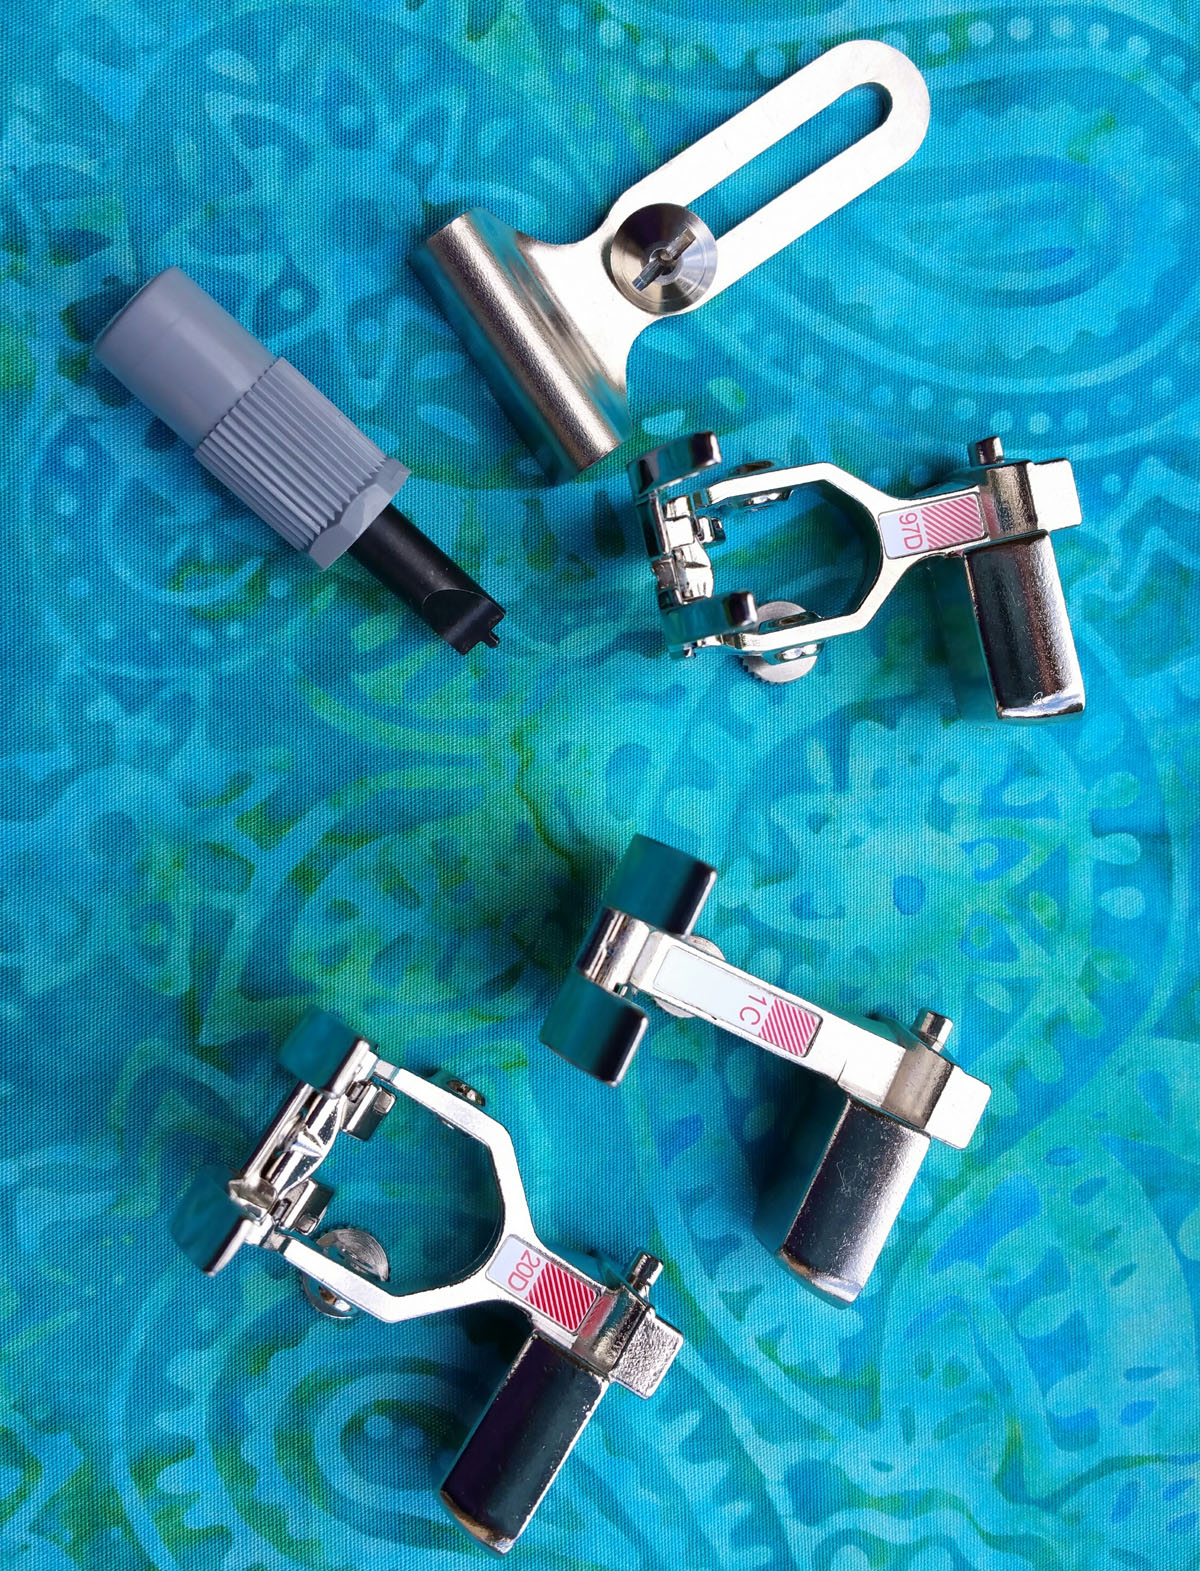
Take advantage of the Dual Feed feature on the BERNINA 7 Series used with any of these BERNINA presser feet:
- Patchwork Foot #97D includes a movable seam guide which works with Dual Feed
- Open Embroidery Foot #20D which works with Dual Feed
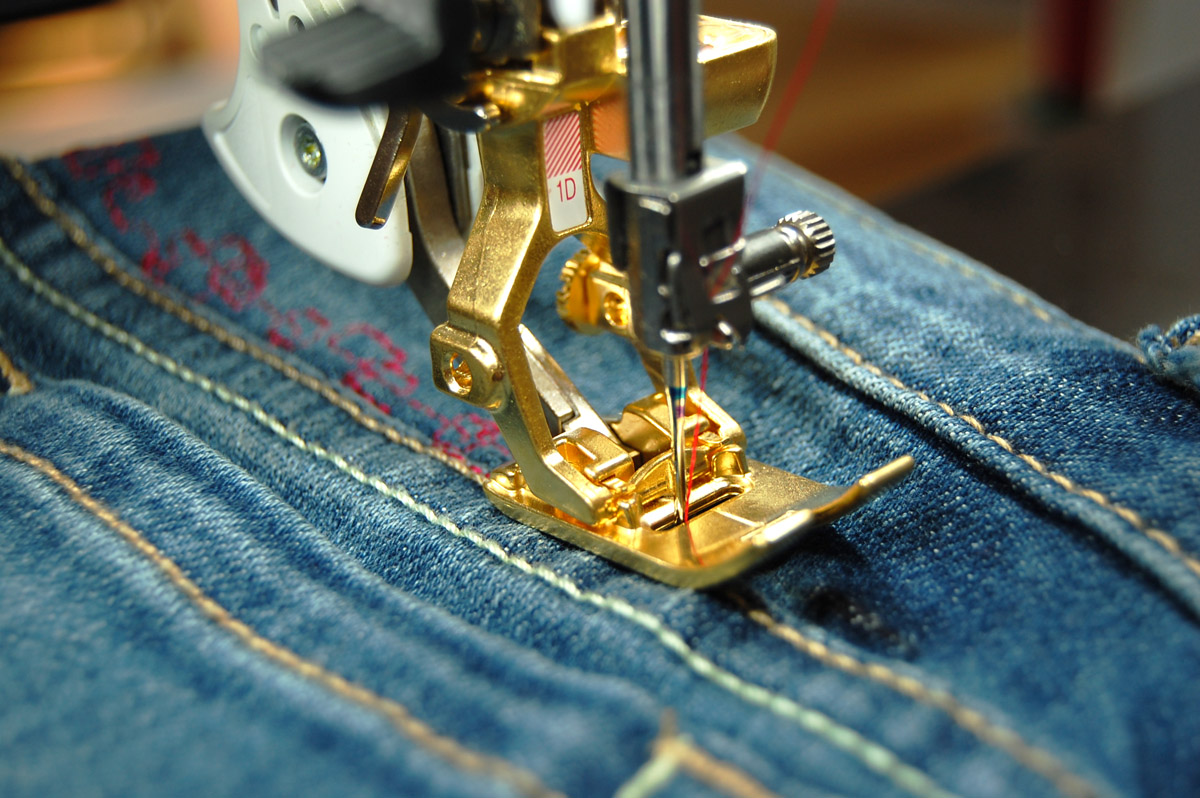
- Or, use the Reverse Pattern Foot #1D with Dual Feed

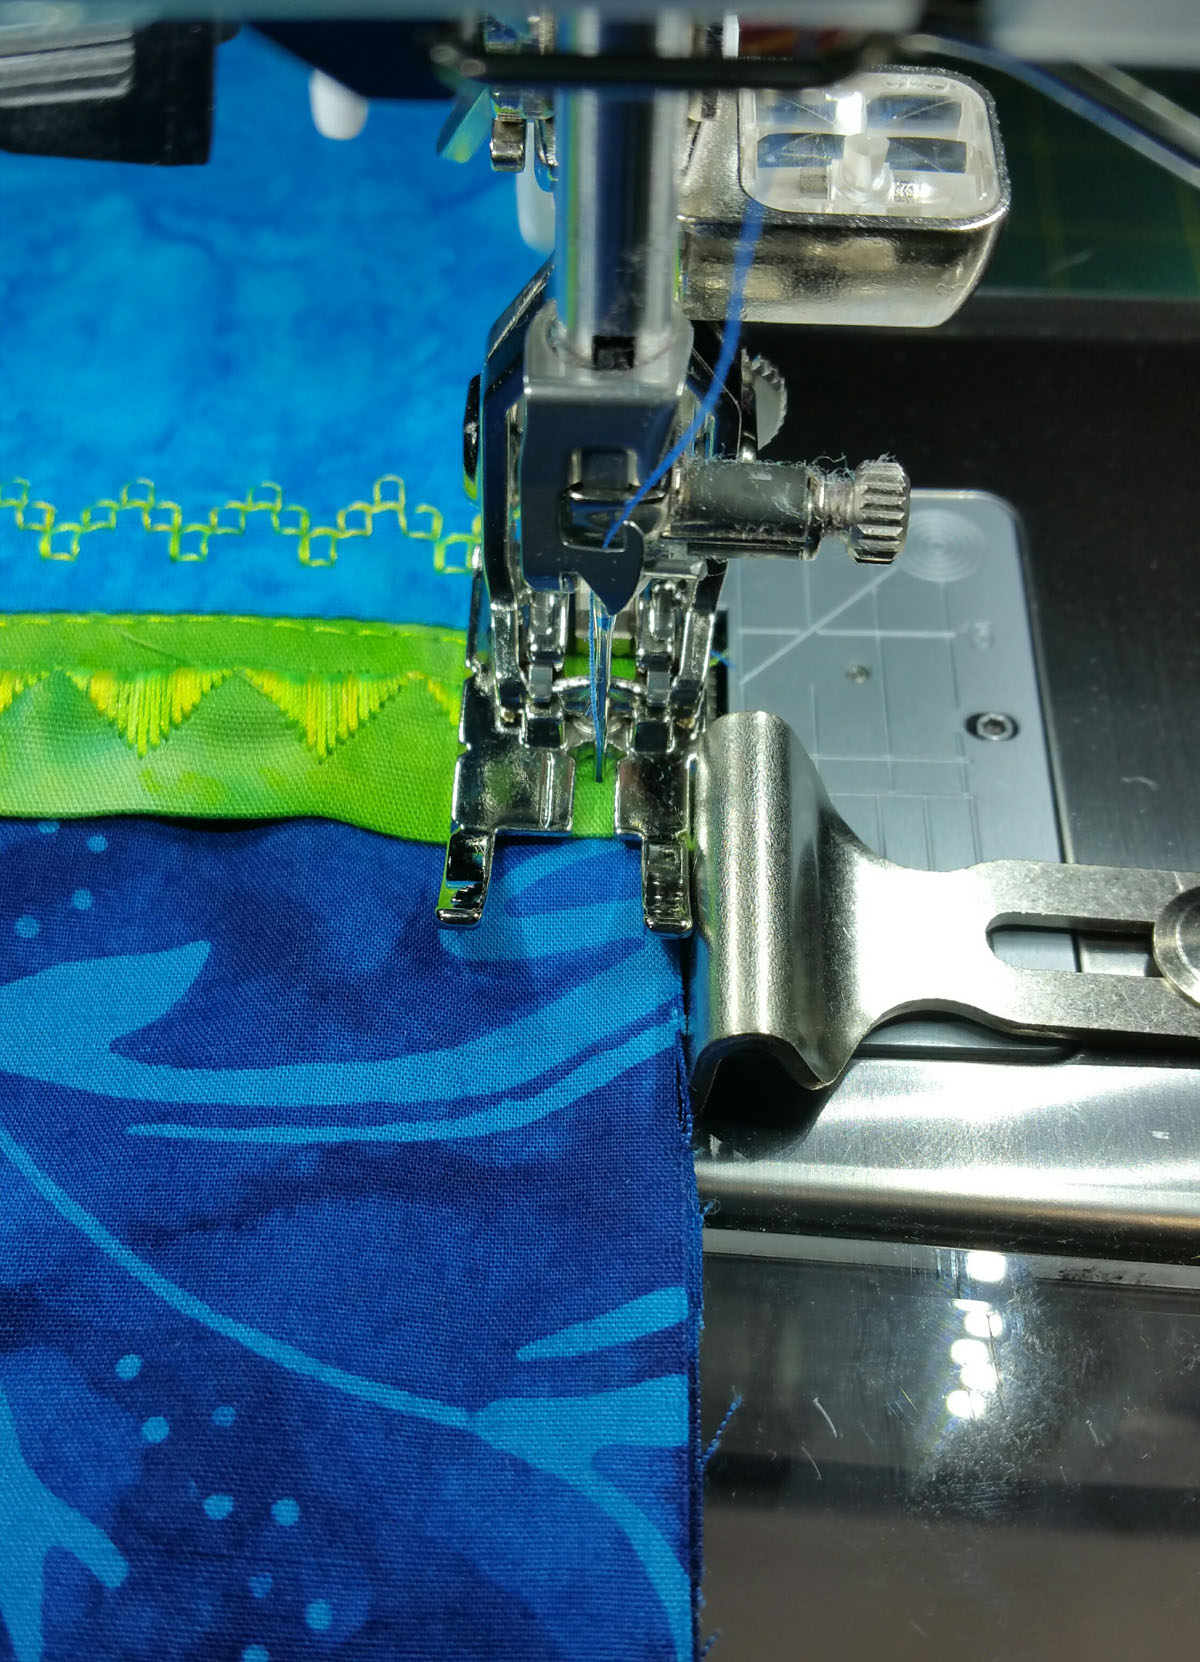
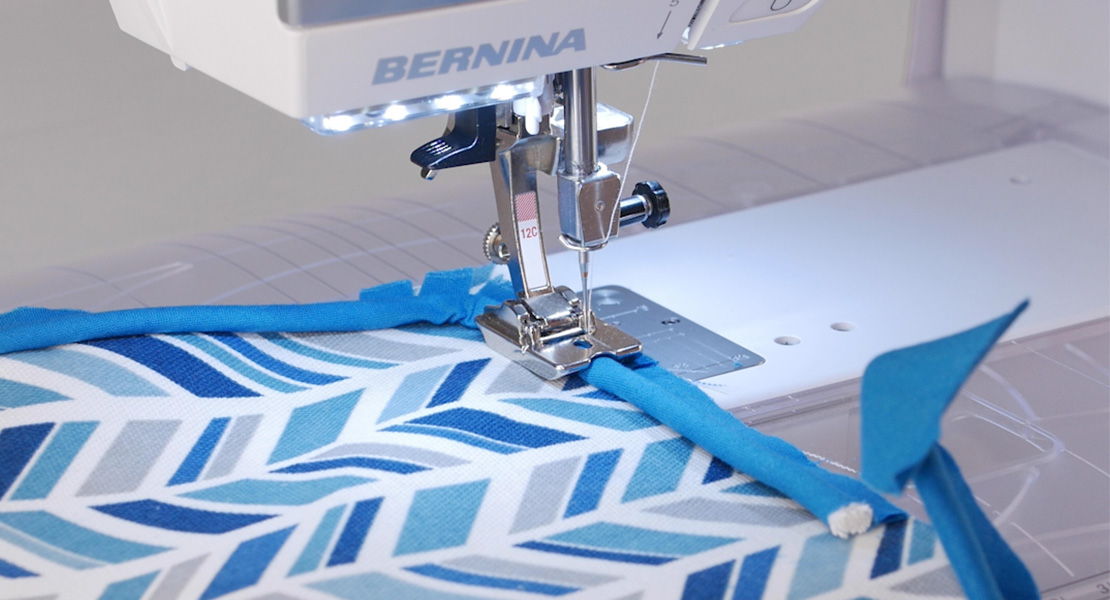
Attach the Patchwork foot #97D with the accompanying movable seam guide. Set the guide at ¼” using the small screw driver. Be sure to engage the dual feed function.
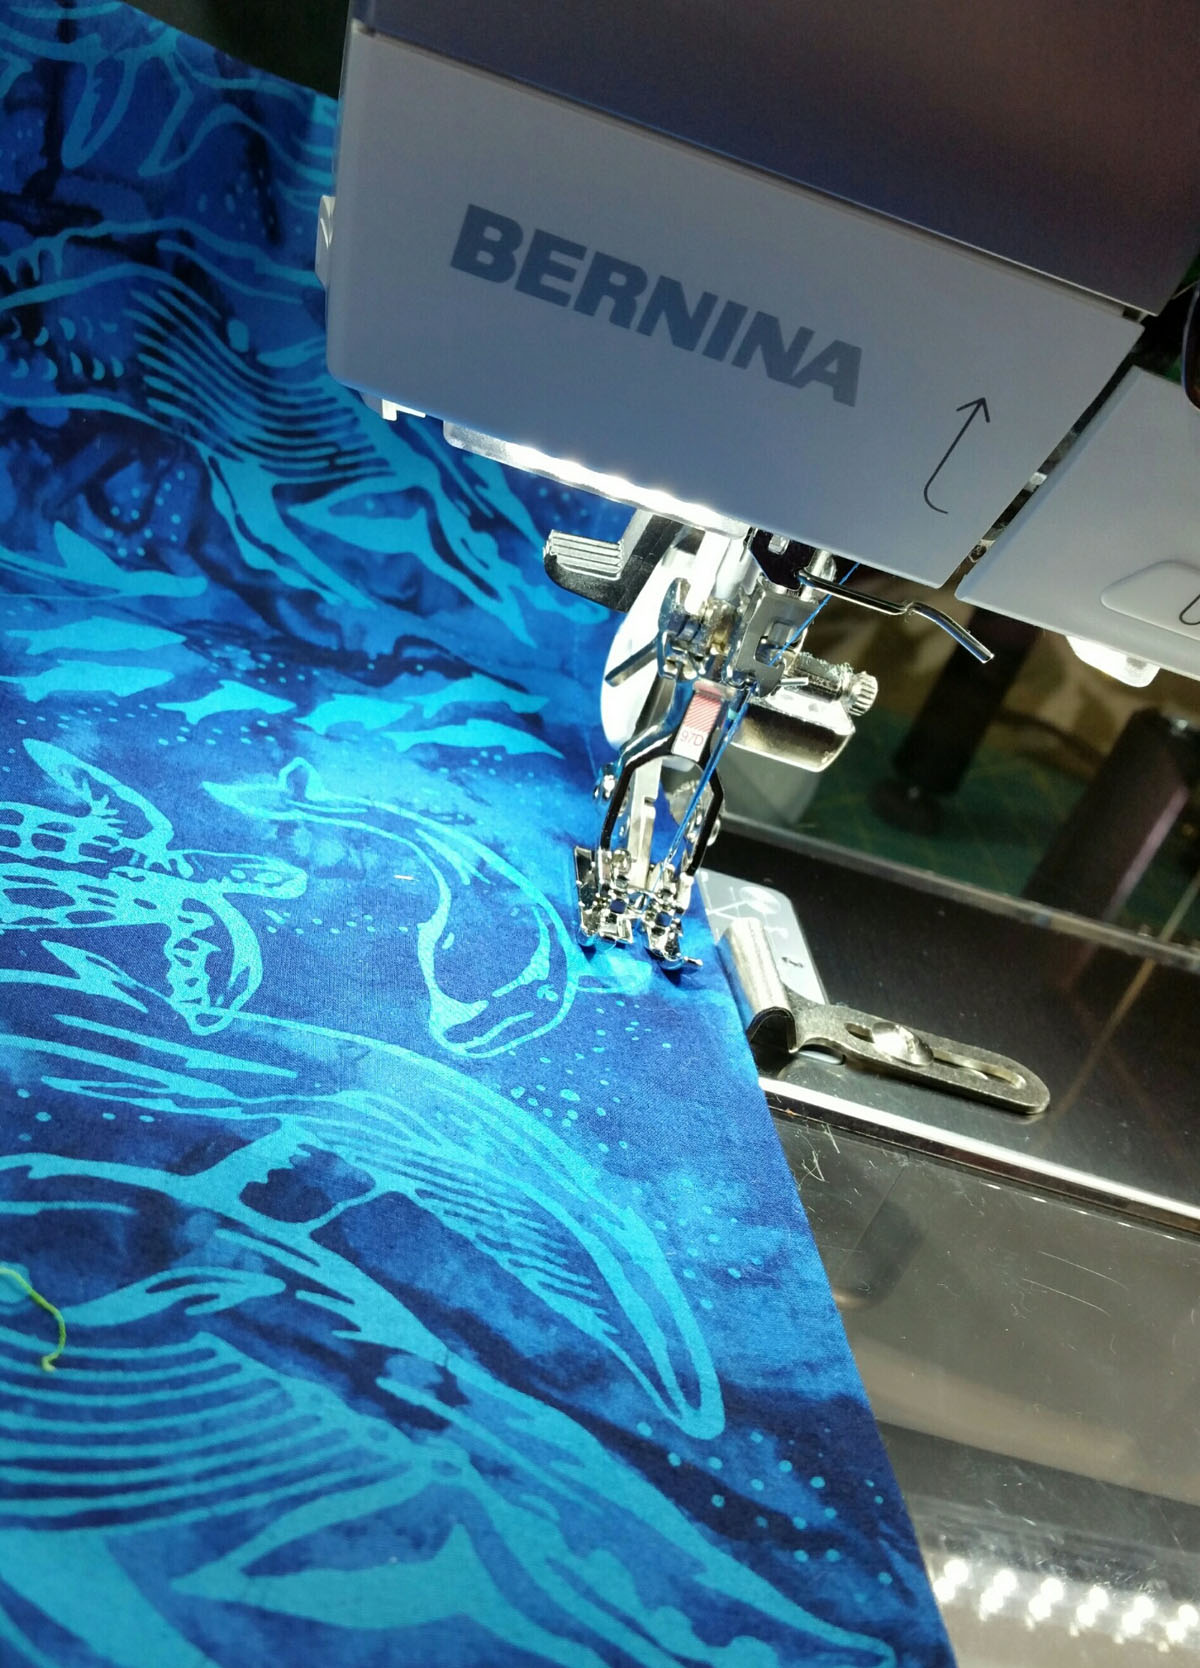
Stitch your first straight seam along the raw edge which is pinned and includes the main fabric of the case, the trim piece and the cuff piece.
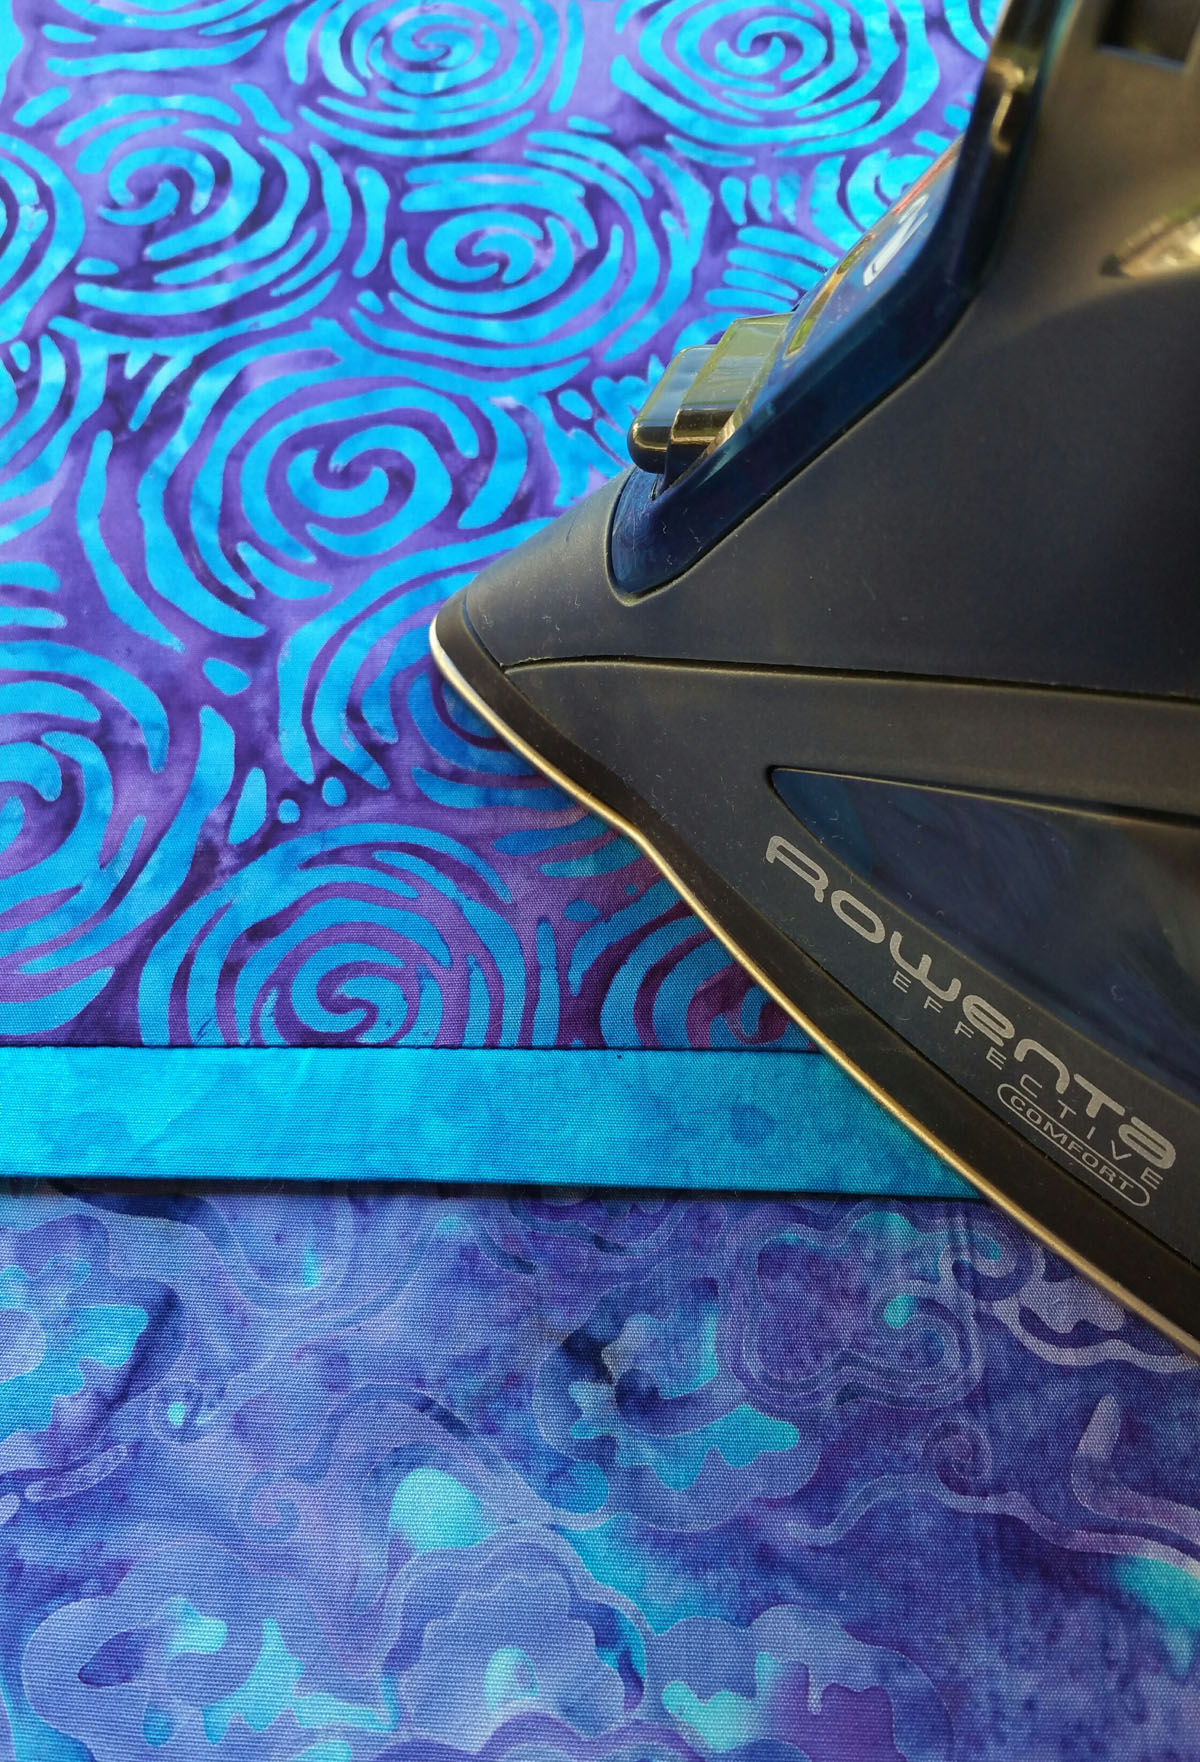
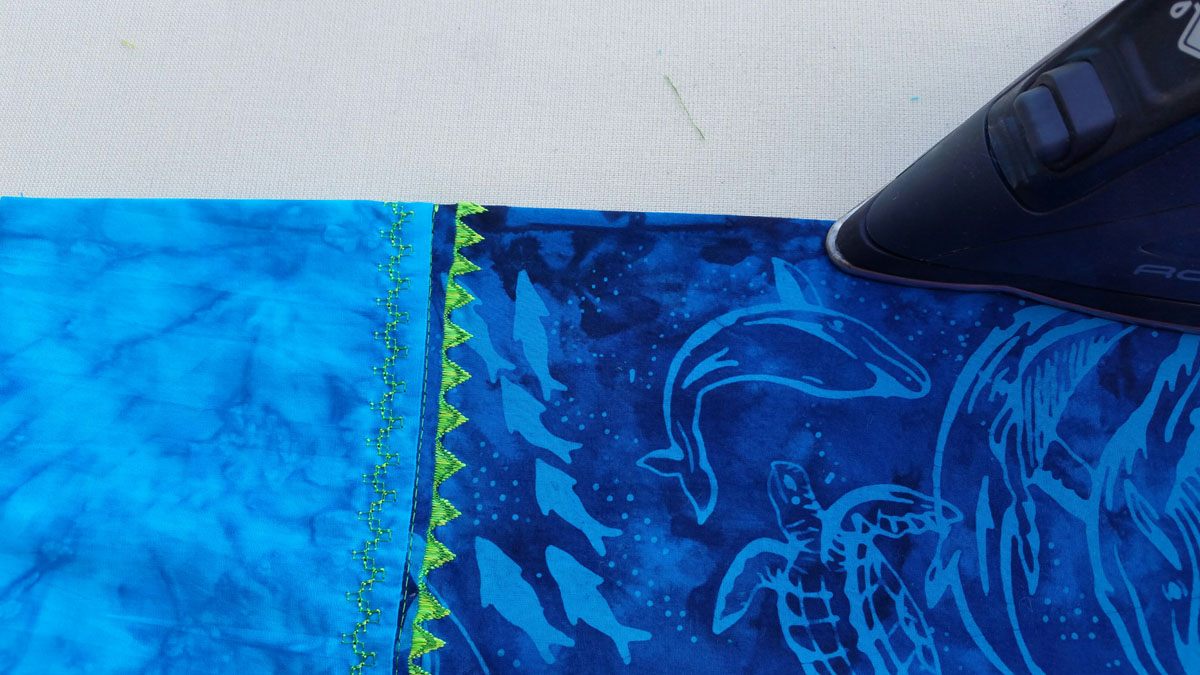
Once stitched, press the seam in one direction: away from you.
Lay the case on your ironing board with the cuff at the top. Reach down and roll the main pillowcase fabric up towards the cuff. Keep rolling until you are about 2 inches from the top of the cuff.
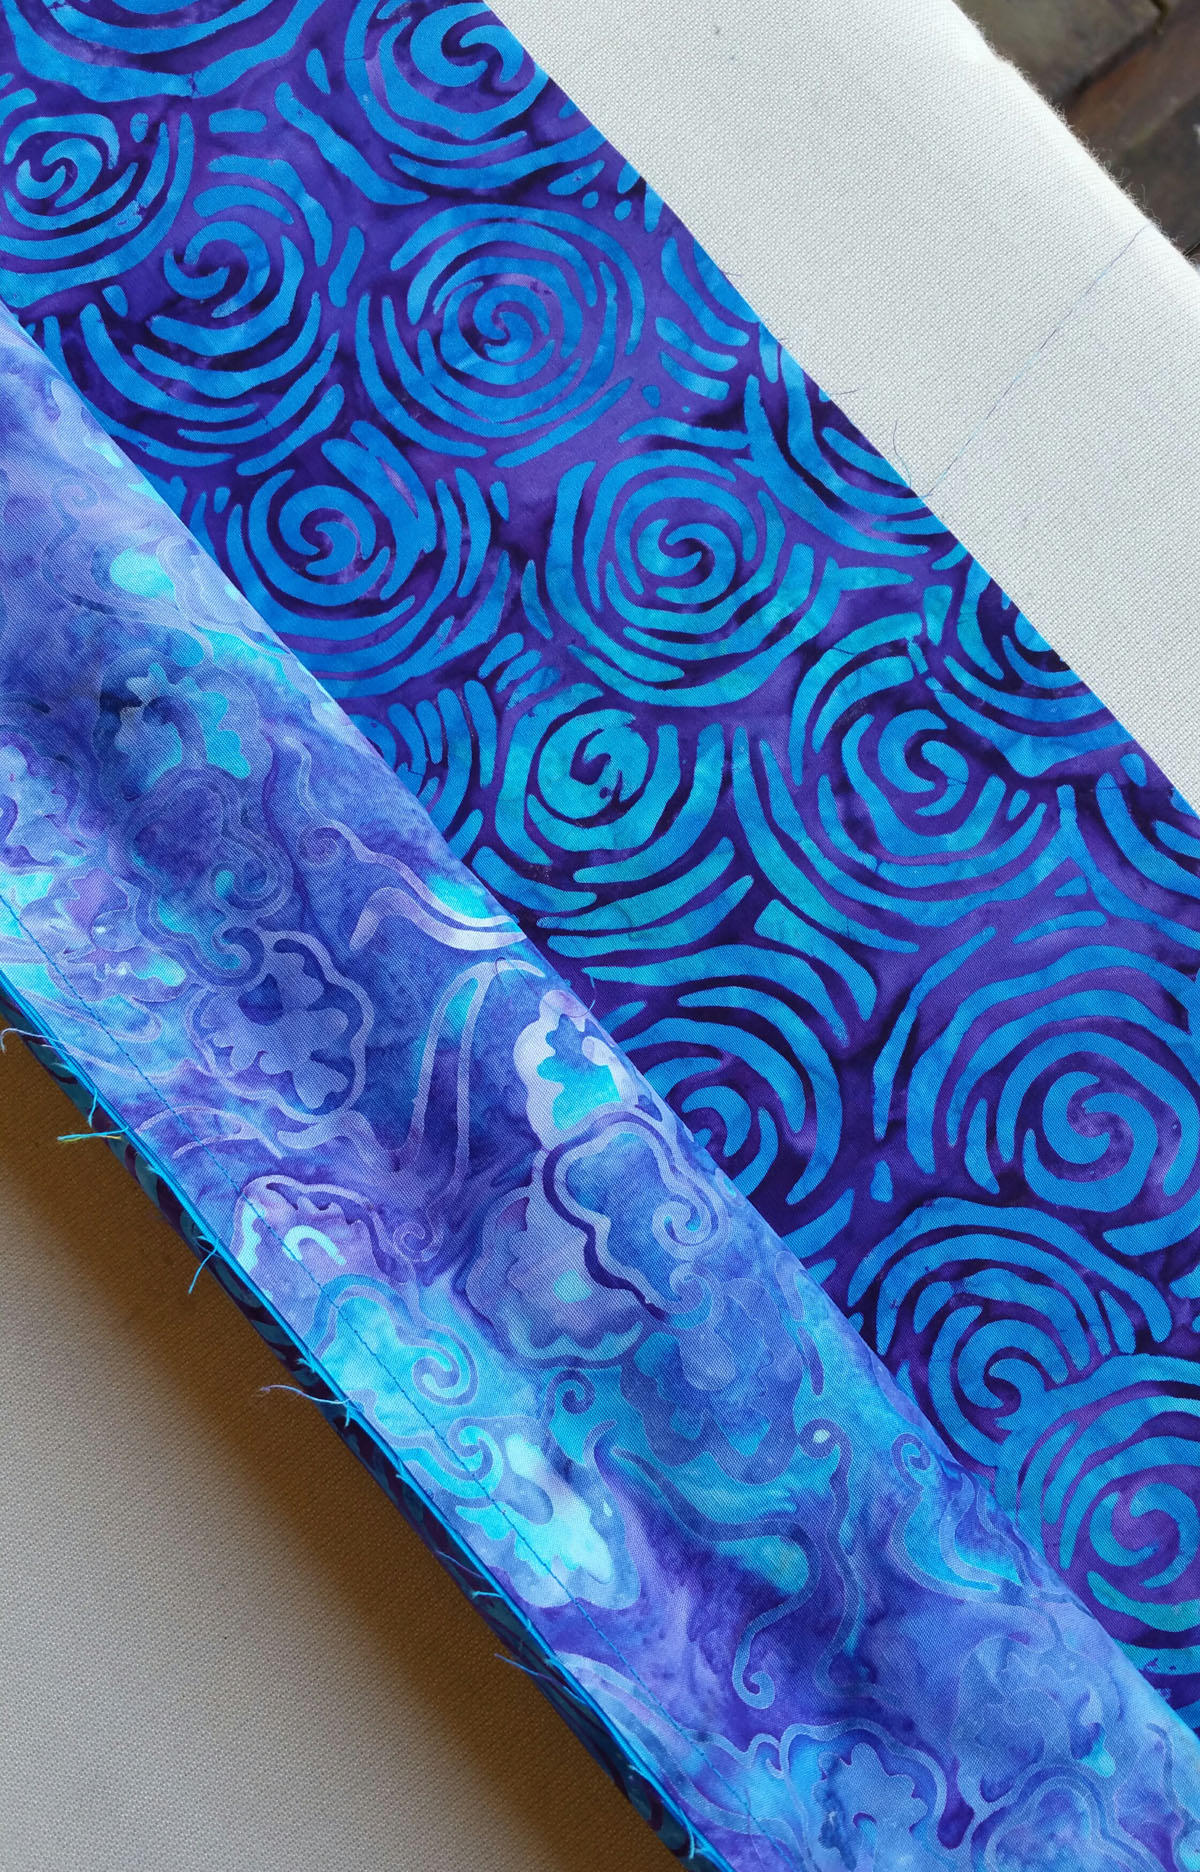
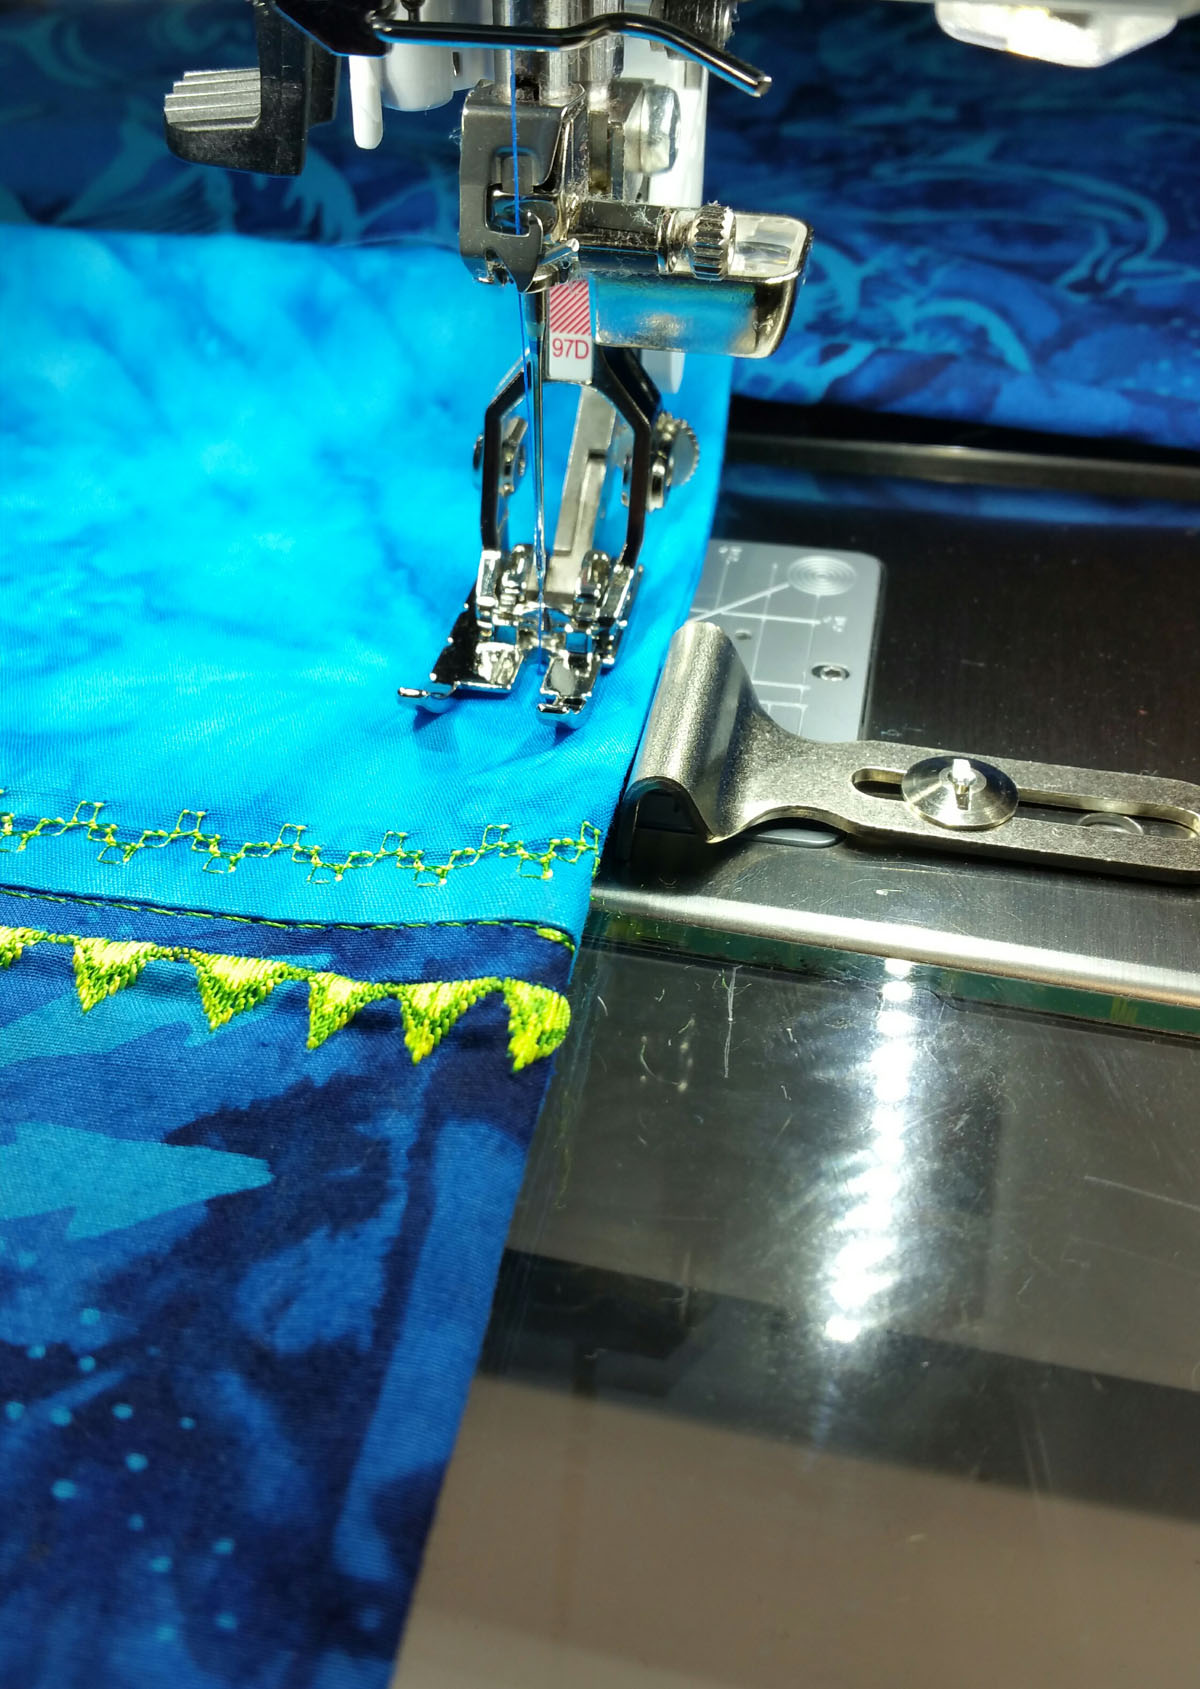
Fold the first seam that you made up to the top edge of the cuff and pin in place. You now have a fabric tube.
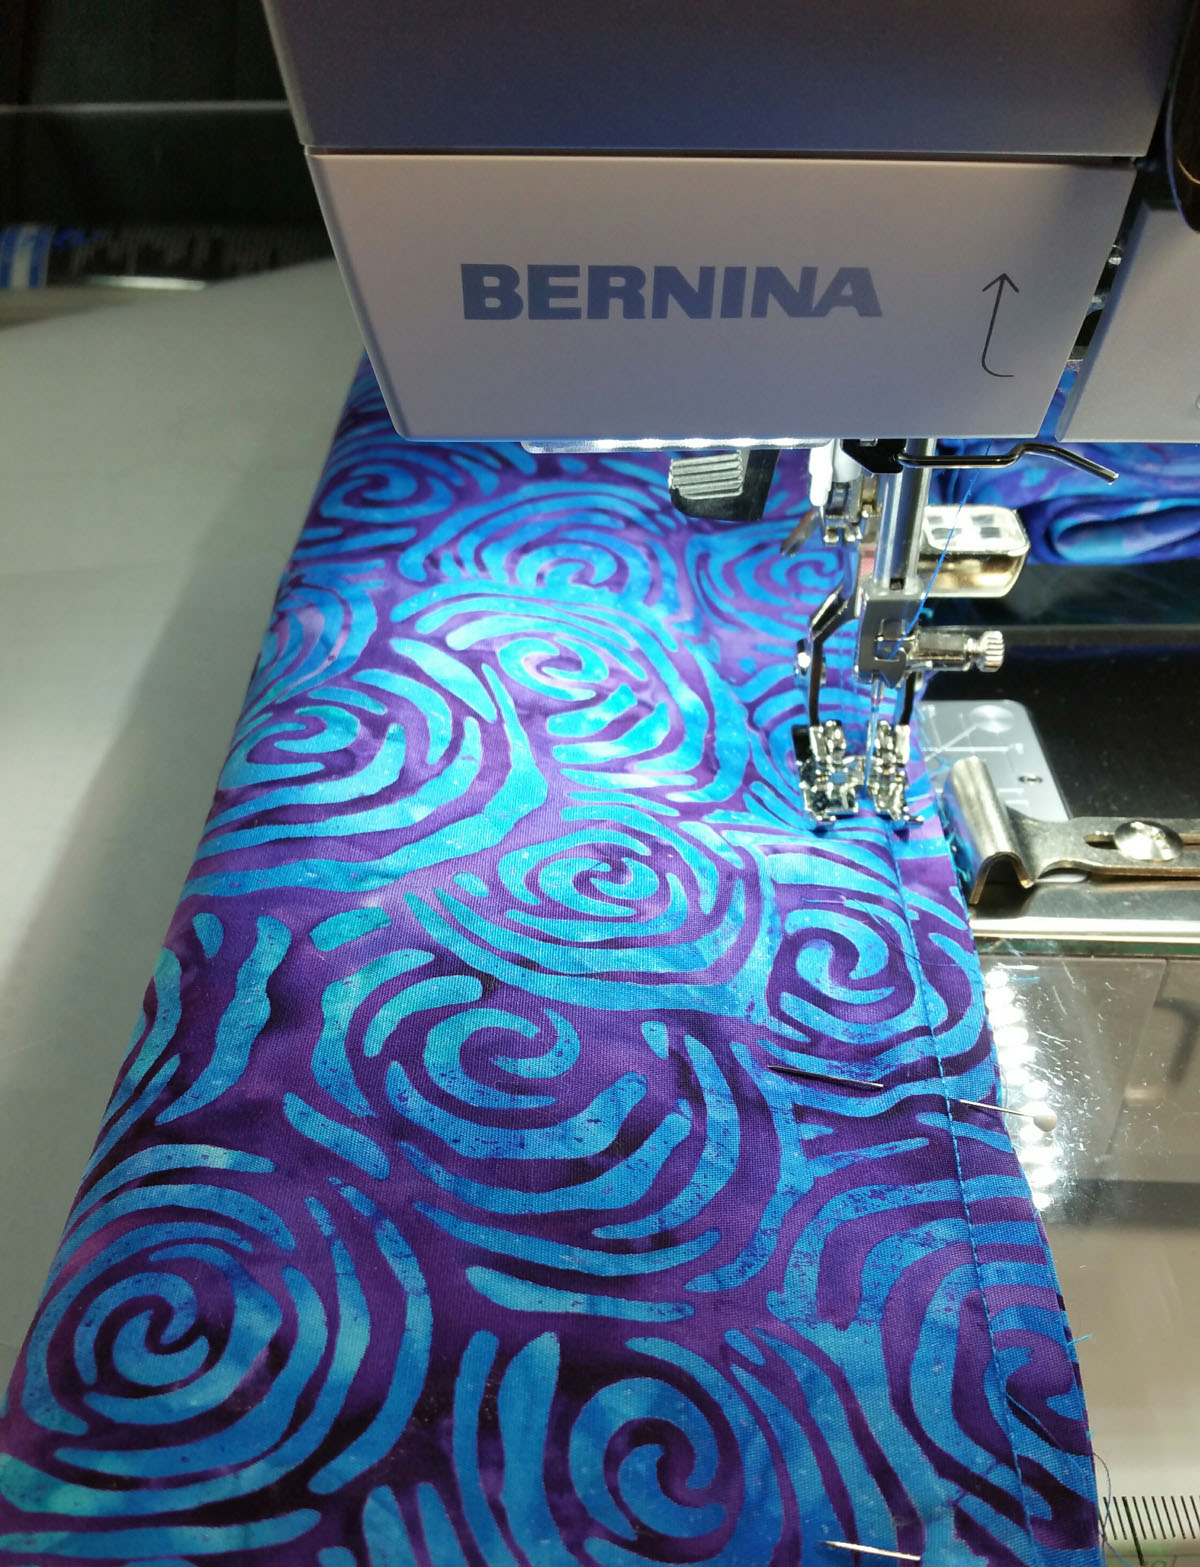
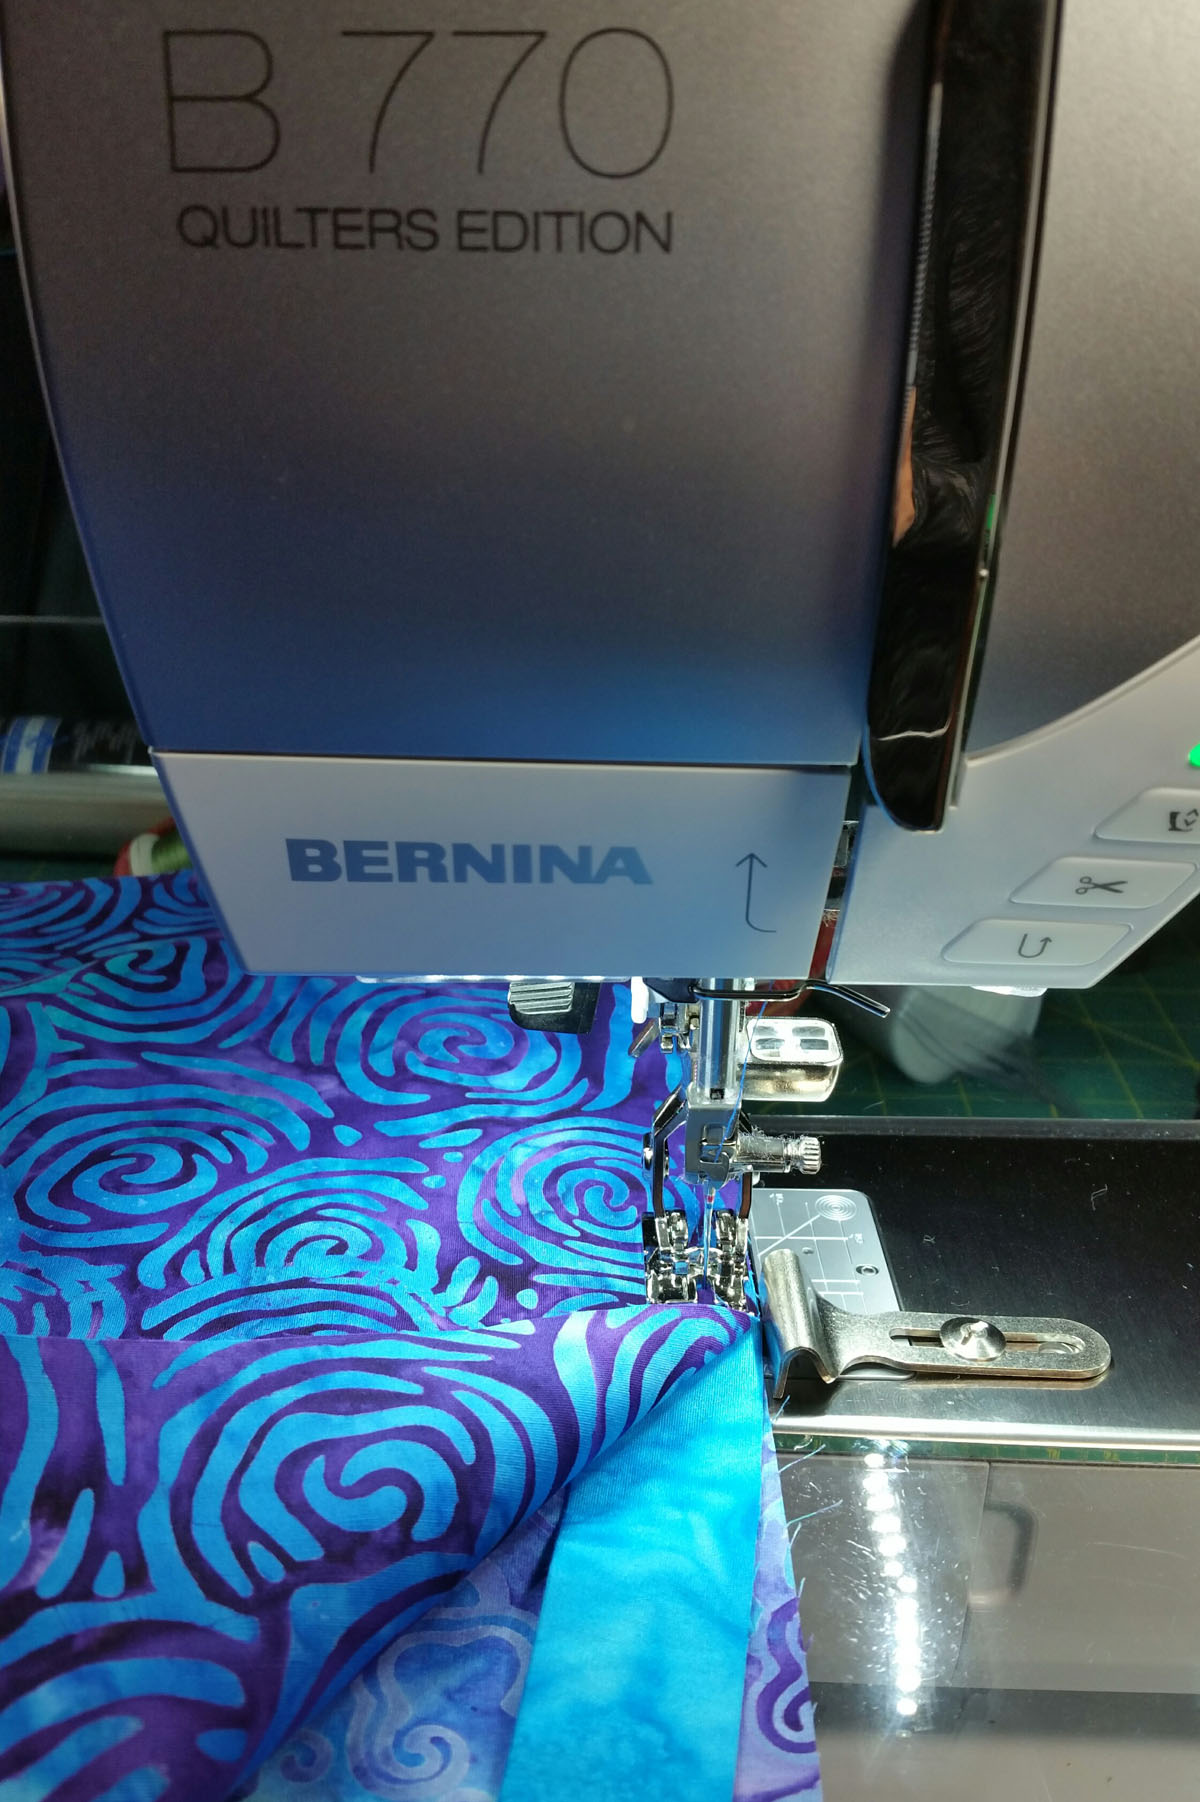
Take the pinned tube to your machine, move the seam guide over to the next line on your stitch plate 3/8″ and stitch along the pinned raw edge.
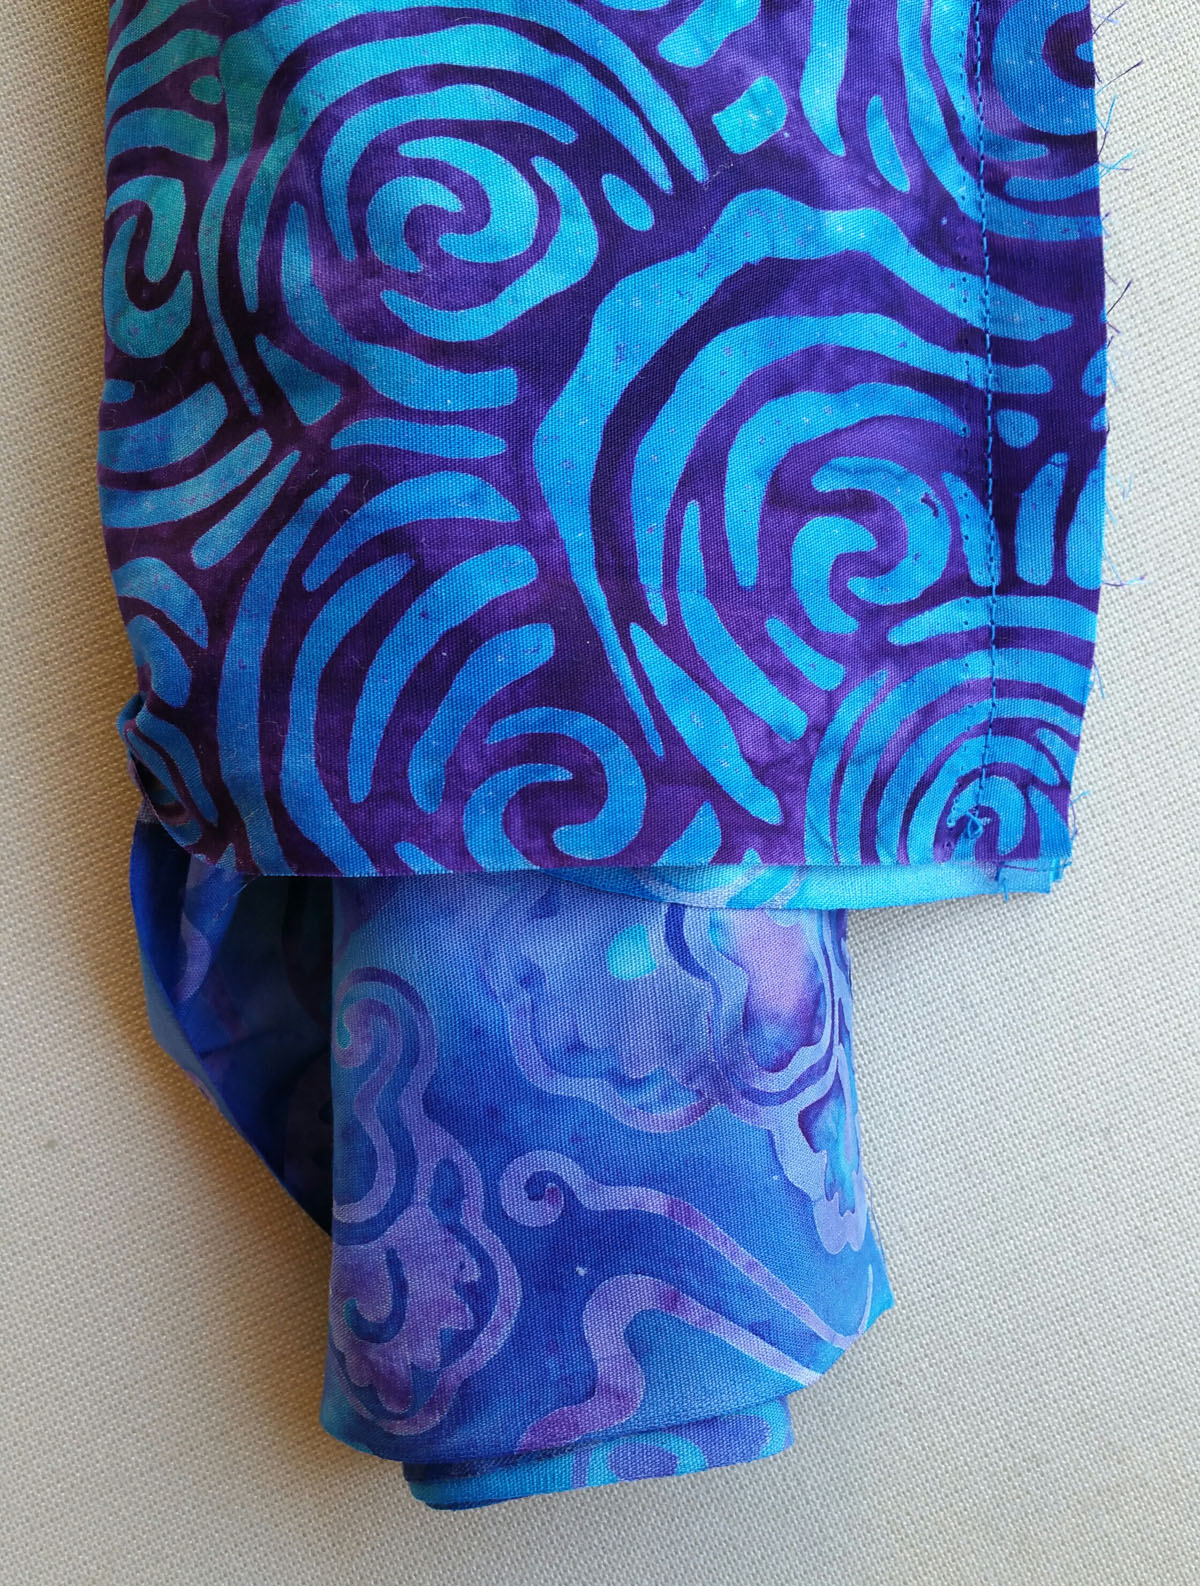
Turn the pillowcase right side out by pulling the main fabric section out thru the side opening of the fabric tube.
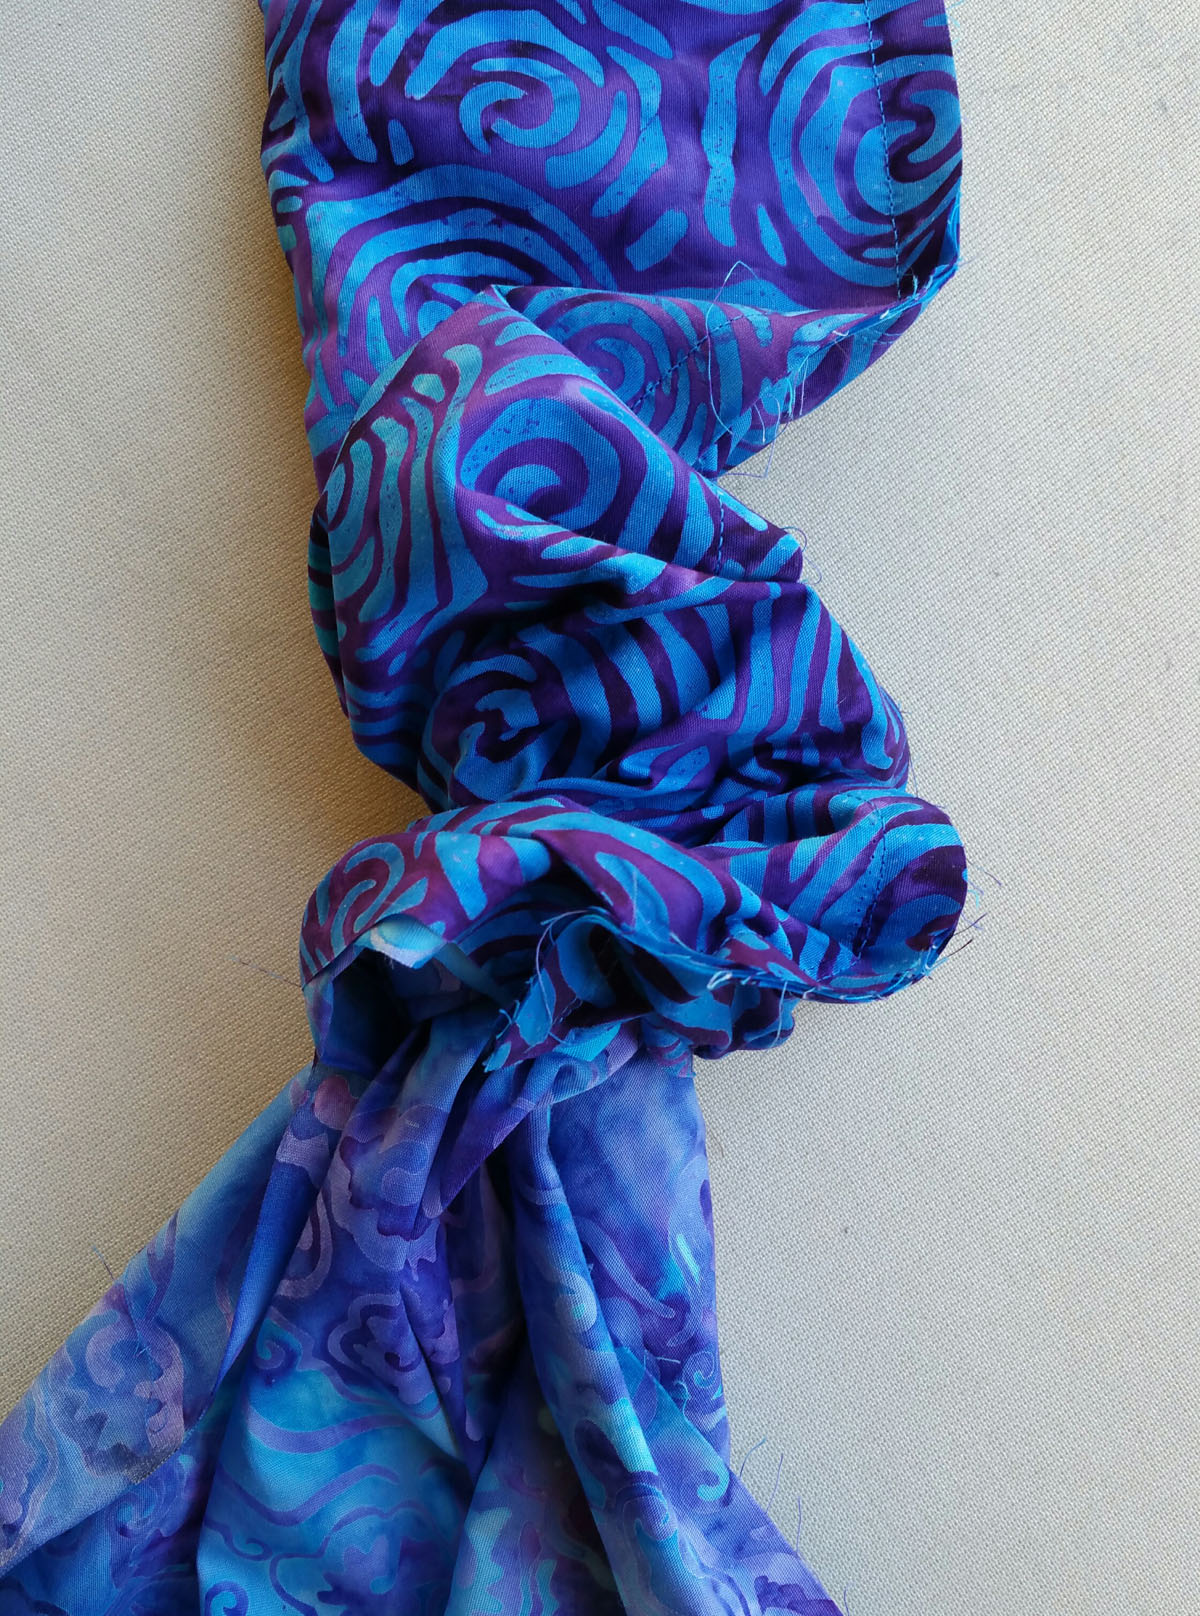
Keep pulling!
Once you have pulled the case out of the tube, your raw edged will all be encased. Press seams flat. You are now ready for decorative stitching. Remove the seam guide and set aside momentarily.
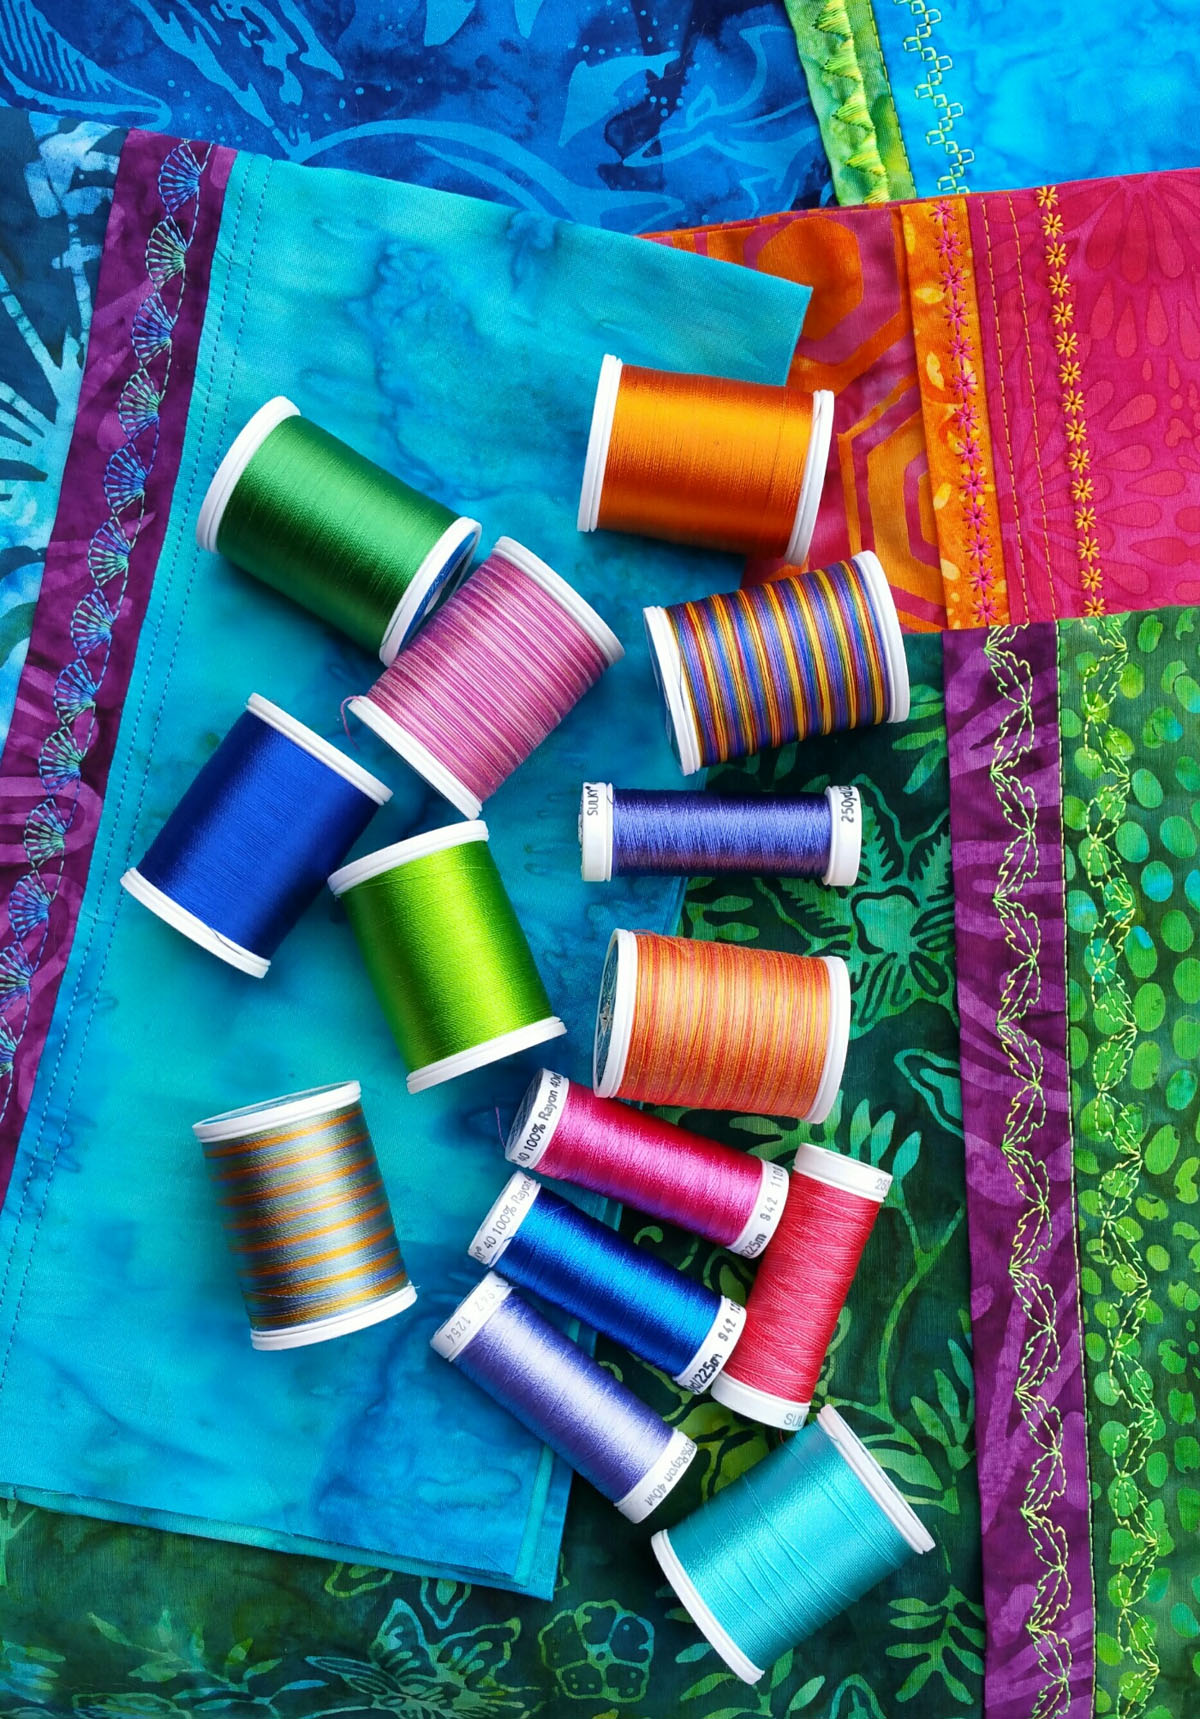
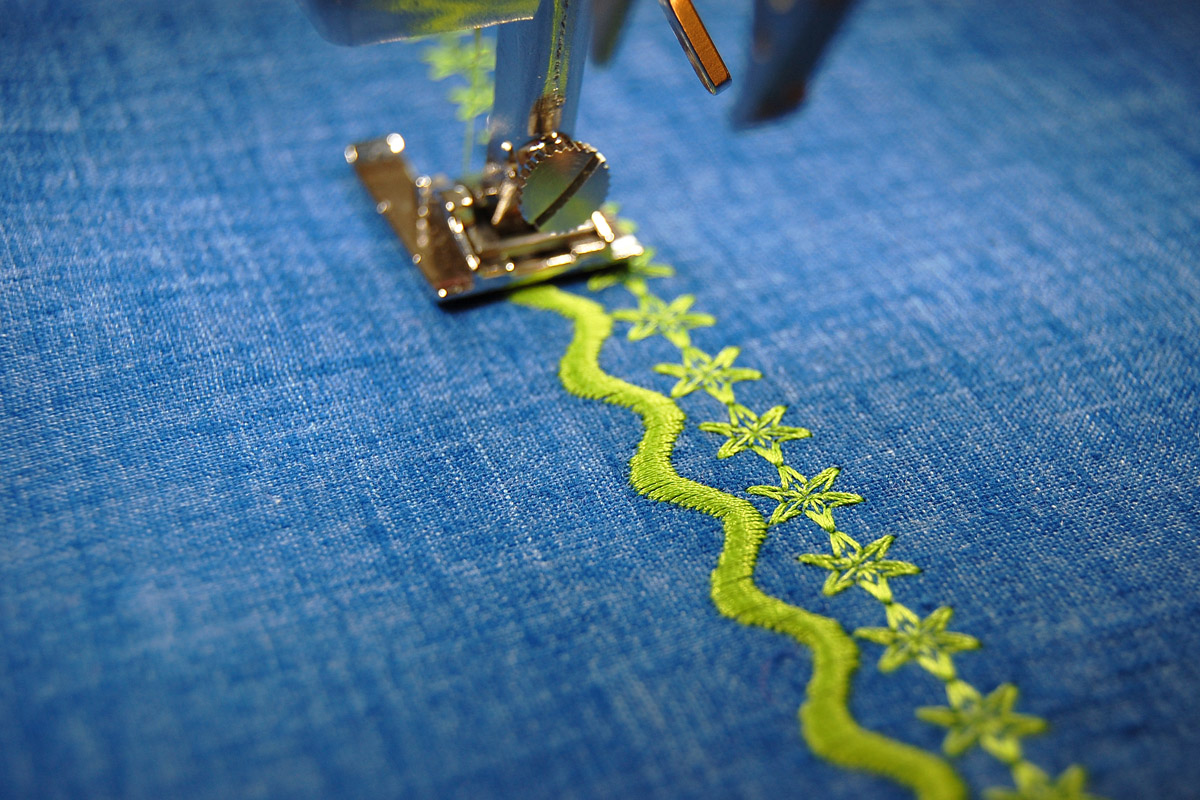
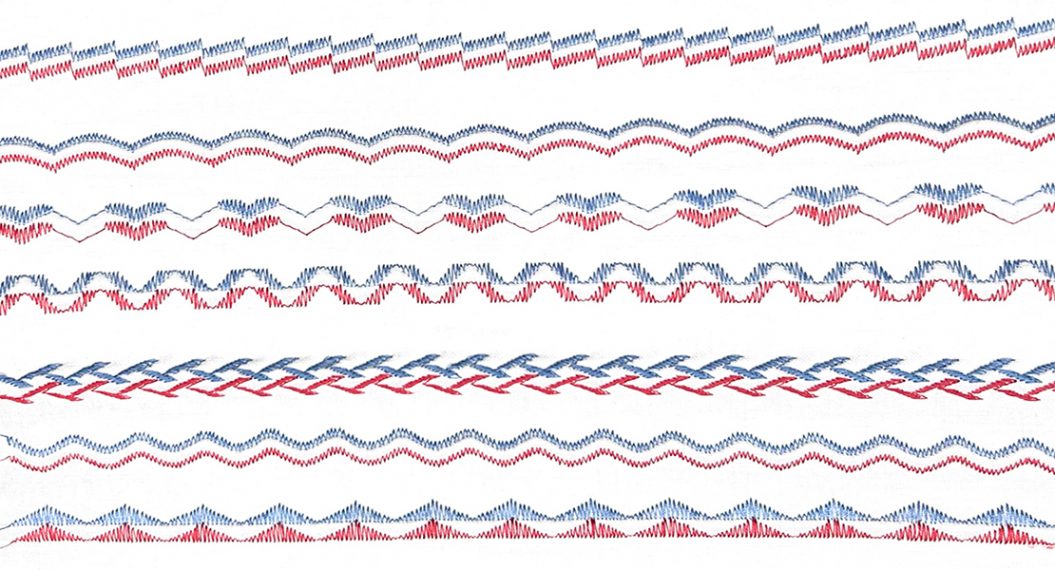
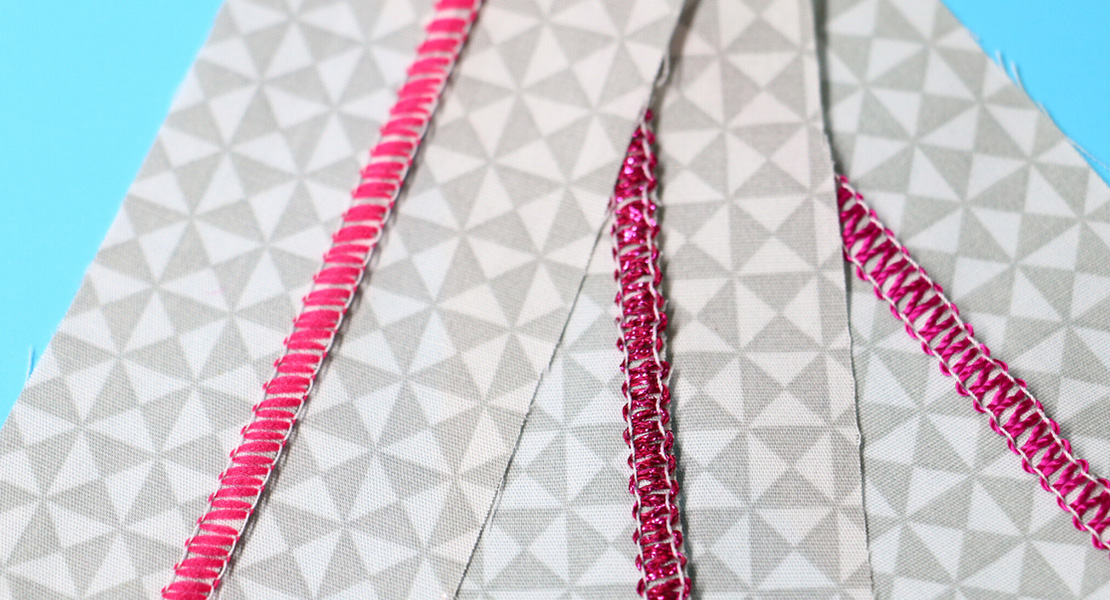
Change the thread from the top of your machine to decorative thread such as cotton blendables, a rayon or another favorite variegated thread. There are so many threads to choose from, you can use one that is monochromatic or one that stands out.
Attach the Open Embroidery Foot #20D and engage the BERNINA Dual Feed.
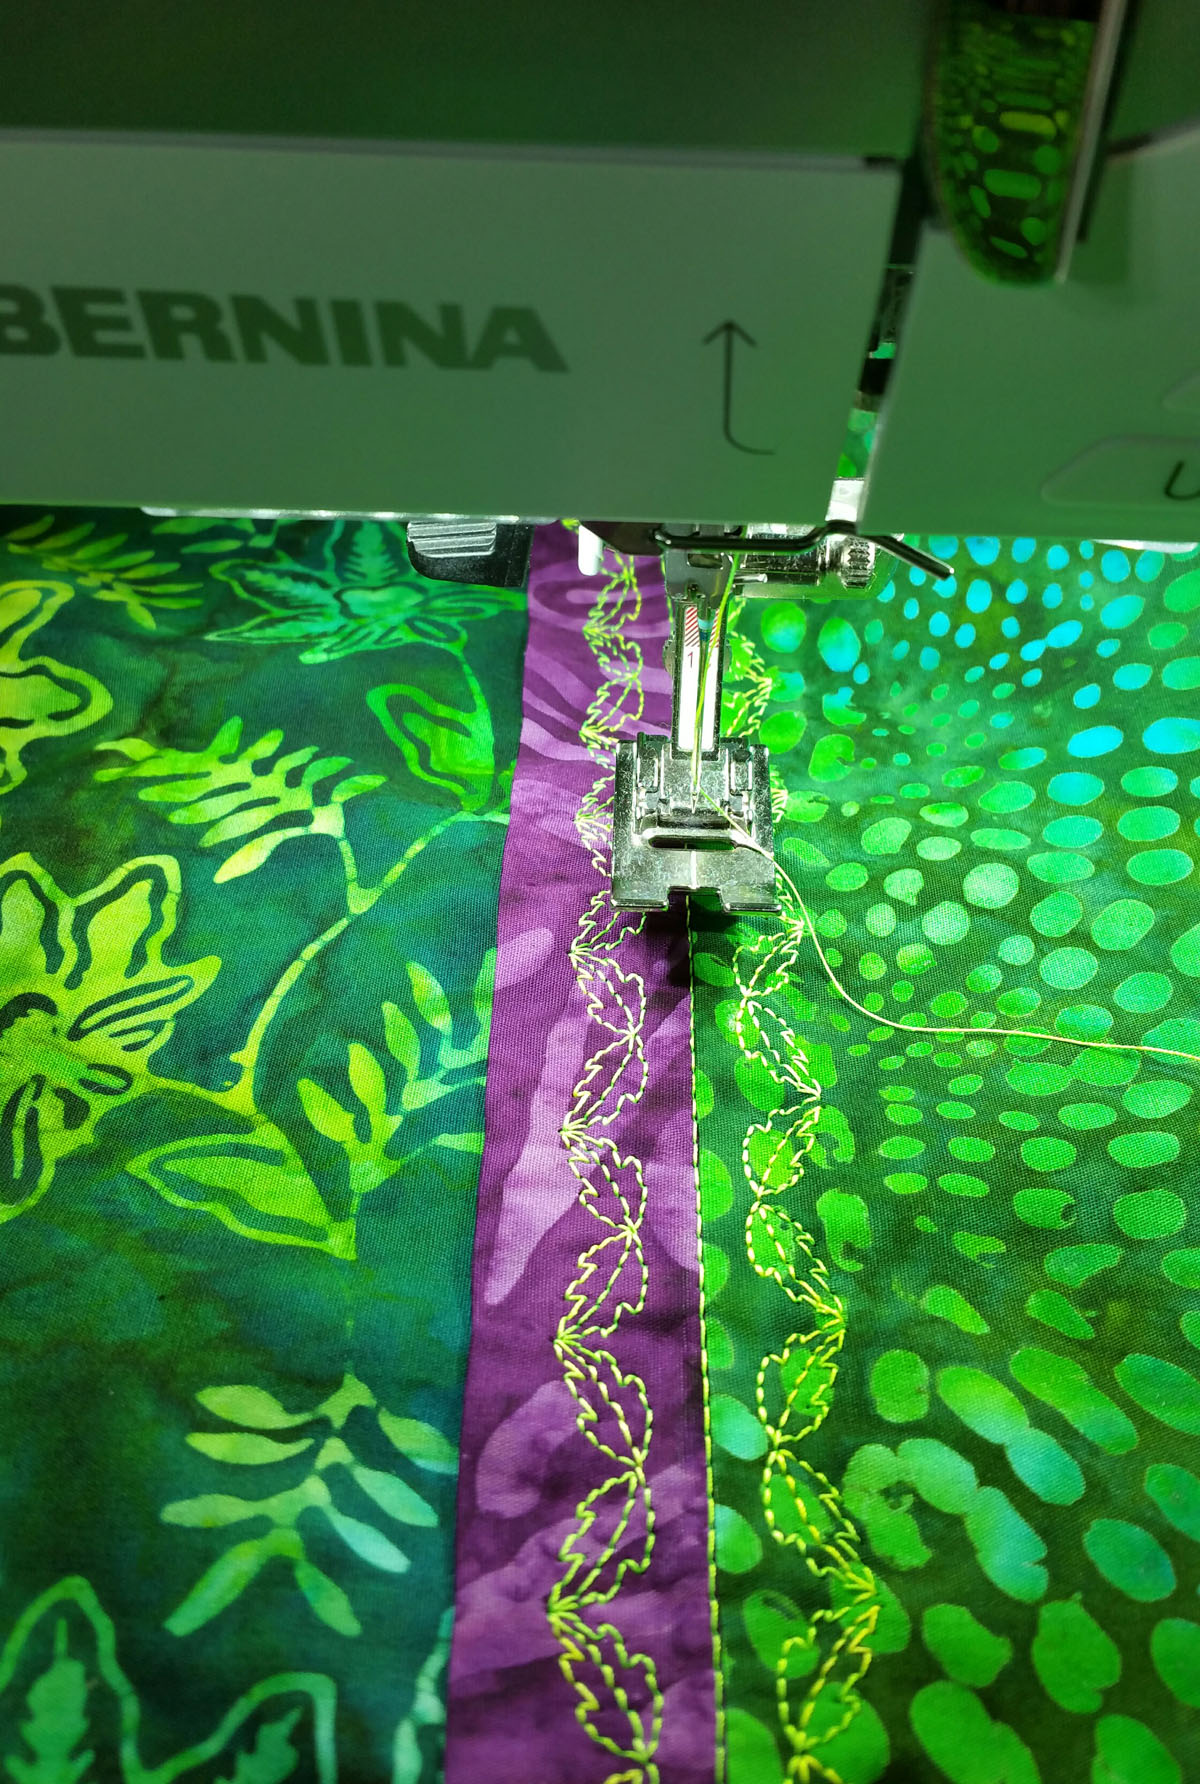
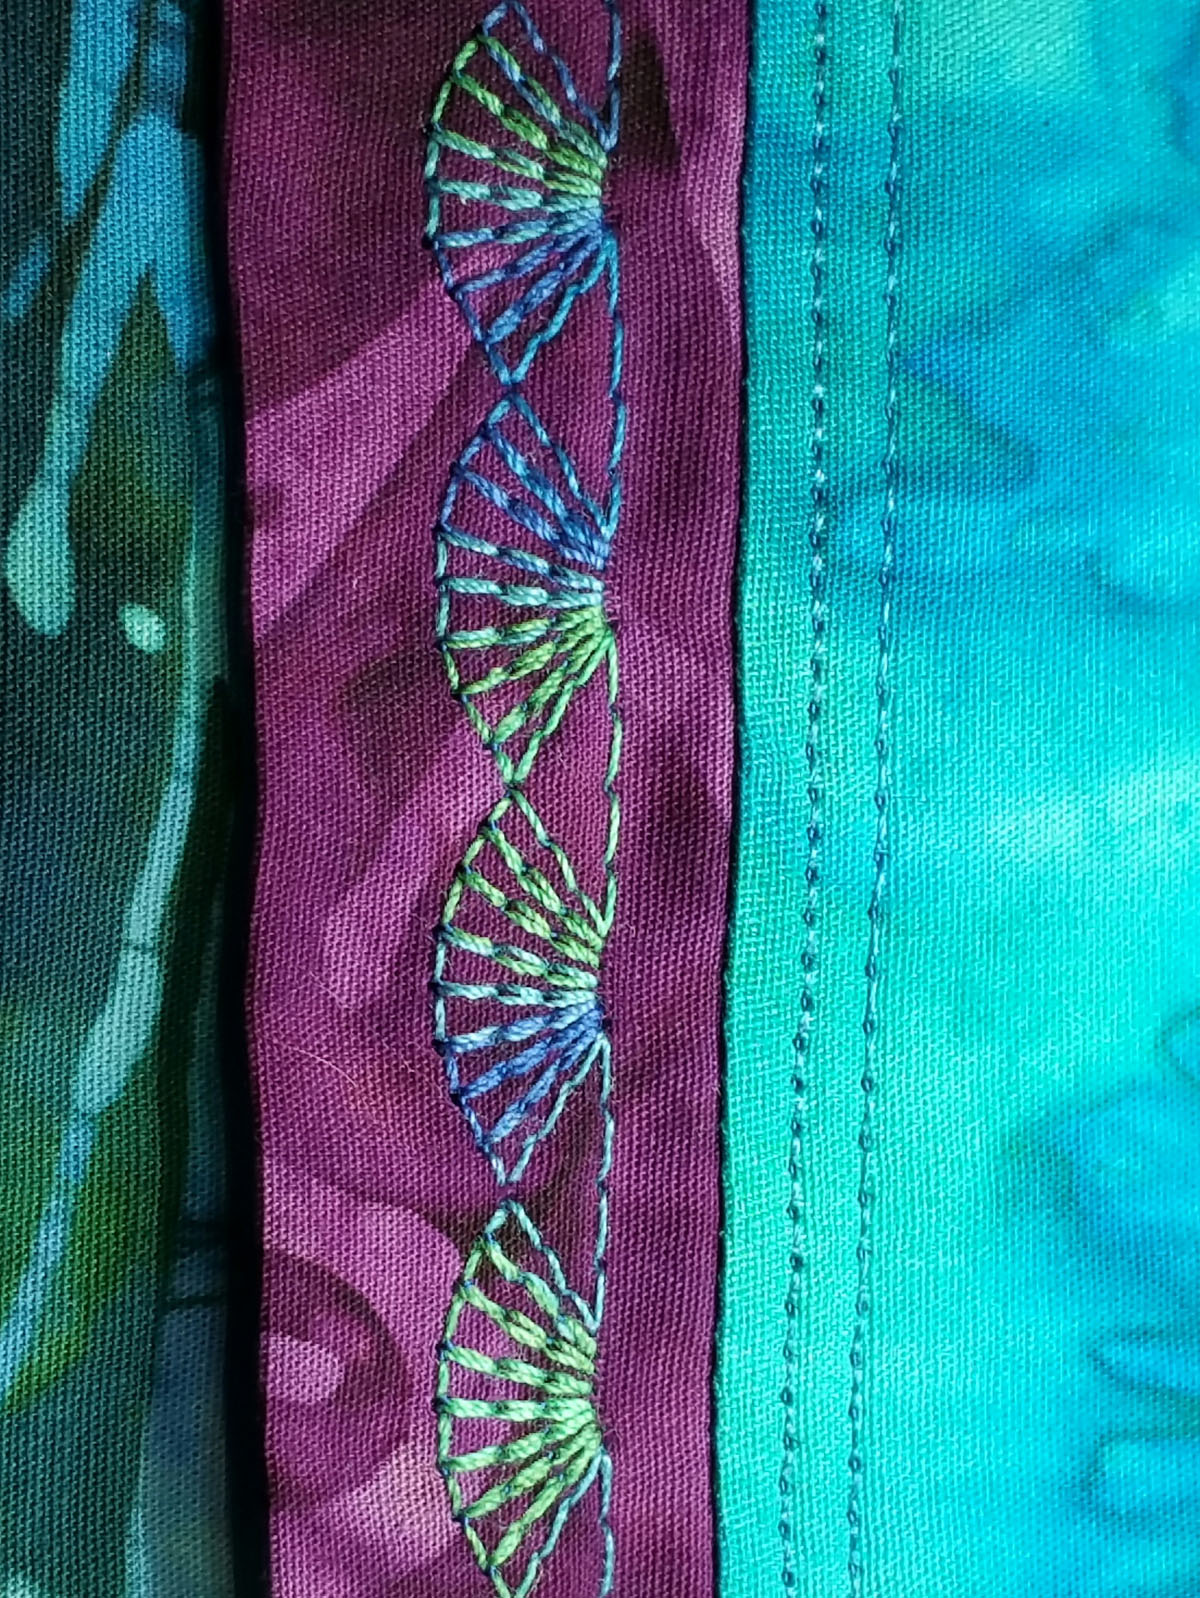
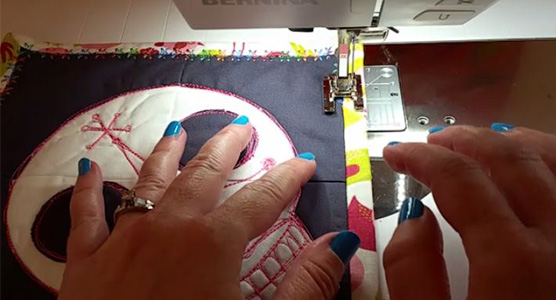
This is a great opportunity to try out some of the decorative stitches included in your BERNINA machine! Add a row or two of decorative stitch along the length of the trim piece. You can even choose to add another row or two of stitching. In my samples, I have used a variegated rayon and a 30wt cotton blendable thread.
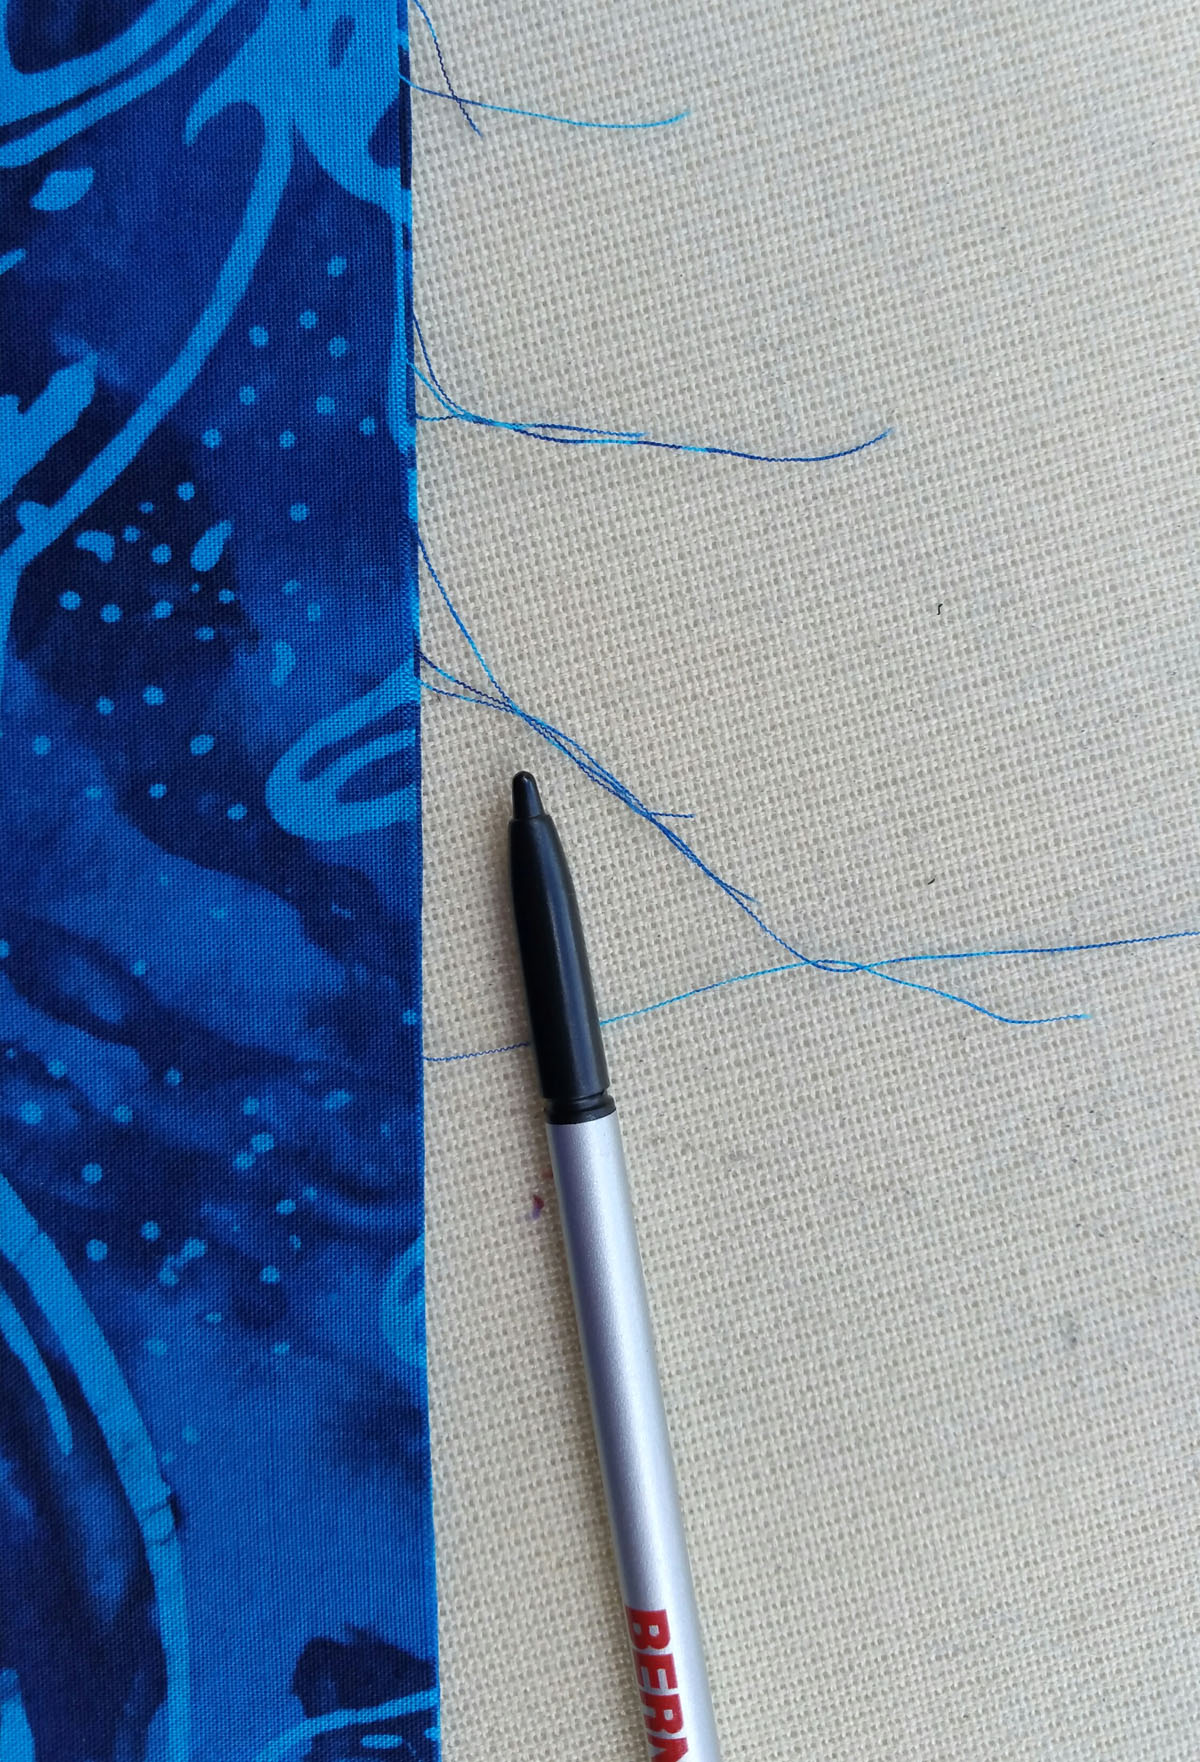
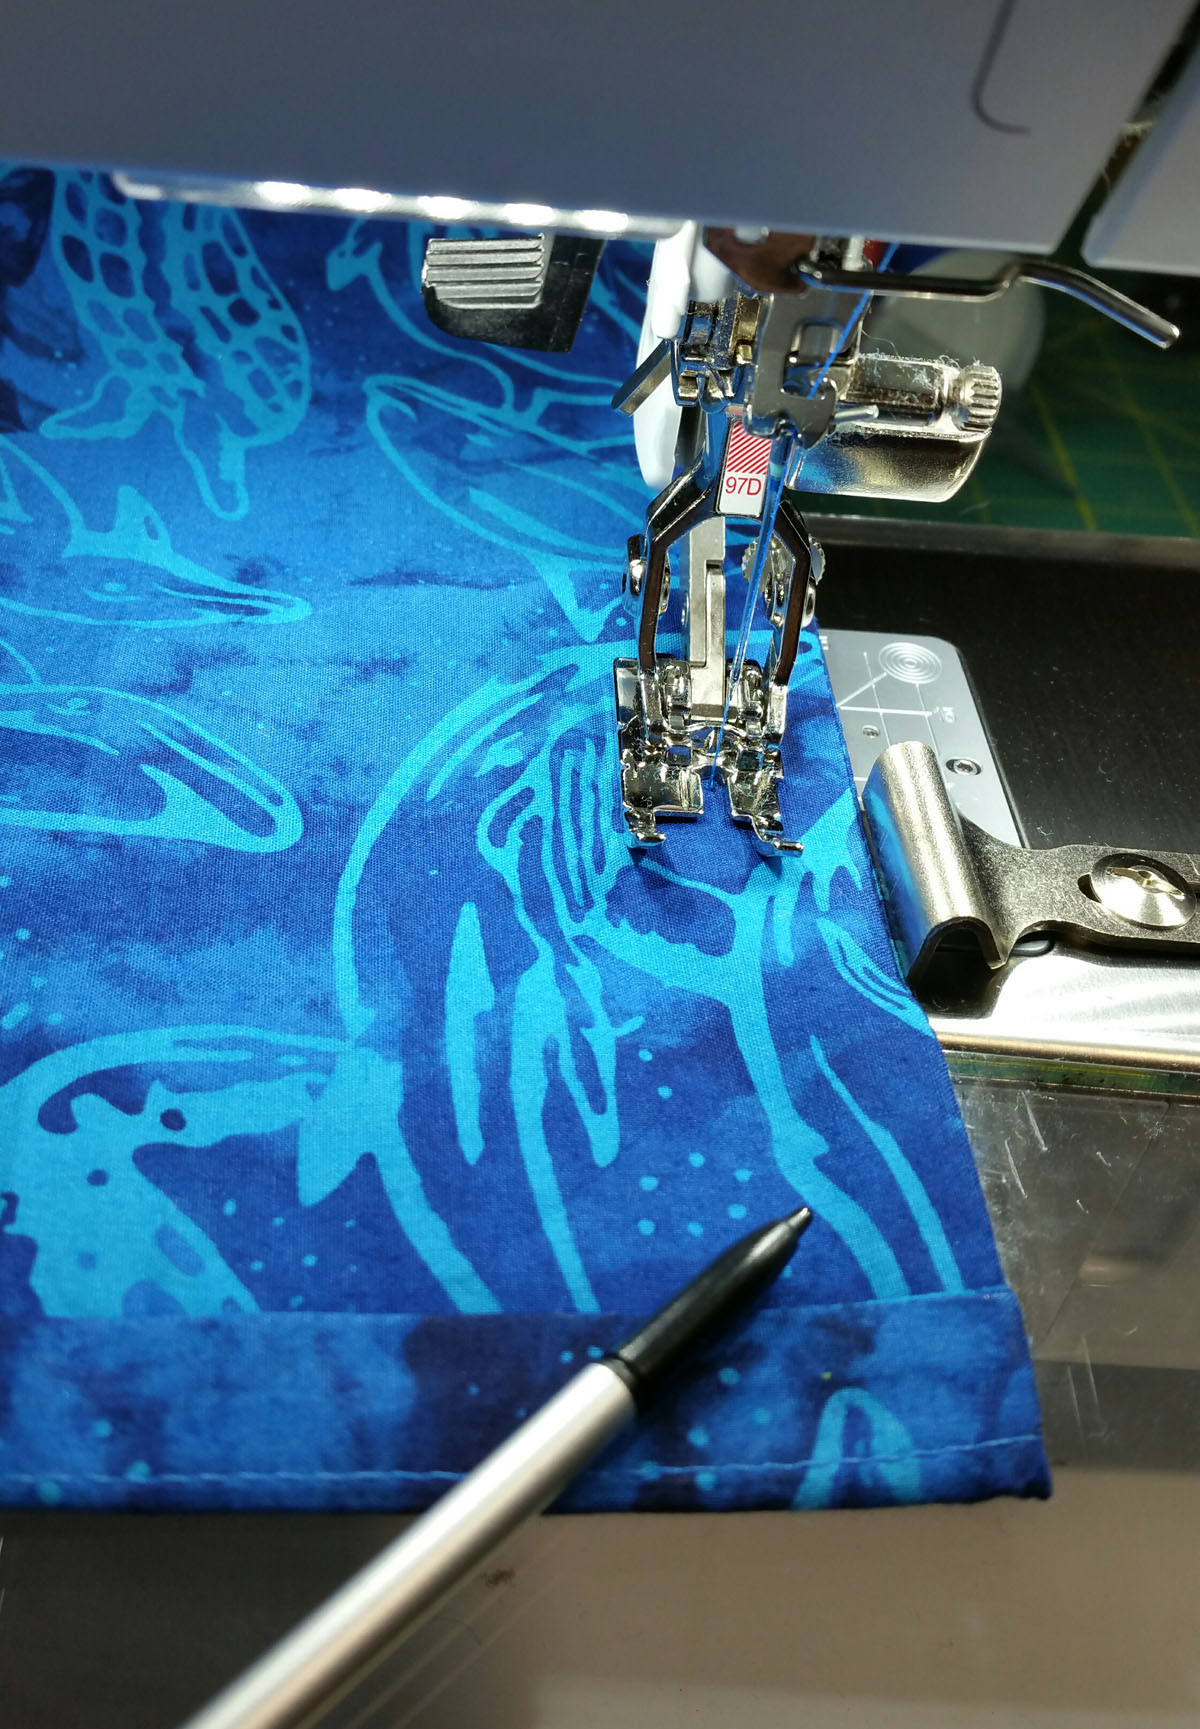
It is now time for the French seams. Attach the Patchwork foot #97D and the accompanying moveable seam guide set at ¼”. Load the top of your machine with your piecing thread. Place wrong side of the pillowcase together (not the right sides when sewing a normal seam). Trim any loose wispy threads or they will be sandwiched in your French seam. Pin together for added stability.
Starting at the top of the cuff, stitch down the side.
Next, turn the case inside out and press.
At your machine, move your seam guide out to 3/8″ and stitch down the side again. Your edges are now encased in a French seam.
Do the same two steps for the French seams at the bottom of the case. You may need to use a chopstick or an awl to push out the corners.

When you sew across the bottom, hold the side French seam down to ensure a sharp corner.
Turn the pillow case right side out and press the finished case well. Enjoy your new fanciful decorative pillowcase! For more options, you can choose to make a larger cuff or larger trim piece should you wish more room to embellish with fanciful decorative thread-work. Make them in several colors.


What you might also like


5 comments on “Decorative Pillow Cases”
-
-
I’ve made two pillowcases using this quick and fun method. These are easy to follow instructions and the French seams provide a professional finish. I had a lot of fun combining fabrics I bought just because I loved them and now I’ve made something useful with some of my favorite eye candy. I plan to make several more–especially those times when I have to make something–anything–just for the fun of it.
-
Thanks for the review Johanna. These cases are not only beautiful, but addicting to make and they have so many options for fabric choices and trims. I even made the pattern smaller so I could have beautiful cases for my travel pillow. Have fun!
-
-
Would really like to see fabric cuts listed for different size pillow cases. I have queen size and king size pillows.
-
GTDJEROME,
Just measure the pillow that you want to make a pillow case for…. then add 3″ extra in length. King pillows are normally 36″ long, so add 3″ in length to that to cover the “fluff” tendency or girth of the pillow. The width with always be the width of your fabric. I use good batiks like Kauffman, so they are normally about 44″. If you use really good fabric, you can actually sleep on them. I love a good tight weave batik, 100% cotton like Kauffman or Hoffman. They are so soft on your face when you sleep. Have fun. Sorry I am so late answering this, I used to get reminders that I’ve received a question, but that may have been with my old email. Take good care. Heidi
Leave a Reply
You must be logged in to post a comment.

Thank you for sharing this really nice tutorial. I am very excited to try this