How to Make Decorative Ribbon
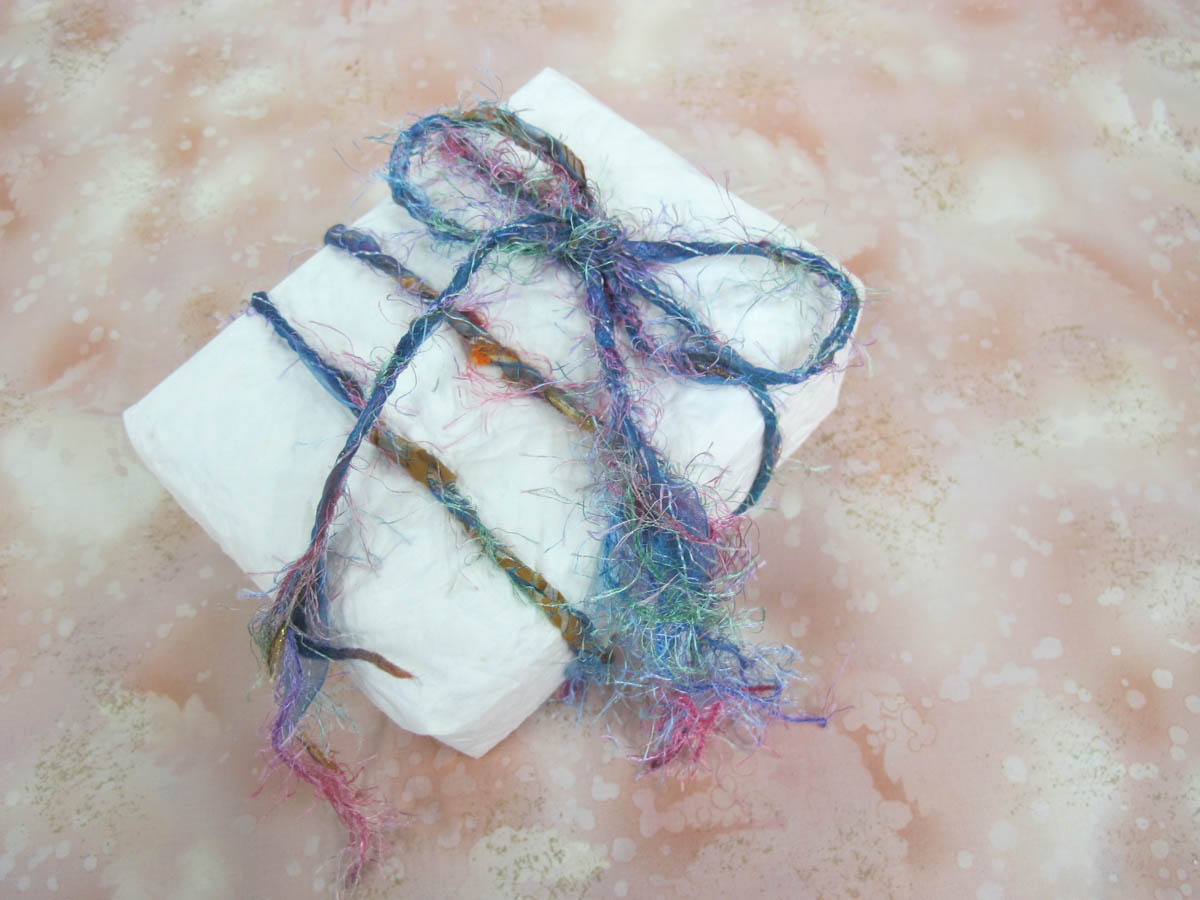
Do you have a collection of odd bits of yarns, ribbons and roving? If so, you can make your own unique decorative ribbon. It can then be used for all kinds of gift wrap or as decorative embellishment on any number of projects. I use mine to create fun “ribbon” for wrapping packages.
Materials to create a decorative ribbon:
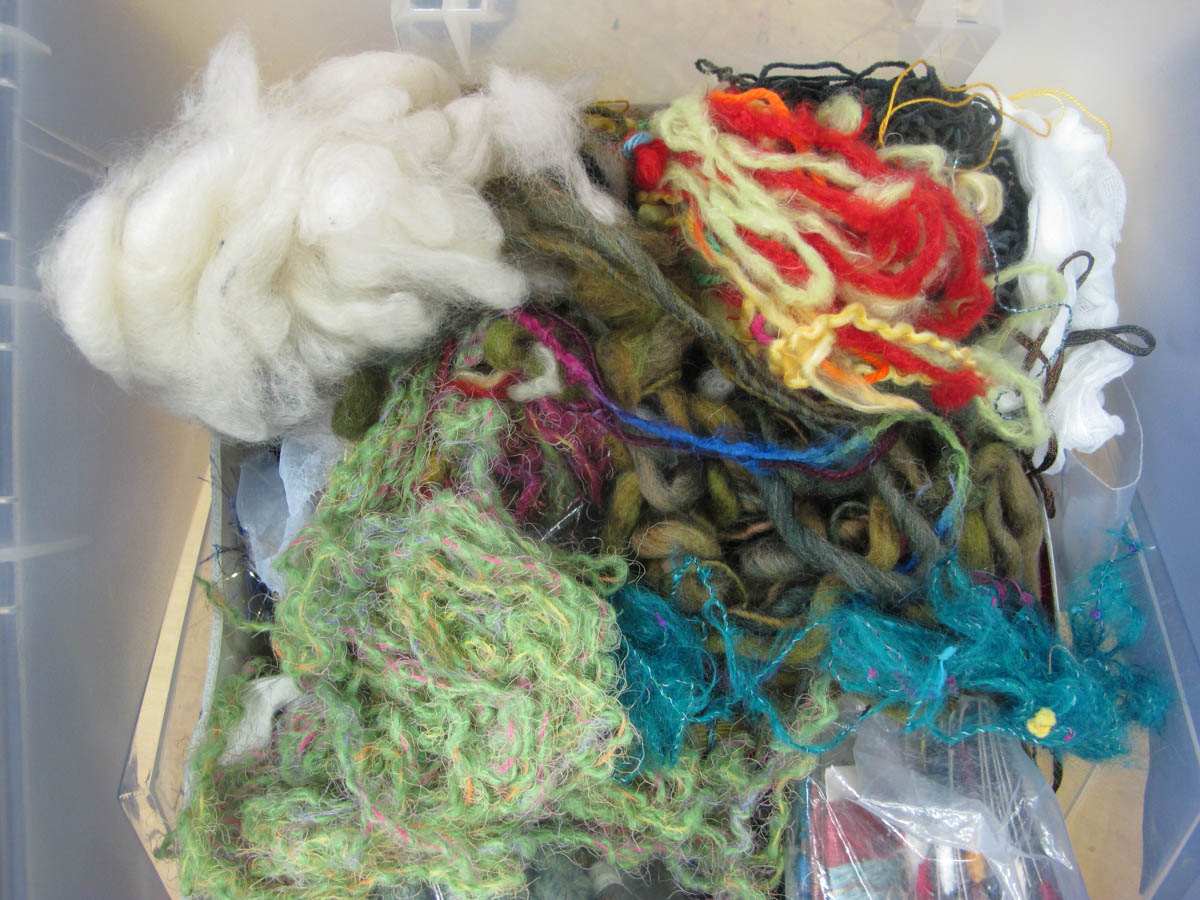
- Scrap lengths of ribbons, roving, yarns, and strings, organza, skinny scraps of fabric
- Decorative or colorful thread of all kinds
- BERNINA sewing machine
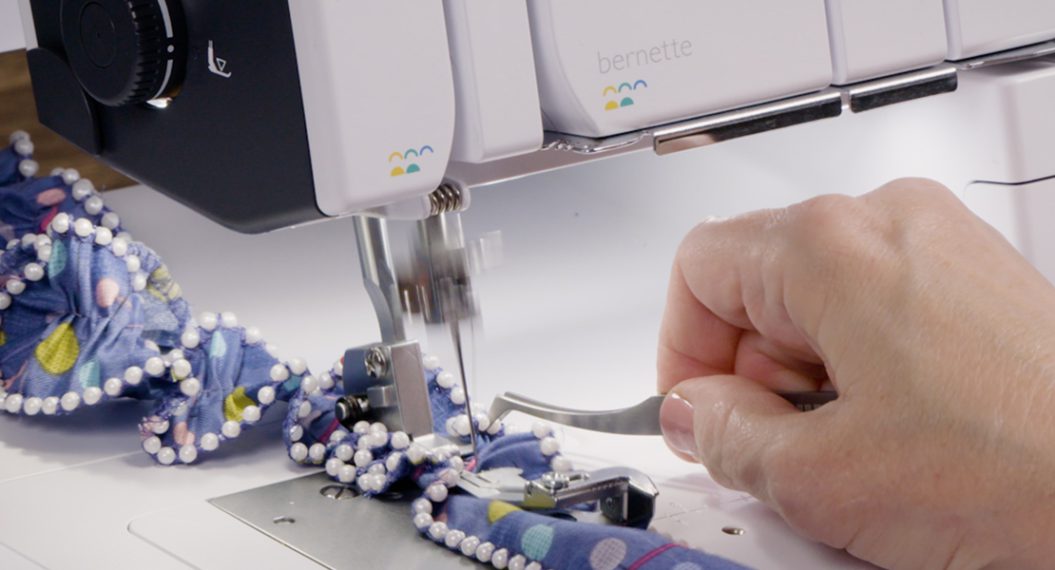
- BERNINA Bulky Overlock foot #12 C
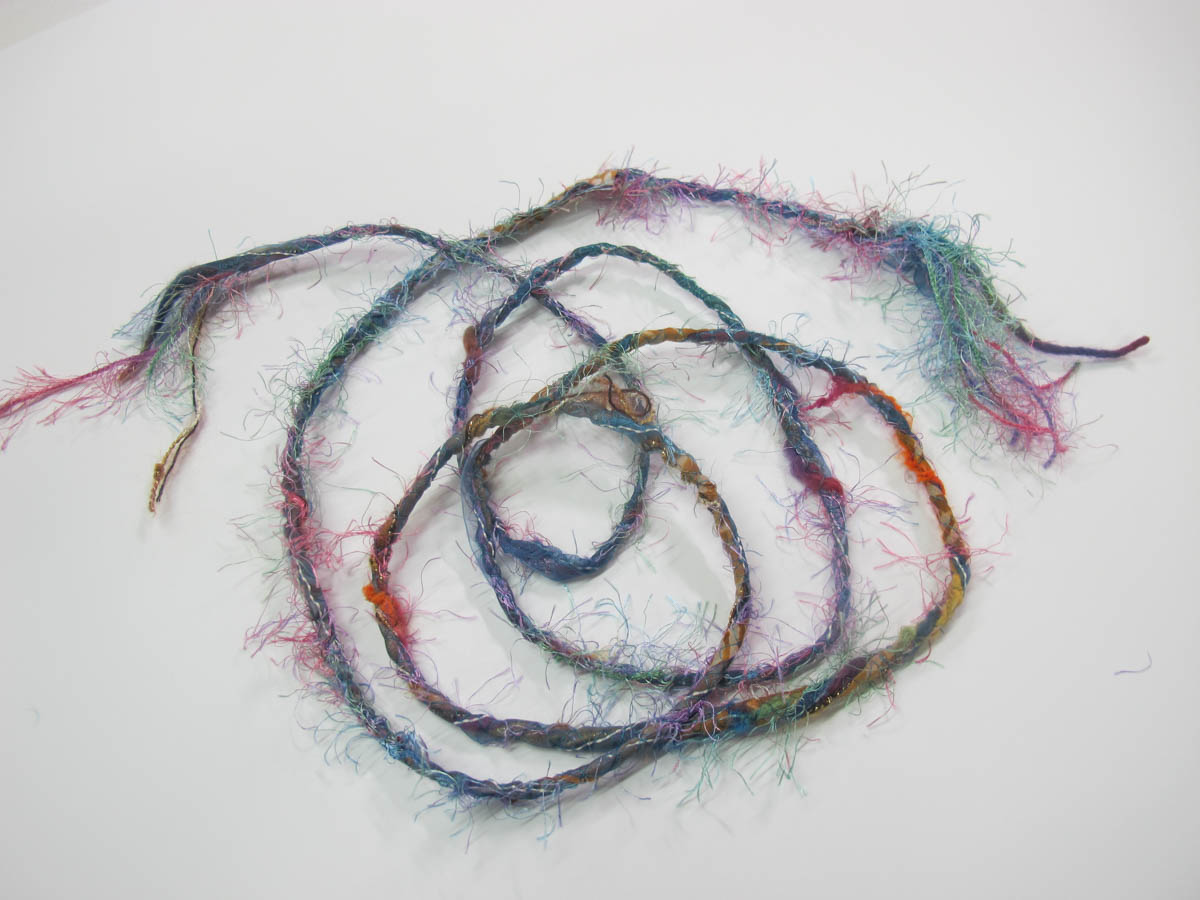
Pull out varying lengths and types of roving, yarn, string, ribbons. It does not have to be cut to any particular length or organized. Yea! I worked from a pretty disorganized pile.
Set your machine to a zigzag stitch. I use settings of 4.5 mm length and 6 mm width and use the BERNINA Bulky Overlock foot #12 C. This presser foot allows the ride over a raised cord. It works especially well for this process.
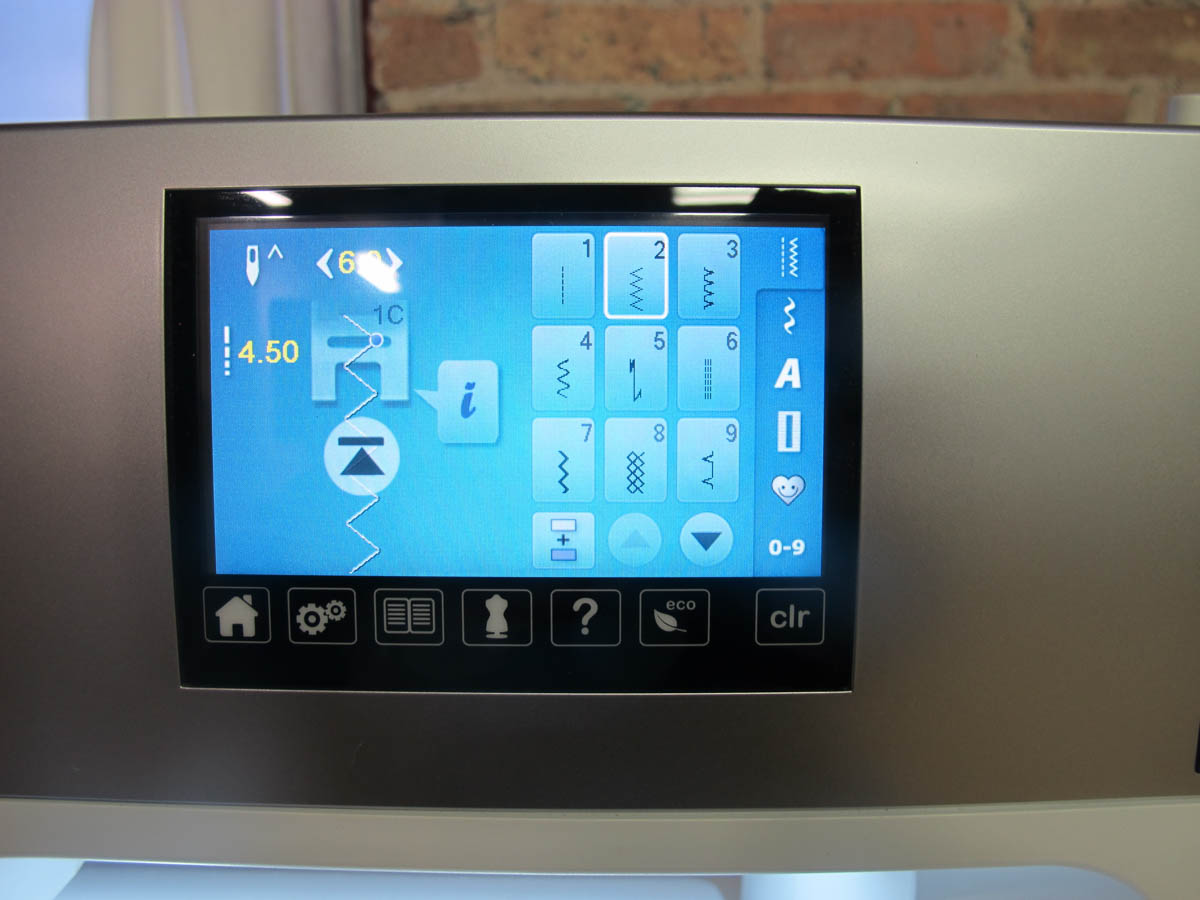
You may need to play with the stitch width and length settings depending on your materials.

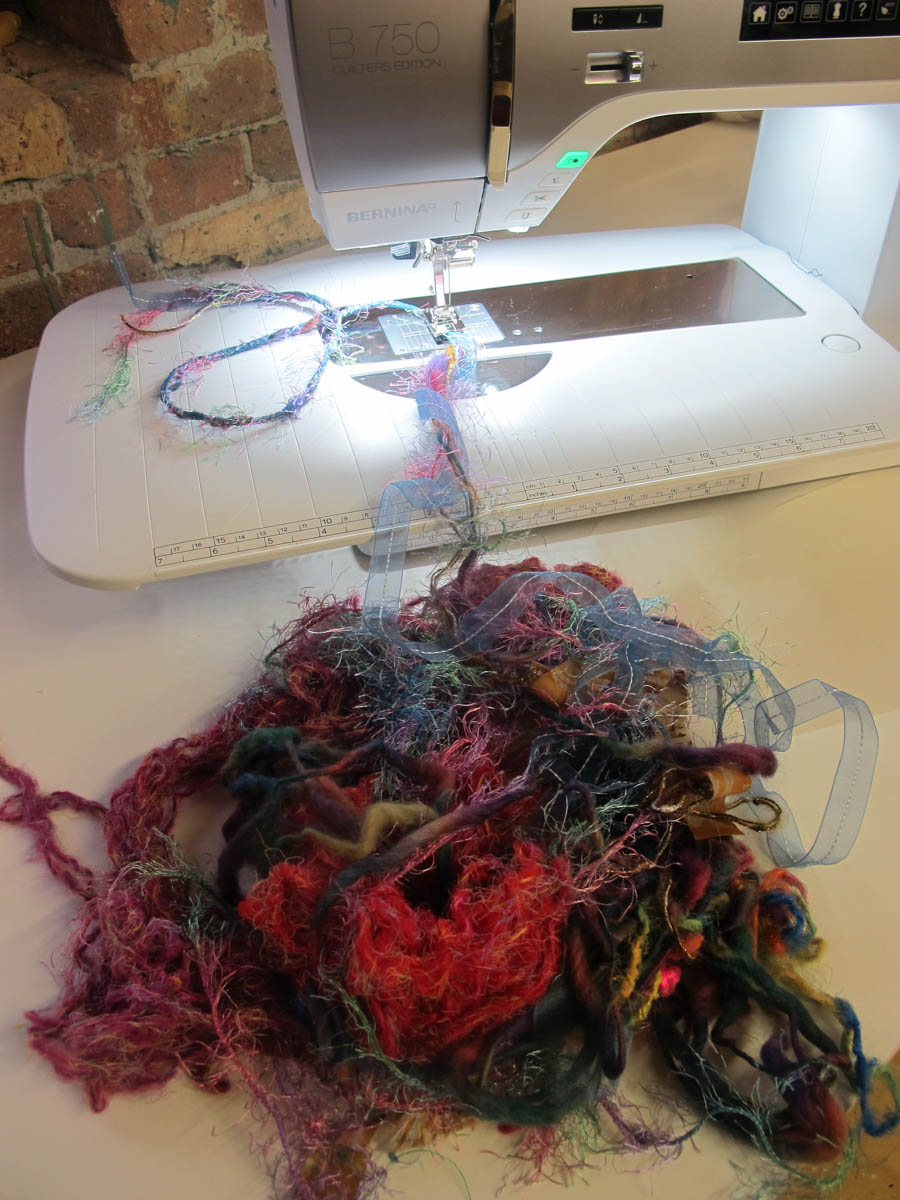
Start by feeding a couple of the yarns and ribbons under the Overlock foot and zigzag stitch to hold them together. Once you have a few inches stitched, continue to feed from the pile in front of your machine. Twist the materials together over and over until the “string” starts to become one continuous piece. The more you twist the more it pulls together.

Continue to zigzag over the string as you feed. And voila, here is your finished twisted cord waiting to be wrapped around a gift.