Decorative Thread Double Time
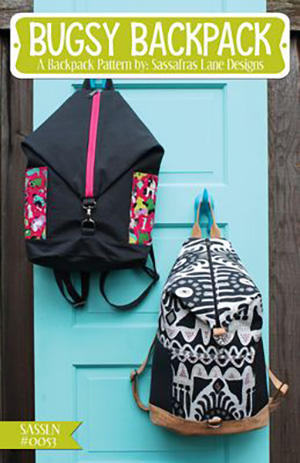
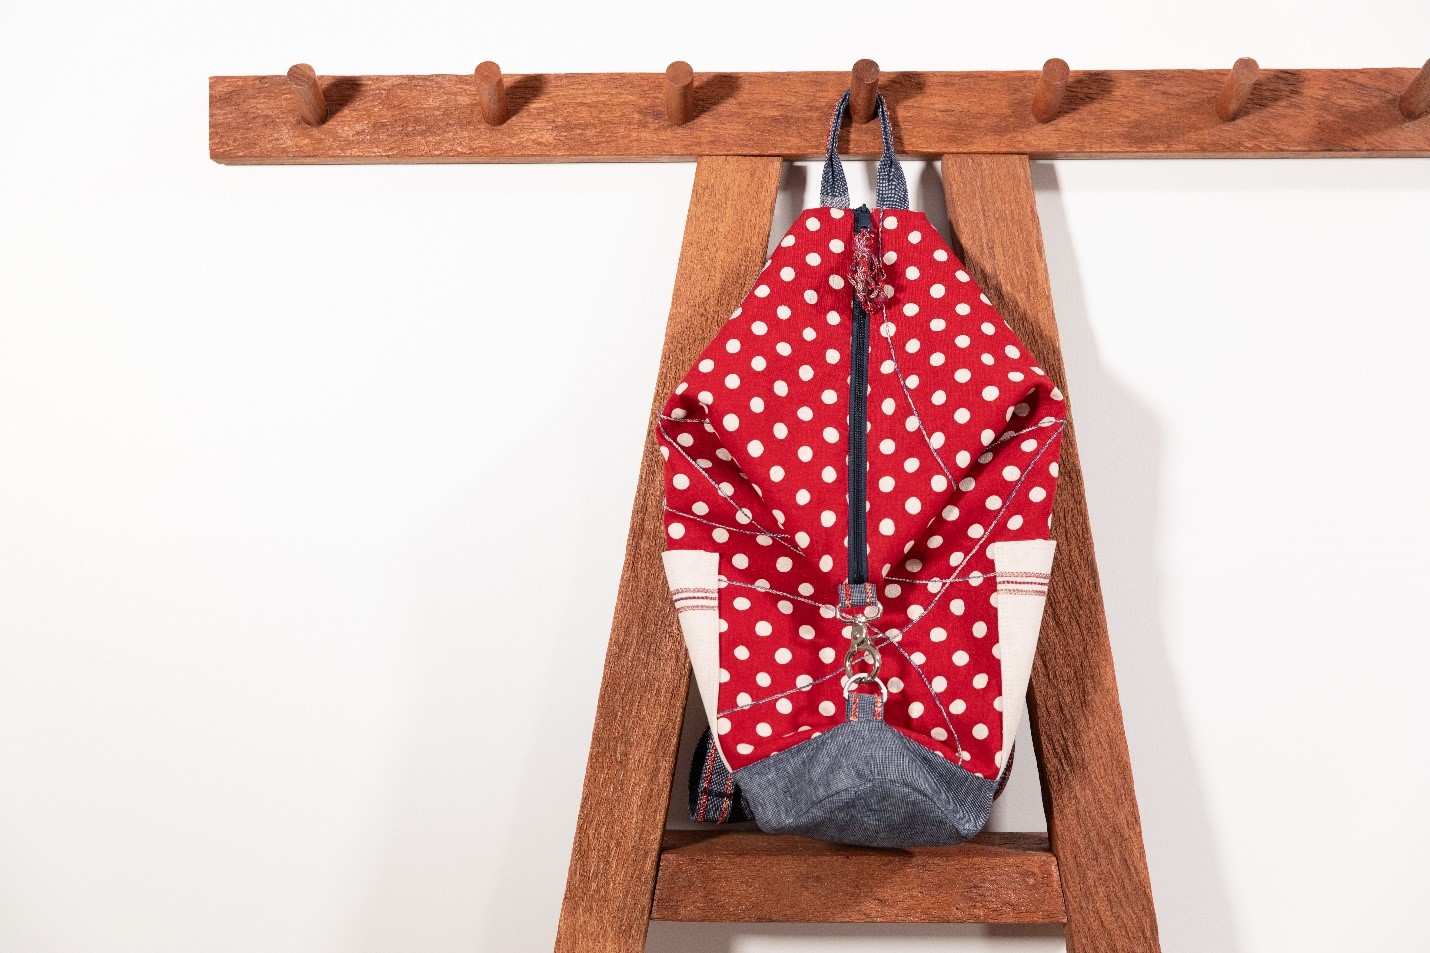
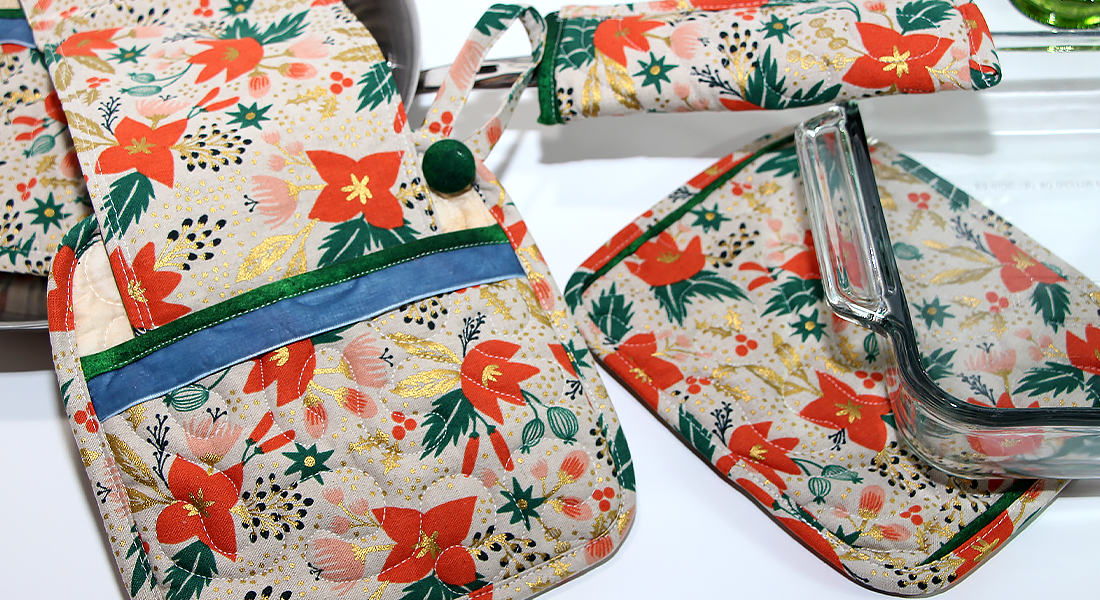
Sergerize (verb): the process of taking a sewing pattern and applying serger techniques to make it even more fun to sew. OK, so that is not a real word, but it certainly makes sense when I look at my sewing patterns and think, “How can I use my overlocker to make this project?” Some steps become faster and some steps become more decorative. That’s exactly what I thought about when this pattern, Bugsy Backpack by Sassafras Lane Designs, came into my sewing space.
At first, I considered just some decorative thread embellishment. However, as I read the pattern, I realized that my overlocker was going to also save me some time. I still needed my sewing machine for some of the steps…both machines played very nicely together!
Come along with me on this serging adventure! (Note: I will be focusing on the serger techniques, not the actual project construction. Be sure to check at your local fabric store for this pattern to make your own backpack.)
Supplies Needed
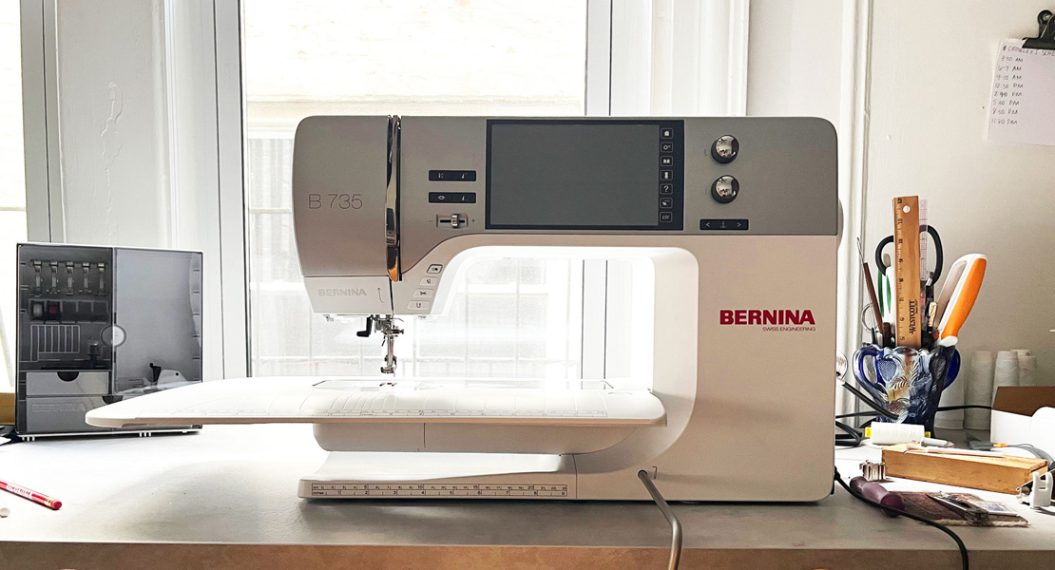
- Overlock/Combo machine (I used the BERNINA L 890)
- Sewing/Embroidery machine (I used the B 790 PRO)
- Cover-/Chainstitch Foot #C13
- Double Fold Binder Attachment #C21
- Curve Foot #C23
- Gail Yellen’s Thread Fusion – Large
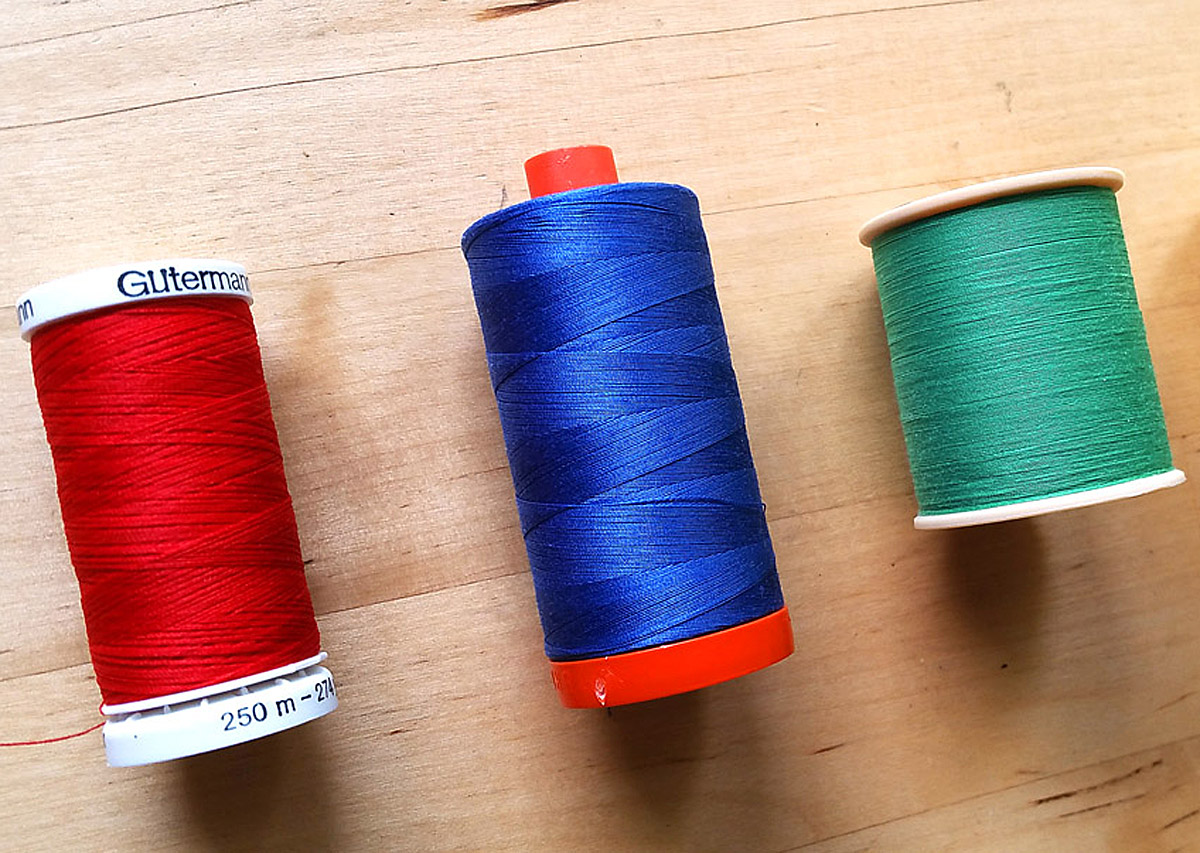
- Serger thread (Mettler Seracor is my favorite)
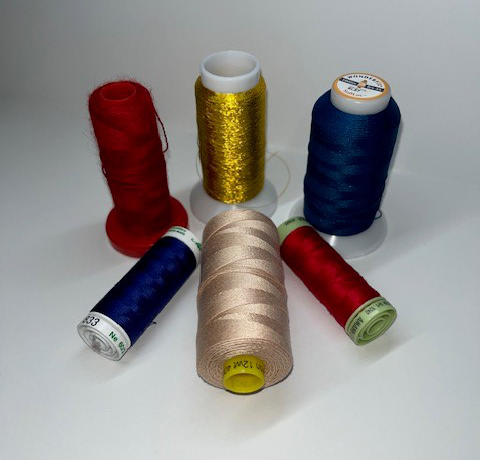
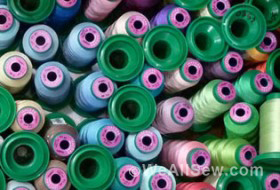
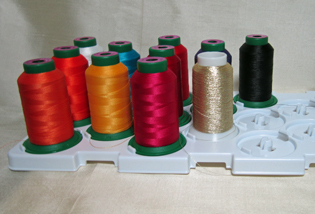
- Decorative threads in assorted weights and colors (the more the merrier!)
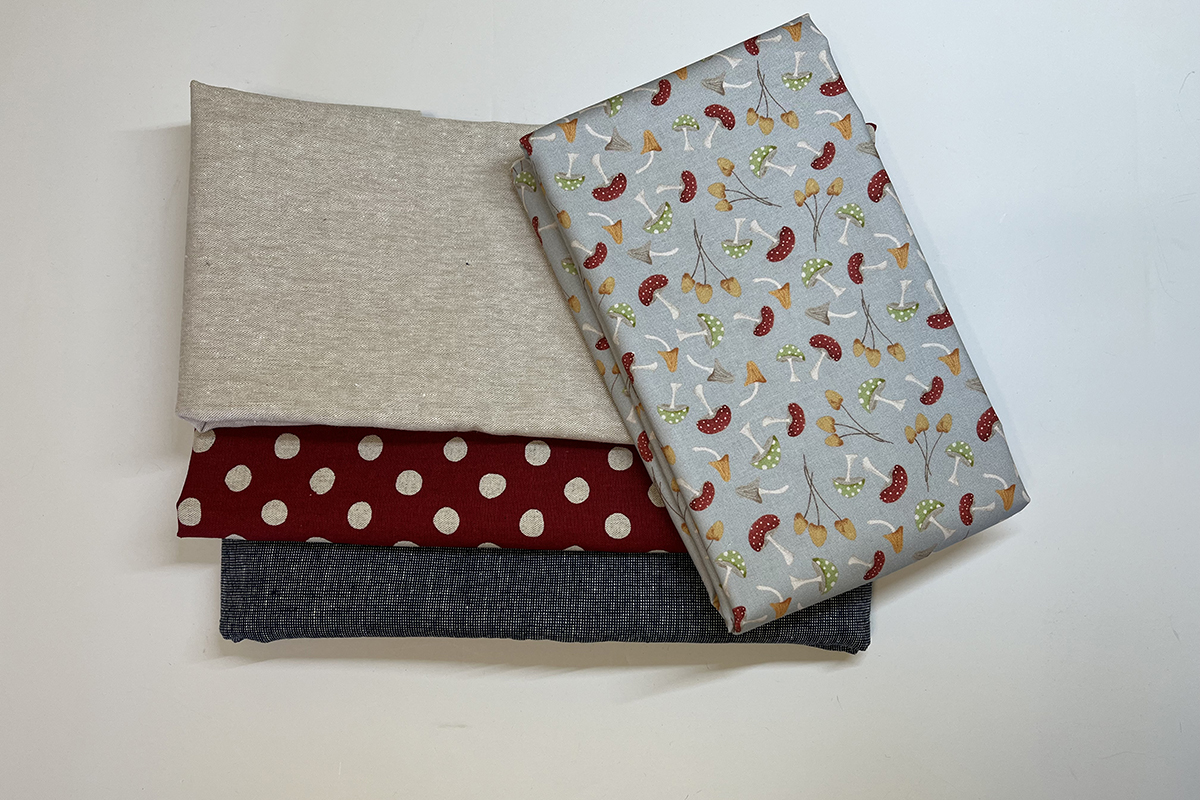
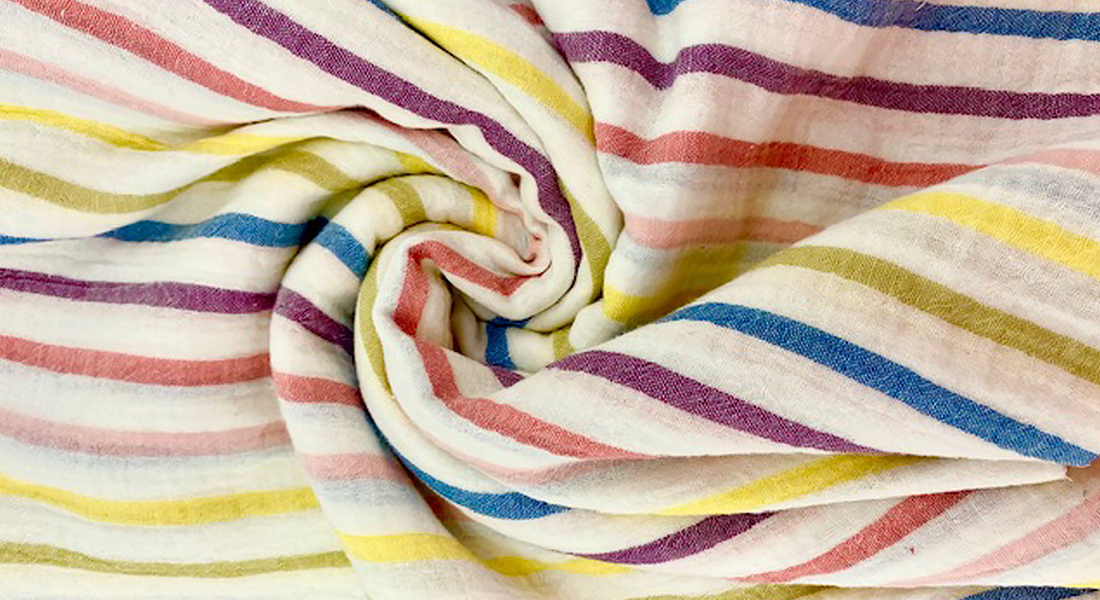
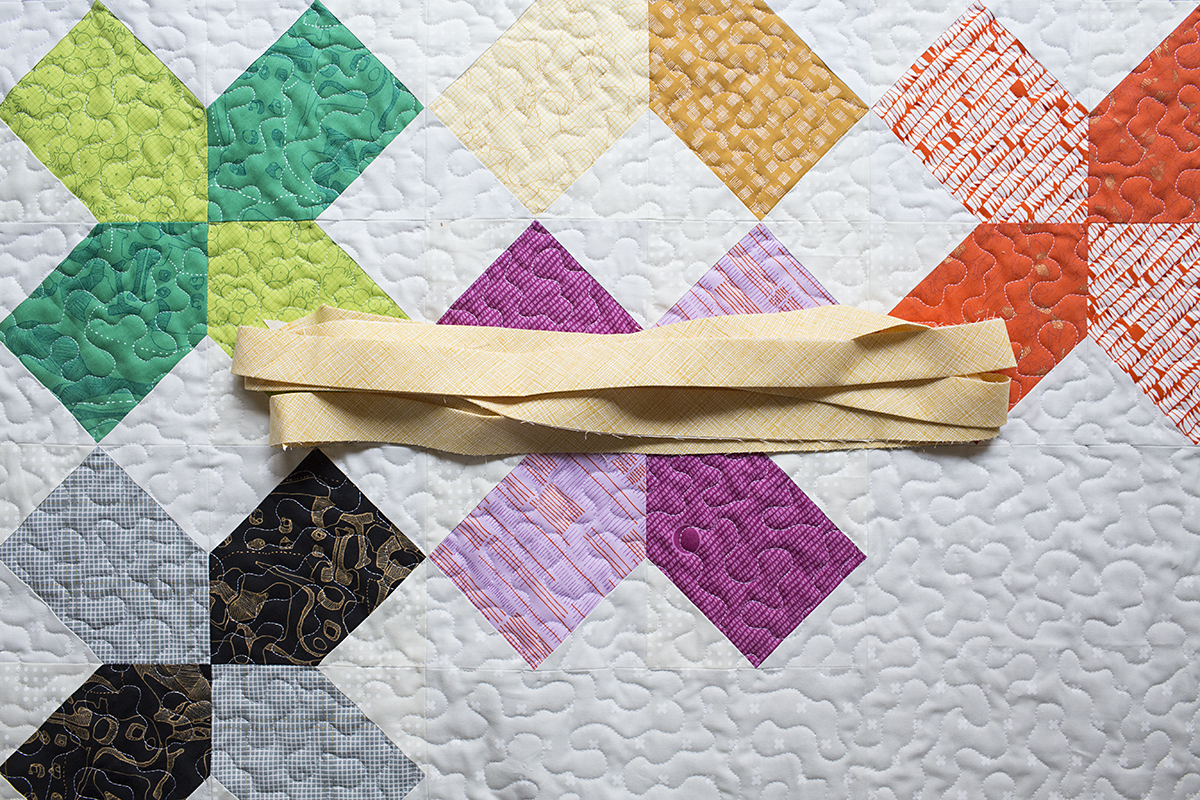
I used an assortment of cotton/linen blends for the backpack exterior and a quilting cotton for the lining.
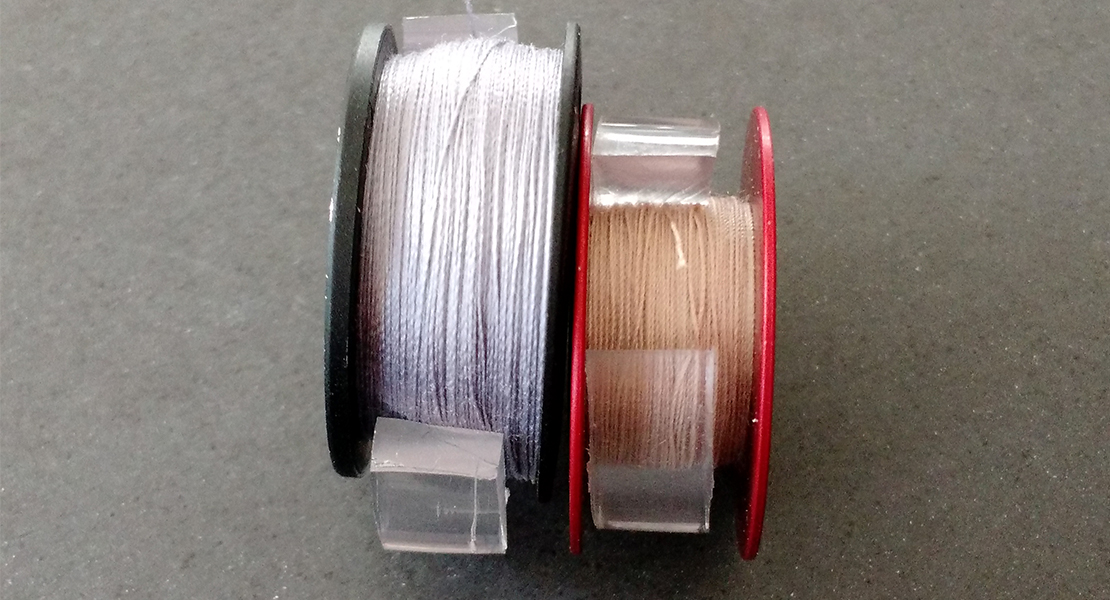
I used a variety of decorative threads from my stash in different weights, textures and colors (WonderFil SoftLoc, WonderFil Spagetti, Aurifil Lana Wool 12wt, Mettler 60 wt cotton and metallic embroidery thread). I also did some thread blending, which is the technique of using two or more threads in each individual looper(s).
It’s a good idea to read through the pattern before starting the project. This particular pattern has a link to a website with full color pictures.
I suggest getting a little extra fabric to use for testing out your decorative threads.
Cut the bag body and pockets about 2″ larger than instructed. They will be trimmed to size after embellishing. The patch will be embroidered, so cut a piece large enough to hoop. The Key Strap will also be cut to a different size…keep reading!
Handles
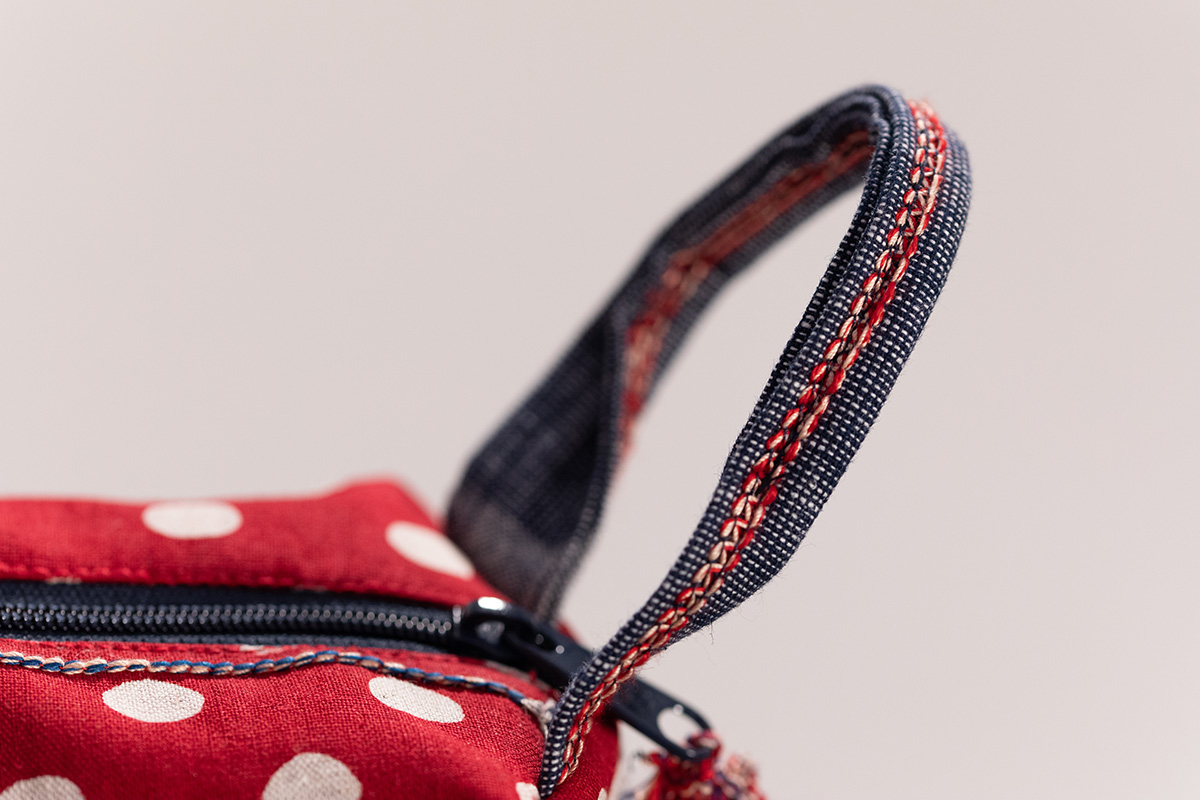
The first thing to stitch are the handles. The directions have you sew two lines of stitching along both long edges of the handle strips after they are pressed. The 3-thread Coverstitch Narrow (CC-RC) #24 is going to make quick work of that.
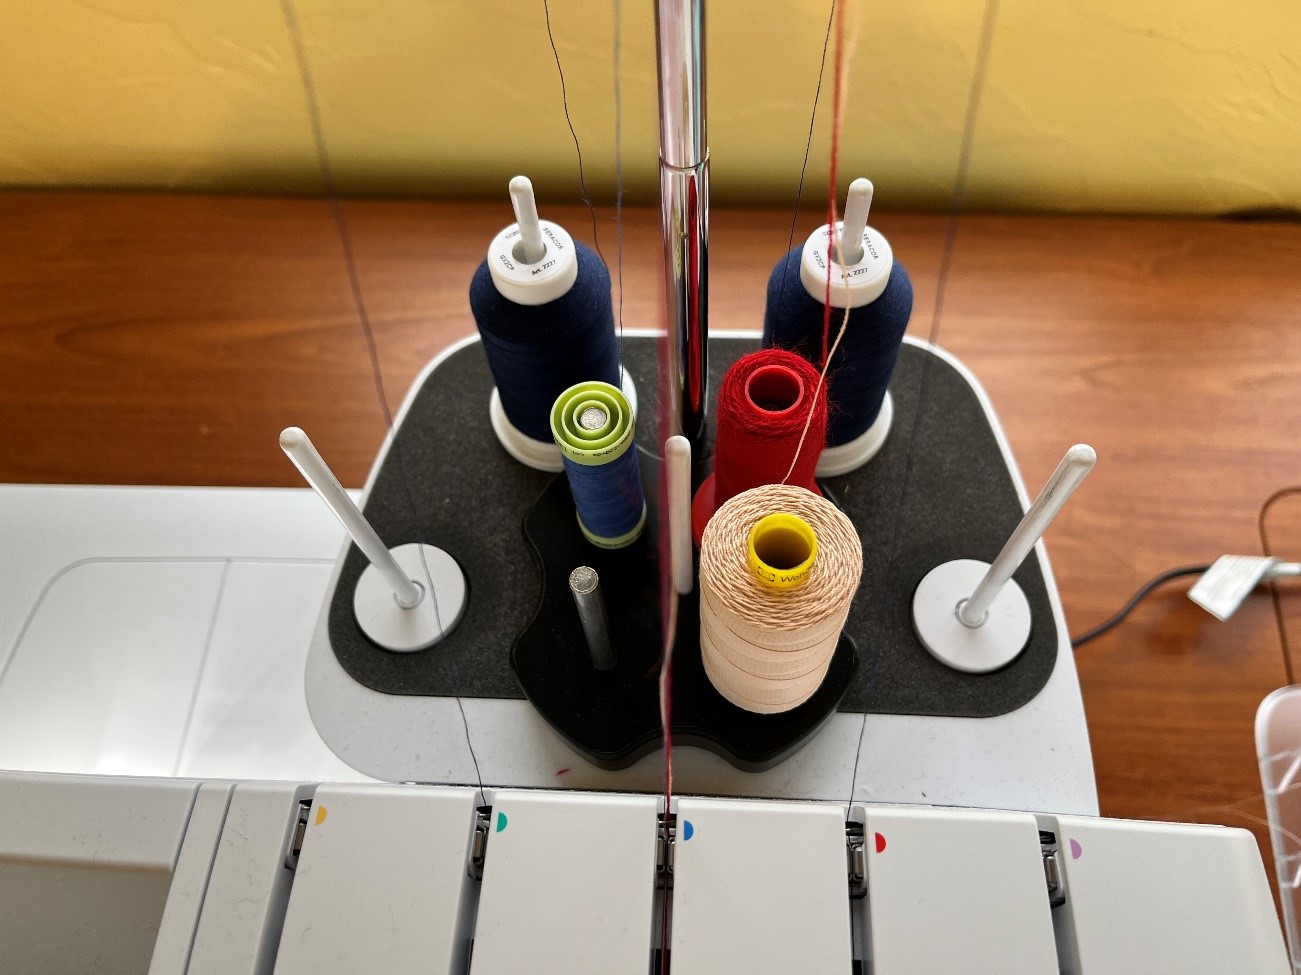
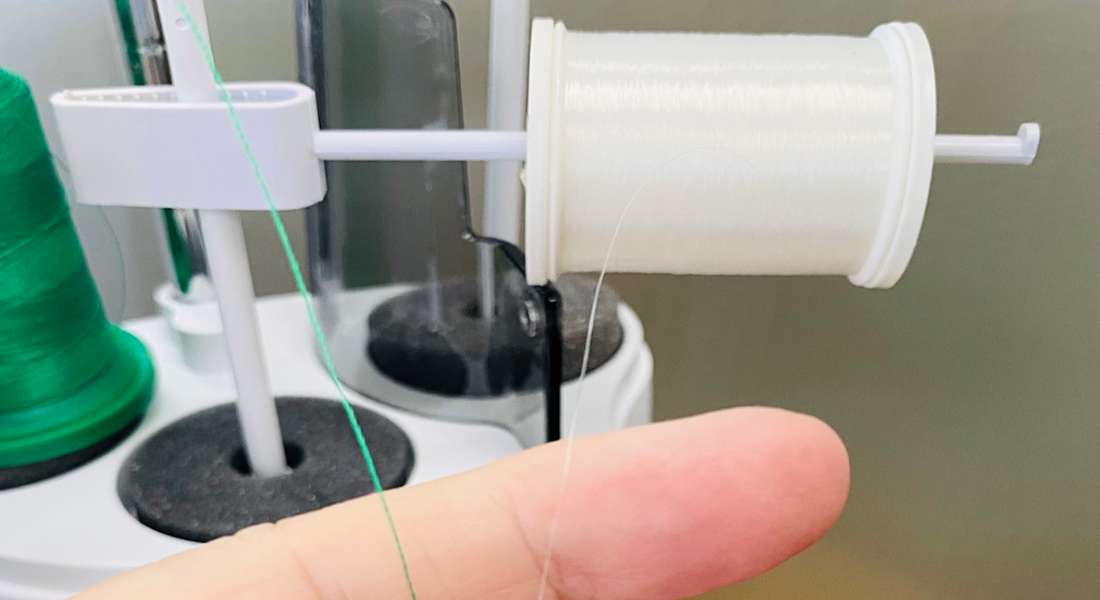
I threaded two threads together in the Chain Looper, red Aurifil Lana Wool and cream WonderFil Spagetti. I used Gail Yellen’s Thread Fusion (Large) to hold the threads.
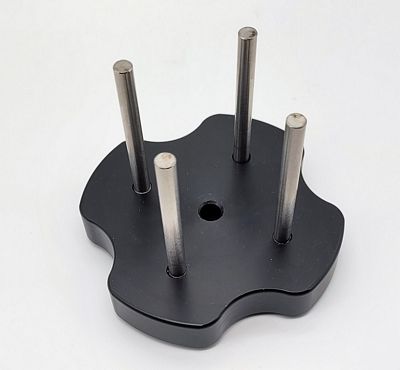
This nifty gadget fits on the Spool Pin you are using and can hold up to four spools of thread. It keeps the thread tensions even and the threads all feed through the same spot on the Retractable Thread Guide. The large Thread Fusion works nicely on the L 8 Series overlockers. The small Thread Fusion is perfect for the L 4 Series, bernette 40 FUNLOCK series and bernette 60 AIRLOCK series.

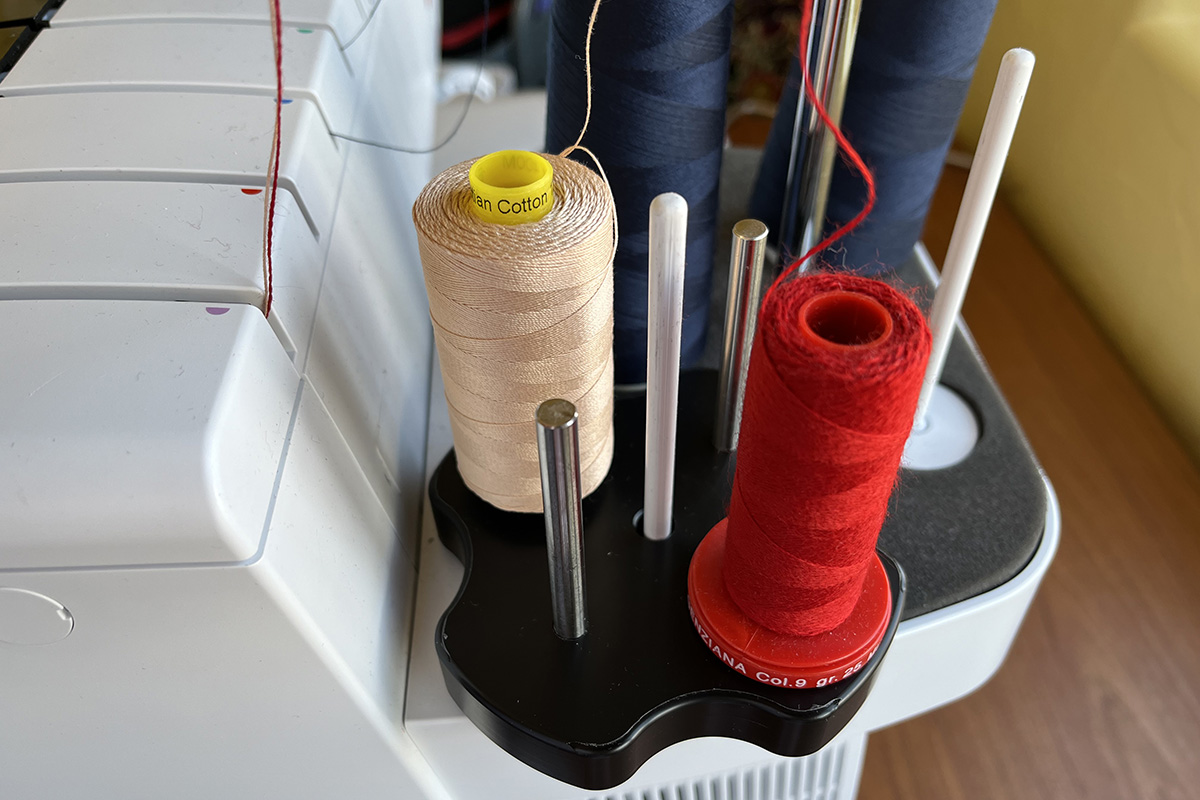
Here’s how it looks on my machine.
A thread cradle is very helpful when threading multiple threads into the Air Threader. Cut a 32″ or so strand of regular serger thread and fold in half. Thread the ends into the Chain Looper Threading Nozzle and press on the BERNINA Foot Control to thread through the looper, holding onto the thread loop. Don’t let go! Place both decorative threads through the loop and pull the thread ends through the Chain Looper. Easy! Tip: Keep the thread cradle handy since you will need it for more thread blending!
Press the handles as directed and then stitch down each long side. I guided the right edge of the Cover-/Chainstitch Foot #C13 along the folded edges of the handle.
The blended threads added a nice pop of color and a bit of texture. The bonus is that I only had to sew down each side once.
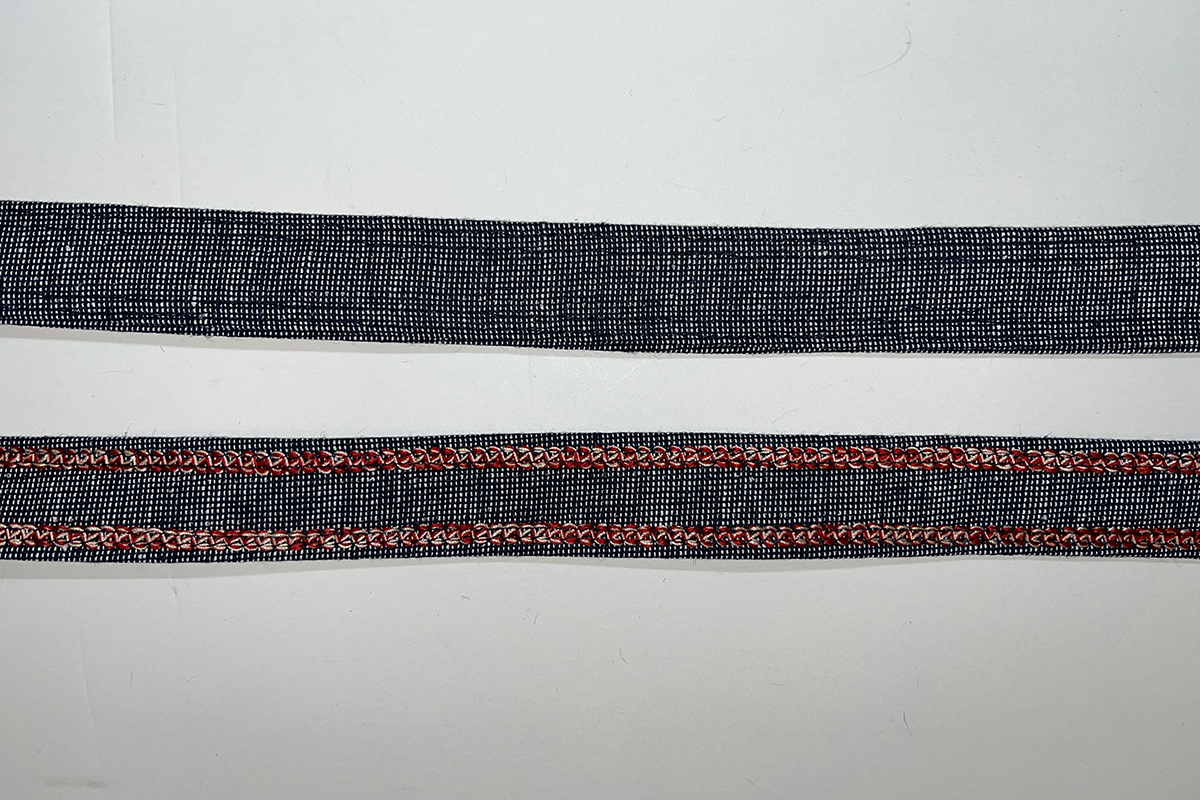
When finishing this section in the pattern, make sure the decorative threads are on the OUTSIDE.
Key Strap
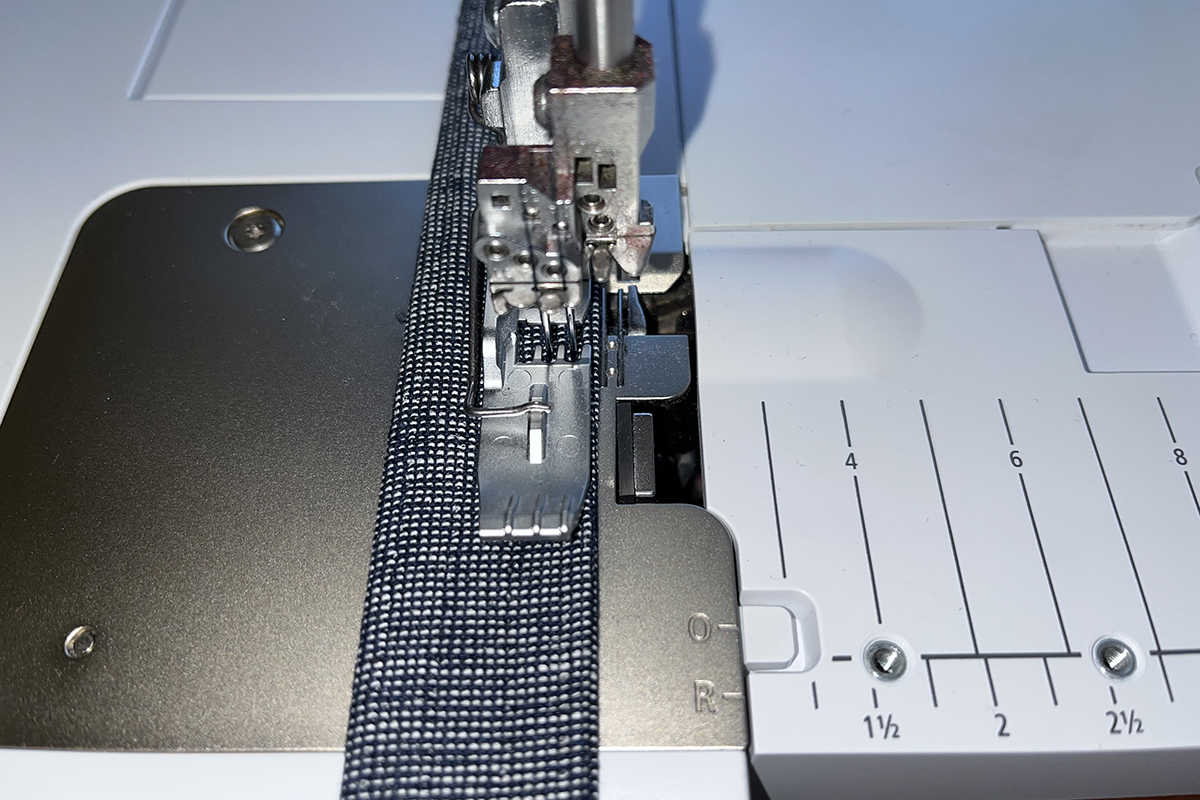
The quickest (and easiest!) way to make the key strap is to use the Double Fold Binder Attachment #C21. Cut the strip 1 3/8″ x 16″ and stitch with a 3-thread Coverstitch Wide (LC-RC) #22. No pressing required!
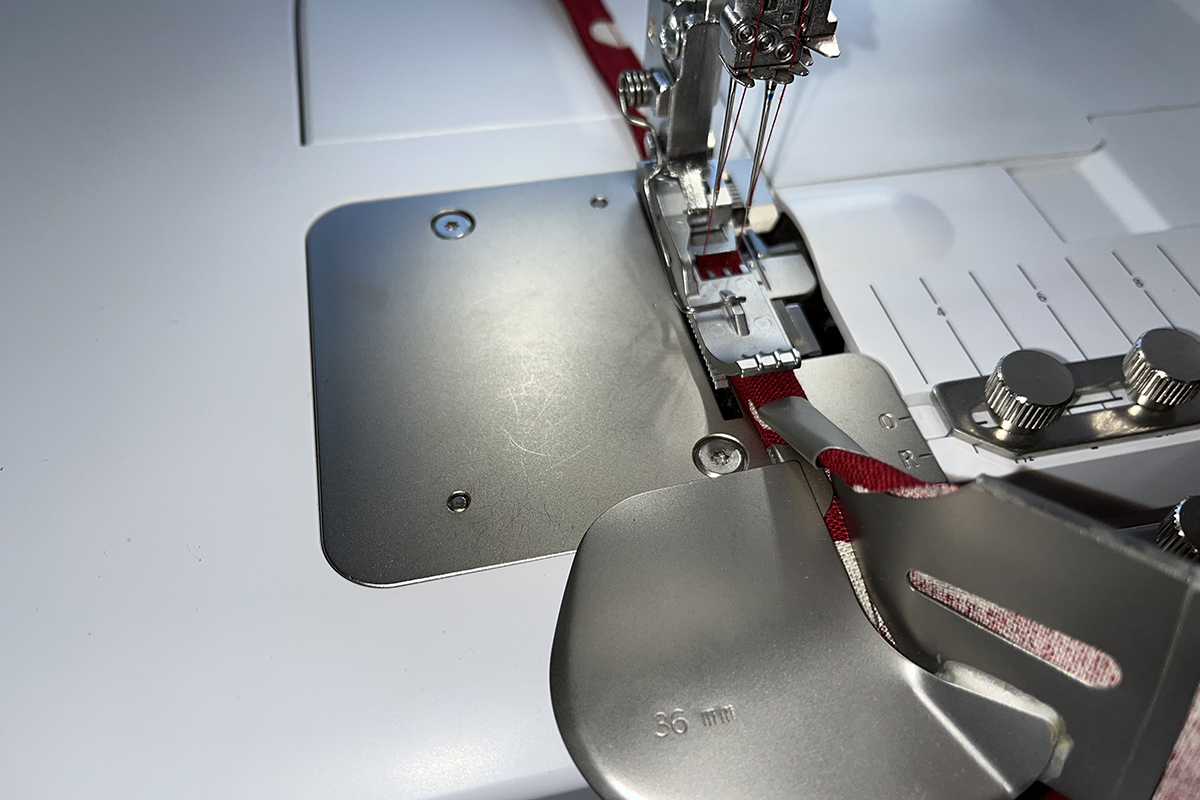
The strap finishes at 3/8″, as required in the directions. I used serger thread in the needles and looper. Trim to size and attach the swivel hook as directed.
Pockets
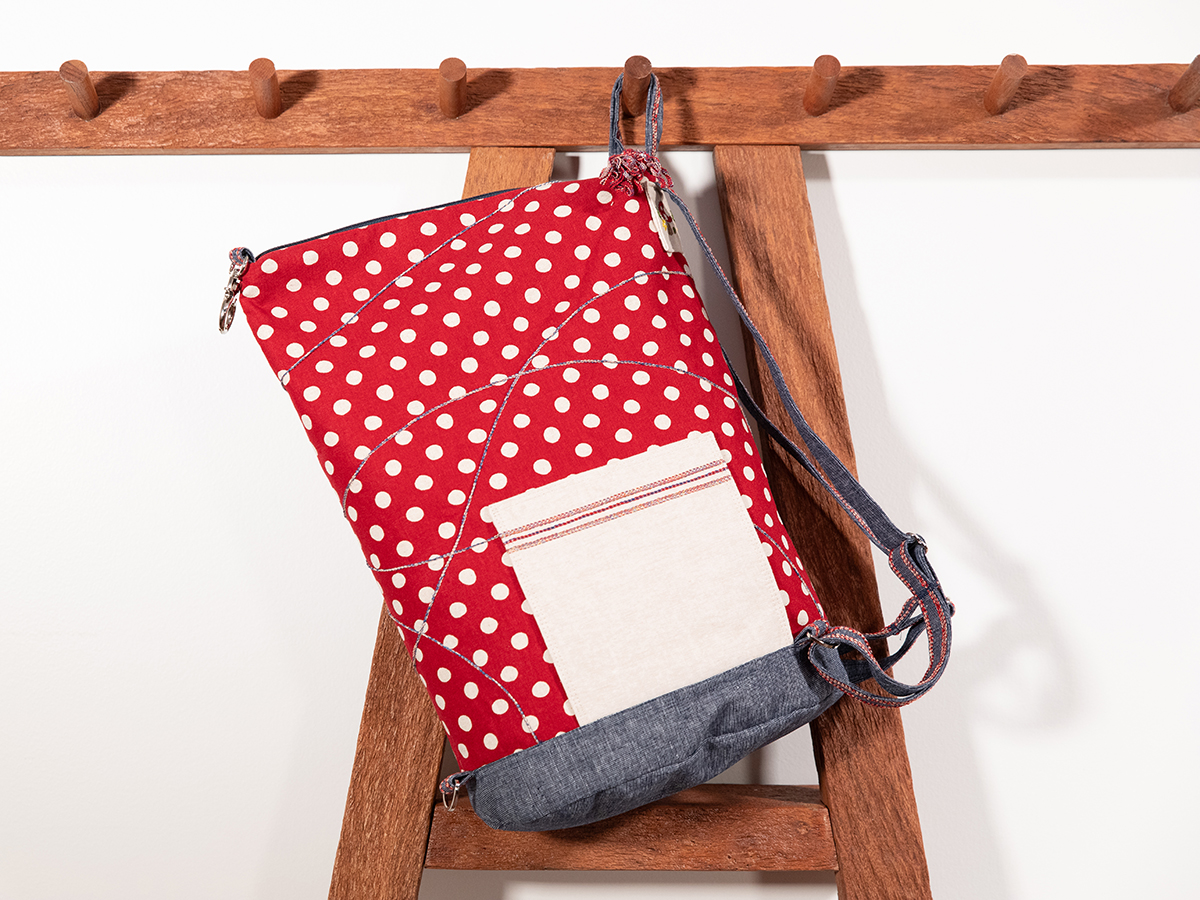
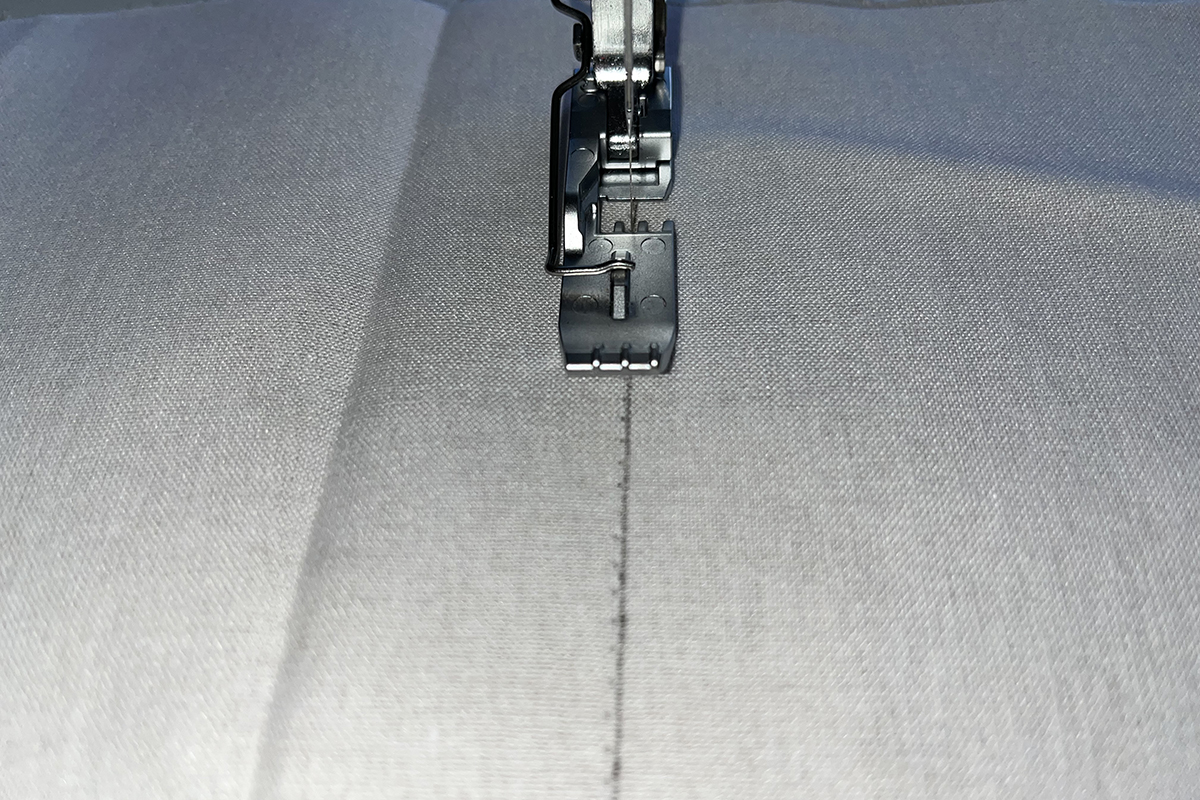
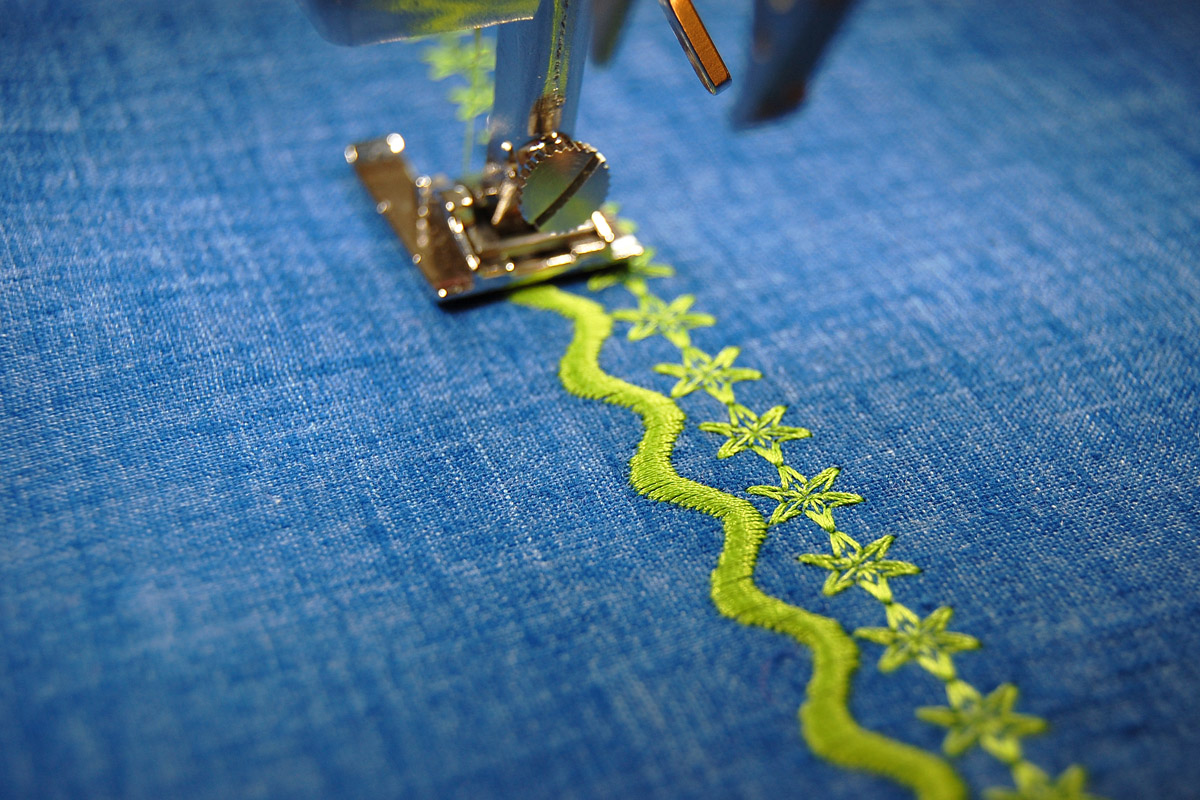
The pockets are a perfect place to stitch some cover- and chainstitch combinations. Plaids, curves, circles…the options are endless. I decided to make a border along the top of each pocket. I cut the pocket pieces larger than directed, 8″ x 14″, to give myself some wiggle room. I trimmed to the correct size when the stitching was complete.
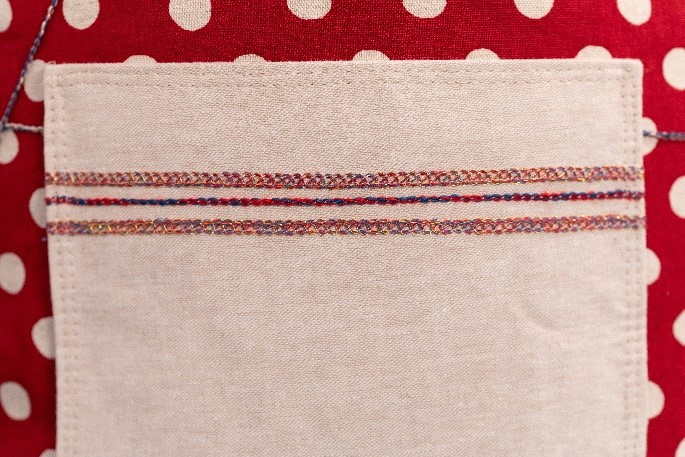
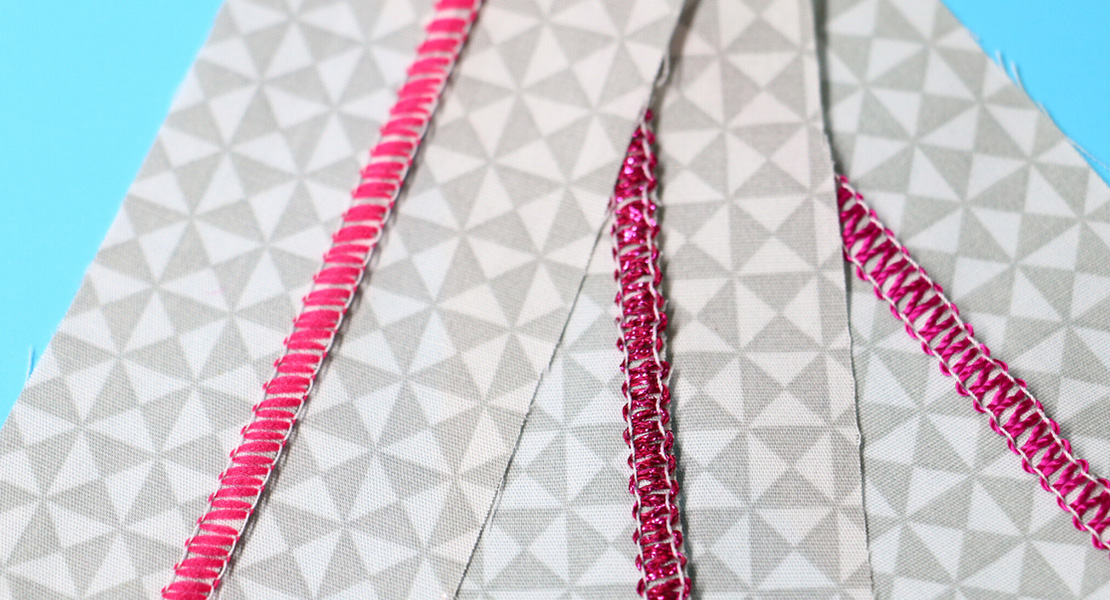
I marked a line for the center chainstitch about 1 1/2″ away from the fold on the wrong side of the fabric. I threaded the Chain Looper with blue WonderFil SoftLoc and red Aurifil Lana Wool. I used the 2-thread Chainstitch #16 (CC) and stitched along the marked line. Both pockets will have the same decorative stitching, so chain-piece to save time.
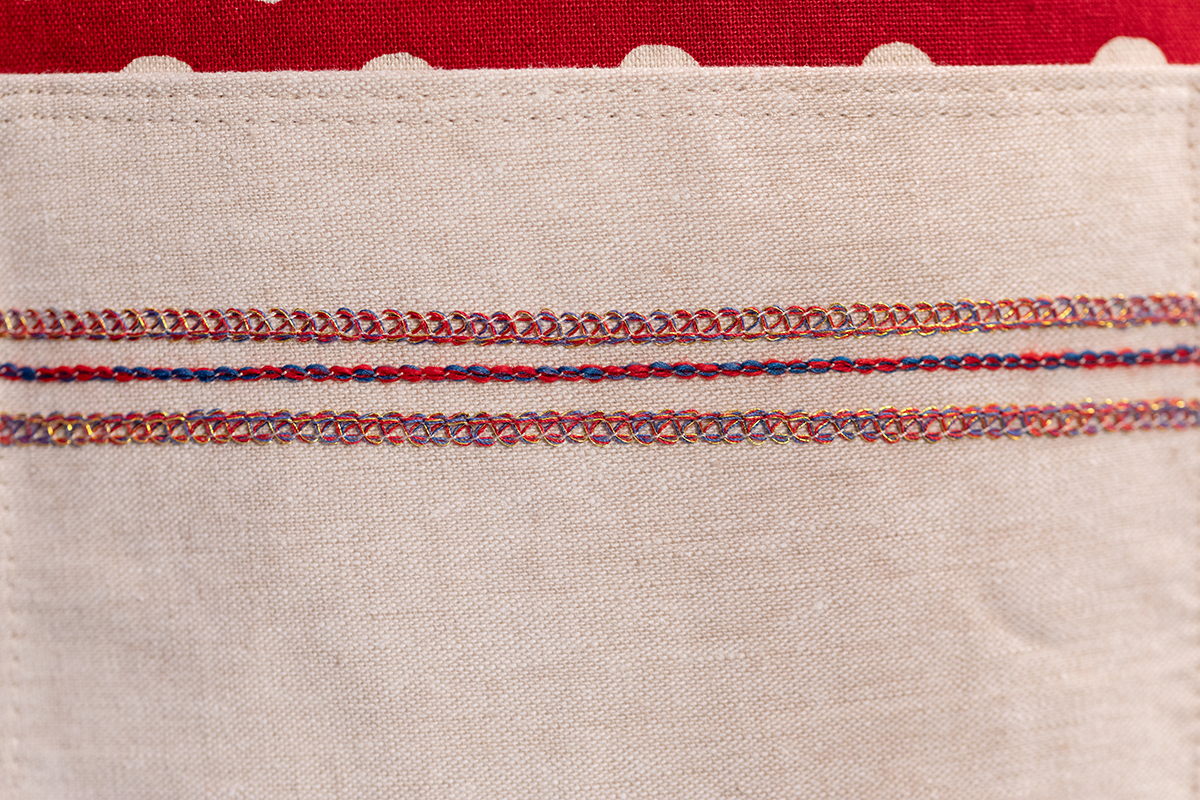
I switched to the 3-thread Coverstitch Narrow #23 (LC-CC) and threaded the looper with metallic gold embroidery thread and two 60-weight cotton threads (red and blue). That’s THREE threads in the chain looper! I guided the left edge of the presser foot along the chainstitch. I did this on both sides of the chainstitch.
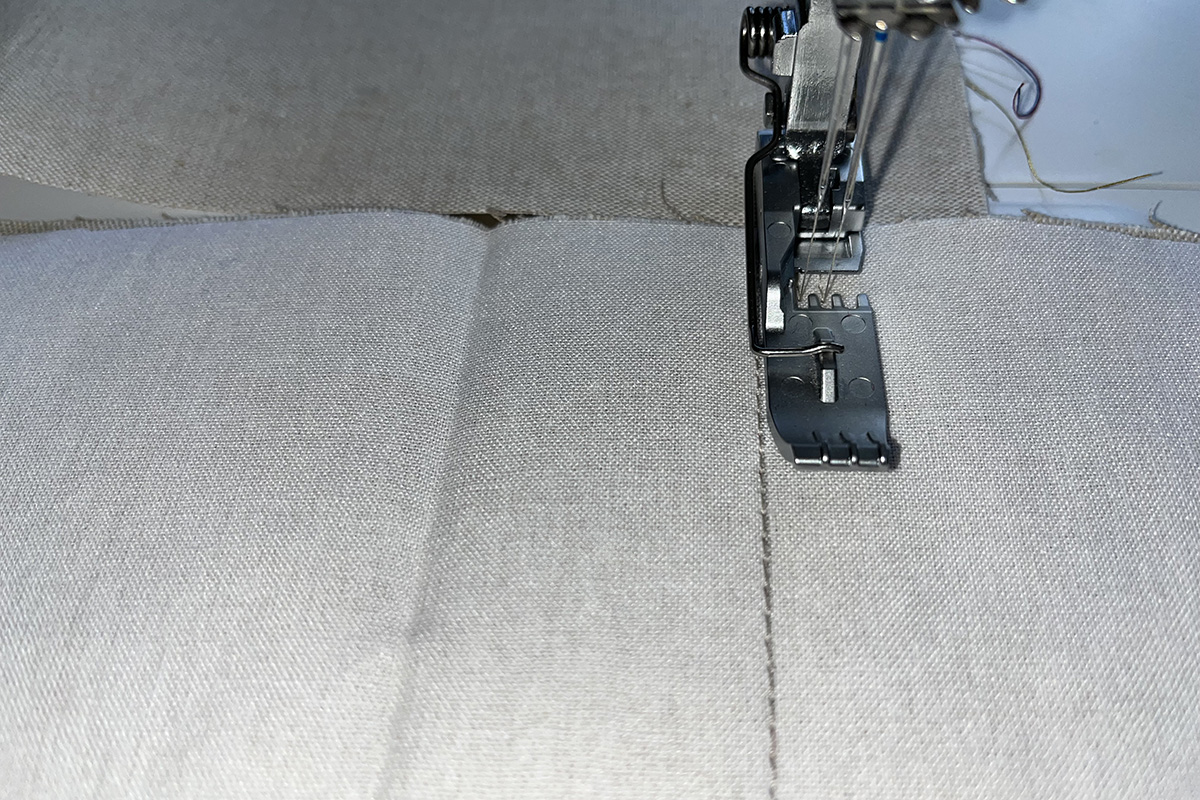
Trim the pocket fabric to size and set aside.
Patch
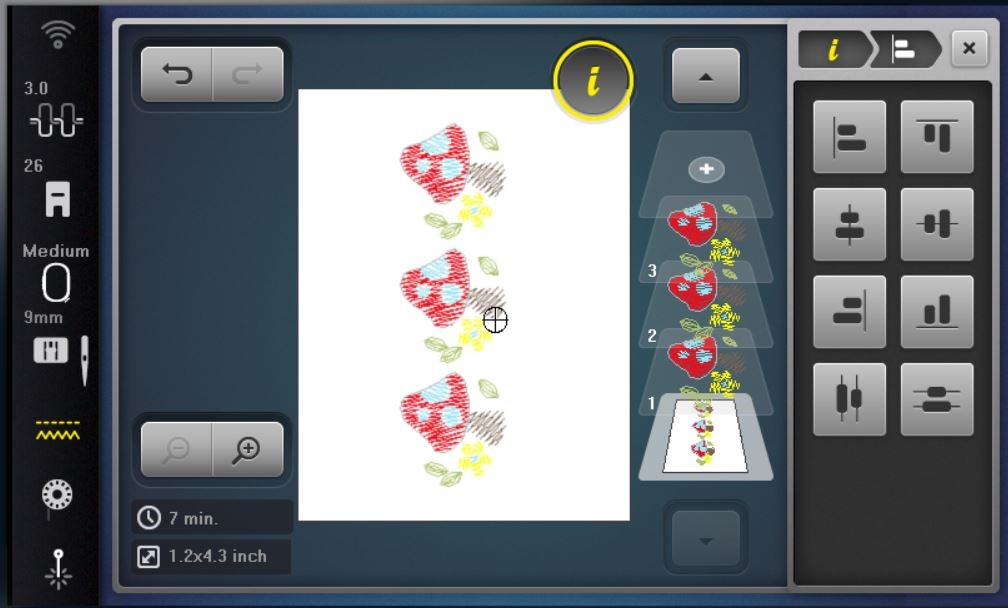
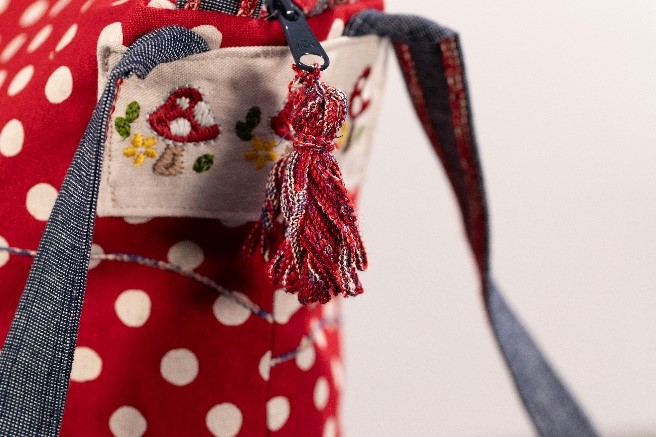
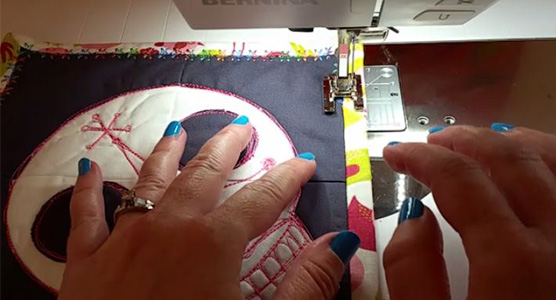
The pattern’s patch is the perfect place to add some embroidery. Cut a piece of fabric large enough to hoop. Then embroider with your design of choice and trim to size. Take note that the seam of the patch is centered on the back, so make sure your embroidery design is centered top, bottom and sides.
The mushroom design I used is Mushroom Mini #12819-11 from OESD Tiny Treasures #12819. It coordinated perfectly with my lining fabric.
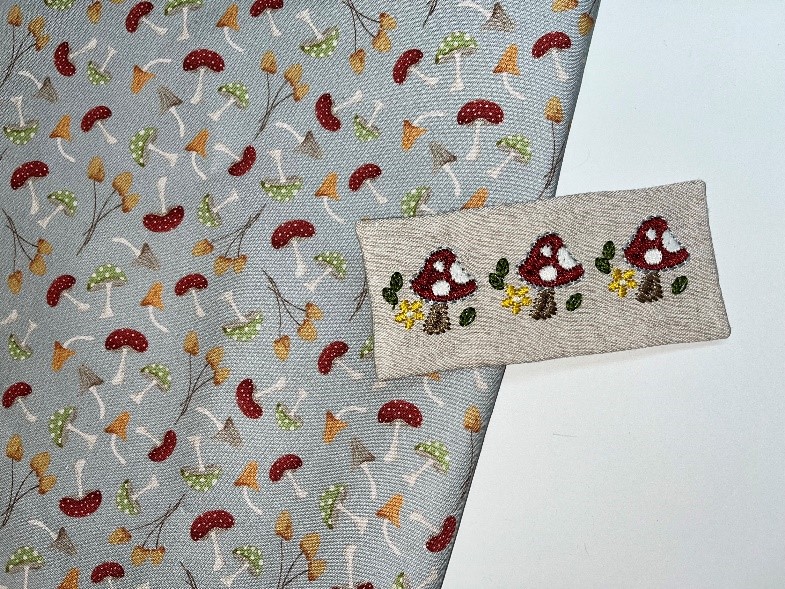
It was super easy to duplicate, align and space the mushrooms on the B 790 PRO!
Outside Bag
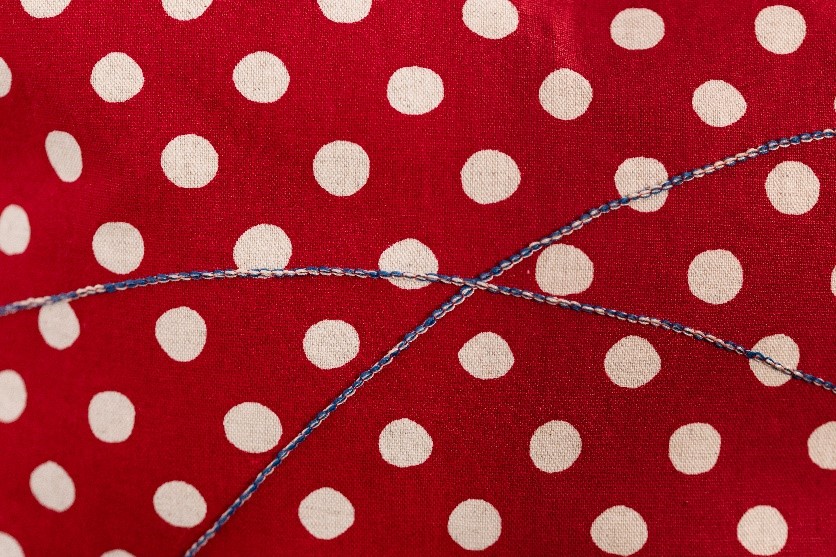
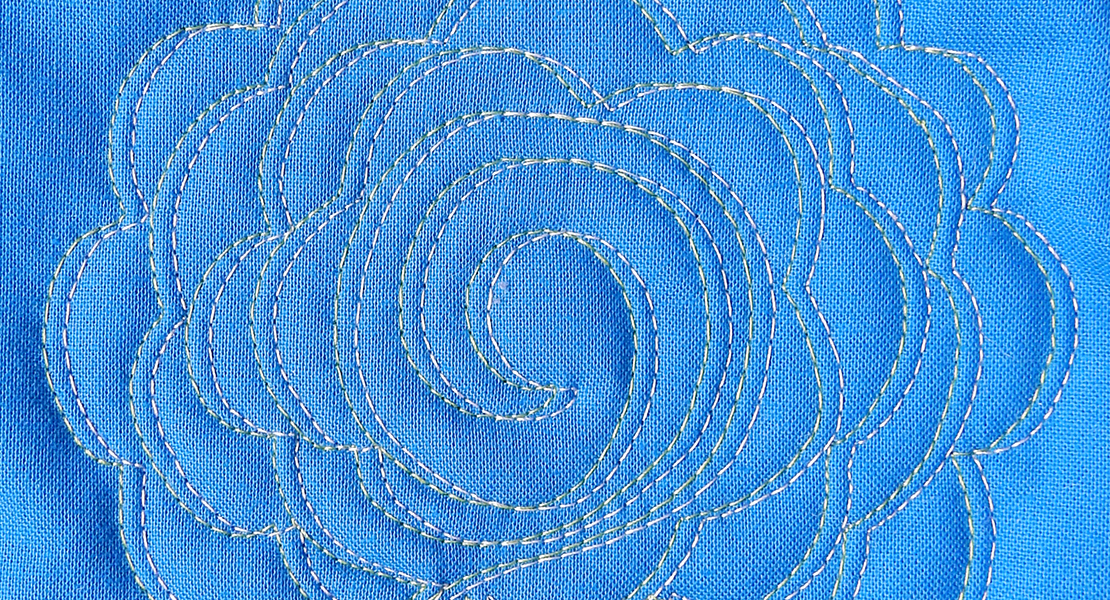
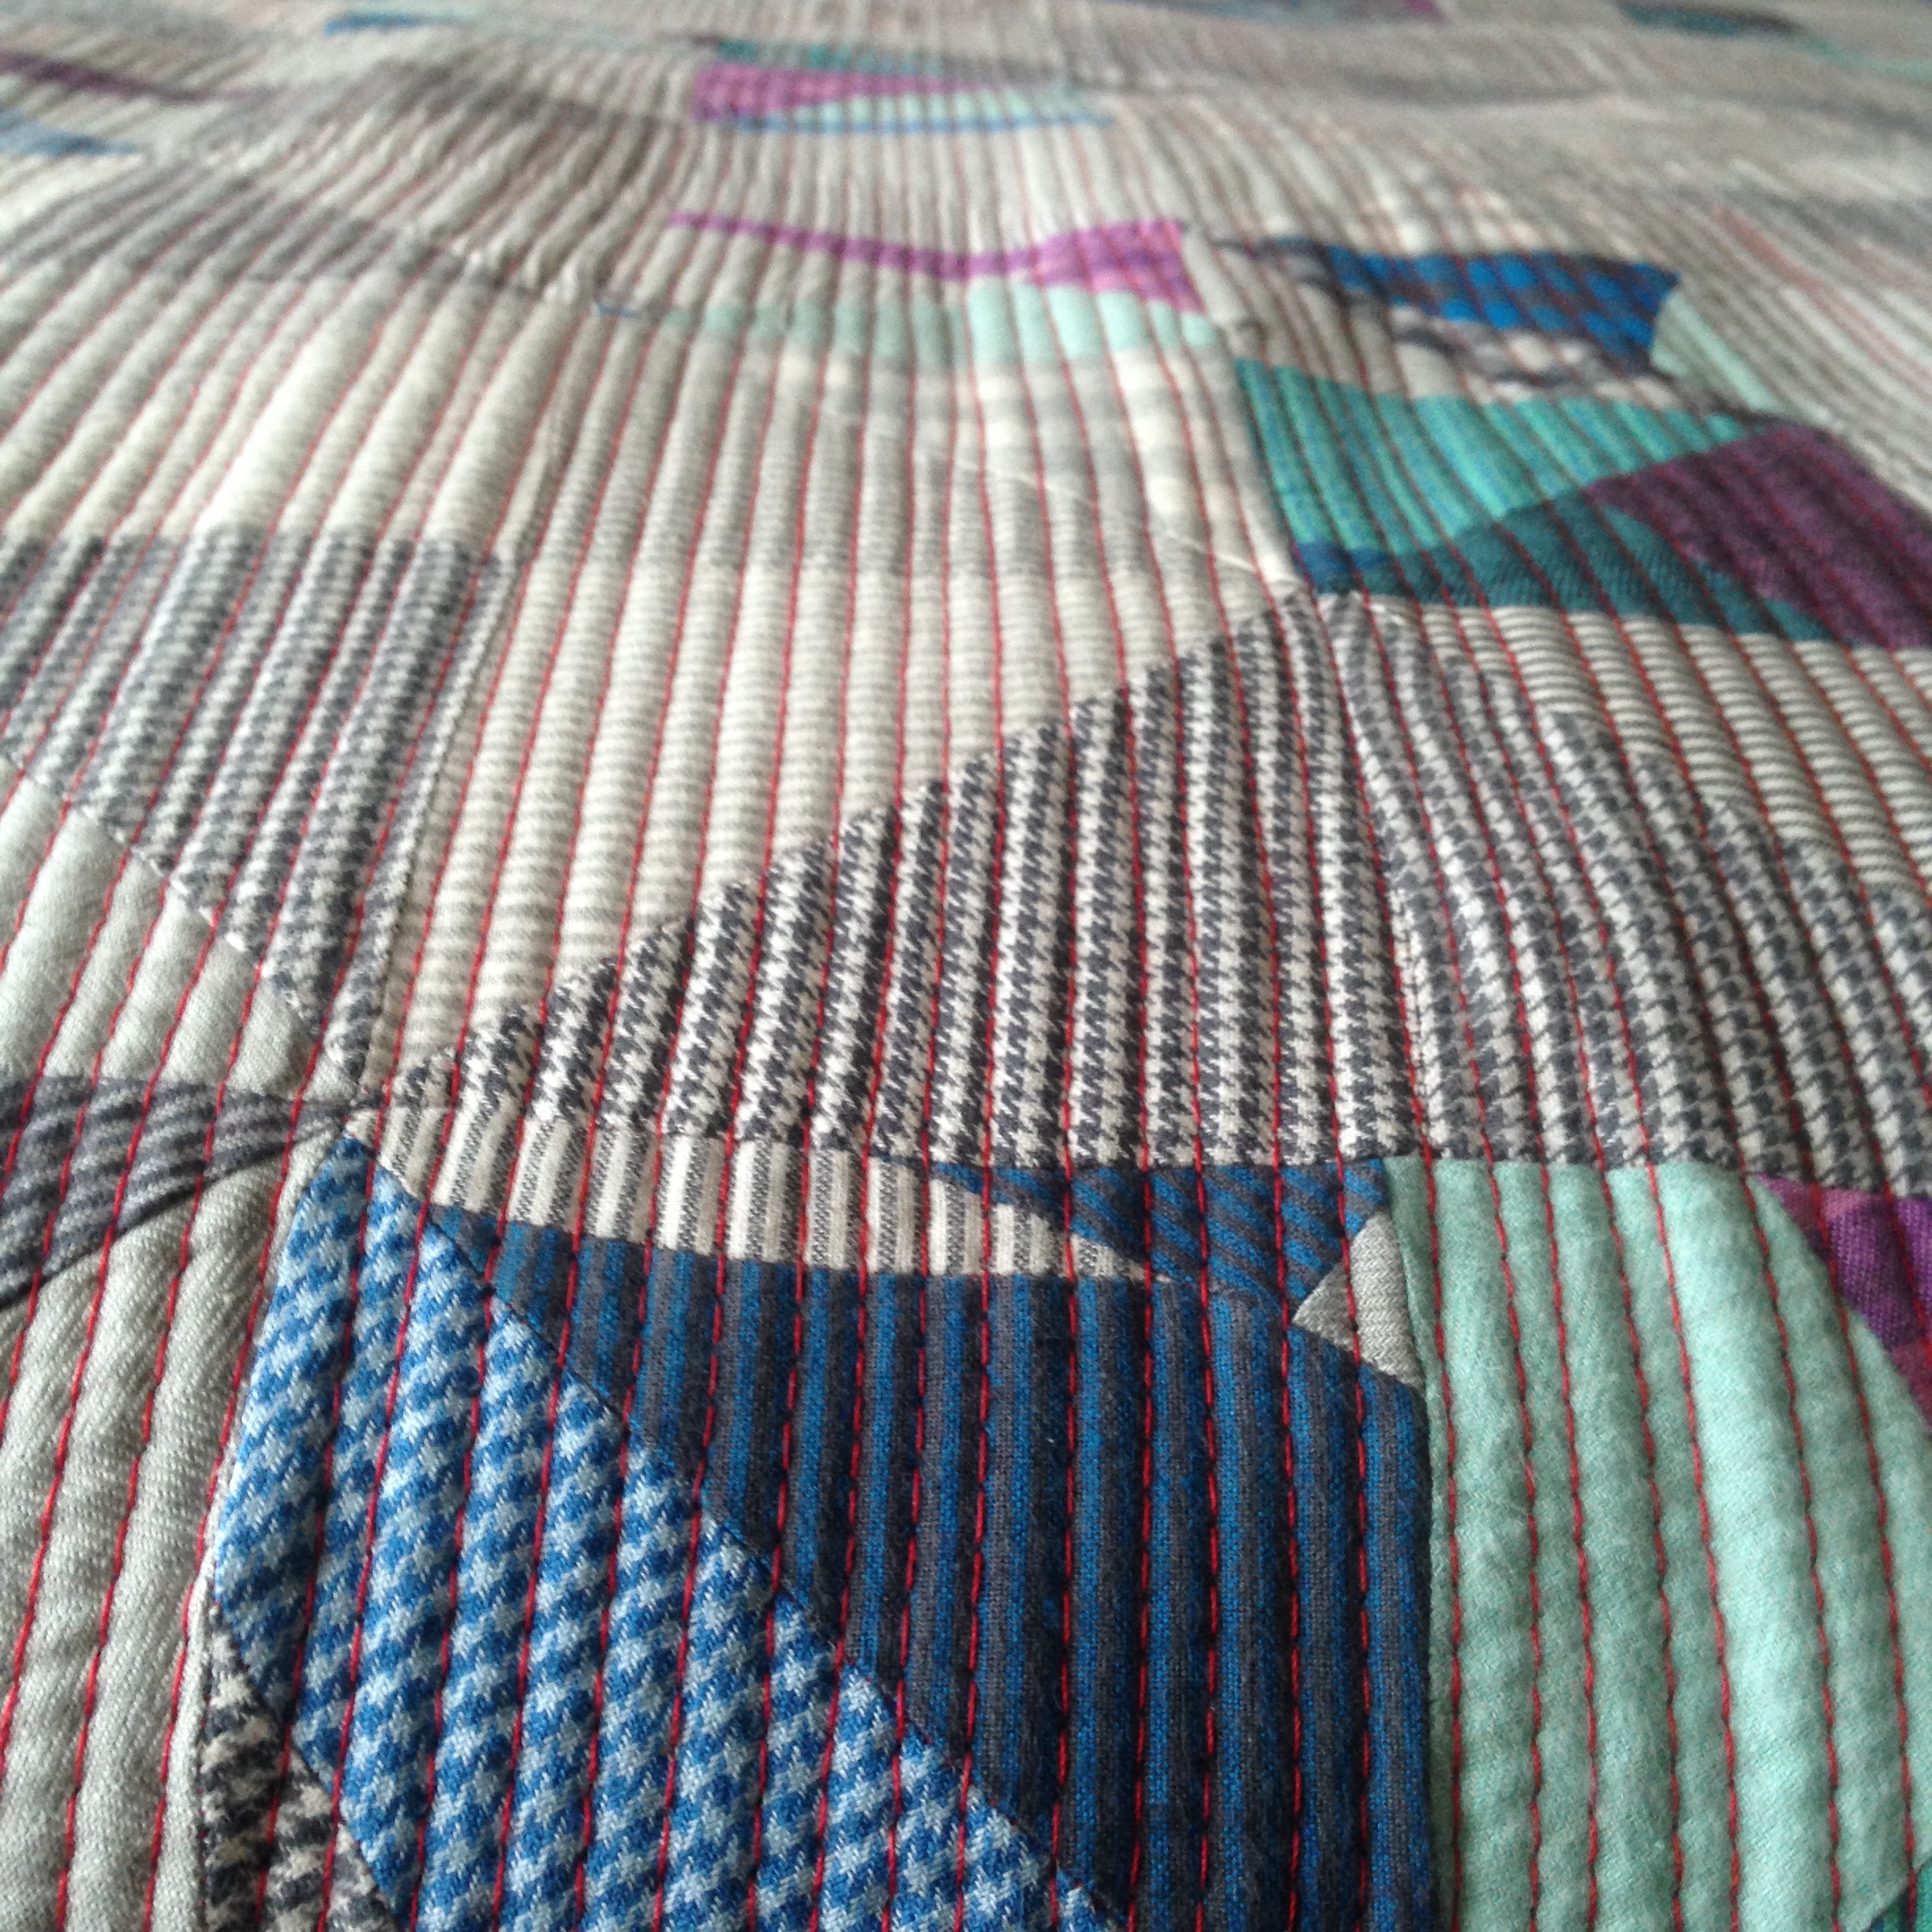
I cut the outside bag piece about 2″ bigger than directed. Then with two threads in the Chain Looper (WonderFil SoftLoc and WonderFil Spagetti 12 weight), I stitched random chainstitches across the fabric, stitching on the wrong side. Not too many, just enough to give some visual interest (I found it helpful to draw some lines on the wrong side of the fabric to give me some direction). Try to avoid starting and stopping along one long edge where the zipper will go and near the center top where the handles and patch attach. This will reduce bulk. The Curve Foot #C23 is clear, so it’s easy to follow marked lines. The shorter toe also makes it easier to maneuver around the curves. When done stitching, trim to size as directed in the pattern.
I used a narrow coverstitch to edgestitch and attach the pockets. The double row of stitching is done in one pass, making it quick and easy.
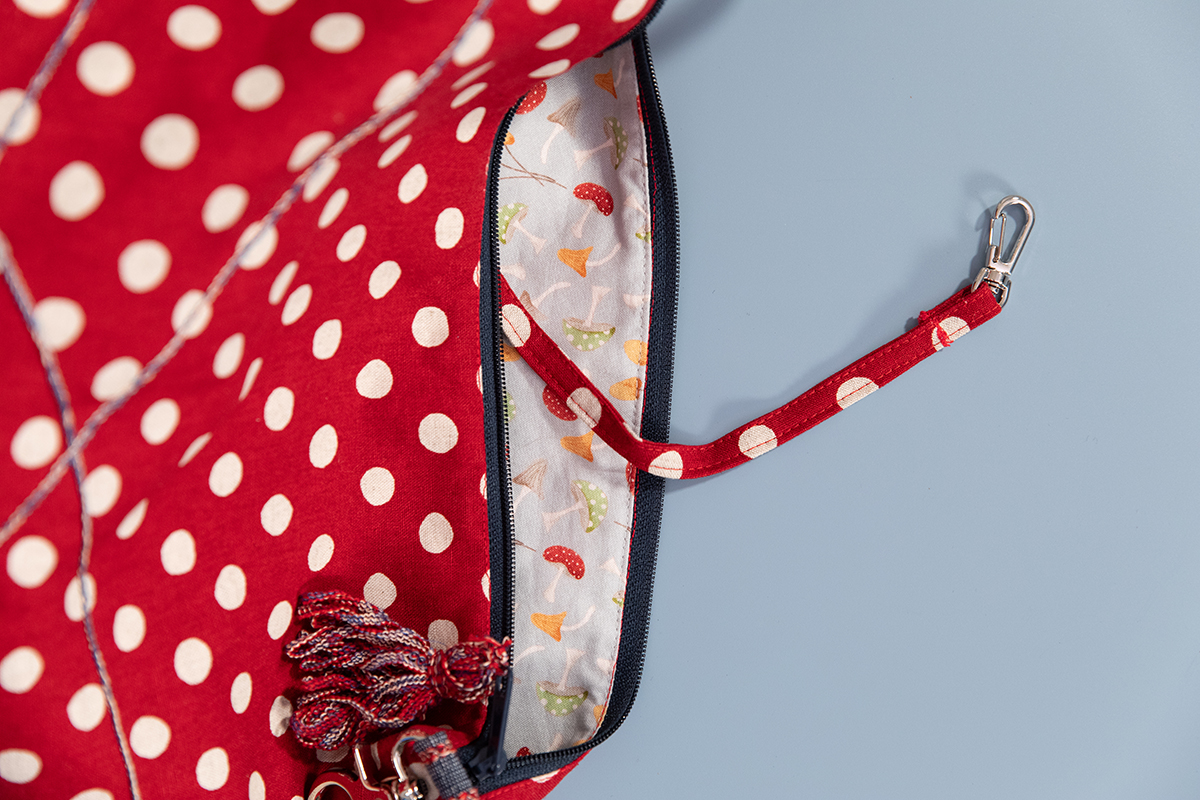
For bag construction, I used the B 790 PRO. I was very happy how easily it all went together. Don’t let the zipper scare you…the directions in the pattern are great!
For a finishing touch, I decided that the zipper needed a tassel. I used three decorative threads in the Upper Looper (WonderFil Spagetti, Aurifil Lana Wool and 60 wt cotton) and coordinating serger thread in the needle and Lower looper.
I sewed a 3-thread Rolled Hem Chain about 3 yards long. There are step-by-step directions in the Big Book of Serging for making a tassel. I found that the packaging that the overlocker feet come in is the perfect size for wrapping the thread to make the tassel.
Do you have a pattern that you would like to “sergerize”? Have fun playing with decorative threads and finding ways to make your project go together easier and faster with the overlocker!
Until next time, happy serging!
Used Products


What you might also like


One comment on “Decorative Thread Double Time”
Leave a Reply
You must be logged in to post a comment.

Adorable bag. Good job Mary!