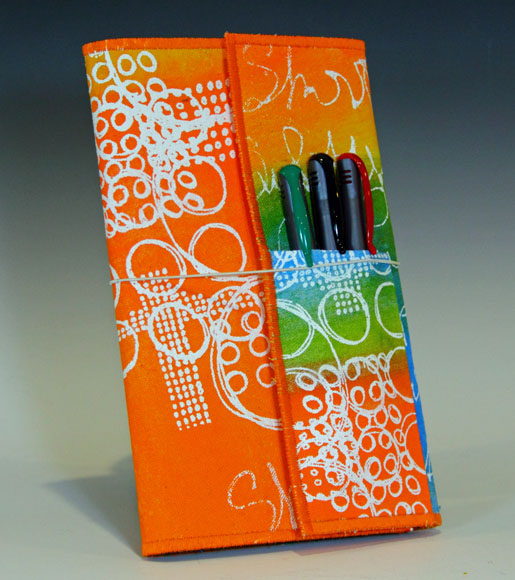
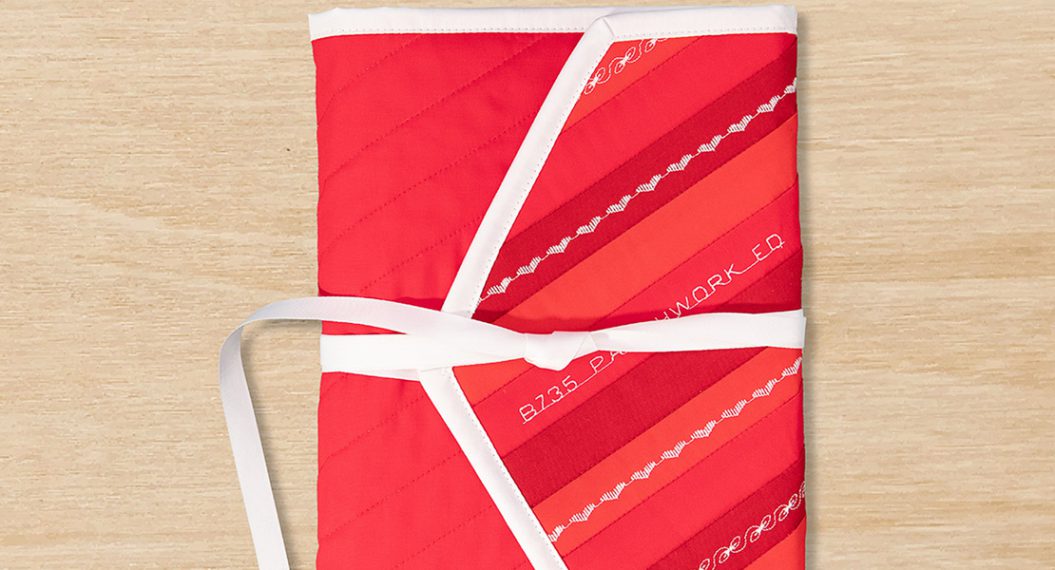
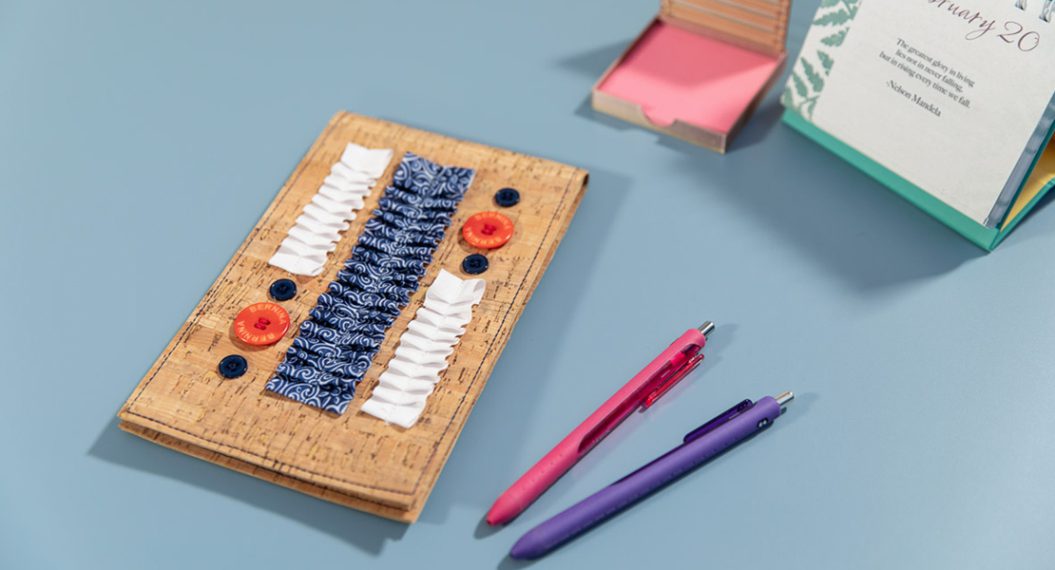
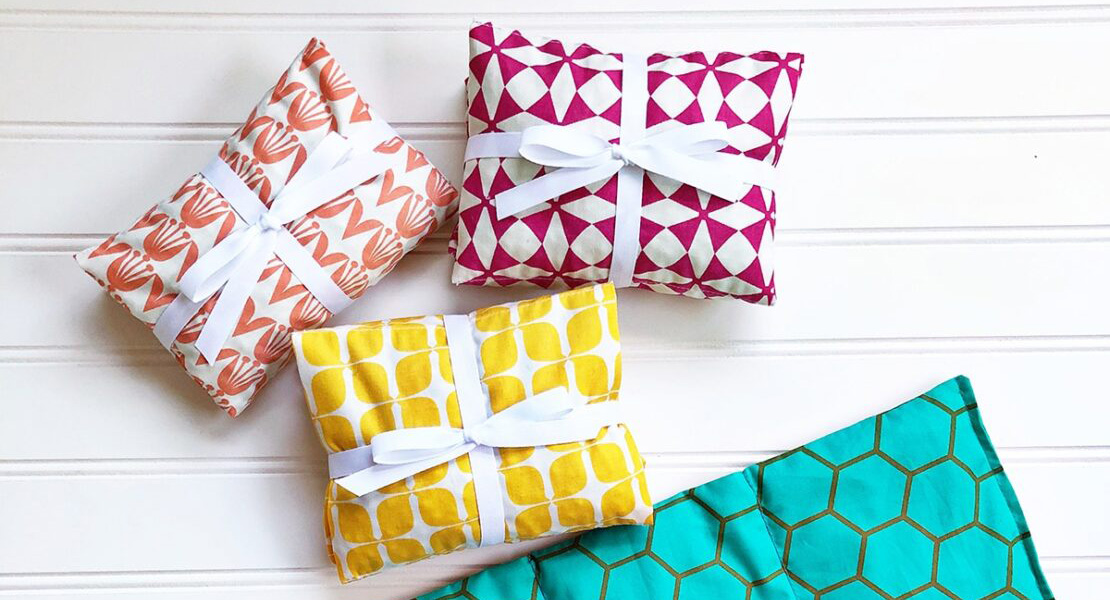
DIY Note Pad Folio
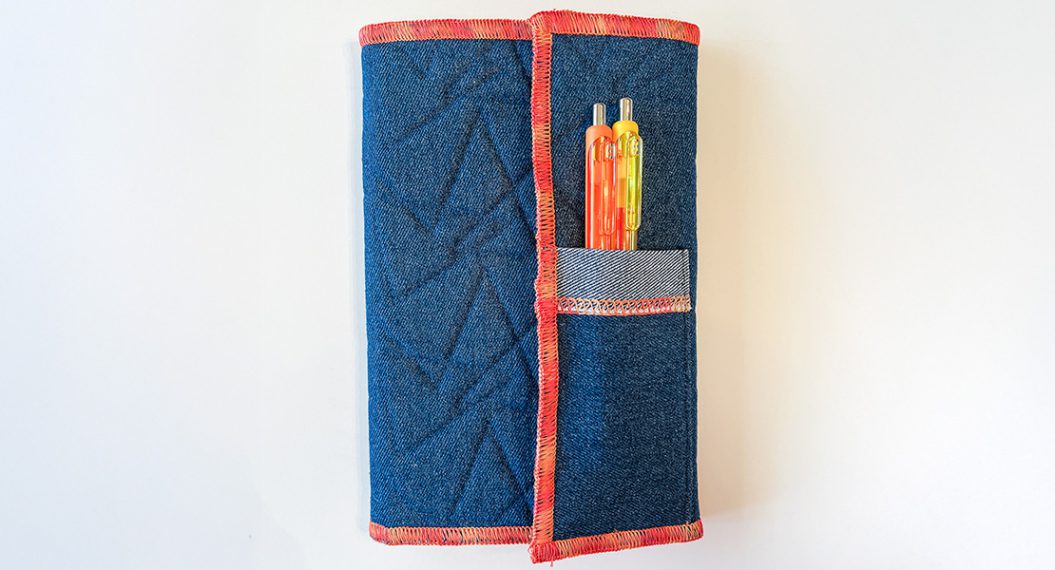
This wrap folio from fabric artist Sue Bleiweiss is easy to make and goes together quickly. It makes a great gift and you can easily size it down to make a purse-sized version.
Supplies
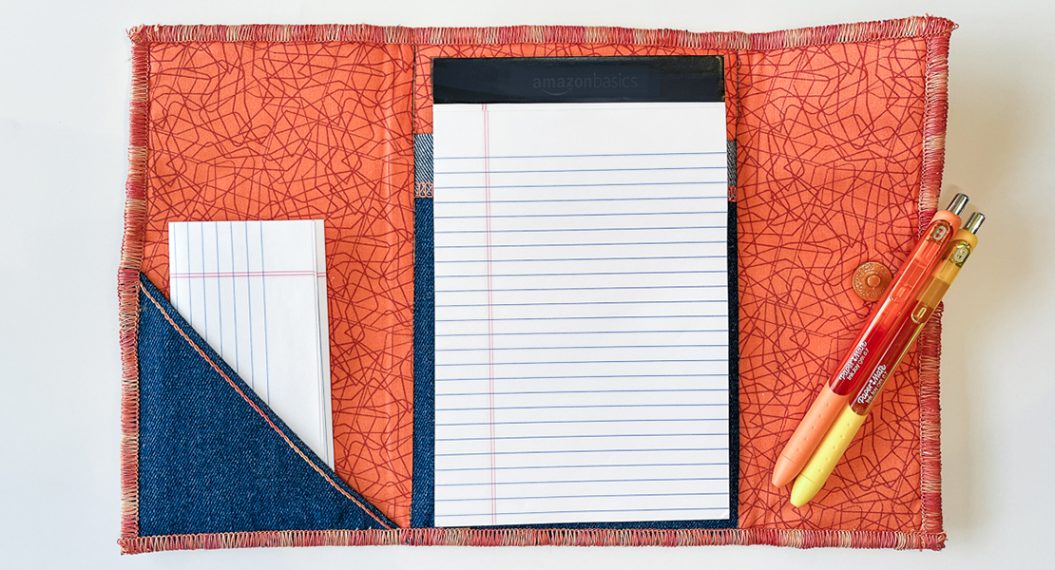
- One notepad measuring 5″ x 8″
- Stiff interfacing such as Timtex, Pellon – one piece 14″ x 9″
- One 2-1/2 yard package of MistyFuse fusible web
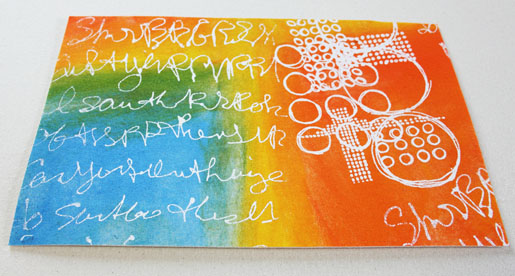
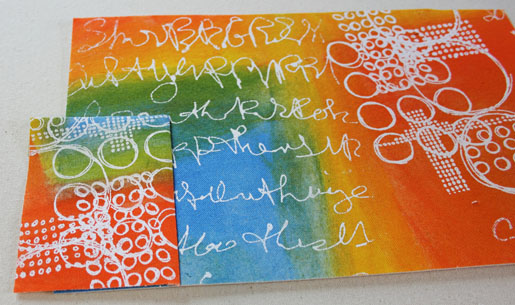
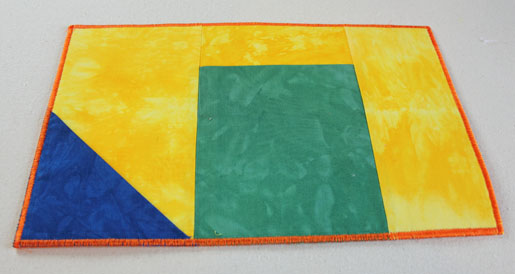
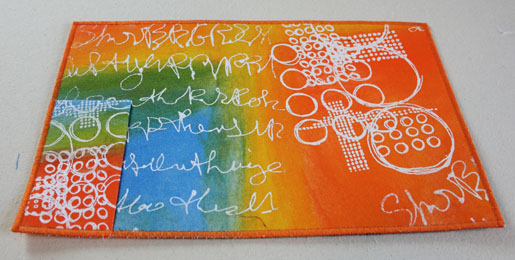
- Fabric for the outside:
- 1 piece 14″ x 9″
- 1 piece for the outside pen pocket measuring 4″ x 6″
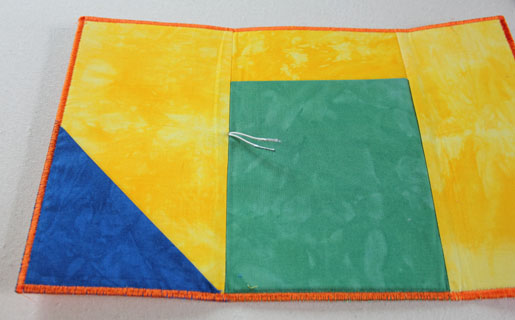
- Fabric background for the inside, 3 pieces:
- one piece measuring 5 -1/2″ x 9-1/4″ (left)
- one piece measuring 6″ x 9-1/4″ (center)
- one piece measuring 4″ x 9- 1/4″ (right)
- Corner pocket: one piece measuring 5″ x 5″
- Notepad pocket: one piece 9″ x 6″
- 12″ length of elastic or an 11″ hat elastic
- 1/4″ presser foot (BERNINA Patchwork Foot with Guide #57/57D)
- All-purpose presser foot (BERNINA Clear Sole Foot #34/34C)
Step 1) Prepare the fabric.
Fuse a layer of Mistyfuse to both sides of the stiff interfacing.
Fuse your outside fabric to one side of the stiff interfacing.
Step 2) Make the pocket.
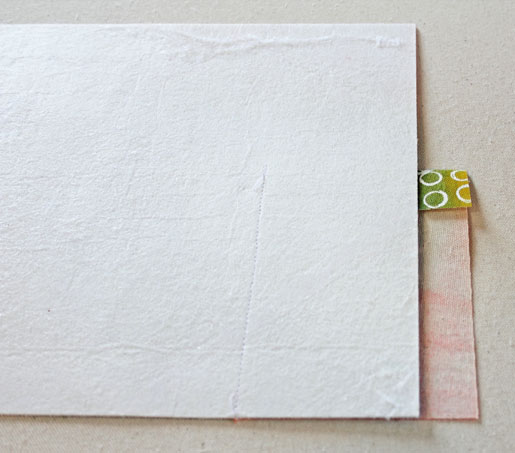
Turn down one short edge of the pen pocket piece 1″ to the wrong side and press it well. With the outside folio piece facing up, place the pen pocket piece 2-1/2″ in from the left edge, right side down, with the turned down edge at the top and the raw edge along the bottom of the folio. Use a 1/4″-wide seam allowance along the left edge of the pocket piece.
Turn the pocket piece to the right side and press it well. Trim off any excess that hangs over the edge of the folio. Set the folio aside while you prepare the inside lining.
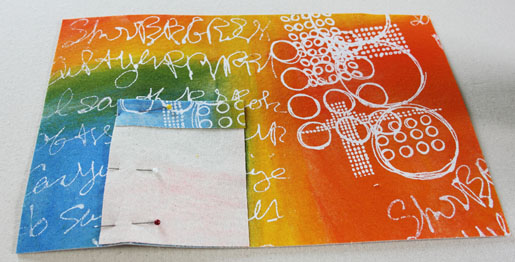
Step 3) Construct the inside of the portfolio.
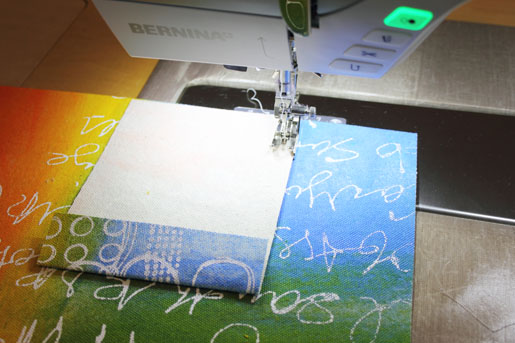
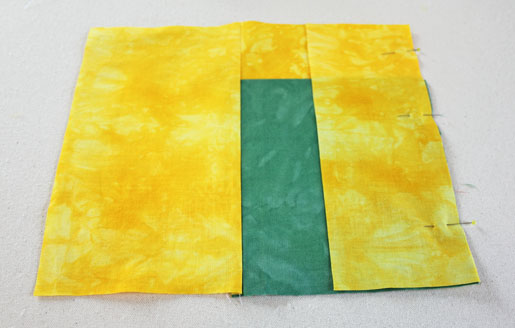
Turn down one short edge of the notepad pocket 2″ to the wrong side and press it well. With the center lining piece right side up, place the notepad pocket on top, right side up, aligning the right, left and bottom raw edges. Place the left lining piece on top wrong side up along the left edge. Sew along the left edge using a 1/4″-wide seam allowance. Open the left side out and press it well.
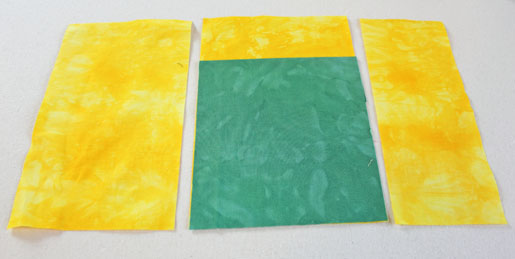
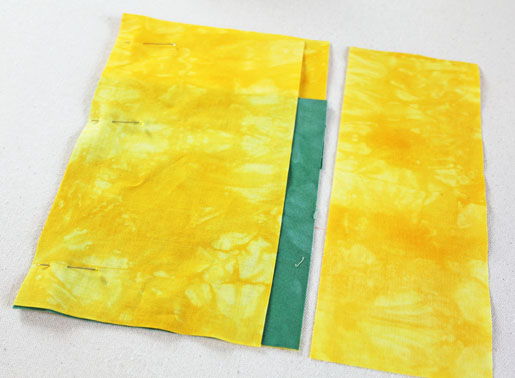
With the center/left lining piece right side up, place the right lining piece on top along the right raw edge, wrong side up. Sew along the right edge using a 1/4″-wide seam allowance. Open the right side out and press it well.
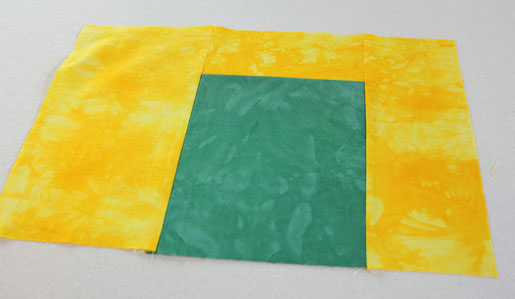
Fuse the lining in place on the other side of the folio.
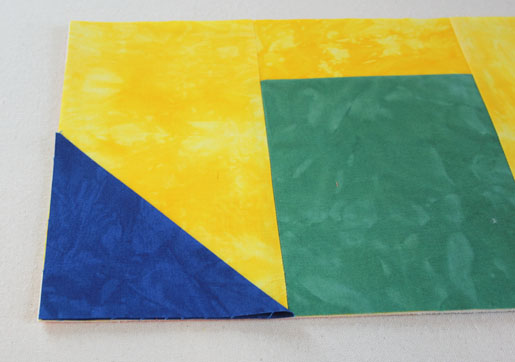
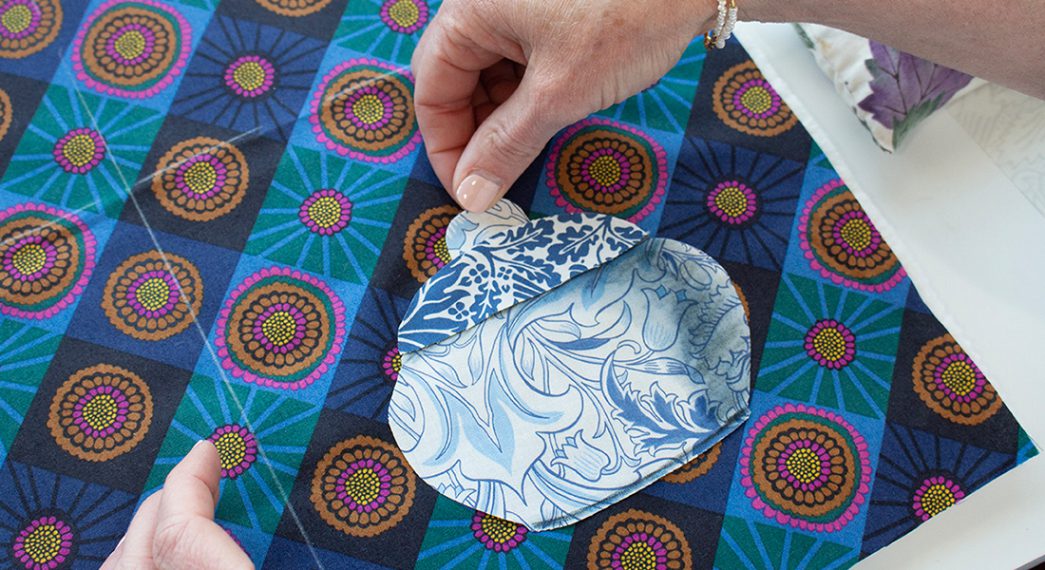
Fold the inside corner pocket piece, right sides together, along the diagonal and press it well. With the folio lining side up, place the pocket along the left bottom edge, aligning the raw edges, and pin in place.
Step 4) Finish the outside edge.
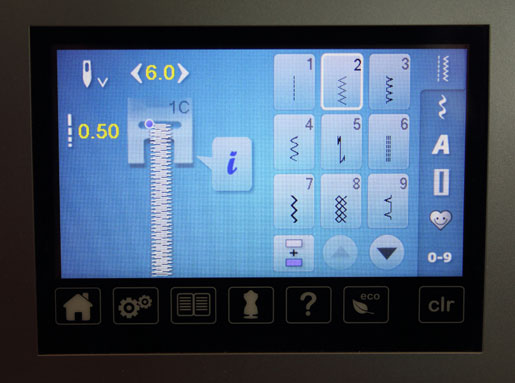
If you have been using the BERNINA Patchwork Foot with Guide #57 you’ll want to switch to the Clear Foot #34 at this point. Set up your machine for a wide zigzag stitch. Zigzag stitch around the edges of the folio, catching the edges of the outside pencil pocket and inside corner pocket to secure them in place.
Step 5) Add the elastic closure.
Poke a hole in the folio at the midpoint just outside the seam that joins the left side lining piece to the center piece. Fold the elastic in half and thread the loop end through the hole to the outside. Knot to secure it from slipping through the hole. Alternatively, if you are using hat elastic just push the metal ends through the hole to the inside and then pull to secure in place.
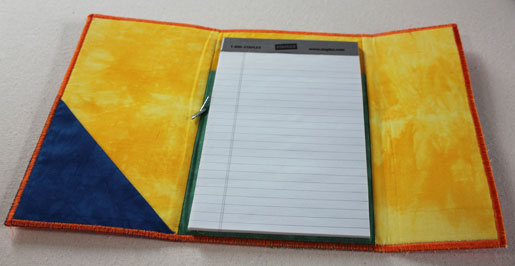
Slip the note pad into the inside pocket, fold the folio and secure it closed with the elastic.


2 comments on “DIY Note Pad Folio”