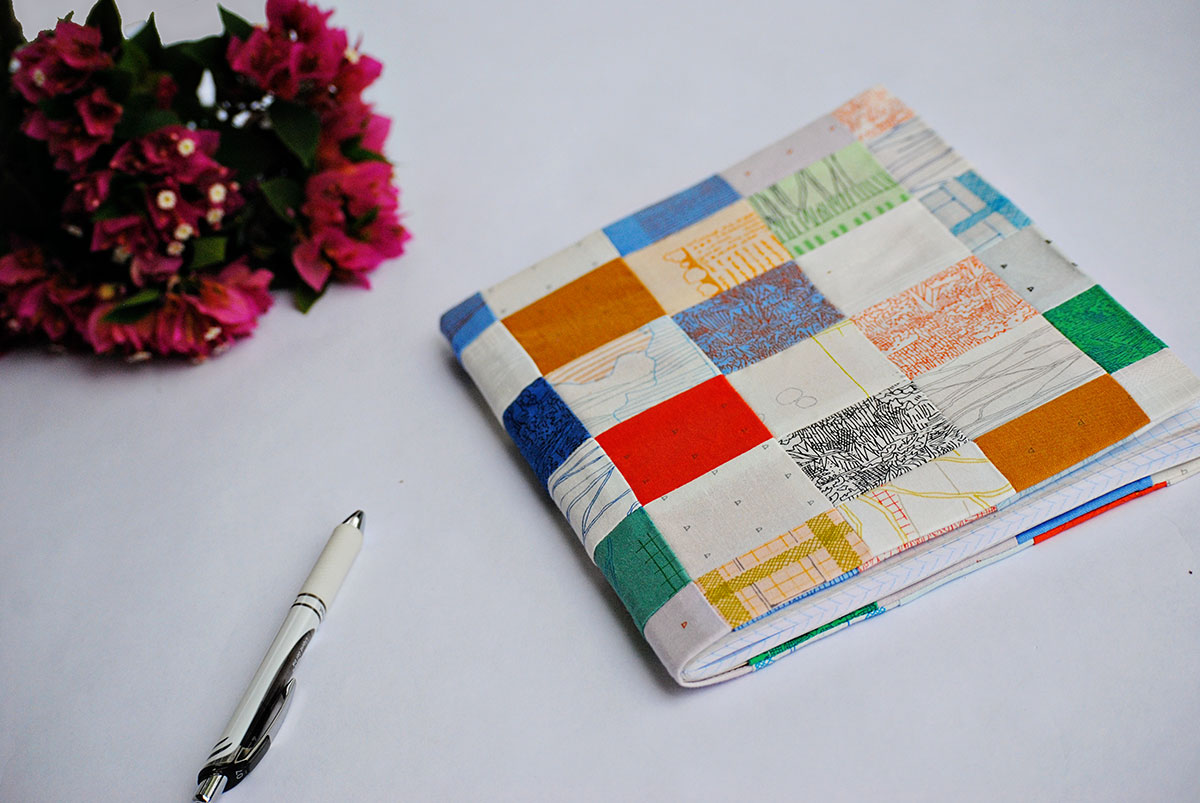
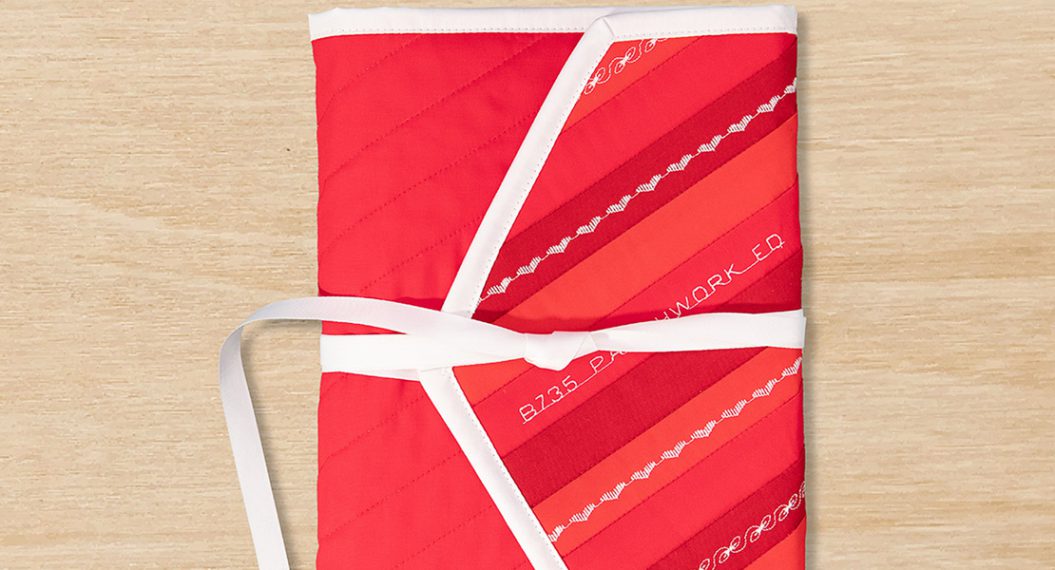
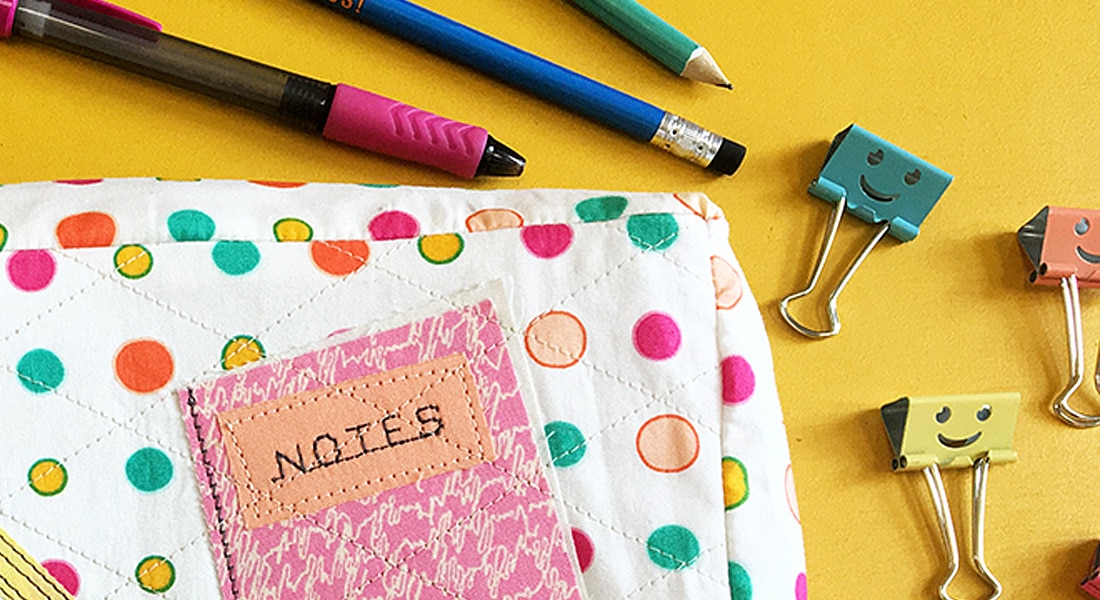
Sew a Notebook Cover for Mom
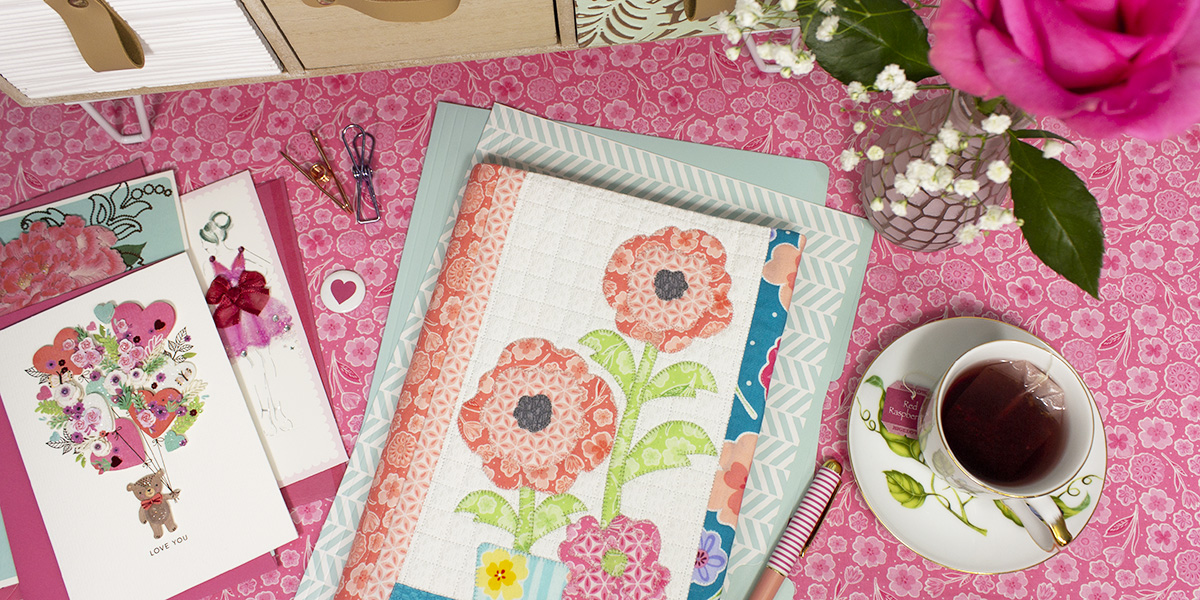
It’s almost time to celebrate our special Moms and there’s nothing better than sharing a gift made with your hands. Hi, I’m Cherry of Cherry Blossoms and today’s tutorial is a quick notebook/journal cover perfect for bright, happy fabrics!
Materials to Sew a Notebook Cover:
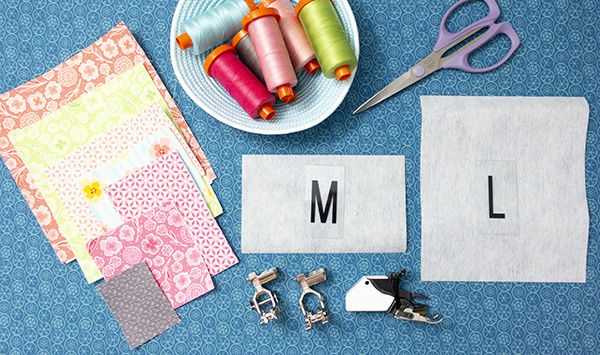
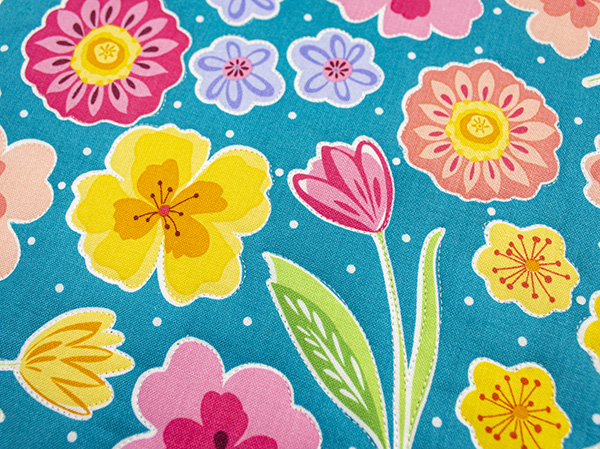
- Fabrics: I used my latest collection for Contempo Studio of Benartex Full Bloom to make the cover; see Step 1
- A notebook to cover: 9-1/2″ x 6″ or similar size
- Firm iron-on stabilizer such as Pellon 809 Décor Bond: 5-1/2″ x 6-3/4″ – L, 5-1/2″ x 3-1/2″ – M
- Thin cotton batting: 29-1/2” x 14-1/2”
- Piecing, applique and quilting threads to match fabrics
- Water-soluble pen or pencil (Sewline or Bohin)
- Cutting mat, ruler, rotary cutter
- Fabric scissors
- Fine tip permanent pen
- Light box (optional)
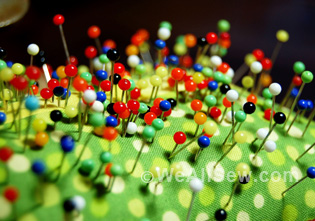
- Temporary spray adhesive or quilting pins
- Paper-backed fusible webbing
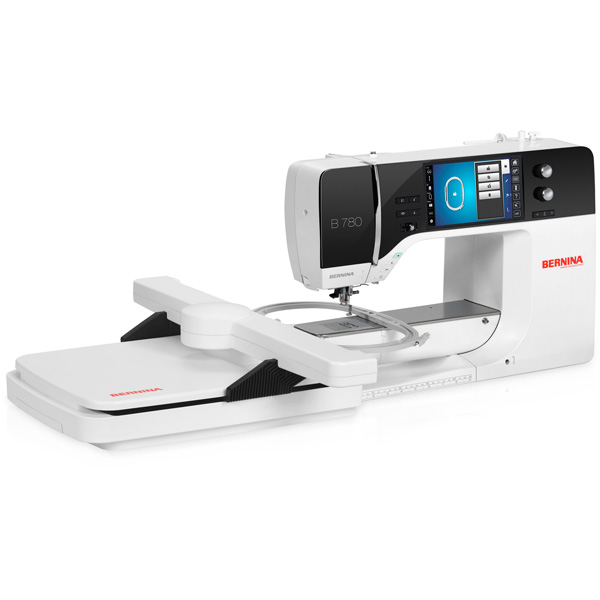
- Sewing machine (I used a BERNINA 780)
- Open embroidery foot #20D
- Patchwork foot #57D with guide
- Reverse pattern foot #1D
- Three-sole walking foot #50 or ruler foot #96, ruler base and straight-edge quilting template
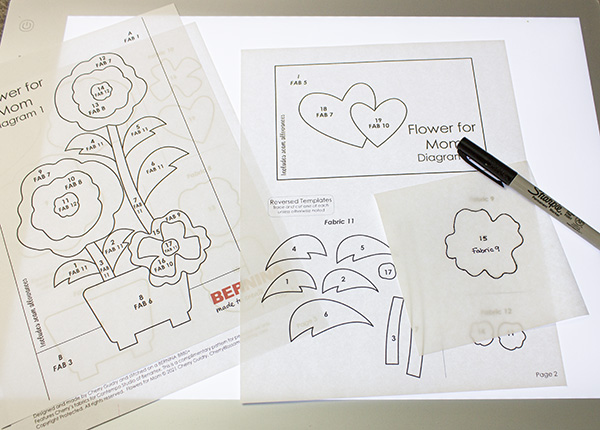
- Download and print the Flower for Mom layouts and reversed templates PDF here; check your printer’s settings to make sure you are printing to “actual size”
Let’s get started!
All seams are 1/4″ unless otherwise noted.
Step 1: Cut and Label All Fabrics

- Fabric 1 – White:
- 6″ x 9-3/4″ – A
- Fabric 2 – Aqua floral:
- 5-3/4″ x 11-1/2″ – G
- Fabric 3 – Teal:
- 6″ x 2-1/4″ – B
- Fabric 4 – aqua stripe:
- liner/backing 30-1/2″ x 15-1/2″ for domestic machine or 19″ x WOF for longarm
- 5″ x 5″- applique
- Fabric 5 – Aqua geometric:
- 5-3/4″ x 8″ – I
- Fabric 6 – Teal floral:
- 11-1/2″ x 11-1/2″ – F
- 1-1/2″ x 11-1/2″ – D
- Fabric 7 – Peach floral:
- 5-3/4″ x 14-1/2″ – H
- 3″ x 11-1/2″ – E
- 8″ x 8″- appliques
- Fabric 8 – Peach geometric:
- 1″ x 11-1/2″ – C
- (2) 2″ x 11-1/2″ – J
- (2) 2″ x 8″ – K
- 5″ x 5″ – appliques
- Fabric 9 – Pink floral:
- 5″ x 5″ – appliques
- Fabric 10 – Pink geometric:
- 5″ x 5″ – appliques
- Fabric 11 – Green floral:
- 8″ x 8″ – appliques
- Fabric 12 – Grey:
- 4″ x 4″ – appliques
Step 2: Appliqués and Pockets
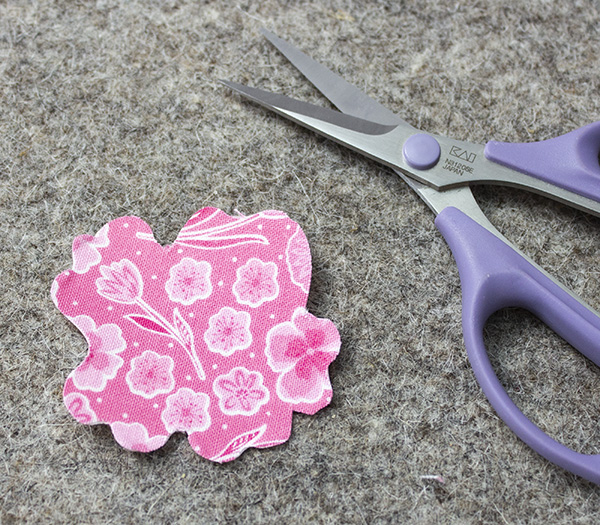
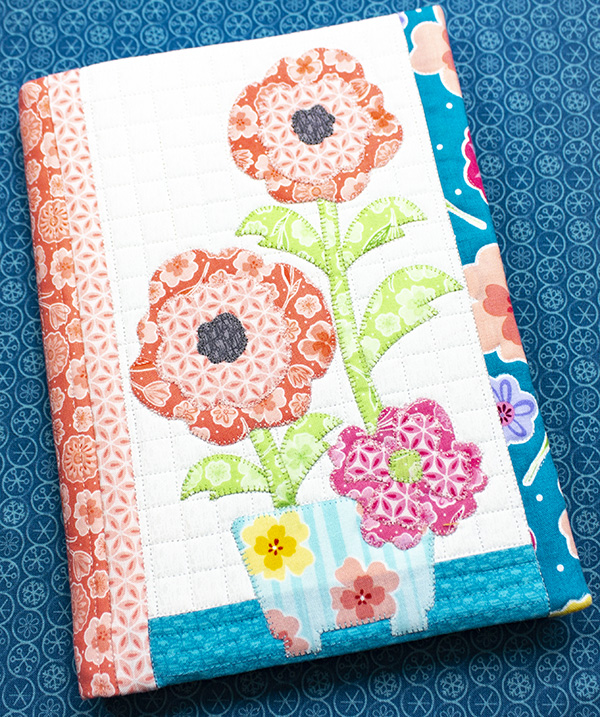
Use the Flowers for Mom reversed templates to trace the appliqué shapes onto the paper side of the fusible; I like to use a fine tip marker and allow approximately ½” between the traced shapes. Label each traced shape with its number and fabric number.
Cut each shape about a ¼” away from the traced line and fuse onto the wrong side of its corresponding fabric, fusible side down; follow the manufacturer’s instructions for heat settings and fuse time.
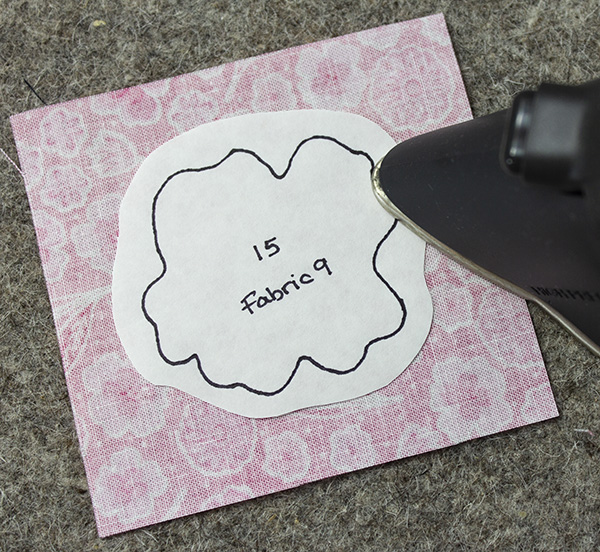
Cut the shapes on the traced lines.
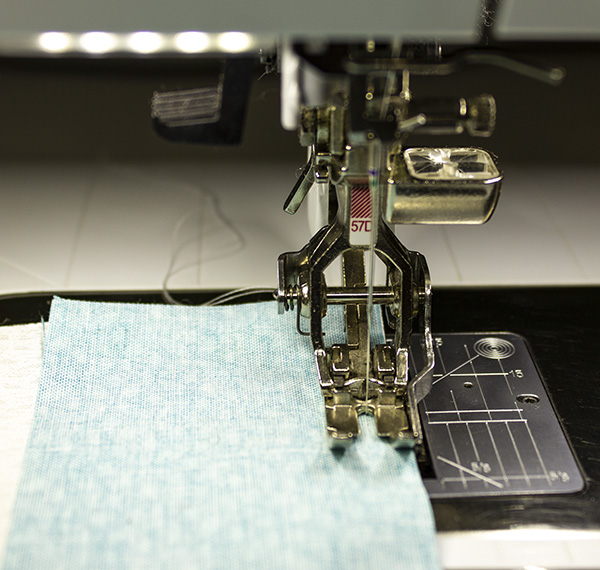
For accurate 1/4″ seam allowances, install a 1/4″ presser foot on your machine; I’m using 57D.
Thread the machine with a white thread.
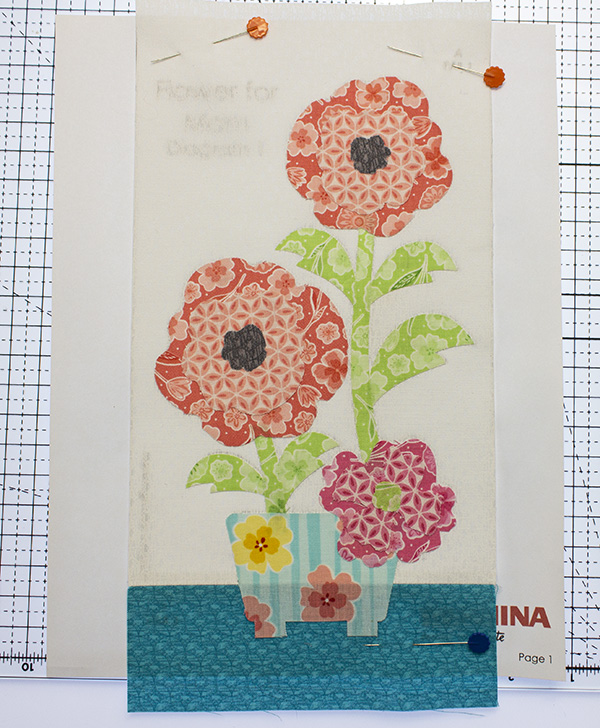
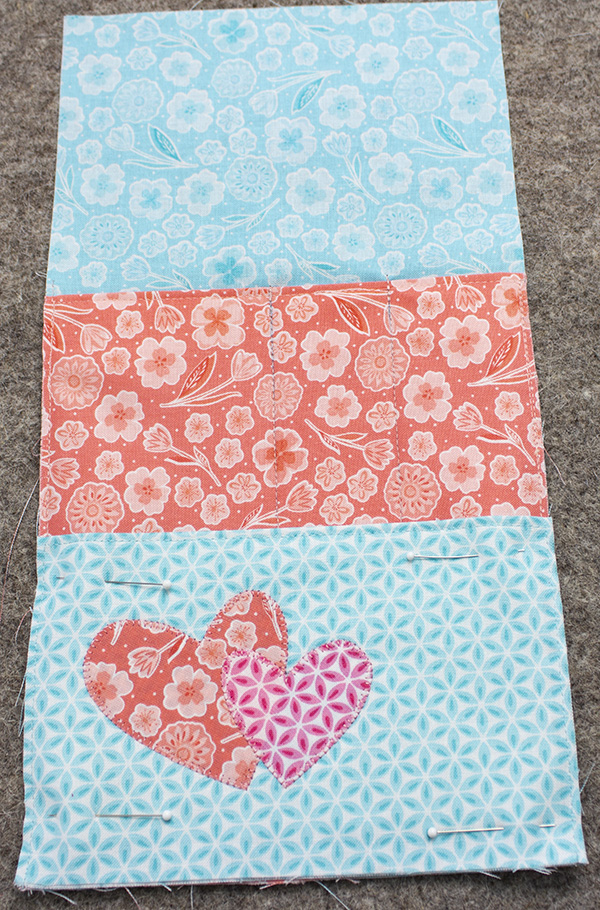
Sew the fabric 3 6″ x 2-1/4″ B strip to the bottom edge of the fabric 1 6″ x 9-3/4″ A rectangle.
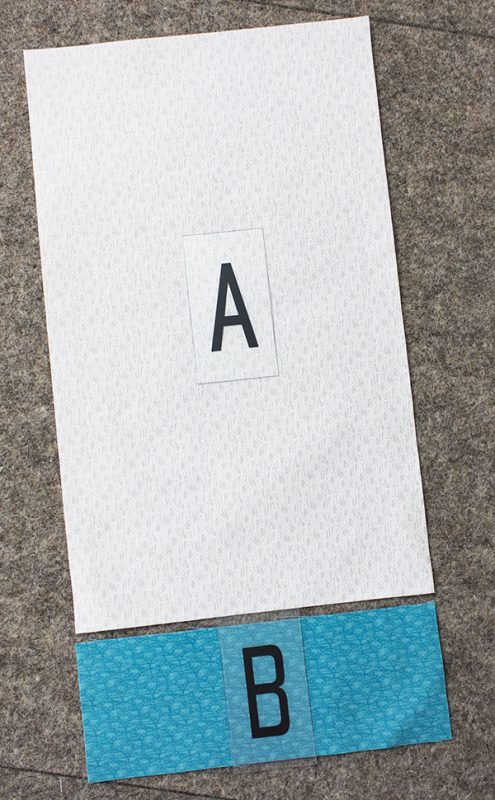
Press the seam open:

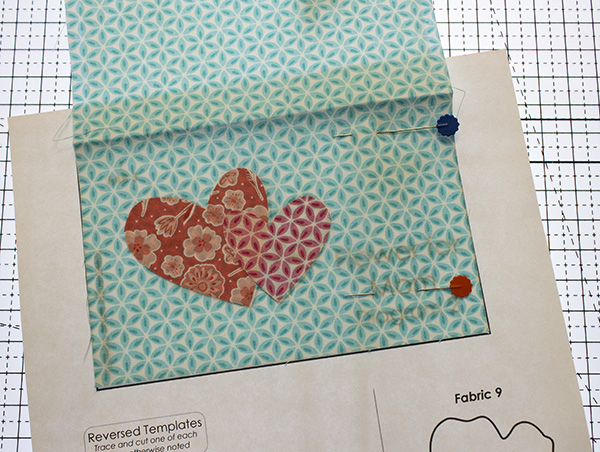
Place layout diagram 1 over a light source, align the open seam of A/B with the seam line in the diagram and pin in place.
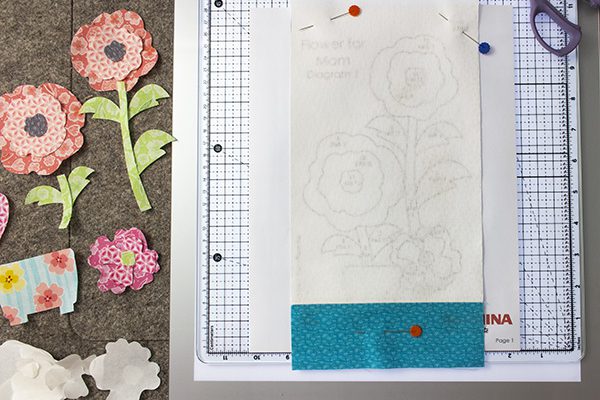
Peel the paper liner from the fused shapes and fuse onto the pieced background, using the layout diagram as a placement guide; set aside.
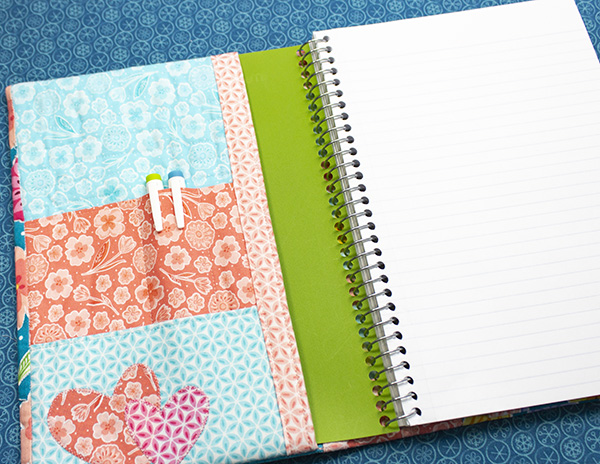
Prepare the fabric 5 5-3/4″ x 8″ I with the 5-1/2″ x 3-1/2″ M firm stabilizer to make the I pocket.

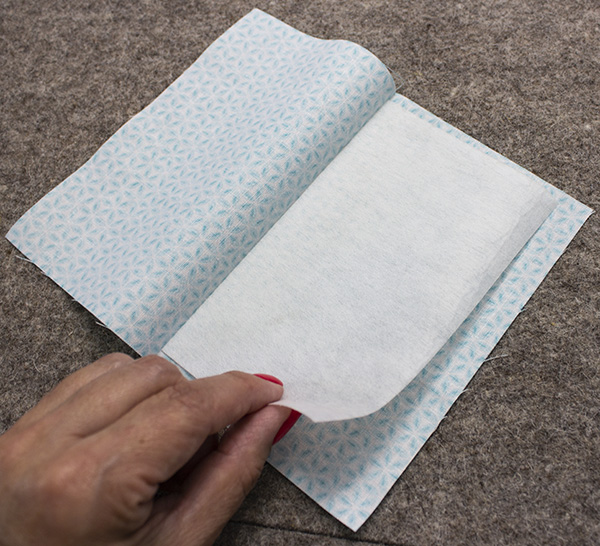
Fold I with wrong sides together and press to mark the center.
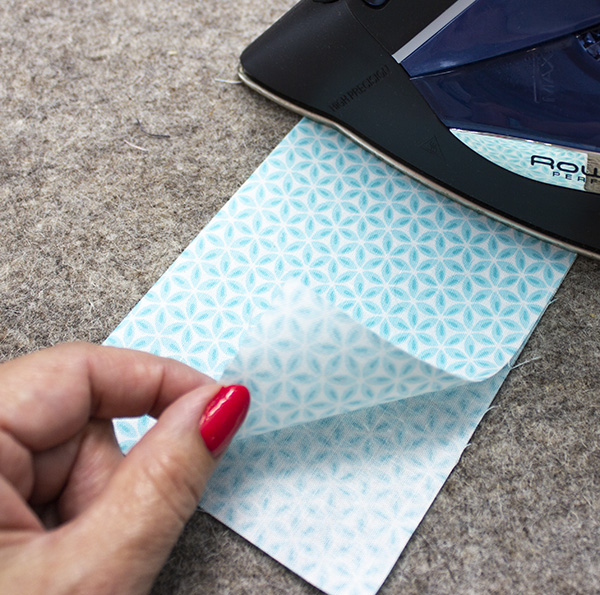
Open so the wrong side is up and place stabilizer L at the crease line, fusible side down; fuse in place following the manufacture’s instructions.
With the stabilizer on the top edge and fabric right side up, align the bottom side with layout diagram 2, pin in place and fuse applique shapes 18 & 19.
Fold the fabric, wrong sides together, and pin.
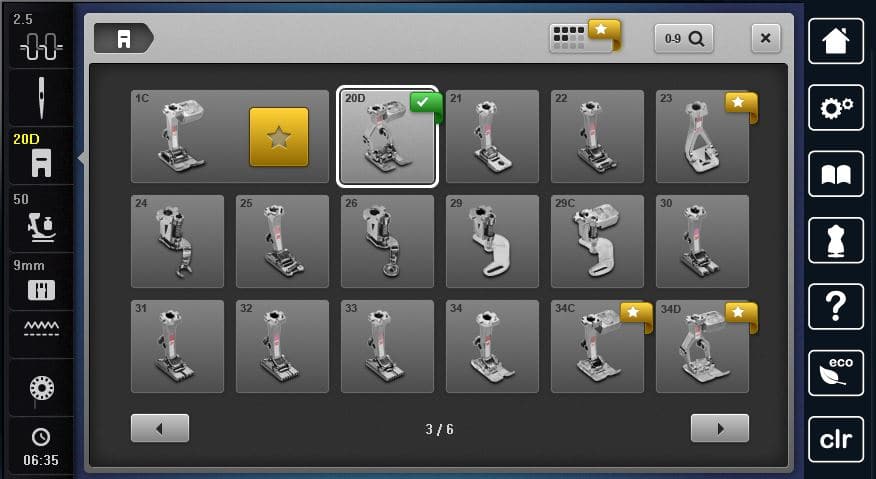
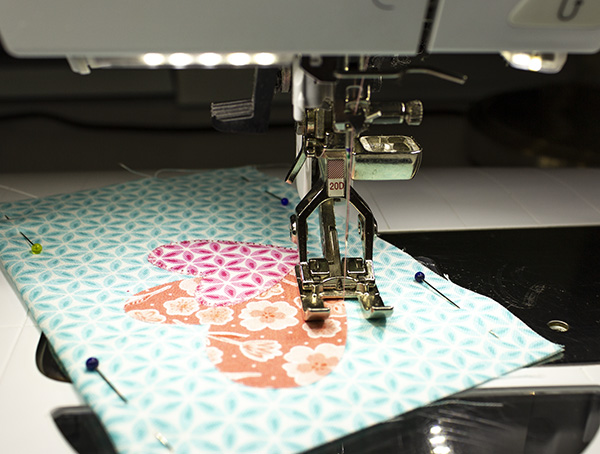
Install an open embroidery foot on your machine, I used foot #20D.
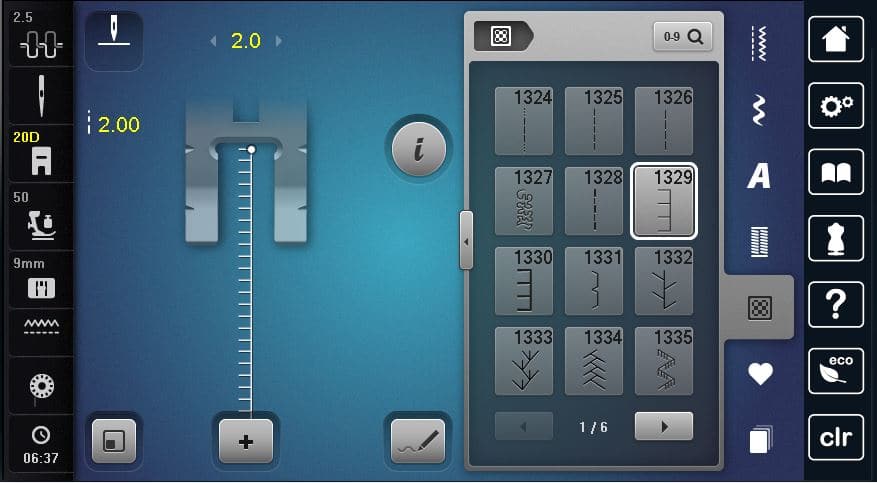
Choose a simple blanket stitch, #1329 on my B780, reduce the stitch length to 2.00 and the stitch width to 2.0.
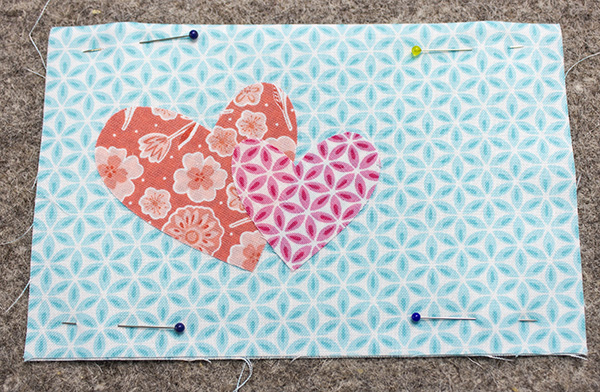
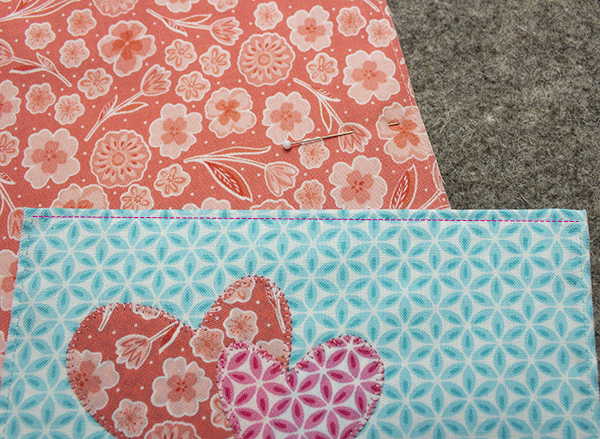
Thread your sewing machine with a matching thread and stitch around the applique shapes with the blanket stitch.
Using the 1/4″ presser foot and coordinating thread, topstitch the top with an 1/8″ seam.

Repeat the stabilizing steps to make pocket H. Fold the fabric 7 5-3/4″ x 14-1/2″ H, wrong sides together, and press to mark the center. Open and place the 5-1/2″ x 6-3/4″ L stabilizer at the crease line, fuse in place, and topstitch the folded edge.
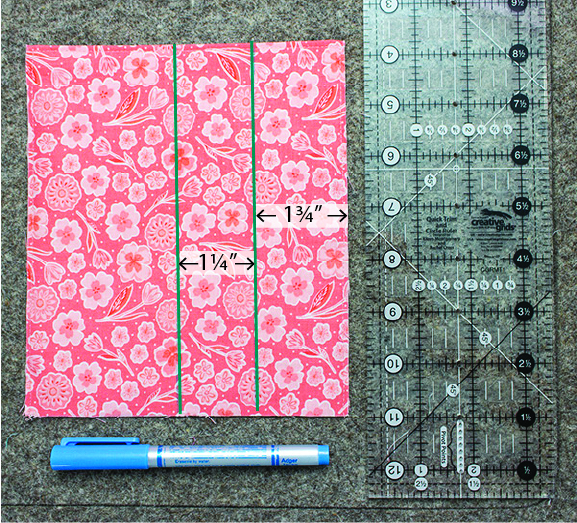
With a pencil or water-soluble pen, mark a vertical line 1-3/4″ from the left edge, then a 1-1/4″ out from the first line.
Place marked H over the fabric 2 5-3/4″ x 11-1/2″ G rectangle, aligning the bottom and side edges; pin together and with a coordinating thread, sew on the mark lines, double tacking at the top to reinforce the stitching.
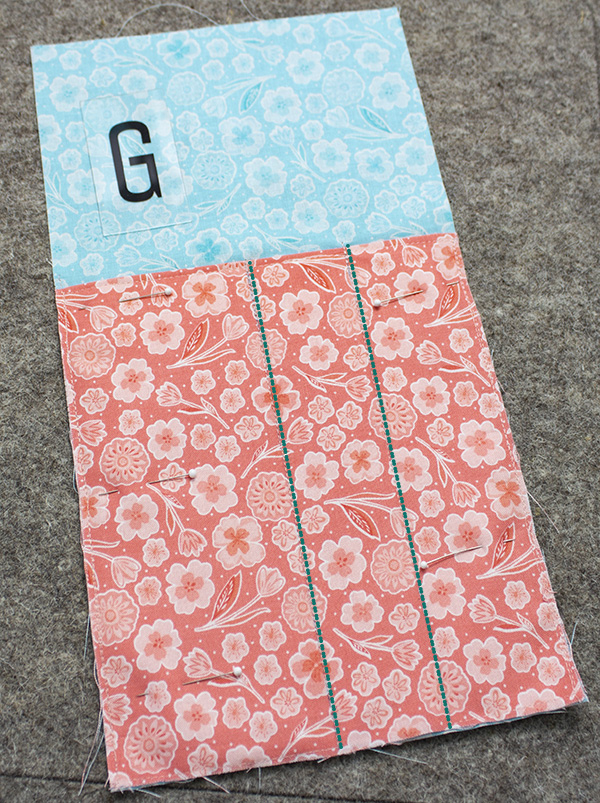
Place appliqued I pocket on the bottom of G/H and pin, sew a basting stitch on the side and bottom edges of H/I.
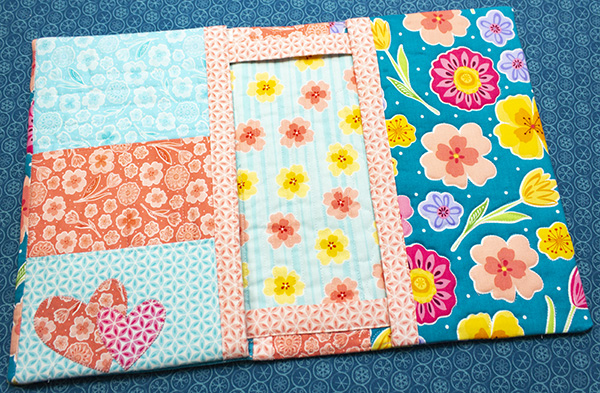
Step 3: Cover assembly and Quilting
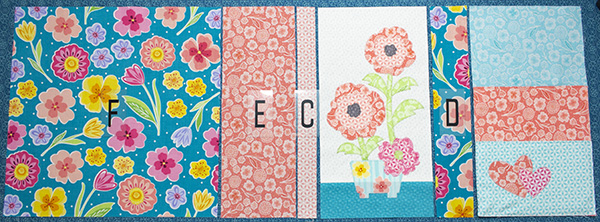
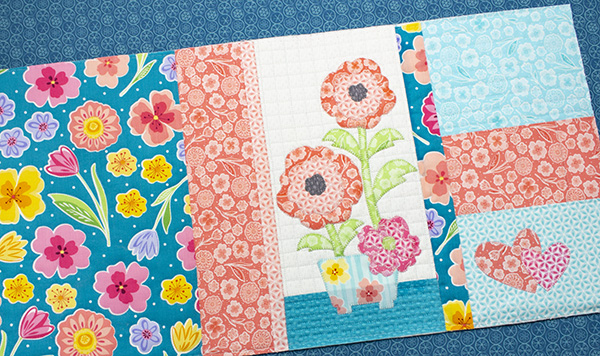
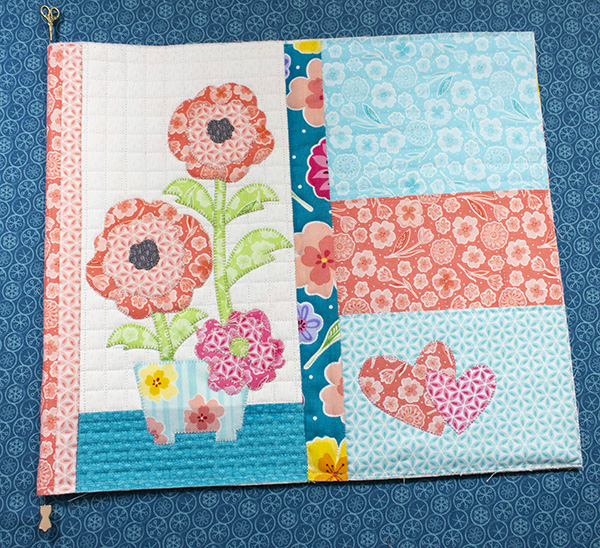
Follow the diagram below as a placement guide and sew F, E, C, D, and the appliqued front and pockets together using the patchwork presser foot and a 1/4″ seam allowance; press to the darker fabrics.
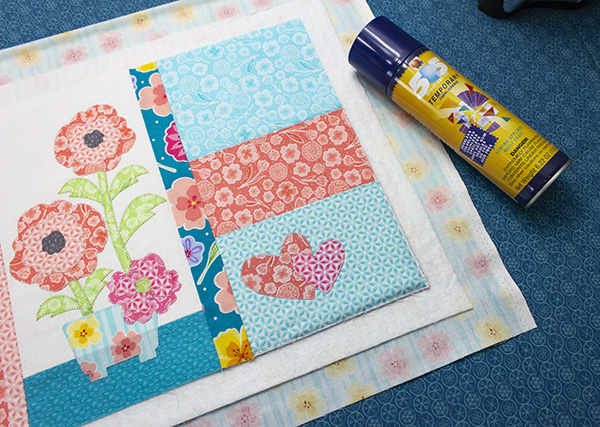
Make a quilt sandwich with the fabric 4 liner, the batting, and the pieced cover front. I quilted my little piece on my Q24 longarm and used the 19″ x WOF liner. If quilting with your domestic machine, use the 30-1/2″ x 15-1/2″ liner and pin or spray baste the layers together for quilting.
For the appliqued front, I marked the vertical center . . .
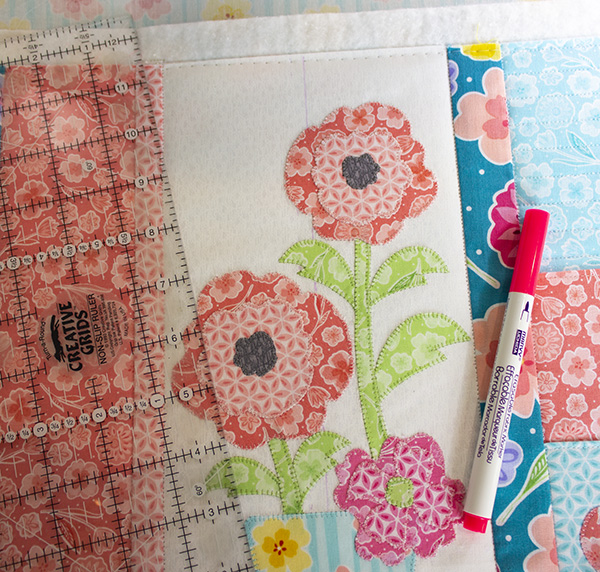
. . . and quilted vertical lines 1/2″ apart out from this mark. Next, I quilted horizontal lines 1/2″ apart, beginning at the top edge of the teal B fabric . . .
. . . and for the pocket side, 1/2″ apart horizontal lines above the pockets.

The flowers in the large floral print are outlined in white and made easy free-motion quilting.
The teal fabric of the appliqued front is quilted with horizontal and the peach floral strip with vertical lines 1/4″ apart. Trim the excess batting.
Step 4: Notebook Flaps
Fold the quilted cover in half and mark the center with pins on the top and bottom.
Flip the cover over so the liner/backing is up and place the notebook in the center.

Measure the distance from the bottom edge of your notebook to the bottom edge of the quilted cover; in this sample, the measurement is 1″.
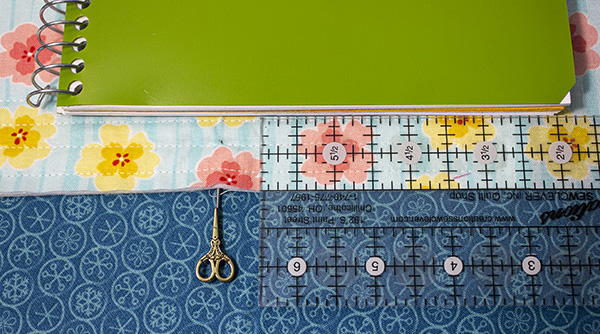
Deduct a 1/4″ from this measurement and draw a line from side to side of the quilted piece; in this sample, 3/4″ from the bottom edge.
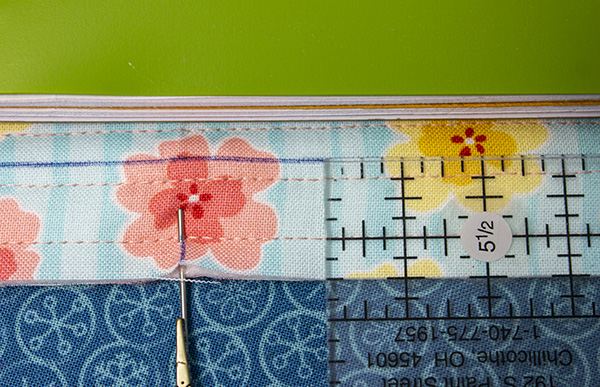
Repeat the process on the top edge of the cover.
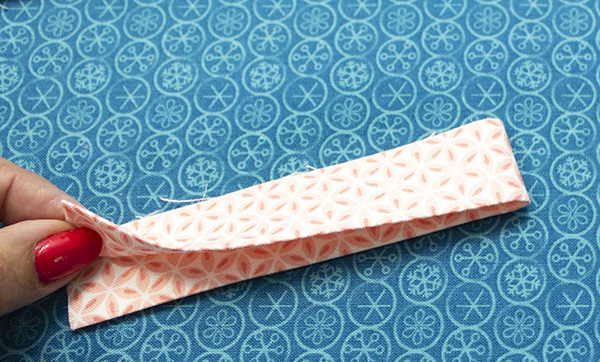
Fold the (2) fabric 8 2″ x 8″ K strips on the long edge and press.

Fold again to find the center.
With raw edges together, pin to the center on the top and bottom edges of the front quilted cover.

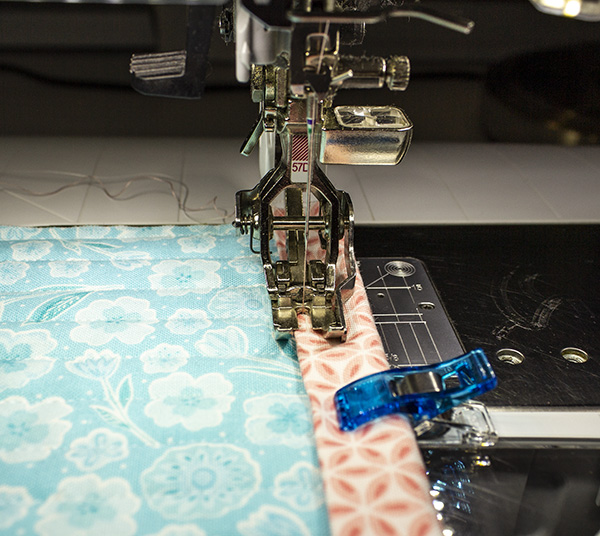
Sew with a 1/4″ seam allowance, flip over and topstitch with an 1/8″ seam.
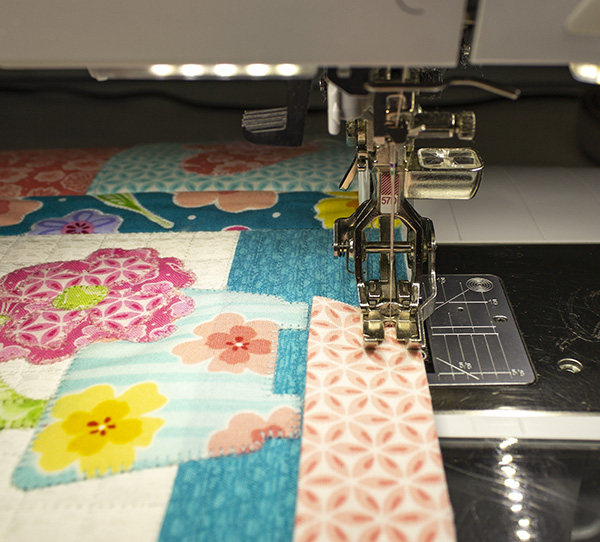
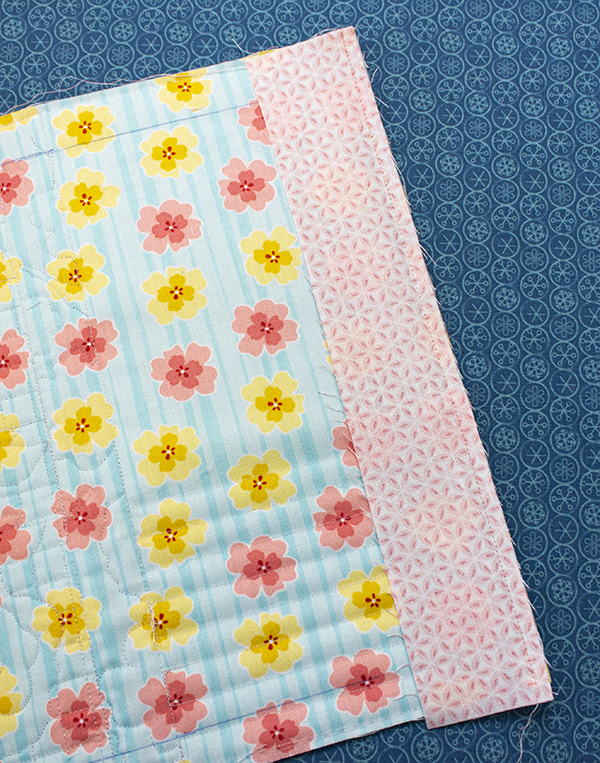
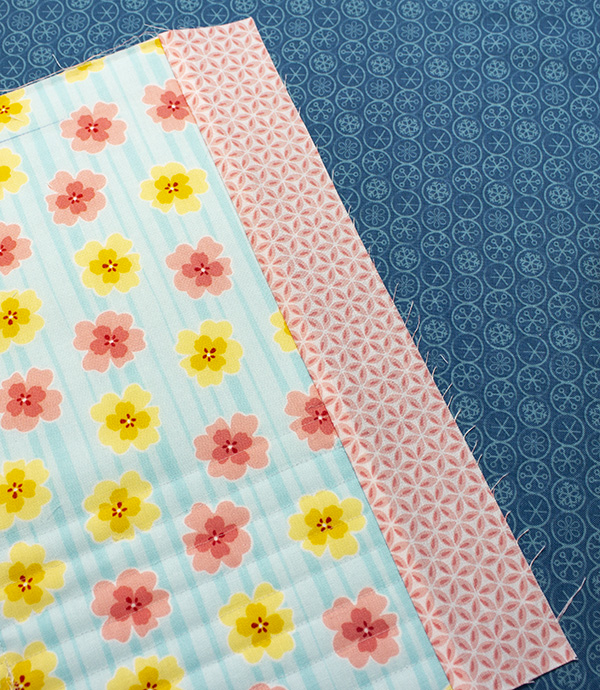
Sew a fabric 8 2″ x 11-1/2″ J strip to the right edge of the cover on the backing side.
Fold J out and press.
Turn the cover so the front is facing up and fold J up to the edge and press.
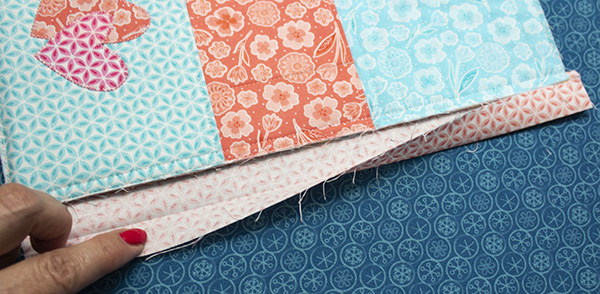
Fold J once again and pin/clip in place.
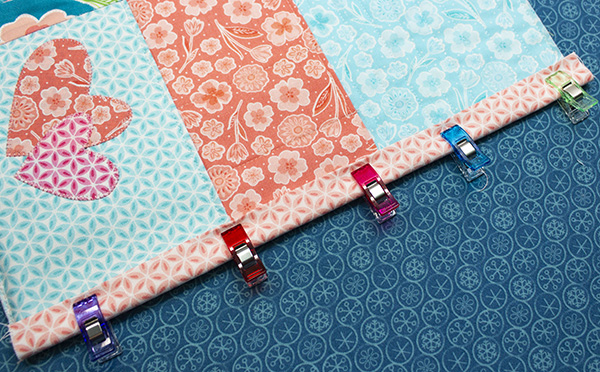
Topstitch with an 1/8″ seam allowance.
With the cover right side up, fold the sides in about 5-1/2″ inches, making the total width of the folded cover approximately 14-3/4″ wide.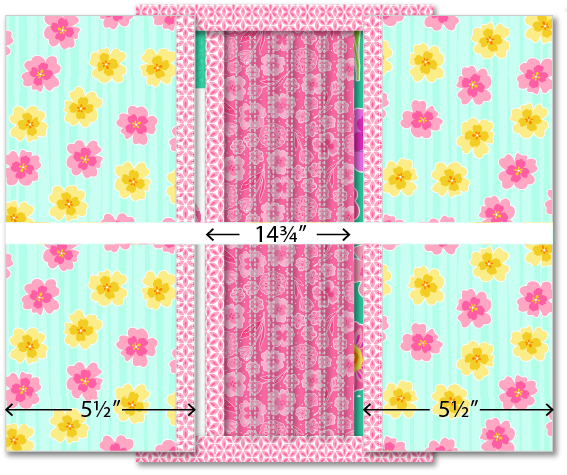
If your notebook is slightly different in size, place the book on the top and . . .
. . . fold the cover over it, aligning the edges.
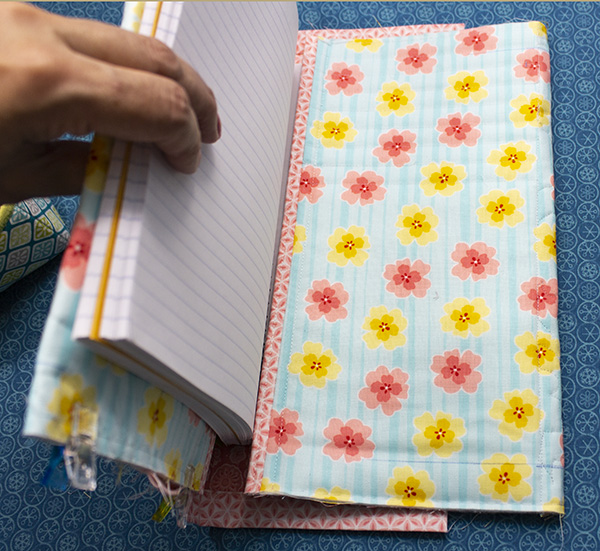
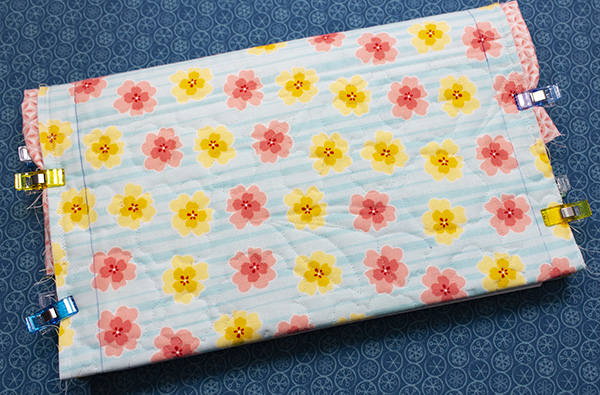
Lift the notebook’s front cover and wrap it with the cover; pin/clip the fabric together.
Hold the front and pages up and wrap the other side over the back cover; pin/clip together.
Close the book to make any needed adjustments.
Install a reverse pattern foot #1D or walking foot #50 on your machine and stitch the flaps together on the marked lines; double tack at the beginning and end.
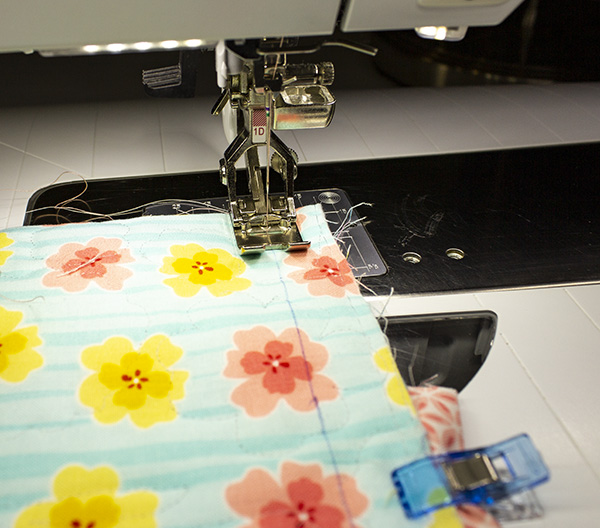
The space between the stitch lines is approximately 10″.
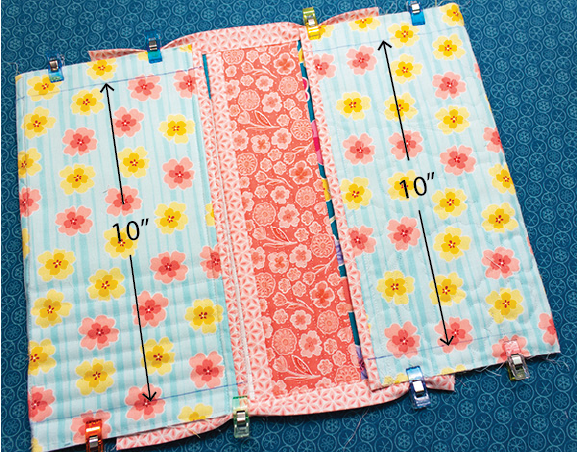
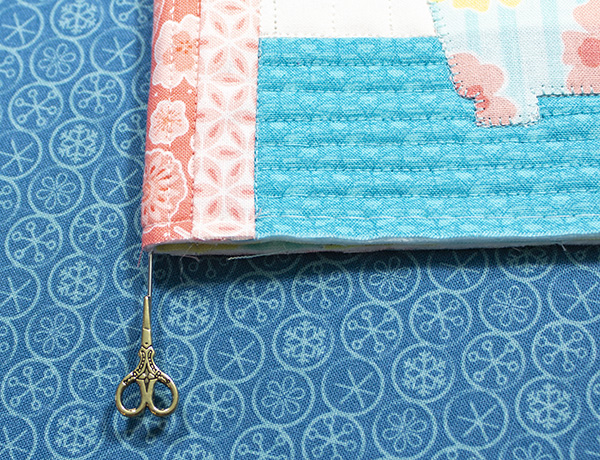
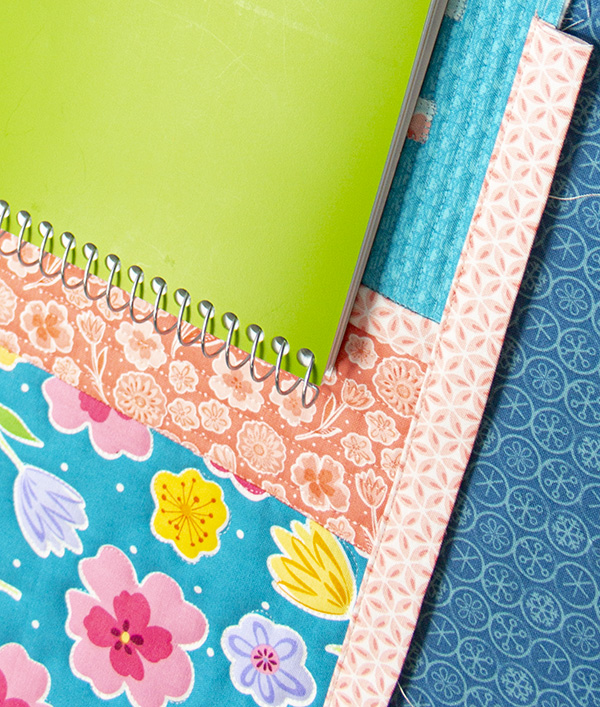
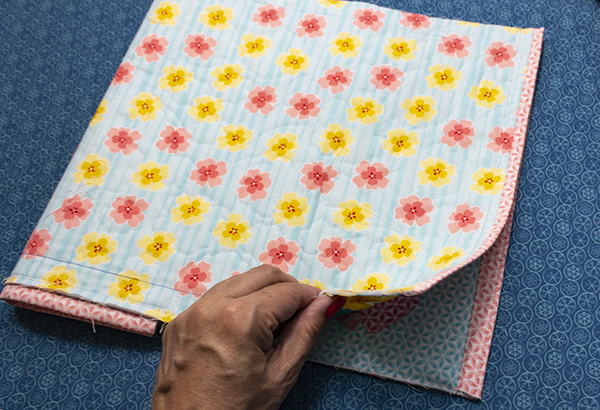
Trim the excess fabric leaving a 1/4″ edge from the stitch line and about 1-1/2″ on the K binding; clip the corners.
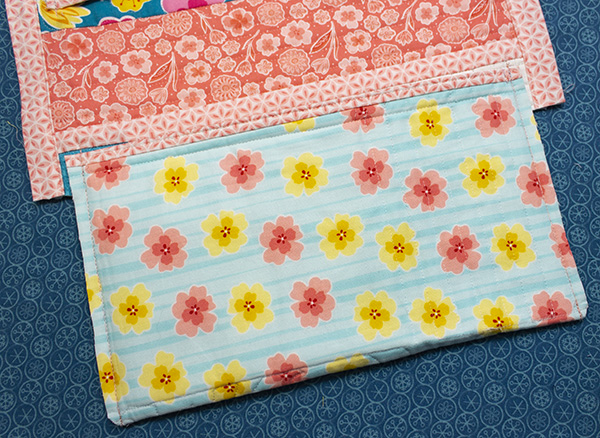
Turn the flaps inside out, gently push the corners out and press. Whipstitch the K binding onto the backing.
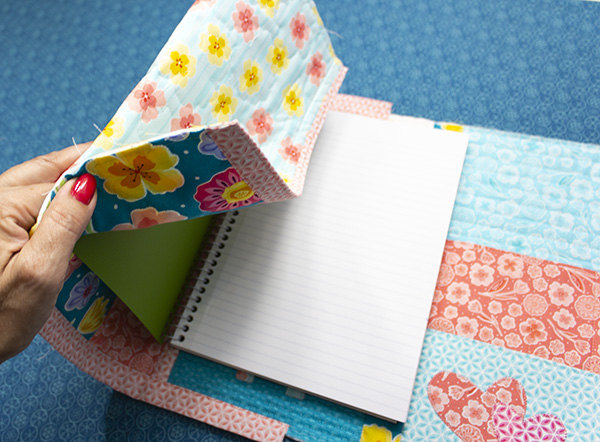
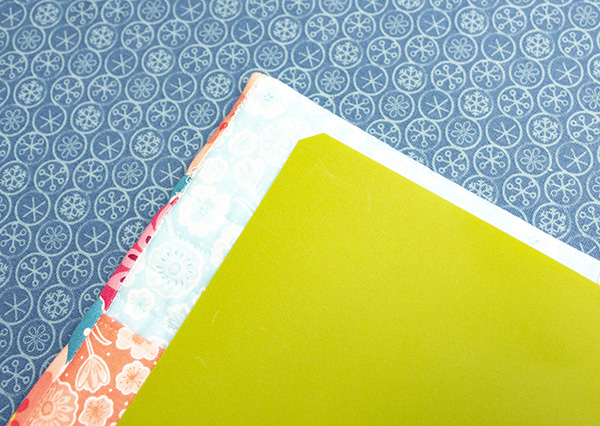
For easy insertion, clip the points on the front and back covers of the notebook.
Insert the book . . .
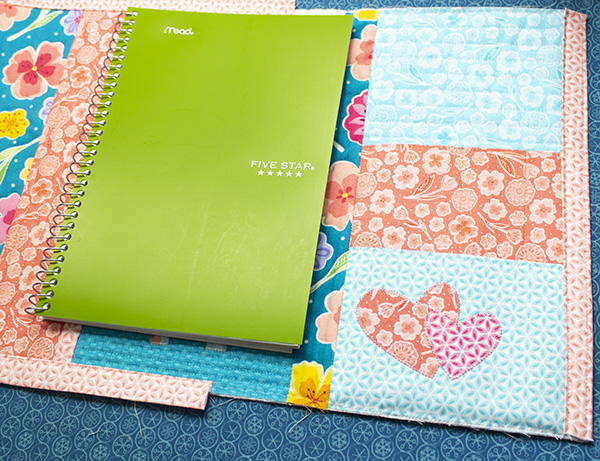
. . . and voila, you are ready for Mother’s Day!
I’m so glad you stopped by today and hope you will make one of these for Mom, sister, or a dear friend.
Cherry
PS: Don’t forget to share your creation in the WeAllSew Community!
Used Products


What you might also like


One comment on “Sew a Notebook Cover for Mom”
Leave a Reply
You must be logged in to post a comment.

This is lovely. Where can I buy this fabric hopefully in fat quarter form? Thanks so much.