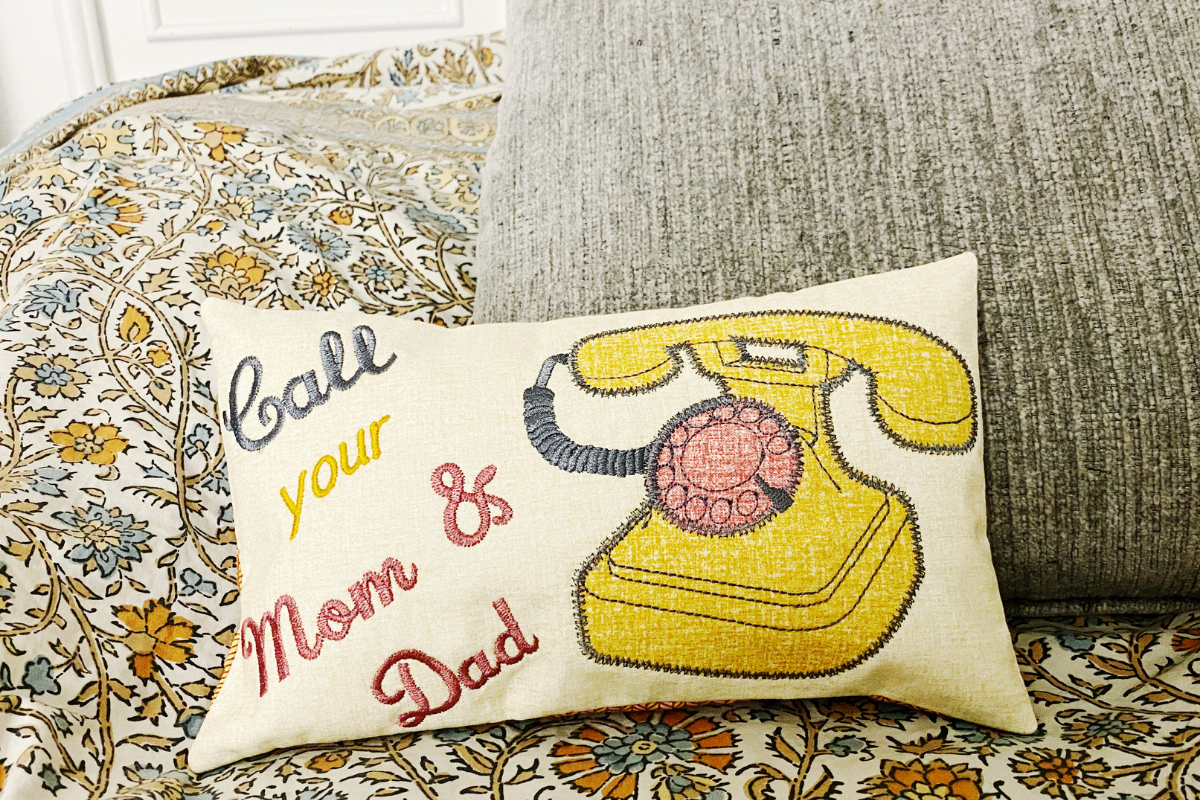
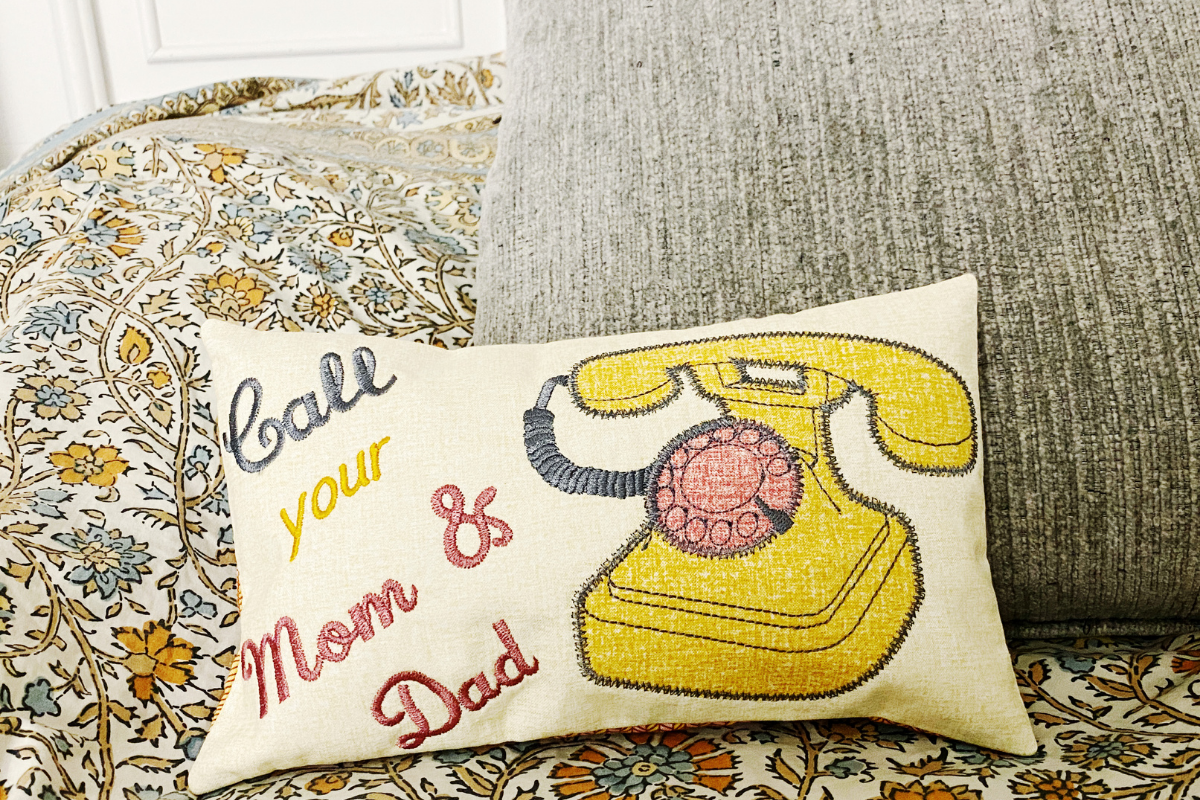
Call Mom and Dad In-the-hoop Pillow
We’re getting close to that time of year when kids become adults and head off to college but we still want them to call us…and not only for money. This friendly reminder neck pillow will do it nice and subtle. The Call your Mom and Dad pillow is an In-the-Hoop project, meaning the entire thing is stitched using your embroidery hoop and machine. You will need an embroidery hoop with a continuous embroidery area of at least 6″x10″ or 160mmx260mm.
Hello my Sewing Bees, my name is Sue O’Very owner of Sookie Sews and BERNINA Expert. You can find me on Instagram at @SookieSews, my website SookieSews.com, and on my YouTube Channel SookieSewsTV.com where I have hundreds of sewing projects, machine sewing patterns, embroidery designs and In-the-hoop projects. Ok, let’s get stitching!
Materials and Supplies for the Call Mom and Dad In the Hoop Neck Pillow
- Embroidery machine and hoop with at least 6″x10″ or 160mmx260mm (I used my bernette b79)
- 1-3 spools of Machine embroidery thread 40 wt to coordinate with fabric
- (1) Bobbin with 60 wt bobbin thread
- Embroidery 75/11
- Pillow Front 11-1/2″ x 7-1/2″ (I used Linen esque from Benartex)
- Pillow Back 11-1/2″ x 7-1/2″ (I used Birdsong Benartex Fabric)
- Phone Applique 6″x6″(I used Linen esque from Benartex)
- Wheel Applique 2″x2″ (I used Linen esque from Benartex)
- (2) 11-1/2″ x 7-1/2″ Light weight fusible Fleece – OESD Fuse and Fleece
- (1) Fit to hoop – Sheer CutAway – OESD Polymesh
- (1) 6″x6″ Paper back fusible web – Heat n Bond Lite
- (1) 2″x2″ Paper back fusible web – Heat n Bond Lite
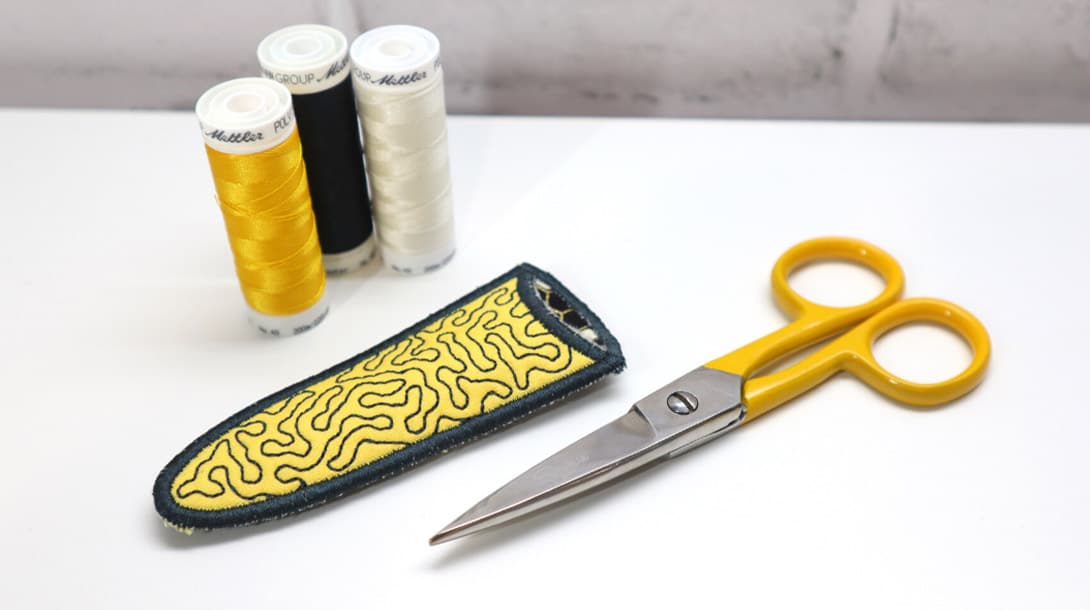
- EZ Hook n Snip by Sookie Sews
- 4.5″ Duckbill Applique Scissors by Sookie Sews
- 4″ Straight Micro Tip Scissors by Sookie Sews
- 5.5″ All Purpose Craft Scissors by Sookie Sews
- Mini iron
- Ironing surface – Cut n Press
- EZ Point and Turner
- Hand sewing needle
- Poly-Fil stuffing

Steps to Make the Call Mom and Dad In the Hoop Neck Pillow
Set embroidery machine up with proper bobbin case, needle plate, presser foot, needle, bobbin thread, and embroidery thread. Choose the design you’d like to do: Call your Mom & Dad, Call your Mom, or Call your Dad. 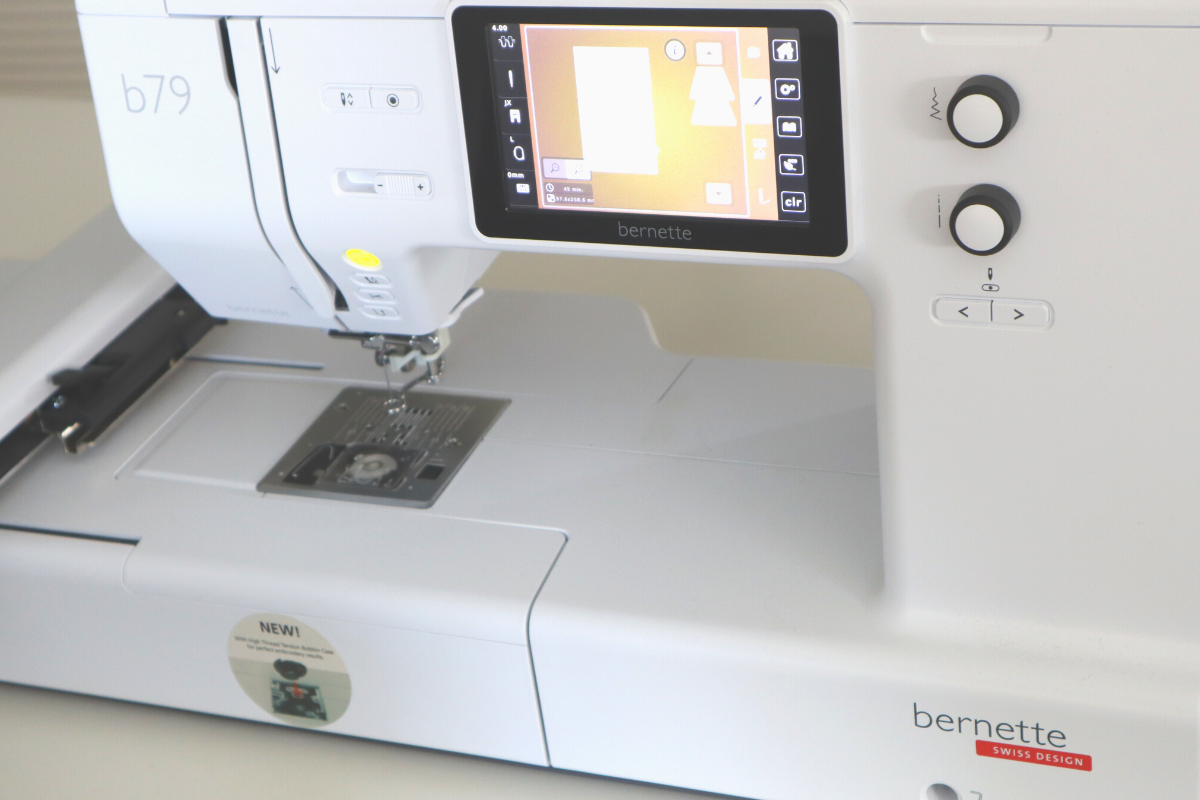
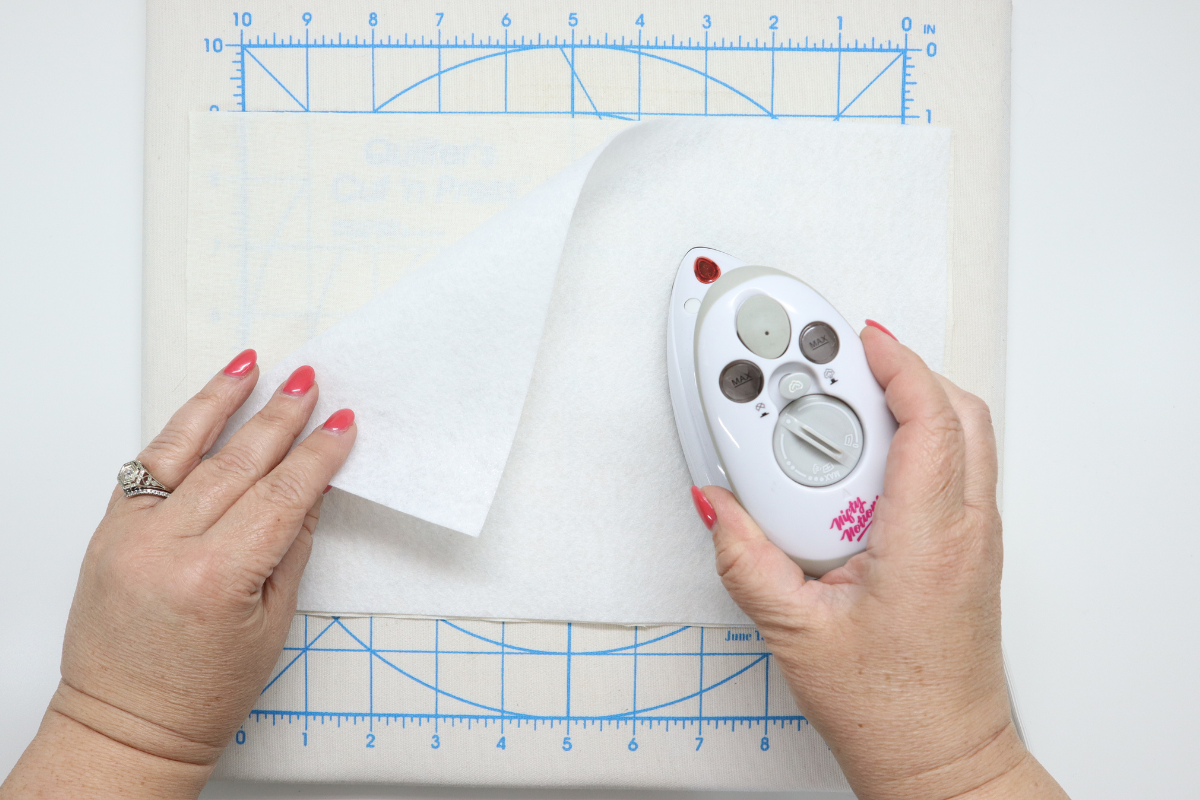
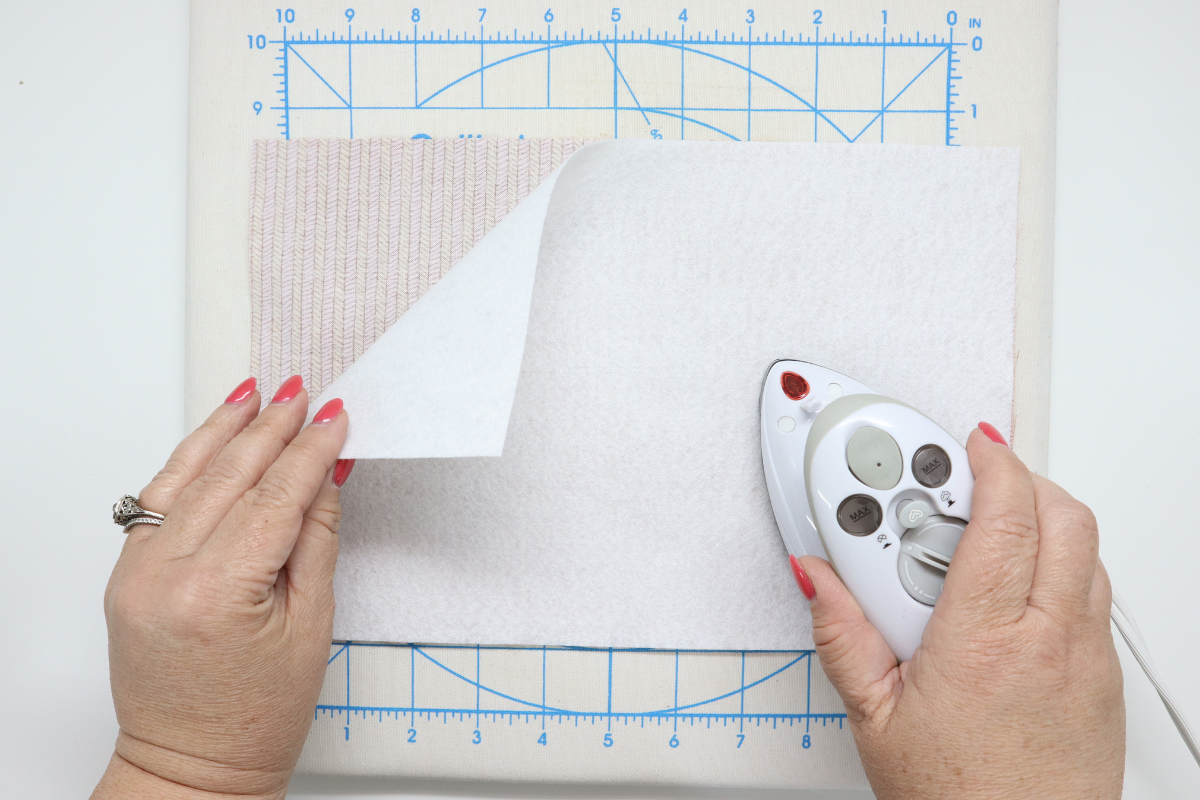
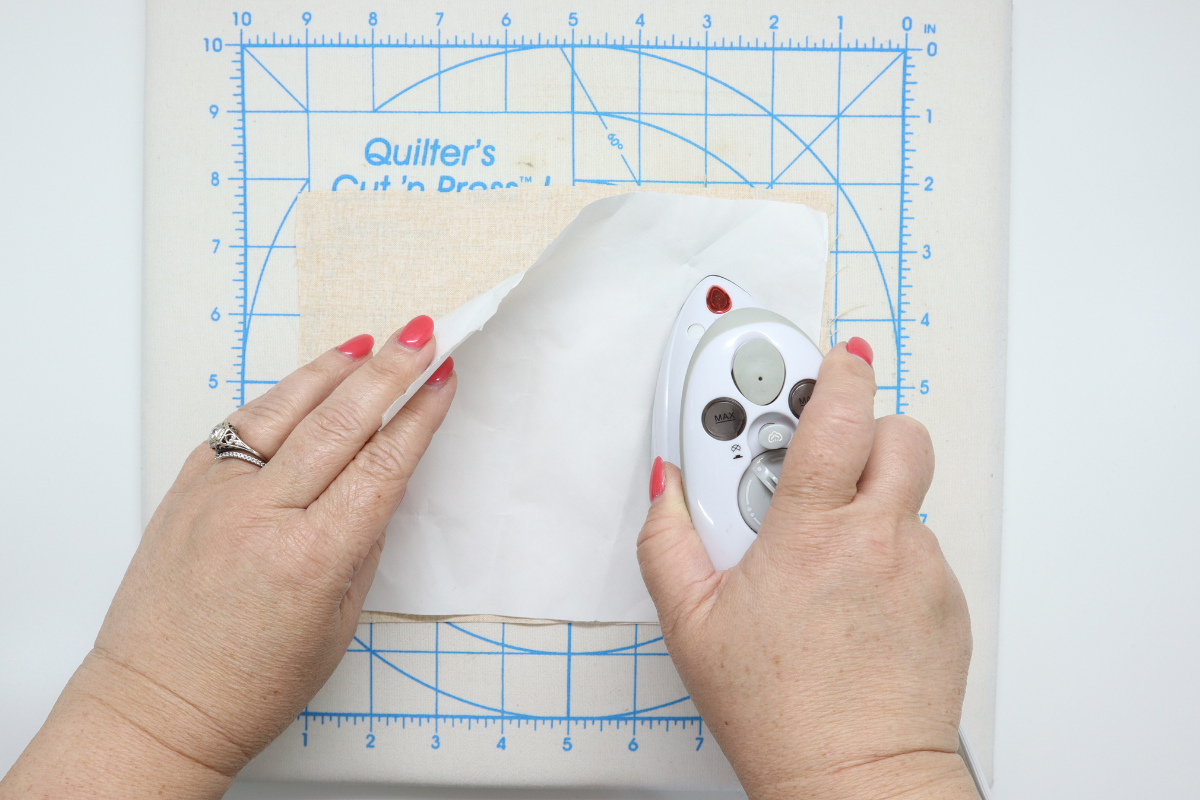
Press the fusible fleece to the wrong side of the Pillow Front and Pillow Back.
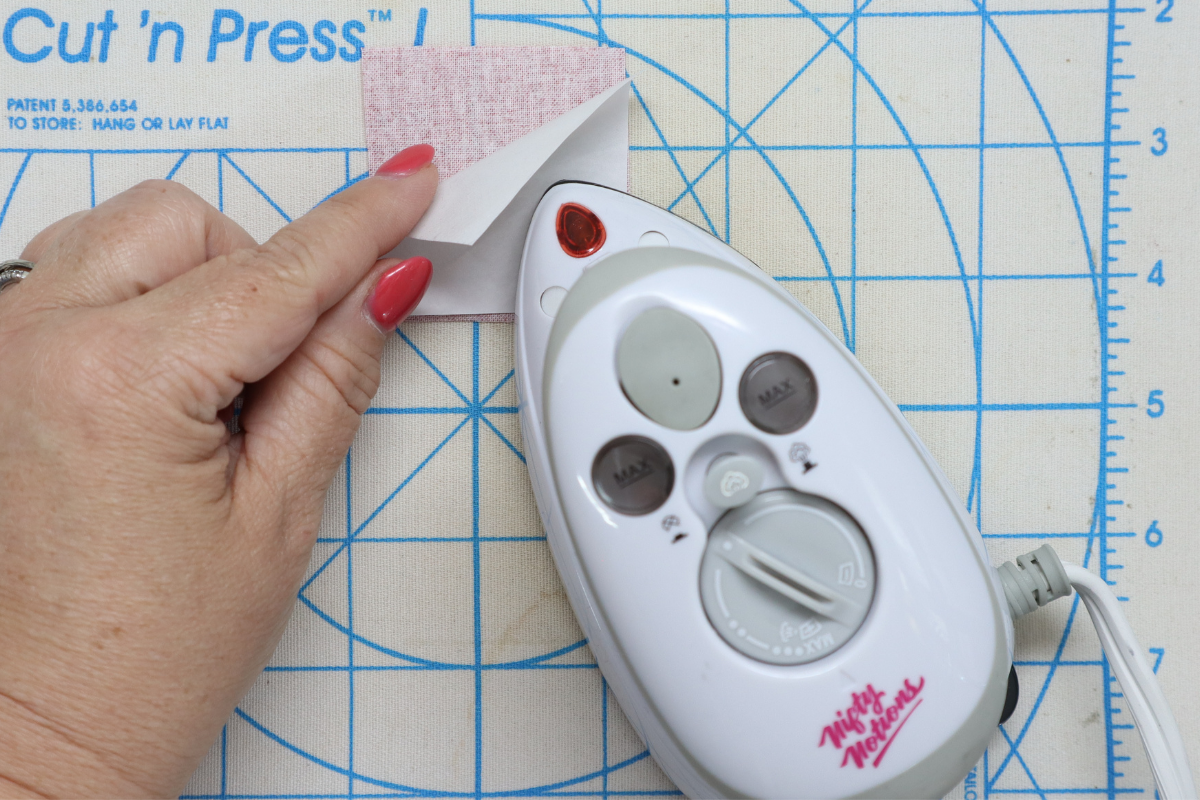
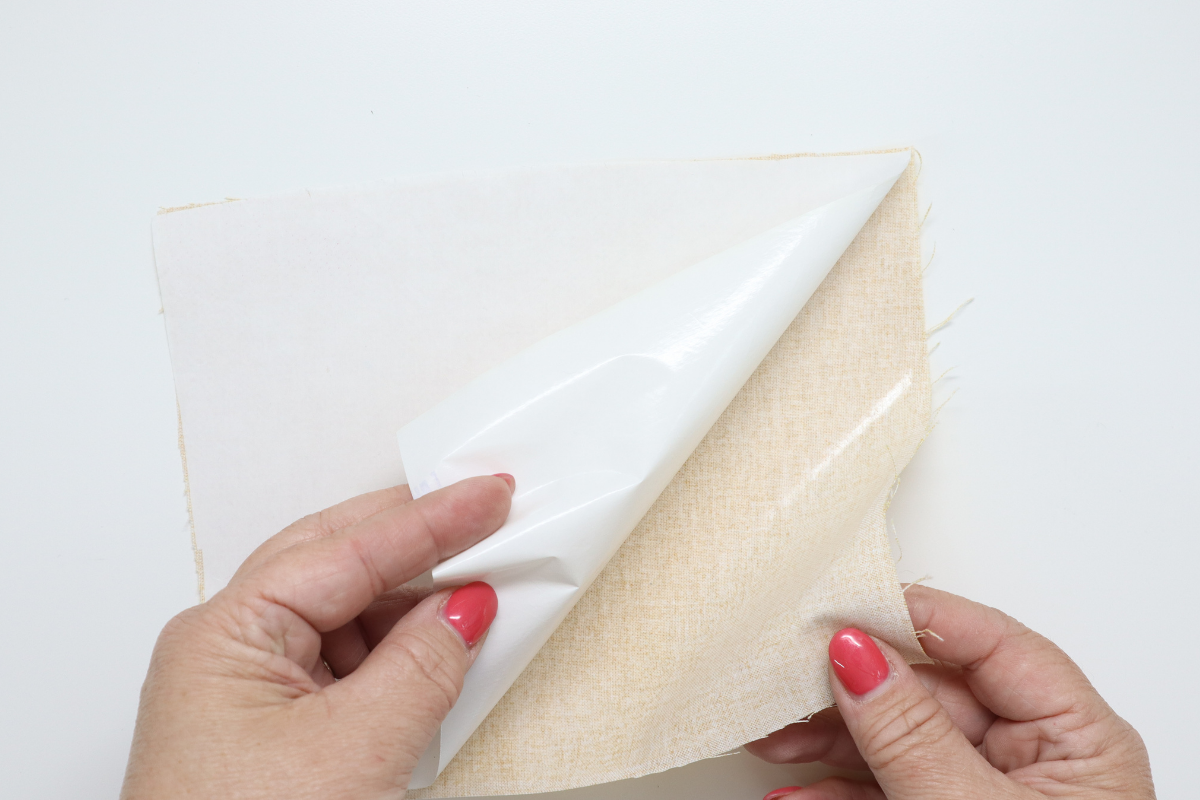
Press the Paper back fusible web to the wrong side of the Phone Applique and the Wheel Applique. Peel away the paper.
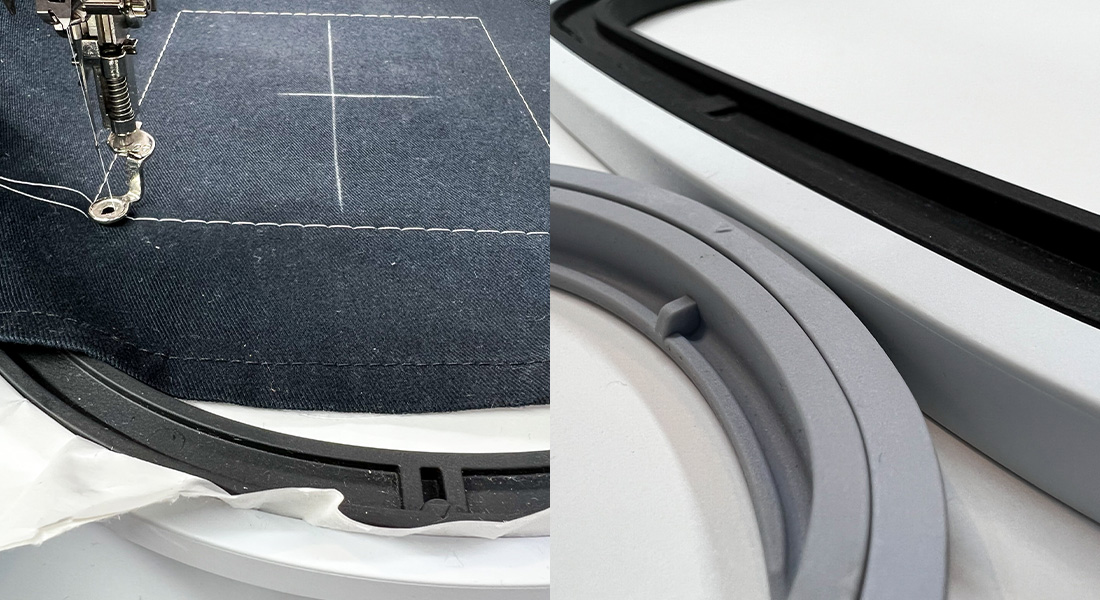
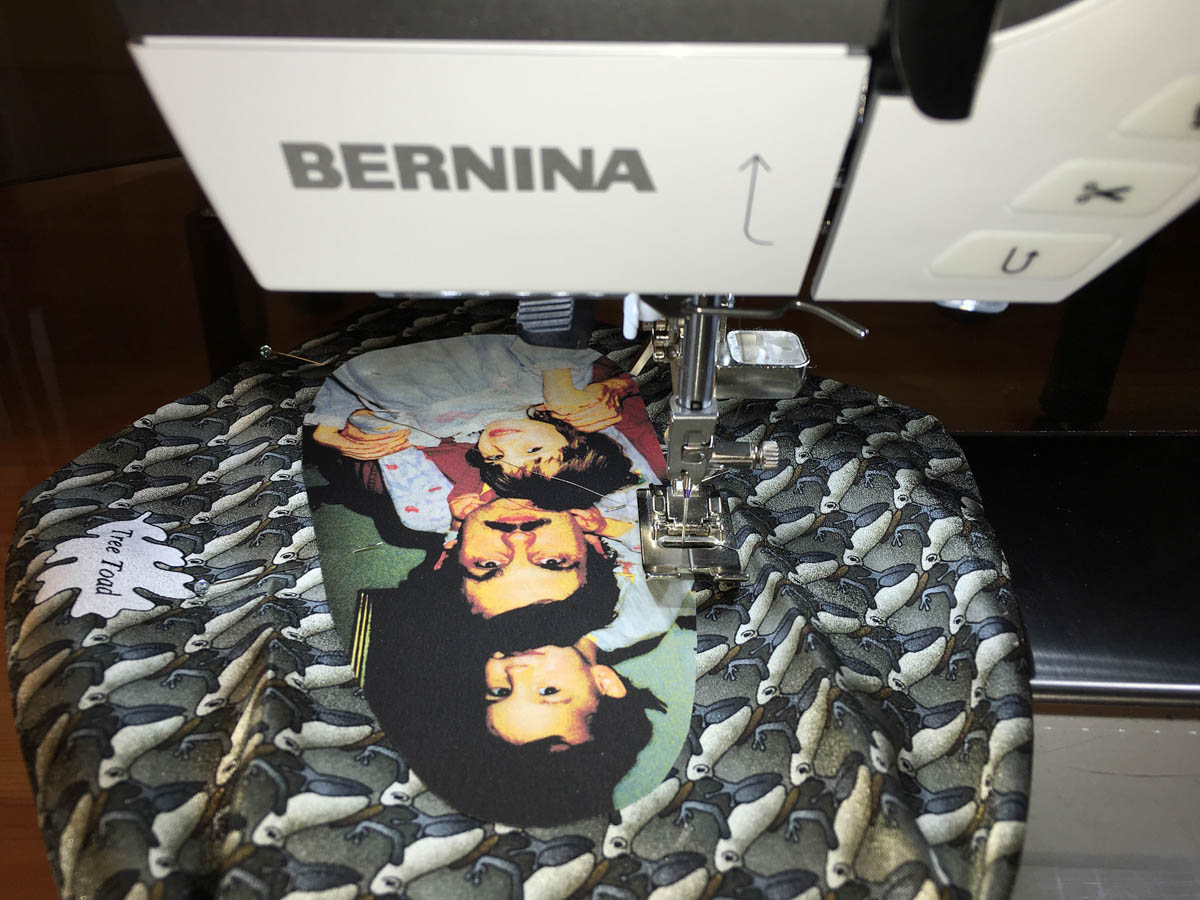
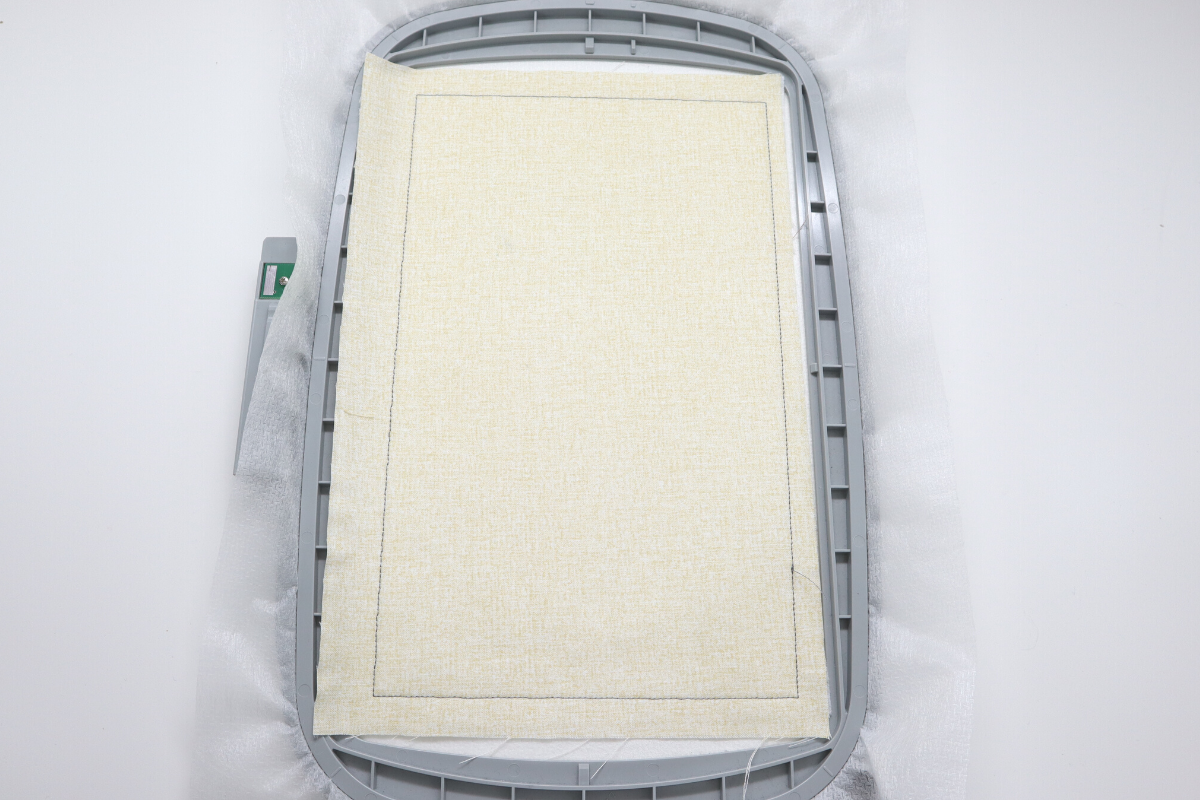
Hoop the Sheer Cut-Away. Insert the hoop into the machine and sew Stitch #1, the front placement stitch.

Remove the hoop from the machine and place the Pillow Front right side up over the placement stitch.

Insert the hoop into the machine and sew Stitch #2, the Pillow Front secure stitch.
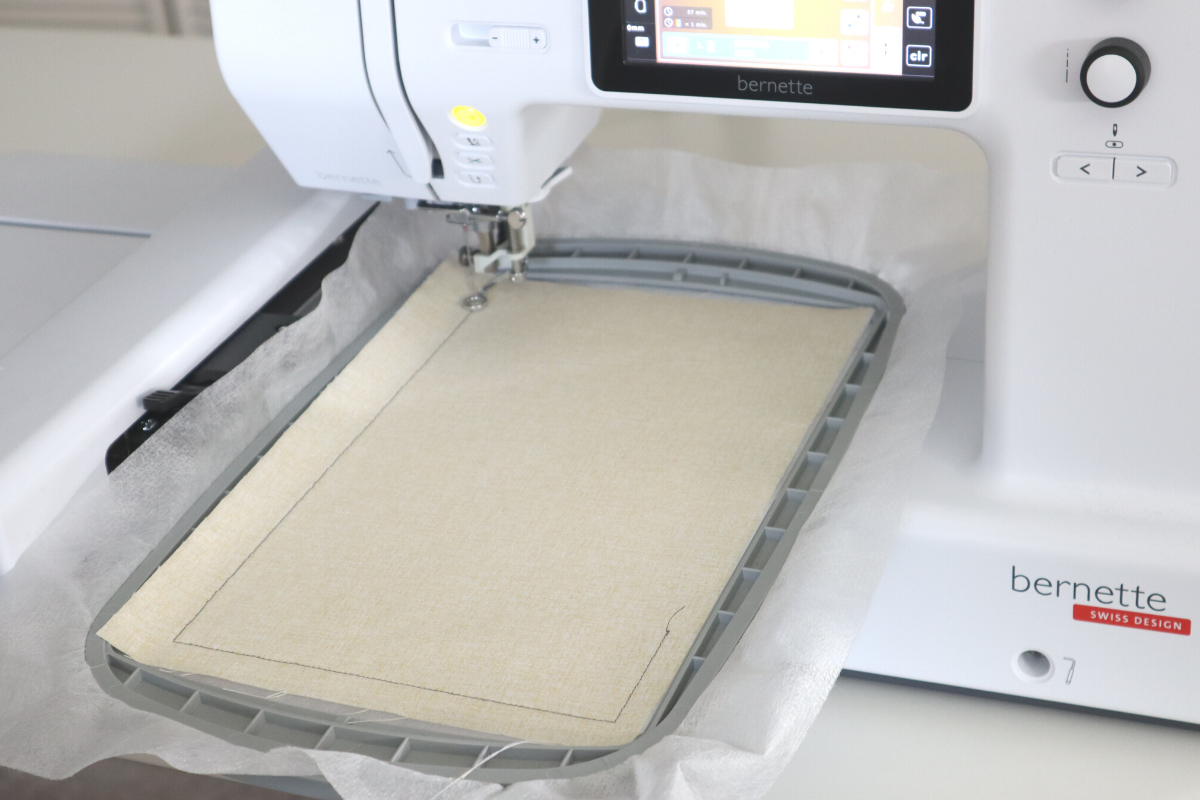
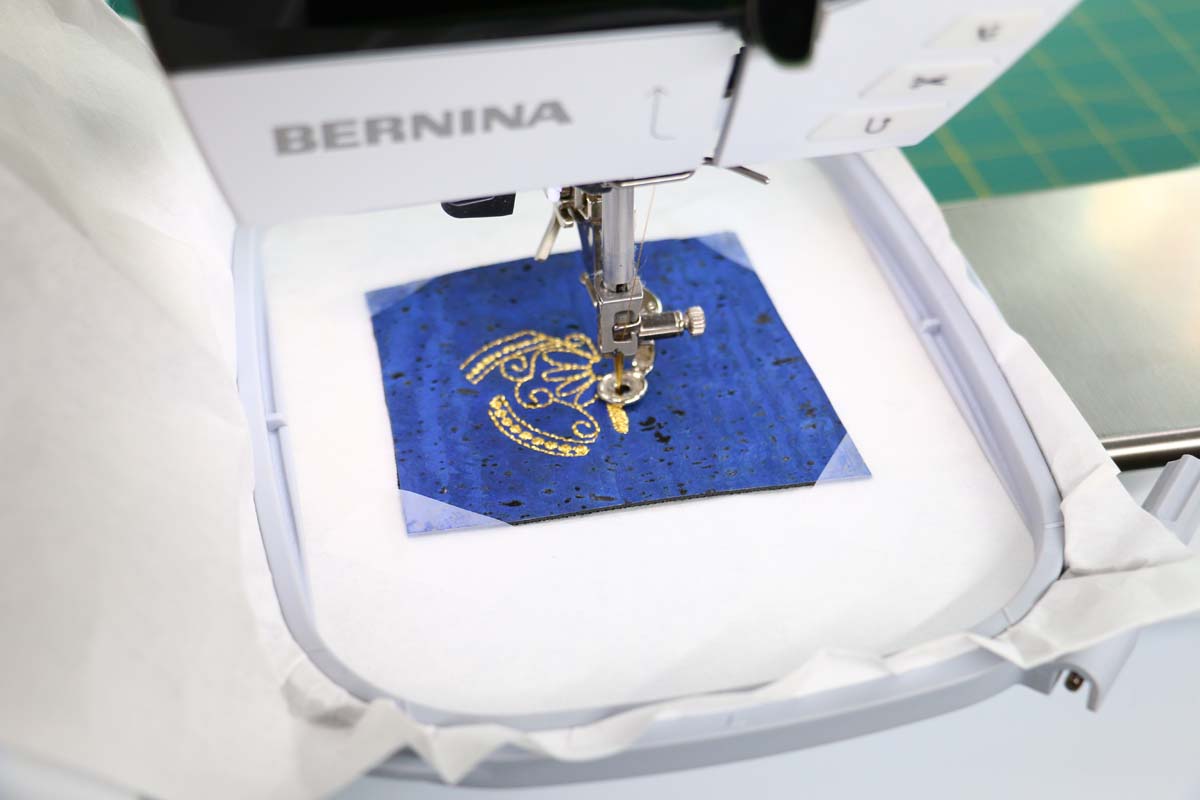
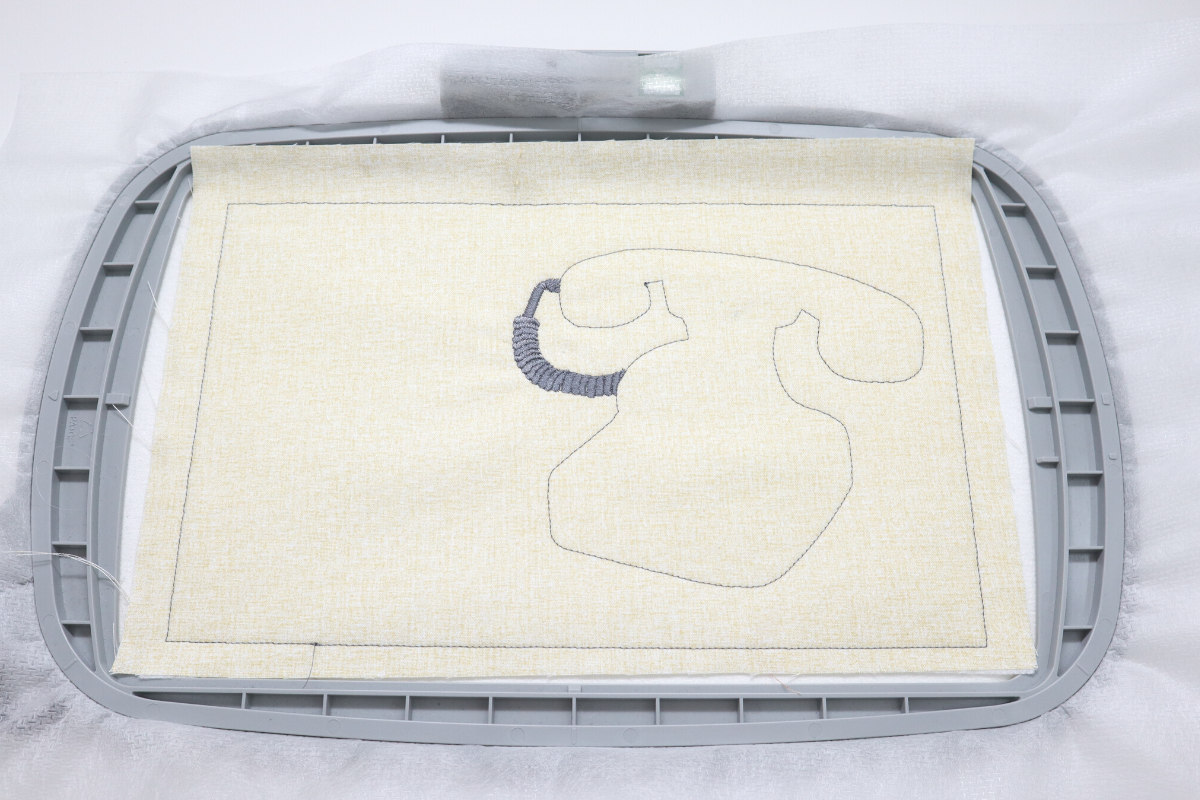
With hoop in machine, sew Stitch #3, the phone outline stitch and the phone cord (note the hoop is rotated sideways to show off the design).
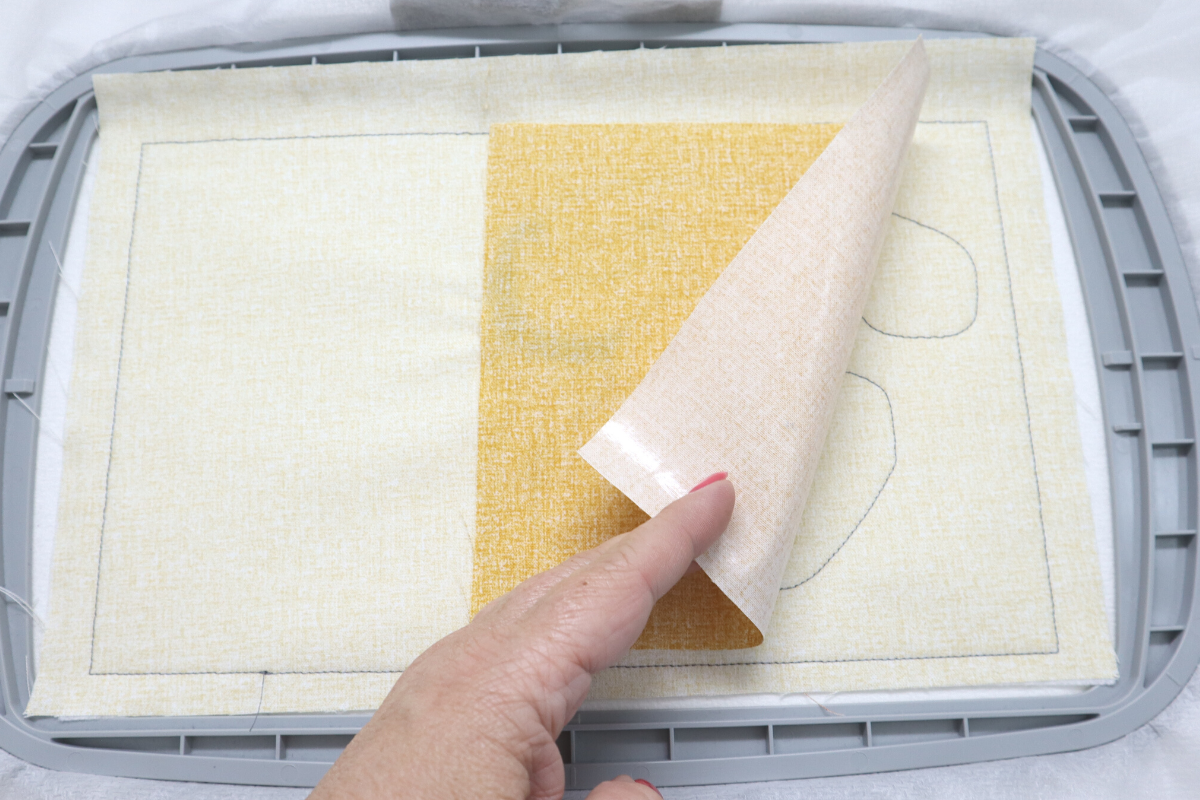
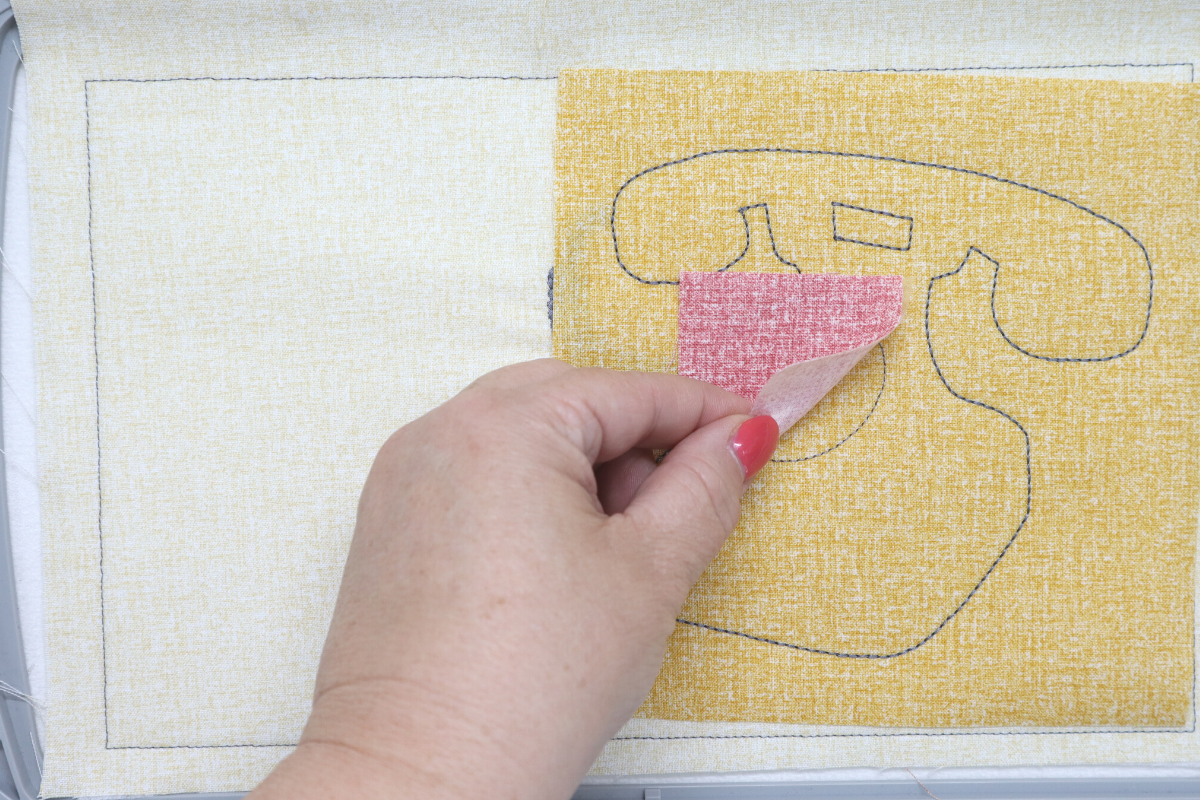
Remove the hoop from the machine and place on a flat surface. Place the Phone Applique right side up over the outline stitches. Insert hoop into machine and sew Stitch #4, the applique secure stitch for the phone. 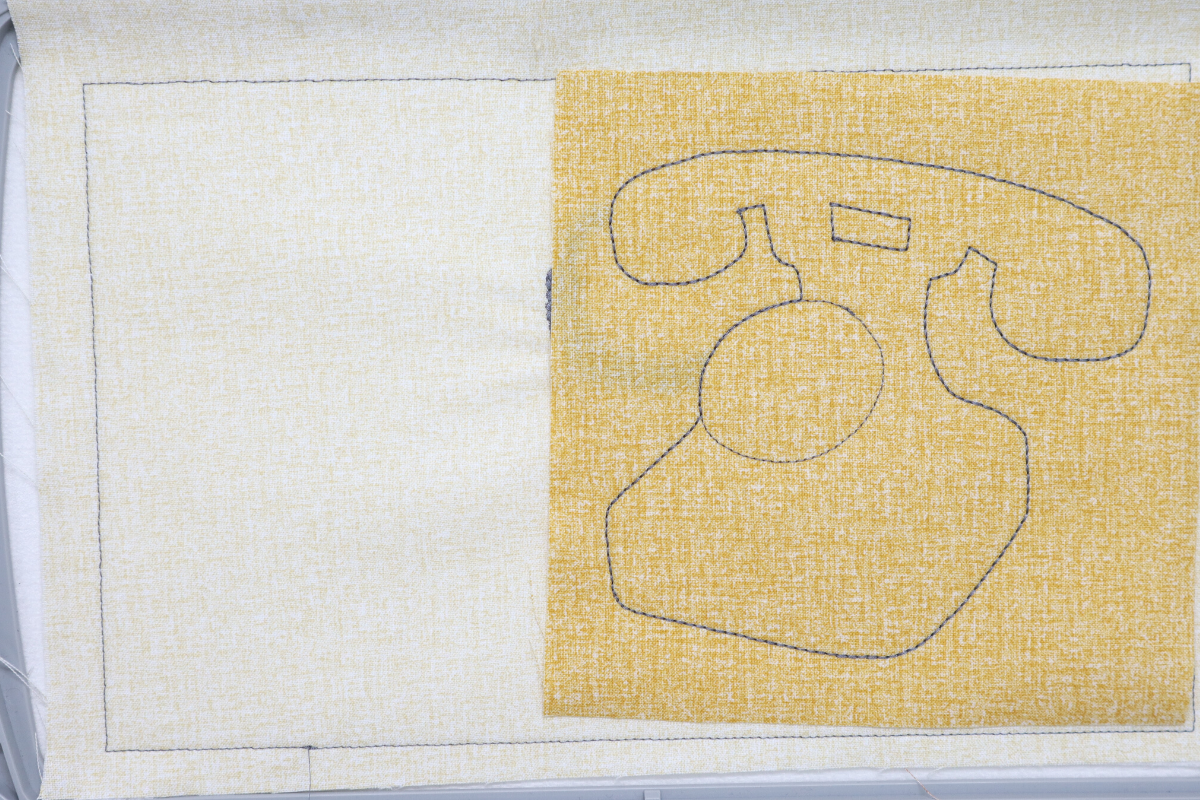
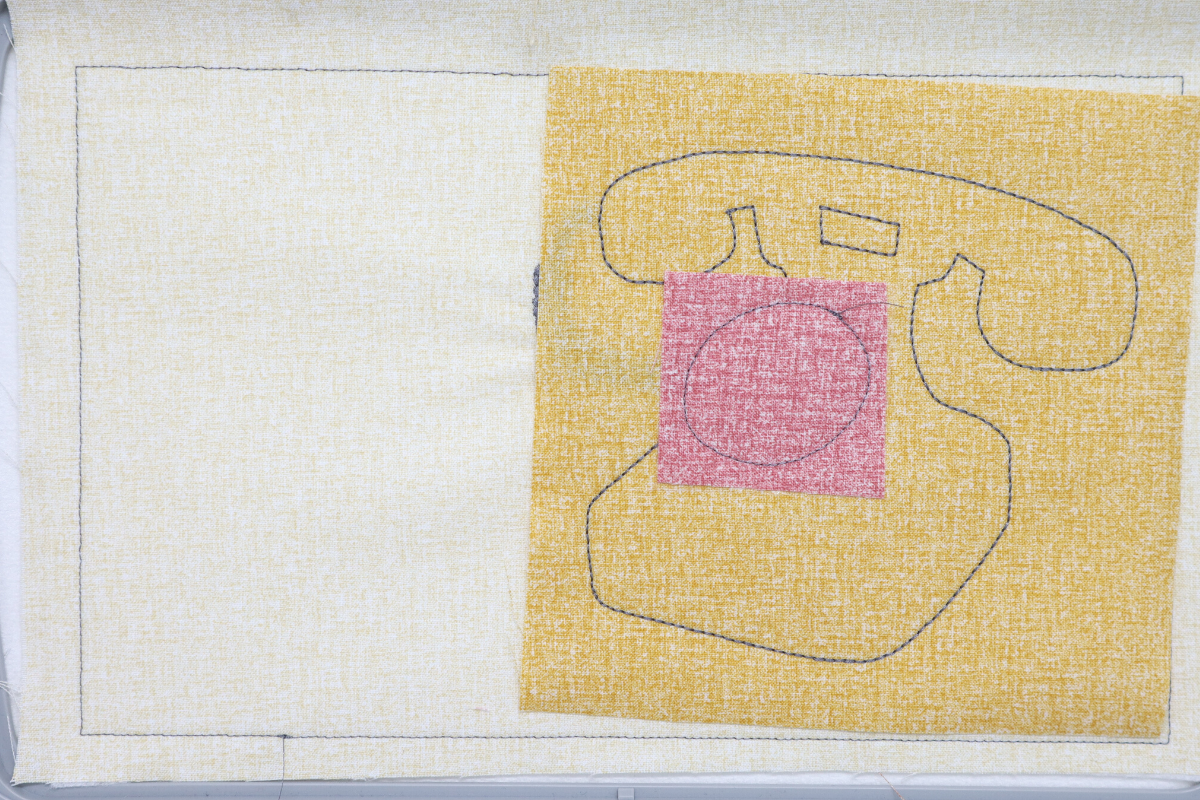
Place the Wheel Applique over the circle and sew Stitch #5, the applique secure stitch for the wheel.
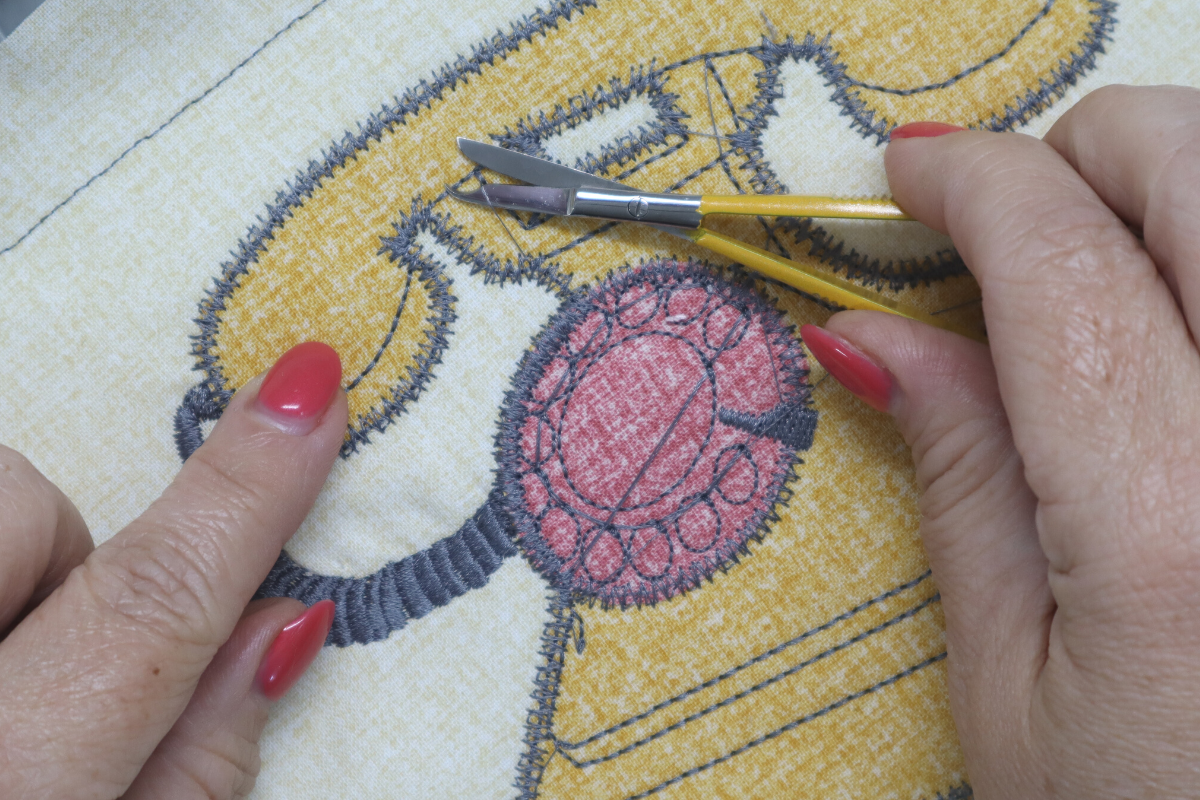
Remove the hoop from the machine and place on a flat surface. With the duckbill applique scissors, cut as close the outside of the circle without cutting the stitching.

Cut around the outside of the phone and inside under the handle removing the extra piece of fabric. Try using the 4″ Straight Micro Tip scissors. They have a very sharp tip allowing you to into the opening without cutting through to the pillow front. 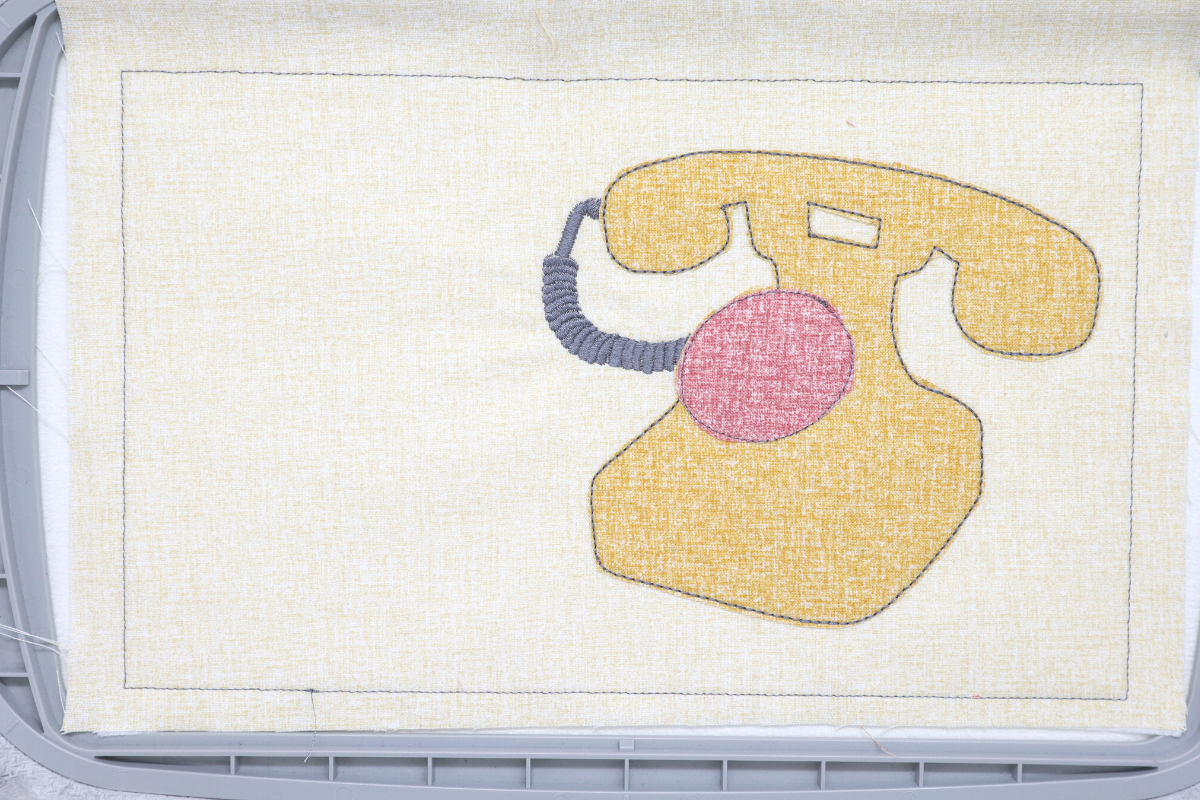

Insert the hoop into the machine and sew Stitch #6, the outside zigzag and detail stitching for the phone. Remove the hoop from the machine and clip all jump threads.
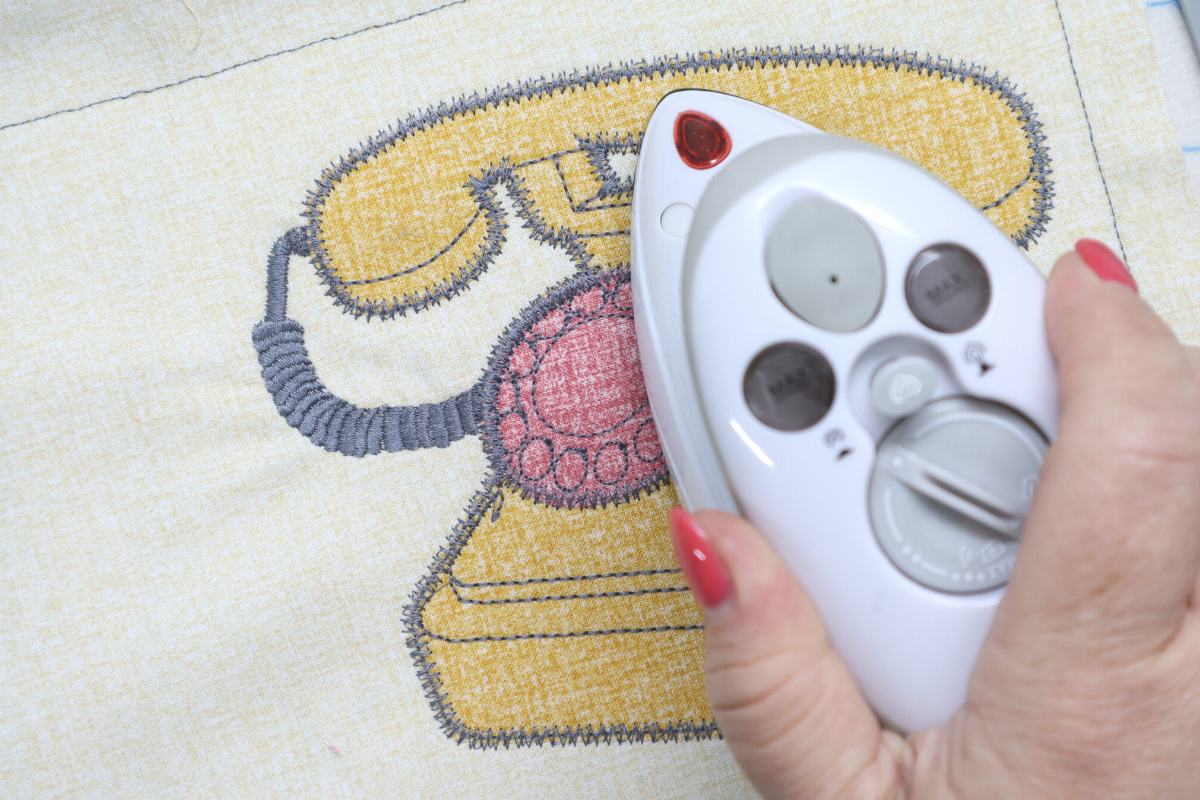
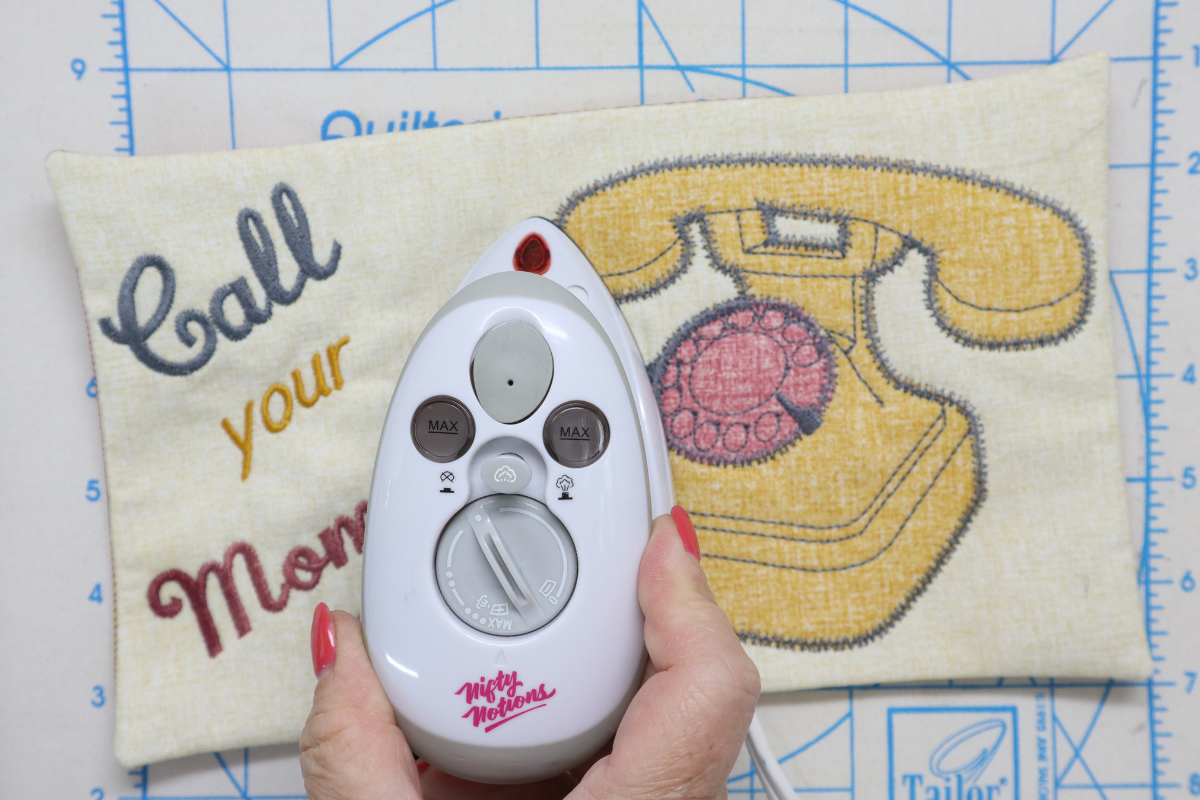
With the mini iron press only the applique materials. This will help secure the material permanently since there is a fusible web inside.
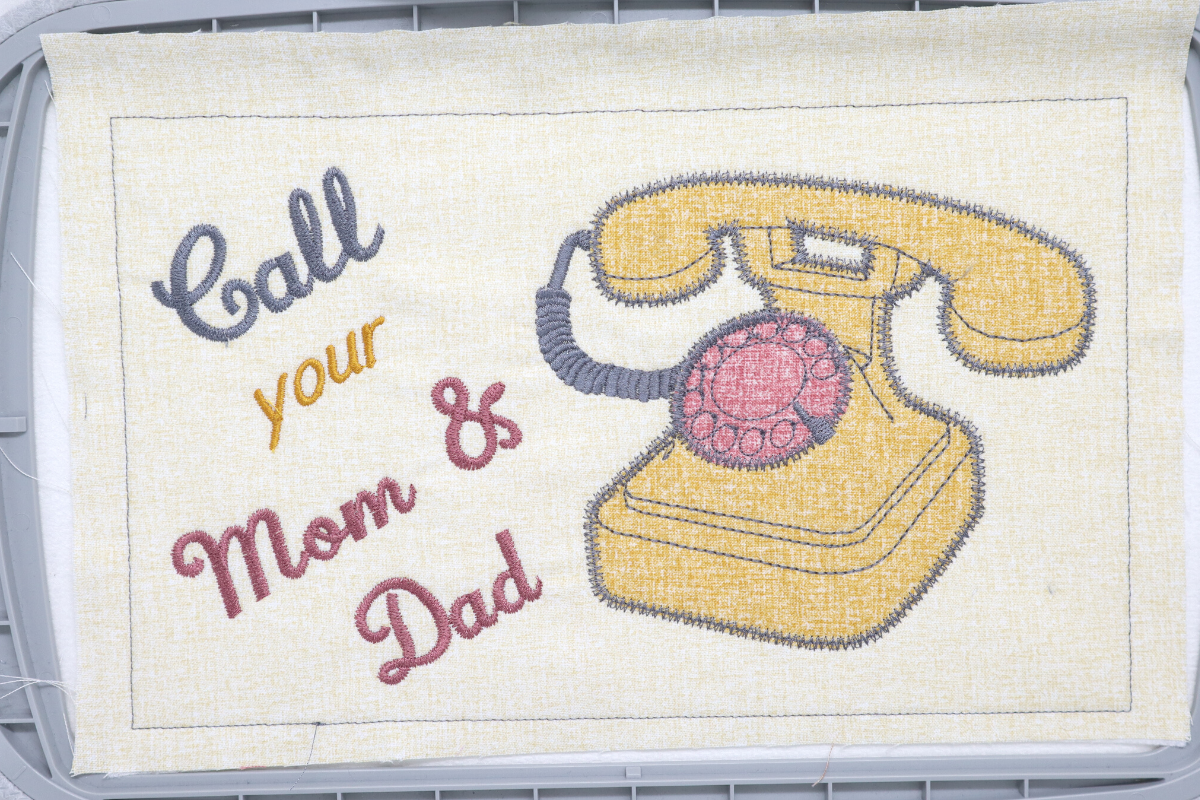
Insert the hoop back into the machine and sew the three different text lines: Call #7, your #8, Mom & Dad #9.
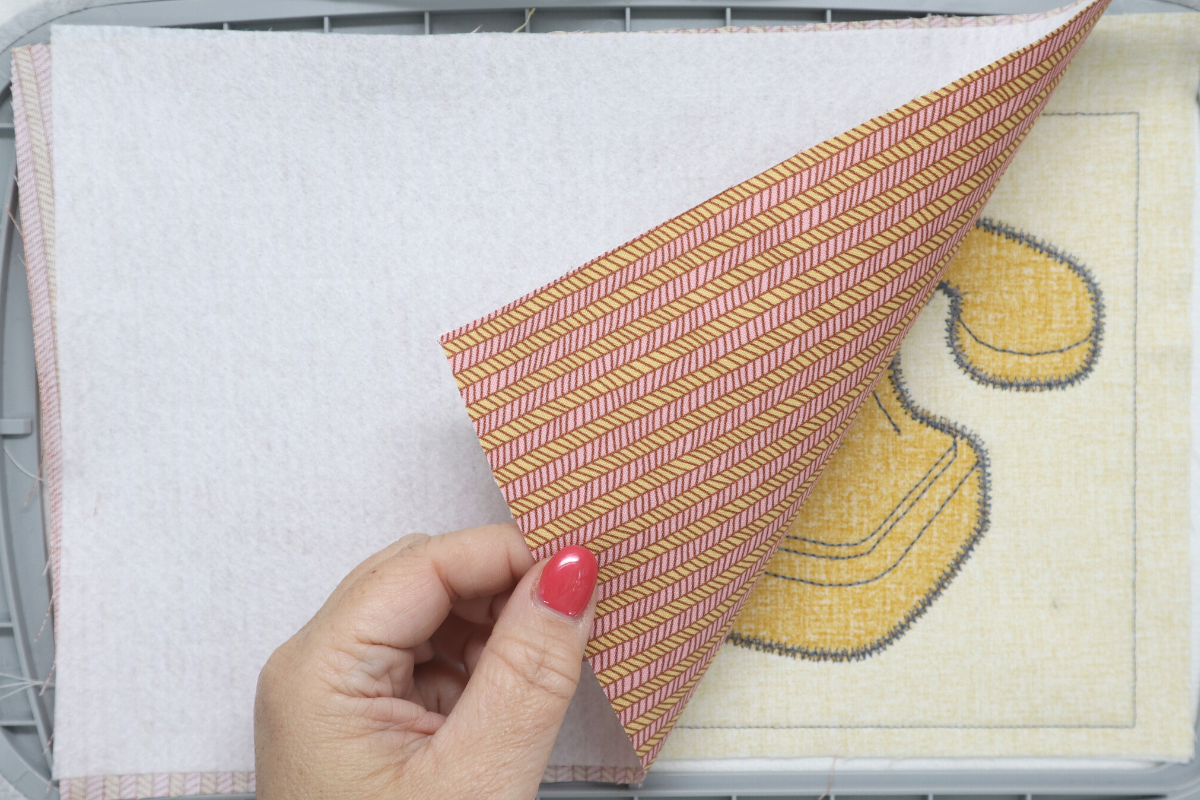
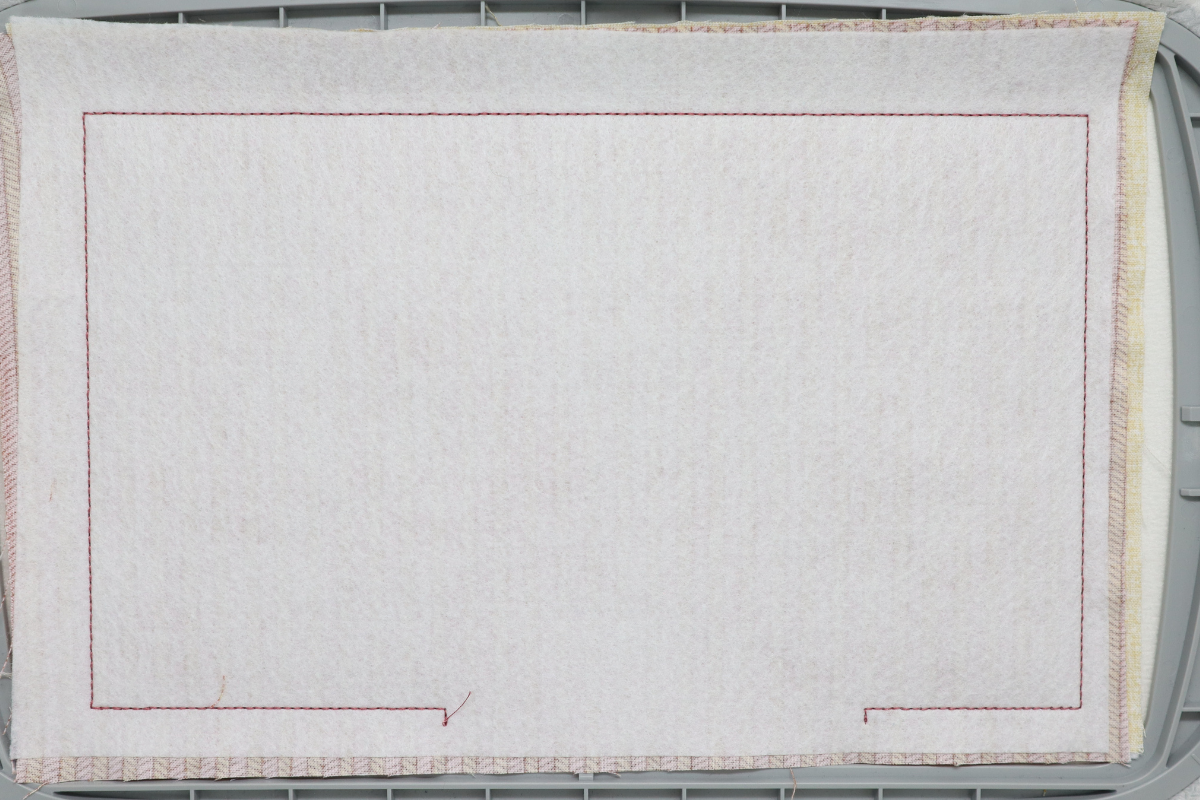
When design details are finished place the Pillow Back right side together and sew the final Stitch #10.
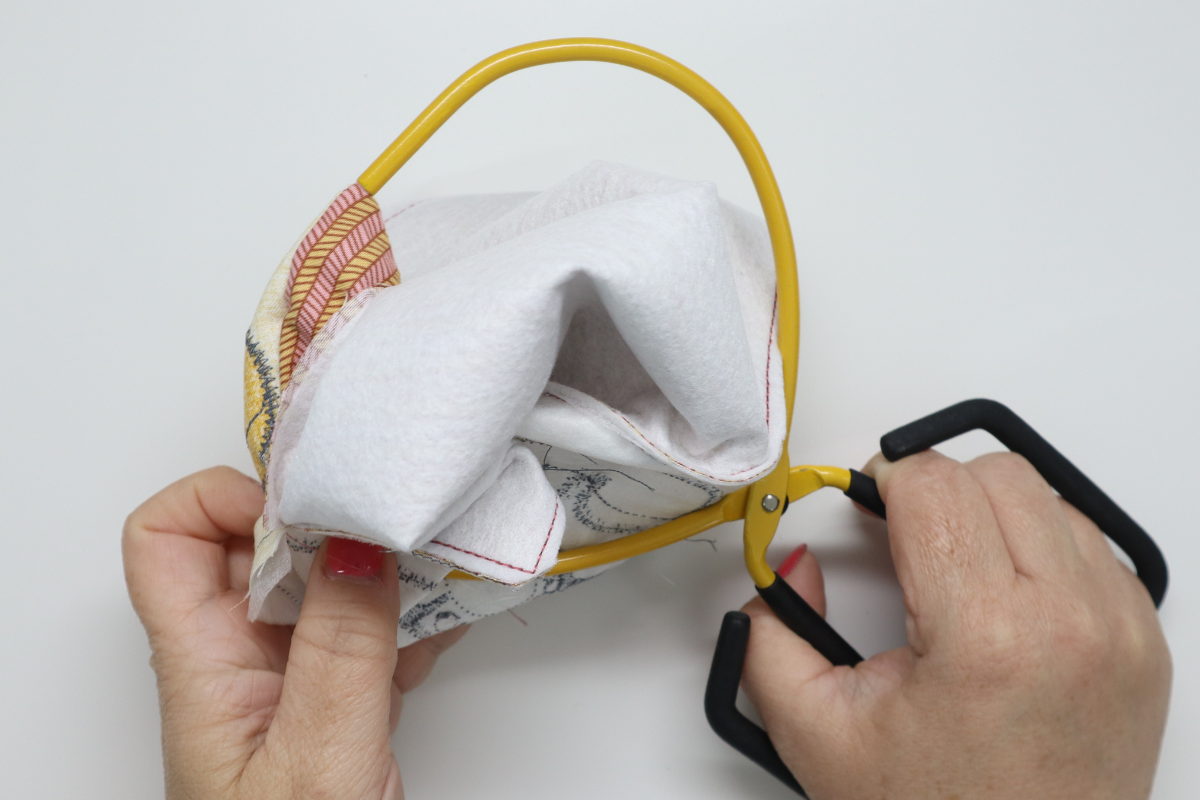
When finished stitching, remove the hoop from the machine and the materials from the hoop. Use the All Purpose Craft Scissors and cut around the outside of the stitching leaving 1/4″ everywhere except leave 1/2″ at the opening. Miter the corners but do not cut the stitching.

Use the EZ Point & Turner to turn the pillow right side out and the pointed end to push out the corners.
Press the pillow and tuck the opening inside and press seam.
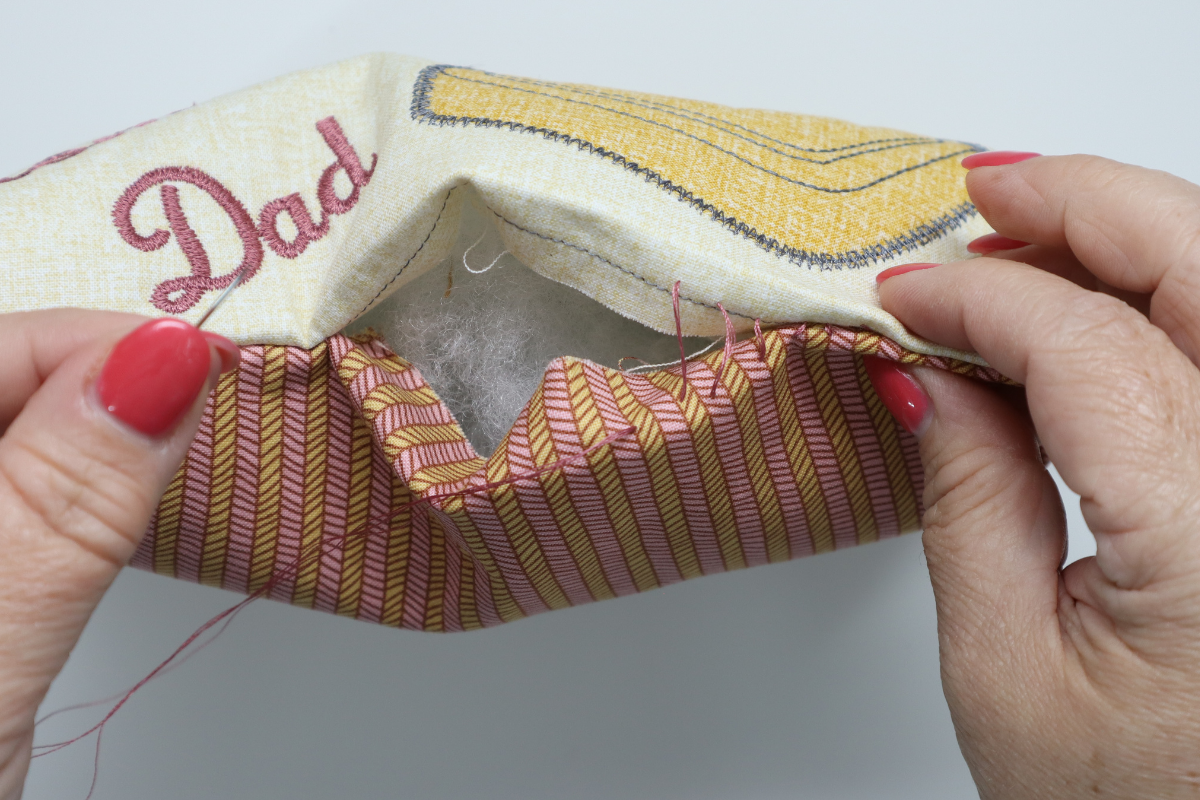
Use Poly-Fil to stuff the pillow and hand stitch closed.
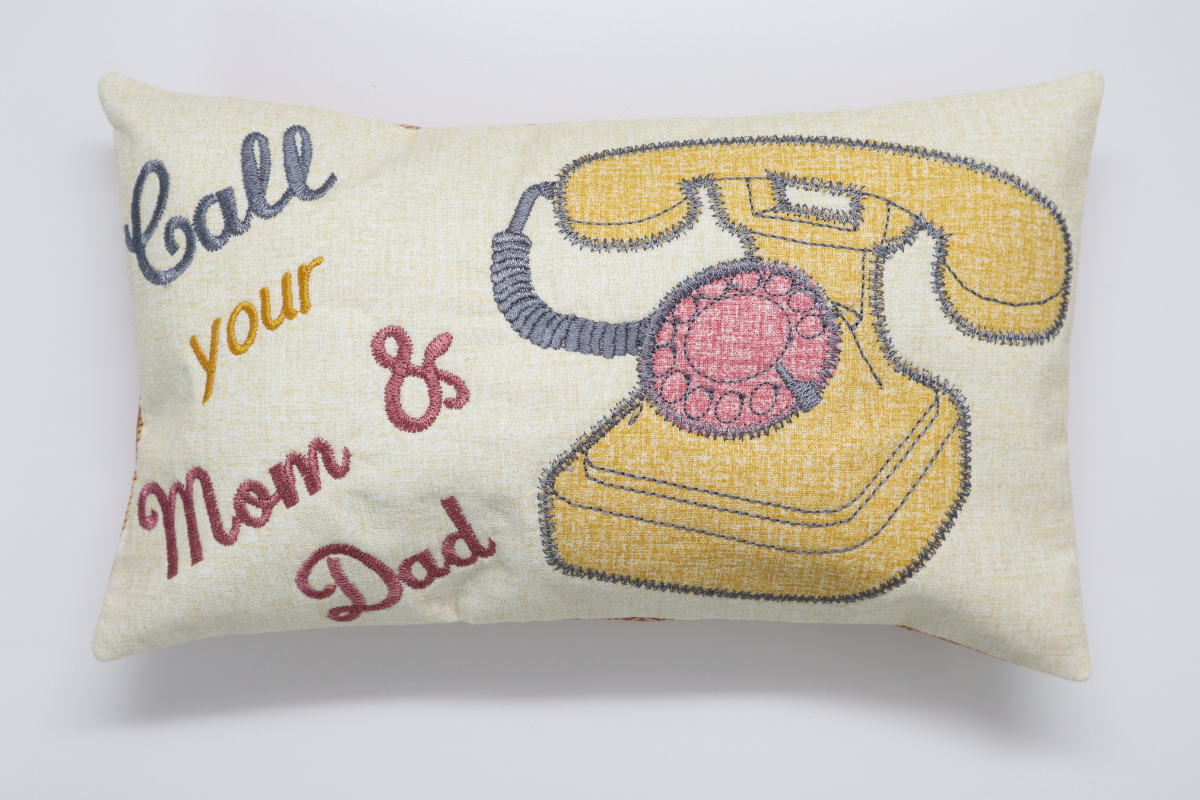

Your pillow is all finished!
I hope you enjoyed this easy embroidery project and enjoy making all of my easy embroidery projects! When you make yours, please snap a shot and tag me @SookieSews and @BERNINAUSA!!