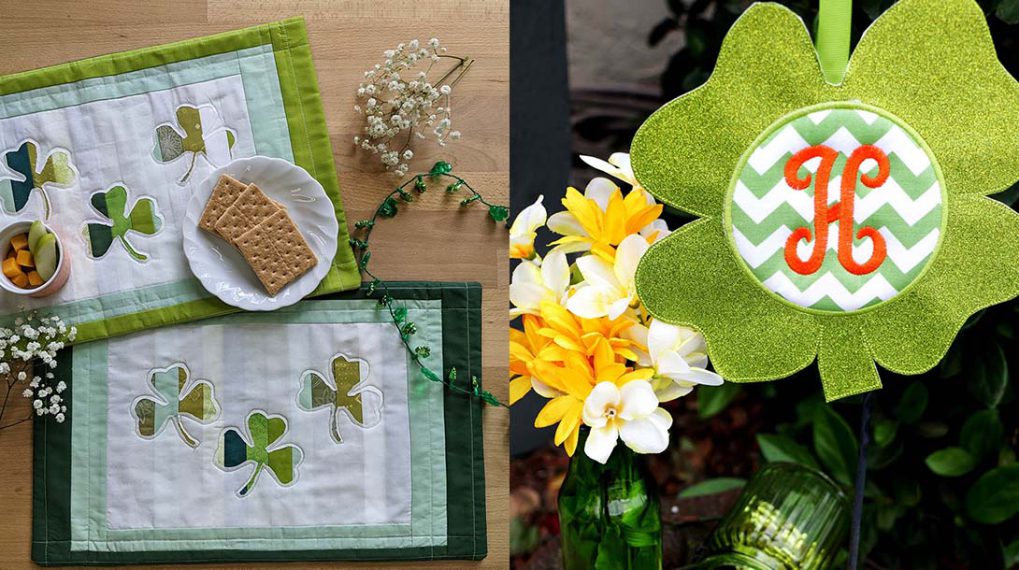
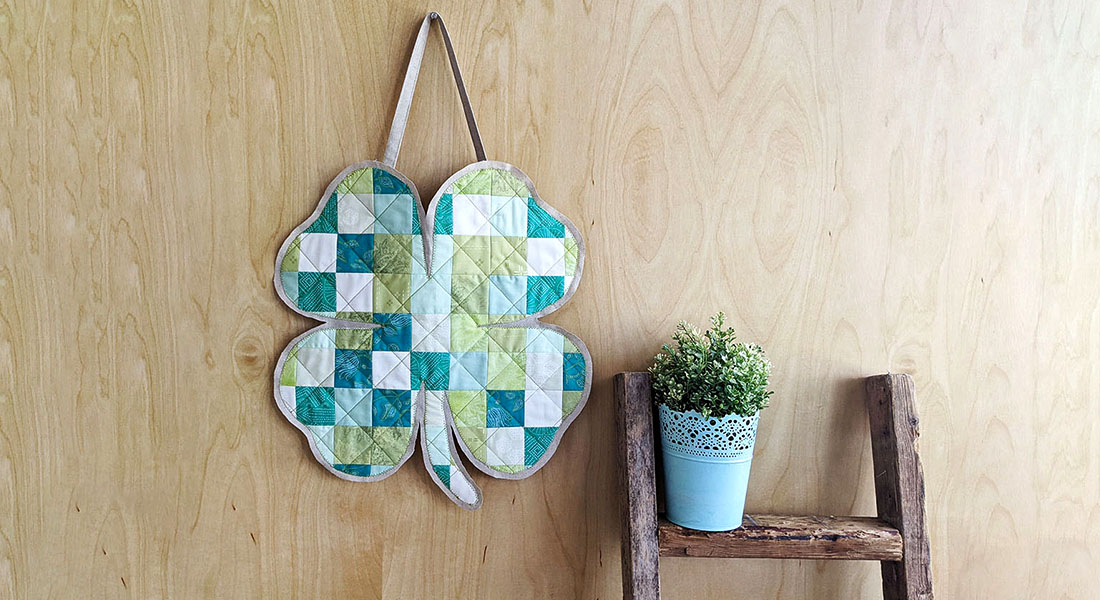
Four-leaf Clover Door Hanger In-the-Hoop
In-the-Hoop projects are a fast, easy and consistent way of completing the construction inside the embroidery hoop. The Easy Four-leaf Clover Door Hanger project is made entirely in-the-hoop, which means, when you’re finished stitching, you’re done! The Door Hanger In-the-Hoop can be stitched in three different sizes on your BERNINA embroidery machine and includes a built-in Monogram. As an added bonus, I’m going to show you what else you can use these glittery clovers for.
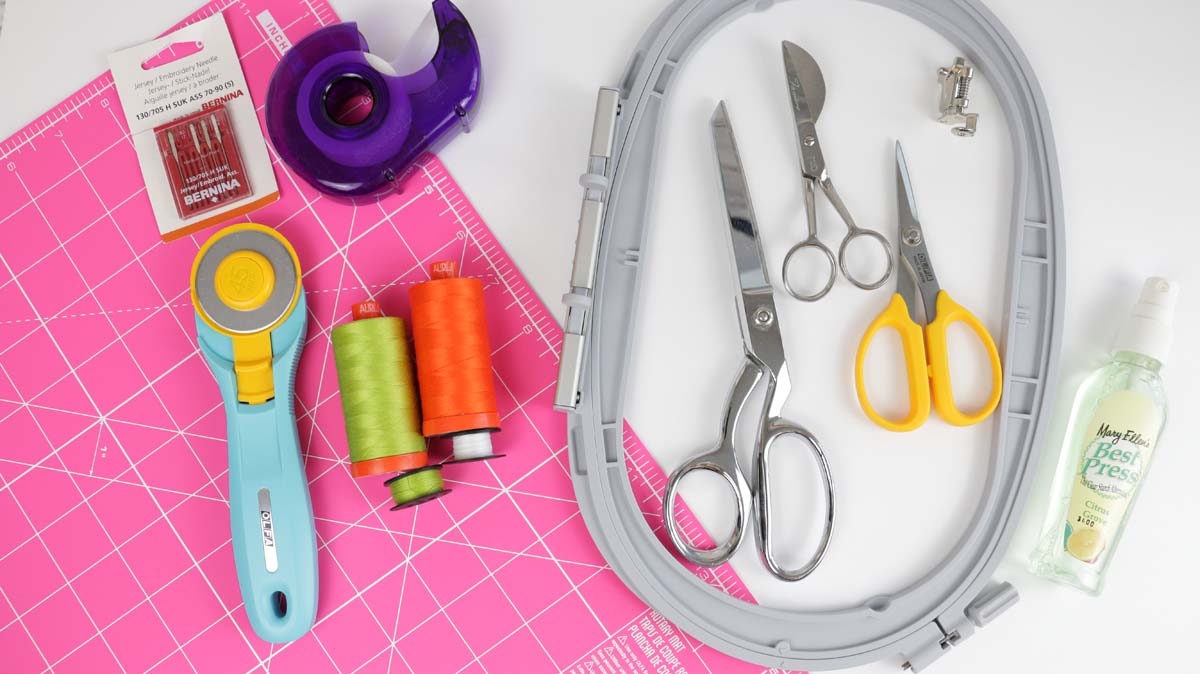
Materials to Make a Four-leaf Clover Door Hanger In-the-Hoop
Note: Listed below are the materials used in the Four-leaf Clover Door Hanger In-the-Hoop, for detailed cutting instructions for each size go to Step 1.
- Tear away stabilizer OESD Light weight
- Front and Back – Non-woven material, i.e. Cork fabric, Felt, Vinyl fabric (with woven backing 0.6mm thick)
- Glitter Vinyl was used in instructions
- Applique – Quilters cotton
- Foam – by Annie Soft and Stable
- Fusible web – Heat N Bond Lite
- Ribbon 5/8” wide
- BERNINA 790 Plus with Embroidery module
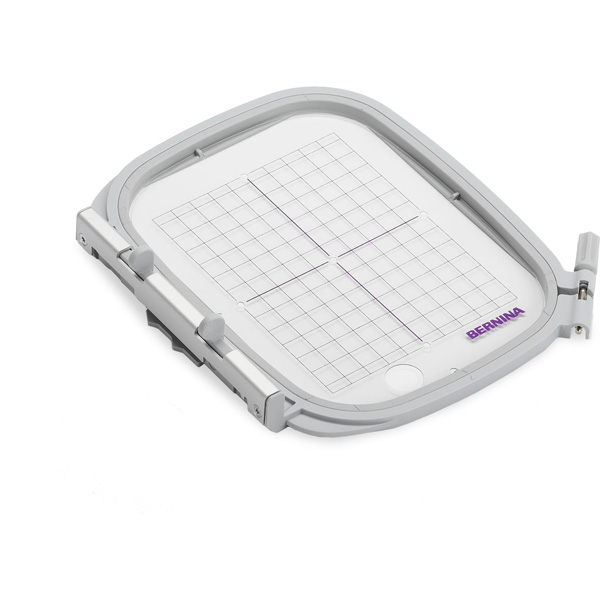
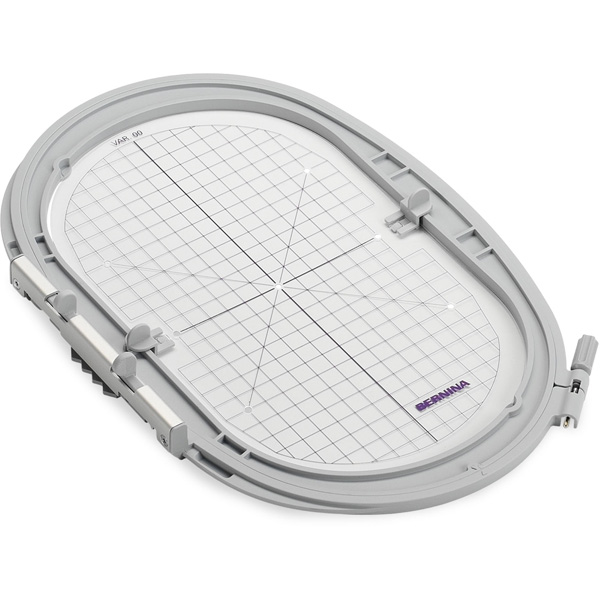
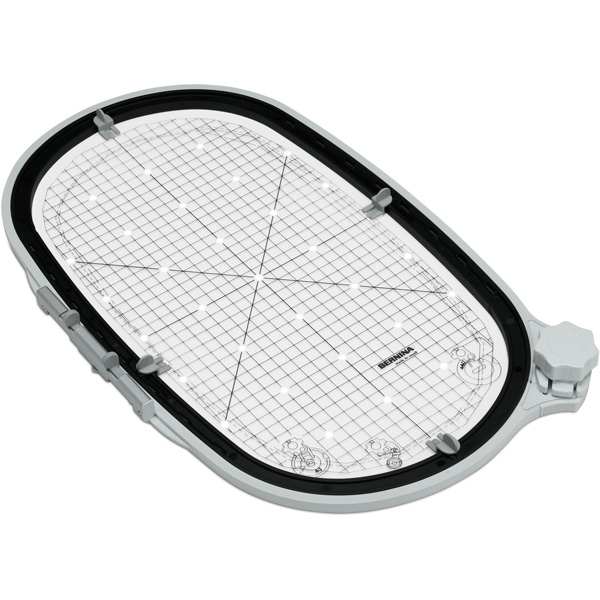
- Hoop – Medium, Large Oval or Maxi
- Embroidery presser foot – Embroidery foot # 26 (drop-shaped)
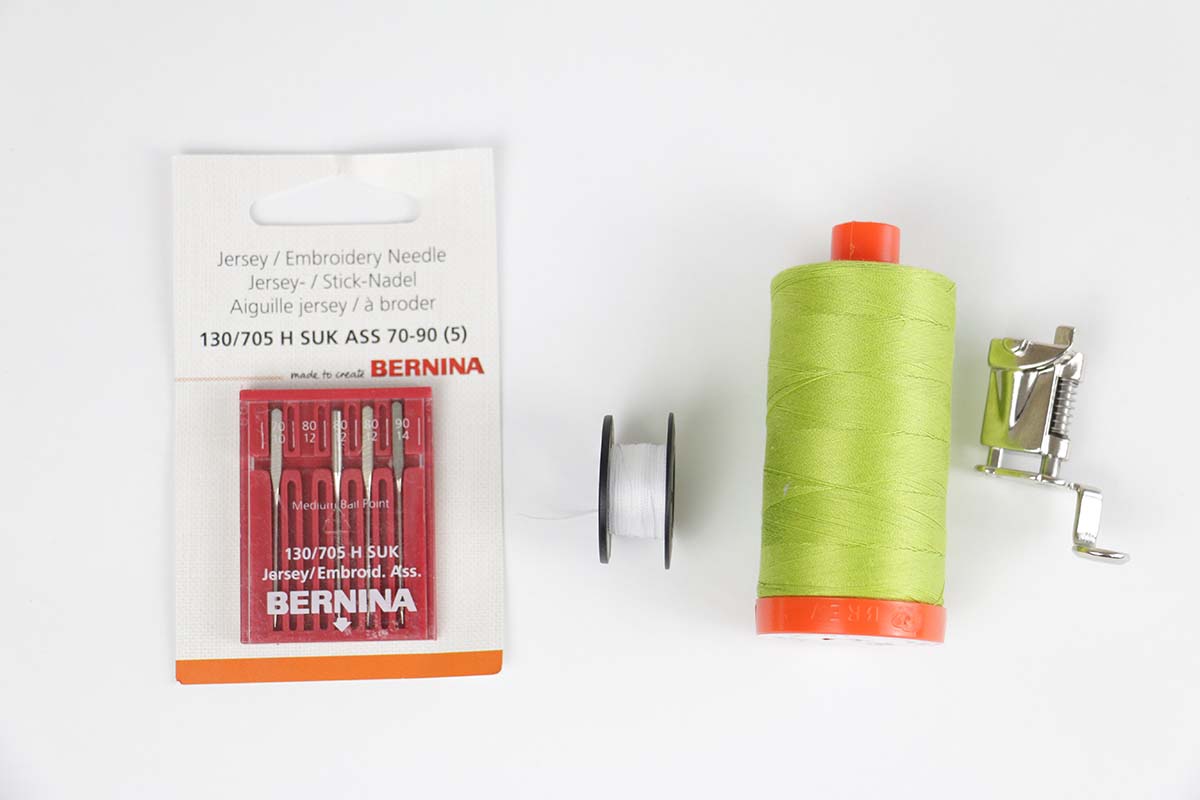
- BERNINA Embroidery needle 80/12
- Thread (Primary color: Green & Monogram color: Orange) – I used 50 wt cotton Aurifil thread from the Sewing Gnome box set
- Bobbin with 60 wt white thread
- Bobbin with Green (final outside stitching)
- Clear tape
- Mary Ellen’s best press
- Iron (Oliso Professional)
- Pressing surface (Quilter’s cut ‘n press)
- Rotary cutter, ruler & mat
- Fabric shears
- Duckbill Appliqué scissors – I prefer the 4.5″ size for In the Hoop projects
- 5” Craft scissors – I used the Olfa Precision Applique scissors
Download the embroidery designs for the Four-leaf Clover Door Hanger below.
Large Size Magic Four-leaf Clover Door Hanger Embroidery Files
Medium Size Magic Four-leaf Clover Door Hanger Embroidery Files
Small Size Magic Four-leaf Clover Door Hanger Embroidery Files

How to Make a Four-leaf Clover Door Hanger In-The-Hoop
Gather your machine and materials and let’s get stitching!
Step 1, Cut Materials and Prepare Machine
Depending on which size Door Hanger in-the-hoop you would like to make, choose the design and monogram and bring to your machine.
Prepare machine for embroidery by attaching the embroidery unit and appropriate presser foot. For the BERNINA 790 Plus I used the Embroidery foot # 26 (drop-shaped) and the Oval hoop.
Insert a brand new embroidery needle. Note: It’s nice to begin every project with a brand new needle.
Insert a Bobbin with 60 wt white thread. Thread top of machine with primary color, green. Follow the individual cutting instructions below based on size.
Small (Medium hoop) 100 x 130 materials (Finished measurement 4-1/8″ wide by 4-1/4″ tall)
- Tear away to fit hoop
- Front 5″ square
- Back 5″ square
- Appliqué 2-1/2″ square
- Foam 2-1/2″ square
- Fusible web 2-1/2″ square
- Ribbon 8-10” long
Medium (Oval hoop) 145 x 255 materials (Finished measurement 6″ wide by 6-1/4″ tall)
- Tear away to fit hoop
- Front 6-1/2″ square
- Back 6-1/2″ square
- Appliqué 3-3/4″ square
- Foam 3-3/4″ square
- Fusible web 3-3/4″ square
- Ribbon 8-10″ long
Large (Maxi hoop) 210 x 400 materials (Finished measurements 8-1/8″ wide by 8-1/2″ tall)
- Tear away to fit hoop
- Front 9-1/2″ square
- Back 9-1/2″ square
- Appliqué 5″ square
- Foam 5″ square
- Fusible web 5″ square
- Ribbon 8-10″ long
Step 2, Prepare Appliqué material
Press the wrong side of the appliqué to the scratchy side of the fusible web.
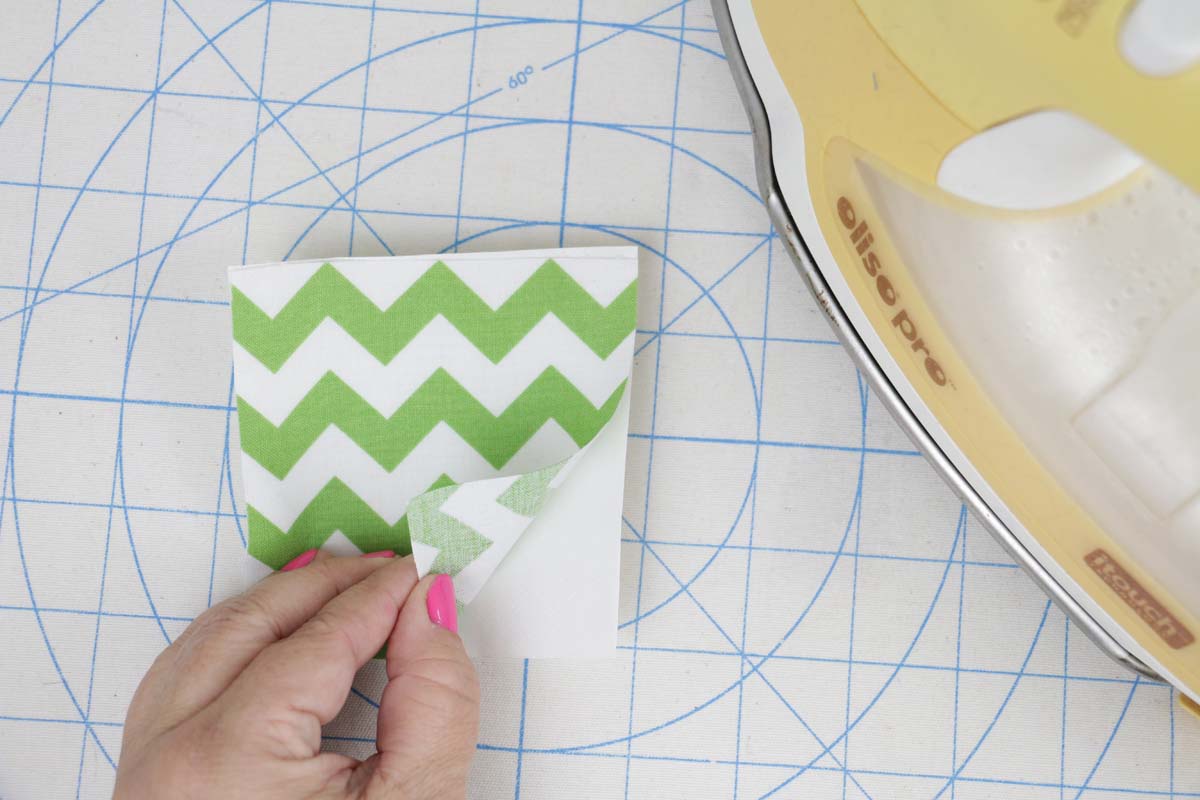
Remove the fusible web paper and discard.

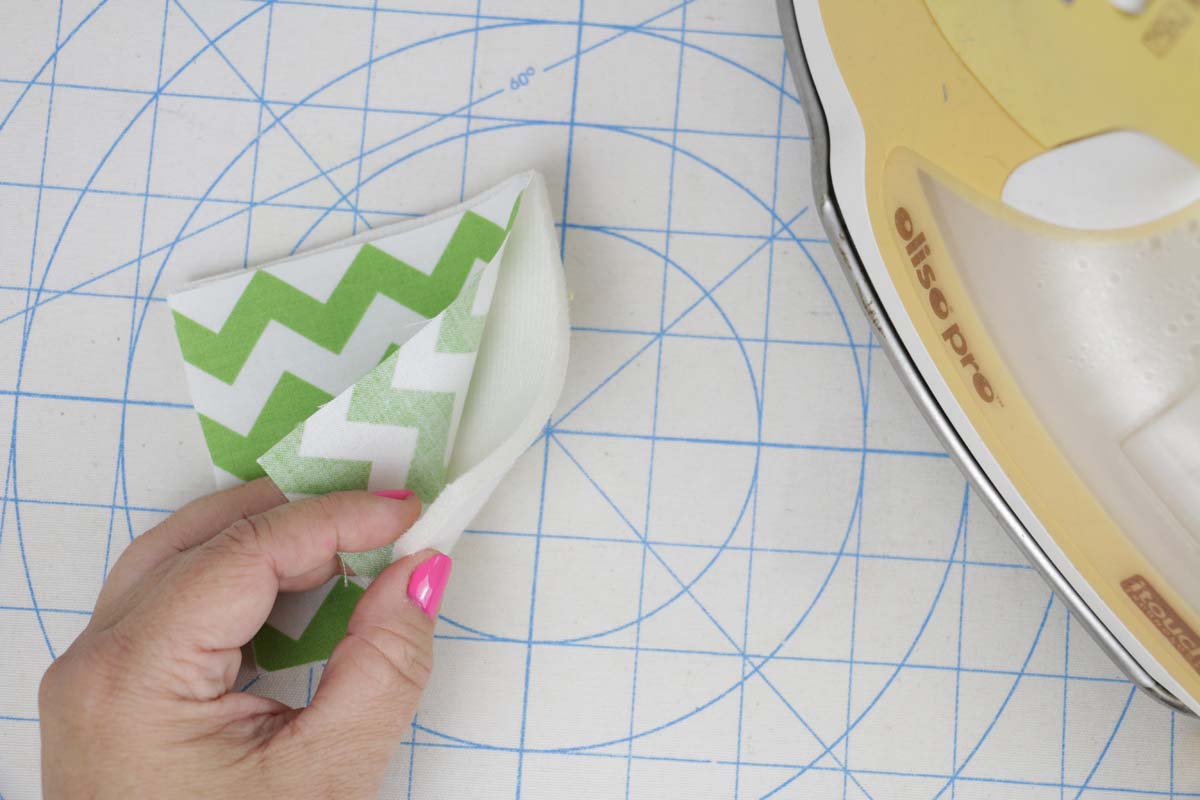
Press the wrong side of the applique to one side of the foam. Note: Foam has no right or wrong side.
Step 3, Stitch #1 the Placement Stitch
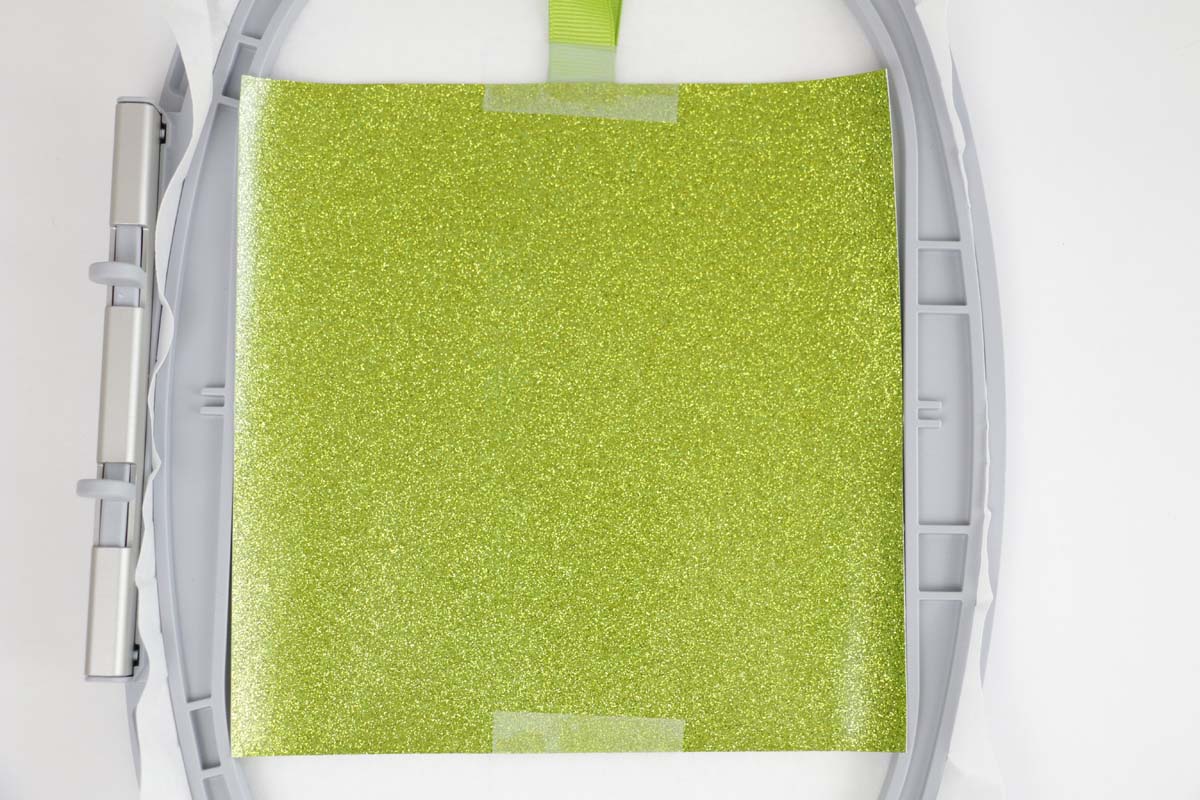
Hoop the tear away stabilizer and tighten screw.
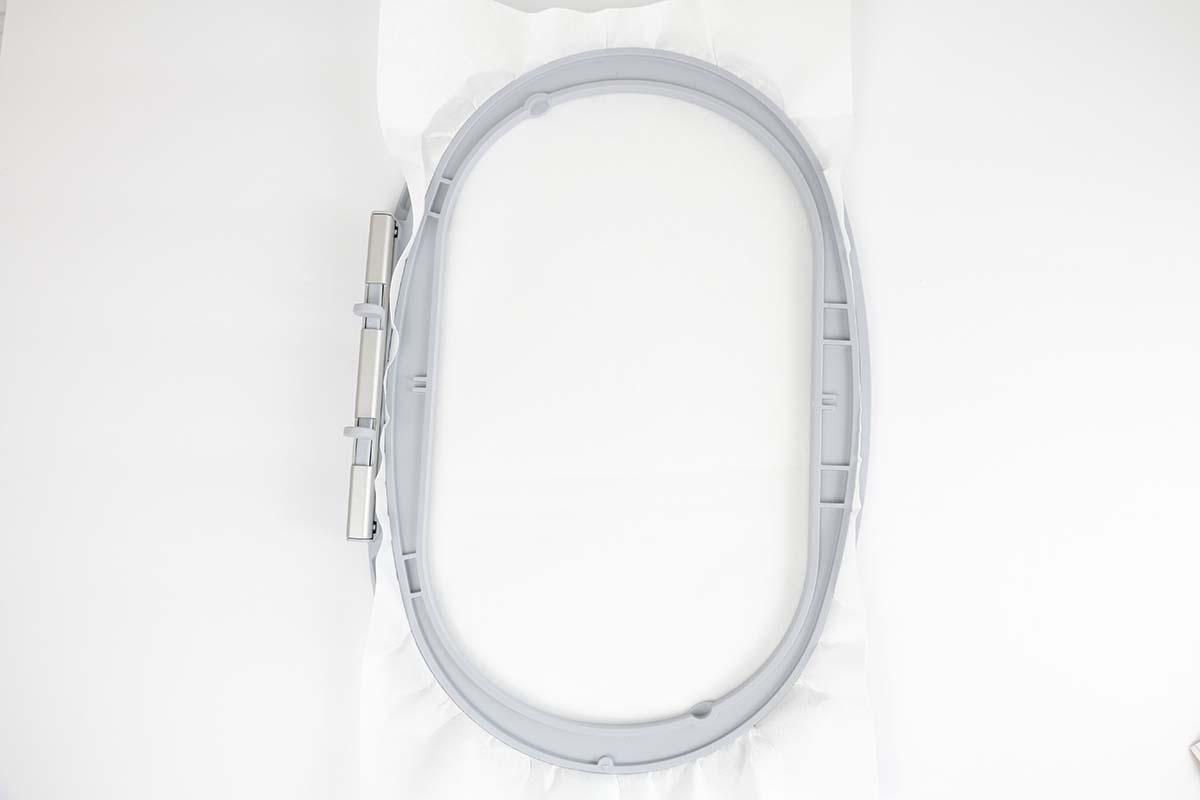
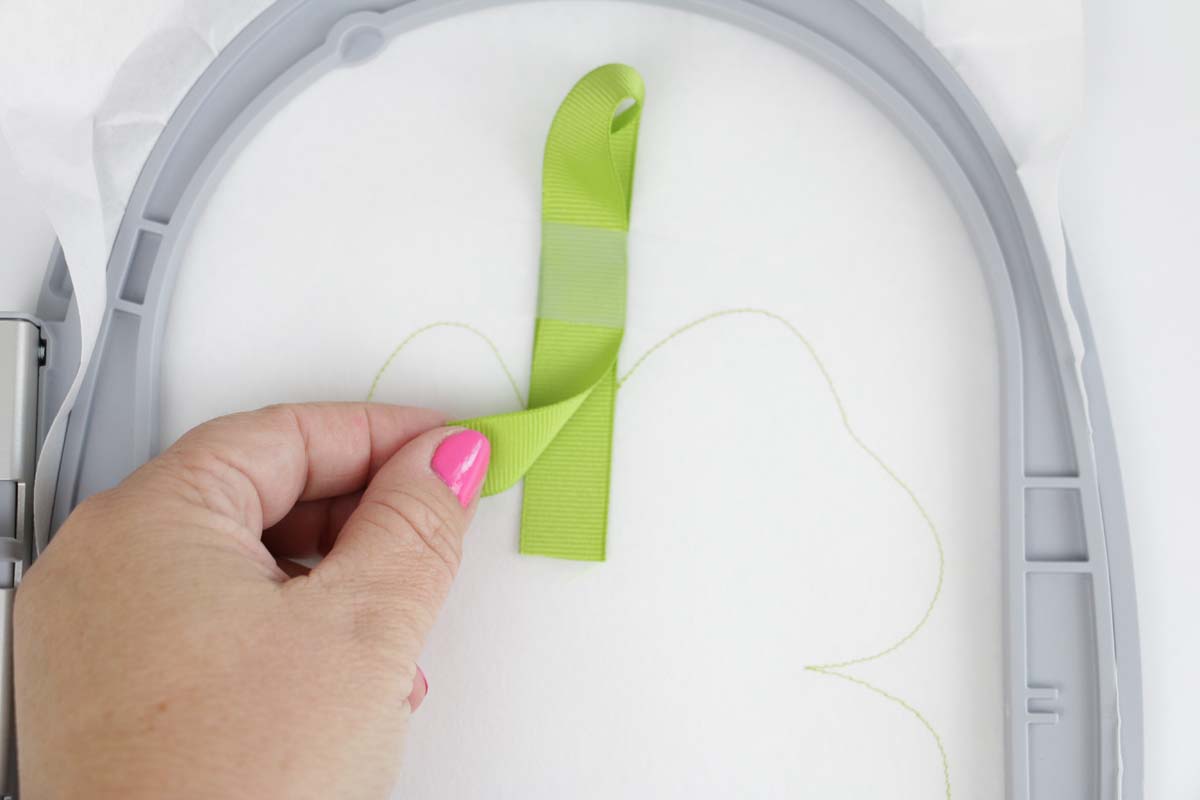
Sew Stitch #1, the placement stitch. When stitching is complete, remove hoop from machine and place on a flat surface (Do not remove materials from hoop). Fold ribbon in half lengthwise. Place the raw edges about 1/2″ below the center top of Stitch #1Secure with tape. Note: Be sure the tape is on the outside of Stitch #1.
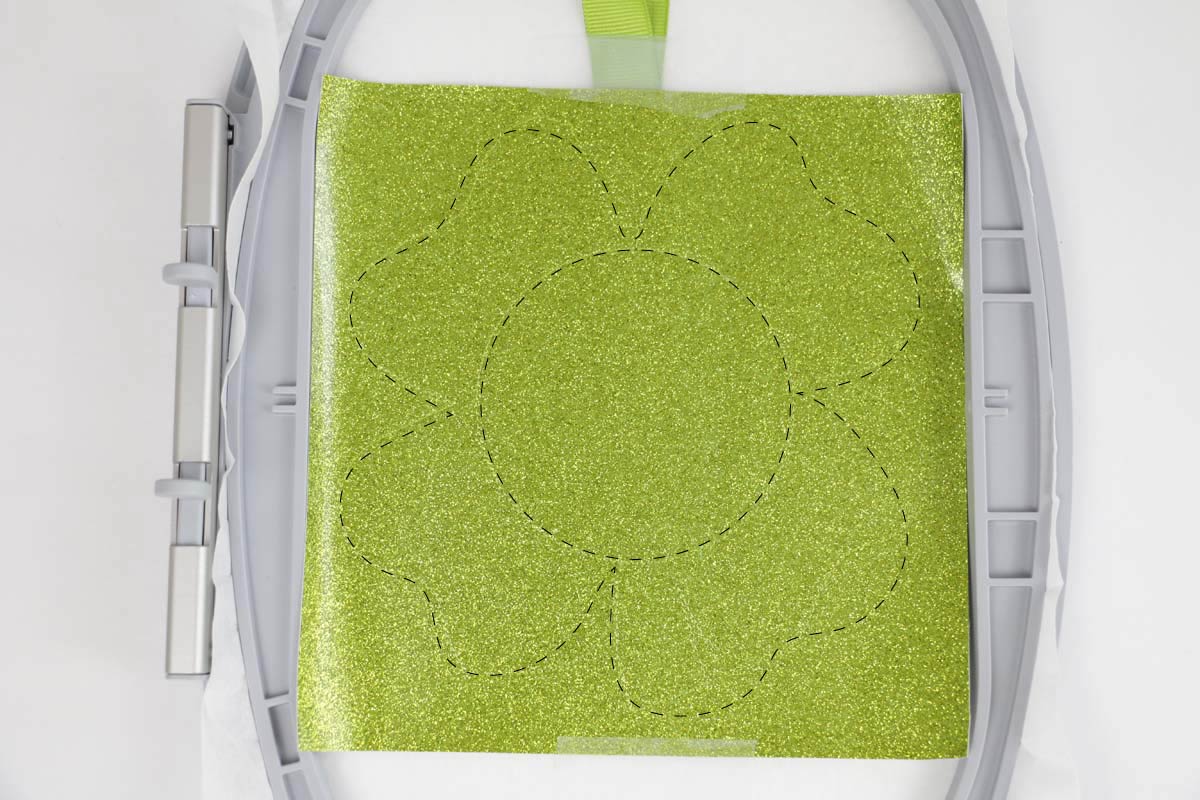
Step 4, Stitch #2 the Secure Stitch
Place the front centered over Stitch #1. Secure with tape along the top and bottom.
Insert hoop into machine and sew Stitch #2, the secure stitch. Remove hoop from machine and place on a flat surface (Do not remove materials from hoop).
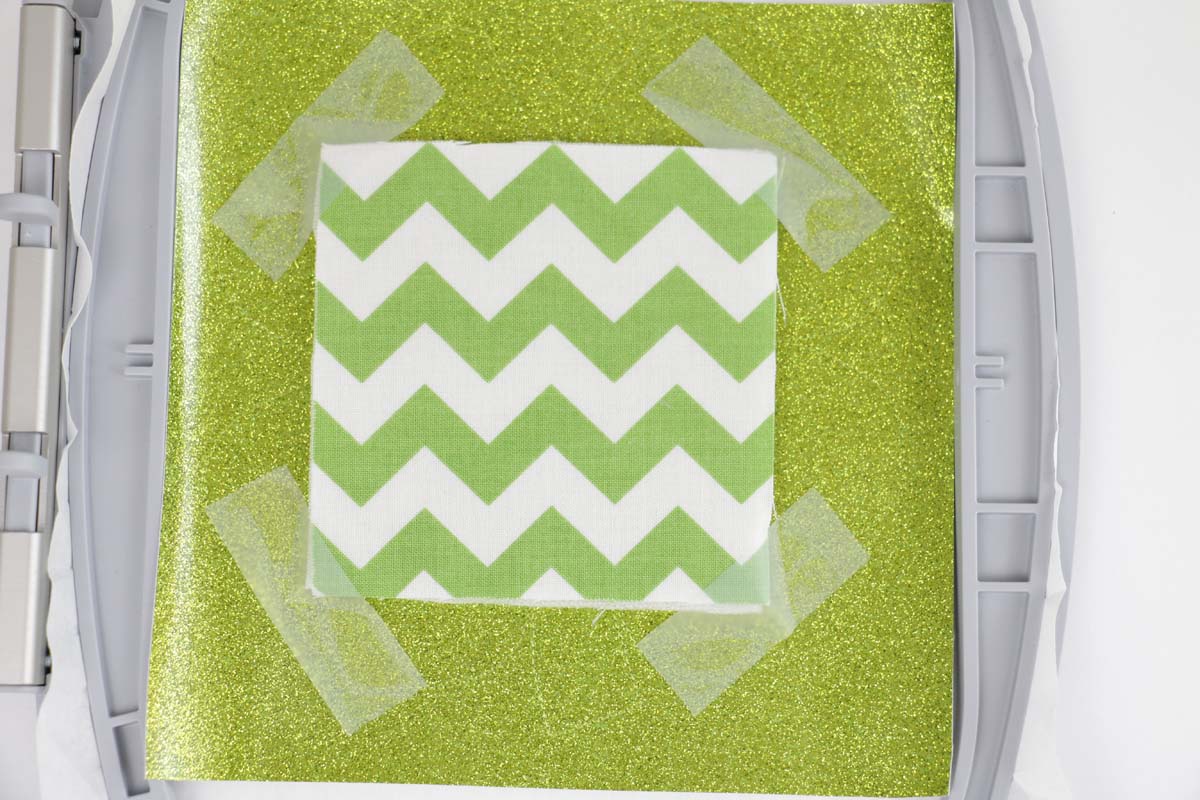
Step 5, Add Appliqué
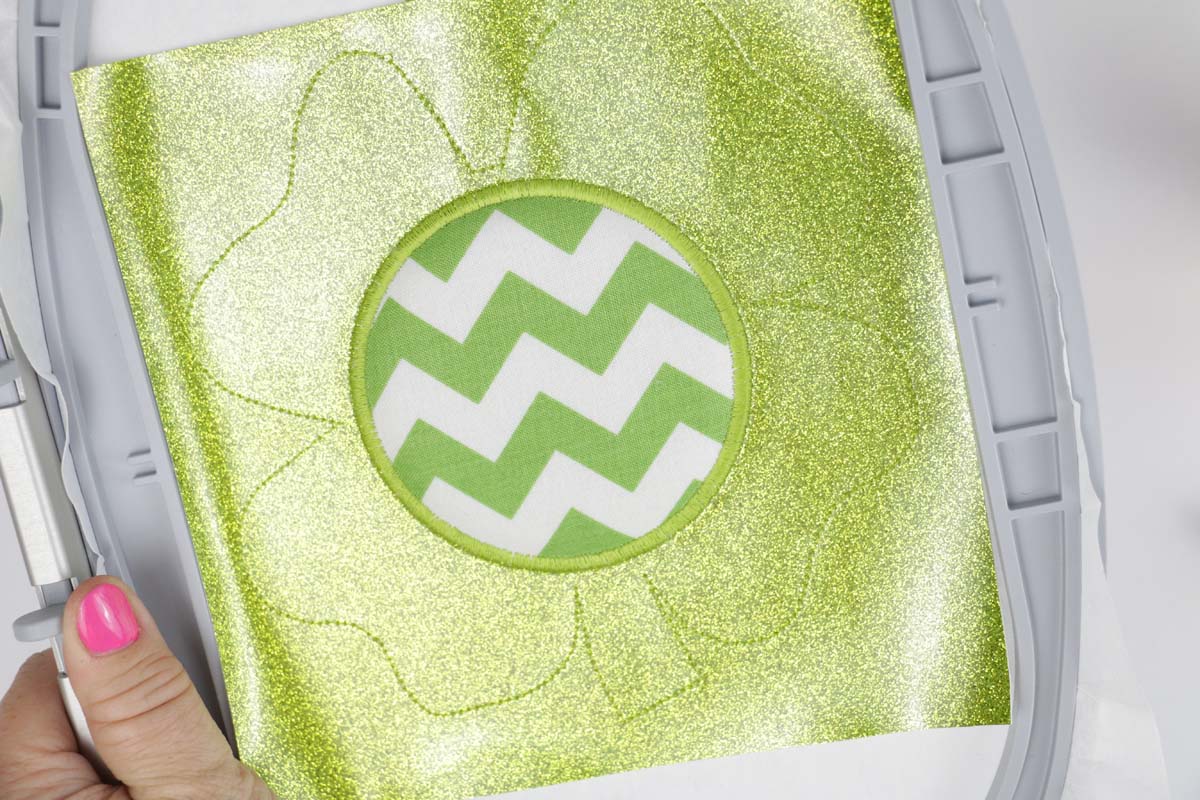
Place the appliqué material, with foam side facing down, centered over the shamrock circle. Secure with tape on all four corners. Insert hoop into machine and sew Stitch #3, the appliqué secure stitch. When stitching is complete, remove hoop from machine and place on a flat surface (Do not remove materials from hoop).
Use duckbill appliqué scissors to cut as close to the secure stitch as possible, without cutting the stitch.
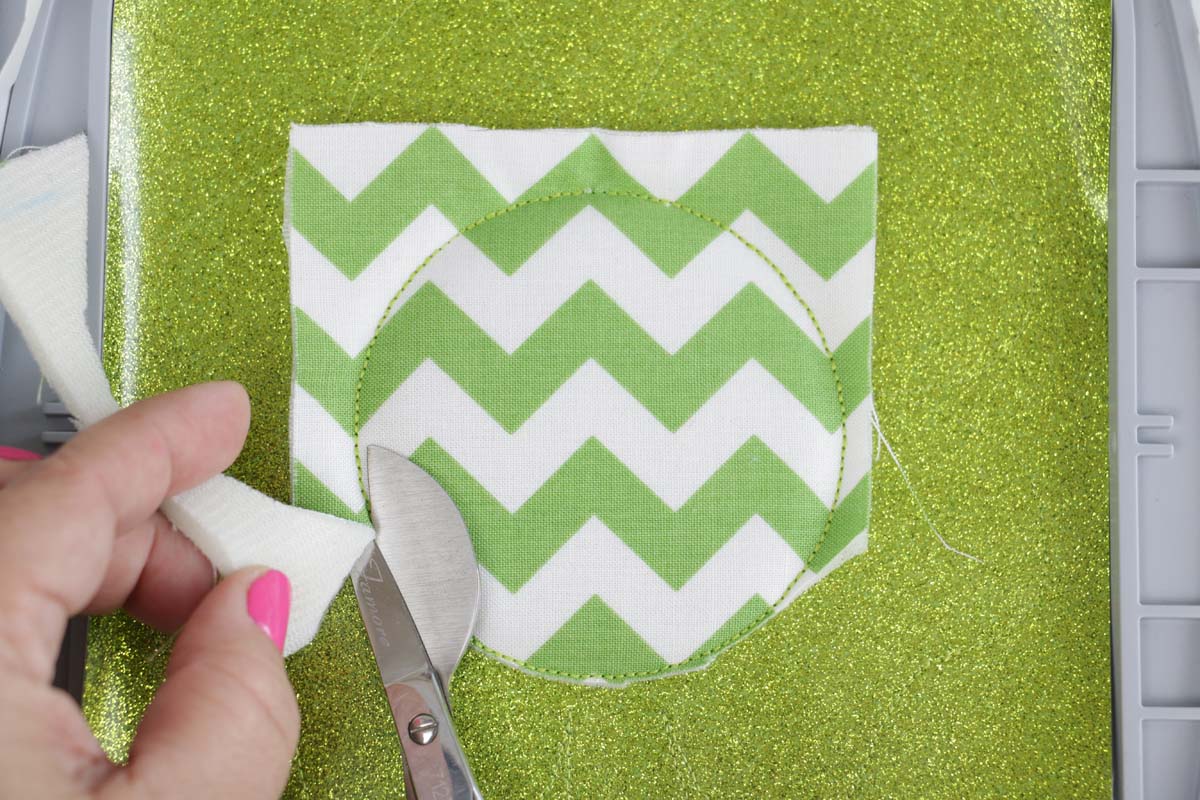
Insert hoop into machine and sew Stitch #4, the appliqué satin stitch.
Step 6, Sew Monogram
Each size Shamrock Door Hanger In-the-Hoop includes monogram letters. Note: If you do not want to sew a monogram, skip to step 7. Change the upper thread to the monogram thread color choice.

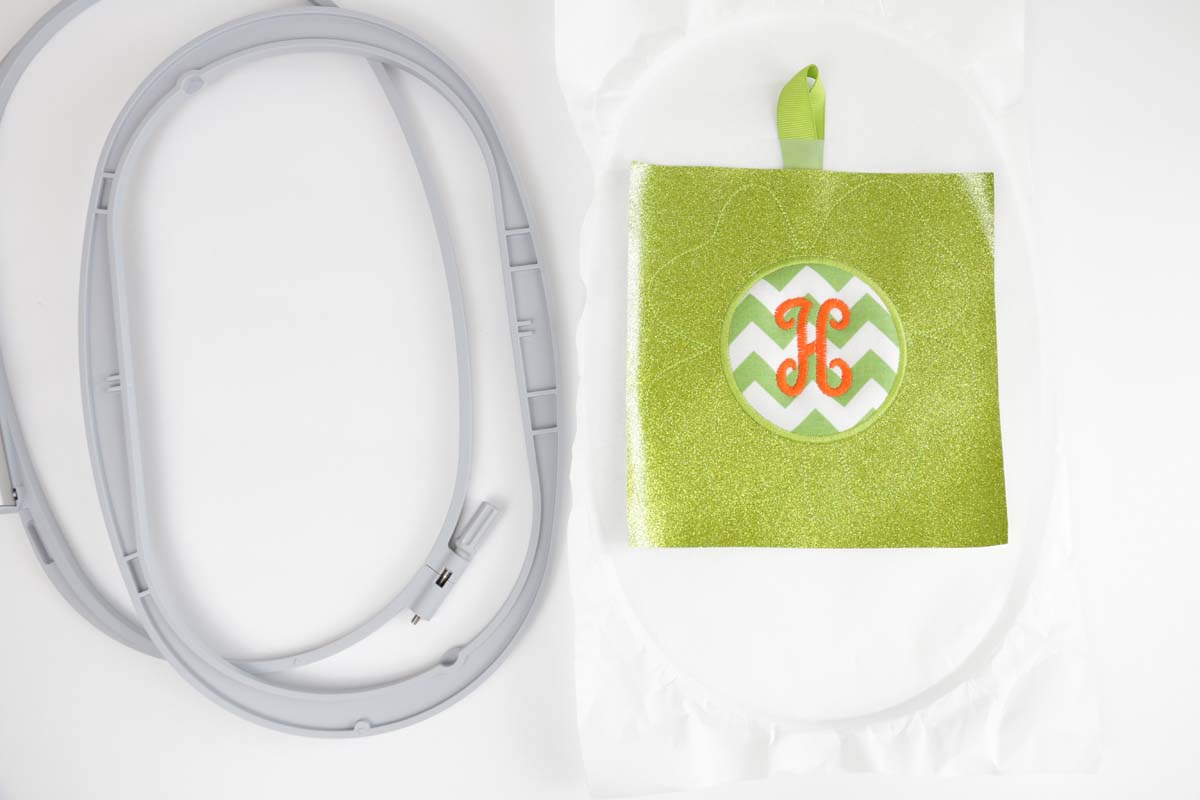
Sew Stitch #5, the monogram. When stitching is complete, remove hoop from machine and place on a flat surface (Do not remove materials from hoop).

Step 7, Attach Back
Turn hoop to wrong side facing up.

Place the back over the stitching, centered within width and height. Tape along the top and bottom to secure. Note: Extend tape past back material all the way to the hoop. Attaching the tape to the hoop will help prevent the tape from shifting or moving while stitching.

Wind a bobbin to match the top thread. This will be for the final outside stitching and will be seen on the front and back of the Four-leaf Clover Door Hanger in-the-hoop.

Insert hoop into machine and sew Stitch #6, the final outside running stitch.

Next, remove hoop from machine. Remove tape.

Now, remove the hoop.
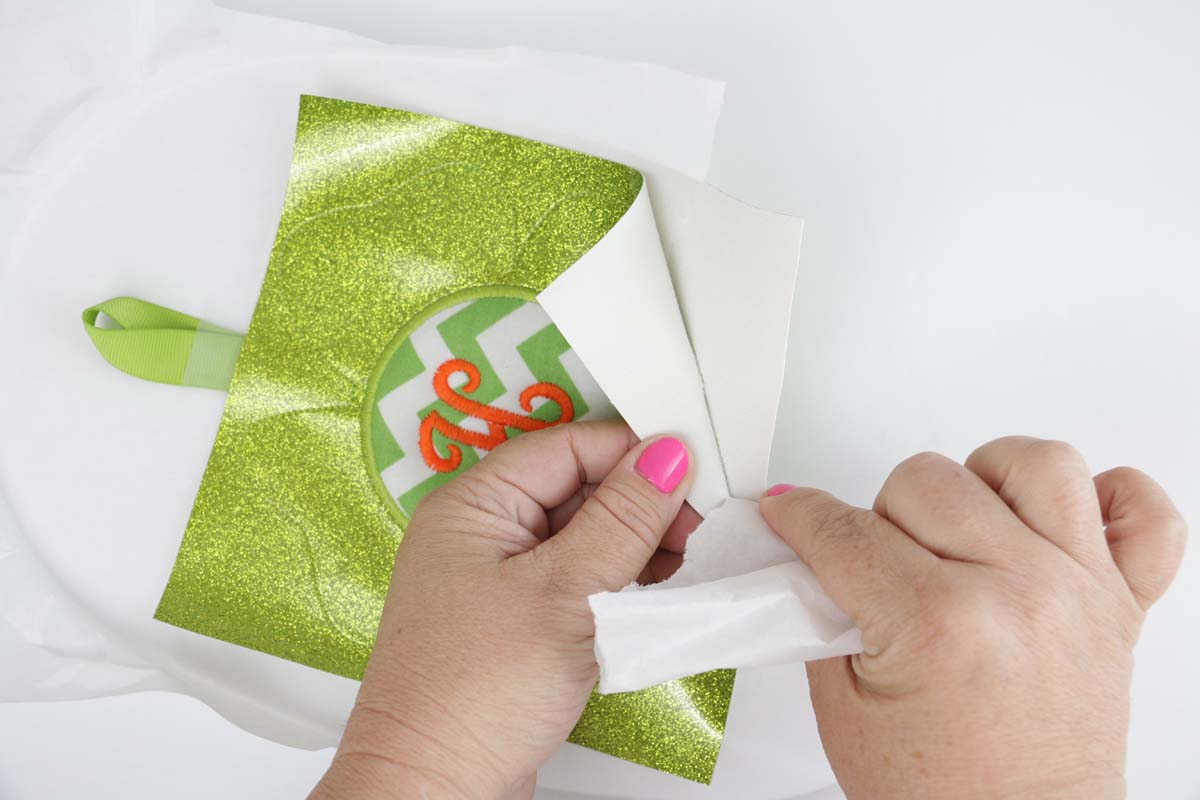
Finally, remove the stabilizer. Note: When removing the stabilizer, be sure not the distort the stitches.
Step 8, Attach Back
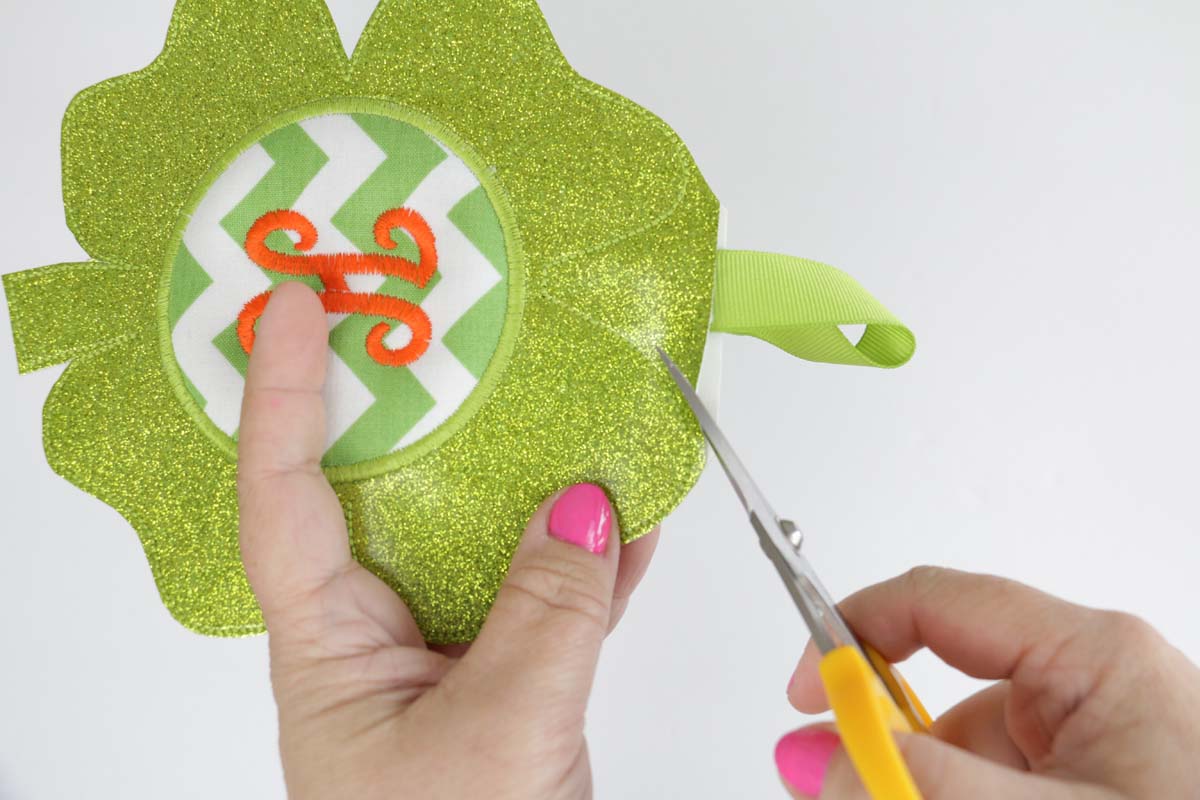
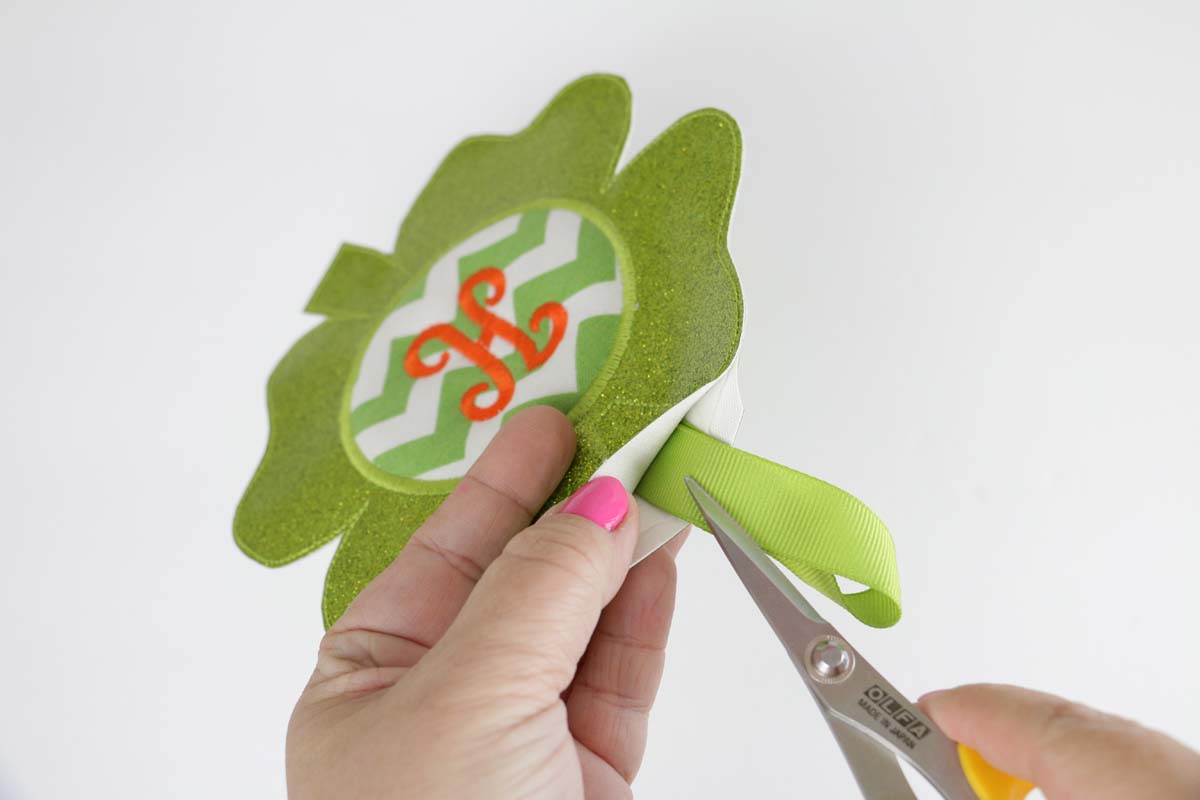
Cut 1/8″ around the outside stitching (Do not cut the Ribbon).
Make one for all your friends and family!

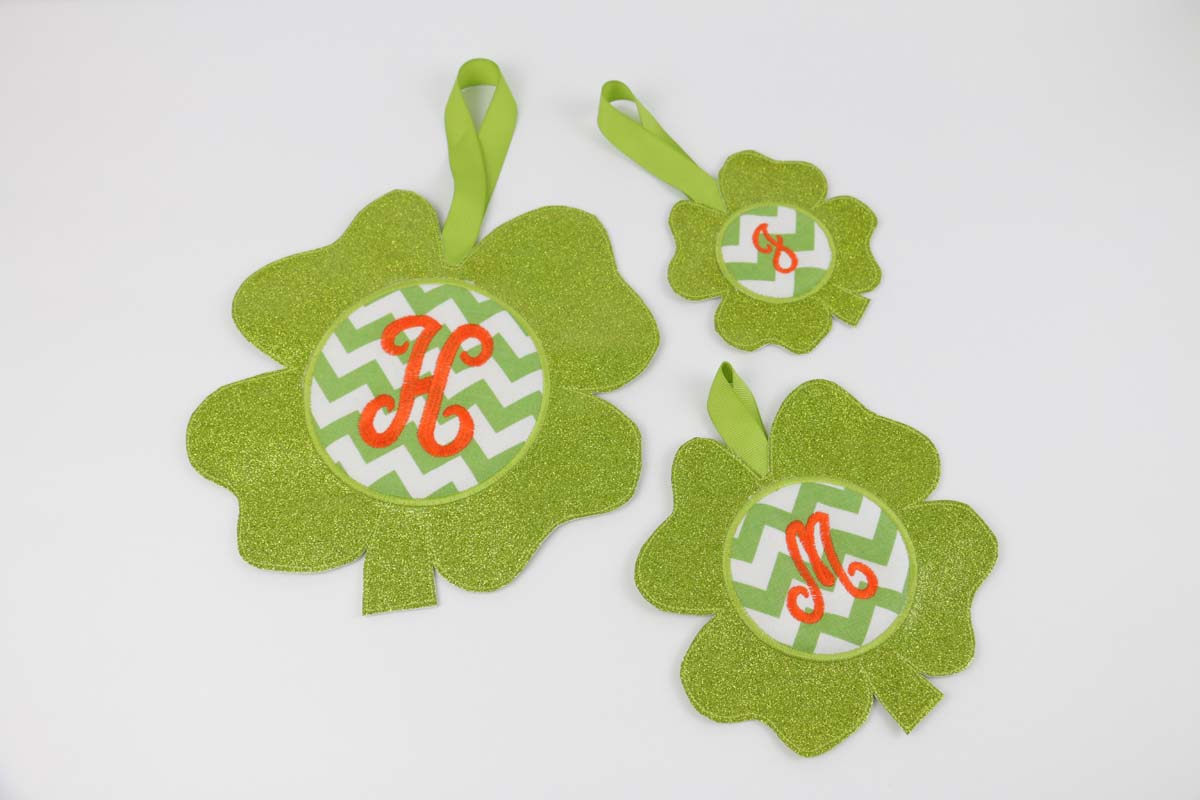
Step 9, Try different Materials and Colors
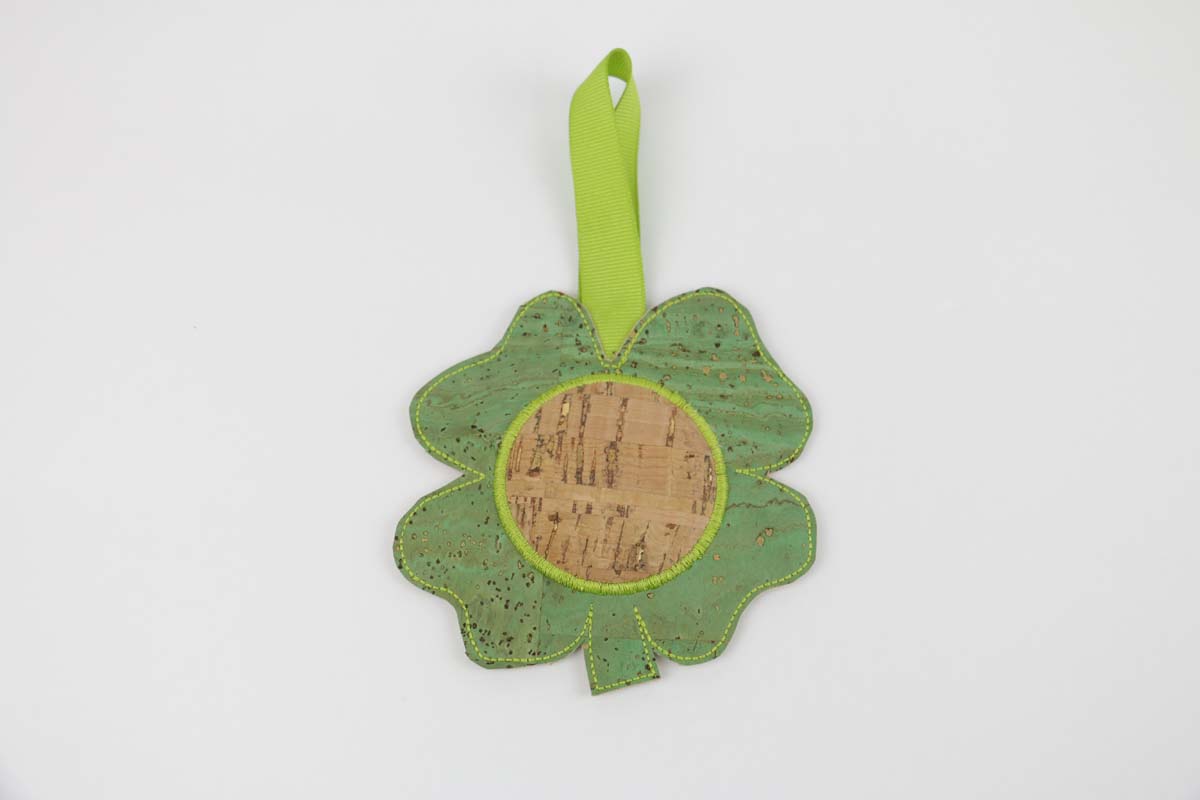
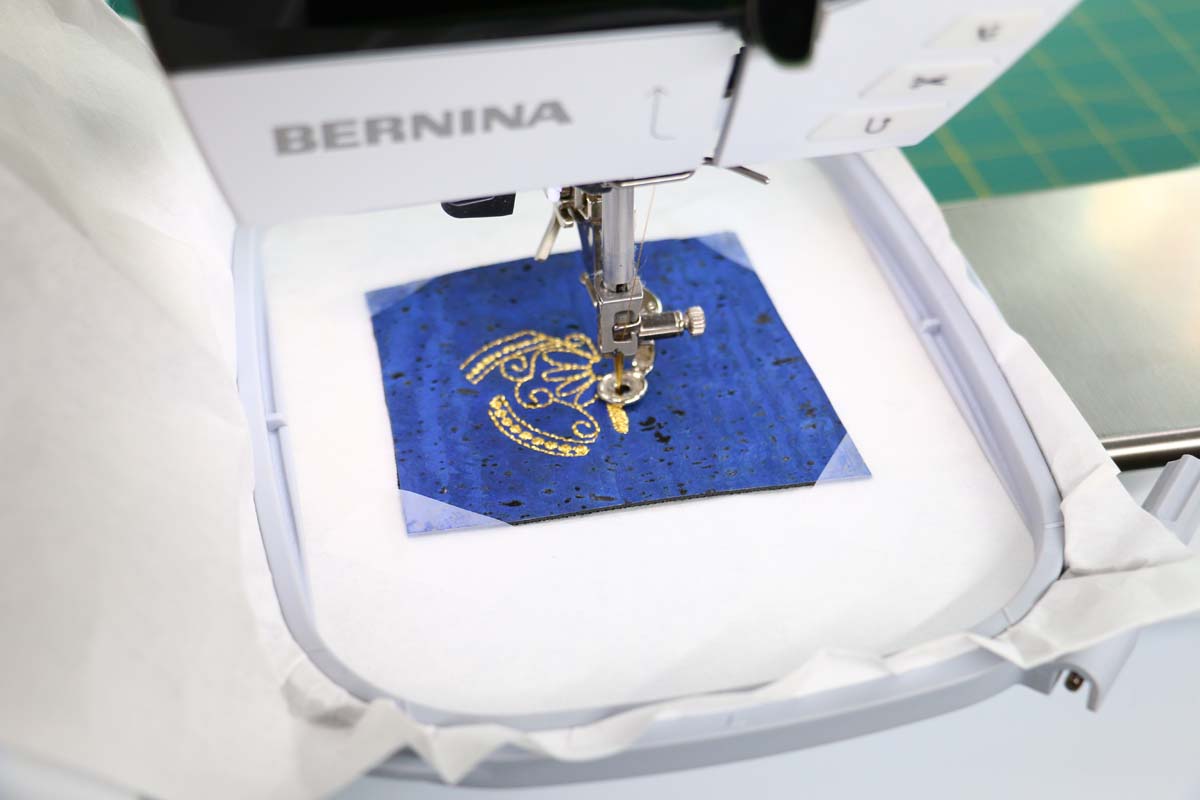
Below shown is Cork fabric. Note: When using cork fabric as the center circle applique, omit the foam.
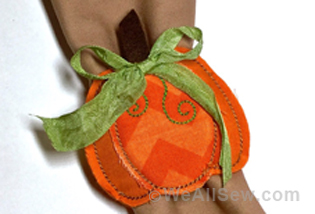
Experiment with different color ways with thread, appliqué materials and main clover materials. The small four-leaf clover in the upper right hand corner is made of felt.

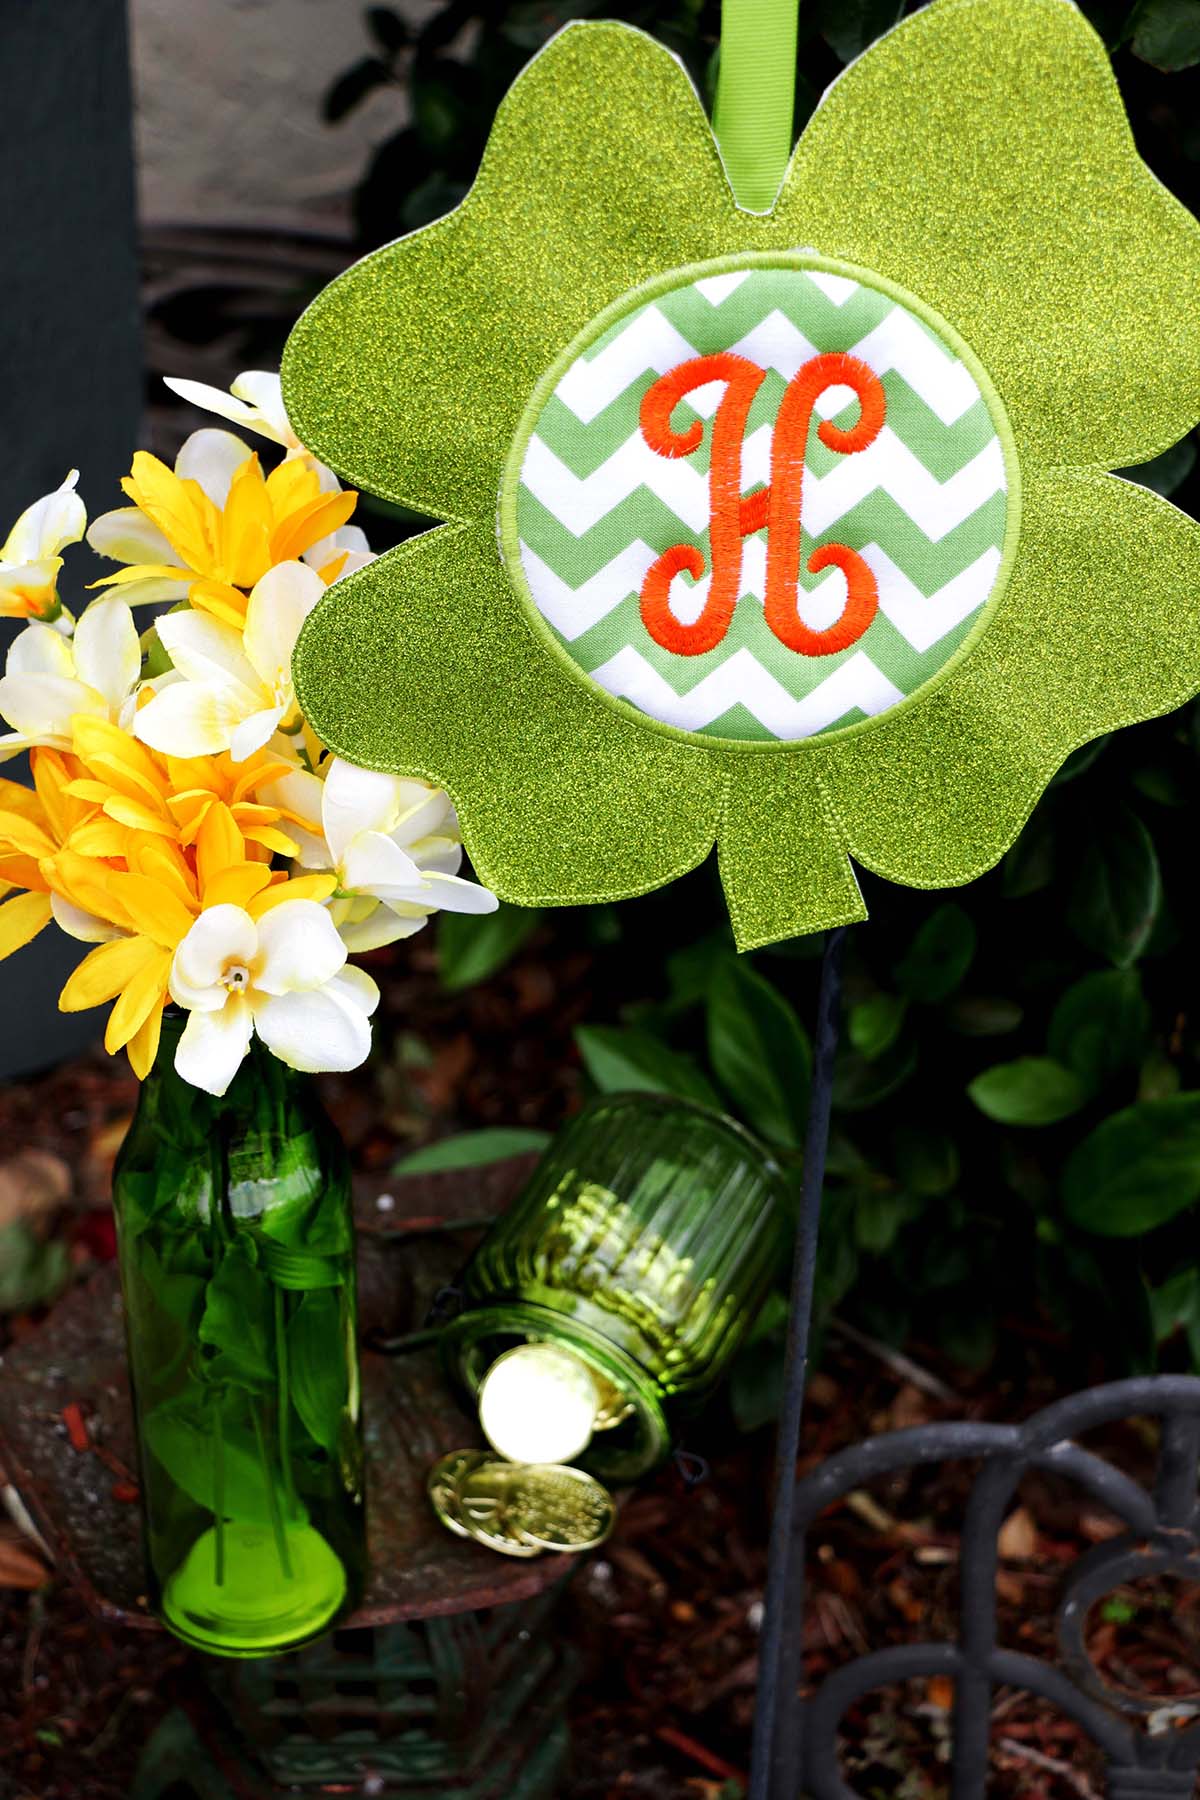
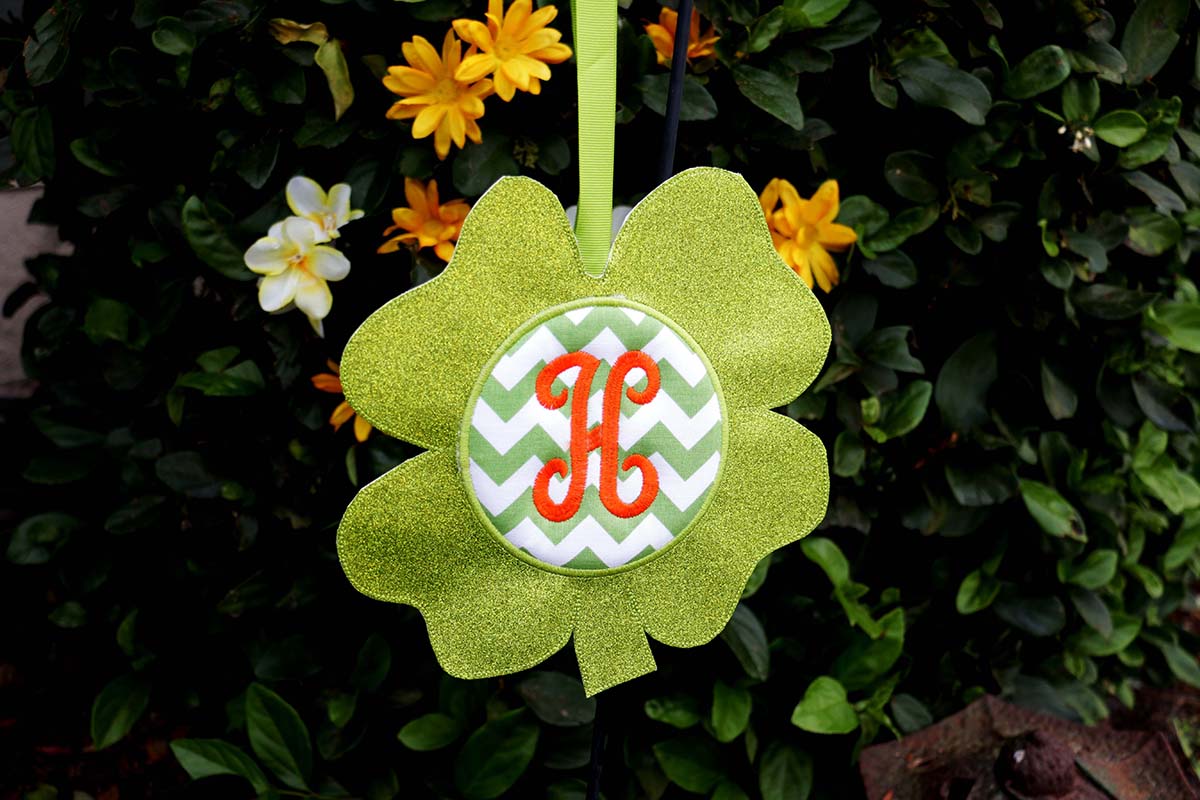
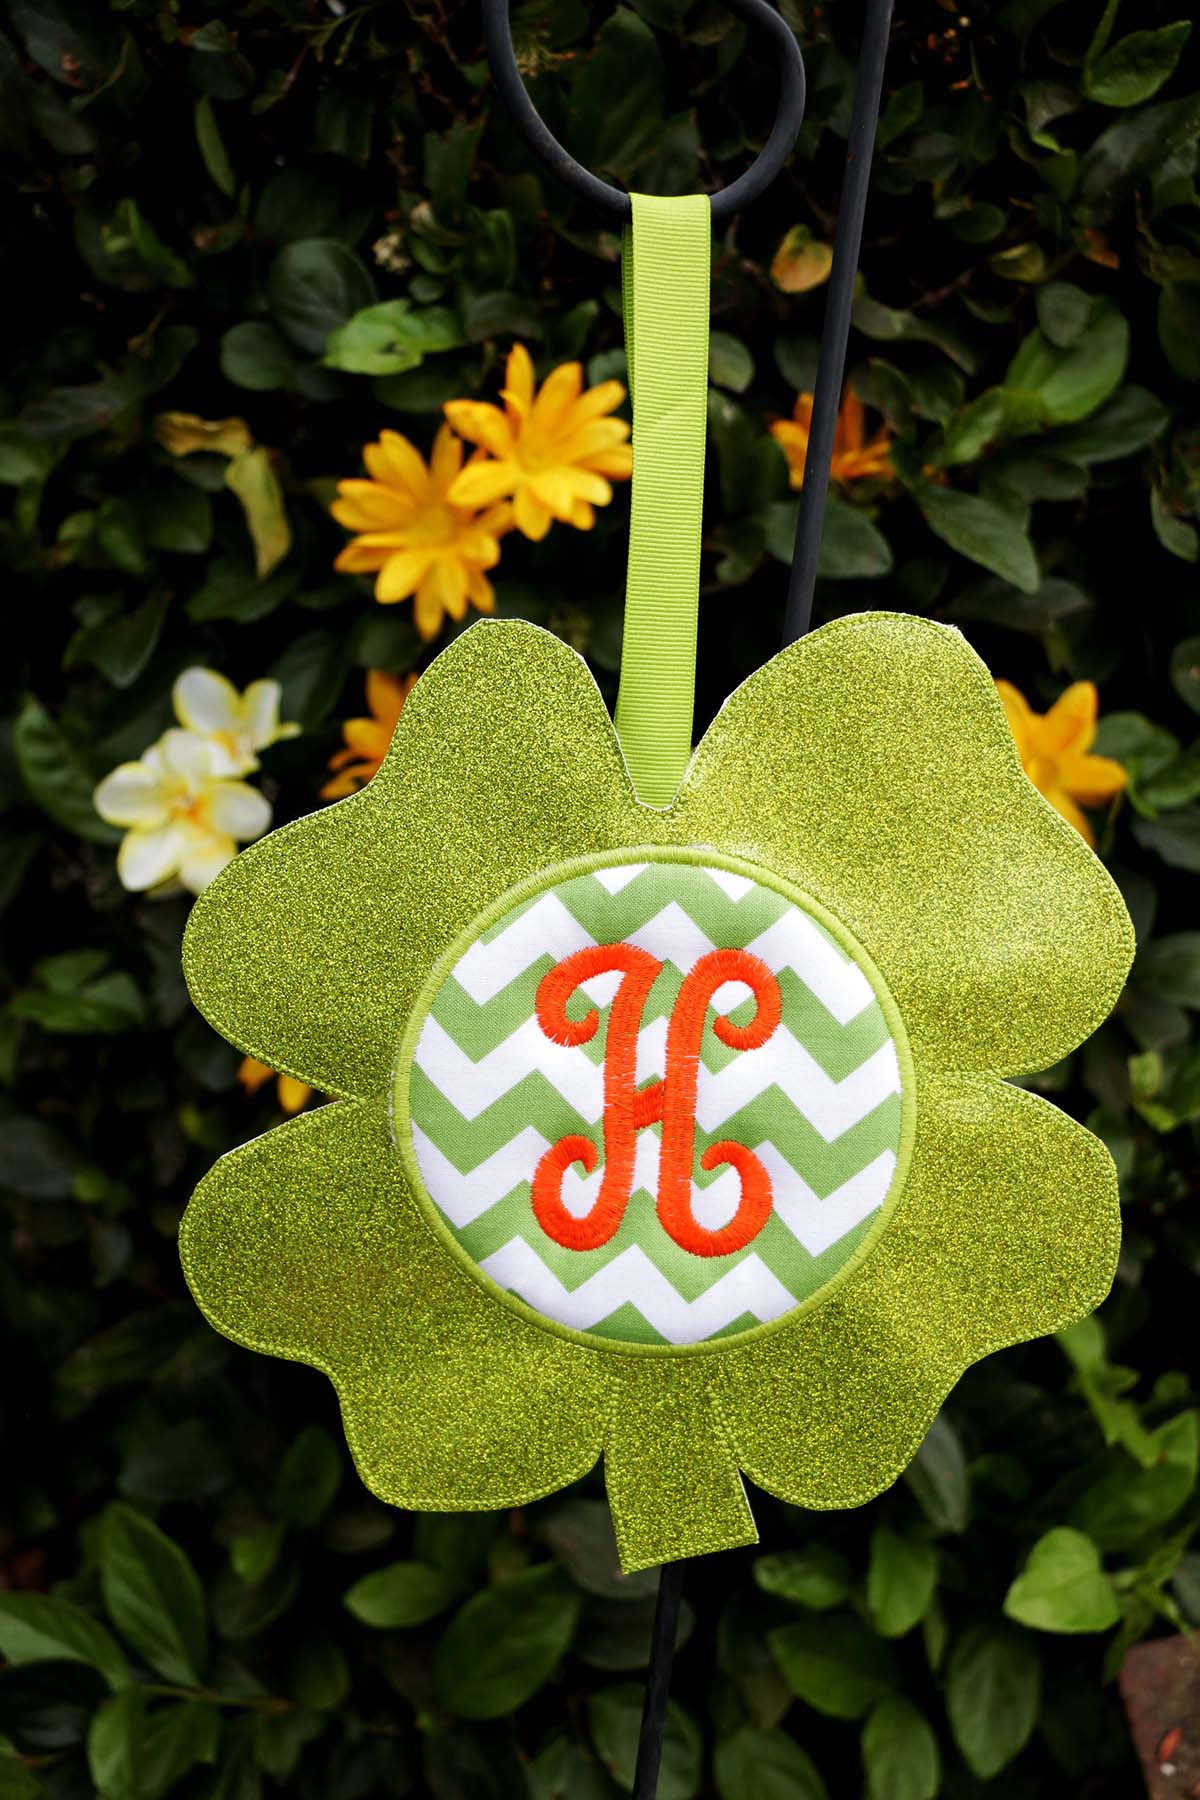
BONUS: What else can you do with the Four-leaf Clover Door Hanger
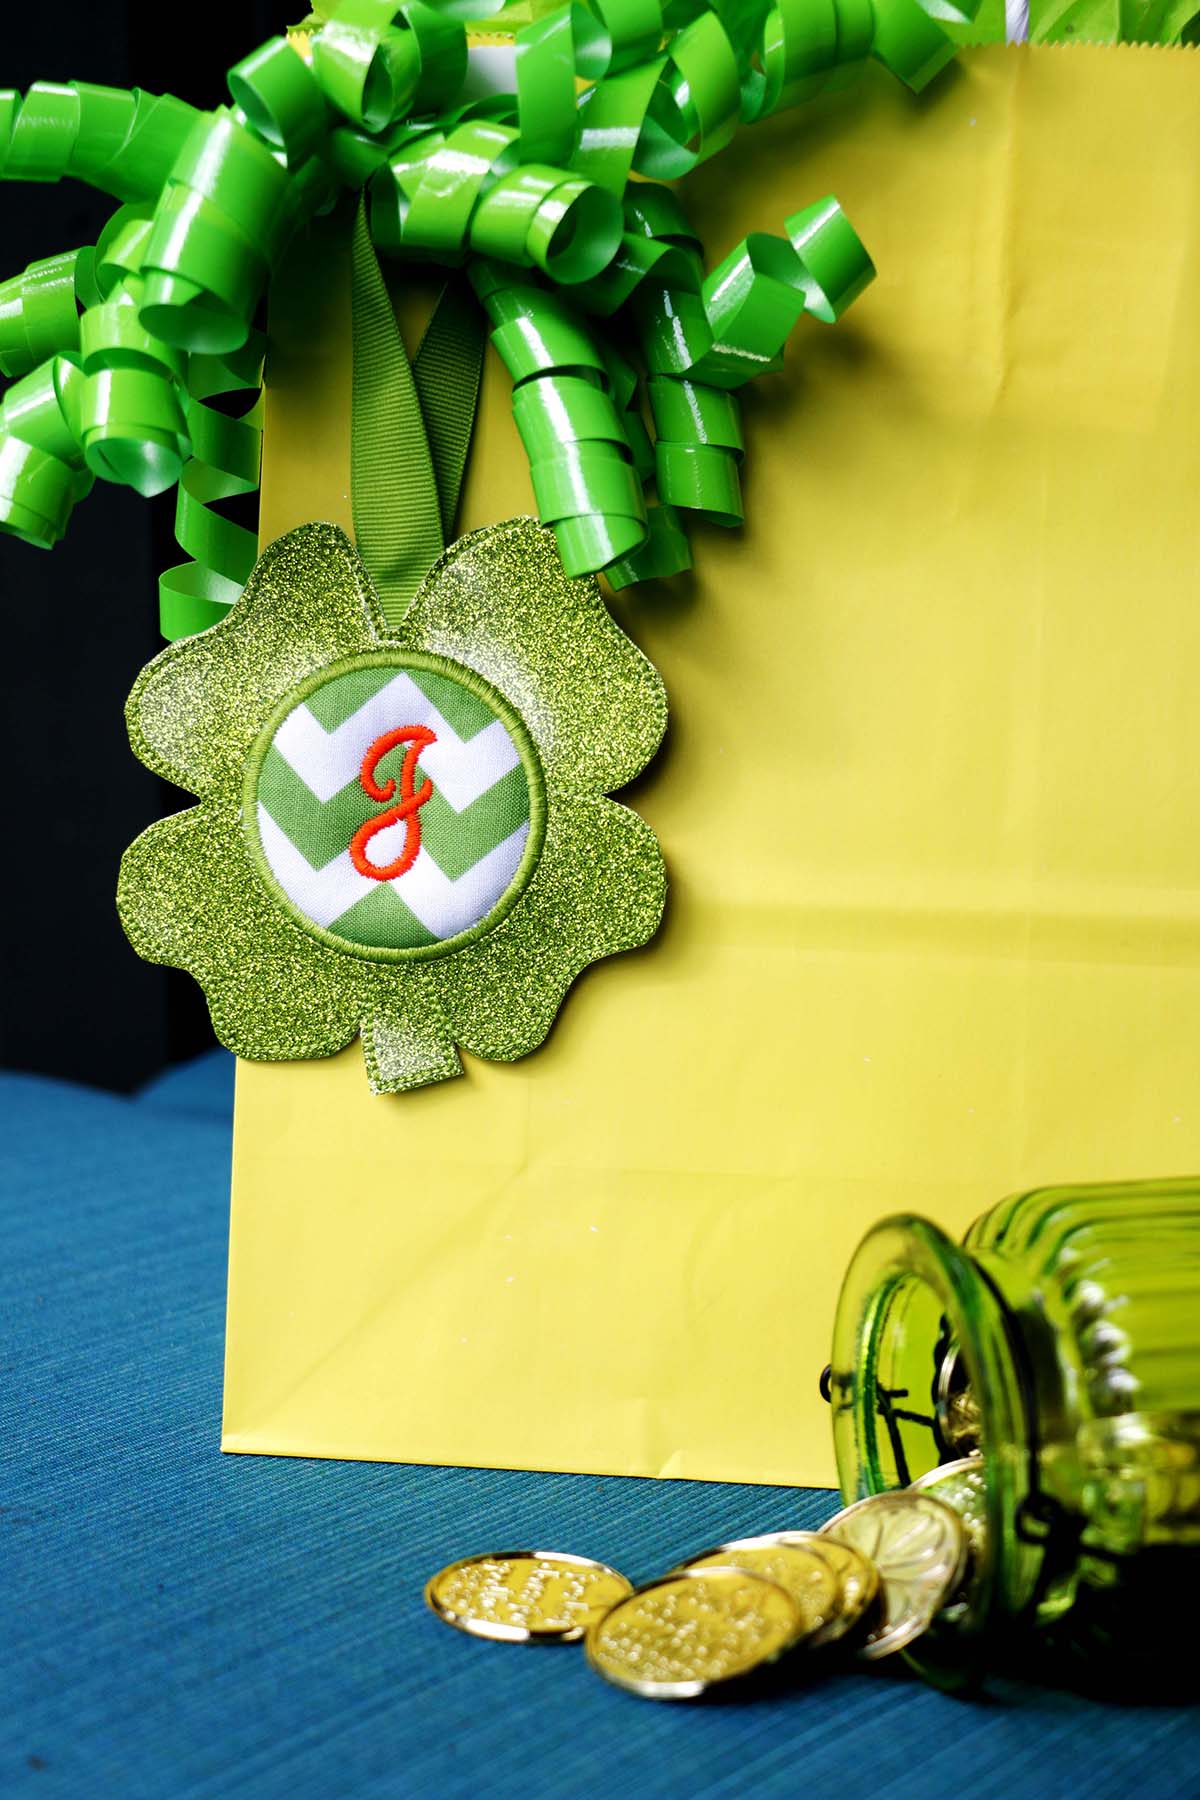
Hang in your garden and add some gold coins.

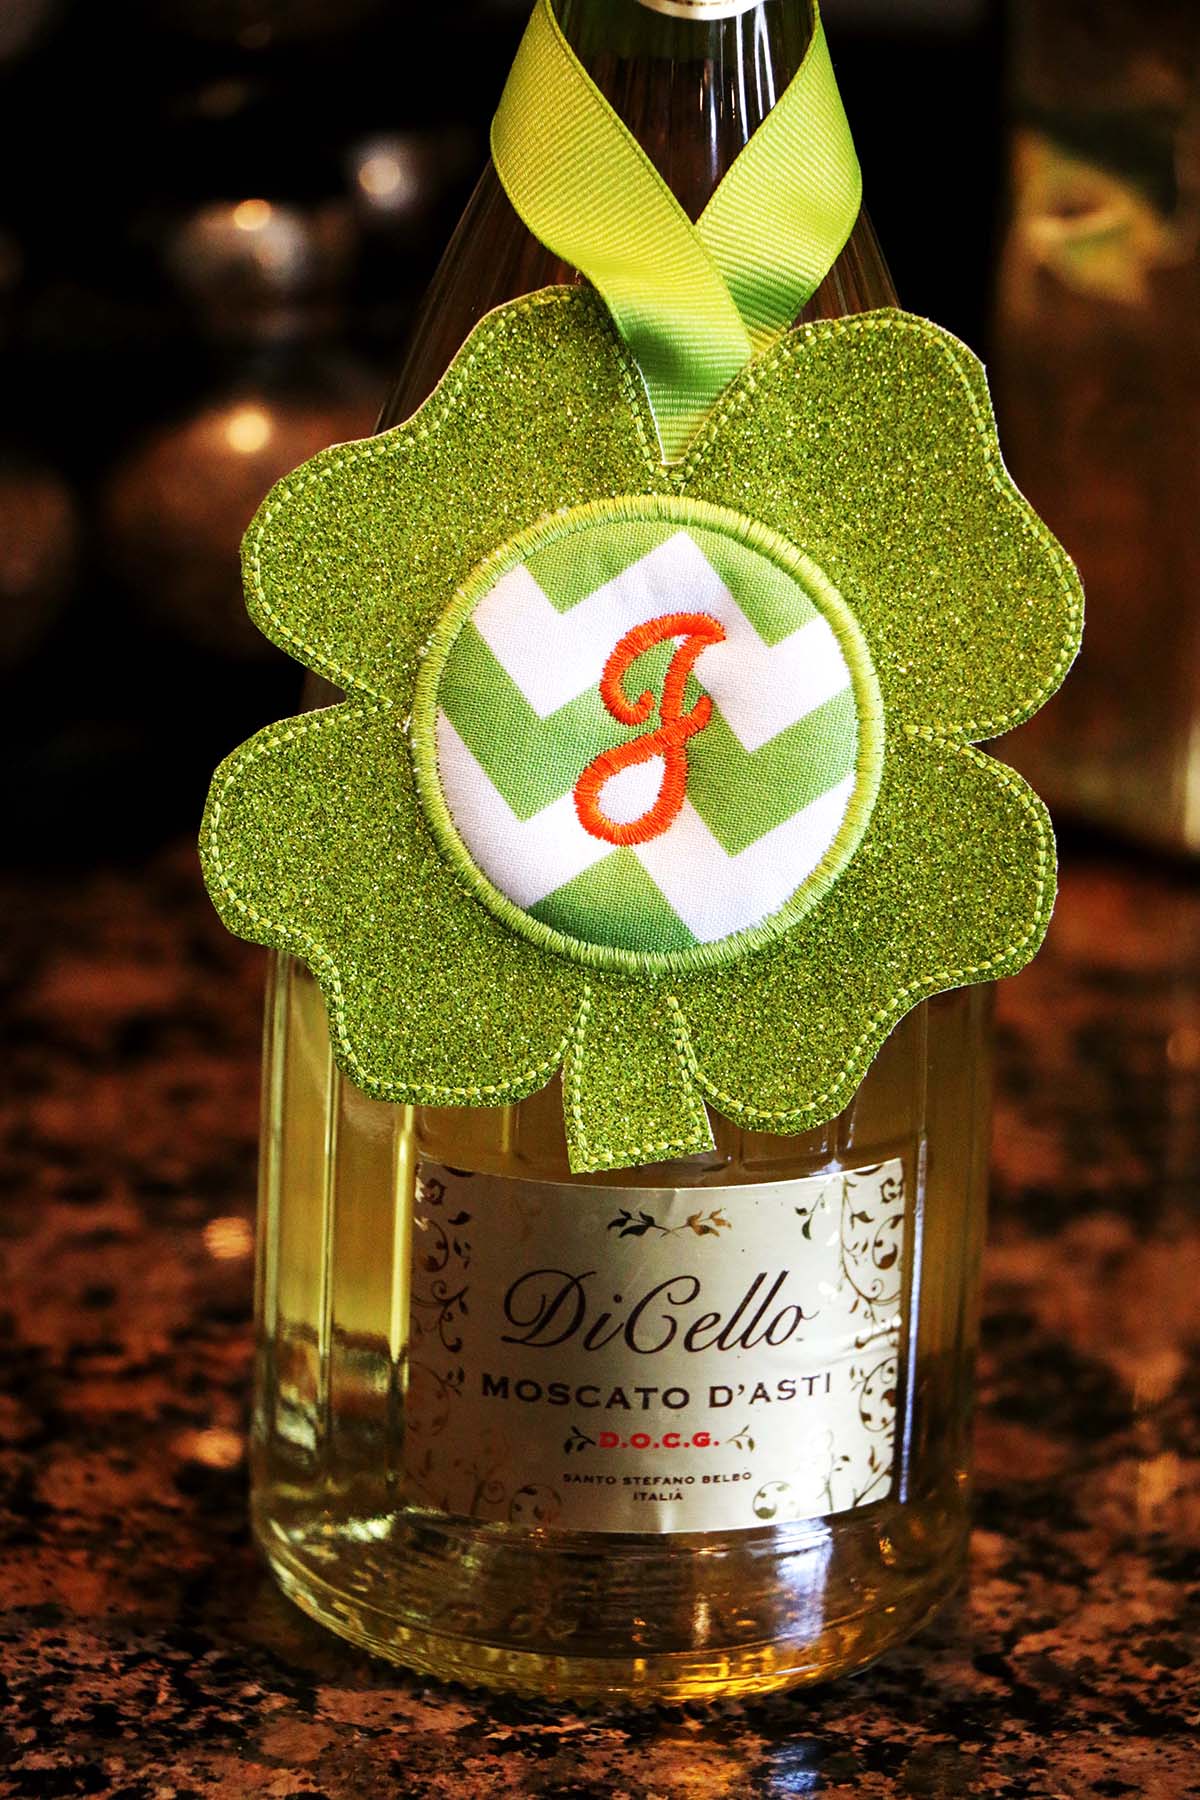
Decorate as a wine bottle tag.
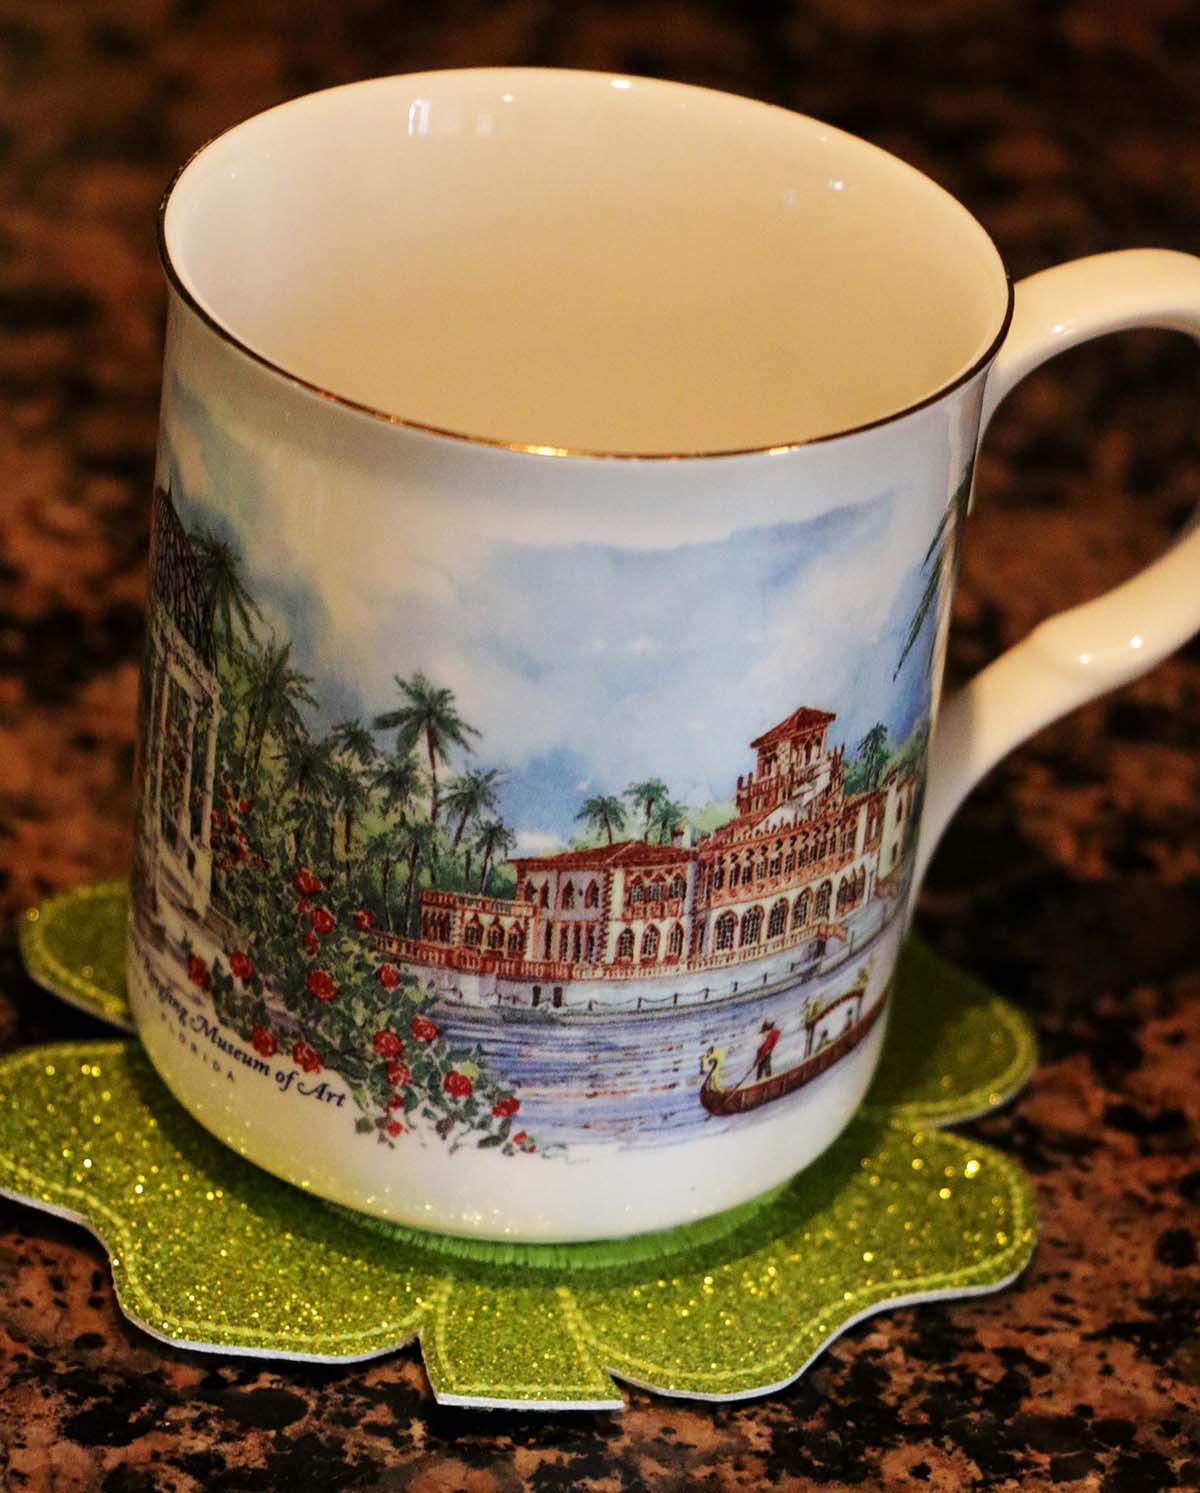
Omit the ribbon and use as a coaster.
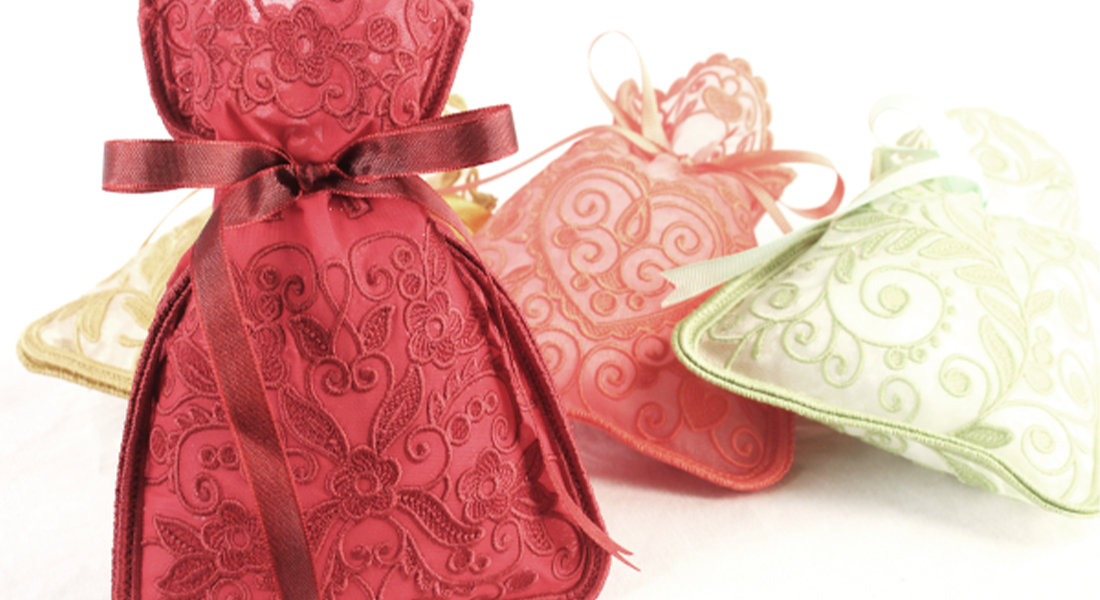
Get ready for the St. Patrick’s day party and add some glitter to the gift bag!
Enjoy making magic with your very own Four-leaf Clover hanger In-the-Hoop!
Used Products


What you might also like


15 comments on “Four-leaf Clover Door Hanger In-the-Hoop”
-
-
Very cool! It will be such fun to see your project. Thanks for your nice comments. Sue
-
-
How about a shamrock instead of a four leaf clover? A shamrock, which is normally connected with St. Patrick, has three leaves.
-
Agree withat you Joannet- wonder if anyone proofs these for content and not just technical accuracy. A shame it’s not usable for St. Patrick’s day as that was clearly their intent with the timing of the tutorial.
-
-
Very cute project – thanks so much!
-
So glad you enjoyed. It is my pleasure ~ Sue
-
-
Very nice tutorial, Thank you for the cute design and idea.
-
You are very welcome. My pleasure! Sue
-
-
These are lovely! And useful year round, for who can refuse a lucky four leaf clover? I can see a lot of 4-H related projects using your four leaf clover design. Thank you for sharing.
-
4-H, Such a GREAT idea! I always love when our audience gives us such great ideas. Thanks for sharing your positive feedback.
-
-
Sue,
Wow oh wow! Thank you so much for the Four-leafed Clover Door Hanger! Can’t wait to stitch out. Your instructions are always so clear and easy to follow. Thanks again.-
Oh I’m so pleased you like it. I work very hard to make the instructions clear. Please share with us here when you have stitched it out! Sue
-
-
I’ve not tried applique in the hoop….am anxious to give it a go! So cute….I will make these for my friends at work to hang on their computer monitors. I’m sure they’ll be thrilled! Thanks!
-
Awesome, give it a try. Let me know how it came out!!
-
-
where can I get the glitter vinyl. All I have found online is glitter vinyl sheets that are adhesive backed… is that ok to use?
Leave a Reply
You must be logged in to post a comment.

Wow! This is adorable. Thank you for including all the different sizes. And such clear directions, I can’t wait to get started. I’ll be making coasters for St. Patty’s Day.