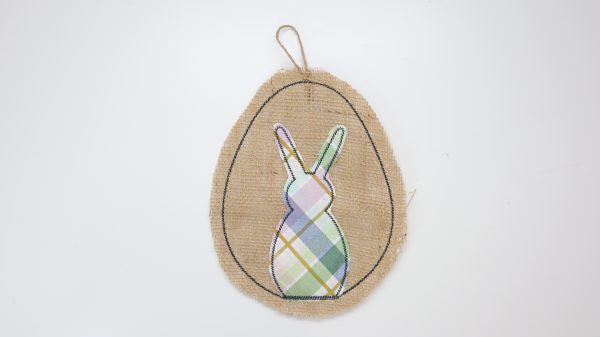
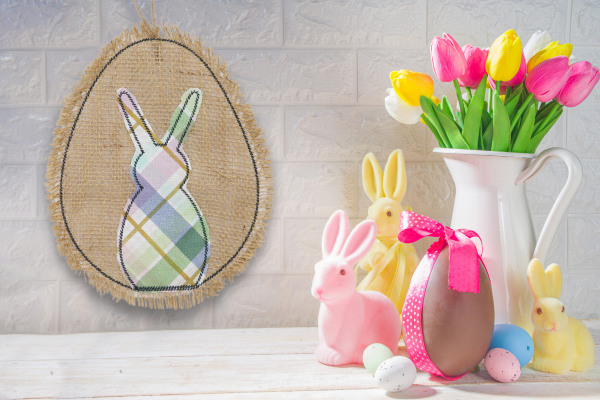
In-the-hoop Burlap Bunny Embroidered Door Hanger
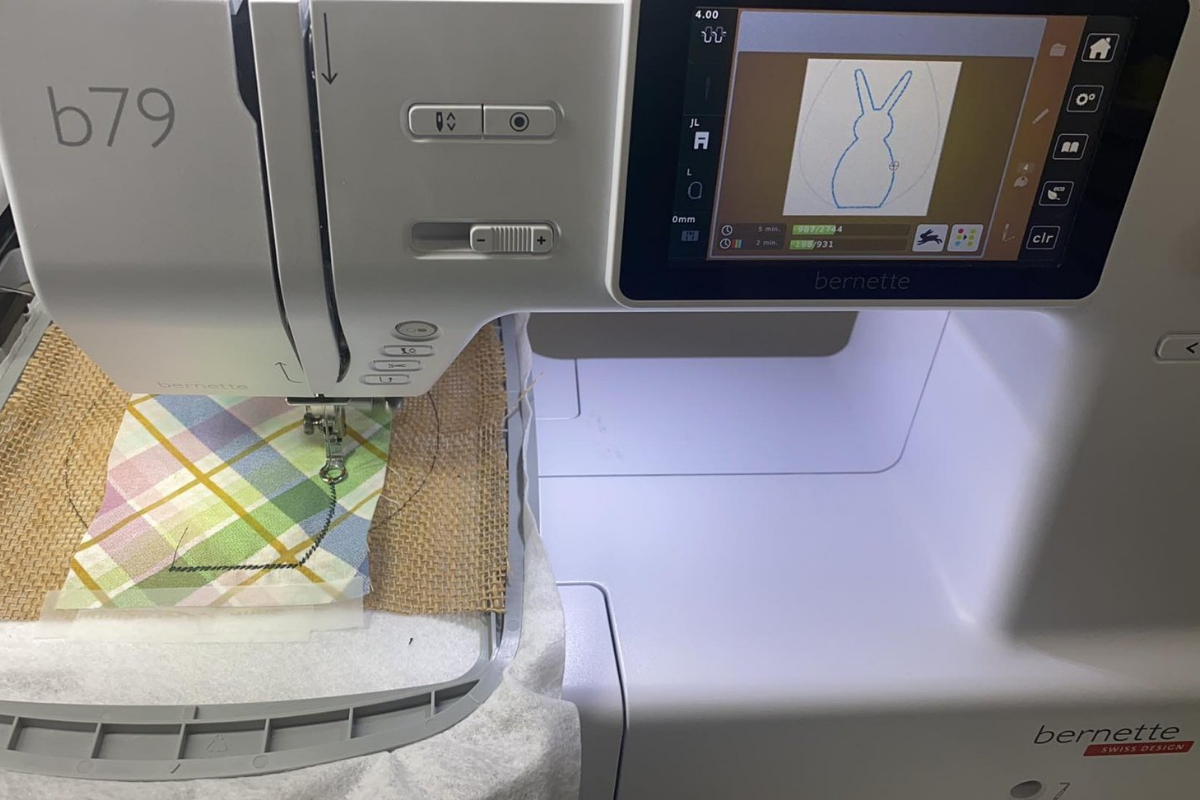
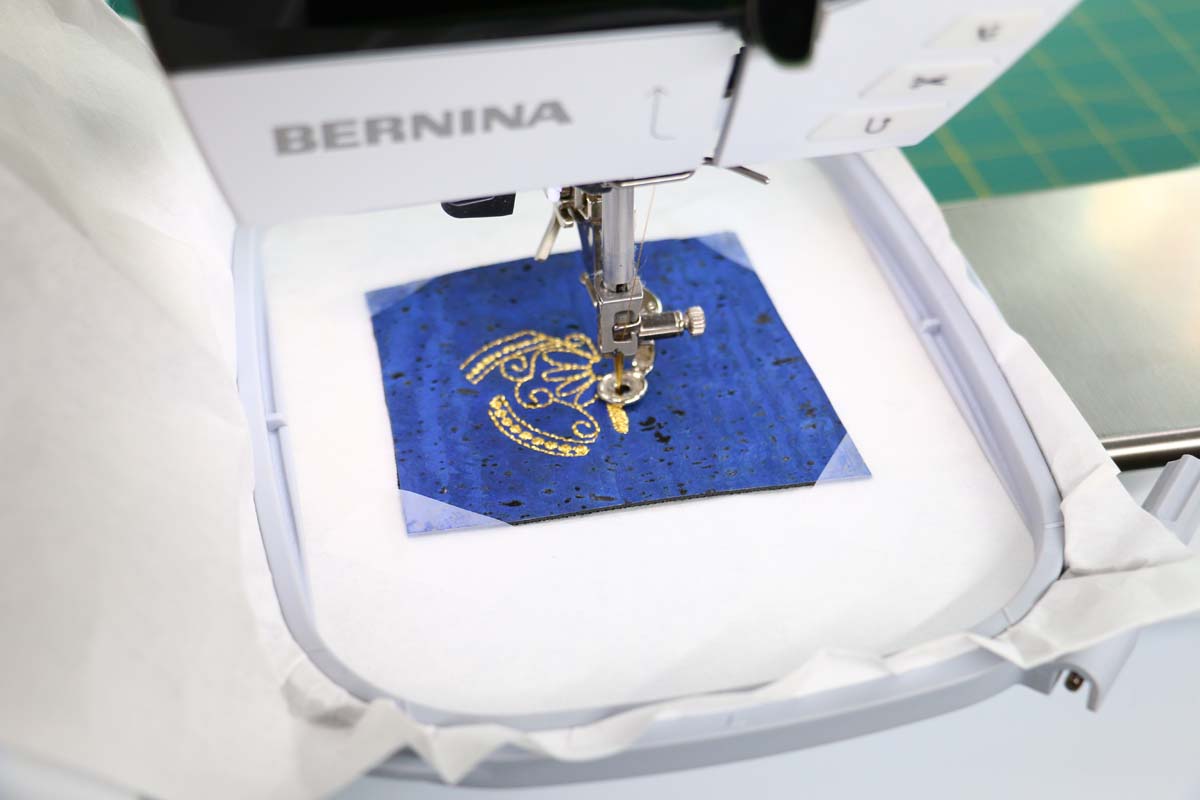
With Easter just around the corner, hop on over and stitch up this easy In-the-hoop burlap bunny embroidered door hanger. You will need a hoop that is at least 6″x10″ (or 160×260 mm) so I’m using my bernette 79 and the Large hoop.

Hello my Sewing Bees, my name is Sue O’Very , owner of Sookie Sews and BERNINA Expert. You can find me on Instagram at @SookieSews, my website SookieSews.com, and on my YouTube Channel SookieSewsTV.com where I have hundreds of sewing projects, machine sewing patterns, embroidery designs, and In-the-hoop projects. Ok, let’s get stitching!
Materials and Supplies to Make the In-the-hoop Bunny Door Hanger
Measurements are Width by Height
- (1) 10″x17″ Thin batting
- (2) 8″x9″ Burlap
- (1) 4″x7″ Cotton for bunny
- 6″ String, ribbon, or twine
- Embroidery thread i.e. Mettler Polysheen with matching bobbin
- Jean/Denim needle 80/12
- 5.5″ All-Purpose Craft Scissors i.e. Sookie Sews
- 4.5″ Duckbill Applique Scissors i.e. Sookie Sews
- EZ Hook n Snip i.e. Sookie Sews
- Clear adhesive tape

Steps to Make the In-the-hoop Bunny Door Hanger
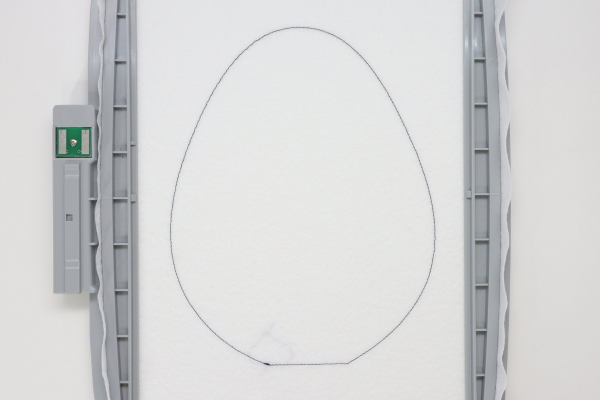
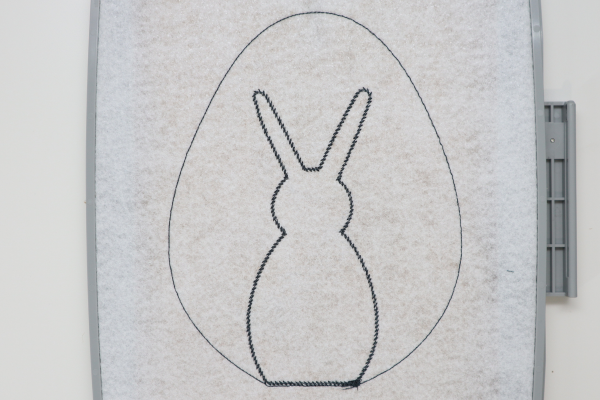
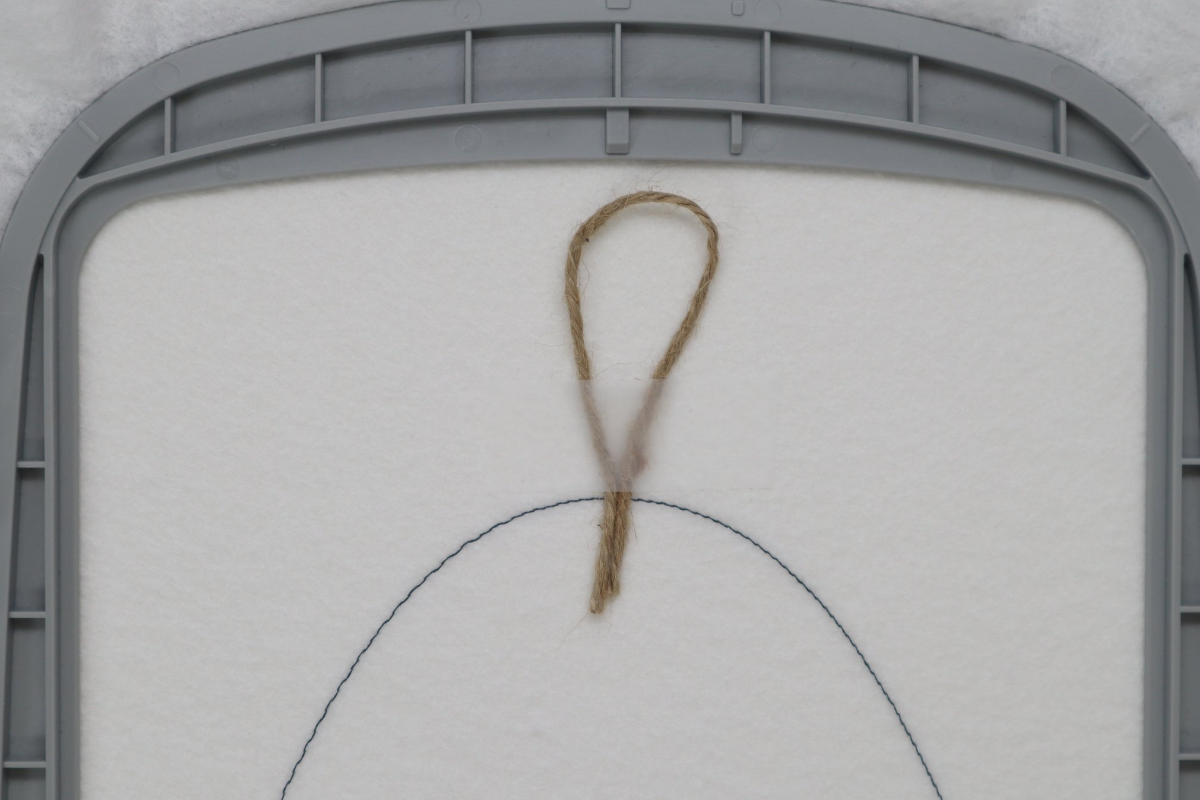
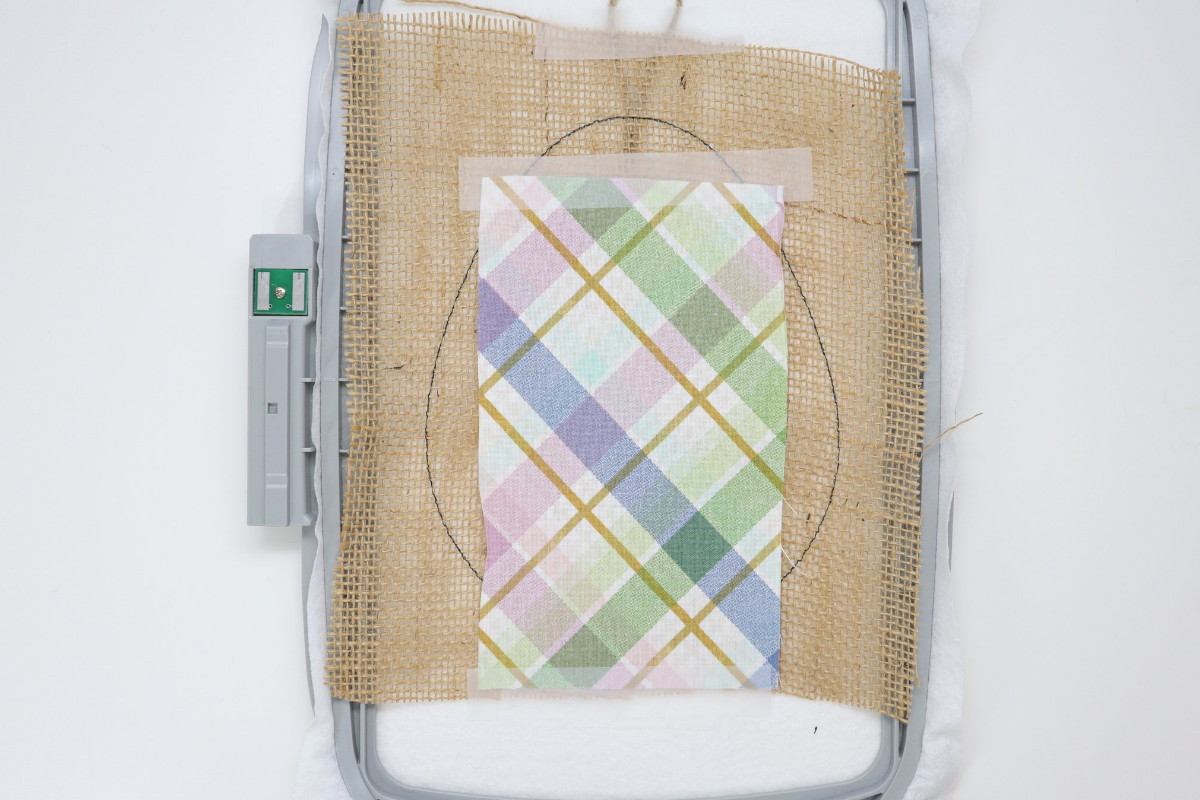
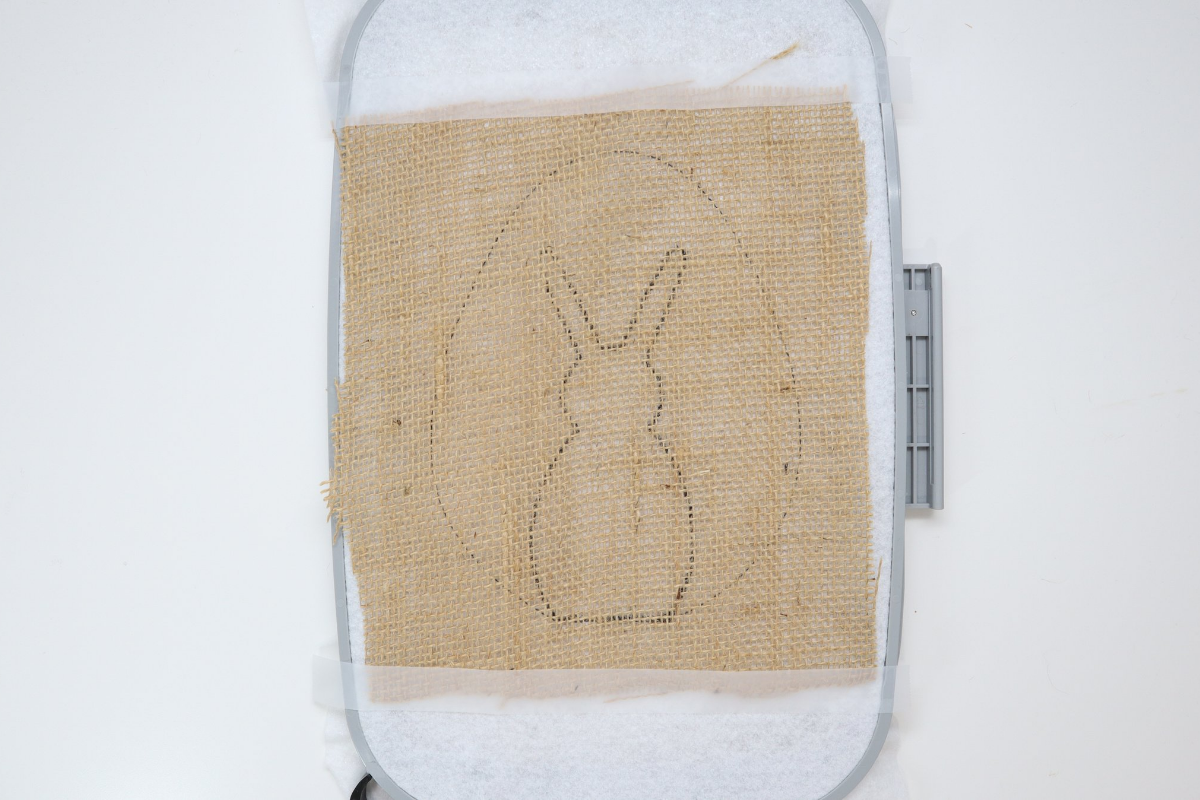
- Insert a brand new Jean/Denim needle with embroidery thread on top and a matching bobbin. Hoop the thin batting. Insert the hoop into the machine and sew stitch #1, the outside egg placement stitch.
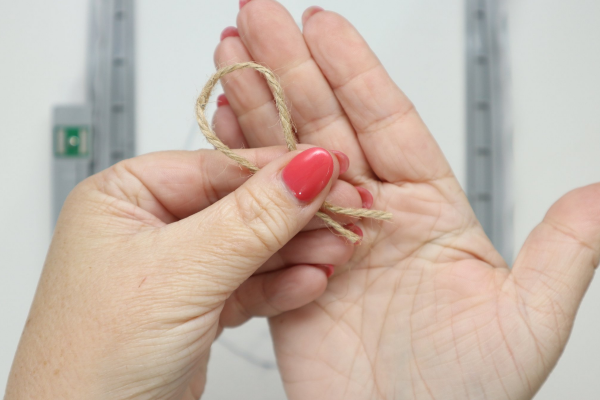
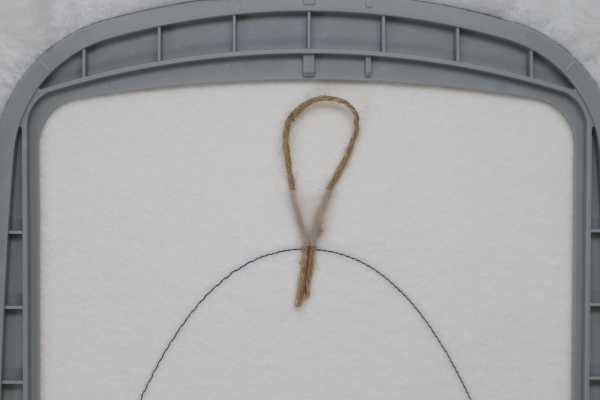
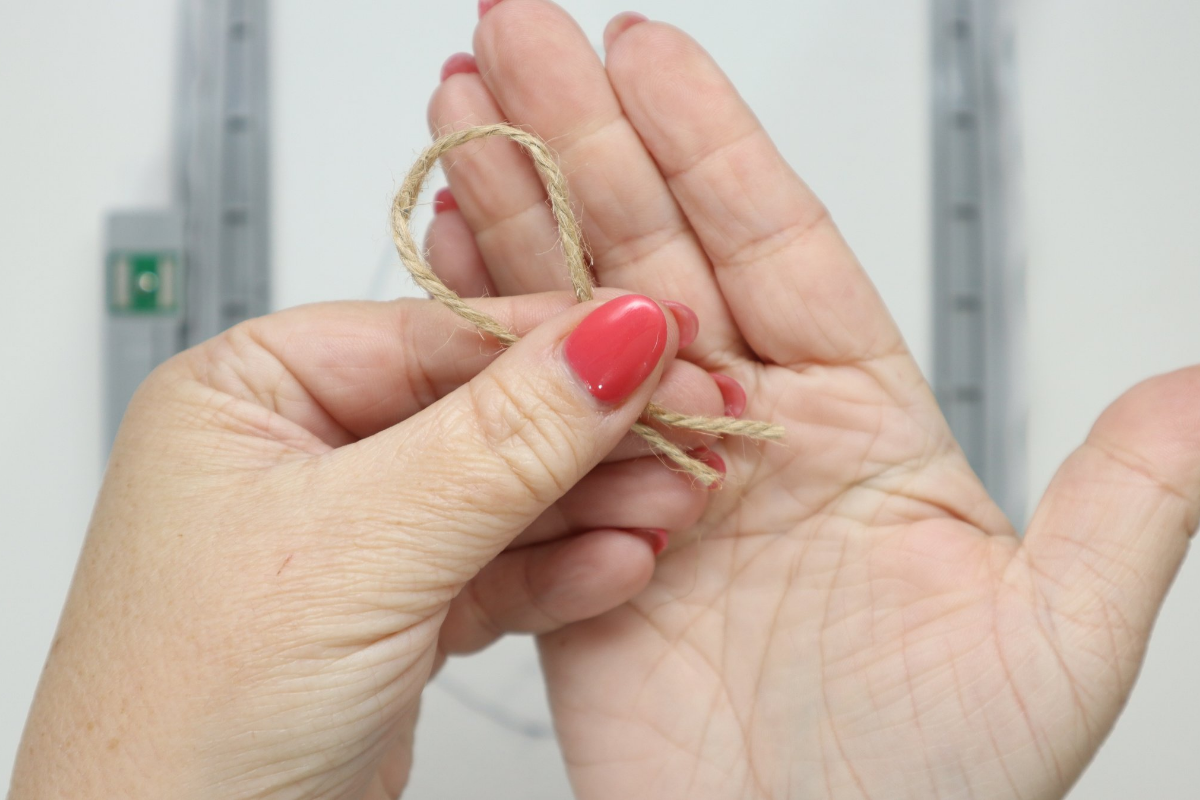
- Remove the hoop from the machine and place right side up on a flat surface. Fold the twine in half and place the two raw edges 1/2″ inside the center top of the outside stitching and secure with tape outside of the stitching area.
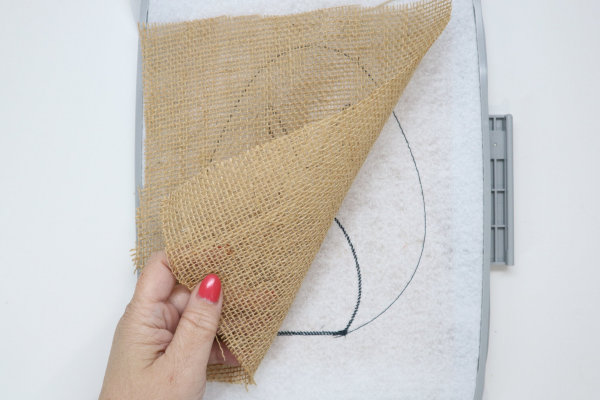
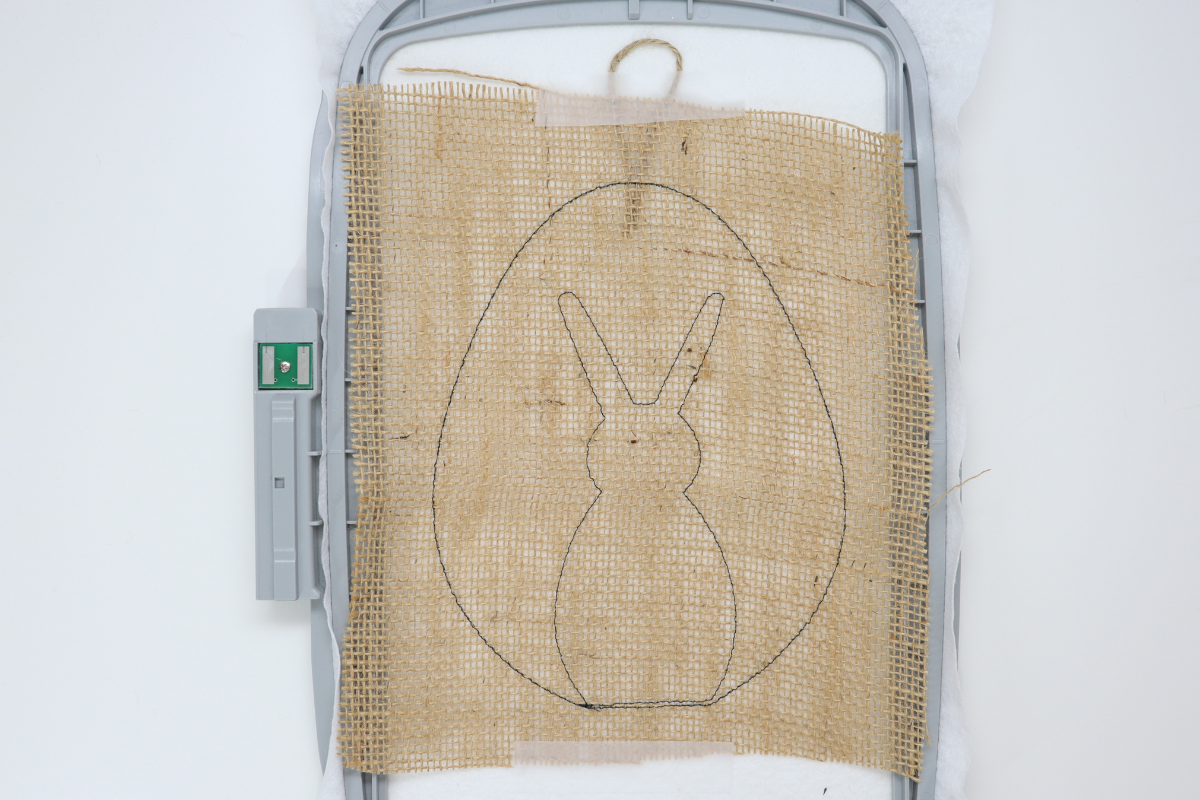
- Place one piece of the burlap right side up over the outside stitching and secure with tape to hold in place.
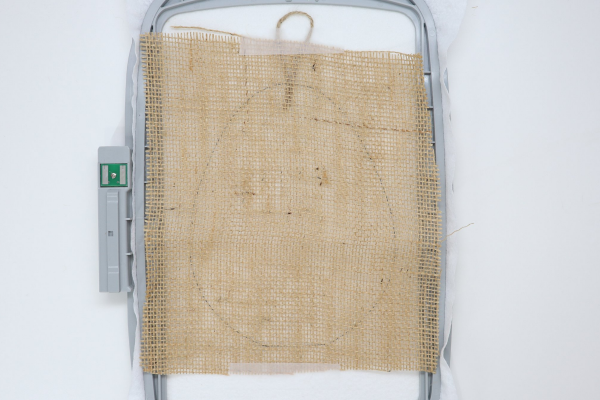
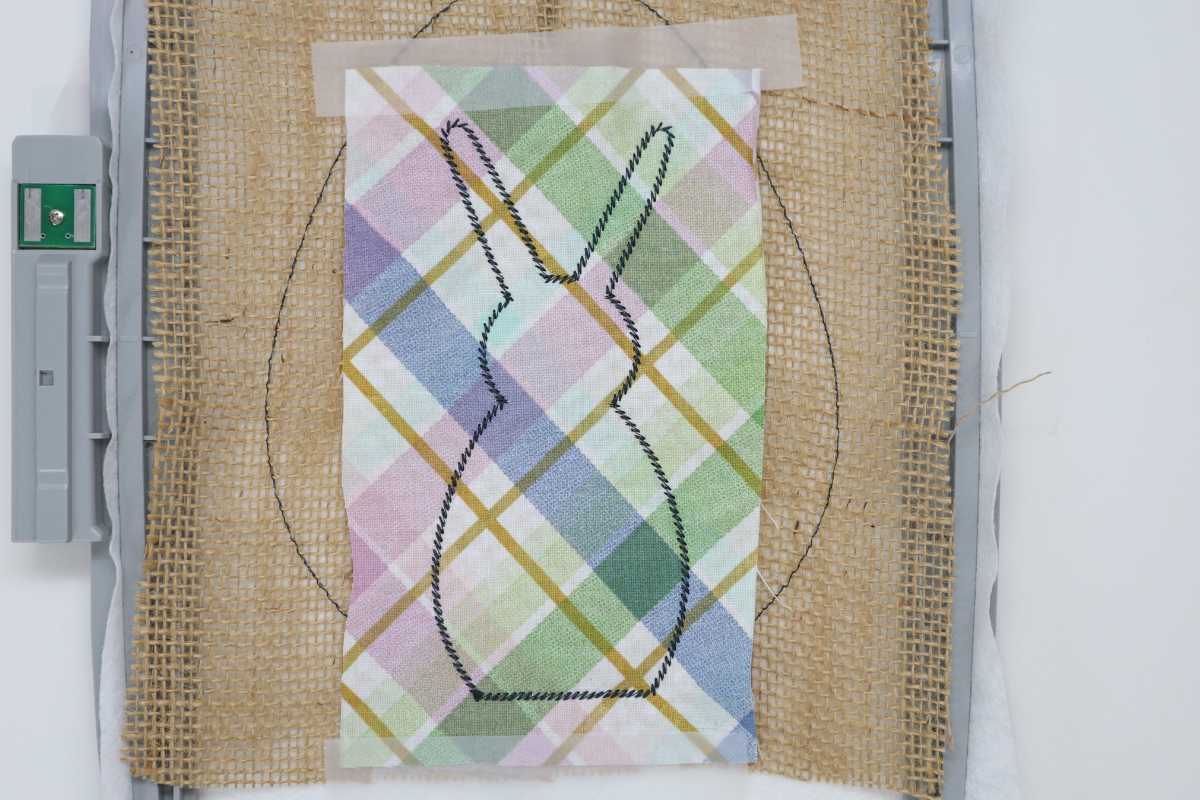
- Insert the hoop into the machine and sew stitch #2, the egg/bunny outline stitching.

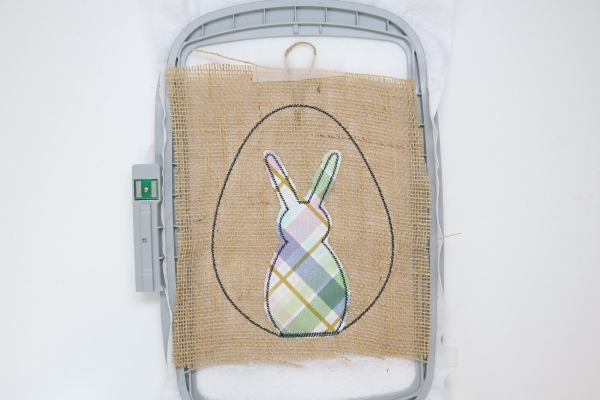
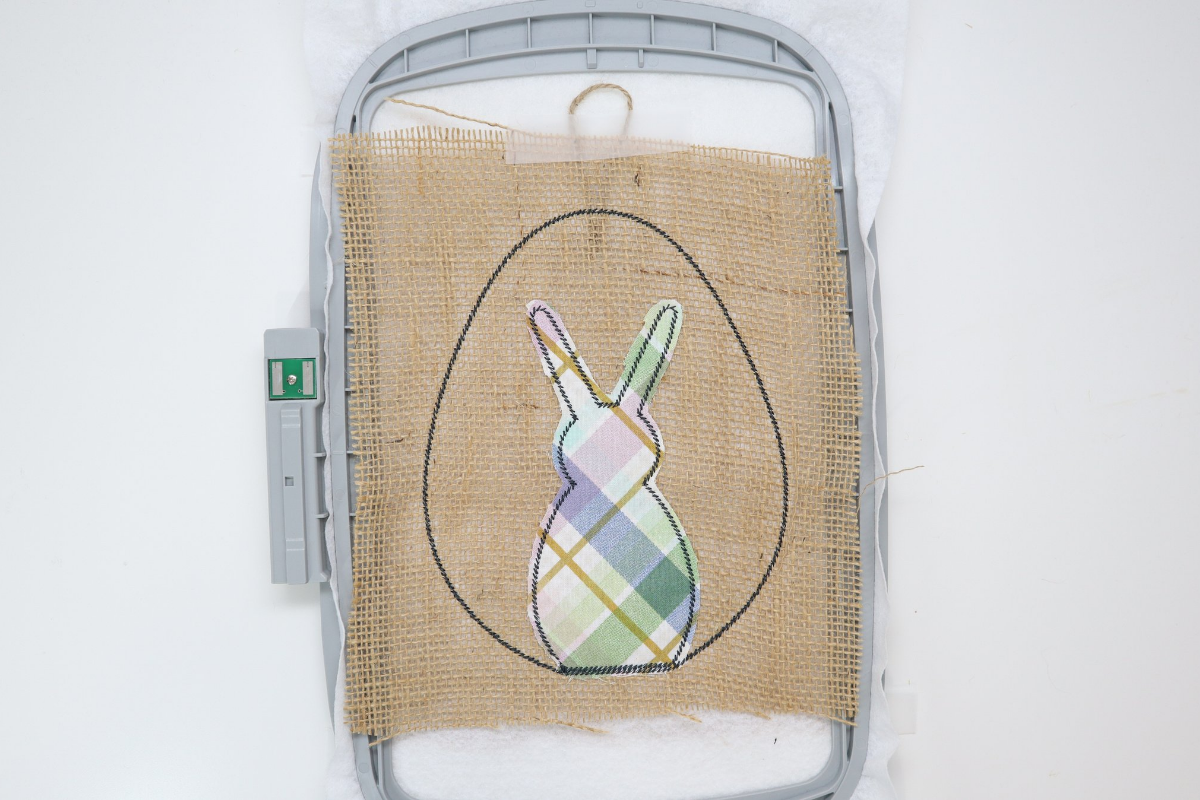
- Remove the hoop from the machine and place the cotton right side up over the bunny outline and secure with tape on the top and bottom.
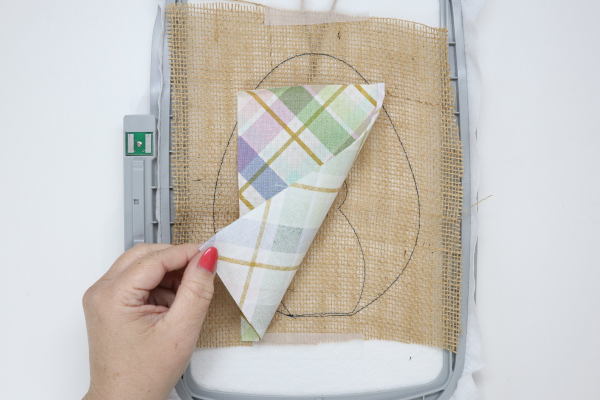

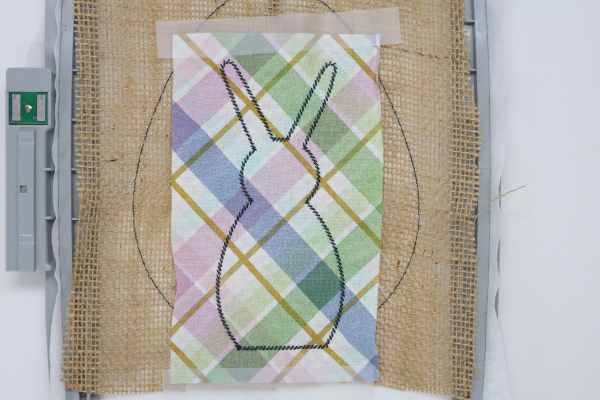
- Insert the hoop into the machine and sew stitch #3, the bunny decorative stitching.

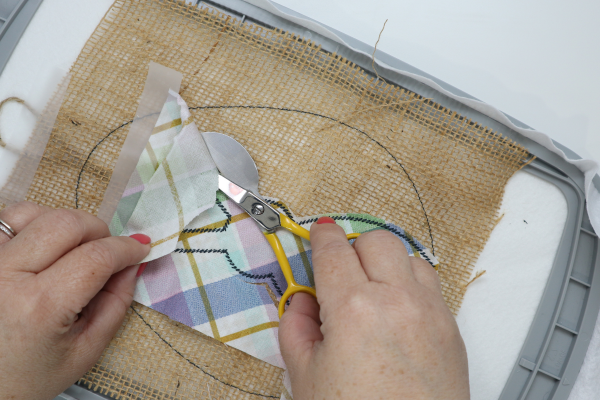
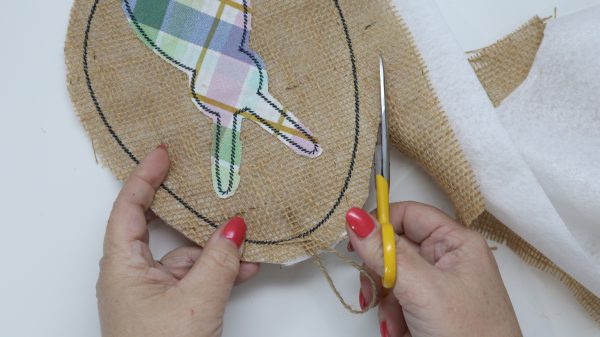
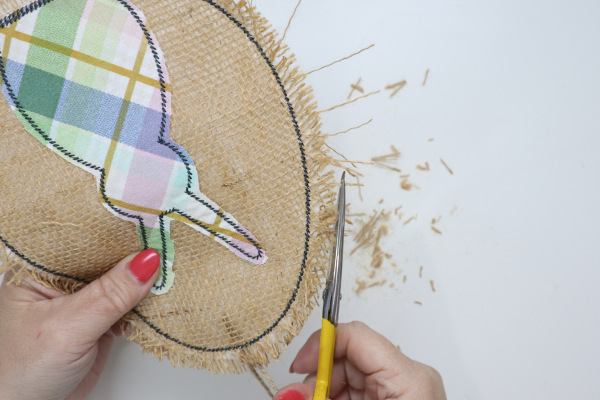
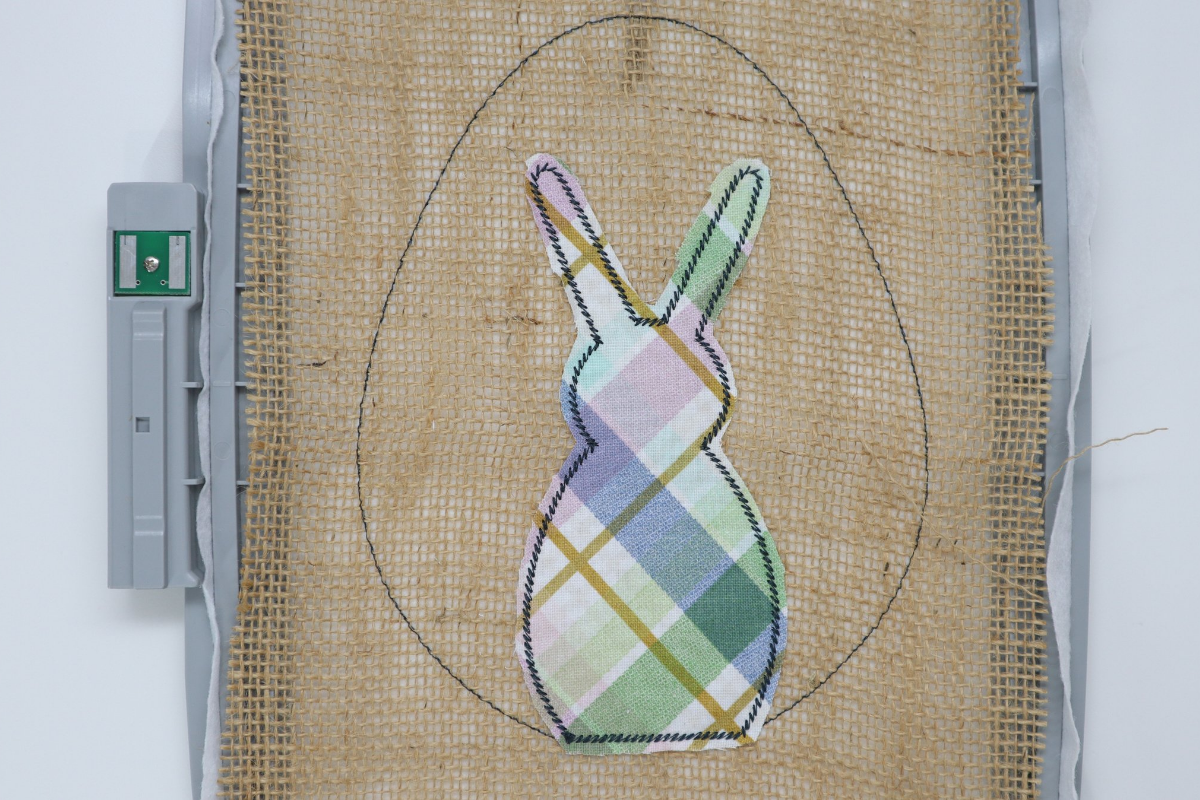
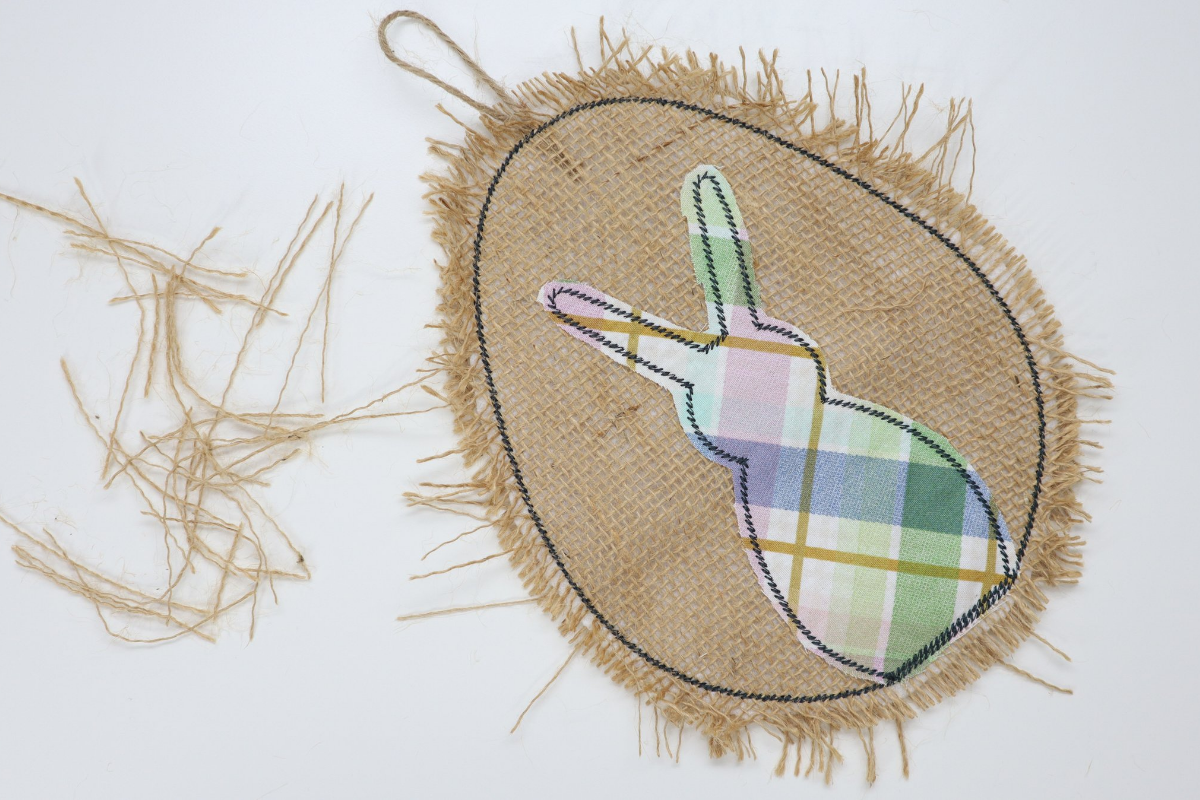
- Remove the hoop from the machine and place right side up. Remove the tape. With 4.5″ Duckbill Applique scissors, cut around the decorative stitching of the bunny leaving about 1/8″ outside the stitching.

- Turn the hoop to the wrong side facing up and place the second layer of burlap covering all the stitching and secure with tape along the top and bottom. Extend the tape to the plastic of the hoop to help it lay flat when inserting the hoop back into the machine.

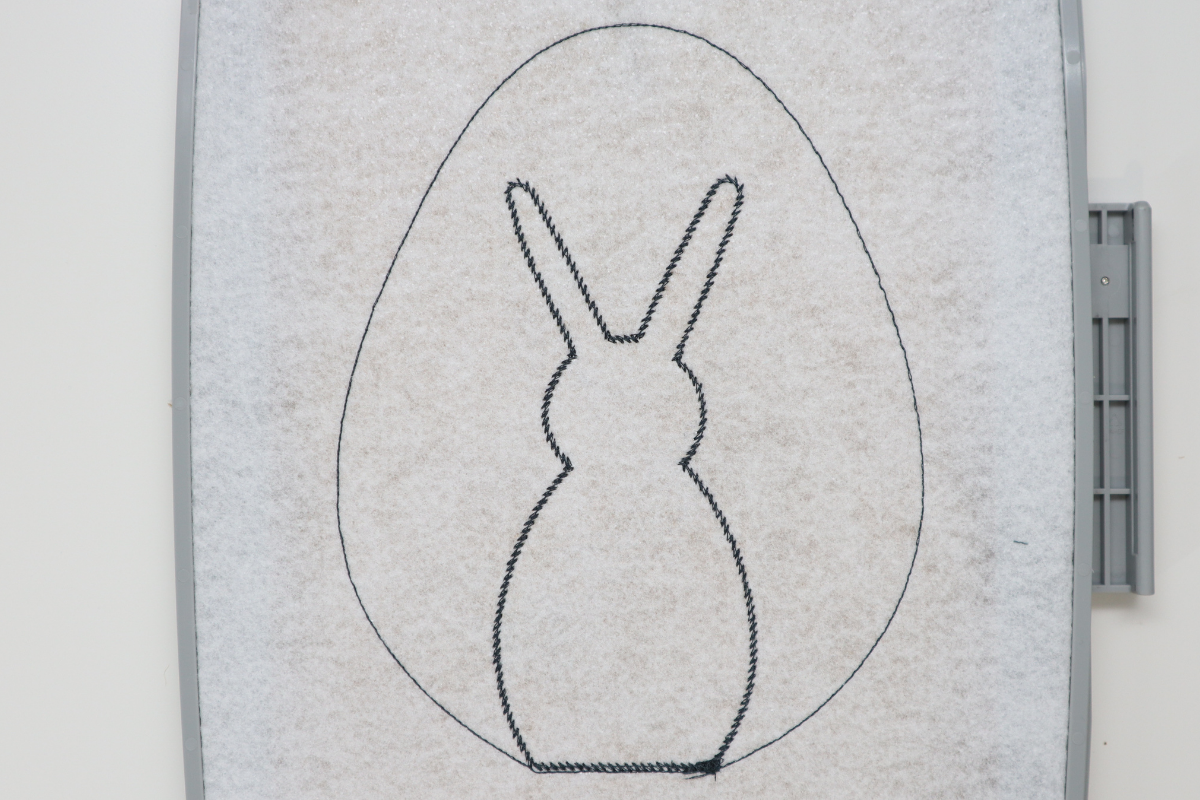
- Insert the hoop into the machine and sew stitch #4, the final outside stitching.
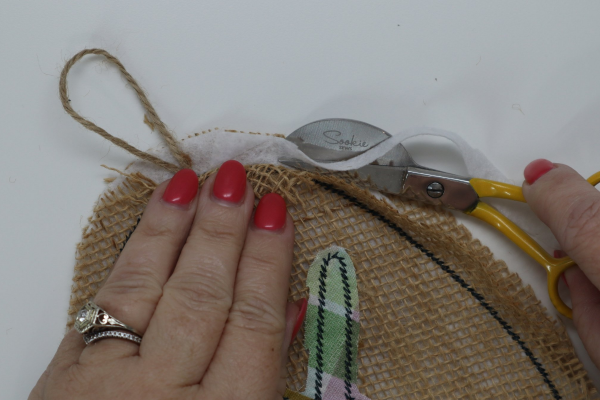
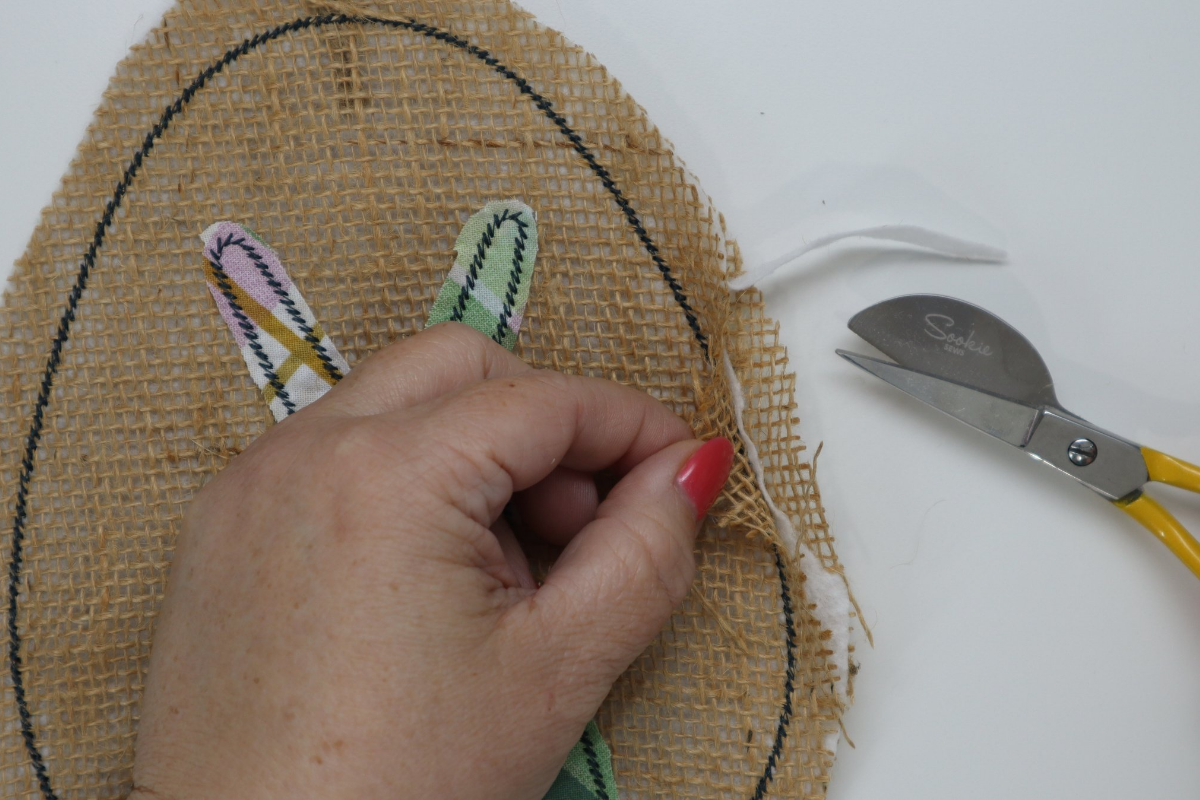
- Remove the hoop from the machine. Remove the materials from the hoop and the tape. With 5.5″ All-Purpose Craft Scissors, cut around the outside of the stitching leaving about 1/2″ extra burlap through all layers. Be careful not to cut the twine.
- With the 4.5″ Duckbill Applique Scissors, cut the batting down to 1/8″ in between the burlap layers.

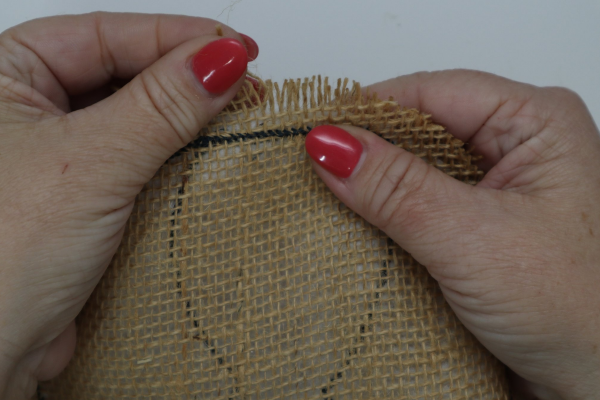
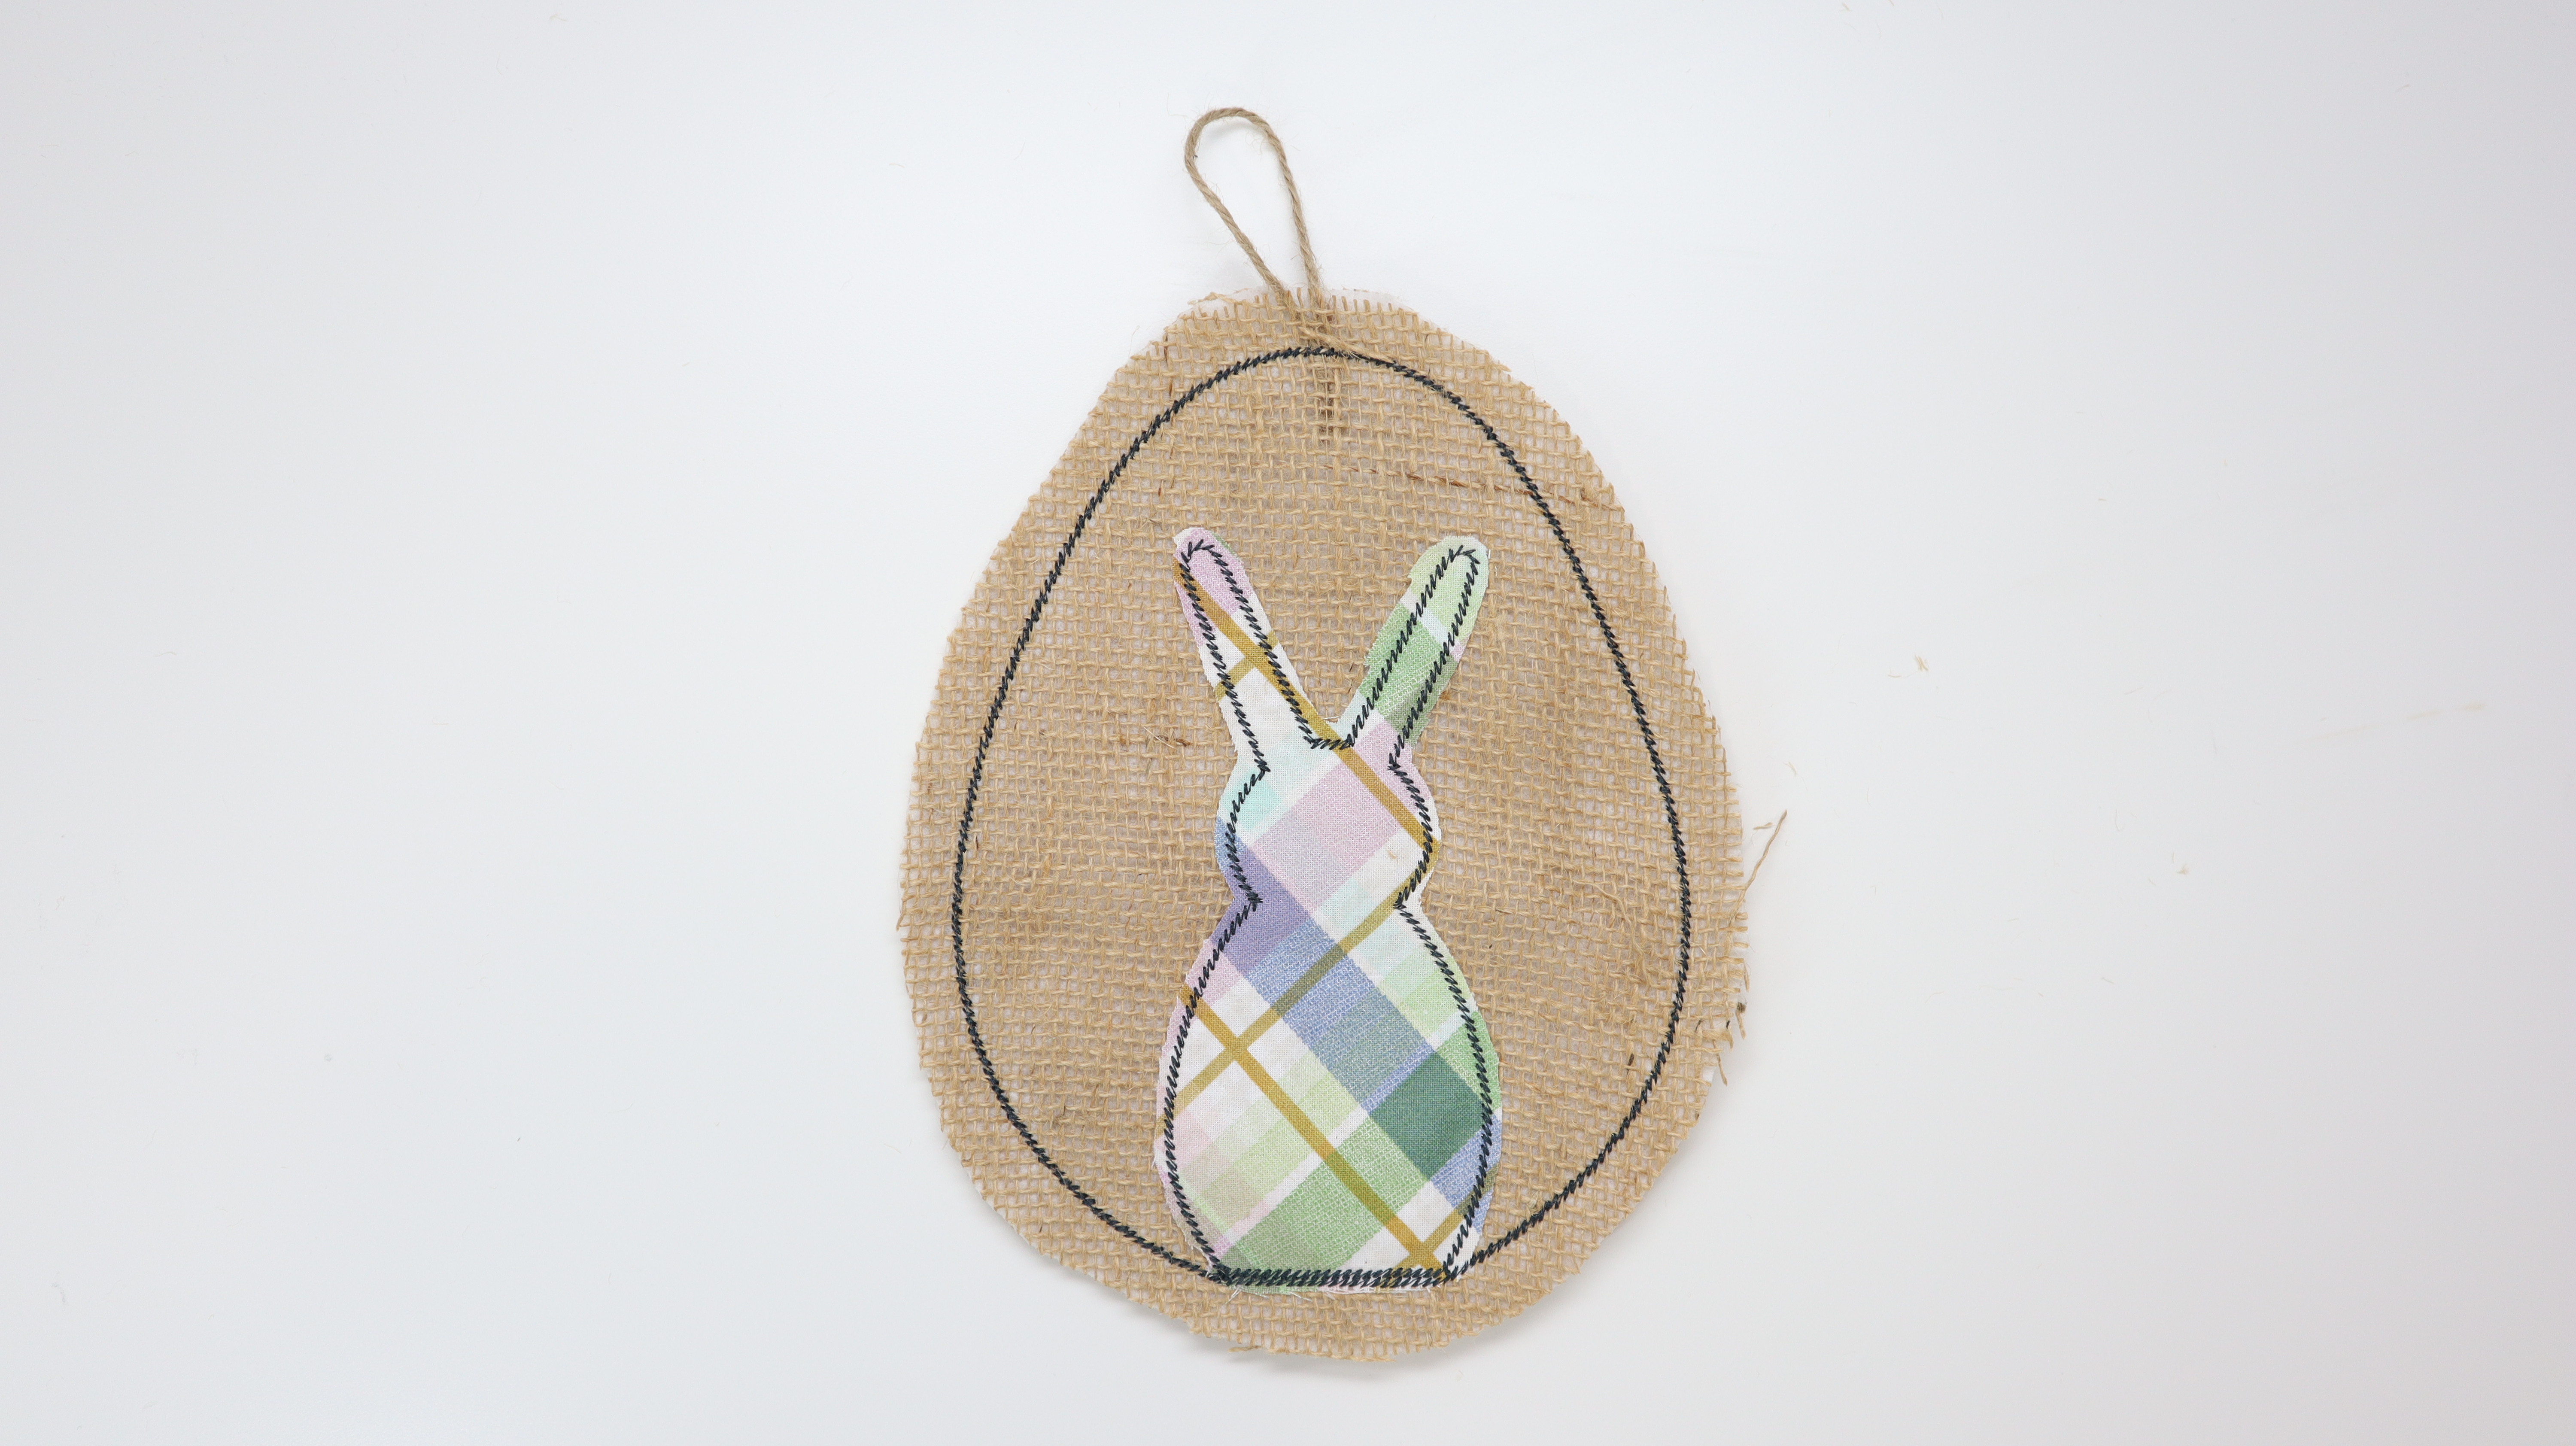
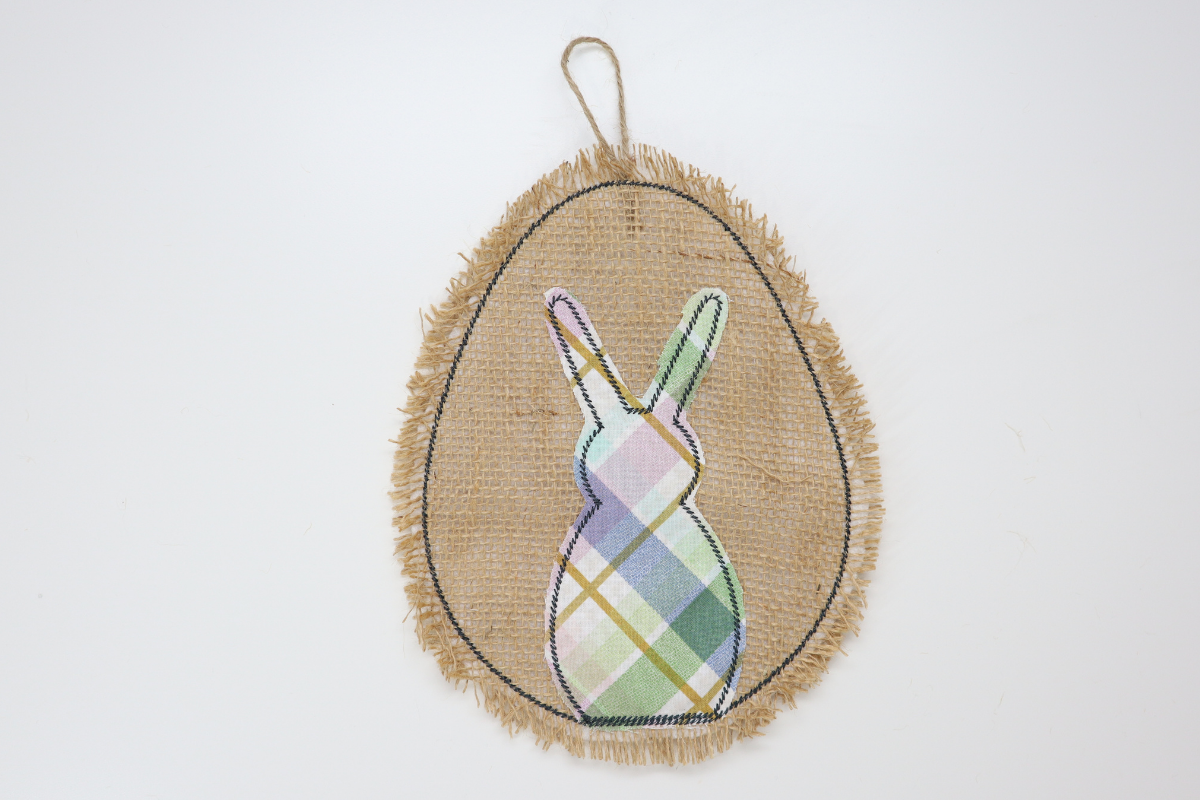
- Rough up the outside burlap beyond the outside stitching to give the door hanger a shabby look. Trim the outside extra to make it even, give it a “haircut”.

- Now it’s time to hang your door hanger!


I hope you enjoyed this easy In the Hoop machine embroidery project and make one for yourself. When you make yours, please snap a shot and tag me @SookieSews and @BERNINAUSA!!


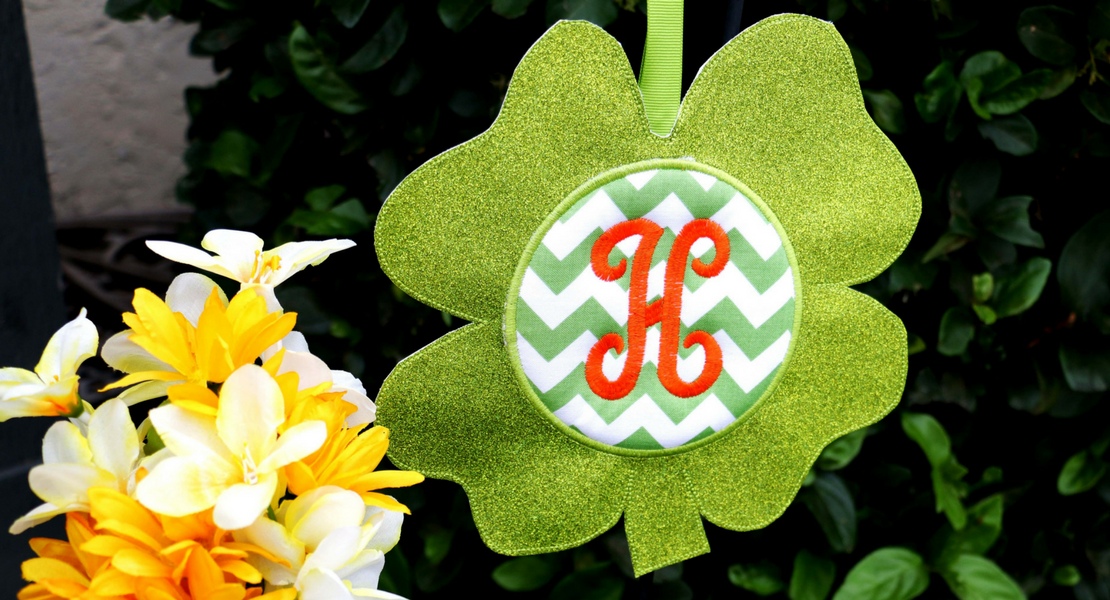
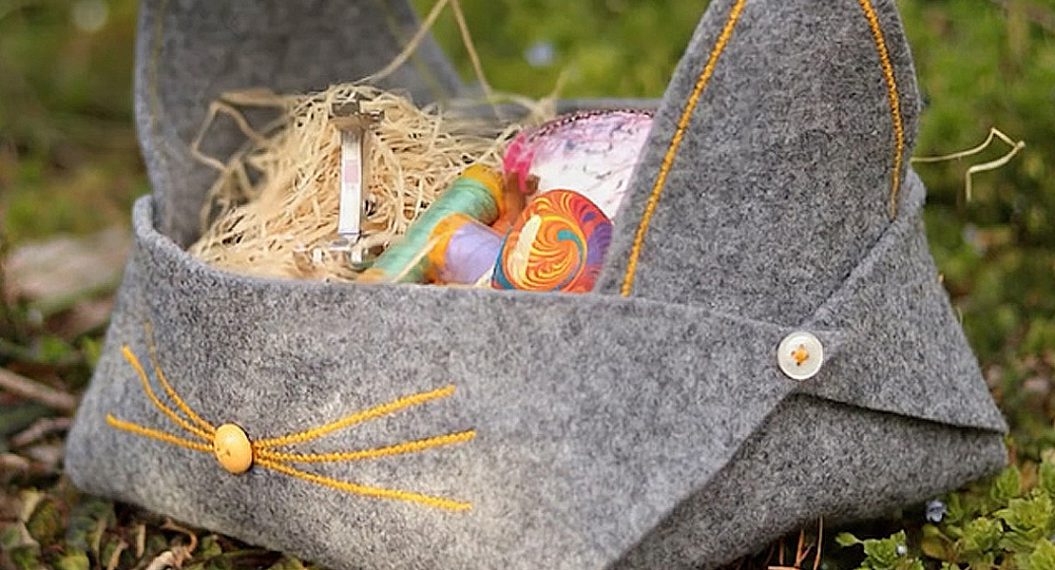
What you might also like


2 comments on “In-the-hoop Burlap Bunny Embroidered Door Hanger”
-
-
Oh Wolfemoo will you please share a photo and tag me @sookiesews, I’d love to feature it on my weekly YouTube show. Remember to tag @BERNINAUSA and @bernetteusa too 🙂 It would make us all so happy to see your adjustments. Thanks so much for tell me ~ Sookie
-
Leave a Reply
You must be logged in to post a comment.

Really cute and I had leftover burlap. Enlarged to use maxi hoop and added pompon bunny tail. Too cute :-)). Thank you