BERNINA Overlocker Binders: An Introduction
Did you know there are many overlocker presser feet and accessories available for the BERNINA L 890 that can streamline your serging and offer creative opportunities?
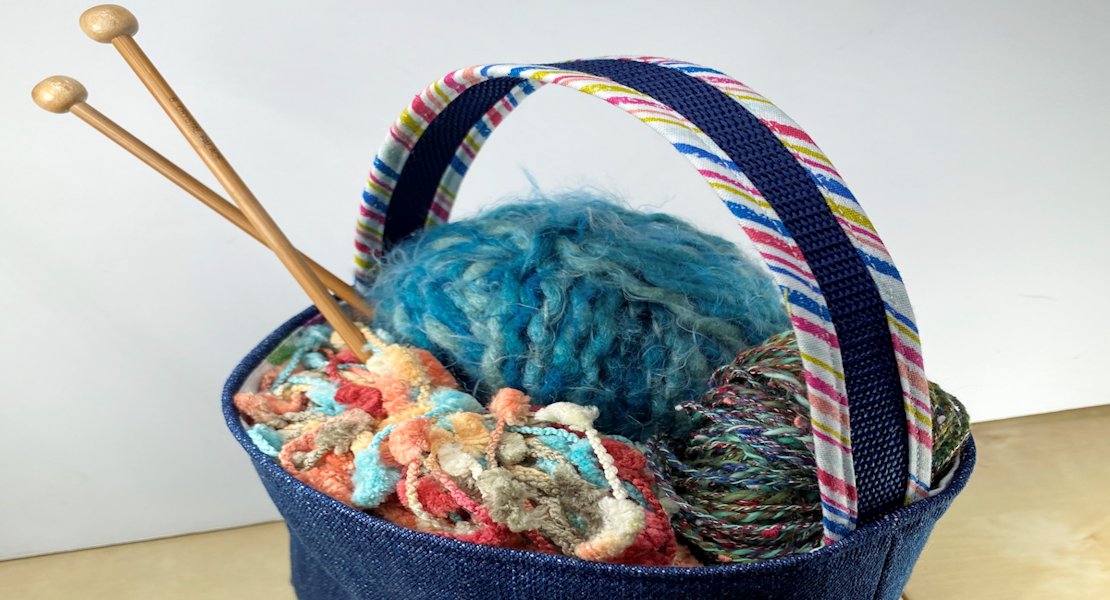
The newest offerings now include two binder attachments. Whether you are sewing binding to a neckline or placemat or adding straps to a top or a zip bag, these are the perfect accessories to get that done quickly and efficiently.
Let’s take a closer look!
Overlocker Binder Attachments
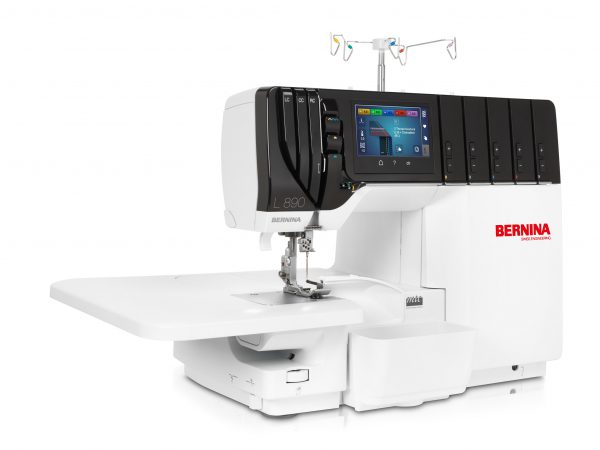
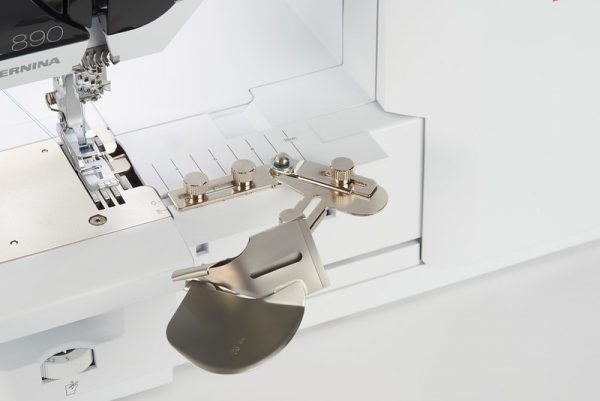
Here is the Double Fold Binder Attachment #C21.
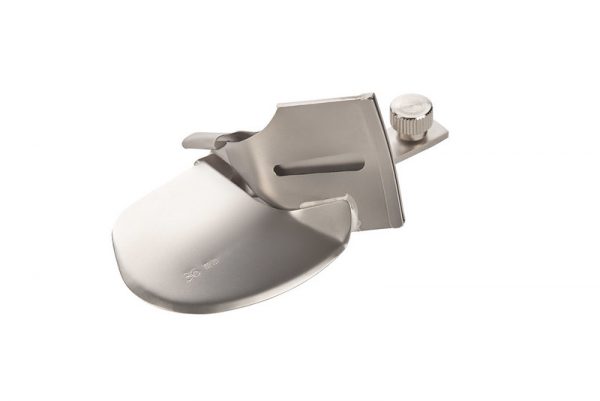
This is the Single Fold Binder Attachment #C22.
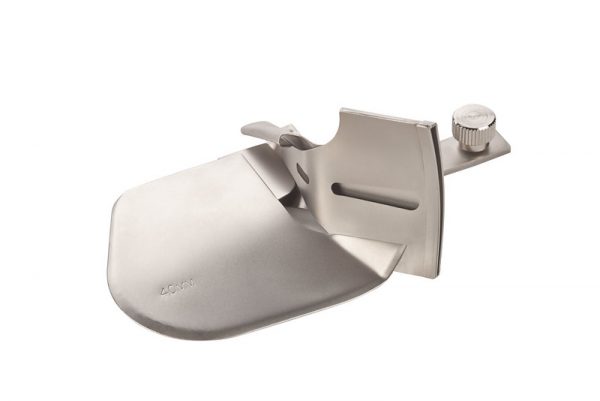
You will also need the Accessories Holder to attach the binder to the machine.
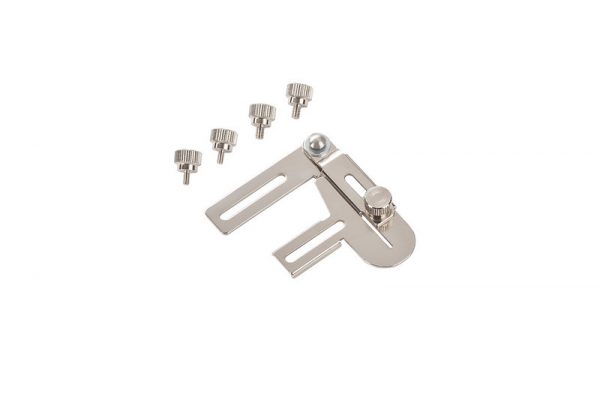
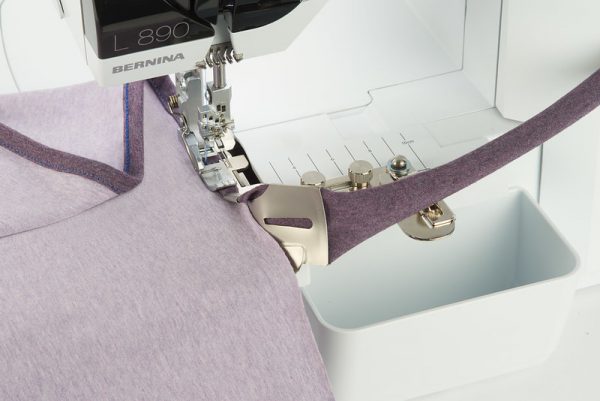
This base works with both of the binder attachments and is adjustable so it can fit various machines beyond just the L 8 Series machines. What’s really neat about the Accessories Holder is that it swings out to make it super convenient to attach the binder AND insert the fabric into the binder attachment. Once you’ve attached the base, then swing it back into place and adjust the placement of the opening of the binder to where you want it.
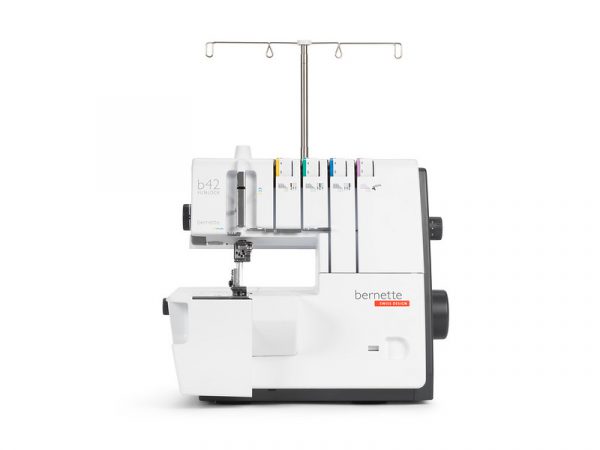
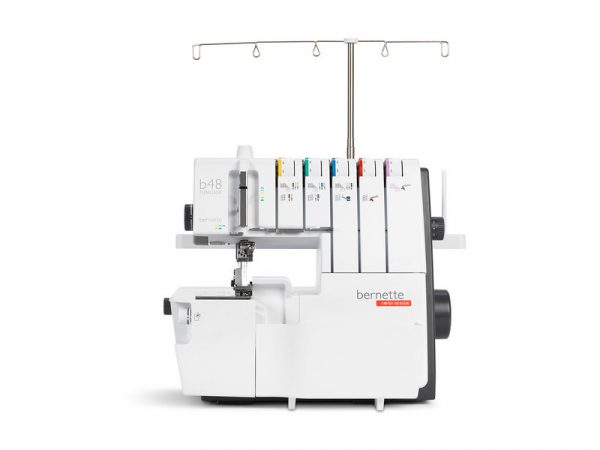
You will notice that there are two sets of screws included with the Accessories Holder- look closer and you will see they are different lengths. The longer set is for attaching the holder to the BERNINA L 890. The shorter set works with…drum roll, please…the bernette 42 FUNLOCK and the bernette 48 FUNLOCK! The b42 is a coverstitch only machine, and the b48 is a combination of an overlocker and a coverstitch machine. You can even use these binders on previous coverstitch machines like the BERNINA L 220 and BERNINA 009DCC.
You may be wondering if the binder attachments will work on the L 850 or L 860 models. The answer is no because a coverstitch or chainstitch is used to sew the binding and these two machines do not have that capability.
Double Fold or Single Fold
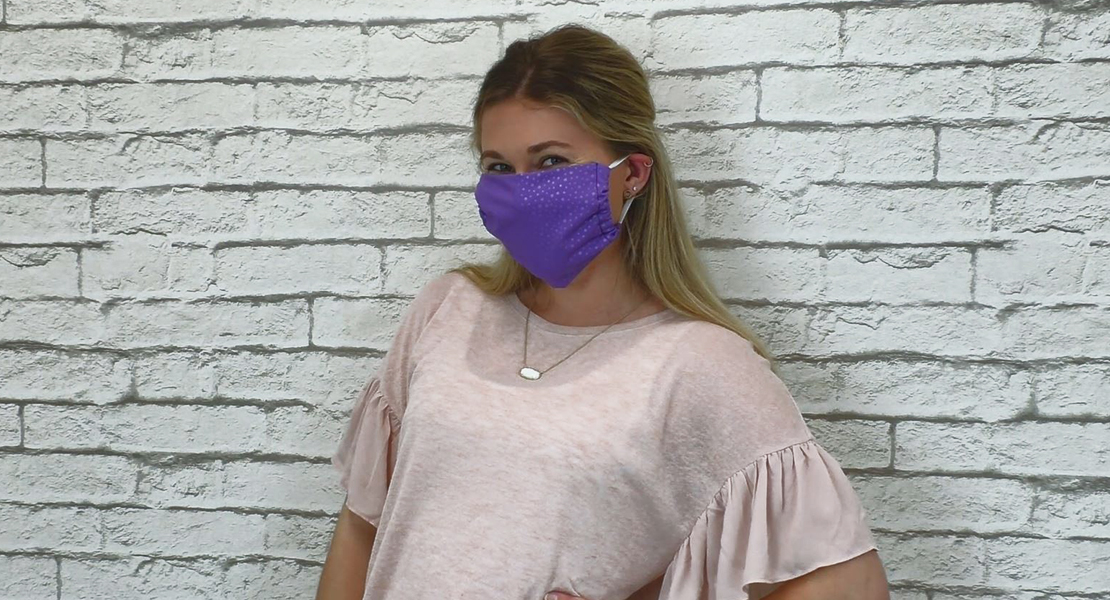
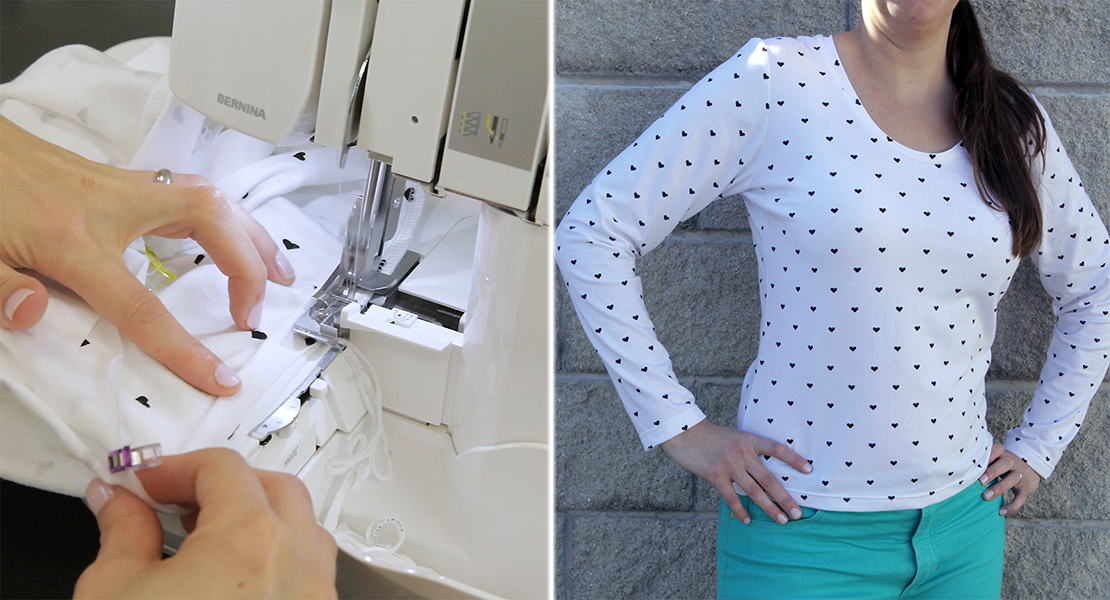
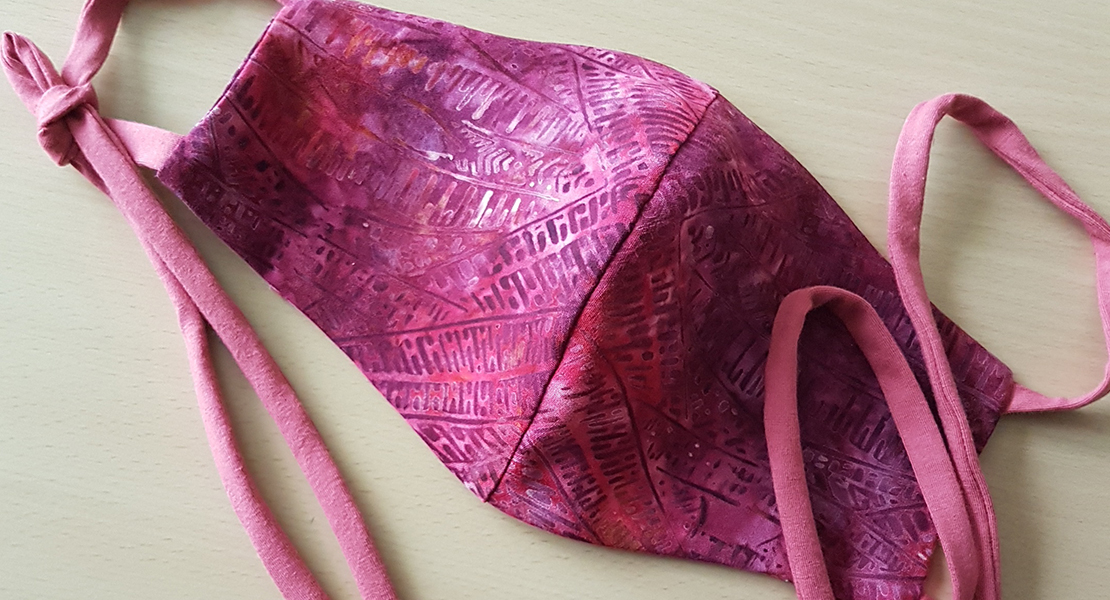
So what do “double fold” and “single fold” mean exactly? The Double Fold Binder folds both the upper AND lower edges of the fabric strip. This is great for making a beautiful bound edge with zero raw edges. The Single Fold Binder folds under the upper side of the fabric strip only. The lower side is secured with the thread in the chain looper. Any excess fabric is then trimmed away using scissors. I love using the single fold binder on a knit shirt neckline with knit binding. It’s quick to apply and has less bulk than other methods of finishing a t-shirt. Both binders work with knit or woven fabrics.
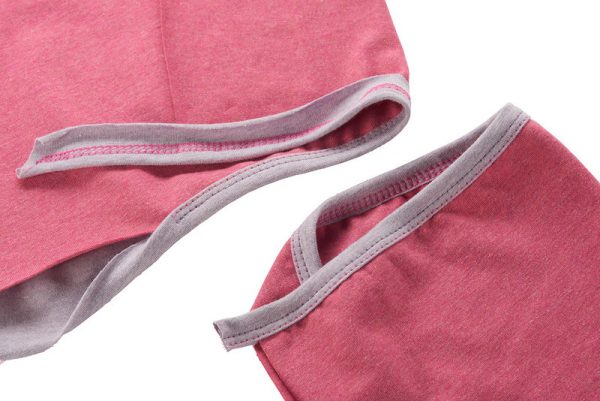
Here is how the double fold binding looks when it is finished. There are no raw edges on either the front or the back.
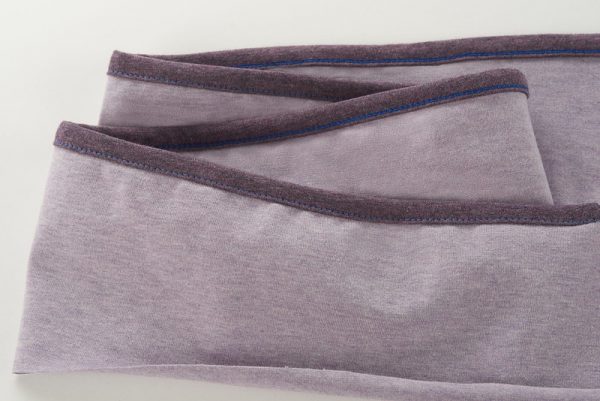
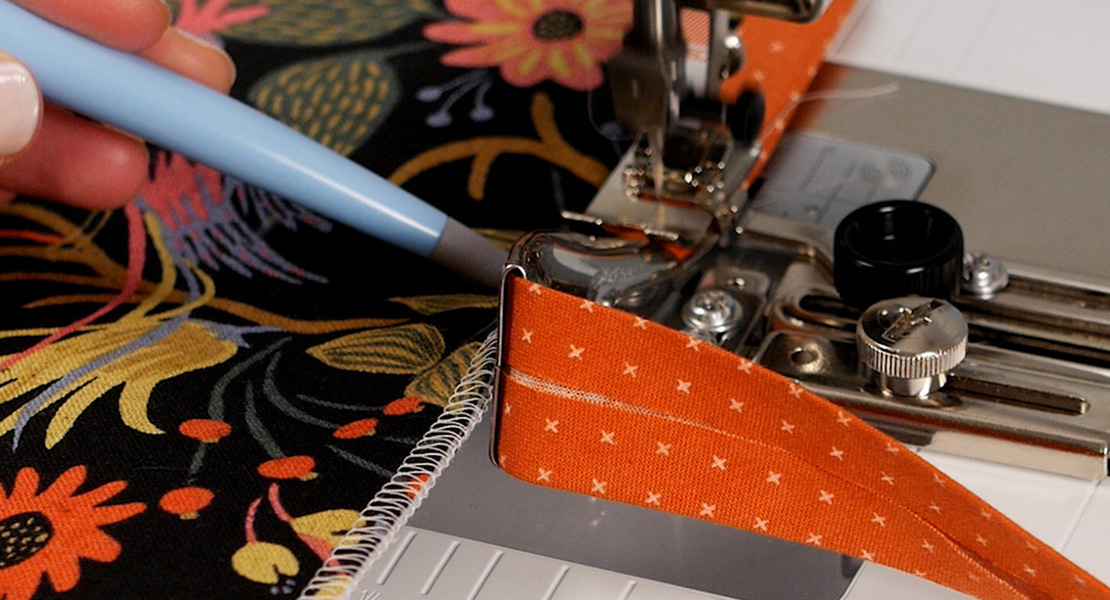
And here is the single fold binding finished. The upper side will have the edges turned under and stitched. The raw edge will extend past the stitch on the backside. Trim this close to the stitch. I recommend using appliqué (‘duckbill’) scissors to trim any excess fabric.
You will notice that there is a number etched on the binder attachment. This referenced the width to cut the binding before inserting it into the binder. The fabric used in the Double Fold Binder can be cut to a maximum width of 36 mm, which is about 1 3/8”. When using the Single Fold Binder, cut fabric strips 40 mm wide (a smidge over 1 1/2″). Both binders finish with approximately a 10 mm (a little less than 1/2″) wide binding. For best results, especially around curves, cut woven fabrics on the bias. Knit fabrics also work nicely in either attachment. A light starch will make the fabrics easier to handle.
How to Use Binders
Step 1. Select Your Stitch
You can use any of the coverstitch options or the chainstitch to attach your binding. Most machines have three needle options, giving you the choice of wide, narrow or a 4-thread coverstitch. You will need to adjust the placement of the binder depending on the stitch selected and the thickness of the fabric. Always do some test sewing before adding your final fabric.
Step 2. Attach the Binder Attachment to the Accessory Holder
I prefer to begin by attaching the binder to the accessories holder. Simply slide the binder attachment into the shorter bracket on the holder. Use the screw that comes in the box with the binder and fasten loosely (you will adjust later). Now attach the Accessories Holder to the Coverstitch Insert using two screws (long set or short set depending on your machine) included with the holder. You MUST use two screws to keep the holder stable on the bed of the machine. They are simple to insert and do not require any tools.
Tip: Leave your binder attached to the accessories base and it will be ready for the next time you need to use it.
Step 3. Adjust the Binder to Your Machine
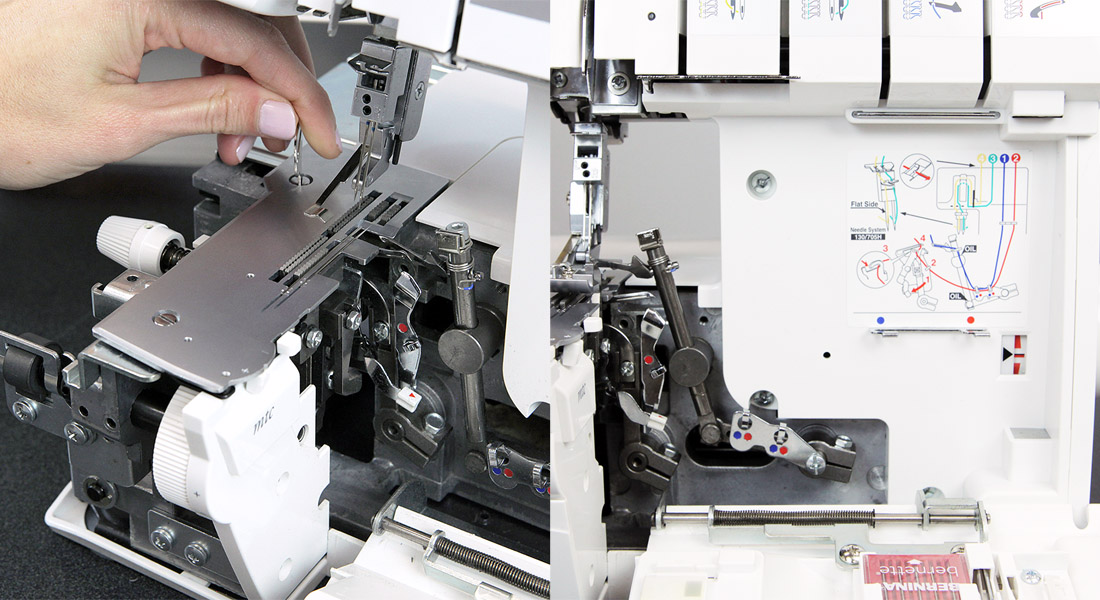
Attach an appropriate presser foot to your machine. For the L 890, you can use the Cover/Chainstitch #C13 foot, Clear Overlock/Combostitch #C27 foot or the Coverstitch/Compensating #C12 foot. The Accessories Holder allows for adjustment in multiple directions. Slide the binder left and right along the base until the binder outlet channel is directly in line with the presser foot (notice the markings on the foot for the coverstitch needles you will use). Secure the screw.
Now you may also need to adjust the binder forward and backward using the locking screw directly on the Accessories Holder. Align the binder so the outlet channel feeds directly into the presser foot without bumping into it.
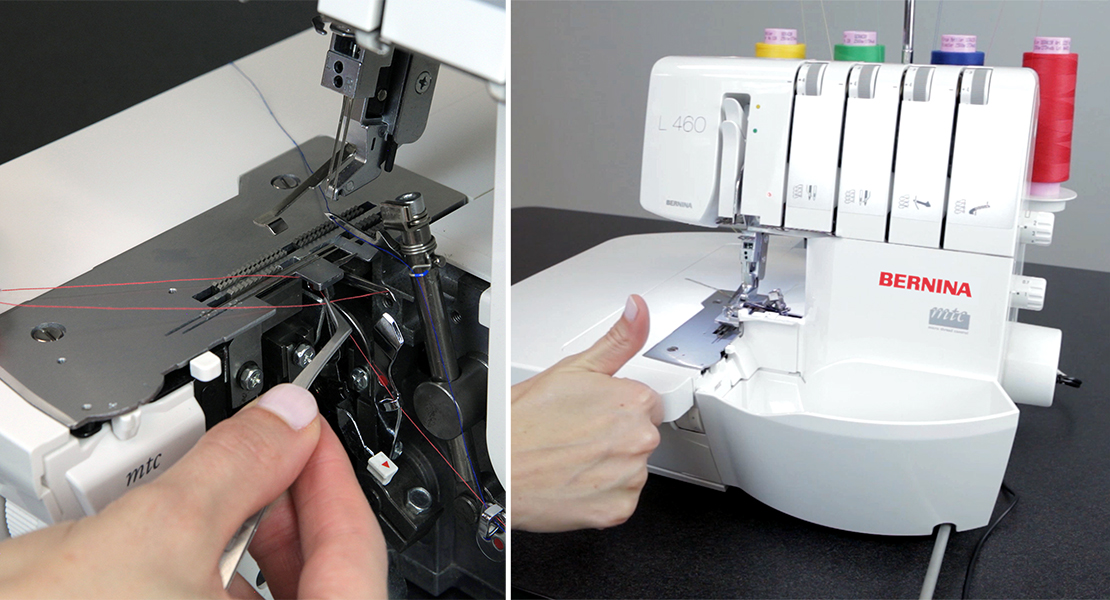
Step 4. Insert the Binding
Before inserting the binding, cut a point on one end of the fabric strip to make it easier to feed into the attachment.
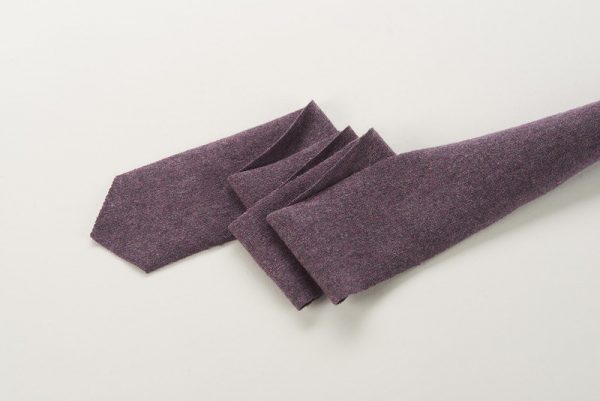
Place the fabric into the wide end of the binder with the wrong side facing you. It’s helpful to use tweezers or a stiletto to feed the fabric through. You also want to work with a fabric strip a little longer than the finished binding. Don’t forget to swing out the binder to insert the fabric!
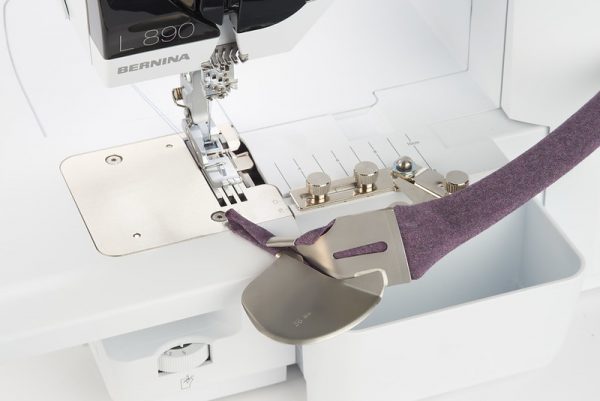
Double-check that the fabric is folding under by flossing back and forth through the attachment. Then swing the binder into place and extend some of the fabric under the foot. Use the adjusting screws on the holder and the screw on the binder itself to place everything exactly the way you want it. Be sure that the foot is not touching the opening of the binder attachment.
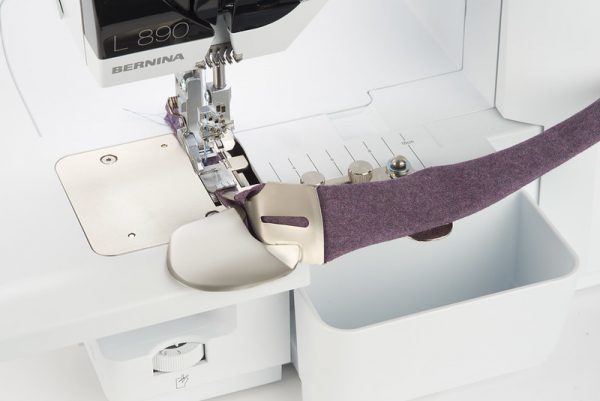
Take a few stitches to make sure the fabric is placed correctly and everything is feeding nicely. Place the unsewn binding in such a way that it doesn’t get caught up on anything and can feed freely through the binder.
Step 5. Add Binding to Fabric
Now insert the fabric you are going to bind right side up. Push it firmly to the right into the attachment and continue sewing.
No matter what you like to serge, I know you will find the binder attachments to be the perfect new addition to add to your overlocker toolbox!
Happy serging!


What you might also like


8 comments on “BERNINA Overlocker Binders: An Introduction”
-
-
Question – can these feet be used with the 1300MDC model?
-
Can this Binder Attachment and Accessories Holder be used on the L850?
-
I am not clear on this: Can use both C21 and C22 with the attachment holder in my funlock B48?
Leave a Reply
You must be logged in to post a comment.

These binder attachments look really intriguing, but I wonder how would you go about creating square corners on a project? Say you wanted to use these on your serger to bind a placemat, for example. How would you turn a square corner with the binding? I’ve used the binder attachments on my B790 sewing machine, and making mitered corners is doable – a bit fussy, but doable. I wonder, is there a way to achieve a “tidy” square corner using the serger binder attachments?