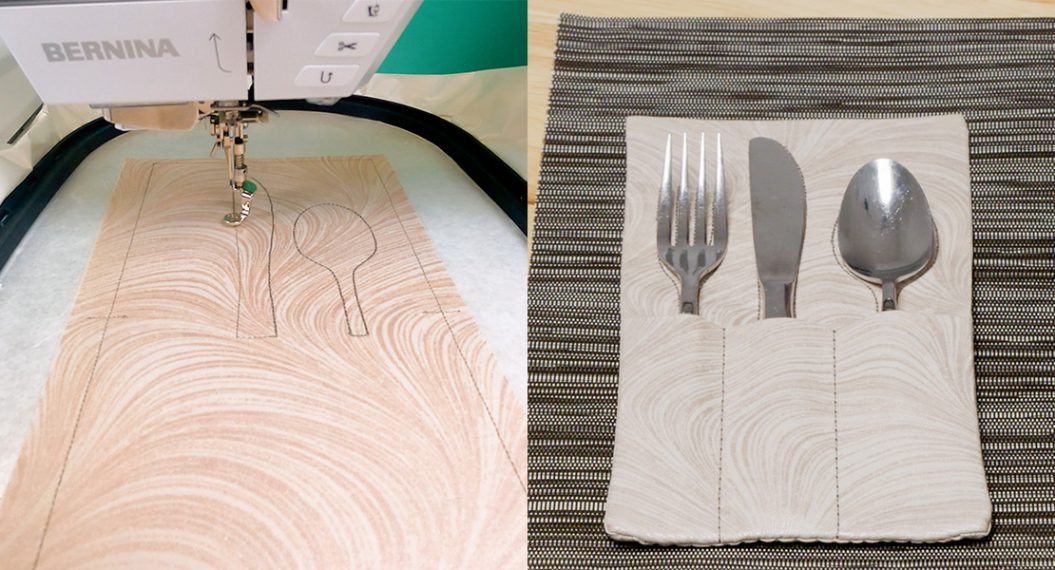
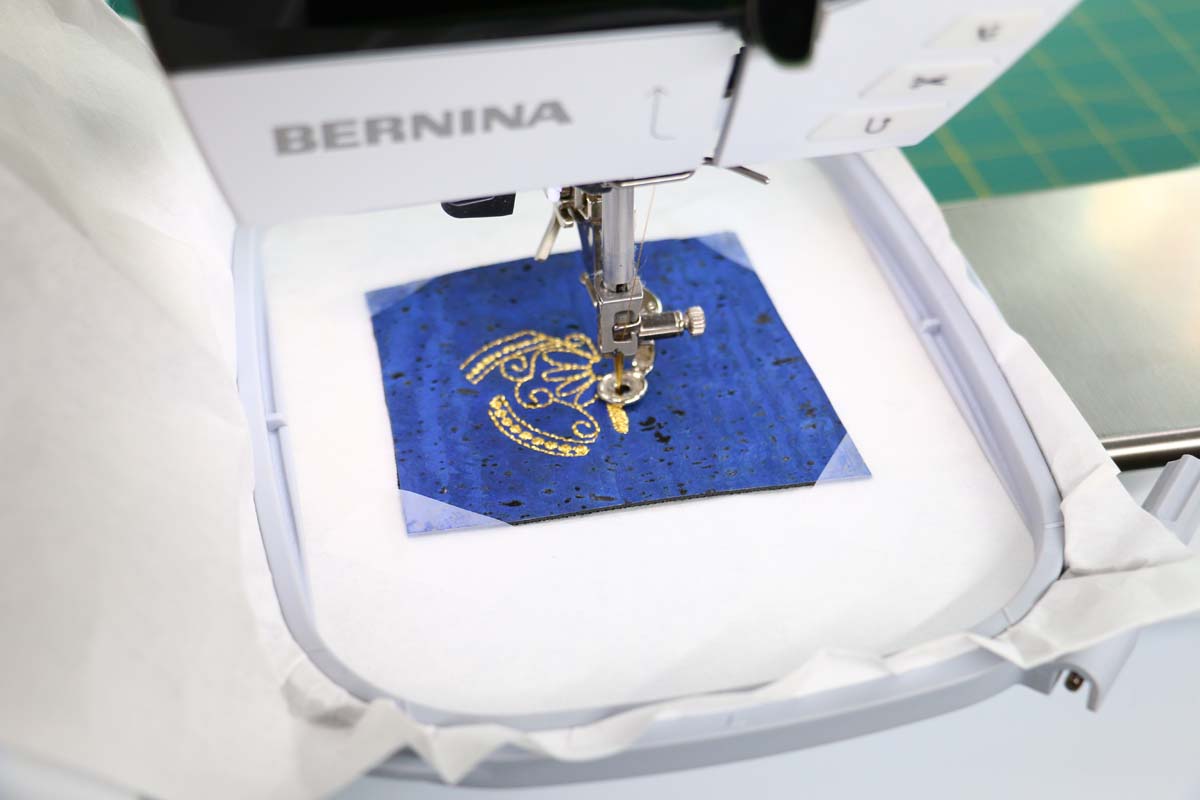
In-The-Hoop Embroidery Projects
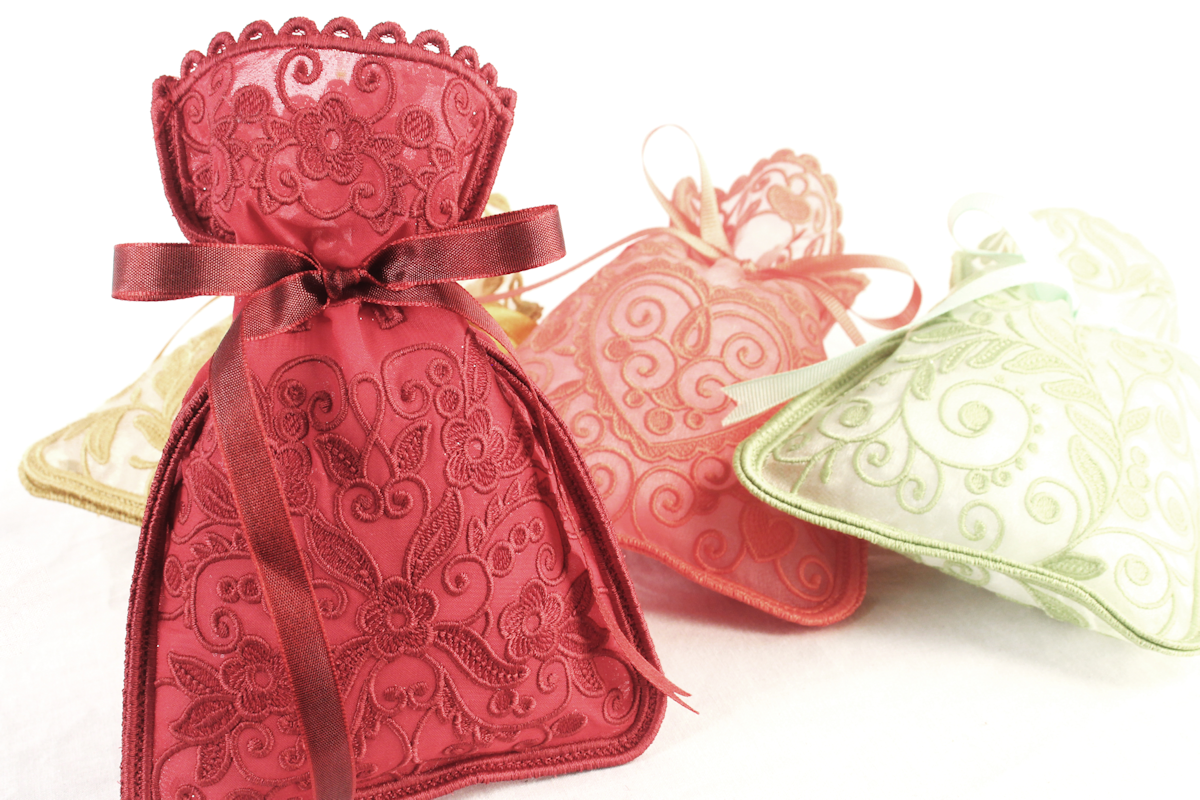
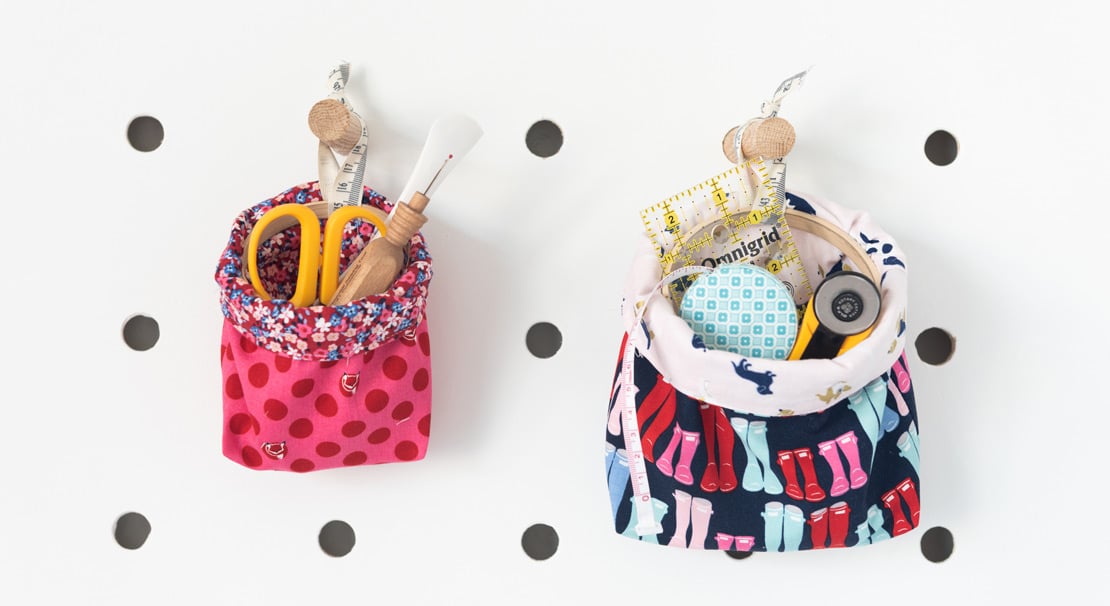
Stitching machine embroidery designs can enhance and personalize ready-made items and projects you are sewing from scratch. But there is so much more you can do. If you have not discovered or tried in-the-hoop projects, you’ll love them while you stitch techniques such as piecing, quilting, appliqué, and even zipper insertions using the embroidery machine. You’ll make projects that are mostly or completely created in the hoop because the designs have been digitized to replace the traditional construction techniques usually sewn on the sewing machine. The beautifully embroidered bags below are from the Elegance Bags collection from embroideryonline.com. Use these as gift bags for small items or as a way to keep your jewelry organized in style. You’ll find these bags are simple in-the-hoop projects with the final step sewn on the sewing machine.
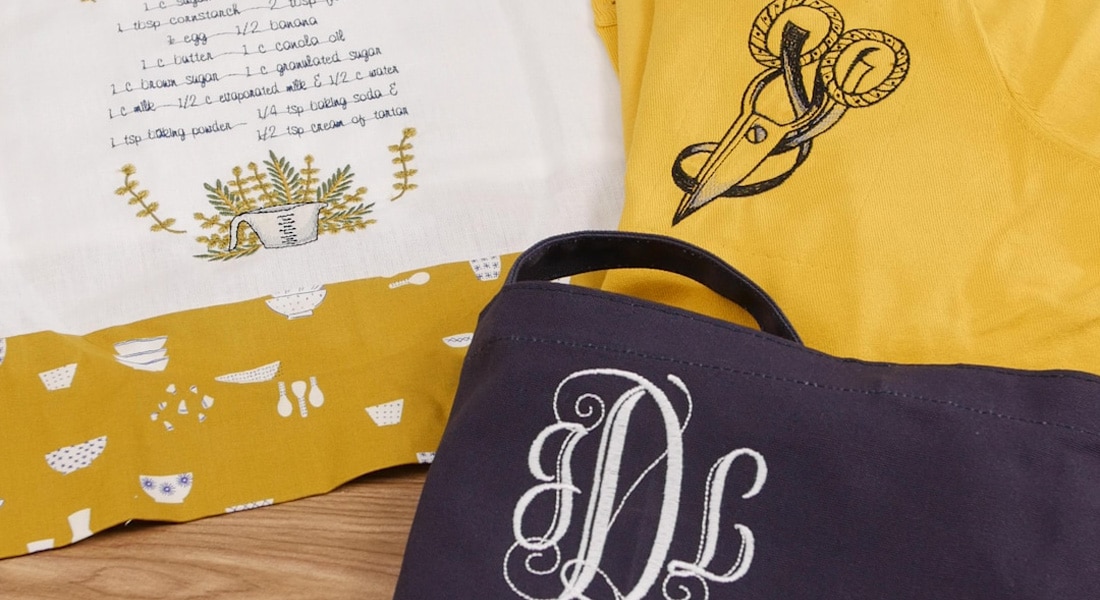
Elegance Bag
Thread the needle and the bobbin with the same color of Isacord thread. Hoop 2 layers of OESD AquaMesh stabilizer. Stitch Color #1, which is the Bag Placement Stitch. Place a piece of organza over the placement stitch. Stitch Color 2, which is the Cut Line and Tackdown line. Trim the organza fabric close to the cut line.
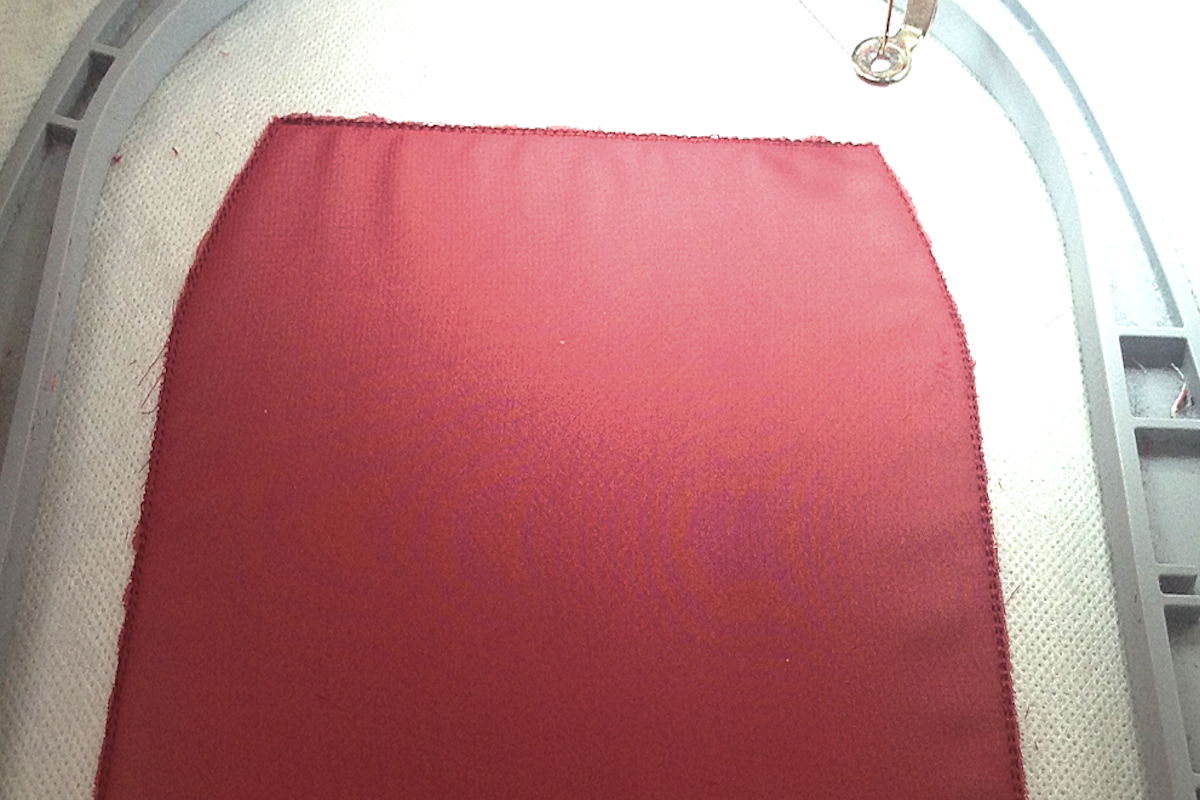
Stitch the next color, which is the lace design on the bag. Remove the project from the hoop and rinse away all AquaMesh stabilizer. Repeat the steps above to create a second complete design, which will be the other side of the bag.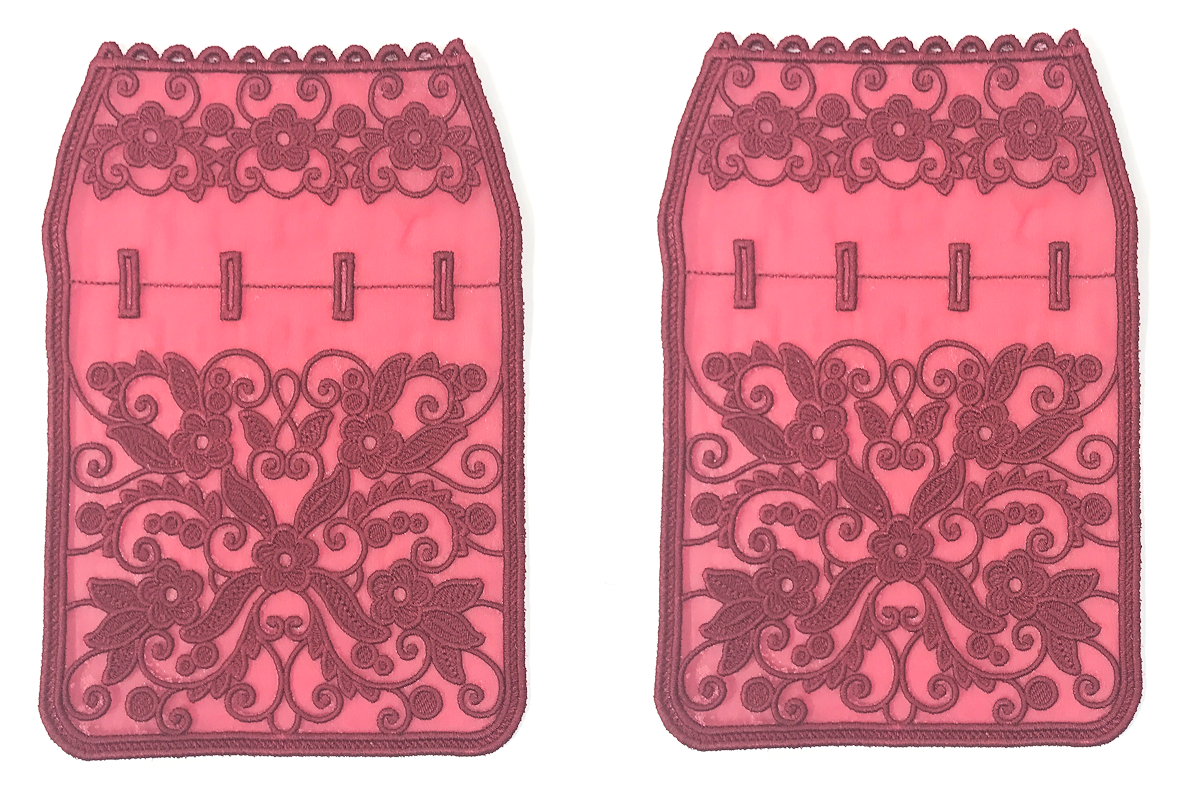 Cut open the slits in all the buttonholes. Place the two pieces of the bag wrong sides together. Align the outer edges and clip in place. Stitch the two pieces together, stitching in the “valley” of the outer satin stitch. Sew in one continuous line from one top corner to the other, backstitching as you start and end the line of stitching. Do not sew across the top of the bag. Weave the ⅜” ribbon through the buttonholes. The tails of the ribbon should come out of the two front buttonholes. Tie into a bow to close the bag.
Stitch ‘n’ Turn Projects
There are four types of in-the-hoop projects. The first two, Stitch ‘n’ Turn, and Stuffed are similar. Once the front of the project is stitched, the back is added right side down and stitched around the edges, leaving an opening for turning. When turned to the right side, the stitch ‘n’ turn project is left flat. An example of this is the Stitch ‘n’ Turn-Sleep-Mask shown below.

Stuffed Project
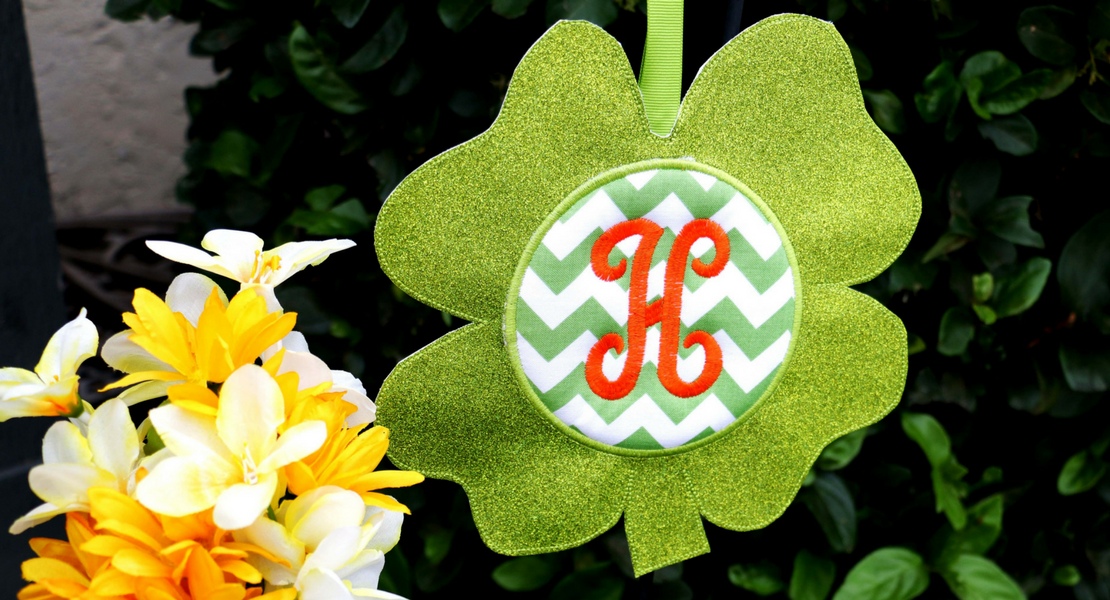
The stuffed project is made the same way as a stitch ‘n’ turn project but is filled with stuffing to make projects such as ornaments or a child’s toy. The Minkee Tag Toys shown below are stuffed projects made in the hoop. 
Multi-Step Project
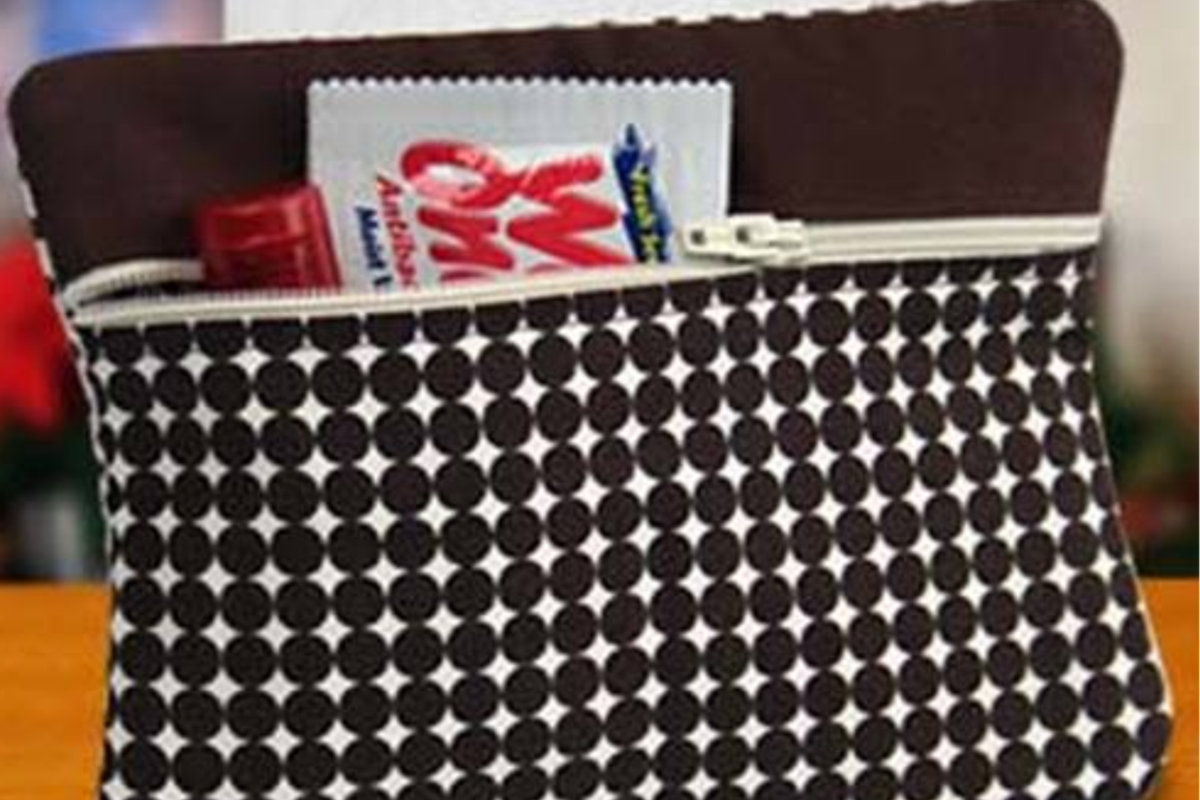
The third type of project is a Multi-Step project such as coin purses, zippered pouches, and cross-body purses. Stitch and assemble the the bag, then turn it to the right side through the zipper opening. The Travel Pouch below is from embroideryonline.com.
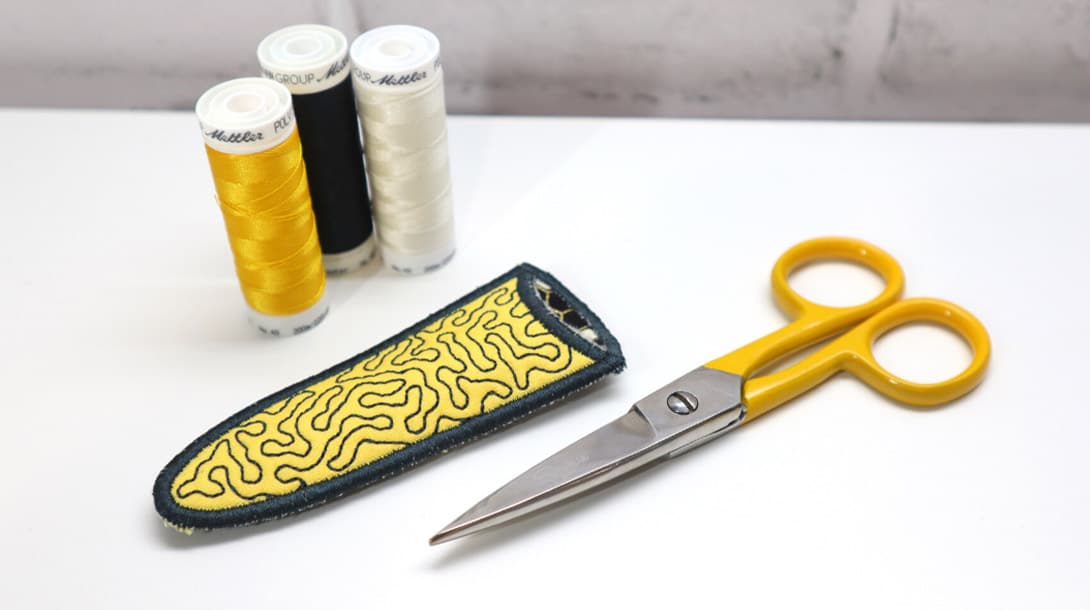
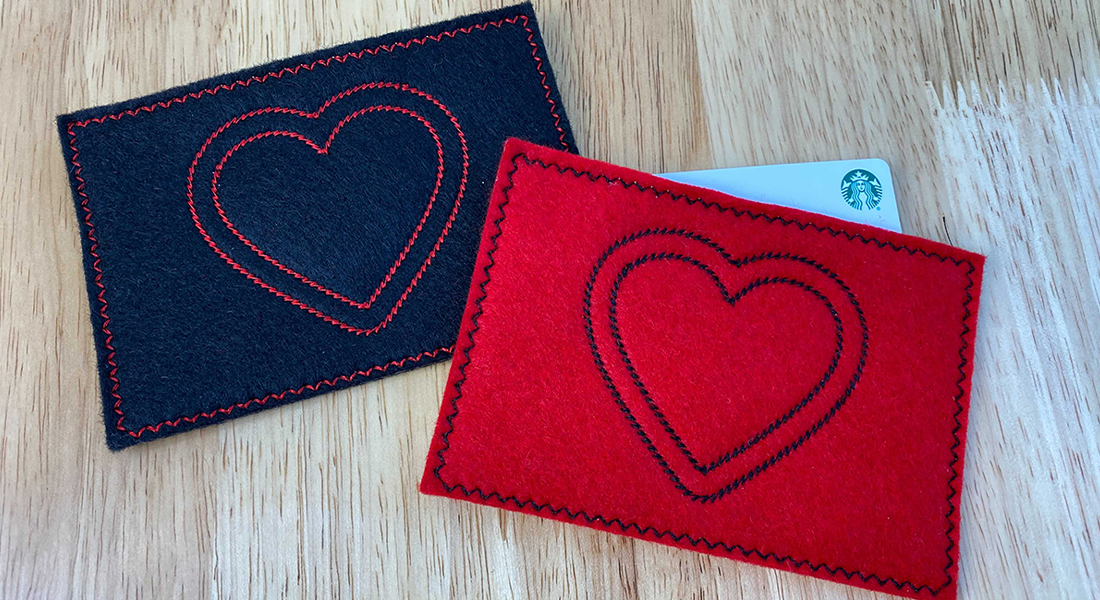
Freestanding Projects
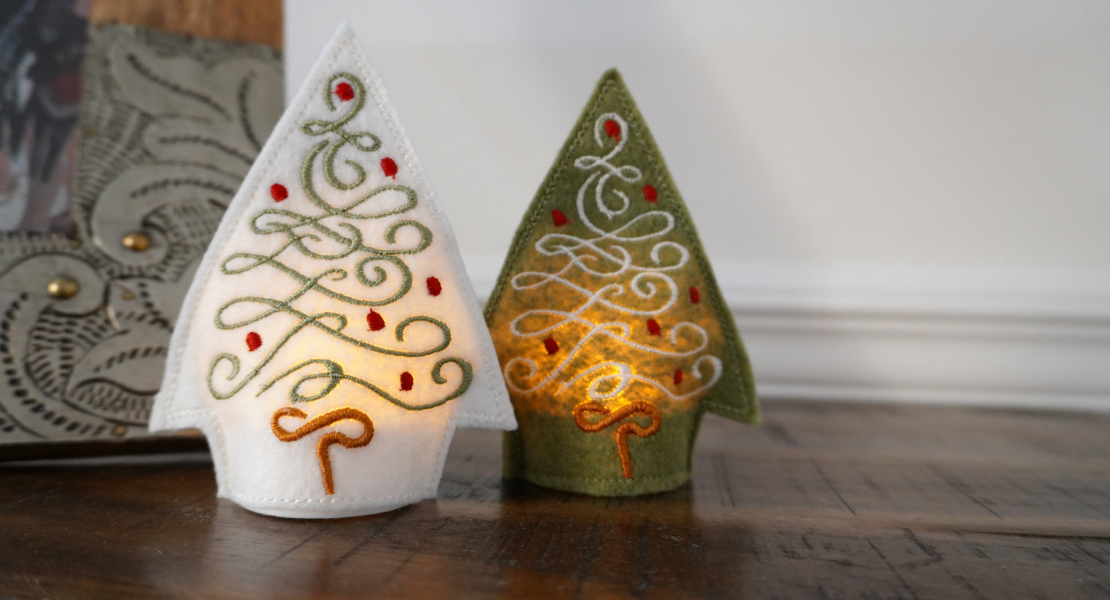
The fourth type, Freestanding Projects such as bracelets, cuffs, bookmarks, ornaments, finger puppets and more can be made using in-the-hoop techniques. Stitch the design on a water-soluble stabilizer such as OESD BadgeMaster or AquaMesh. Once the design is stitched and the stabilizer is washed away, the project is ready to be finished if needed. Try the Lace Ombre Bookmarks shown below from embroideryonline.com.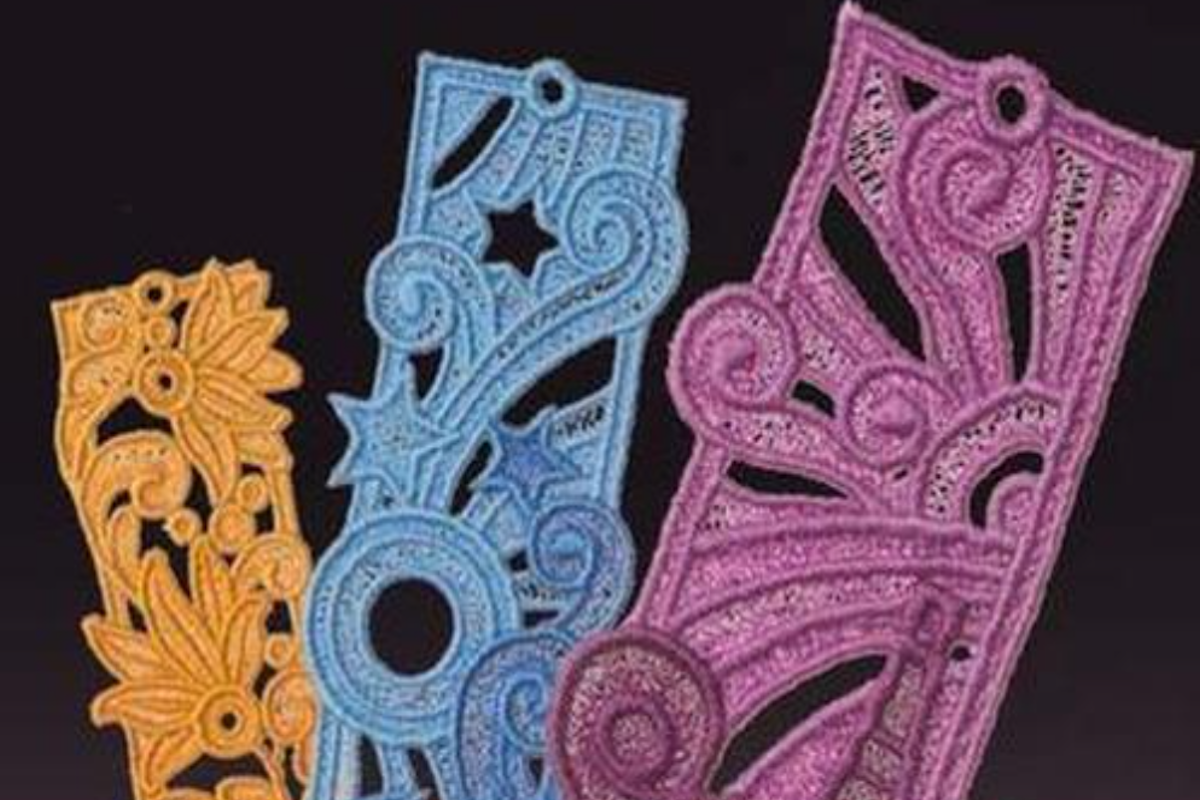
For more machine embroidery techniques, see The Big Book of Embroidery at your local BERNINA store. Click here to find a BERNINA store near you.


What you might also like


4 comments on “In-The-Hoop Embroidery Projects”
-
-
Hello! Everything will be made available on bernina.com in the days following the event. There’s also another webinar available for viewing at 3pm today. Thank you!
-
-
can anyone help me find DL files for the HOT PAD IN THE HOOP Bernina design as I have not way of how to cut pieces.
-
can anyone help me find DL files for the HOT PAD IN THE HOOP Bernina design as I have not way of how to cut pieces. Design has no number
Leave a Reply
You must be logged in to post a comment.

I arrived late to the Embroidery in the Hoop – note book cover with “Sew Something”. At the end they mentioned there were instructions available. How or where do I find them?