Embroidery Hooping Tip
If you are embroidering multiple small pieces, this embroidery hooping tip from Charlotte Warr Andersen can help you save time, fabric and stabilizer!
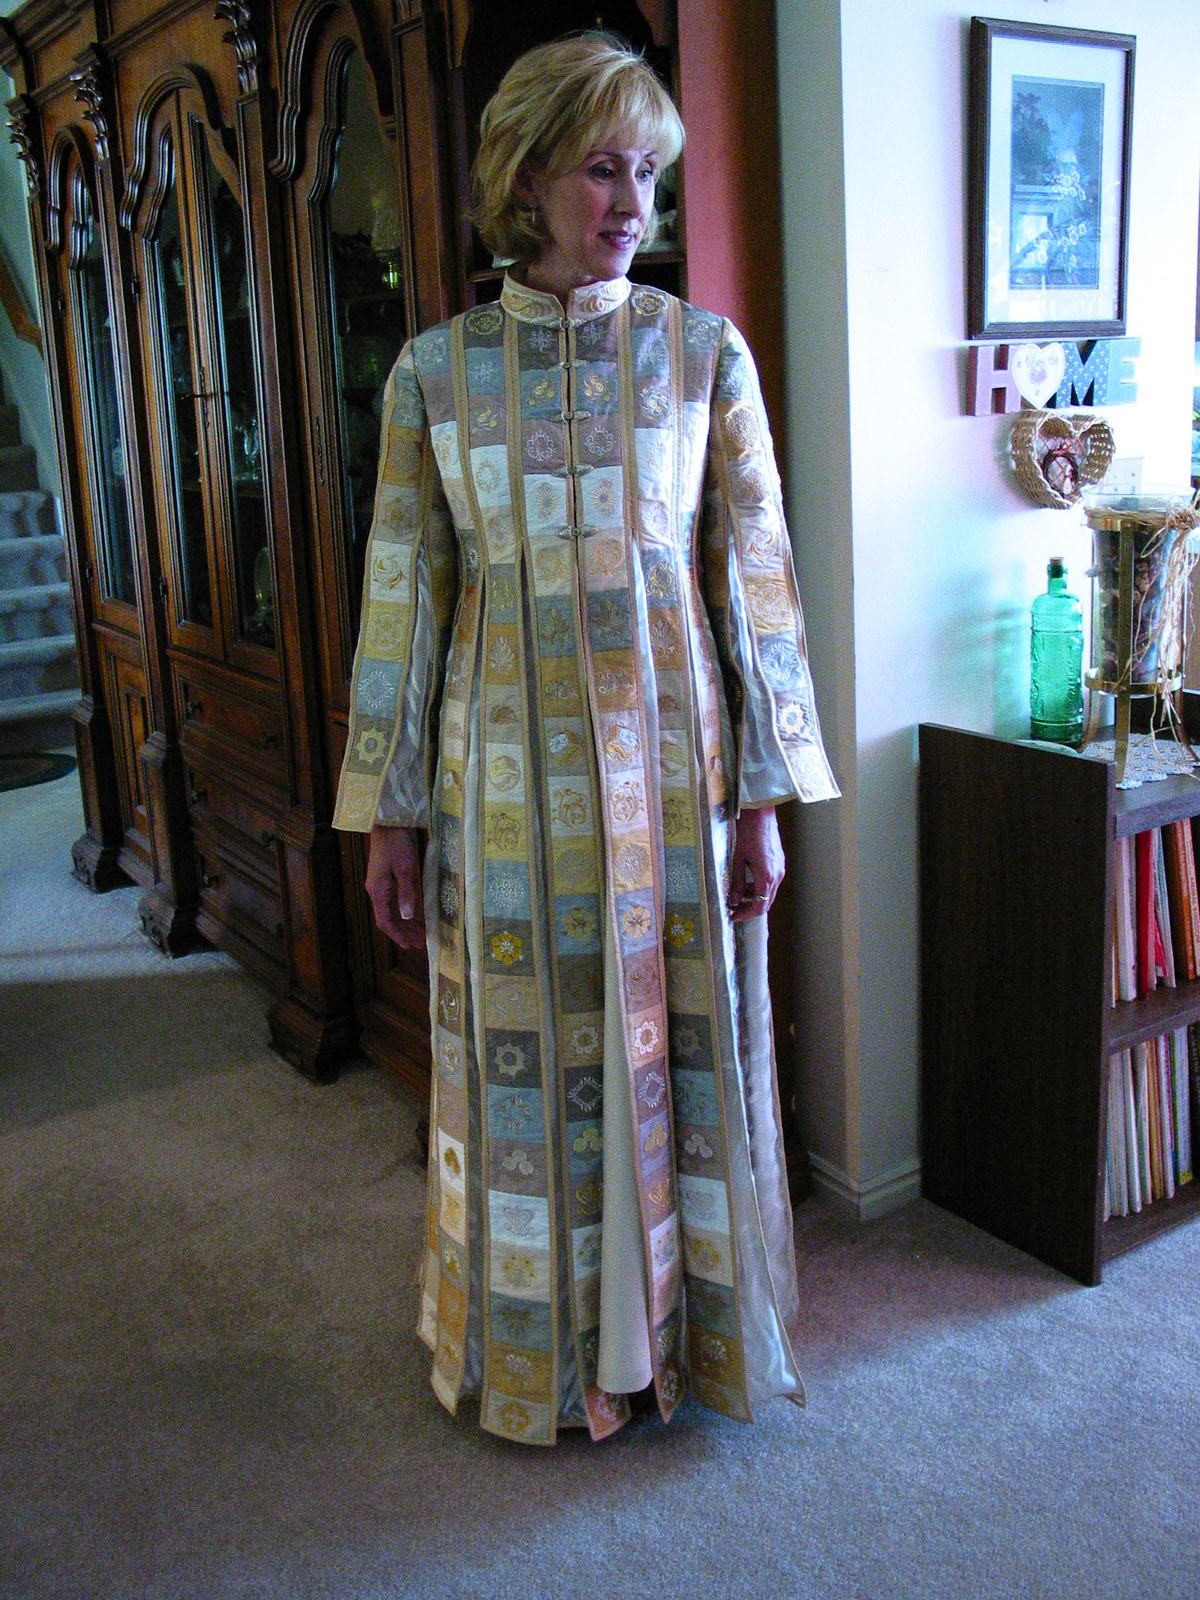
Years ago, I created the loveliest thing I have ever made, Josephine’s Amazing Neutral Colored Dreamcoat. This piece was designed for the 2003 BERNINA fashion Show.
It won the Crème de la Crème Award and now resides in BERNINA’s Creative Center in Aurora, IL. Today I’d like to share my favorite stabilizer tip used to create the Dreamcoat.
Before I share my tip, I have to explain that I am a very patient person. If given a huge tangle of yarn I will sit and take out all the knots and wind it into a nice ball for you—it’s quite therapeutic for me. But I also have to say that I like to save time and I’m also thrifty—I want to use the least amount of fabric and stabilizer that I can.
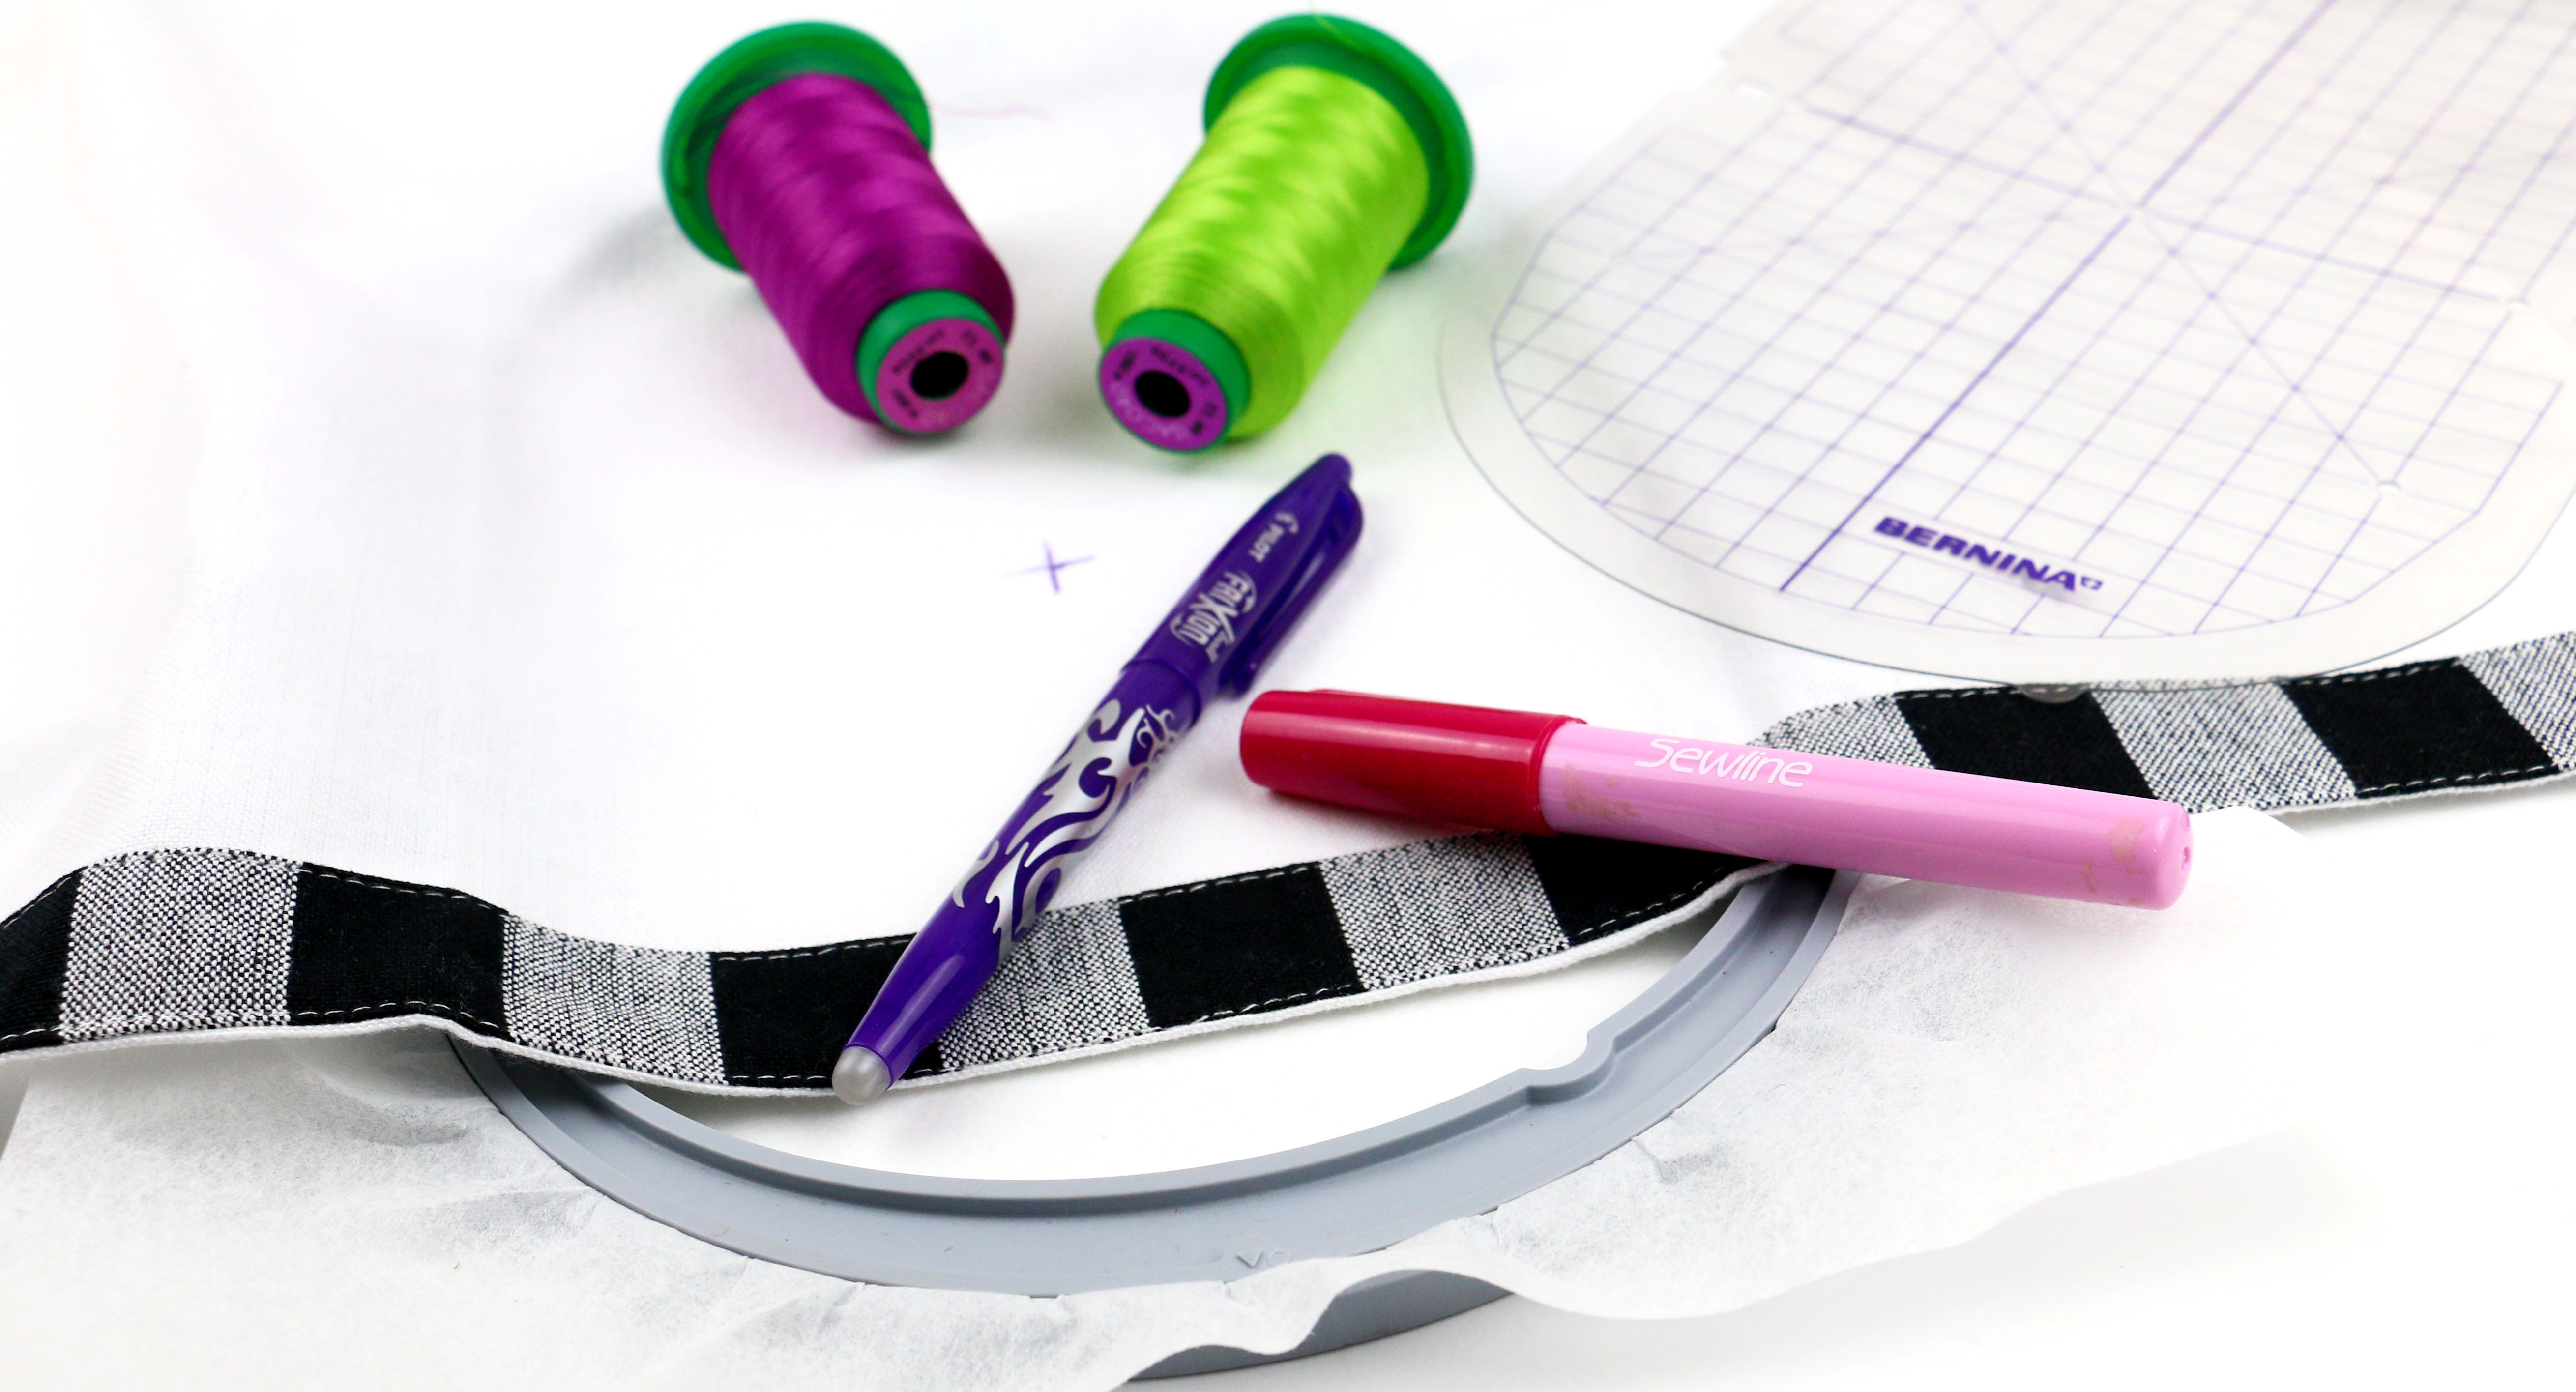
I used silk dupioni for the Dreamcoat and only had a limited supply. I knew I wanted to make small squares but if I used enough fabric for each square to fit outside the hoop I would have had a lot of waste. I would also be going through rolls and rolls of stabilizer. I took an instant liking to stick-on, paper backed tearaway stabilizer that is easy to pull off and saves time hooping. I might have used a wash away stabilizer; but if I’m using silk, I may not want to wash the piece. Sticking stabilizer directly on to the hoop and easily tearing it away really appeals to my “less-work-is-better” self.
Find stick-on stabilizers wherever you shop for embroidery supplies, or you can search and shop online.
First, let’s talk about traditional hooping methods.
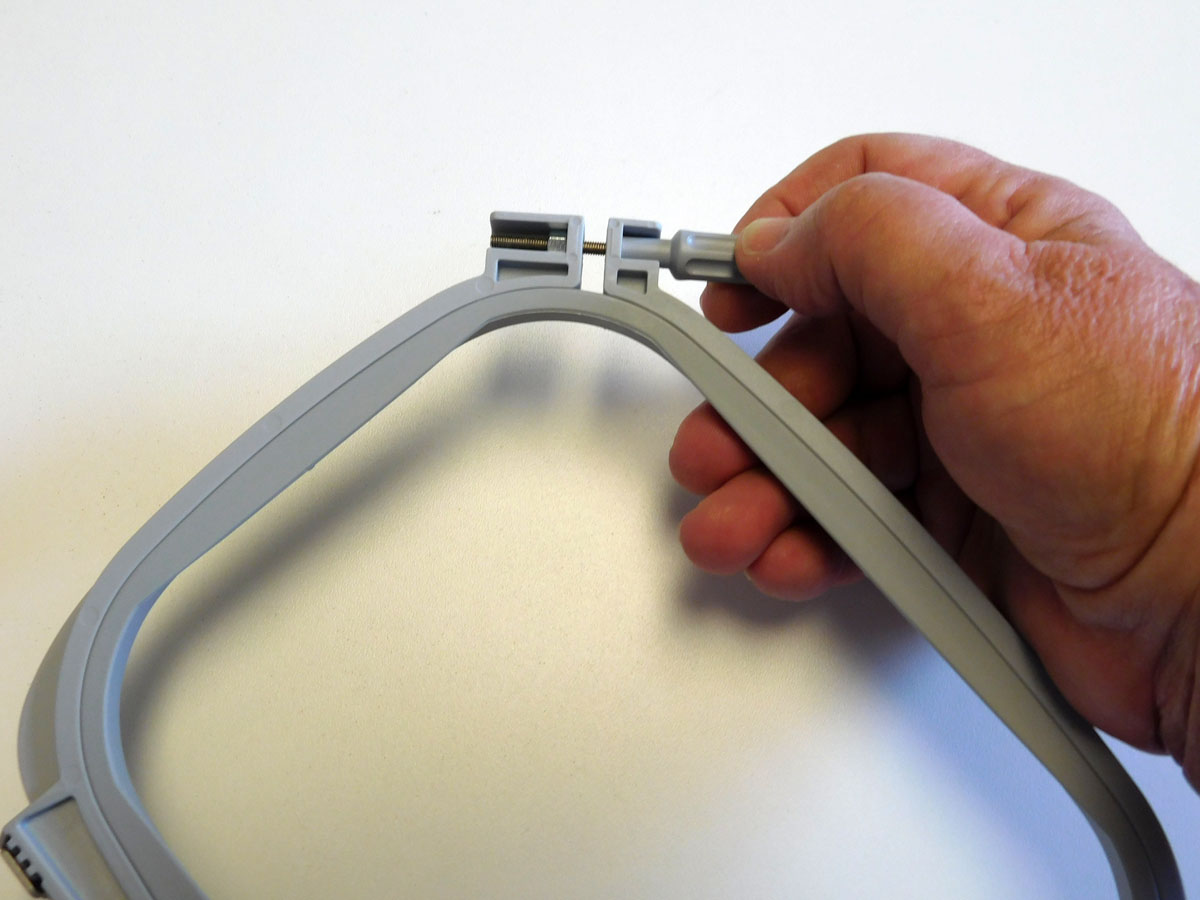
A machine embroidery hoop usually comes in two pieces: an outer hoop and an inner hoop.
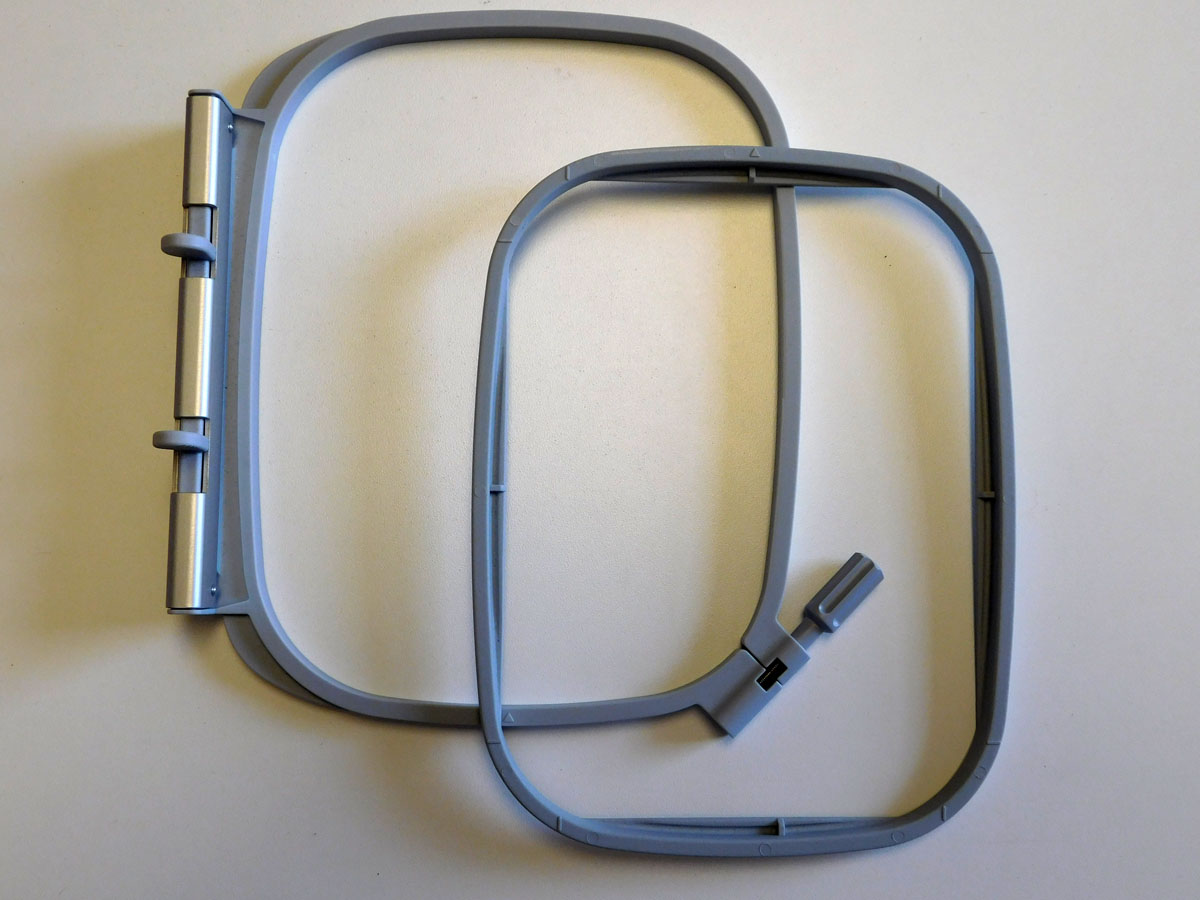
The usual hooping procedure includes placing the loosened outer hoop on a table, layering the stabilizer with the fabric on top of the outer hoop, then pressing the inner hoop inside the outer hoop, cinching the fabric and stabilizer between them. The screw is then tightened to give additional tautness.
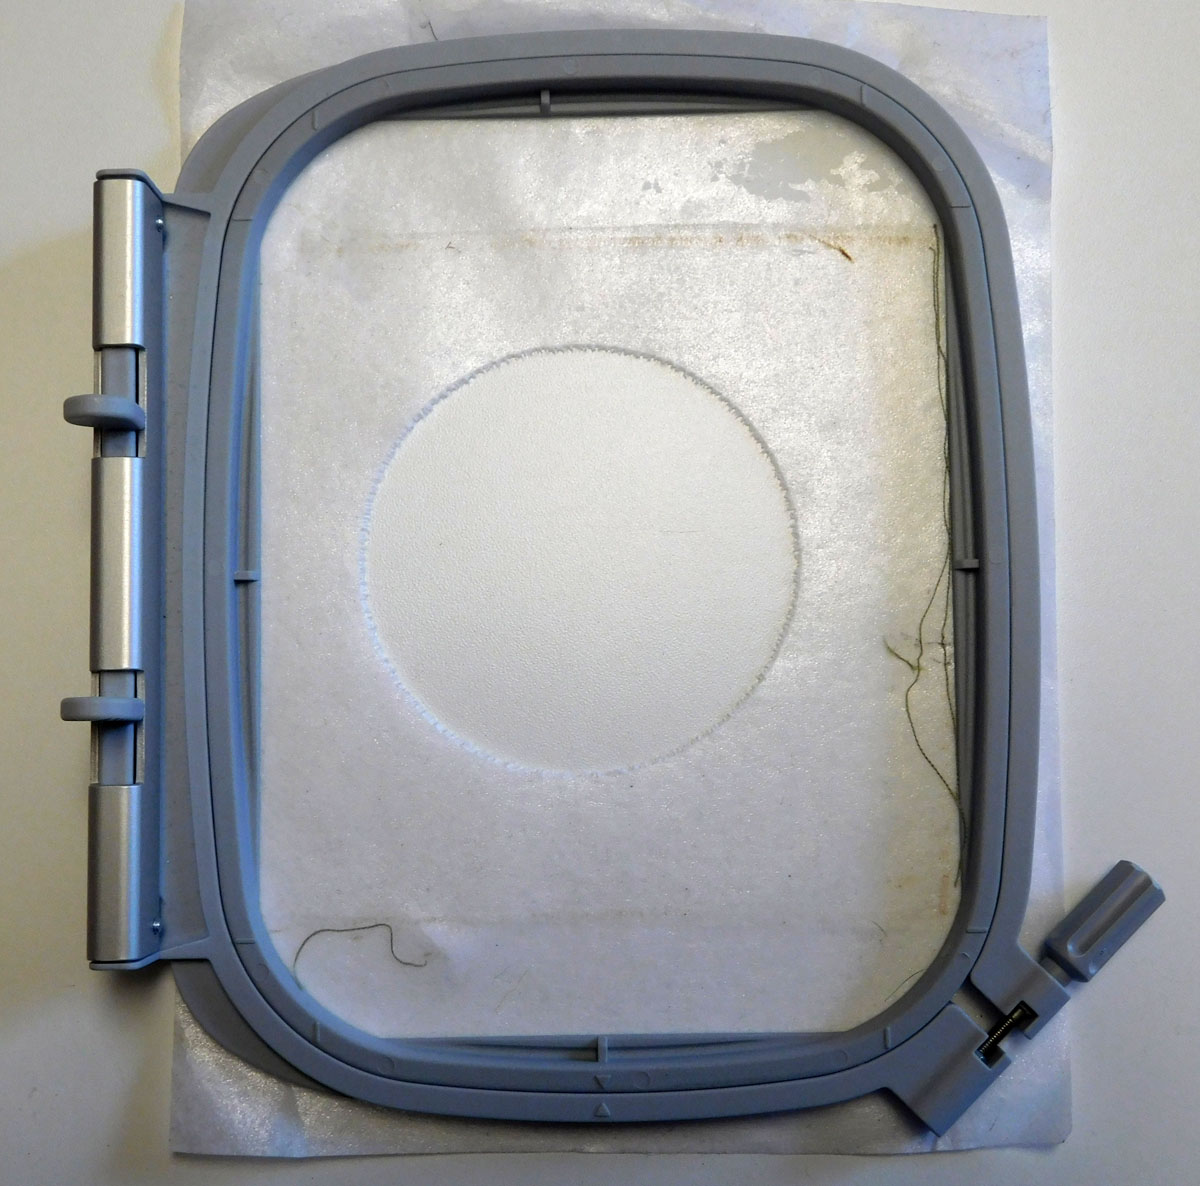
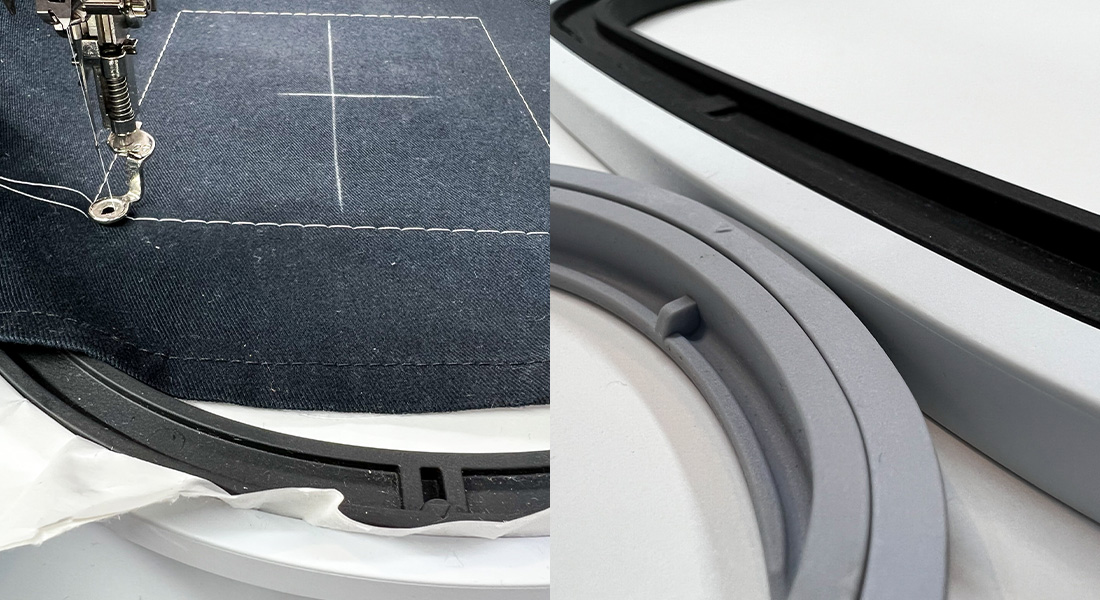
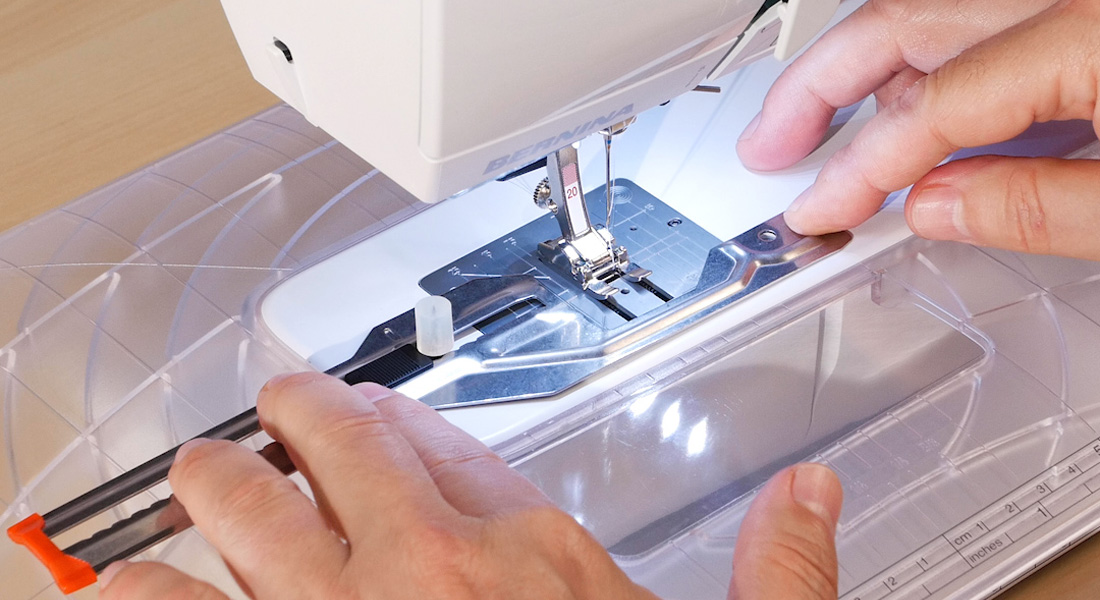
My tip begins with assembling the two hoops together with nothing in between, tightening the screw so the two hoops essentially become one, and then applying the stick-on stabilizer to the bottom of the hoop. Here’s how it works.
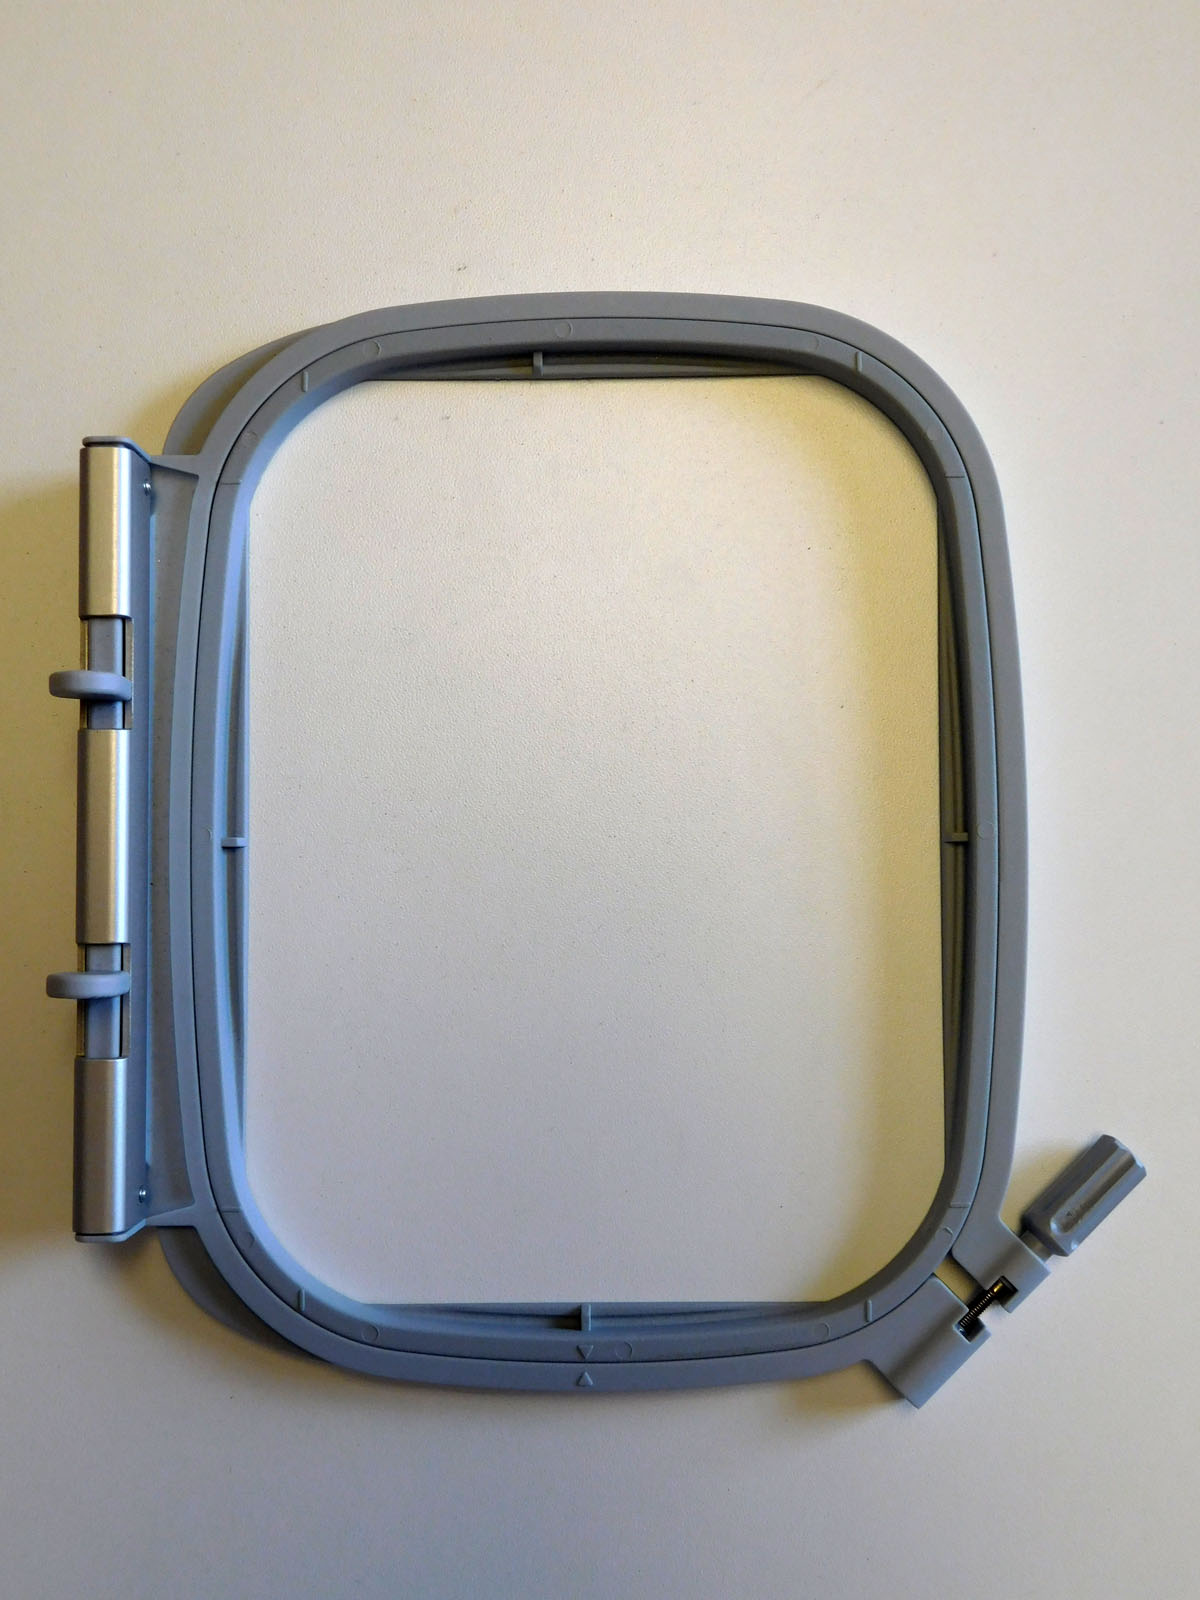
This is the front of the BERNINA Medium hoop.
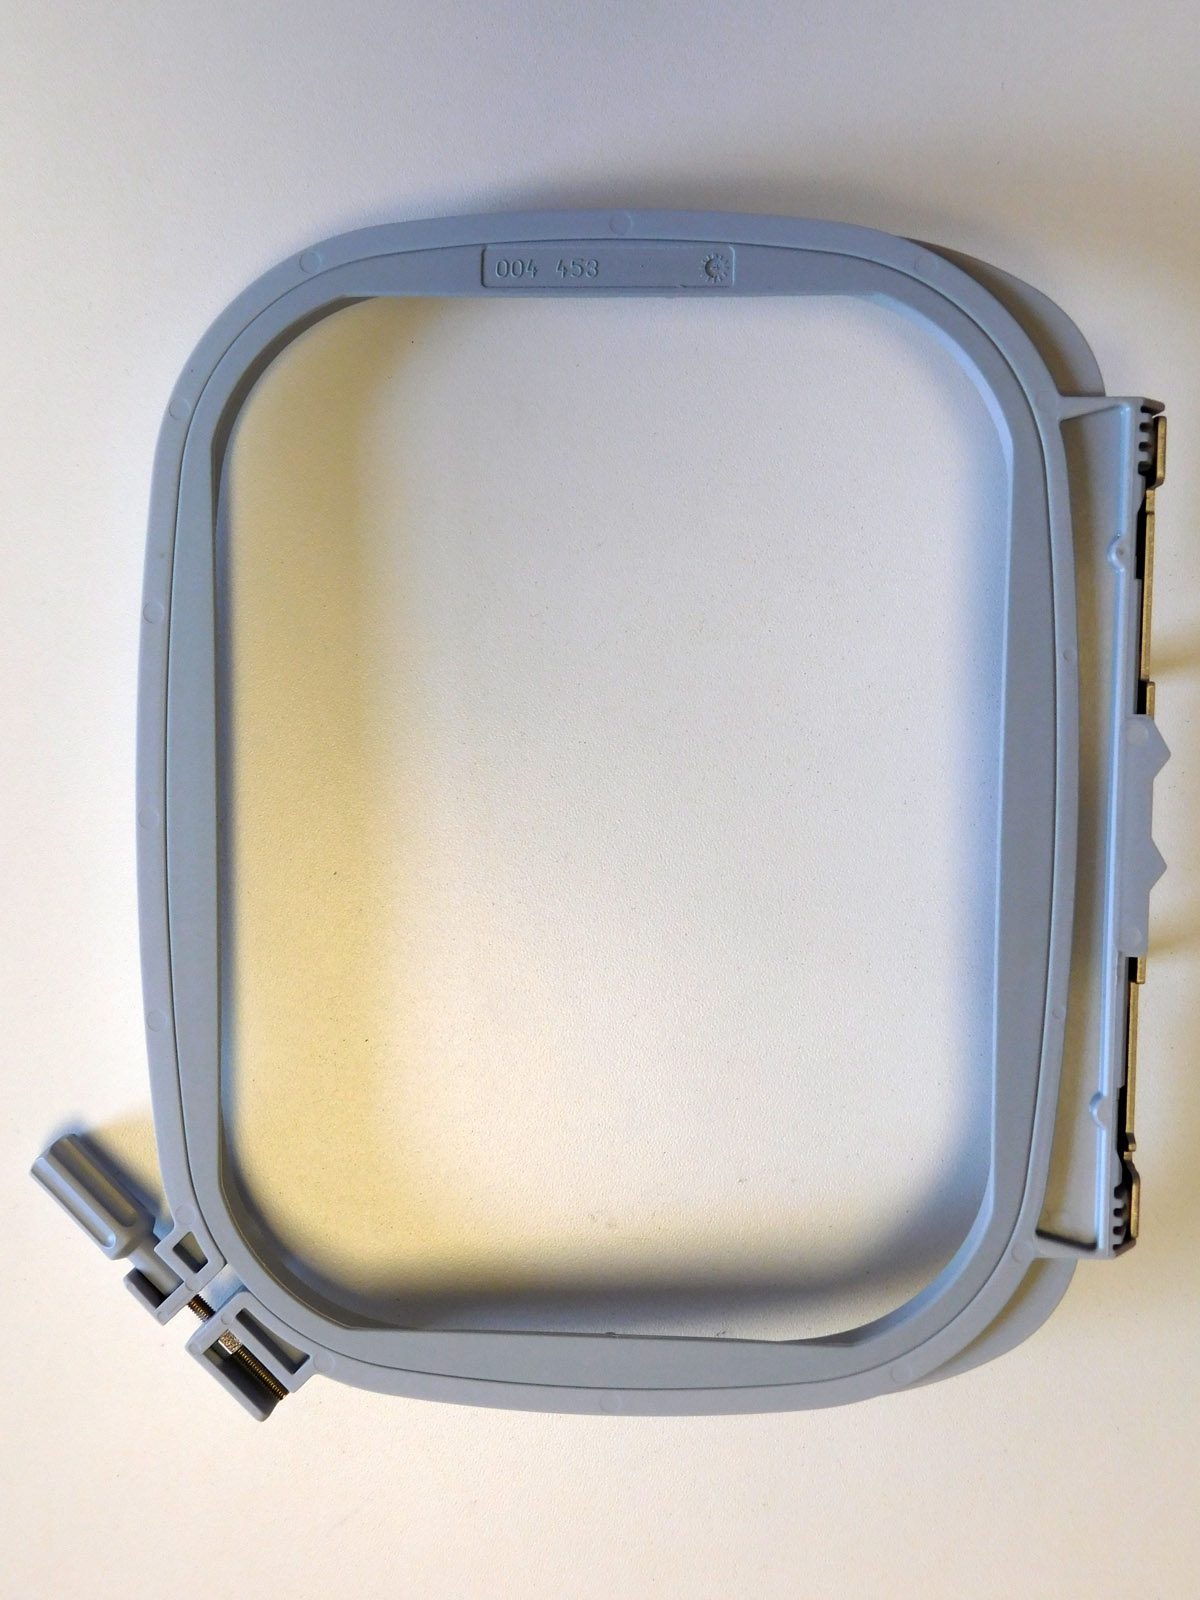
Notice that the wrong side has a flat, smooth surface.
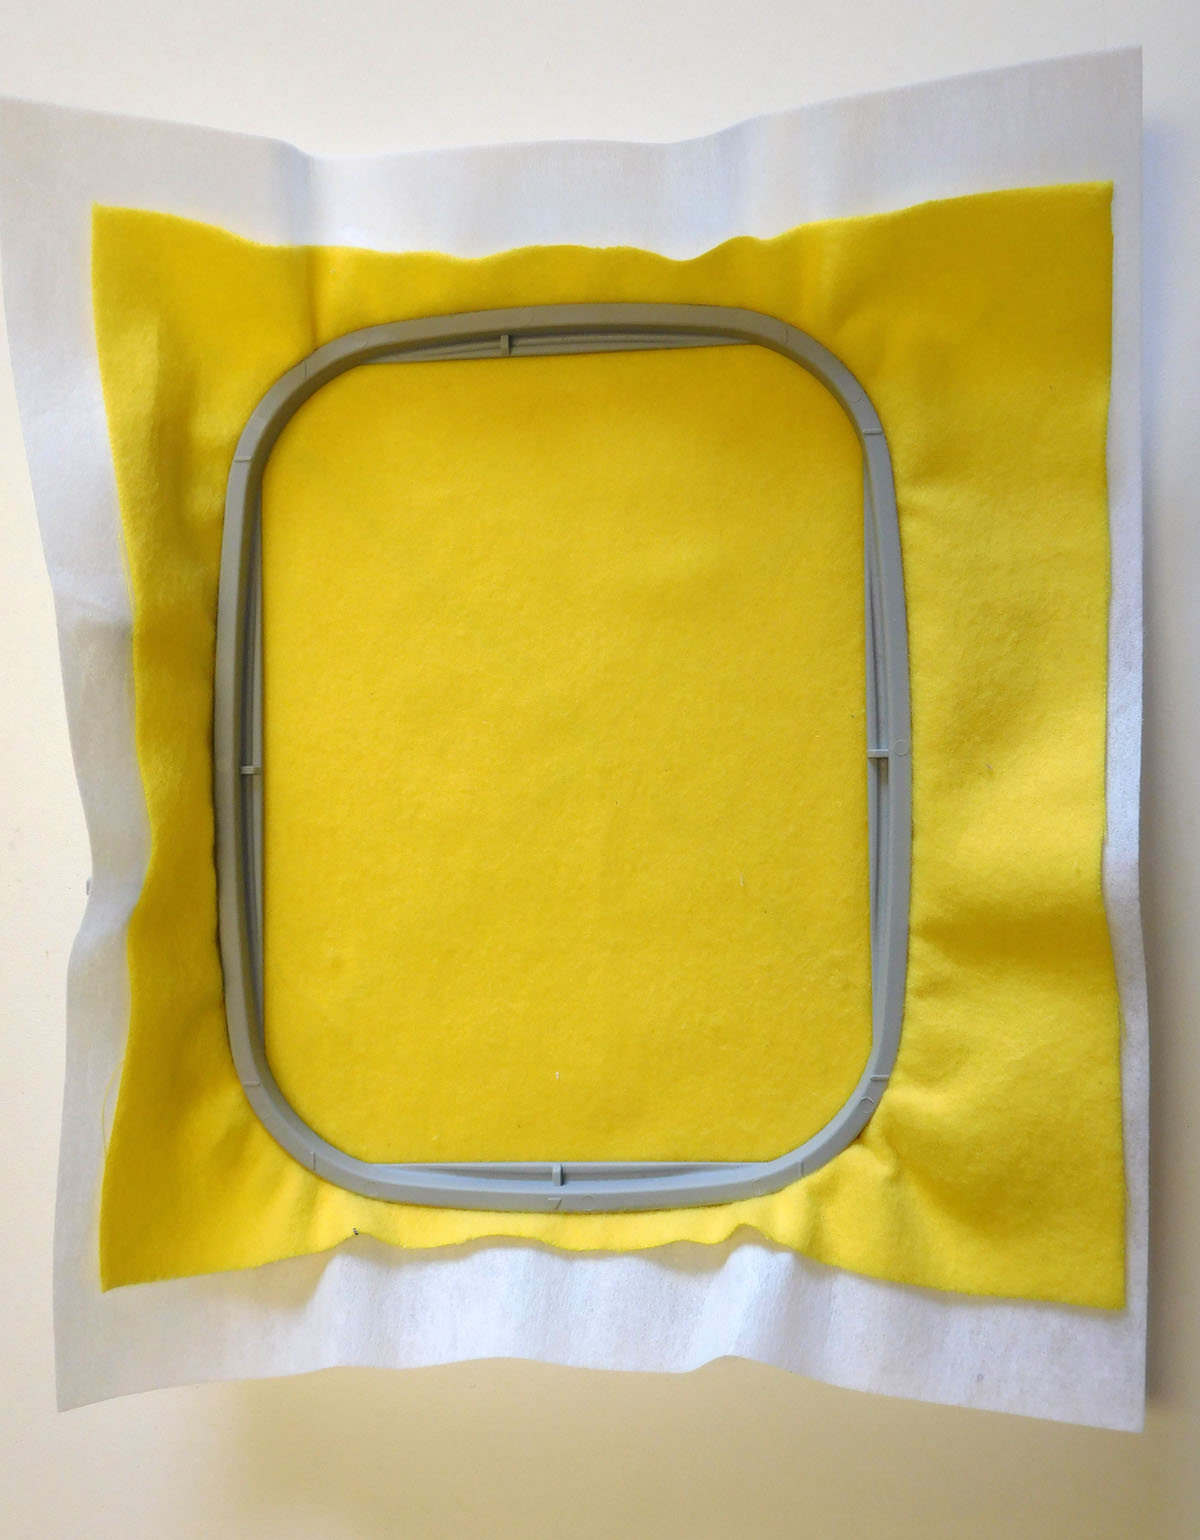
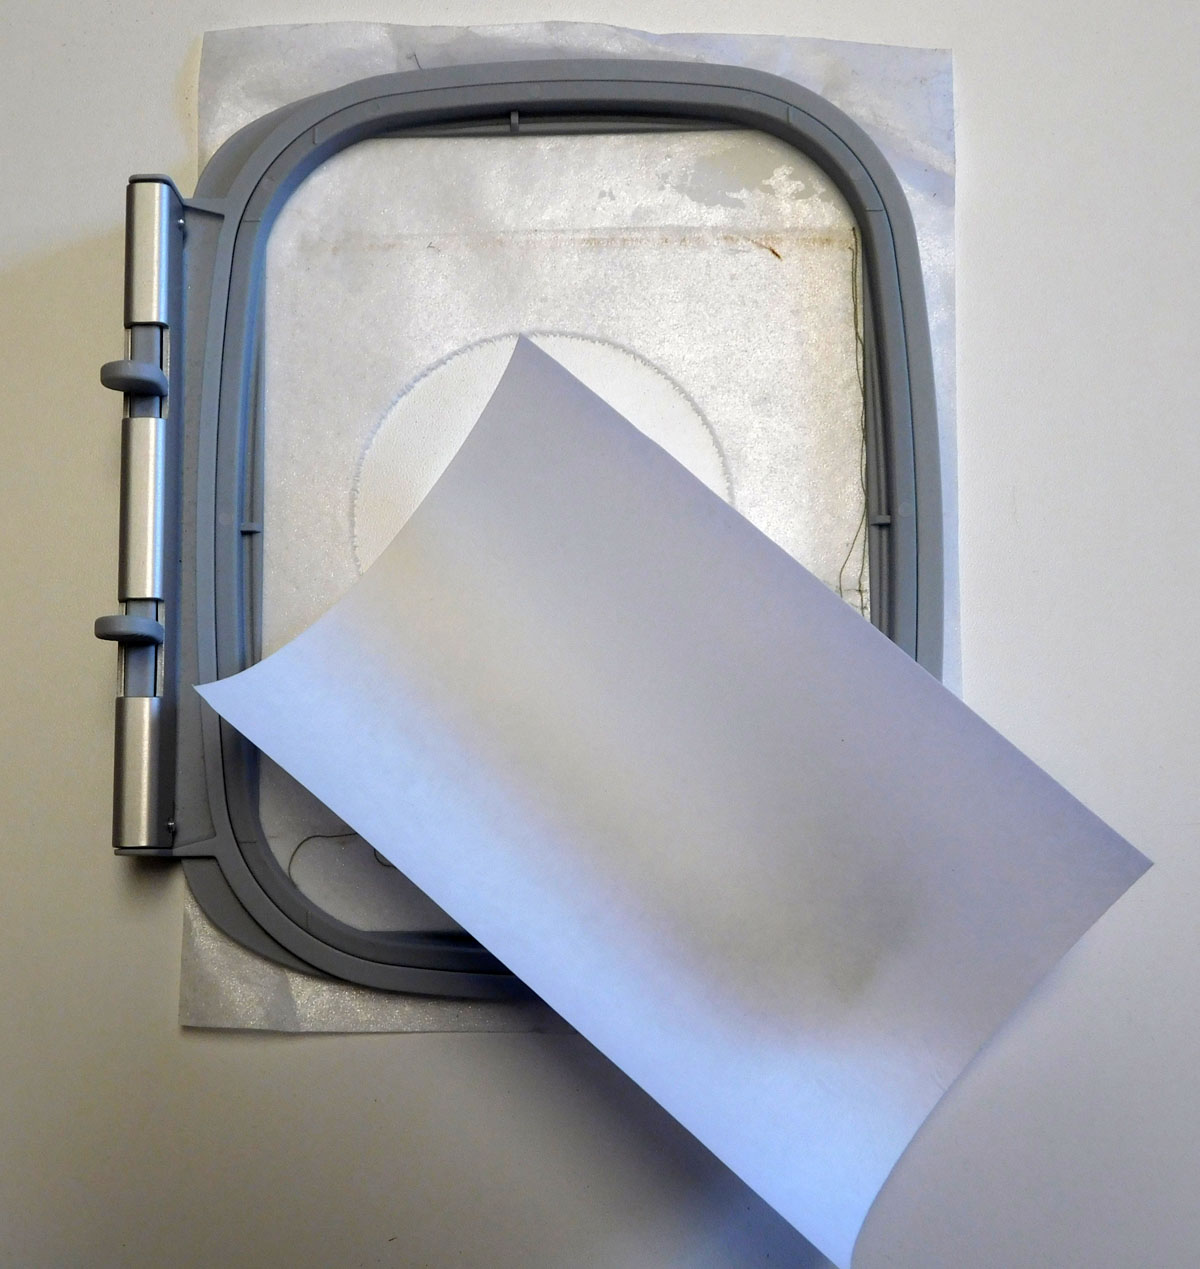
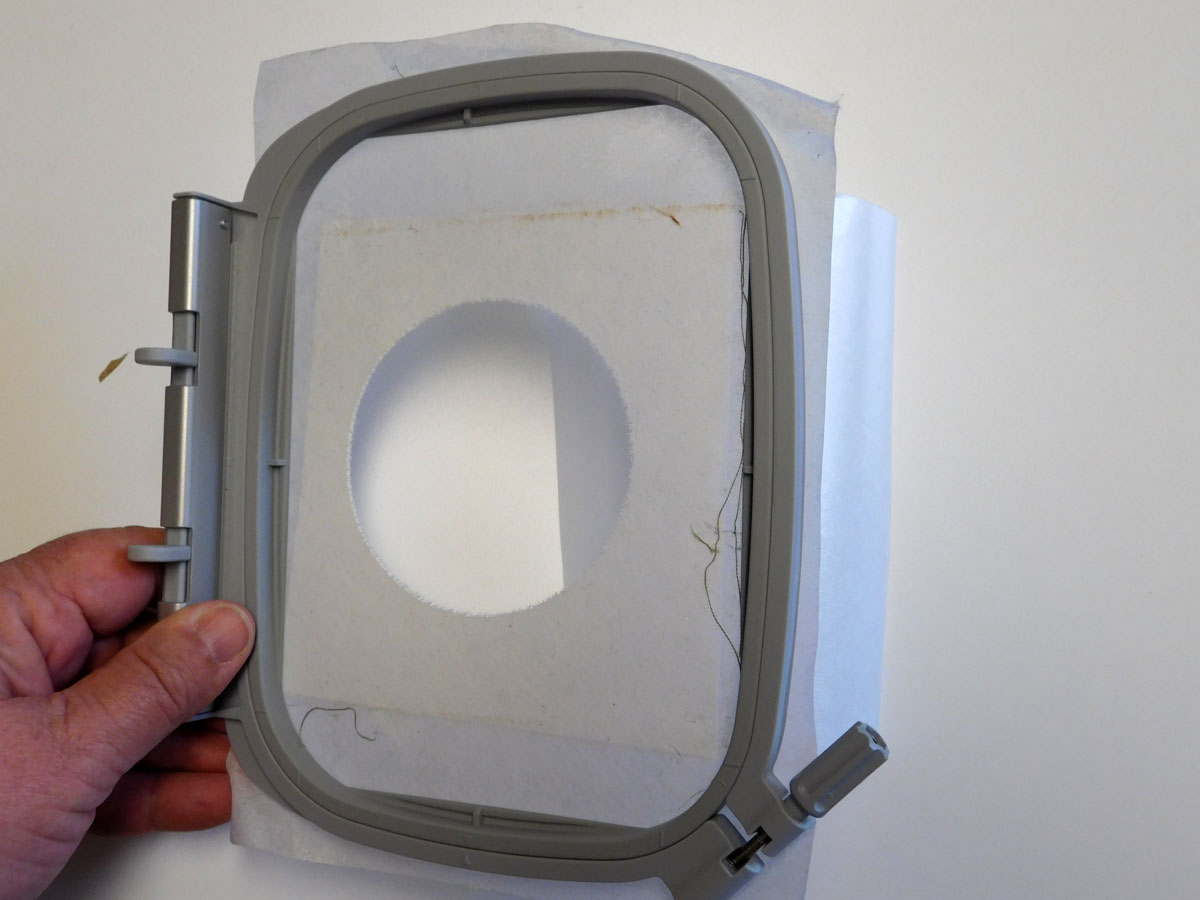
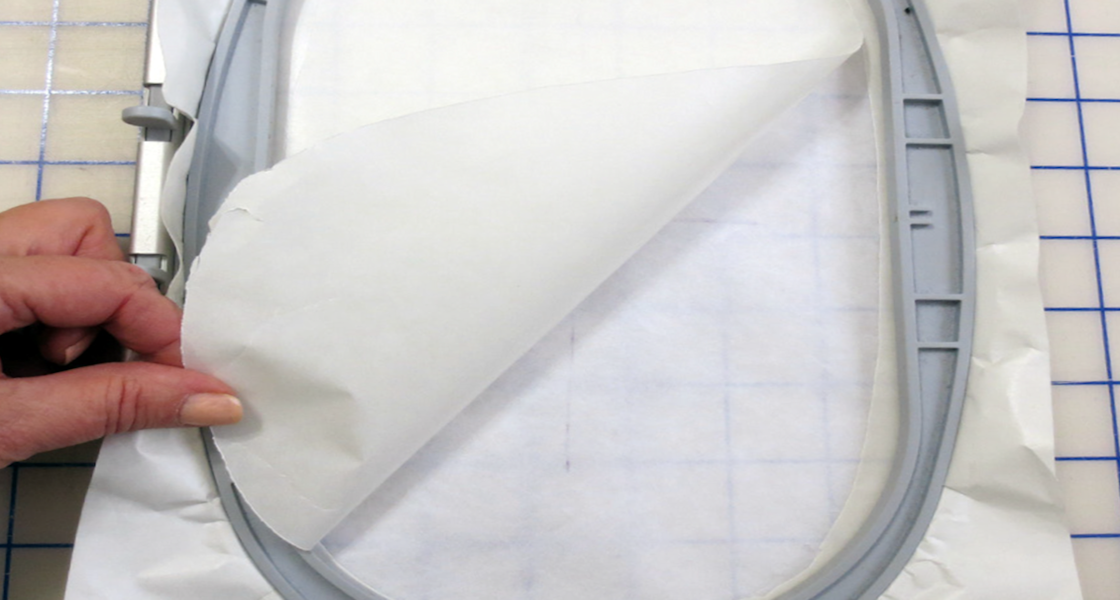
Most stick-on stabilizers come with a paper backing. Cut a piece a bit larger than the hoop to be used and peel off the paper. Lay the stabilizer sticky side up on a flat surface. Carefully place the assembled hoop on the stick-on stabilizer. Make sure to place the hoop so that the edge of the stabilizer meets the edge of the hoop leaving the clamp uncovered. If the stabilizer is covering the clamp, it will interfere in connecting the hoop to the embroidery module (if you find the stabilizer is covering the clamp, you can carefully trim it away with scissors).
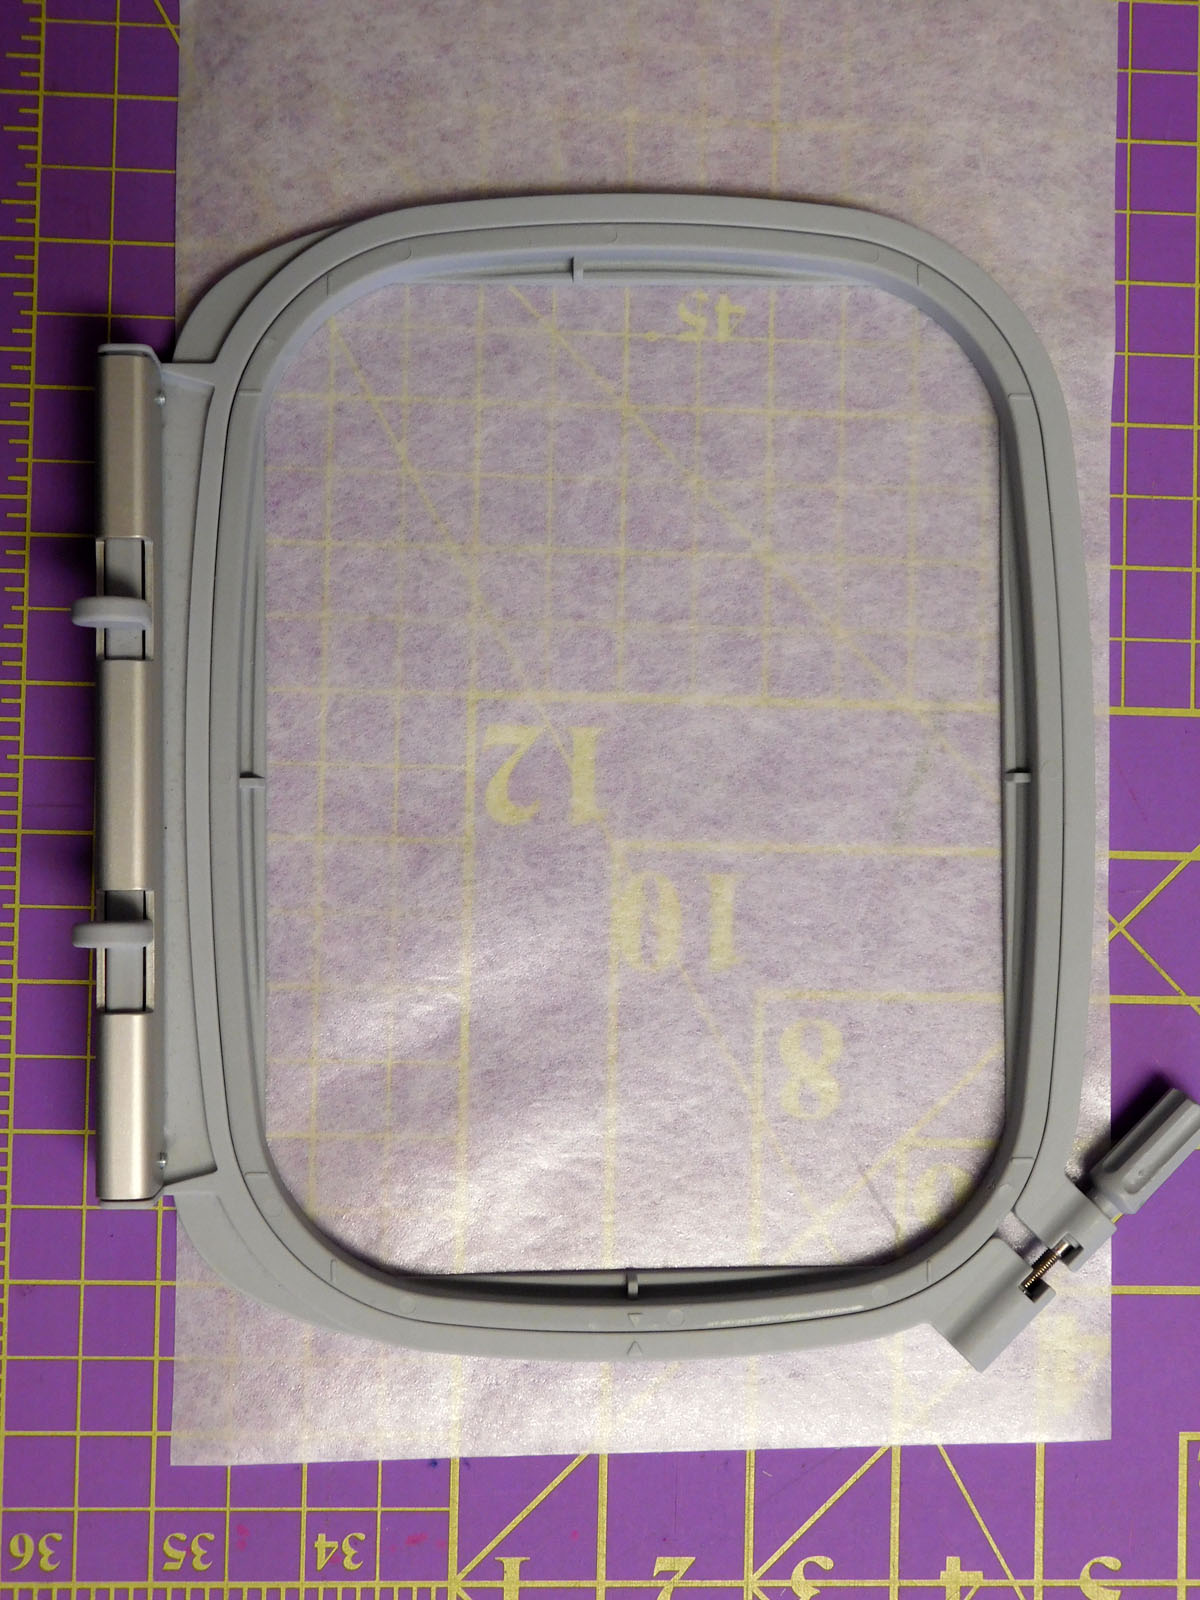
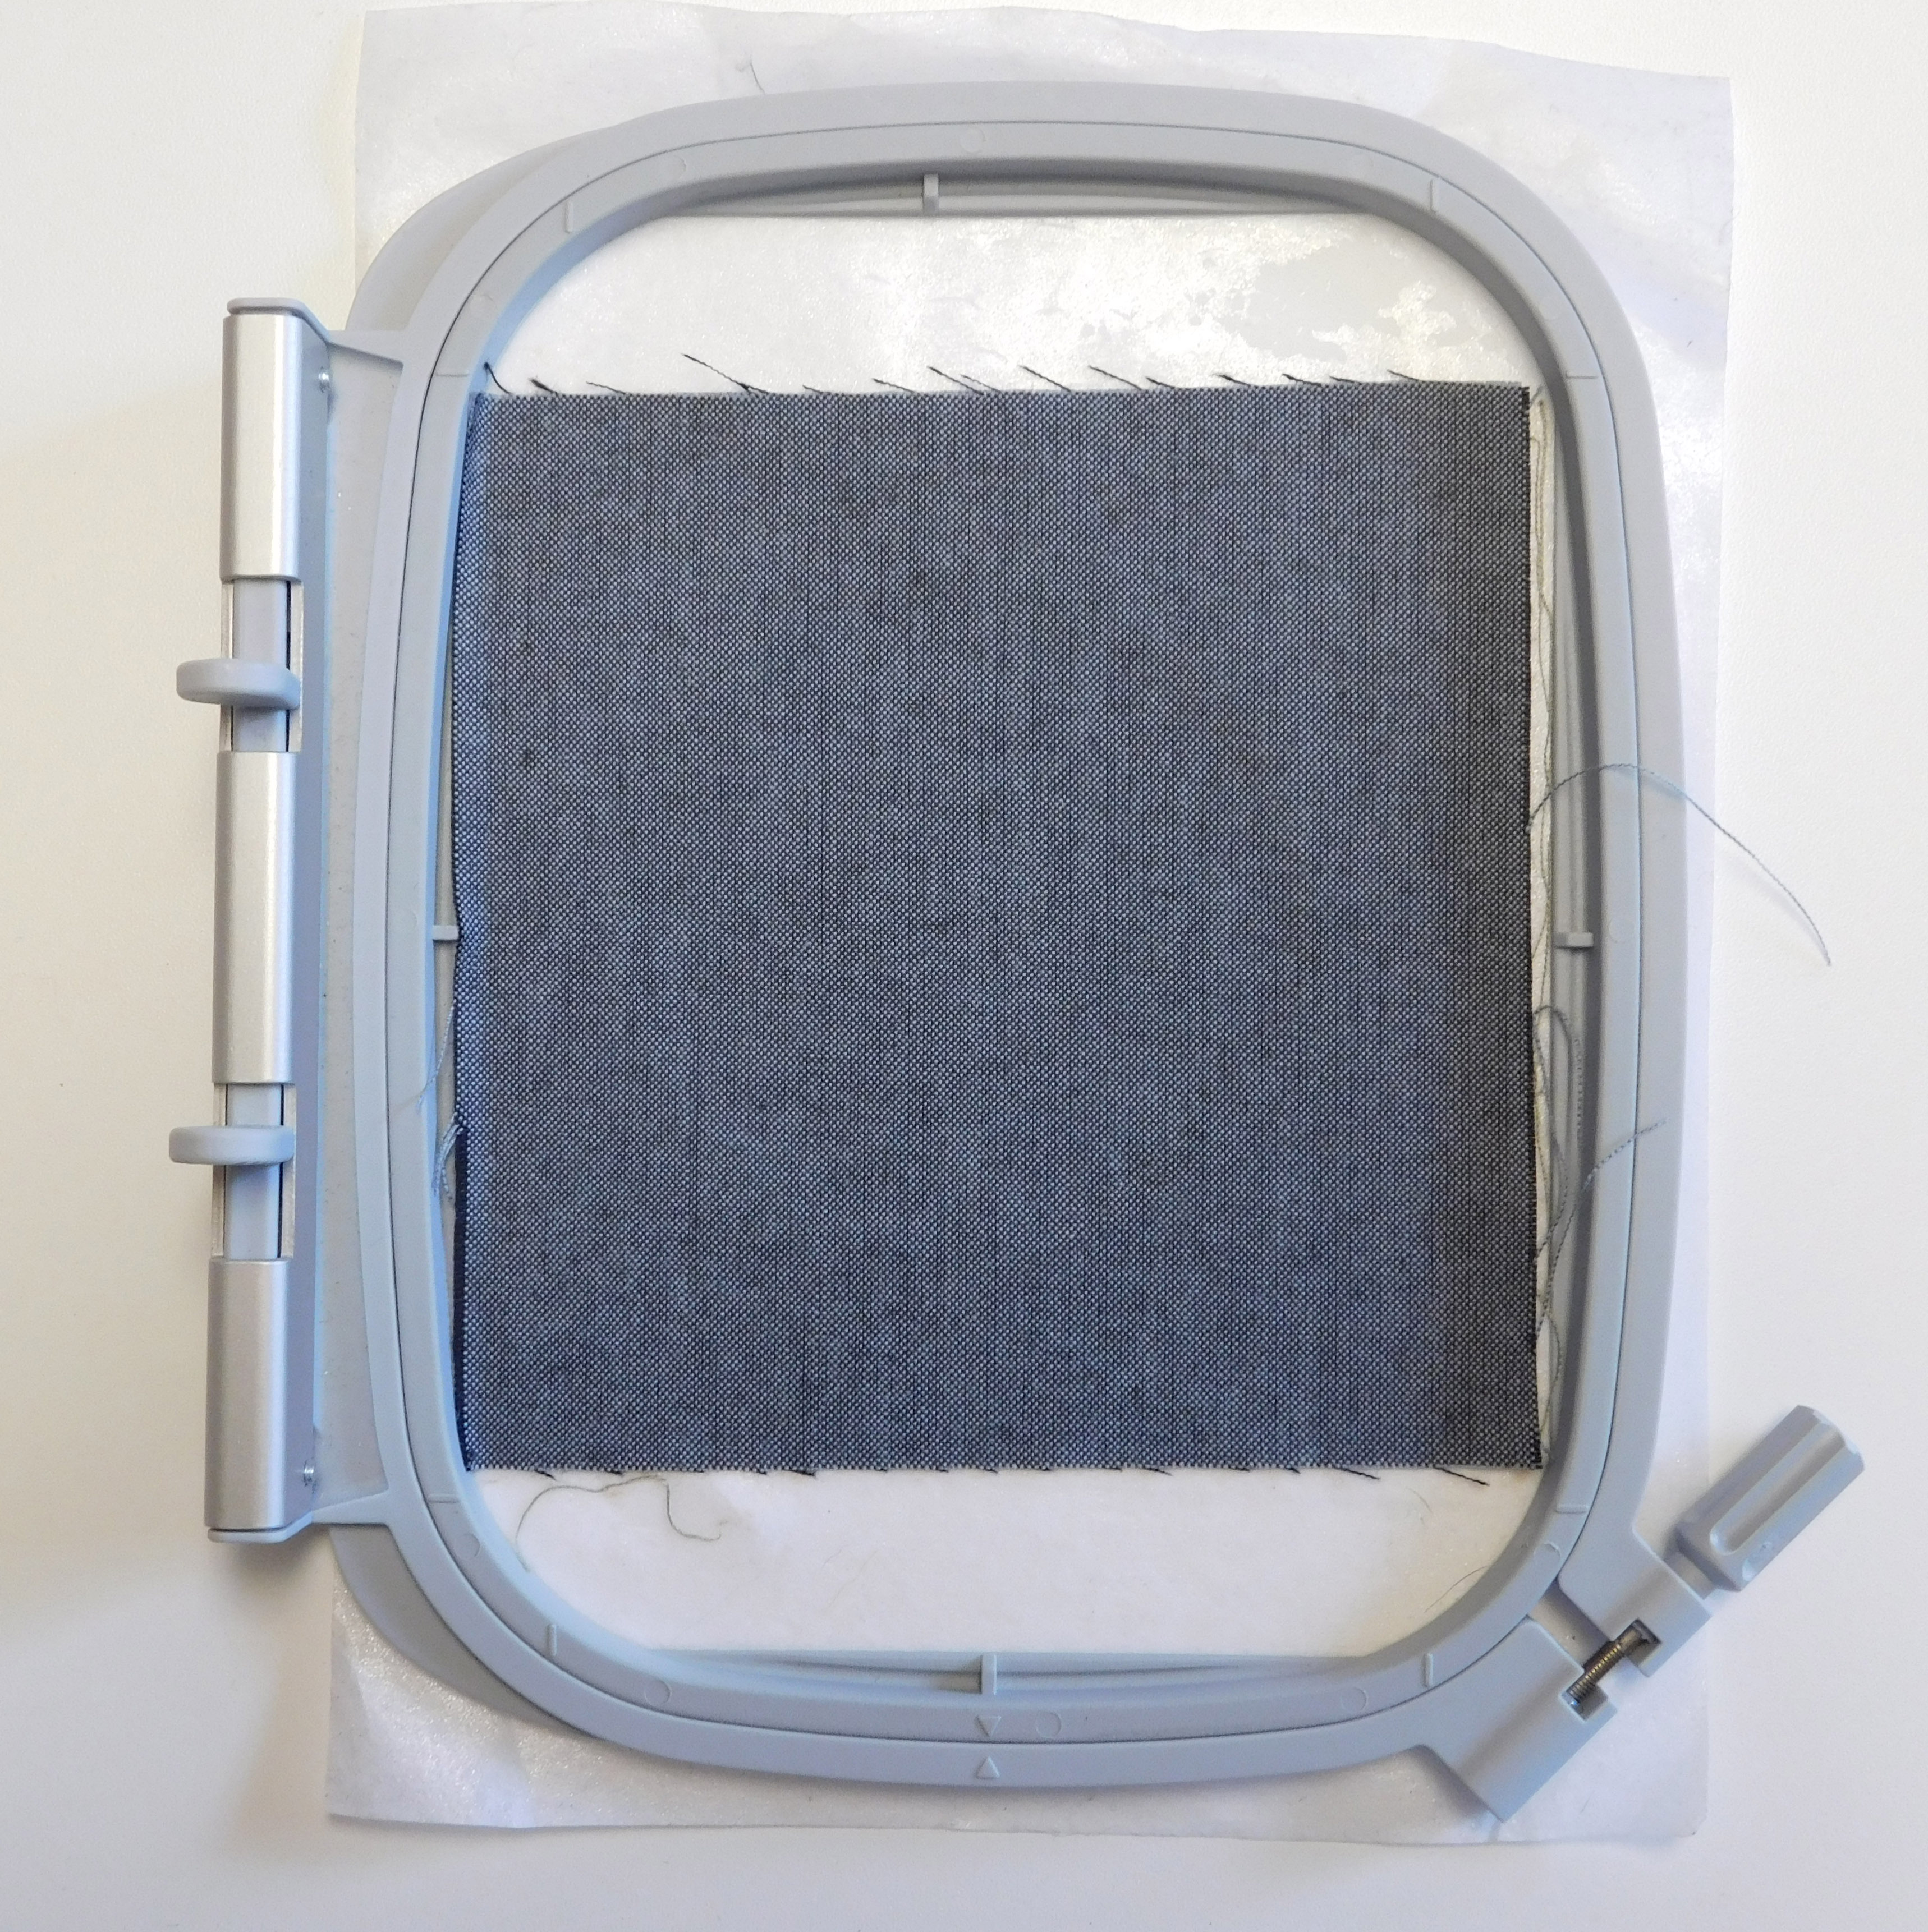
If it’s not totally flat on the first try it can be peeled up in crucial spots to smooth out the slight wrinkles and stuck back on the hoop so it’s fairly taut. Now I simply have to place my fabric swatch inside the hoop on the sticky surface.
I pre-cut my fabric swatches to the correct size needed before starting to embroider.
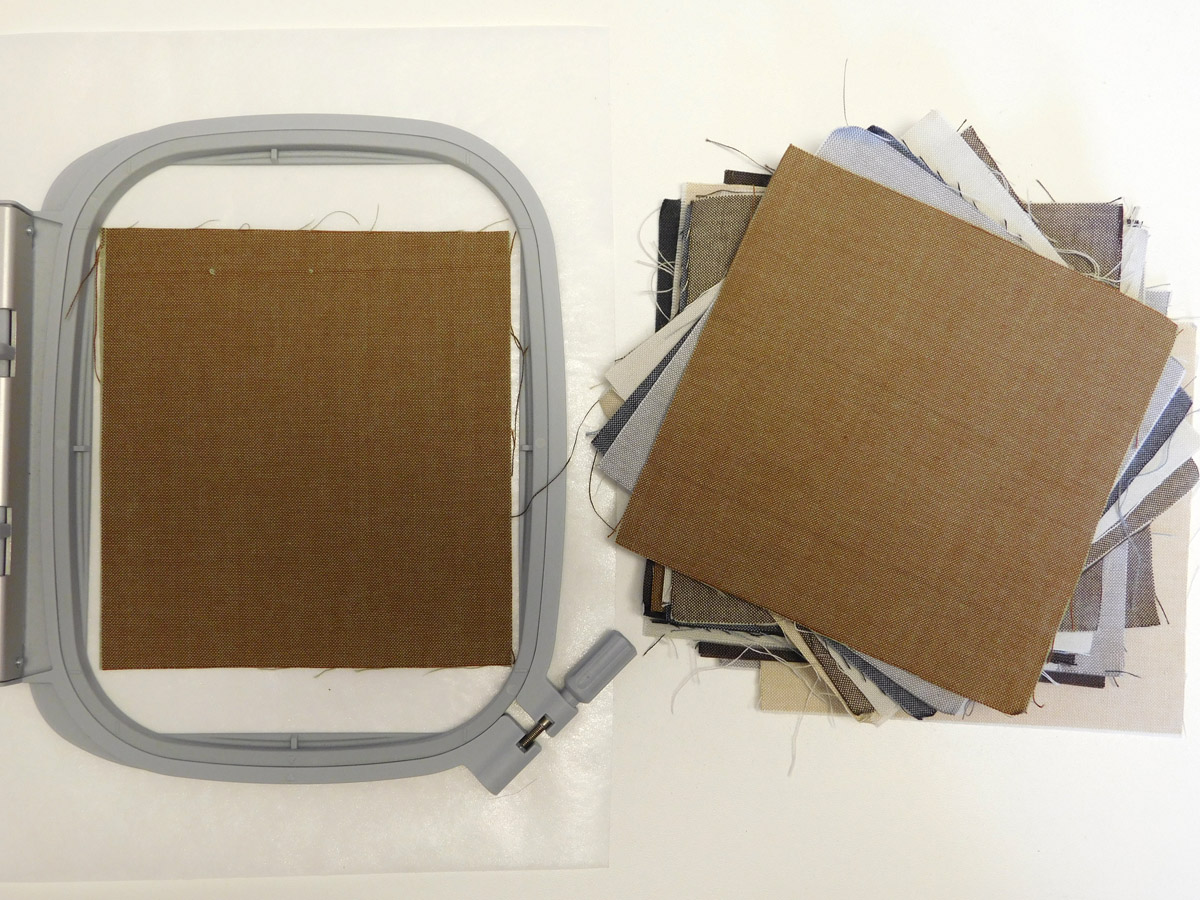
I needed a finished swatch 4 1/2″ square, so I cut swatches 5 1/2″ square to embroider. I am using extra fabric, but not near as much as if I were hooping in the traditional manner.
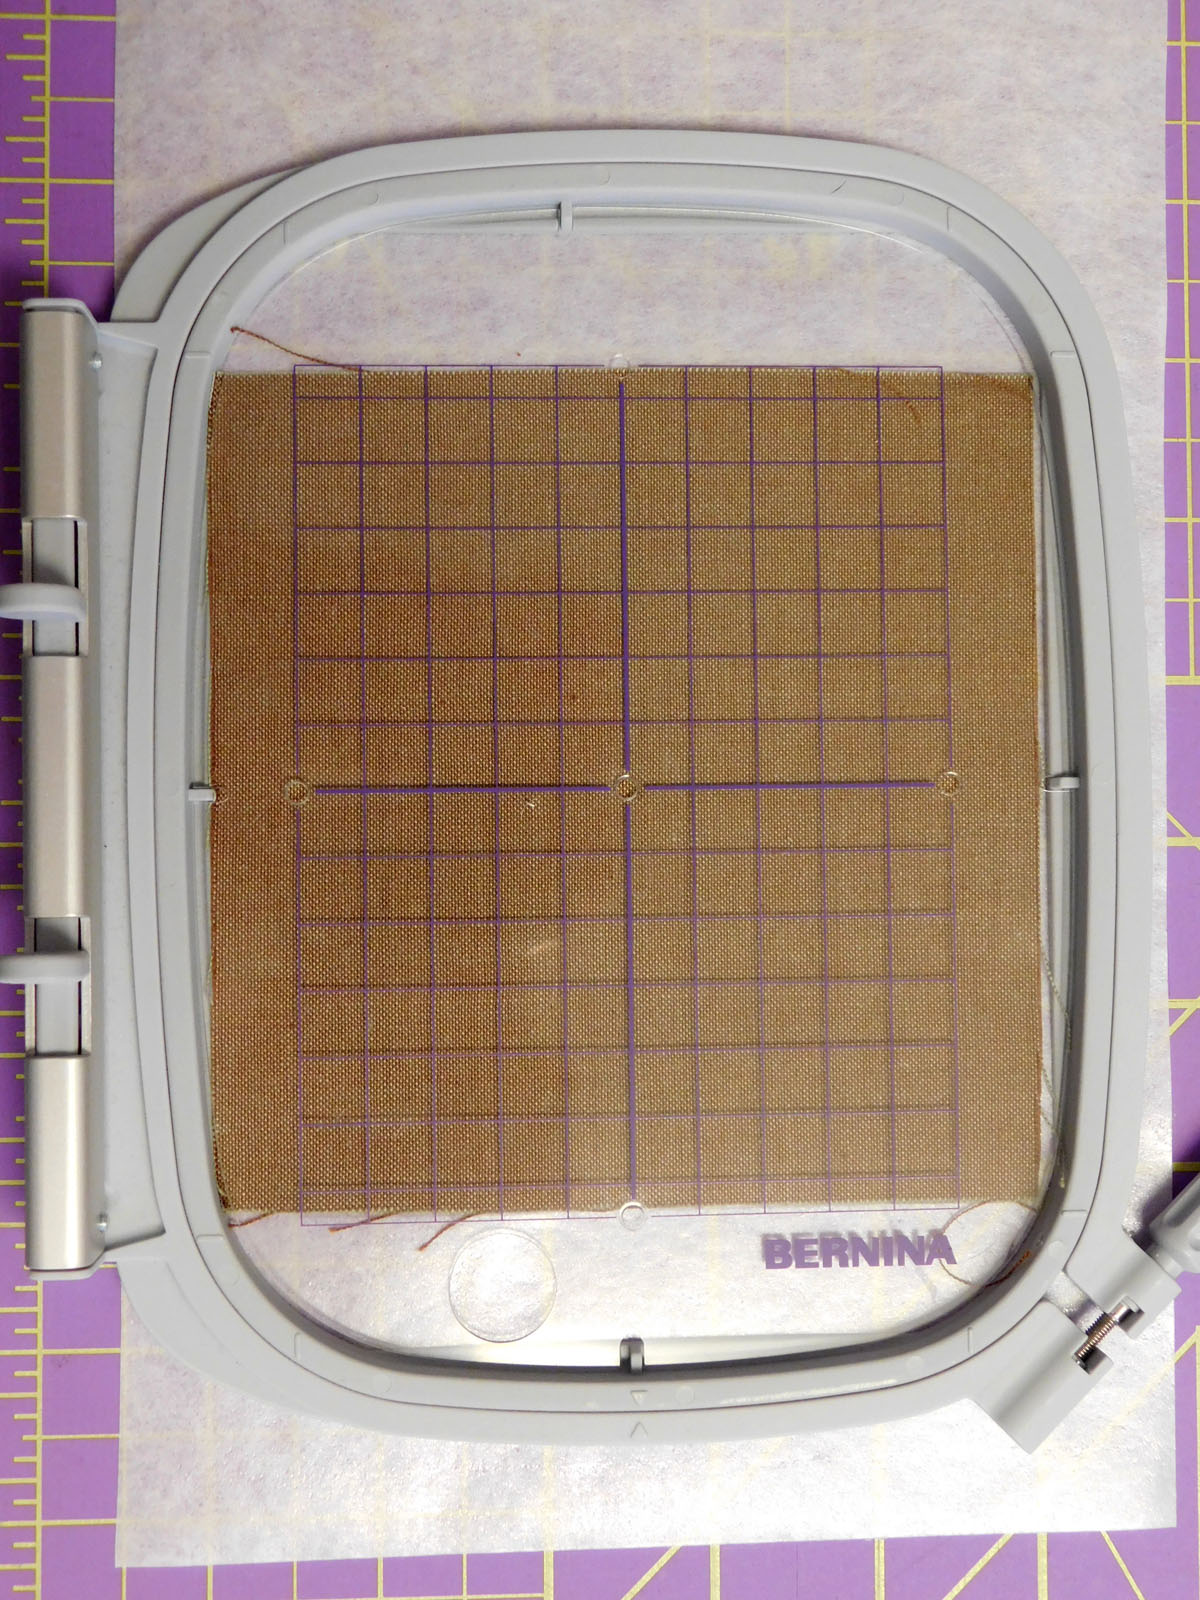
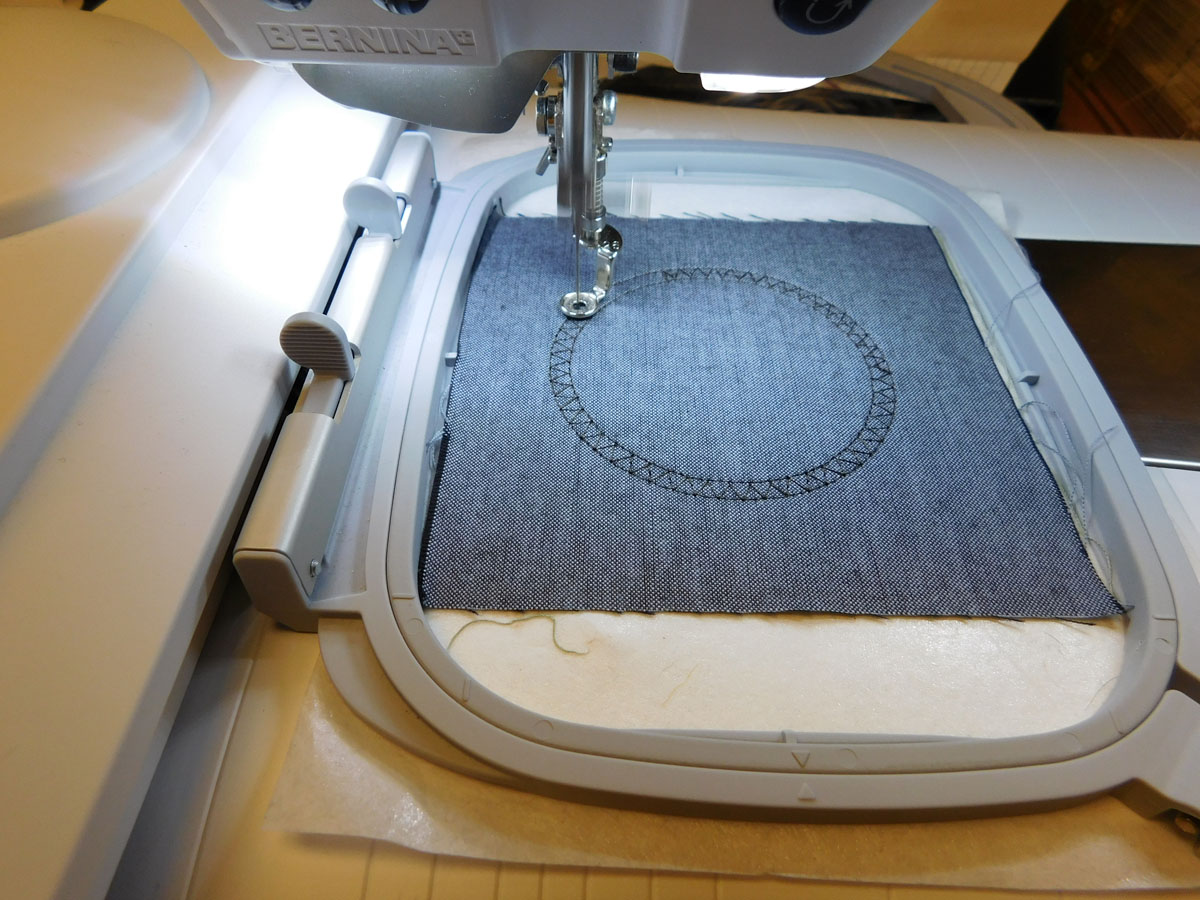
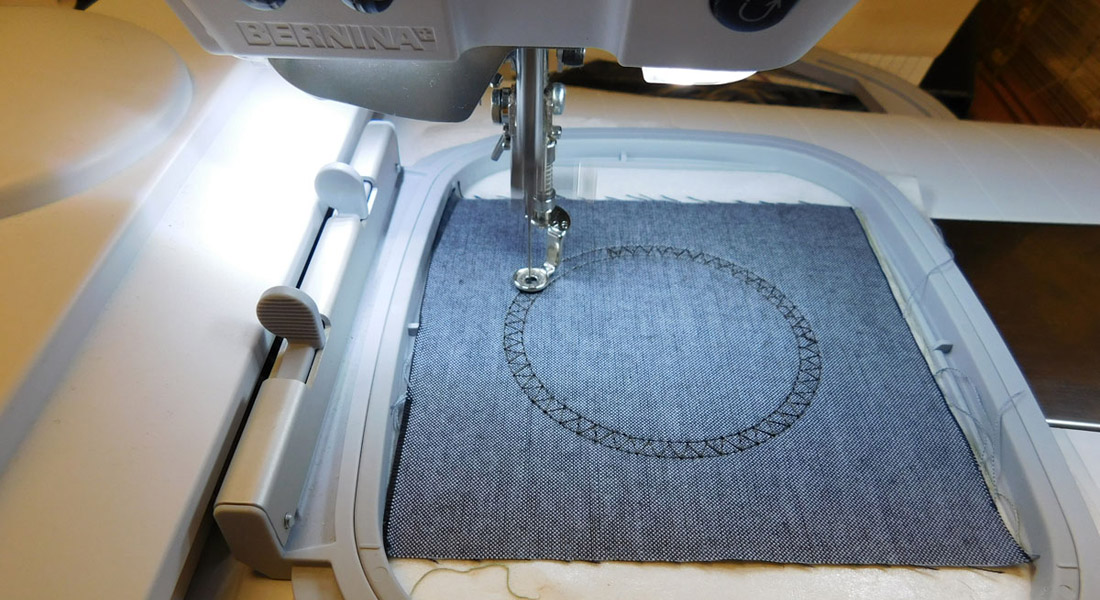
I discovered that I needed to be very precise with placement of the swatches in the hoop so the design would be embroidered on center. I used my gridded see-through template with the hoop to center the swatch.
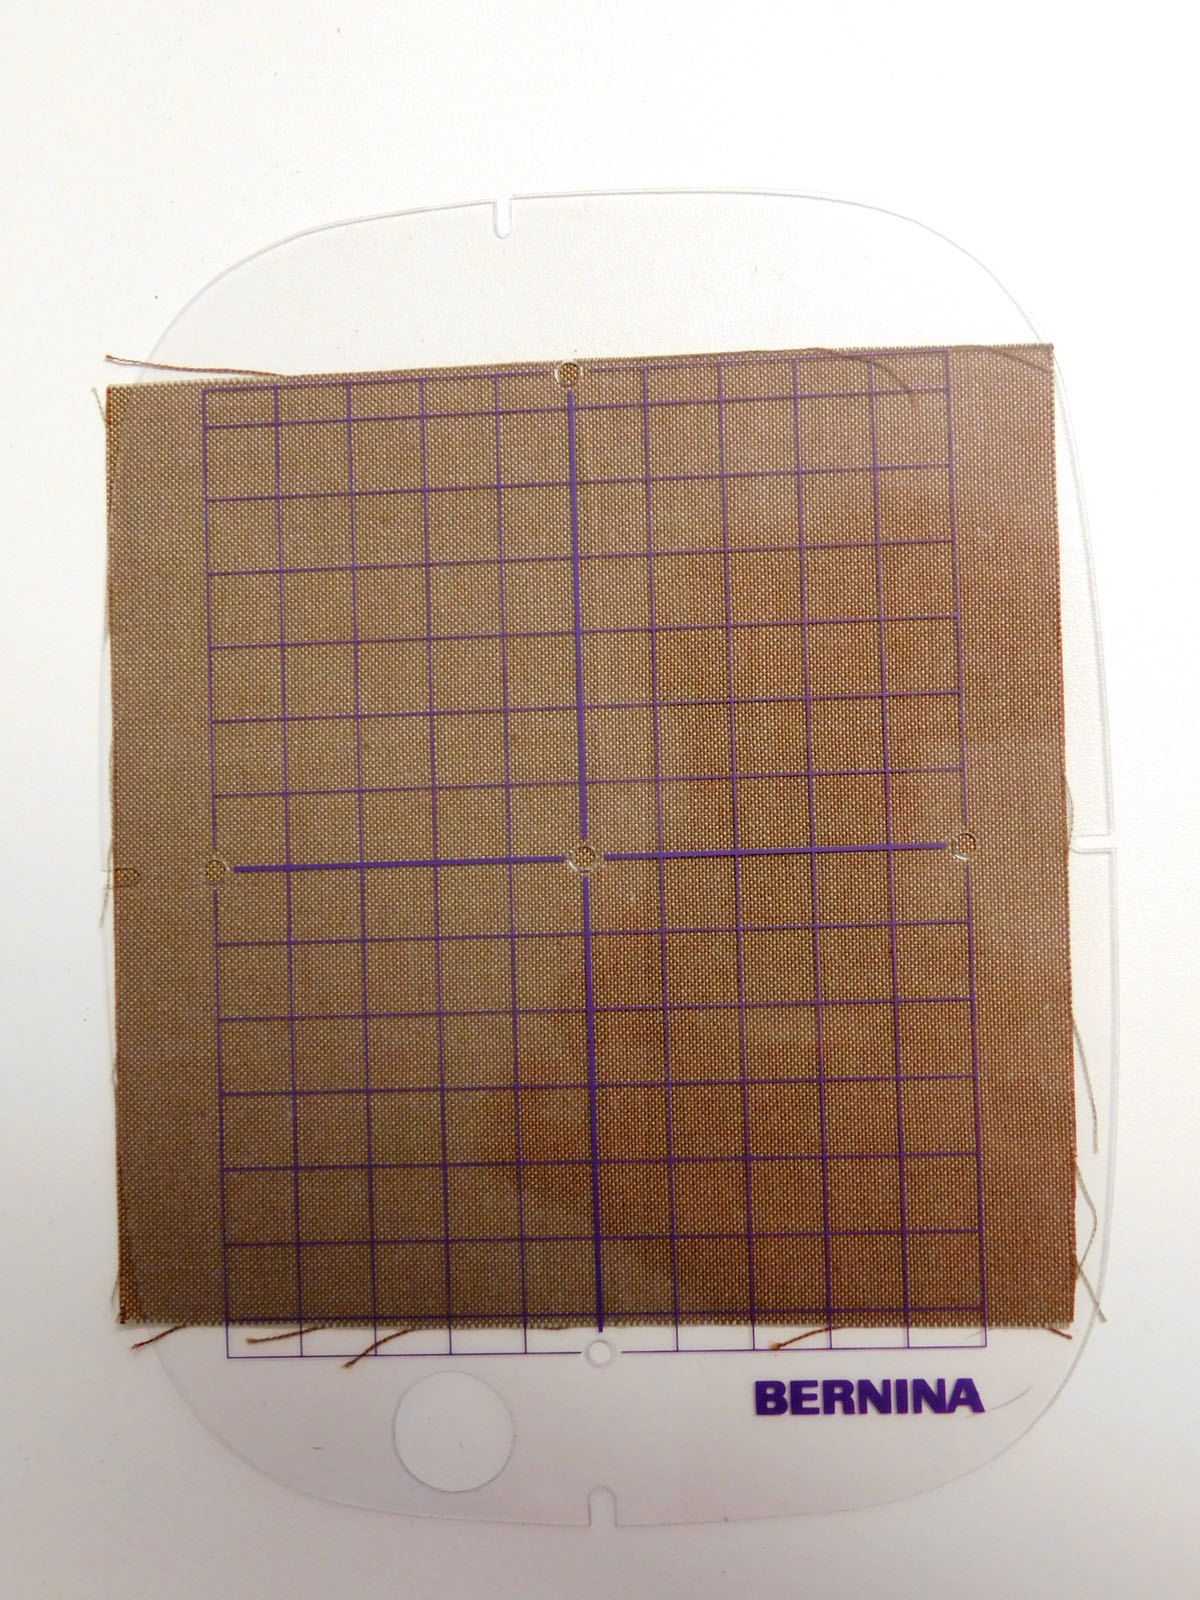
I place the template on top of the swatch and then lift both items and place them in the hoop matching the notches in the hoop.
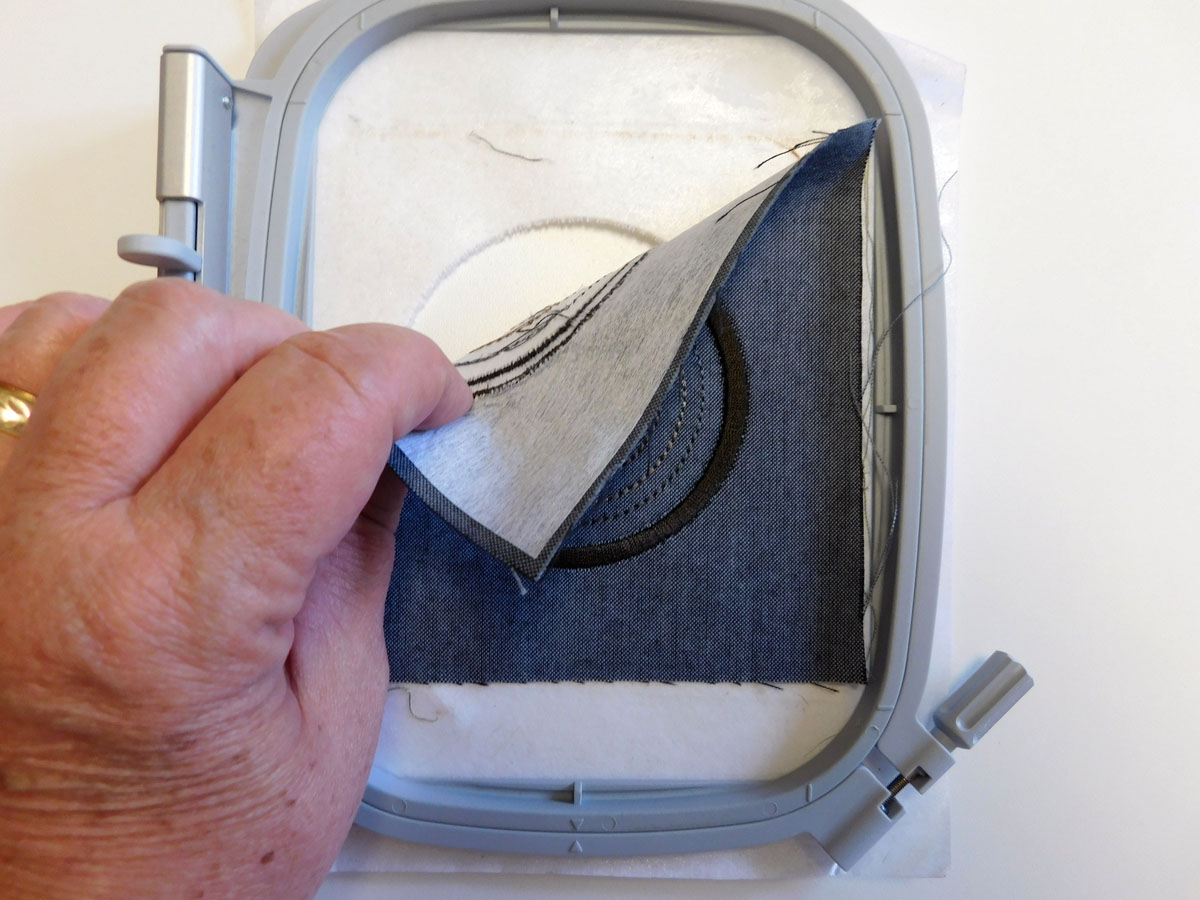
Once my embroidery is complete I carefully tear it out from the stabilizer.
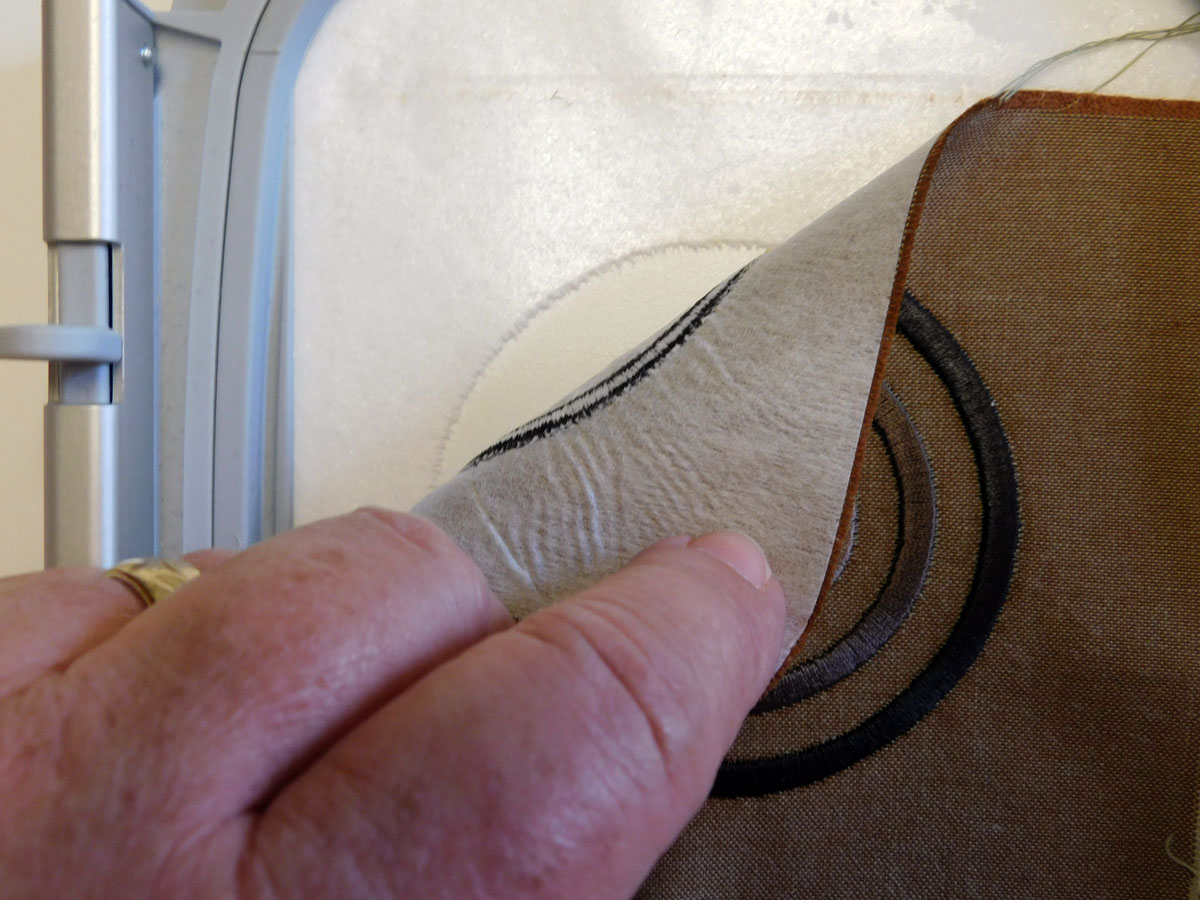
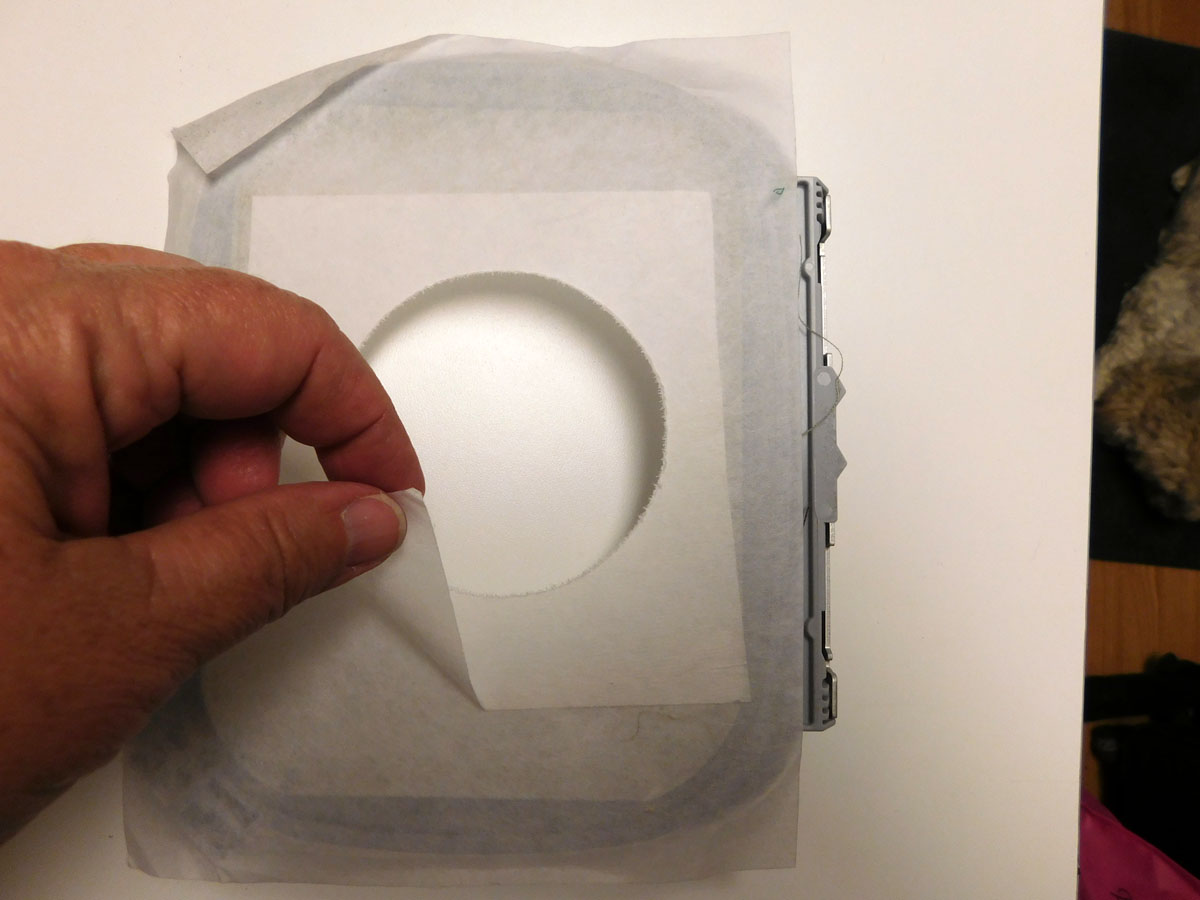
(You may note that I have interfaced my swatches as these squares will be used in a project that needs to be stiff.) A hole is left in the stabilizer that is stuck to the hoop.
Now I cut another small piece of stabilizer.
The backing paper is peeled off the stabilizer “patch”, laid on the table sticky side up.
Then the hoop is placed on top of it, patching the hole inside the hoop.

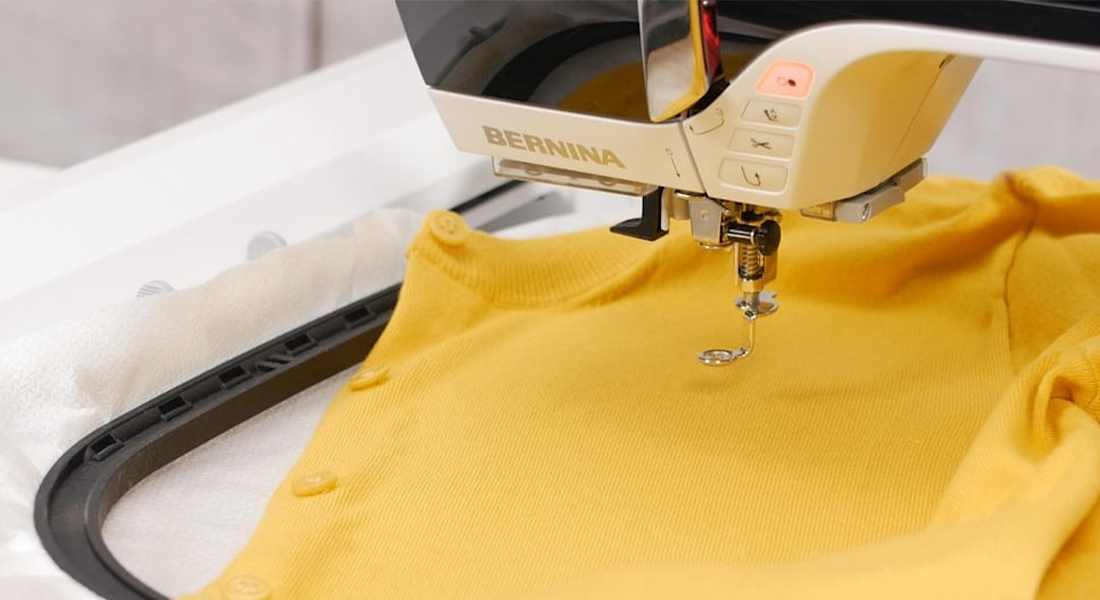
The hoop is now ready to have another swatch placed in it.
I embroider the next design.
The embroidery is carefully torn away.
Then the patch of stabilizer is carefully removed and replaced with a new patch.
I can continue in this manner until the original stabilizer that is stuck to the hoop is no longer sticky enough to hold my fabric swatches. Depending on the fabric this can be many uses. Once the stabilizer’s stickiness is used up, I peel it off and cut another large piece to replace it.
If I have used a stick-on stabilizer on my hoops for quite a while the back of the hoop will take on a lot of sticky residue. When the residue gets bothersome I use rubbing alcohol to clean it off. There are also spray can products that you can purchase to clean the adhesive off your hoops.
When I was making Josephine’s Amazing Neutral Colored Dreamcoat I had a deadline looming and hundreds of swatches to sew. I borrowed a medium hoop from an acquaintance so I could be loading one hoop while the other was stitching out. I found it was very handy to have an extra hoop, so I now have two of them and things get done quickly. I also use stick-on stabilizers with my larger hoops and it works just great for me with those as well. Also, if I need more stiffness I can use 2 layers of stabilizer.
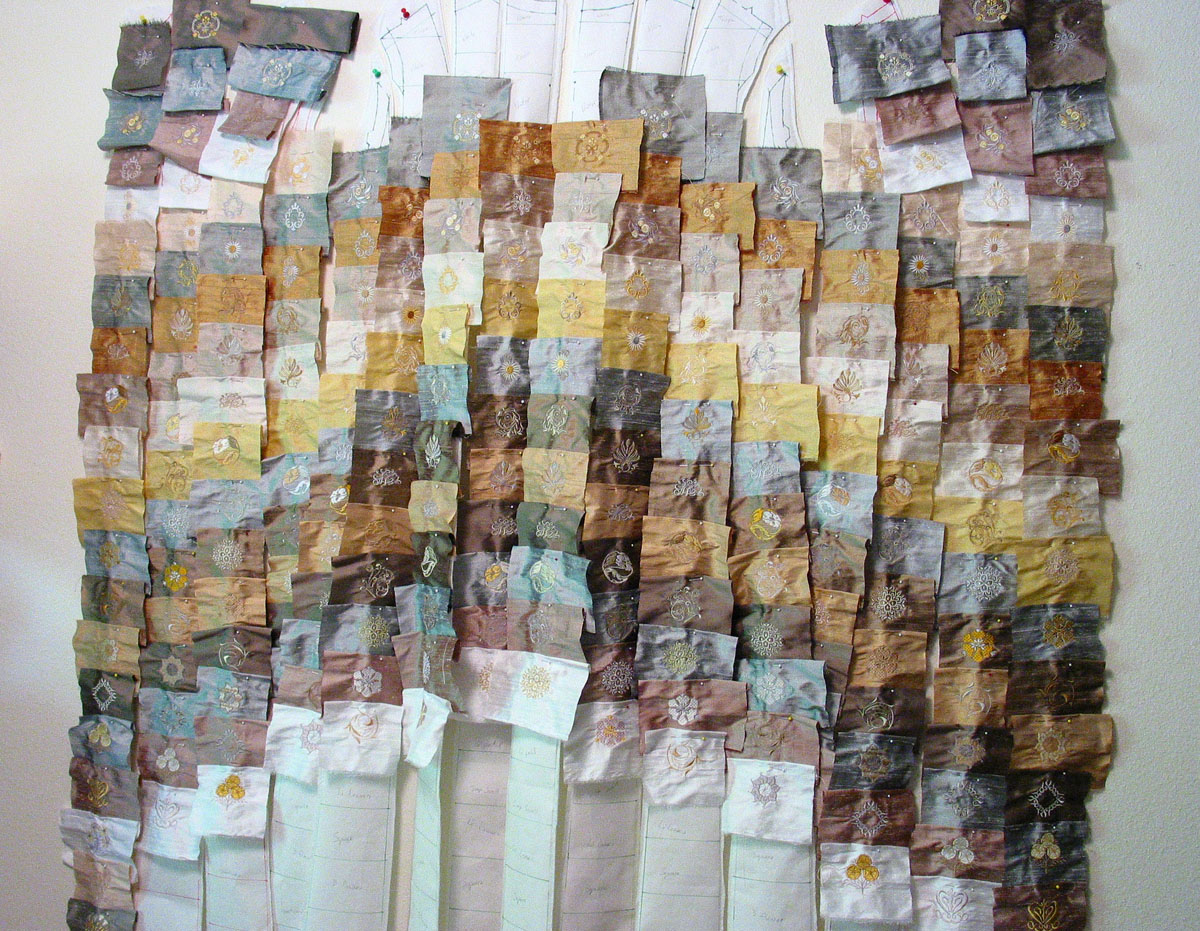
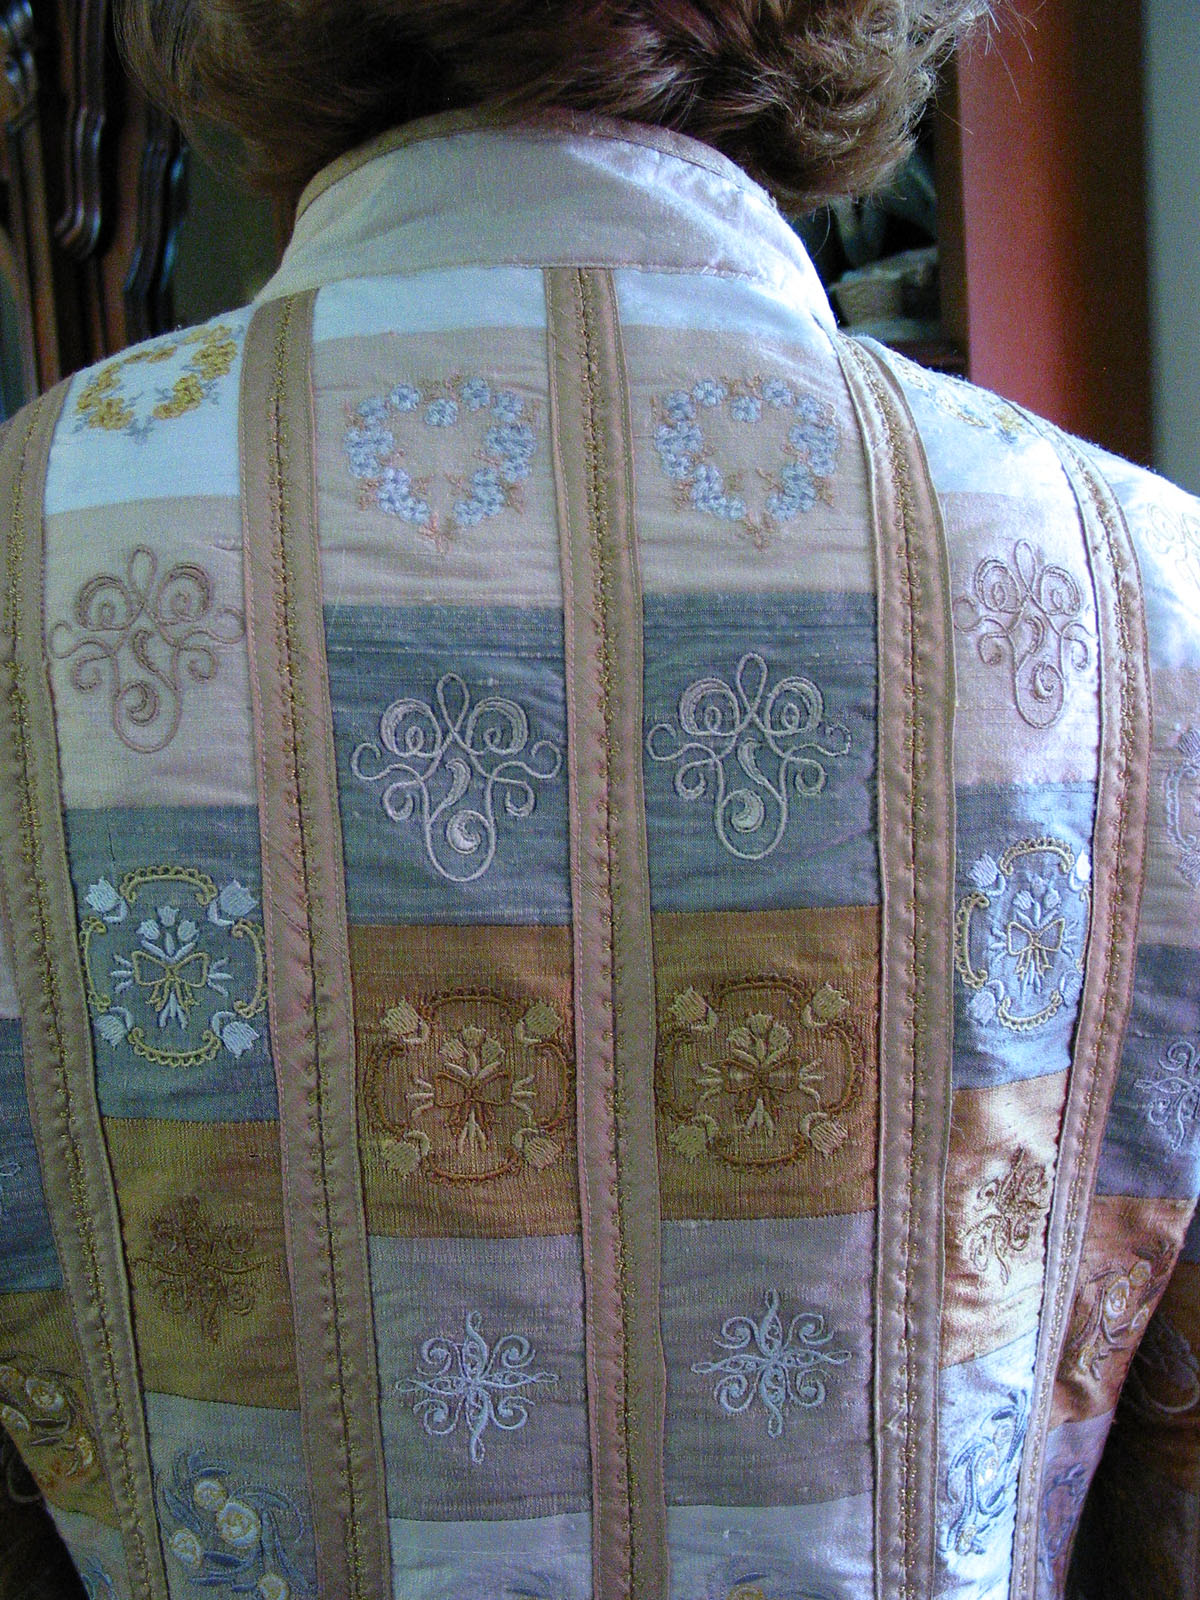
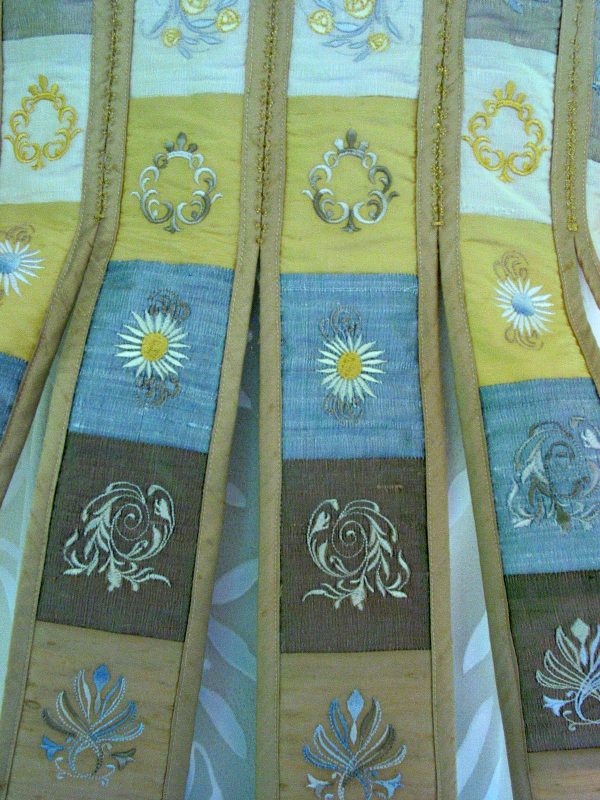
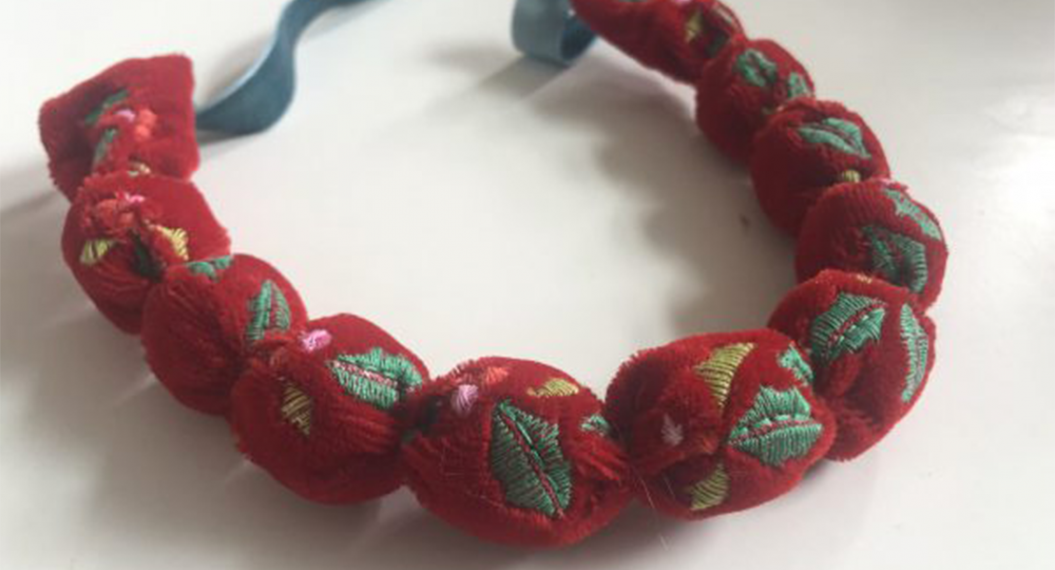
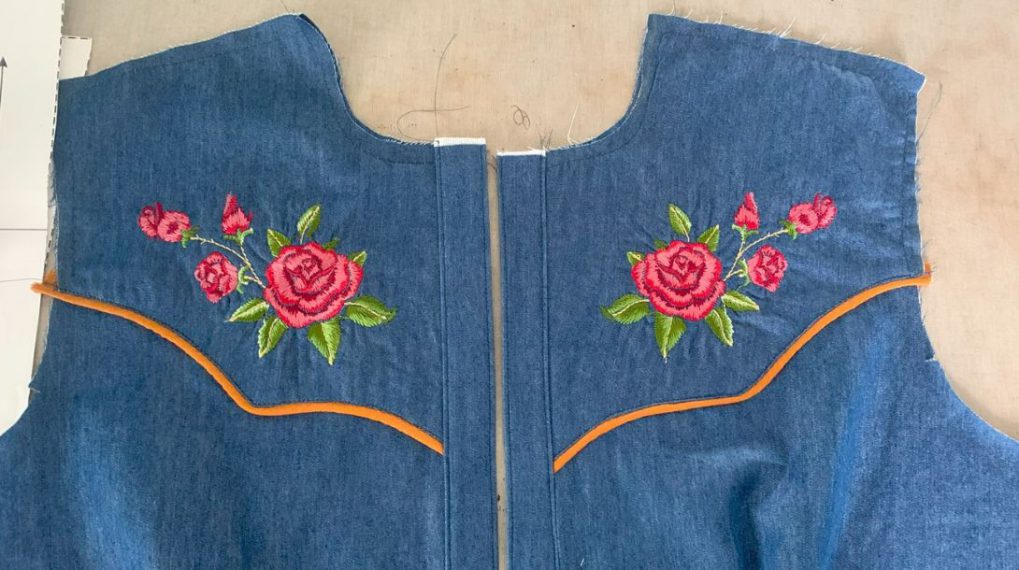
Here you can see my Dreamcoat in progress. I had embroidered a few hundred of the swatches and was pinning them on to the pattern pieces on my design wall and arranging them in bargello fashion. They look rumpled and not at all flat but you can see from the close-up of the coat that they finished up quite nicely.
Stick-on stabilizers are not suitable for every embroidery project. I had a project last year that used a very beautiful and smooth jacquard silk with very extensive (five hoopings in the megahoop for one panel) embroidery. When stitching is finished I usually get rid of as much of the stabilizer as I can—even tiny in-between pieces. After doing this piece of embroidery I tried to remove the stabilizer from the back side of the fabric. It did not tear away completely as it has always previously done for me. The stuff clung to the fabric in a very maddening way. So I used something different on the other panels of the project.
I hope that you have enjoyed this tip and can put it to use with your own embroidery.


What you might also like


8 comments on “Embroidery Hooping Tip”
-
Great tip to save time and Monet. Thanks. Bev
-
Is this type os stabilizer available in South Africa? Great idea would love to test it.
-
That is a big help in conserving stabilizer.
I remember when you won this great honor. The coat mesmerized me then, and it still does!
-
Thank you Charlotte for taking the time to spell all this out for us! This is such a ‘duh’ idea, it’s maddening to think how many projects we’ve all been through that this would have helped a ton! Thanks again and that is truly an incredible coat! Congratulations on your award. What’s next ??
-
This is the most beautiful Dreamcoat I have ever seen. What is the pattern used to make the Dreamcoat?
-
Great tip and gorgeous coat! Thank you!
-
Thank you for sharing this magnificent dress, absolutely stunning. Very helpful lesson. I don’t have any grids, can you still get them?
Leave a Reply
You must be logged in to post a comment.

Thank you, this was very helpful.