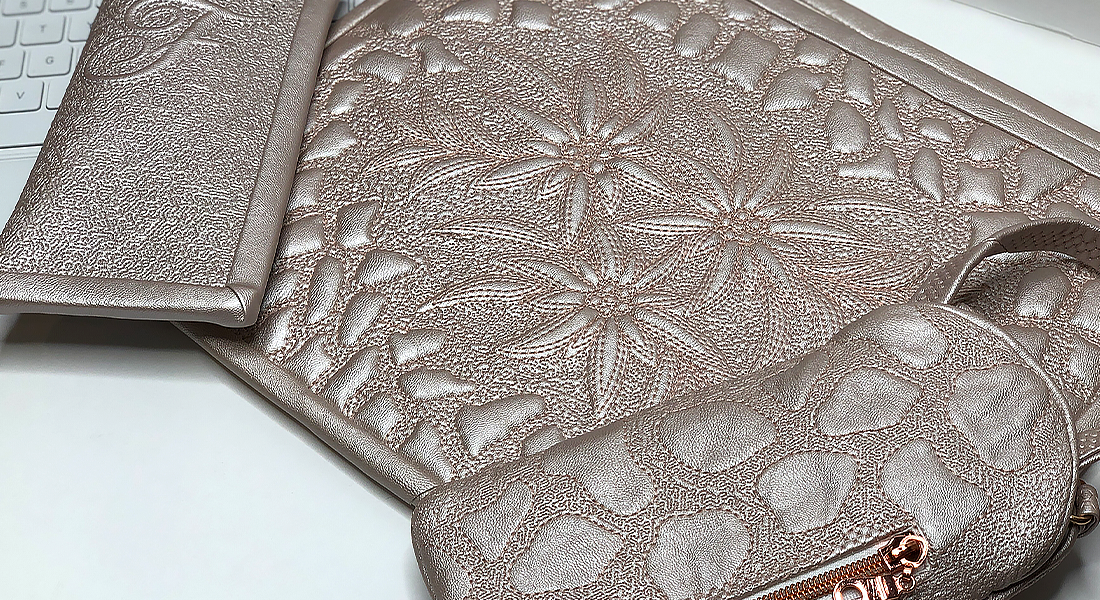
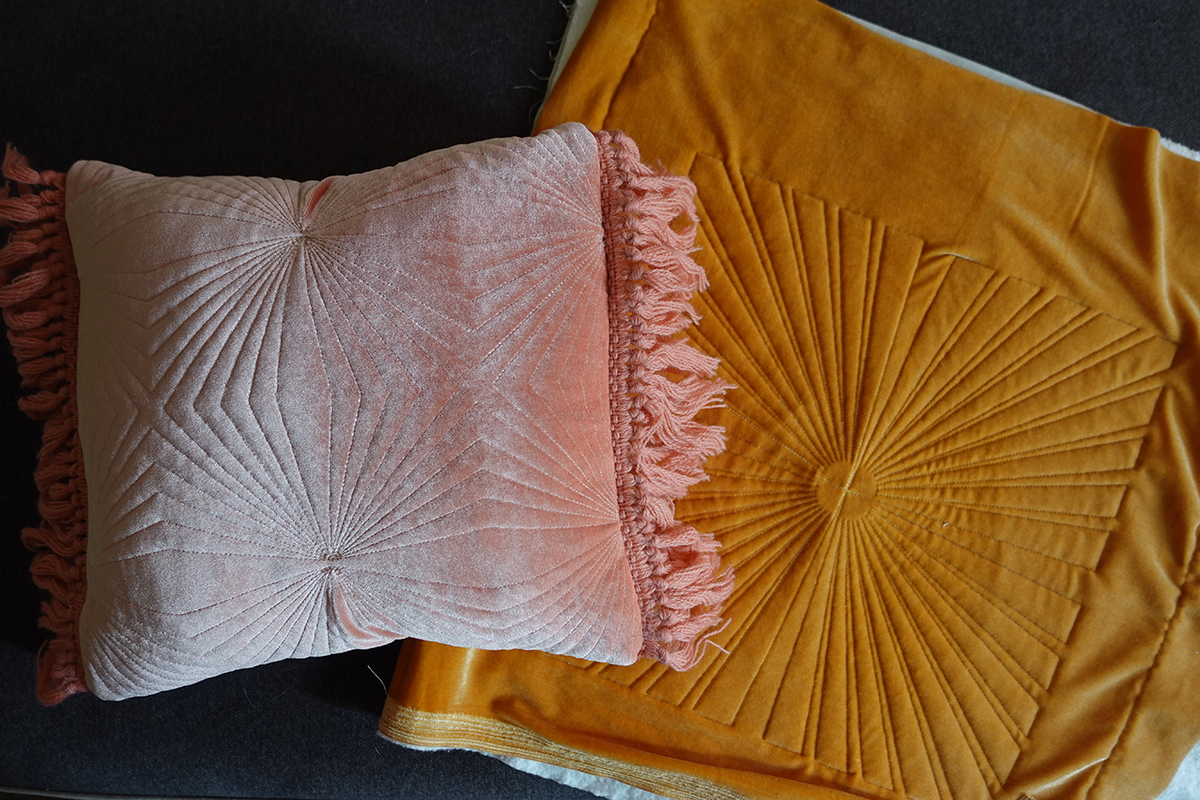
Computerized Quilting Velvet Pillows
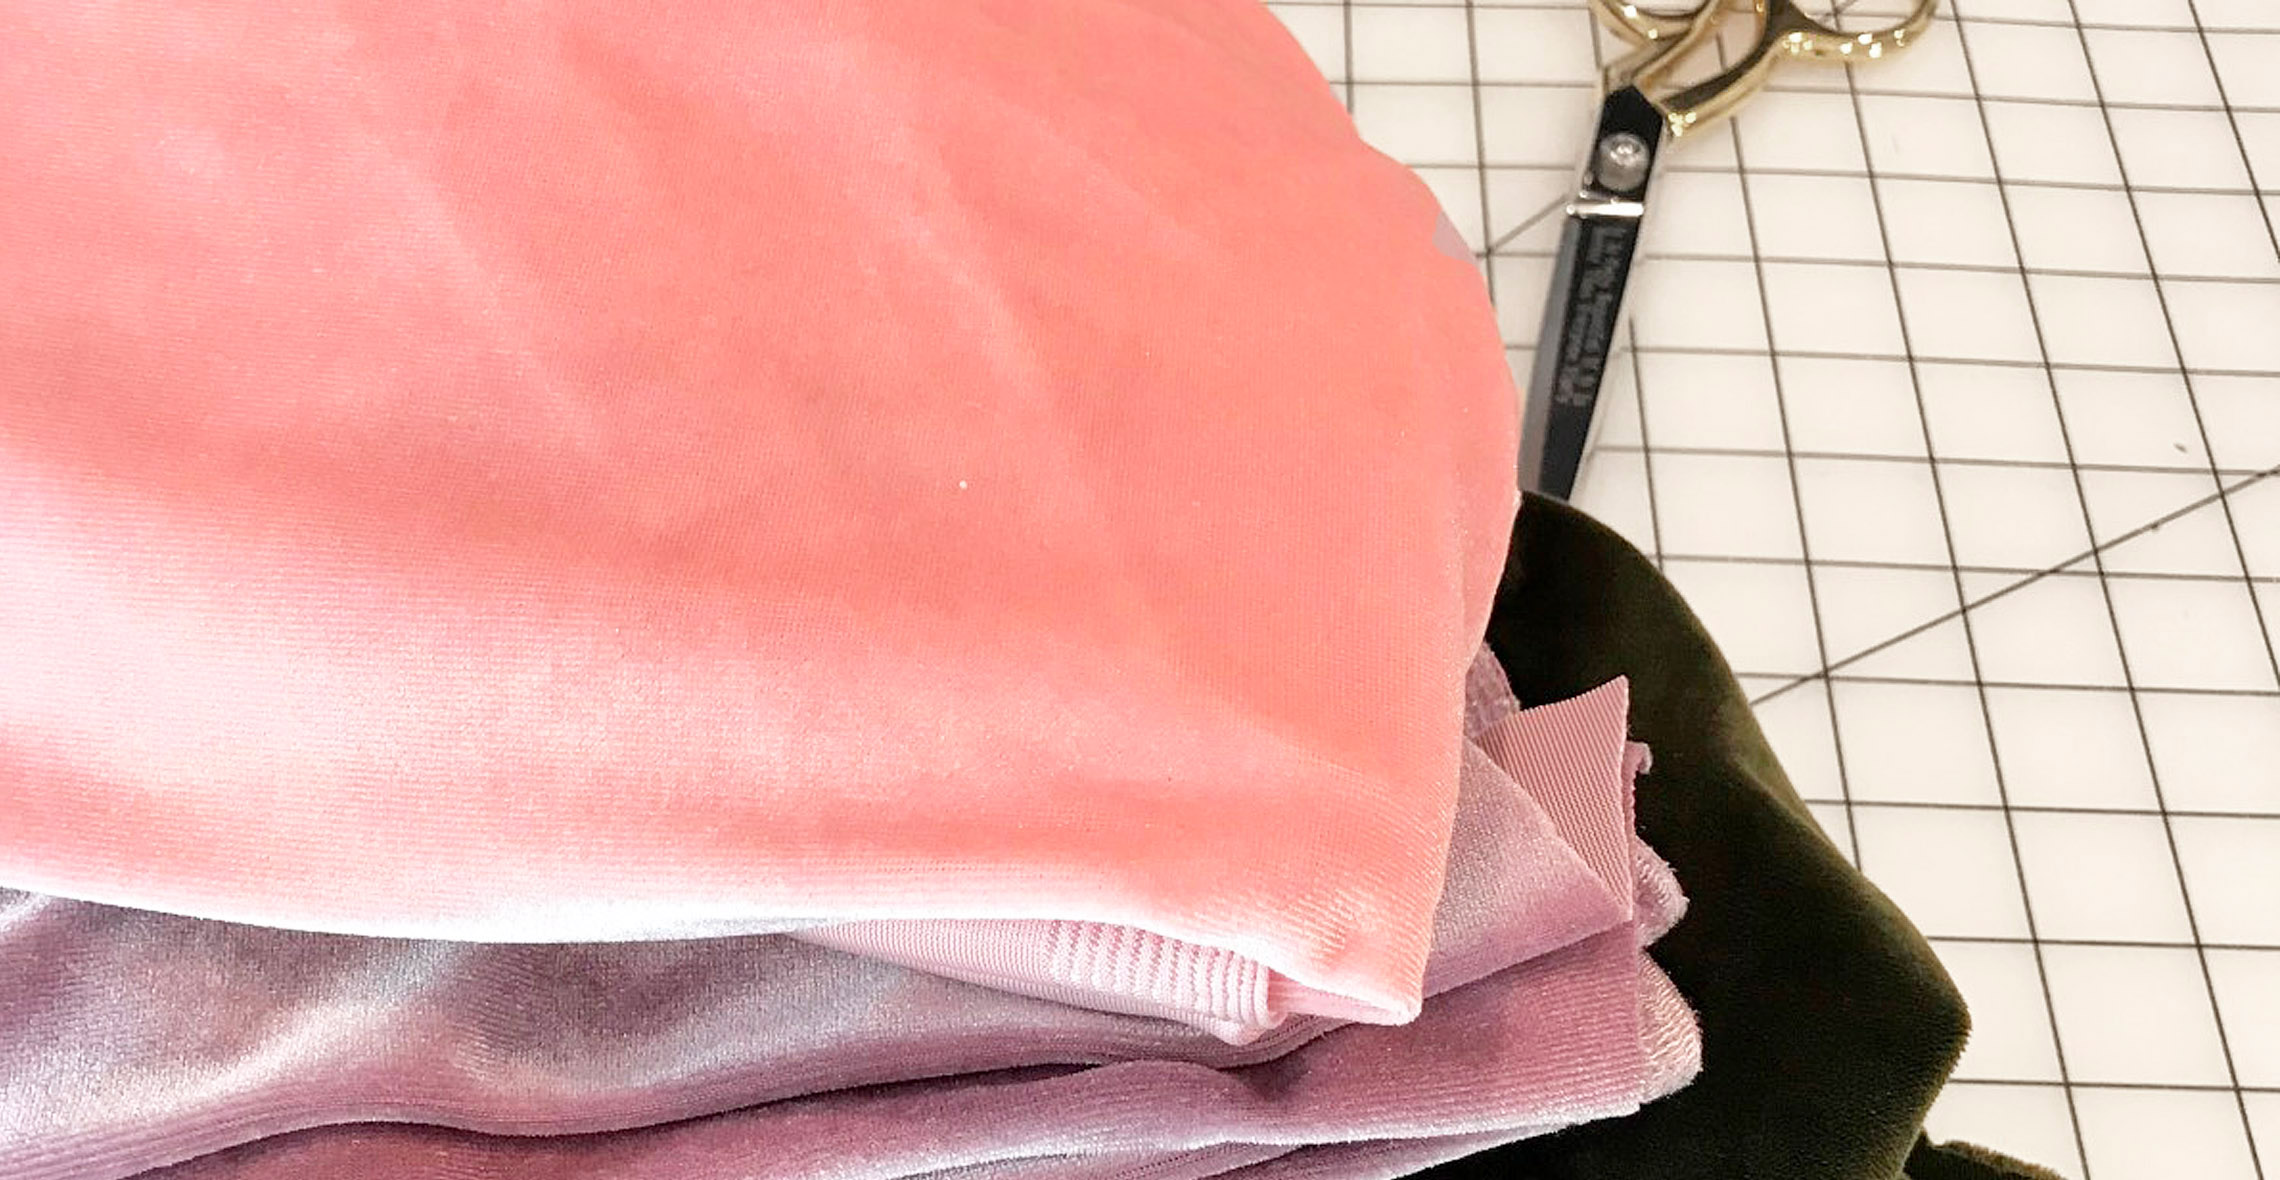
One of my favorite ways to get creative with the embroidery machine is by exploring new fabrics and materials to use in my embroidery projects! Playing around with different fabric types is an easy way to add more visual interest, texture and fun to a project. Velvet is one of my absolute favorite materials to embroider on because it looks so luxurious and seems like an advanced technique, but it’s so simple anyone can do it!
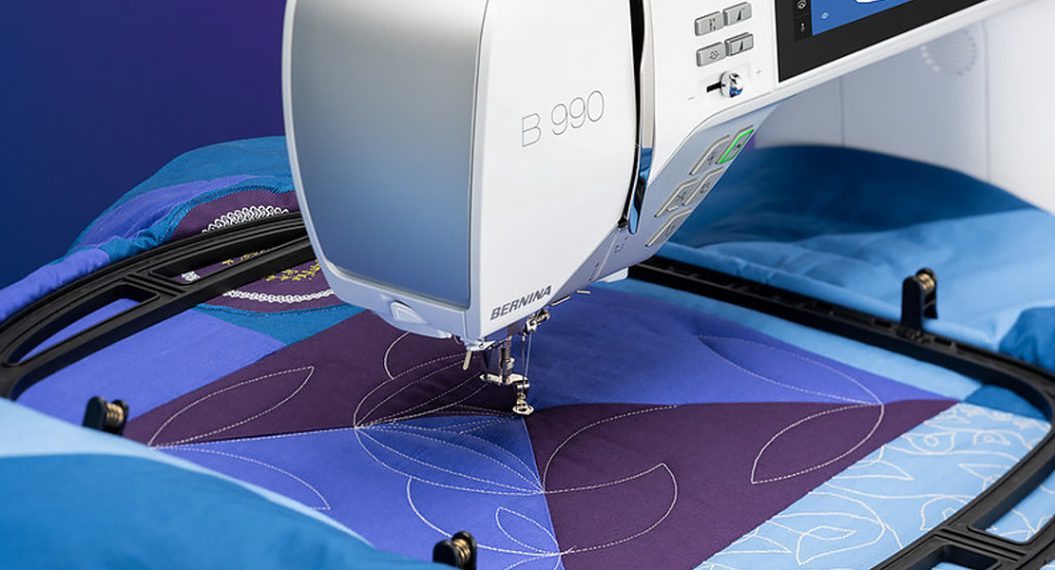
Machine and Products Featured:
Materials for Computerized Quilting Velvet Pillows:
- ½ yard velvet
- Poly Fiberfill
- May substitute for a pillow form if making a zippered cover
- Scrap of batting that’s roughly two inches (or more) bigger than your pillow size
- Muslin or scrap quilting cotton for back of quilting (optional)
- Trim for pillow (optional)
- OESD StabilStick Tear Away
- OESD StitcH2O
- OESD Bobbin Thread
- 75/11 Embroidery Needle
- Spray baste
- Embroidery Thread to match velvet
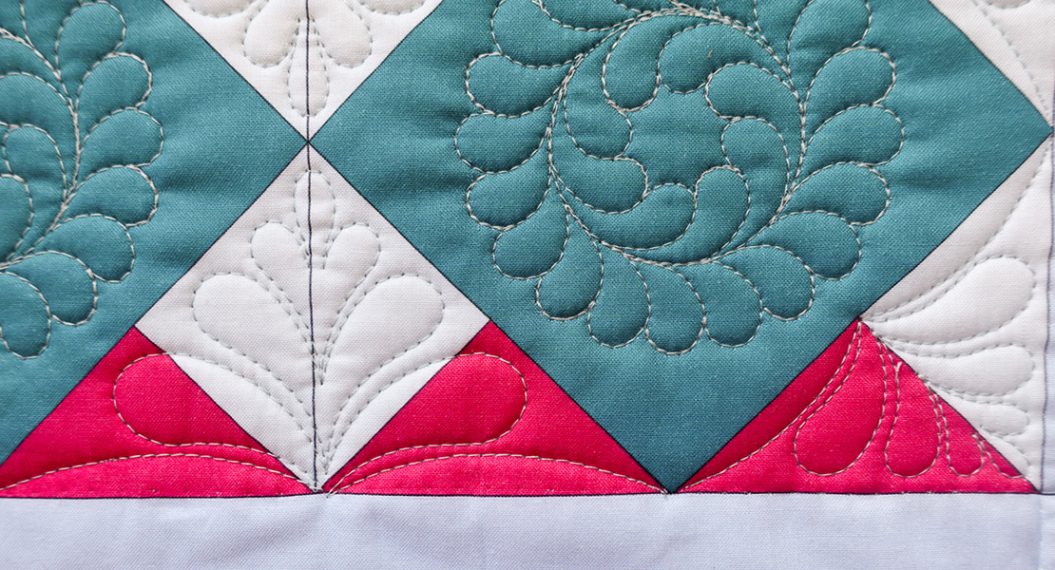
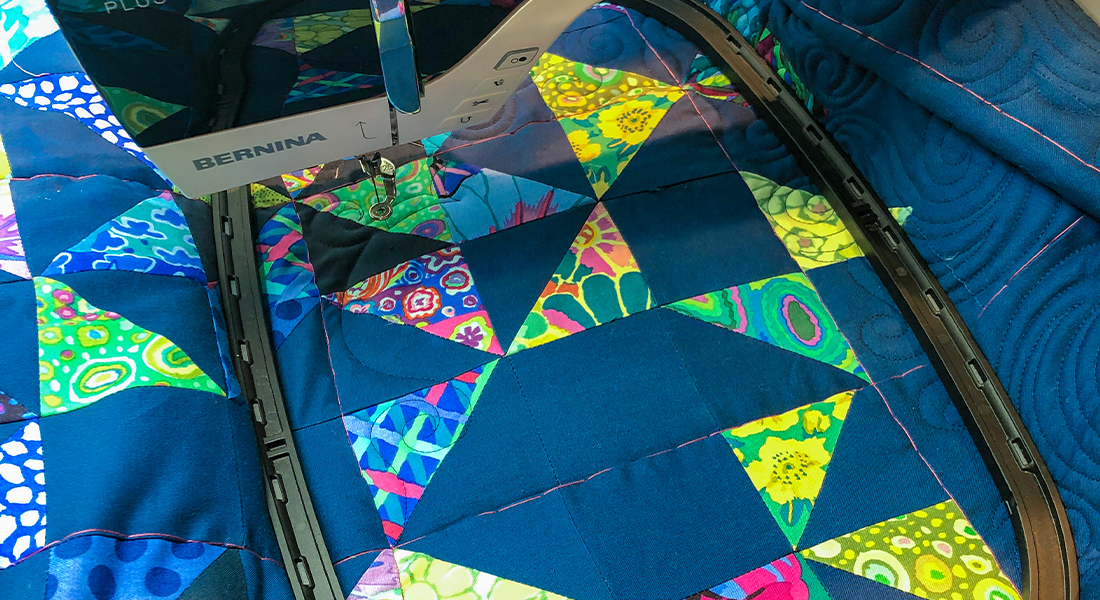
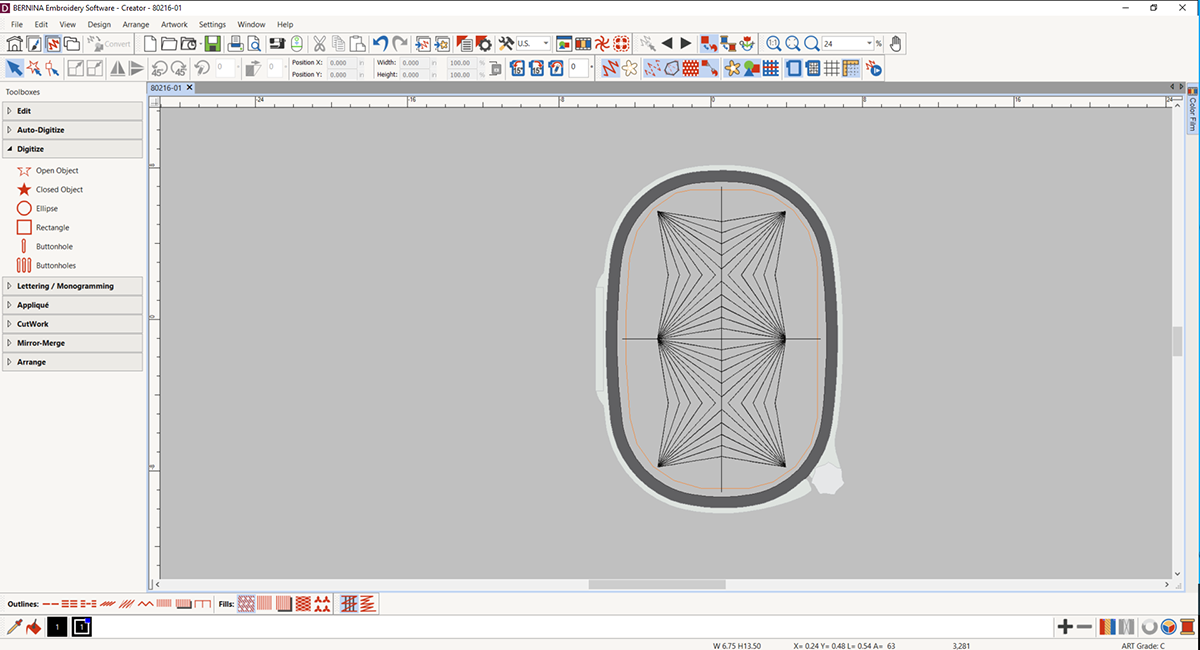
- “Geo Triangles Block 80216-01” From the Geo Traingles collection by Amanda Murphy for OESD
Steps to Make Pillow
Step 1: Prepare and Cut Fabrics
- Cut 1 piece of velvet at least 2 inches bigger than the pillow size you want and/or the size of your hoop, whichever is biggest.
- Cut 1 piece of batting at least 2 inches bigger than the pillow size you want and/or the size of your hoop, whichever is biggest.
- Cut 1 piece of velvet to the size you’d like your finished pillow, plus one inch on the width and length.
- Example, if you’d like an 18” x 18” inch pillow, you should cut this piece 19” x 19”
Spray baste the wrong side of your velvet and smooth it onto the right side of your batting. Be sure not to stretch your fabric in any way.
Tip: You may want to add a layer of muslin underneath the batting for ease of multi-hooping. Some battings pull and break apart over the course of the multi-hooping, the muslin would stop this from happening and make the multi-hooping easier.

Step 2: Prepare for Embroidery
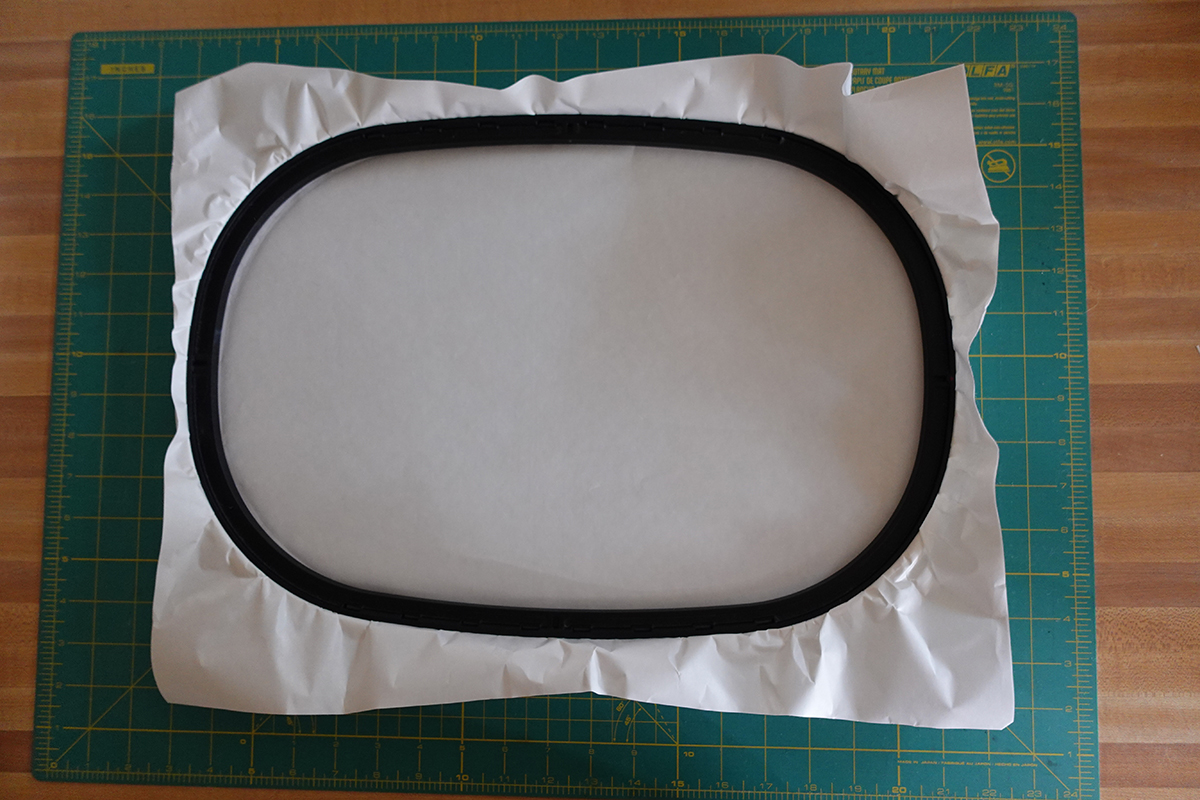
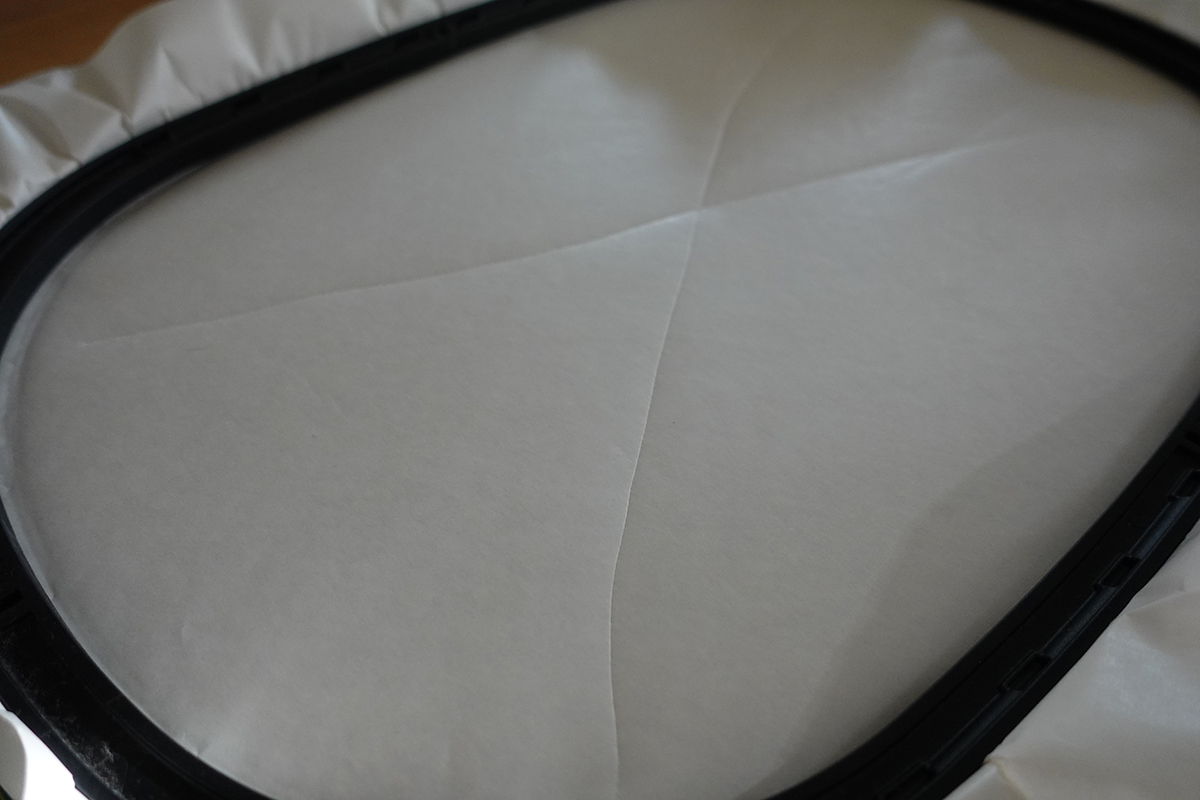
Cut a piece of Stabilstick to fit the hoop, giving yourself at least 2 inches on every side.
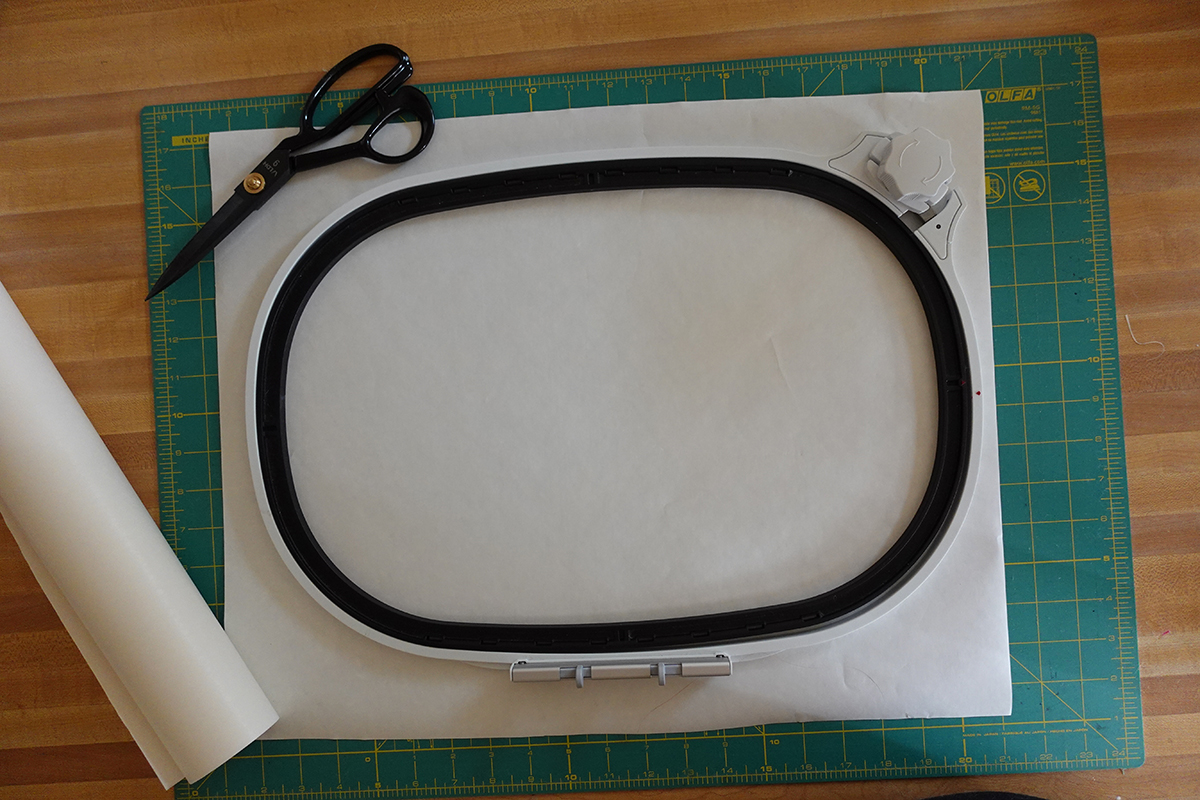
Hoop the Stabilstick with the shiny side up.
Using snips, a pin or a needle—score the stabilizer. This can be tricky as it’s easy to slice all the way through the stabilizer, but you want to avoid that. Score the stabilizer so you break through the paper backing only, and don’t affect the stabilizer underneath.
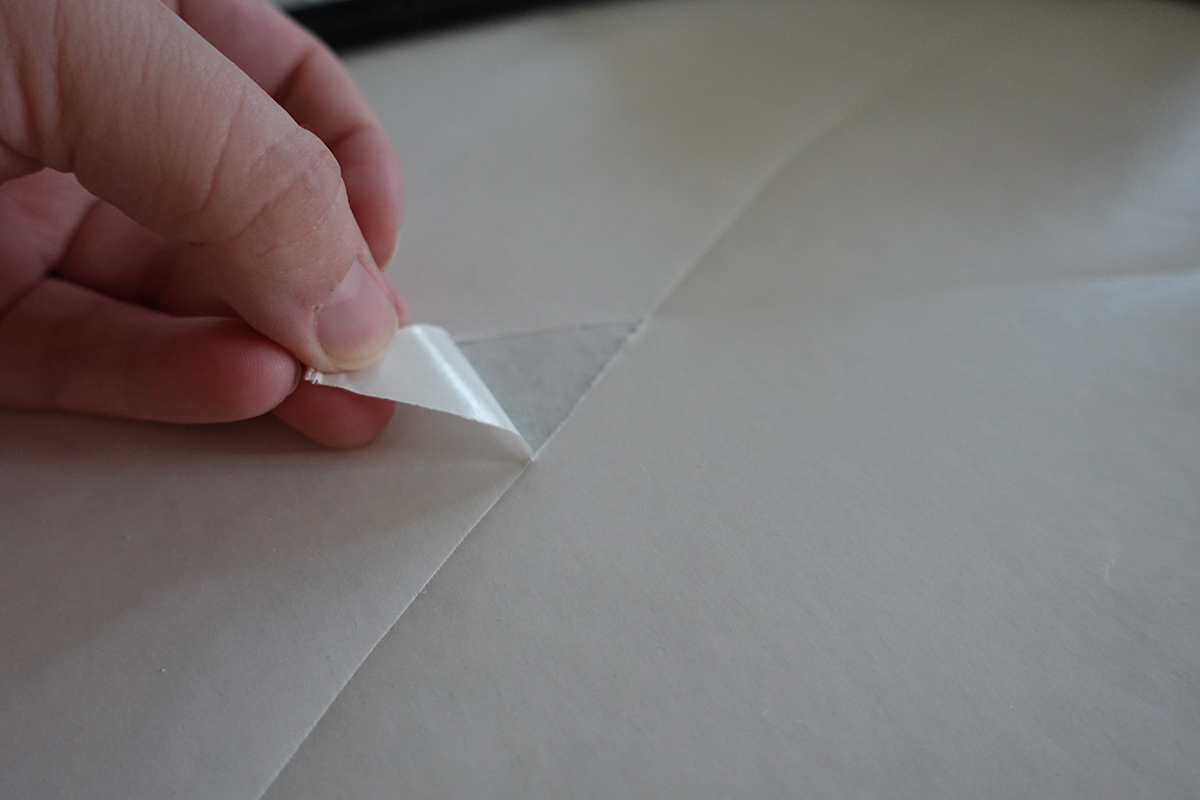
Peel away the paper backing so all the sticky stabilizer is exposed within the hoop.
Place the quilt sandwich in the middle of your hoop. I did not measure or mark my fabric in any way, I just eyeballed the center and hooped as best as I could, knowing that I can square up after the embroidery is complete. Feel free to be more exacting to find the center if you prefer or do not have additional yardage to spare.

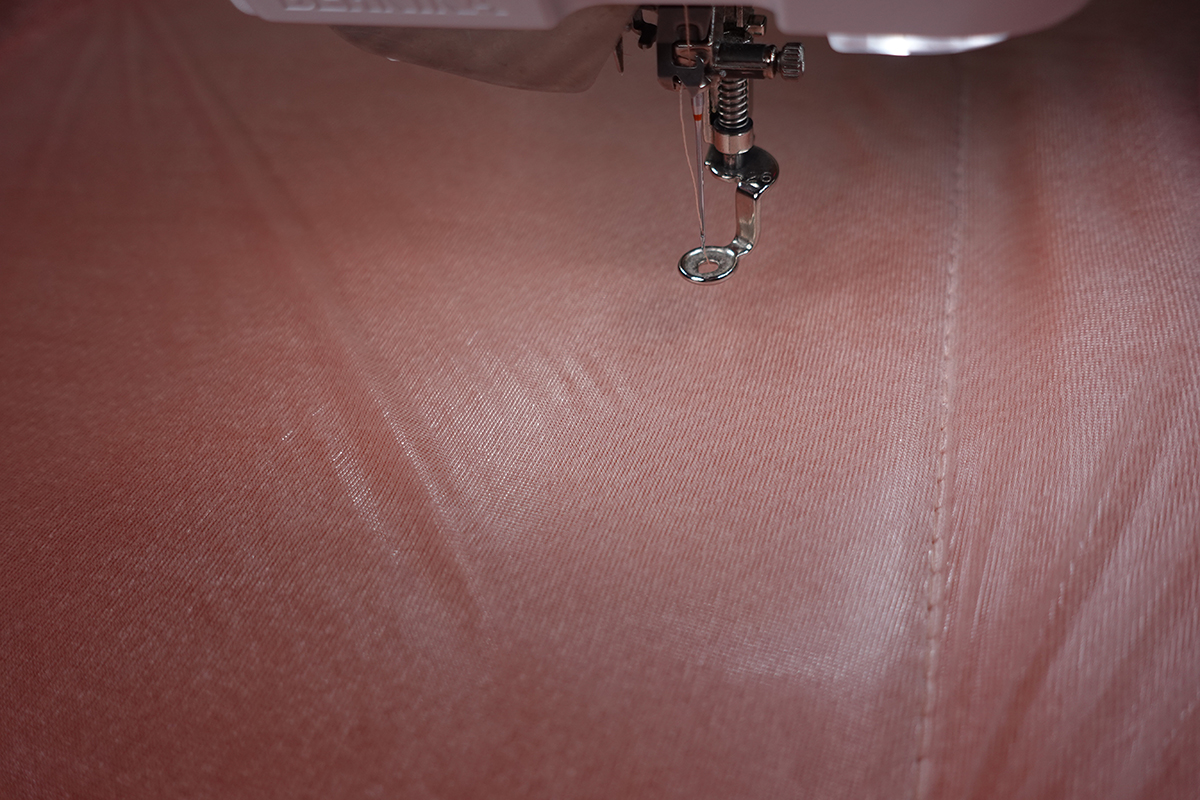
Cut a piece of StitcH2O to cover the entire inside of the hoop to use as a topping for the velvet.
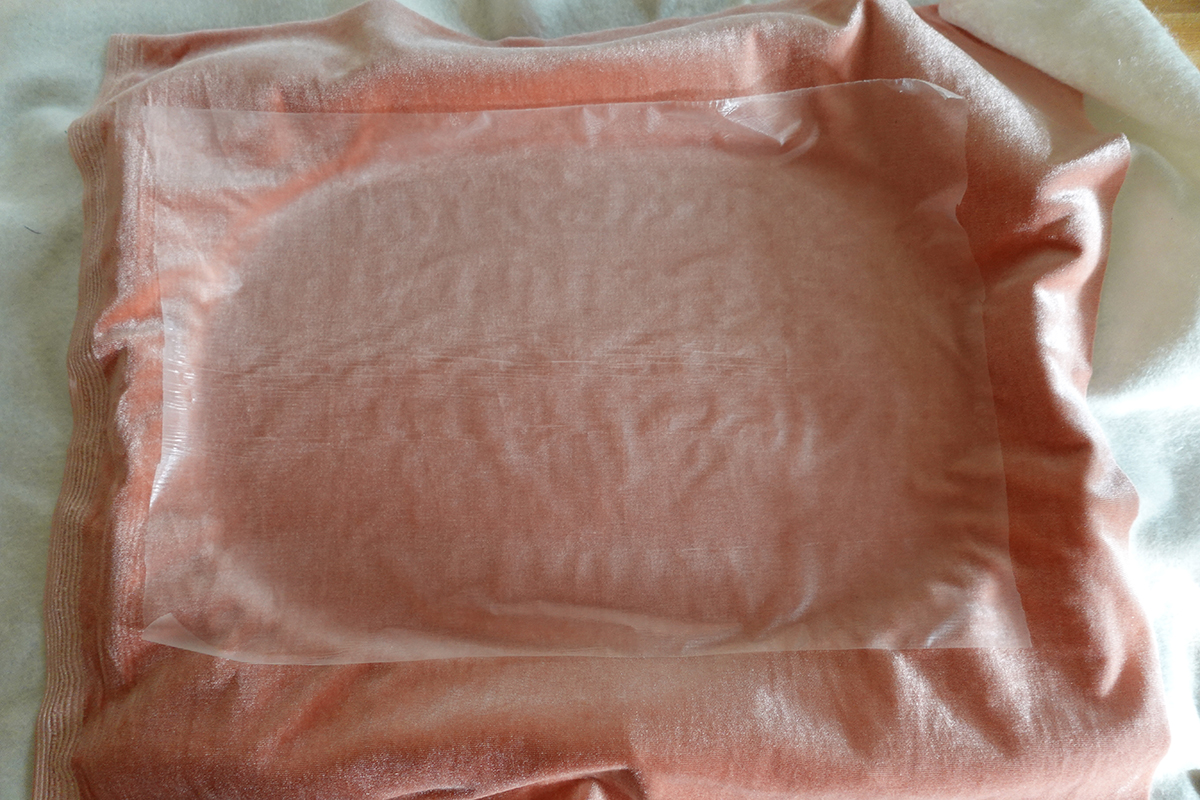
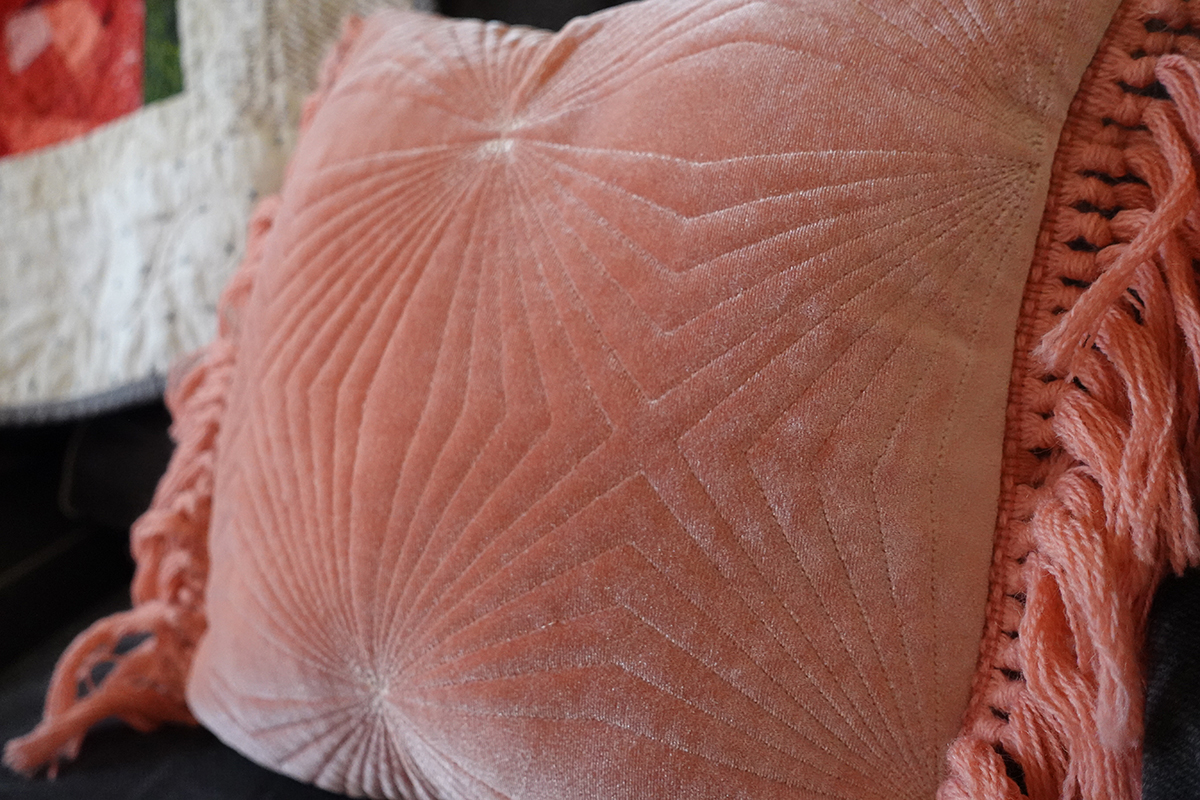
Velvet’s lustrous quality and the pile of the fabric means the color of the fabric changes depending on how it’s laying and the angle you’re viewing it at, so using a topping will help keep the stitching consistent.
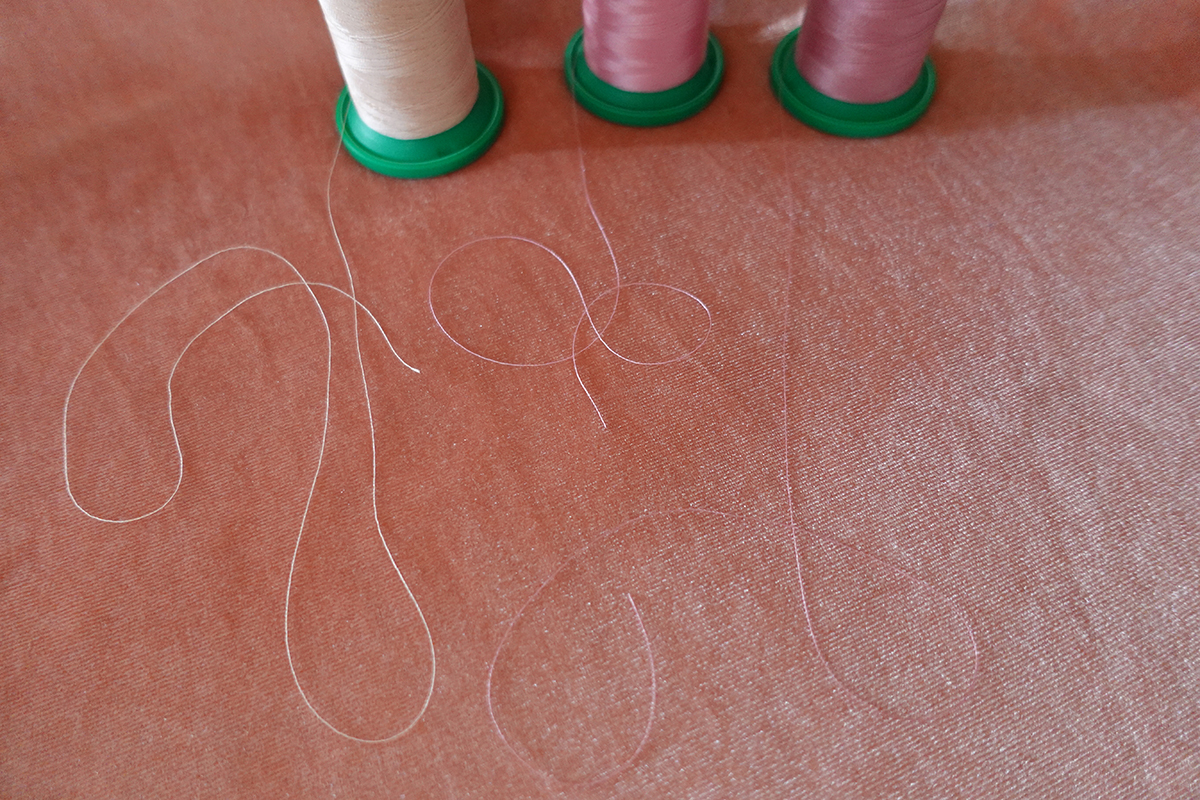
When picking thread colors you may want to look at the thread from multiple angles to see what looks best. Have fun deciding what color you think looks best: something lighter, matching or darker than your fabric. I went with a color that matches pretty well from multiple angles for a more embossed look.
Step 3: Selecting the Right Embroidery Design
Tip: I used BERNINA Creator software (add link) to resize my design so I could fit two designs per hooping. This step isn’t necessary, but allowed me to get this pillow finished in three hoopings instead of six.
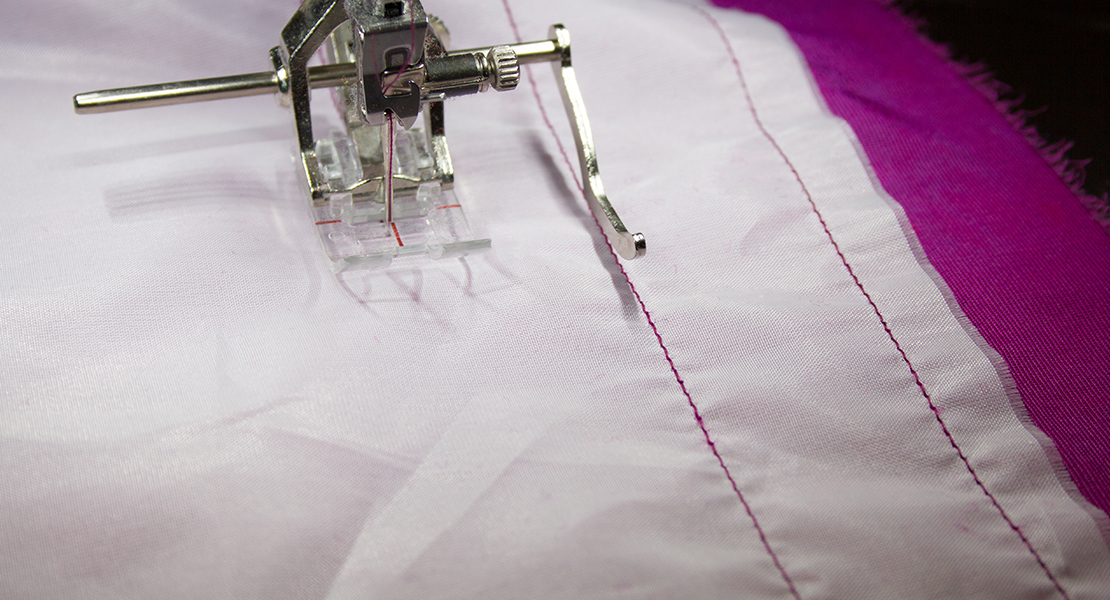
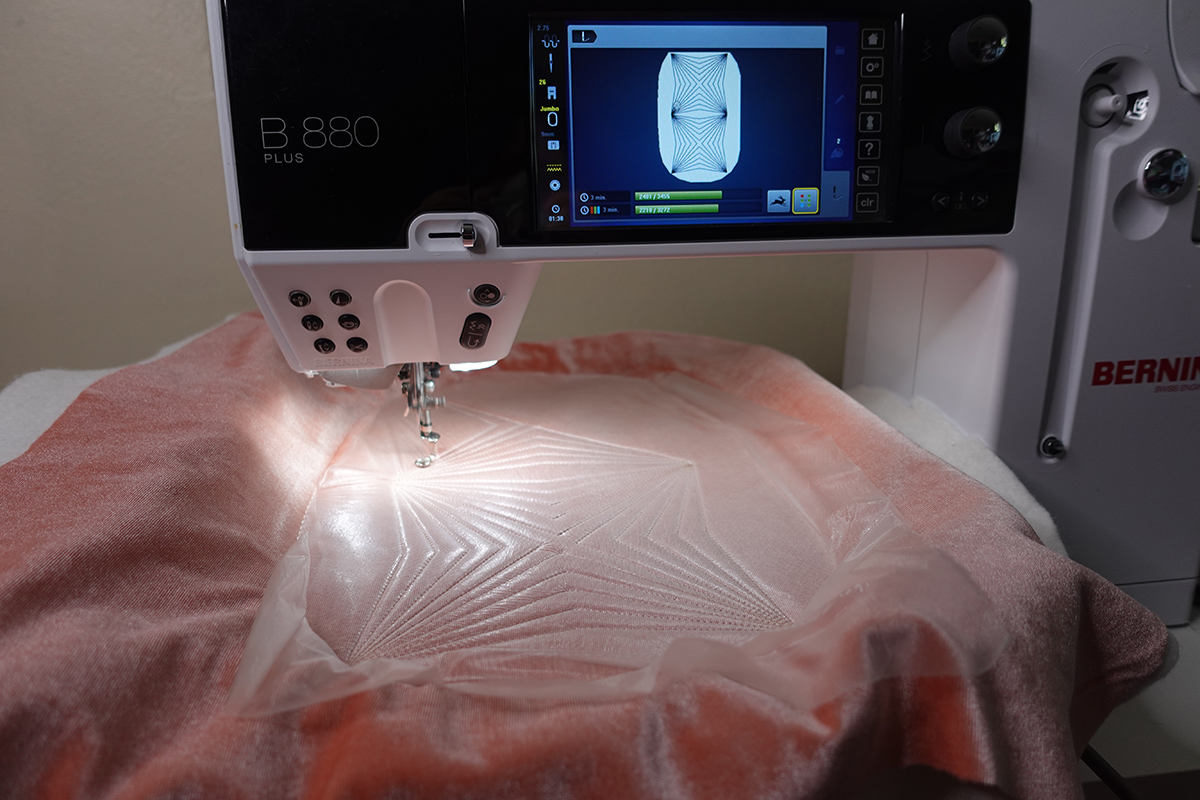
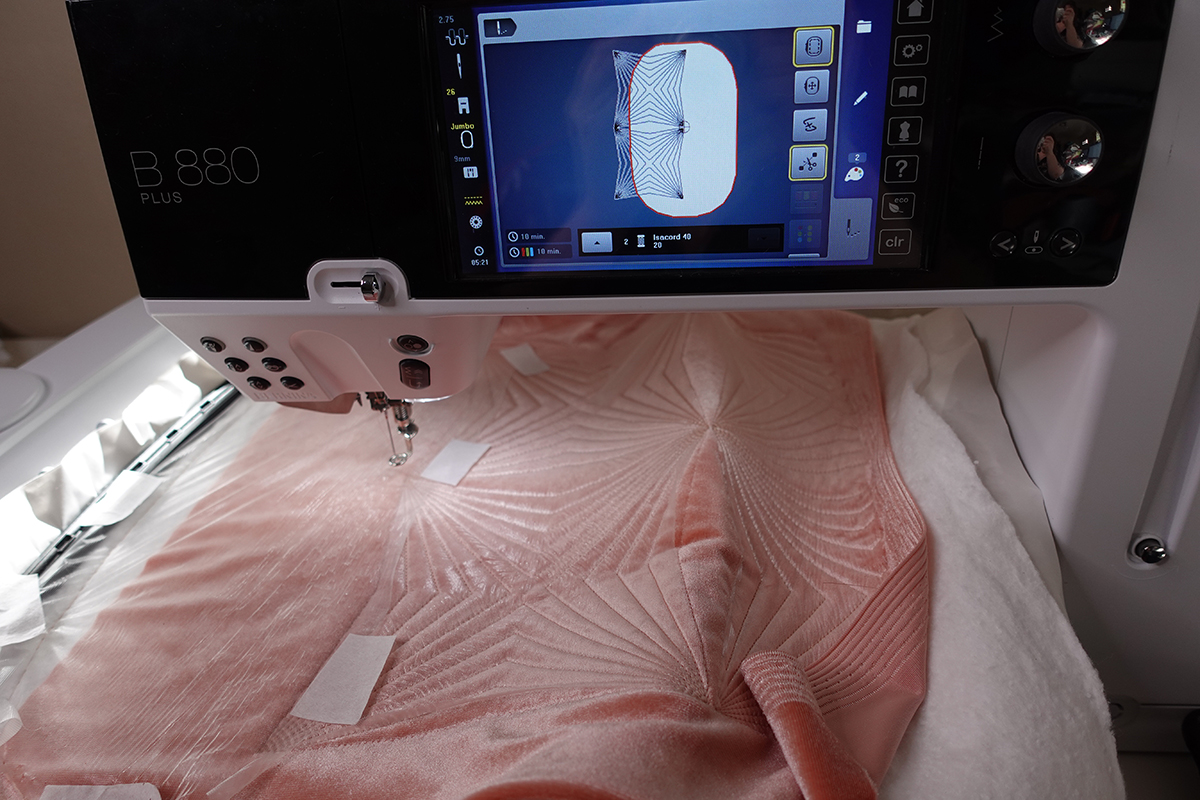
Set up your machine for embroidery, ensuring the correct foot, hoop and stitch plate are on the machine (to the left of the image).
Setting a basting function is particularly helpful with fabrics that tend to shift or stretch, like some velvets. When on the embroidery screen, tap the basting box icon twice to get a basting box around the whole hoop (right of the image).

Ensure the topper is covering the whole stitch area. Use the foot pedal to start embroidering, just as you would to start sewing until the basting box is completely finished and the machine has moved to the next color.
Tip: I love that my BERNINA allows me to use my foot pedal to embroider! This really comes in handy for basting boxes like we are doing now. I can stitch slowly and stop the machine instantly to smooth out the topper, fix any bubbles, etc. Topper is particularly tricky with slick fabrics like velvet so the added control of using the foot pedal to stitch really helps!
Step 4: Embroider Your Quilted Pillow
Now that you are all prepped, you can begin stitching out your design.
Once the design is complete, tap the checkered flag. At this point, I’m already in love with this pillow!

Remove your hoop from the machine and turn it over. Use snips to remove the basting box bobbin thread every few stitches.

Remove the topper from the outside of the design. Feel free to leave it within the design at this time. I like to take care of the rest of the topper all at once.
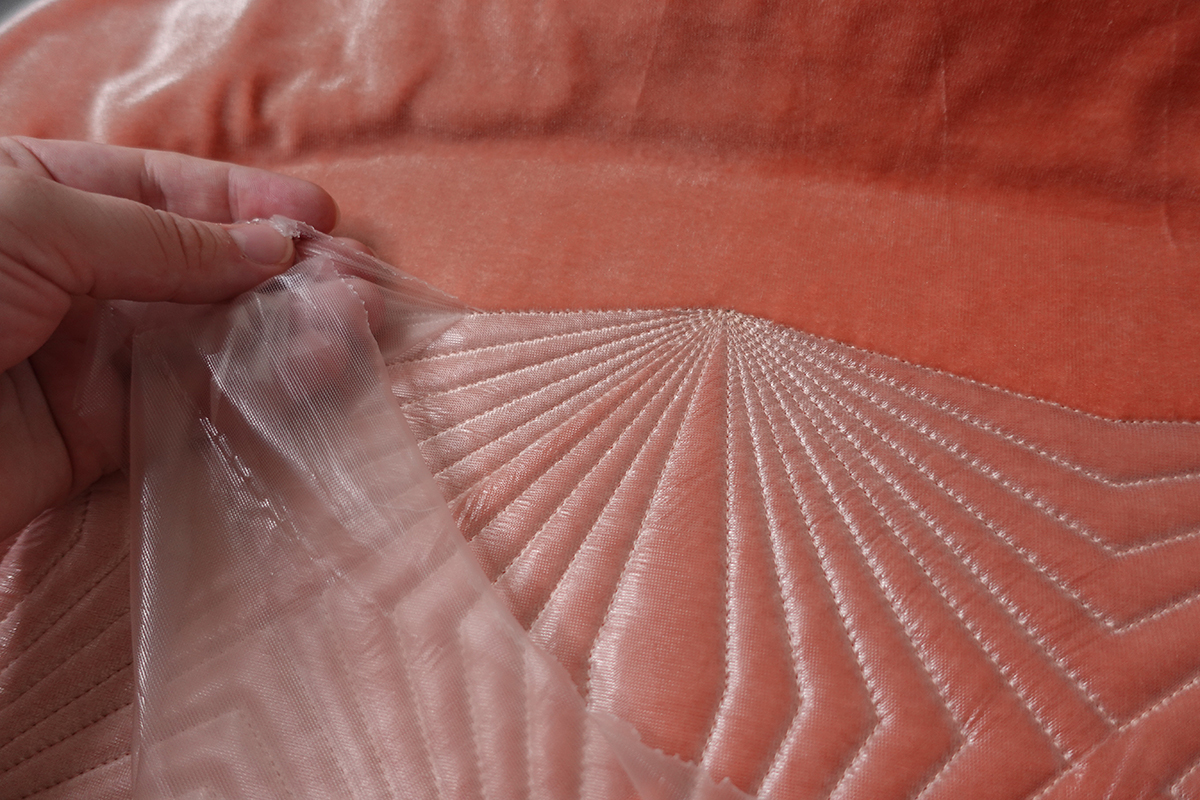
Remove your fabric from the hoop and gently pull away the Stabilstick away from the back of the embroidery. Once again, not worrying about the stabilizer within the design, just around the outside of the stitching.

Repeat the stabilizer and hooping techniques, moving the quilt sandwich to one side so you can fill the fabric with embroidery.

Tip: You can use the remaining Stabilstick scraps from your previous hooping to cut the Stabilstick into pieces to use as embroidery tape. I love to use my leftover stabilizer in this way so I can reduce waste.

Step 5: Align the Second Hooping
Using pinpoint placement, position the second design so it aligns with the first design. I aligned mine so the points all touched. The hoop will show red but that’s okay! The machine is just warning us that some of our design is out the hoop but we want that!

When you’re ready, start your embroidery. You will get a warning to let you know that the design is outside of the stitch area. Tap the green check mark to confirm that we are okay with that.
Another unique feature of BERNINA embroidery machines is that we can still stitch something out even if it’s not fully in the hoop! This is fantastic because it means we can quilt the design all the way to the edge of our quilt without having to worry about advanced digitizing techniques or careful quilt math to make sure the design fits perfectly within our quilt.

Stitch out your design. The machine will stop, cut the thread and show an alert to let you know the restart of that stitching is outside of the hoop. Stay by the machine to hit the green check and restart the machine as necessary.

Once the computerized quilting is finished, remove the stabilizers as before.
Repeat the whole process as necessary to fill the piece of fabric for the front of your pillow.

Step 6: Make the Pillow
Cut the velvet down to your pillow size plus 1 inch on both the length and width. Finish the pillow in your preferred way. I added trim to mine using the Zipper Foot #4D (add link) before sewing up the pillow using Patchwork Foot #97D (add link) with a ½” seam allowance.
I didn’t make mine a zippered cover, but it’s very easy to do! Check out this tutorial about How to Make an All Seasons Couch Pillow to see how to add a zipper to your pillow cover.
Have fun playing around with different quilting designs, pillow shapes and adding different trim to create a fun little family of velvet pillows. I’m thinking a whole couch of multi-colored velvet pillows would be amazing!


If you haven’t already, you can check out the blog post I wrote a couple months back called Tips and Tricks for Embroidery with Velvet. Be sure to give this a once over before you start with this super cute pillow project. You may also want to check out this blog Sewing With Velvet: Tips and Tricks for great ideas on how to sew with velvet.
Happy Embroidering!