How to Sew a Simple Duvet Cover
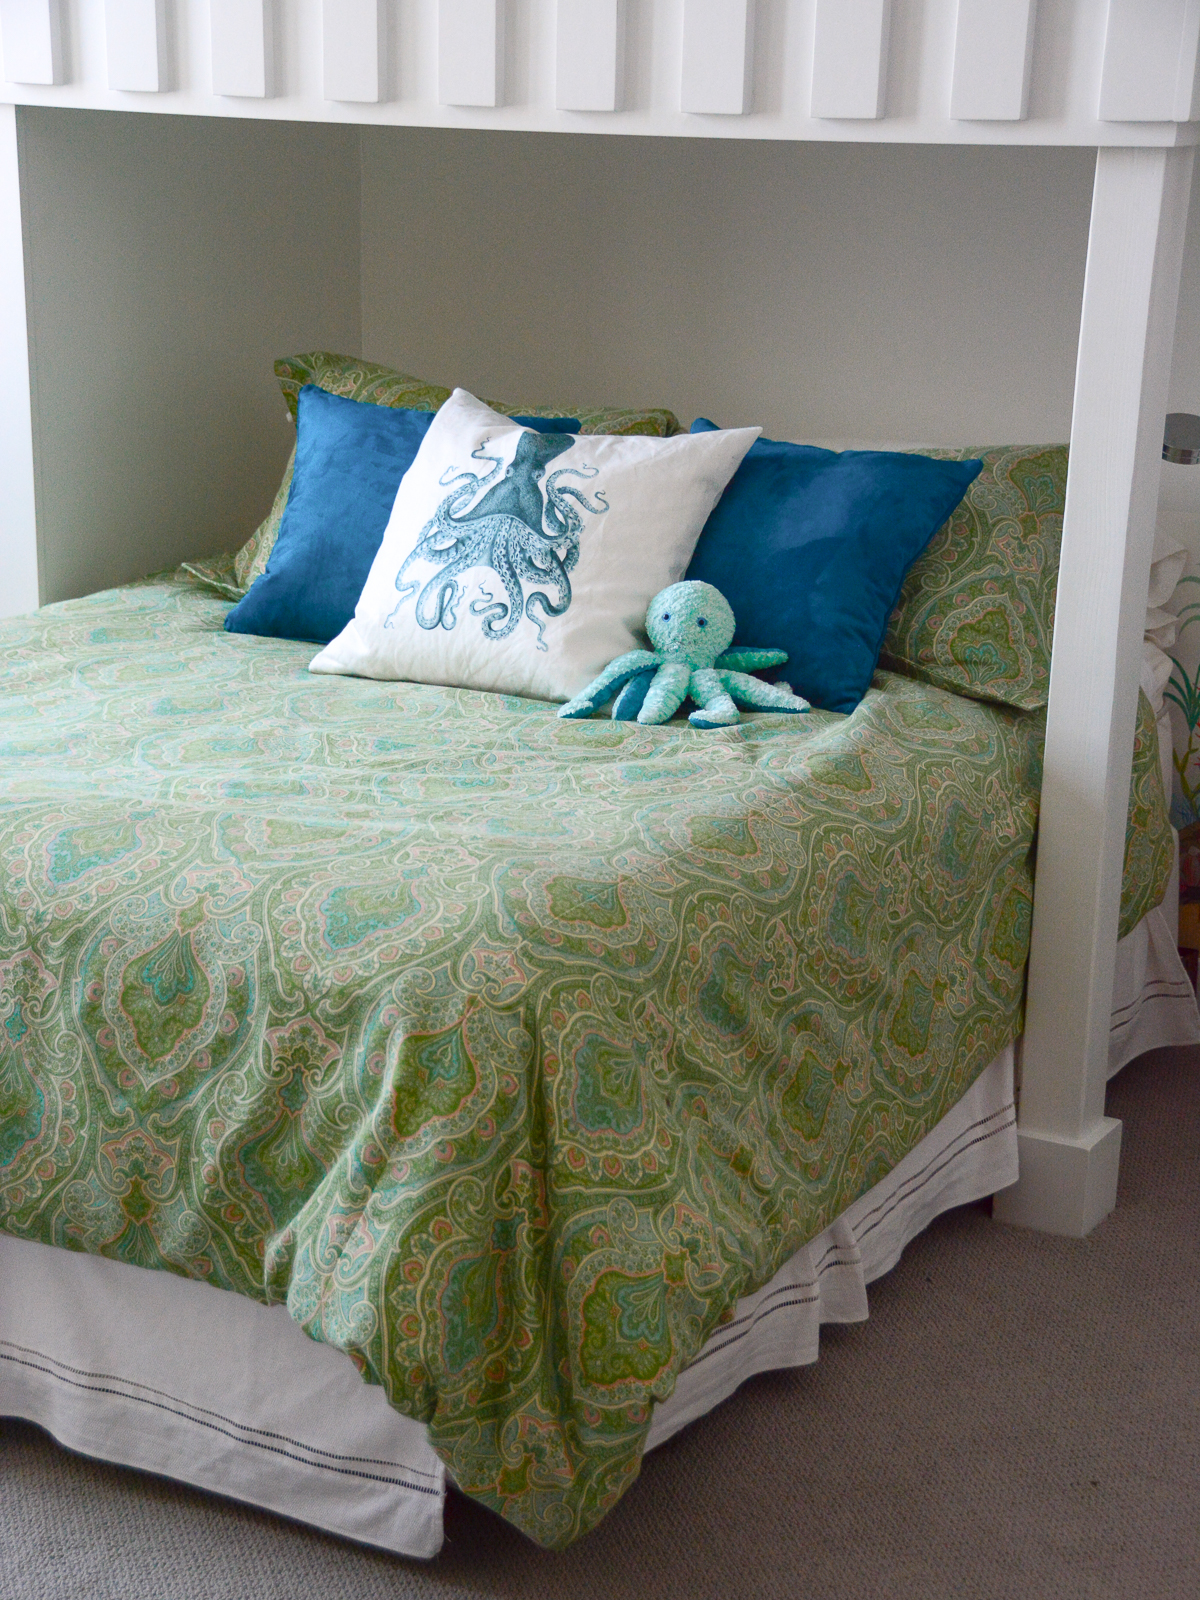
A duvet cover must be one of the easiest things to sew around! It’s truly a beginner project: all straight seams and all raw edges hidden. Even better, sewing one yourself means the options for fabrics are endless. I don’t know about you, but I have no problem finding gorgeous home decorating fabrics.
To make this project even easier, I like to back my duvet covers with a purchased flat sheet. It saves some seaming and finishing and it’s often less expensive than purchasing the fabric. My mother taught me this trick and mother knows best!
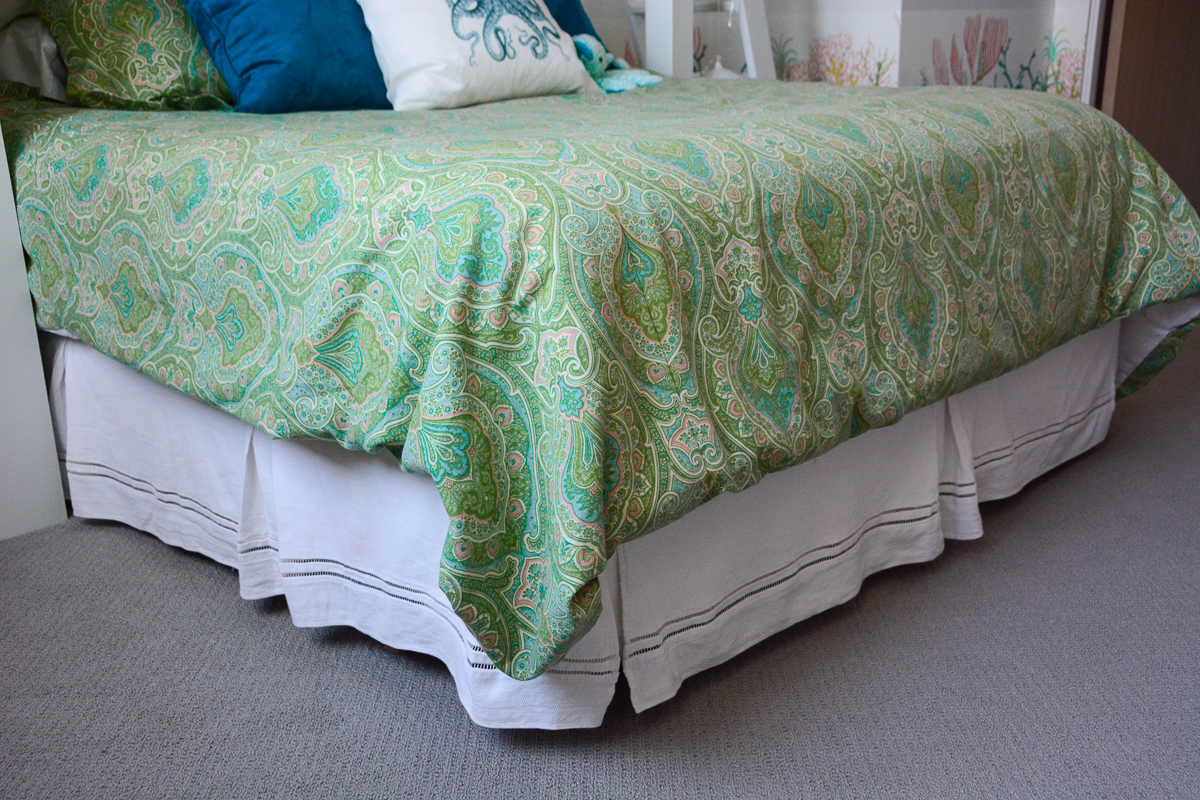
Another bonus of a DIY duvet cover is the opportunity to make it exactly the right size. I’ve made them with a generous drop, and shorter. I love the option to tuck in the duvet for a more modern, tailored look, in which case you’d want the drop shorter.
Materials to Sew a Simple Duvet Cover
- 5-6 yards 54″-60″ wide home decorating fabric (twice the desired length of your duvet cover)
- Queen or King sized flat sheet
- Coordinating thread
- 2″ spacing snap tape for closure
- Duvet insert
- Your BERNINA sewing machine (I use the BERNINA 580) and Reverse pattern foot #1/#1C/#1D
How to Sew a Simple Duvet Cover
Before beginning, determine the size of your duvet cover. Standard measurements are as follows:
- Queen duvet: 90″ x 90″
- King duvet: 104″ x 90″
However, you can take this opportunity to customize your size. The easiest way to do this is to lay your fabric on top of your bed and take some measurements. You’ll use the full width of your fabric for the center panel of your duvet cover. Decide the length you’d like—for instance starting at the top of the mattress and finishing with a 12″ drop over the end of the bed. Then decide the additional width you’ll need from the side panels by measuring from the edge of your center panel fabric over one size of the mattress to the desired drop, for instance, 12″.
- (1) Main panel dimensions = desired length + 1″ for seam allowance x full width of fabric
- (2) Side panel dimensions = desired length + 1″ for seam allowance x 1/2 additional width desired + 2″ seam allowance
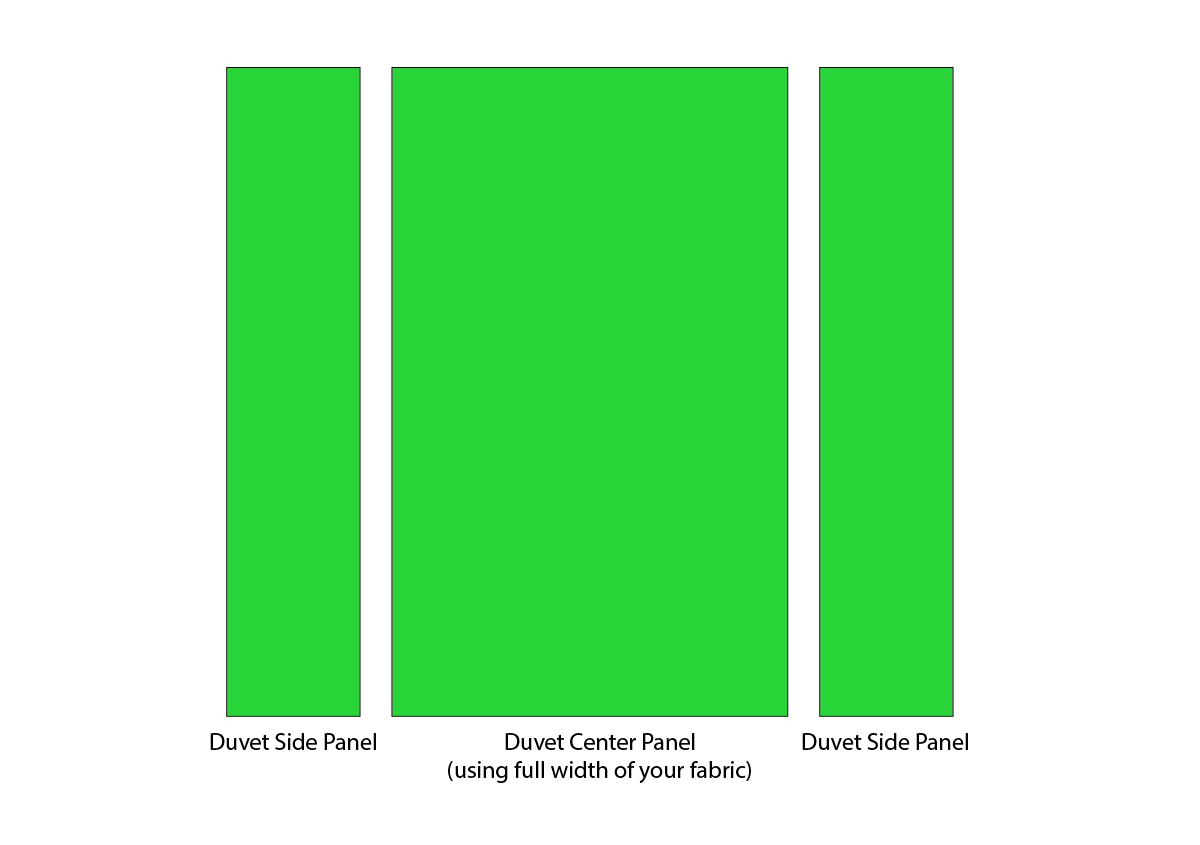
So for instance, if you are making a 90″x 90″ duvet cover with 60″ wide fabric, you’ll cut a 91″ length the full width for your center panel, and then two panels 17″ (15″ + 2″ seam allowance) wide and 91″ long.
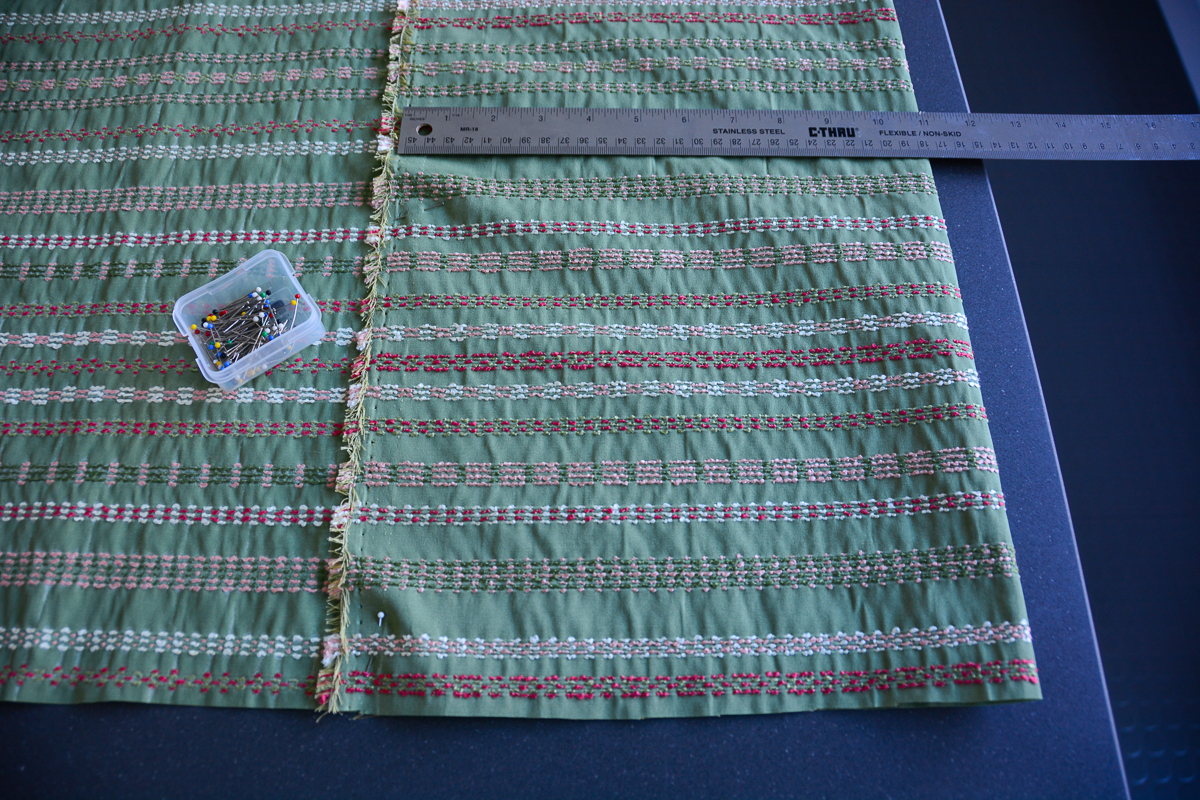
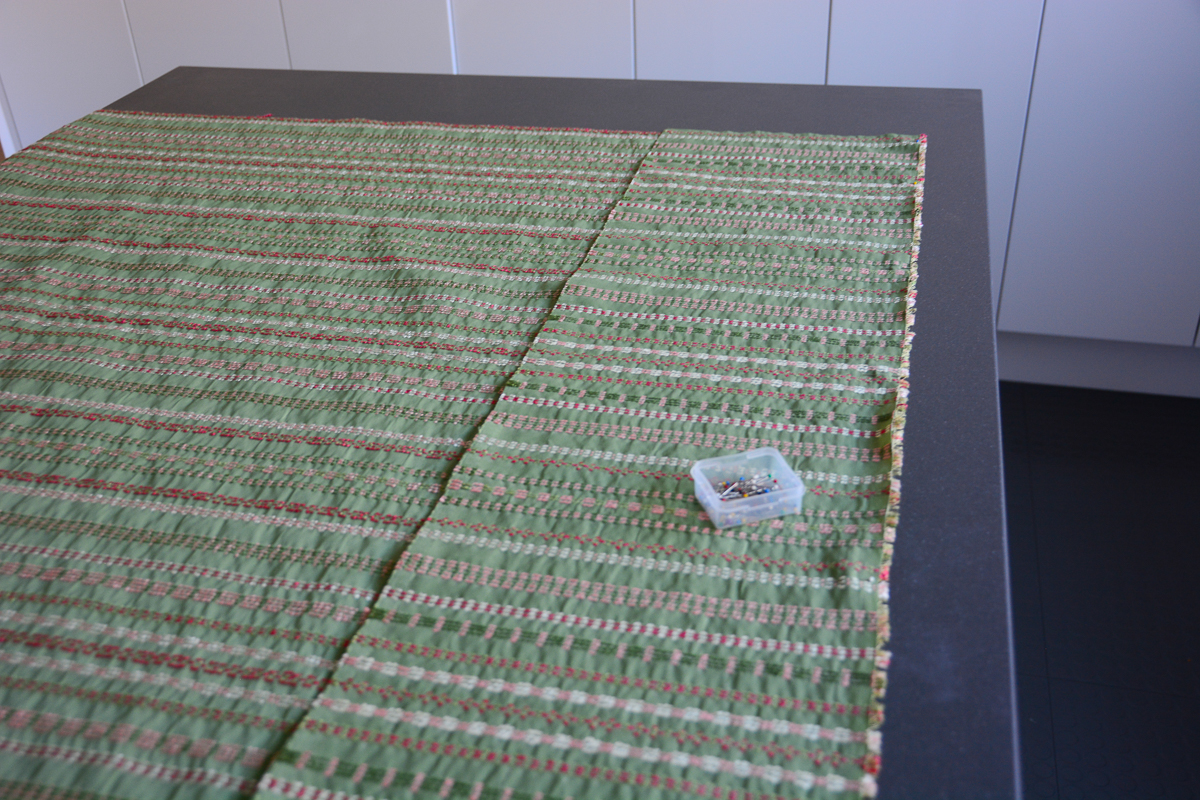
To cut straight side panels you can fold over one of the selvedge edges towards the center the distance of your side panel width (for instance 17″) . . .
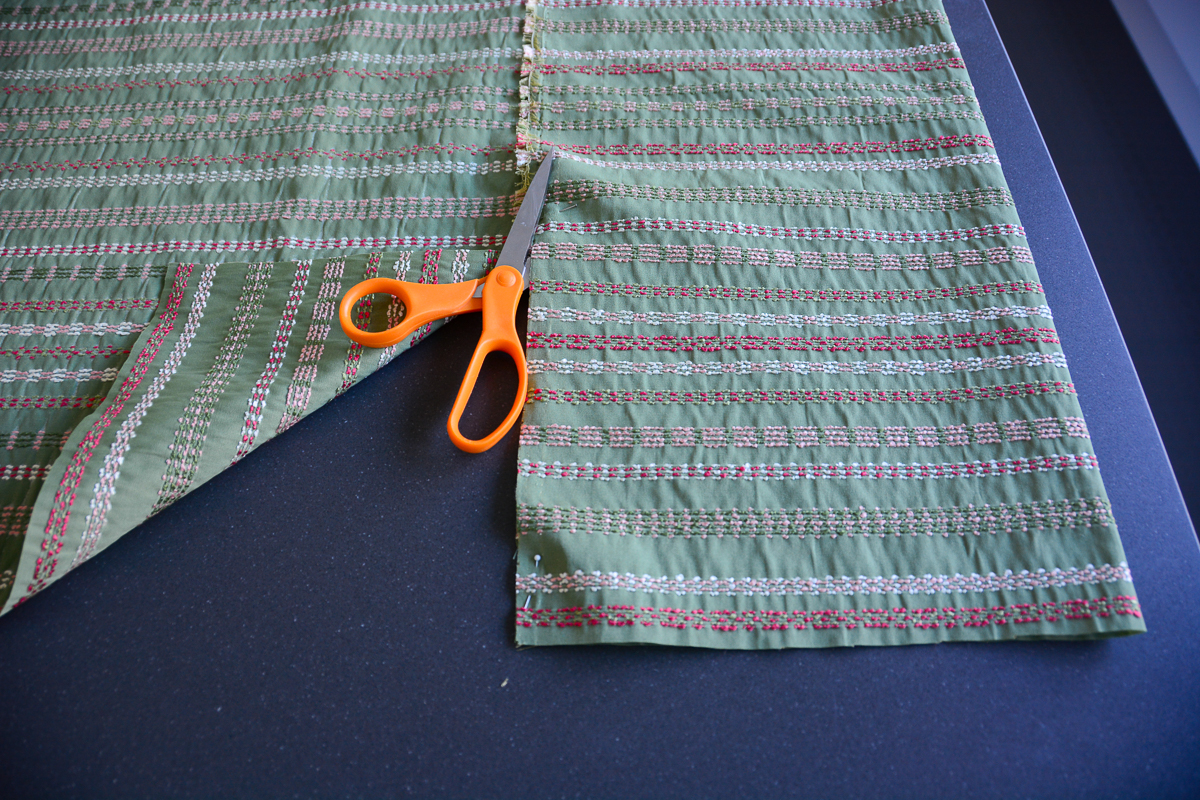
. . . cut your fabric using that selvedge edge as a guide . . .

. . . and then cut that folded length in half along the fold to yield your two panel pieces.
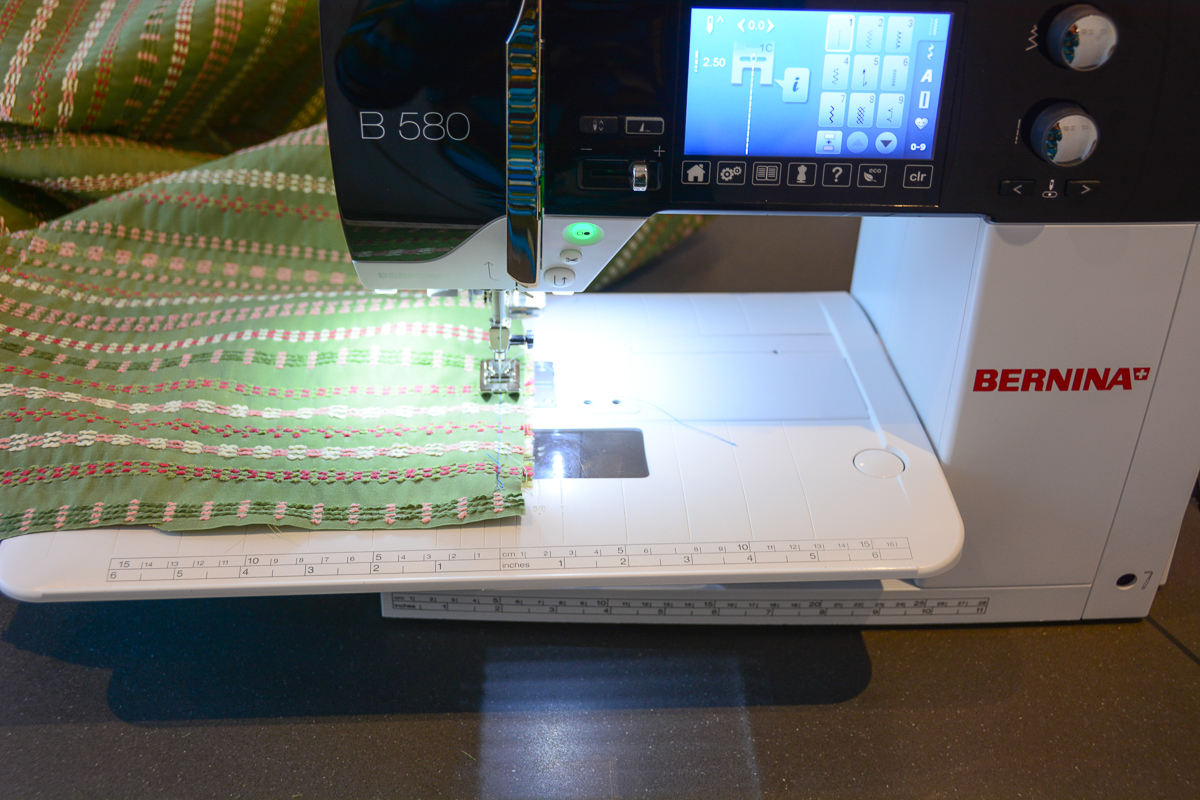
Now to seam the duvet cover, lay your side panels on your center panel right sides together and pin along the long edges as shown:
Stitch down the long edges using a .5″ seam allowance.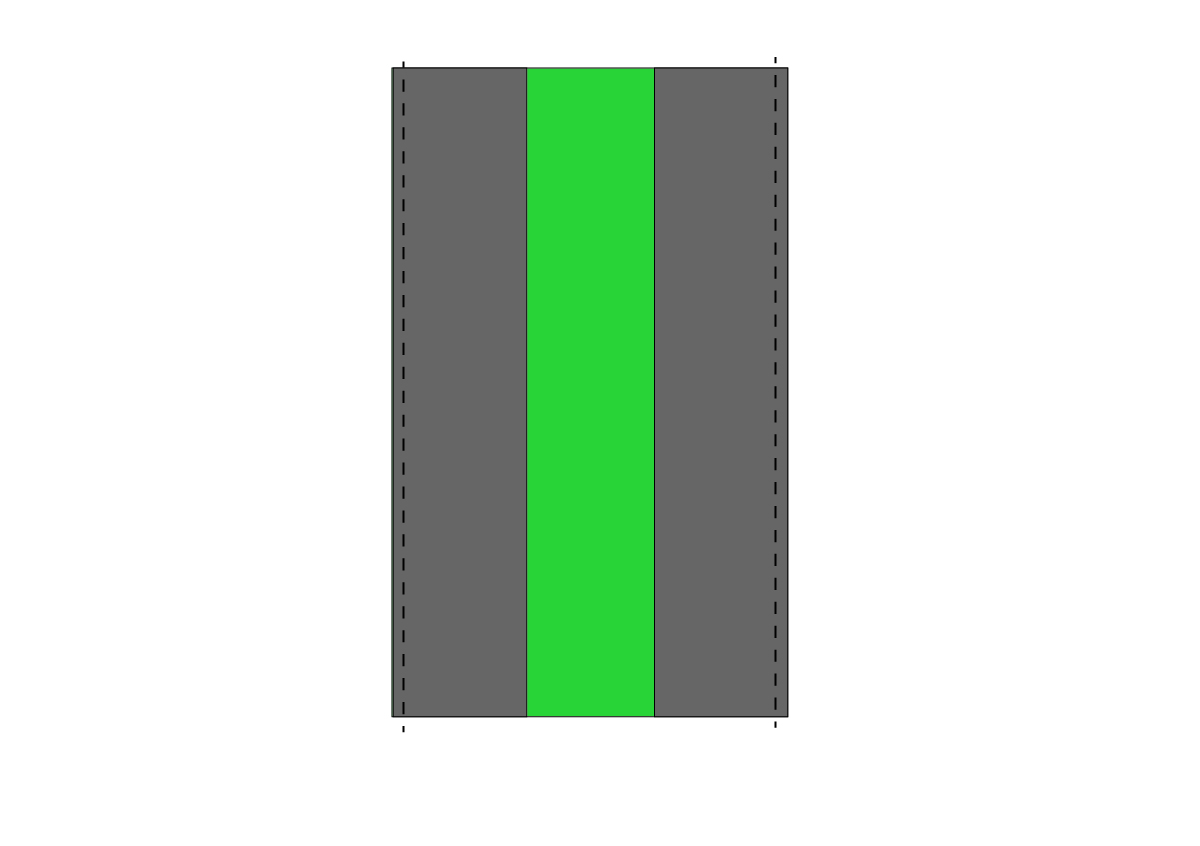
Press the seam allowances open.


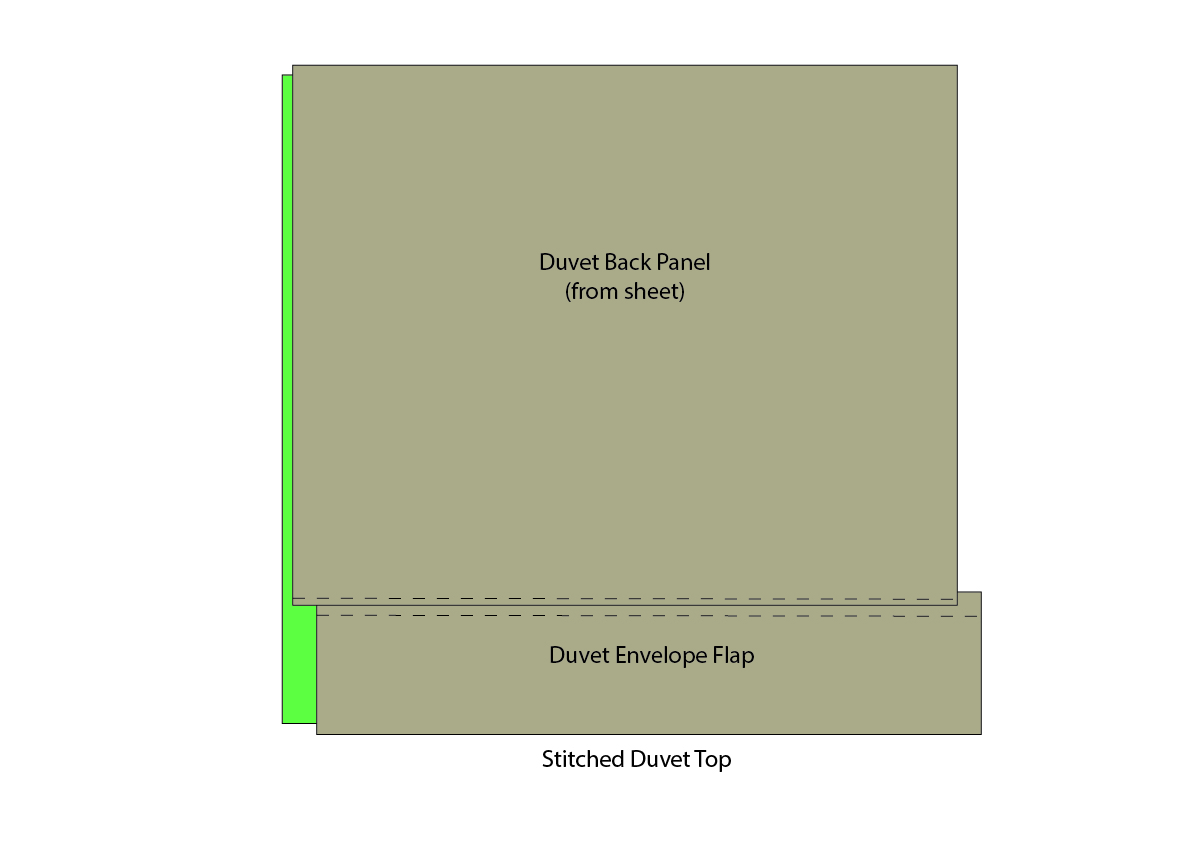
Now you’ll need to cut the back panel to fit. Take your flat sheet and cut the Envelope Flap from the top finished edge of the sheet.
- Duvet Envelope Flap: 16″ tall x width of your Duvet Cover top.
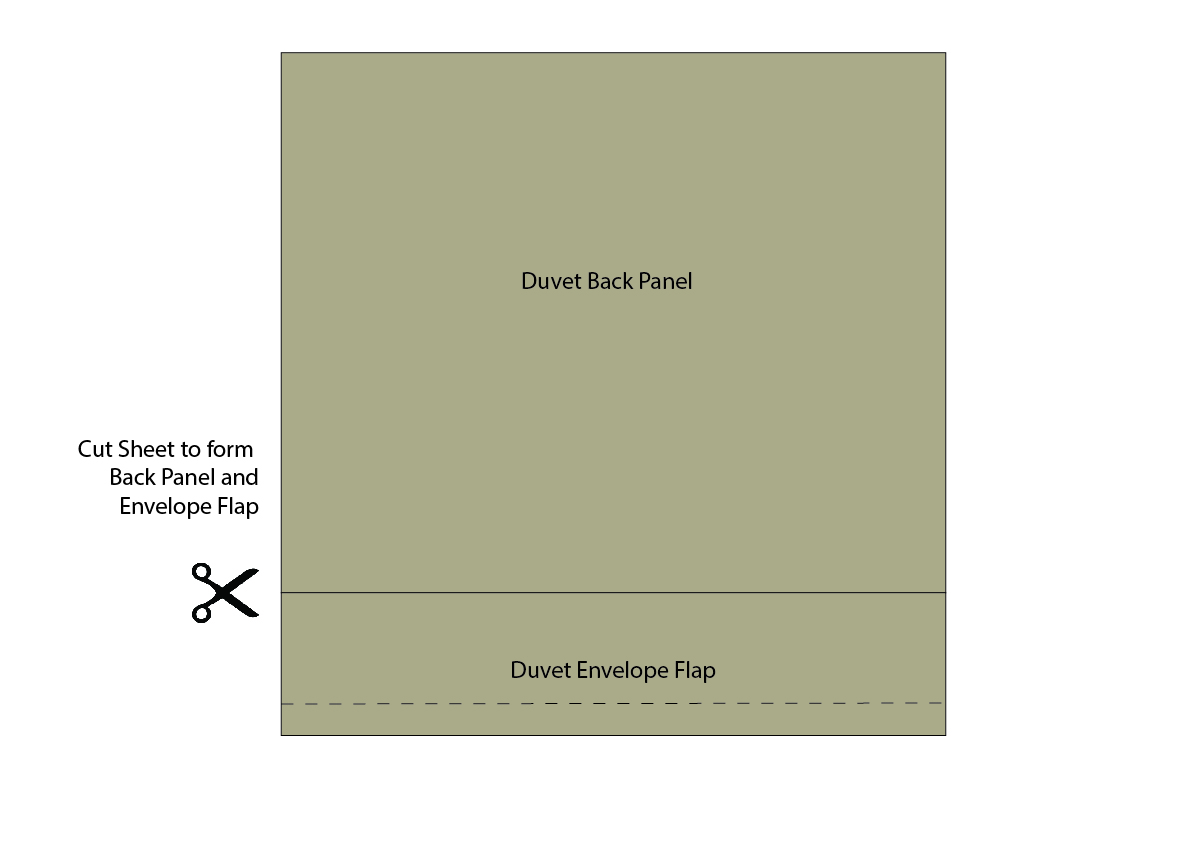
Cut the remaining sheet for your Duvet Back panel to fit your Duvet Cover top, with an 8″ overlap with the Envelope Flap.

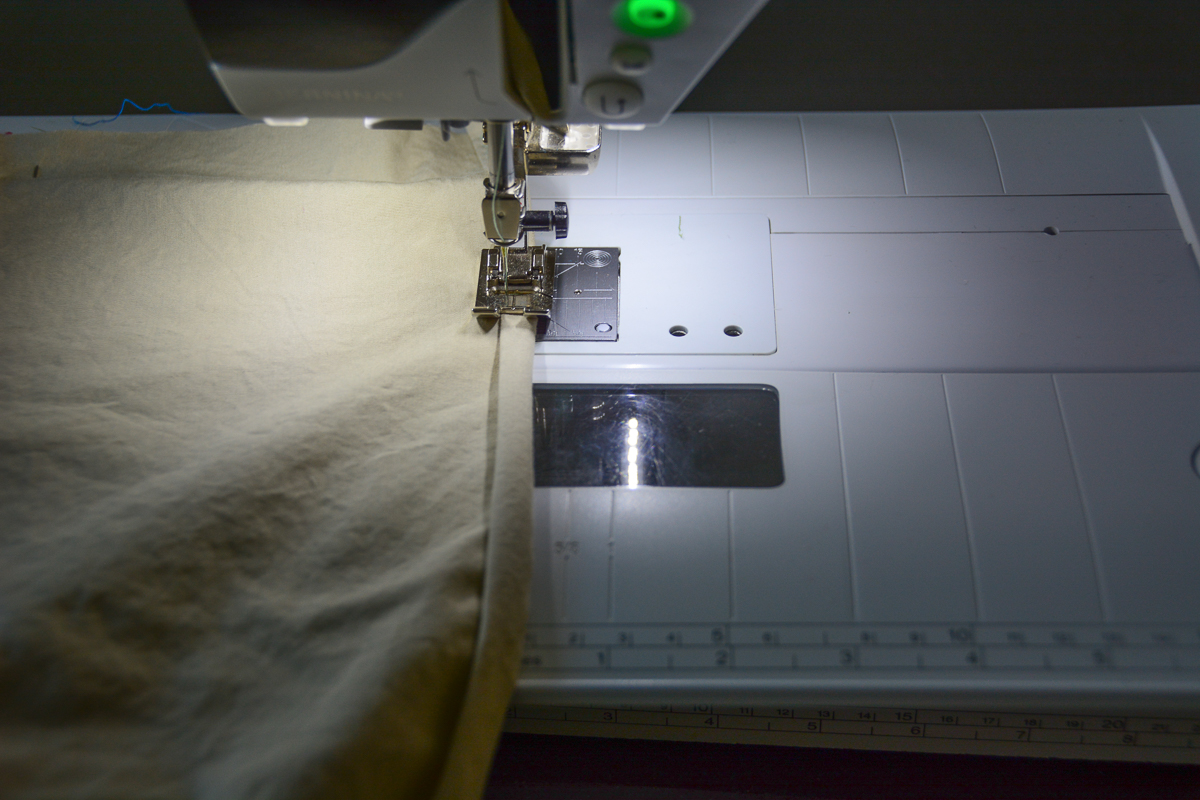
Finish one short edge of the Duvet Back Panel by turning it under .25″ twice and stitched close to the folded edge. This finished edge with tuck under the Duvet Envelope flap.
Now pin the envelope flap to the duvet cover top. You’ll do this right sides together, matching raw edges. The finished edge of the envelope flap will be towards the center of the duvet cover top. I think it’s more comfortable to have this envelope opening positioned at the bottom of the duvet rather than the top. Pin along the outside edges leaving the flap open at the finished edge.

Pin the duvet back panel to the duvet cover top, right sides together. Align raw edges and orient the finished edge of the back panel so it overlaps the envelope flap. (These should overlap by about 6″ or so.)
Pin all the way around the outside edges.

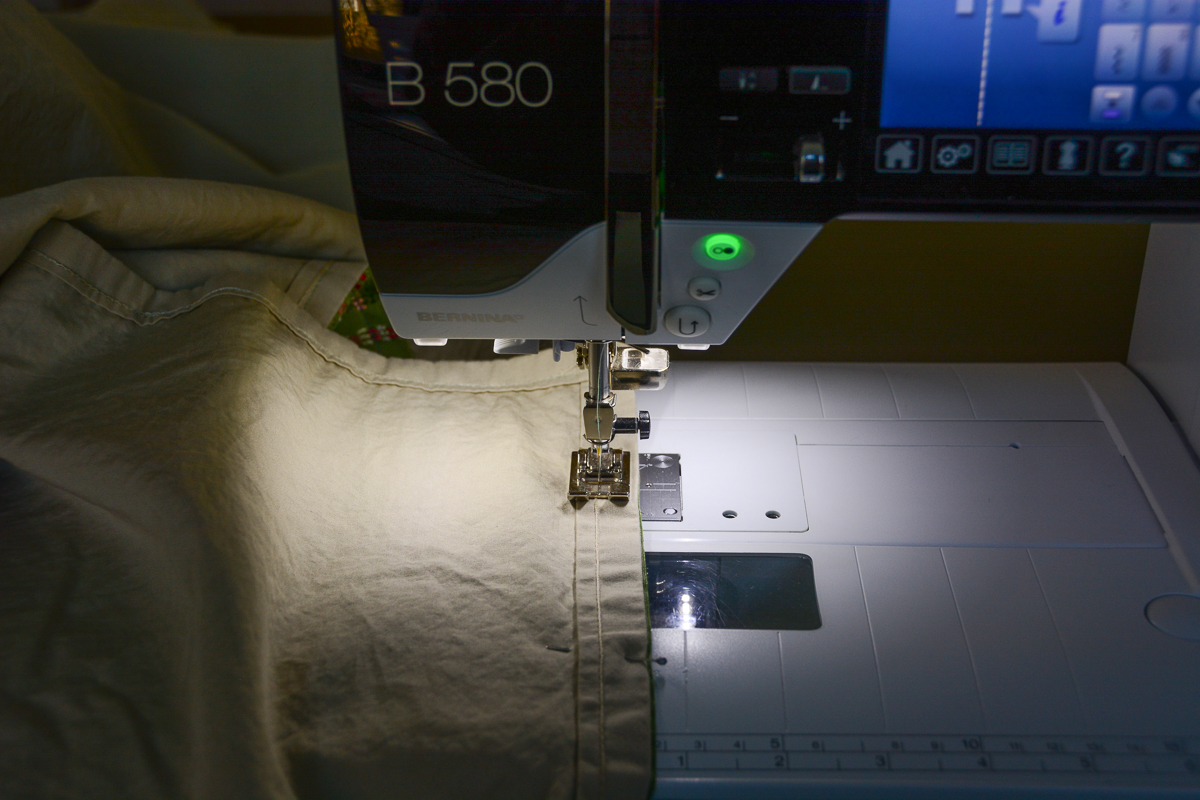
Now stitch around the duvet cover using a .5″ seam allowance.
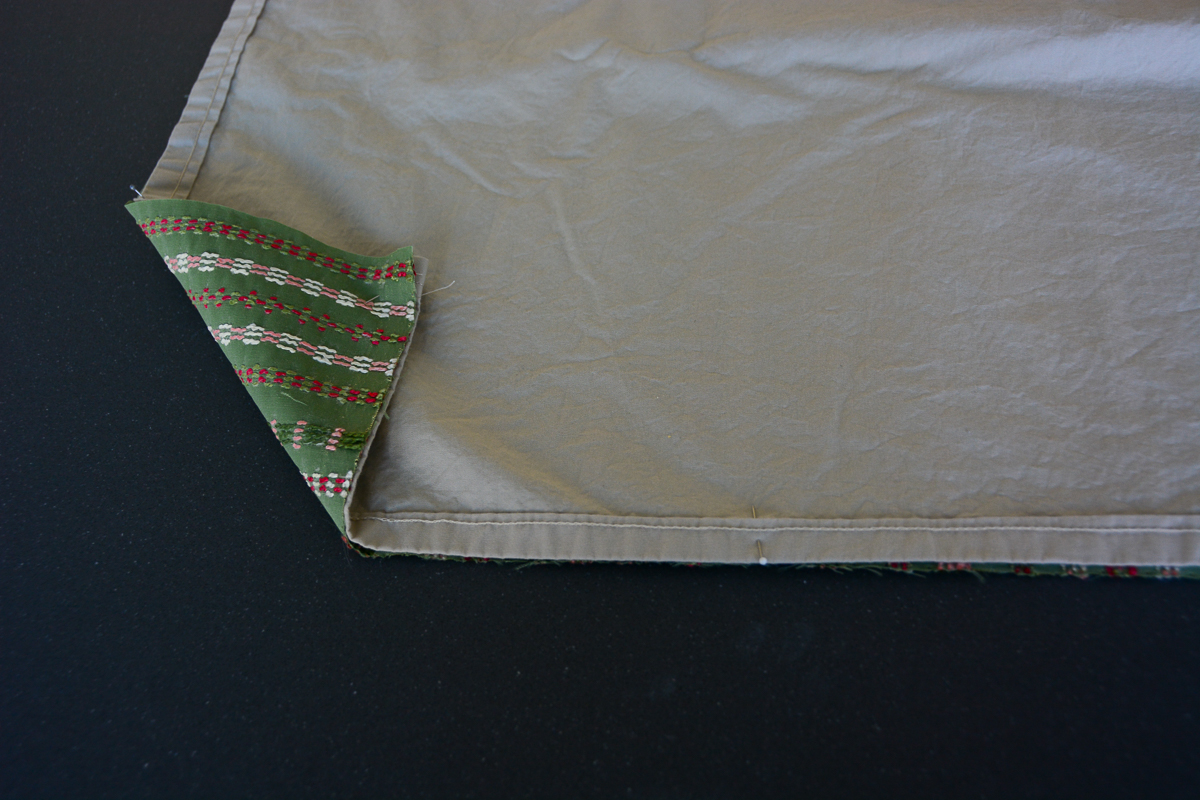
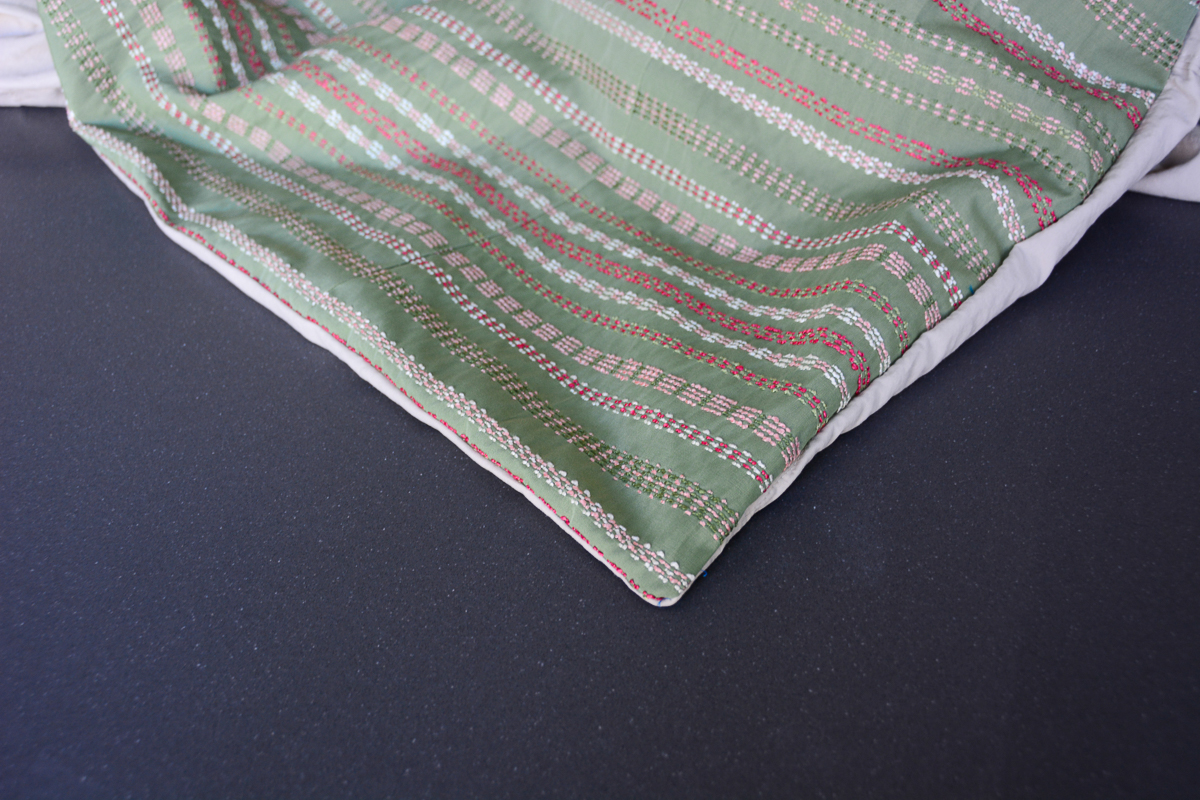
Clip corners and turn duvet cover right side out. Press the edges so they are neat.
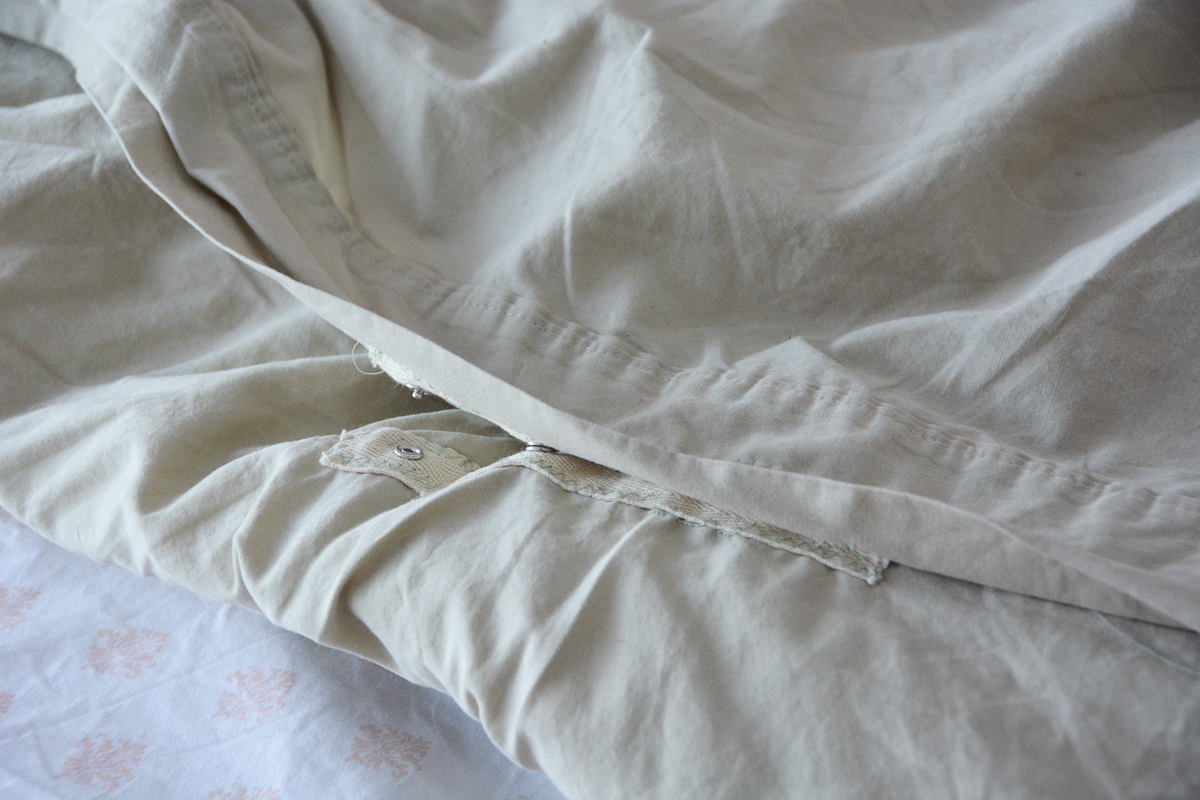
To finish the envelope flap cut three 8″ lengths of snap tape. Position these along the envelope opening so they are spaced evenly. Then separate the tape and pin one half on the wrong side of the envelope flap and the other half on the right side of the back panel so they will line up to close.


Stitch the tape down all around the perimeter using a zig zag stitch.
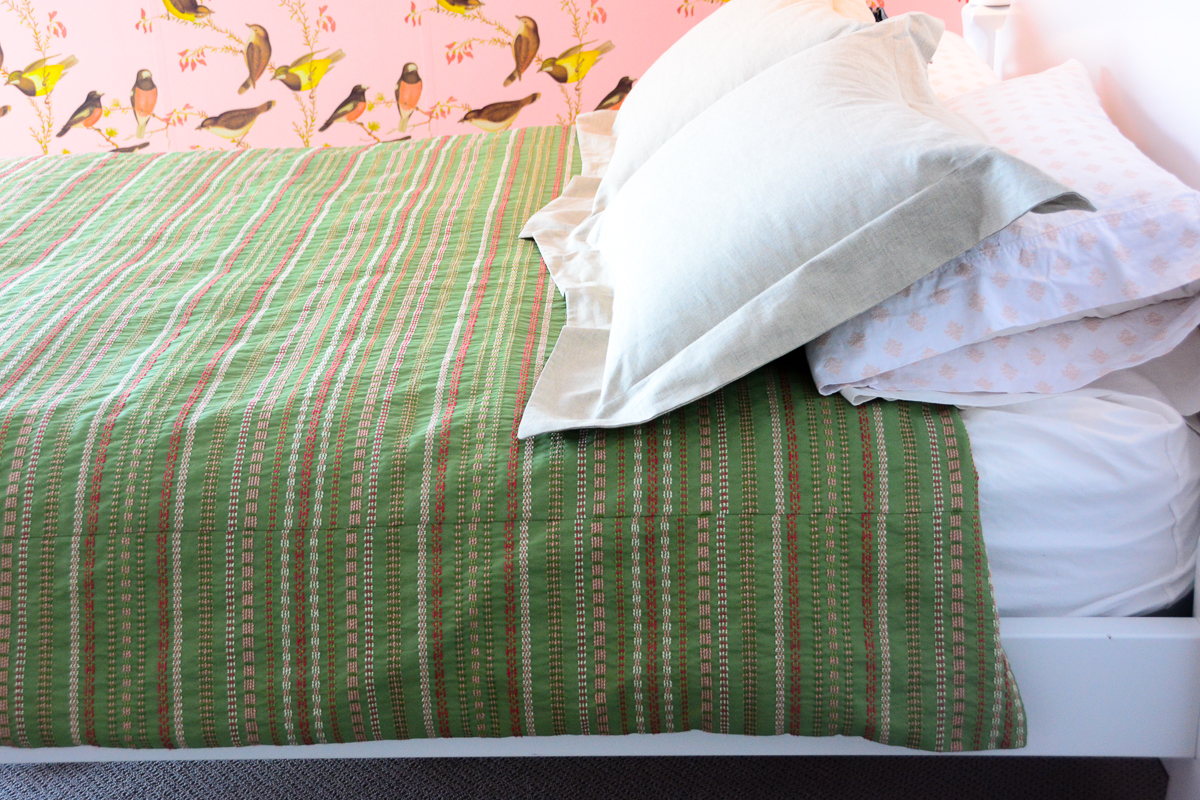
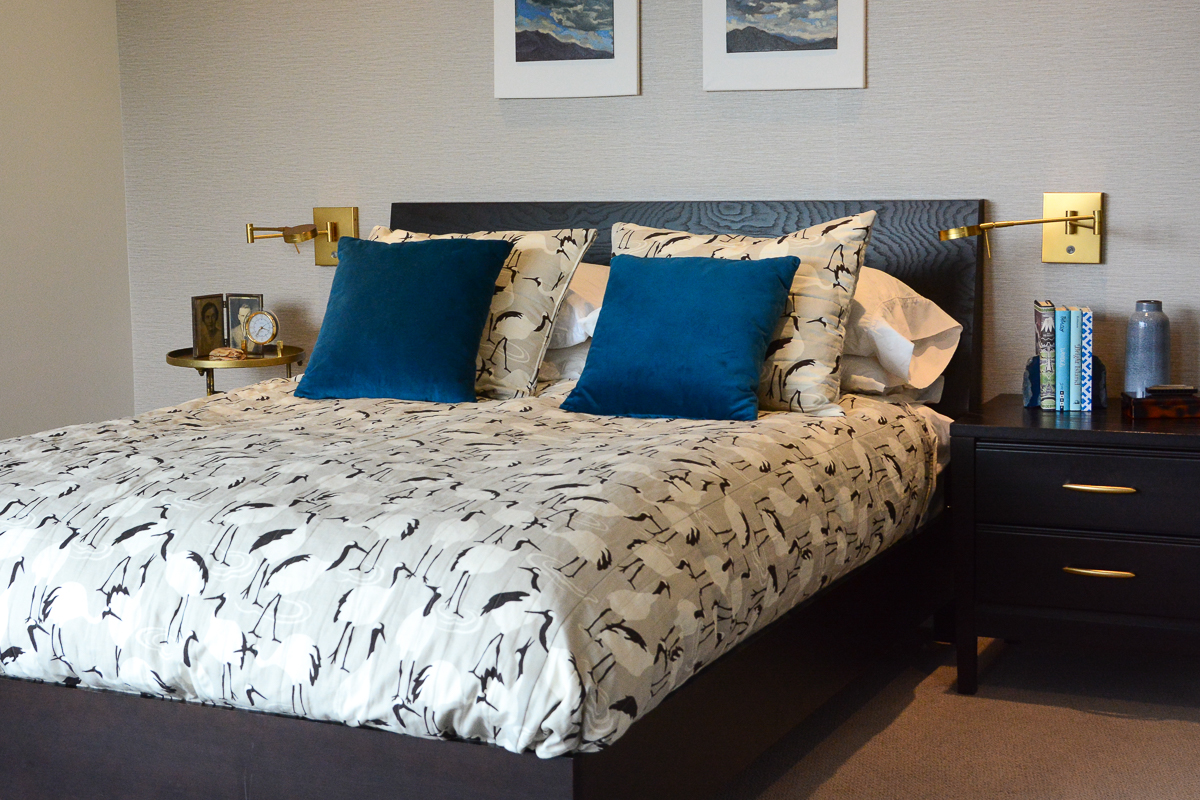
That’s it! Insert your down or down-alternative duvet and make your beautiful new bed!
Watch out for my next week’s post, the DIY corded pillow cover.
You might also want to check out my post on how to sew a flanged pillow sham in this bedroom home decoration series.


What you might also like


2 comments on “How to Sew a Simple Duvet Cover”
-
-
Yes I do. I am in the process of making a duvet cover for my autistic 12-year old grand son who is missing my Lieutenant Colonel son (currently serving in Afghanistan) A LOT ! ! ! So I had to come up with something VERY special. He’s crazy about Star War and as God would have it Urban Threads came up with a QUILT using their Ecliptic Constellations collection. It’s PERFECT. So I’ve been piecing the “top” together and will be embroidering Urban Threads designs of “the galaxy” all over it. One of the last things I will be doing to finish it for the duvet cover is insert the middle that I have sprayed with adhesive spray on one side and having rolled the completed duvet cover inside out, on the floor, I’ll carefully insert & “foot press” all in place, and for extra insurance pinning it with quilting safety pins every 18″ or so. NOW, here comes my answer to your question. The design has individual stars that I can sew anywhere I want. This will tack it in place. If you cannot find an embroidery design that serves your purpose, use invisible thread. I’ve done this method before and it works great. I often find that children’s duvets really need to be thrown in the washer “whole”, so I usually use a thermal blanket for the insert. I hope this might help. Just my personal preference on how to do this.
-
Leave a Reply
You must be logged in to post a comment.

Great tips on making a duvet cover. What I need is how to keep the duvet in place. I, inevitably, pull the cover over my sholders but leave the duvet behind which ends up with cold shoulders. I have attached loops to my duvet and ties to the cover, but they seem to come untied quickly . Any one have a system that works for them?