Edgestitching Technique
Edgestitching is one of the elements of sewing that gives your projects a professional look. It upgrades your project from “homemade” to “handmade”. Use edgestitching on collars, necklines, armholes, cuffs and hems.
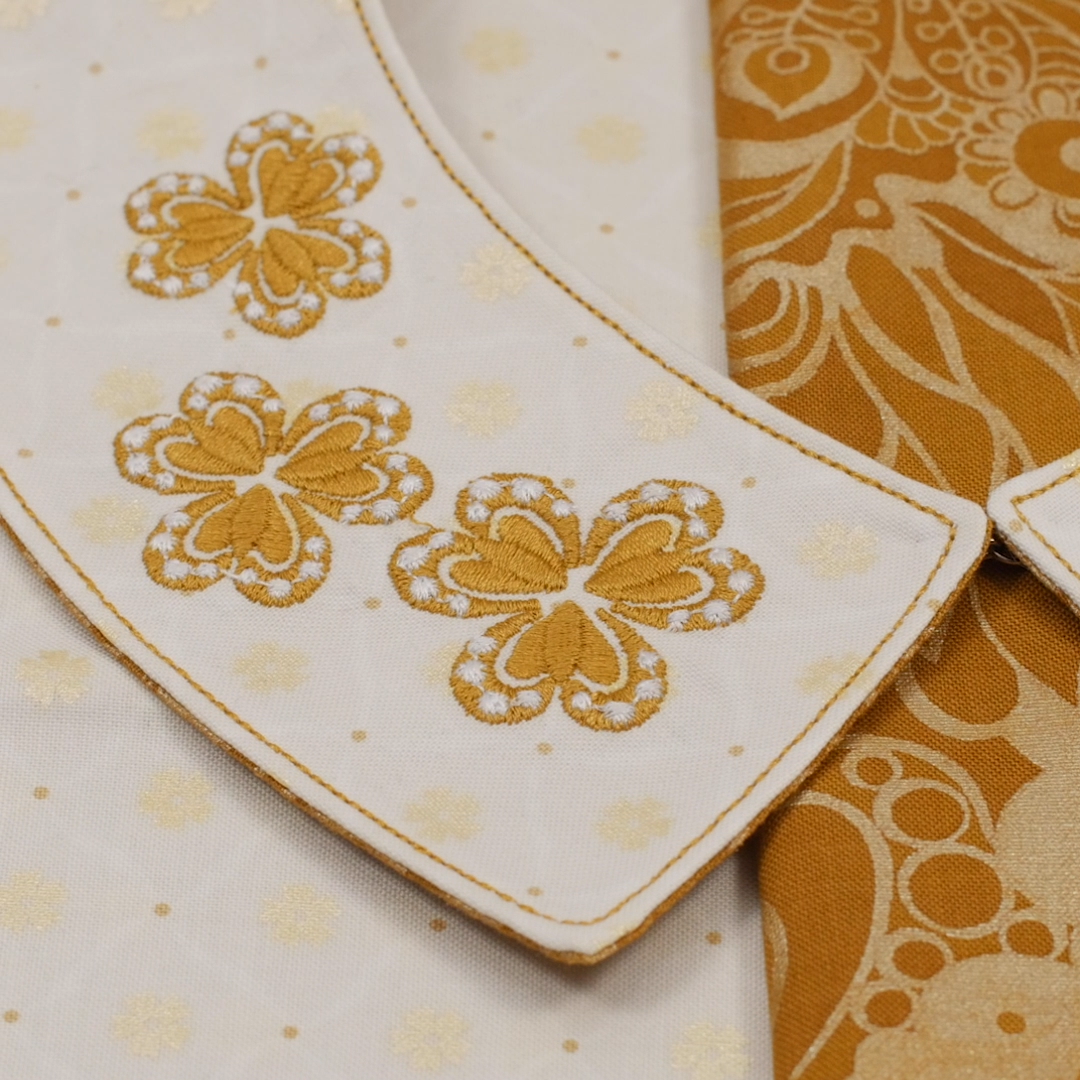
We used edgestitching on this stand-alone collar to give it a neat crisp edge.
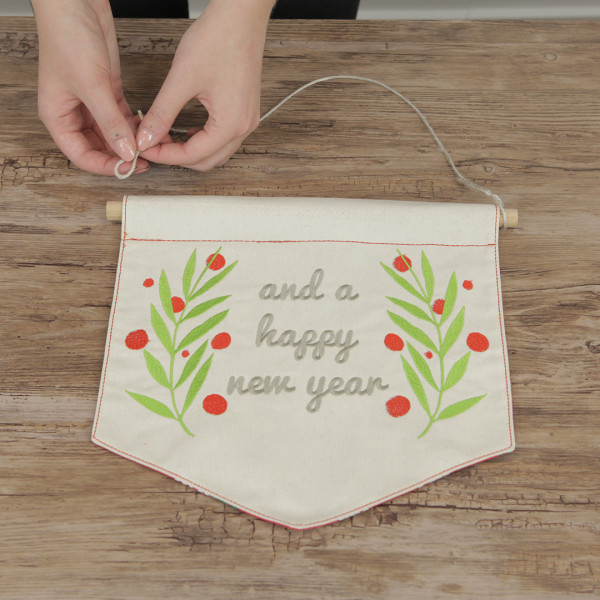
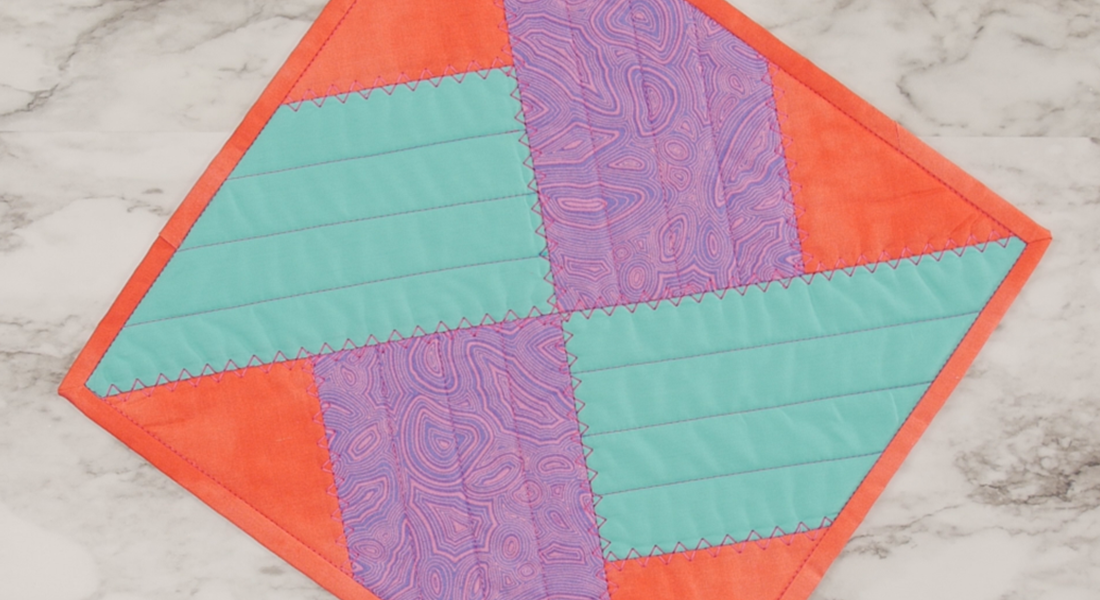
For home dec projects, add hemstitching to coasters, placemats, banners, or any other “flat” item to give it a finished look, like on this holiday banner.
Edgestitching is practical—it helps to hold the edge of your project flat, and keeps the seam from “rolling” to one side or the other. It is typically used when two layers of fabric have been seamed together and then turned right side out, with the seam being on the outside edge of the project.
It also adds a decorative element, which can be as subtle or as bold as you like. Edgestitching is often done with a slightly heavier or decorative thread to allow it to stand out. A 30- or 40-weight polyester or cotton thread is a good choice. Choose a matching or contrasting thread, depending on the look you prefer.
Getting a clean and neat edgestitch is easy with the right tools. First, choose the right fabric. Typically, edgestitching is done with firmer woven fabrics, such as quilt cottons, chambray, poplin, and broadcloth. Knit fabrics and softer fabrics do not have the body to support edgestitching without some sort of stabilization.
Once you’ve created the seam you want to edgestitch, press it well. The pressing is just as crucial as the sewing to create a professional finish! To ensure a super-crisp press, I use three tools: a high-quality iron, a clapper, and a pressing cloth.
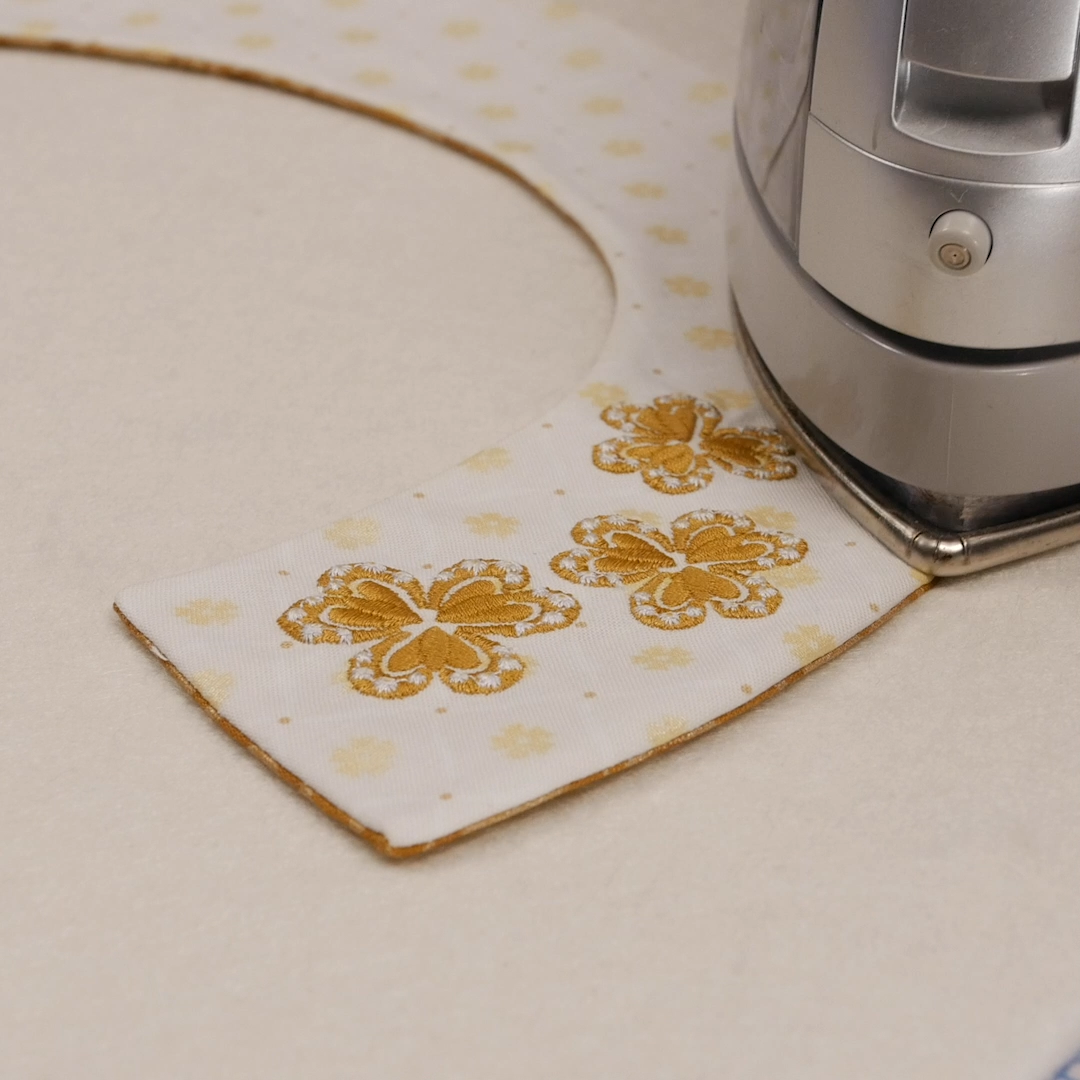
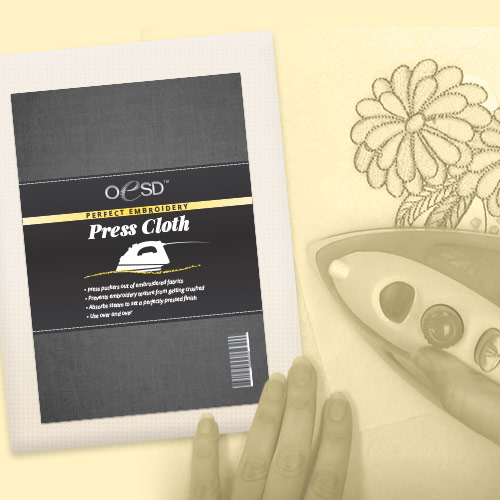
Use any high-quality iron that gives you good temperature control and steam. Lay your project onto a pressing cloth that has some give. You could use a wool pressing mat, or this press cloth from OESD. By giving you something to press into, the pressing surface allows you to get a very crisp seam.
Once you’ve pressed your seam, and while it is still hot, press it with a clapper. This wooden device is a staple for garment sewists. Pressing the seam with the clapper while it’s still hot absorbs the steam and cools the fabric, allowing you to set the seam perfectly. (Think of it like the cold shot on your hair dryer—the heat gets things into place, and the cold sets it there.)
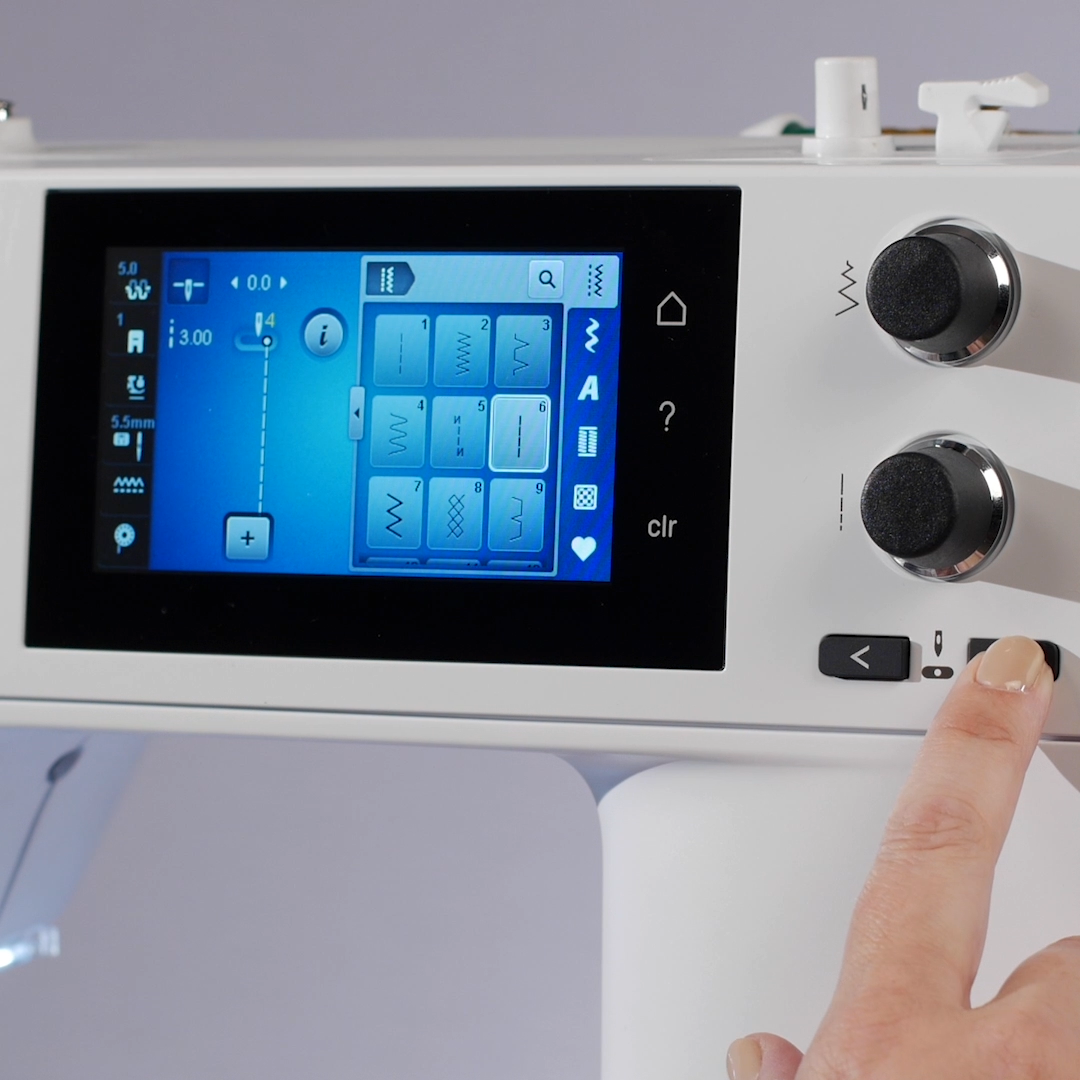
Next, choose your stitch. While you could choose a regular straight stitch for a subtle look, you may want to choose a triple stitch to make your edgestitching stand out. Because of the bulk of the seam allowances within the area to be edgestitched, most decorative stitches would not be the best choice, but you can experiment with very narrow decorative stitches.
Depending on the weight of your thread, you may wish to try a topstitching needle. Topstitching needles have a larger eye and groove to allow heavier threads to pass through. Since you are probably working on a woven fabric, choose a microtex or sharp needle as opposed to a universal. A sharp needle will give you the cleanest penetration for the neatest stitches.
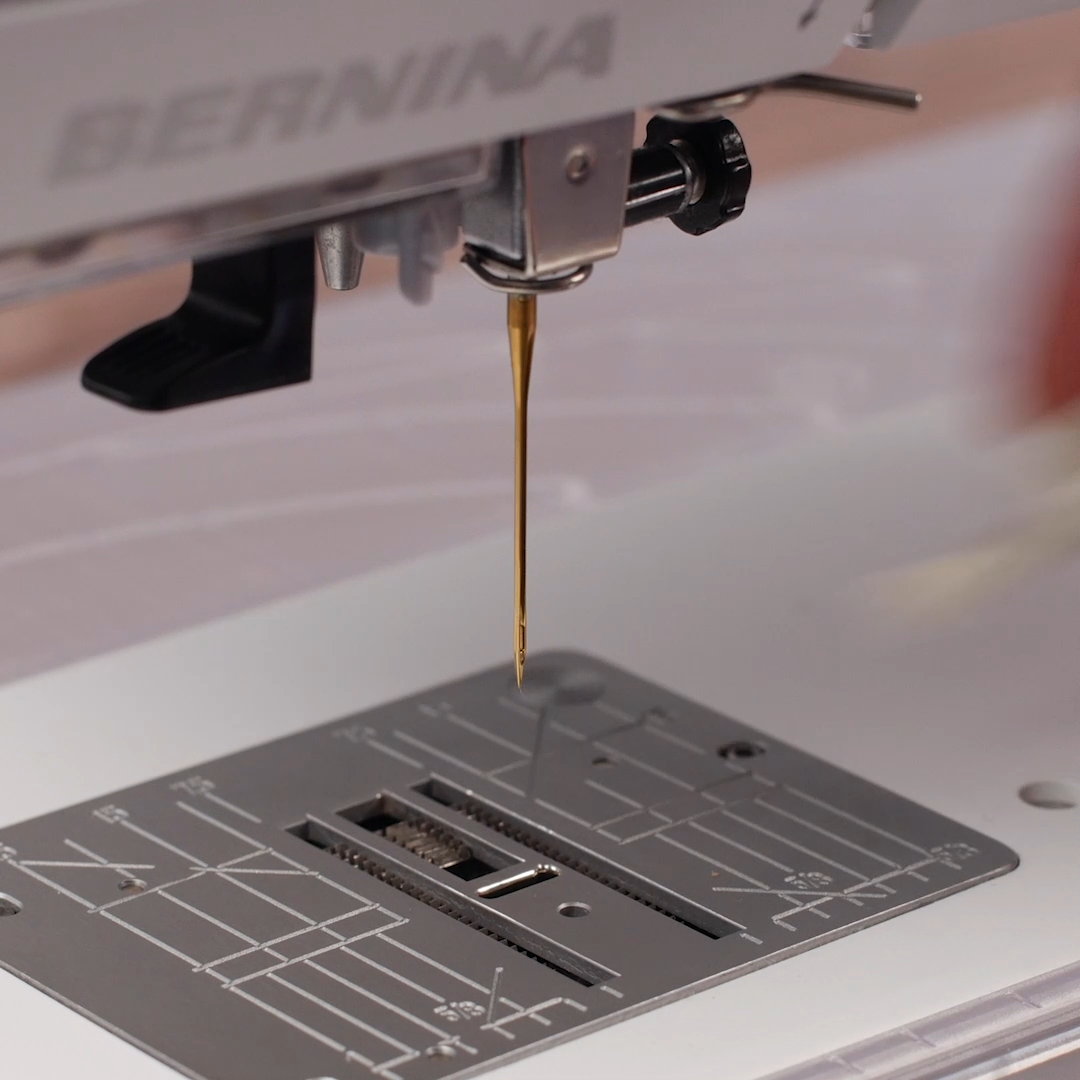
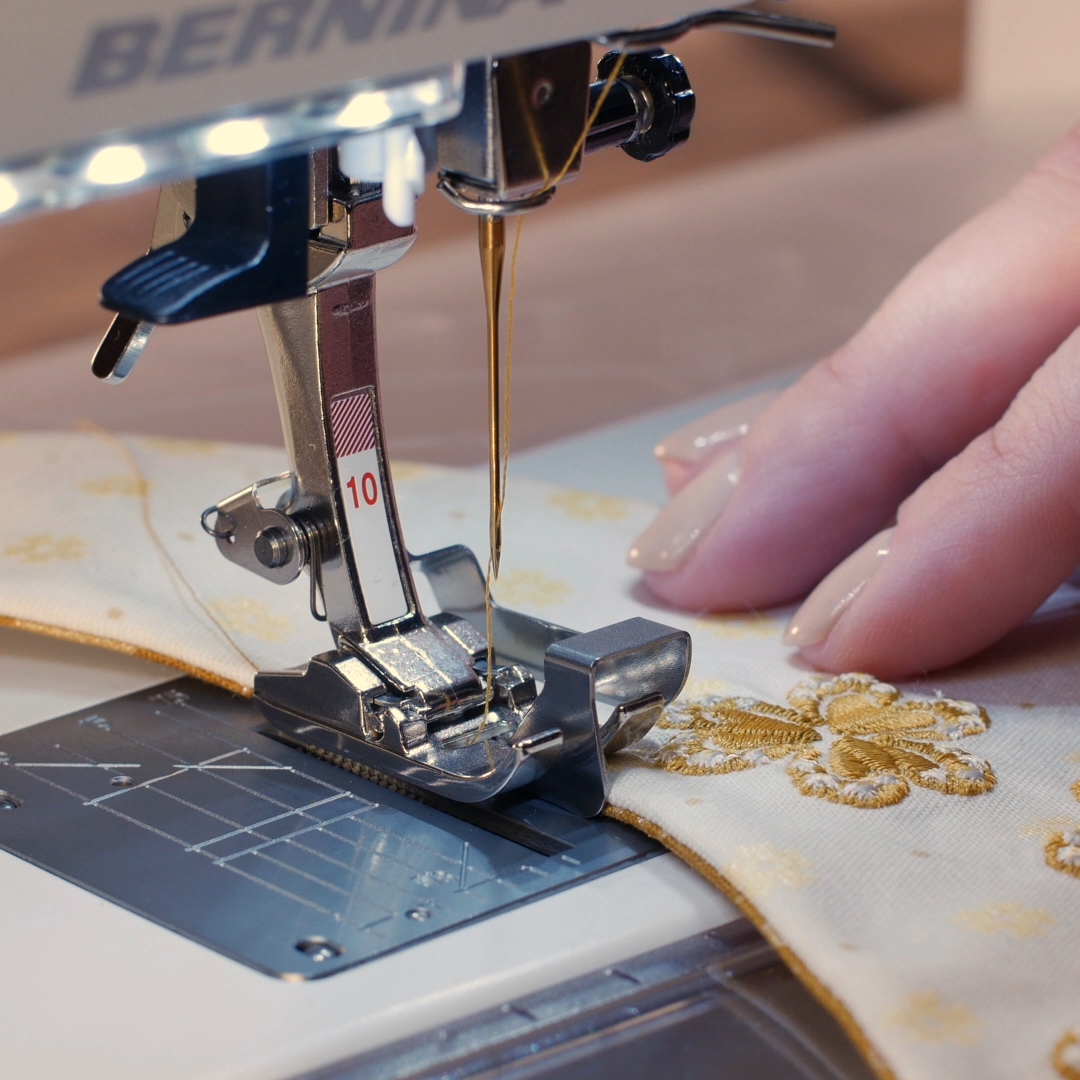
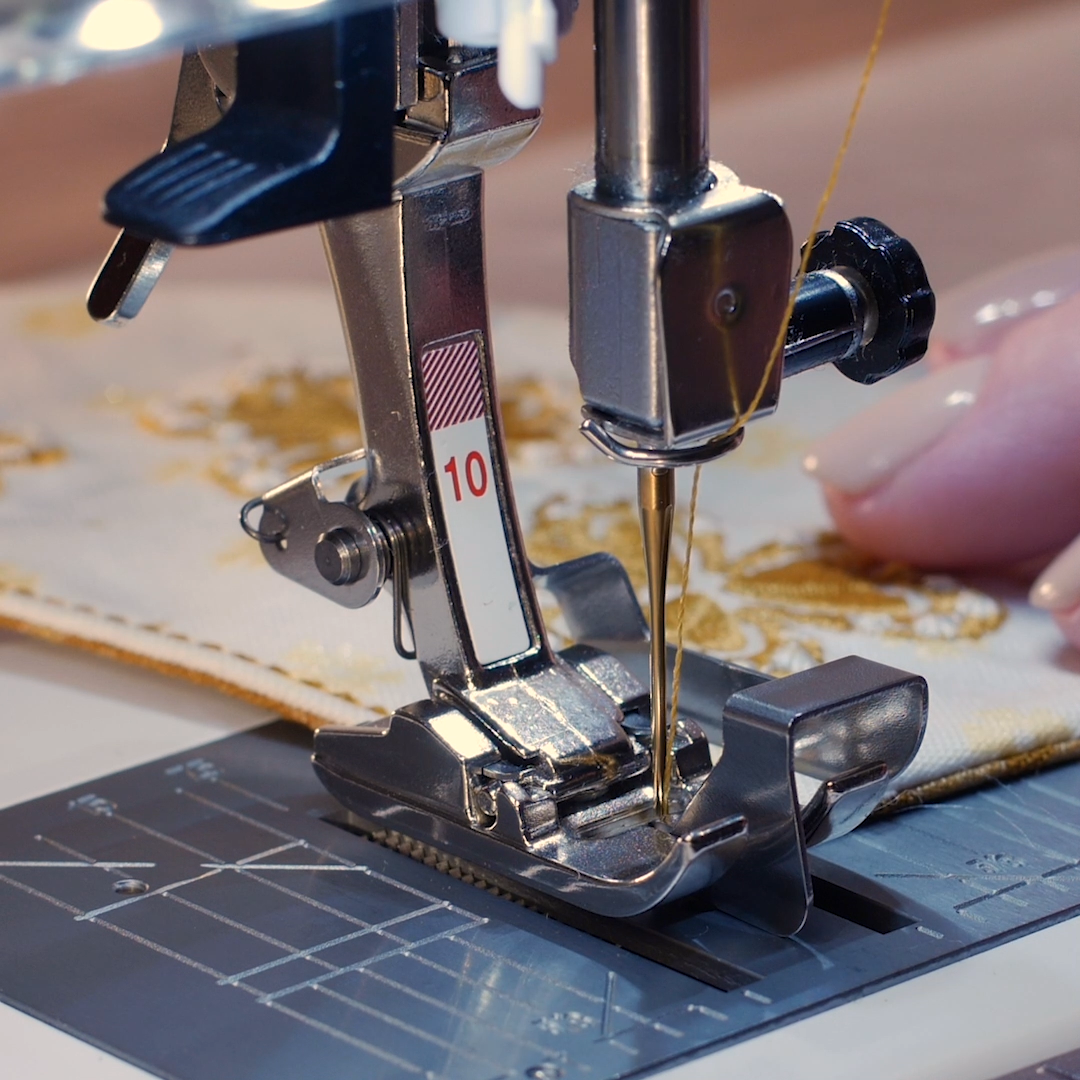
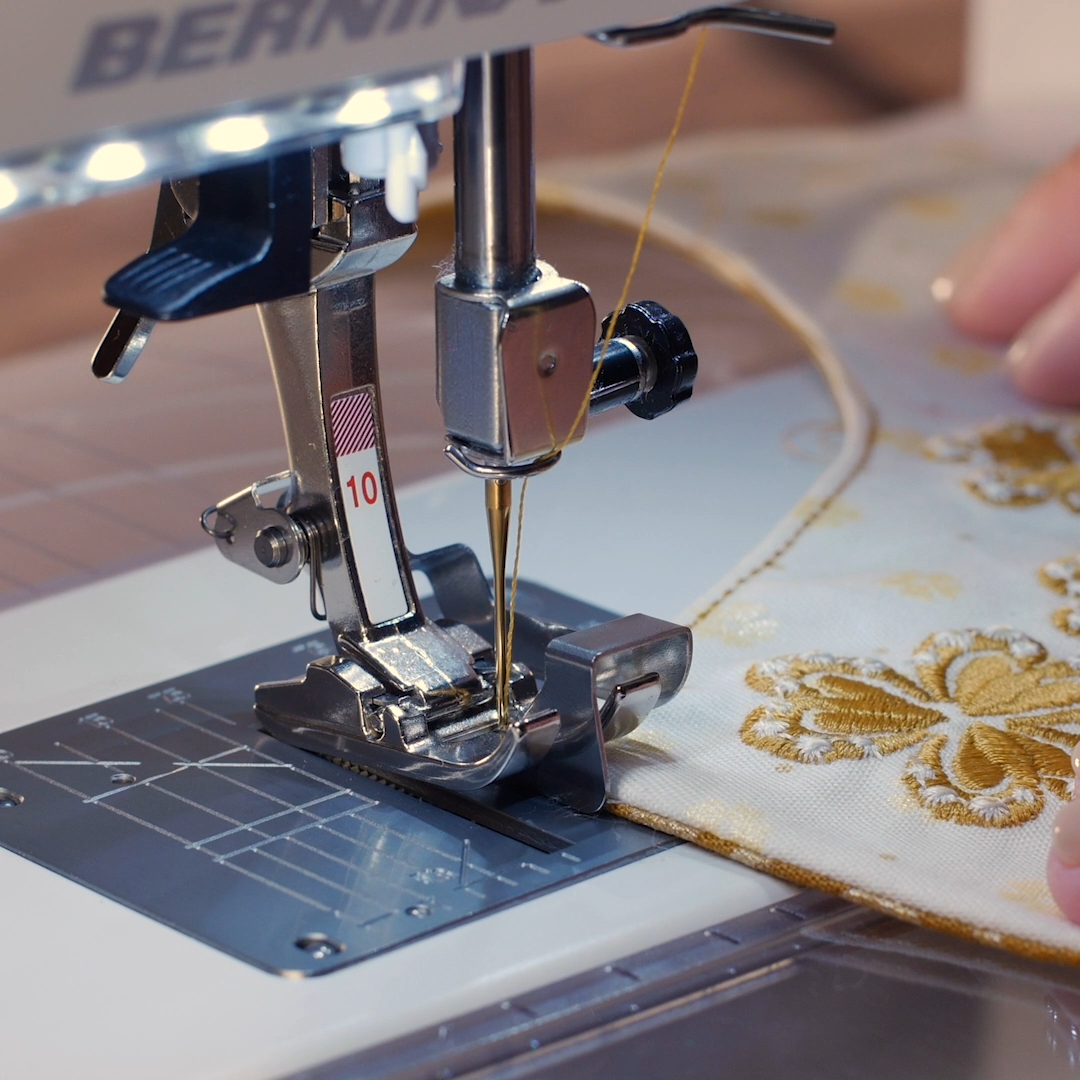
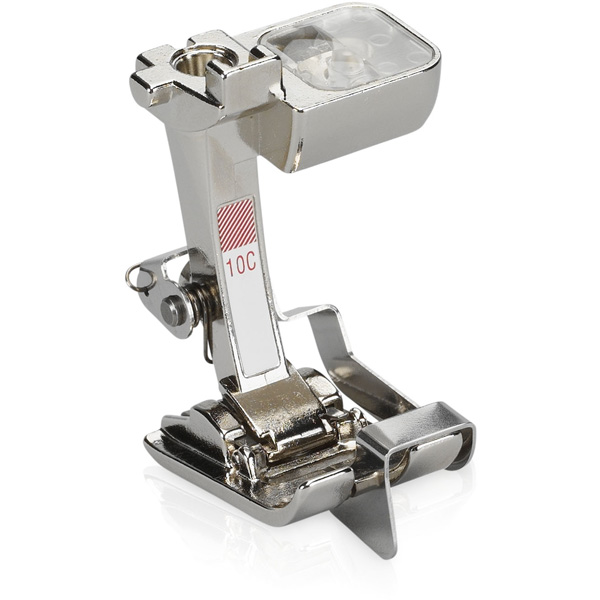
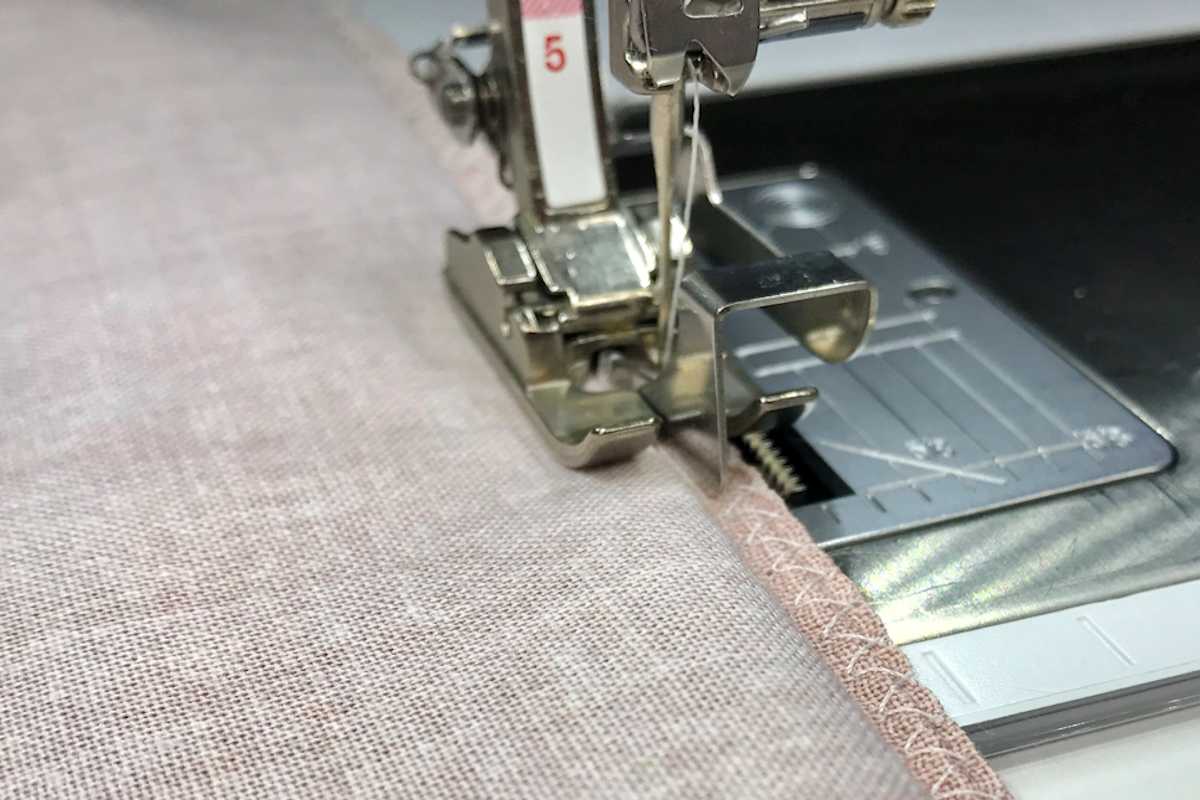
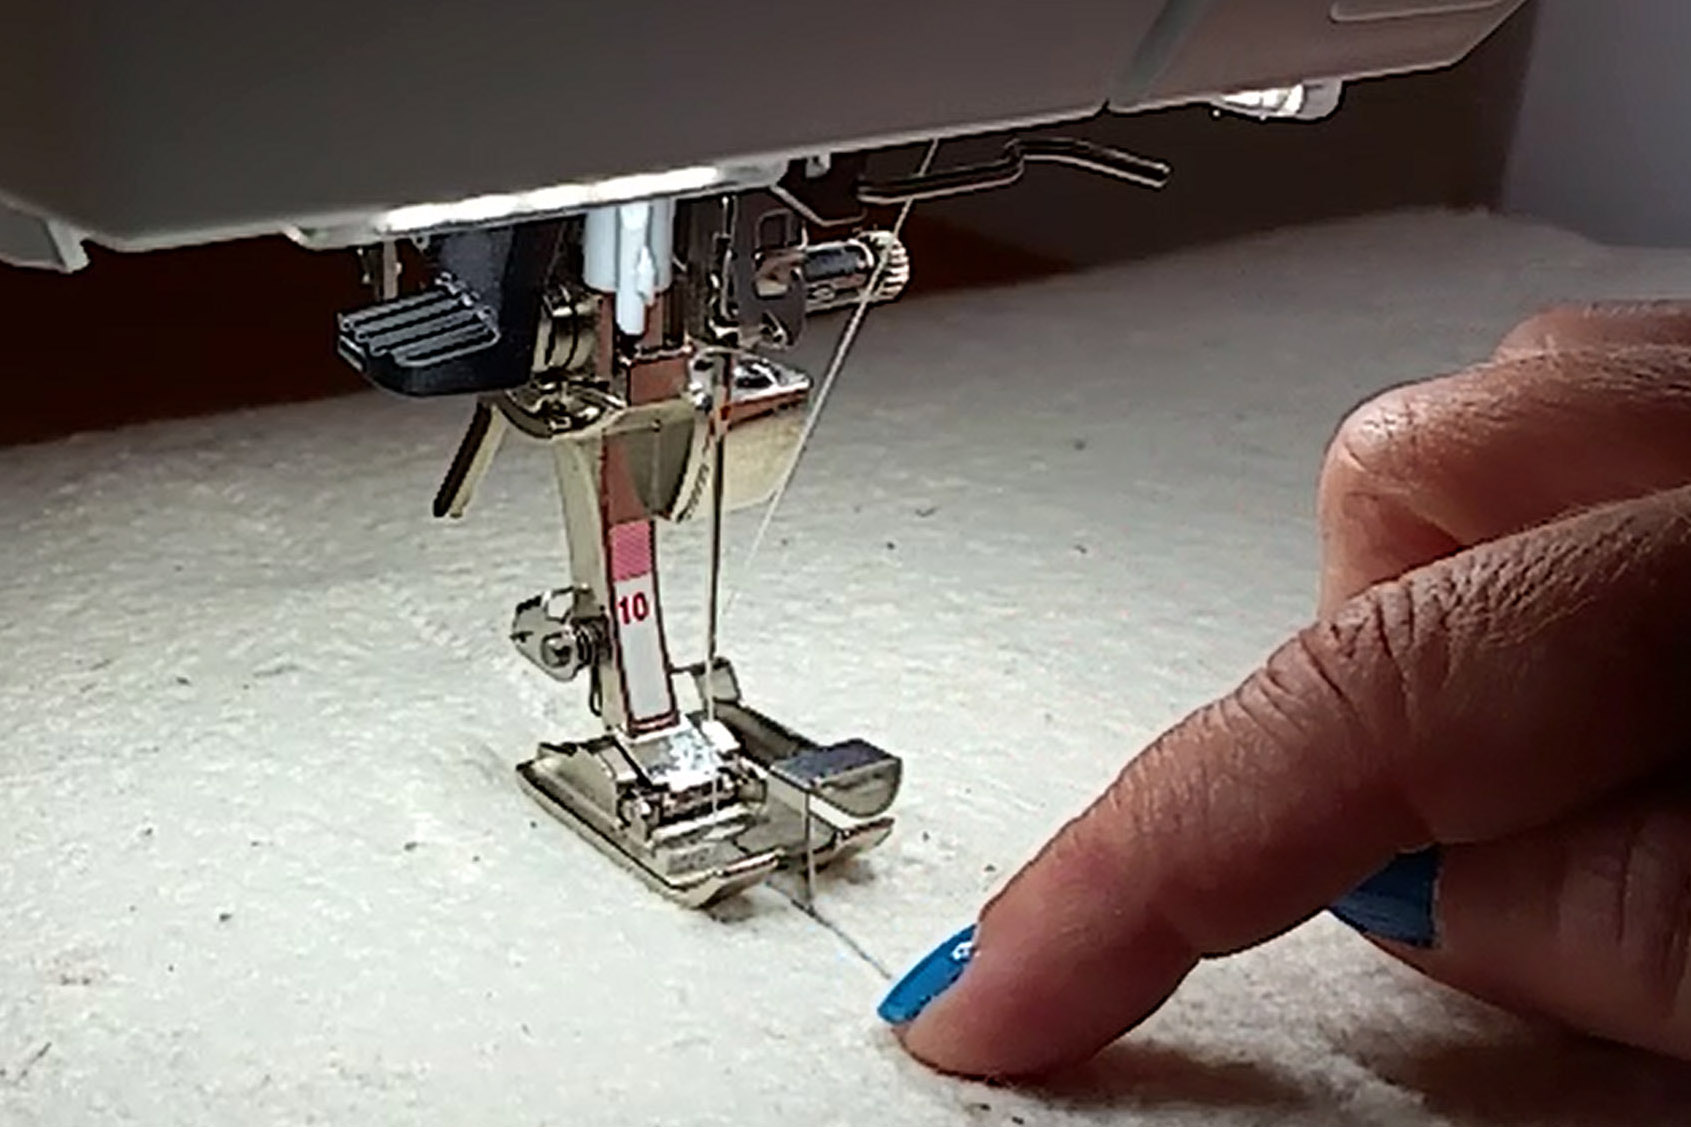
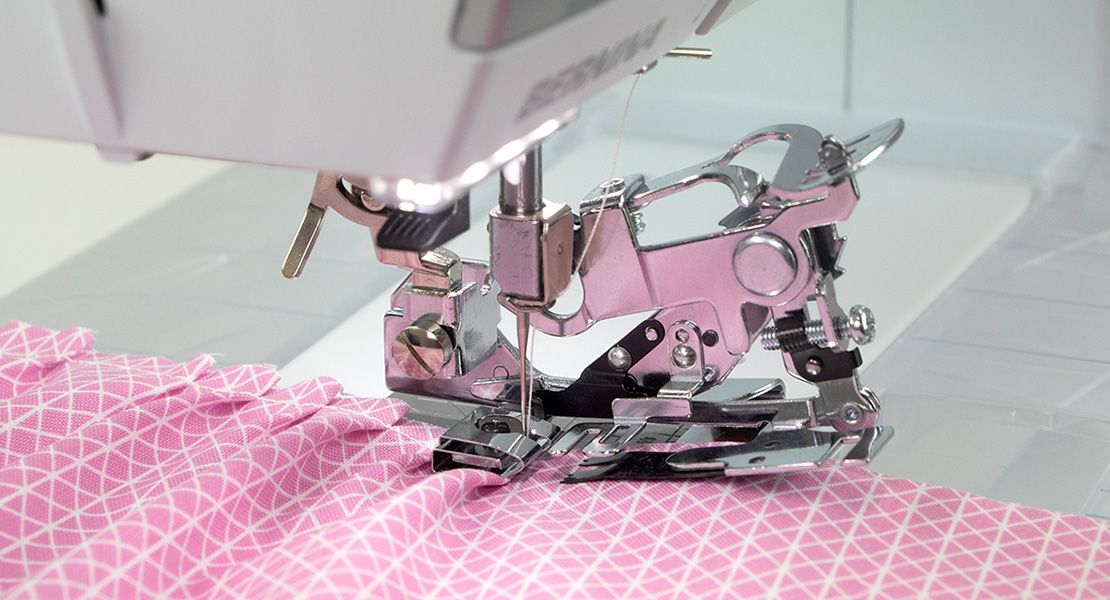
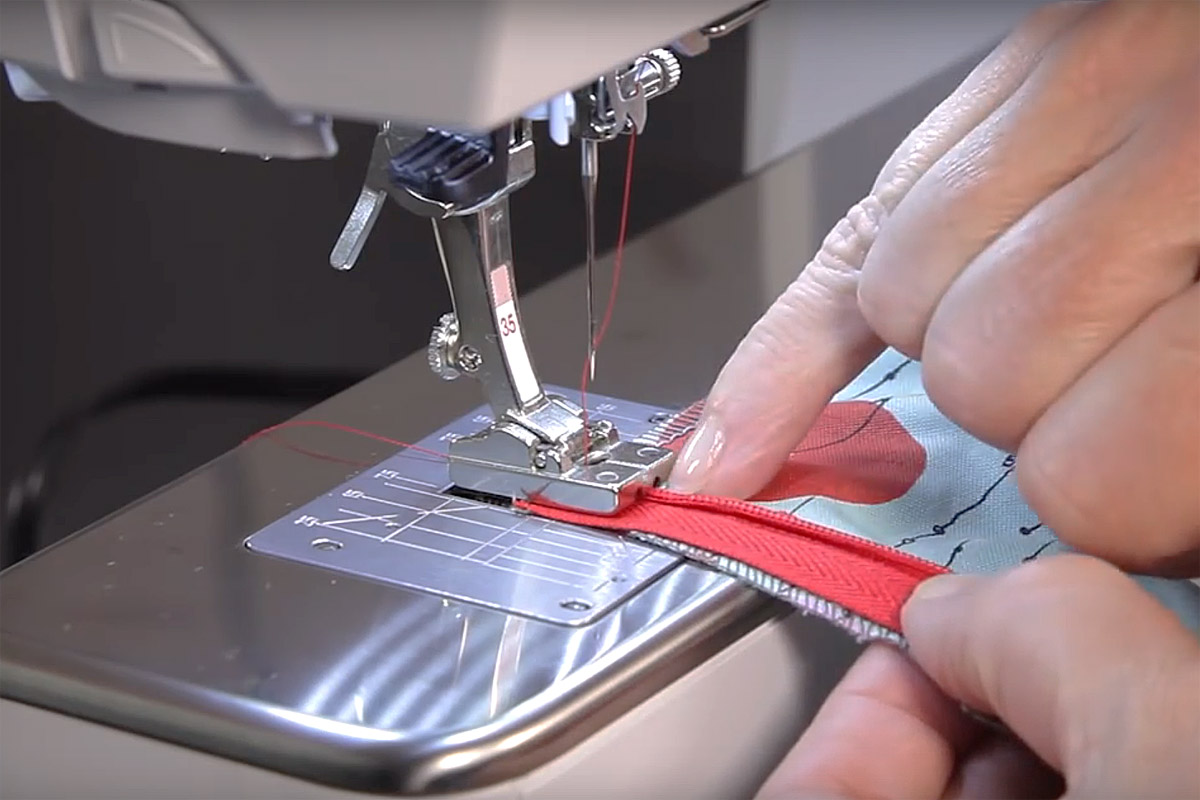
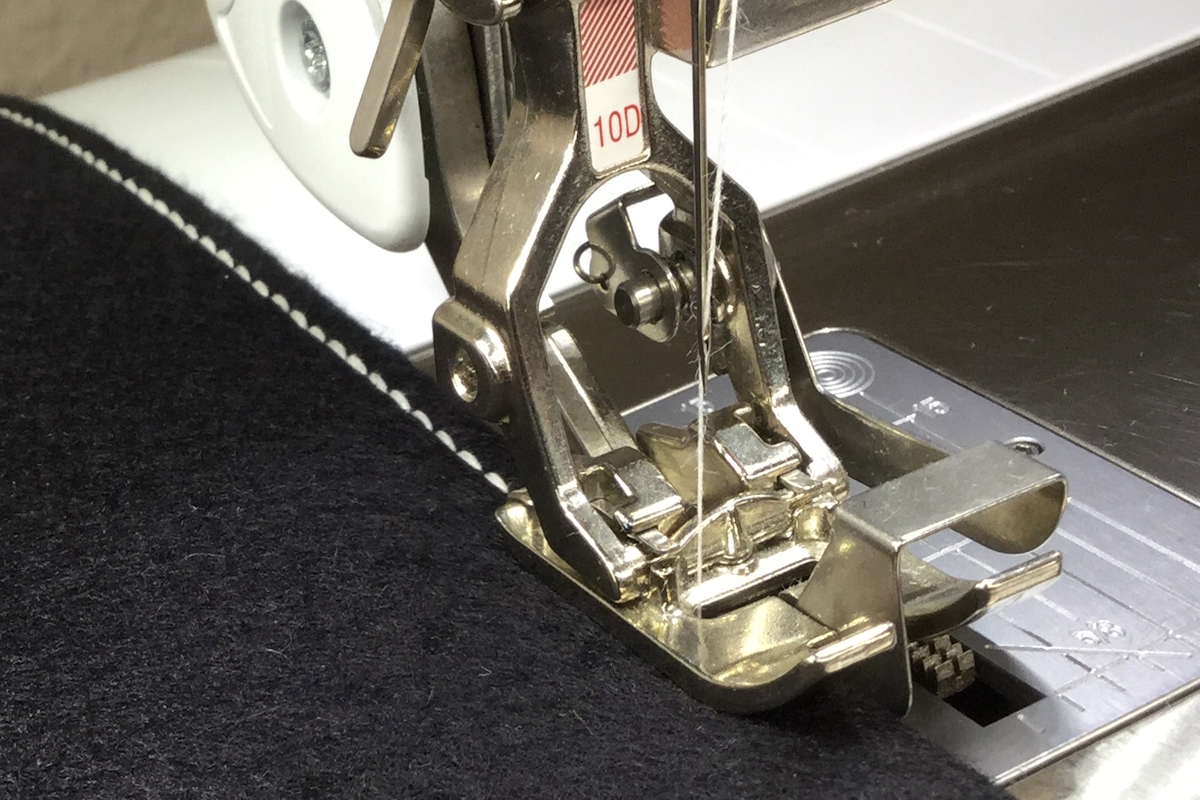
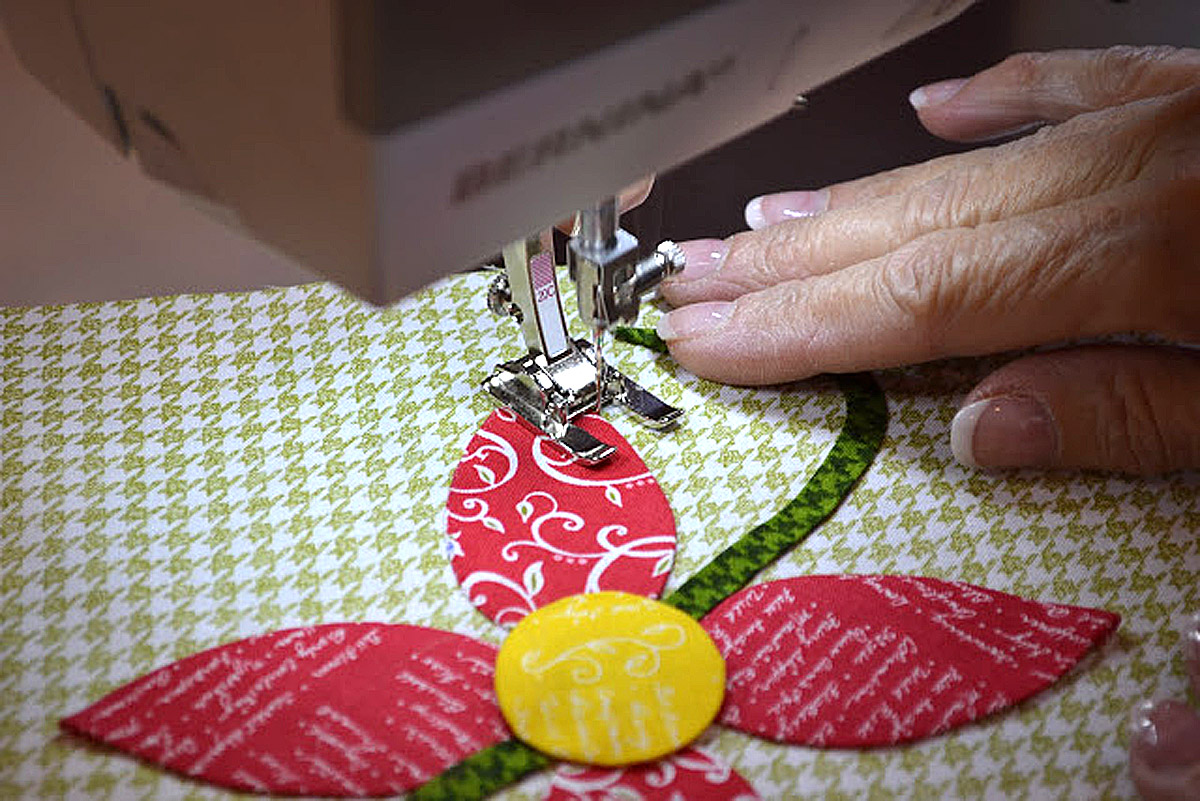
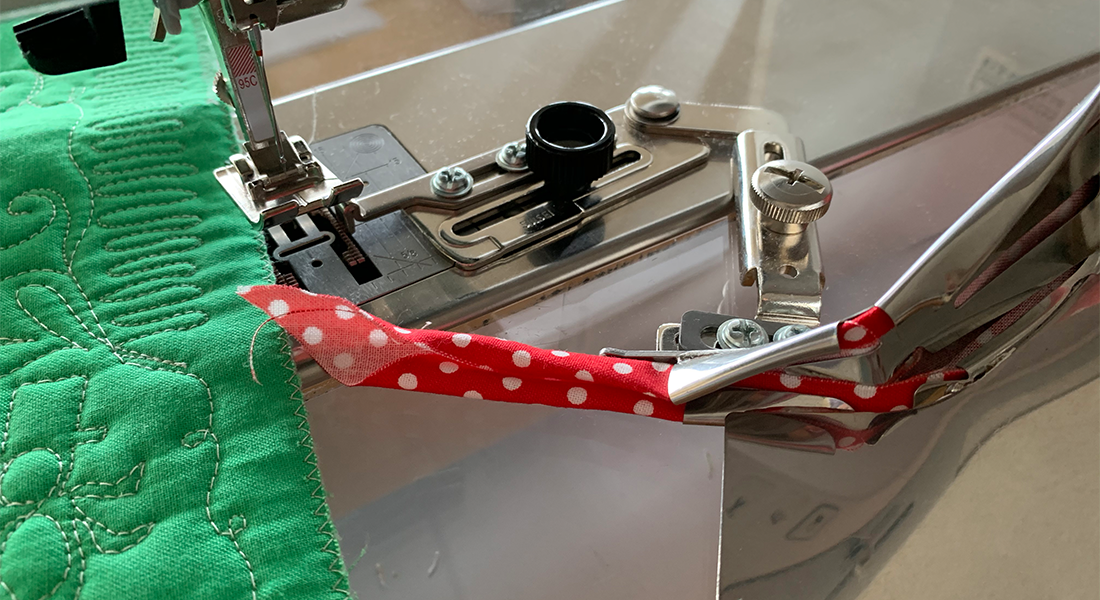
At the machine, there are a few tools and features that make edgestitching easy. First, and most important, is the Edgestitch Foot #10/#10C/#10D. This foot has a metal guide at the center of the foot that you can use to align the edge of your fabric. Don’t confuse this foot with the Blind Stitch Foot #5. While they look similar from the front, the guide on the edgestitch foot does not extend into the needle opening, which allows you to stitch to either side of the guide.
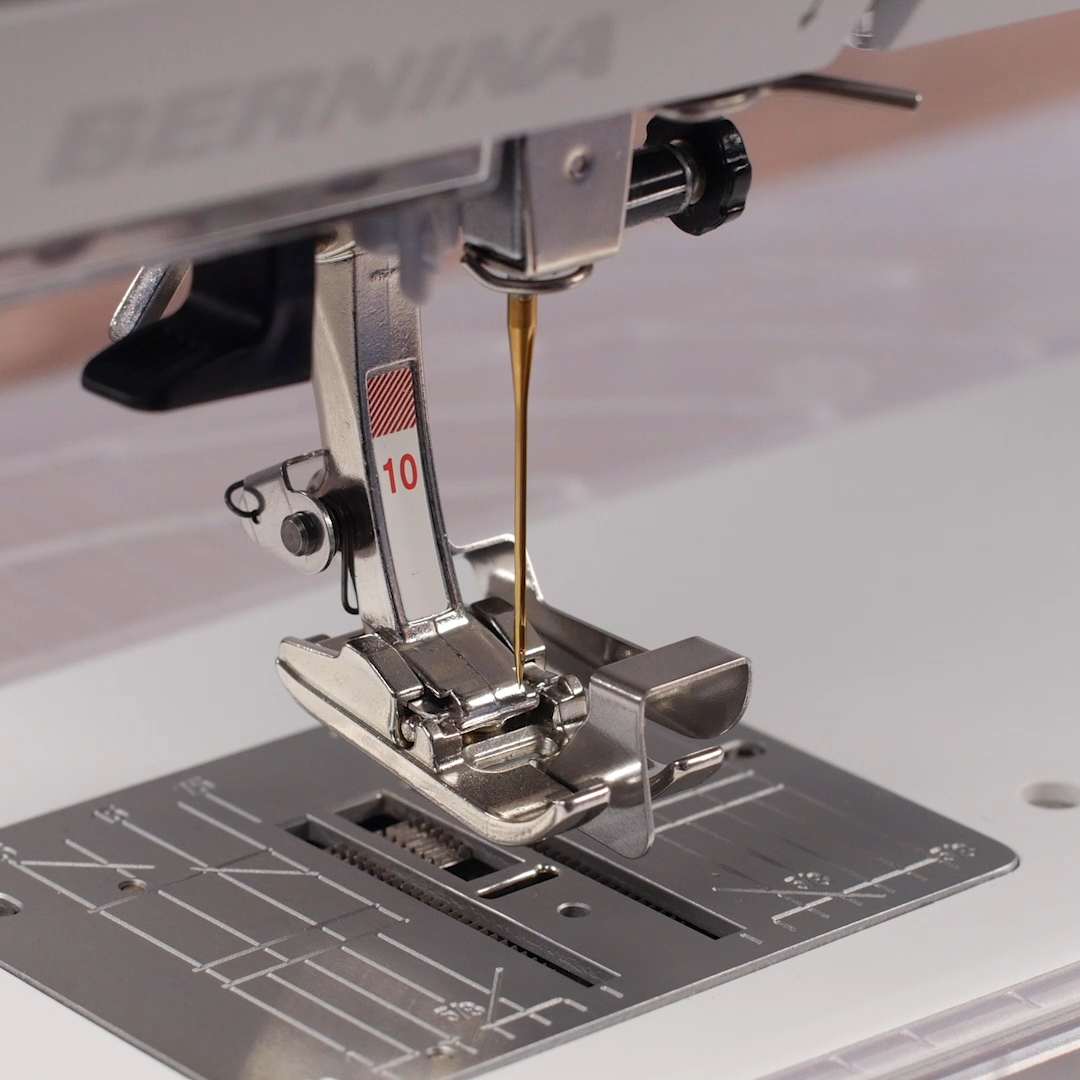
Once you’ve attached the foot to the machine, you’ll want to change your needle position. Most BERNINA machines have 11 needle positions, which means you can move 5 positions to either the right or the left of the needle. Which position you choose will depend on your project, and how close to the edge of the project you wish to sew your edgestitching. I usually start at 3 positions to the right or left of the needle and adjust from there. The key is to always do a test sew to make sure you like where the stitch lands.
As you stitch your project, keep the edge of the project aligned with the guide on the foot. You can work on either side of the guide. The key is to guide the fabric evenly, always keeping the fabric aligned with the guide on the foot. Remind yourself that it’s ok to sew slow!
Another feature you’ll want to use at the machine is the Needle Stop Down function. This will make pivoting easier as you work around the project. When you come to a corner, you can stop with the needle down in the fabric.
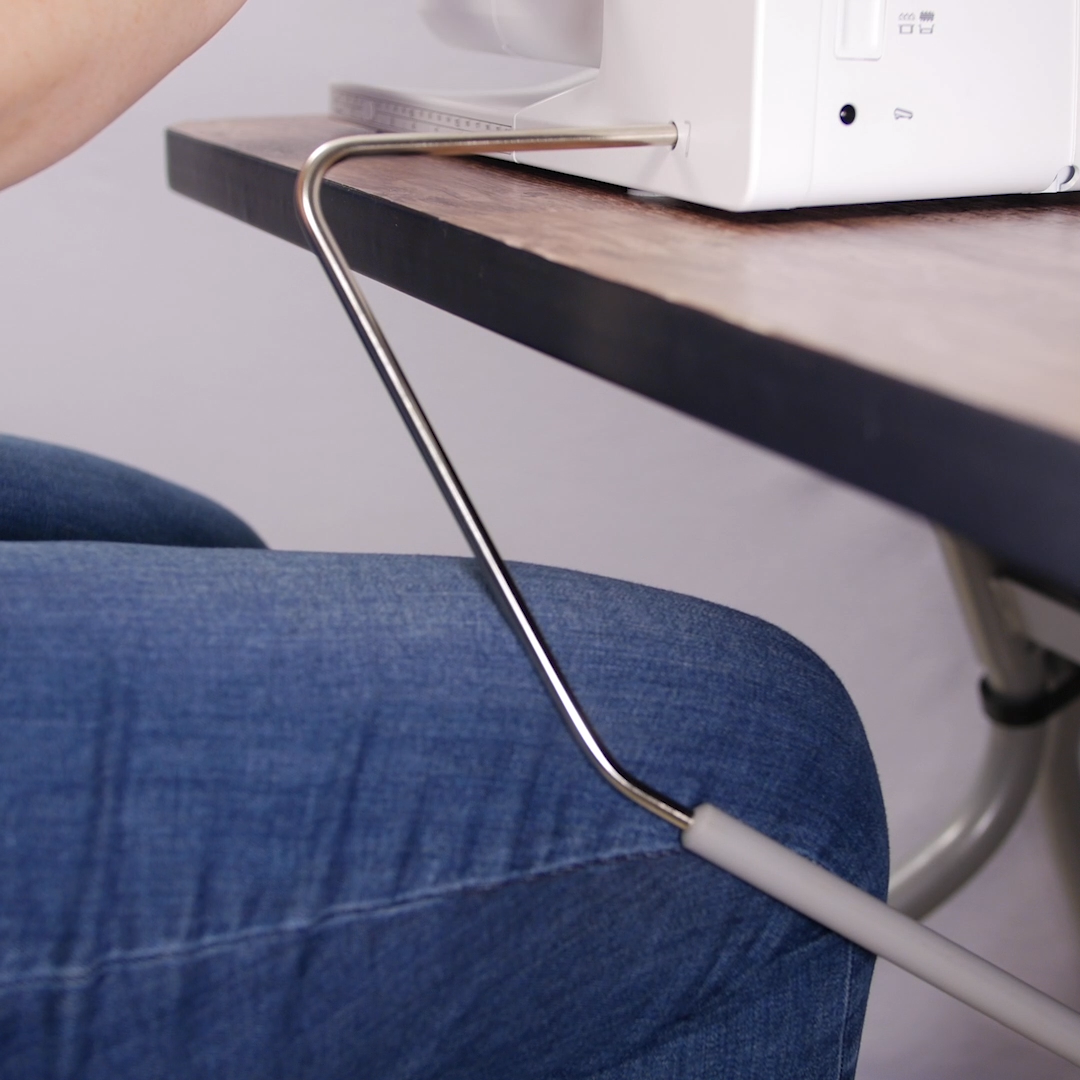
Use the BERNINA Free Hand System to lift the presser foot without taking your hands off the project.
If you are using the triple stitch, pay special attention when pivoting. Because each stitch is forward-back-forward, it’s possible to end up taking a stitch backward at the corner if you don’t complete the stitch before pivoting. As you get close to a corner, watch the stitch and complete a full forward-back-forward stitch before pivoting.
Getting a smooth edgestitch around a curve takes some practice, especially when using a triple-stitch. If you’re new to edgestitching, make yourself a faux collar, neckline, or armhole to practice before you tackle edgestitching on your final project.


Edgestitching adds such elegant touches to finished garments.Elevates the garment