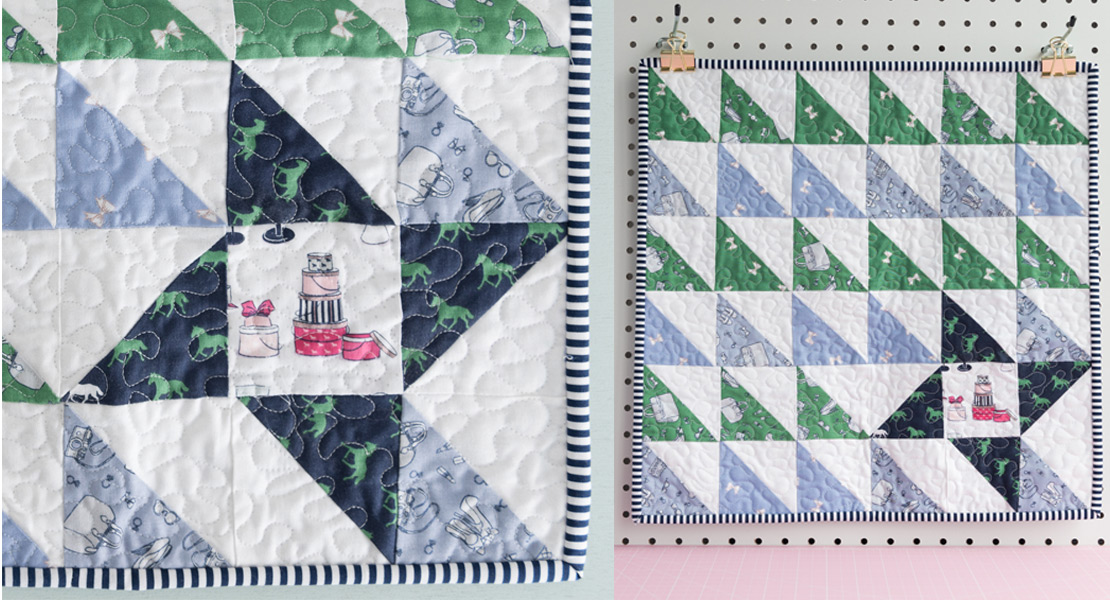
Orphan Block Mini Quilt
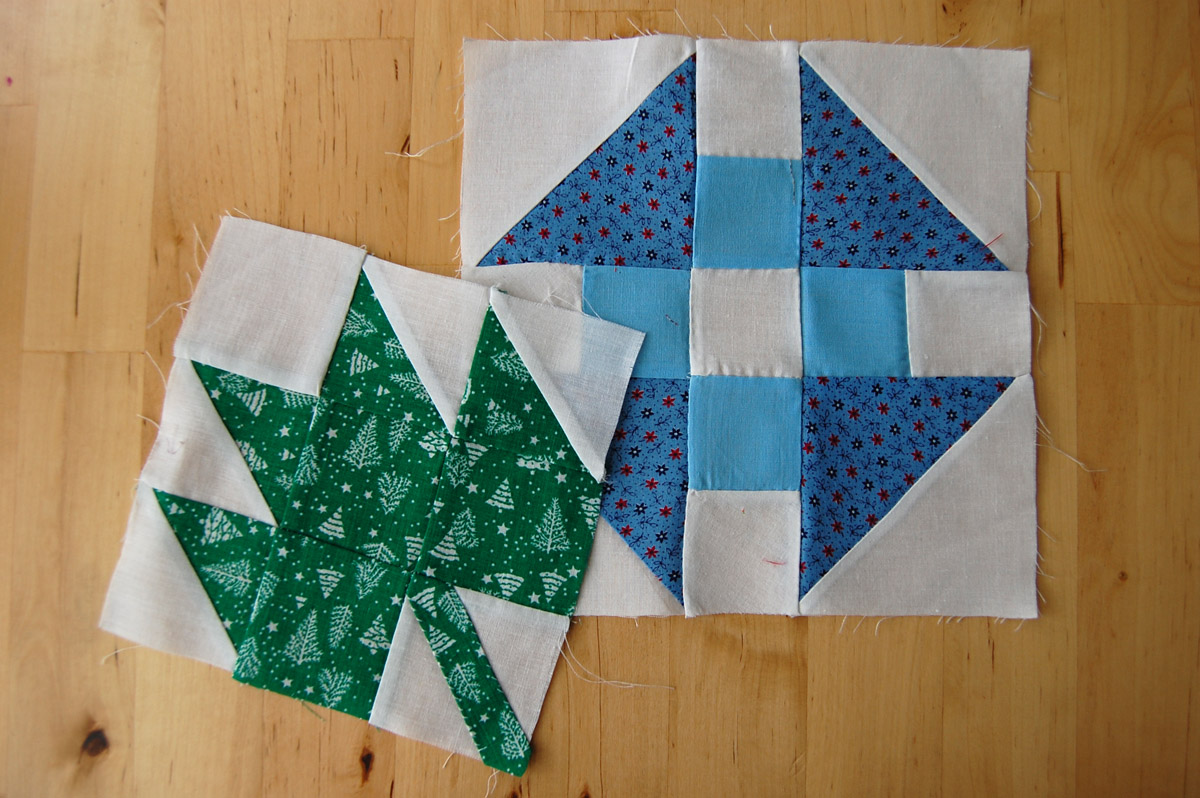
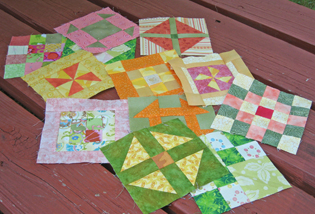
I ended up with a handful of orphan blocks when I purchased a big bag of vintage scrap fabrics a few years ago, all different block patterns and ranging in size from about 4-8″.
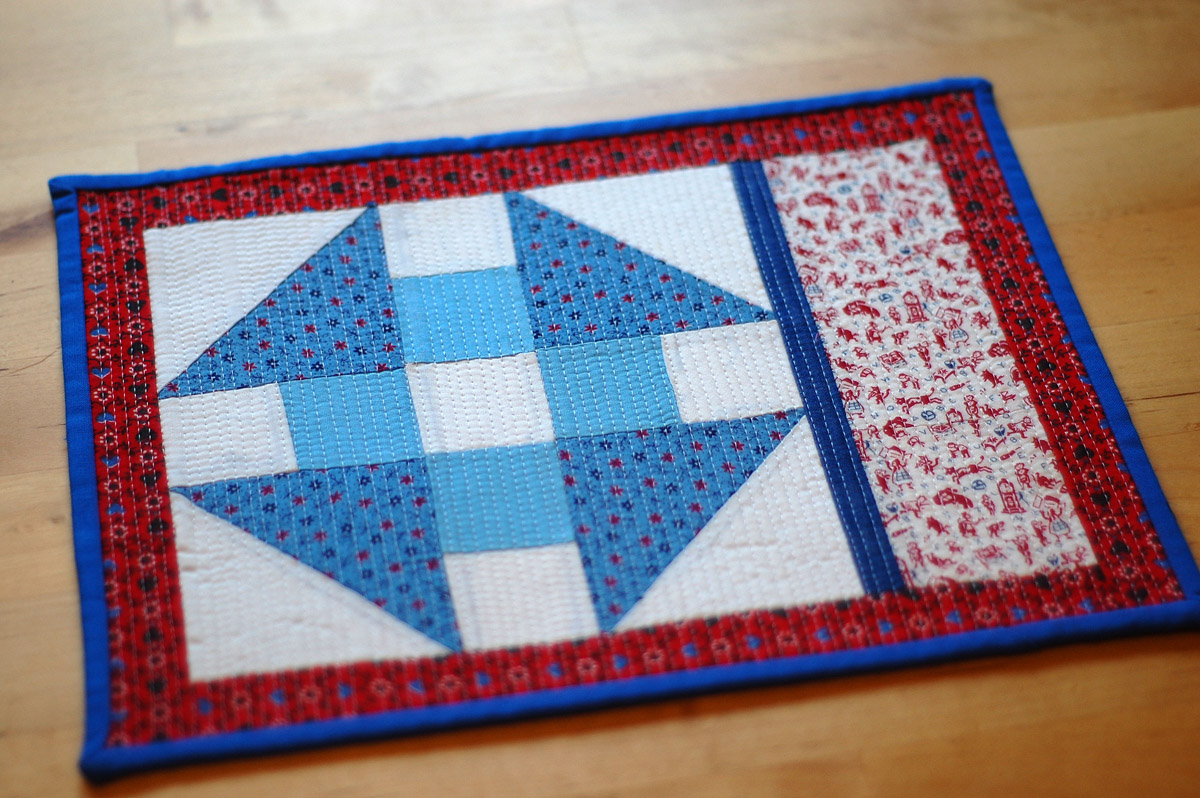
I had no idea what to do with them at the time, and they ended up in my “to-do-something-with” pile. This summer I finished one as mini-quilt, and use it regularly for tea and snack breaks at my desk. I finished a few others as mini-quilts too, and we’ve found lots of uses for them (check out where they end up in our house below!). If you have any single orphan blocks floating around your “to-sew” pile, this is a simple and quick way to finish them off.
Materials to make an Orphan Block Mini Quilt:
- One orphan block
- Various scraps of fabrics to coordinate with block
- One scrap of fabric slightly larger than the block for a backing
- Scrap of batting
- Large scrap or fat quarter for binding
- Matching thread
- Sewing machine (I use a BERNINA 770)
- Patchwork foot #97D with Dual Feed, or use the Walking foot #50
Let’s get started!
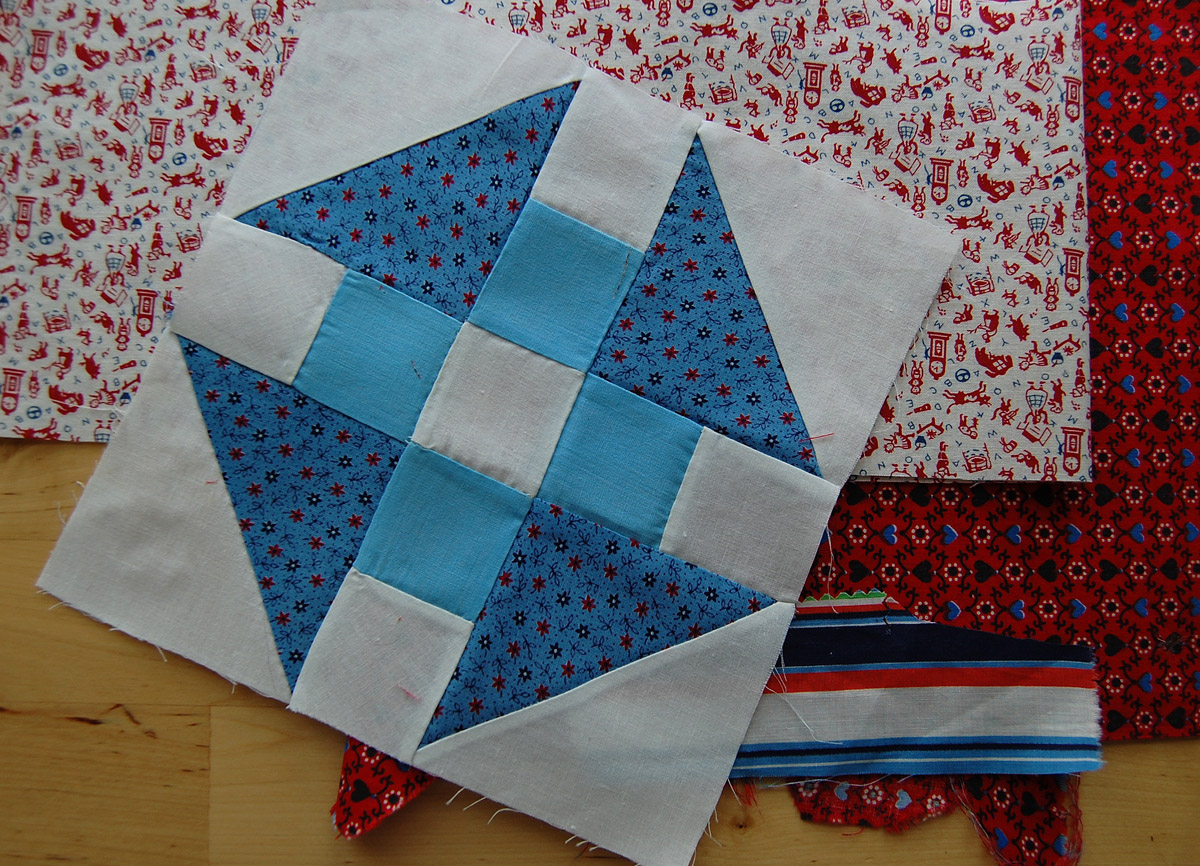
Grab your orphan block, and find a fair amount of scraps to add to the block. The more you add, the larger your finished mini-quilt will be.
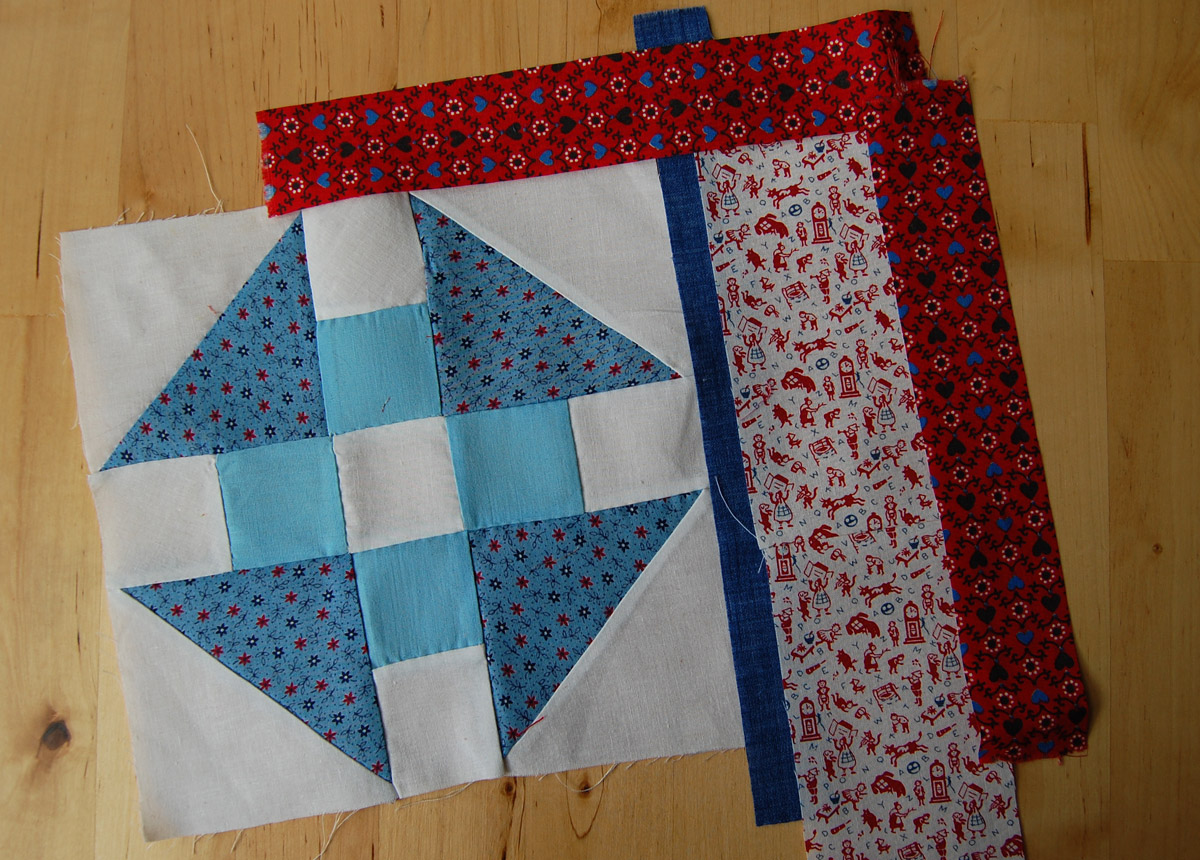
Play around with the scraps until you have a good idea of how to finish off the orphan block. Adding to the block and finishing it off with a border will make the block look framed and finished. I love to add an extra bit of fabric to one side of the block to change the shape from a square to a rectangle.
Use your favorite patchwork foot to sew the scraps to the block (Patchwork foot #37/#37D, the Patchwork foot with guide #57/#57D, or the Patchwork foot #97/#97D).
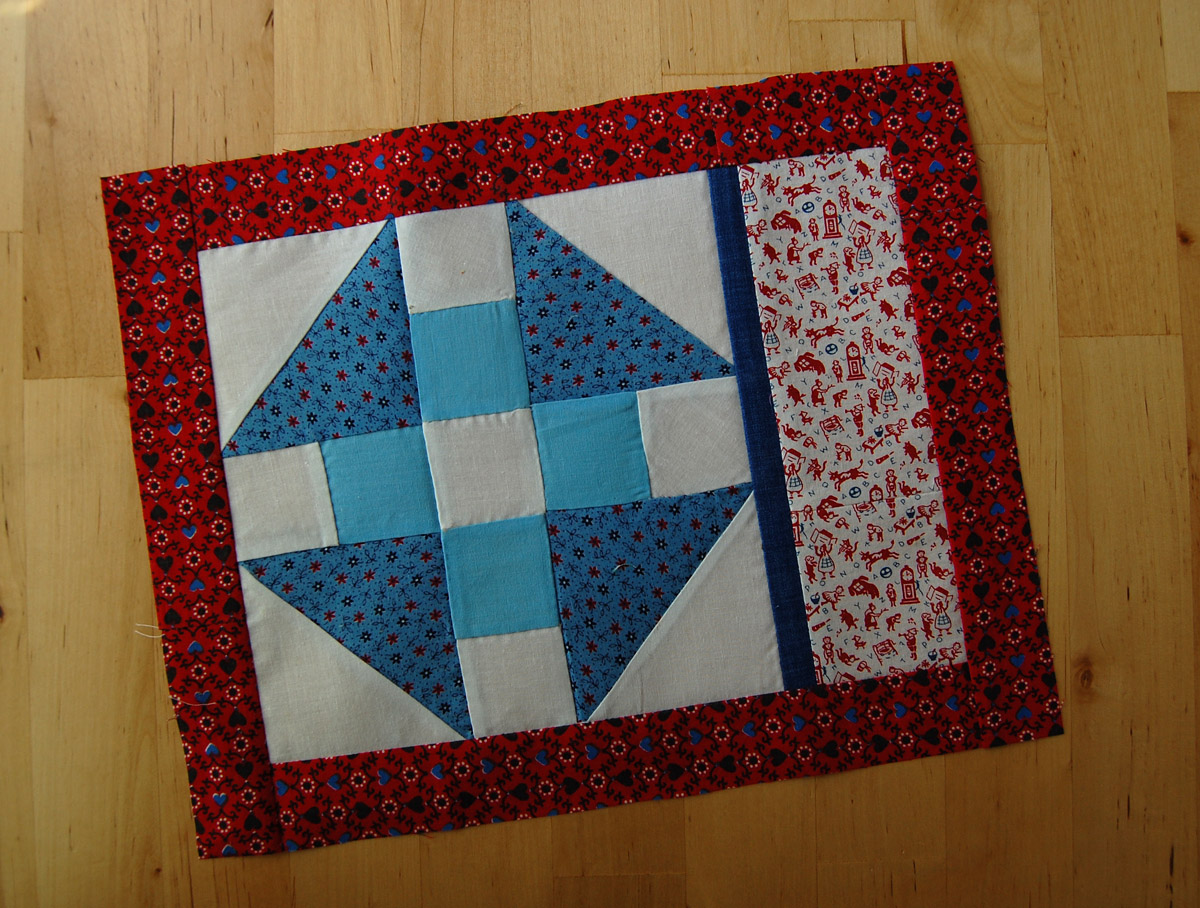
Once you have finished sewing a bit of extra to give the block a finished look, and you are happy with the results (when you can say “Yes, I love it!”), you are ready for quilting.
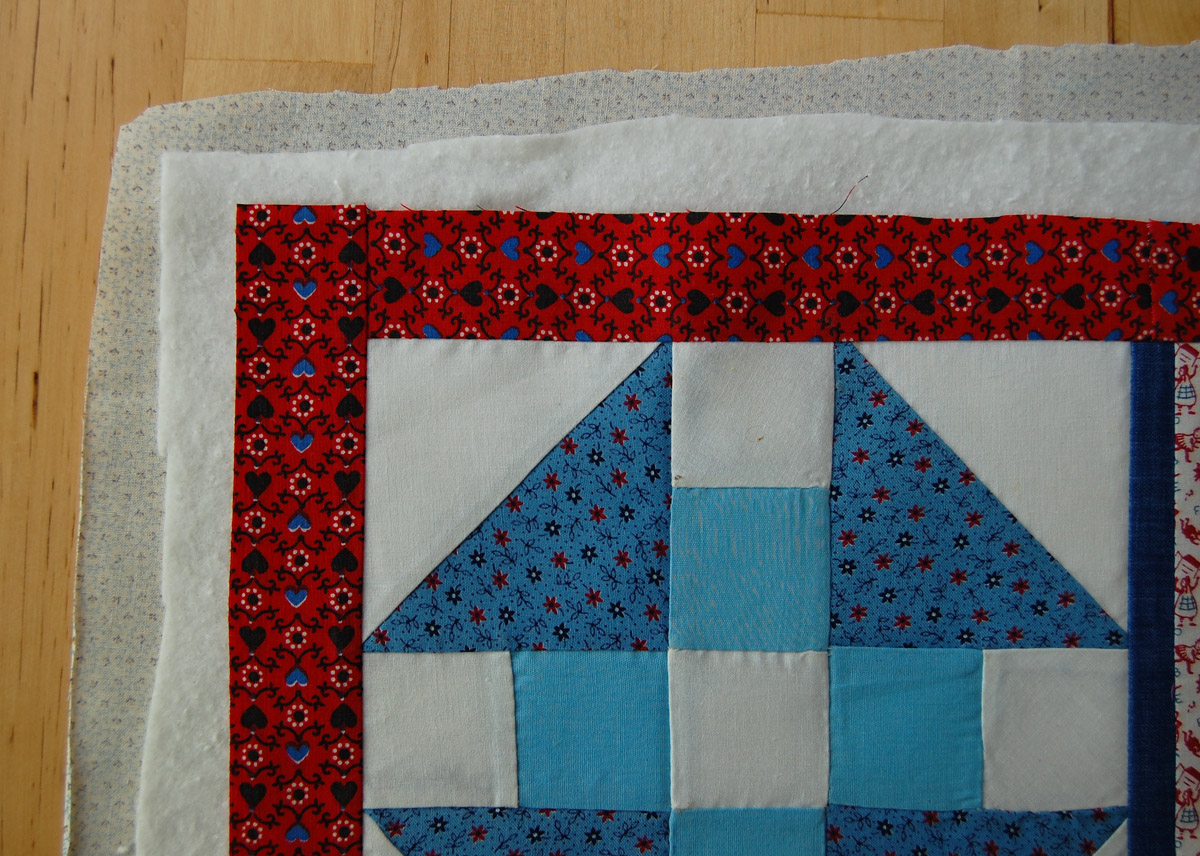
Create your mini-quilt sandwich on a clean, smooth surface. Start with the backing fabric right side down, smoothing out all the wrinkles. Add the batting scrap next, and top it off with your mini-quilt top, smoothing out any bumps or wrinkles from the center to the edges. You can baste the layers together with long straight pins, with quilter’s safety pins (like this tutorial from Faith Jones), or use temporary spray adhesive (just like LUKE Haynes in this tutorial) when layering the quilt sandwich.
My orphan block was hand-stitched with vintage fabrics, and is a bit fragile. So, I am quilting with tight, straight line quilting stitches spaced 1/8″ apart to help stabilize the older fabrics and make this a sturdy mini-quilt for the multiple ways it will be used. This type of tight, straight line quilting is called matchstick quilting, because it is about the width of a matchstick. You can choose to quilt your own mini-quilt as desired!
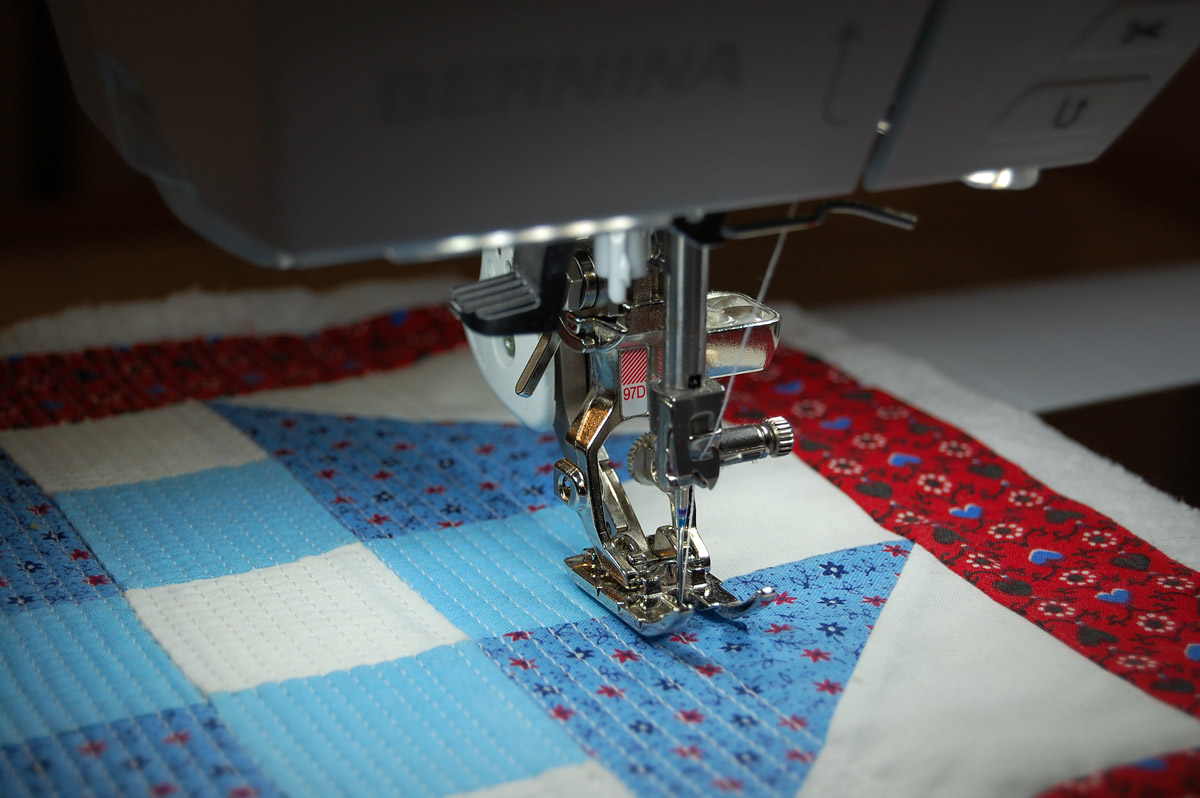
To create matchstick quilting, I set up the sewing machine with a straight stitch plate, and use the Patchwork foot #97D with Dual Feed engaged. If you do not have a machine with the Dual Feed feature, use the Walking foot #50.

To create the 1/8″ spaced matchstick quilting, I start by stitching a straight line down the middle of the mini-quilt. Then, I use special markings on the Patchwork foot #97D to create the matchstick quilting.

To the left of the needle, there is a small mark on the foot. Lining this mark up with stitching to the left of the needle creates a perfectly spaced 1/8″ line.
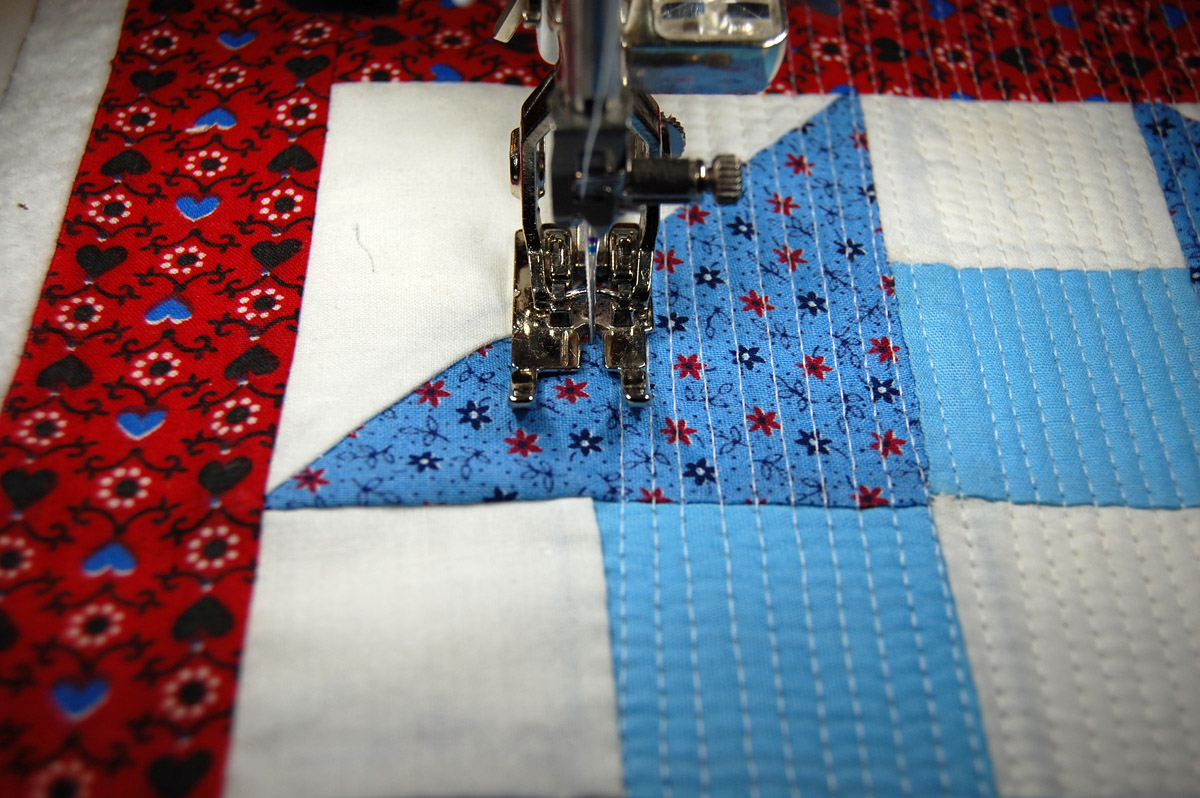
To the right of the needle I line up the stitching with the inside edge of the right toe, which also creates an exact 1/8″ spaced stitch line. As I quilt, I flip the mini-quilt around so that I am stitching in alternate directions for each line of stitching, continuing until I reach the outer edges of the quilt.
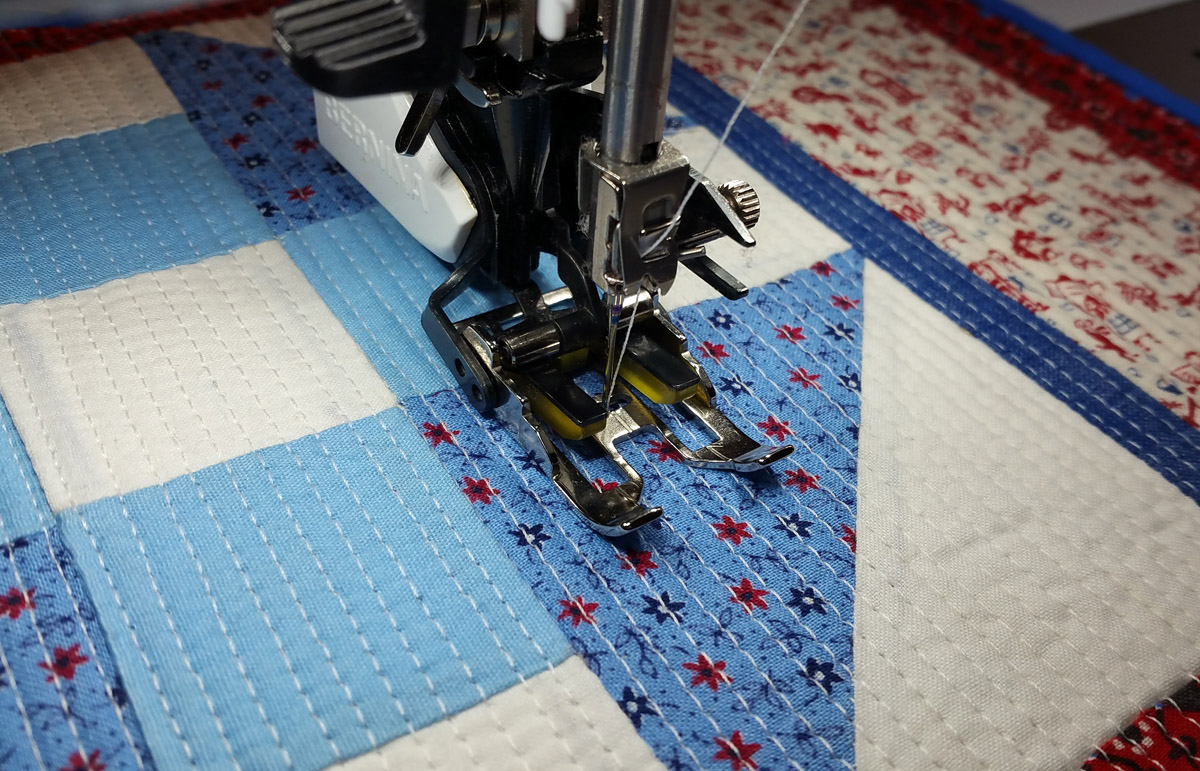
If you are quilting matchstick style with the Walking foot #50, follow the inside edges of the toes with the standard sole (pictured here), or the open-toed quilting sole to create perfect 1/8″ spaced lines.
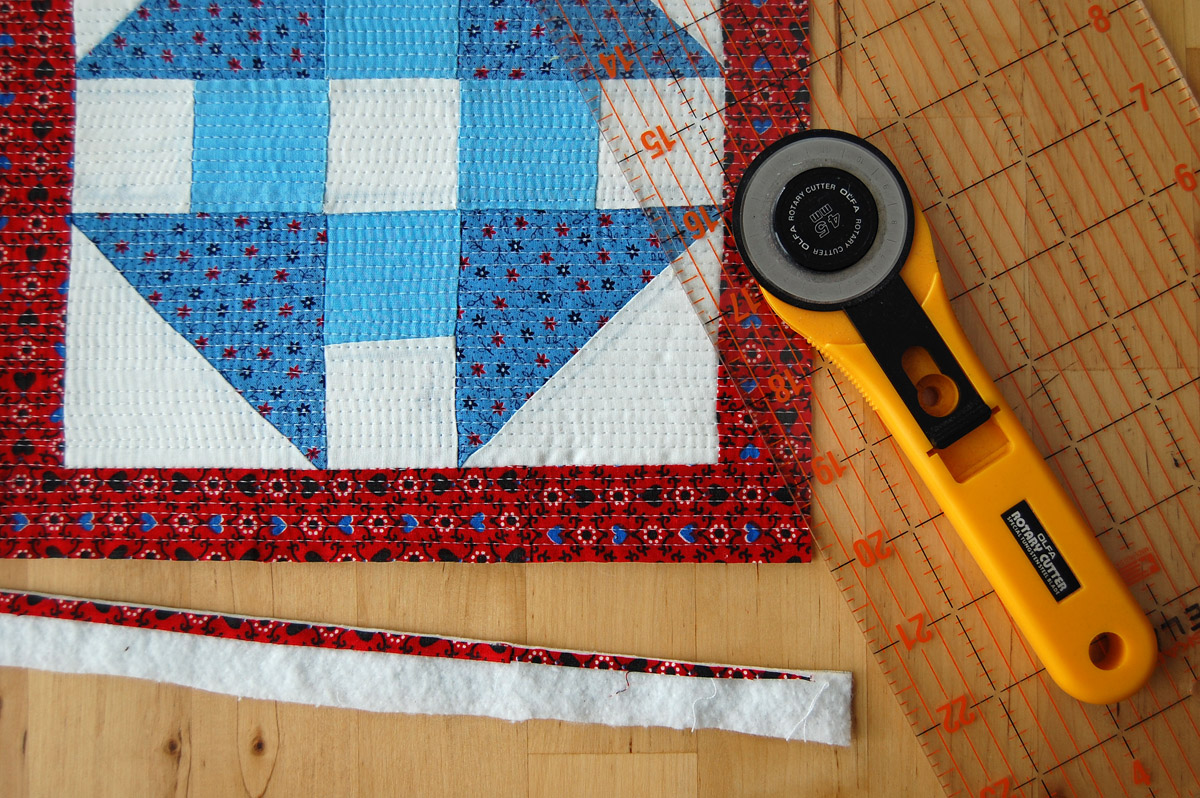
Once quilting is finished, trim off the extra fabric and batting, making sure that your mini-quilt is squared-up.

Finish the edges using your favorite binding method. I use the Double-Fold Binding tutorial found here at WeAllSew, cutting my binding strips on the straight-grain at 2″ wide. I sew to the front of the quilt at about 1/4″ also using the Patchwork foot #97D with Dual Feed engaged. To finish binding, I hand-stitch to the back of the quilt, just like I finish my big sized quilts.
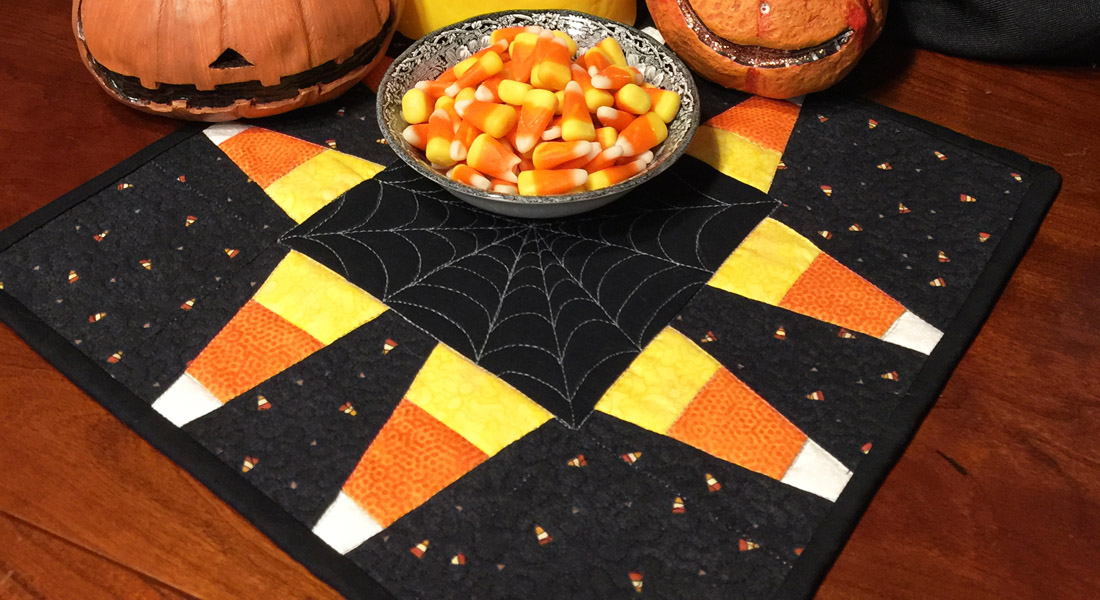
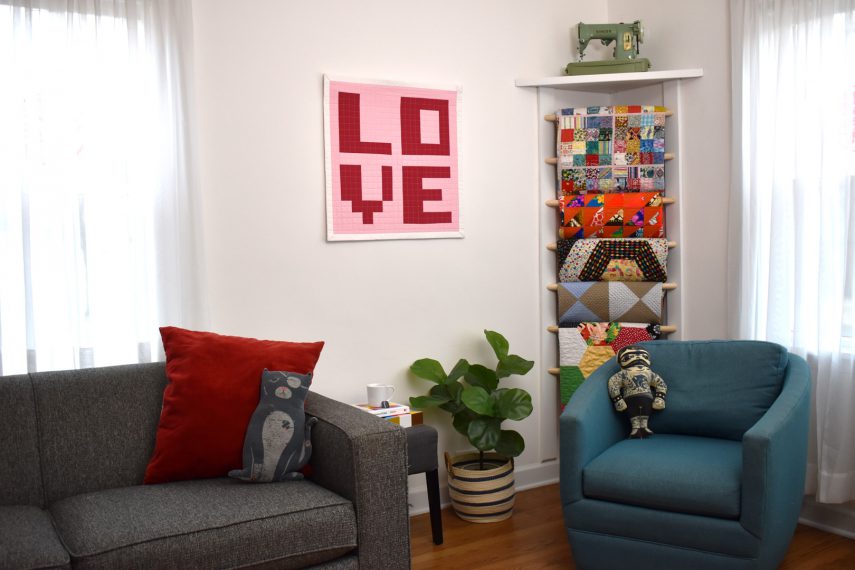
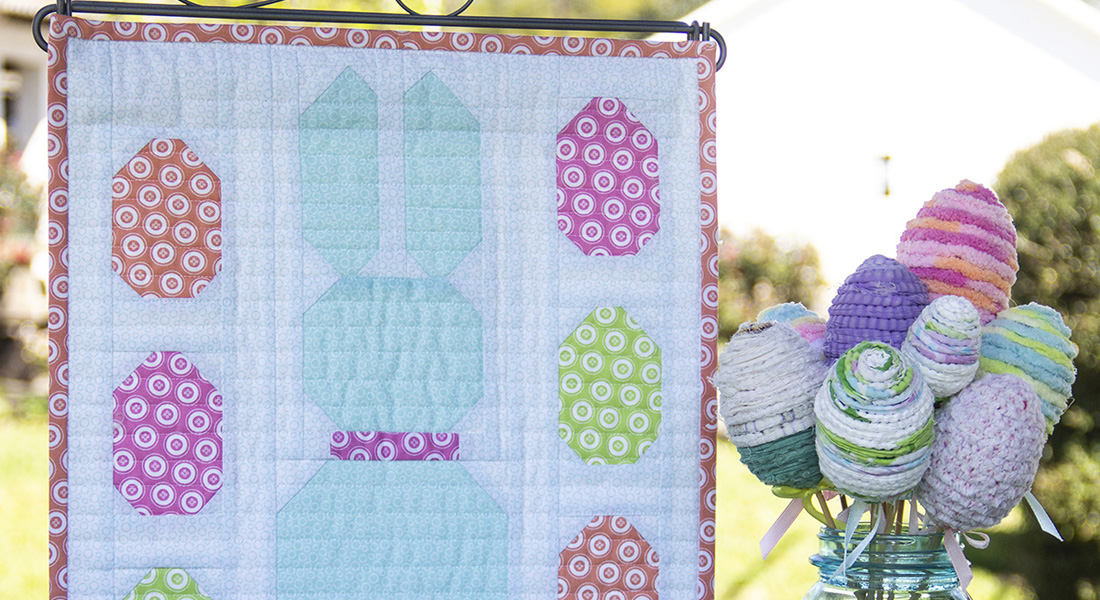
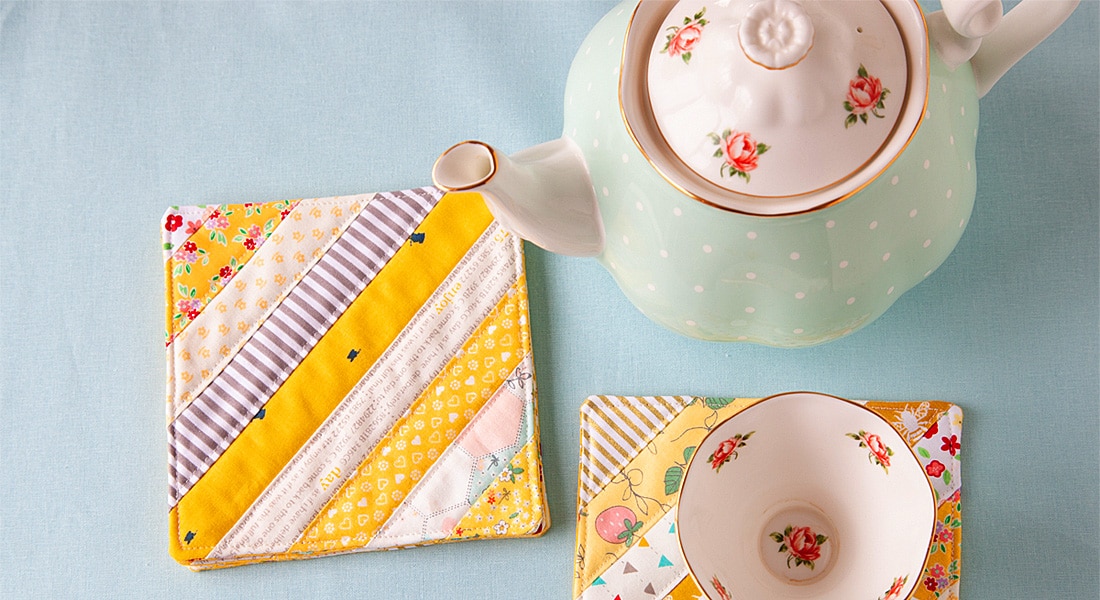
Here’s where some of my mini-quilts have ended up in the house.
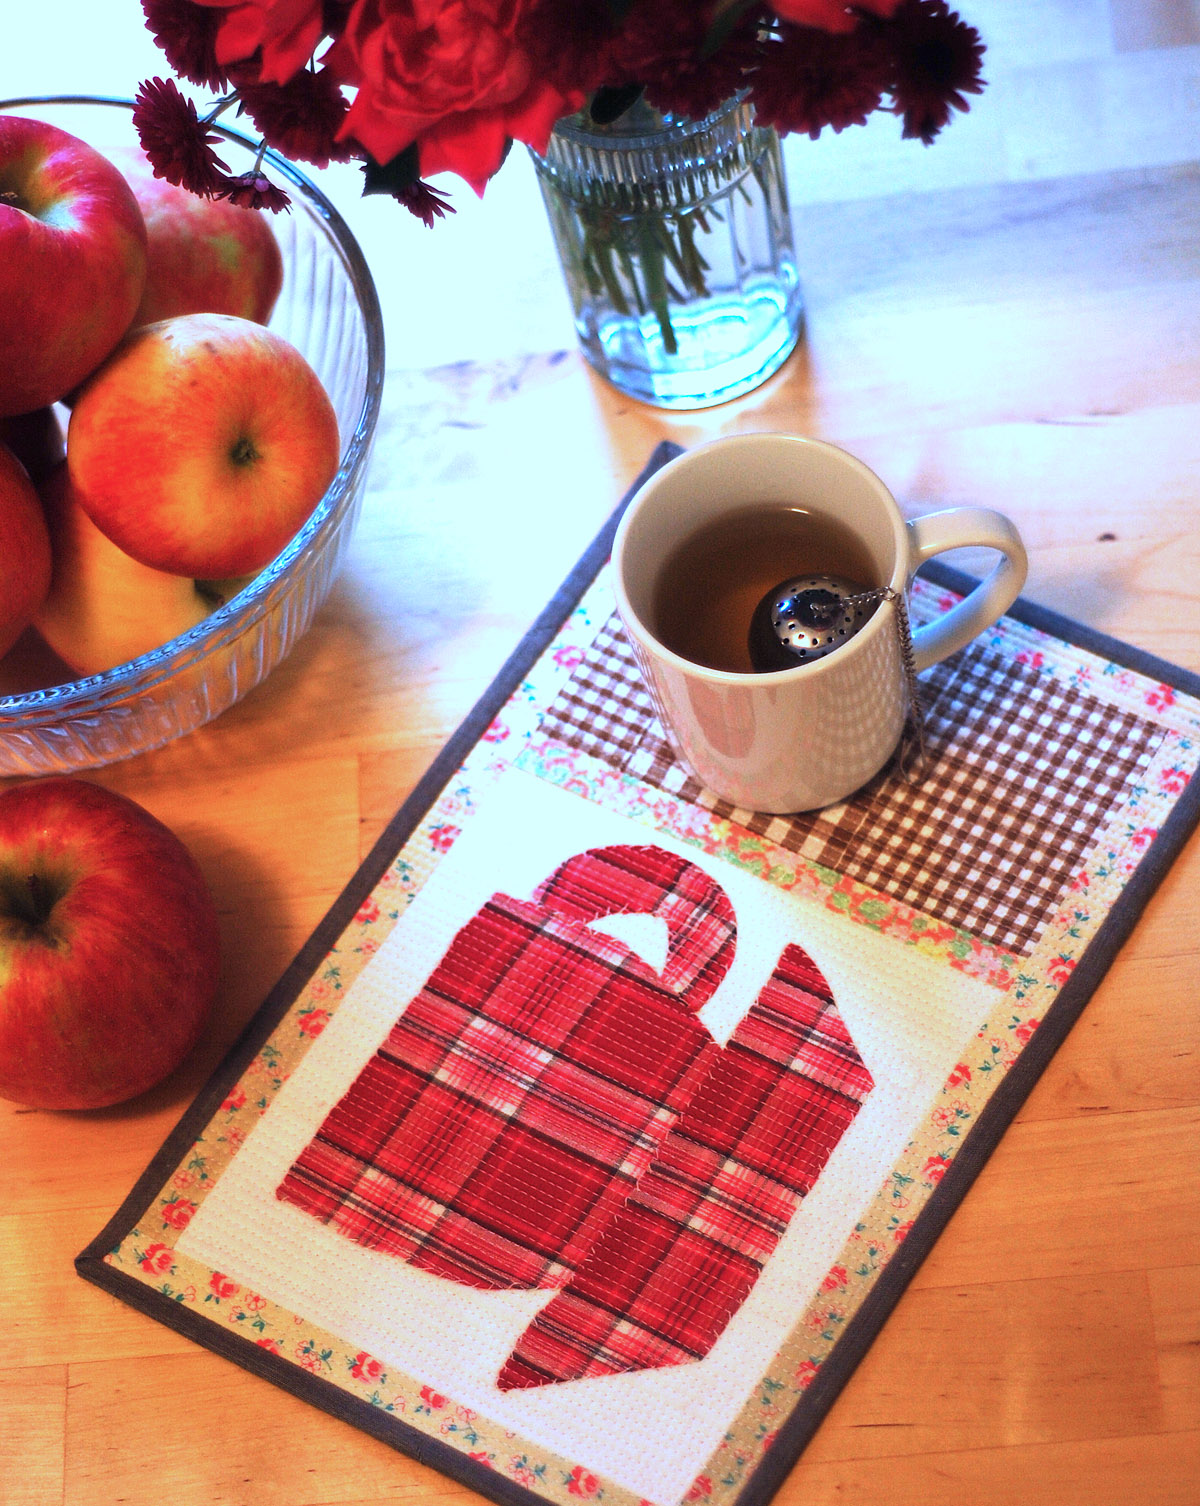
These mini-quilts work great as a little place for a tea break (and the extra space is perfect to hold a snack!).
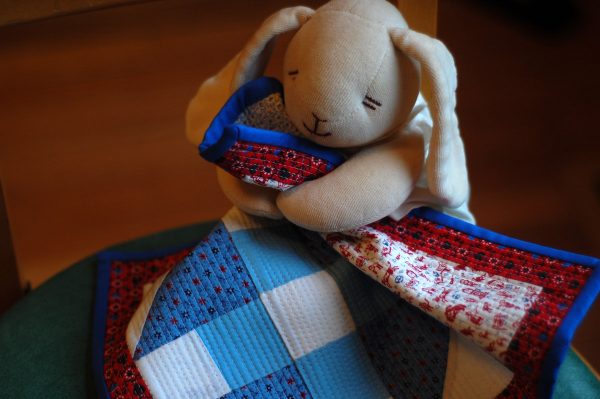
If you have any little ones around, be prepared to share your mini-quilts! This one has become a favorite blankie to a baby bunny.
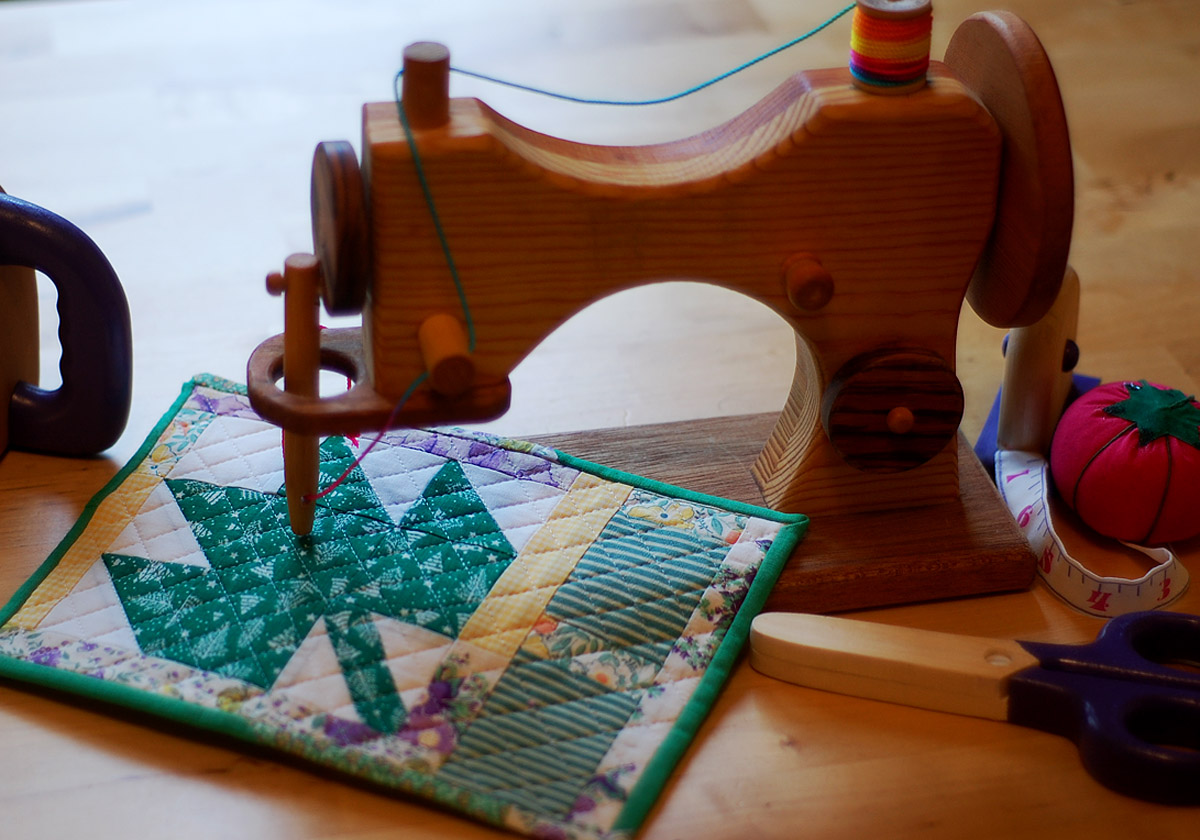
And sometimes a mini-quilt can be found inspiring a little someone to pretend to be making quilts of her very own!


What you might also like


9 comments on “Orphan Block Mini Quilt”
-
-
I love this idea! Great for Christmas gifts!
P.S. I love my Bernina -
Thanks so much colours! I hope you have fun finishing an old block into a mini-quilt!
-
-
I didn’t know about the lines on the 97D foot. Thank you.
-
Neither did I. This is very useful, thank you.
-
Yes, the engineers at BERNINA really hit it out of the park with this foot! It’s one of my top favorites. 🙂
-
-
I love this idea
Great for Christmas gifts
These would make beautiful place mats
P.S. Feeling blessed because I have a Bernina to sew such wonderful little lovelies!-
Thanks so much estheranna, I hope you enjoy stitching up some mini-quilts as gifts this year. And happy stitching on your BERNINA!
-
-
I love your great ideas for extra place mats and just pretty little holders! Thanks you
Leave a Reply
You must be logged in to post a comment.

What a wonderful idea, can’t wait to try this out!