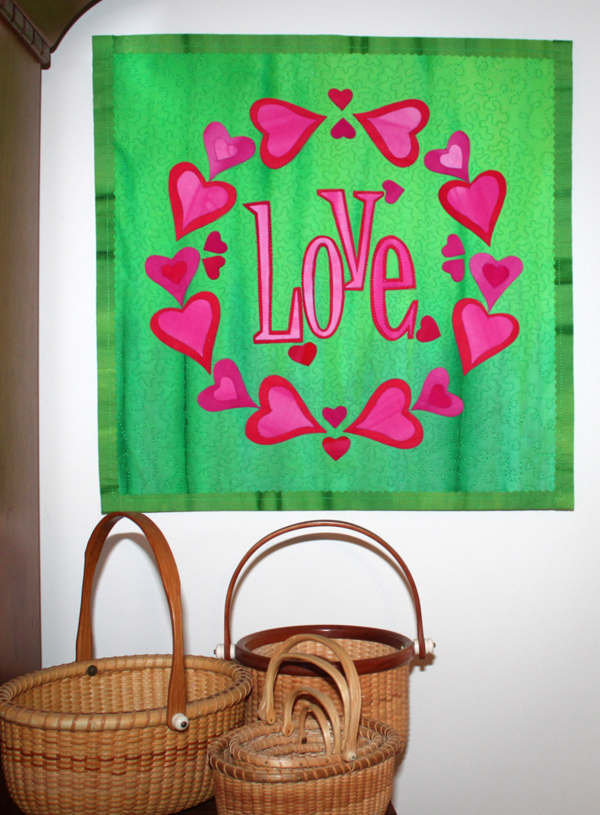
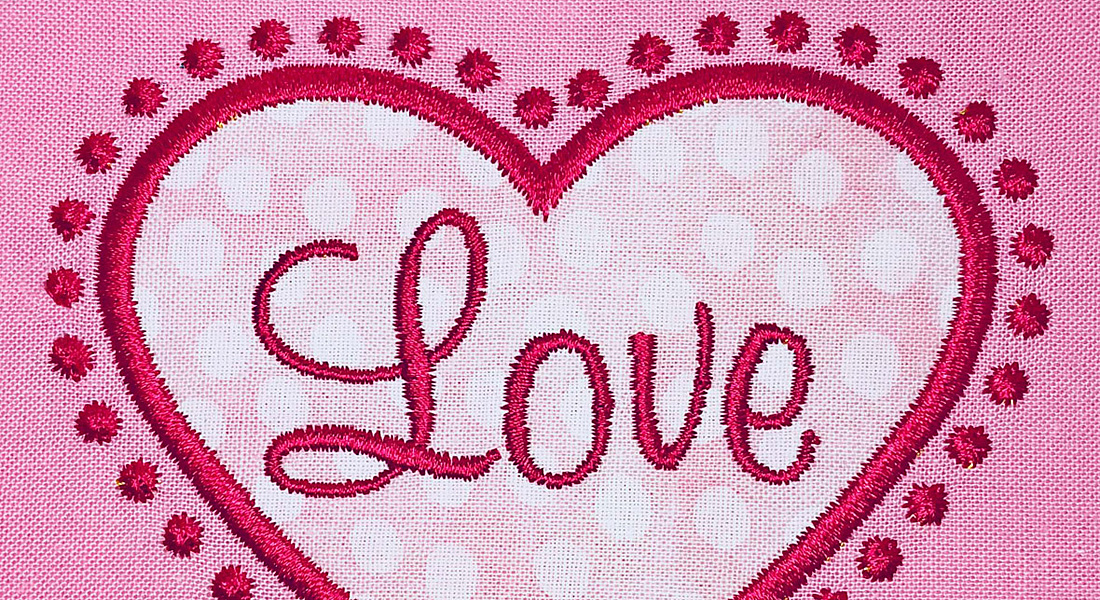
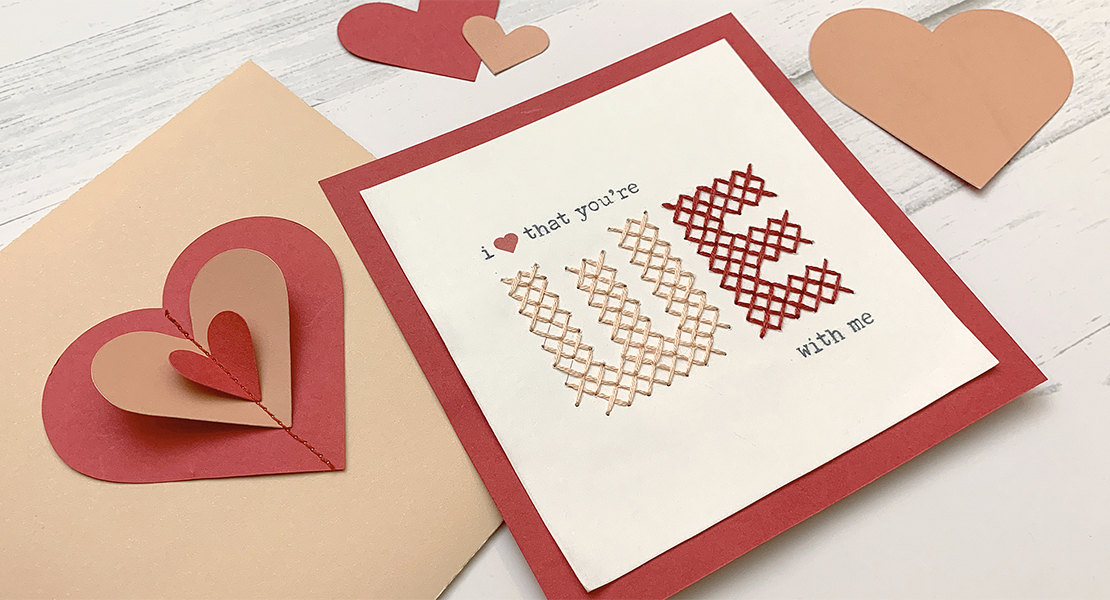
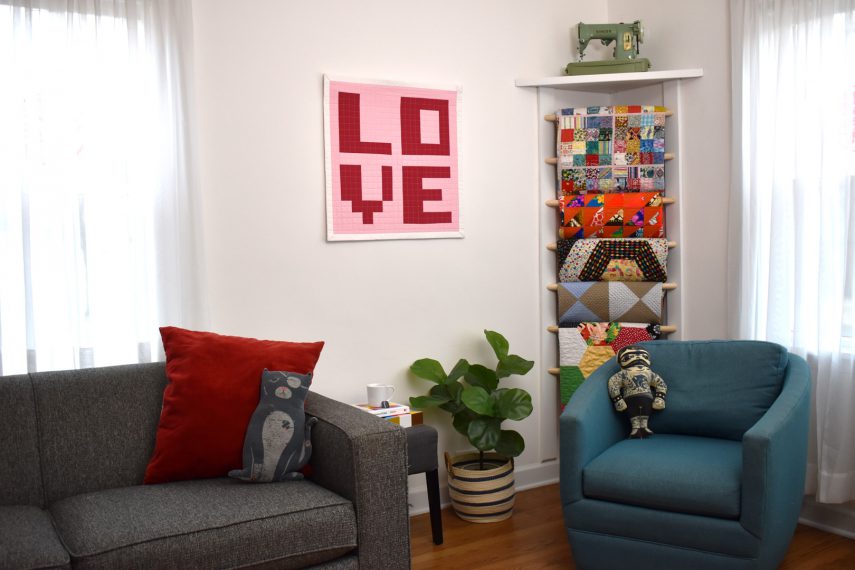
Valentine’s Day Mini Quilt Tutorial
Show a little love with this Valentine’s Day Mini-Quilt from Quilt Artist and Teacher Frieda Anderson. Visit Frieda at her blog to learn about her quilts and find tutorials on some of her art-quilting techniques.
Since this project is an art quilt, there’s no need to satin stitch the outline of any of the pieces – just fuse, quilt, and hang it up! The finished Valentine’s Day Mini Quilt measures 16” x 16”.
Materials:
- 1 yard green fabric for background (A)
- 1 fat quarter each (22” x 18”) of light pink and dark pink fabrics for letters (B)
- 1 fat quarter (22” x 18”) of fabric for fused binding
- 20” x 20” piece of quilt batting
- 1 fat quarter (22” x 18”) of fabric for backing
Download and print both patterns:
Other tools needed:
- 2 yards of fusible webbing
- Rotary cutter, mat, and clear acrylic ruler (if you have decorative blades for your rotary cutter, this is a project you can use them with)
- Sharp embroidery scissors
- Mechanical pencil
- Extra fine permanent marker
- Iron
A few tips!
When working with decorative rotary cutter blades, turn your mat over to the back side; the decorative blades can scar your mat. If you like working with decorative rotary blades, get a few extra handles so they will always be handy to use. Always cut fused shapes without the release paper to get clean, crisp edges.
For best results with fusing:
- Pre-wash fabrics and press well to remove wrinkles.
- Apply fusible webbing to the back of fabrics with a hot, dry iron.
- Let fusible webbing cool completely before removing the release paper.
- Try to keep the release paper intact to reuse it again when transferring designs from the paper pattern to the back of the fused fabric. Use the pieces to rebuild design elements on top of release paper for placement on top of the quilt.
- If the release paper tears, you can always use parchment paper to transfer your designs.
- Use a mechanical pencil or extra fine permanent marker to transfer designs from the pattern with the release paper. Place the release paper over the pattern and trace; place the marker or pencil side of the drawing against the fused side of the fabric and either a) rub the pencil tracing with your fingernail or b) heat with a hot dry iron the pencil/marker line. The markings should transfer to the fused fabric. Remove the release paper and cut out the design right on or just inside the transferred line with a sharp rotary cutter or a pair of sharp scissors.
- I use a pencil when I am working with light colored fabrics so that the pencil line will not show through the fabric. But with dark colored fabrics, you have to use a sharpie marker to be able to see the line. Be sure and cover any exposed fused fabric with an extra piece of release paper when you are using a hot iron so that the fusible does not attach to the iron and your iron stays clean.
- Tack fusing is lightly ironing fabric together just enough to heat them to stay together. Don’t press too hard or you will over fuse the fabric.
Fusing your fabrics:
1. Before you begin, prewash all your fabrics to remove starches, then steam press all of your fabrics to remove any wrinkles or creases. Then turn off the steam and use a hot dry iron to apply the fusible web to the fabric.
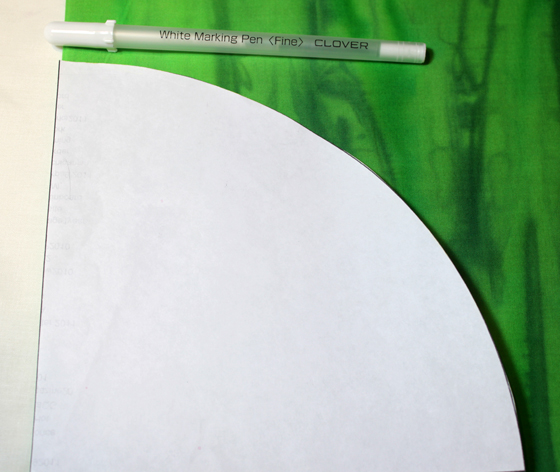
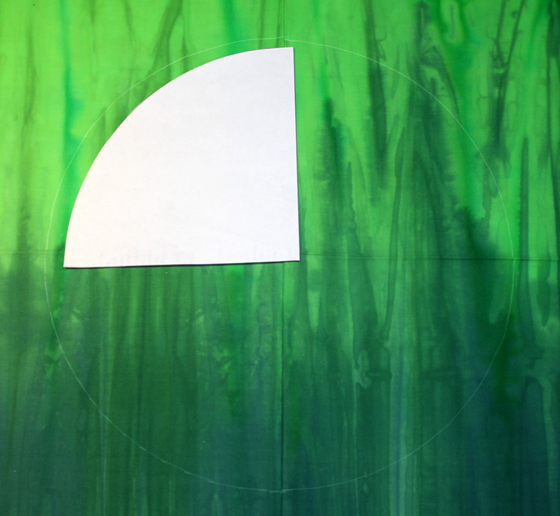
2. Cut your background fabric 17” x 17”. You do not need to add fusible web to this fabric. Cut out the ¼ circle shape from the paper pattern. Fold your background fabric in half once and then fold in half again to find the center. Crease with a hot dry iron. Place the ¼ circle shape in the center of this creased X and mark the outside curve with a chalk pencil.
Mark it four times to create a complete circle in the center of your background fabric. You will use this as a guide to place your design elements on the background fabric.
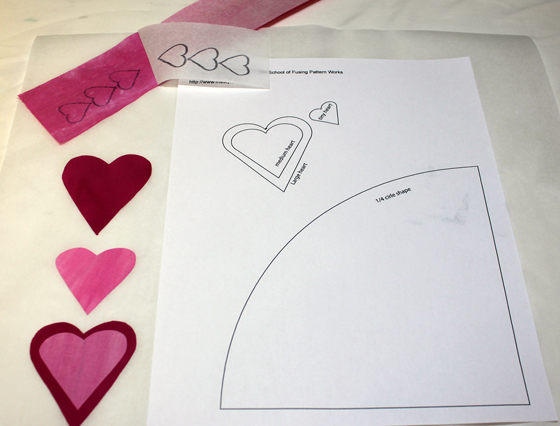
3. Apply fusible web to the back side of your accent fabrics – two shades of pink or red for LOVE. To apply the fusible web, follow the directions on the package. Let the fabric and fusible web cool completely, then peel away the release paper (release paper is the paper on the back of the fusible webbing). Whenever cutting out a shape, be sure and remove the paper first before cutting. Keep this release paper intact because you will be using it throughout the process of creating your LOVE mini quilt.
4. Layer the batting unit with backing fabric, pressing it together to get a nice smooth sandwich. Set this aside.
Making the heart design shapes on the center of LOVE:
1. Place a piece of release paper from the fused accent fabric over your design elements on the paper pattern and trace with a pencil or sharpie marker the design you will be cutting out.
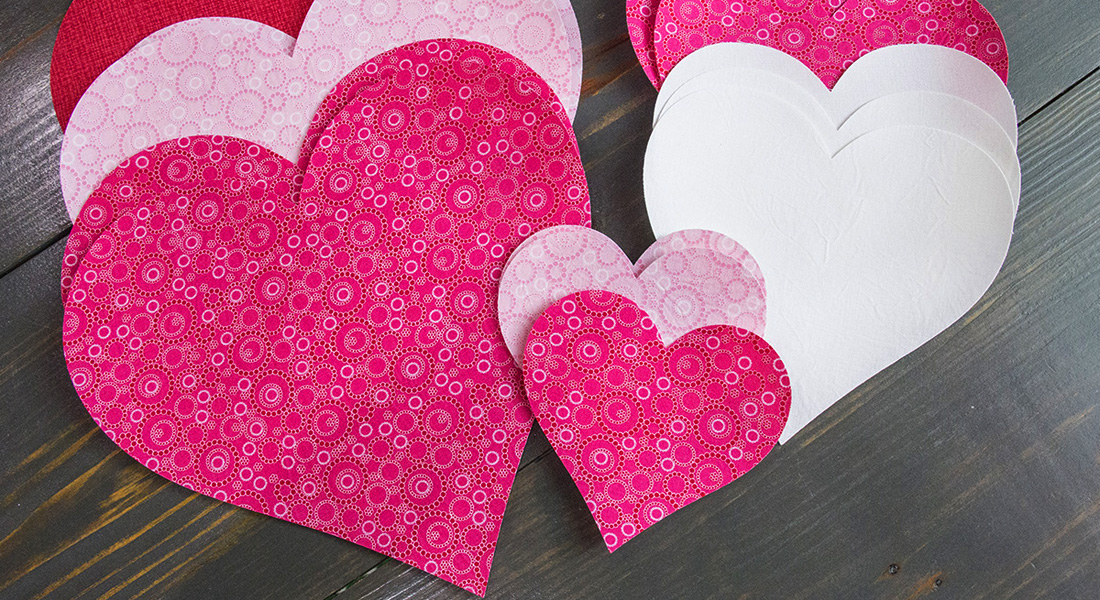
2. Trace the tiny, medium and large heart shapes on separate pieces of release paper – 8 large hearts out of darker color, 14 medium hearts out of a lighter colored fabric, and 17 tiny heart shapes out of a darker fabric.
3. Place the release paper tracing side down against the fused side of your accent fabric and press with a hot dry iron to transfer the traced shapes to the fused fabric. Be careful not to let the iron touch uncovered fused fabric. The tracing should transfer to the back of the fused fabric.
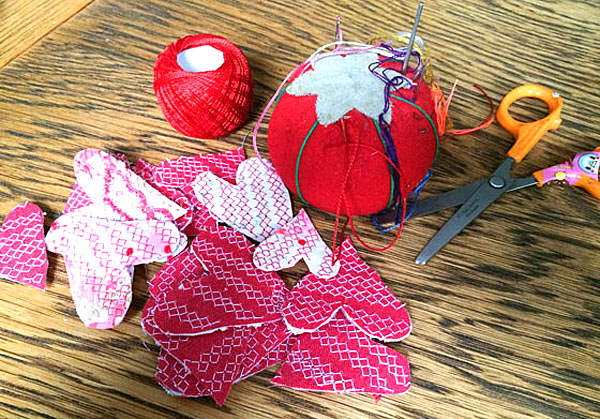
4. Use very sharp small scissors to cut out your shapes.
6. Place the large heart shapes back on a piece of release paper and tack fuse them down to the paper. (Tack fusing is lightly fusing with a hot dry iron.) Note: If you are unsure how long to press, practice first on a test piece. You do not want to over-heat at this point as the fusible can get fused up!
7. Place the corresponding lighter colored heart shapes on top of the larger heart shapes and fuse them together on the release paper. You will have 8 large and 6 medium shapes that will have other shapes fused on top of them. Refer to the picture of the quilt.
8. Using the circle marked on your background fabric, place the design elements around the circle shape. Refer to the picture for placement. The outside edge of each heart touches the chalk circle line. Do not fuse down yet.
Marking and cutting the letters for the quilt:
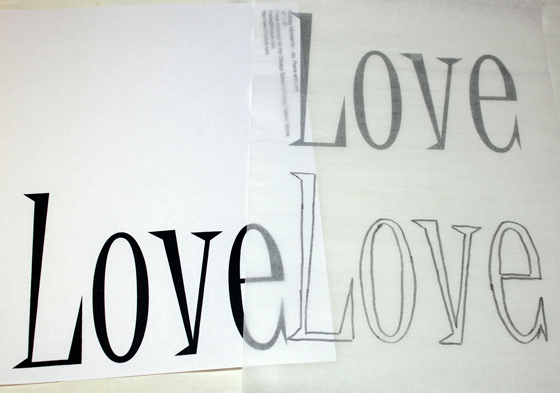
1. Place the pattern sheet with the letters in your scanner/copier.
2. Cut a piece of release paper for each set of letters that is 8.5 x 11 inches. Place the letter size release paper in your paper bin and copy the letters onto the release paper. Do not touch the ink when it comes out of your printer. If you don’t want to try this, you can trace each letter onto a piece of release paper with a black extra fine sharpie marker, you only need to trace it one time.
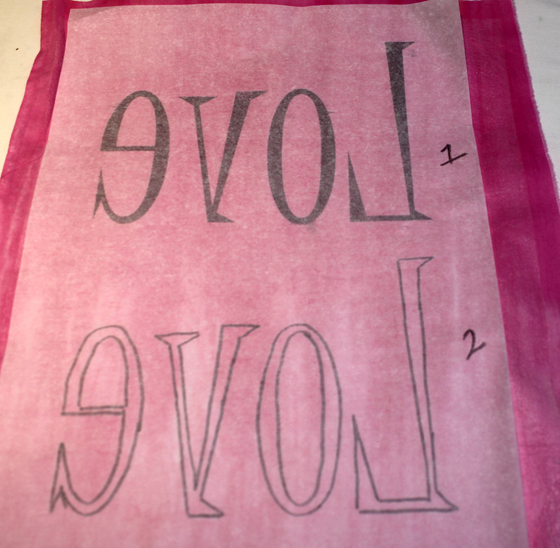
3. Place the piece of release paper with the letters either printed or traced on it ink side against the fused side of the color of fabric you will cut your letters from. Press with a hot dry iron. Let the paper cool and remove the release paper. The ink should transfer to the back of the fused fabric.
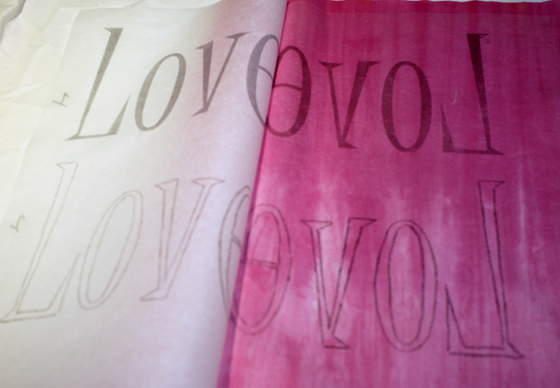
4. Use very sharp scissors to cut out each letter.
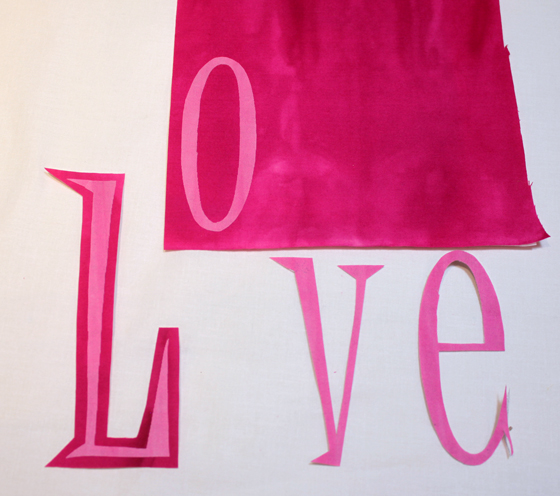
5. Place each cut out fused letter on top of another color of fused fabric that still has the release paper on it. Press in place on the right side of the fabric leaving enough room around each letter to cut out the letter again, leaving about 1/8” of an inch shadow in the new color. Be sure to remove the release paper from the second color of fabric before you cut out the letters.
6. Place LOVE in the center of the wreath shape you made. Once you have all of the shapes arranged the way you like them, fuse them to your background fabric.
7. Place a clean piece of white fabric over the top of the entire quilt and steam set the whole design.
Machine quilting your pieces:
1. Place the quilt top on top of your pre-pressed batting and backing fabric and press together well. I like to use temporary spray adhesive to hold the layers together. You can also place straight pins in each corner. DO NOT STEAM THIS sandwich.
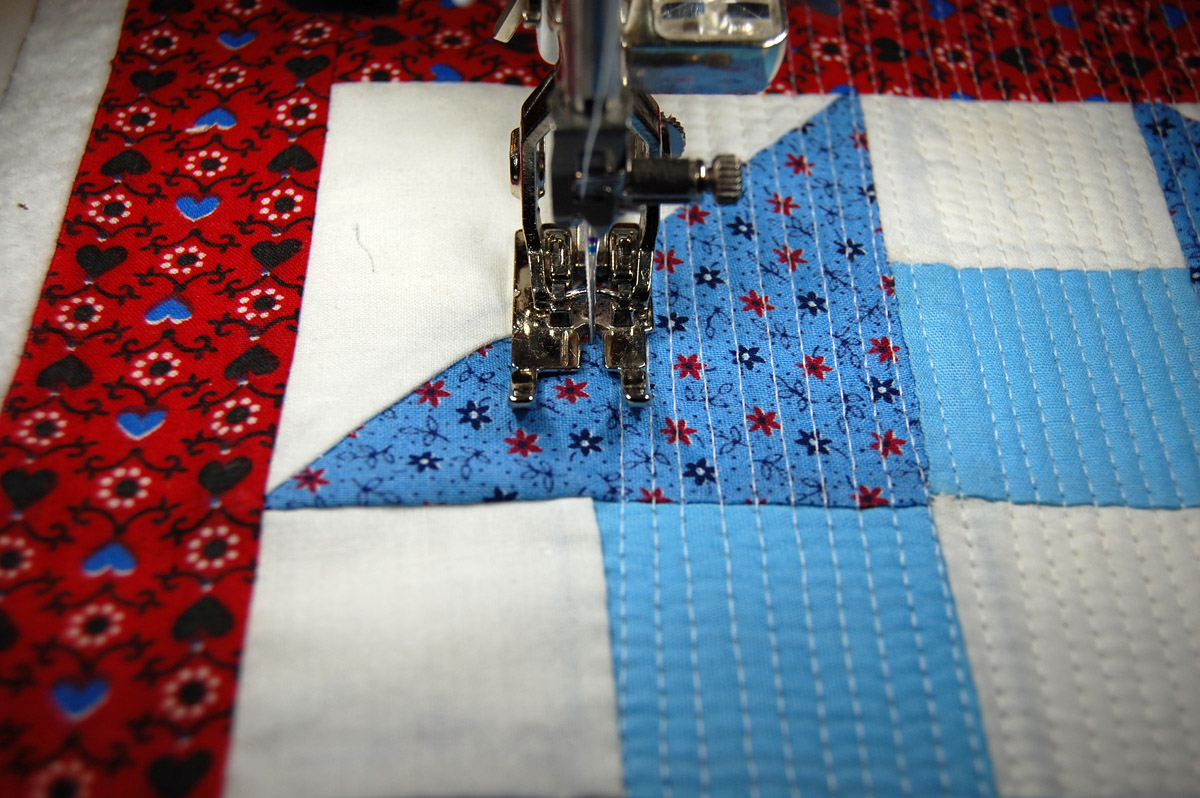
2. Using matching or variegated threads, outline stitch along the sides of all the straight edged design elements. Outline stitching is like stitching in the ditch, right next to and not on top of the design element.
Do this in free motion mode on your sewing machine; or, simply stitch to your own liking.
3. Free motion quilt the background to your liking. I have used a stipple stitch done in a light weight thread on the inside of each wreath shape.
For the border area, I switch to a heavier weight thread and quilt a loop and twirl design. I also like to machine quilt my name in the background using a matching thread. If you have never tried this before, use a pencil to write your name and then free motion quilt over the pencil marks.
4. Press the whole quilt top well with a hot iron. Use a rotary cutter to square up and trim the edges of the quilt to 16” x 16”. Add a hanging sleeve and a fused or sewn binding of your choice. Be sure to add a label to your quilt.
To finish the edges of the mini-quilt, use your favorite method for binding or follow my tutorial for creating your own fused binding here: http://www.friestyle.com/tutorials/fused-binding/.


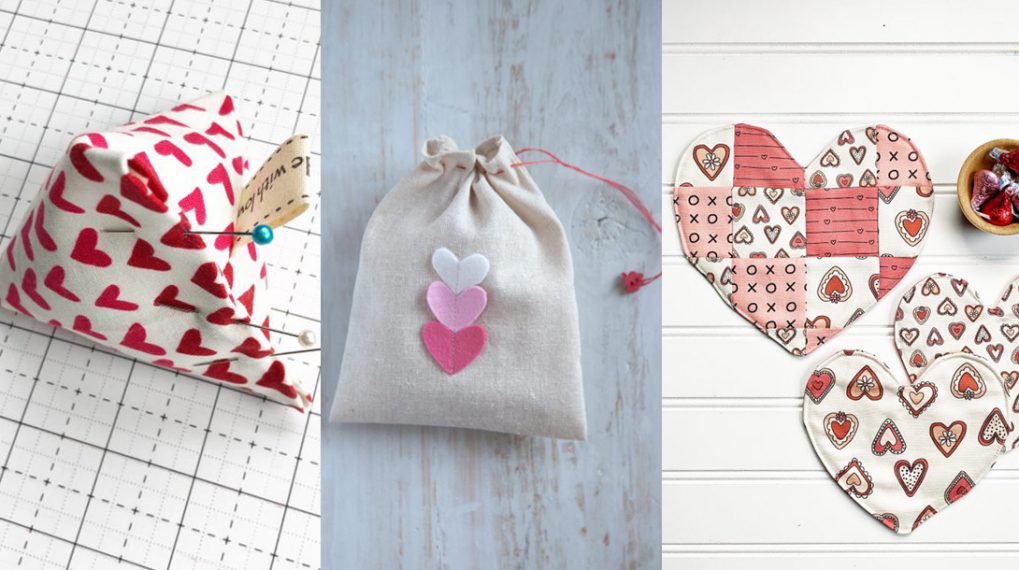
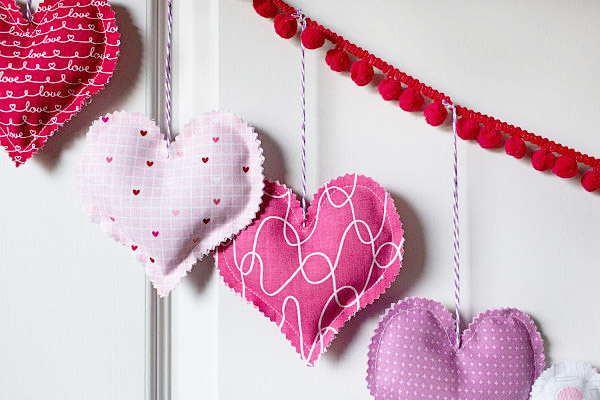
What you might also like


One comment on “Valentine’s Day Mini Quilt Tutorial”
Leave a Reply
You must be logged in to post a comment.

I’m going to use this pattern to make an anniversary mini quilt.