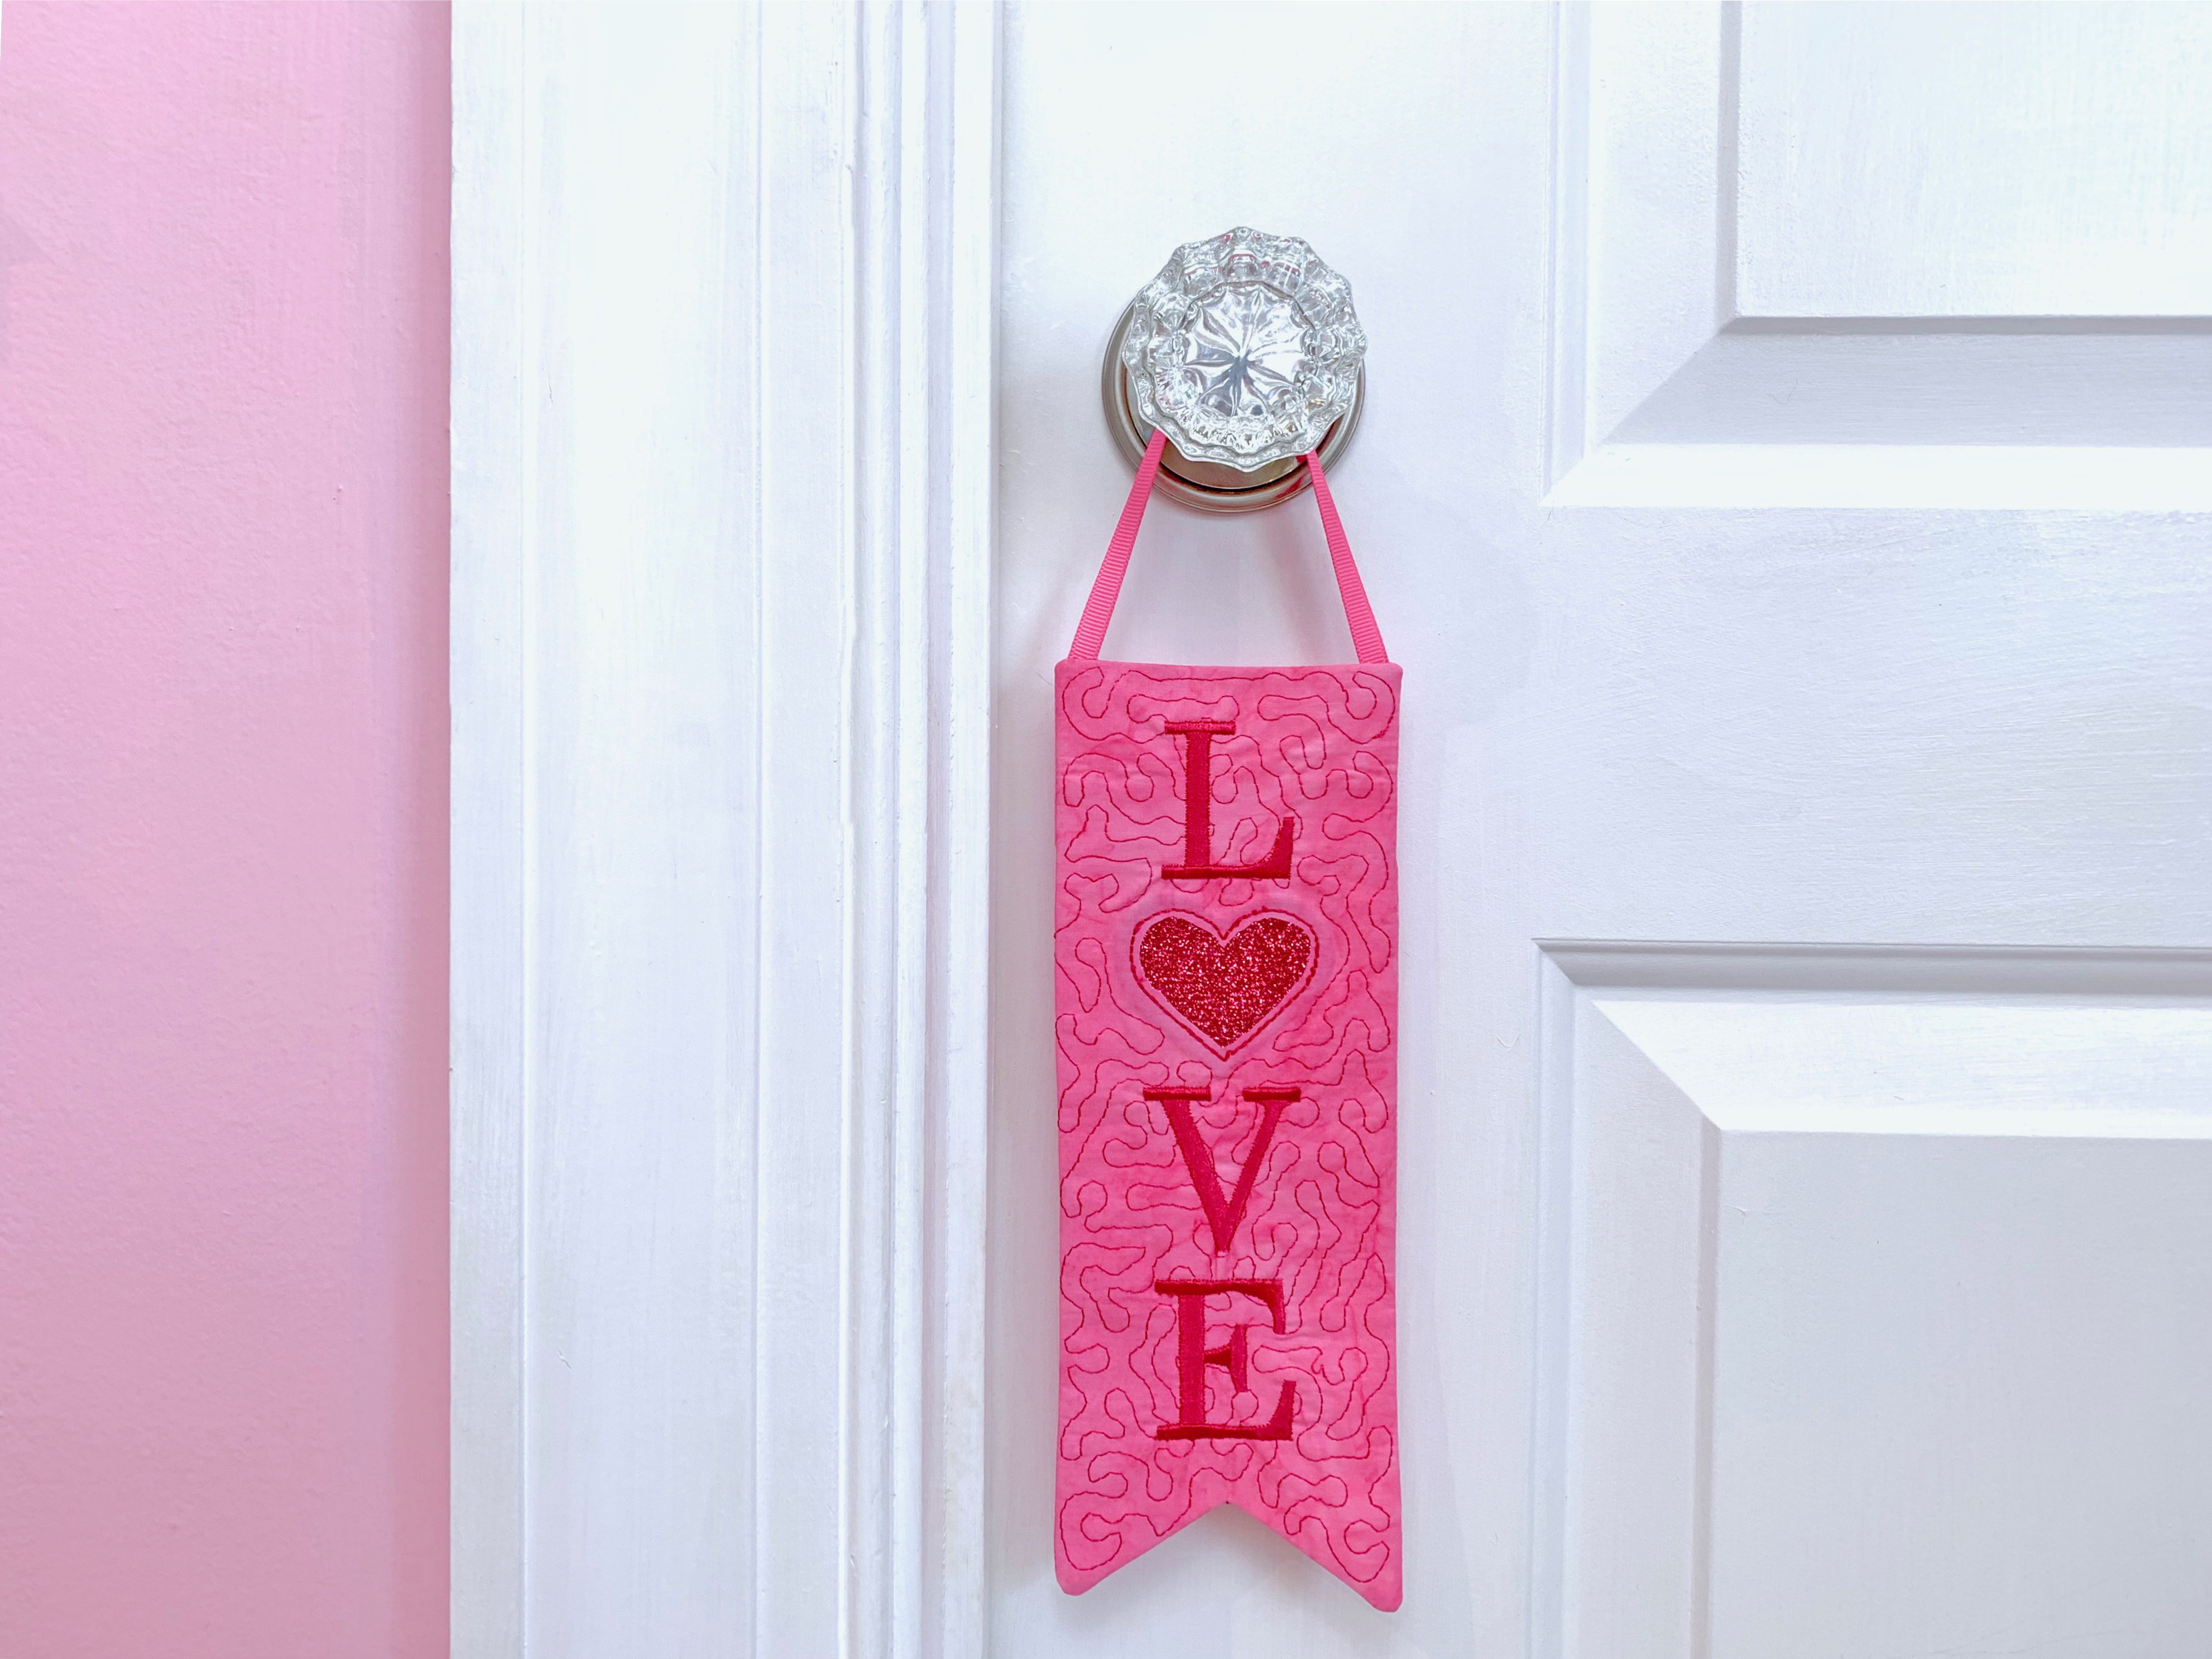
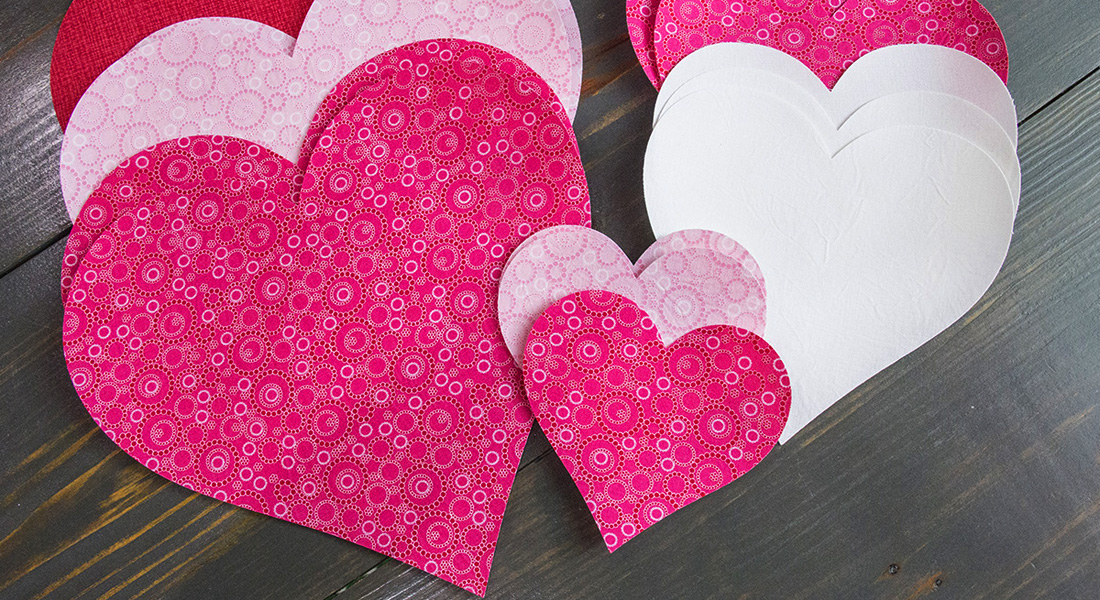
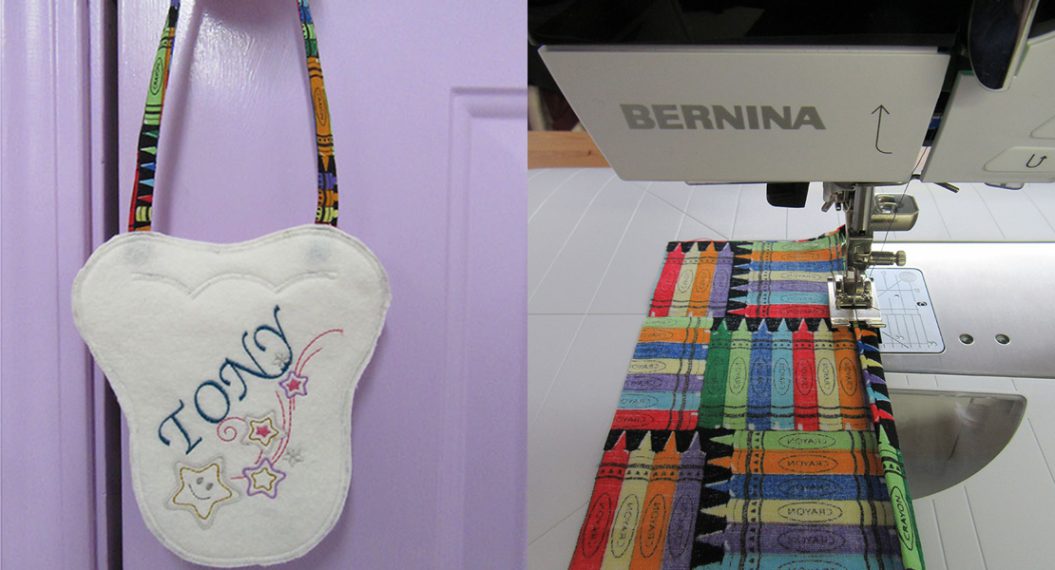
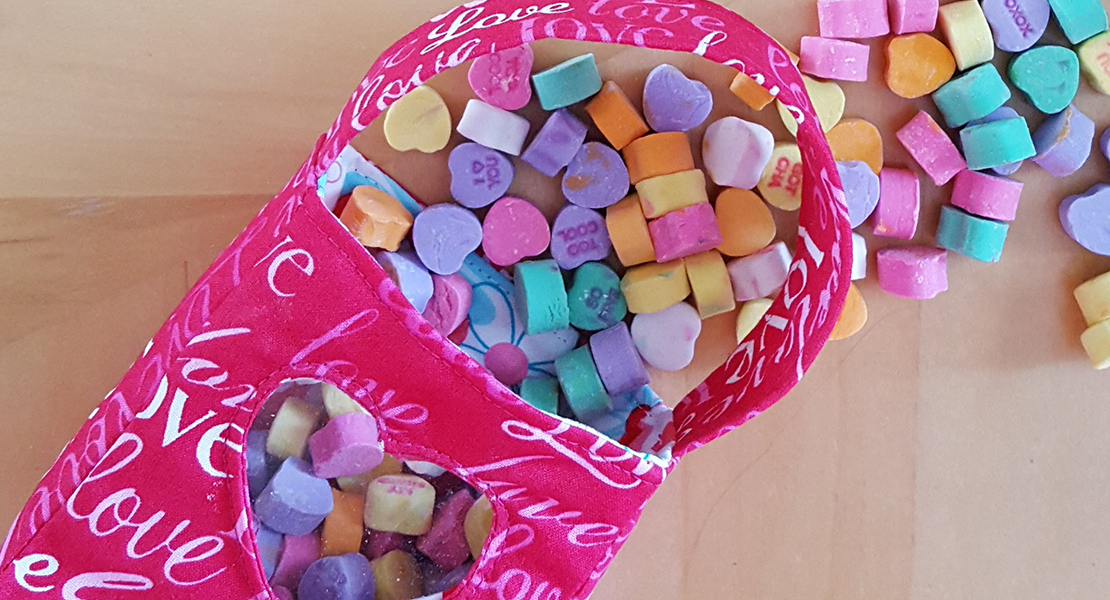
Valentine Door Knob Banner!
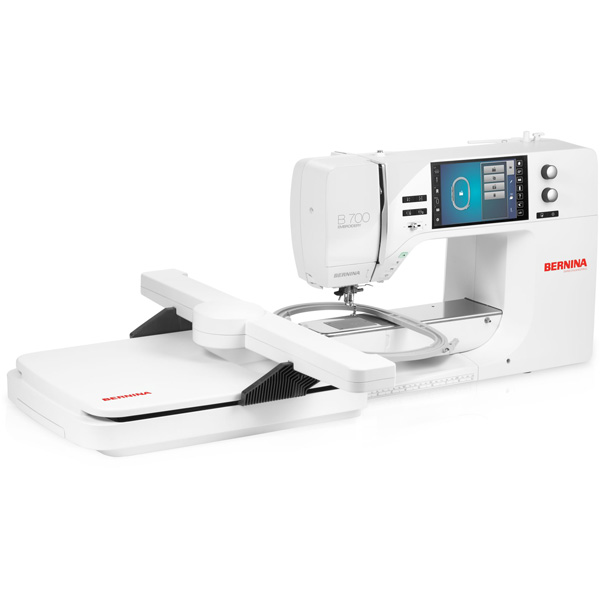
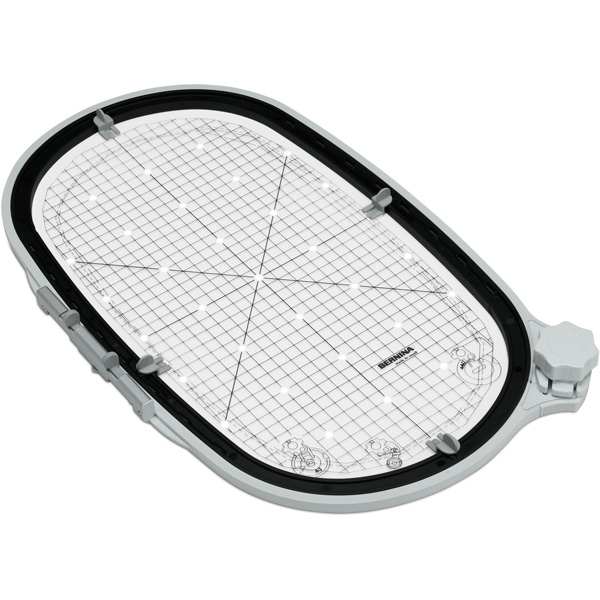
Hello! I’m Lisa Archer, BERNINA of America Embroidery Spokesperson, and Owner of Pickle Pie Designs. I designed a project to celebrate my love for BERNINA—a fun & festive Valentine Doorknob Banner! This easy project stitches up right in the hoop of your embroidery machine and fits in BERNINA’s Maxi Hoop.
My inspiration for this project comes from a package of fabulous EverSewn Sparkle Fabric that’s been calling to me ever since it arrived in my studio! I wanted to create a fun Valentine decoration for my home that features just a hint of this glitzy fabric as a special touch. Don’t get me wrong—this sparkly fabric is *amazing* and I’m all about glitter and glitz, but my teenage son is decidedly not. I wanted to create something that would make me happy without making him crazy. I think this project fits the bill!
Ask your local BERNINA dealer for EverSewn Sparkle Fabric. If you can’t locate it, feel free to substitute with another fabric, such as cork fabric, felt, velvet – or use your imagination to create something unique!
Let’s get started!
Supplies to Create A Valentine Door Knob Banner
- Fat Quarter of Fabric, cut and labeled as follows:
- Fabric A: 4.5” x 10”
- Fabric B: 4.5” x 3.5”
- Fabric C: 4.5” x 8.5”
- One piece of EverSewn Sparkle Fabric, cut to 2.5” x 2.5”
- Mesh Cutaway Stabilizer
- 8” length of 1/4” wide Ribbon
- Pellon Perma-Stick Seam Tape
- Polyester Embroidery Thread in 2 colors
- Embroidery Tape
- Pickle Pie Designs Machine Embroidery Scissors, or other sharp applique scissors
- Turning tool, such as Clover Point-to-Point Turner
- Valentine Door Knob Banner Design Files
Get ready to start by loading the embroidery design to your machine. Hoop a piece of stabilizer in your BERNINA Maxi Hoop, and place the hoop on your machine.
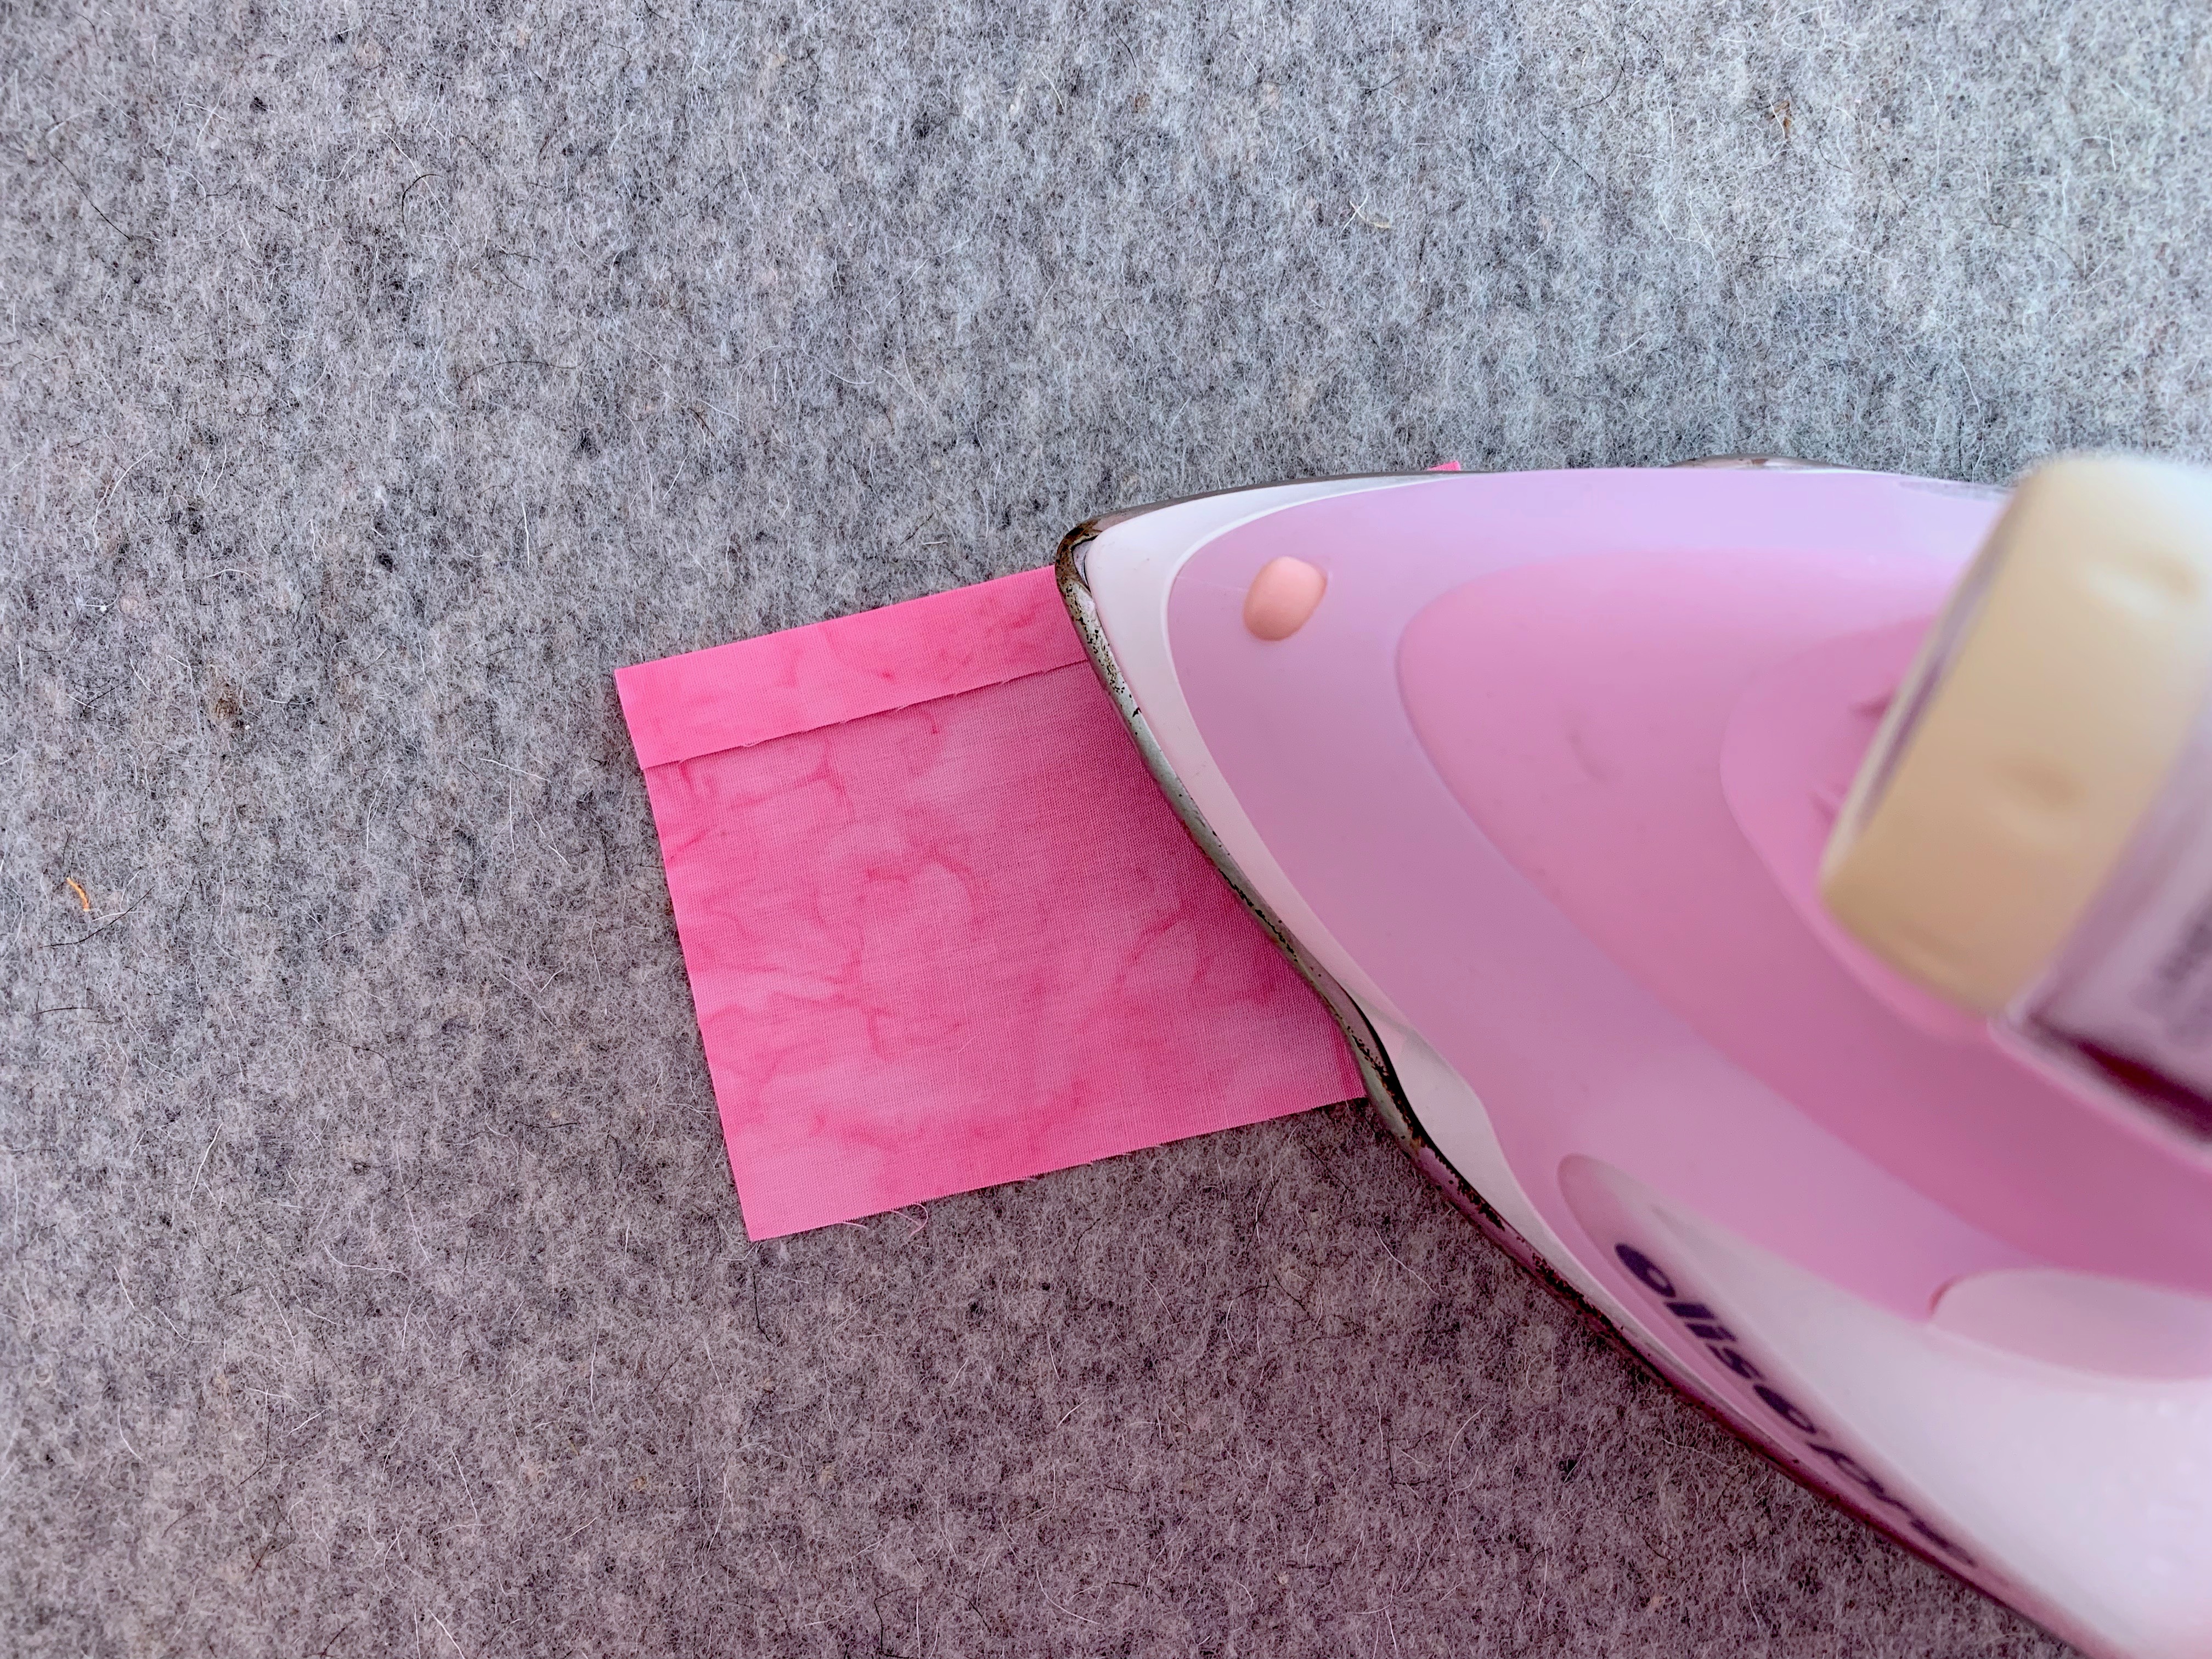
Step 1
Prep Fabric B. Fold back one 4.5” edge of the fabric by ½”, wrong sides together, and press with an iron to crease.
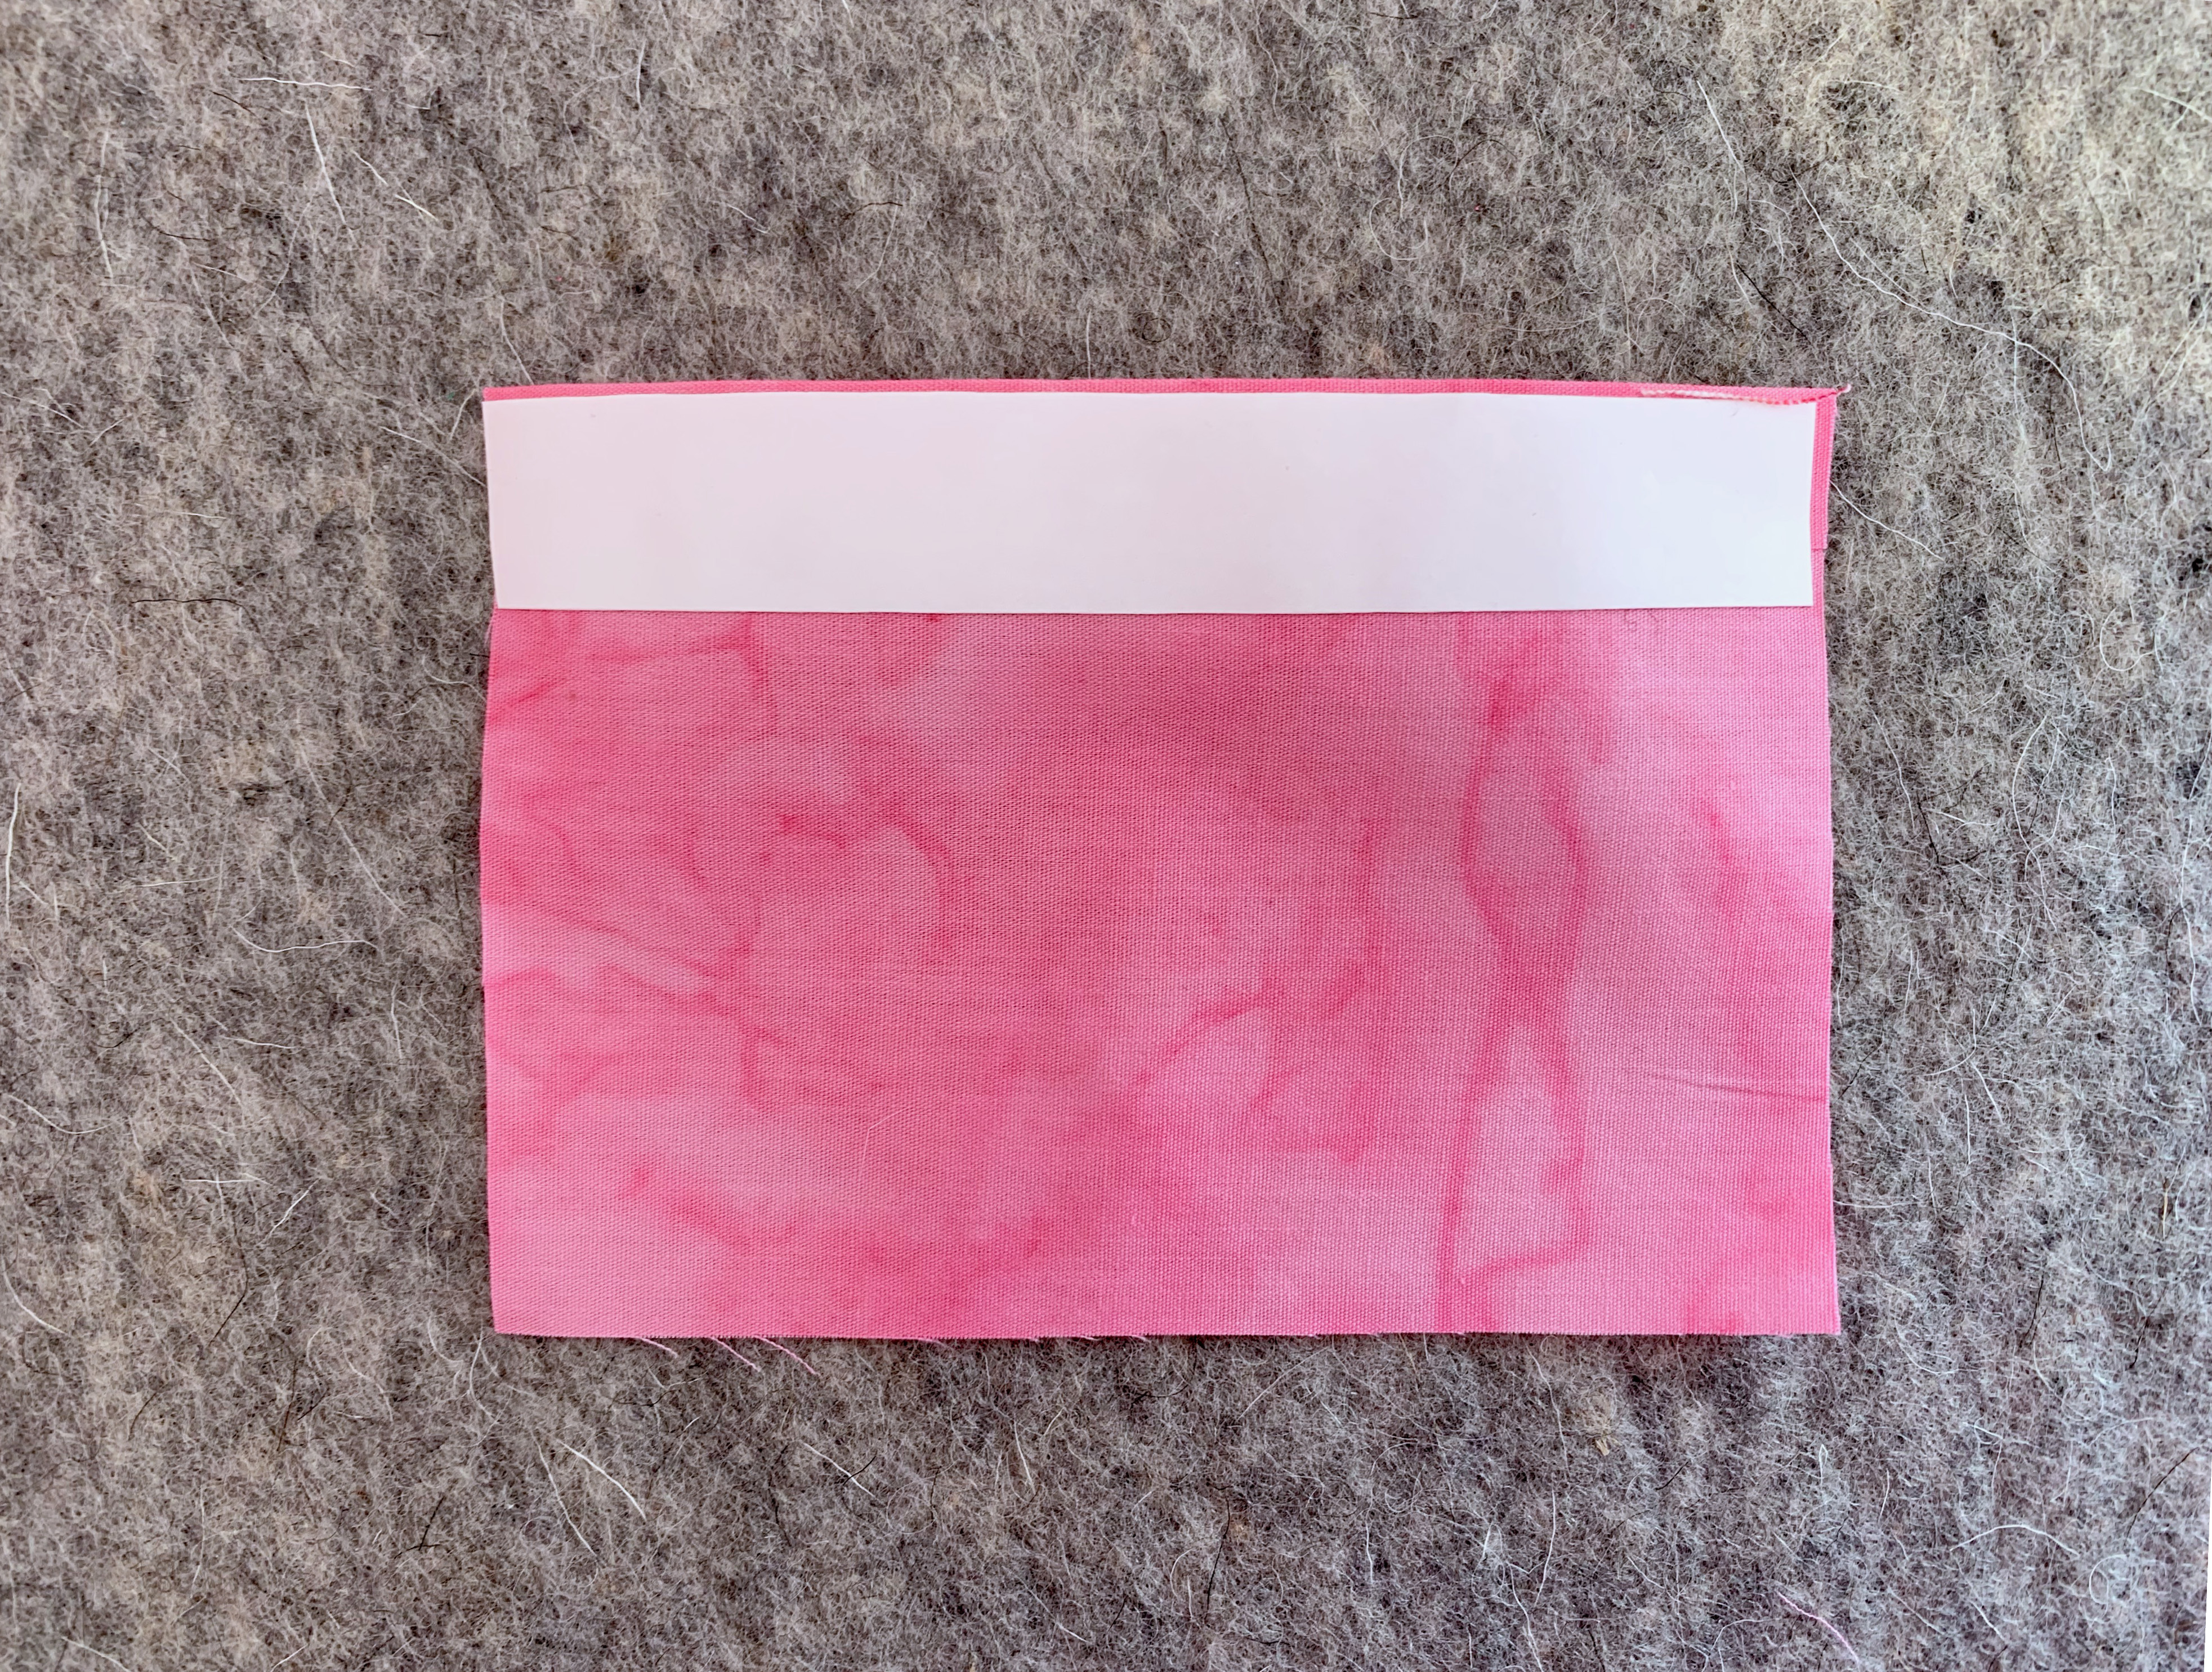
Step 2
Place a 4.5” strips of seam tape along the ½” seam, just below the fold of the fabric. Leave the paper backing on the seam tape, and set the fabric aside.
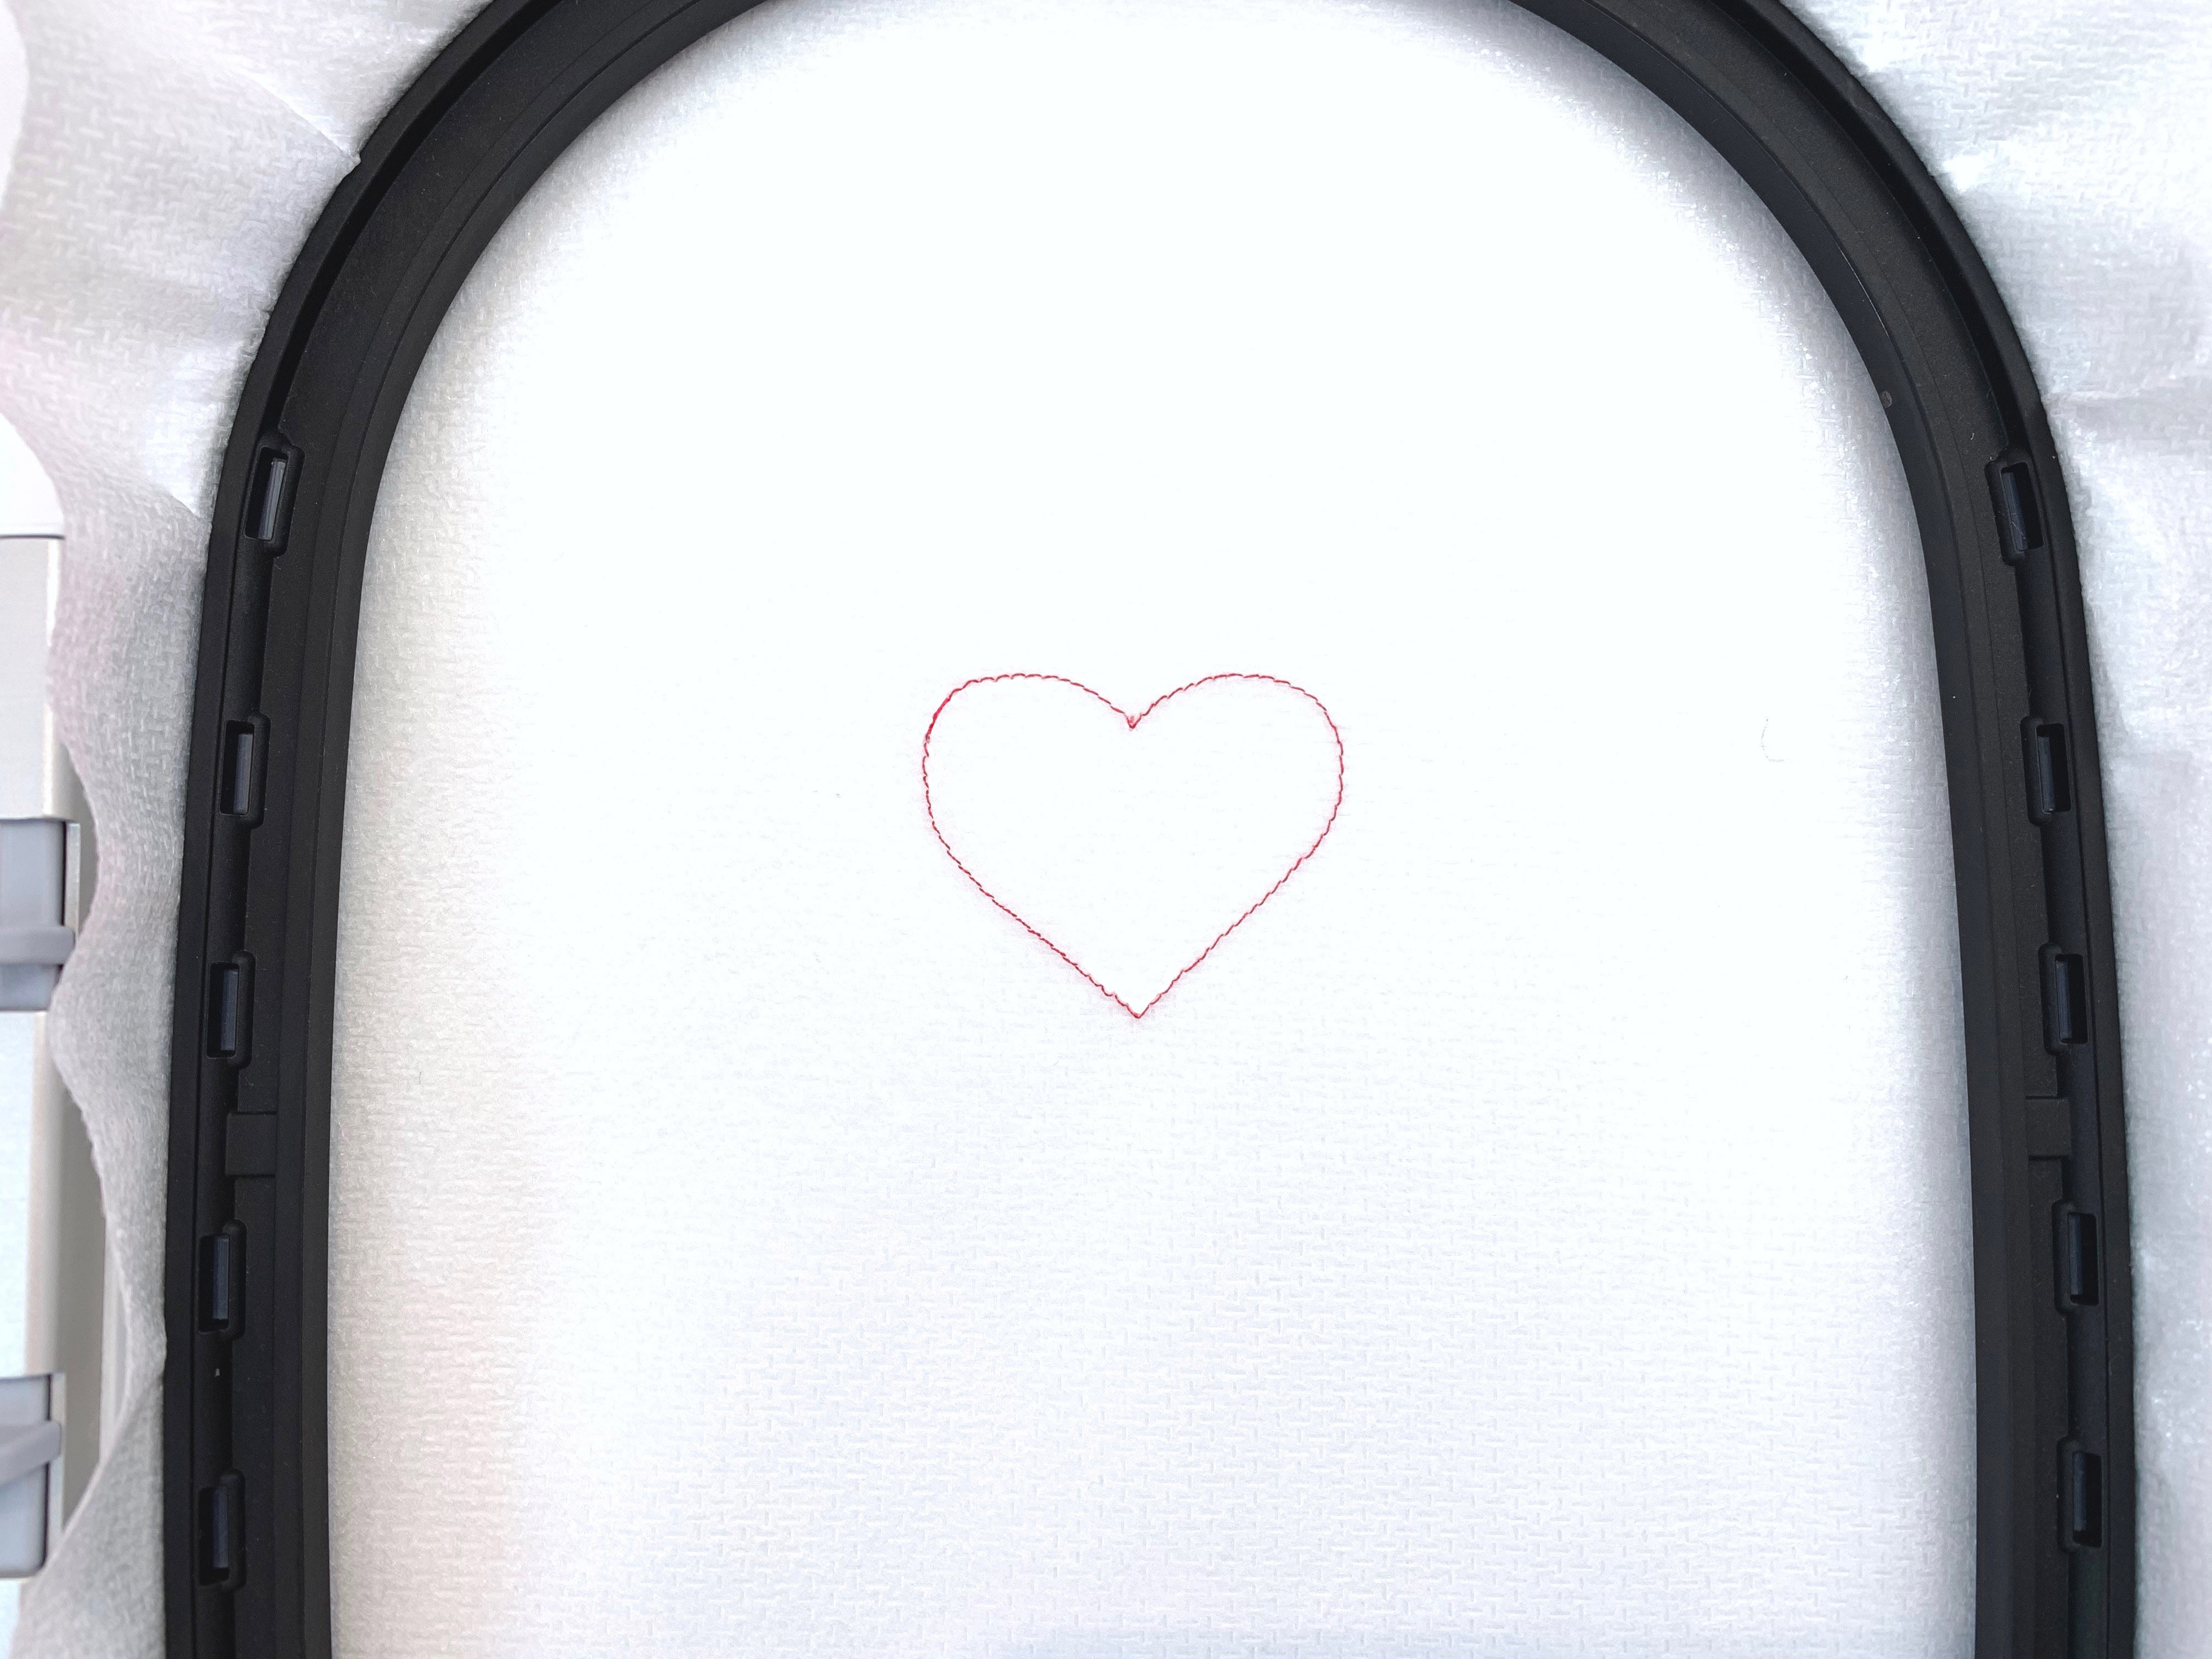
Step 3
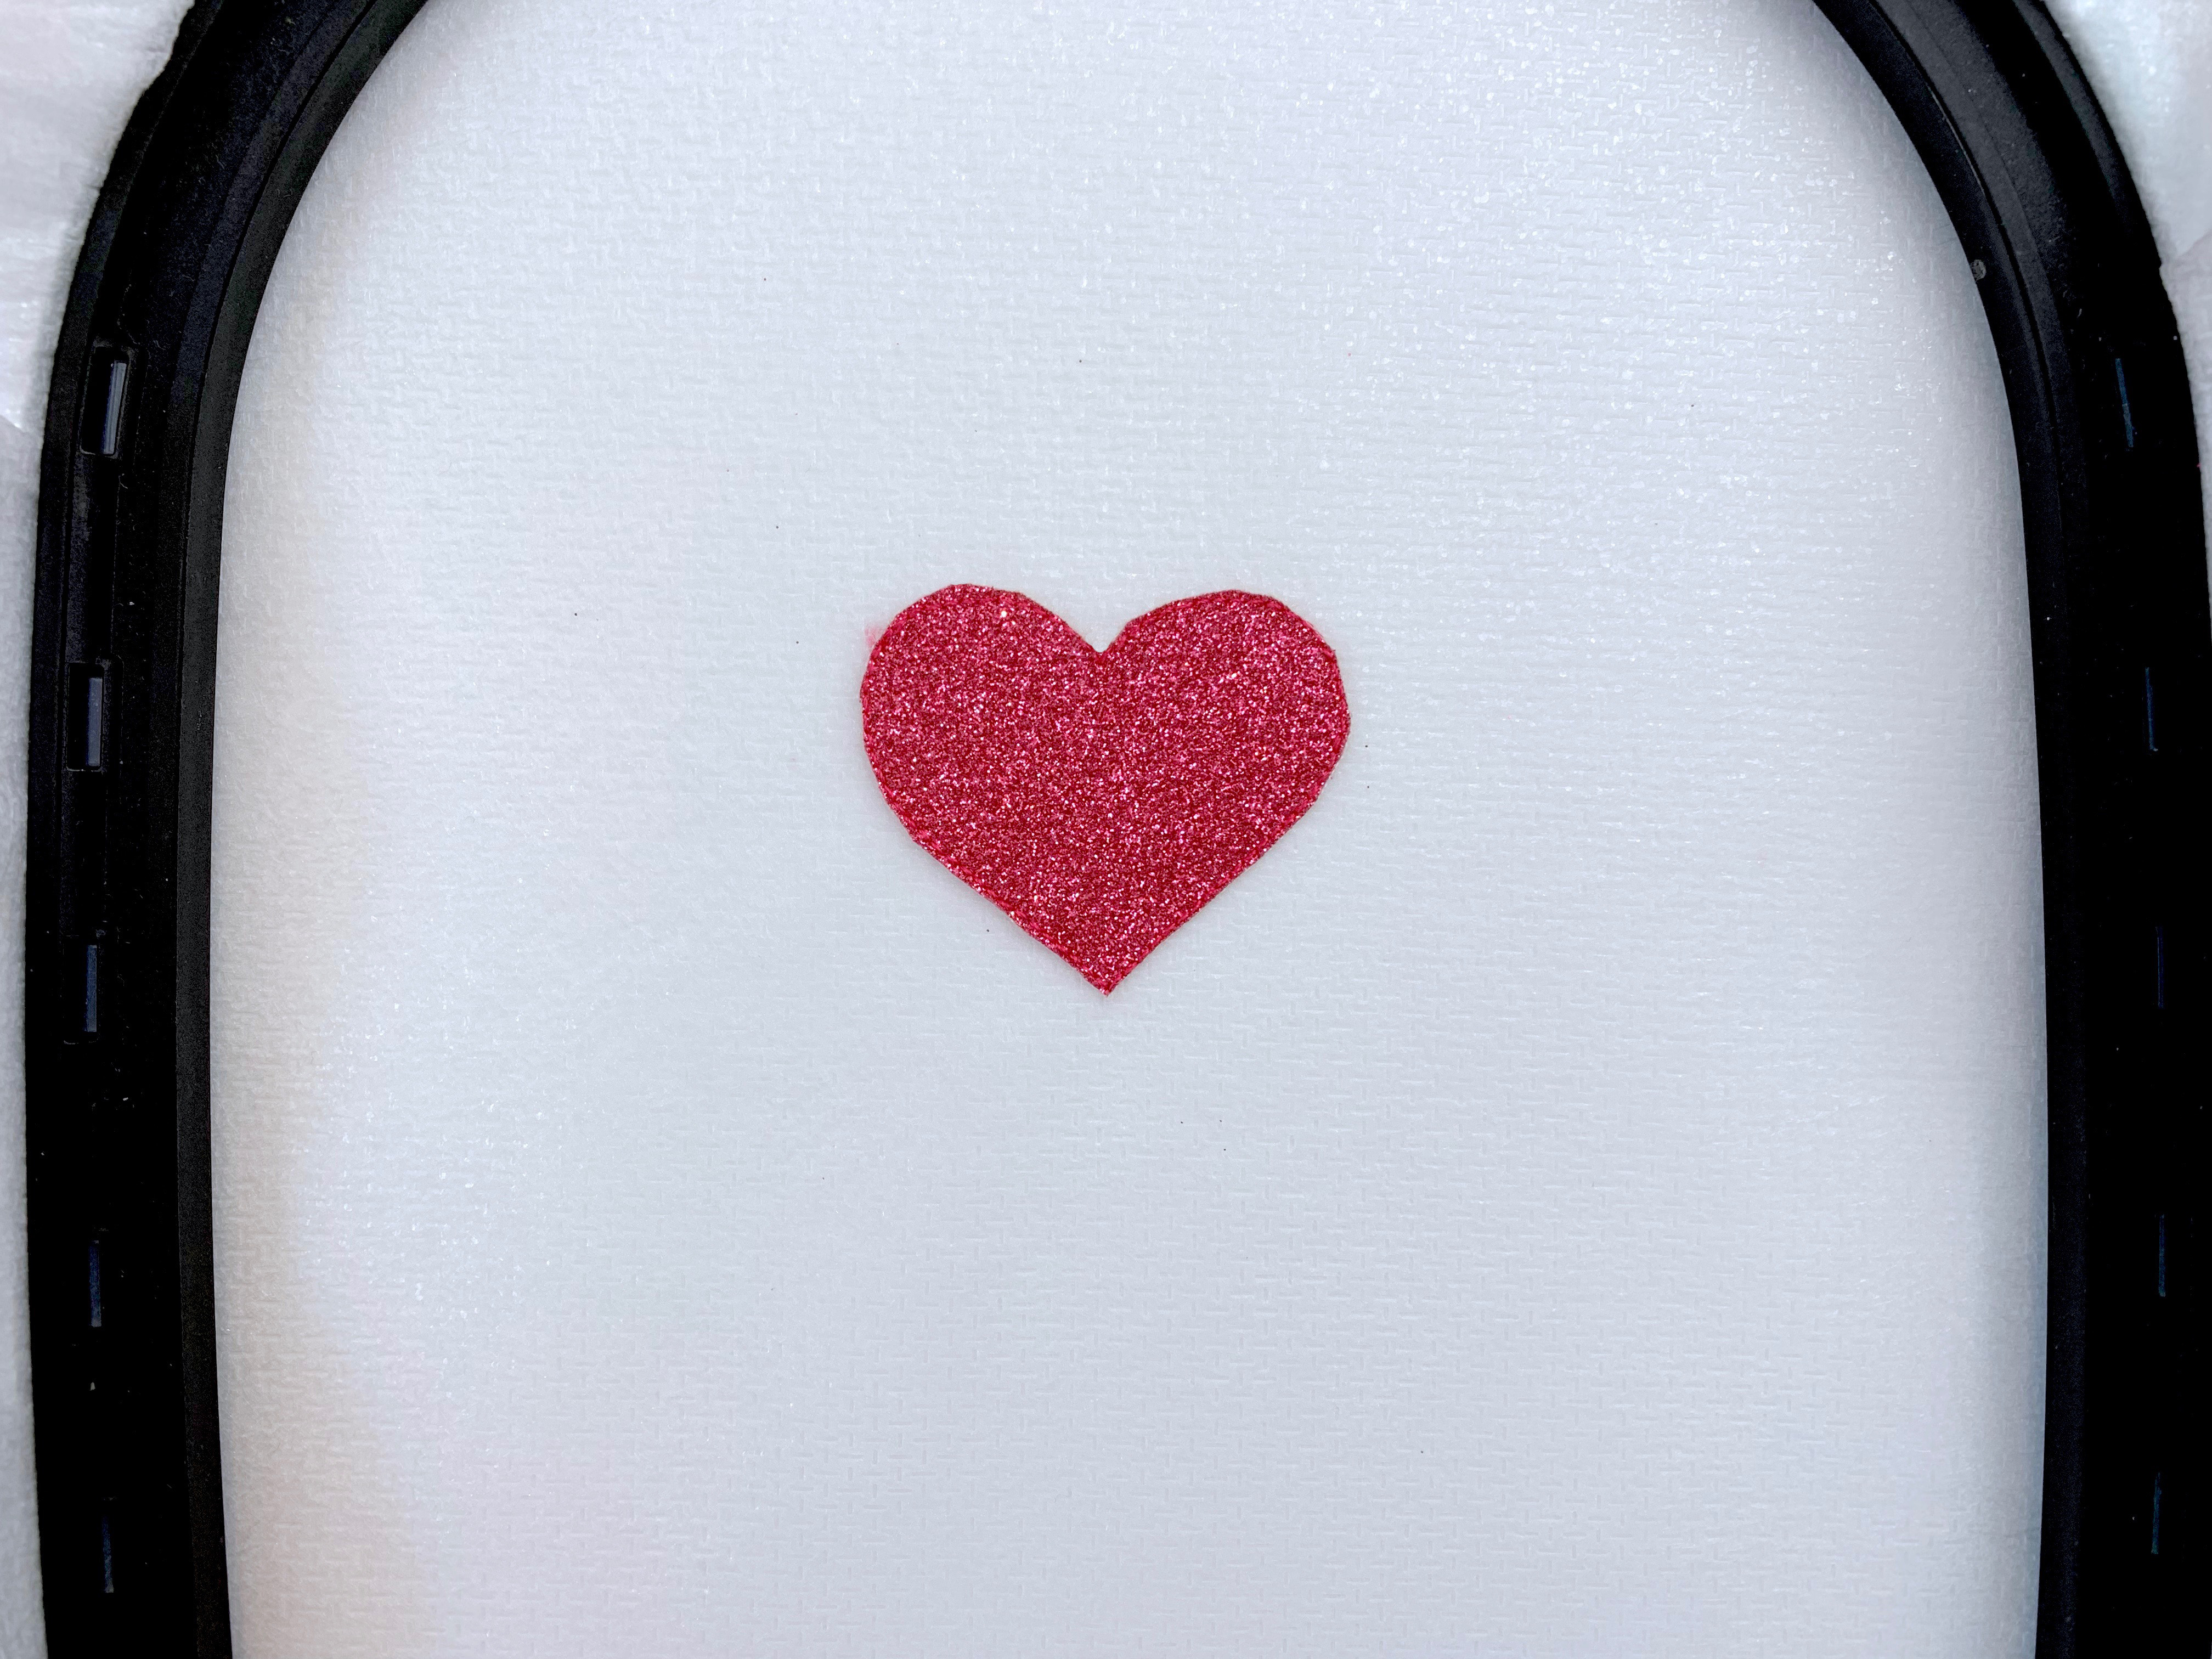
Using thread to match your fabric, Sew Stitch Sequence 1 on the stabilizer to create a placement line for the Sparkle Fabric.
Step 4
Center the Sparkly Fabric over the placement line, right side up. Tape in place. Sew Stitch Sequence 2 to tack create a cutting line.

Step 5
Remove the hoop from your machine and trim around the cutting line, getting as close as you can to the line of stitches without snipping through them.
Step 6
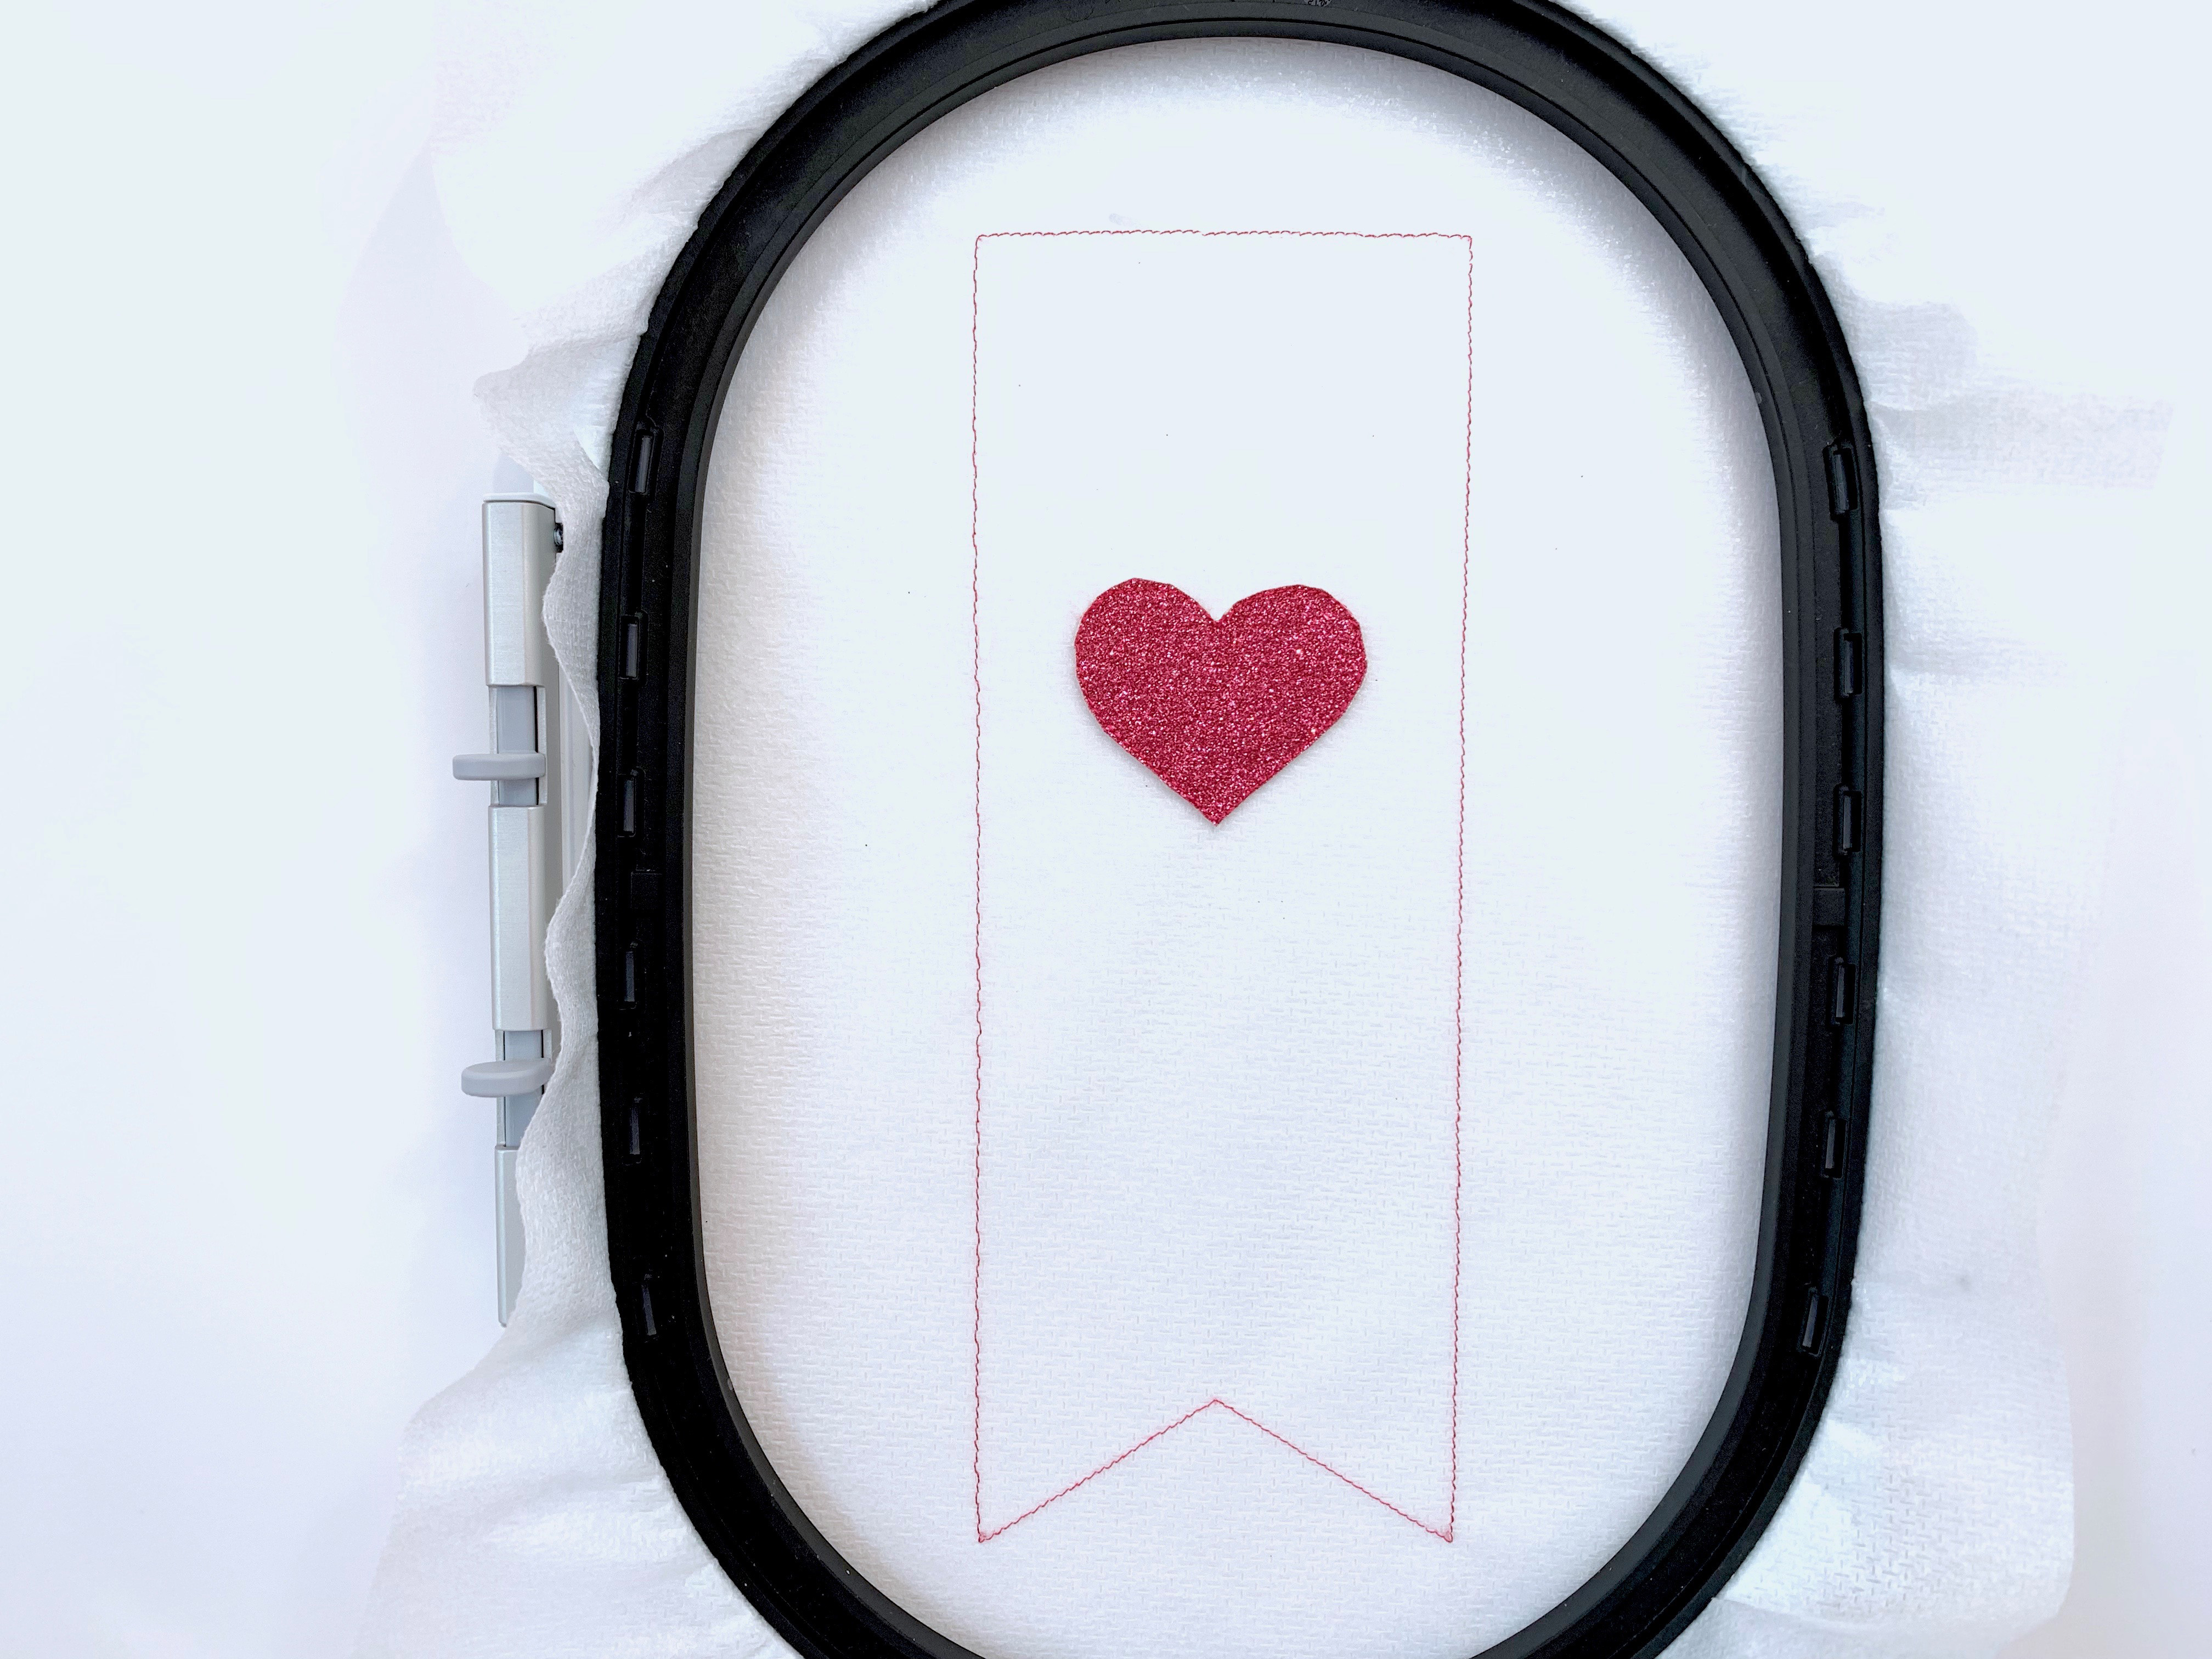
Replace the hoop on your machine and sew Stitch Sequence 3 to stitch a placement line for the largest piece of fabric.
Step 7
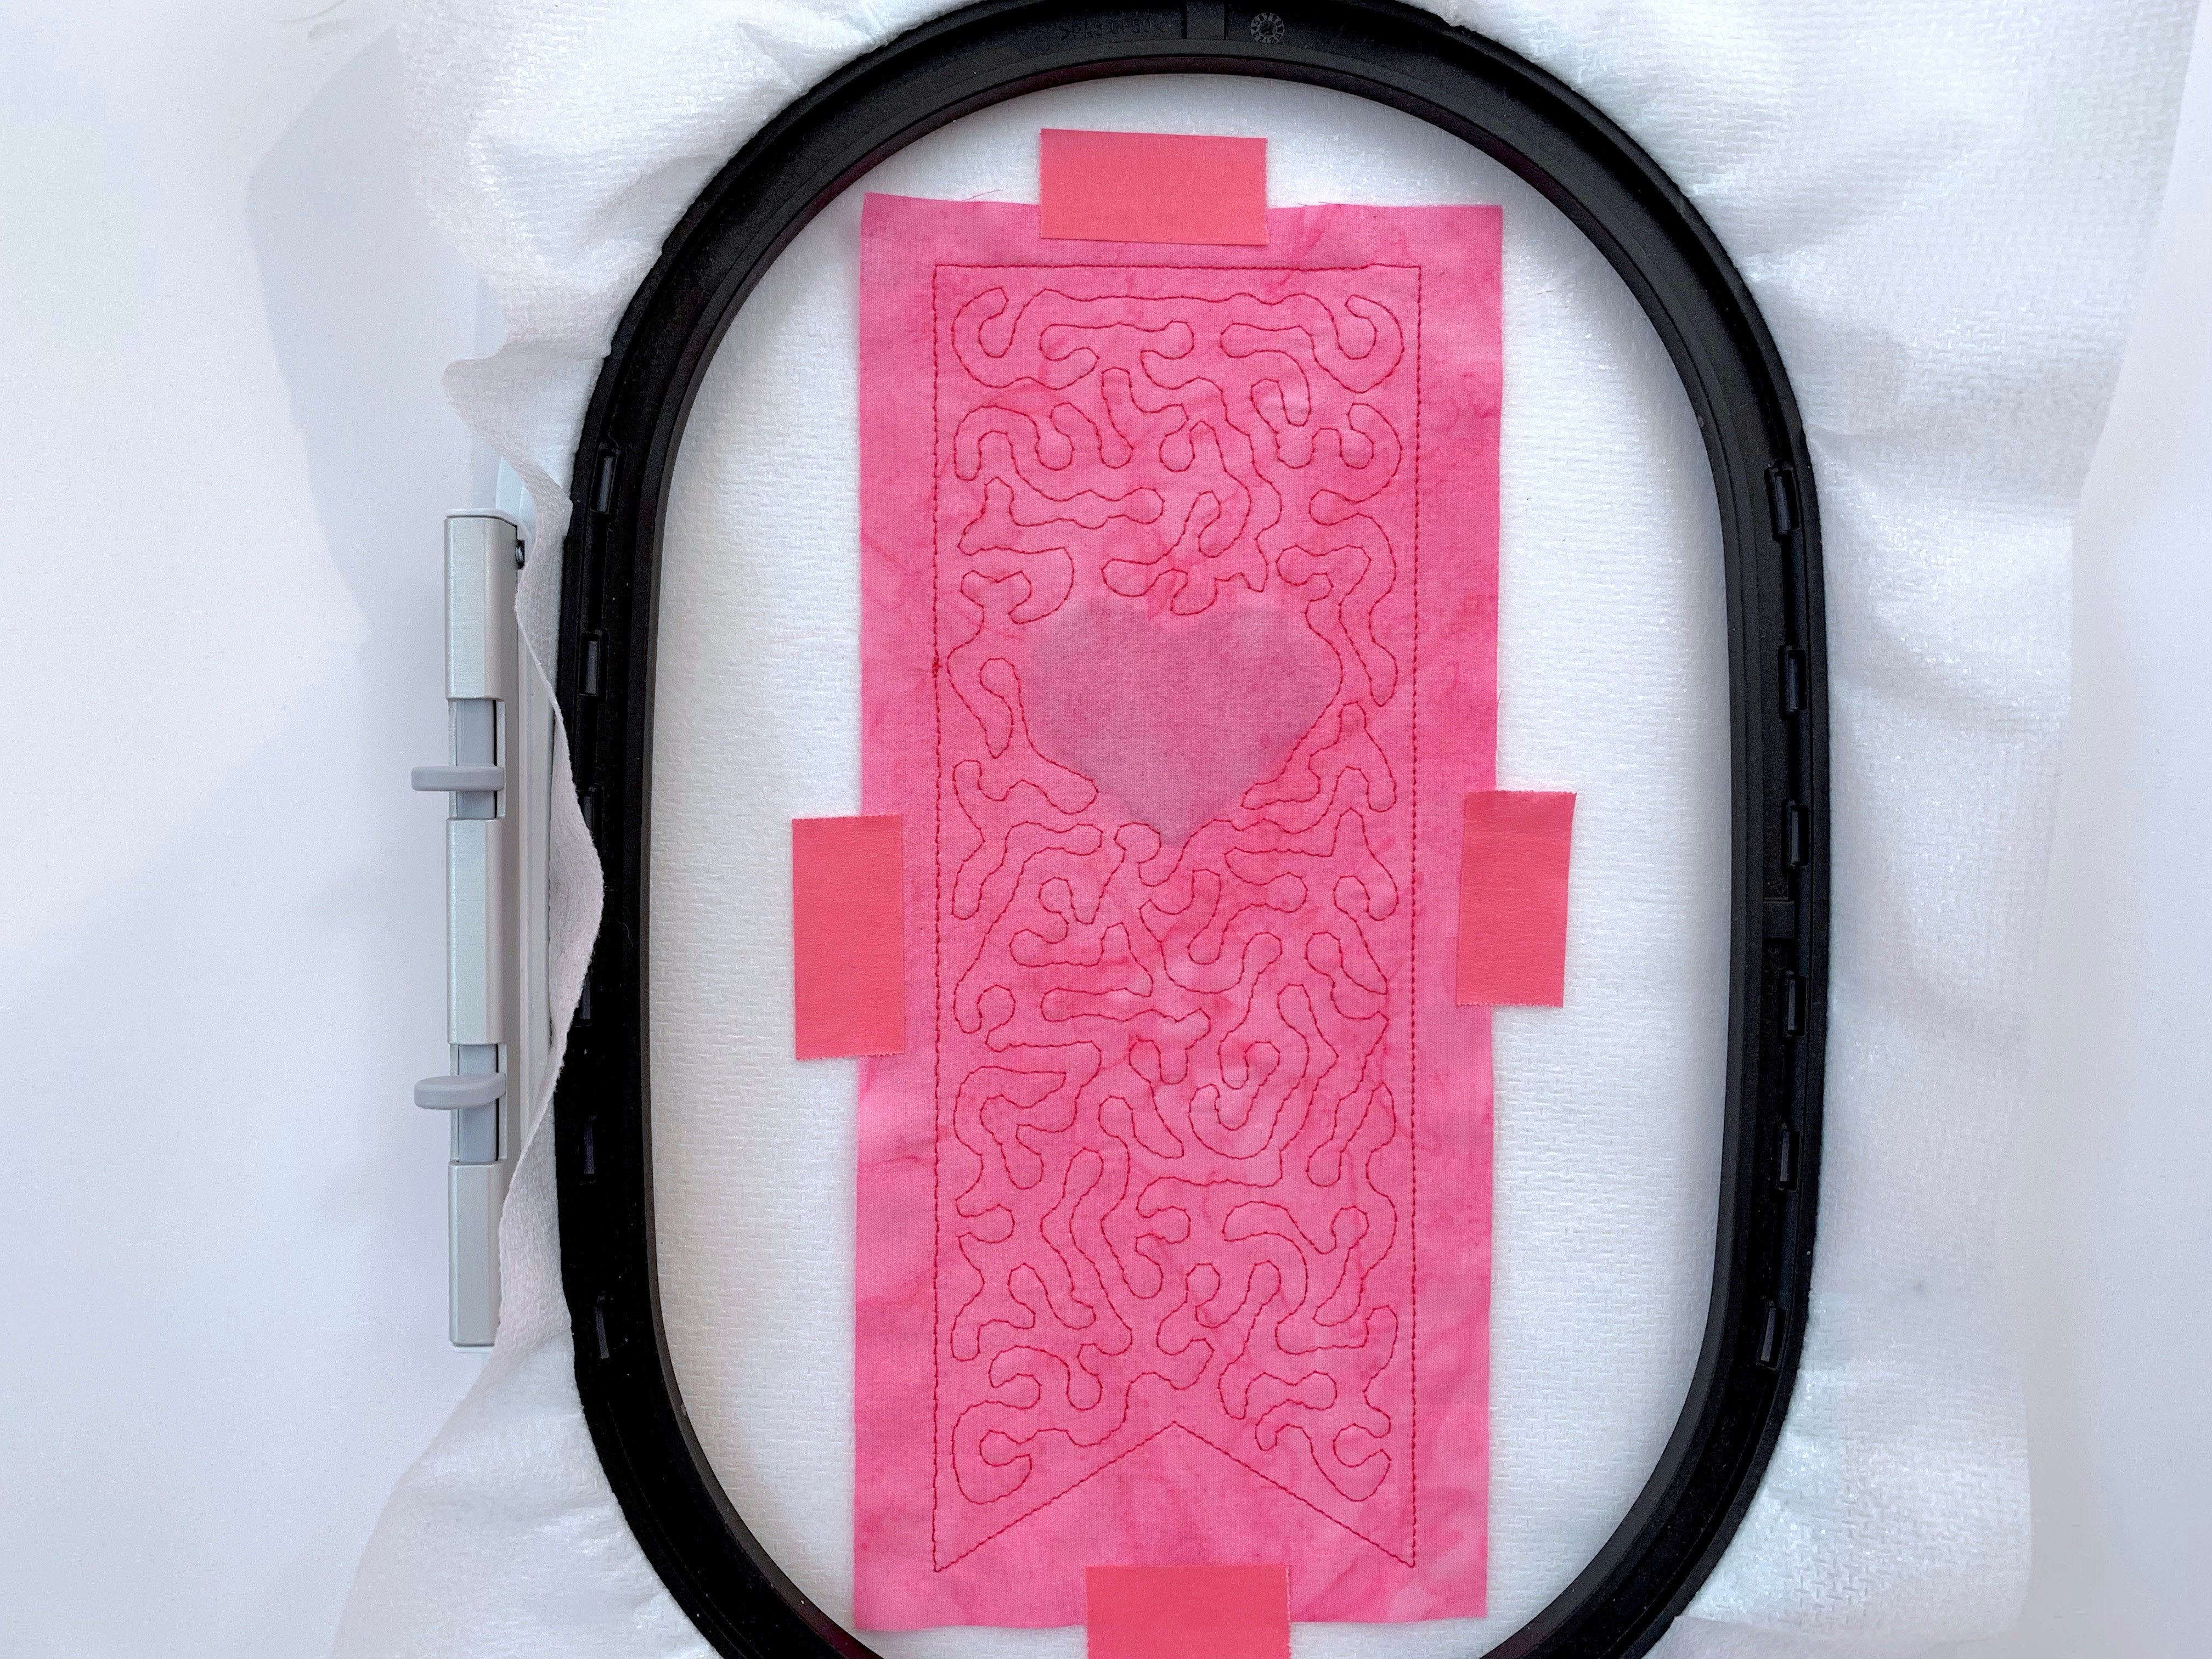
Center Fabric A over the placement line, right side up. Tape in place. Sew Stitch Sequence 4 to tack down the fabric and stitch the stipple stitches.
Step 8
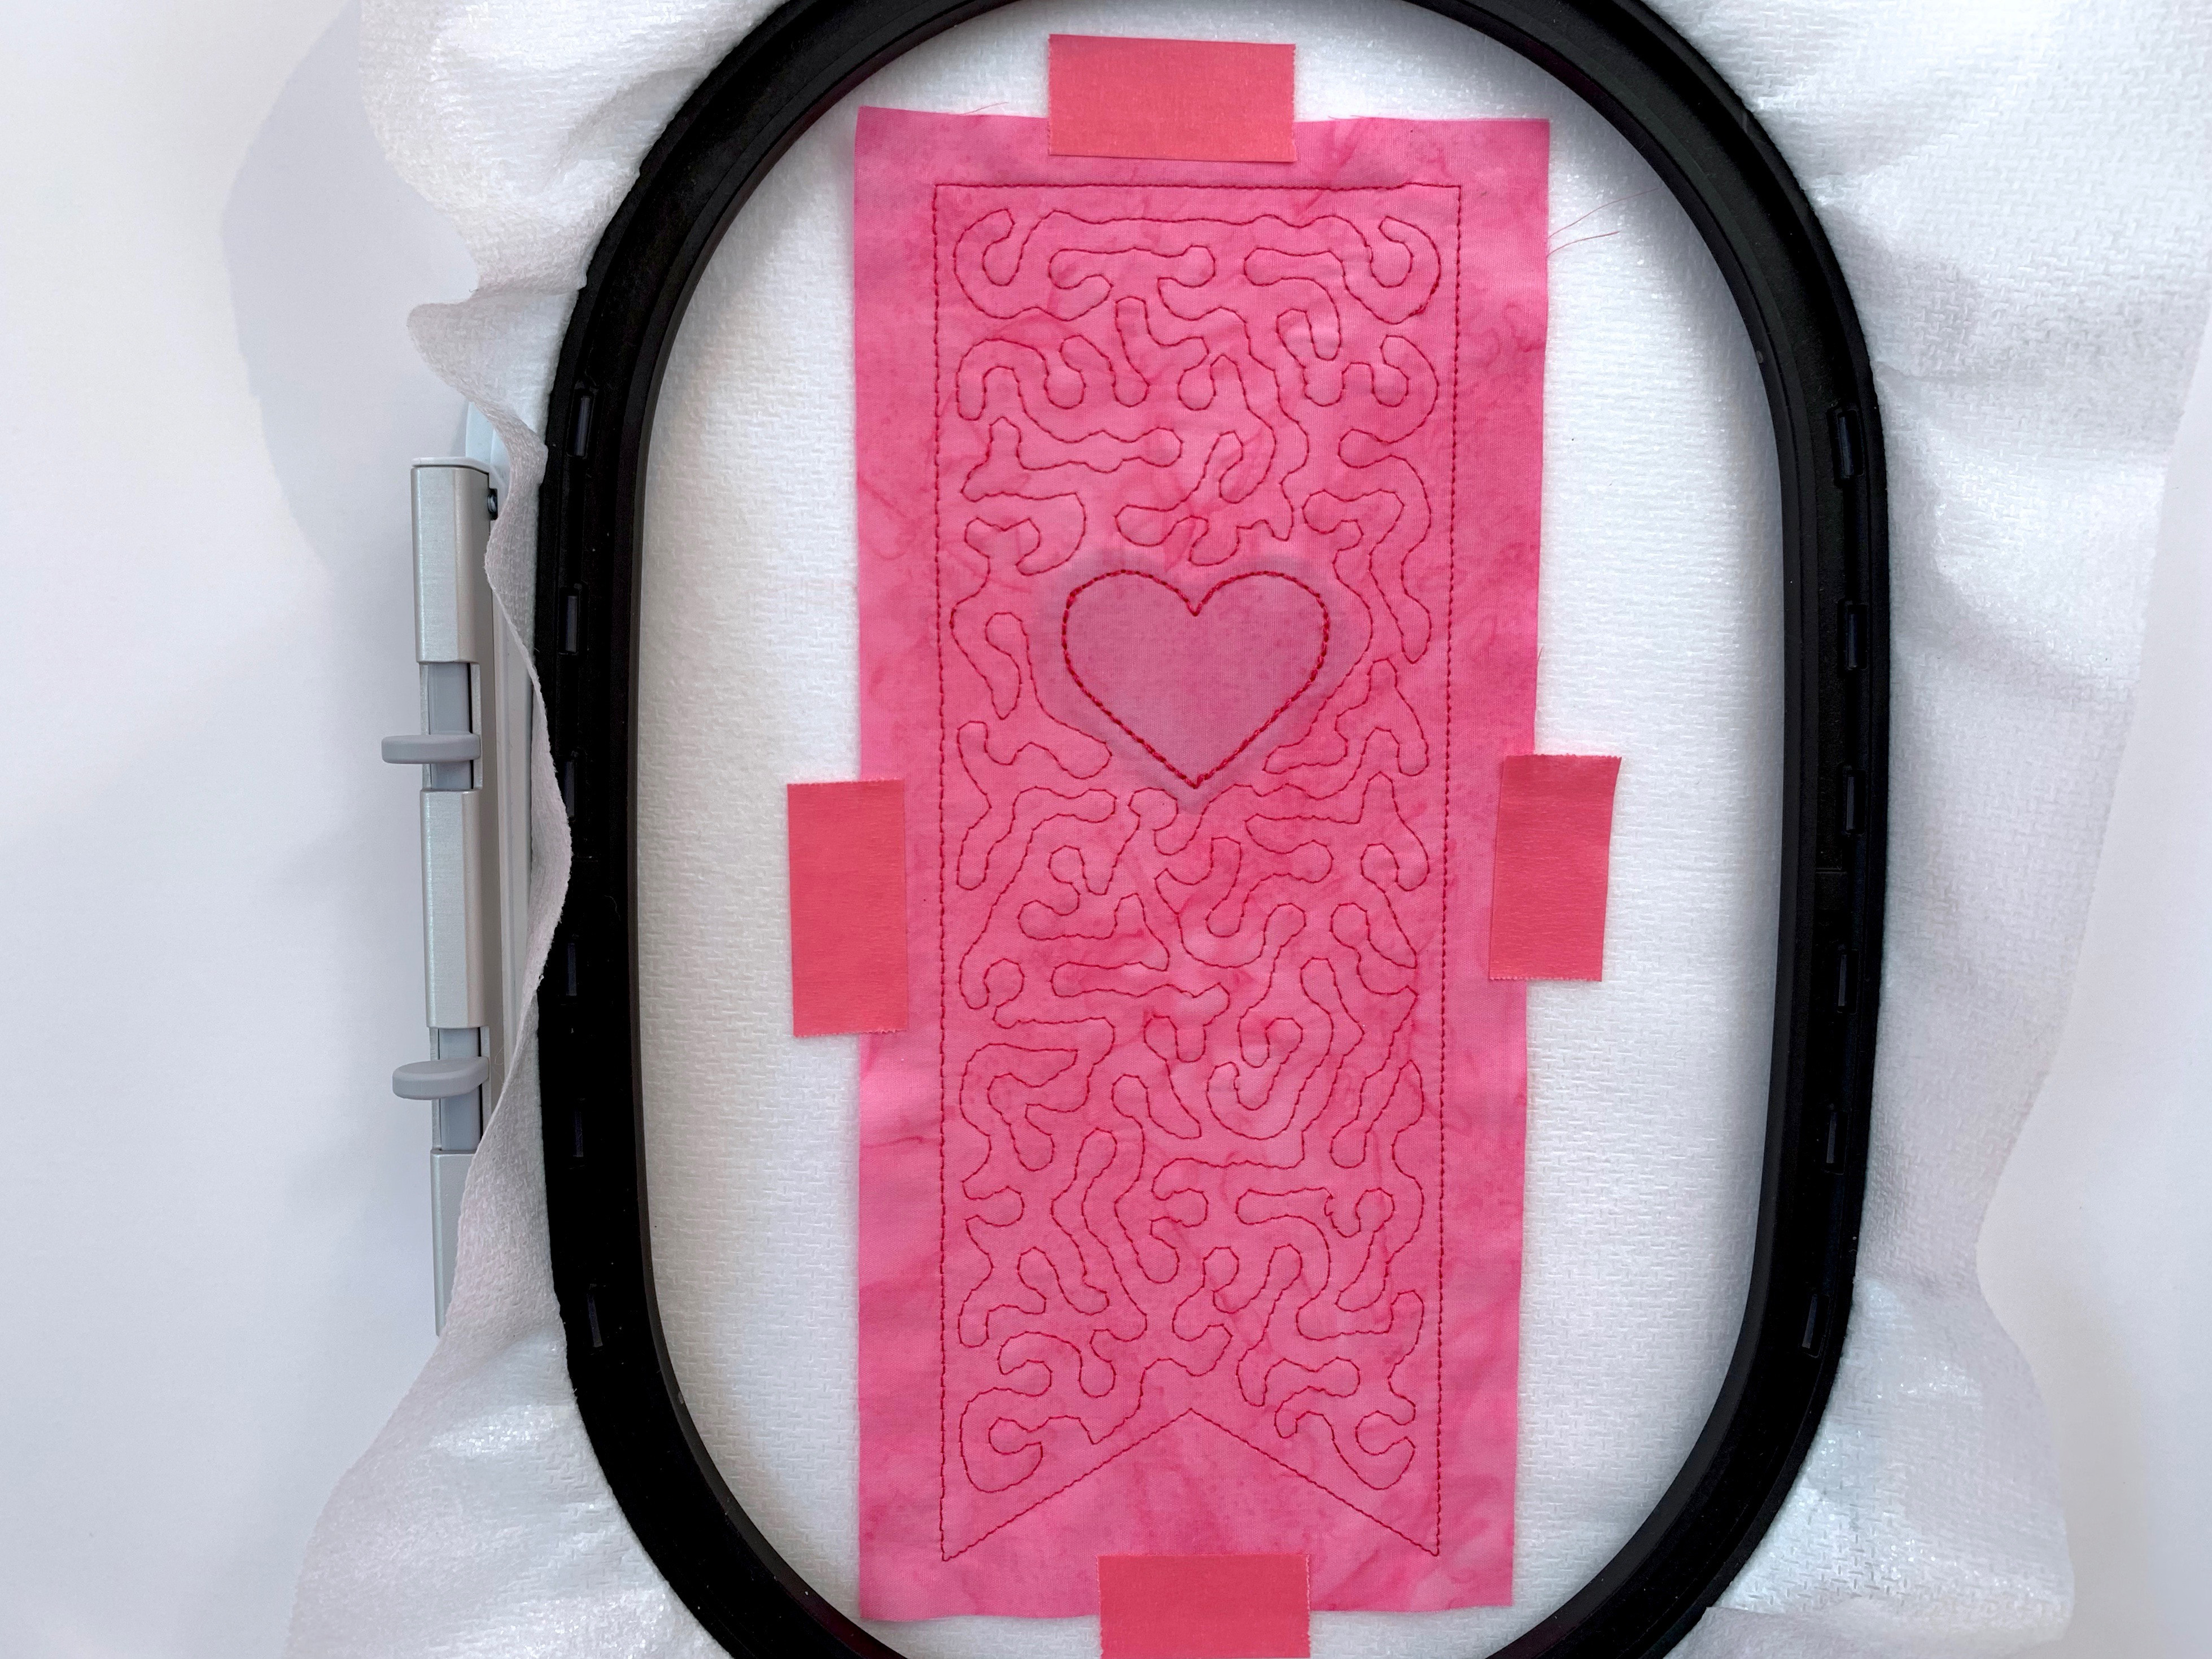
Change thread color, if desired. Sew Stitch Sequence 5 to stitch a heart outline.
Step 9
Change thread color, if desired. Sew Stitch Sequence 6 to stitch the letters.

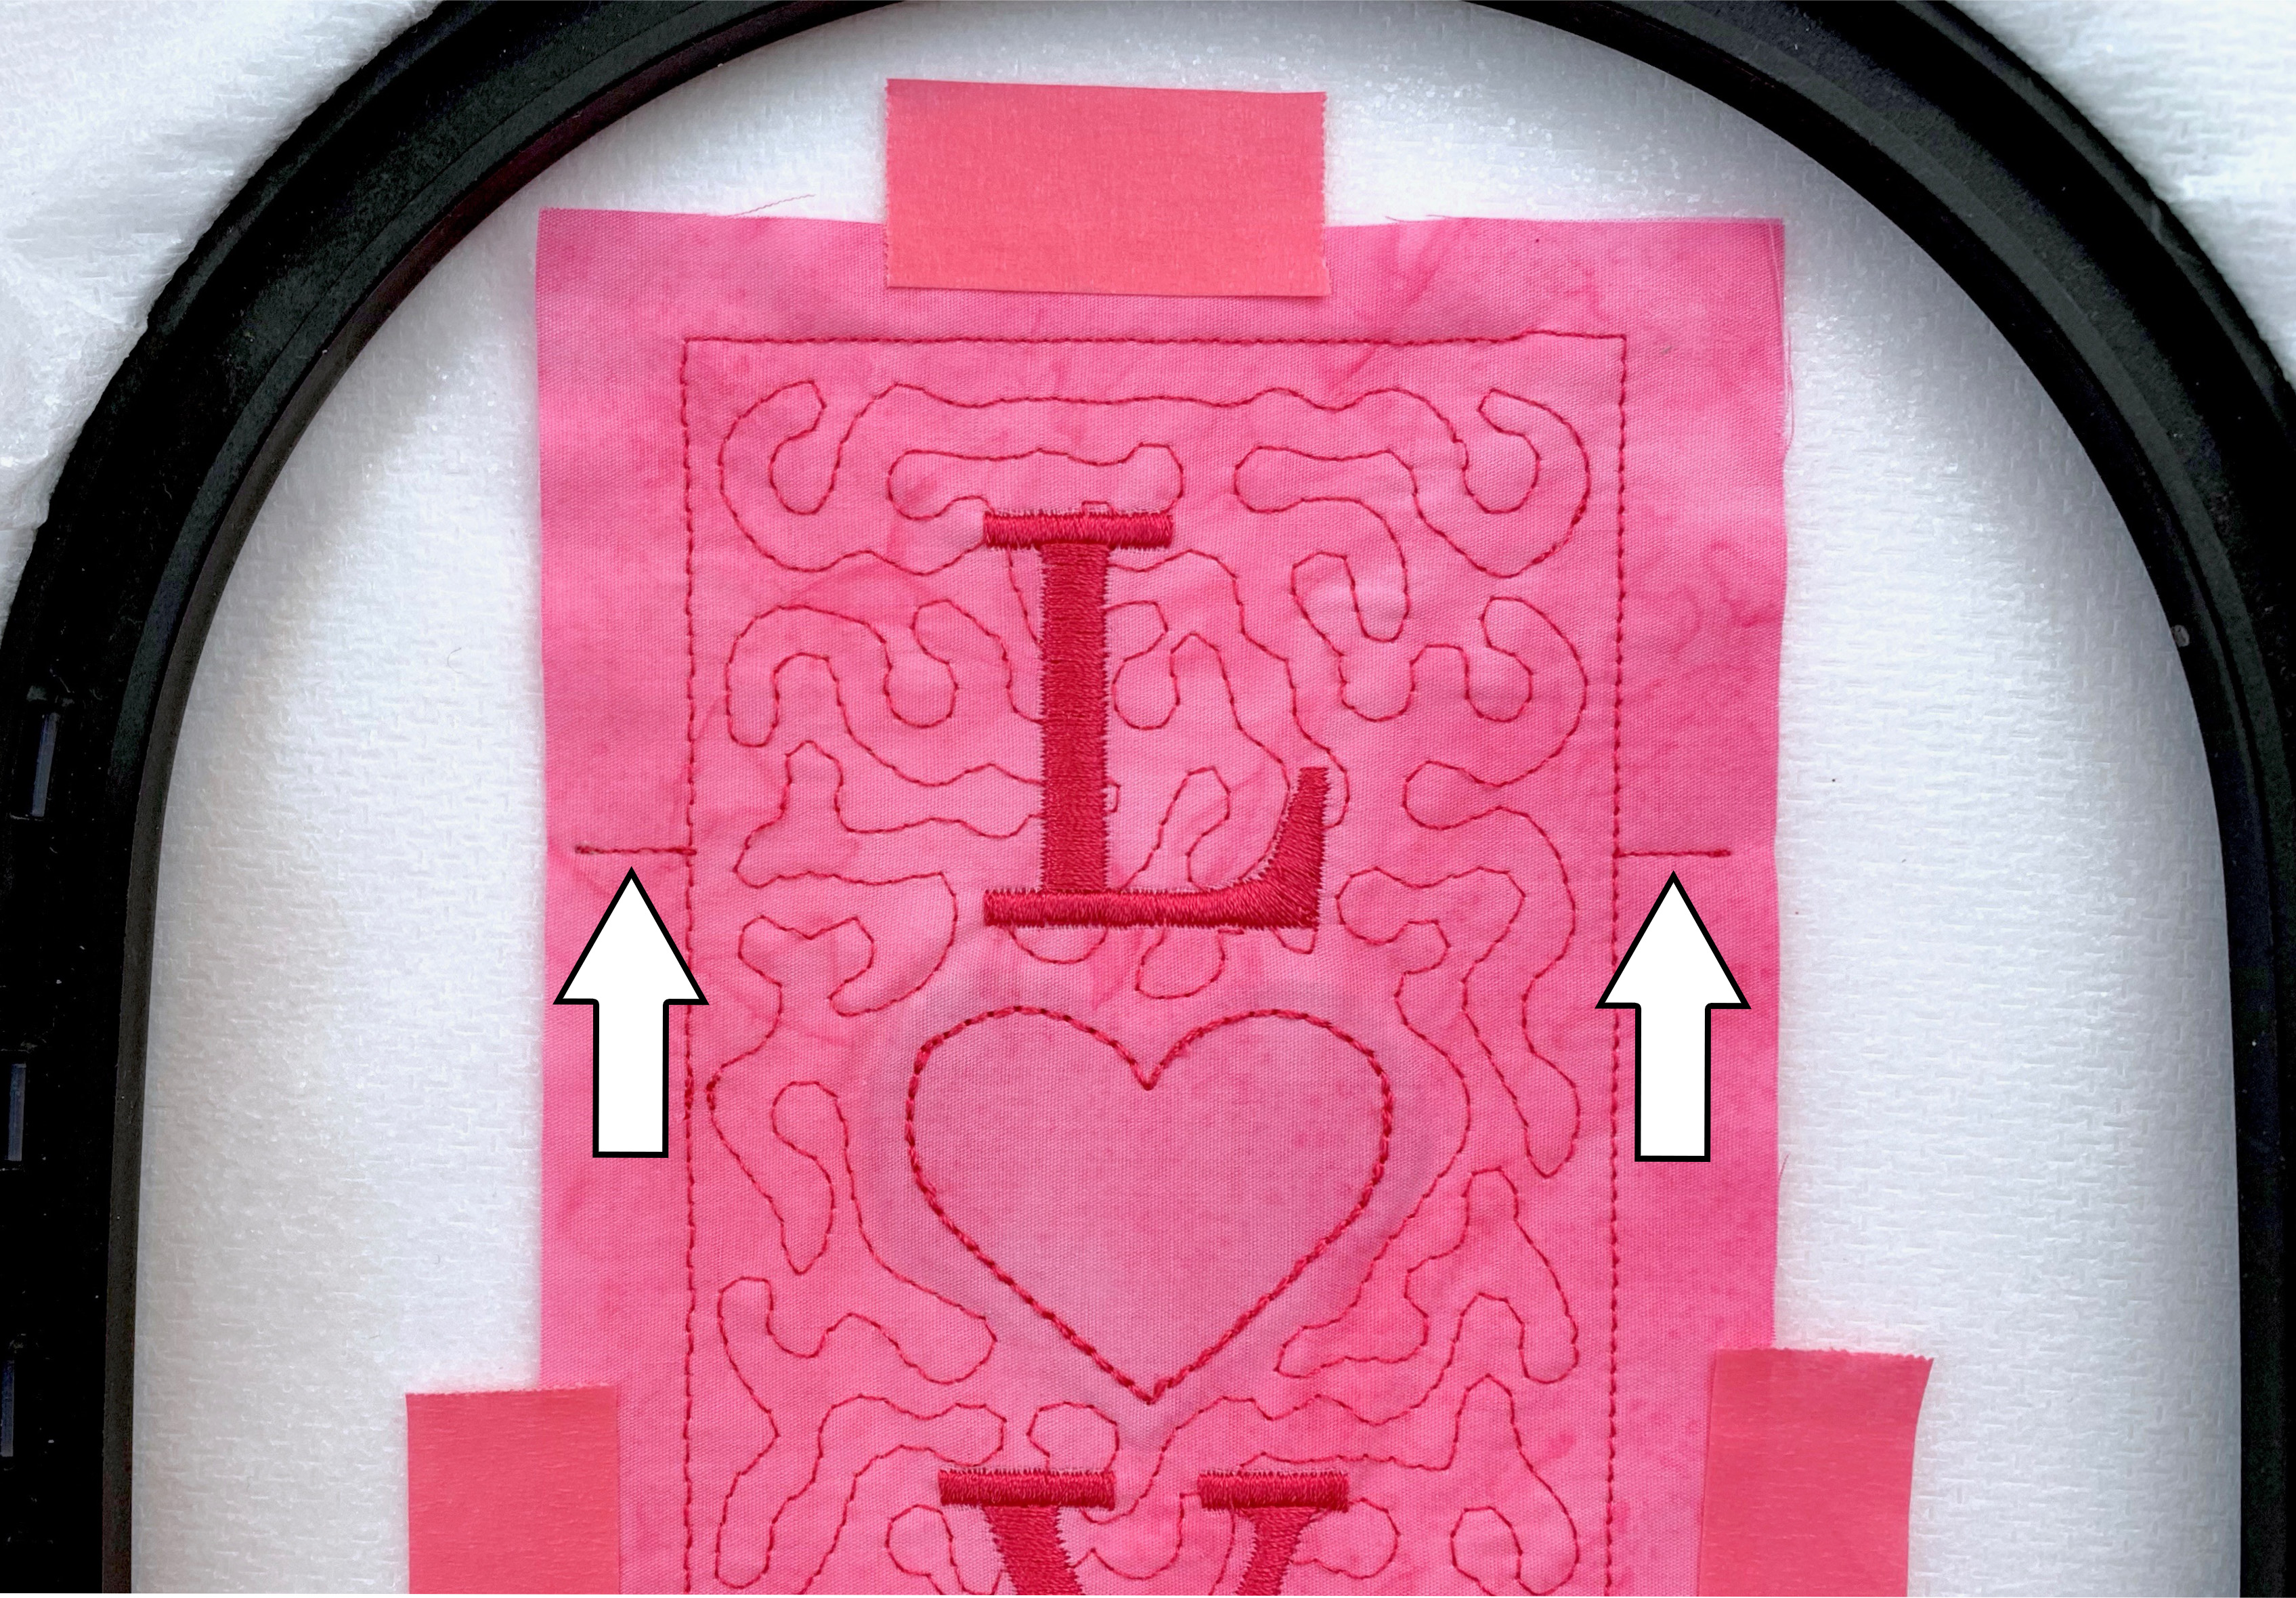
Step 10
Sew Stitch Sequence 7 to stitch placement lines for Fabric B, as indicated by the arrows.
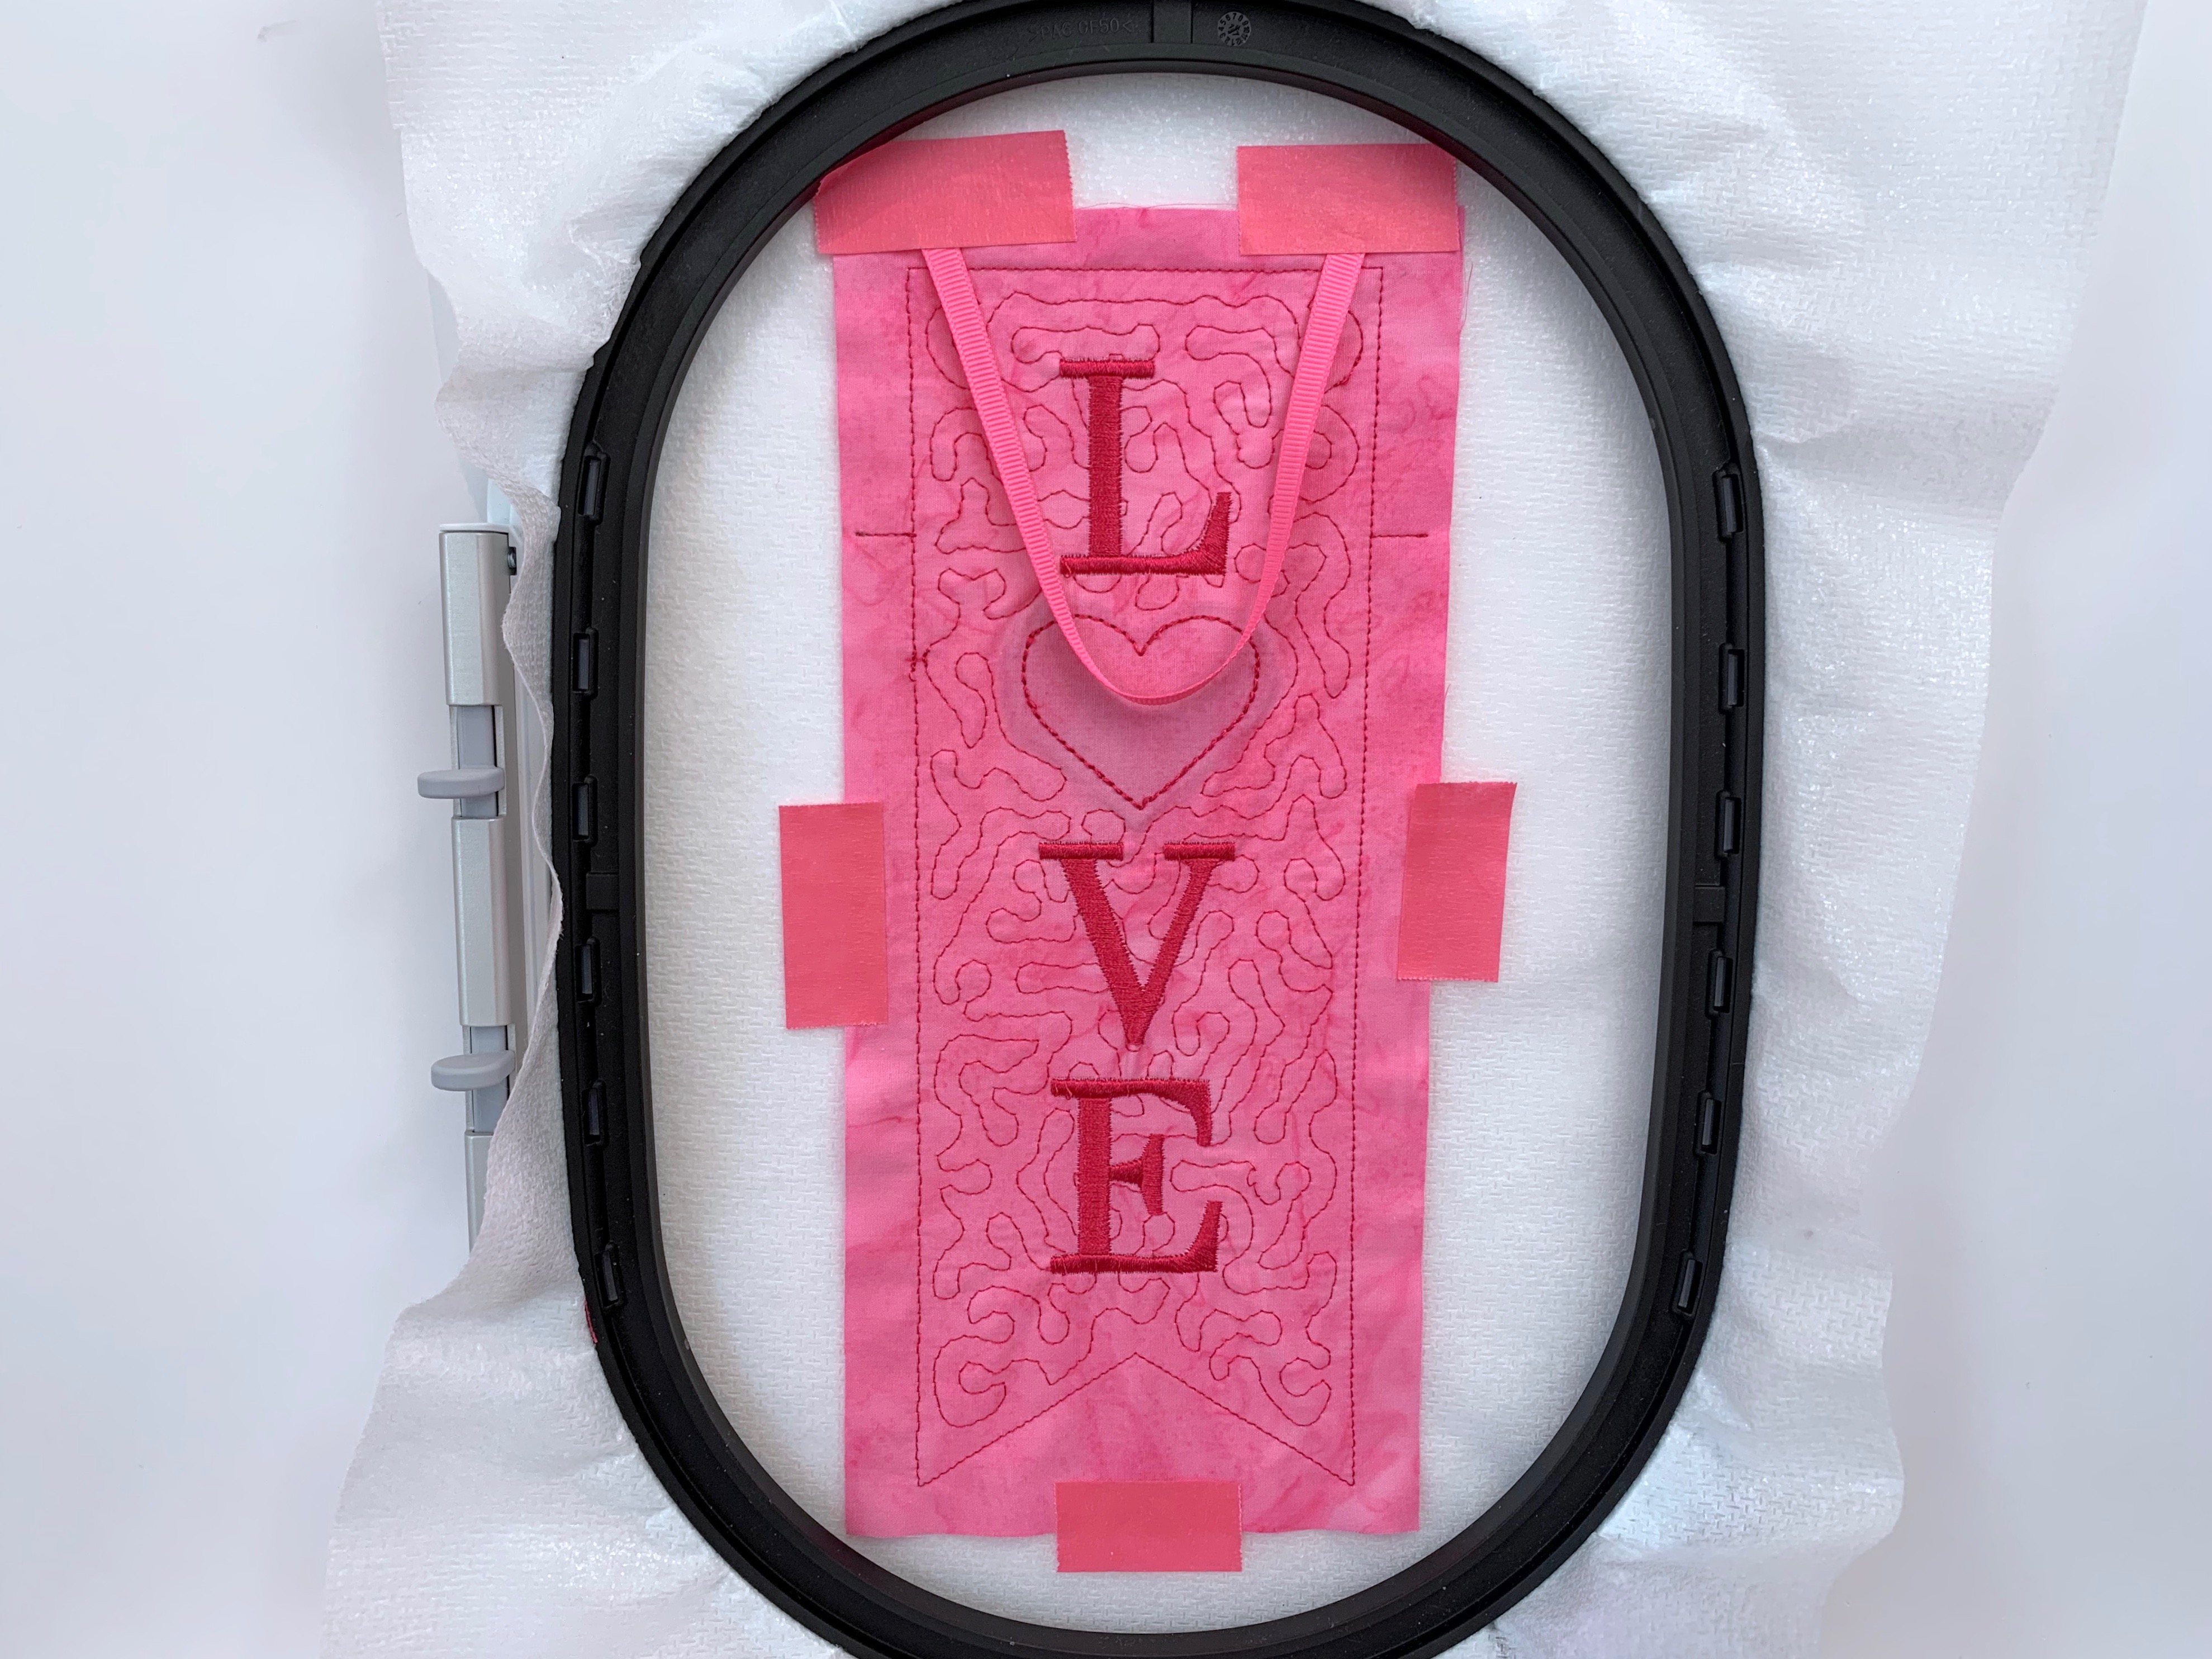
Step 11
Fold your ribbon in half and place each end over the top edge of the project as shown. Each end of the ribbon should overlap the top edge by ½”. The fold of the ribbon should face the center of the project, as show. Tape each end in place above the top stitch line.
Step 12
Place Fabric B over the project, right side down, with the fold facing the lower edge of the hoop, as indicated by the arrows. The seam tape will be facing up. Leave the paper backing in place. Tape Fabric B in place.
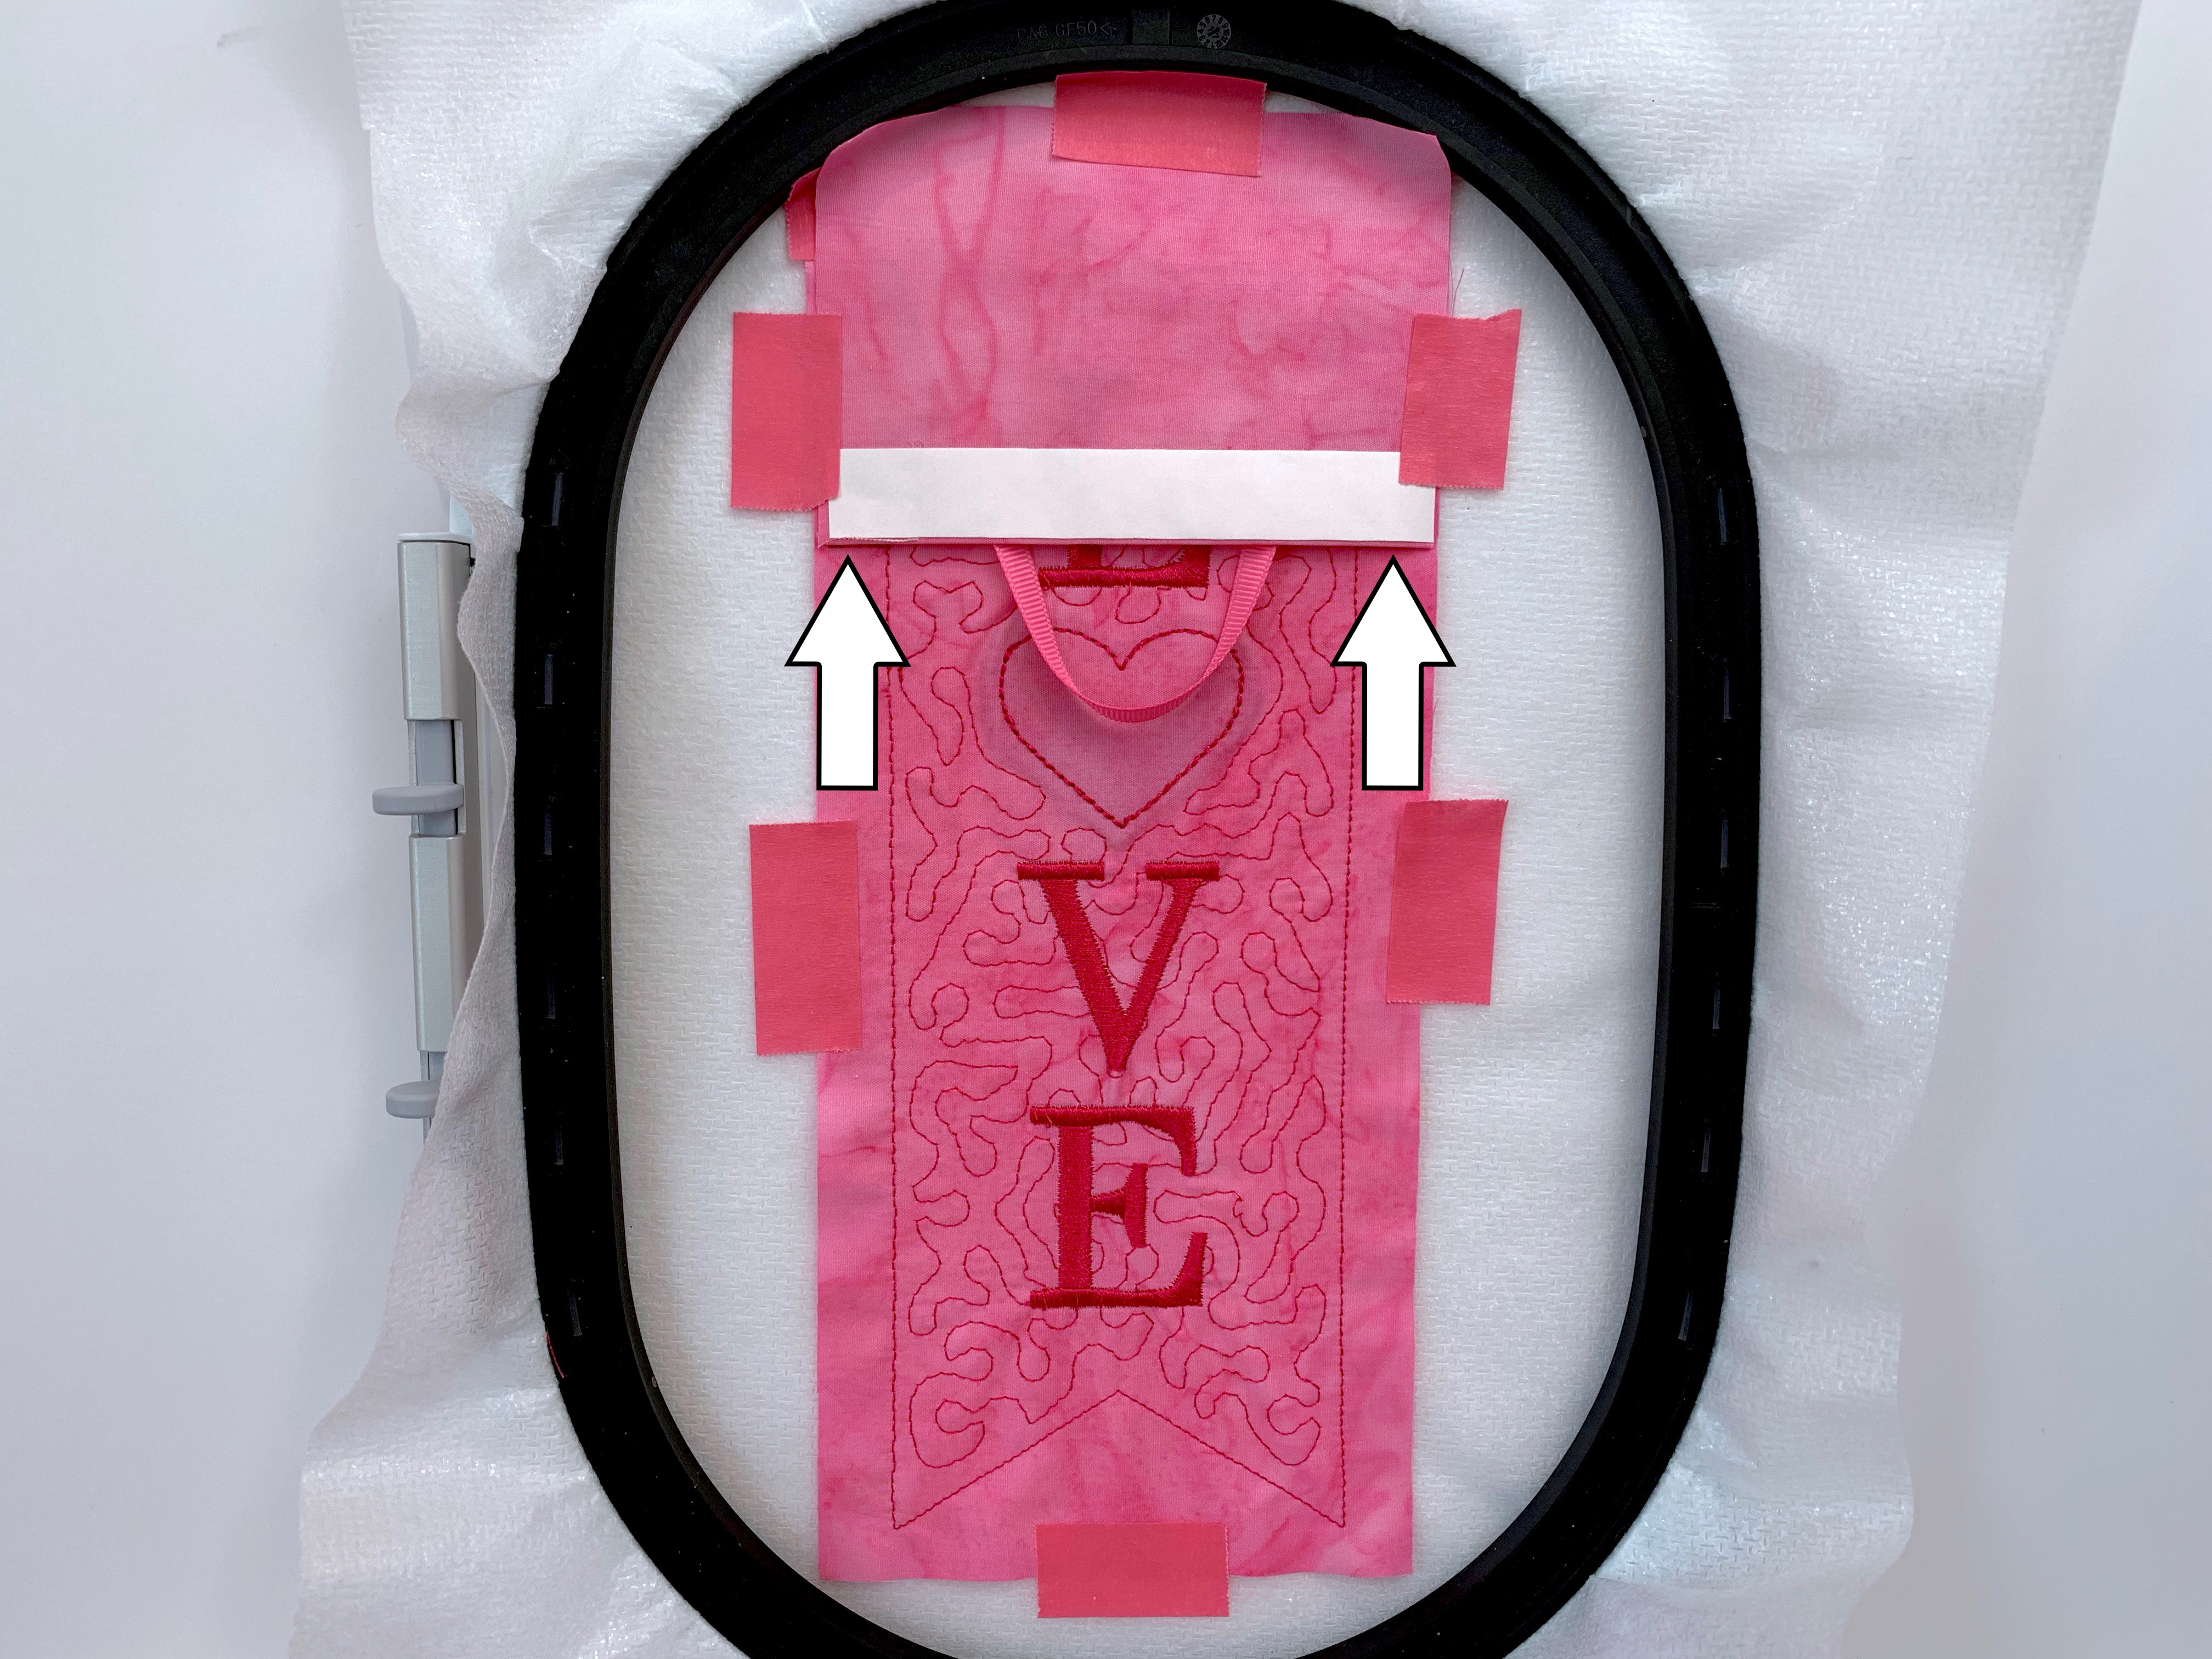
Step 13
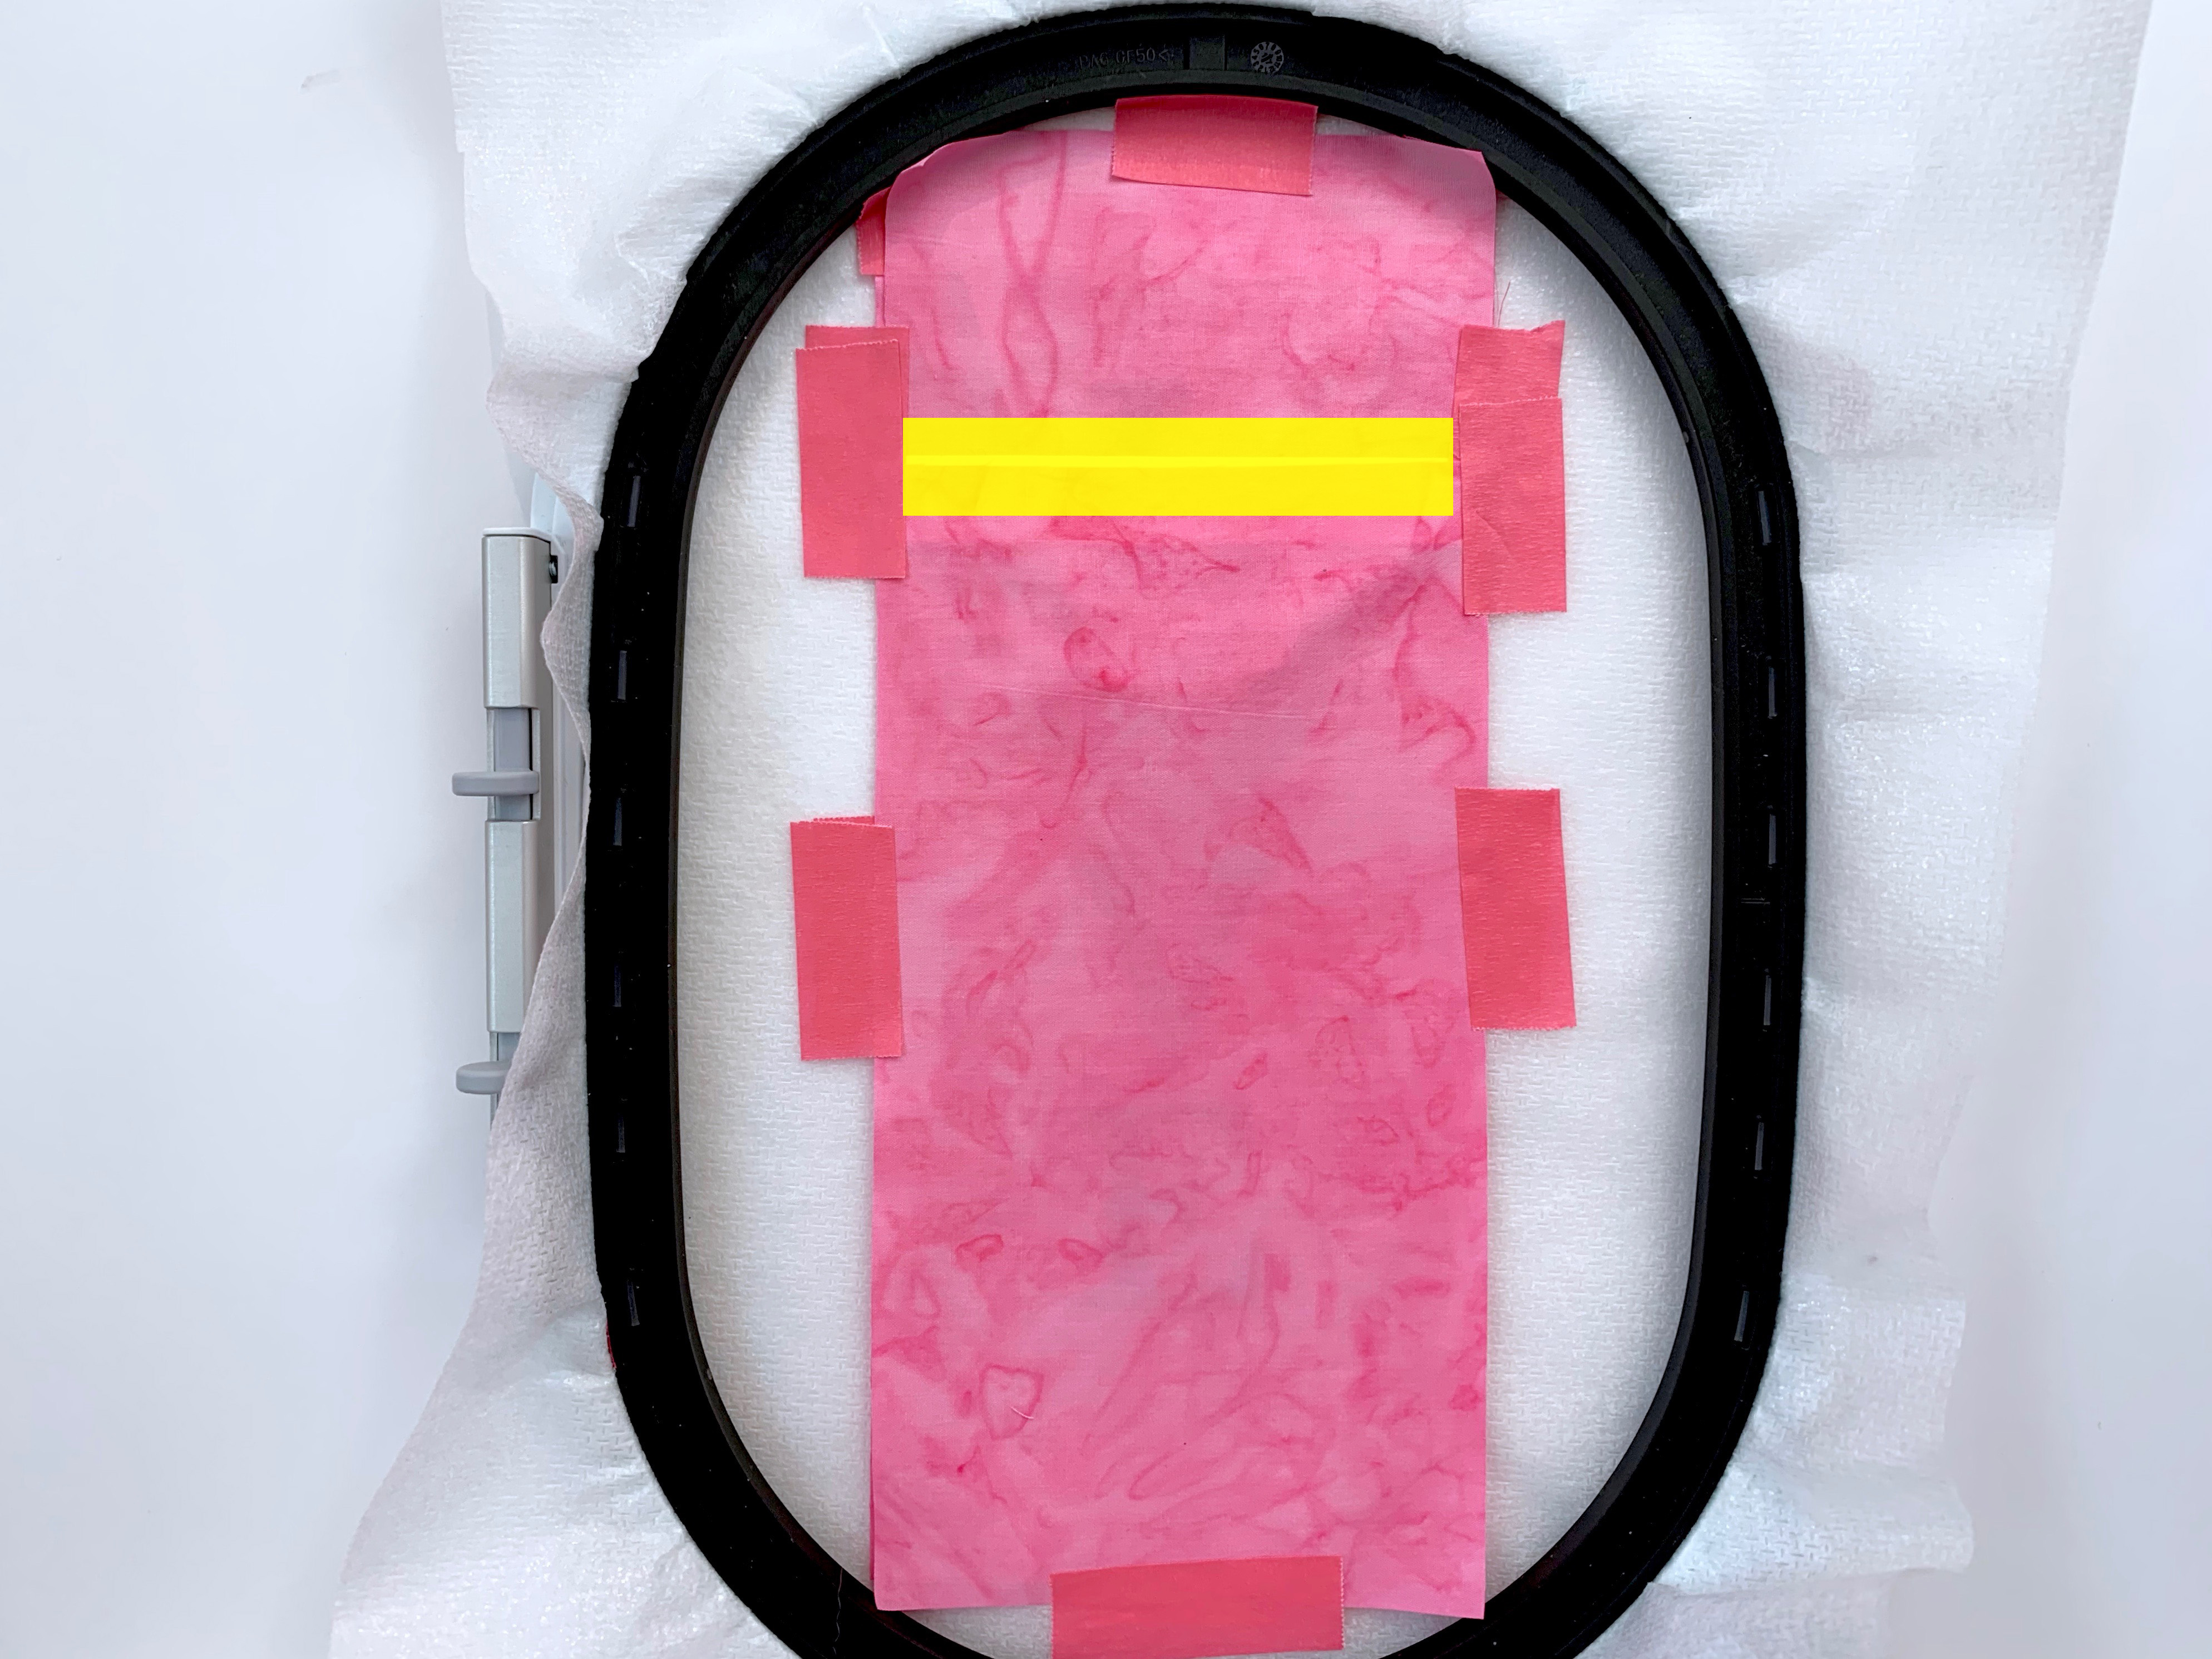
Place Fabric C over the project, right side down, with the top edge overlapping the lower folded edge of Fabric B by ½”. Be careful not to place Fabric C any higher. Tape Fabric C in place.
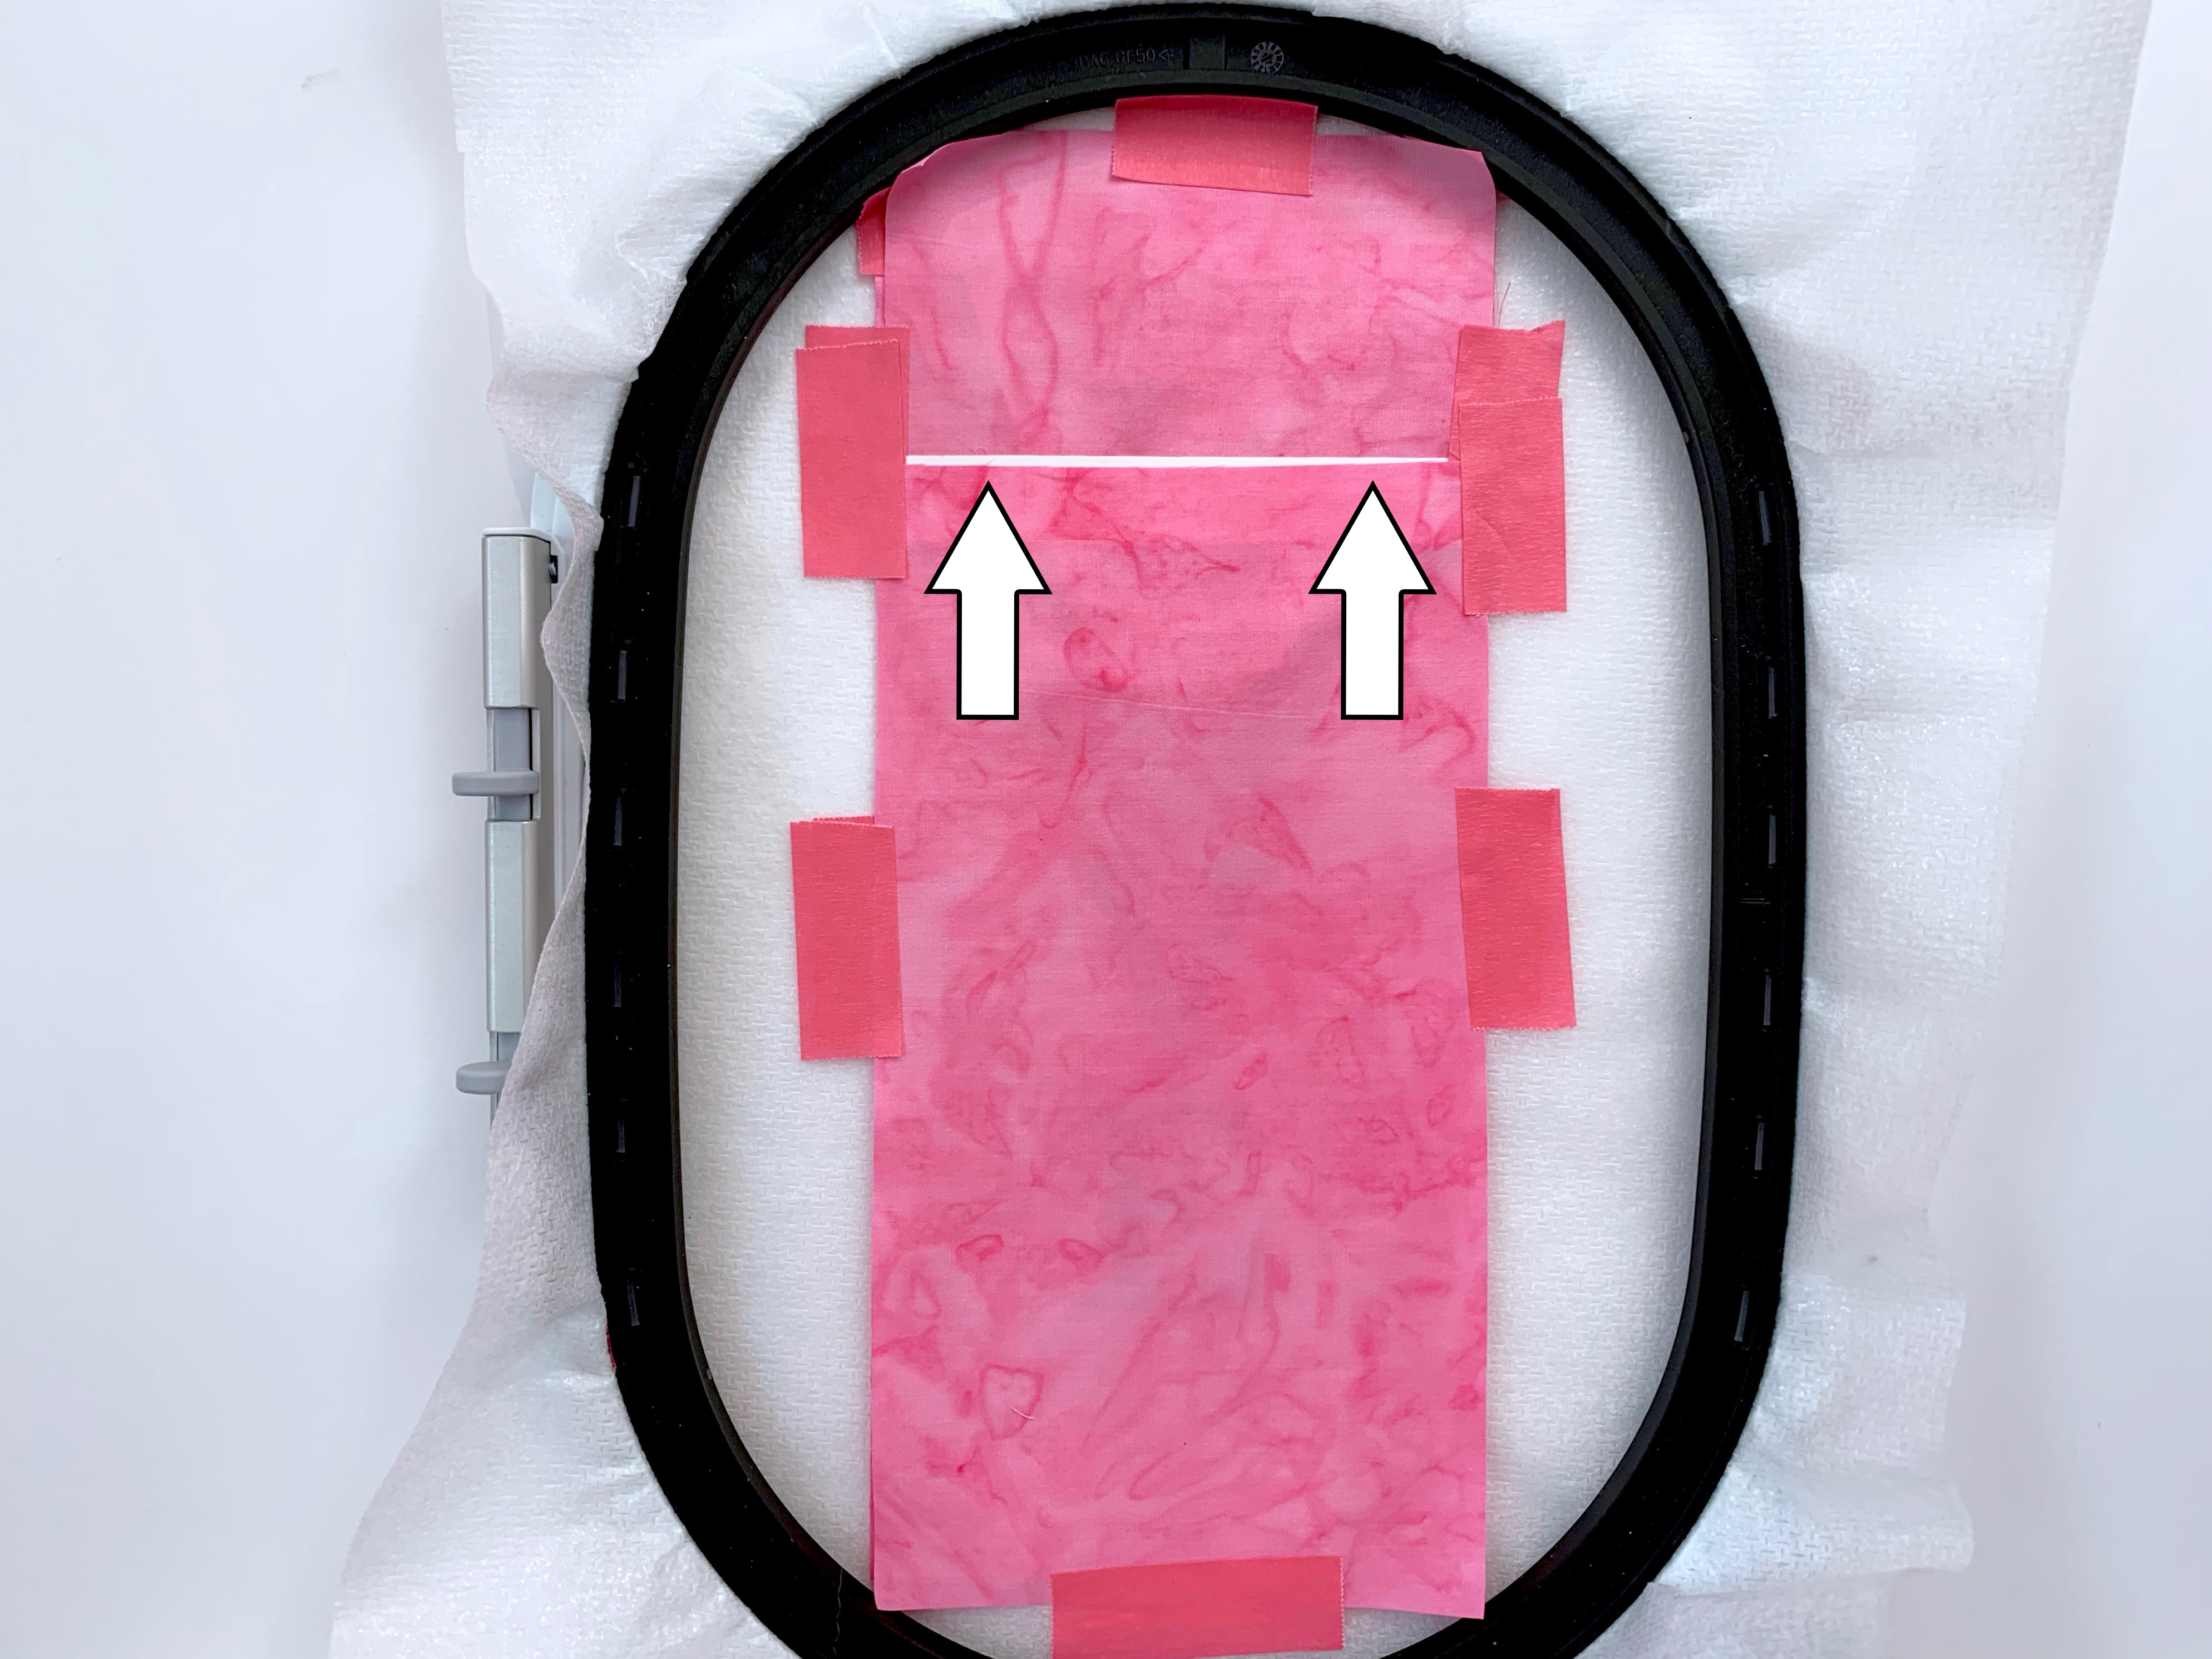
Step 14
Place an extra piece of tape (shown in yellow) across the top edge of Fabric C to prevent the presser foot from getting caught in the fabric and pulling it away during the next stitch sequence.
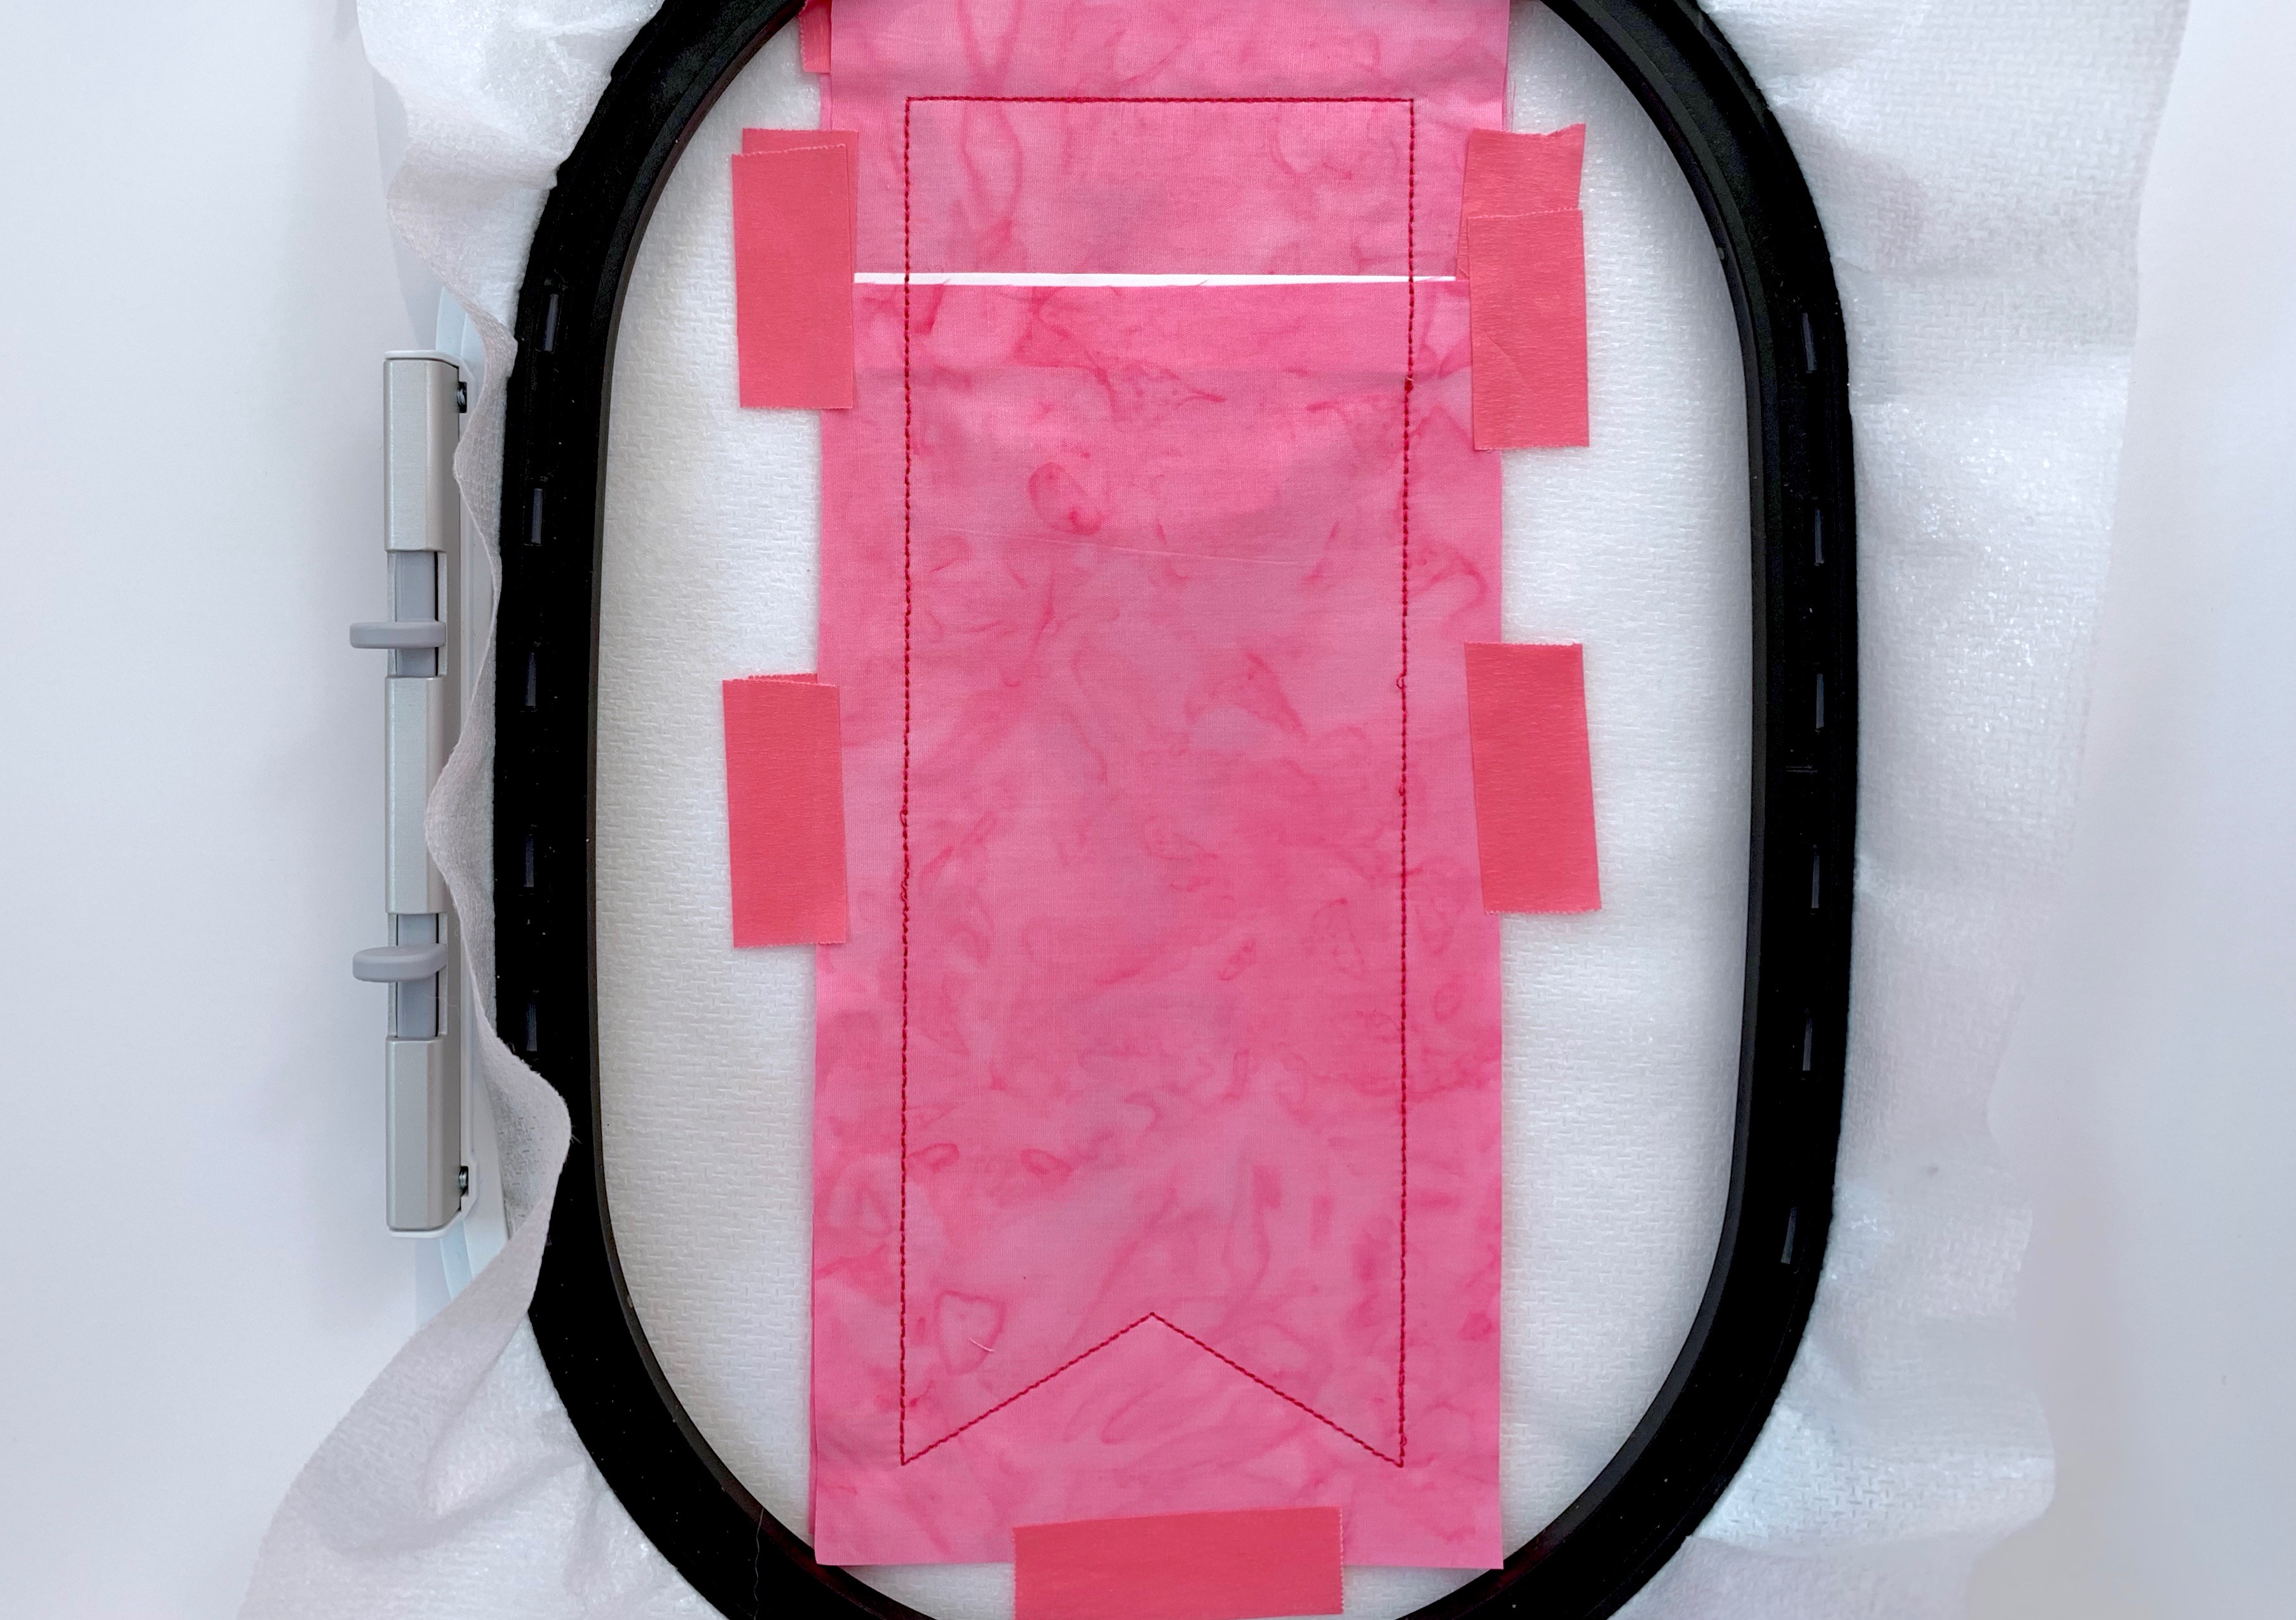
Step 15
Sew Stitch Sequence 8 to tack the fabrics together and complete the stitching.
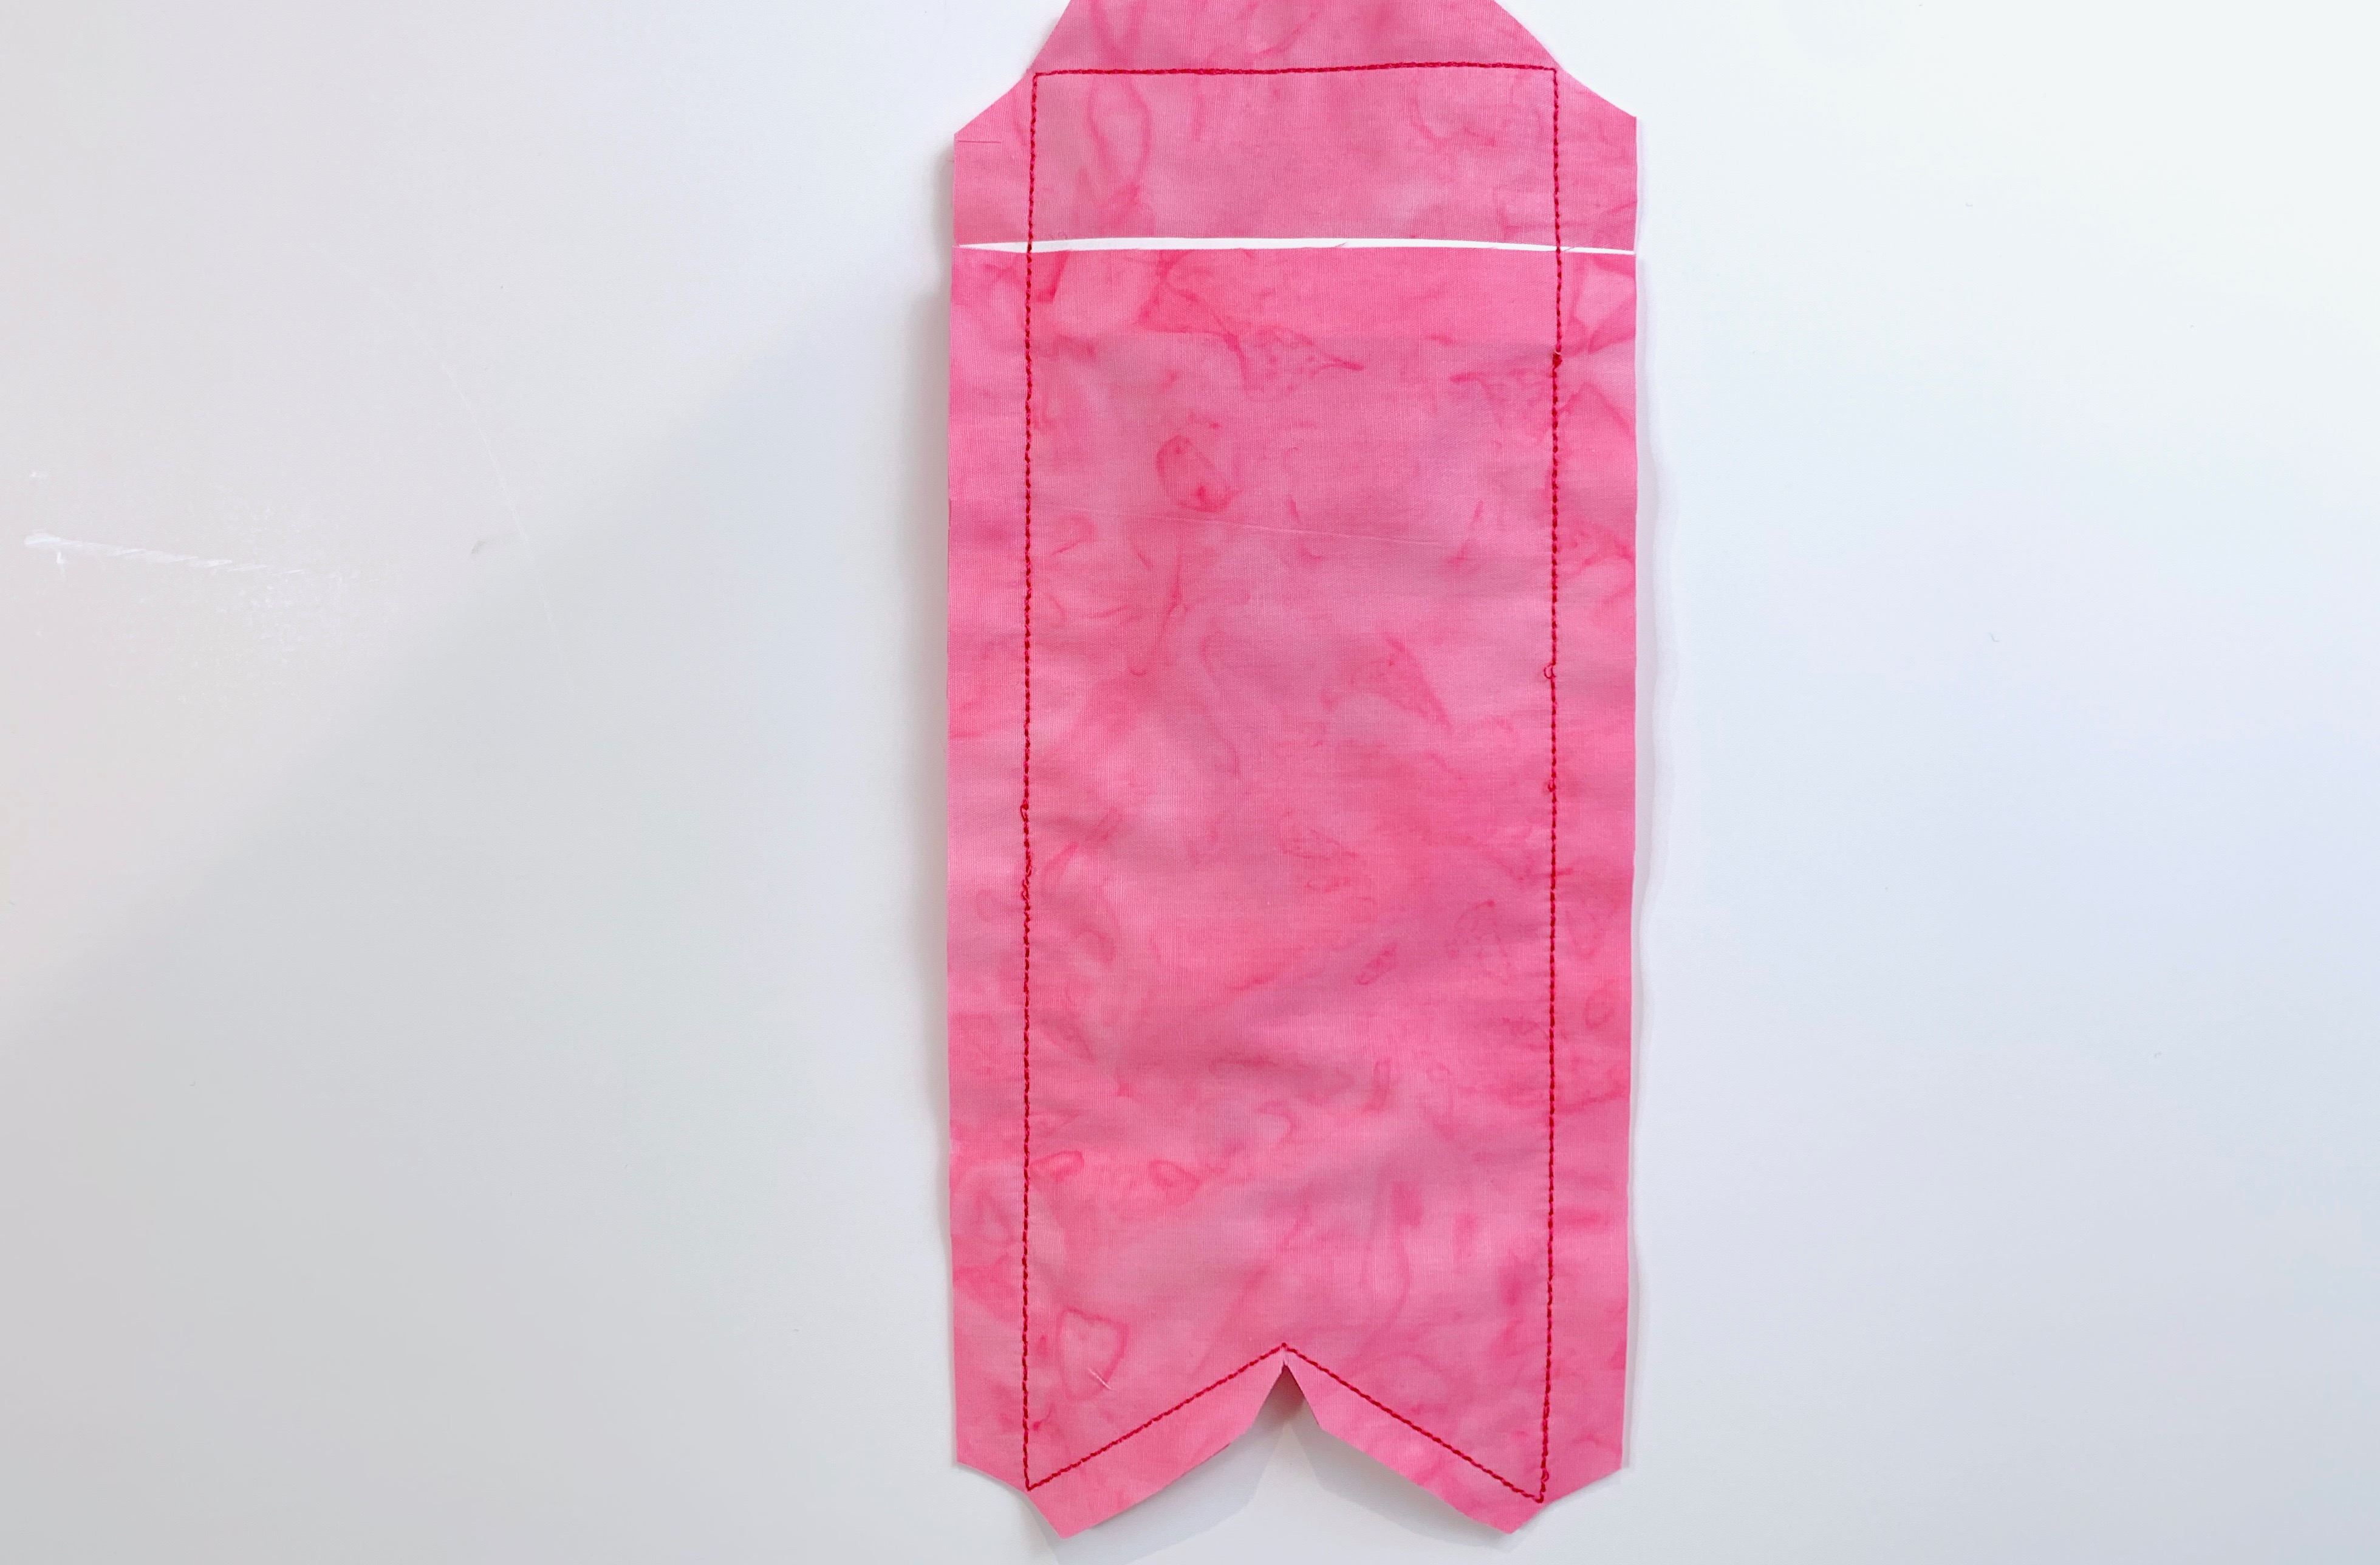
Step 16
Remove the project from the hoop and remove all of the tape. Trim to a ½” seam allowance and clip off the corners.
Step 17
Turn the project right side out through the opening in the back. Poke out the corners with a turning tool.

Step 18
Remove the paper backing from the back of Fabric B, then press the opening closed for 15 seconds to give the seam tape a permanent bond.
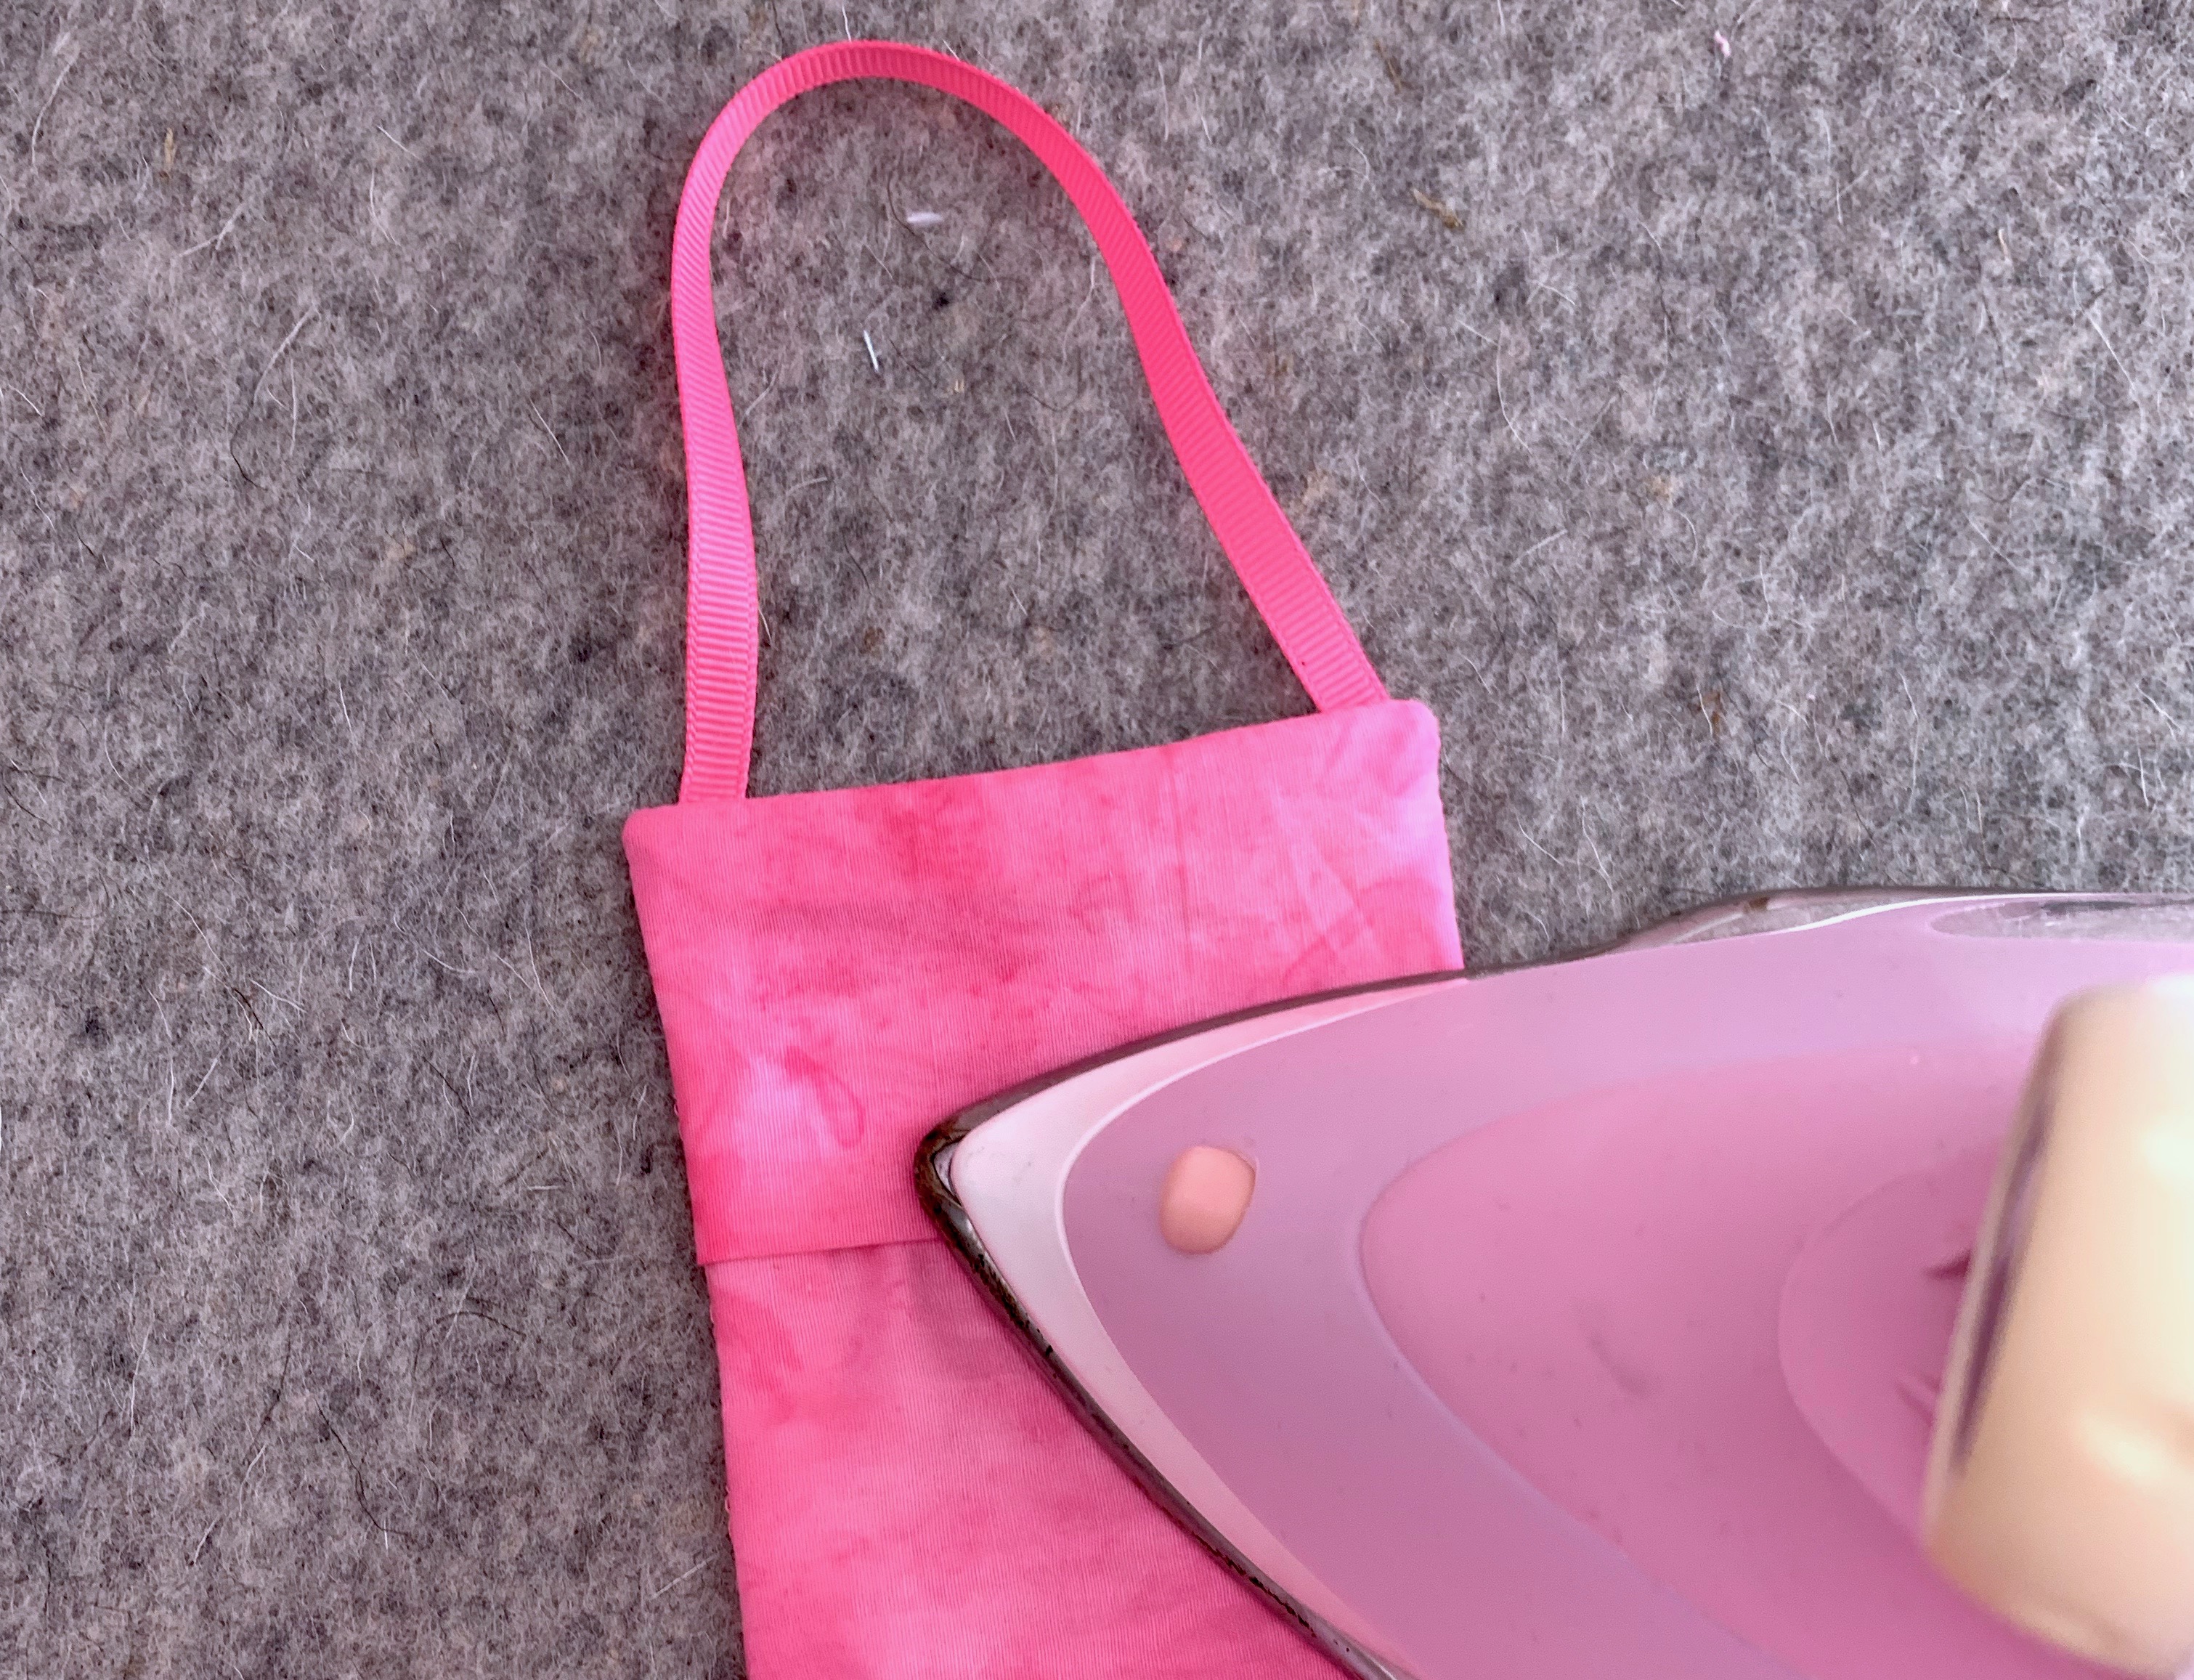
Step 19
Press the front of the project.
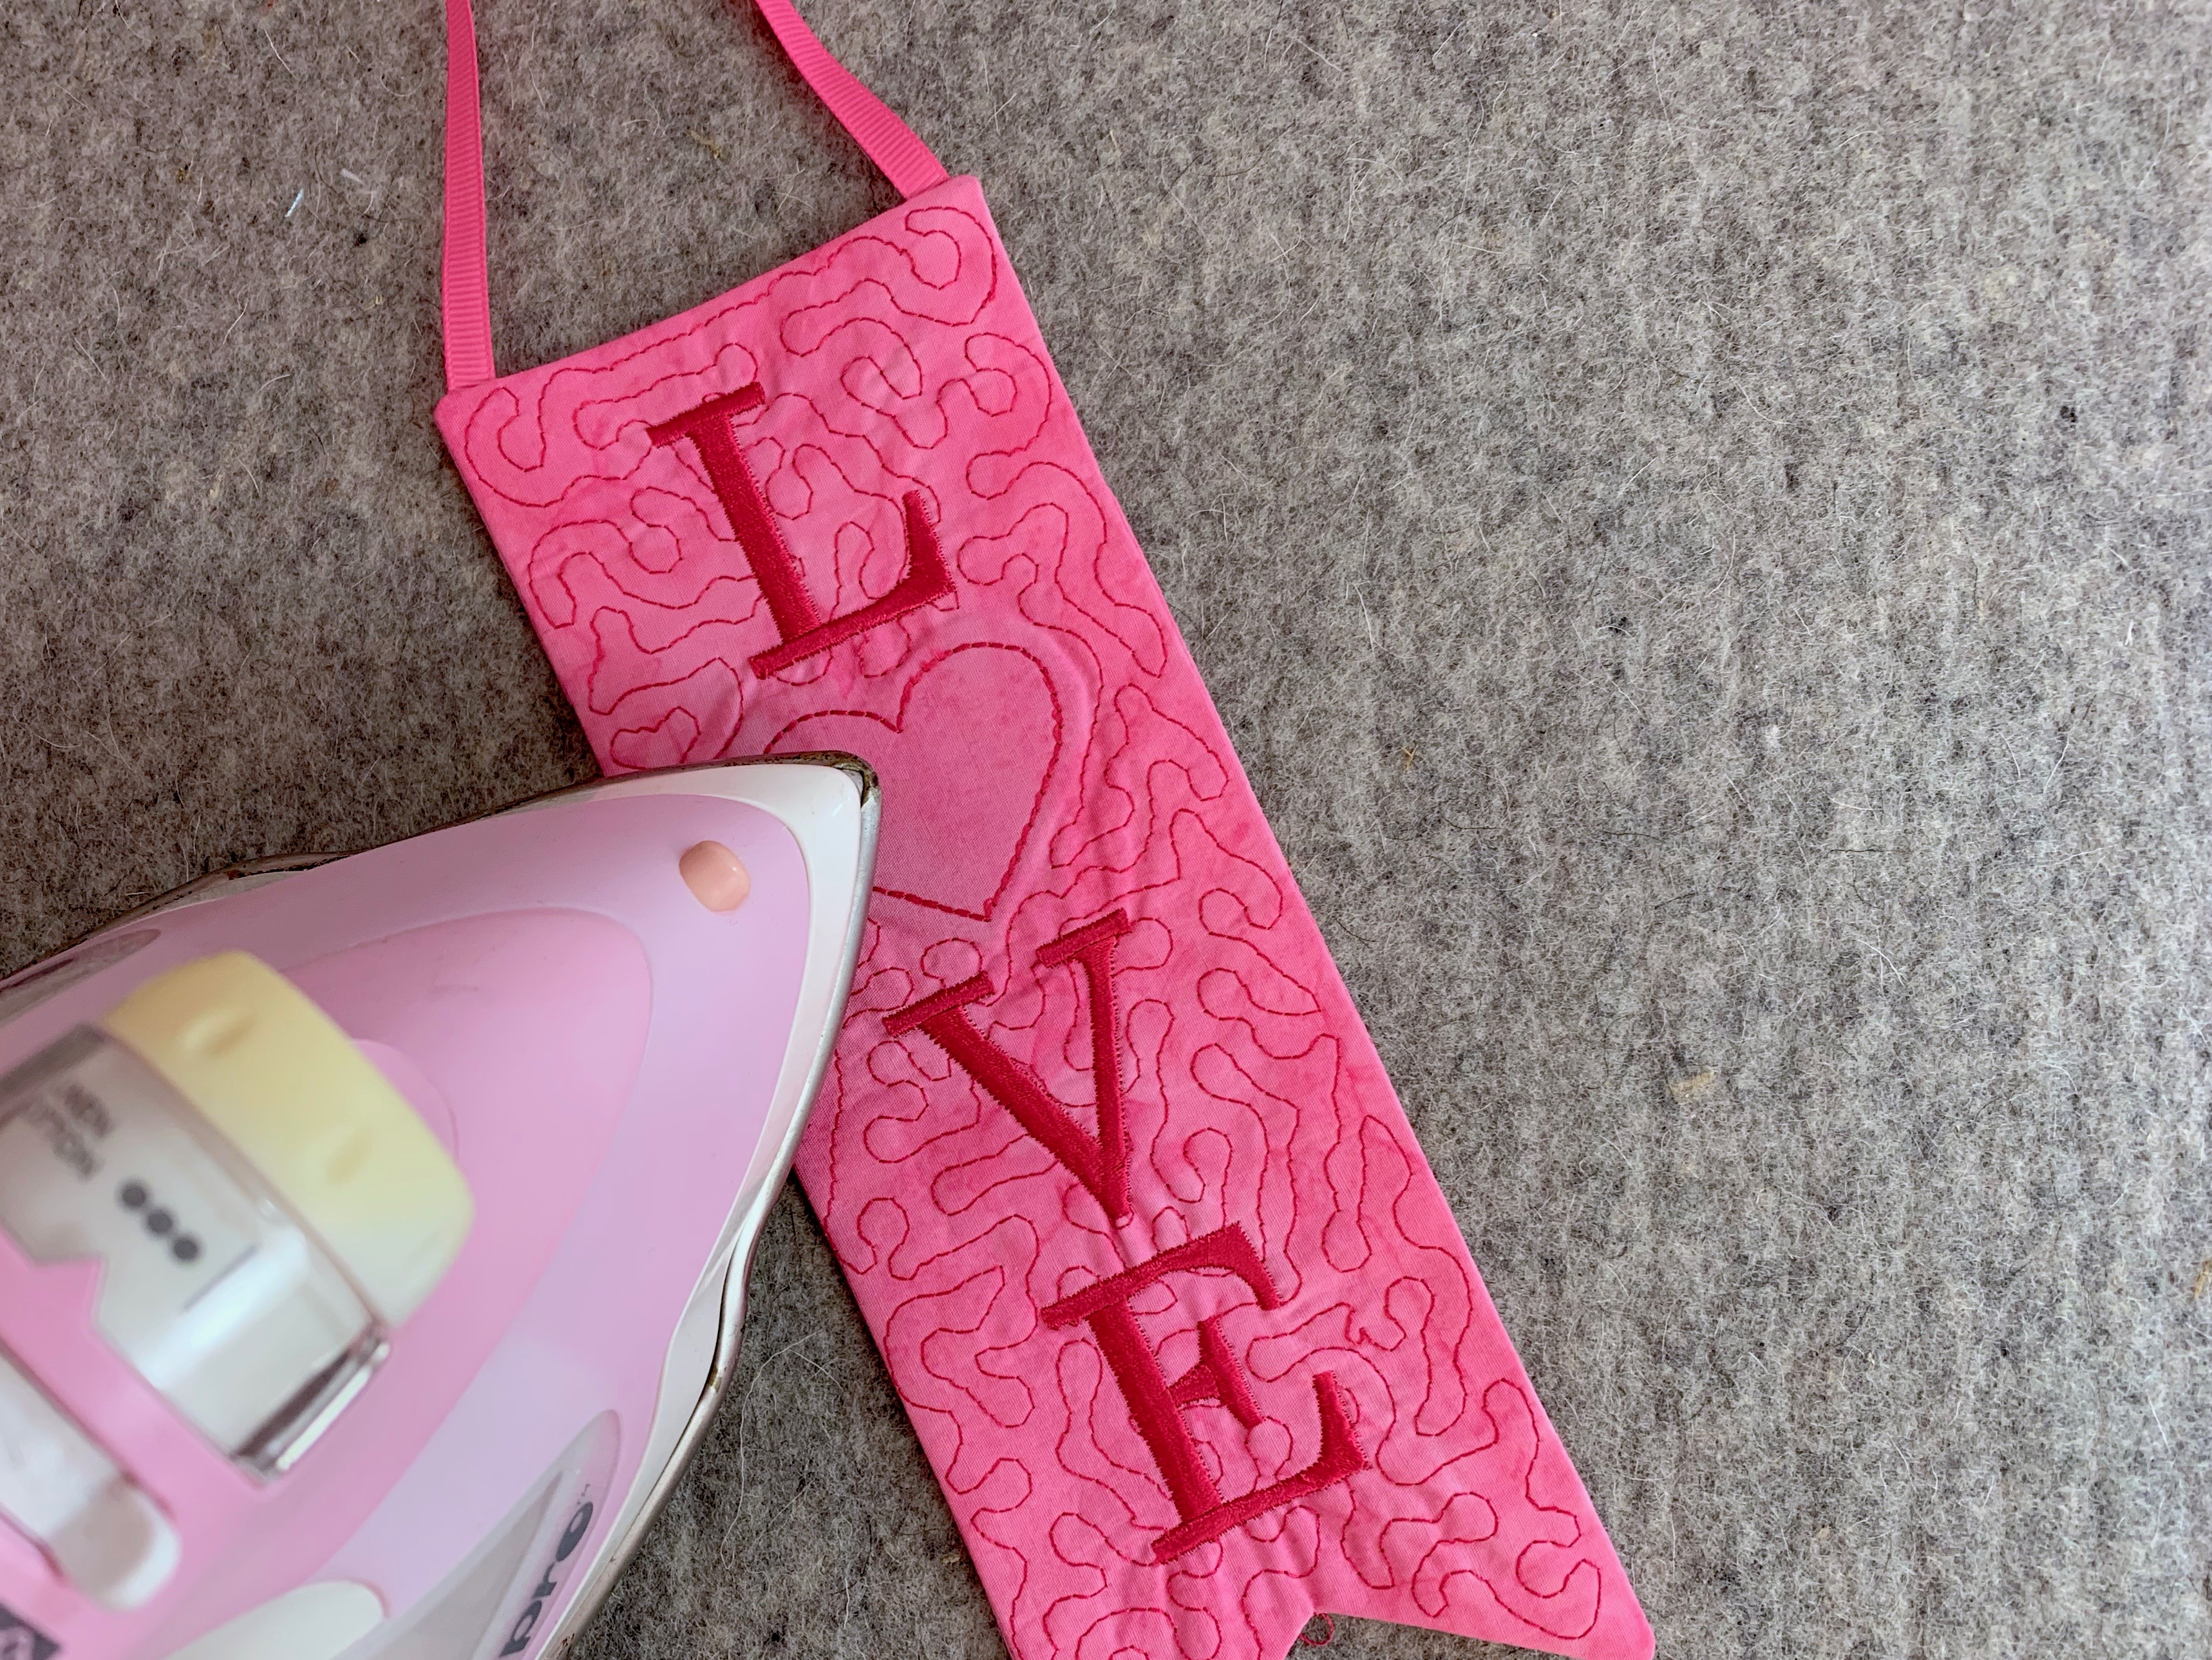
Step 20
Using the sharp points of your scissors, snip the fabric in the center of the heart.
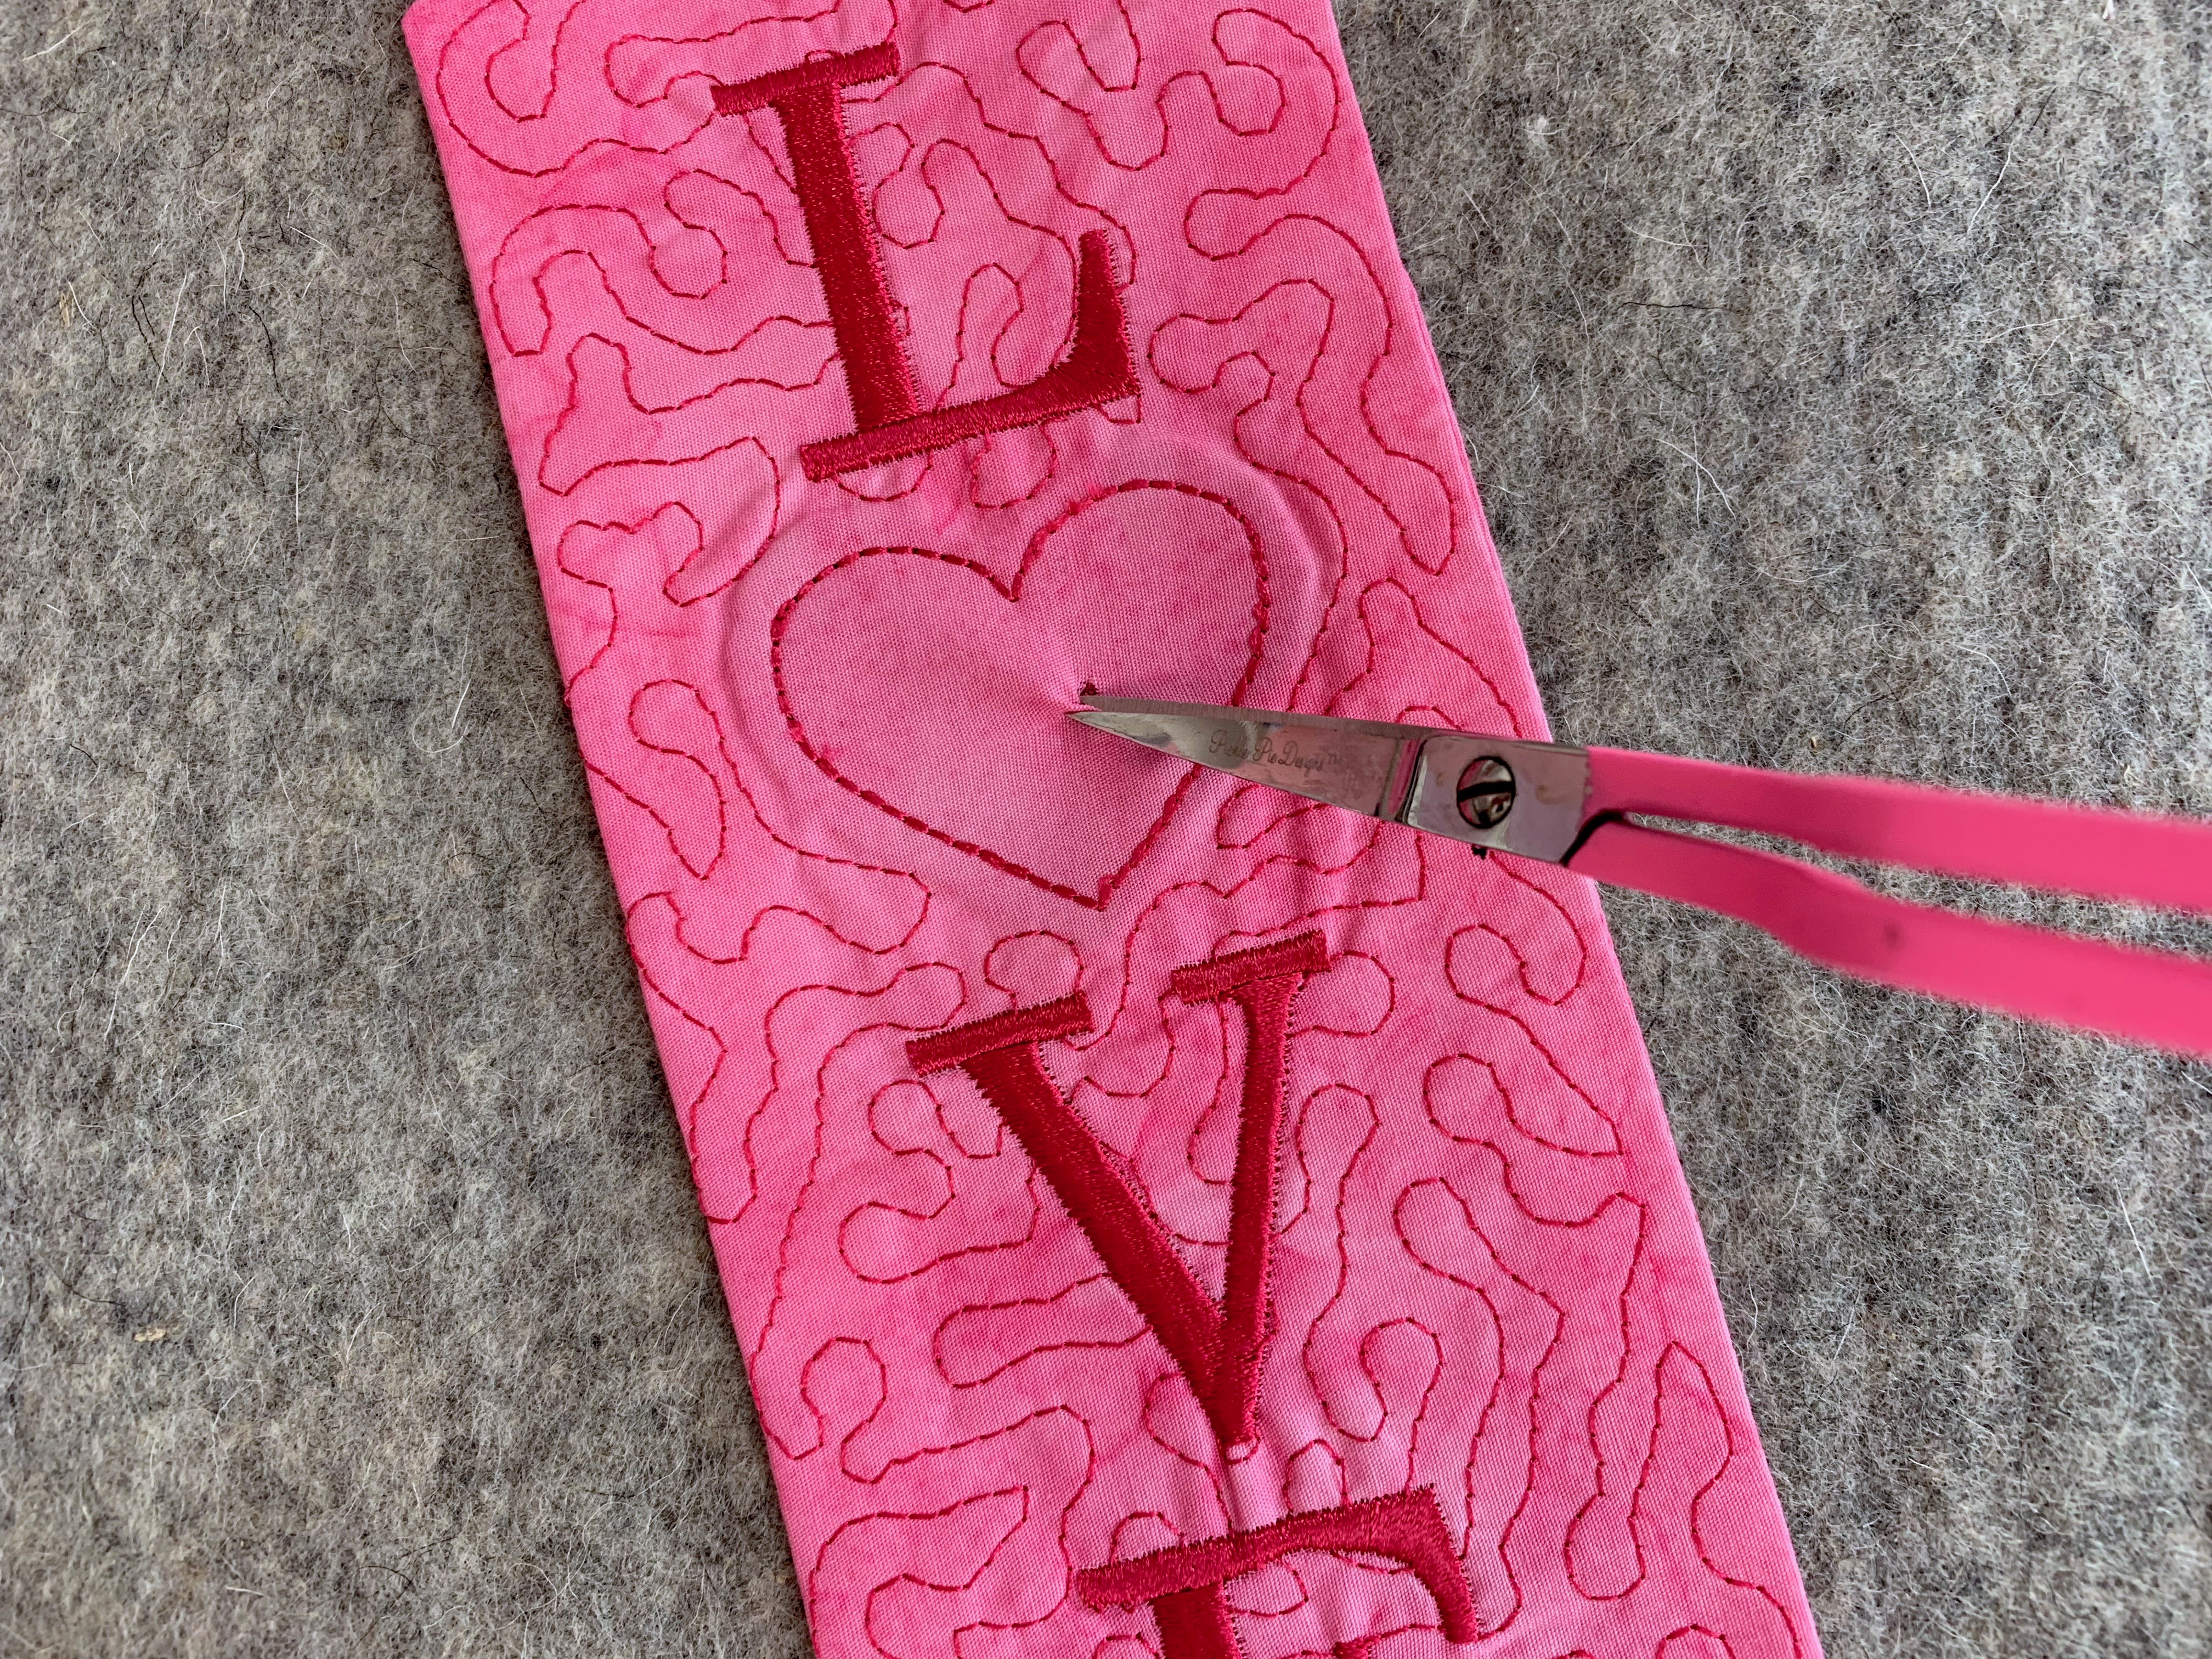
Step 21
Trim away the fabric within the heart, as shown. You can leave a small seam allowance of about 1/8”, or trim right up to the stitch line. Either way, be careful not to snip through the stitches.

You’re done! Surprise your Valentine by hanging this sweet little Doorknob Banner on his door!

![Have a habit of misplacing your keys. Losing your iPod? Forgetting your coupons? Now, with this handy organizer, all your little necessities are in one convenient spot when you're ready to head out the door - right on the door knob! How to Make a Door Organizer Supplies 1/3 yard or heavyweight fabric such as twill, canvas, or denim 1/3 yard of fusible interfacing Coordinating thread Scissors Water-soluble marking pen or tailor's chalk Ruler 1/4" presser foot (BERNINA Patchwork Foot #37 or Patchwork Foot with Guide #57) Download and print the keyhole template: [download id="88"] Step 1) Prepare the fabric pieces. Cut from the heavyweight fabric: Two 5" x 11" rectangles for the organizer body One 5" x 12" rectangle for the large pocket One 5" x 7" rectangle for the small pocket One 6" x 7" rectangle for the hanging pocket Fuse interfacing to the wrong side of both 5" x 11" fabric rectangles following the manufacturer's directions. How to Make a Door Organizer Cut the keyhole: Measure down 1" from the top edge of one 5" x 11" rectangle. Center the top of the keyhole template on this mark. Trace the template. Cut along the traced line. Repeat for the second 5" x 11" rectangle. How to Make a Door Organizer Step 2) Make the large and small pockets. With wrong sides together, fold the large pocket in half to create a 6" x 5" rectangle. Topstitch close to the folded edge. How to Make a Door Organizer Place the large pocket on top of the right side of one 5" x 11" rectangle, matching the raw edges along the sides and bottom edges. Baste in place. How to Make a Door Organizer With wrong sides together, fold the small pocket in half to create a 3 1/2" x 5" rectangle. Topstitch close to the folded edge. Place the small pocket on top of the large pocket, matching the raw edges along the sides and bottom edges. Baste in place. How to Make a Door Organizer Step 3) Make the hanging pocket. With wrong sides together, fold the 6" x 7" rectangle in half lengthwise. Press. How to Make a Door Organizer Unfold the strip and then fold the long raw edges to the center fold line. Press. Refold the strip along the center crease. Topstitch close to both long edges. How to Make a Door Organizer Fold under 1" on both edge of the finished 7" strip. Measure up 1-1/4" from the lower edge on the right side of the second 5" x 11" piece. Center the bottom of the strip on this mark. How to Make a Door Organizer Sew close to the folded ends of the strip, then again 1/2" away from the first stitching. How to Make a Door Organizer Step 4) Construct the door organizer. With right sides together, place the two 5" x 11" rectangles together, matching the raw edges and the keyhole opening. How to Make a Door Organizer Stitch around the entire rectangle, leaving the keyhole open. Do not stitch around the keyhole area! Clip the corners. How to Make a Door Organizer Turn the organizer right side out through the keyhole opening. Press. How to Make a Door Organizer Topstitch close to the finished edges. How to Make a Door Organizer Baste the raw edges of the keyhole opening together. How to Make a Door Organizer Satin stitch close to the keyhole edges. Position the fabric so the needle goes just barely to the right of the raw edges and encloses them in stitches. Tip: A satin stitch is a zigzag stitch with a very short stitch length, so the stitches are very close to each other. How to Make a Door Organizer How to Make a Door Organizer Fill your organizer with keys, pens, letters, etc. so you never leave home without your essentials! How to Make a Door Organizer](https://weallsew.com/wp-content/uploads/sites/4/2011/10/How-to-Make-a-Door-Organizer-WeAllSew.jpg)


Where can we go to print out or save the directions.