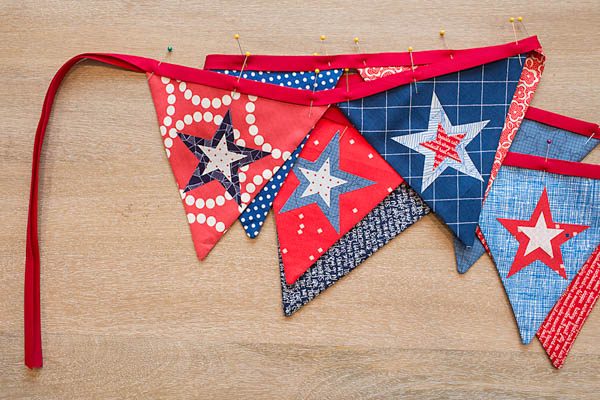
Celebration Banner Tutorial
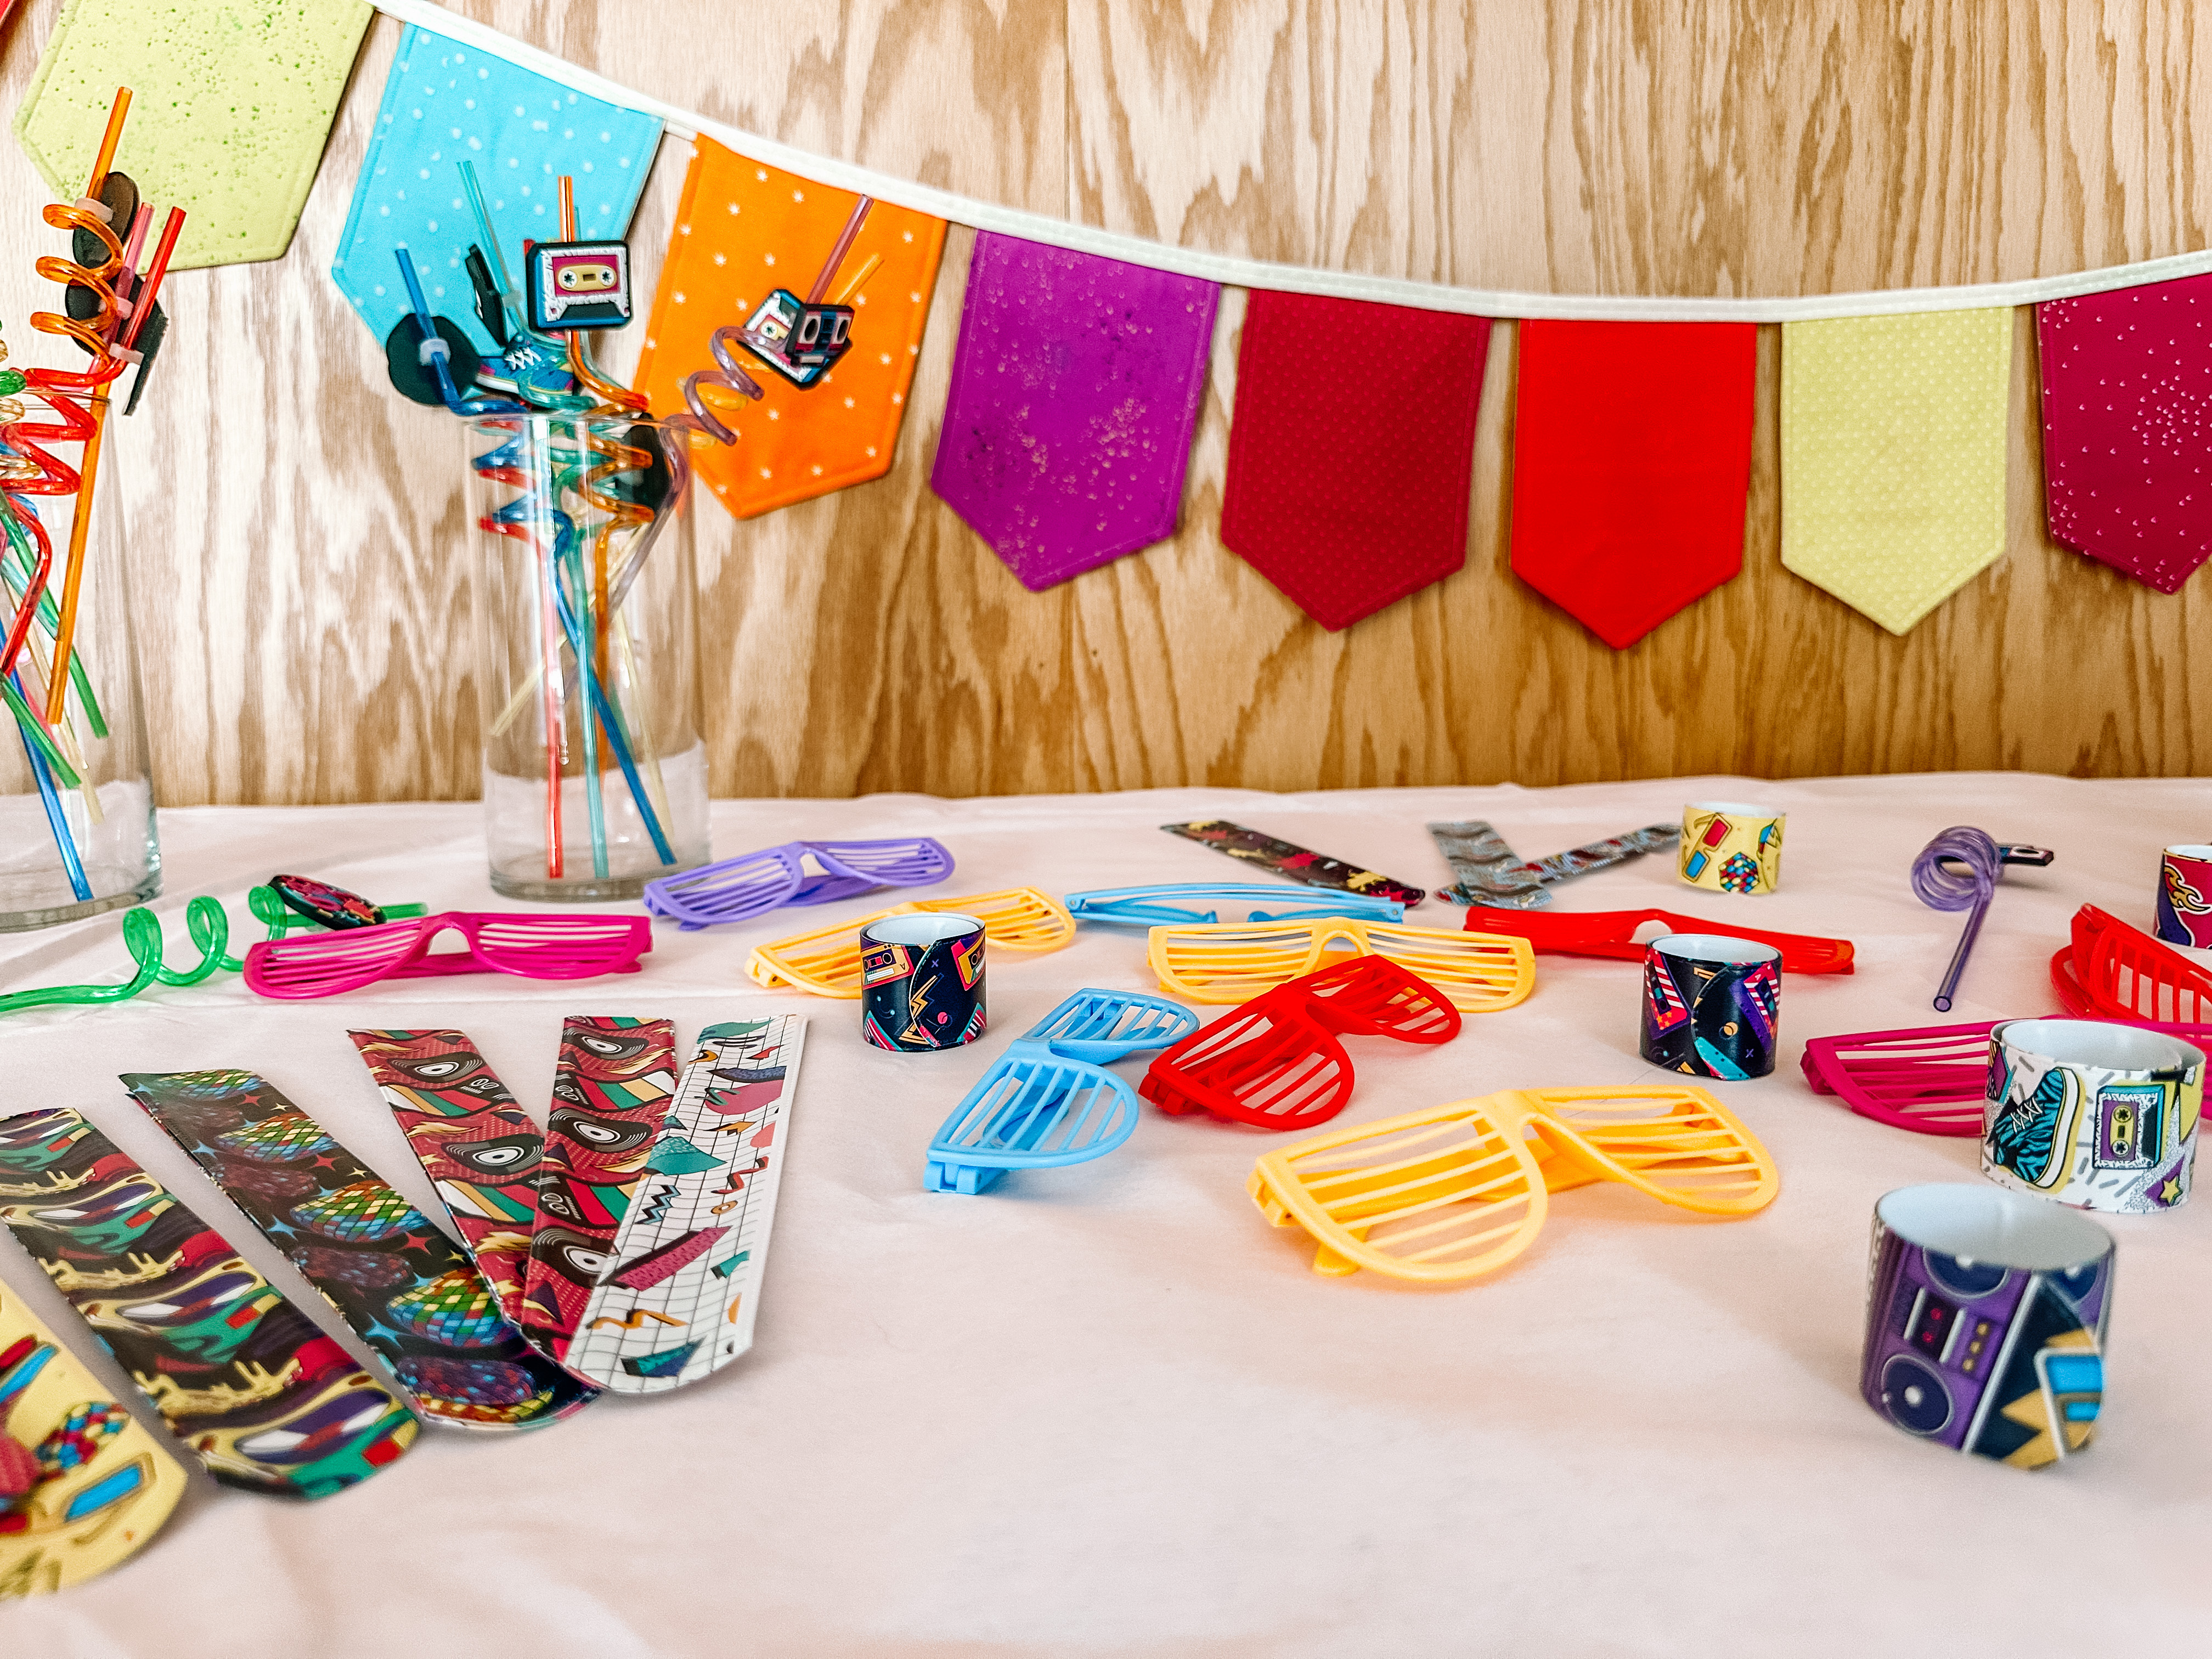
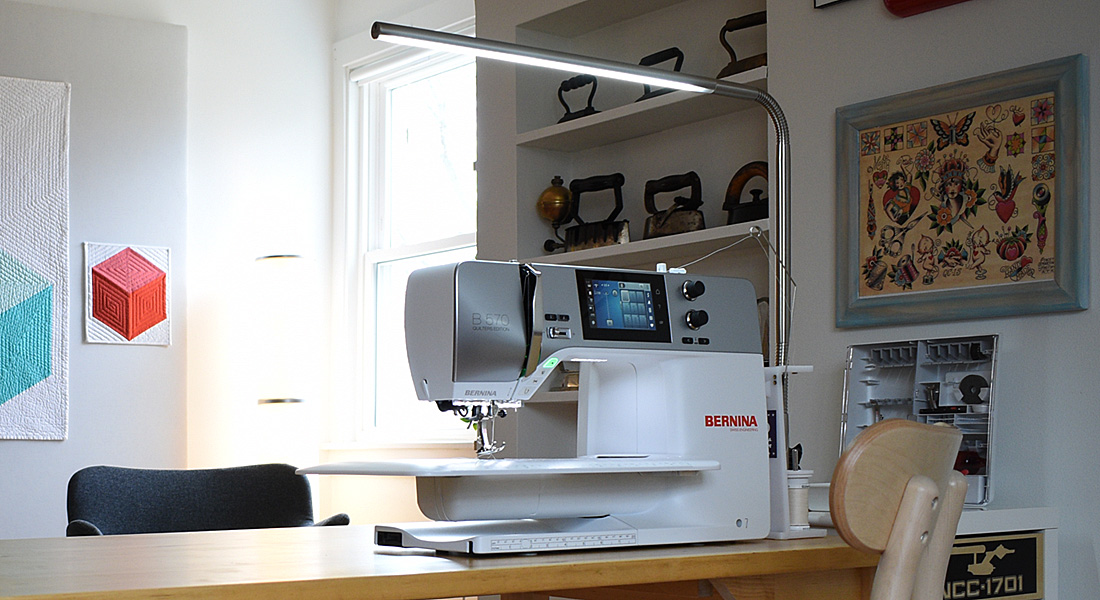
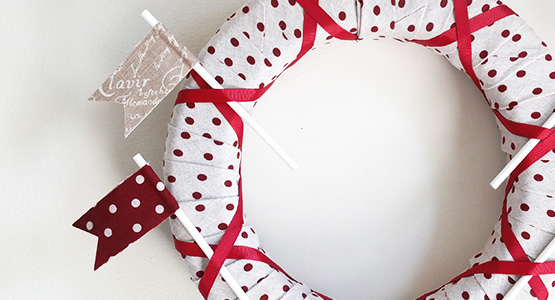
Hello friends! It’s Candice from A+CO and I’m back to share how I made this super fun Celebration Banner on my bernette 79.
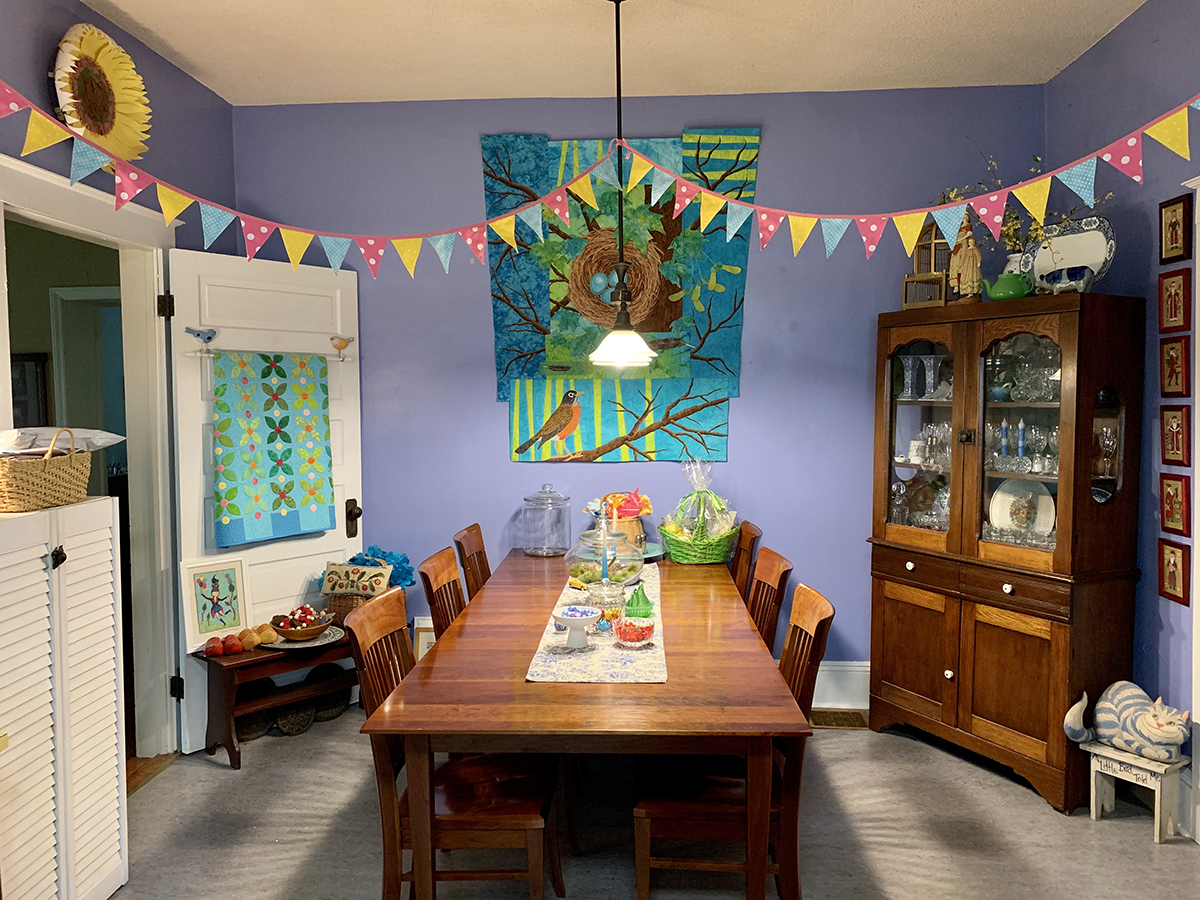
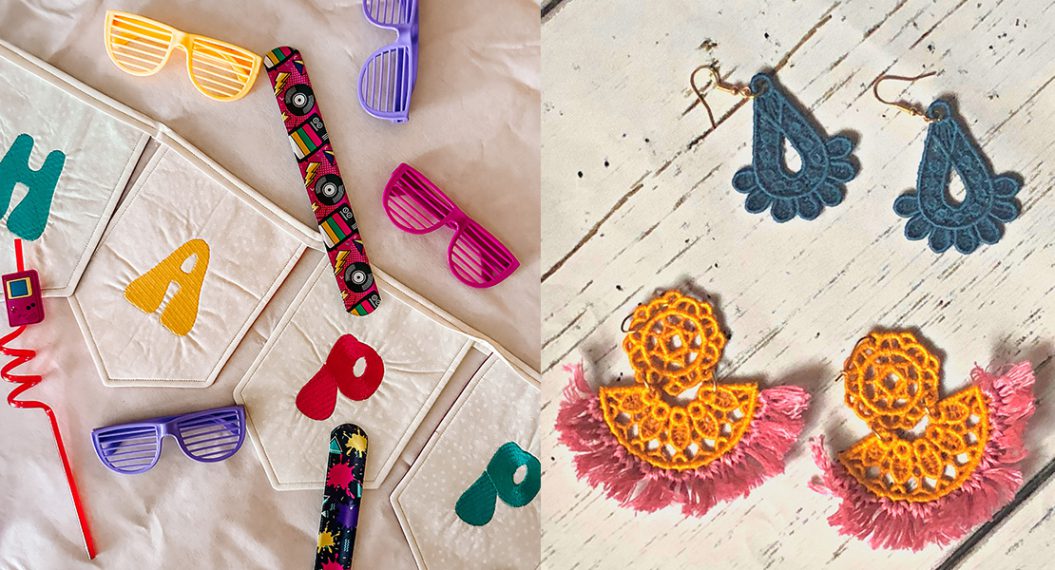
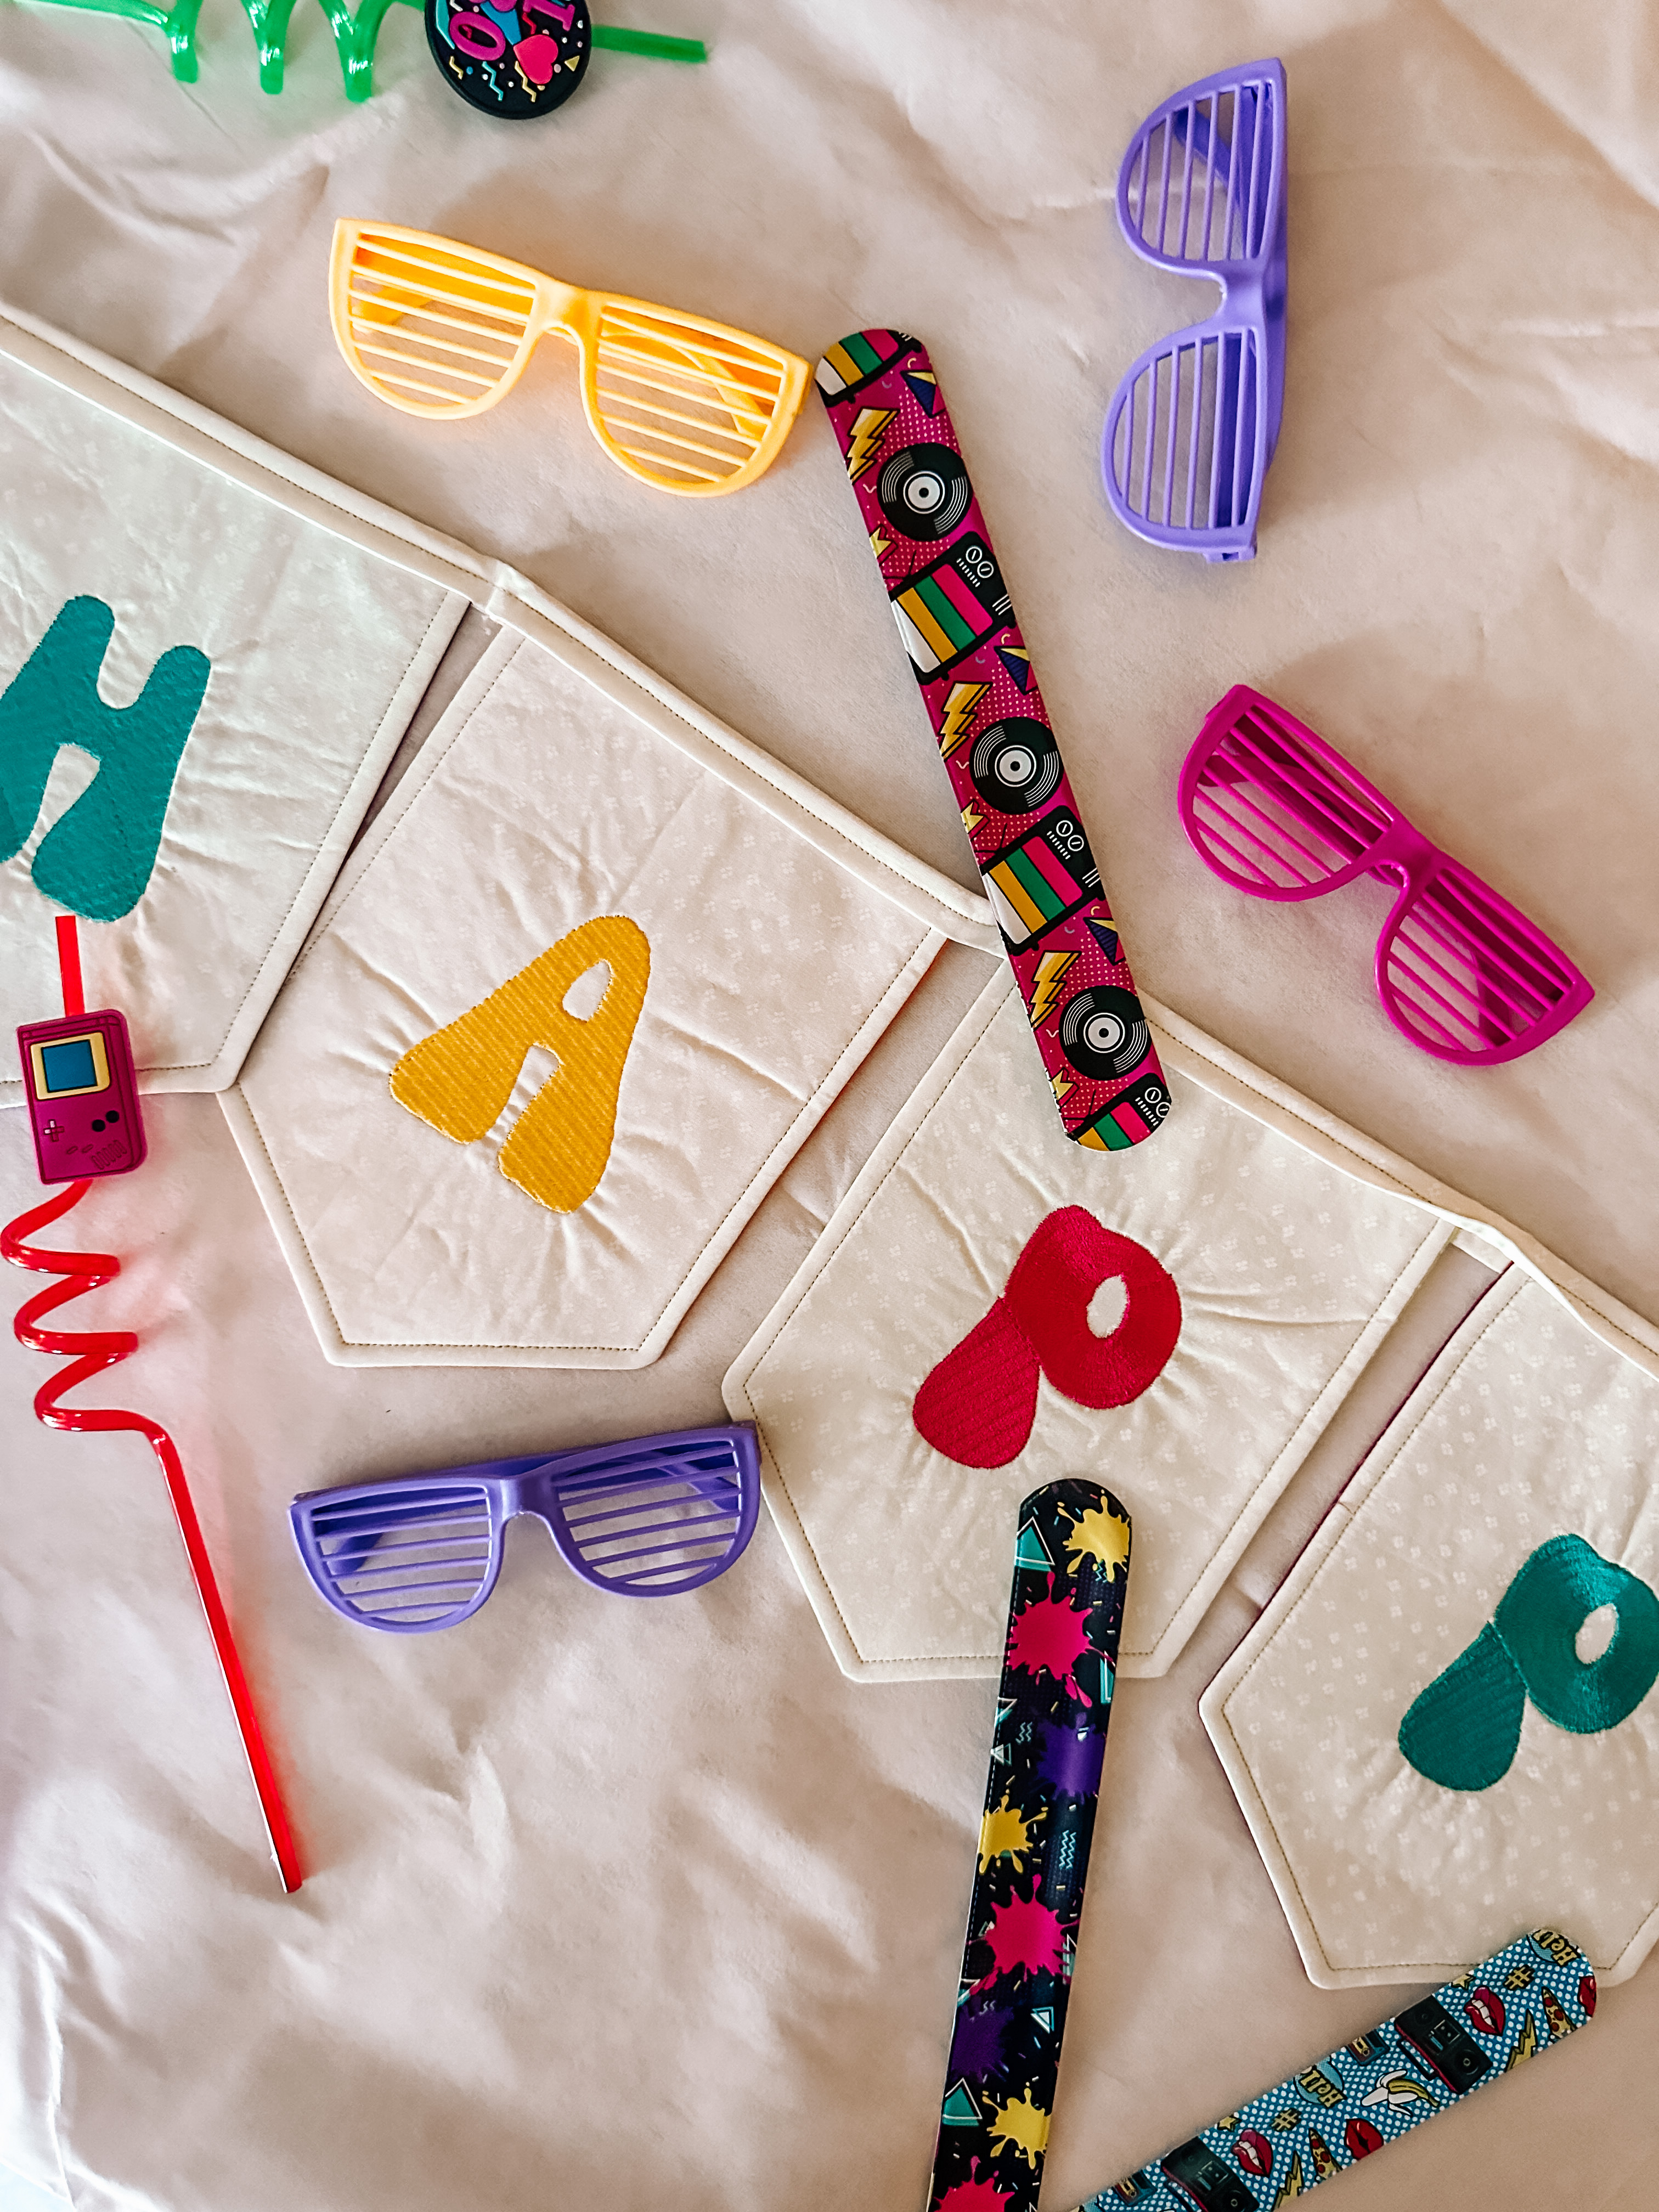
My kiddo’s birthday is in the summertime and we always have so much fun planning her party. When we were chatting about themes this year, she suggested we go retro and do a 90’s theme (I’m not ashamed to admit that I cried inside at the 90’s being retro). I suddenly had a vision of bright colors, arcade games, and corny decorations in my parents’ basement. Wanting to make something unique and on-theme, I decided to sew up this fun Celebration Banner that would add a pop of color while still being reusable.
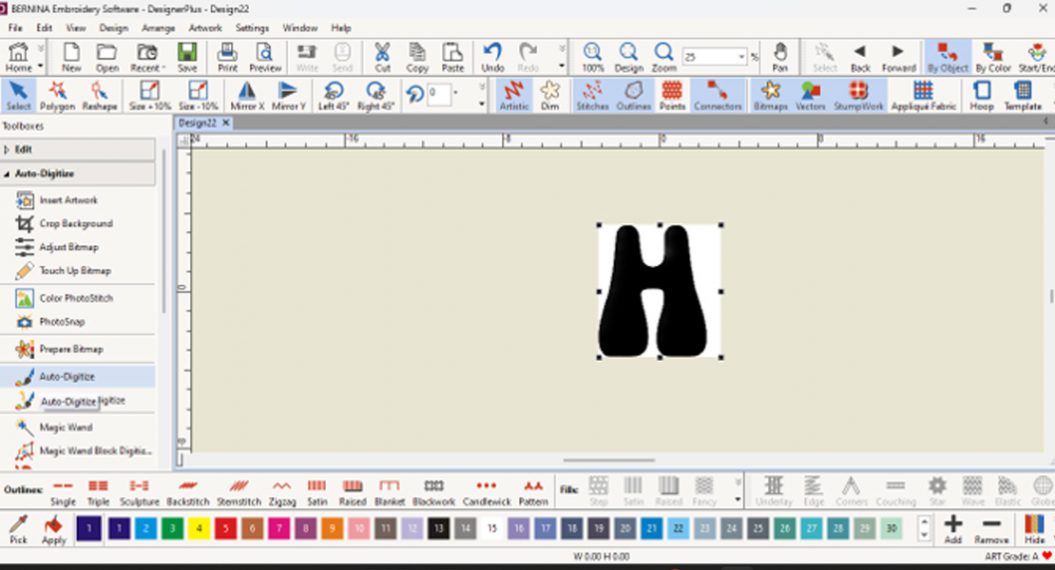
Though I used fabric yardage and fat quarters, this tutorial would be amazing for scrap fabric and batting. There’s also a ton of room for customization through embroidery, trim, or even tassels and ribbons. Check out my tutorial that walks through how to digitize lettering in the BERNINA Designer Plus software to make your banner truly unique. With a little extra planning, you can also make it reversible!
 Materials
- bernette 79
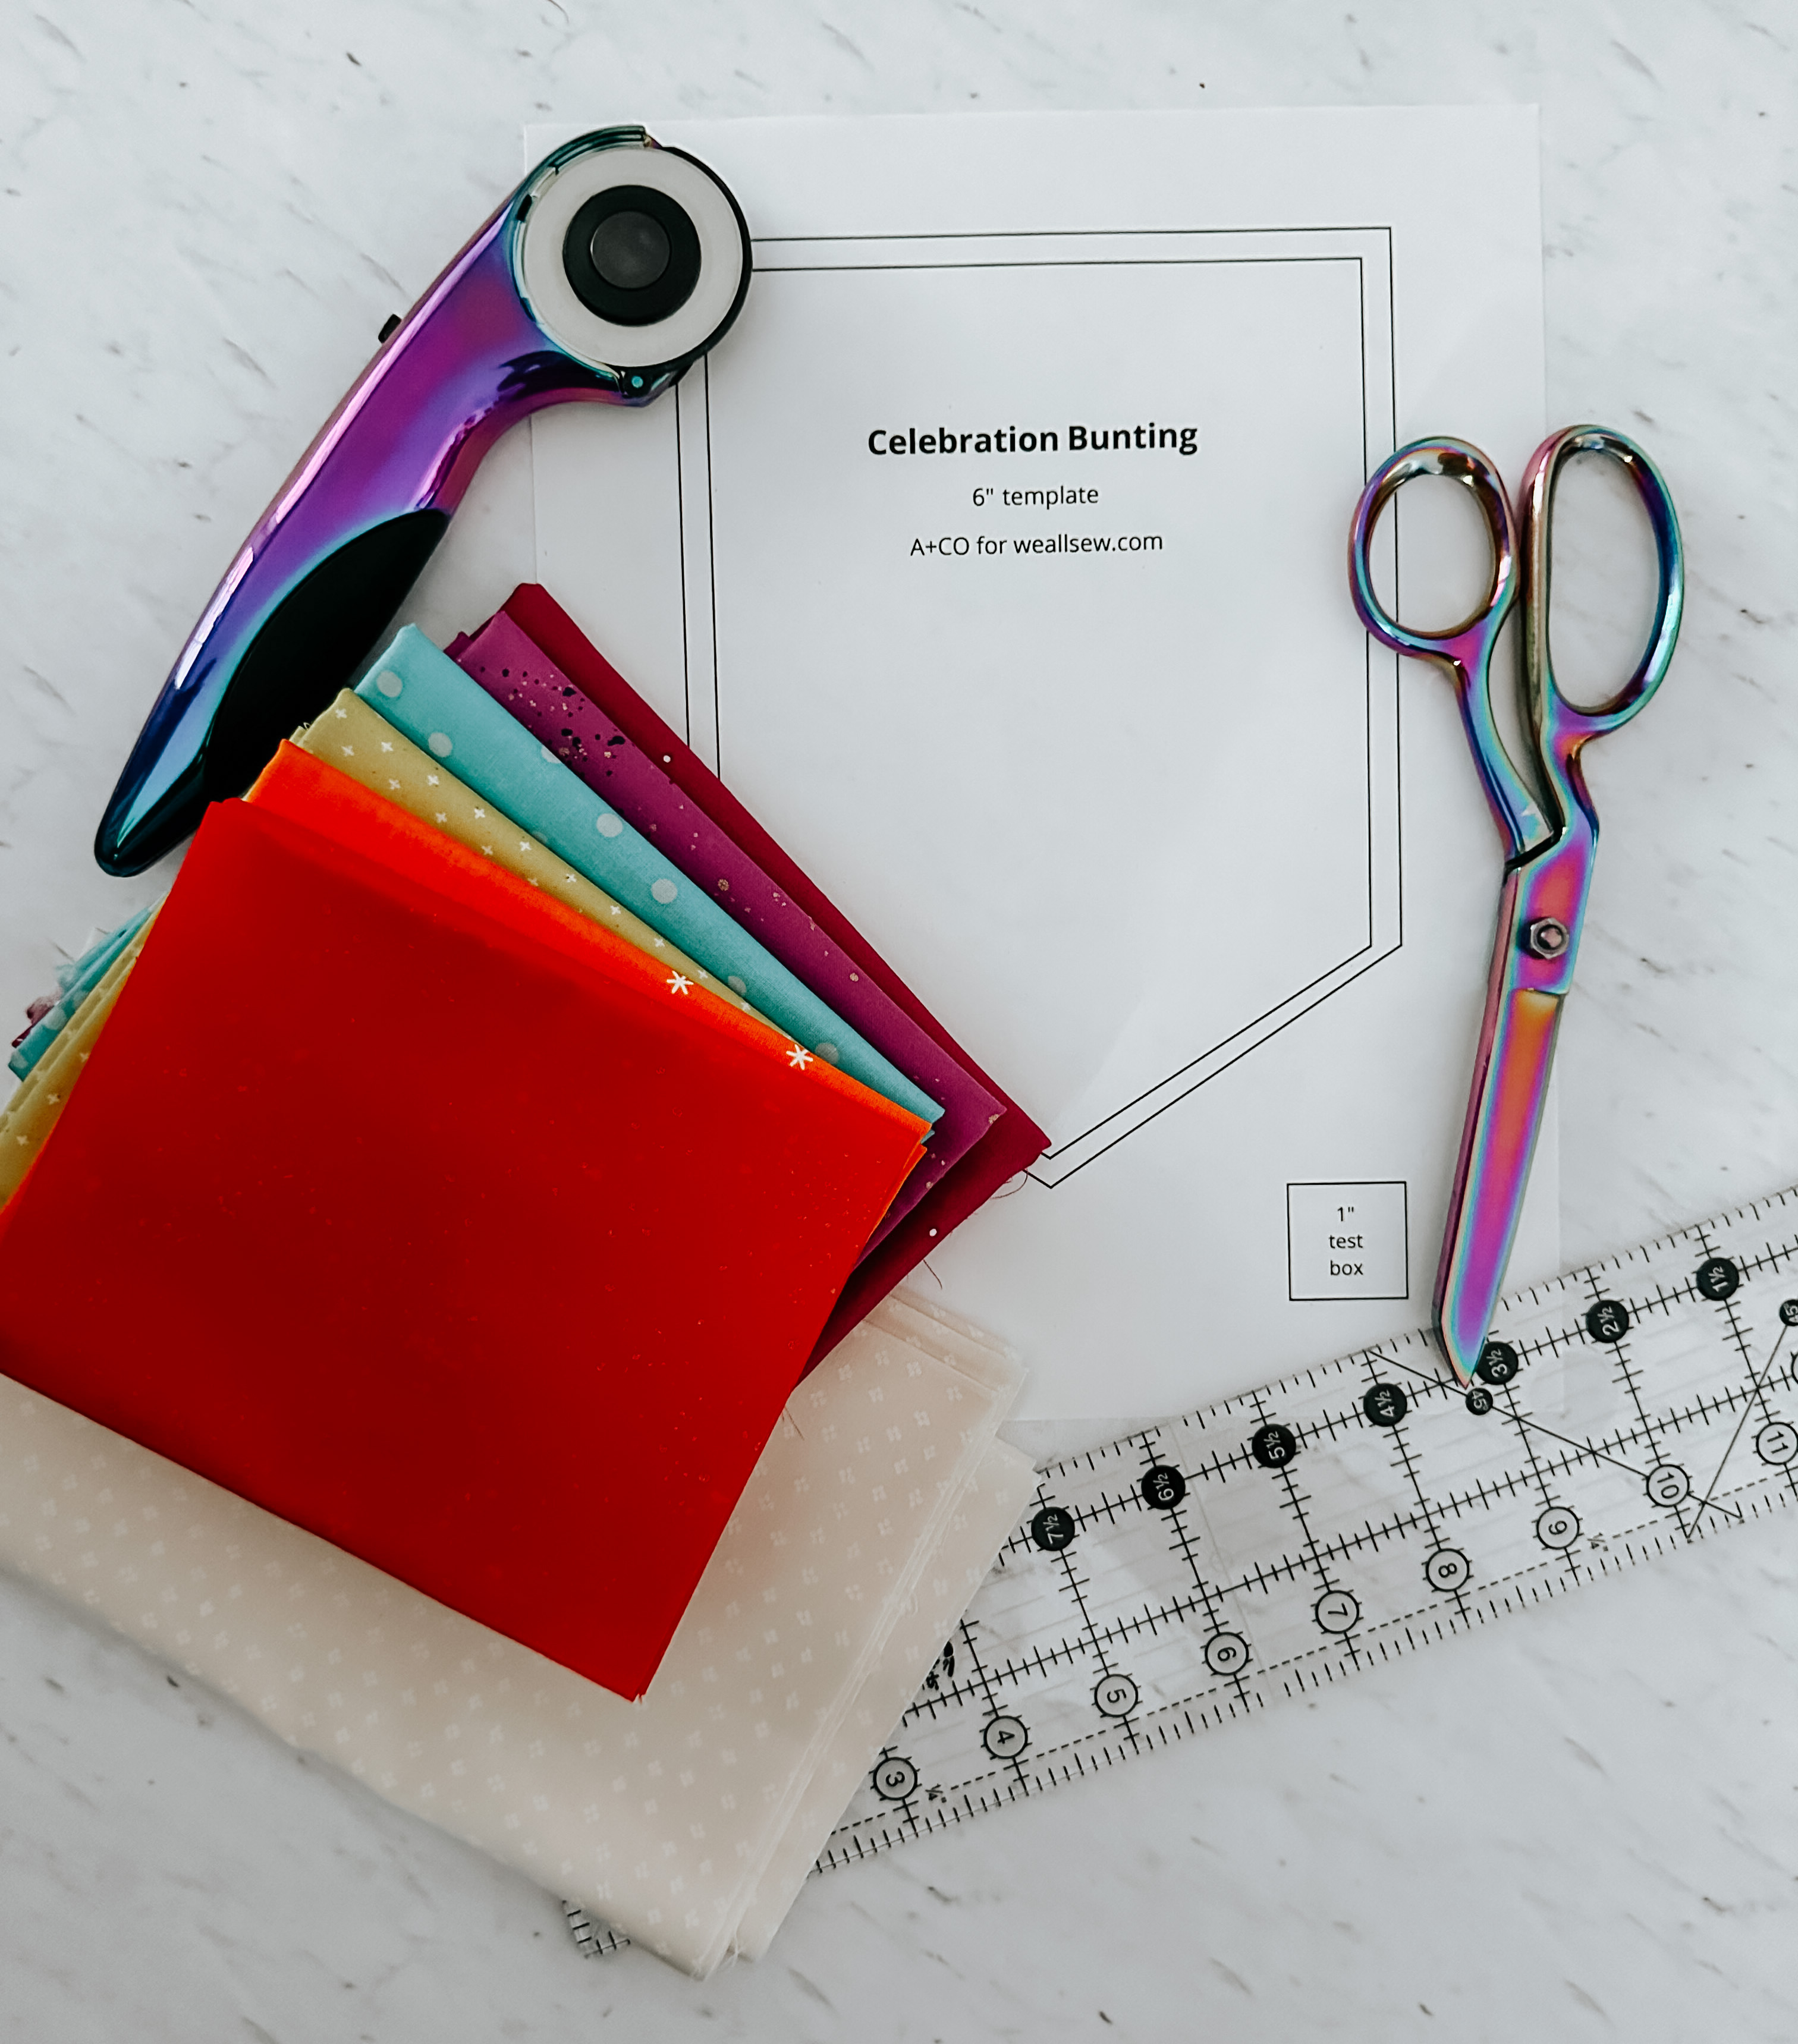
- Celebration Banner Template
- Sewing supplies (rotary cutter, ruler, cutting mat, pins, clips, etc.)
- Embroidery supplies (thread, stabilizer, hoop)
- Fabric (see requirements below)
- Optional embellishments
Fabric Requirements:
- For each flag:
- Front fabric: 7″ x 8.5″
- Back fabric: 6″ x 8″
- Fusible fleece or other interfacing/batting: 7″ x 8.5″
- Top binding:
- Calculate 6″ x number of flags + 26″ (13″ for each tail)
- Example for 16 flags (122″ total binding):
- 6″ x 16 = 96″
- 96″+ 26″ = 122″
- Example for 16 flags (122″ total binding):
- Cut enough 2″ x width of fabric (WOF) strips to achieve your needed length. For my 122″, assuming the standard 42″ WOF, I cut (3) 2″ strips
- Calculate 6″ x number of flags + 26″ (13″ for each tail)
Optional:
- Embroidery designs from OESD (optional)
- Digitized letters
- Additional trim or tassels, as desired
Plan and Prep
The first step is to plan out your banner. You’ll want to determine:
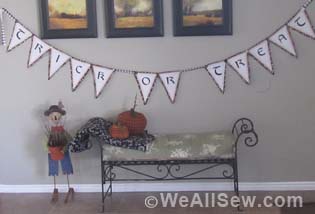
- How many flags are needed? For my “Happy Birthday” banner, I used 16 flags, one for each letter, one on each end, and one in the middle to space out the words.
- If using different colored fabrics, decide which order the colors will go in
- Match up the front fabric with the back.
- Tip! If you want to make the bunting reversible, now’s the time to plan out which order each side will go in. Remember to mirror the order of any words on the front versus back.
- Prep for the embroidery step by loading your designs onto your machine
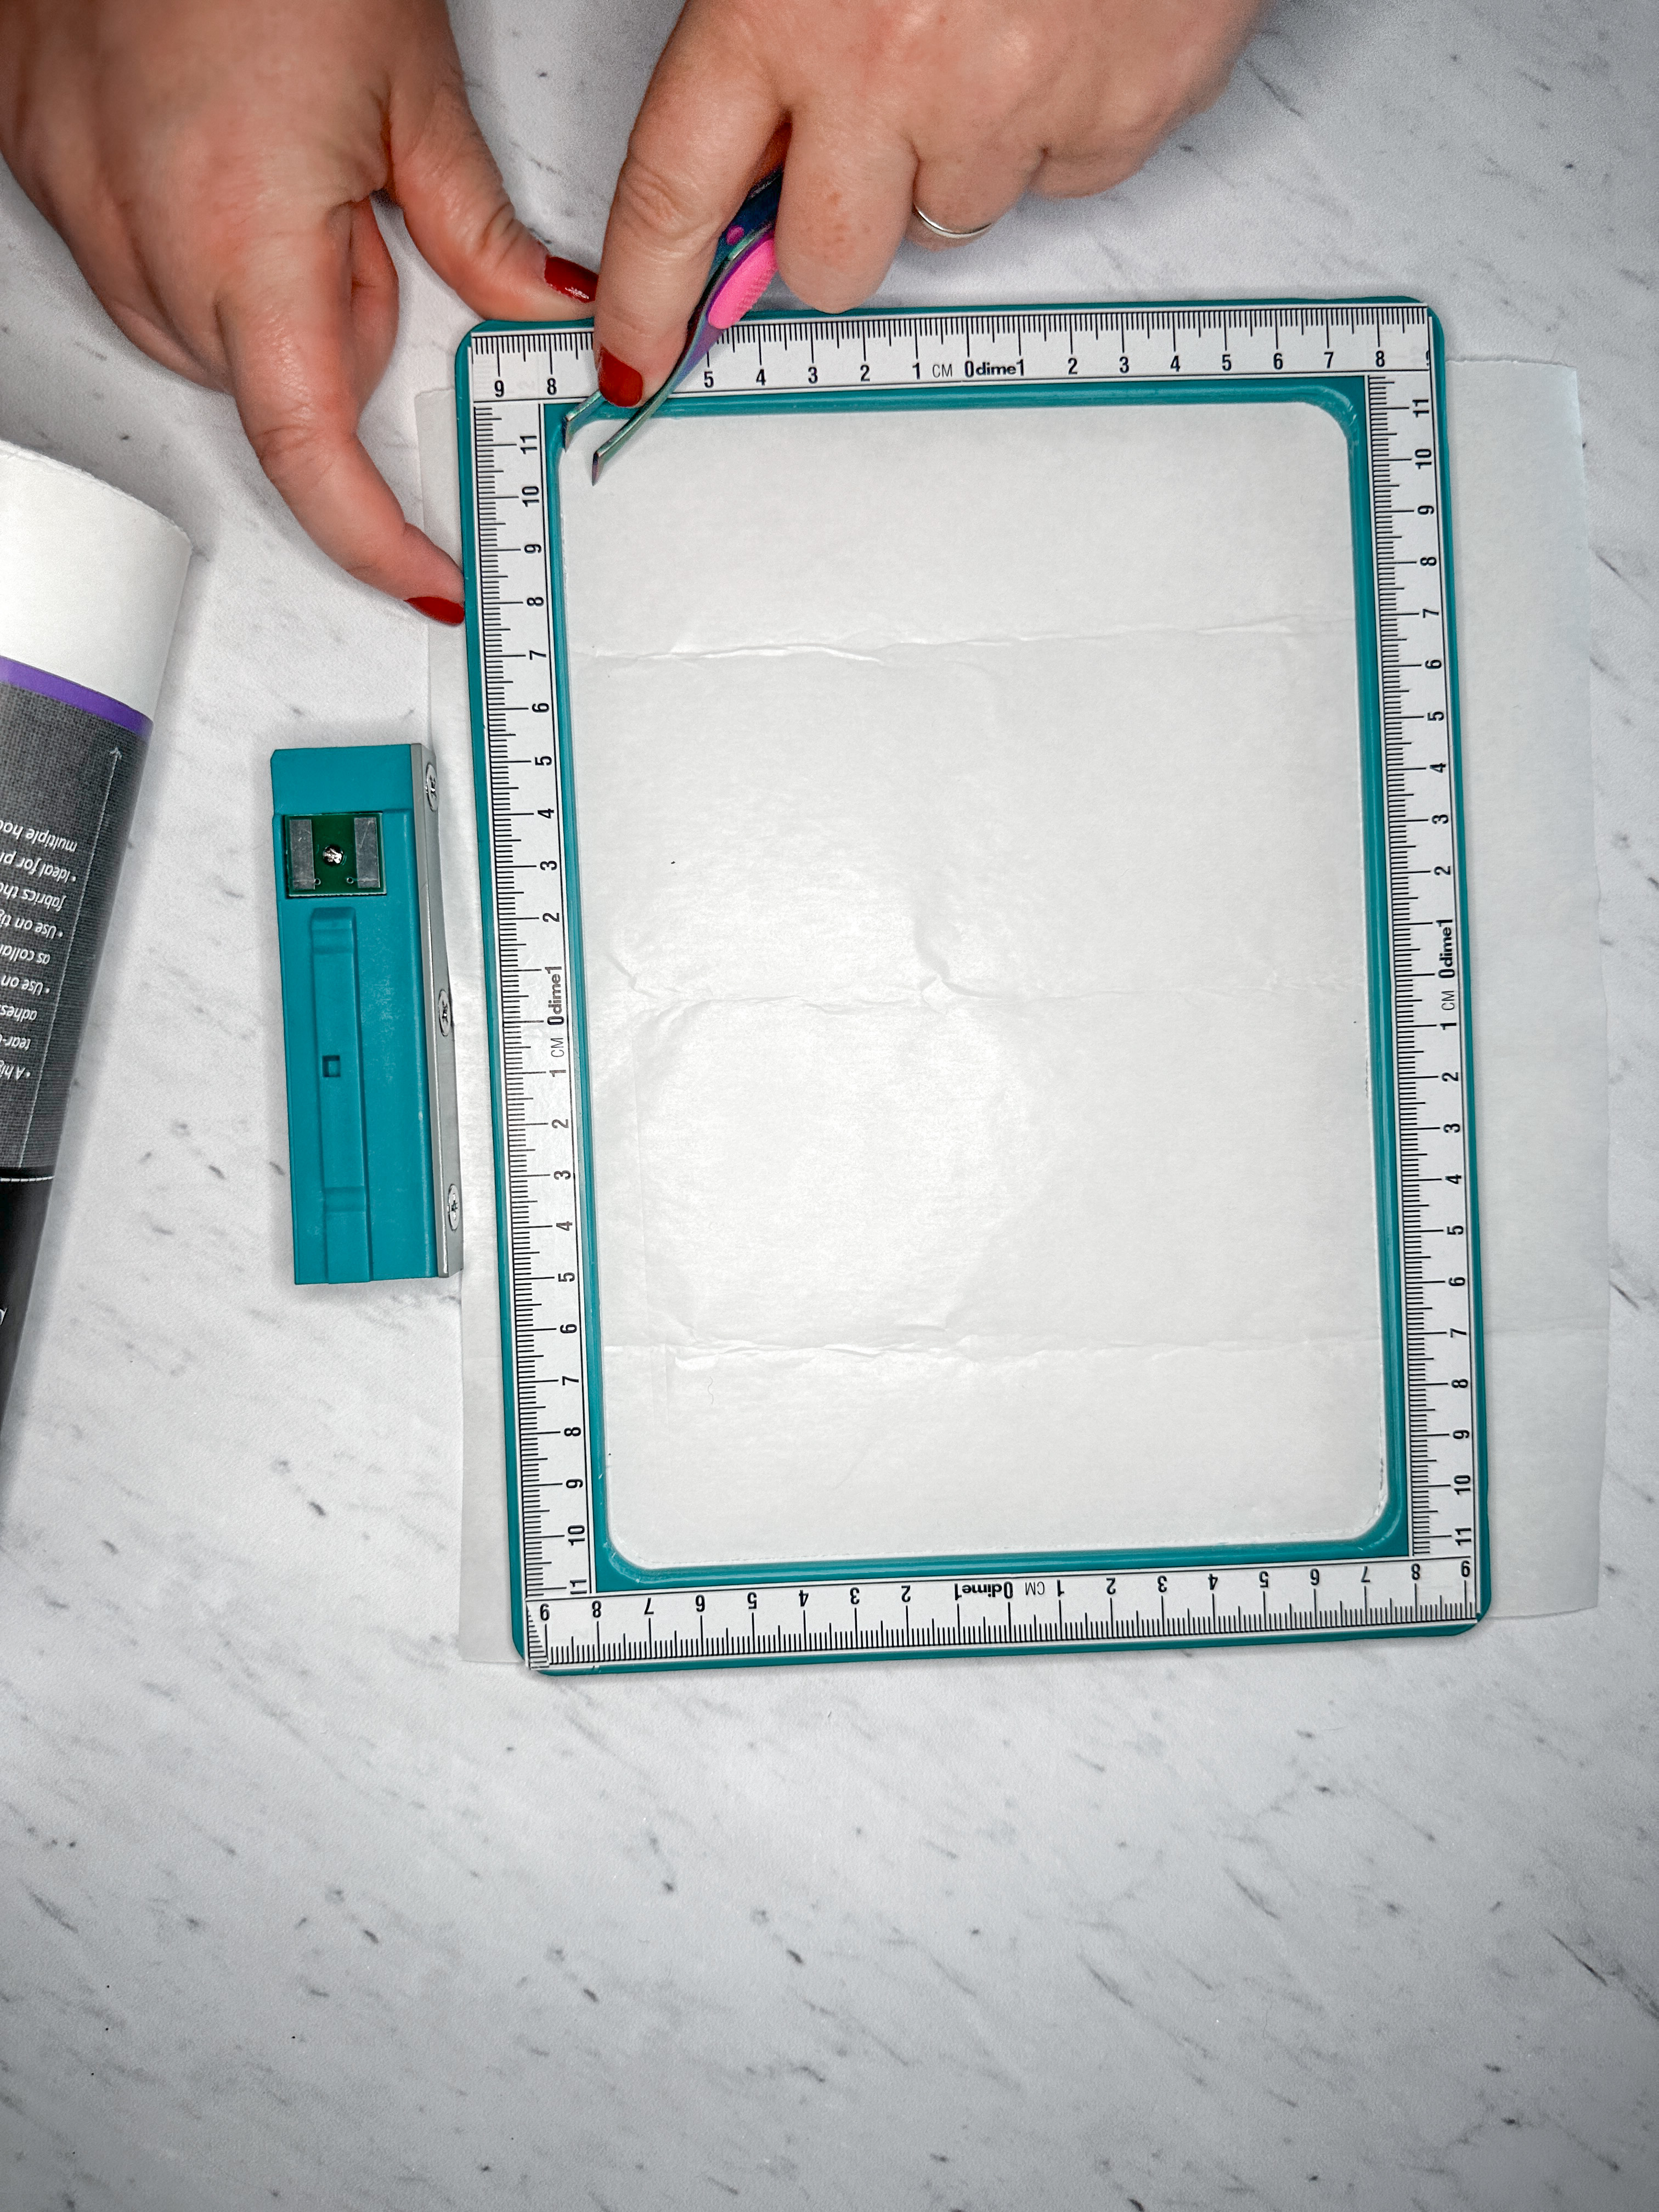
- Print the Celebration Banner template, ensuring your printer is set to print at 100%. Cut out the template along the outer line. Set aside for a later step.
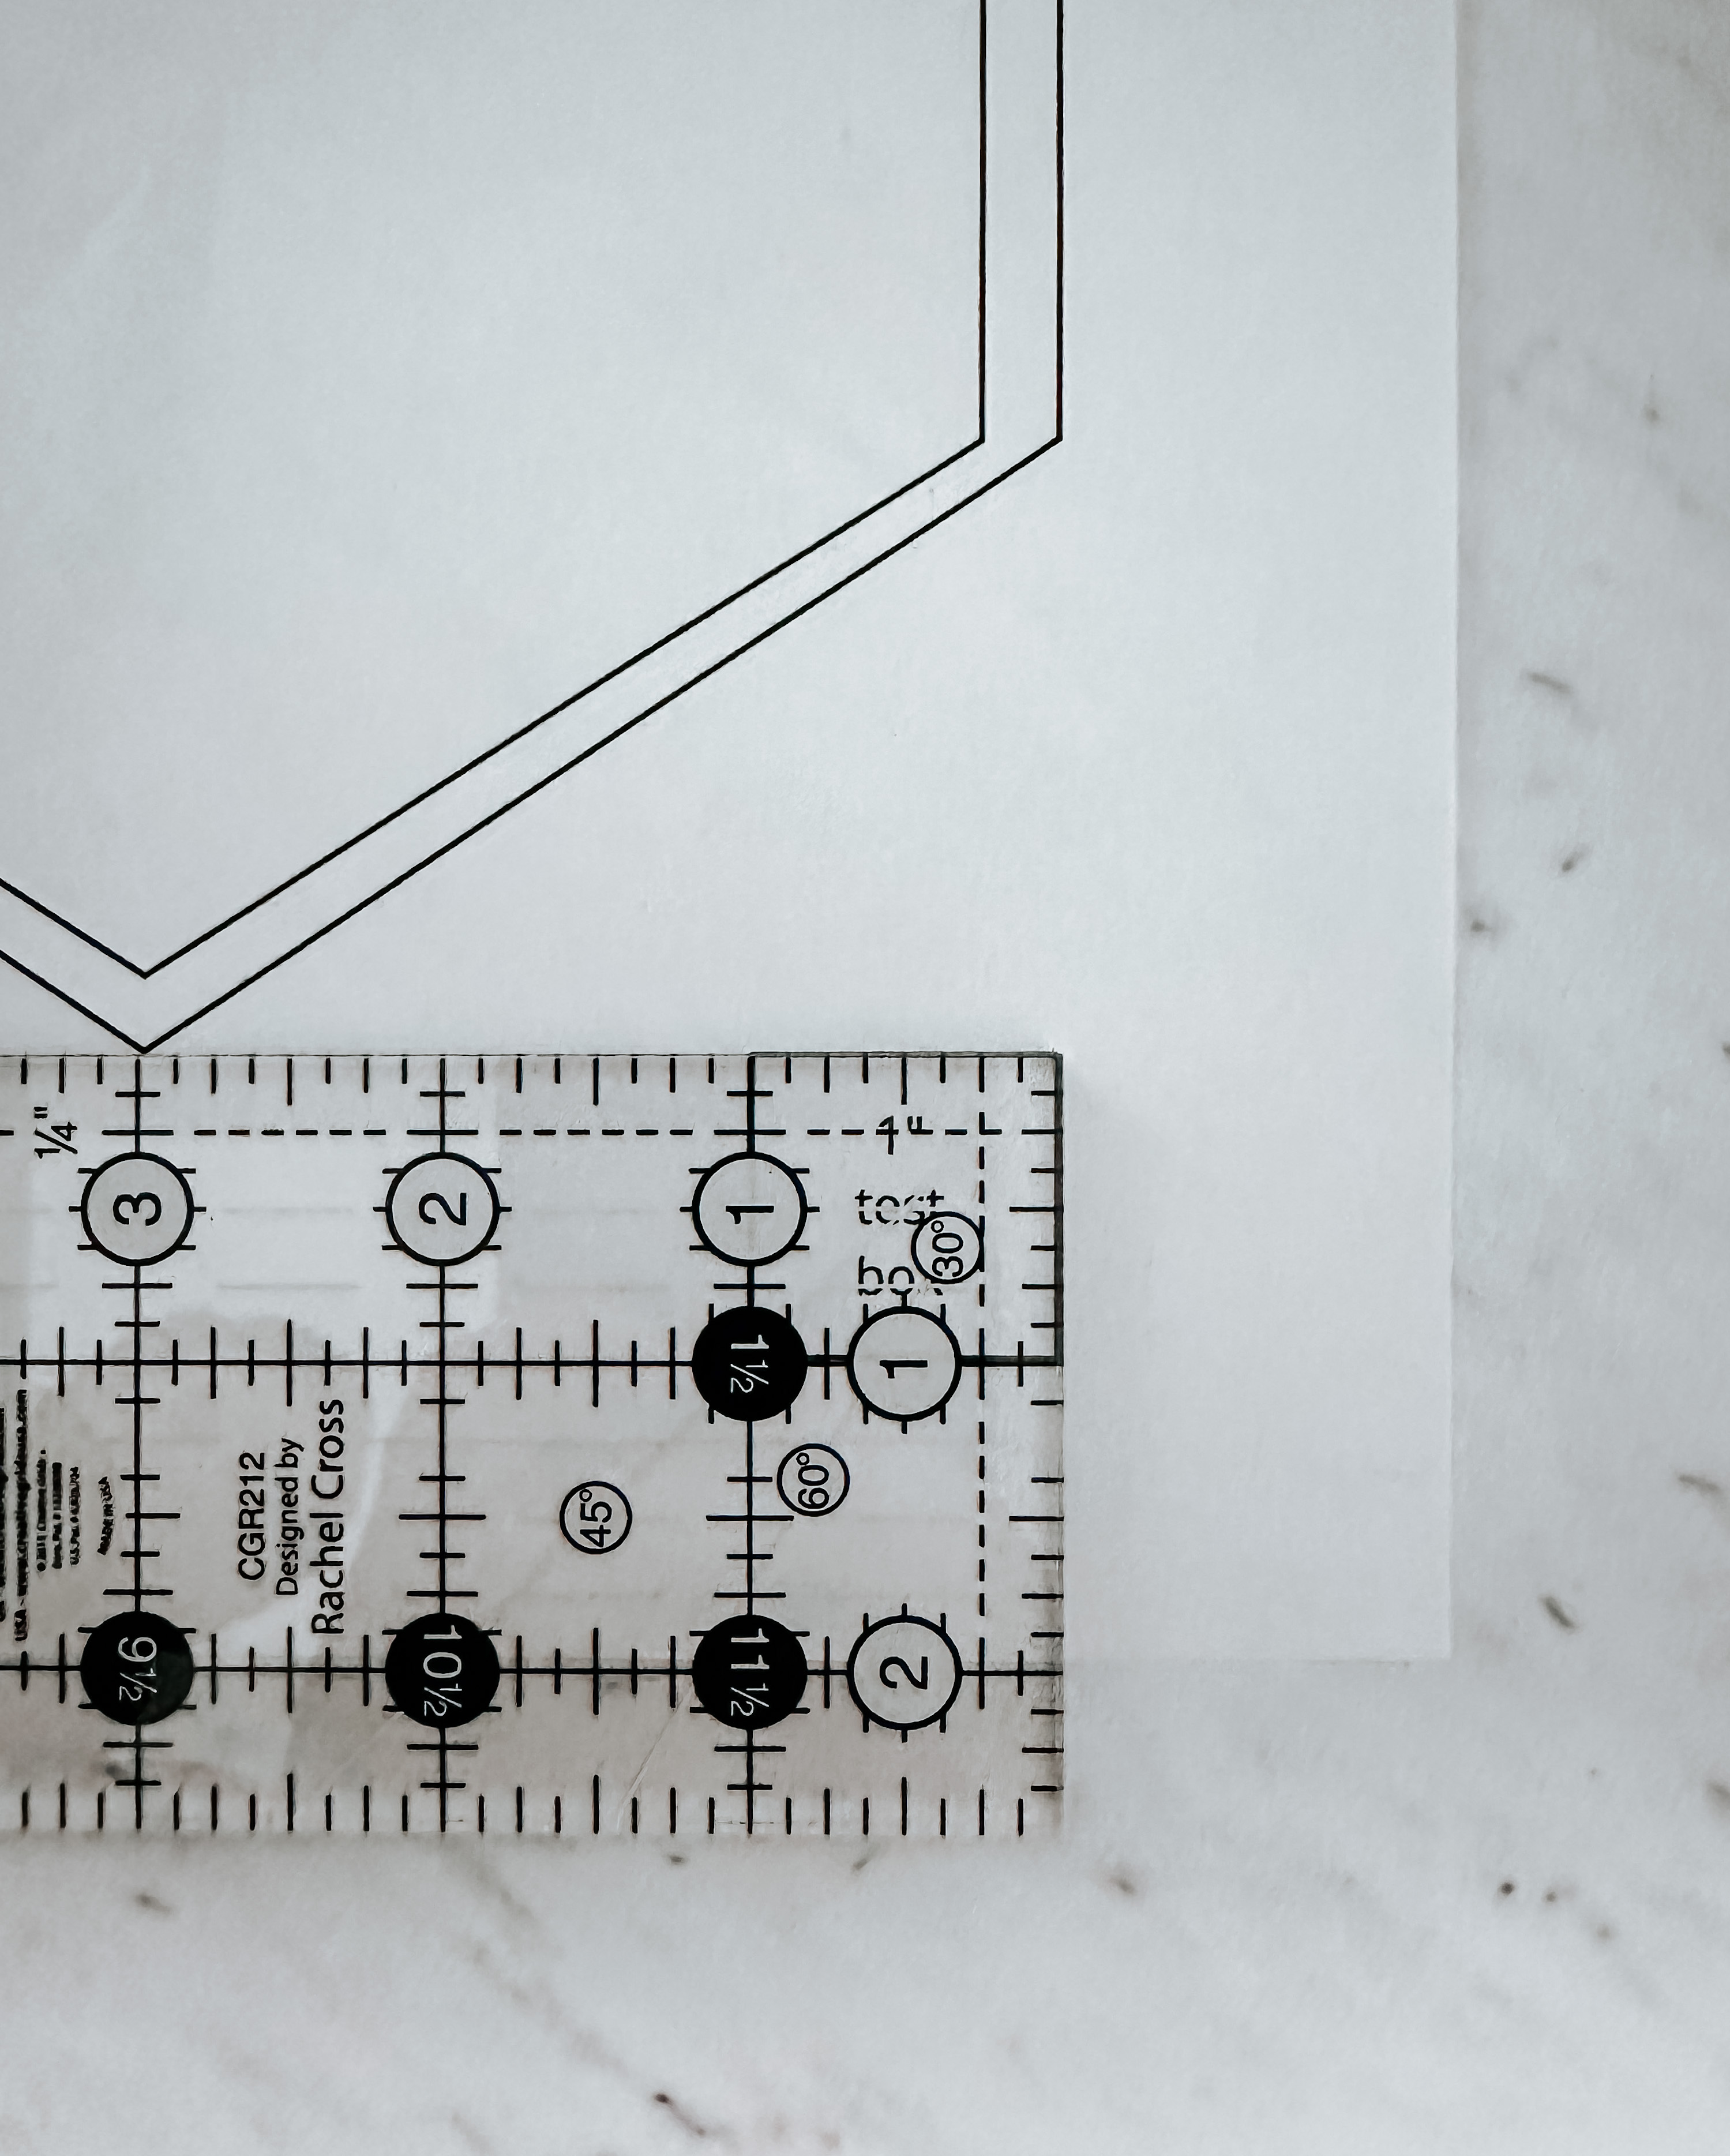
- Use the 1″ box on the printed template to ensure that it is printed to the correct size
Instructions to make a Celebration Banner
Step 1: Preparing Your Fabric
From your front fabric, cut a 7″ x 8.5″ piece for each flag (be mindful of directional prints). Cut a 7″ x 8.5″ piece of fusible fleece and adhere to the wrong side of the fabric, following the manufacturer’s instructions. If using batting, adhere using a spray adhesive.
Step 2: Embroidery
Prepare your fabric and hoop using your preferred method. I use the float technique:
- Cut Stabilstick stabilizer to size for your hoop
- Insert in the hoop, paper side up
- Using sharp snips, scissors, or a pin, score the stabilizer around the inner ring of the hoop, careful to only cut through the paper top
- Peel away the paper topping, exposing the adhesive side of the stabilizer
- Center your prepped fabric and press to adhere to the hooped stabilizer
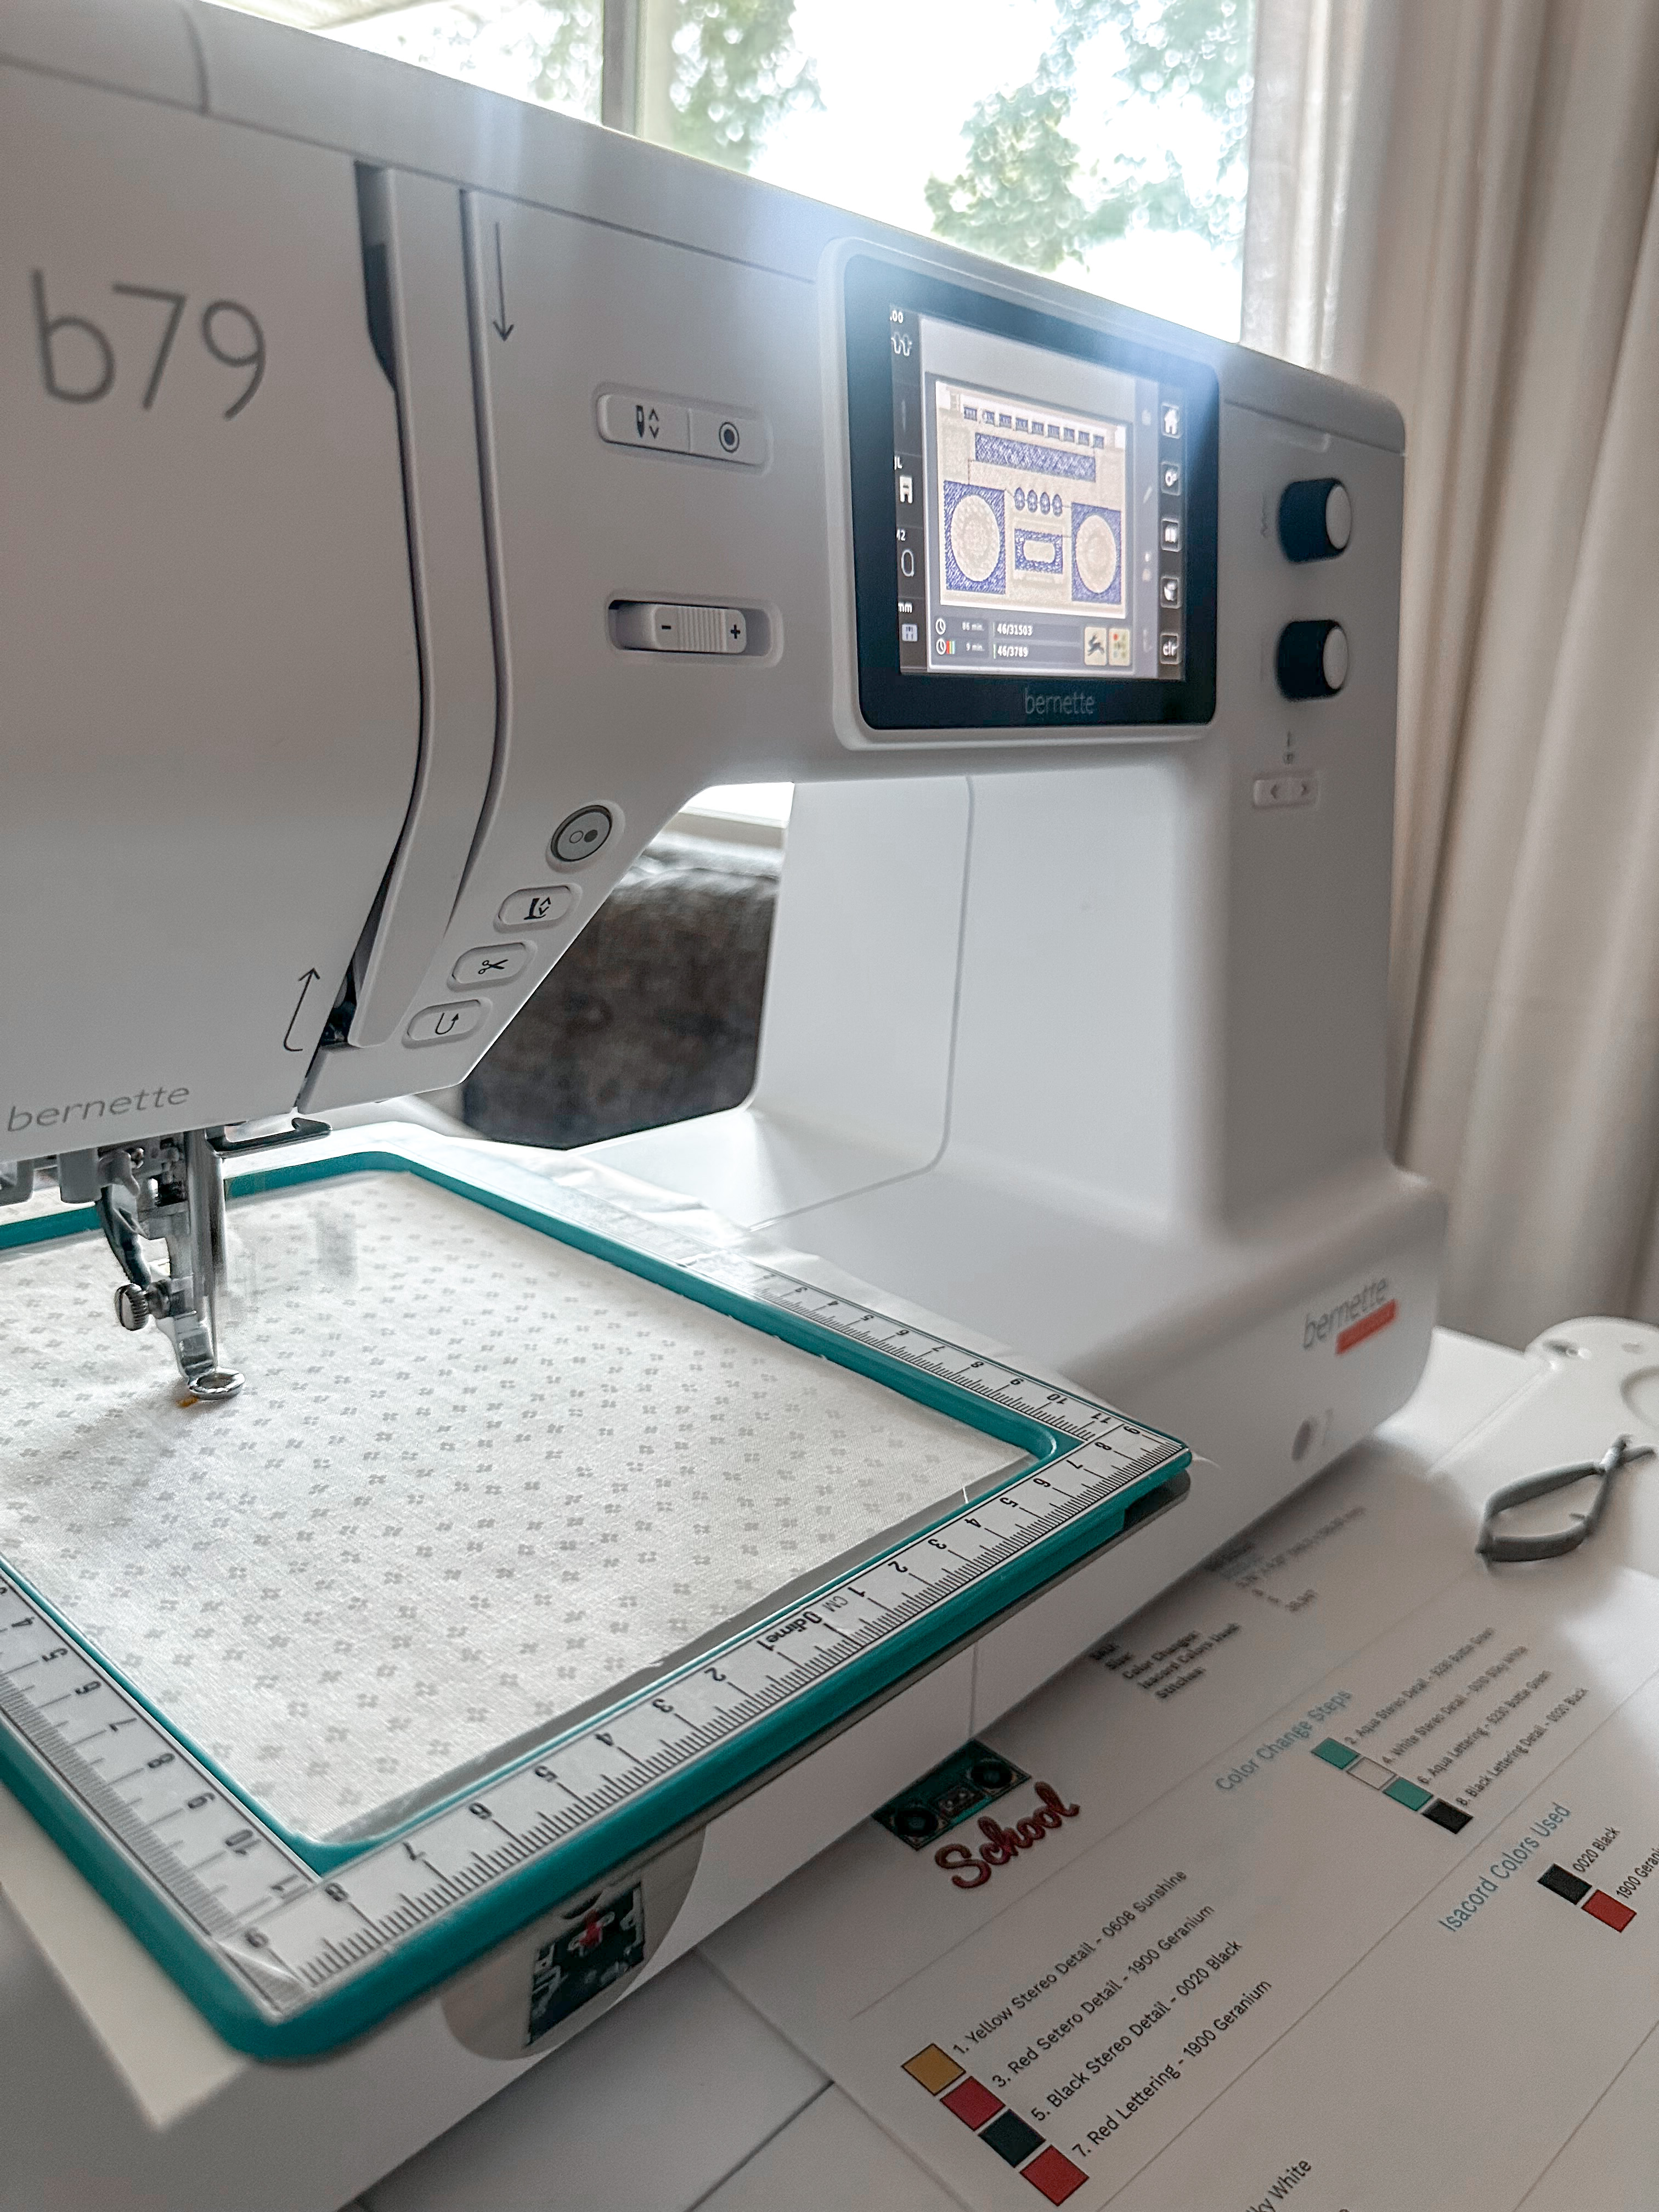
Embroider your design onto each flag piece.
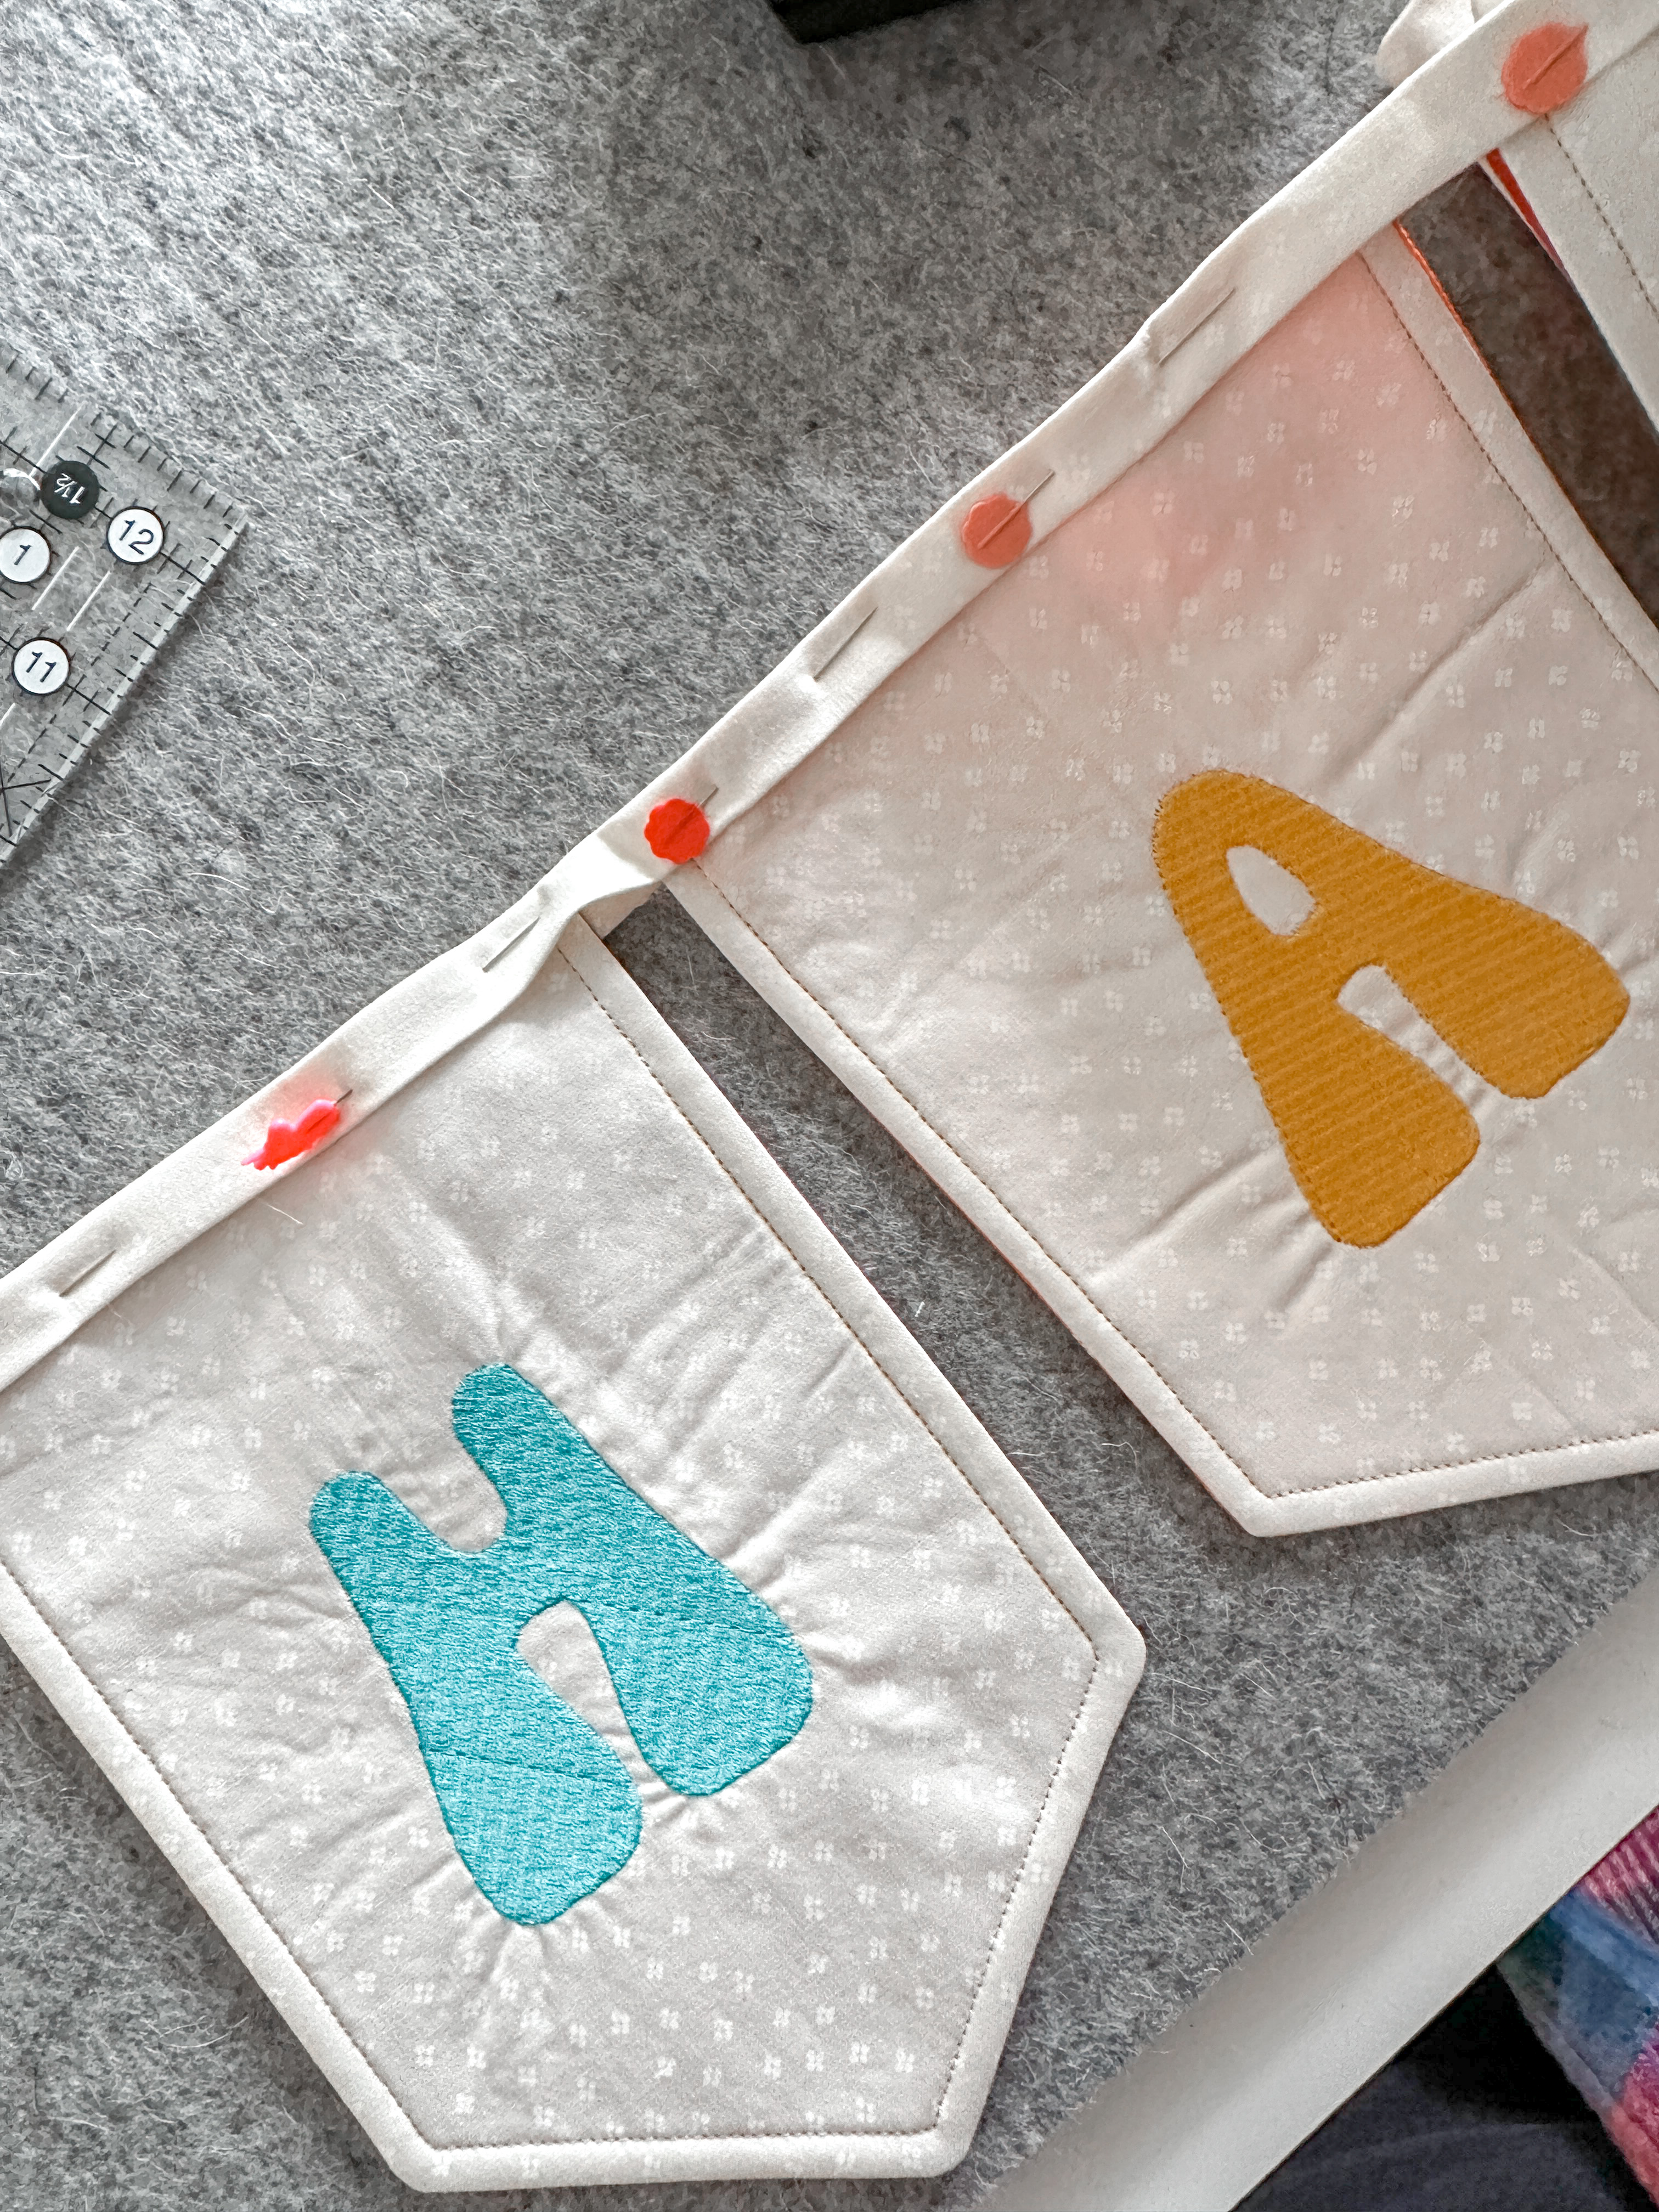
Step 3: Cut and Assemble Flags
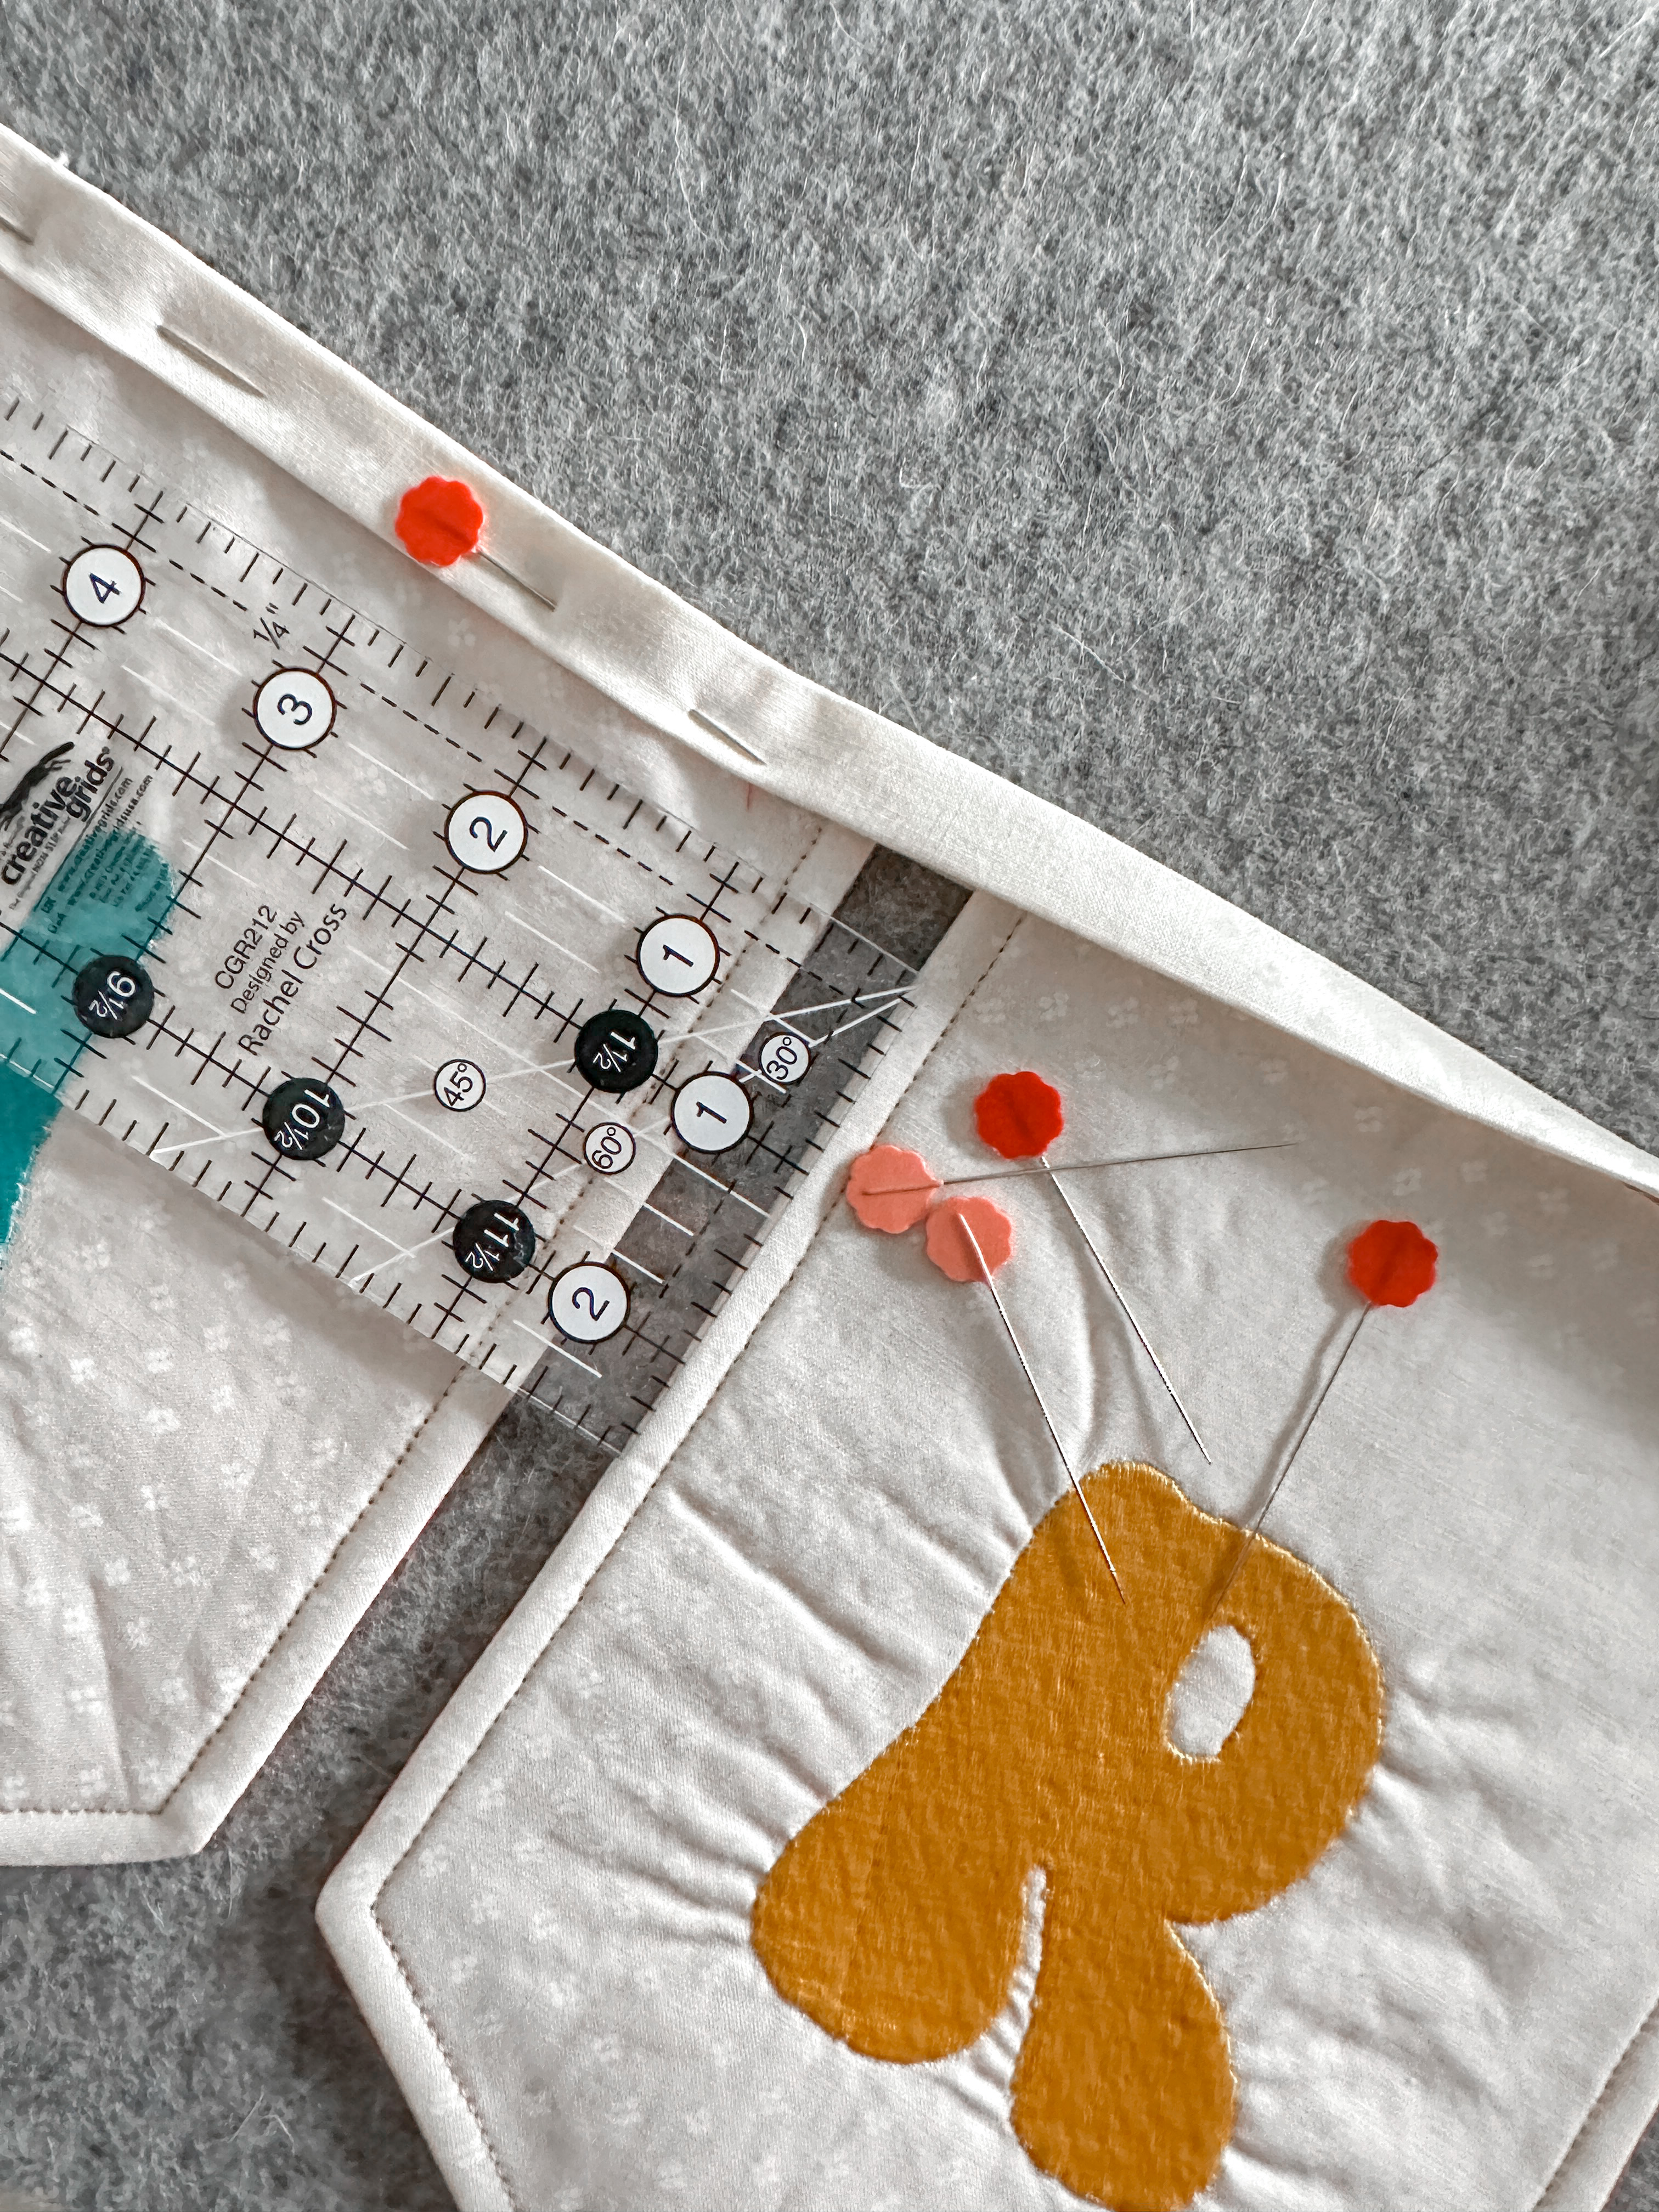
Once you have all of your flag pieces embroidered, use the template to cut the front fabric to size. Take care to center the embroidered design, noting the seam allowance indicated by the inner line on the template. It can help to hold the fabric up to a window while placing the template to help you see where to adjust.
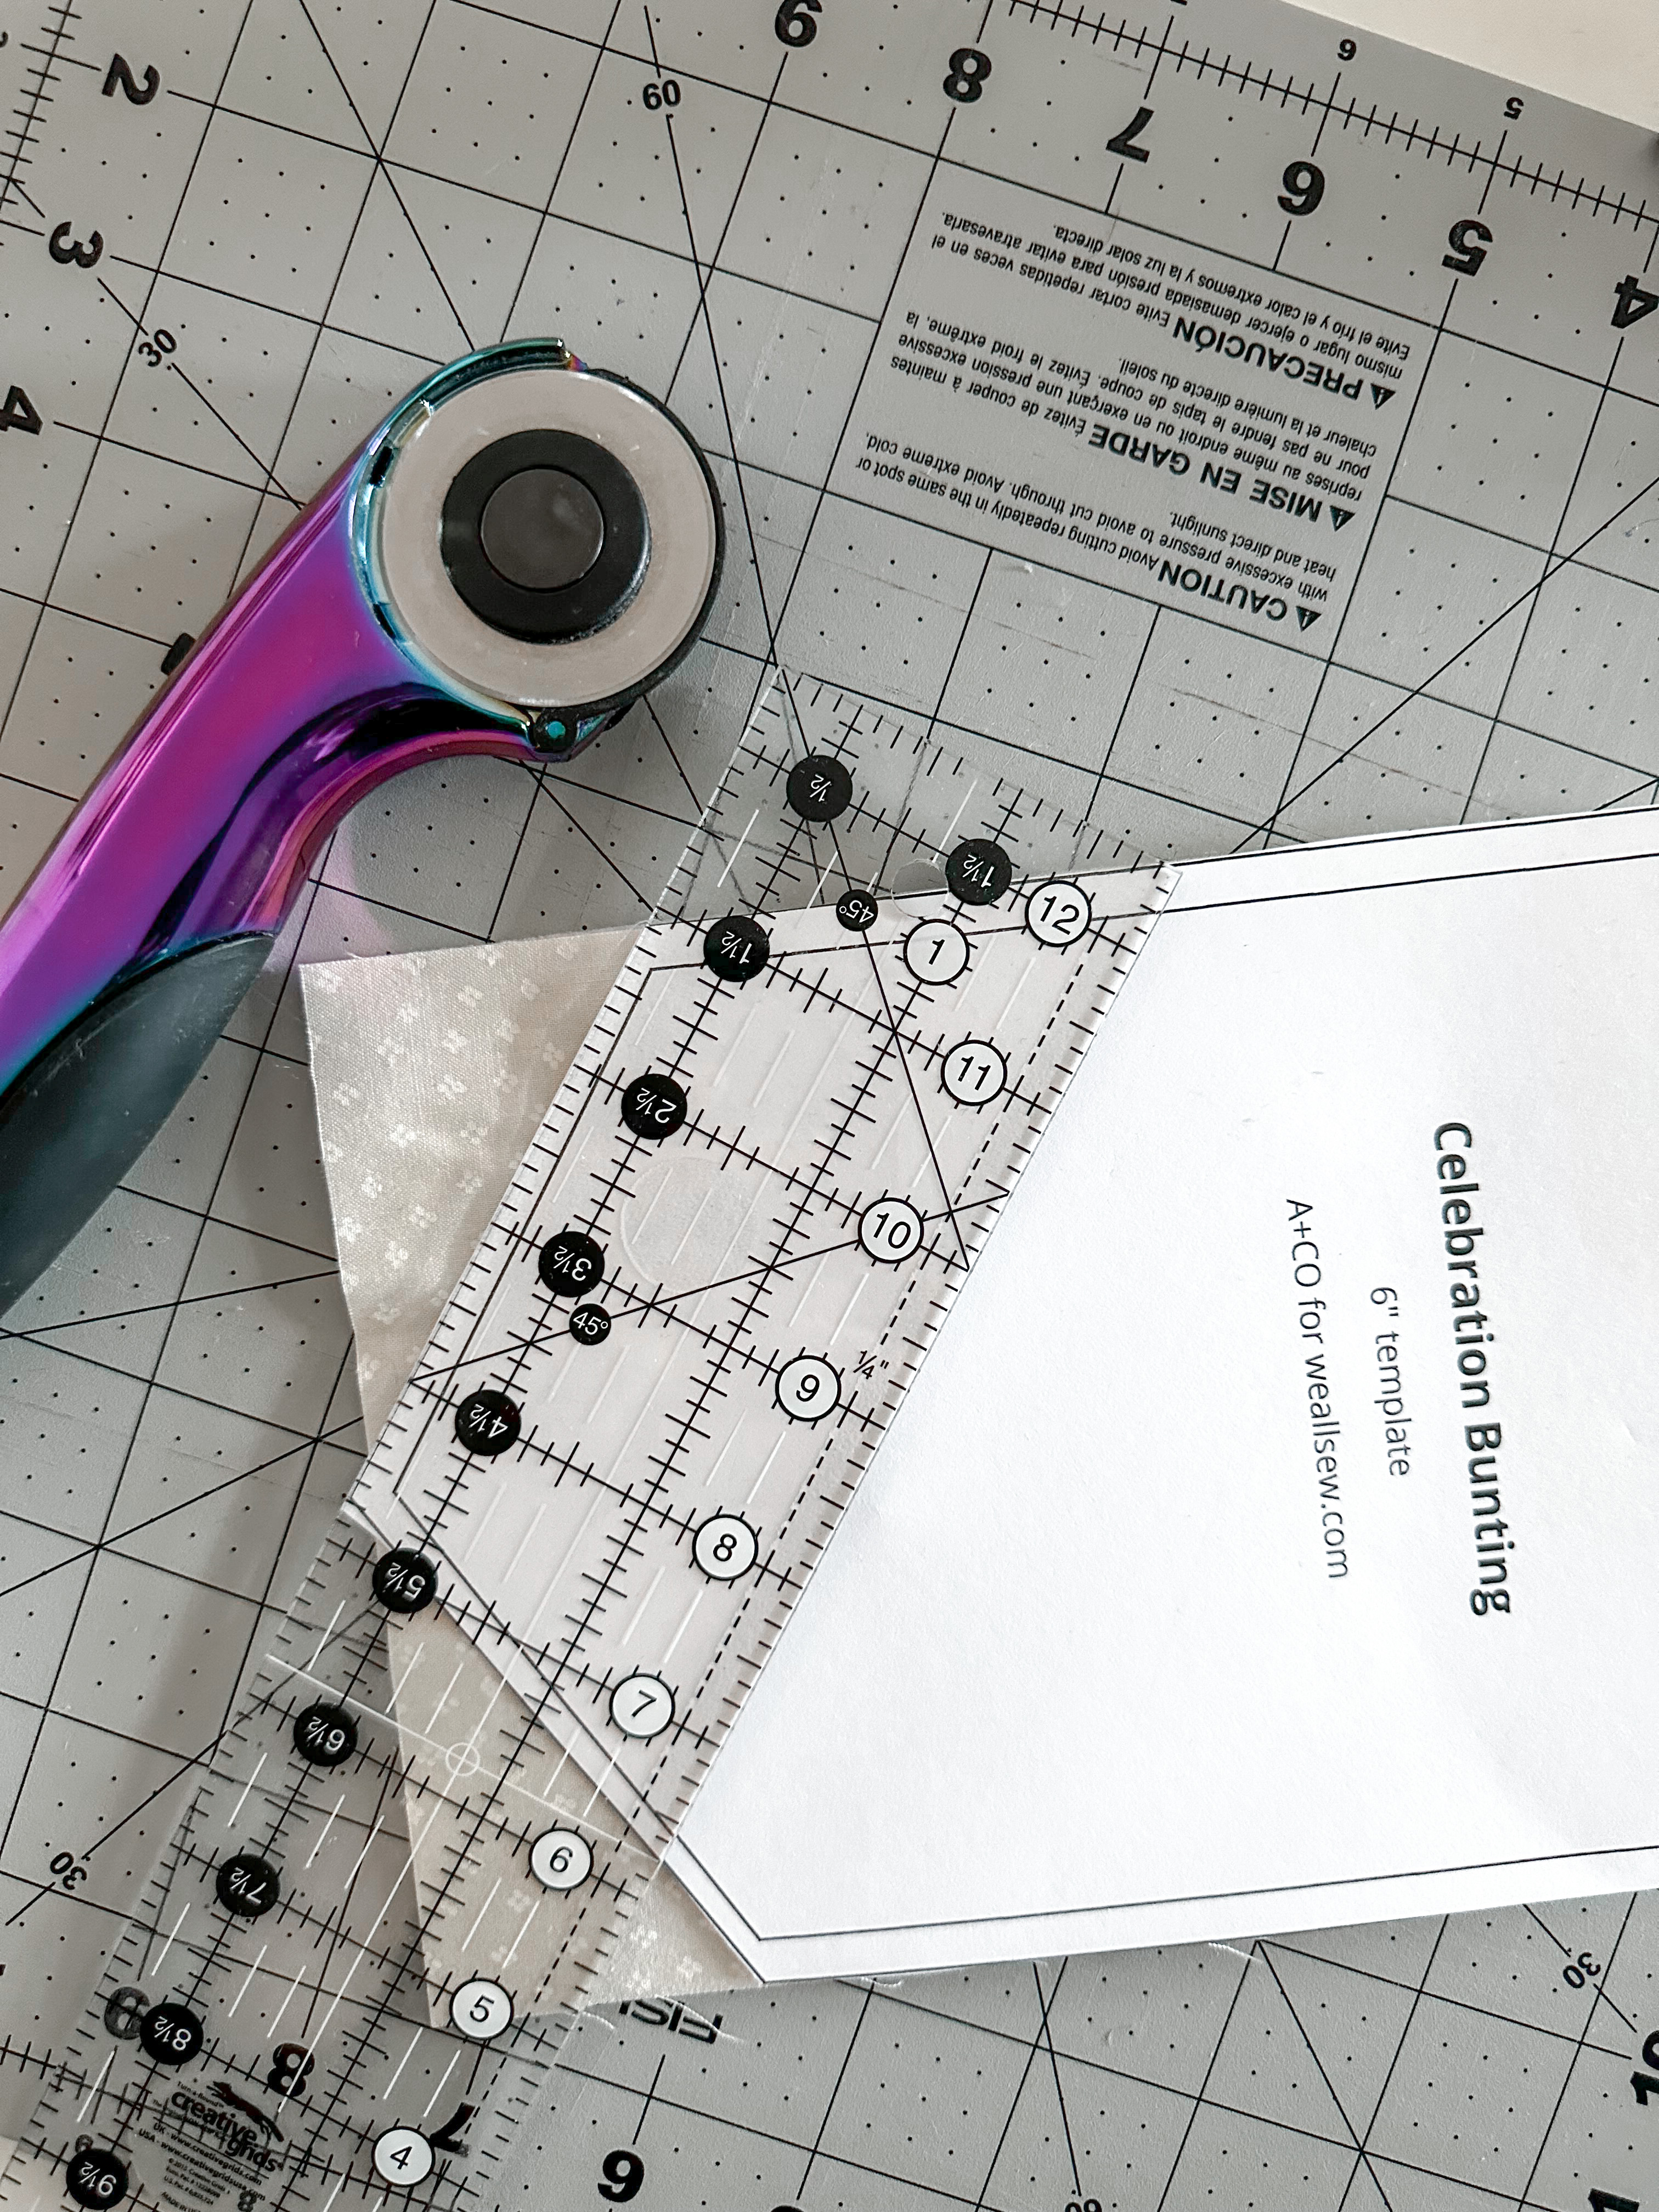
It is also helpful to use a cutting ruler while cutting fabric with the template to ensure straight lines and safe fingers.
Repeat to cut the back fabric.
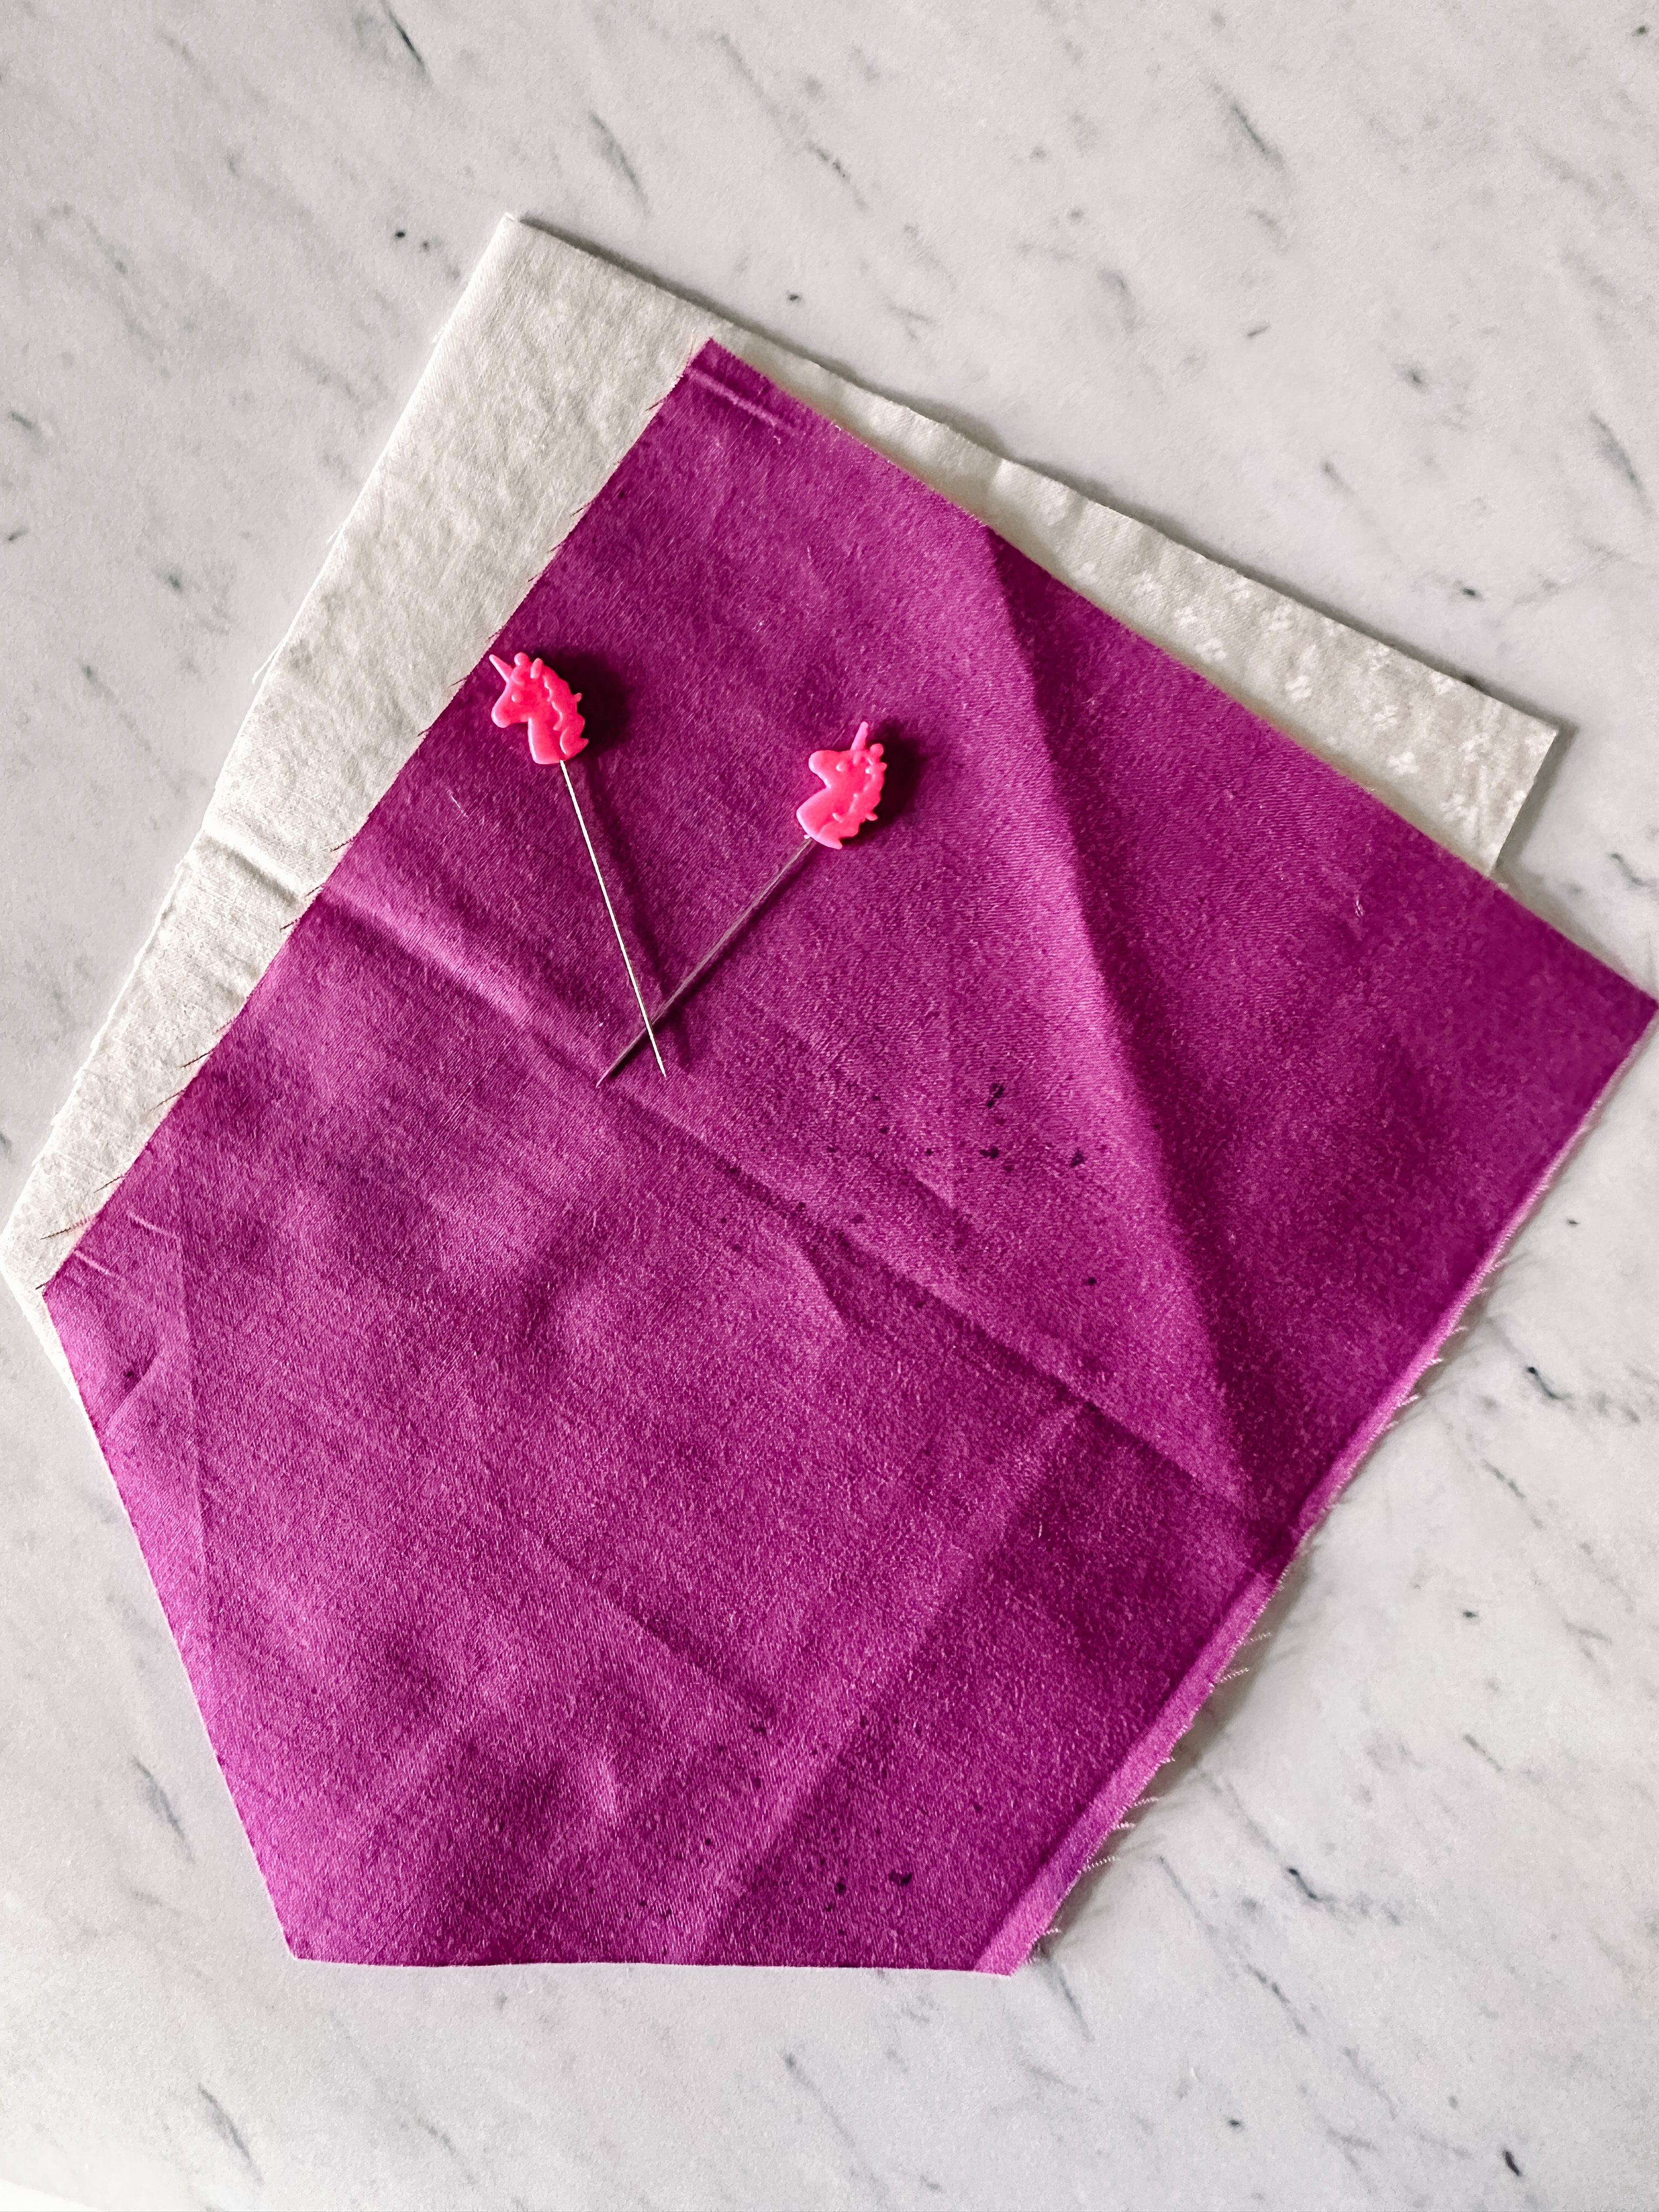
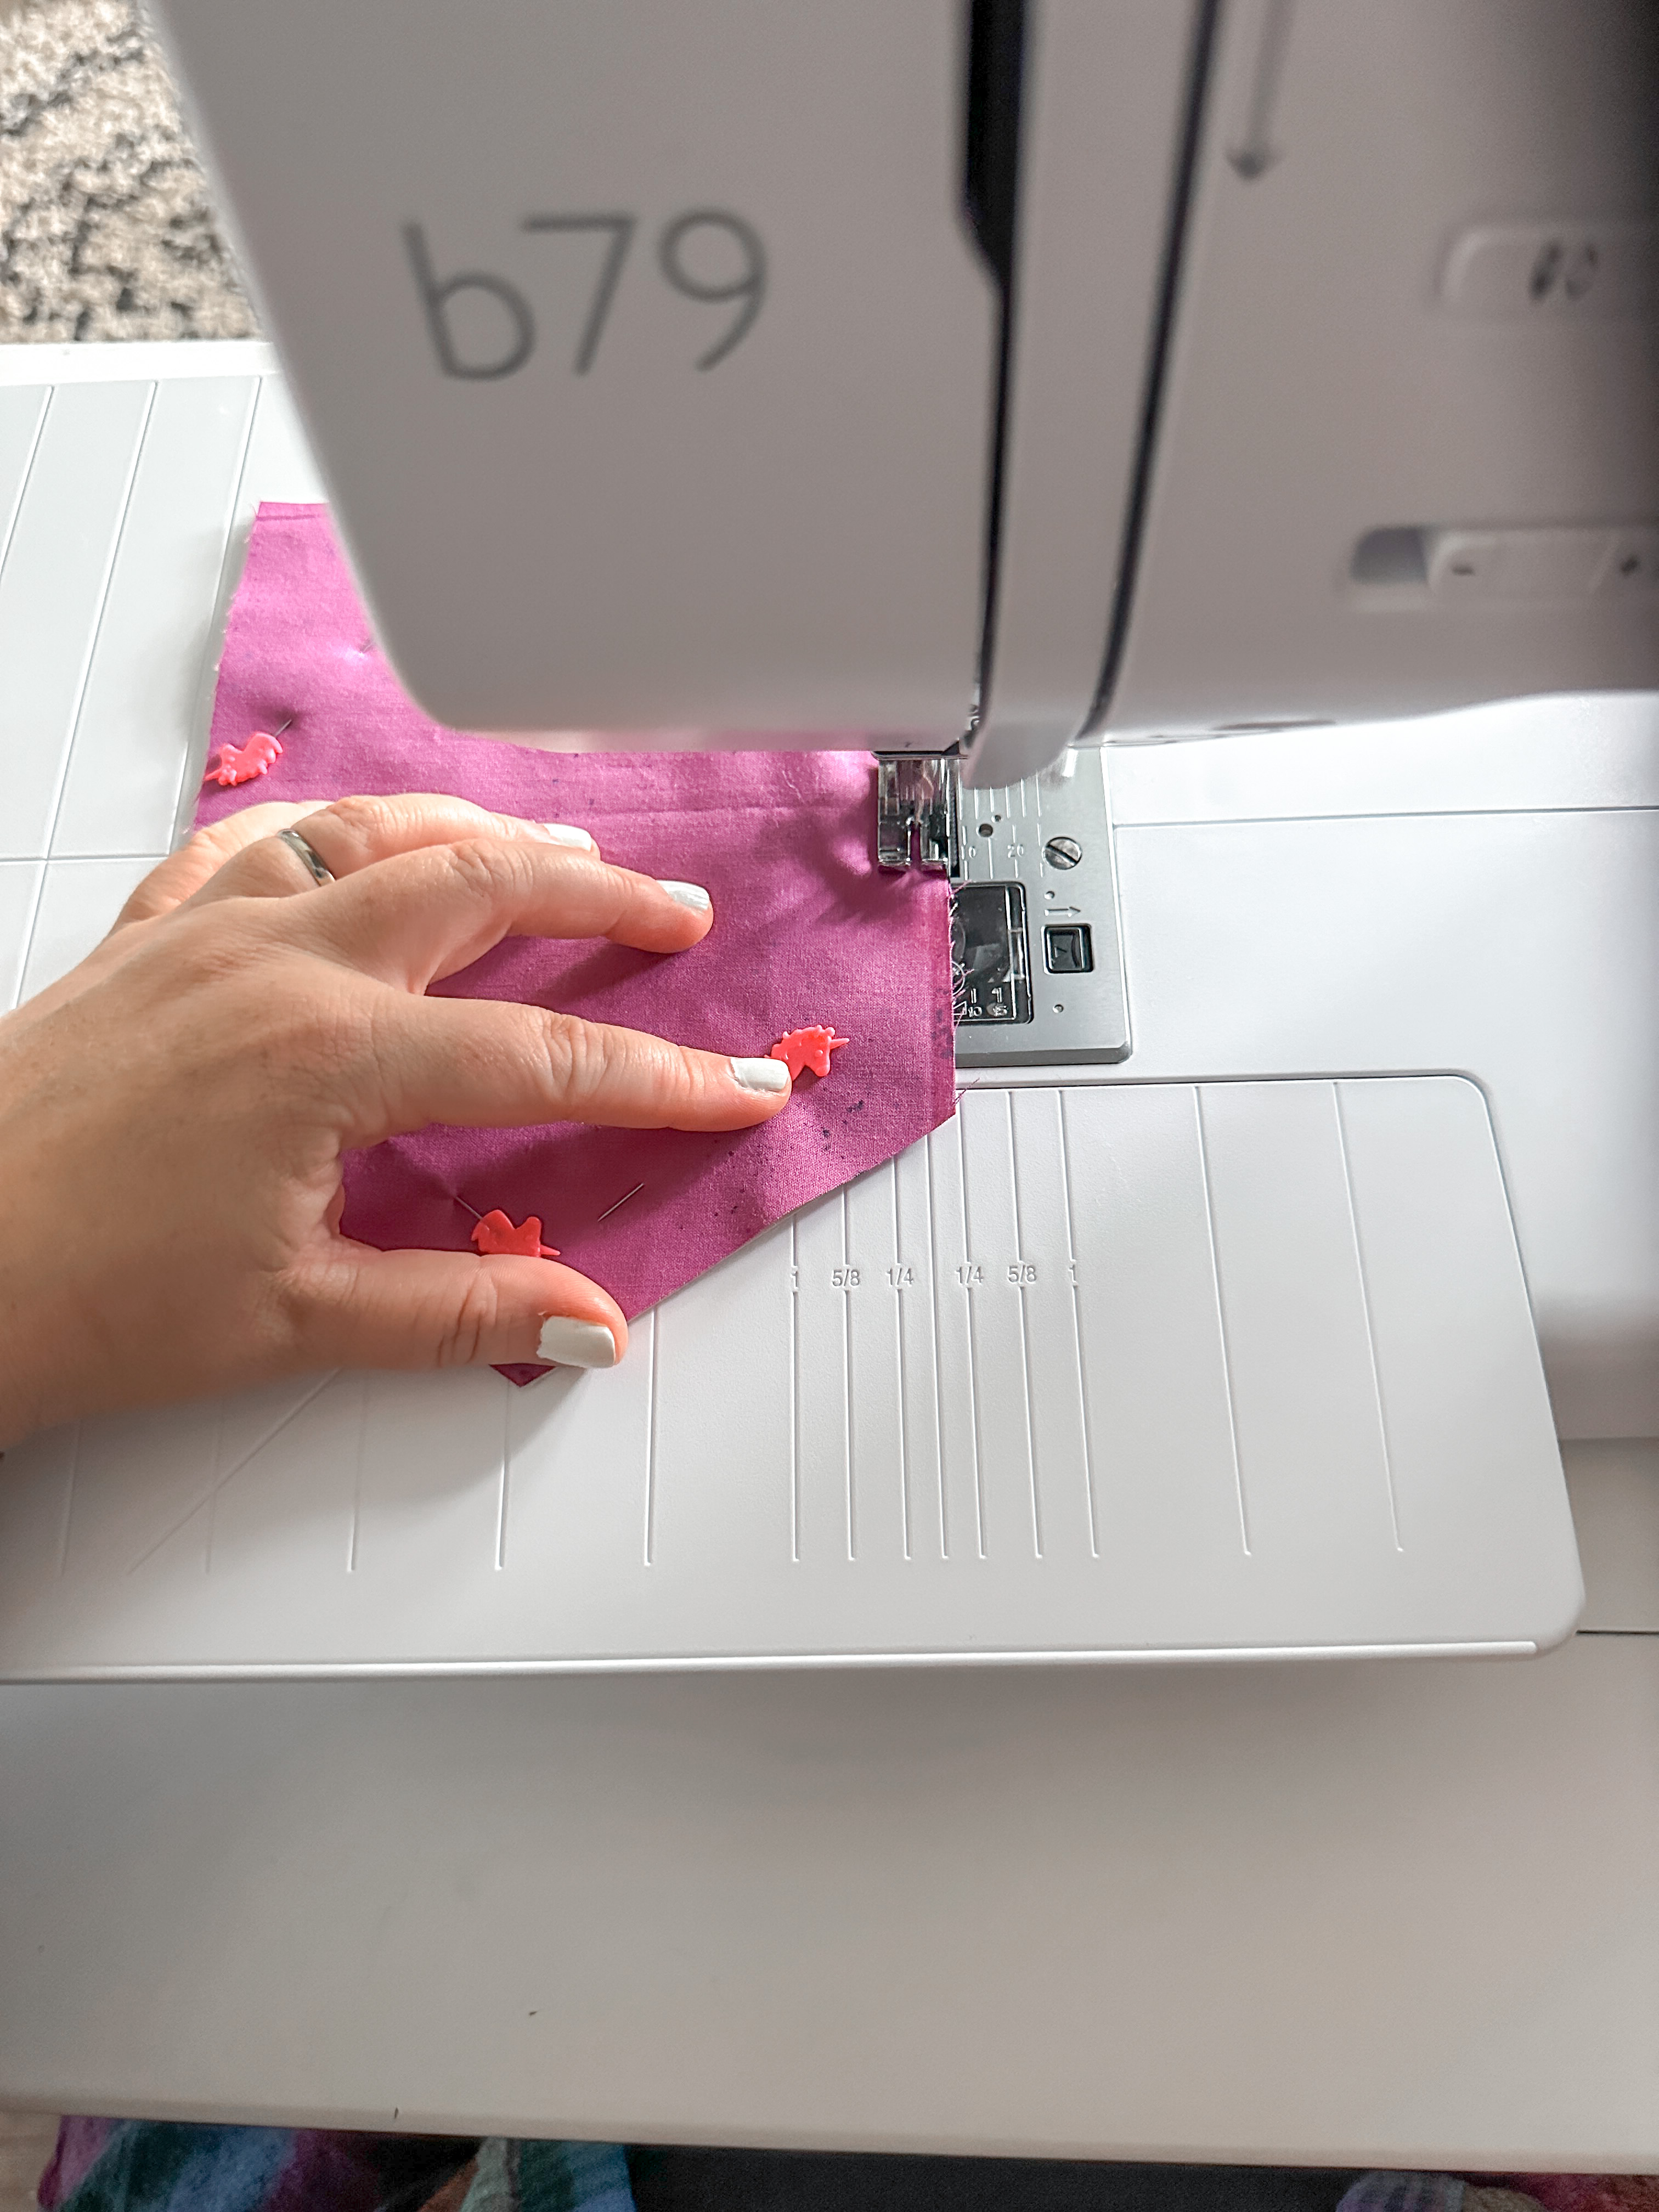
Place the front and back fabrics right sides together, pin, and sew along the bottom and sides using a 1/4″ seam allowance. Do not sew the top, leave open to turn right side out.
If you are adding trim or other embellishments, pin them between the layers so that they are on the inside of the sandwich.
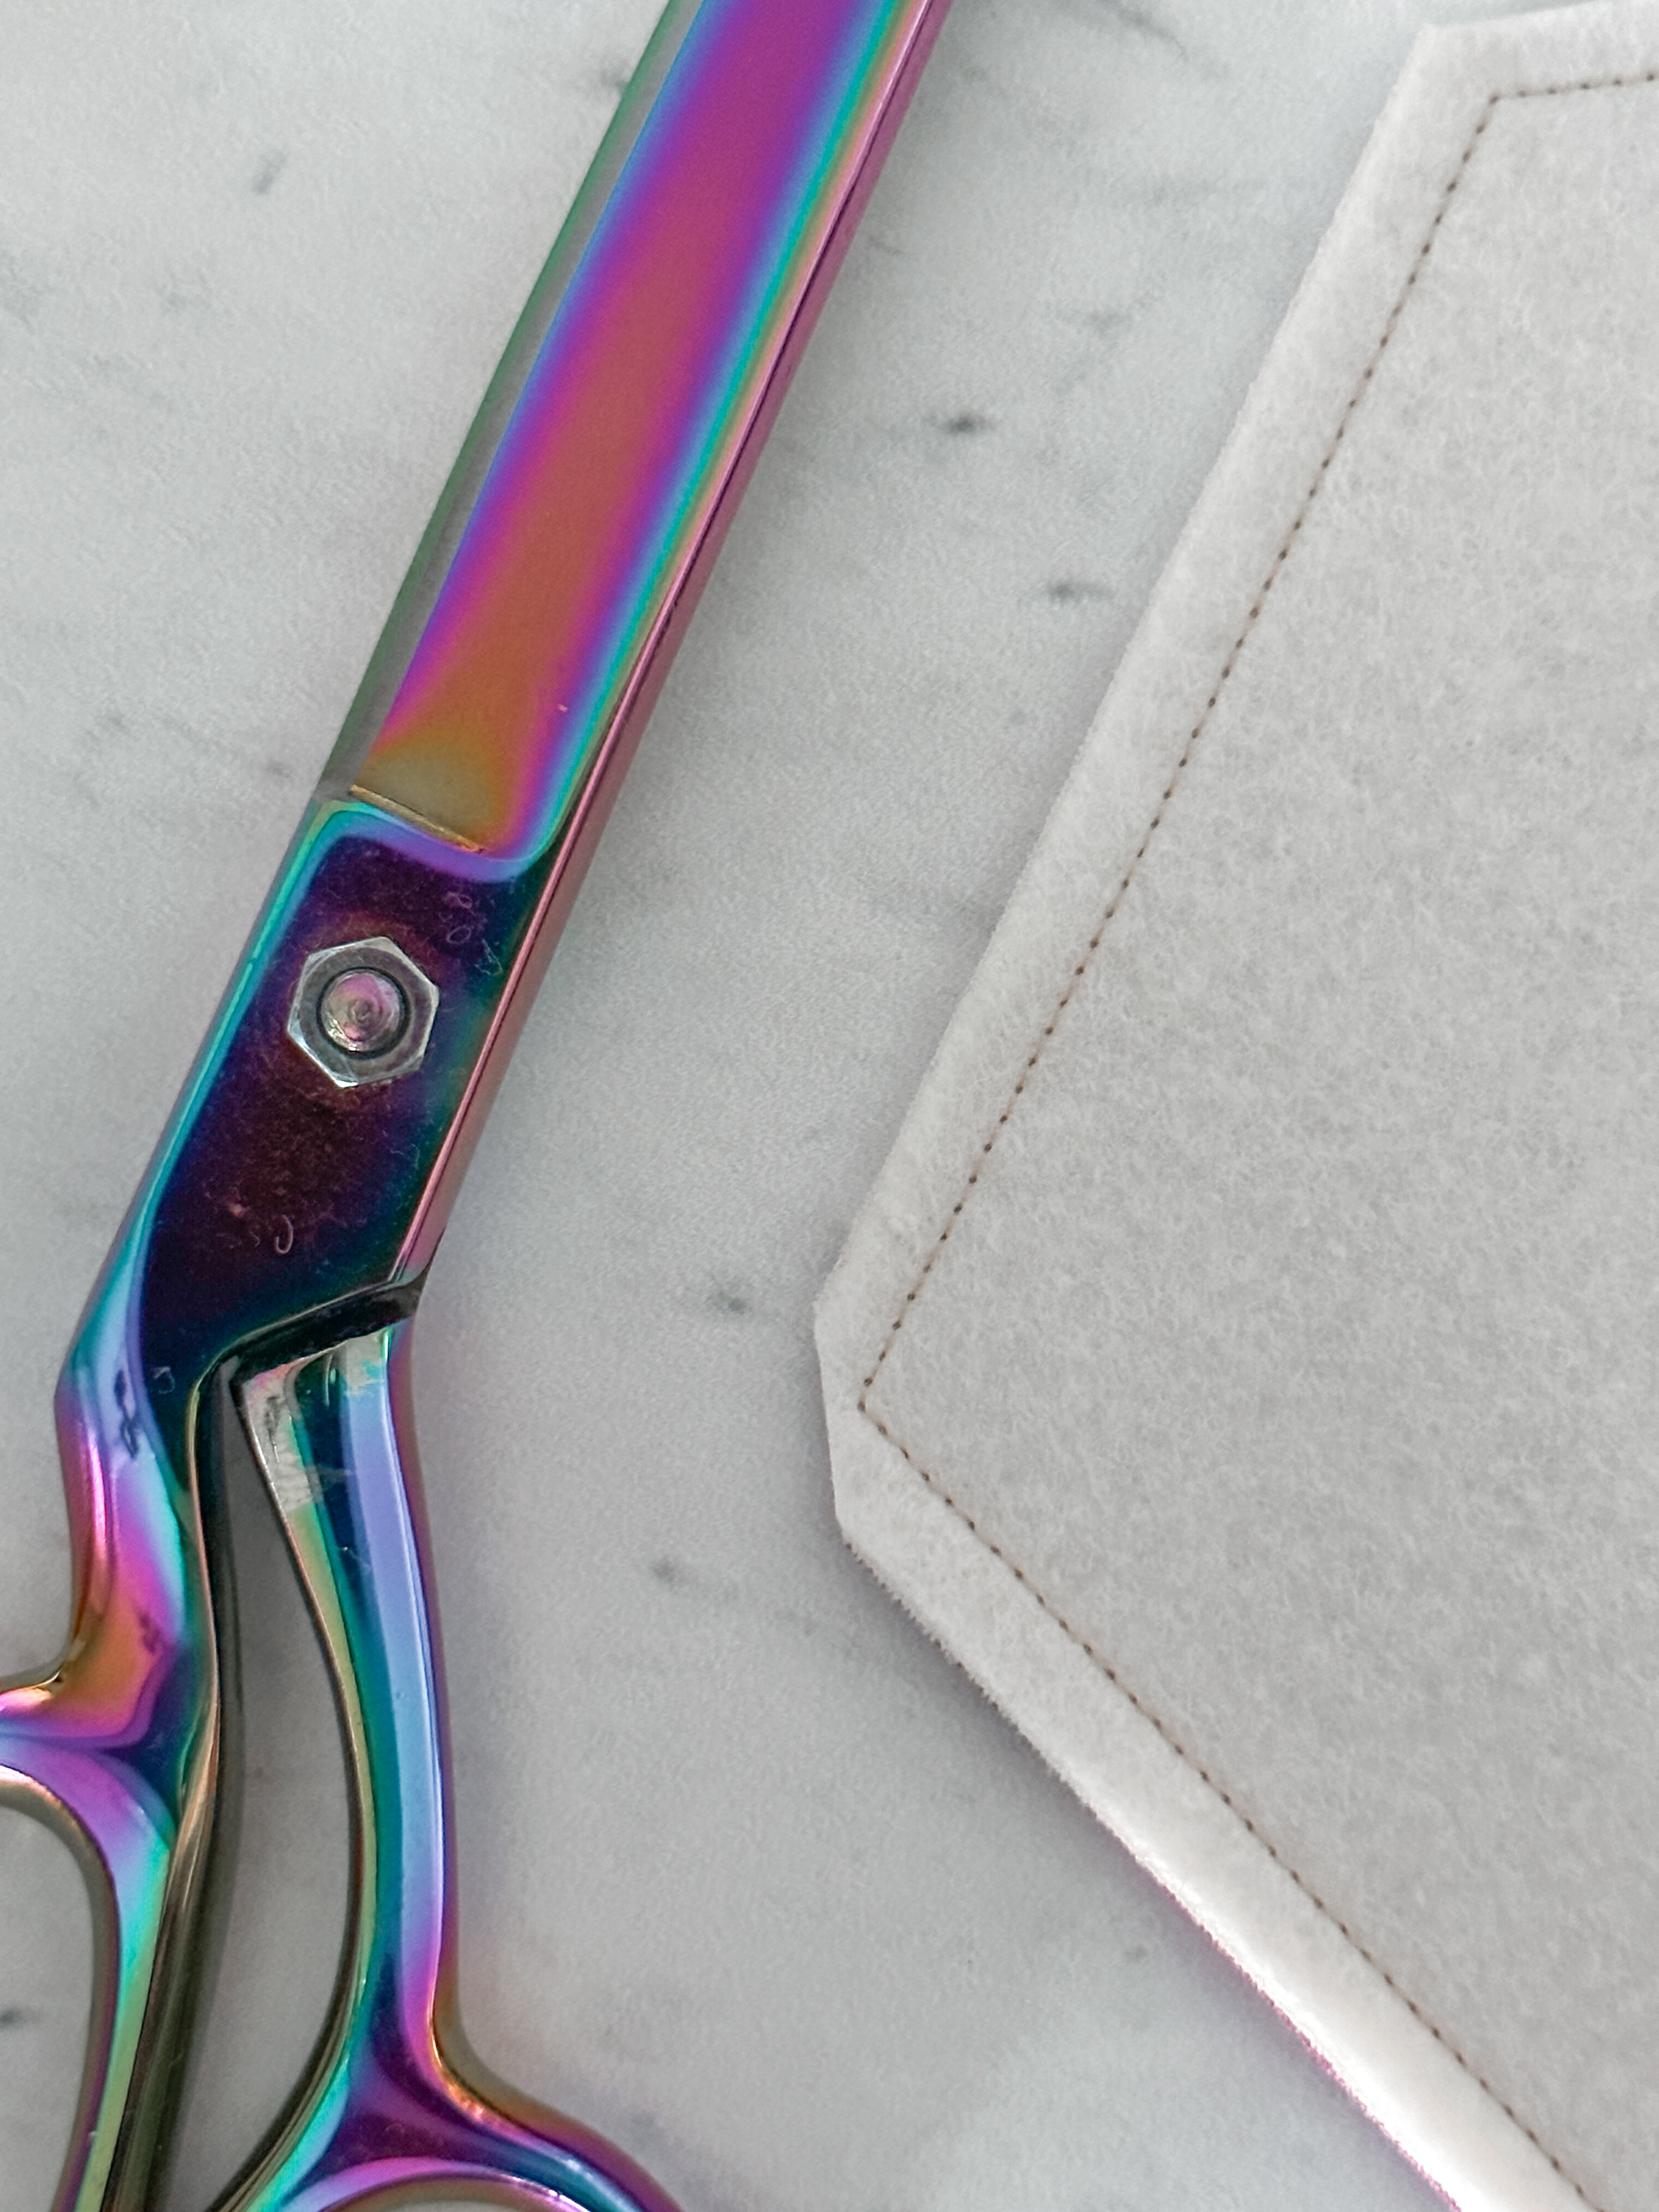
Trim any excess from the bottom and side points if needed.
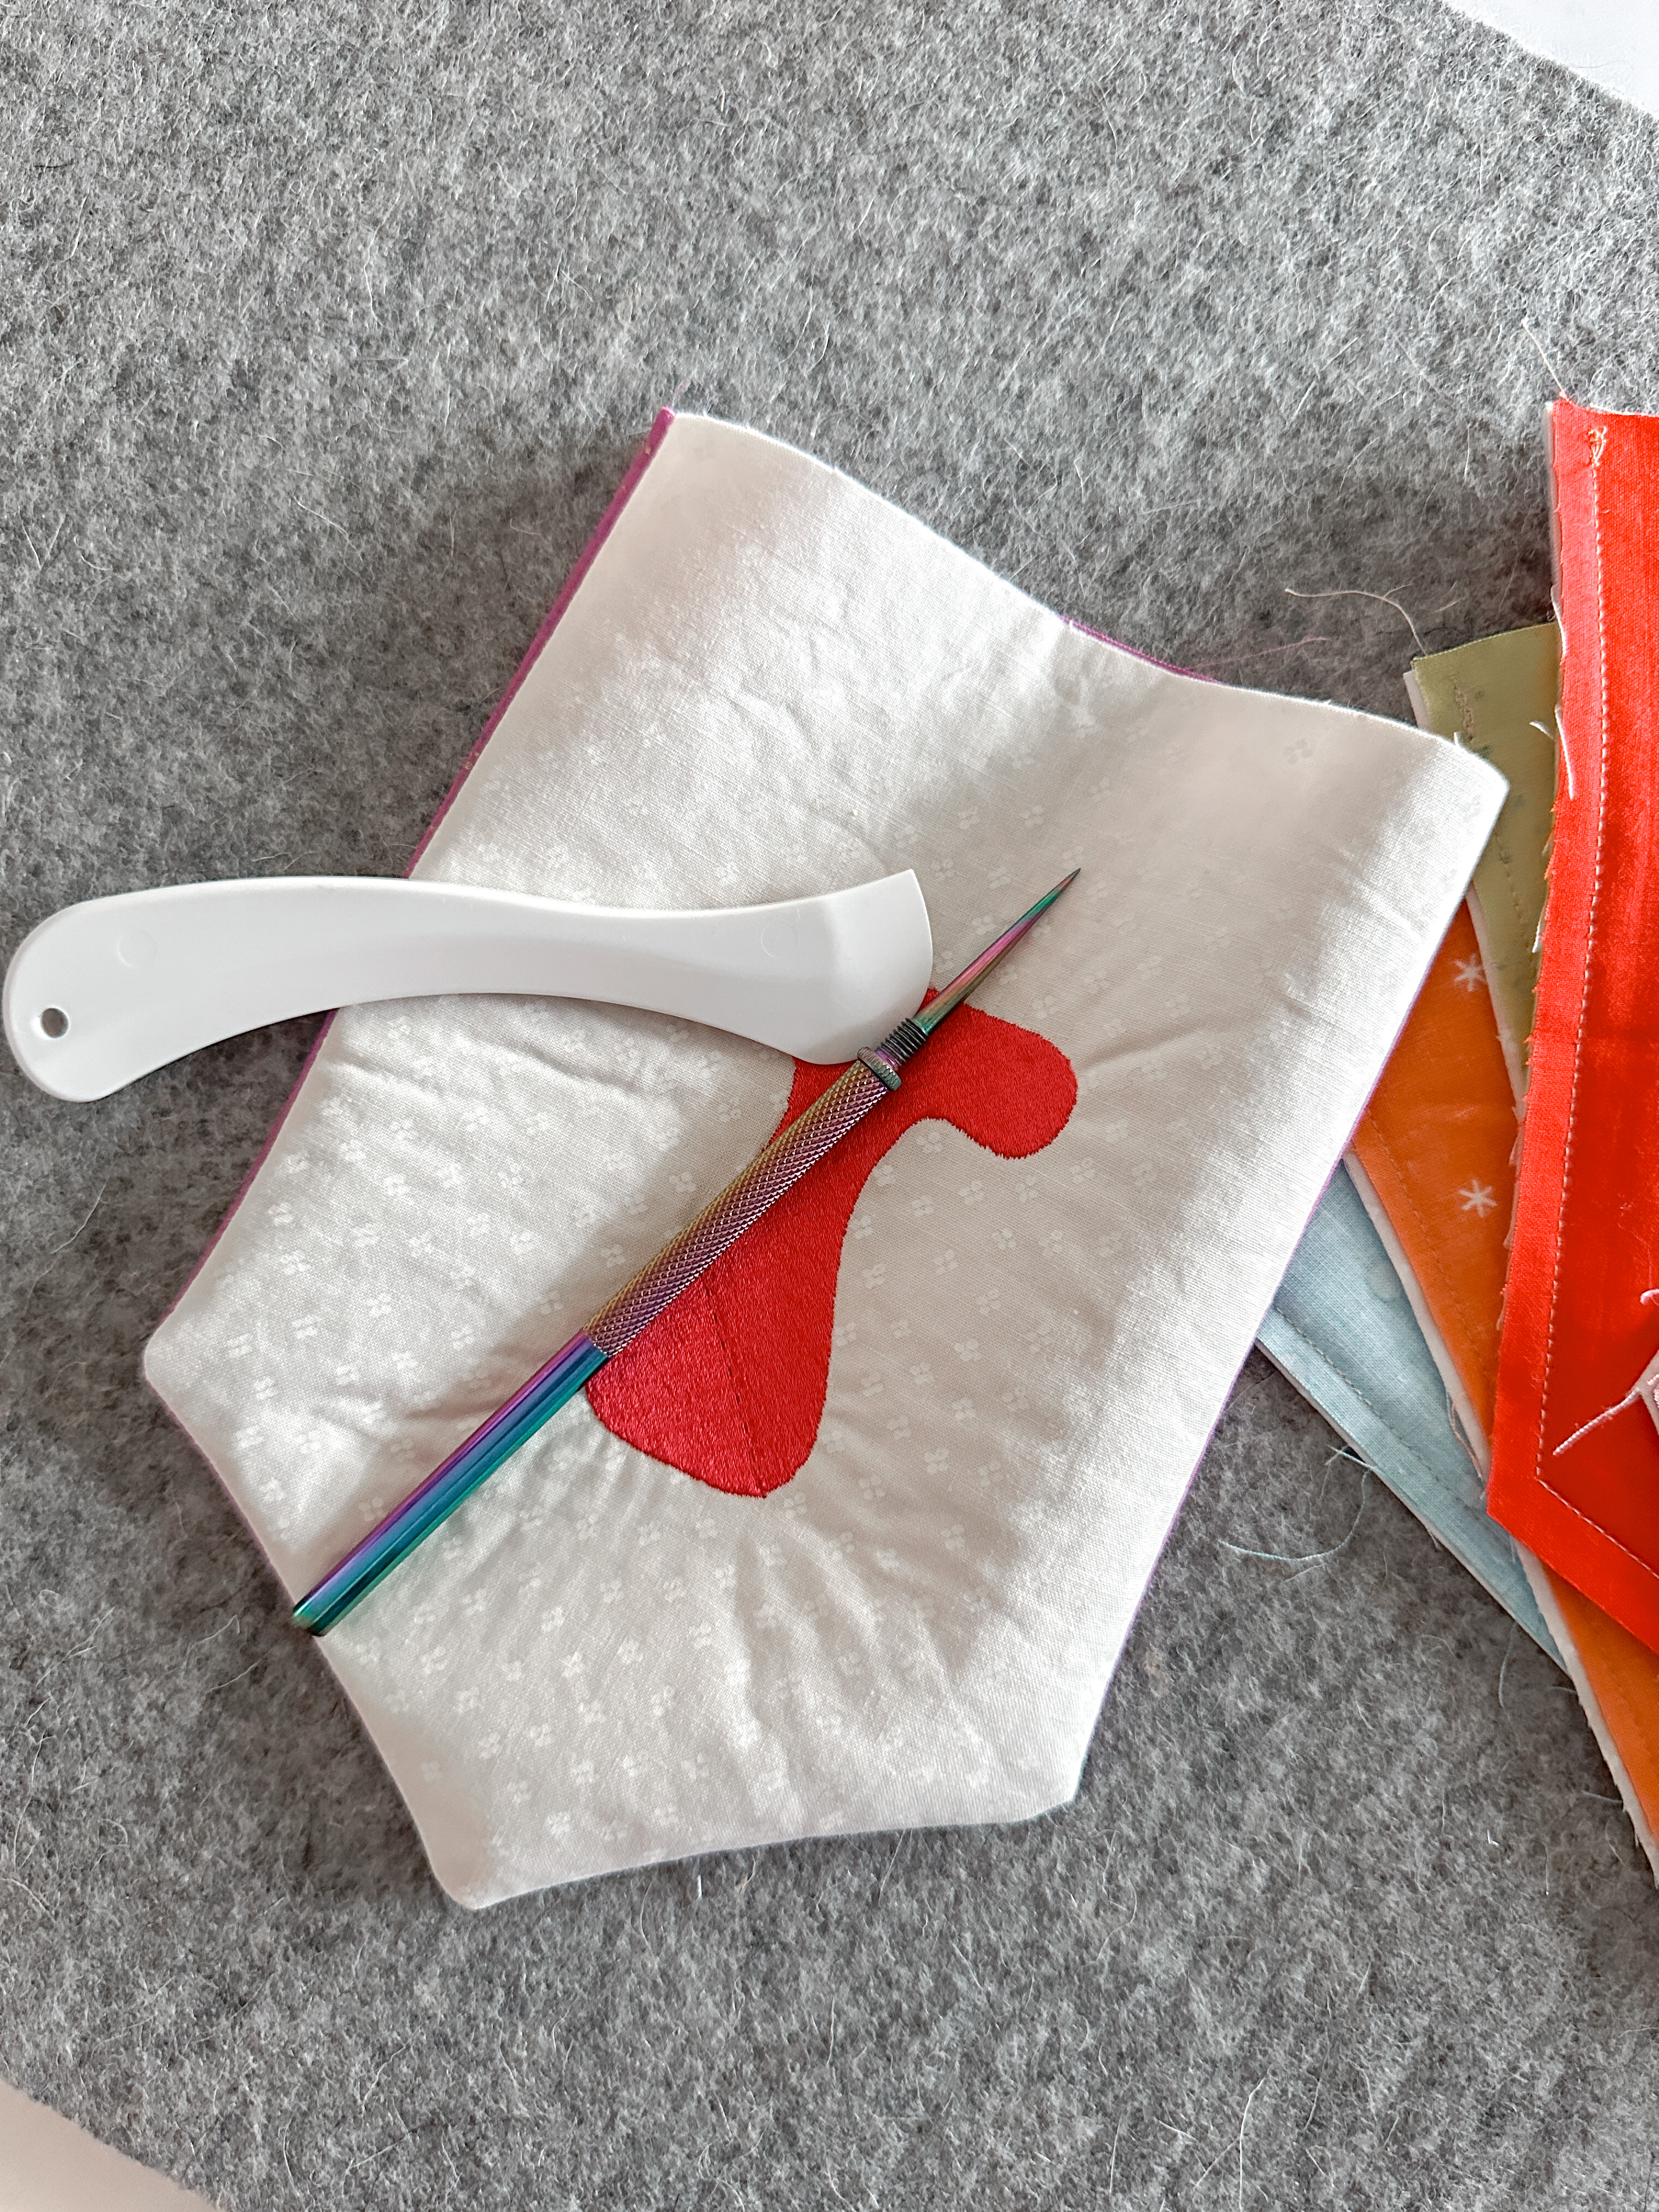
Turn flag right side out, using the opening left on the top. Use a point turner if needed to help get crisp points at the bottom and sides.
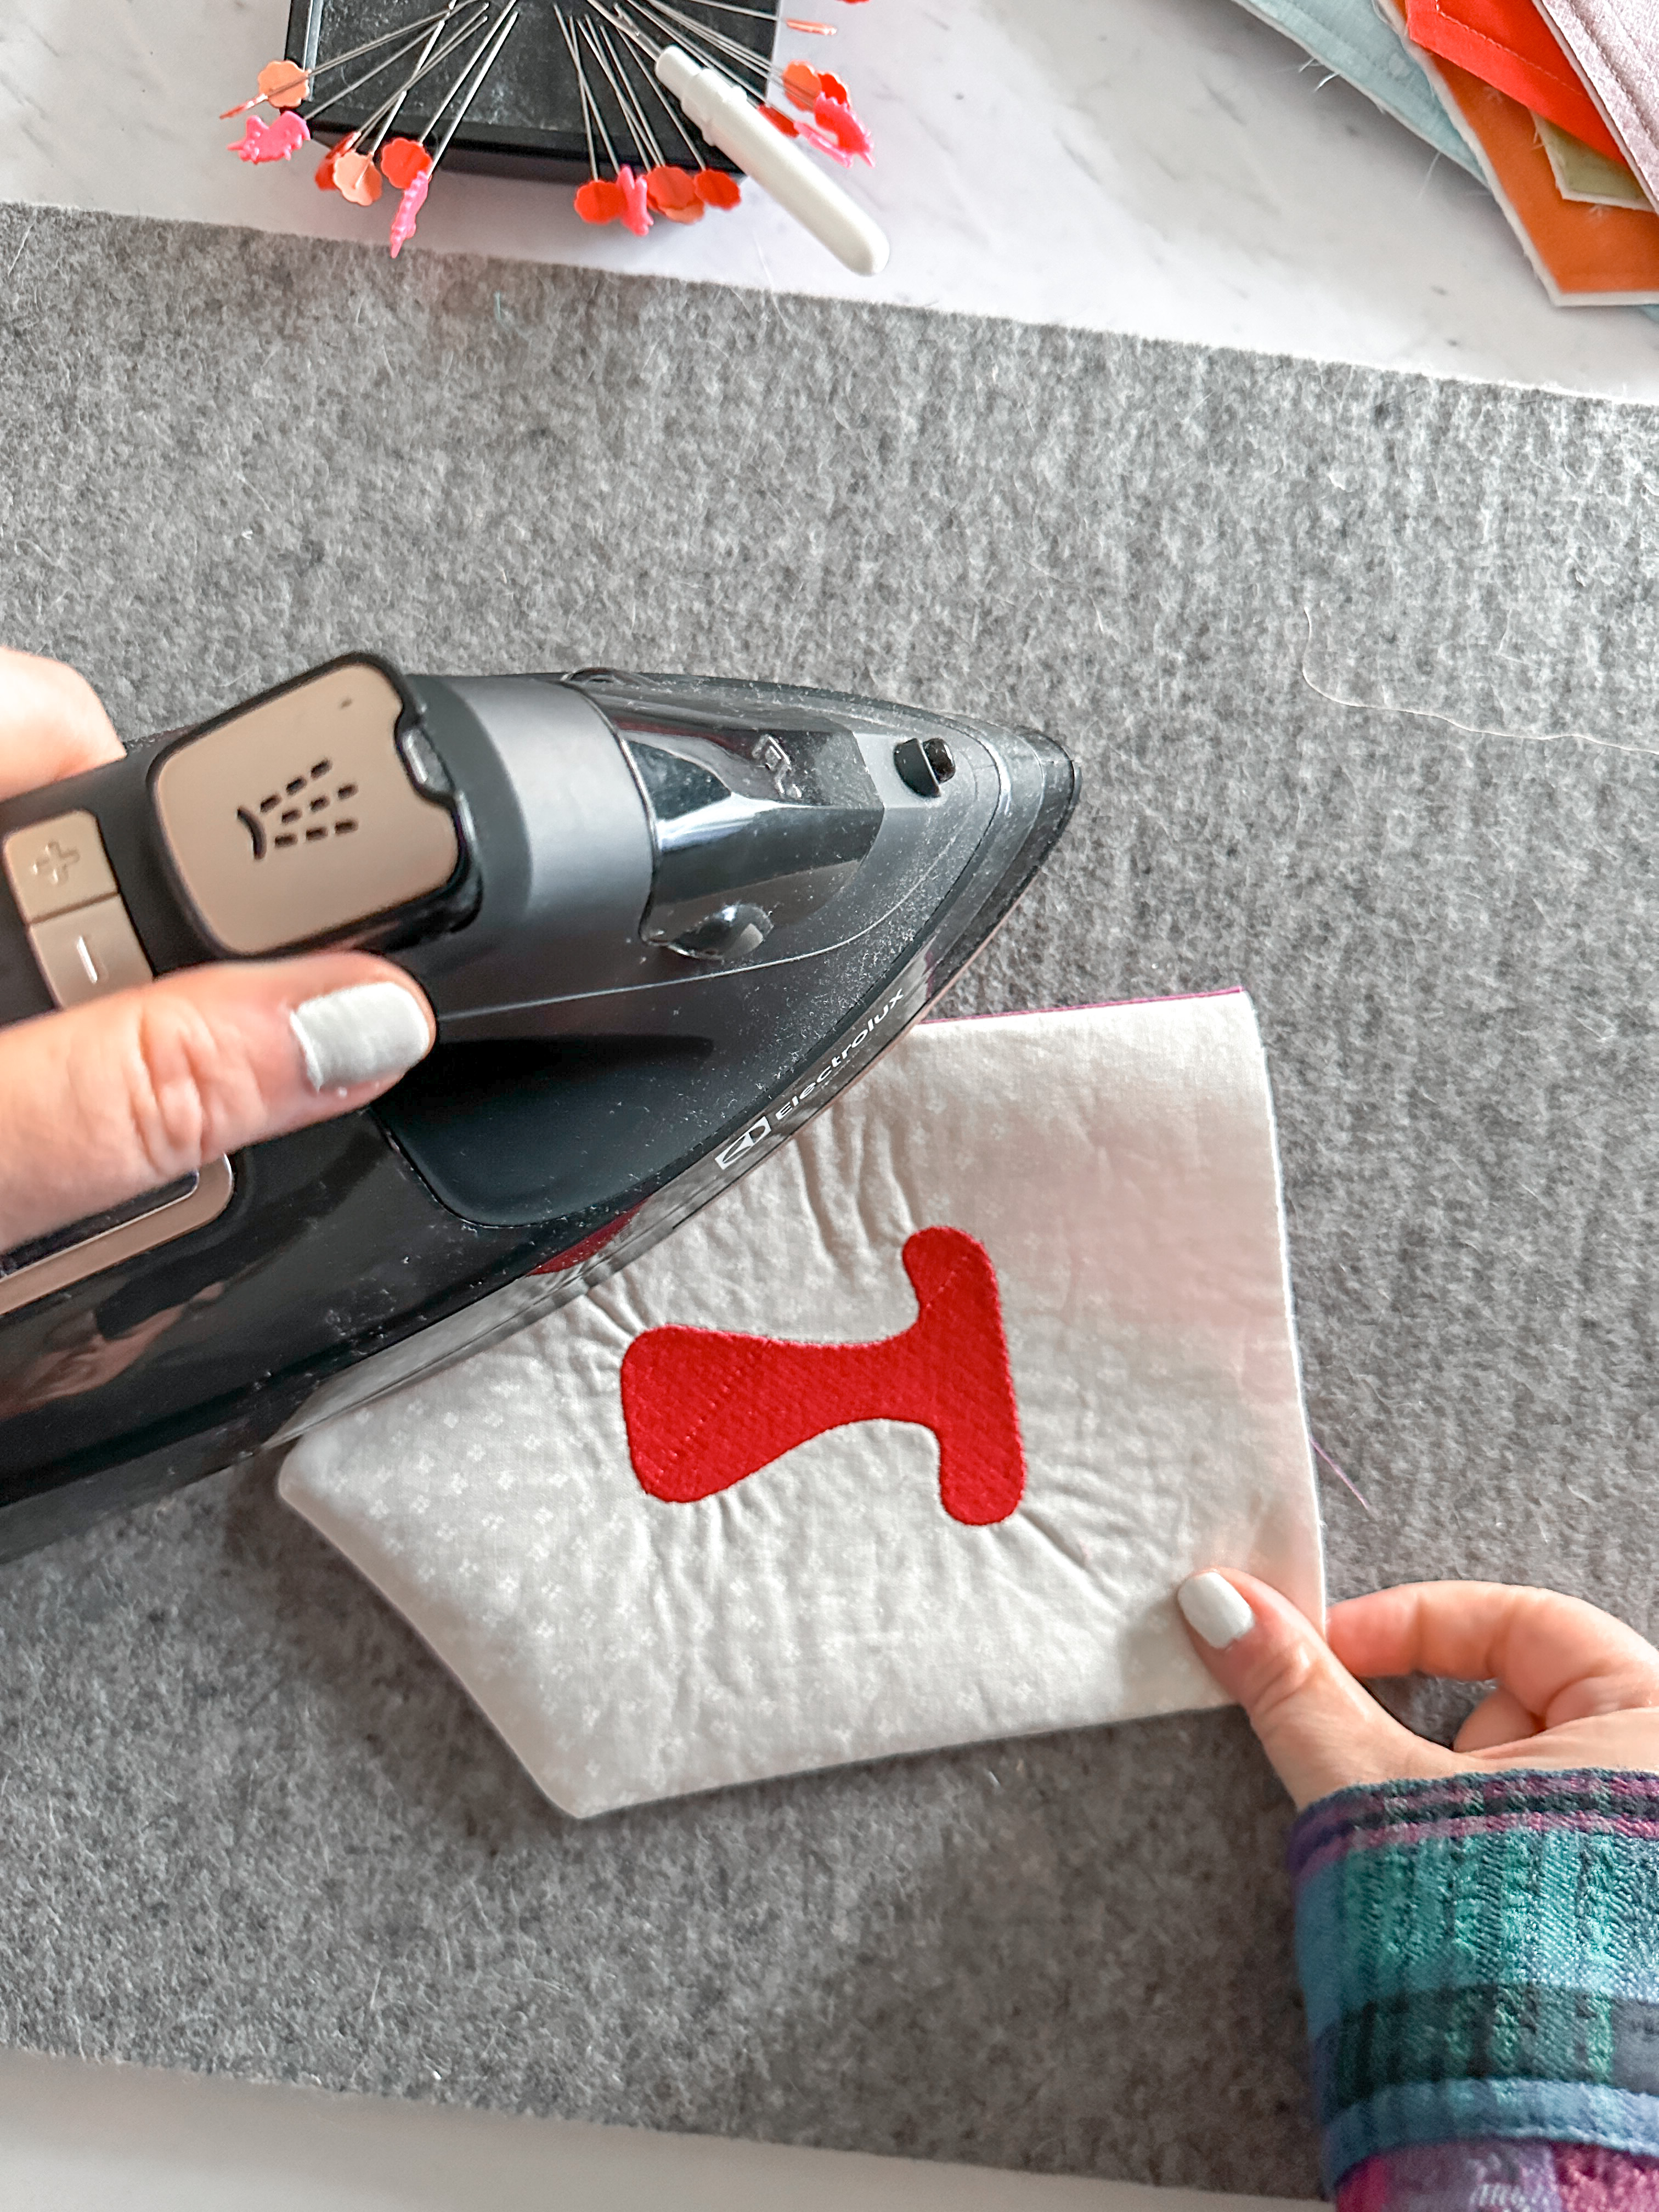
Press the flag, taking care to not squish your embroidery design.
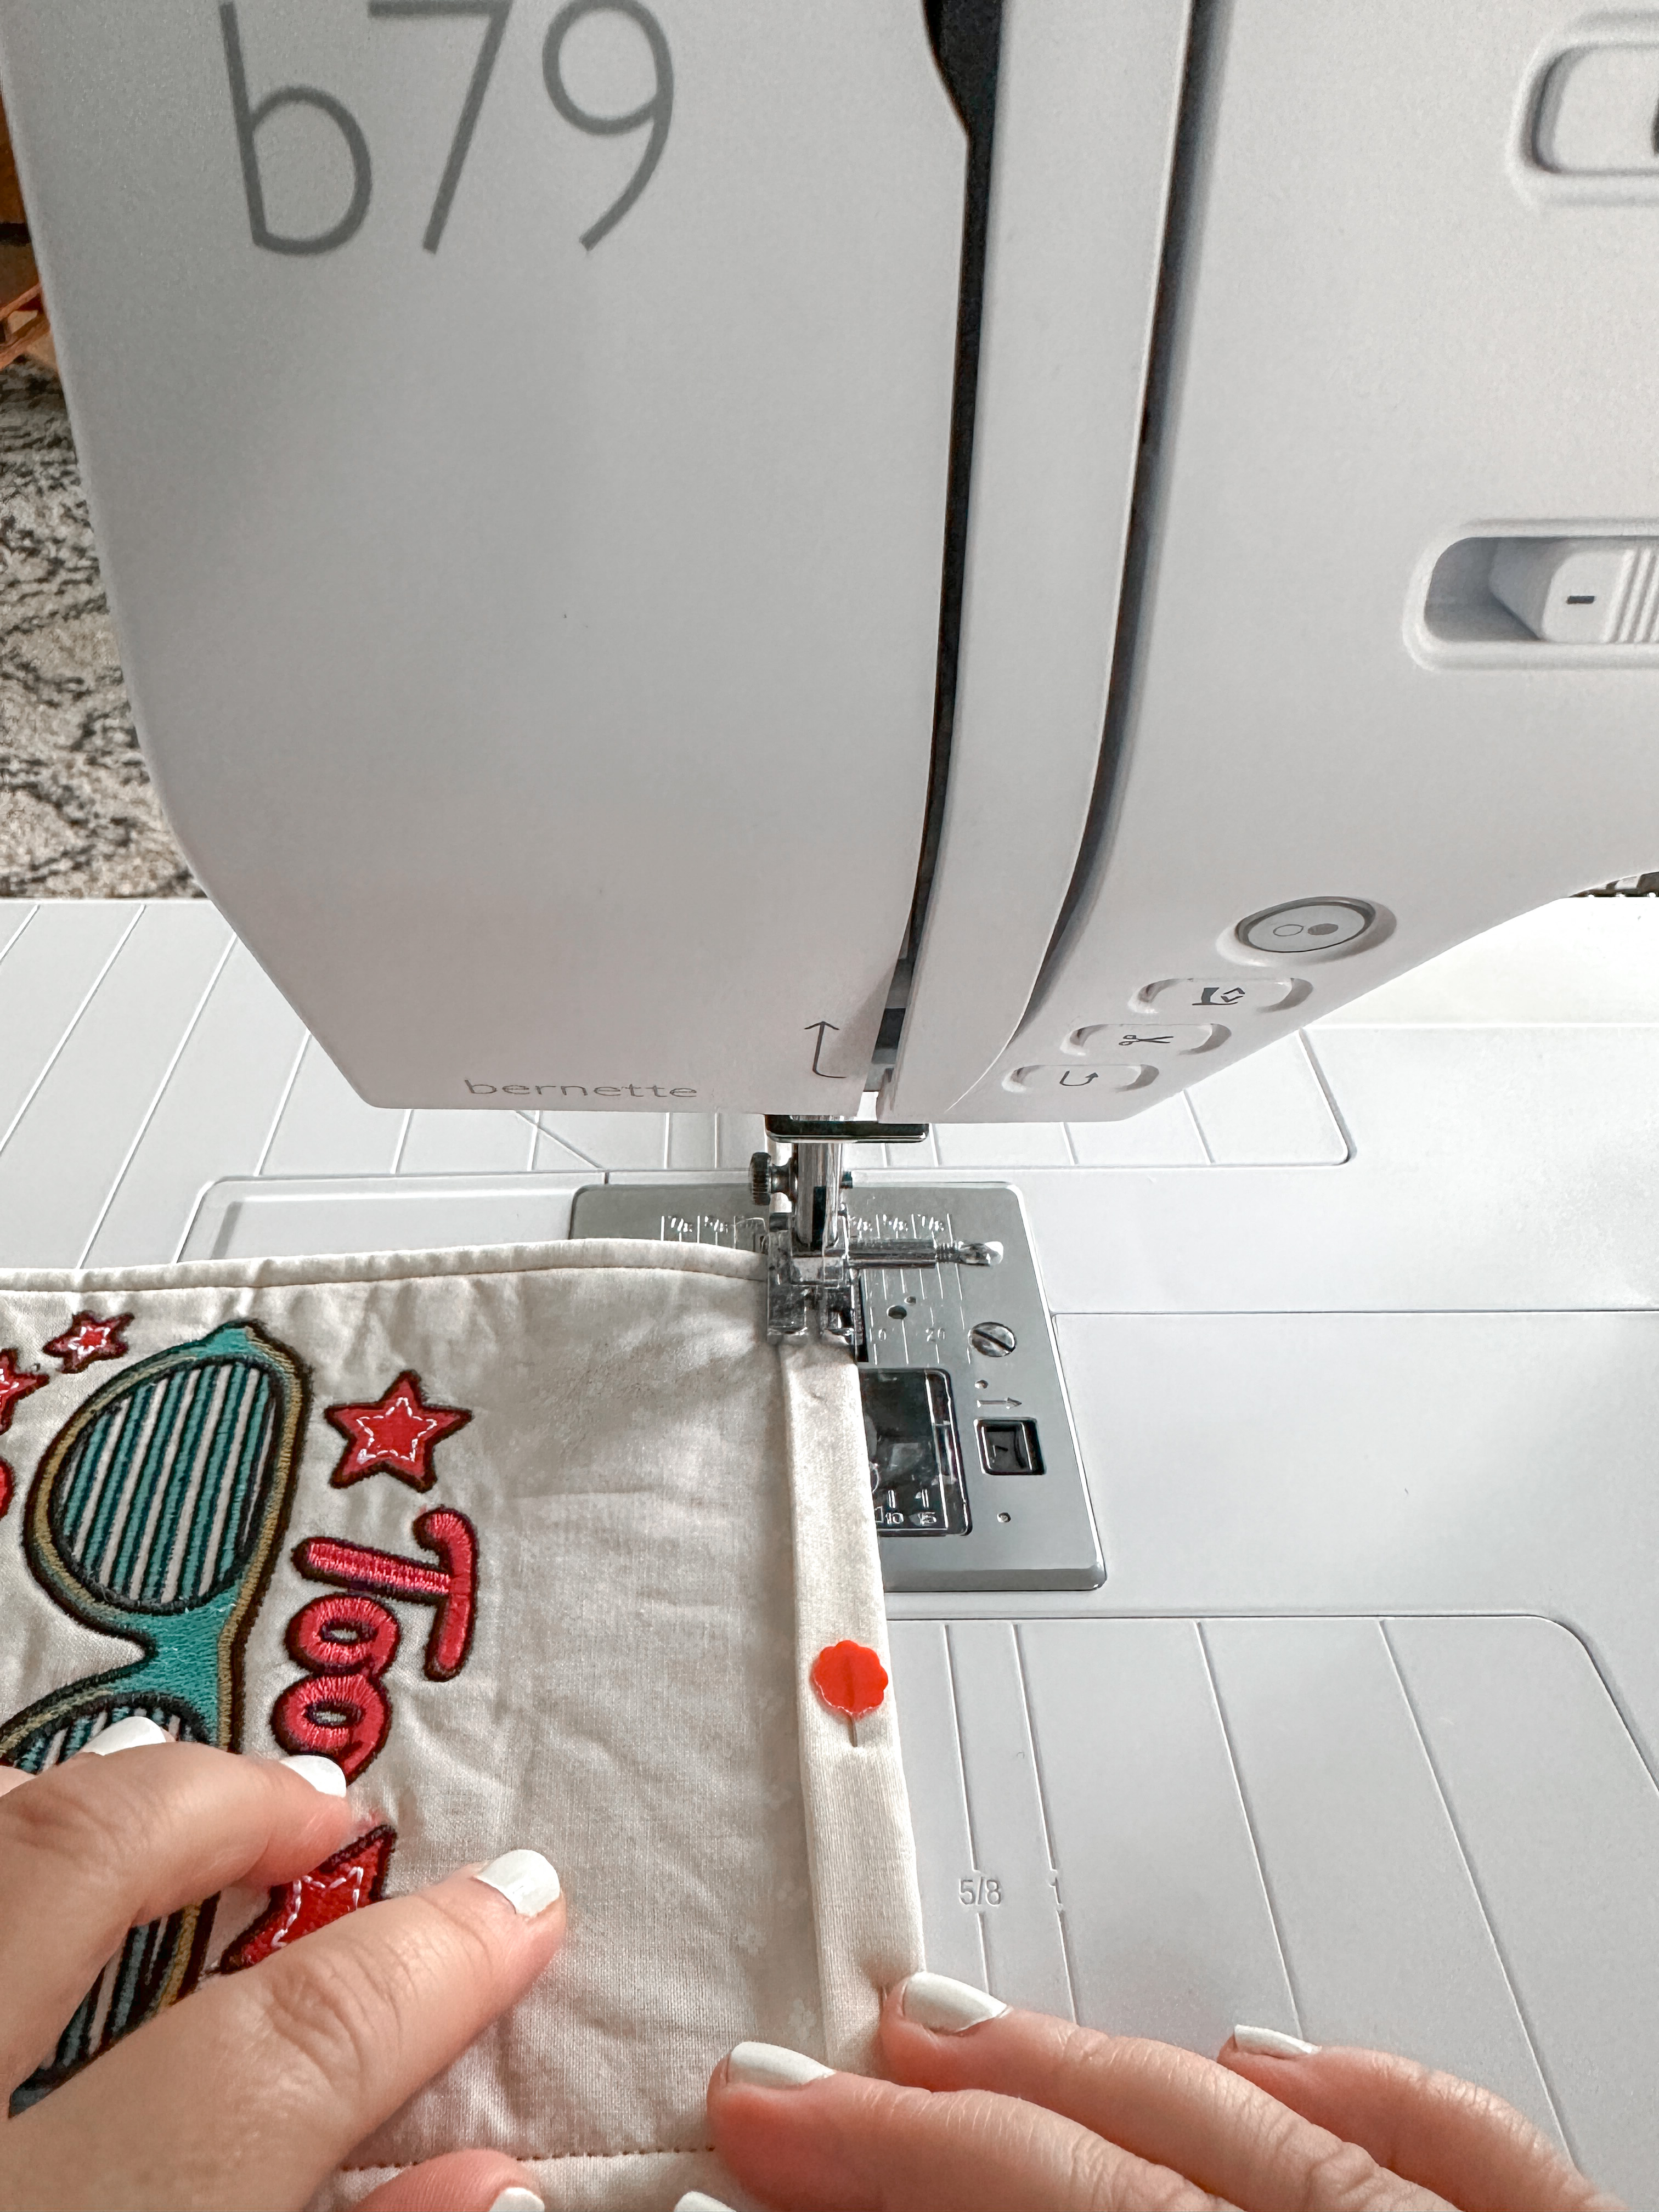
Top stitch 1/4″ around the edge.
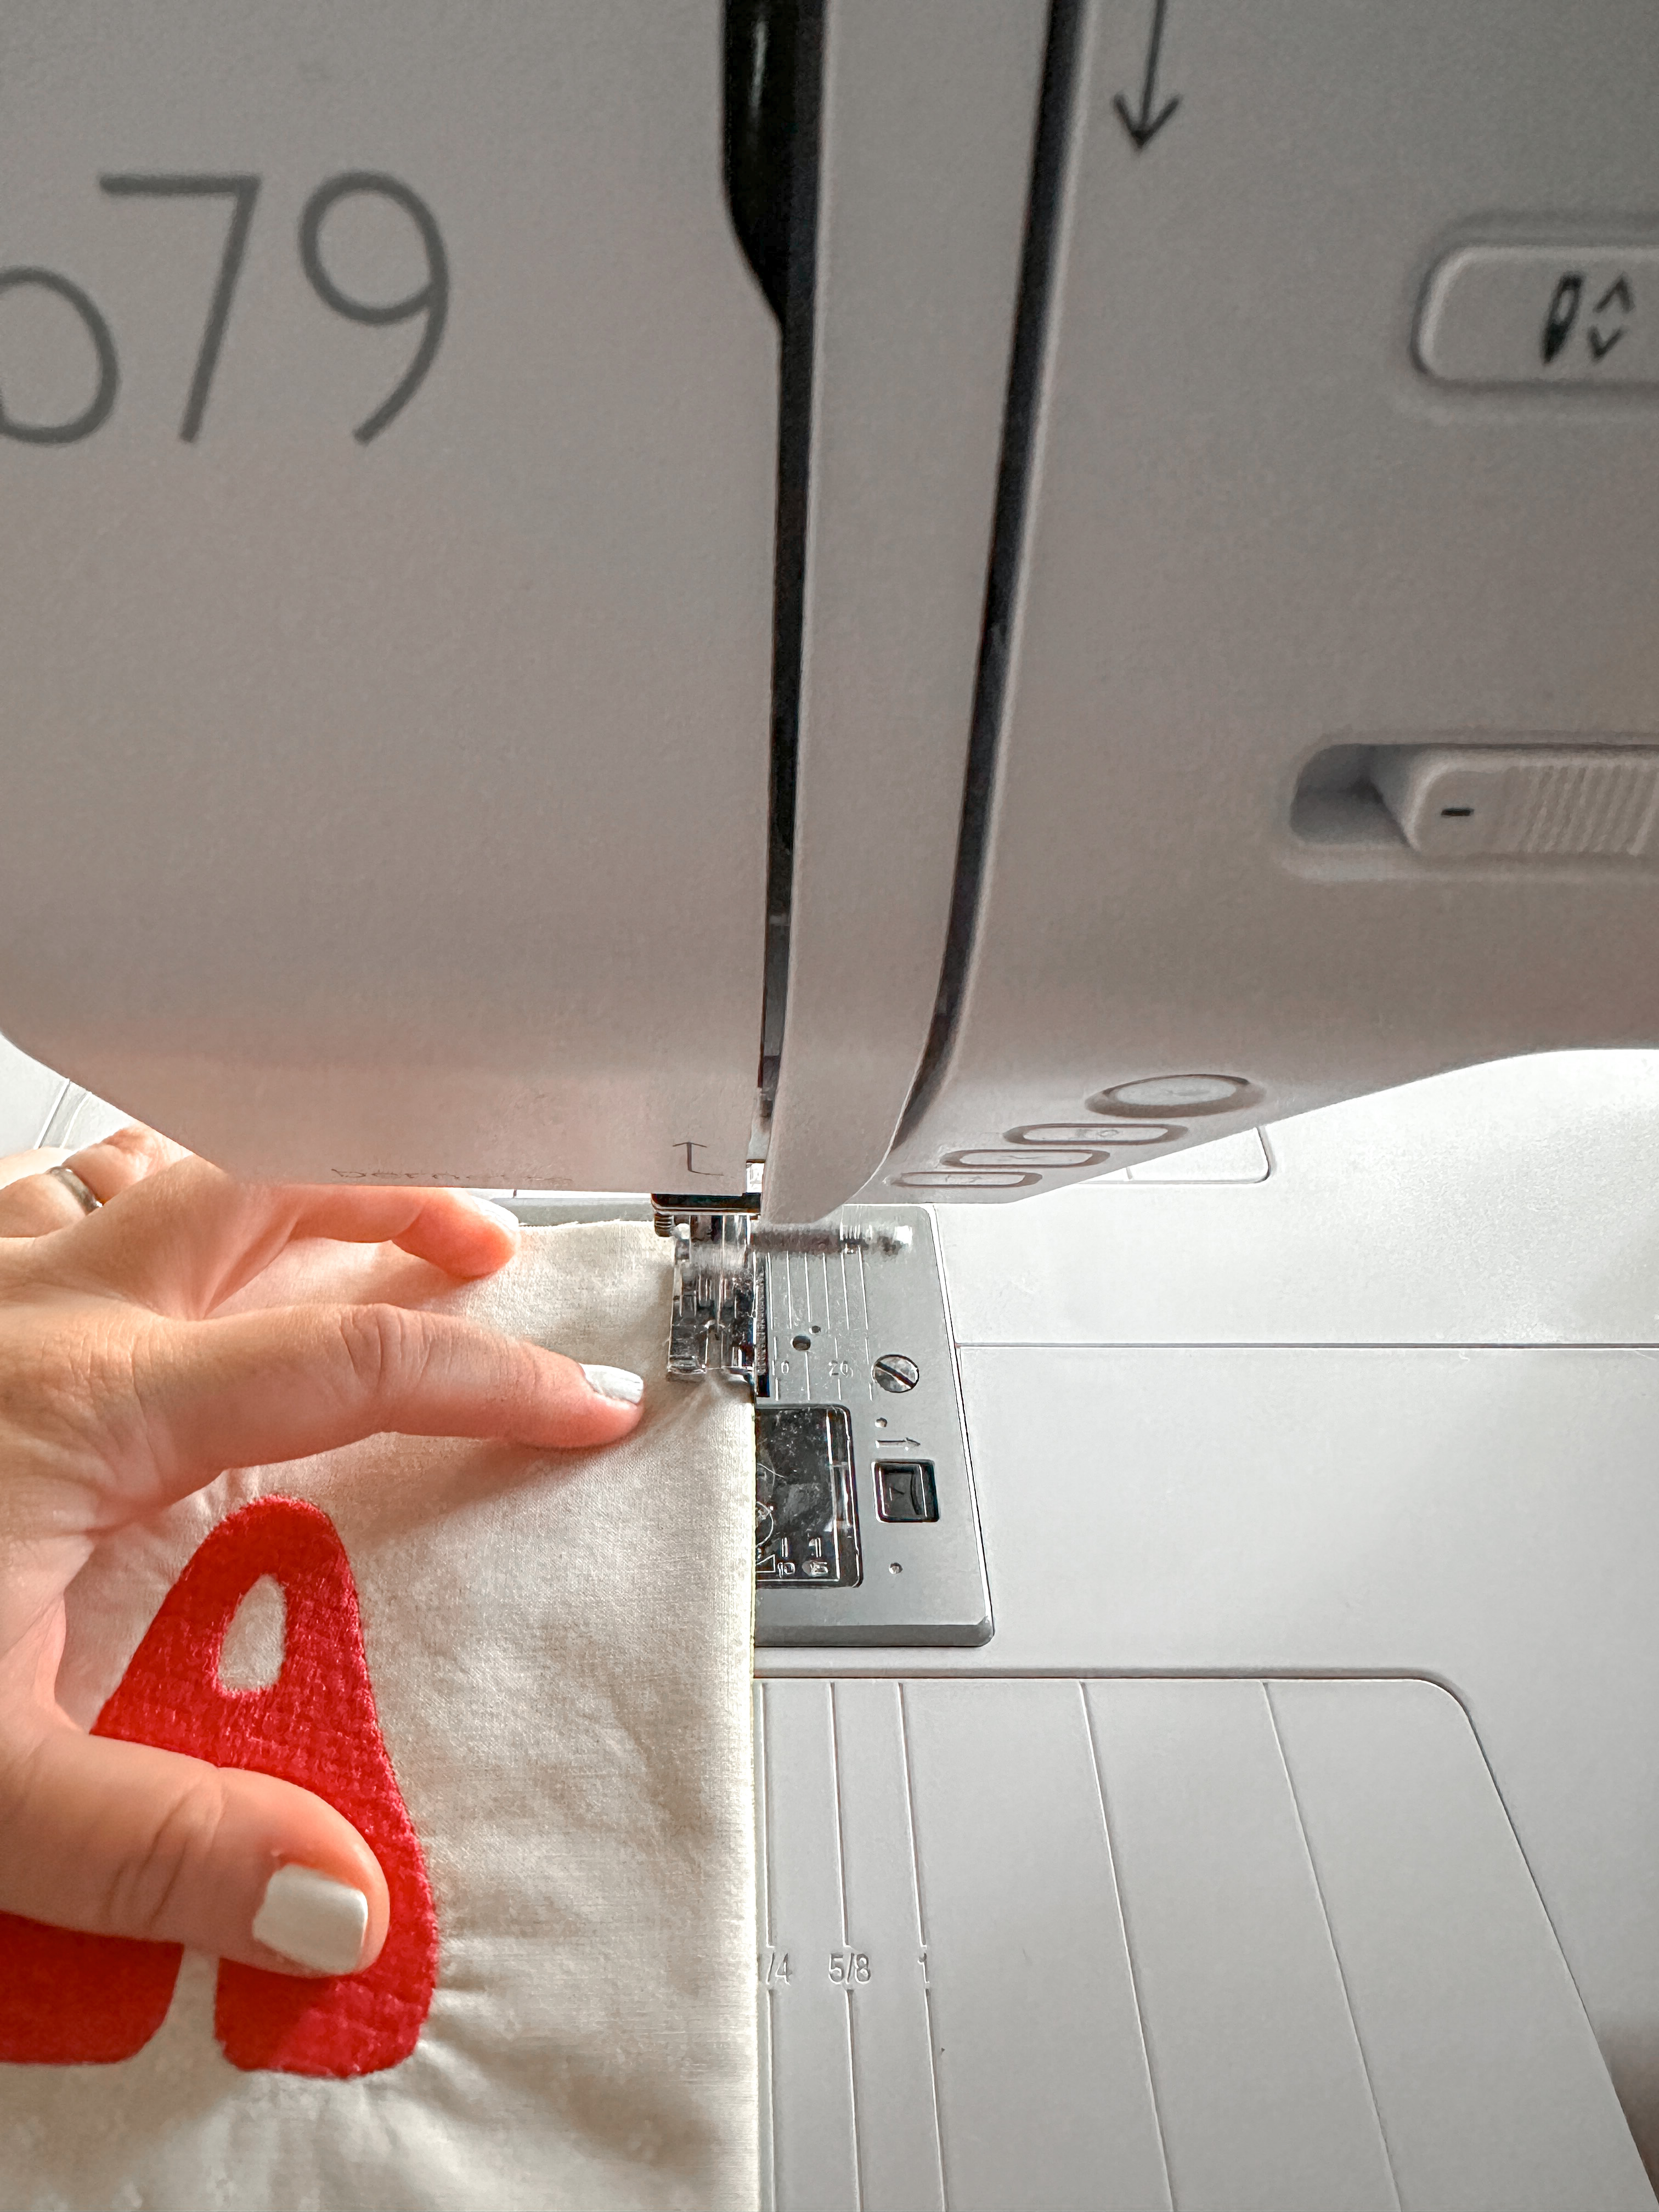
Repeat for each flag.
Step 4: Prepare and Attach Binding
Join the previously cut 2″ strips into one long strip by placing one strip face up, and a second face down at a 90-degree angle.
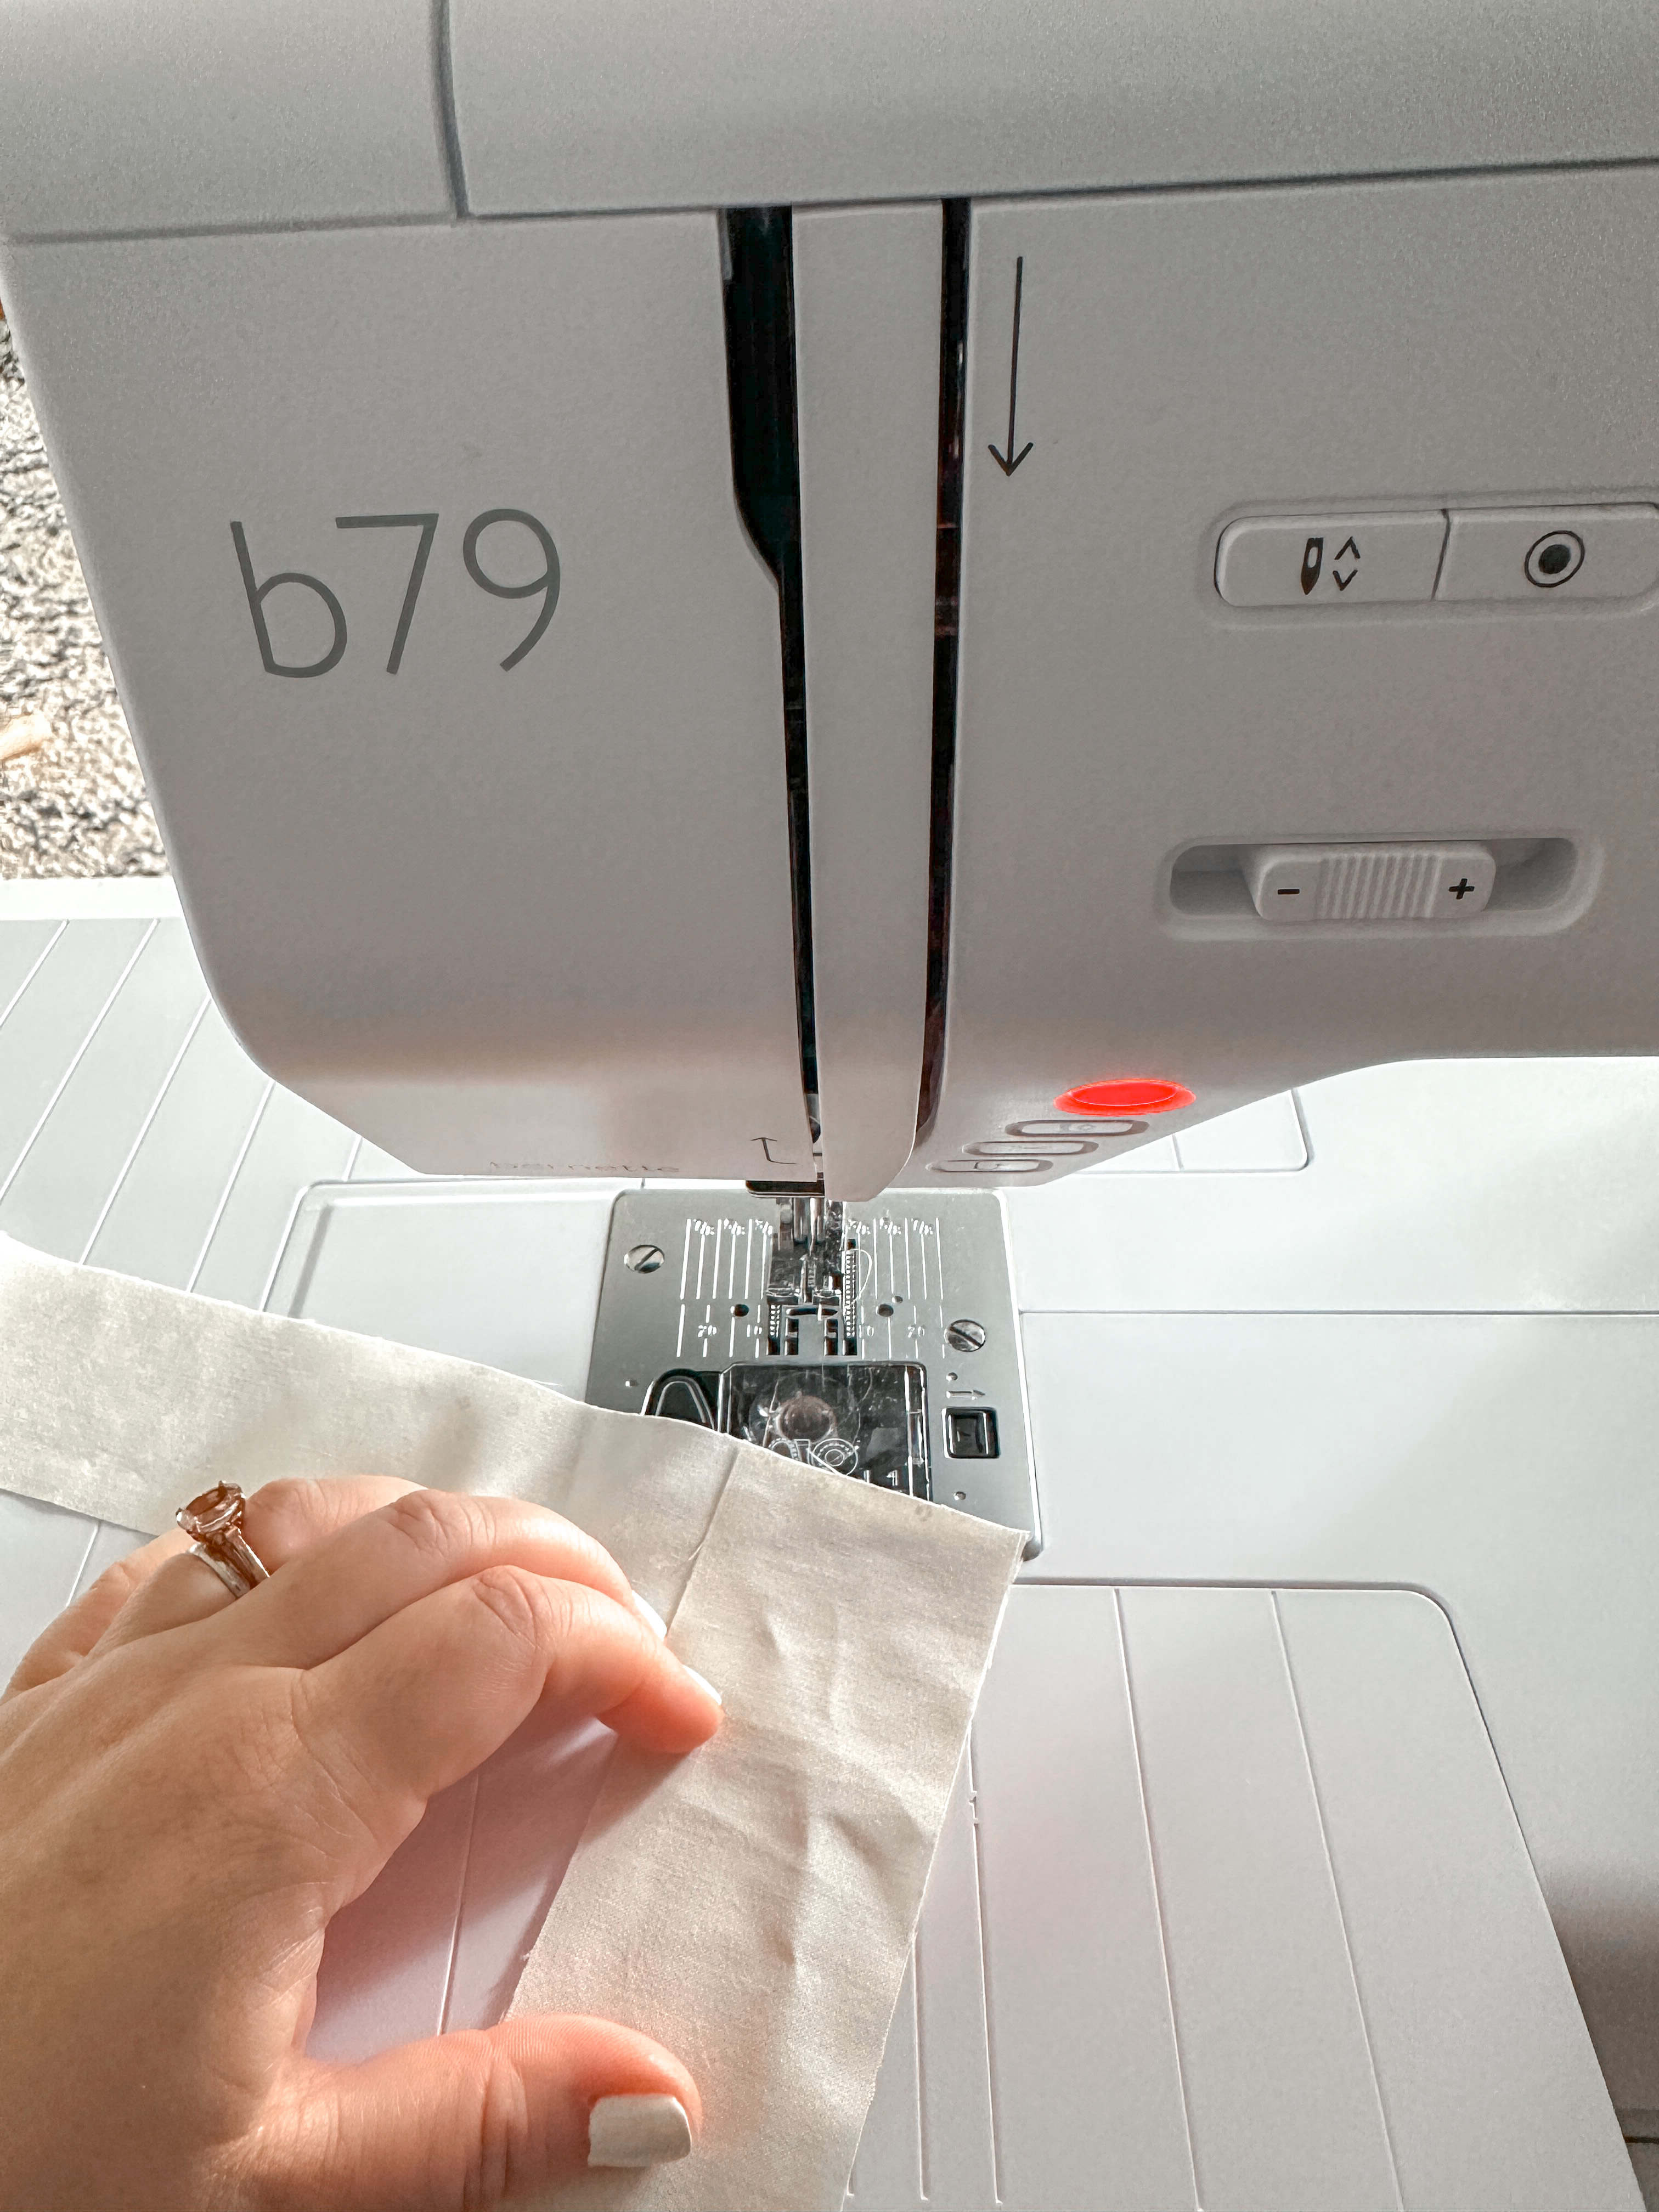
Sew and then trim excess
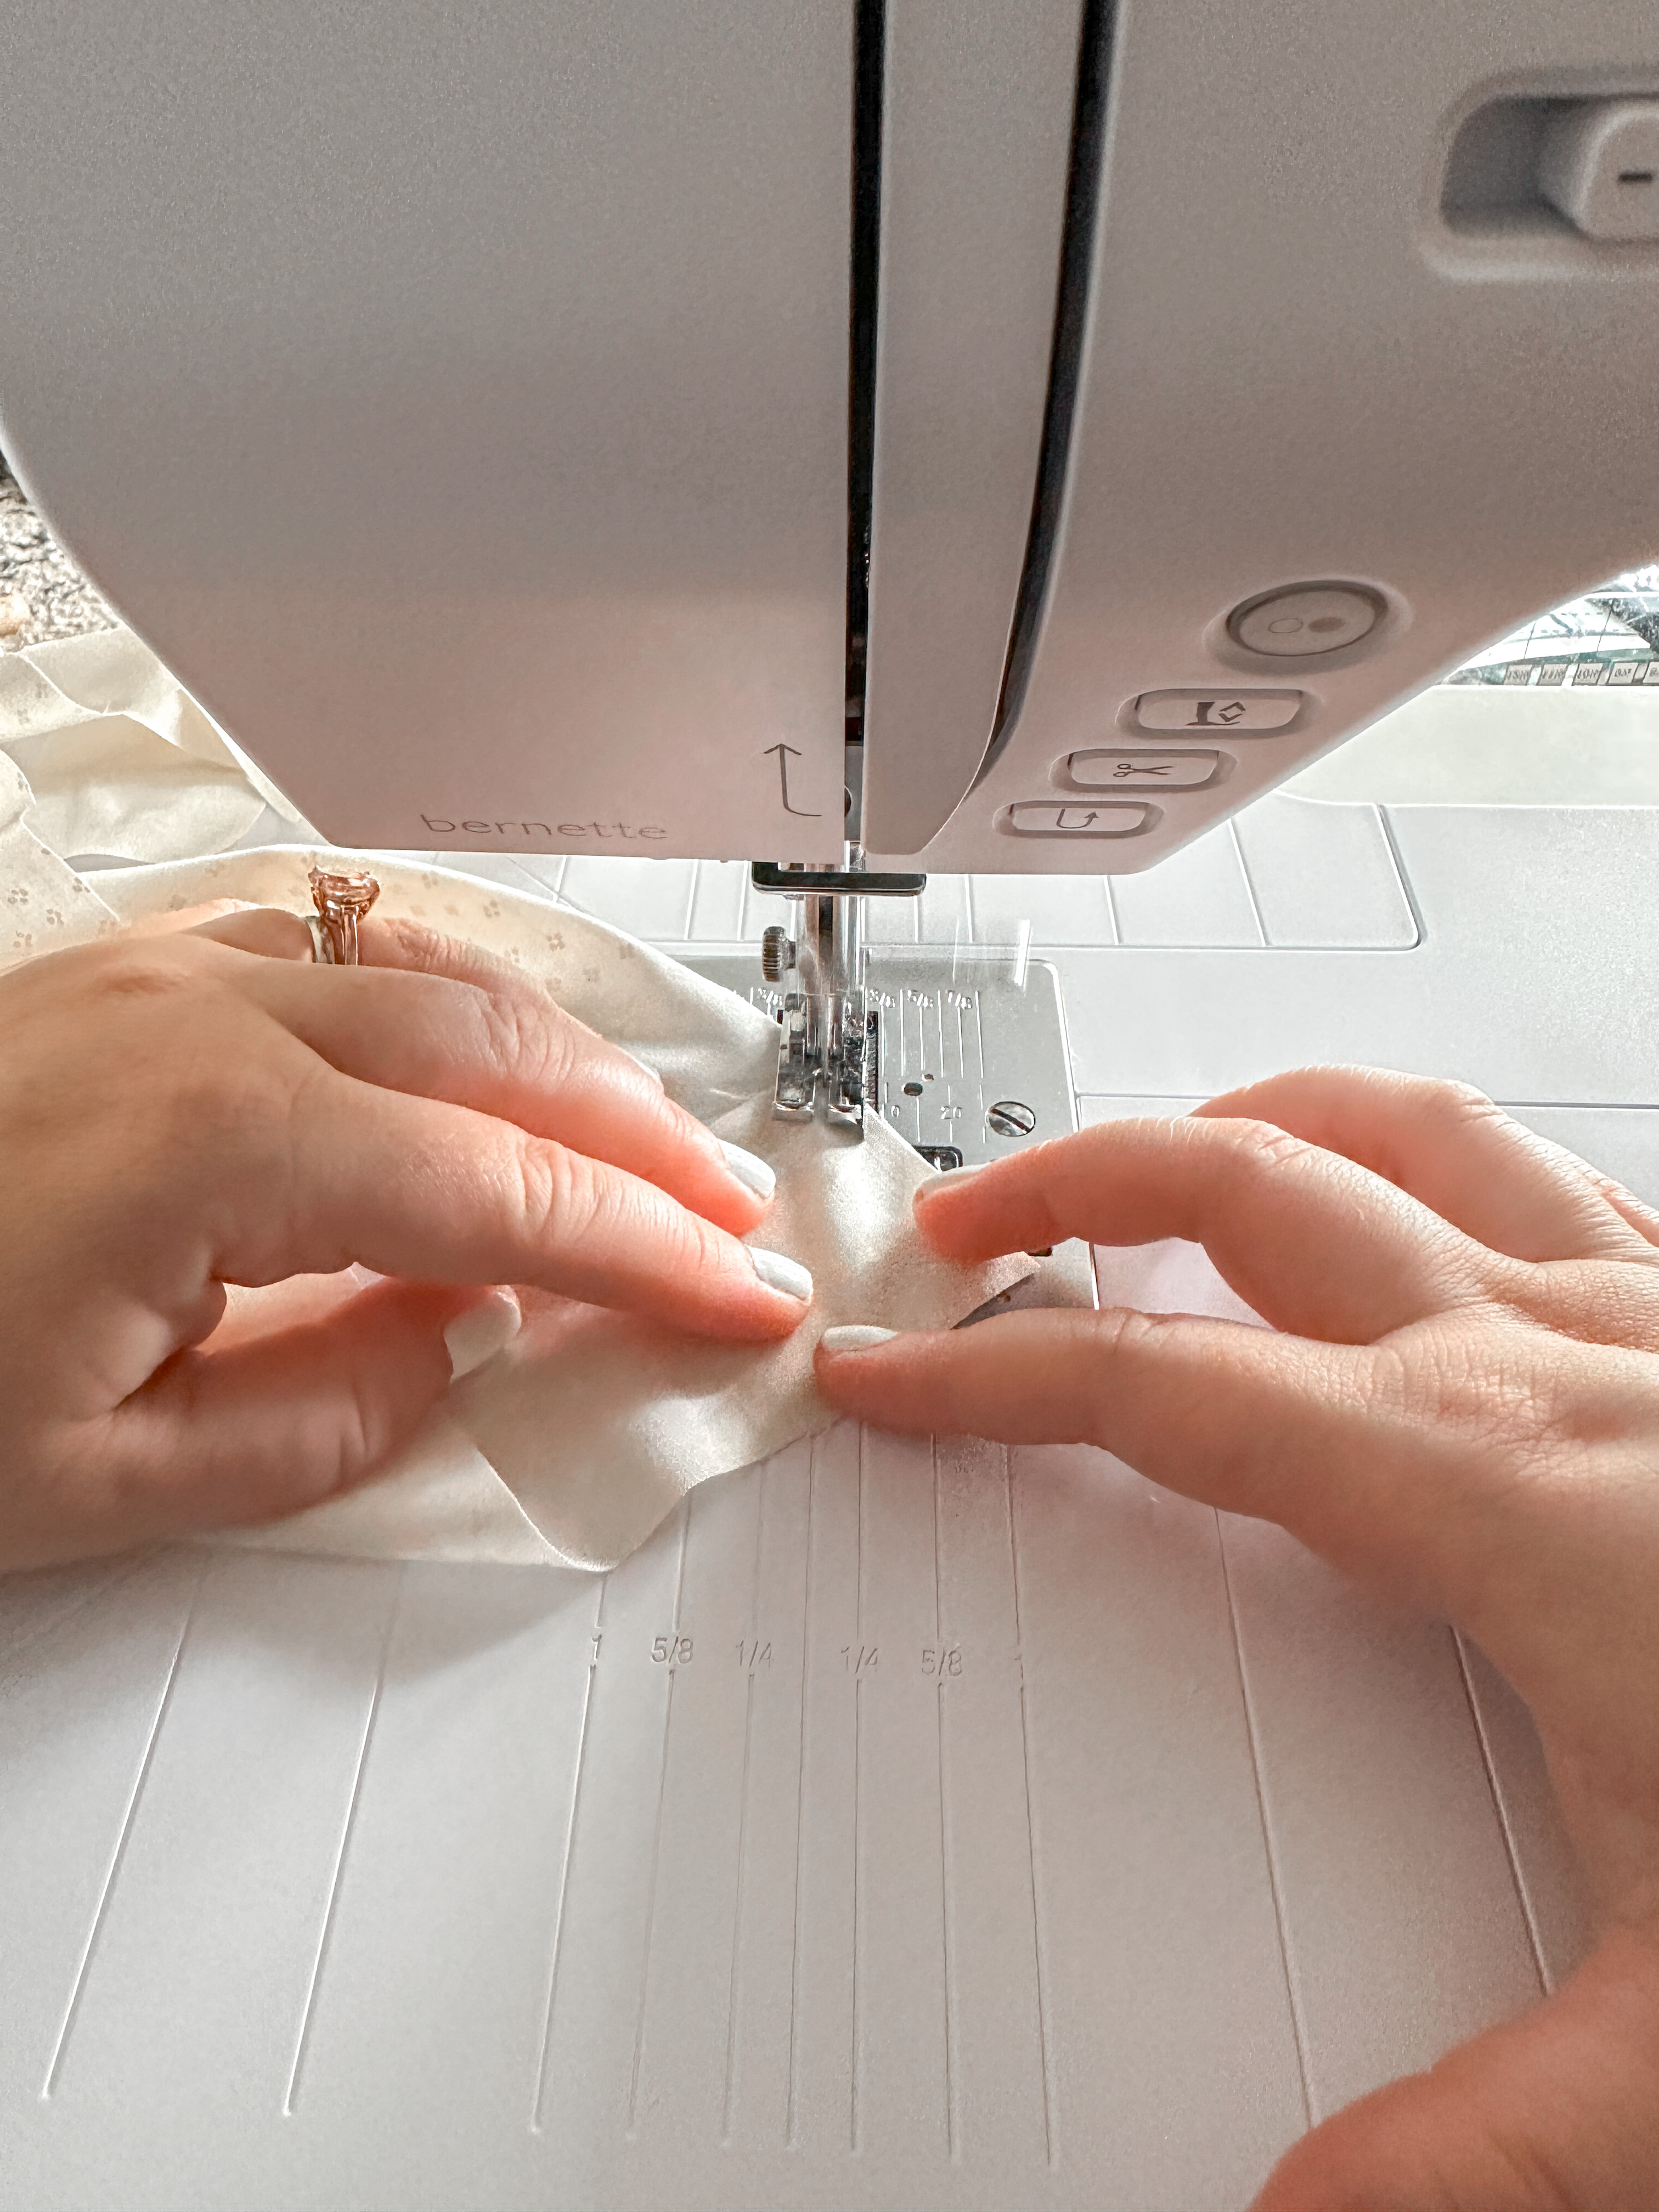
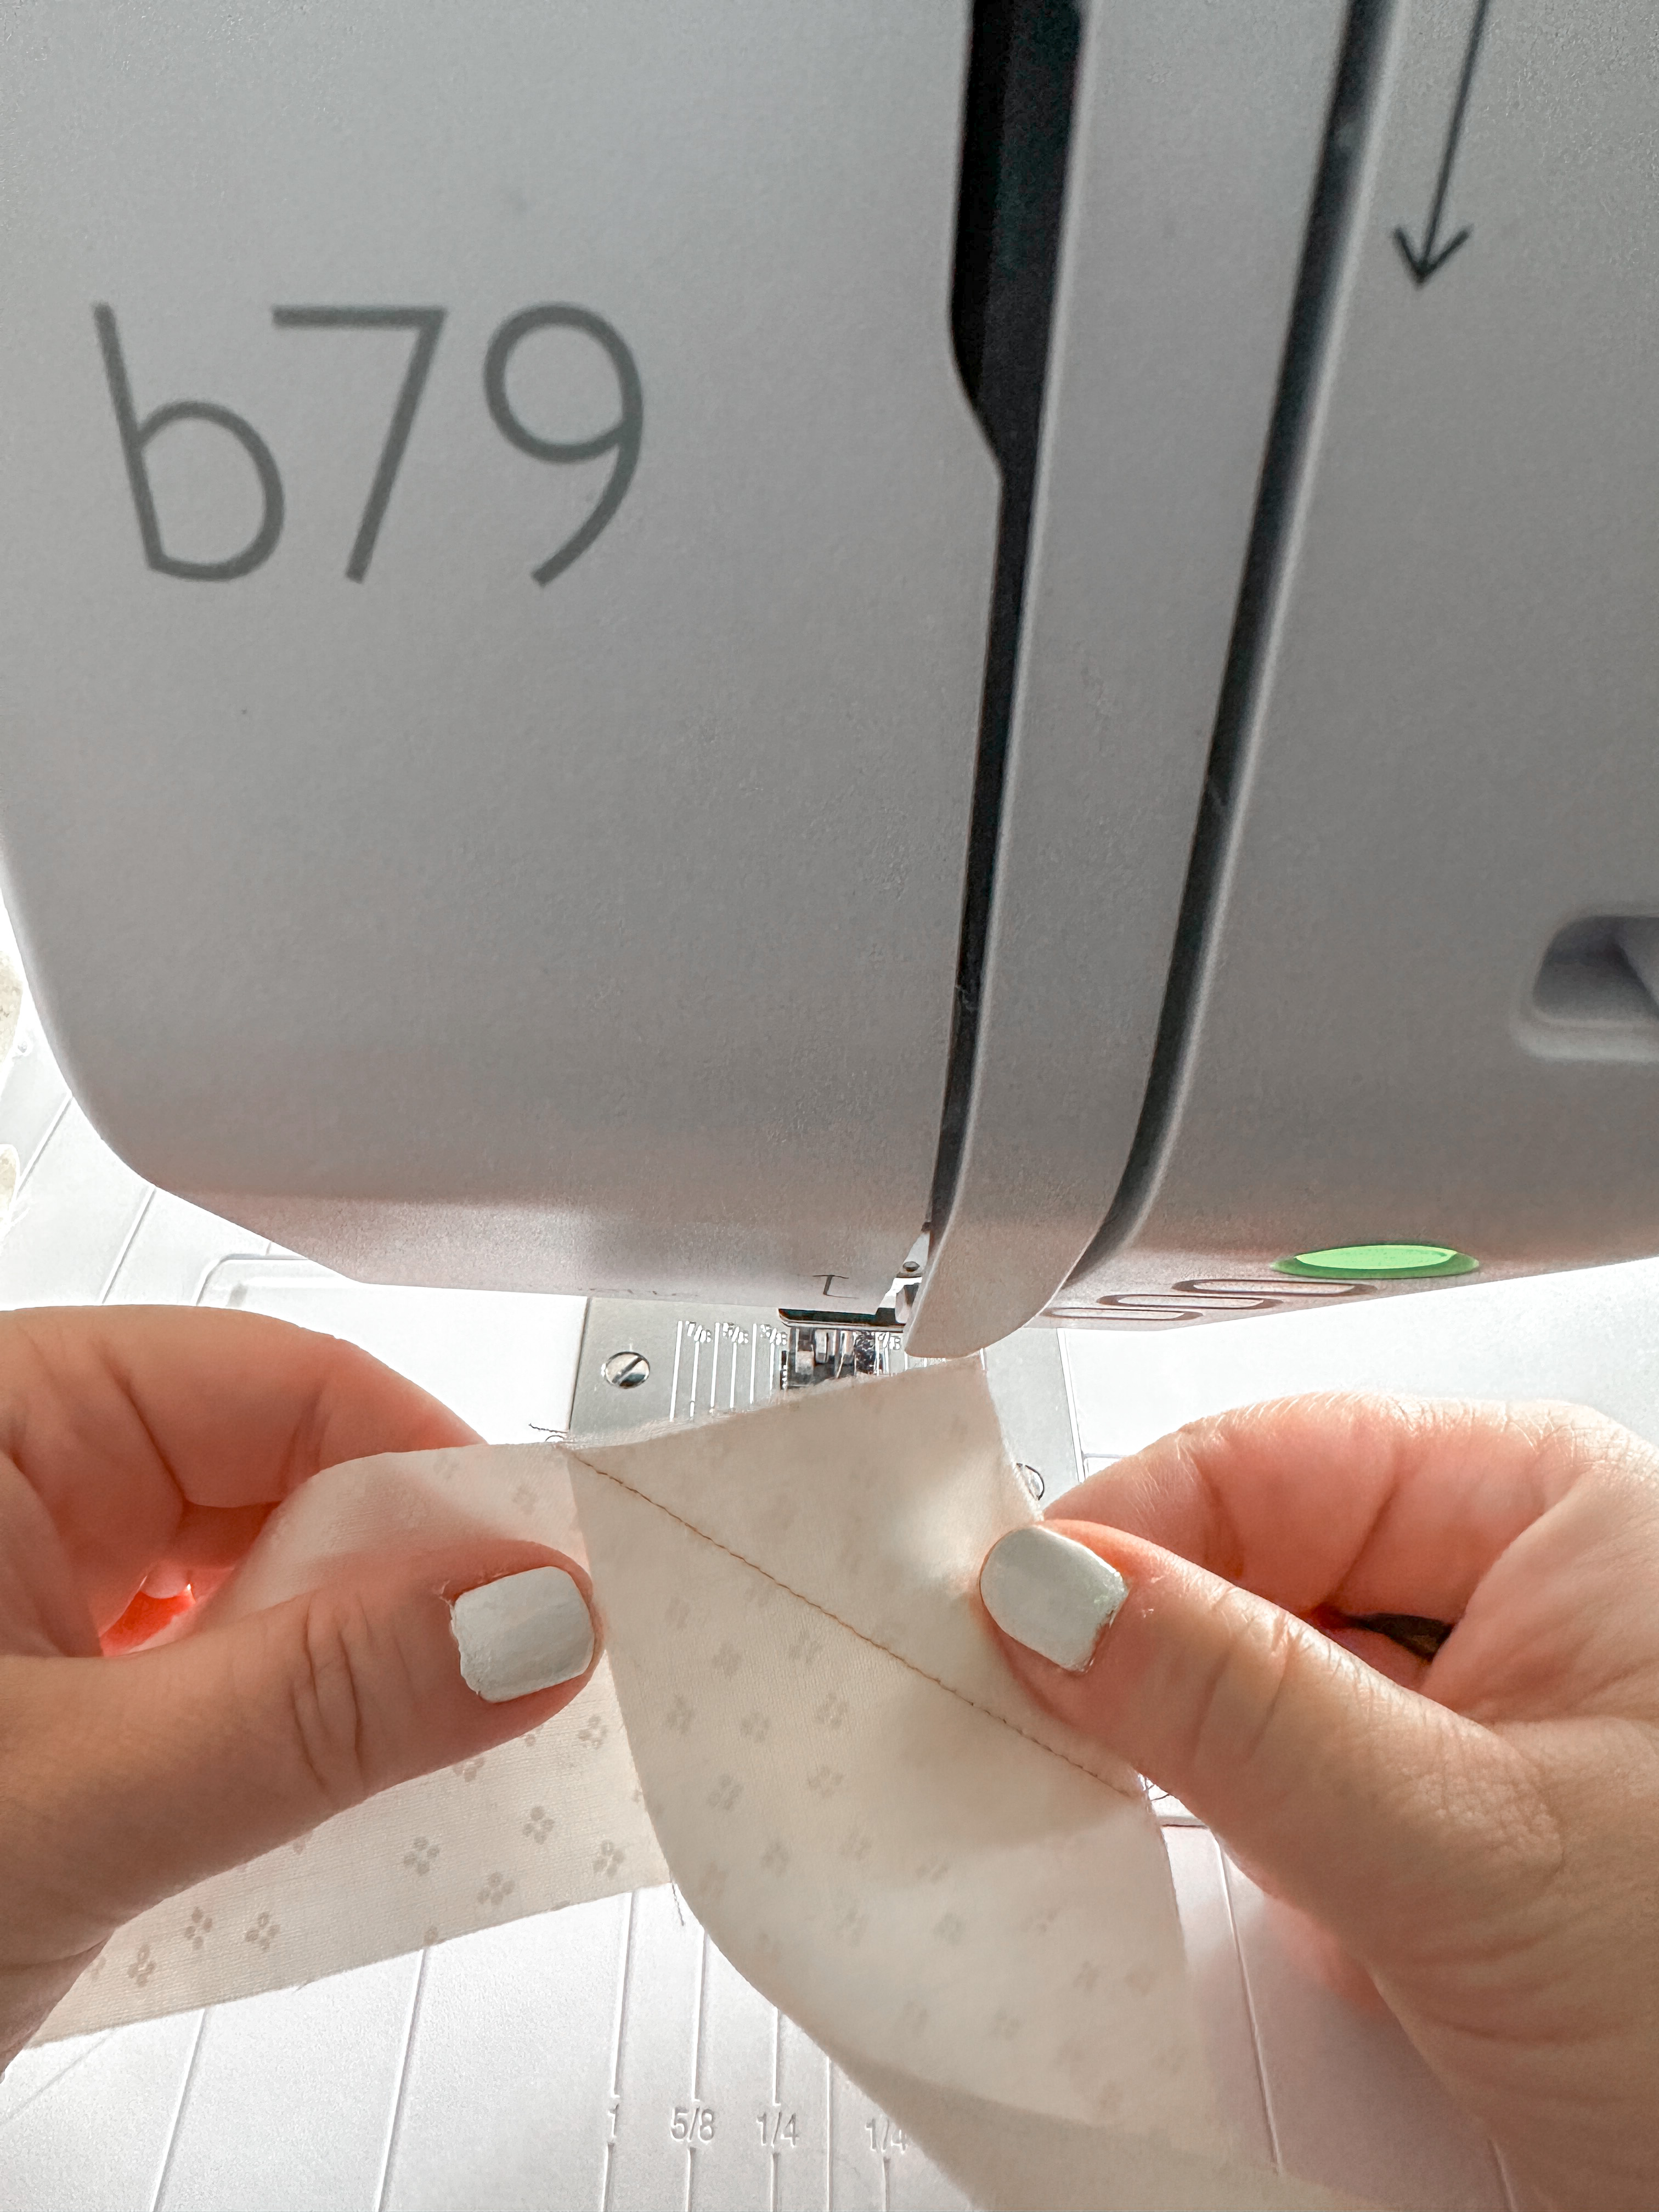
Repeat to join additional strips as needed. Press seams open.
Create the binding tape by folding the binding in half lengthwise, wrong sides together, then press. Open the binding and fold each edge of the strip in towards the center, press.
On one short end, fold the fabric in 1/2″, and then again to encase the raw seam. Stitch in place and repeat on the other short seam.
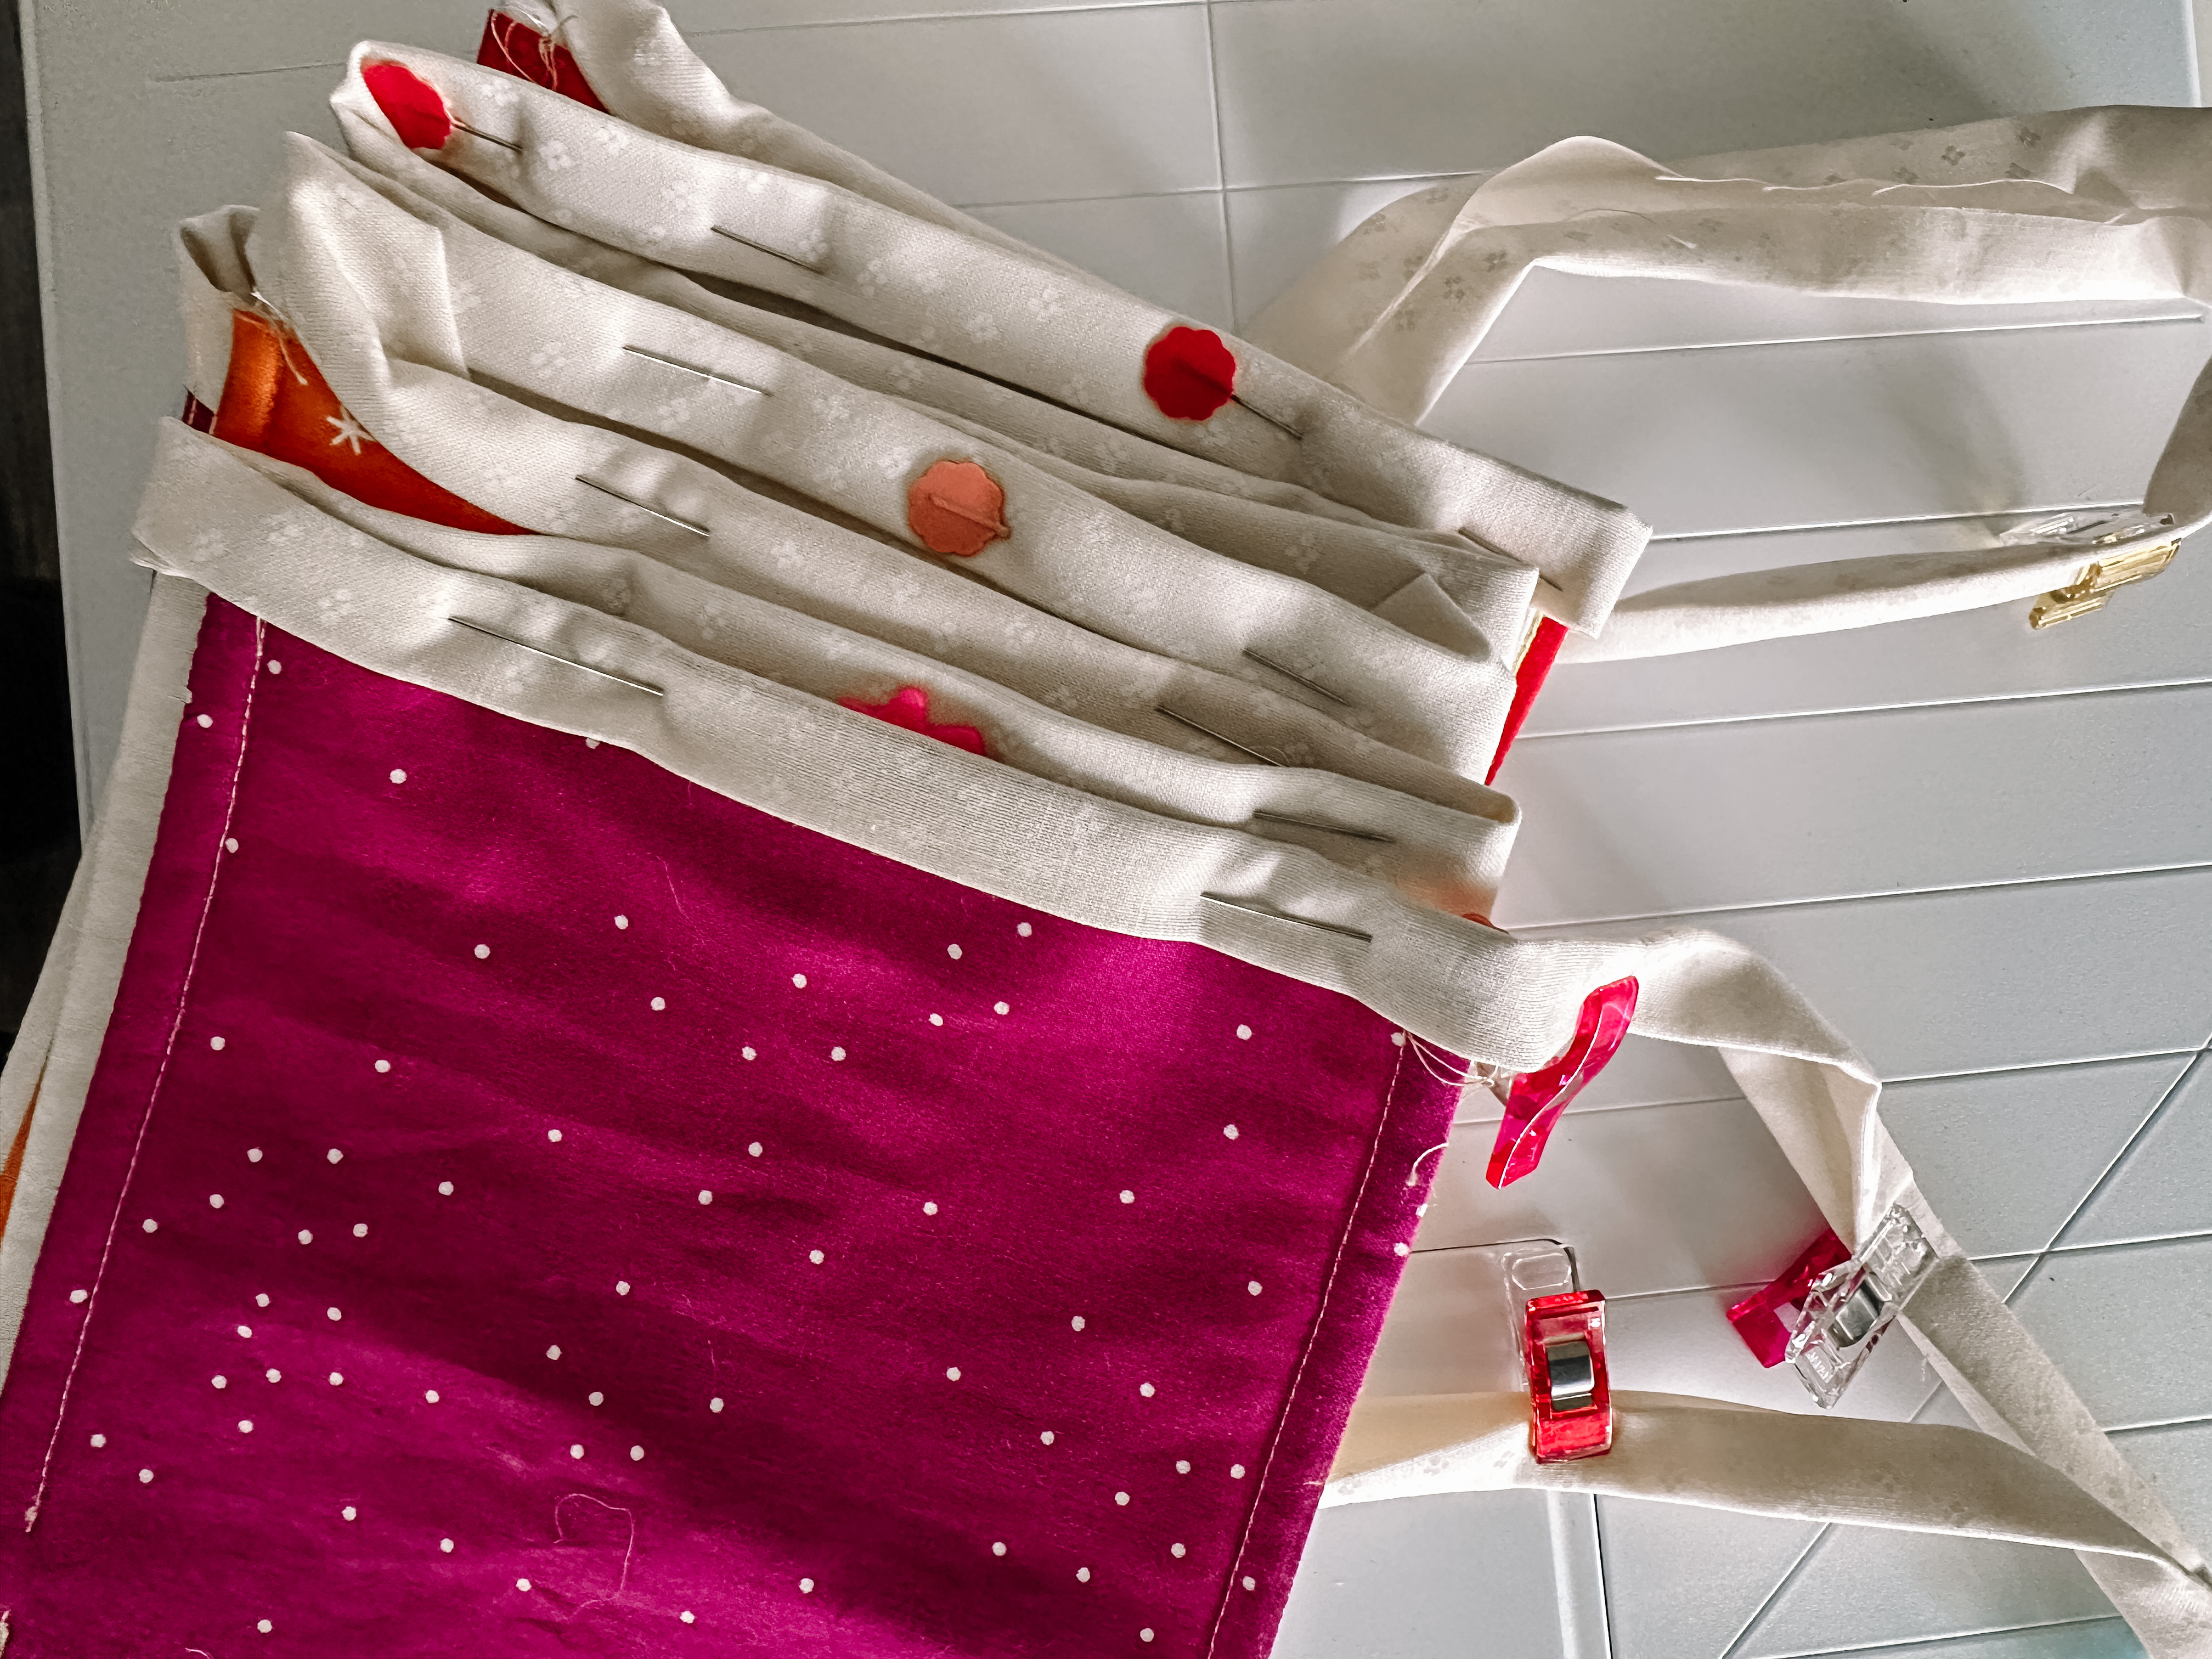
To assemble your banner, start with the binding tape in front of you and measure 12″ in from the left side. Pin the binding tape onto the first flag, putting the top edge of the flag into the fold of the tape.
Measure 1/2′ from the right edge of the first flag and insert the second flag then pin in place.
Continue until all flags are pinned in place. You should have 12″ of the binding tape remaining at the end.
Step 5: Final Assembly
Starting at the left end of the binding tape, with the fold to the right, sew a 1/4″ seam, back stitching to secure your stitches.
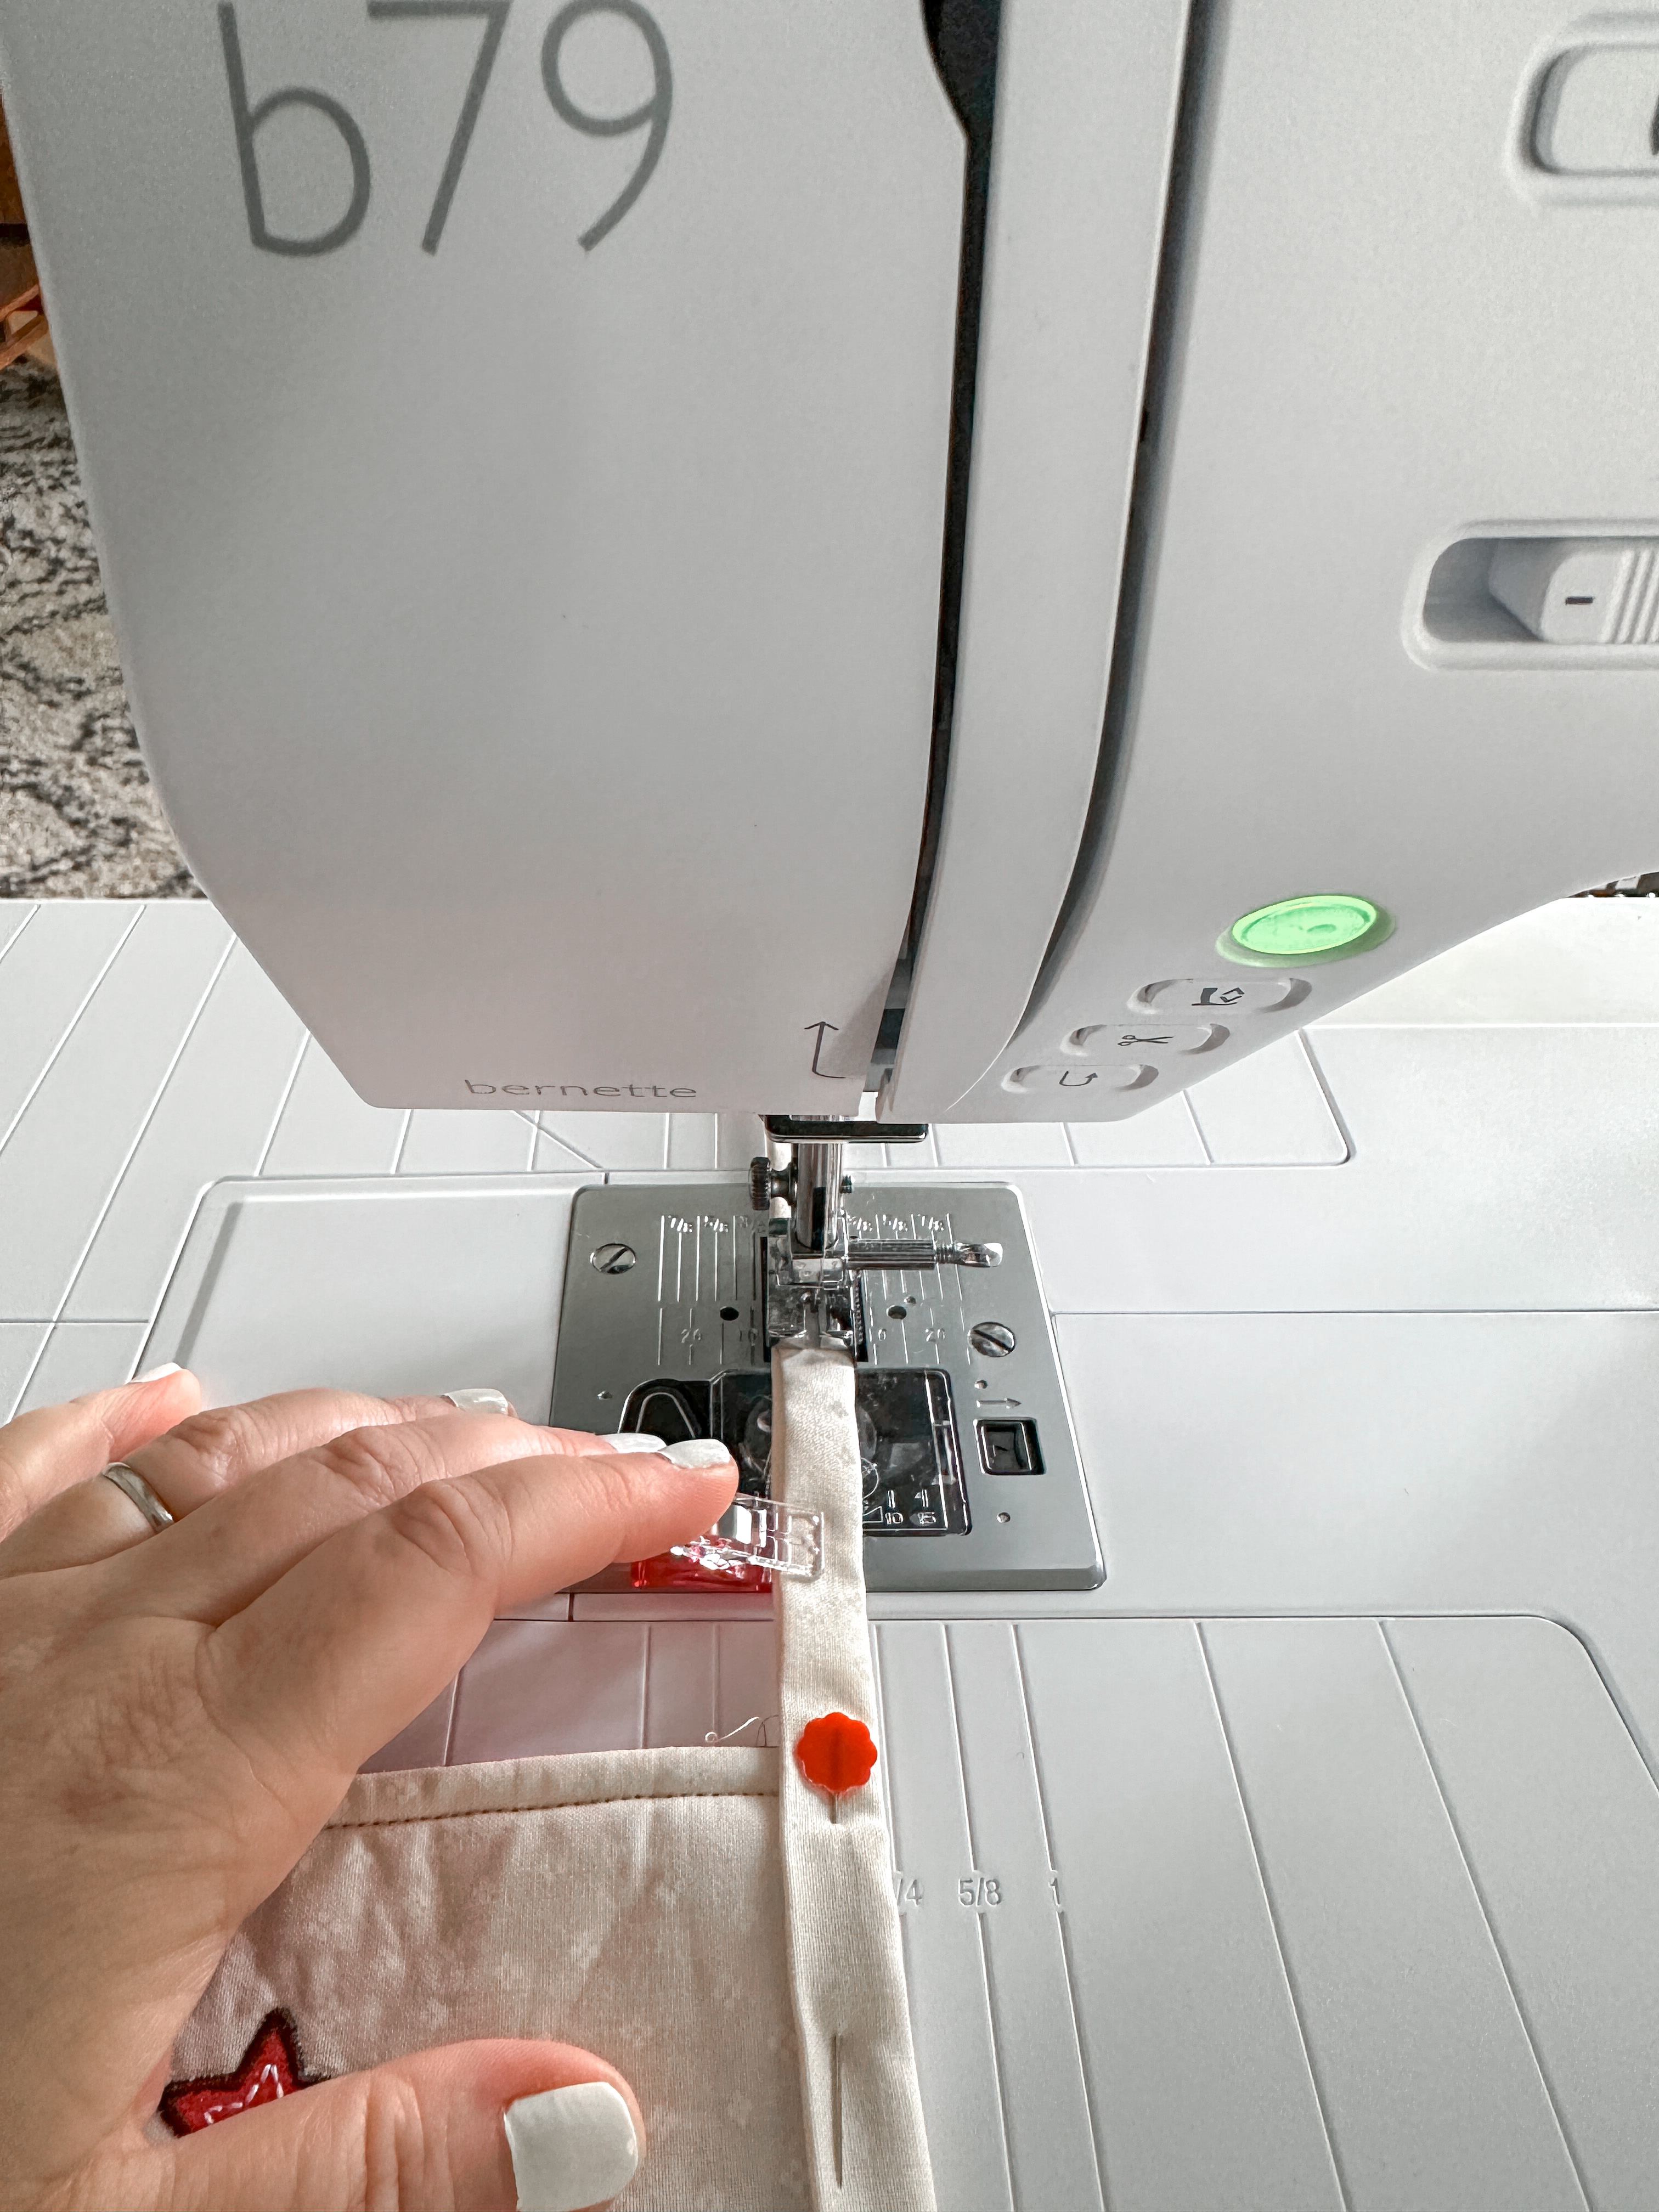
Ensure as you sew that the seam is catching each flag along the top edge, folded into the binding tape.
Continue sewing until you reach the end of the binding tape. Back stitch to secure your stitches.
You did it! Go party it up and celebrate your amazing craftiness.