How to Create a Custom Half Slip
If you have done any shopping for a basic slip lately, then you will know that this basic piece seems to be almost missing from the retail scene. Luckily, they are pretty simple to make, especially if you have an overlocker.
For this version of the slip, I added a few extra embellishments and techniques with specialty presser feet, but you can certainly skip those steps to make a simpler version. Of course, you could easily adapt this pattern to be made on a standard sewing machine. It’s a great beginner project that is also practical.
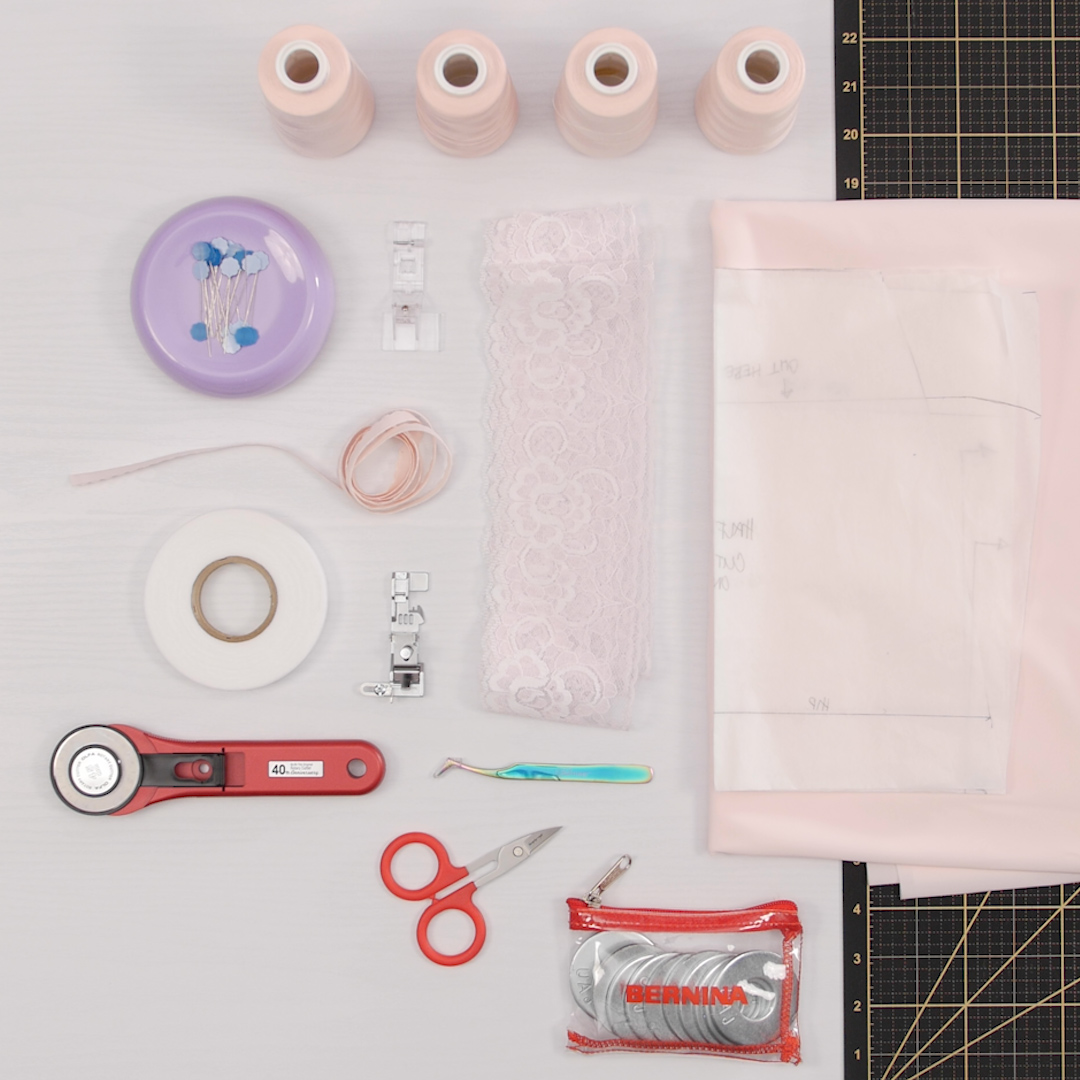
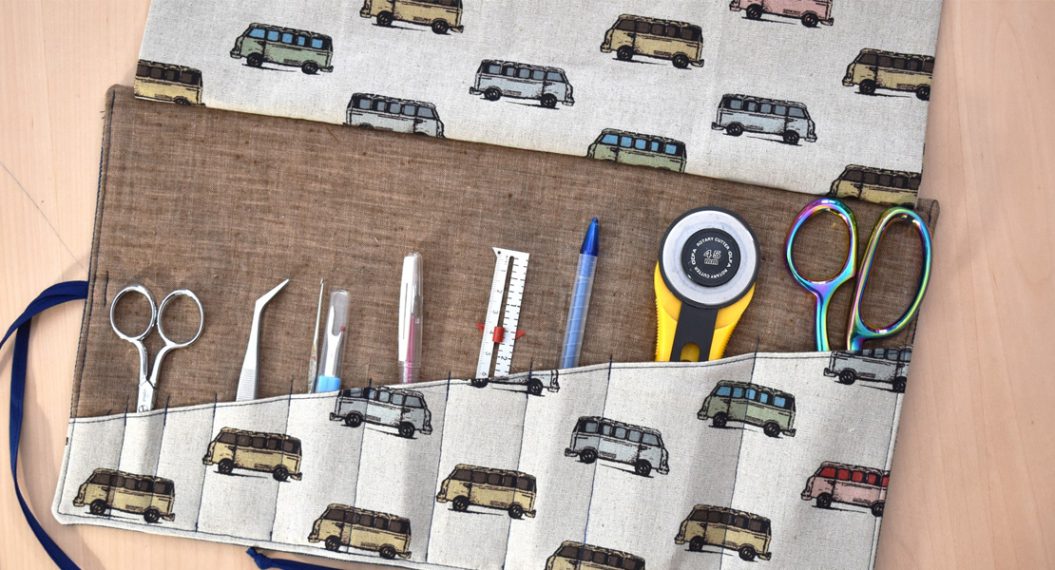
Materials to Create a Custom Half Slip
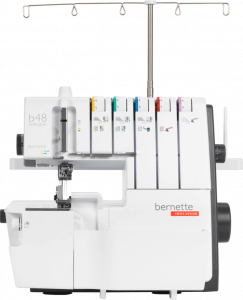
- bernette 48 FUNLOCK
- Swedish Tracing Paper
- Tape Measure
- Seam stabilizer
- Favorite Tricot or Silk Fabric
- 3/8” Elastic
- Lace
- Pattern Weights (washers from hardware store)
- Rotary Cutter
- 4 spools of Serger Thread
- Flat Head Flower Pins
- Pressing Ham
- Iron
Steps to Create a Custom Half Slip
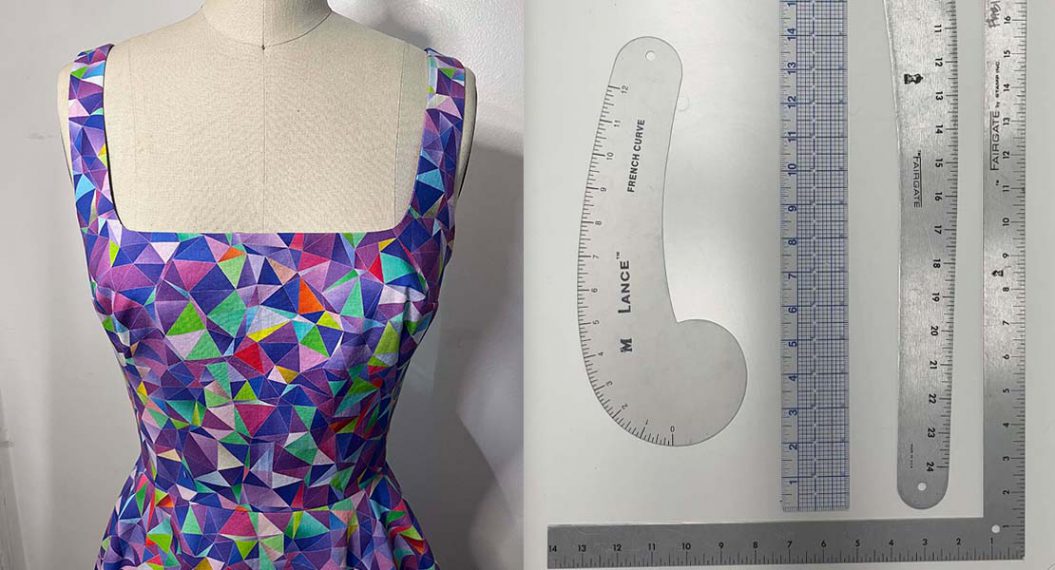
Step 1: Measure to Fit
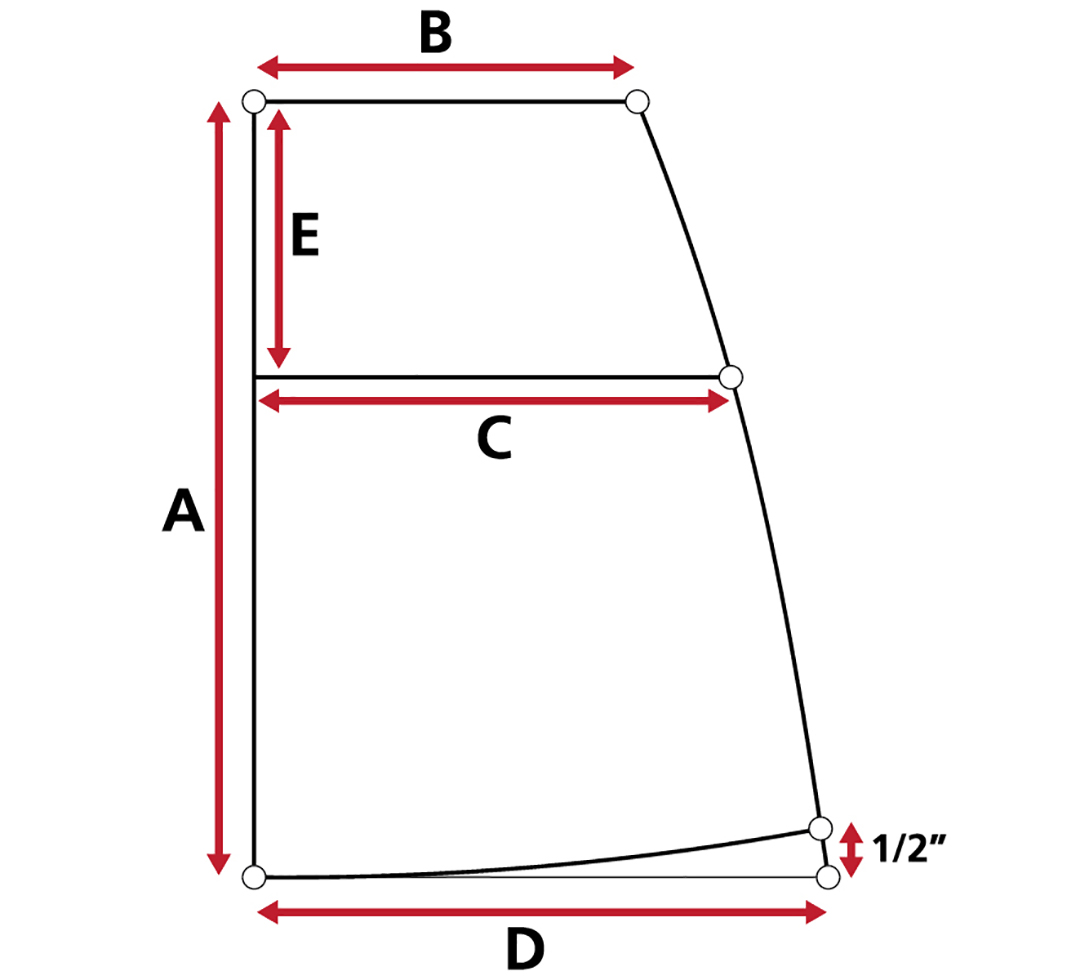
For this pattern, I drafted my own pattern. You need only two body measurements; your waist and your hips. Then determine how long you would like the slip to be. Following the formula and diagram below—draft your own custom pattern onto some Swedish Tracing Paper. This is a great product for patterns you would likely use more than once.
A= side length + ½”
B= (waist measurement + 4”) divided by 4
C= (hip measurement + 4”) divided by 4
D= (hip measurement + 12”) divided by 4
Step 2: Cut it out
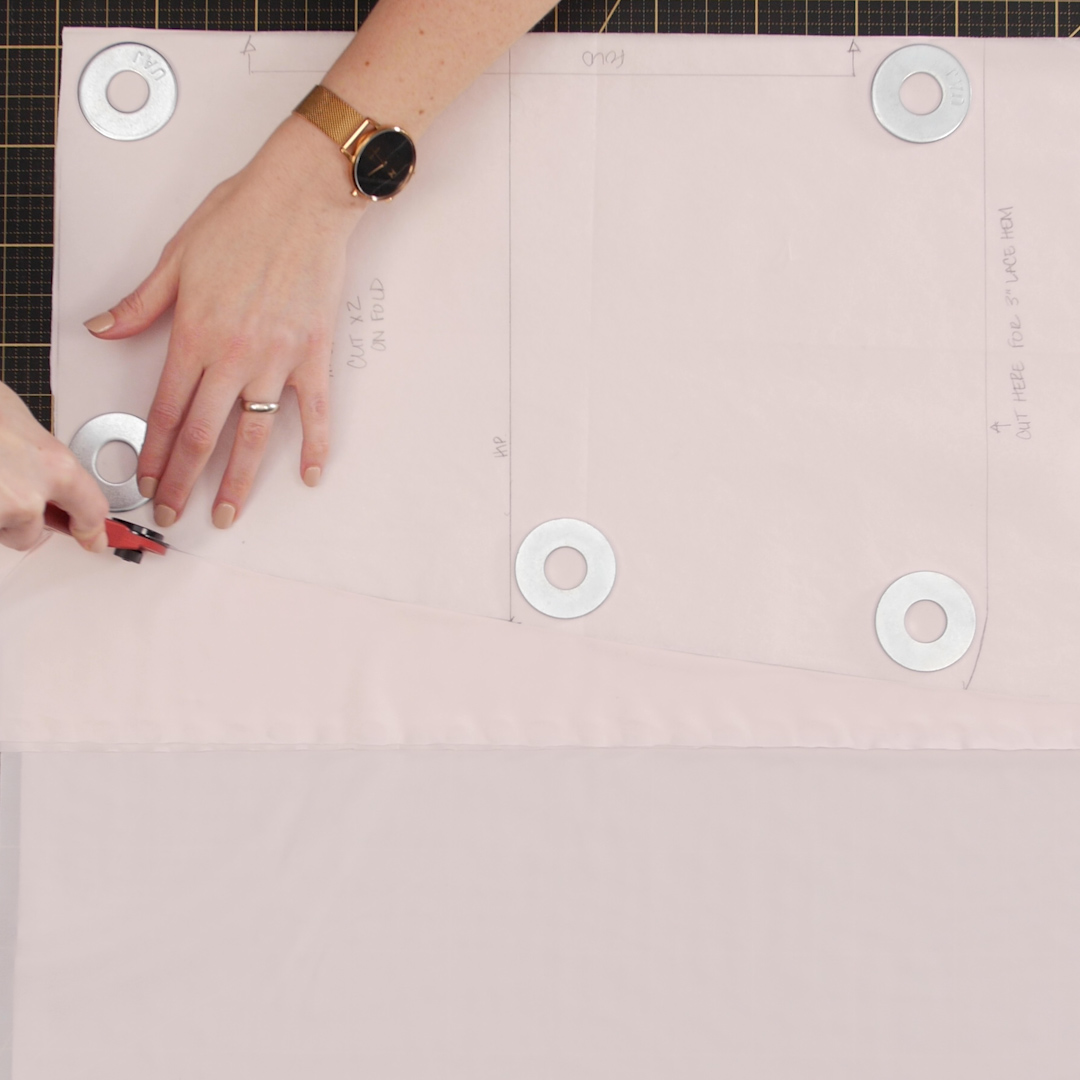
The pattern piece I made has a fold line. You will need to cut this piece on the fold two times; one for the front and one for the back.
- Pattern weights (heavy hardware store washers) work great for holding the pattern to the fabric while it is being cut.
- Rotary Cutter or scissors? Cutting with a rotary cutter takes a little finesse and becomes easy when practiced. I prefer using a rotary cutter for slippery fabrics because it provides a clean edge and doesn’t distort the fabric as much. If you are not accustomed to working with a rotary cutter, just use your best scissors.
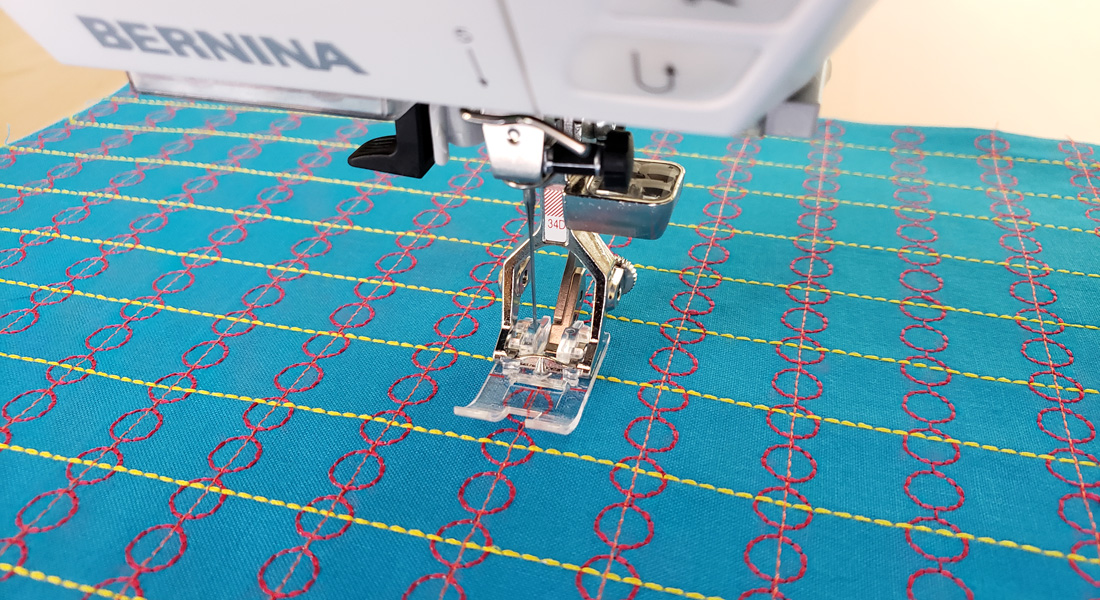
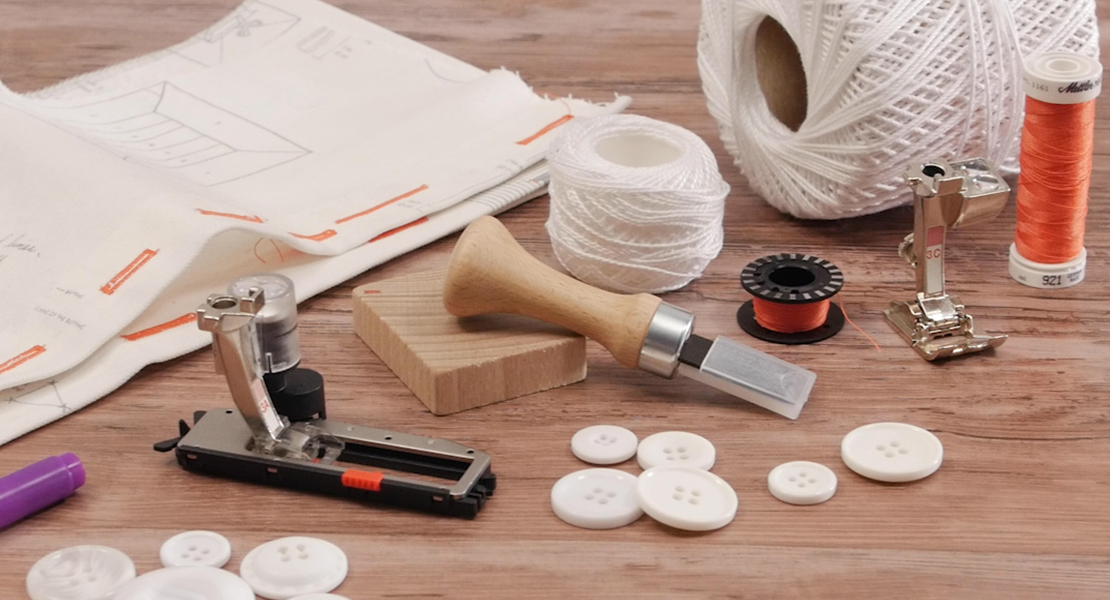
Step 3: Machine Setup
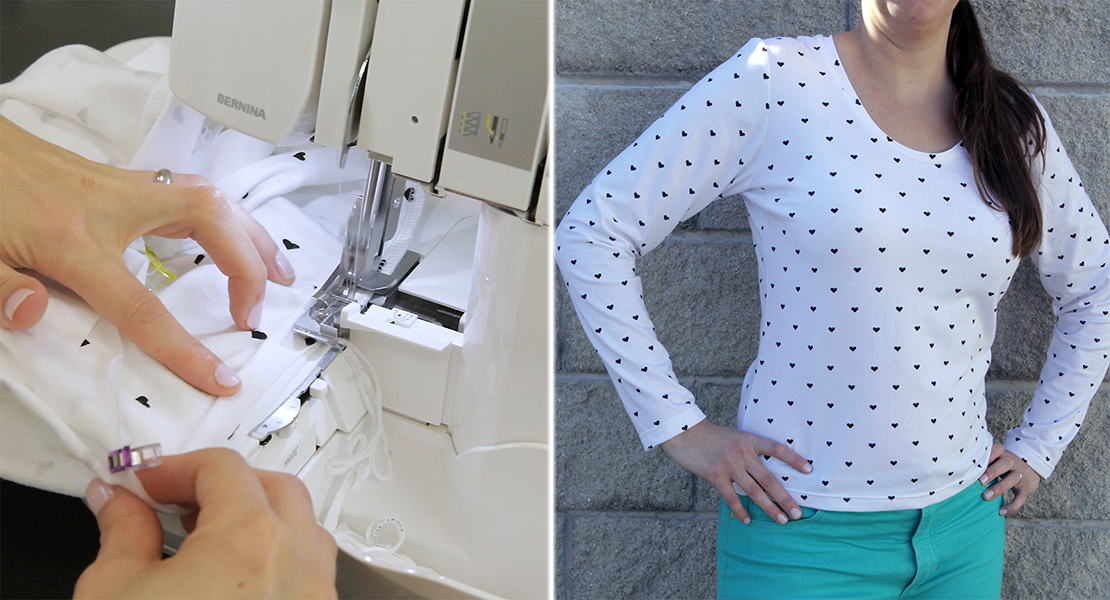
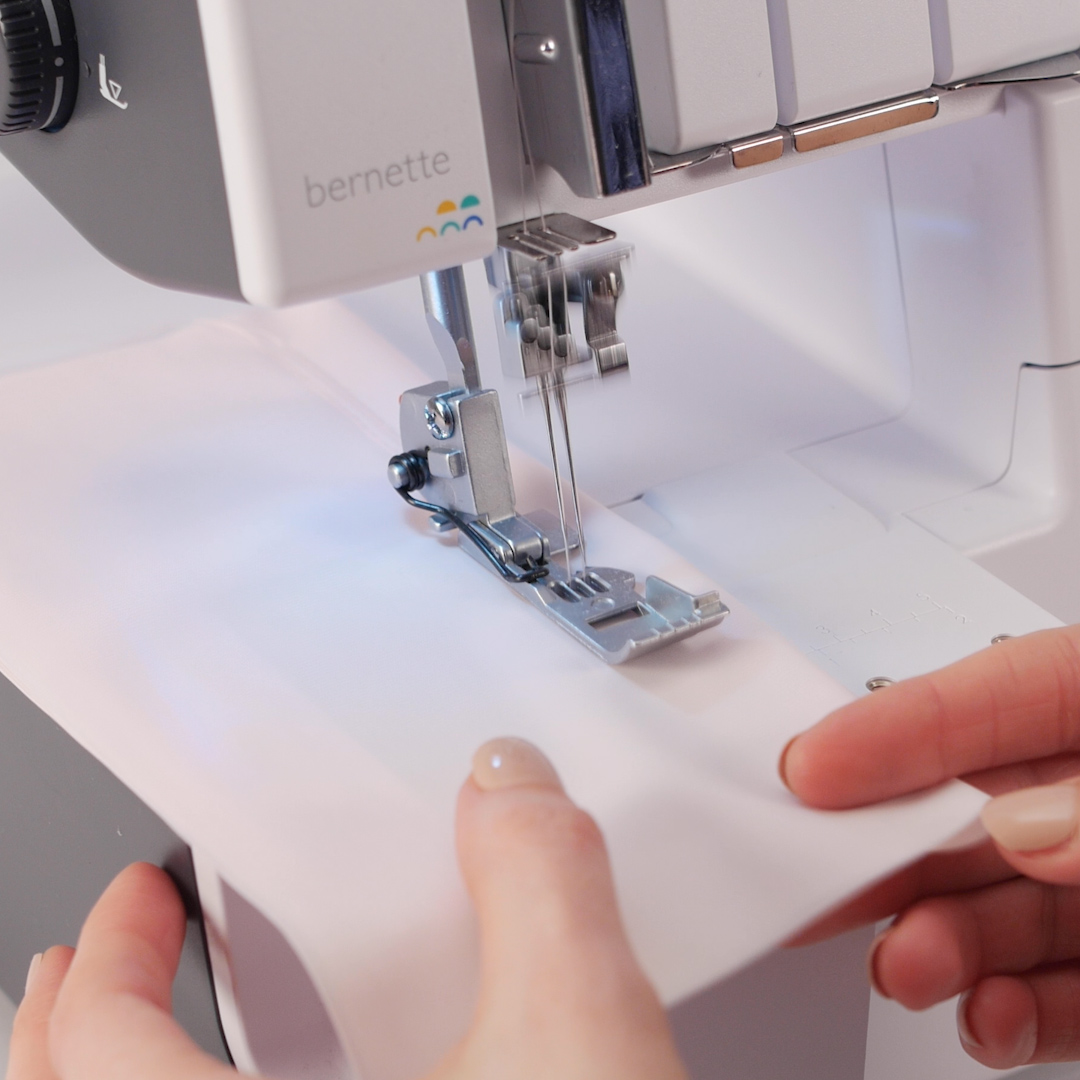
The b48 FUNLOCK is a Combo machine. This means the machine can be adjusted to perform the operation of both Overlock and Coverstitch. This allows for many choices of techniques for garment sewing. The most basic construction seam is called an overlock. You can choose between a 4- or 3-thread version for a strong joining seam. Using a 4-thread stitch has the added strength of an extra row of needle stitching.
4-thread Overlock

Sew the first side seam with a 4-thread overlock stitch.


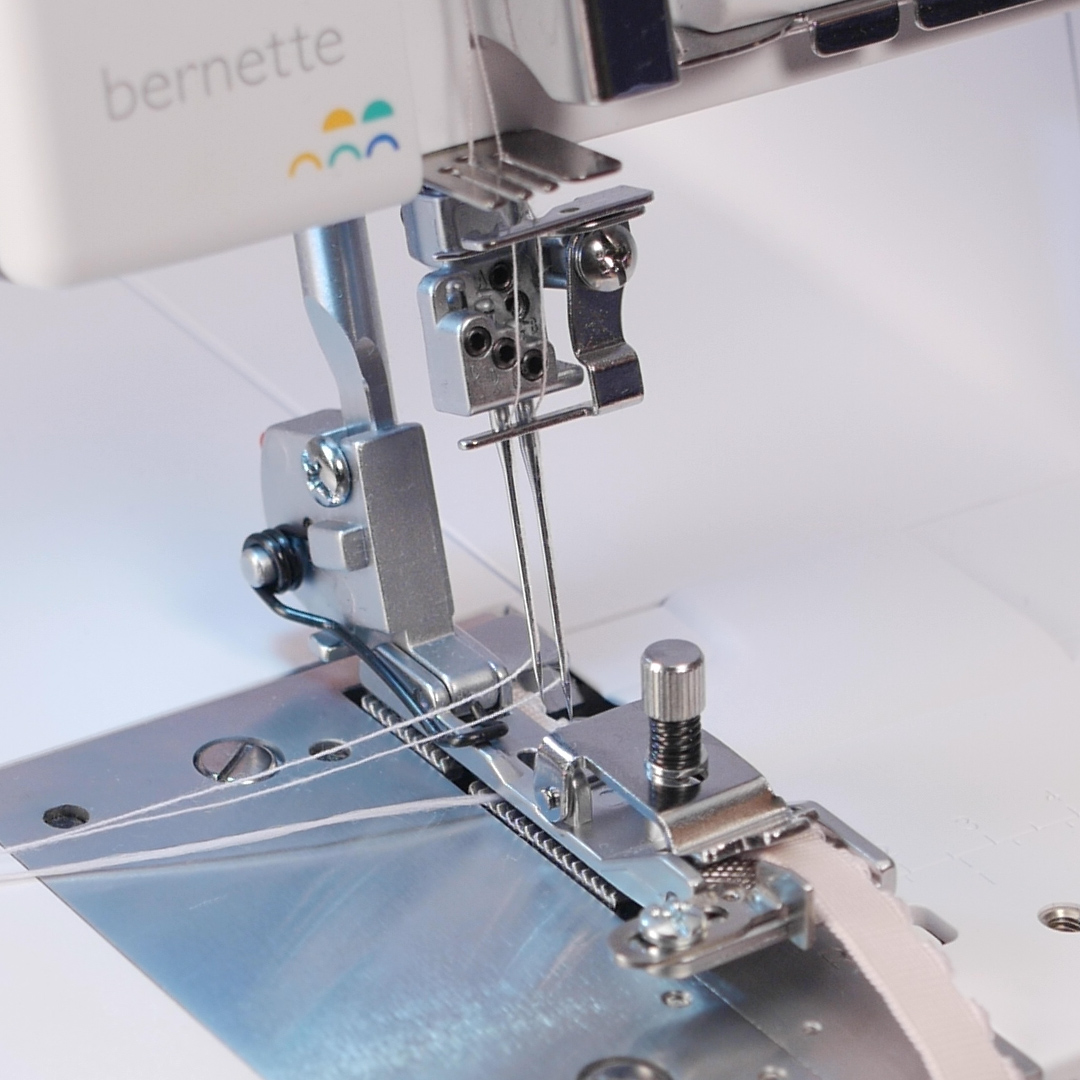
Step 4: Convert to Coverstitch
With a few basic set-up changes, you can do a coverstitch on this machine. A coverstitch is typically a hem finish and for this project, we will use it to add lace to the hem. Additionally, we will use the coverstitch in conjunction with the optional Elasticator Foot to add the elastic into the waistband of the skirt.
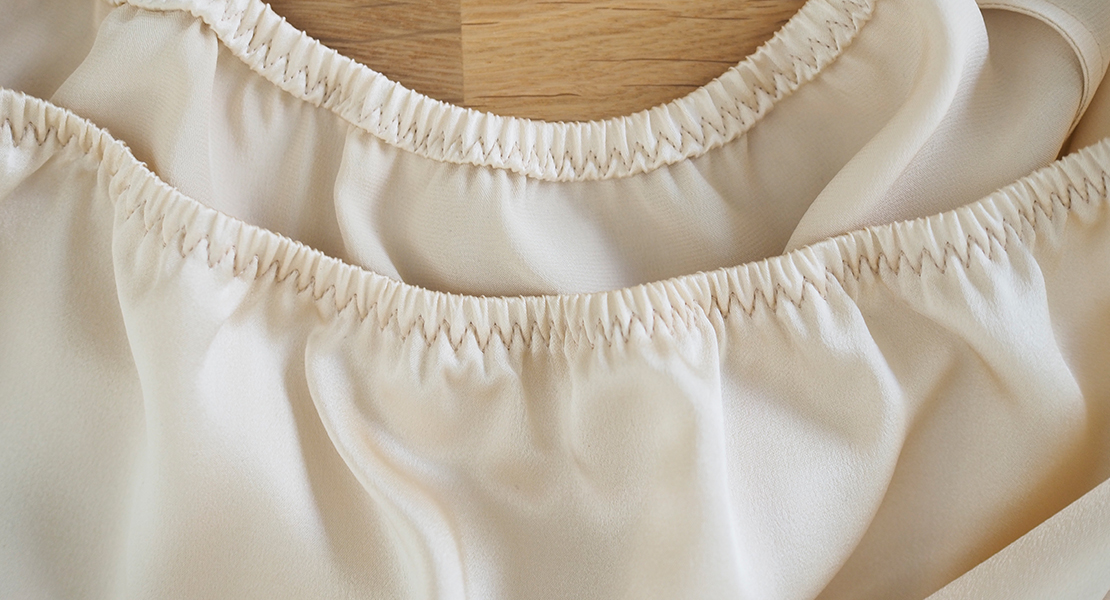
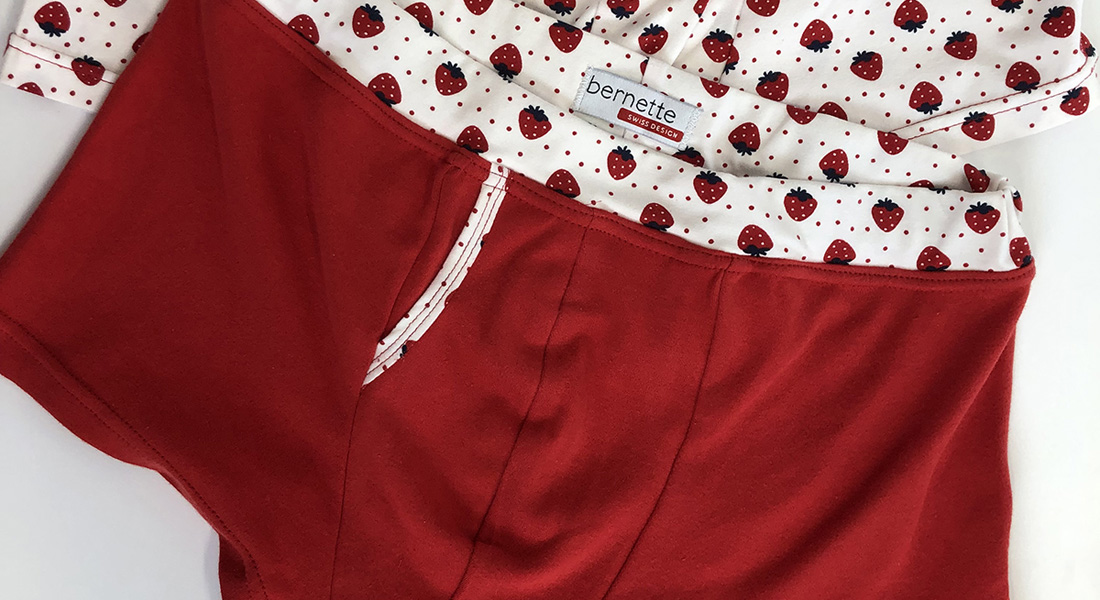
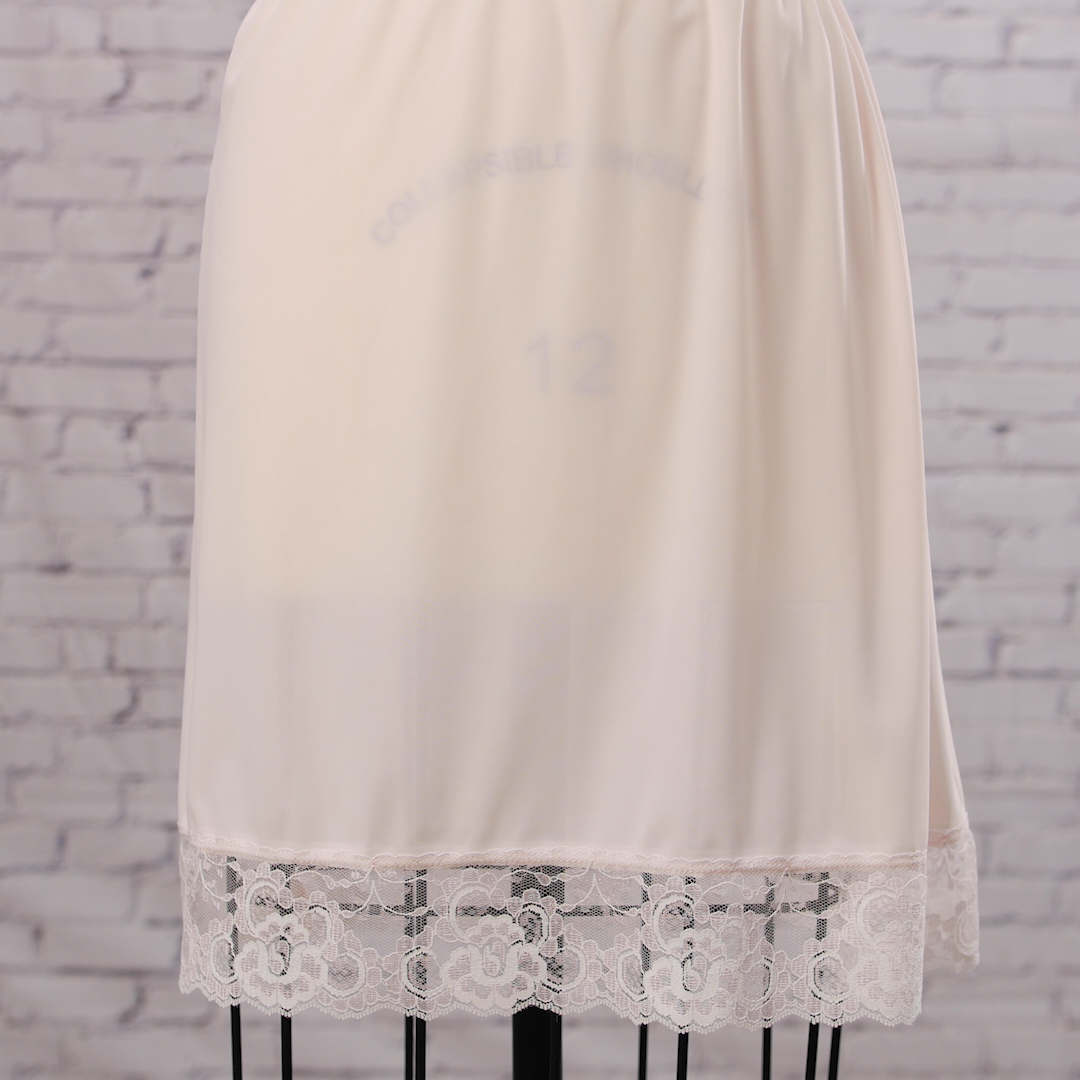
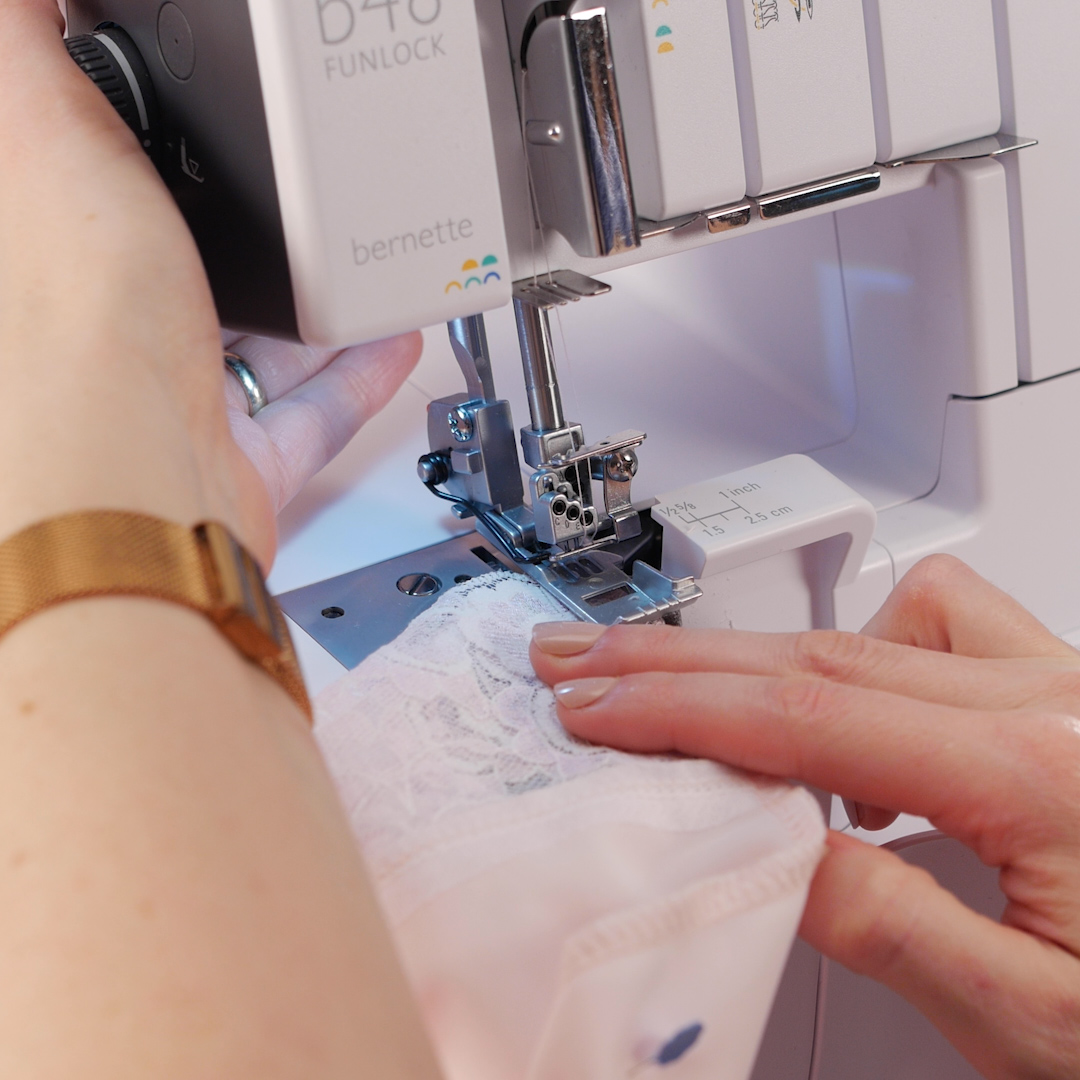
Step 5: Add Lace to Hem
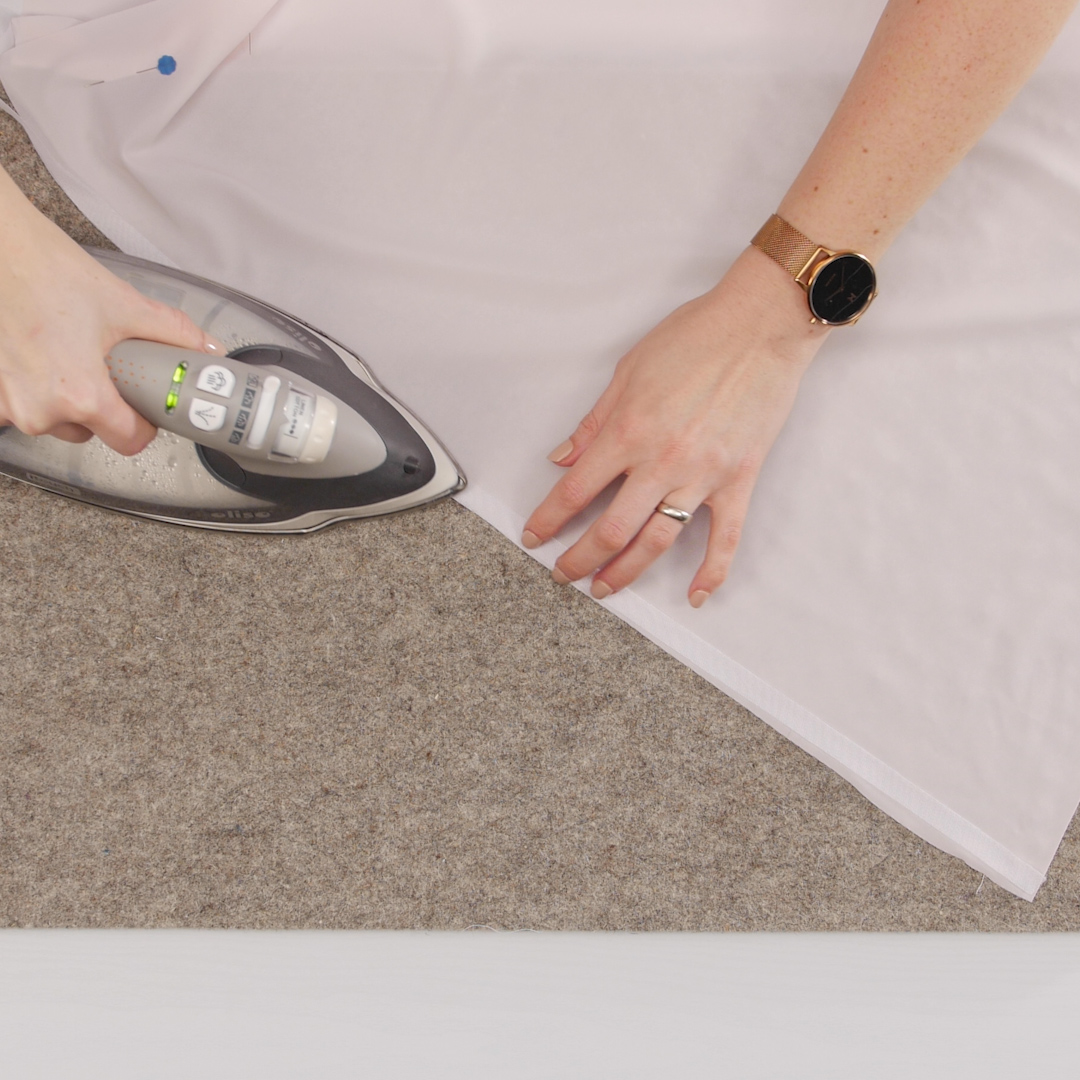
Add the Seam Stabilizer to bottom edge of the tricot to add lace with ease. Tricot is very slippery to sew and also has a tendency to curl—so adding stabilizer is essential to achieve a nice look. I use Sewkeyes fusible product for many garment techniques.
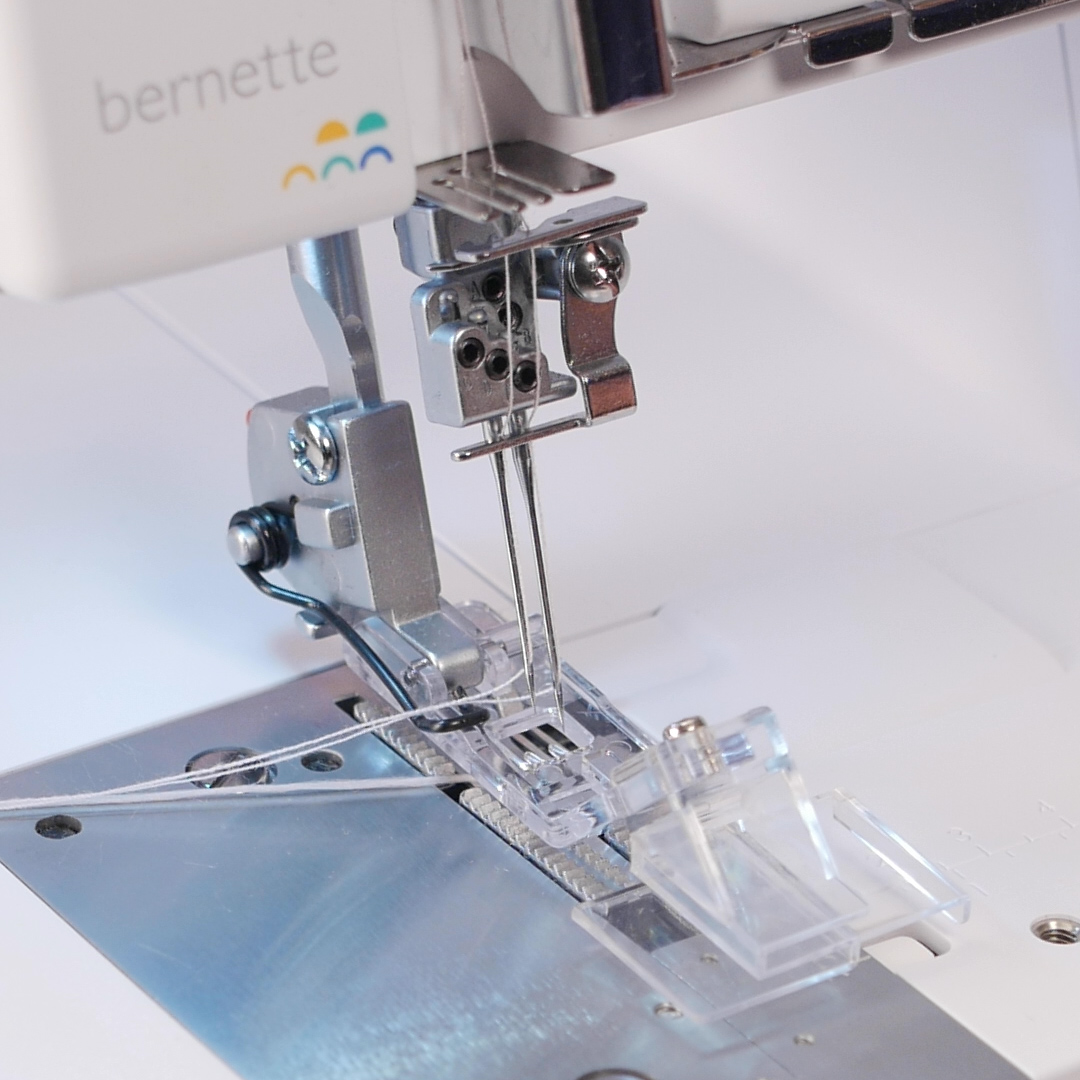
The Lace Hemmer Foot will allow you to abut tricot and lace evenly at the edges. I have set the machine for a narrow coverstitch seam using the Center and Right Needles. Since I have tested my stitch, I can confidently sew the lace to the bottom edge of the slip. If you make a mistake, the seam is easily removed by pulling the looper thread tail at the seam end. I you get a great result, lock the stitch by pulling the needle thread tails to the back of the garment.
Step 6: Add Elastic to Waistband
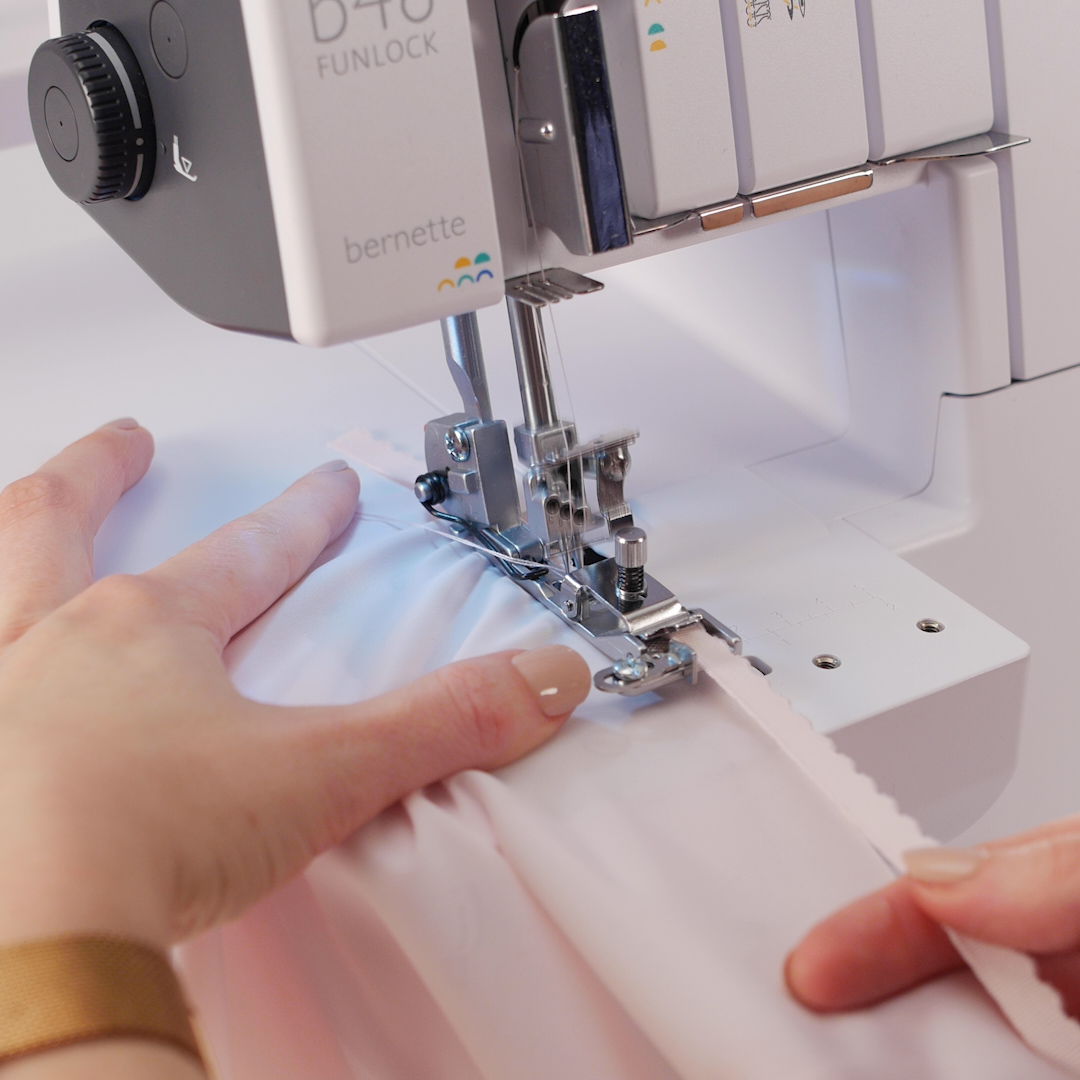
Using the same narrow coverstitch, we will add elastic to the waistband. The Elasticator Foot works on the b48 FUNLOCK in both overlock and coverstitch settings—making it a versatile foot. Adjust the knob on the top of the foot to tighten or increase the stretch of the elastic as it is sewn into the seam. This foot will apply a consistent even stretch to the elastic as it is sewn. Test this before applying it to your garment to ensure you have the desired amount of comfortable stretch. I have found that a little goes a long way.
To load the elastic into the foot, lift up on the top edge directly under the tension knob. It is easier to load the elastic first, then attach the foot to the machine. Start with a little tail of elastic, then align the tricot fabric under the foot just below the needles. Lower the needles into the elastic using the handwheel, then begin sewing the elastic to the top edge of your slip. When finished trim up the elastic to match the fabric edge.
Step 7: Final Seam with Securing Tips
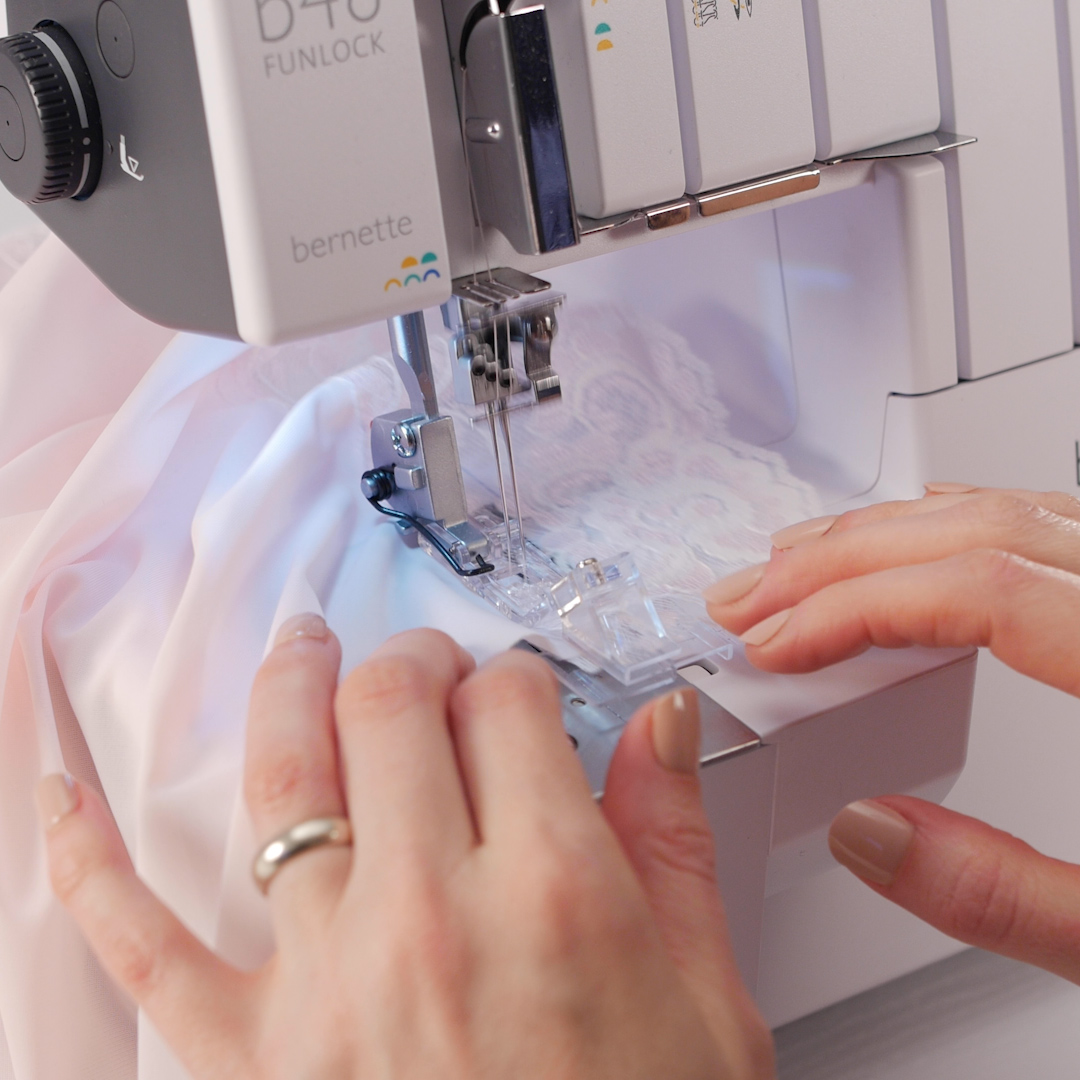
Convert the machine back to the overlock setting and set the machine back to the 4-thread Overlock Stitch. Now all you have to do is match the side seams, right sides together and sew the slip together. I recommend starting at the bottom lace hem and working toward the elastic waistband. Sew slowly and watch that your layers are not shifting as you sew. When you reach the waistband, slowly work toward the elastic and use the handwheel to join the seam where the elastic meets—due to the thickness of the seam, the machine will tend to shift the layers here.
Once the seam is finished, you will need to secure the thread tails. I prefer to do this by weaving the thread tails back into the seam of the stitches I just made—using a tapestry needle.
Tip: Add a little seam sealant, such as Fray Check to your seams to further secure the thread tails and give some longevity to the finished slip.
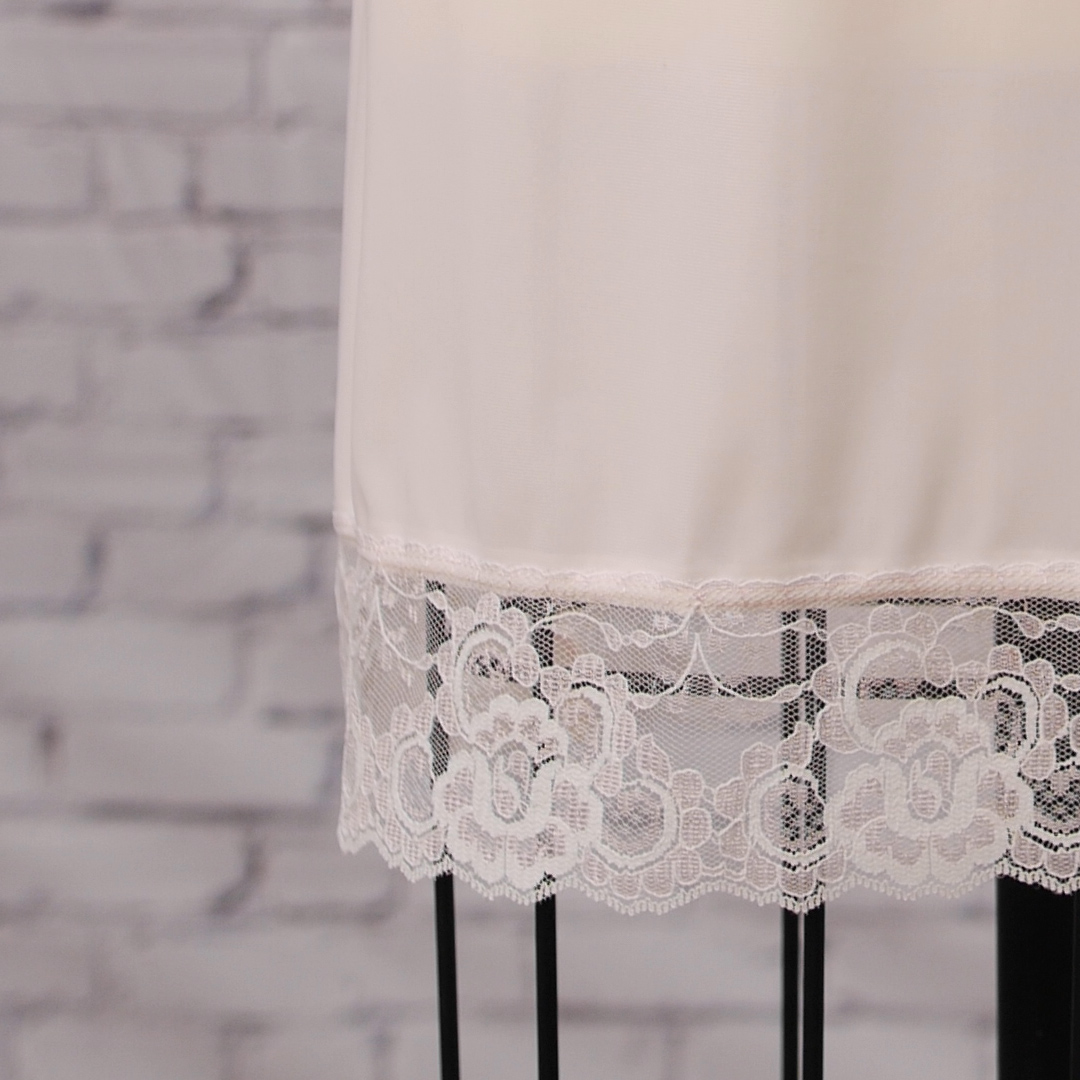
This staple undergarment is both beautiful and practical—and with just a little bit of measuring and planning, you can create these for use with skirts and dresses alike.