Height Compensating Tools on the Overlocker
If there are must-have accessories to add to your serging toolbox, they are the Overlock/Coverstitch Height Compensating Tools. These tools level your foot as you serge or hem over different thicknesses of fabric to give you even stitches on your project. Use them when you are serging overlock stitches, combo stitches and coverstitches.
The Overlock/Coverstitch Height Compensating Tools were designed and developed to fit under the Standard Overlock Foot #L10 (L 850/L 860), the Standard Overlock/Combo Foot #C11 (L 890) and the Cover-/Chainstitch Foot #C13 (L 890). The tools are also compatible in limited capacities with other overlockers, including the BERNINA L 450/L 460, bernette 40 and 60 series and some retired models.
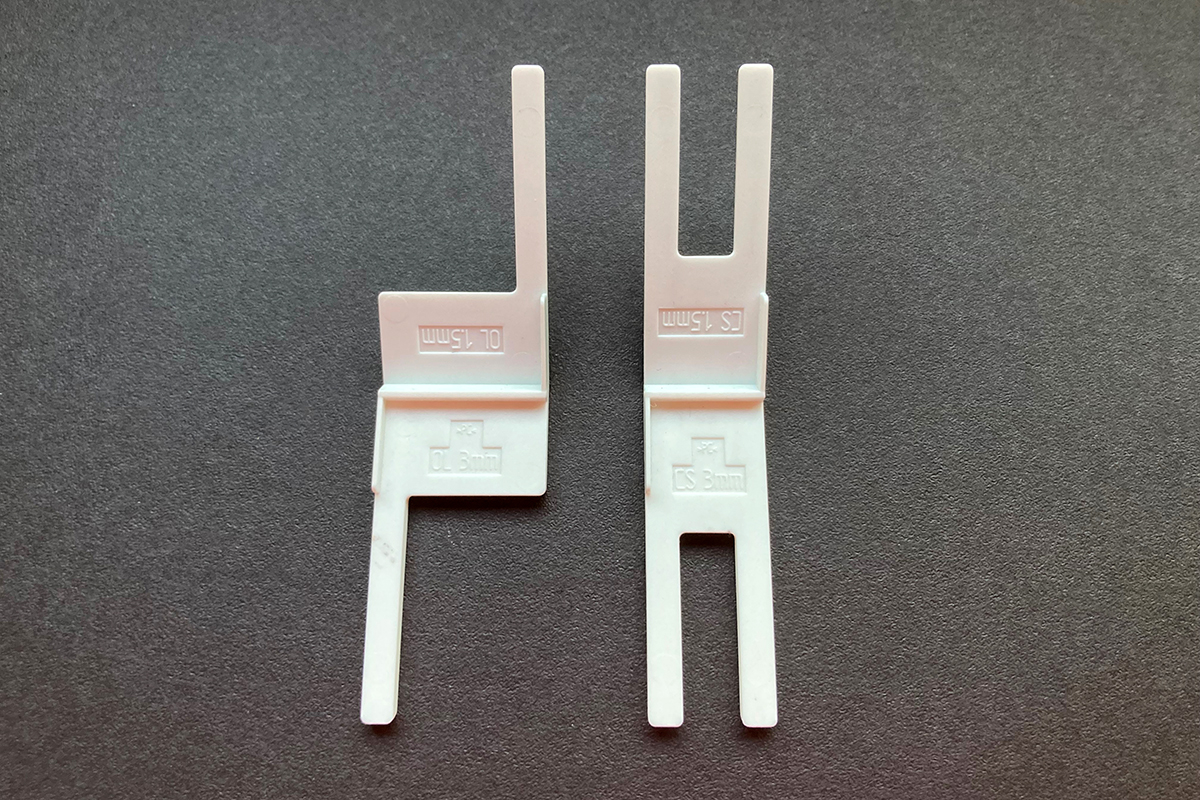
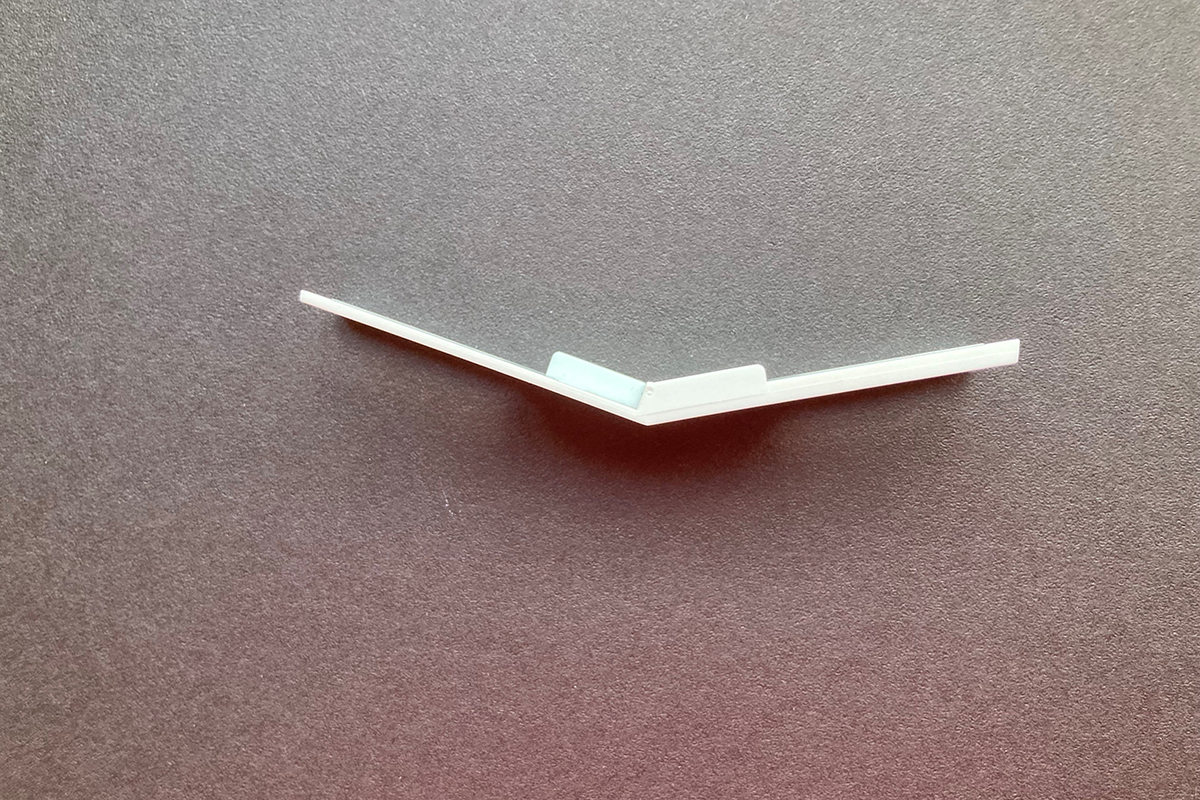
The Tools come as a set of two in the package, one for overlock stitching and one for coverstitching. Look closely and see that there are two different thicknesses on each tool. One side is 1.5 mm thick and the other side is 3.0 mm thick. This allows you to choose the side that best matches with the thickness of the layers on your project.
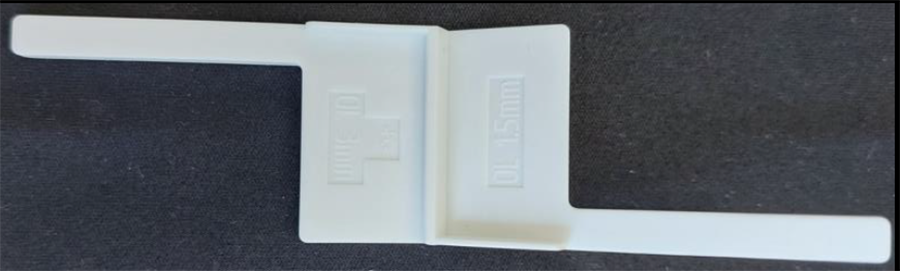
Here is the OL (overlock) Height Compensating Tool. It is for overlock and combo stitching. There is one toe on the left. The right side is open to allow for movement of the knife when serging.
This is the CS (coverstitch) Height Compensating Tool for cover- and chainstitching. Notice that it has TWO toes.

Let’s look at some of the ways you can use these tools. I will be stitching on the BERNINA L 890 Overlock/Coverstitch Combo machine.
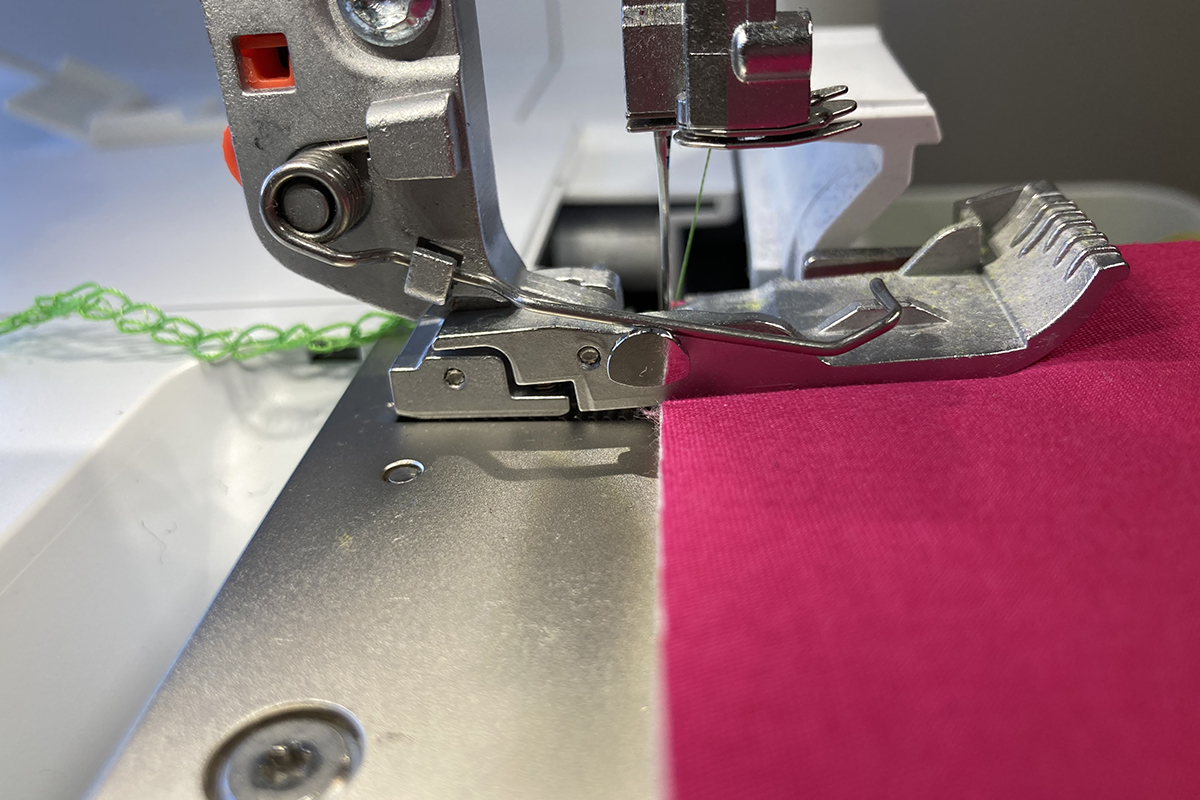
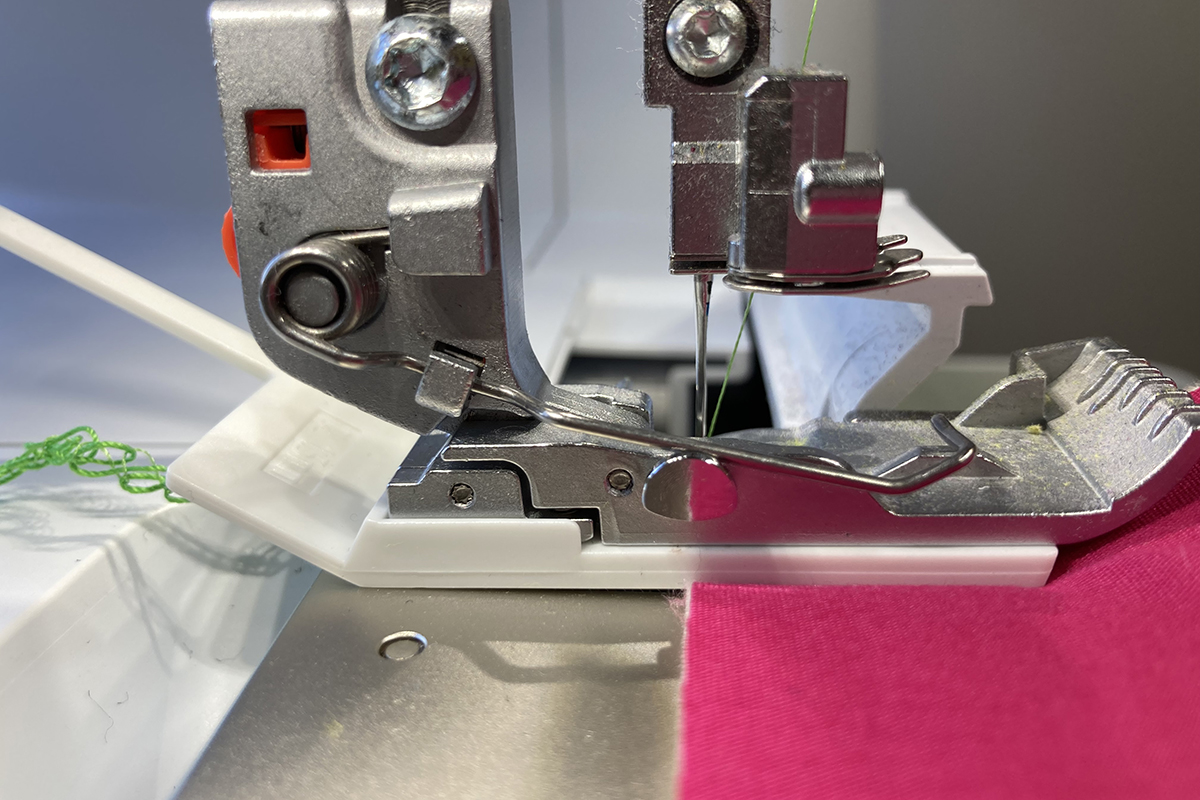
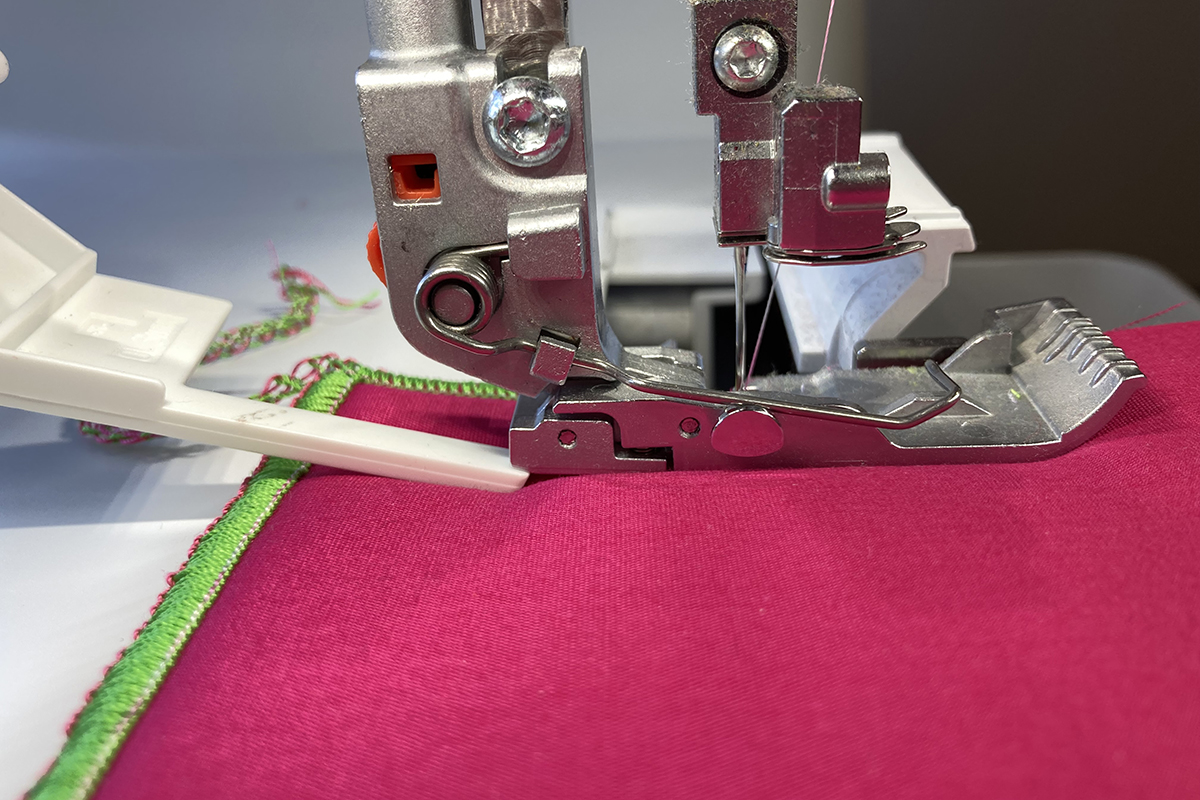
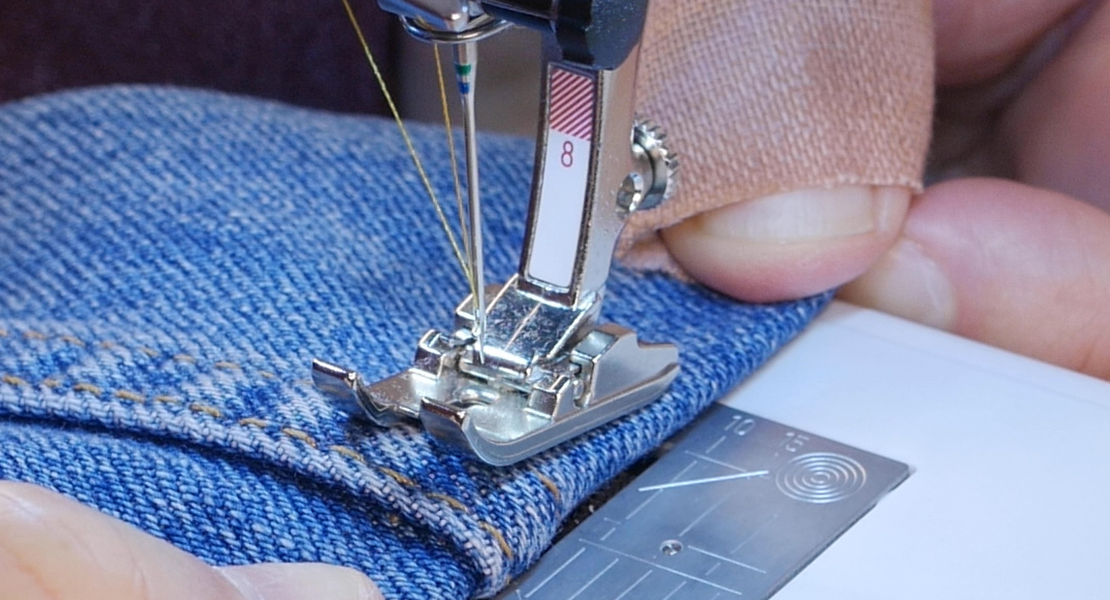
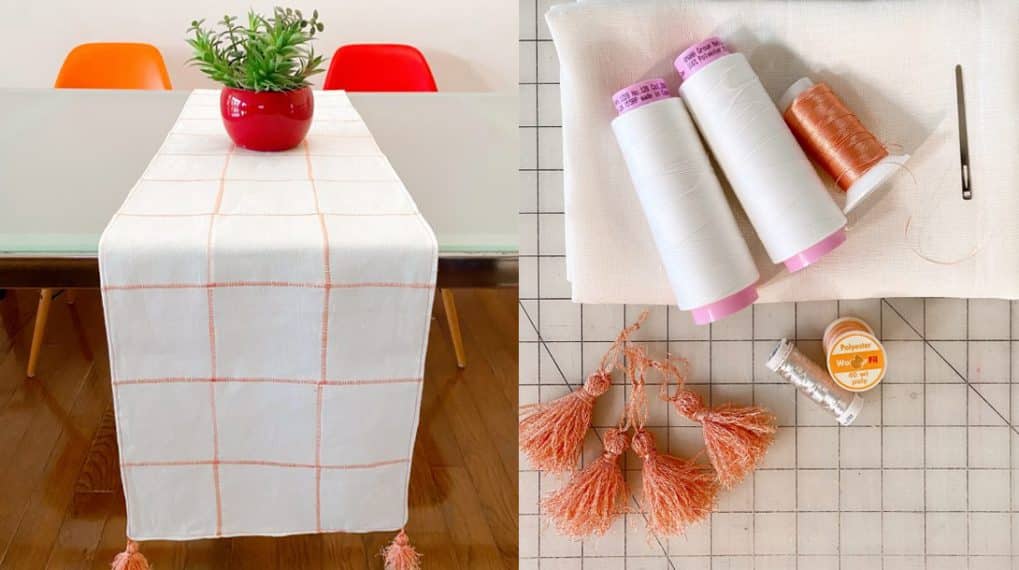
This first example shows two cotton fabrics with a piece of foam stabilizer in between, as if I were making a serged placemat or tablerunner with decorative thread edging. My machine is set up for a narrow 3-thread overlock stitch with 12 weight threads in the loopers. I have placed the fabric under the foot with the needle in the fabric on the starting edge.
Do you see how the foot is at a slight angle? Because the foot is not level, the fabric is not going to feed as evenly as I would like, resulting in a buildup of stitches at the beginning.
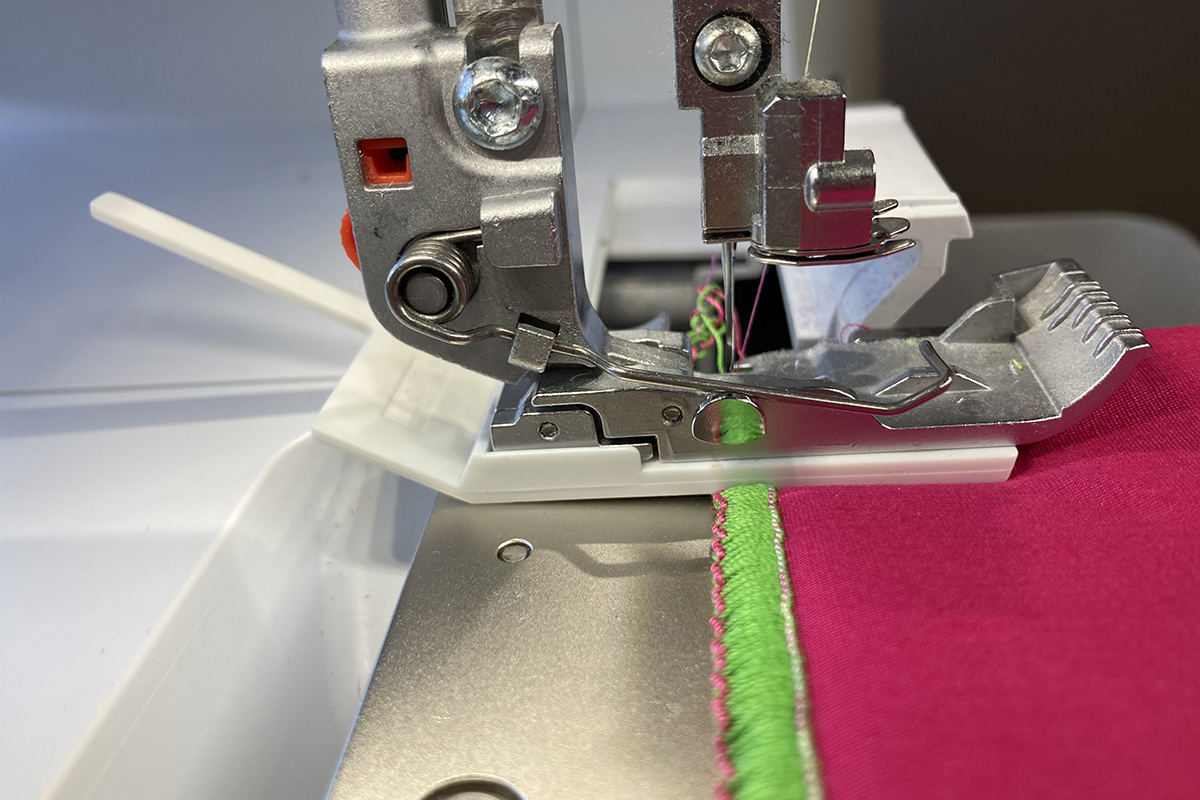
Now I have placed the OL Height Compensating Tool under the foot from the back so that it sits between the foot and the fabric. The left toe of the tool is completely under the foot and even with the left edge of the presser foot. The back edge of the foot is against the raised part in the center of the tool (but not ON the raised part). Do you see how the foot is now level?
TIP: Use the Free Hand System to raise and lower the presser foot. This leaves your hands free to maneuver the Height Compensating Tool into position.
This is not a time for high-speed serging…sew at a slower pace. The Height Compensating Tool will move backwards automatically and out from under the foot. The result is perfect stitches!
Here is another example. Decorative threads are now contributing to the thickness of the layers.
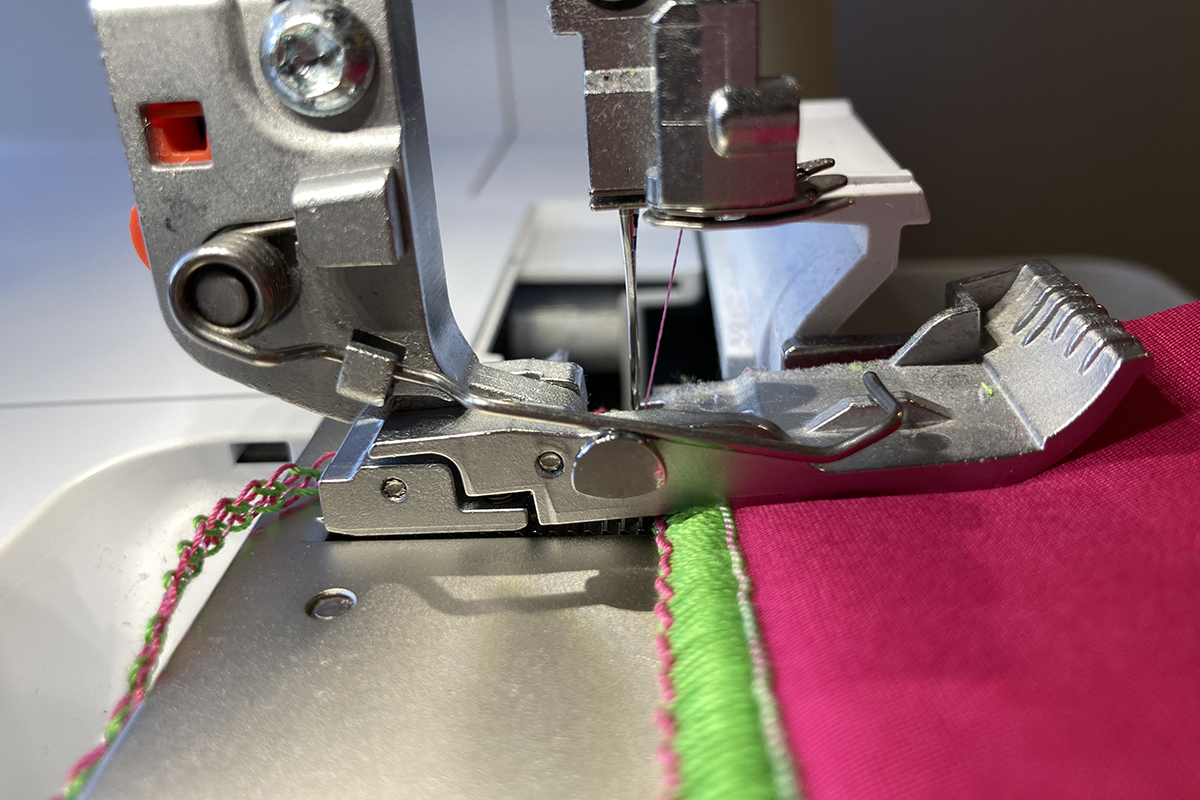
The Height Compensating Tool is placed as before. The foot is now level and I will have a smooth and even start to my stitching.
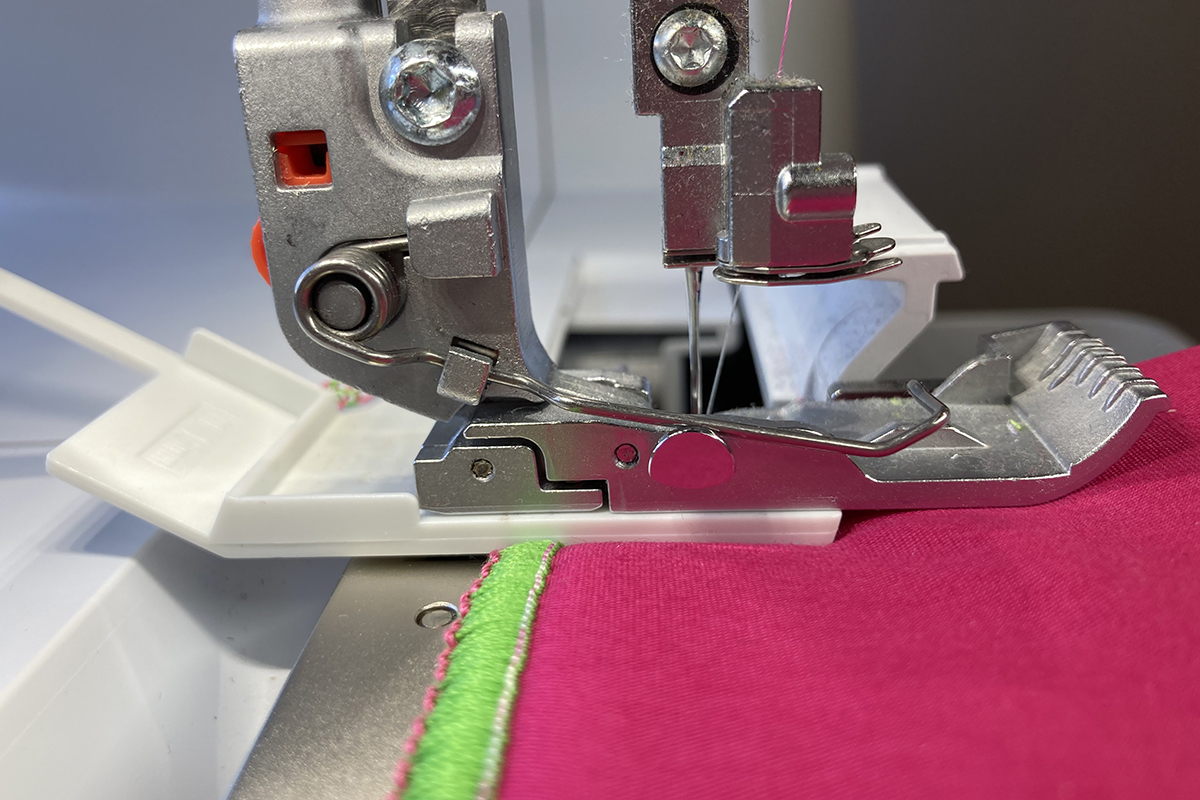
Here are photos showing how the Height Compensating Tool moves with the fabric and out from underneath the foot.
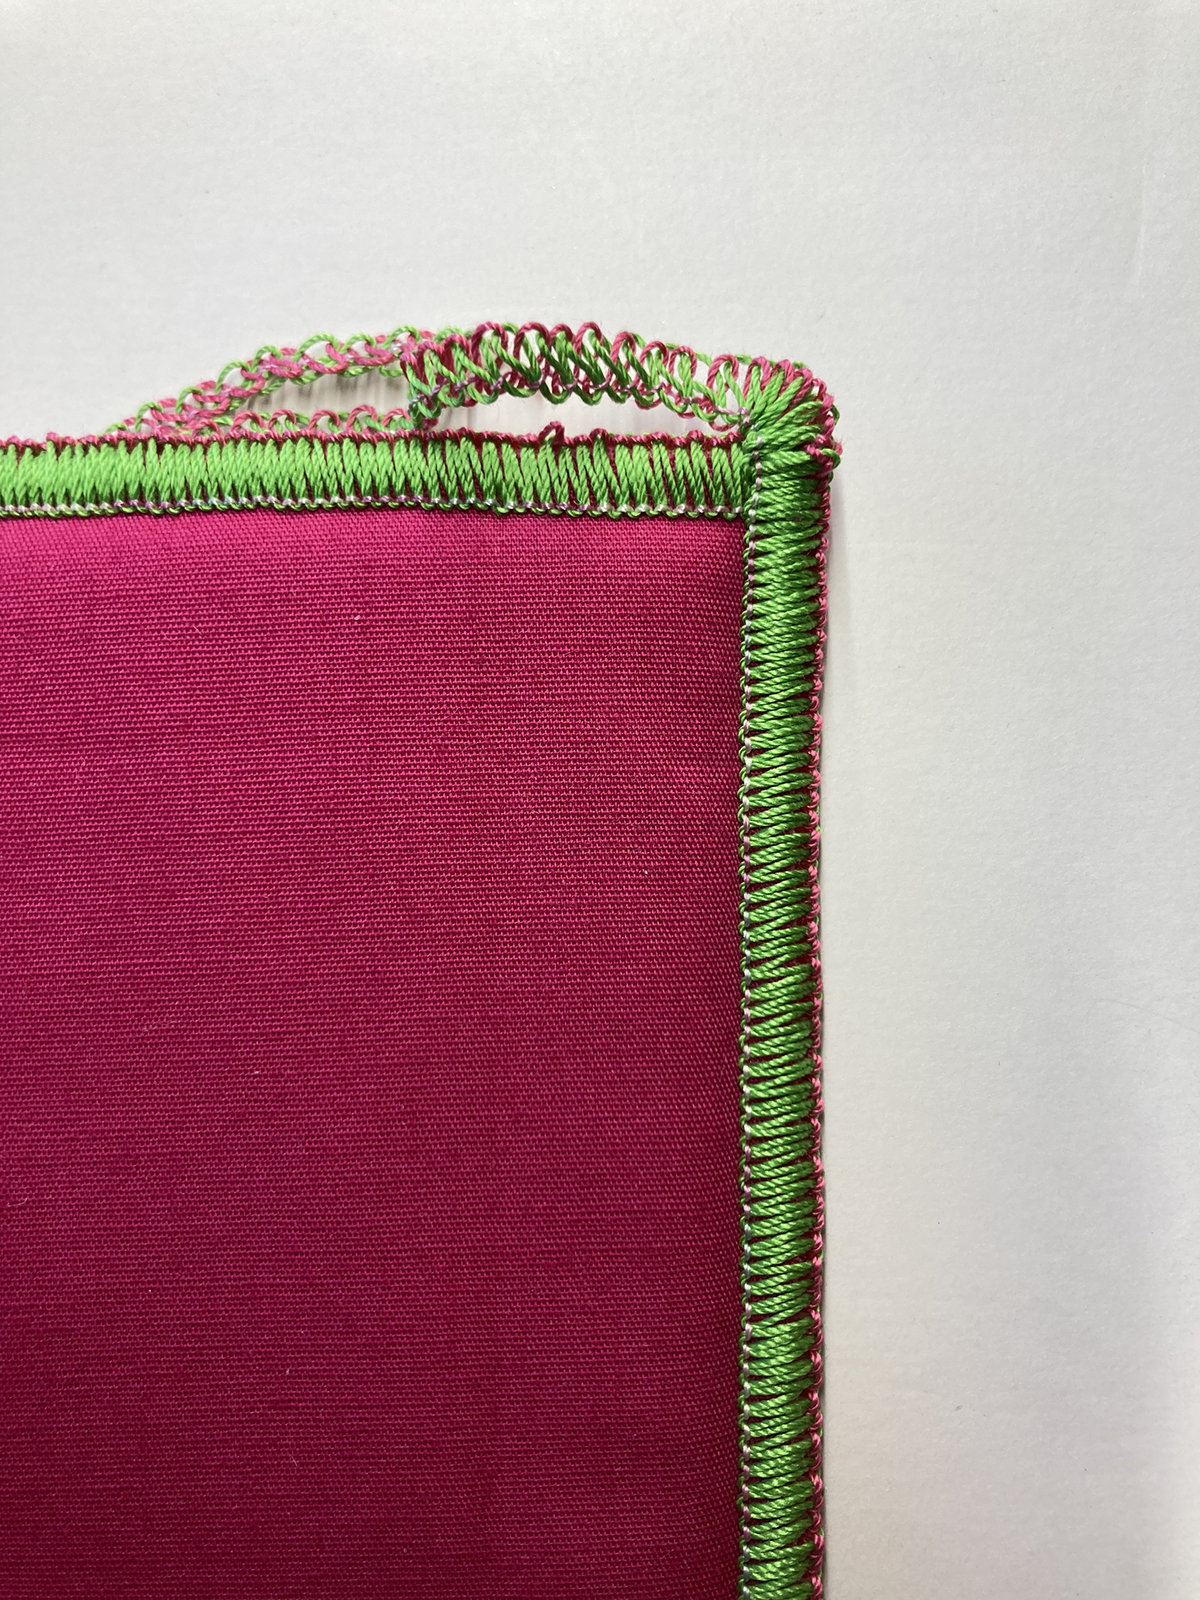
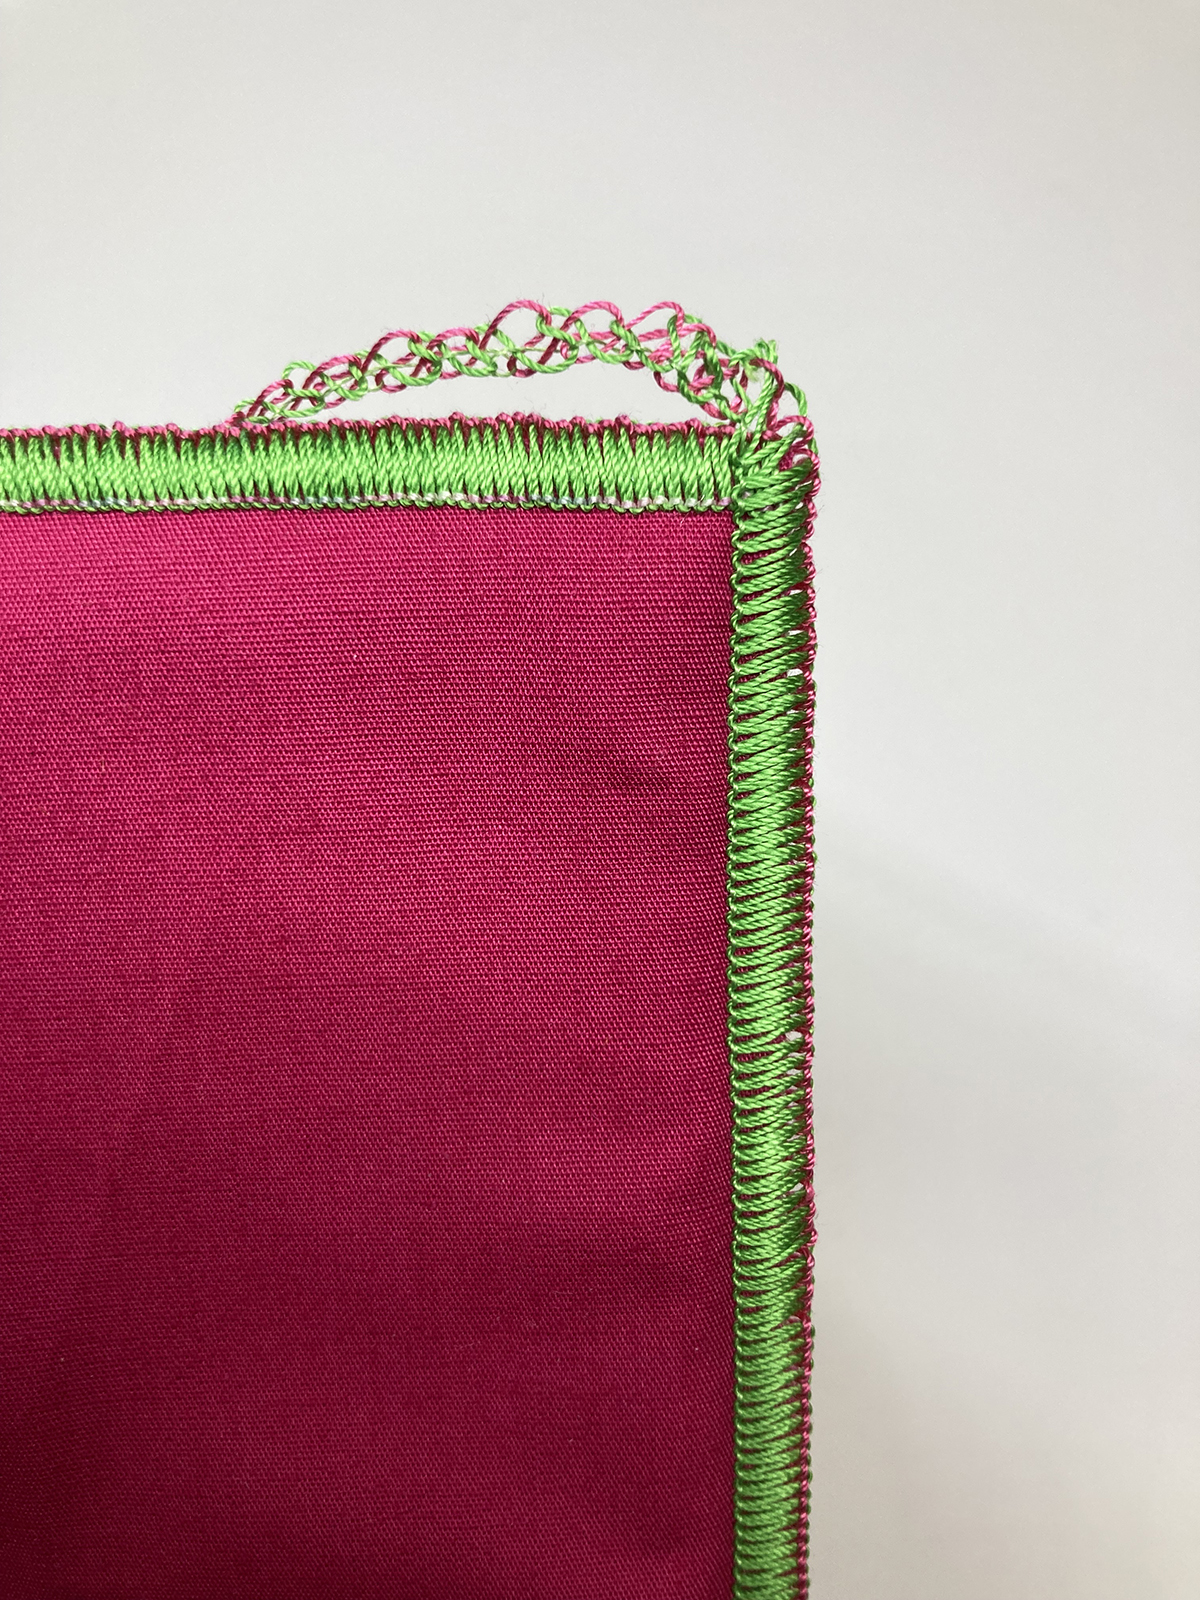
These photos compare what the stitches look like with and without the Height Compensating Tool. The picture at the top shows stitching without the tool. The stitches are bunched up at the beginning. The picture at the bottom shows how the stitches look when I used the Height Compensating Tool. They are nice and even right from the start.
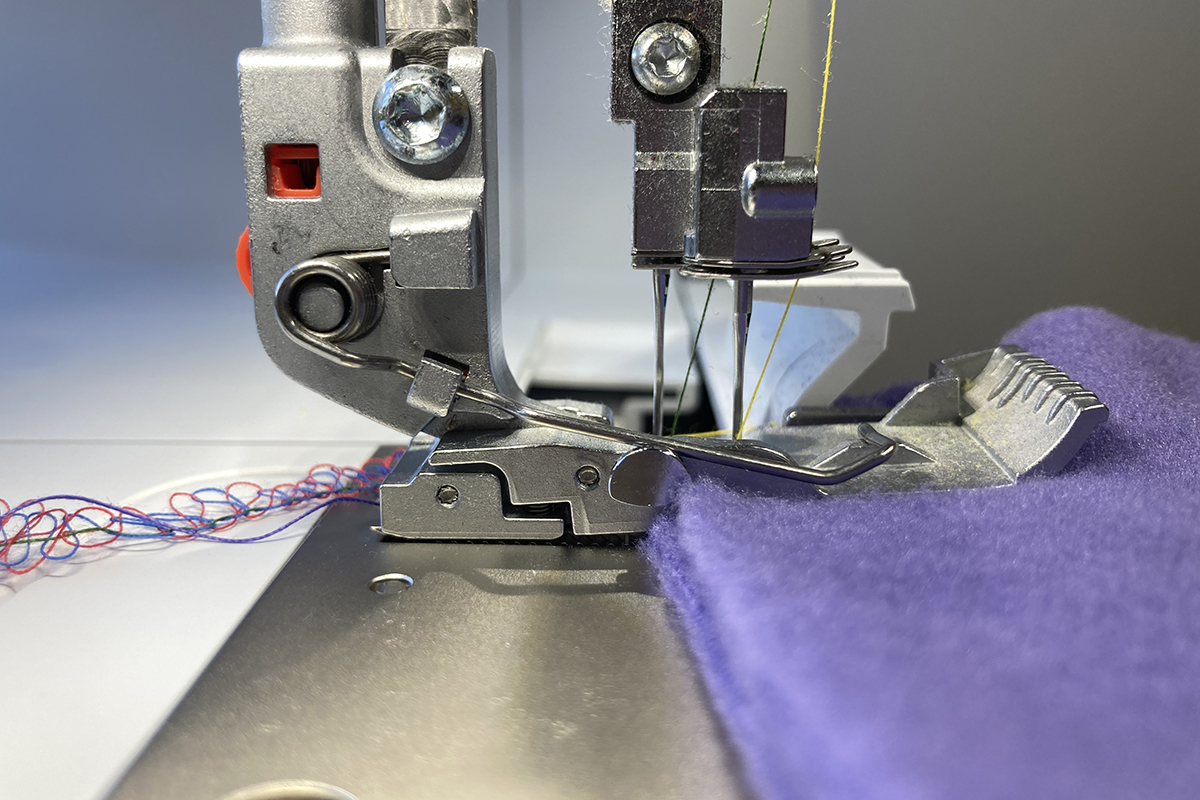
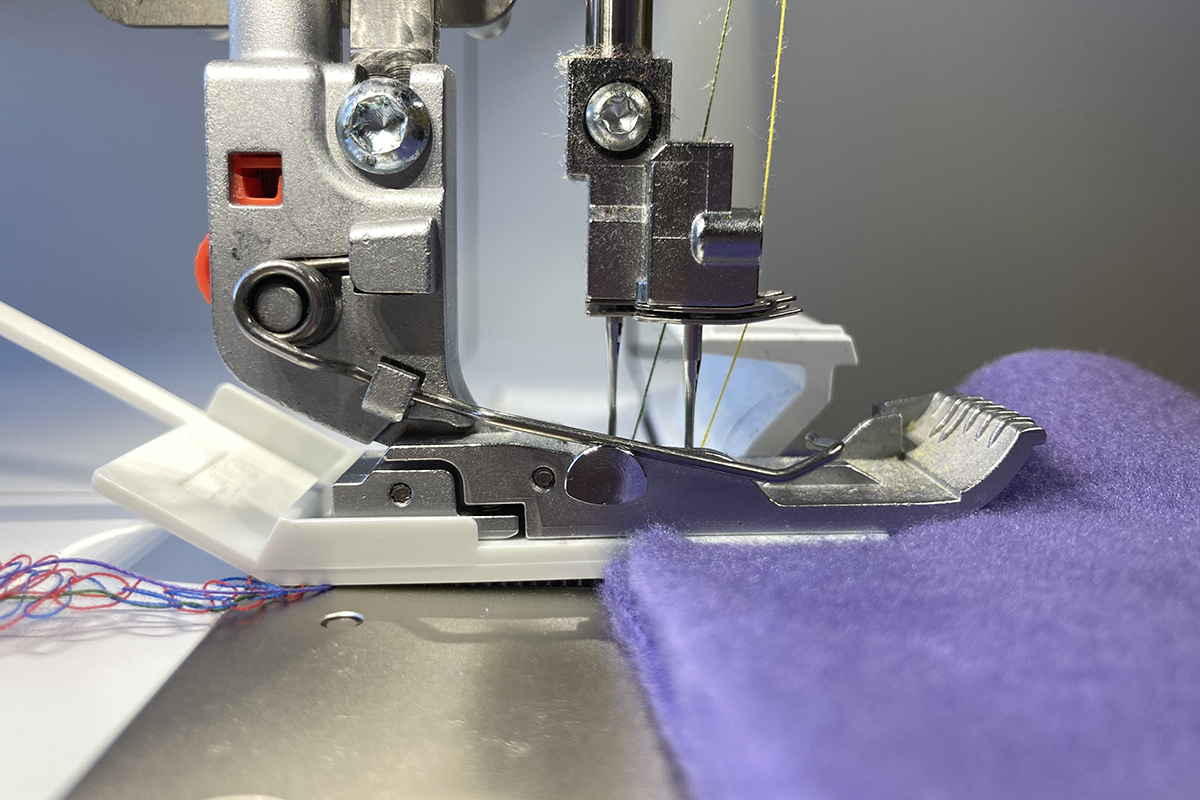
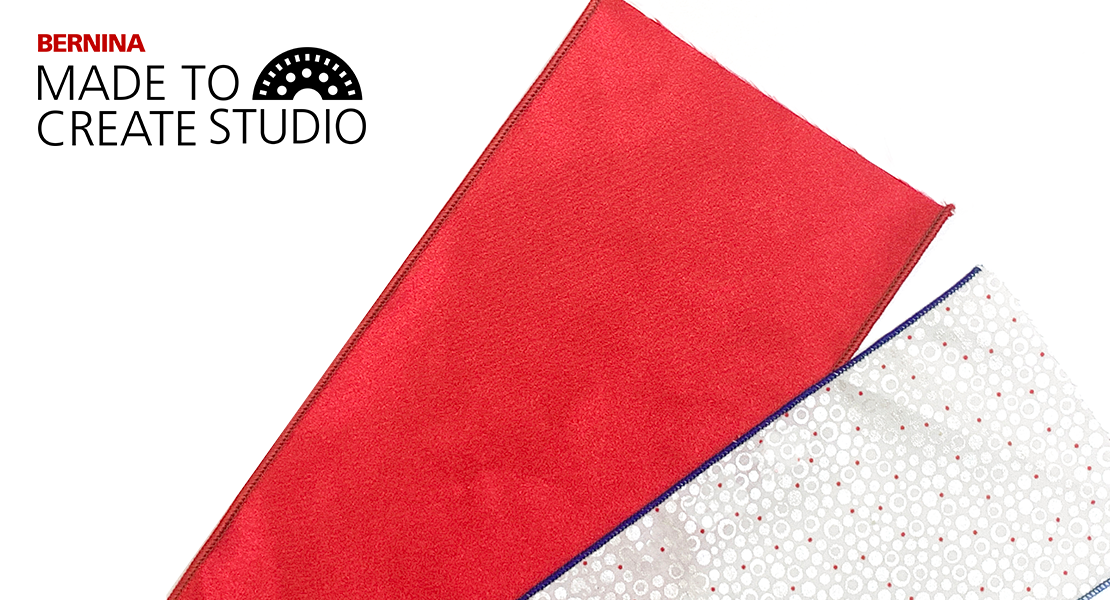
In this example, I’m serging a combo stitch seam on fleece. The presser foot is tipped up slightly at the beginning of the seam.
Just as I did before, I am going to place the Height Compensating Tool under the back of the foot and begin my seam. That worked perfectly!
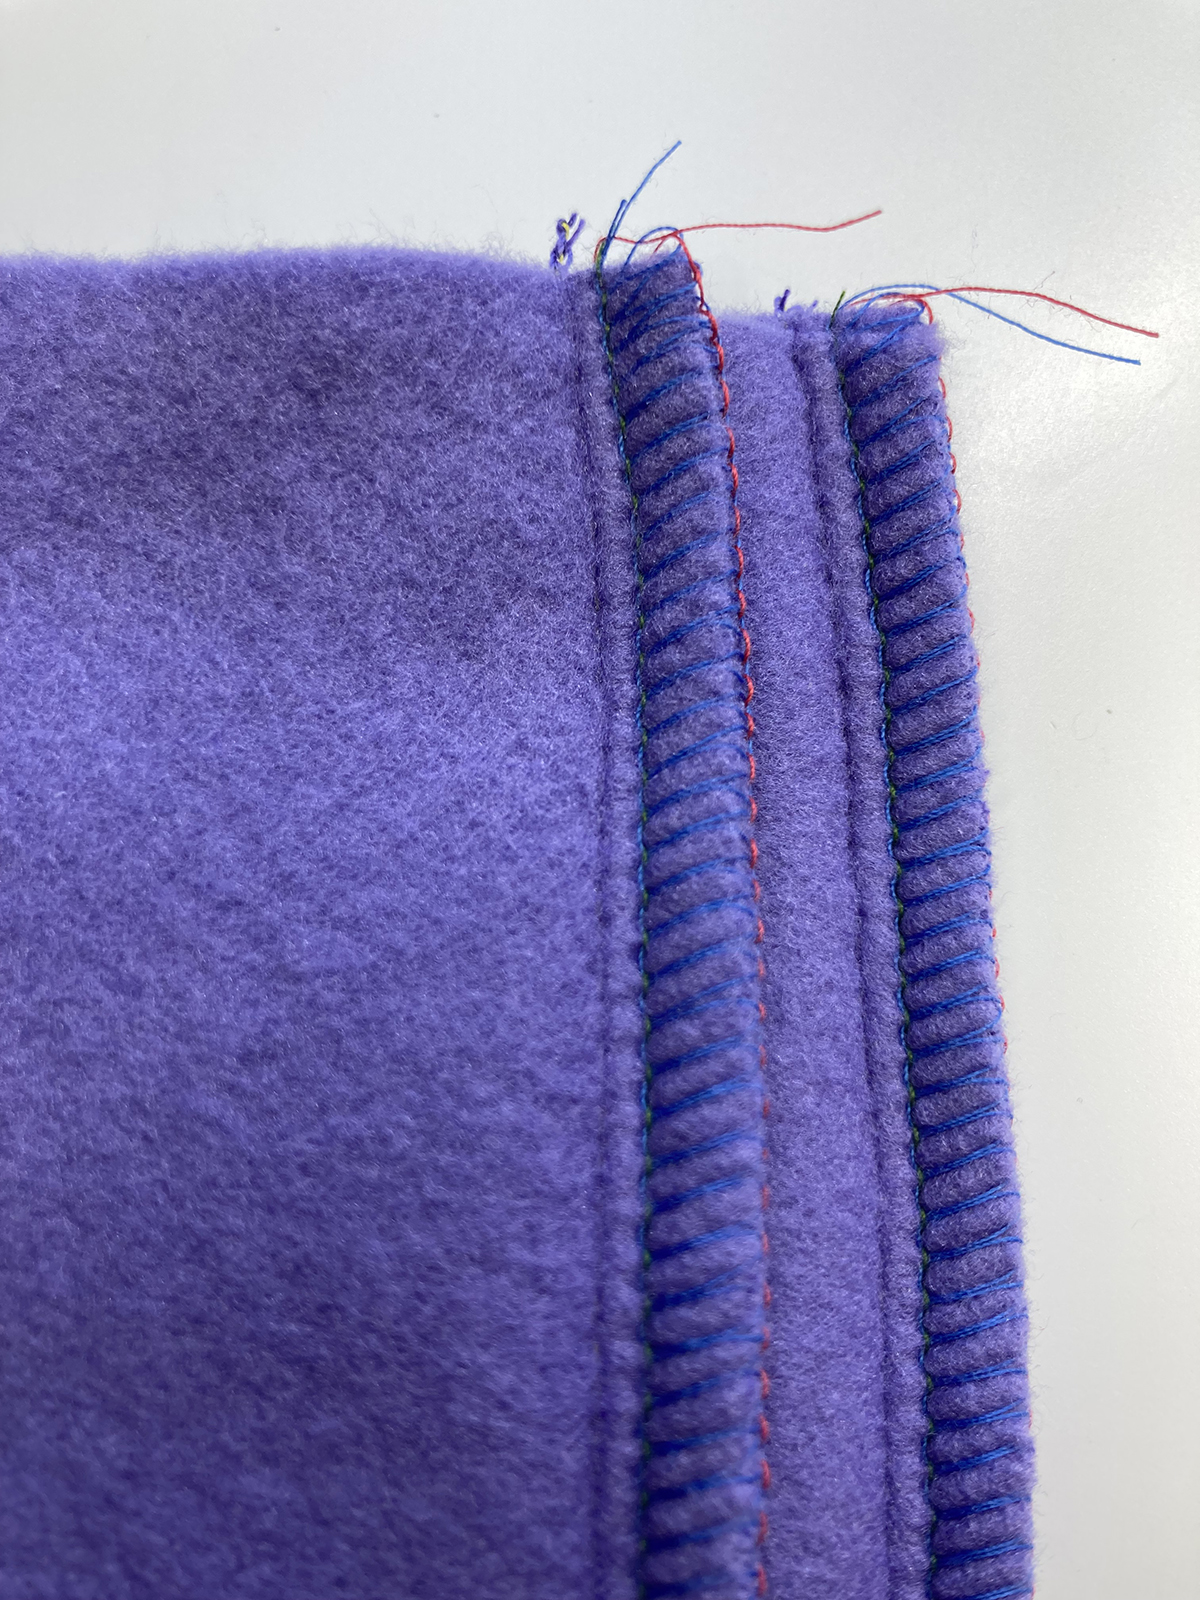
Here is a side-by-side comparison of how the seam looks with and without the Height Compensating Tool. The seam on the left was without the tool and you can see that the beginning stitches are closer together. The seam on the right used the tool and the stitches are even.
If you have hemmed a garment with a coverstitch, you know that sometimes your foot does not want to move smoothly over the side seams. Depending on the thickness of the fabrics plus the seam allowance, you may get shortened stitches, skipped stitches, a wavy line or even a tuck in the fabric. So frustrating!
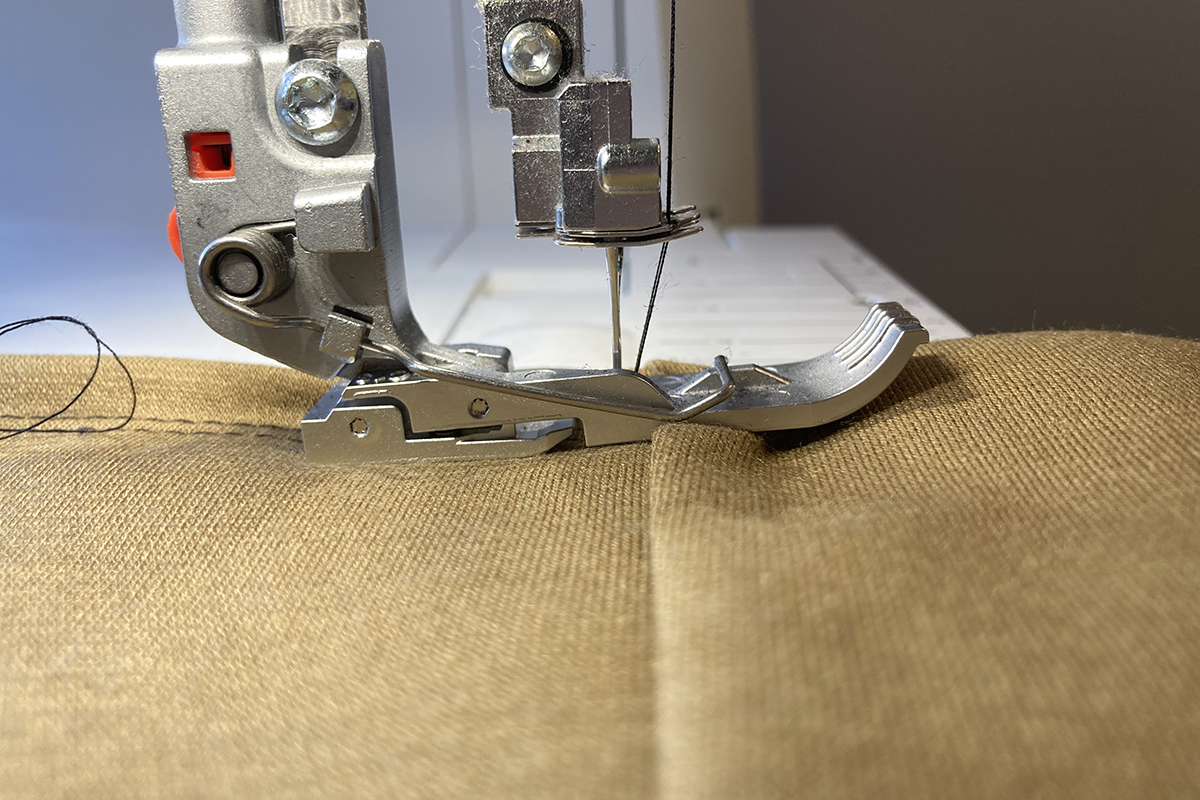
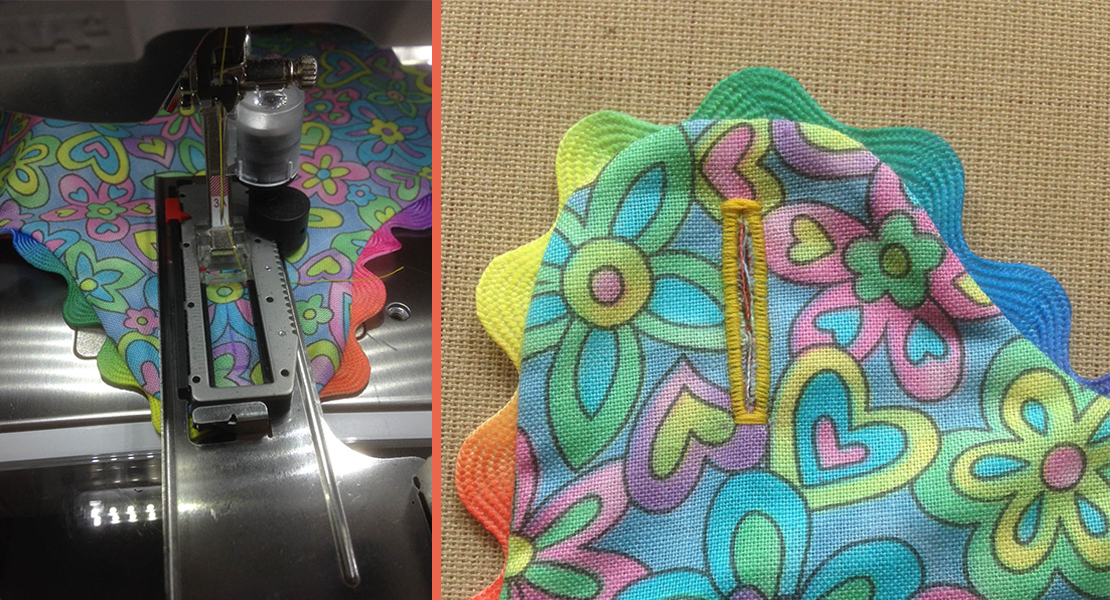
For my example, I am stitching a coverstitch hem on Ponte knit. Ponte knit is a double knit that is heavier than a single knit and is a nice choice for a variety of garments. The fabric has some stretch and the edges don’t curl. When hemming this fabric with a coverstitch, the challenge happens when going over the seams. Here is a picture of what the foot looks like as it approaches the seam. (The seam allowance is pressed away from the foot.) You can see a tuck beginning to appear after the seam line and the foot is tipping up.
I sewed until the needles were almost to the seam line and then placed the CS Height Compensating Tool under the foot. The foot is resting on both toes of the tool. Do you see how the foot levels out and the tuck disappears?
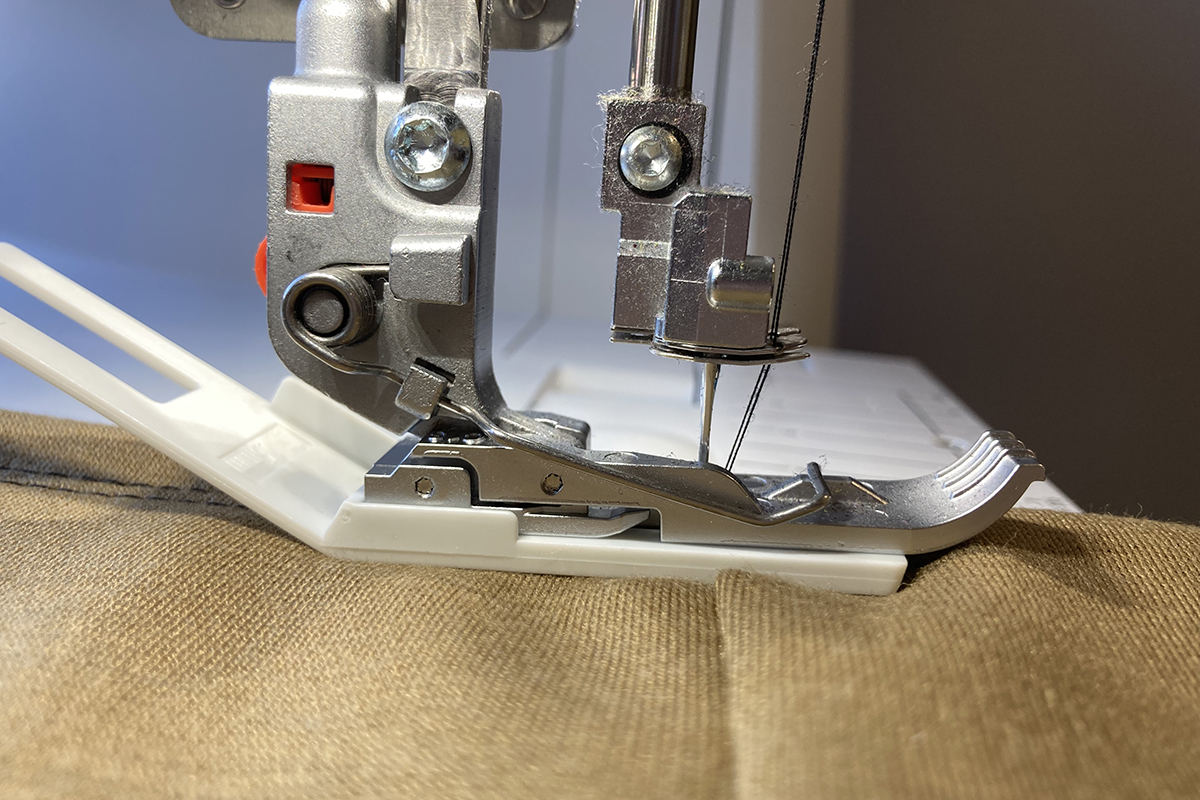
I can now sew smoothly over the seam. The Height Compensating Tool moves backward with the fabric and slides out from under the foot.
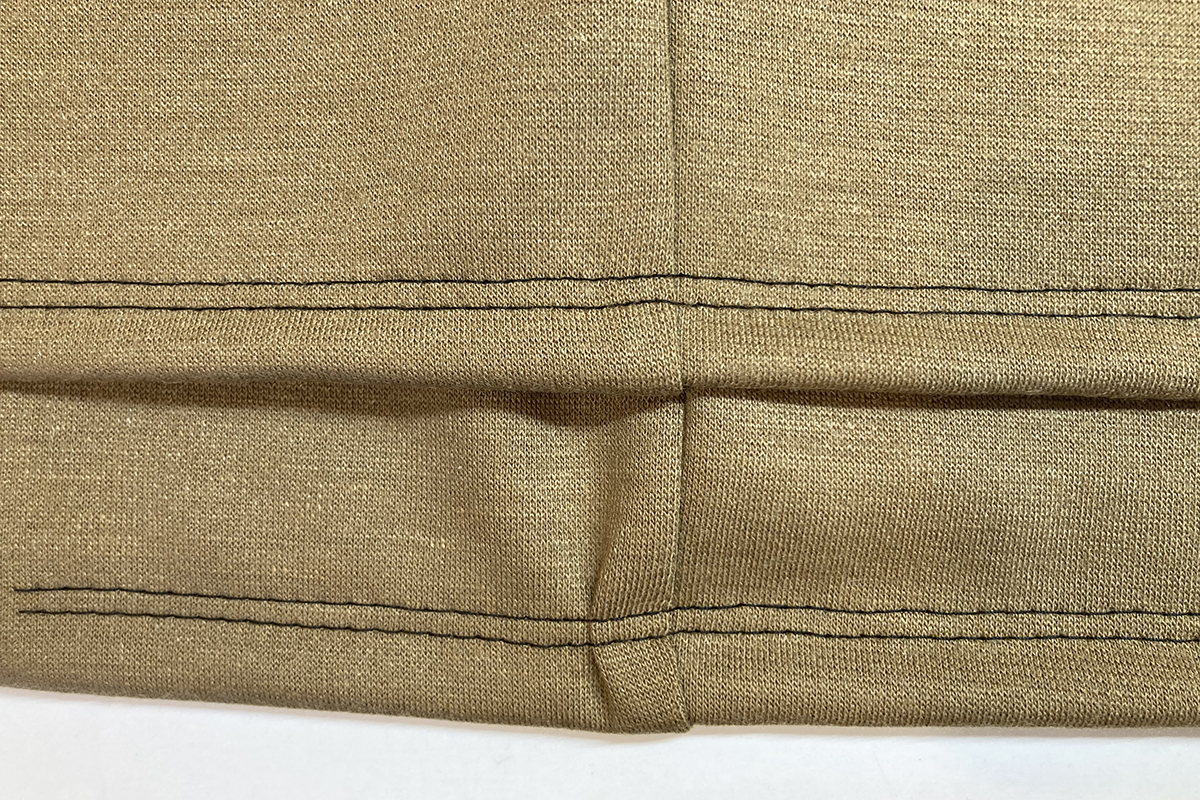
Take a look at the photo below. The upper hem was stitched with the CS Height Compensating Tool and the lower hem was not. What a difference the Height Compensating Tool makes!
The OL/CS Height Compensating Tools are a must-have in my serger toolbox and I know they will be in yours, as well!
Until next time, happy serging!


What you might also like


11 comments on “Height Compensating Tools on the Overlocker”
-
-
I NEED this tool now! I’ve been trying to do this without the tool, but that will make everything so much easier. I’ve used our machine compensation sticks but they aren’t quite right for use on the serger. hope they are available now.
-
-
Love this tool. And love that it works with my L460 and b42. Wish there were curve feet for these machines – hint, hint…
-
Thank you for the excellent tutorial. I will be purchasing these.
-
This is a very informative article with good detail on the Height Compensating Tools with the Overlocker. I look forward to implementing them. Thank you Mary!
-
I have older model serger Bernina 1150, would this tool work with this Machine? If not, is there a compensation foot for the older models? My serger is in excellent shape and stitches beautifully so I have no reason to update at this time. Thank you !
-
Mary, Great samples and photos. Thank you
-
Excellent tutorial. I always wondered why sergers did not have a height compensation tool.
-
very impressed. But does it work on an old bernette 334D?
-
I have been unable to find this on the Bernina website.
Leave a Reply
You must be logged in to post a comment.

This is excellent detail Mary – very precise illustrations. Definitely will be looking for these tools to try. Thank you.