How to Free-motion Quilt a Spider Web
The Spooky Spider Spins her Web
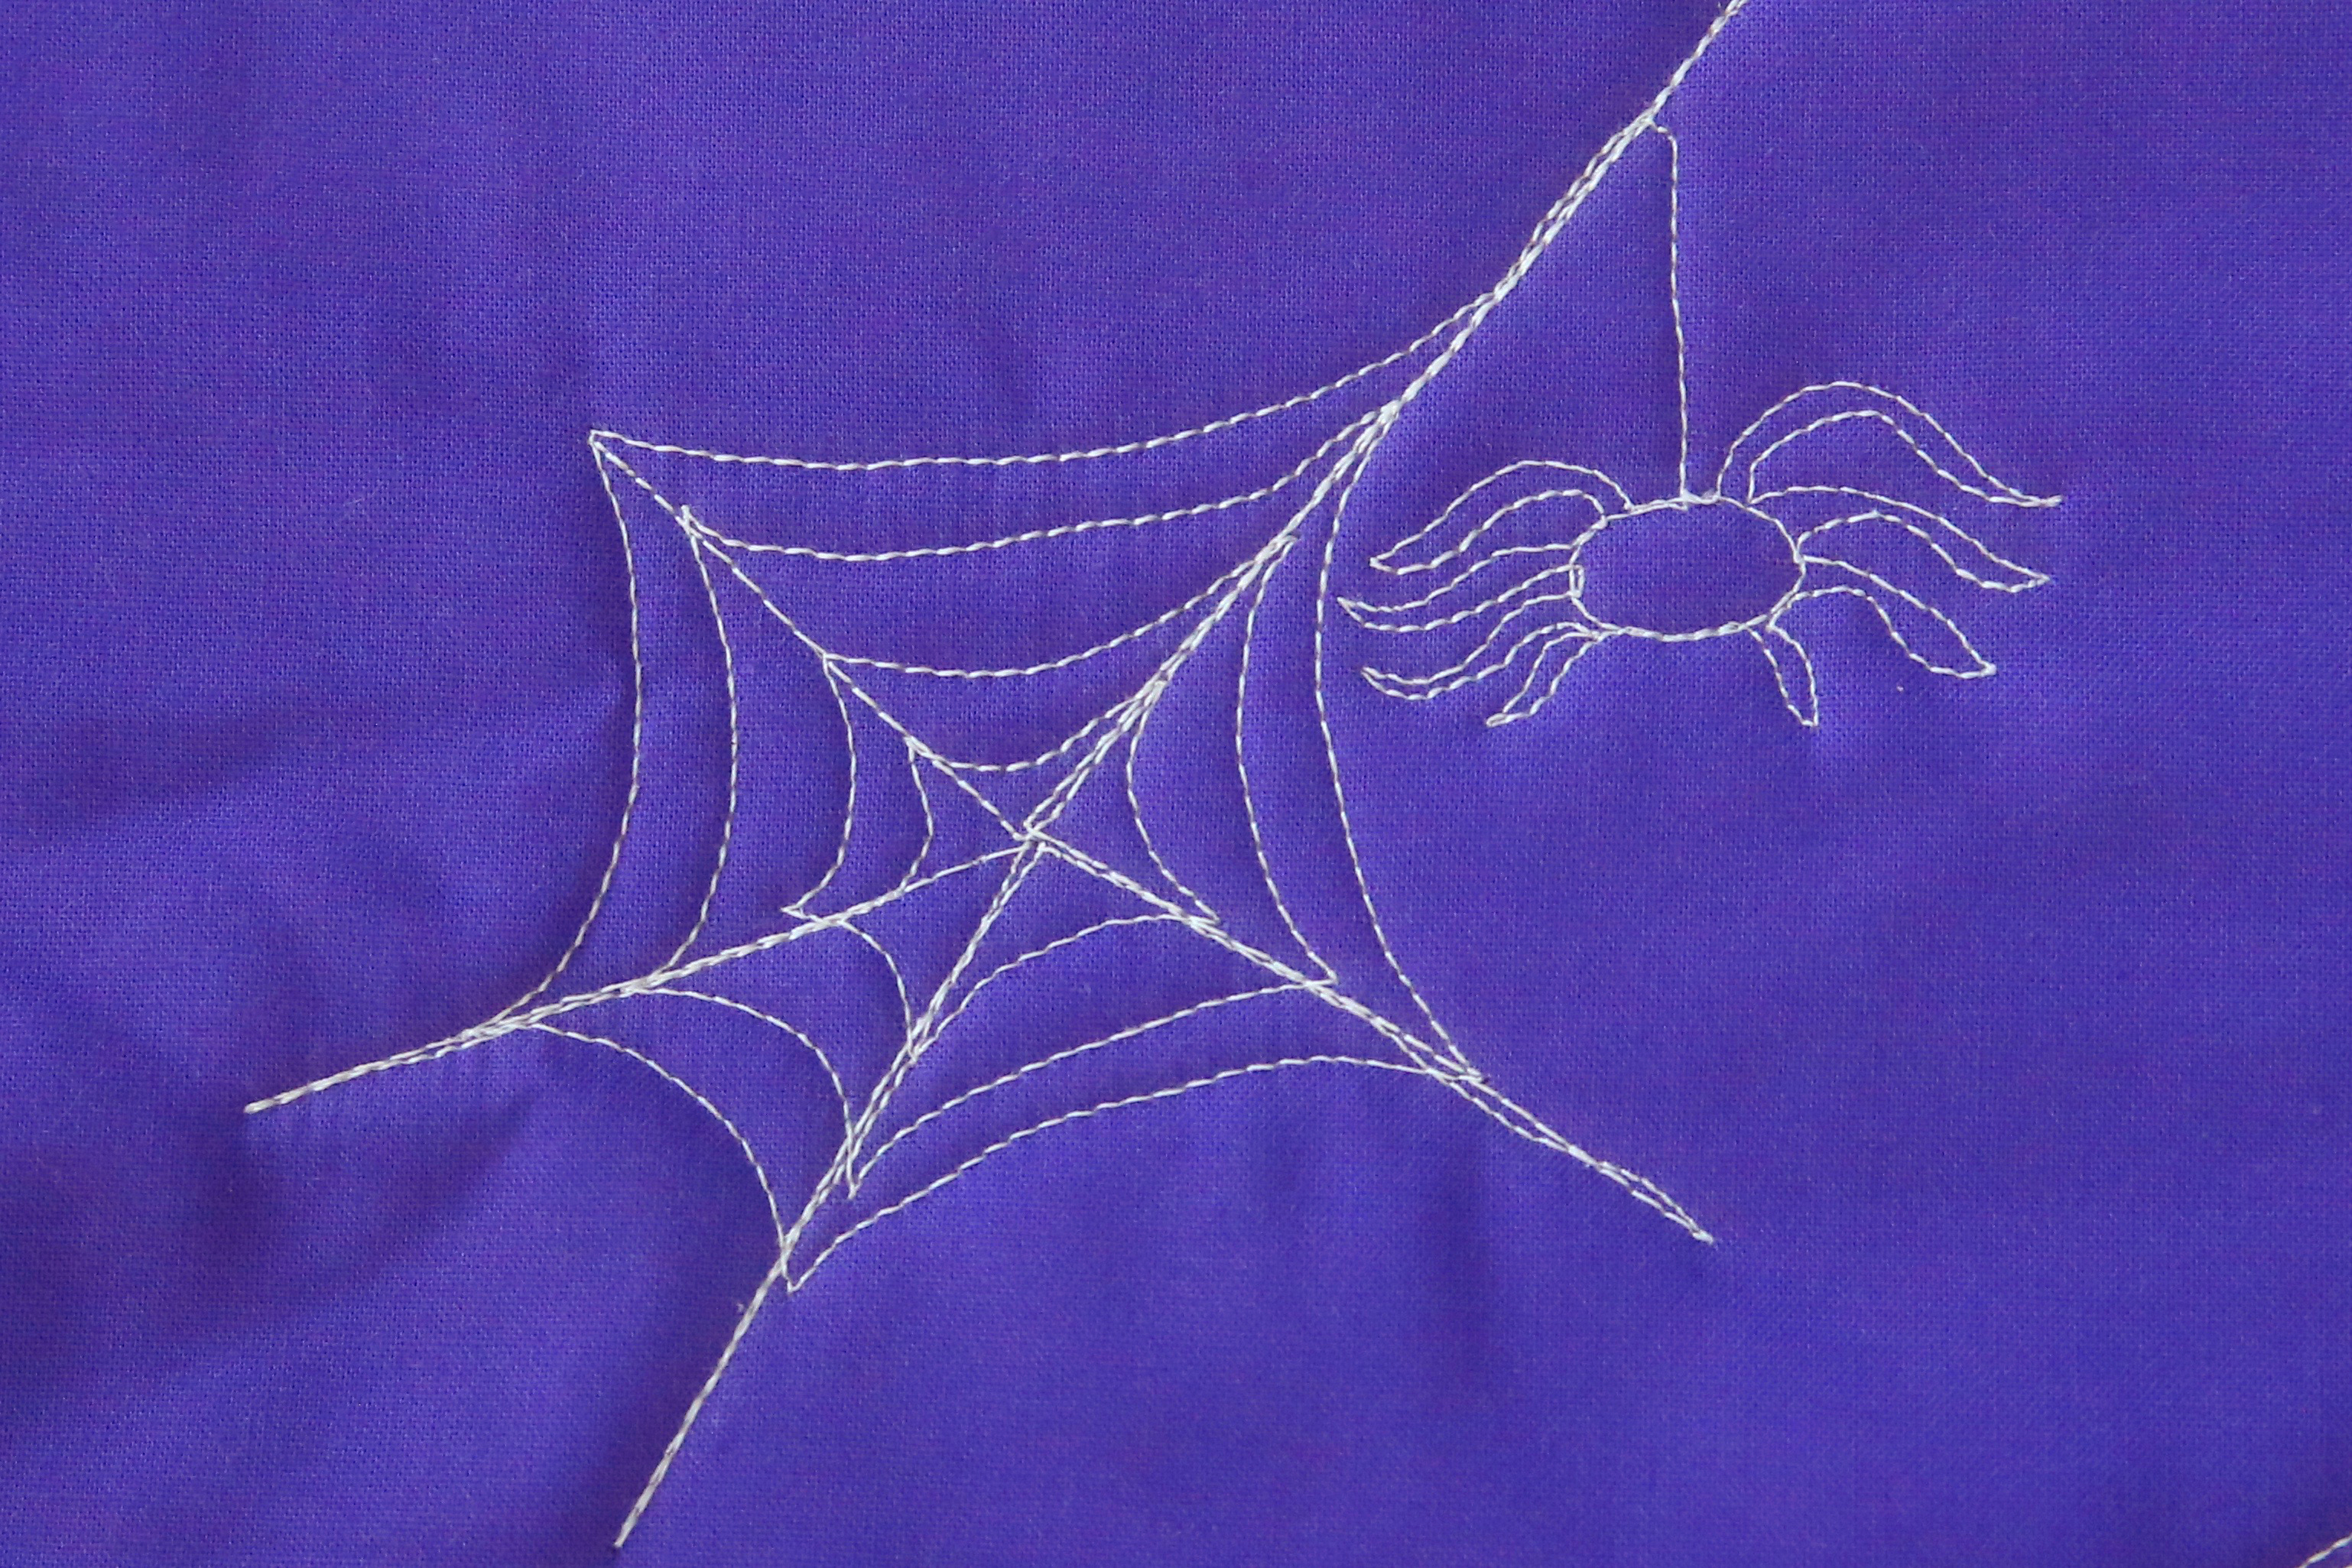
Spiders can be spooky but you don’t have to be afraid to machine quilt the spider and her web on your next quilt. The pattern is easy to learn when you follow the step-by-step photos and then watch the short videos.
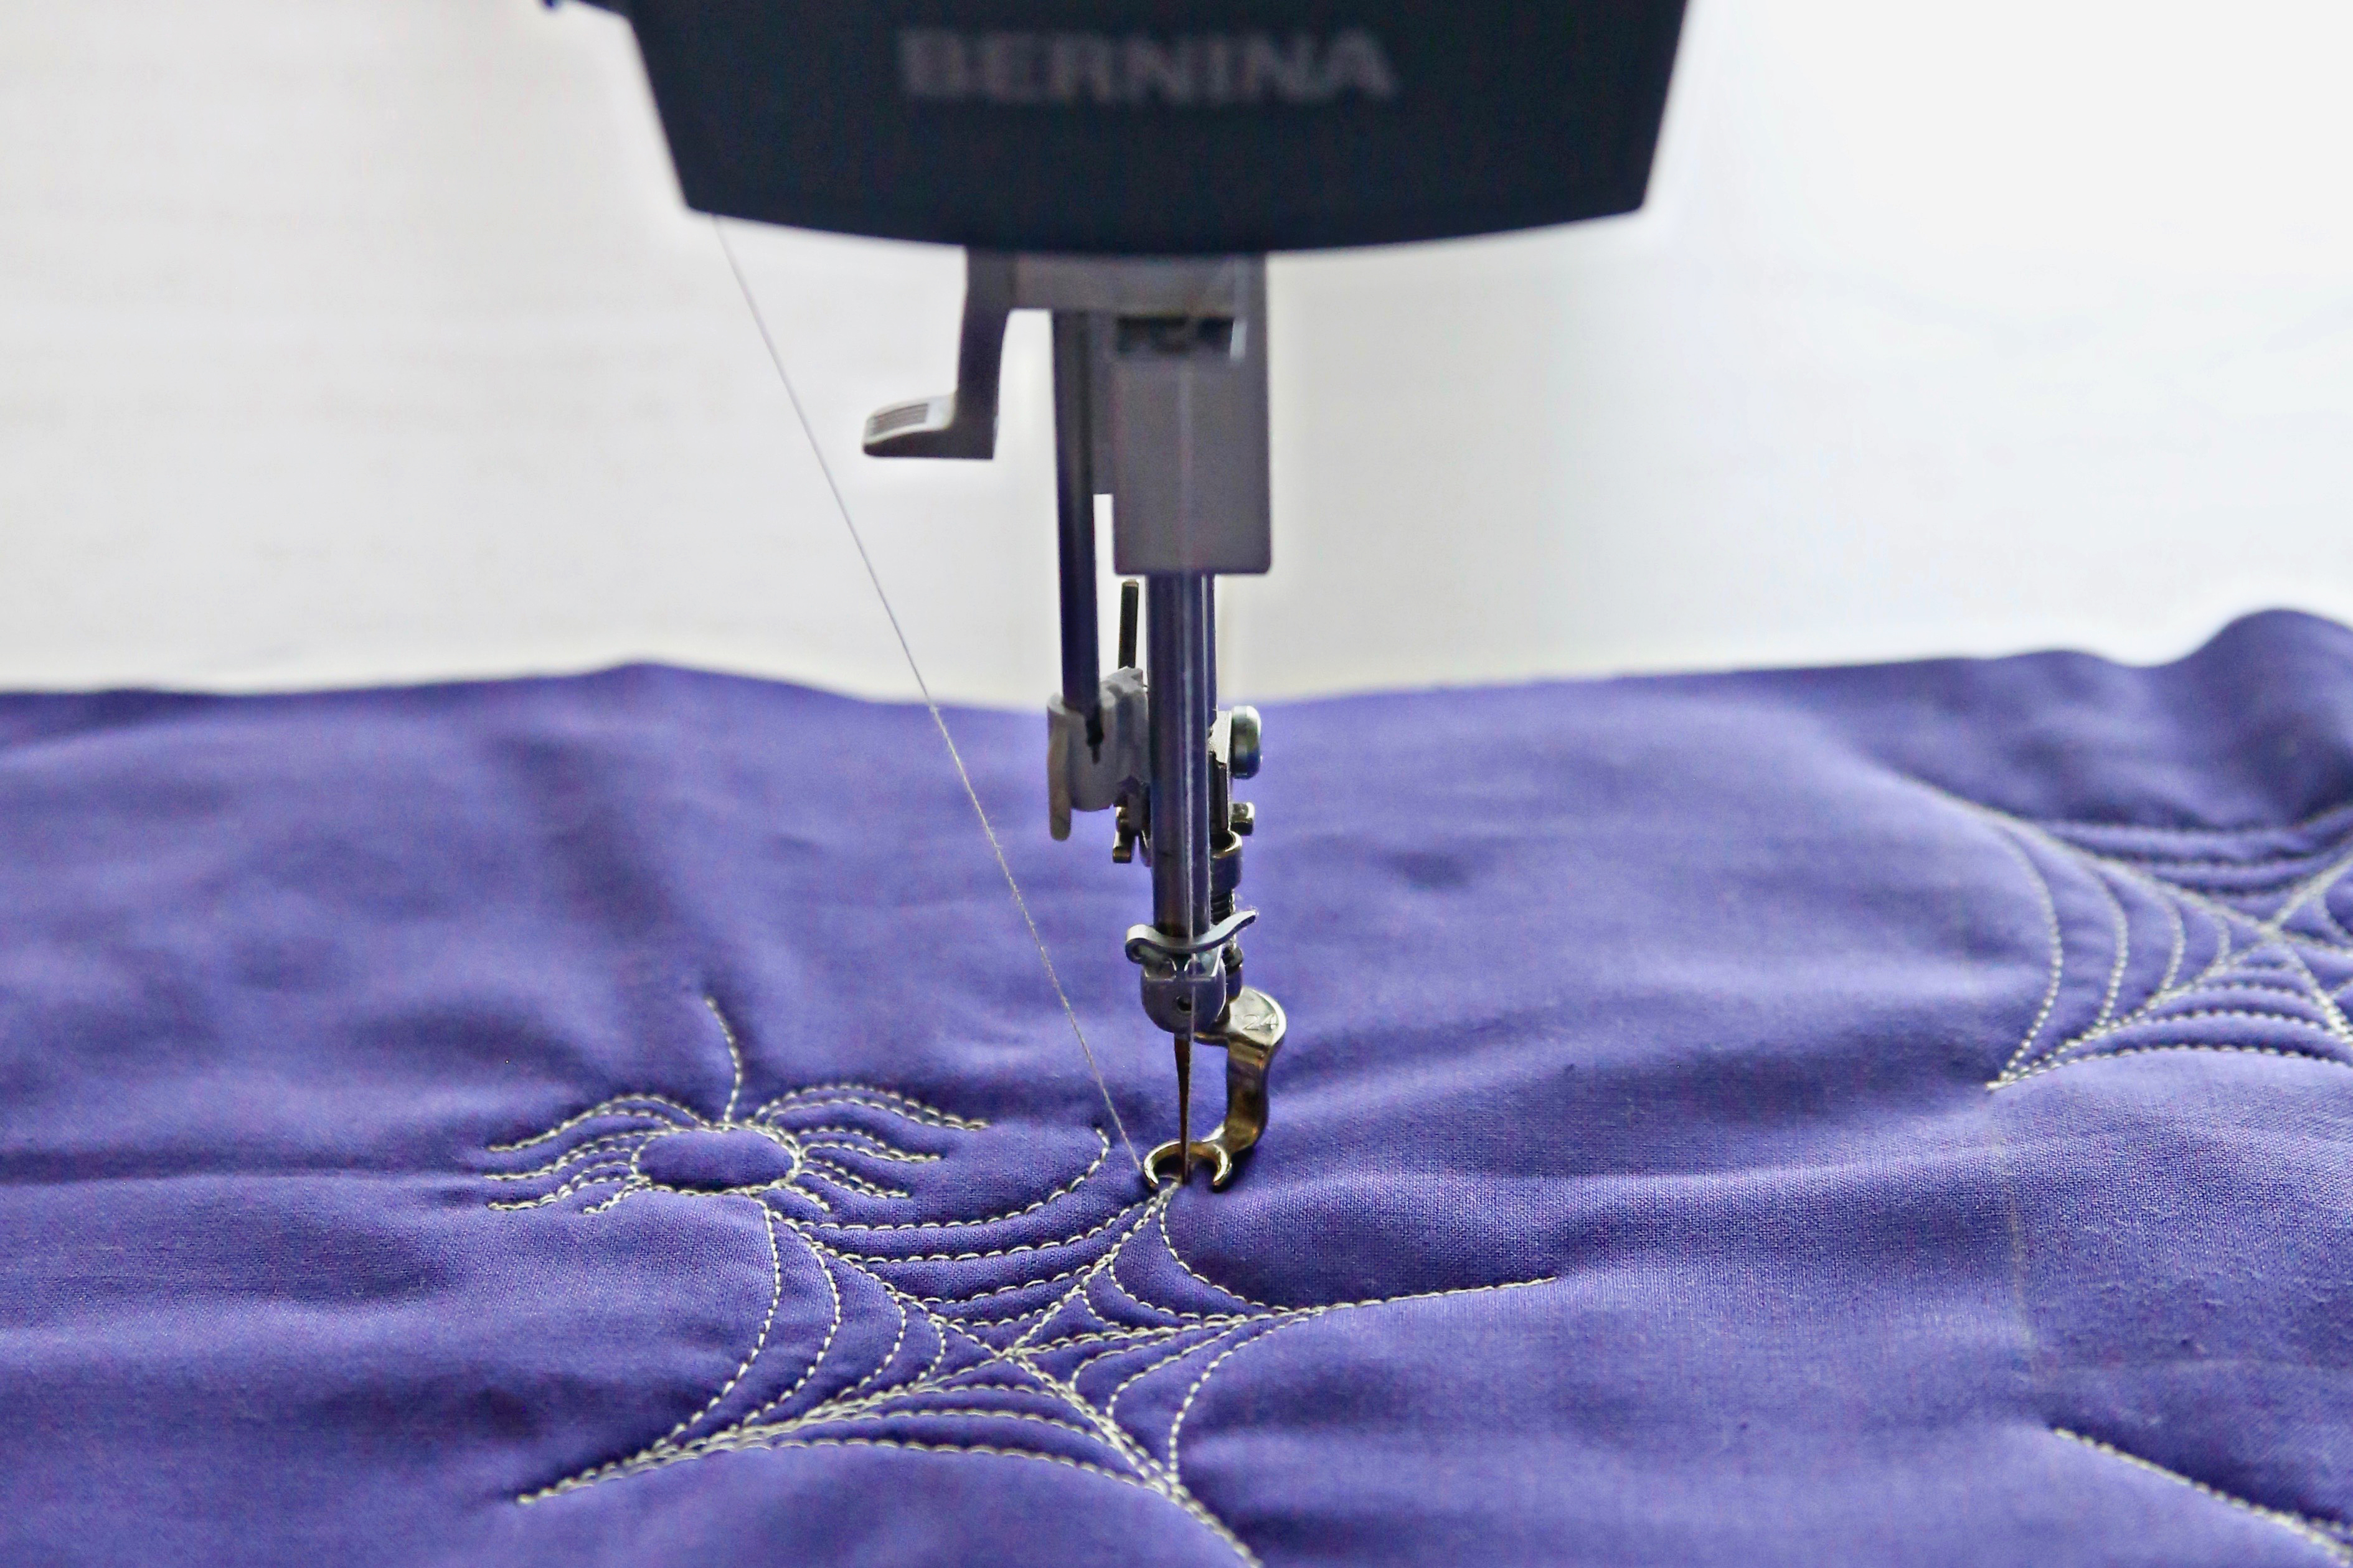
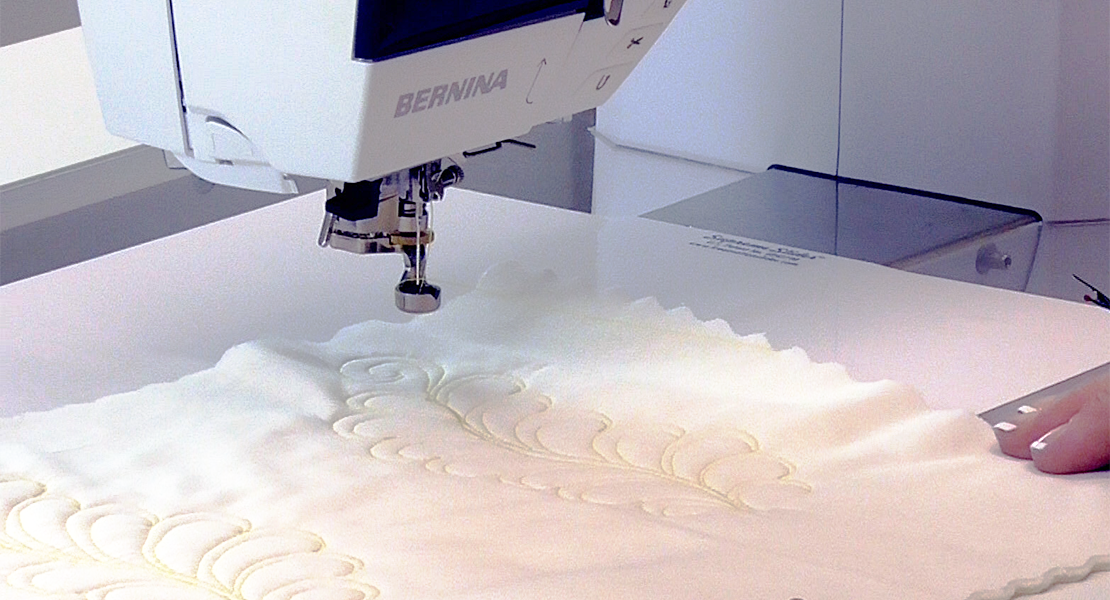
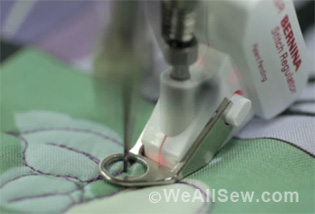
I’m Lori Kennedy of Lori Kennedy Quilts and I love to stitch whimsical motifs to add fun and personality to quilts. I free-motion quilt on my amazing BERNINA Q20, sit-down long arm. To create this focus motif, I used 28 weight cotton thread on top and 50 weight cotton thread in the bobbin.

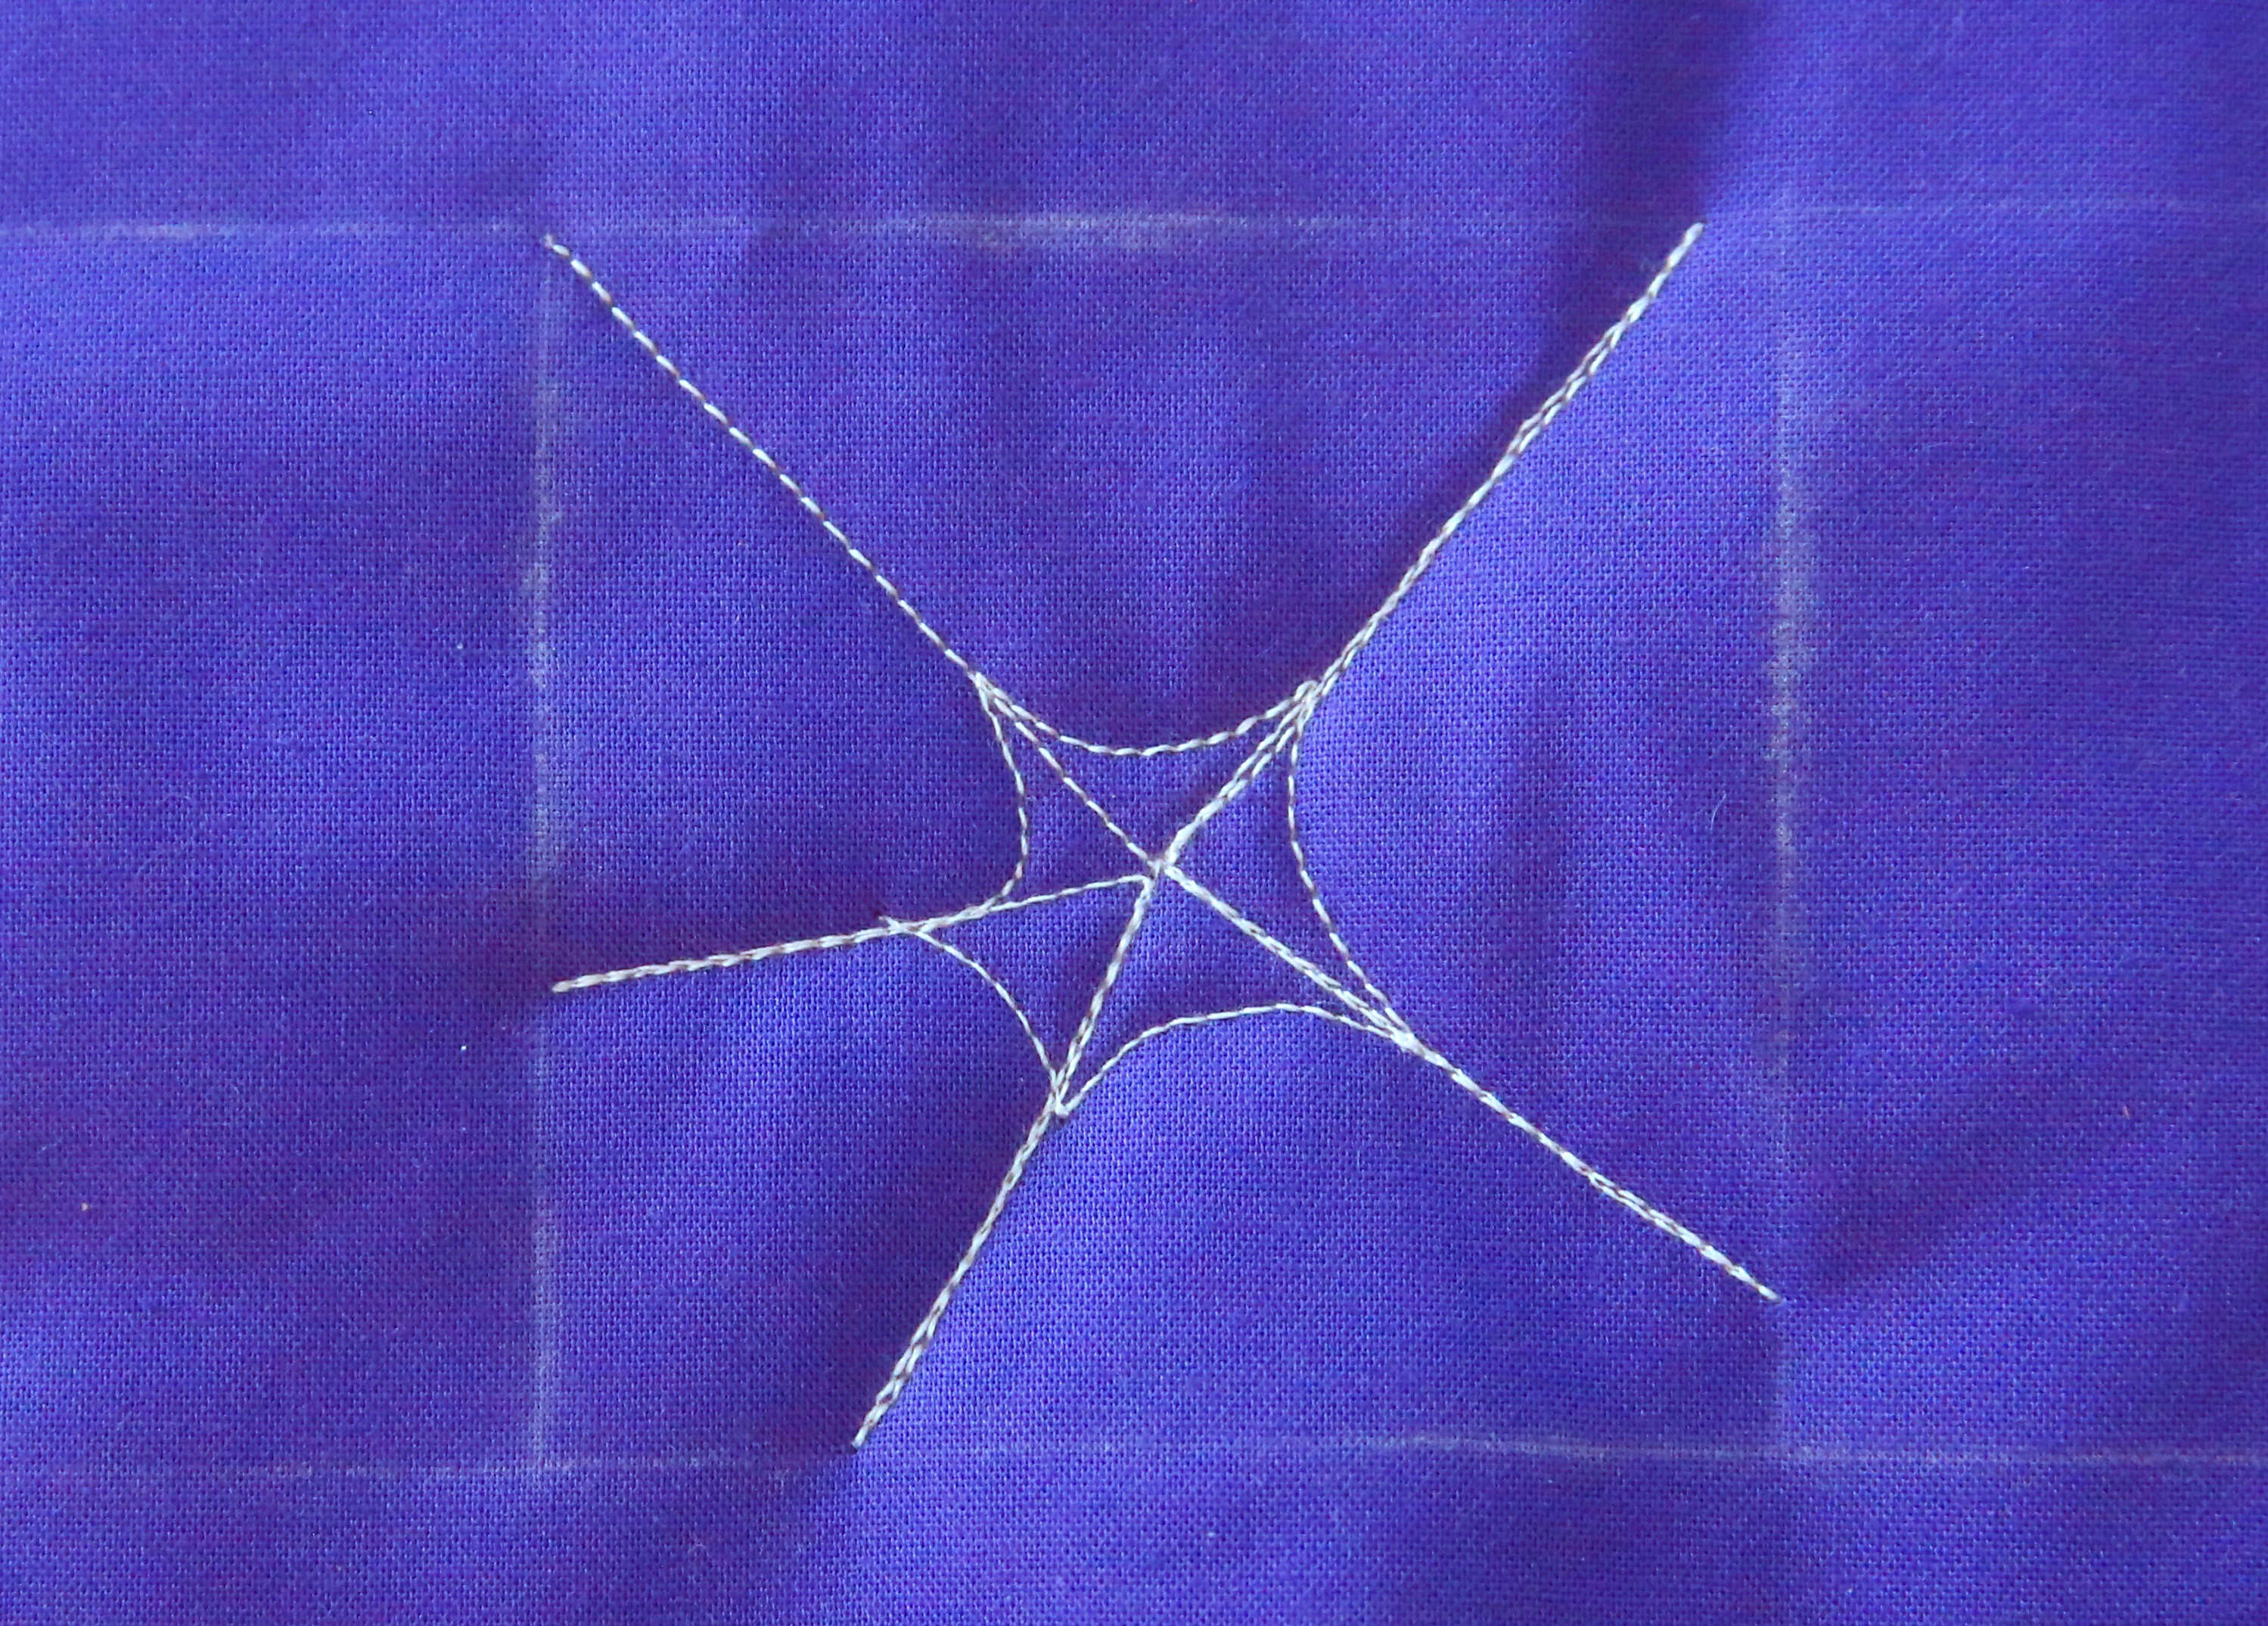
Begin by drawing a shape to fill. The spider web looks great in many shapes including a square, rectangle or a diamond. Stitch it in a small square or a very large block to suit your quilt. Begin stitching in one corner and stitch to the middle of the shape.
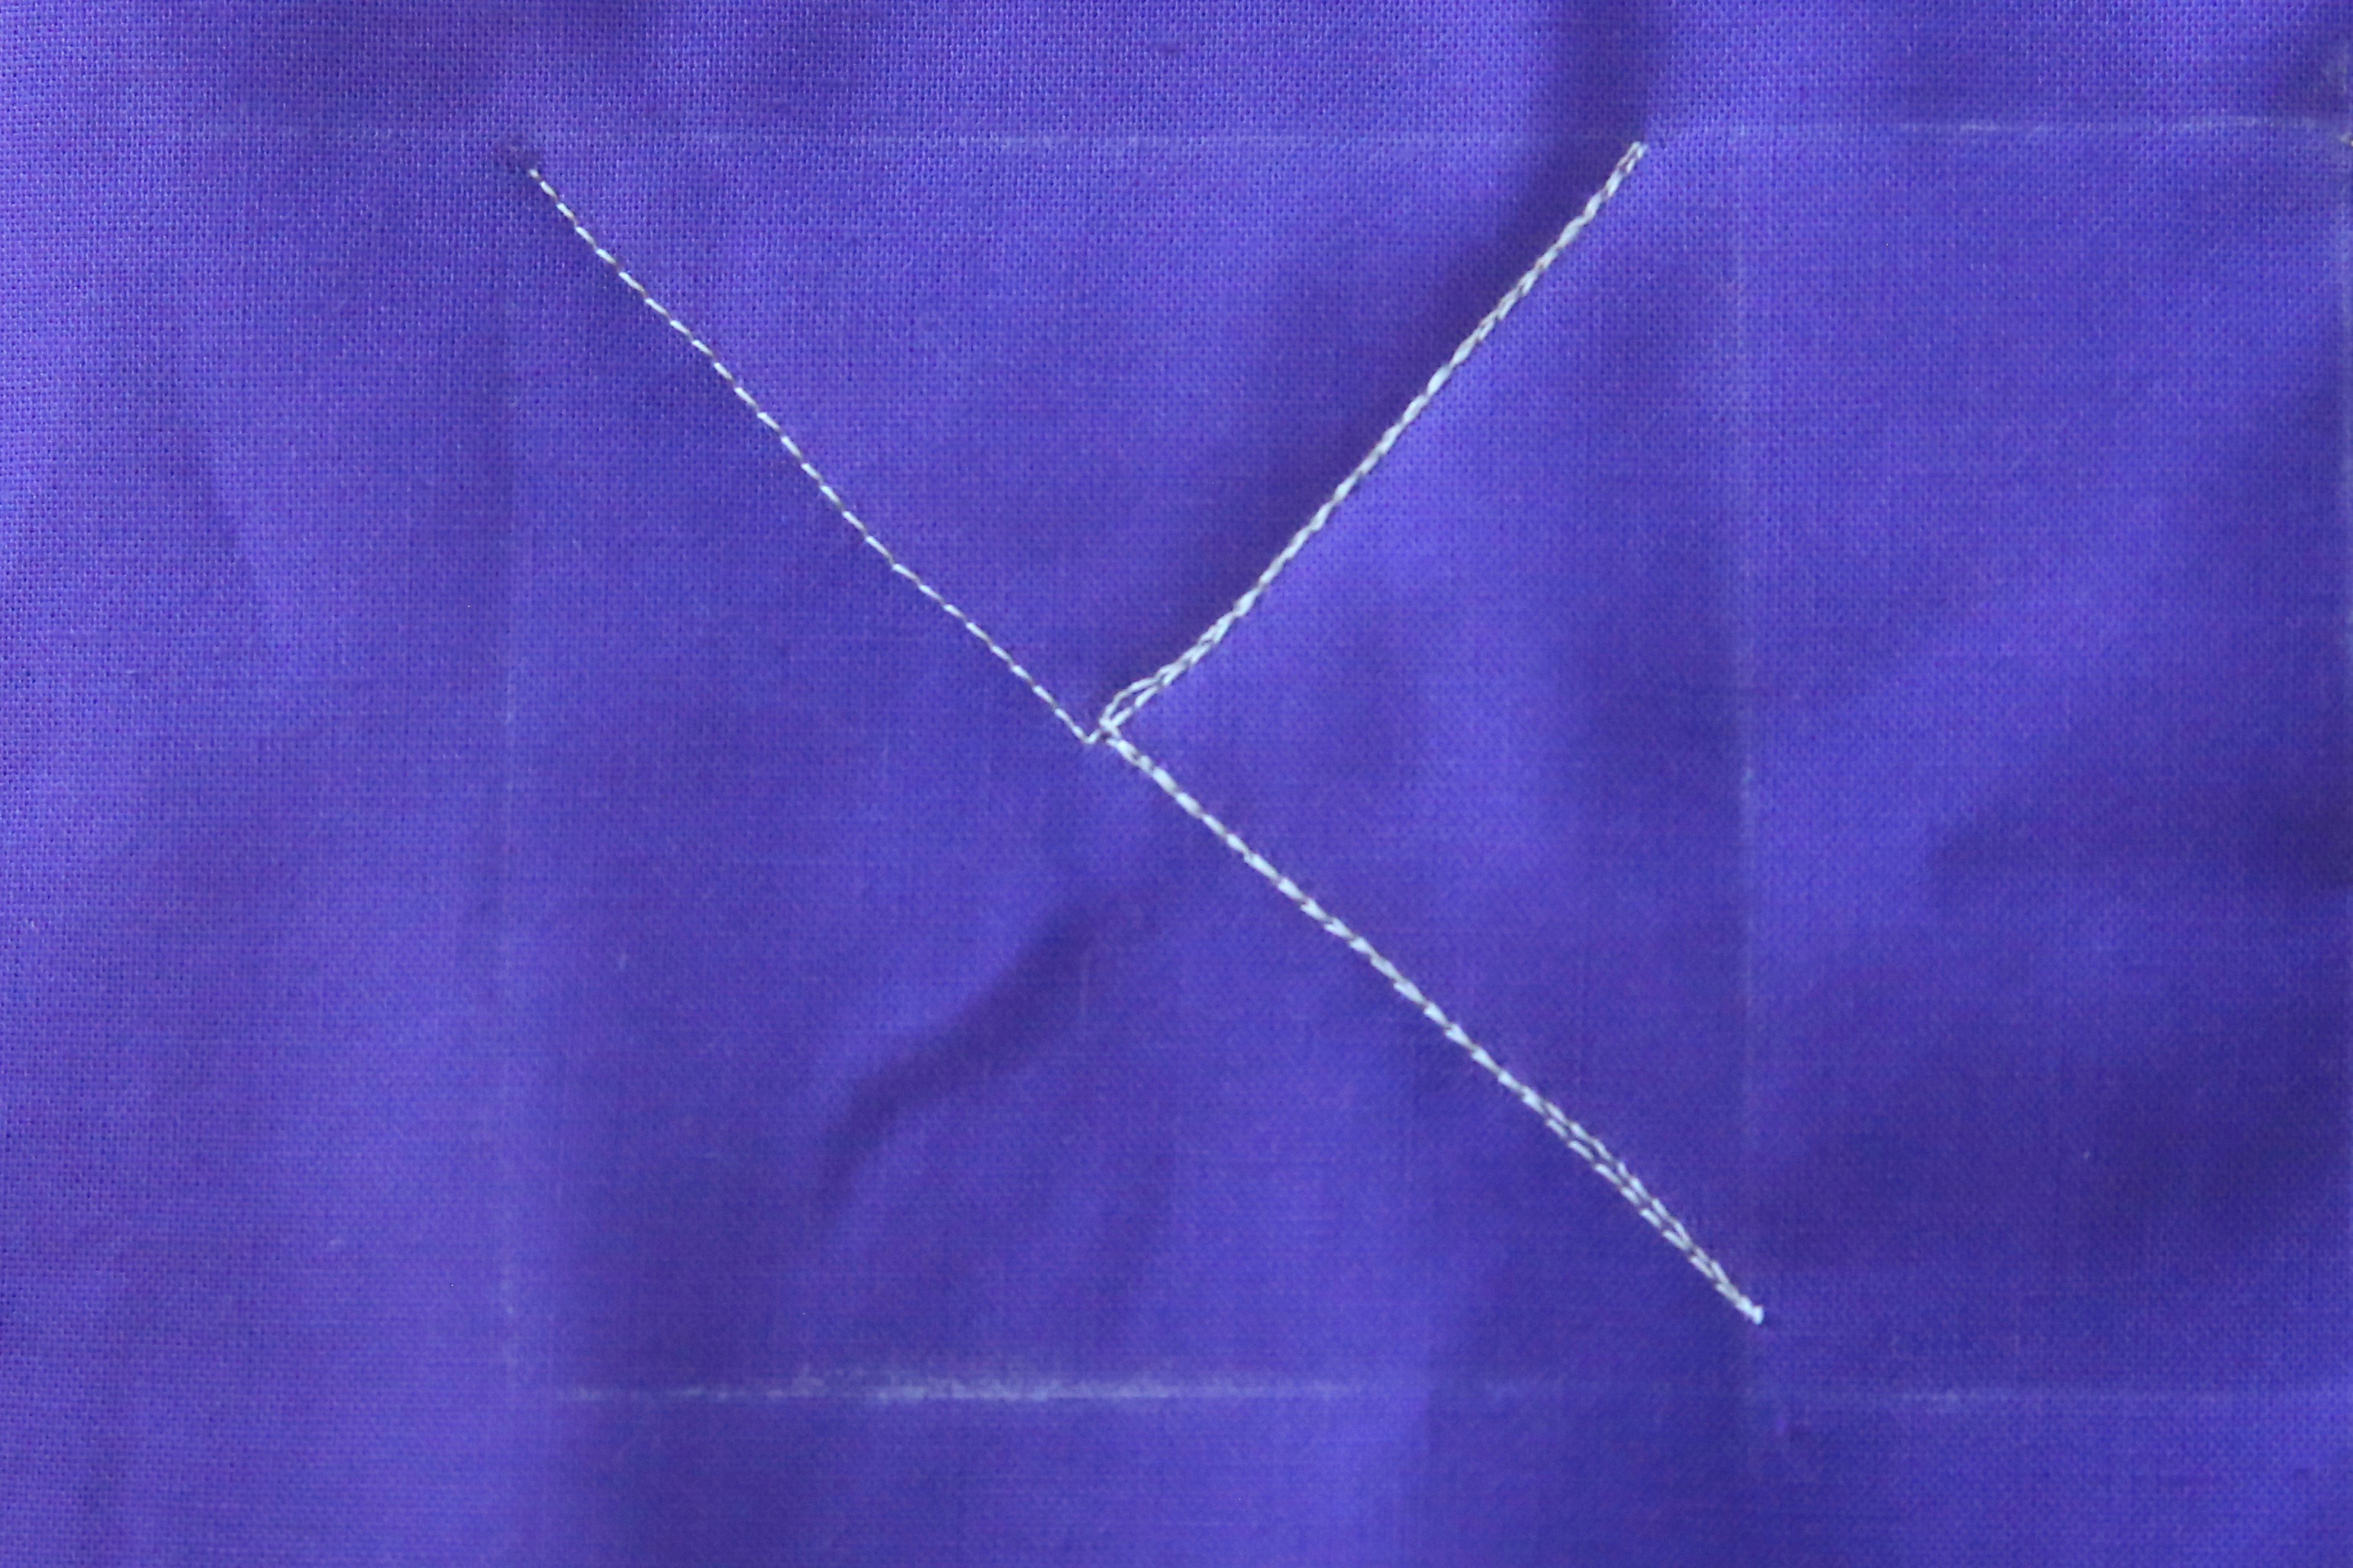
From the center of the block, stitch to the border of the shape and overstitch the line back to center. Repeat to create the next guideline.
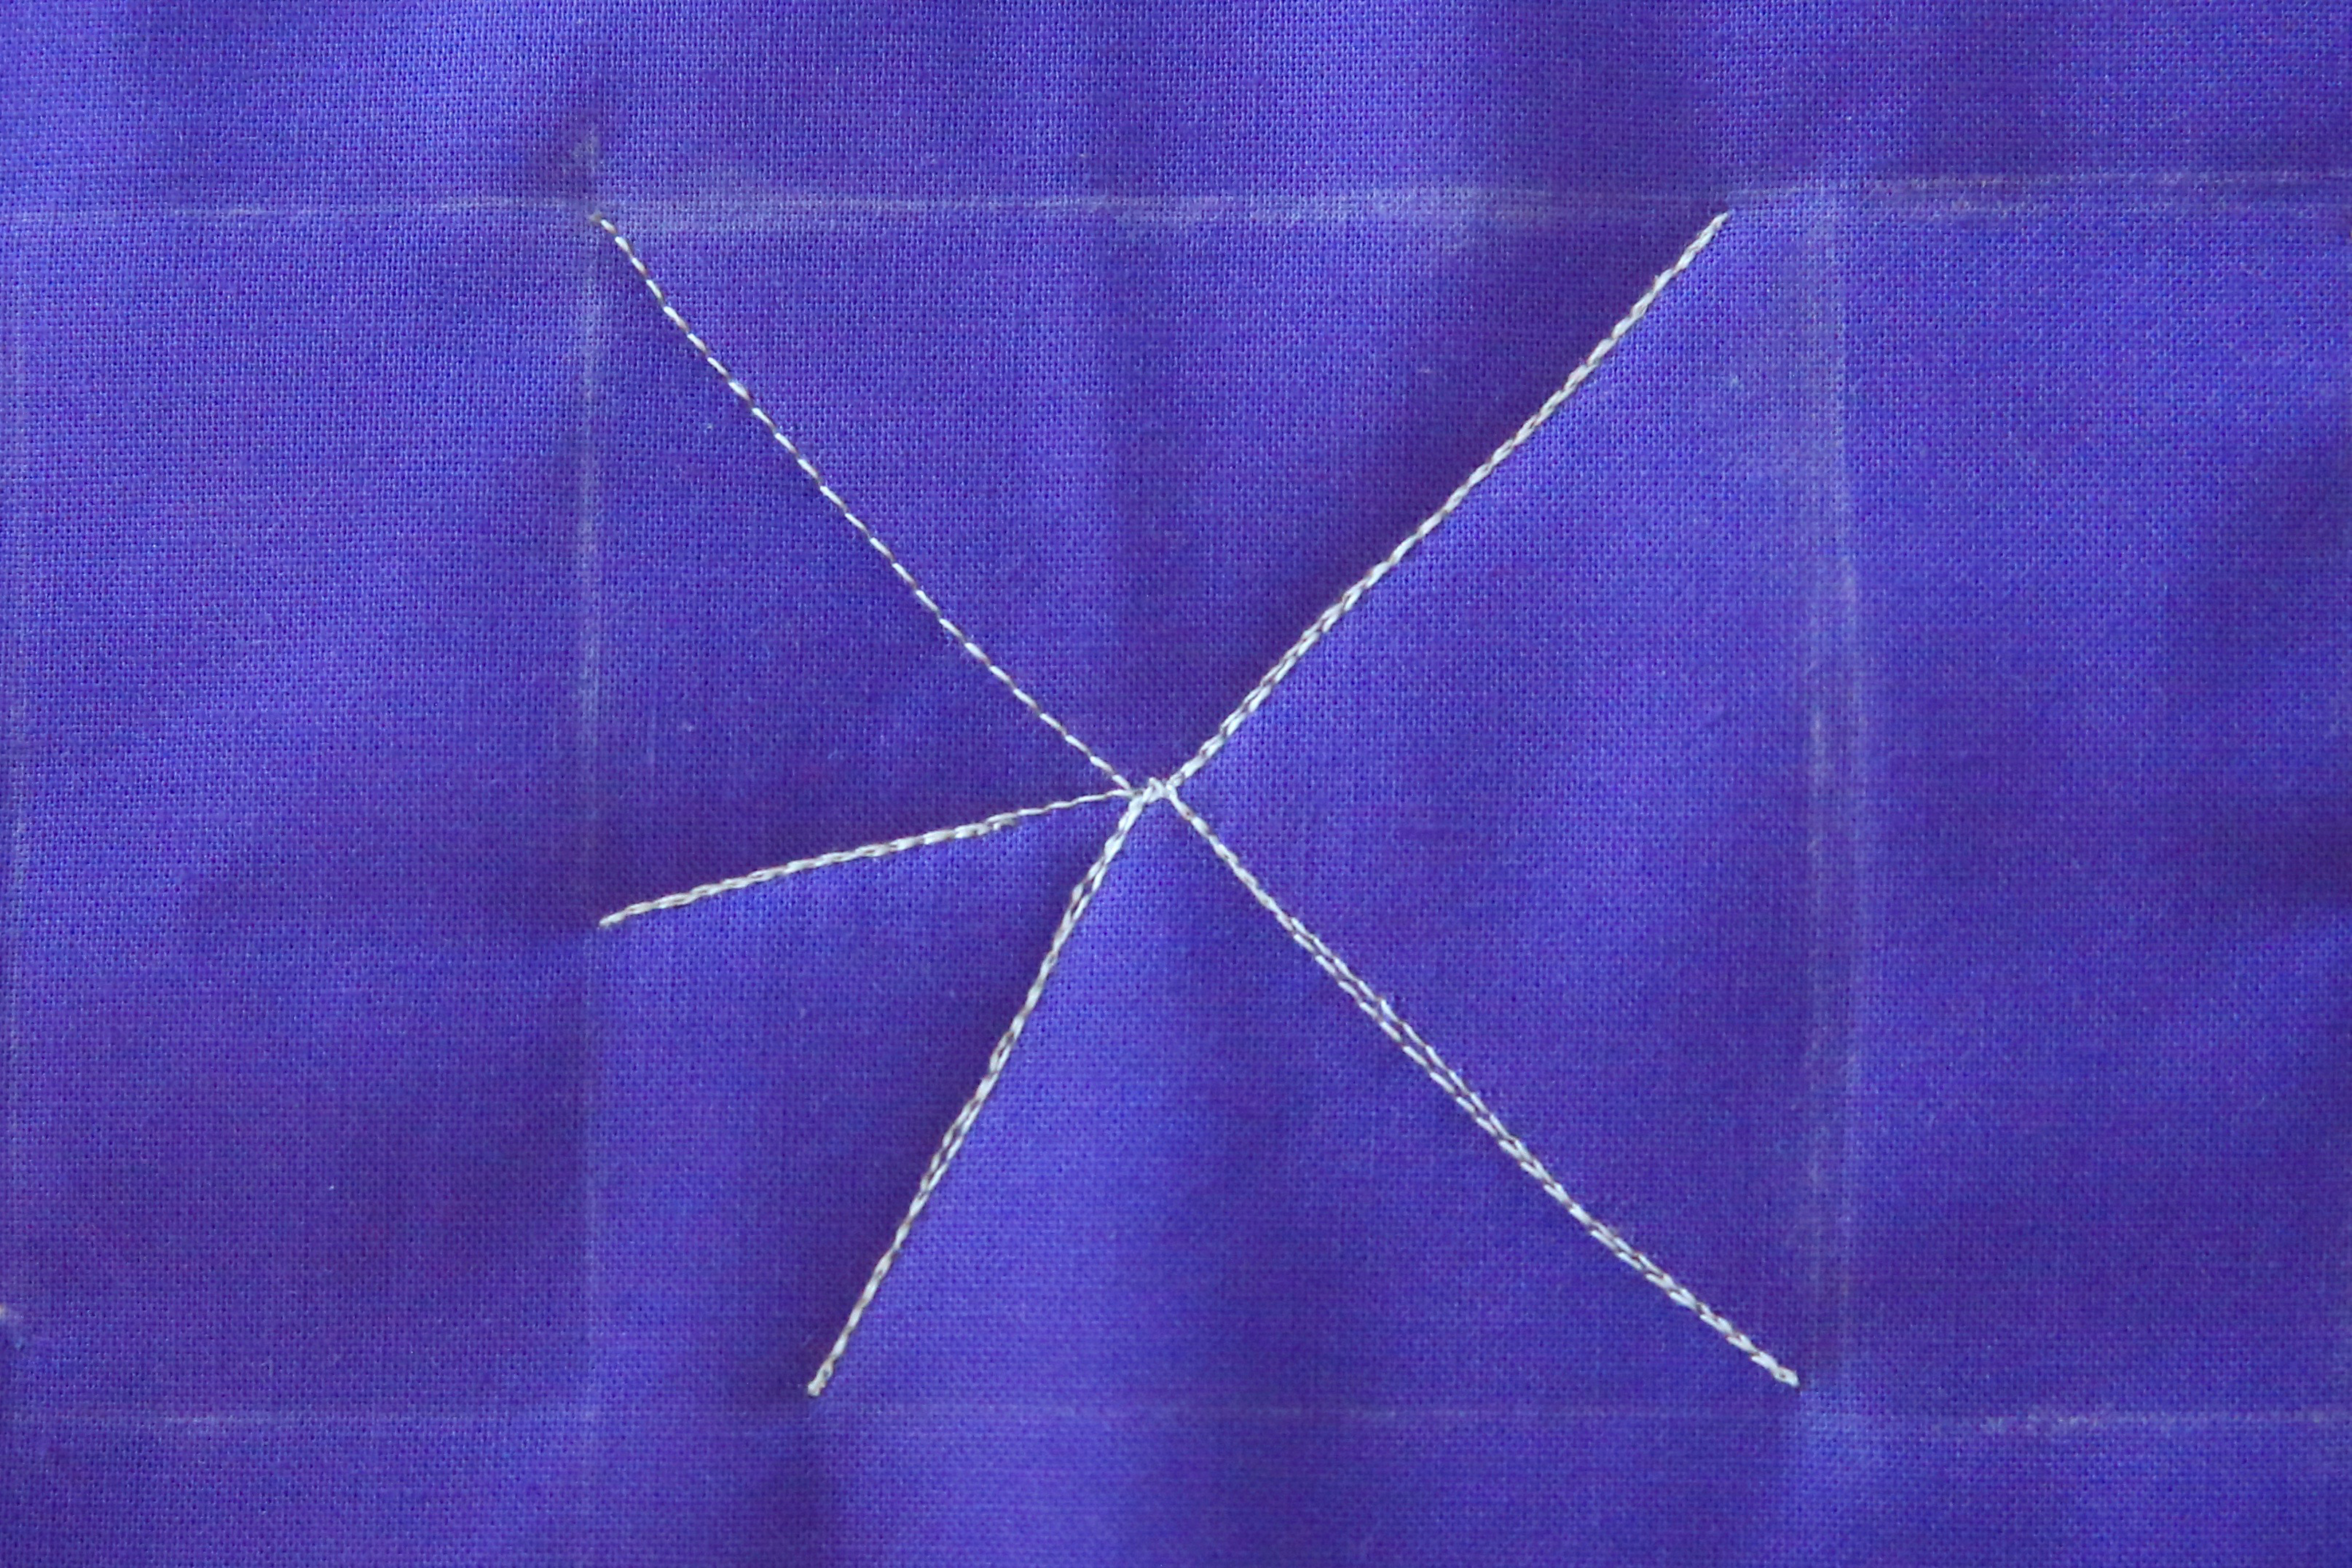
Continue adding overstitched lines to fill the shape. As you overstitch the last line, stop a few stitches short of the center point.

Connect each of the overstitched lines by stitching a shallow “U” shape between the lines.
Continue stitching clockwise around the web.
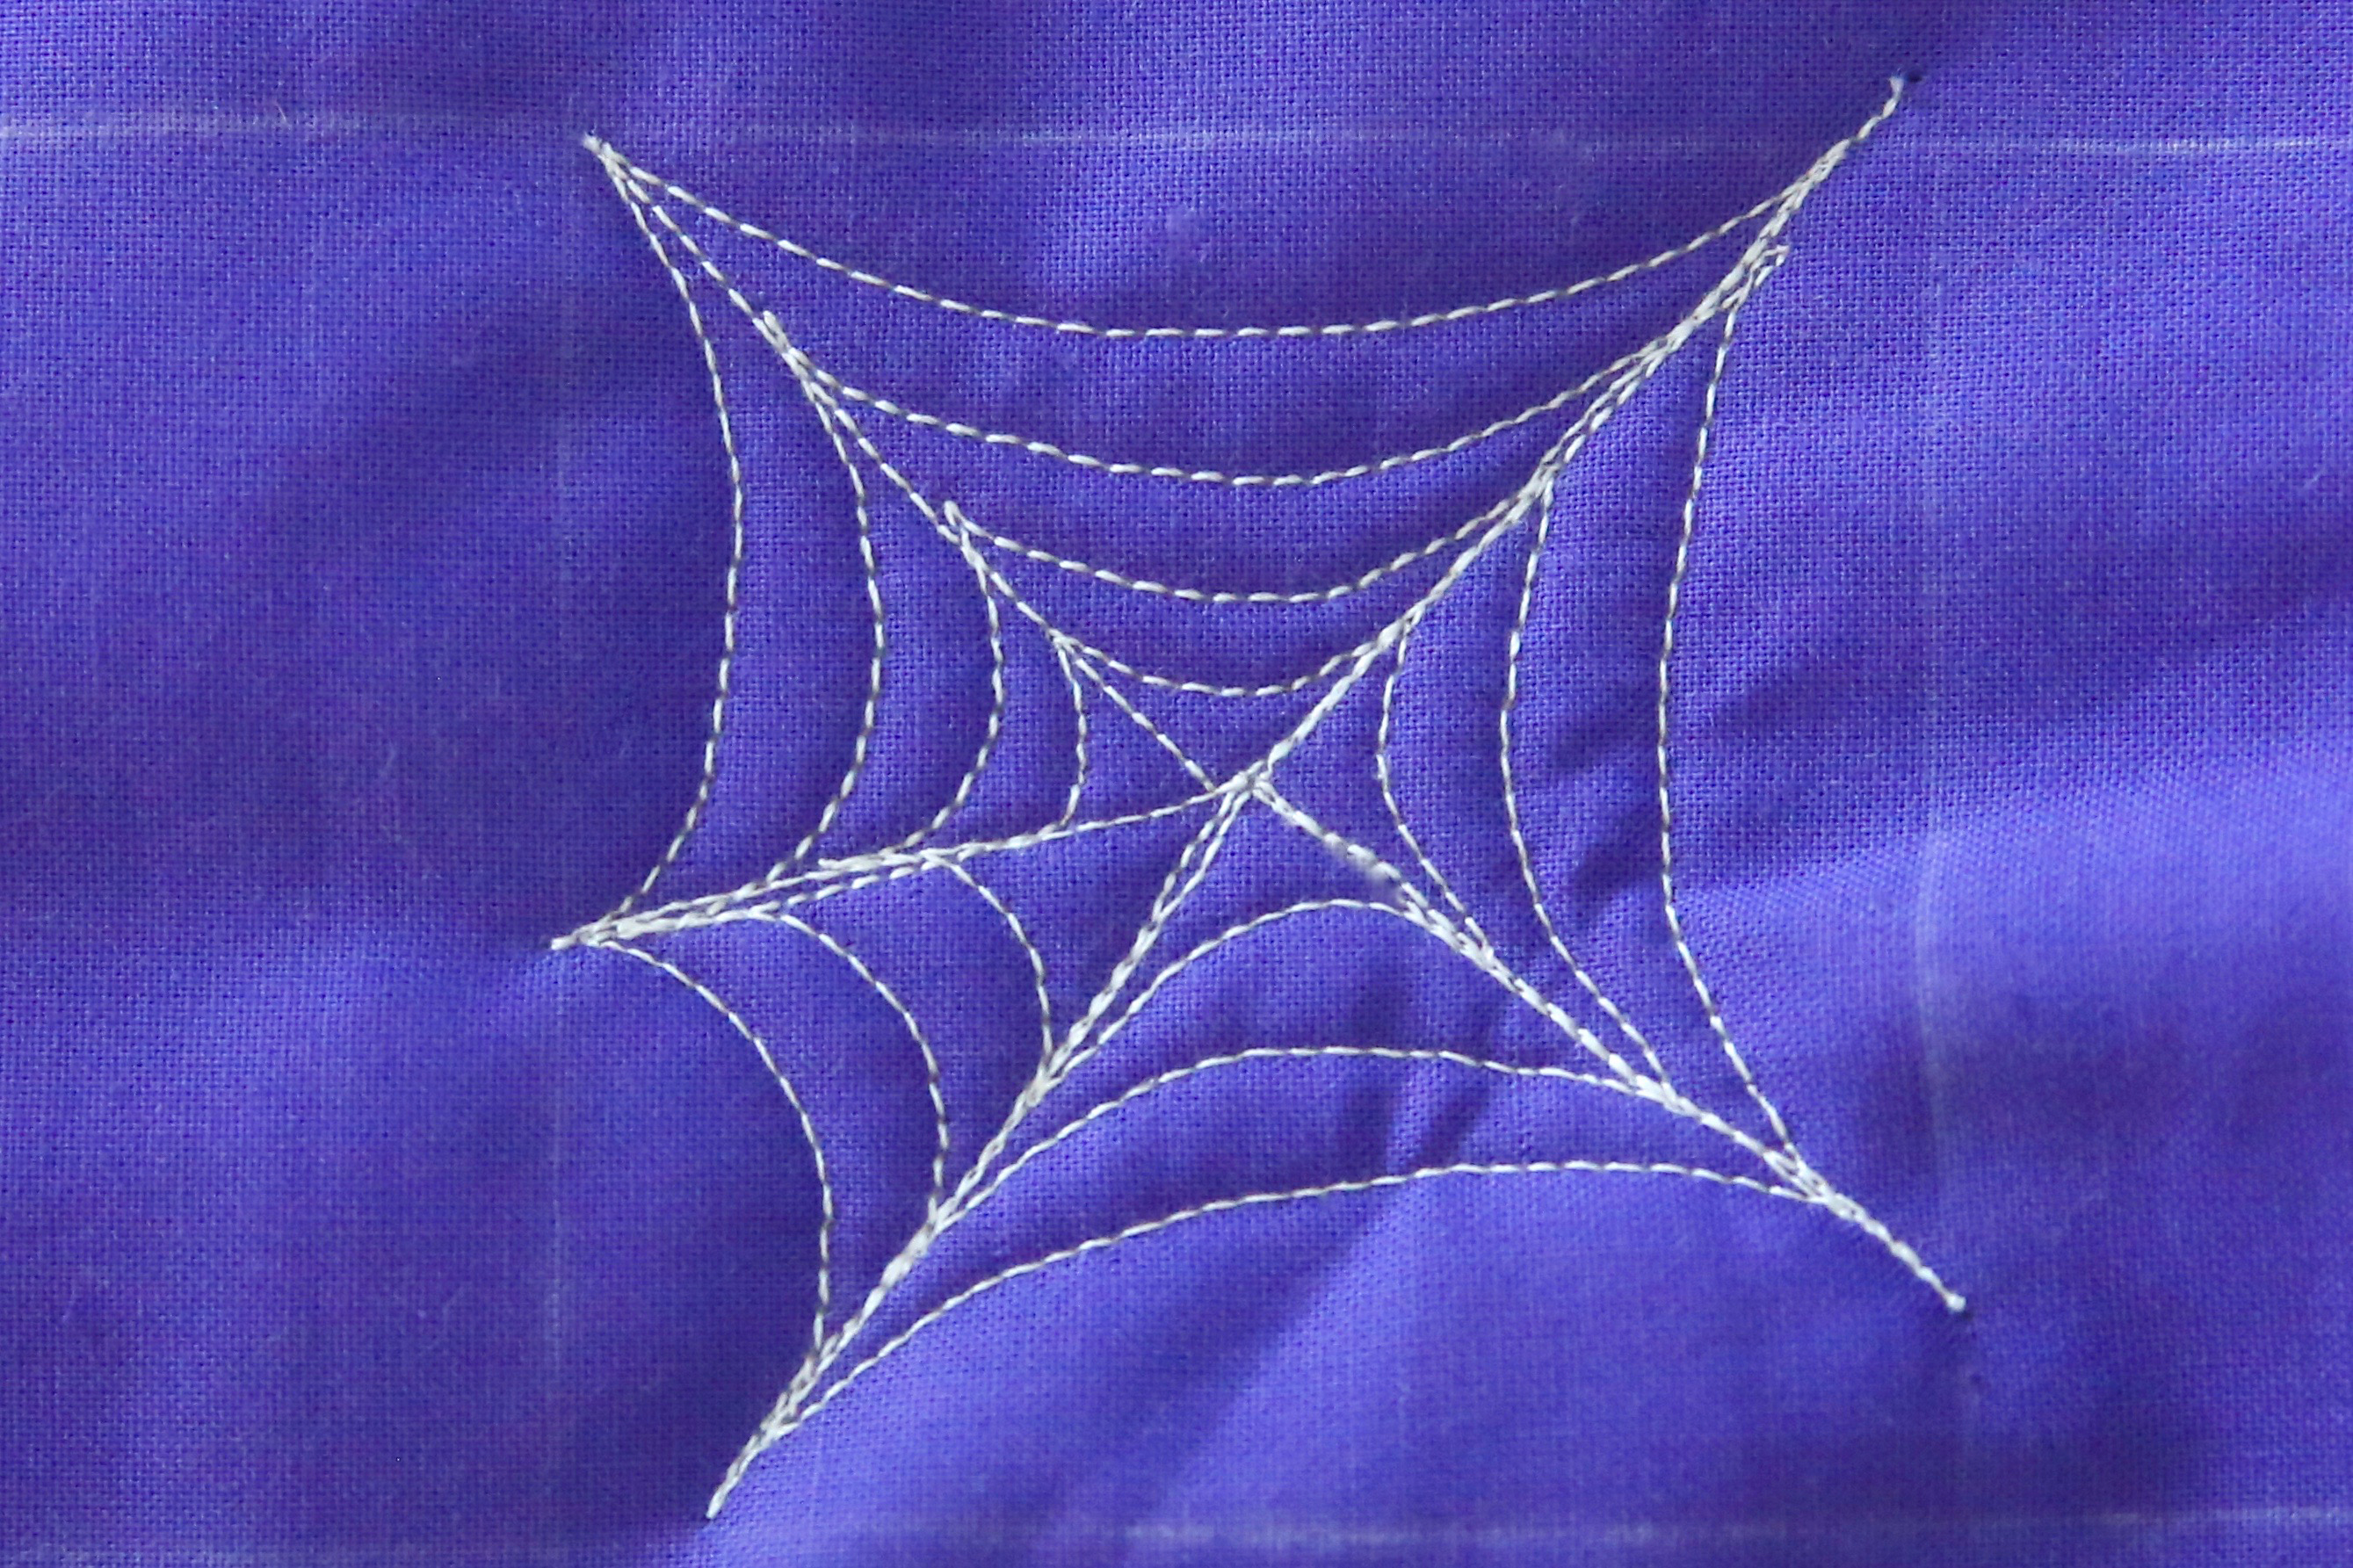
Add several rows of stitching to complete the web and fill the shape.
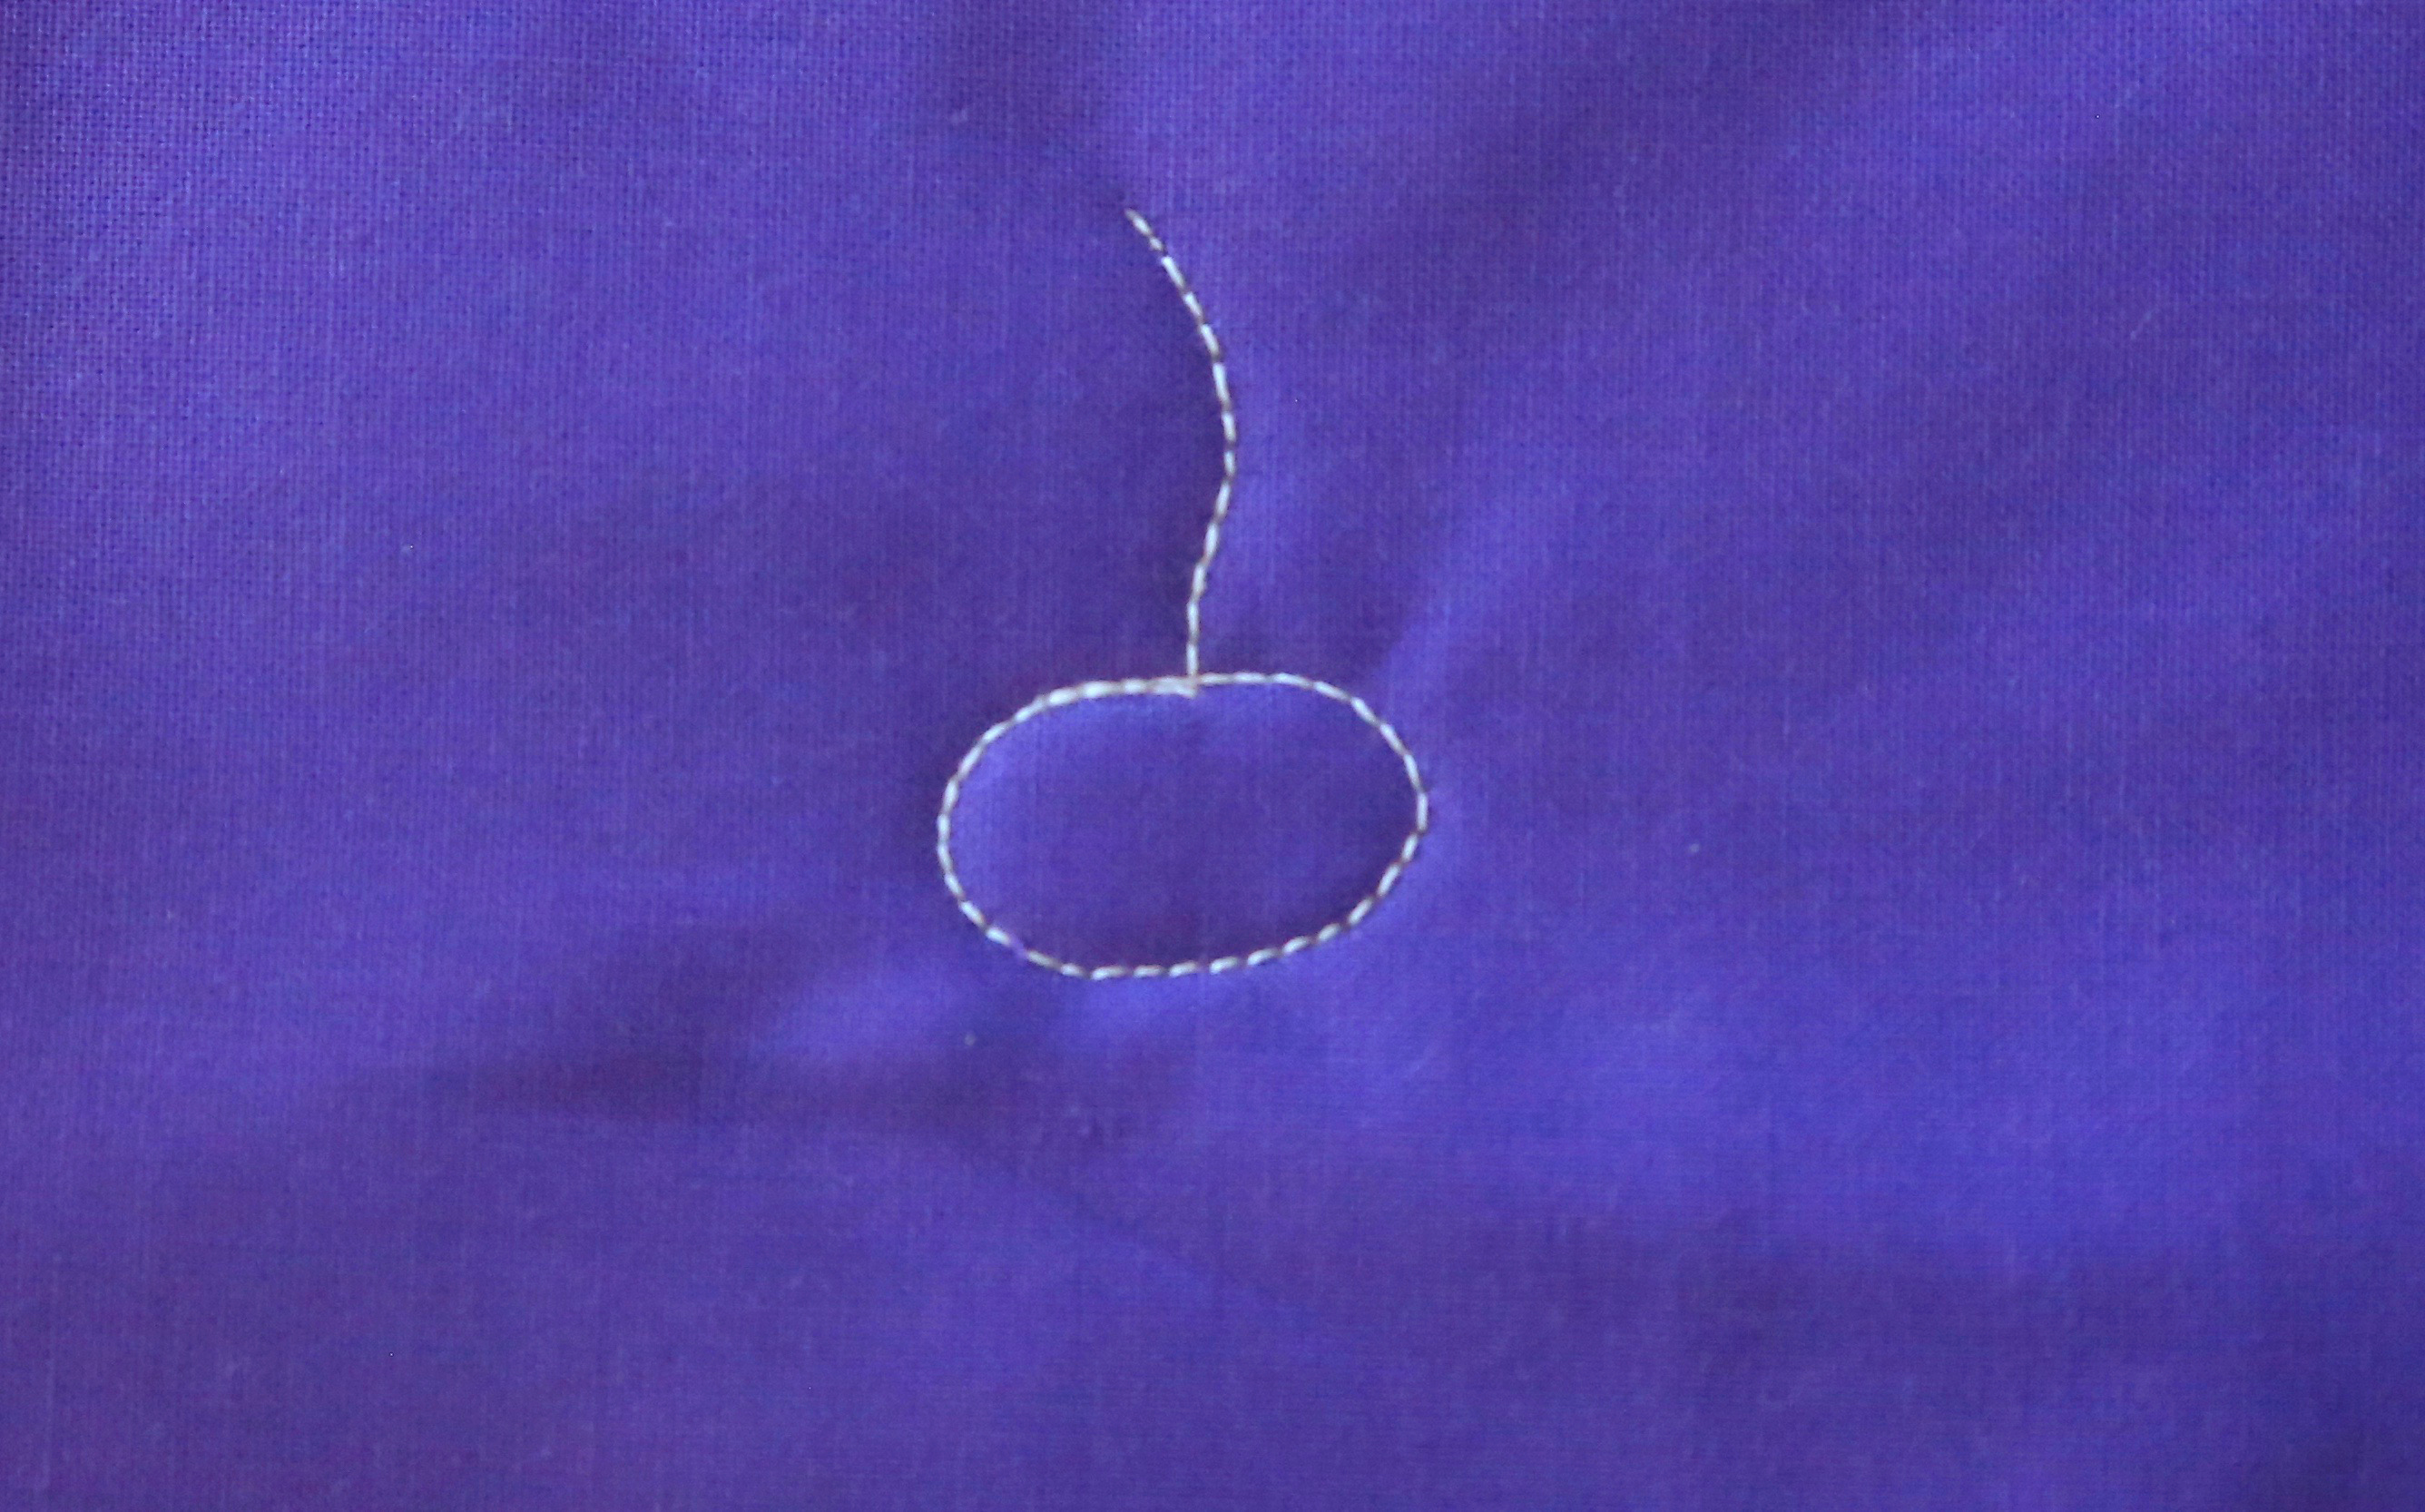
Add a spider by stitching a wavy vertical line with an oval.

To stitch the leg, add a horizontal wavy line and echo stitch back to the oval body.
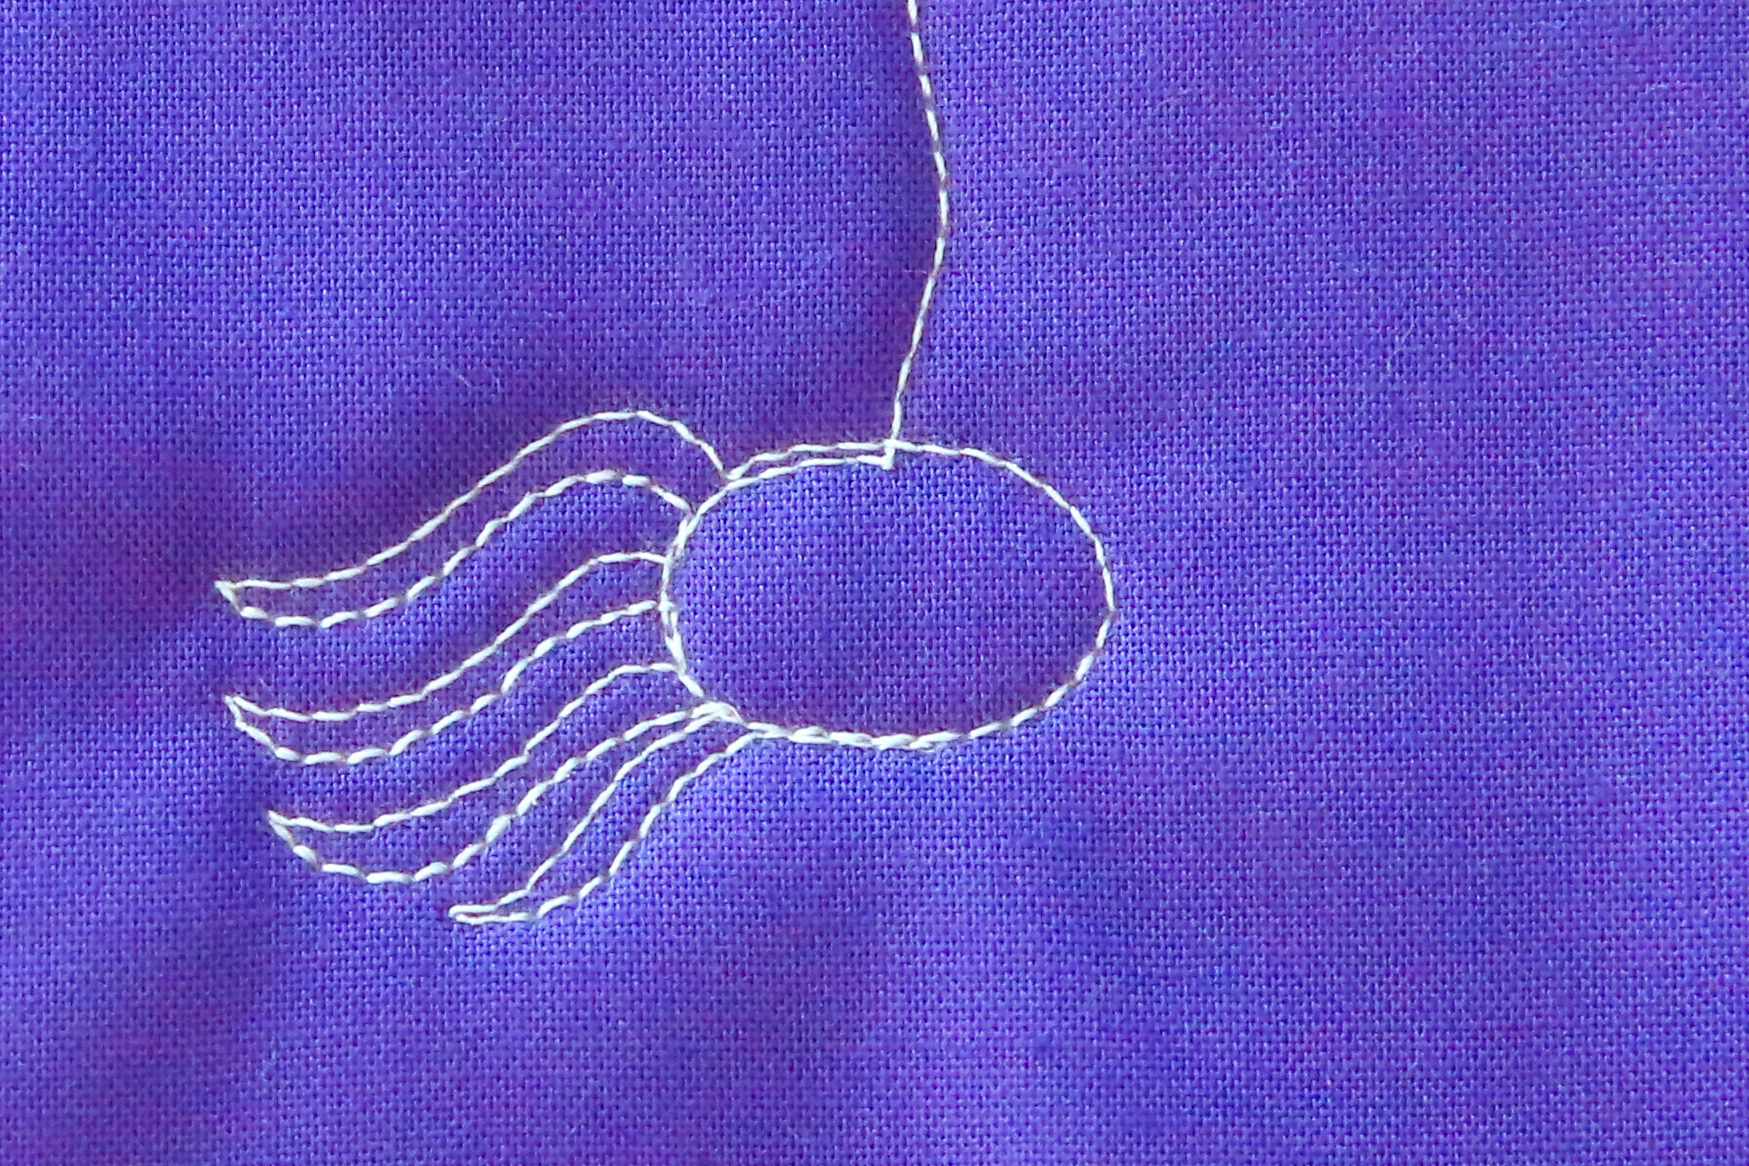
Add three more legs on the left side.
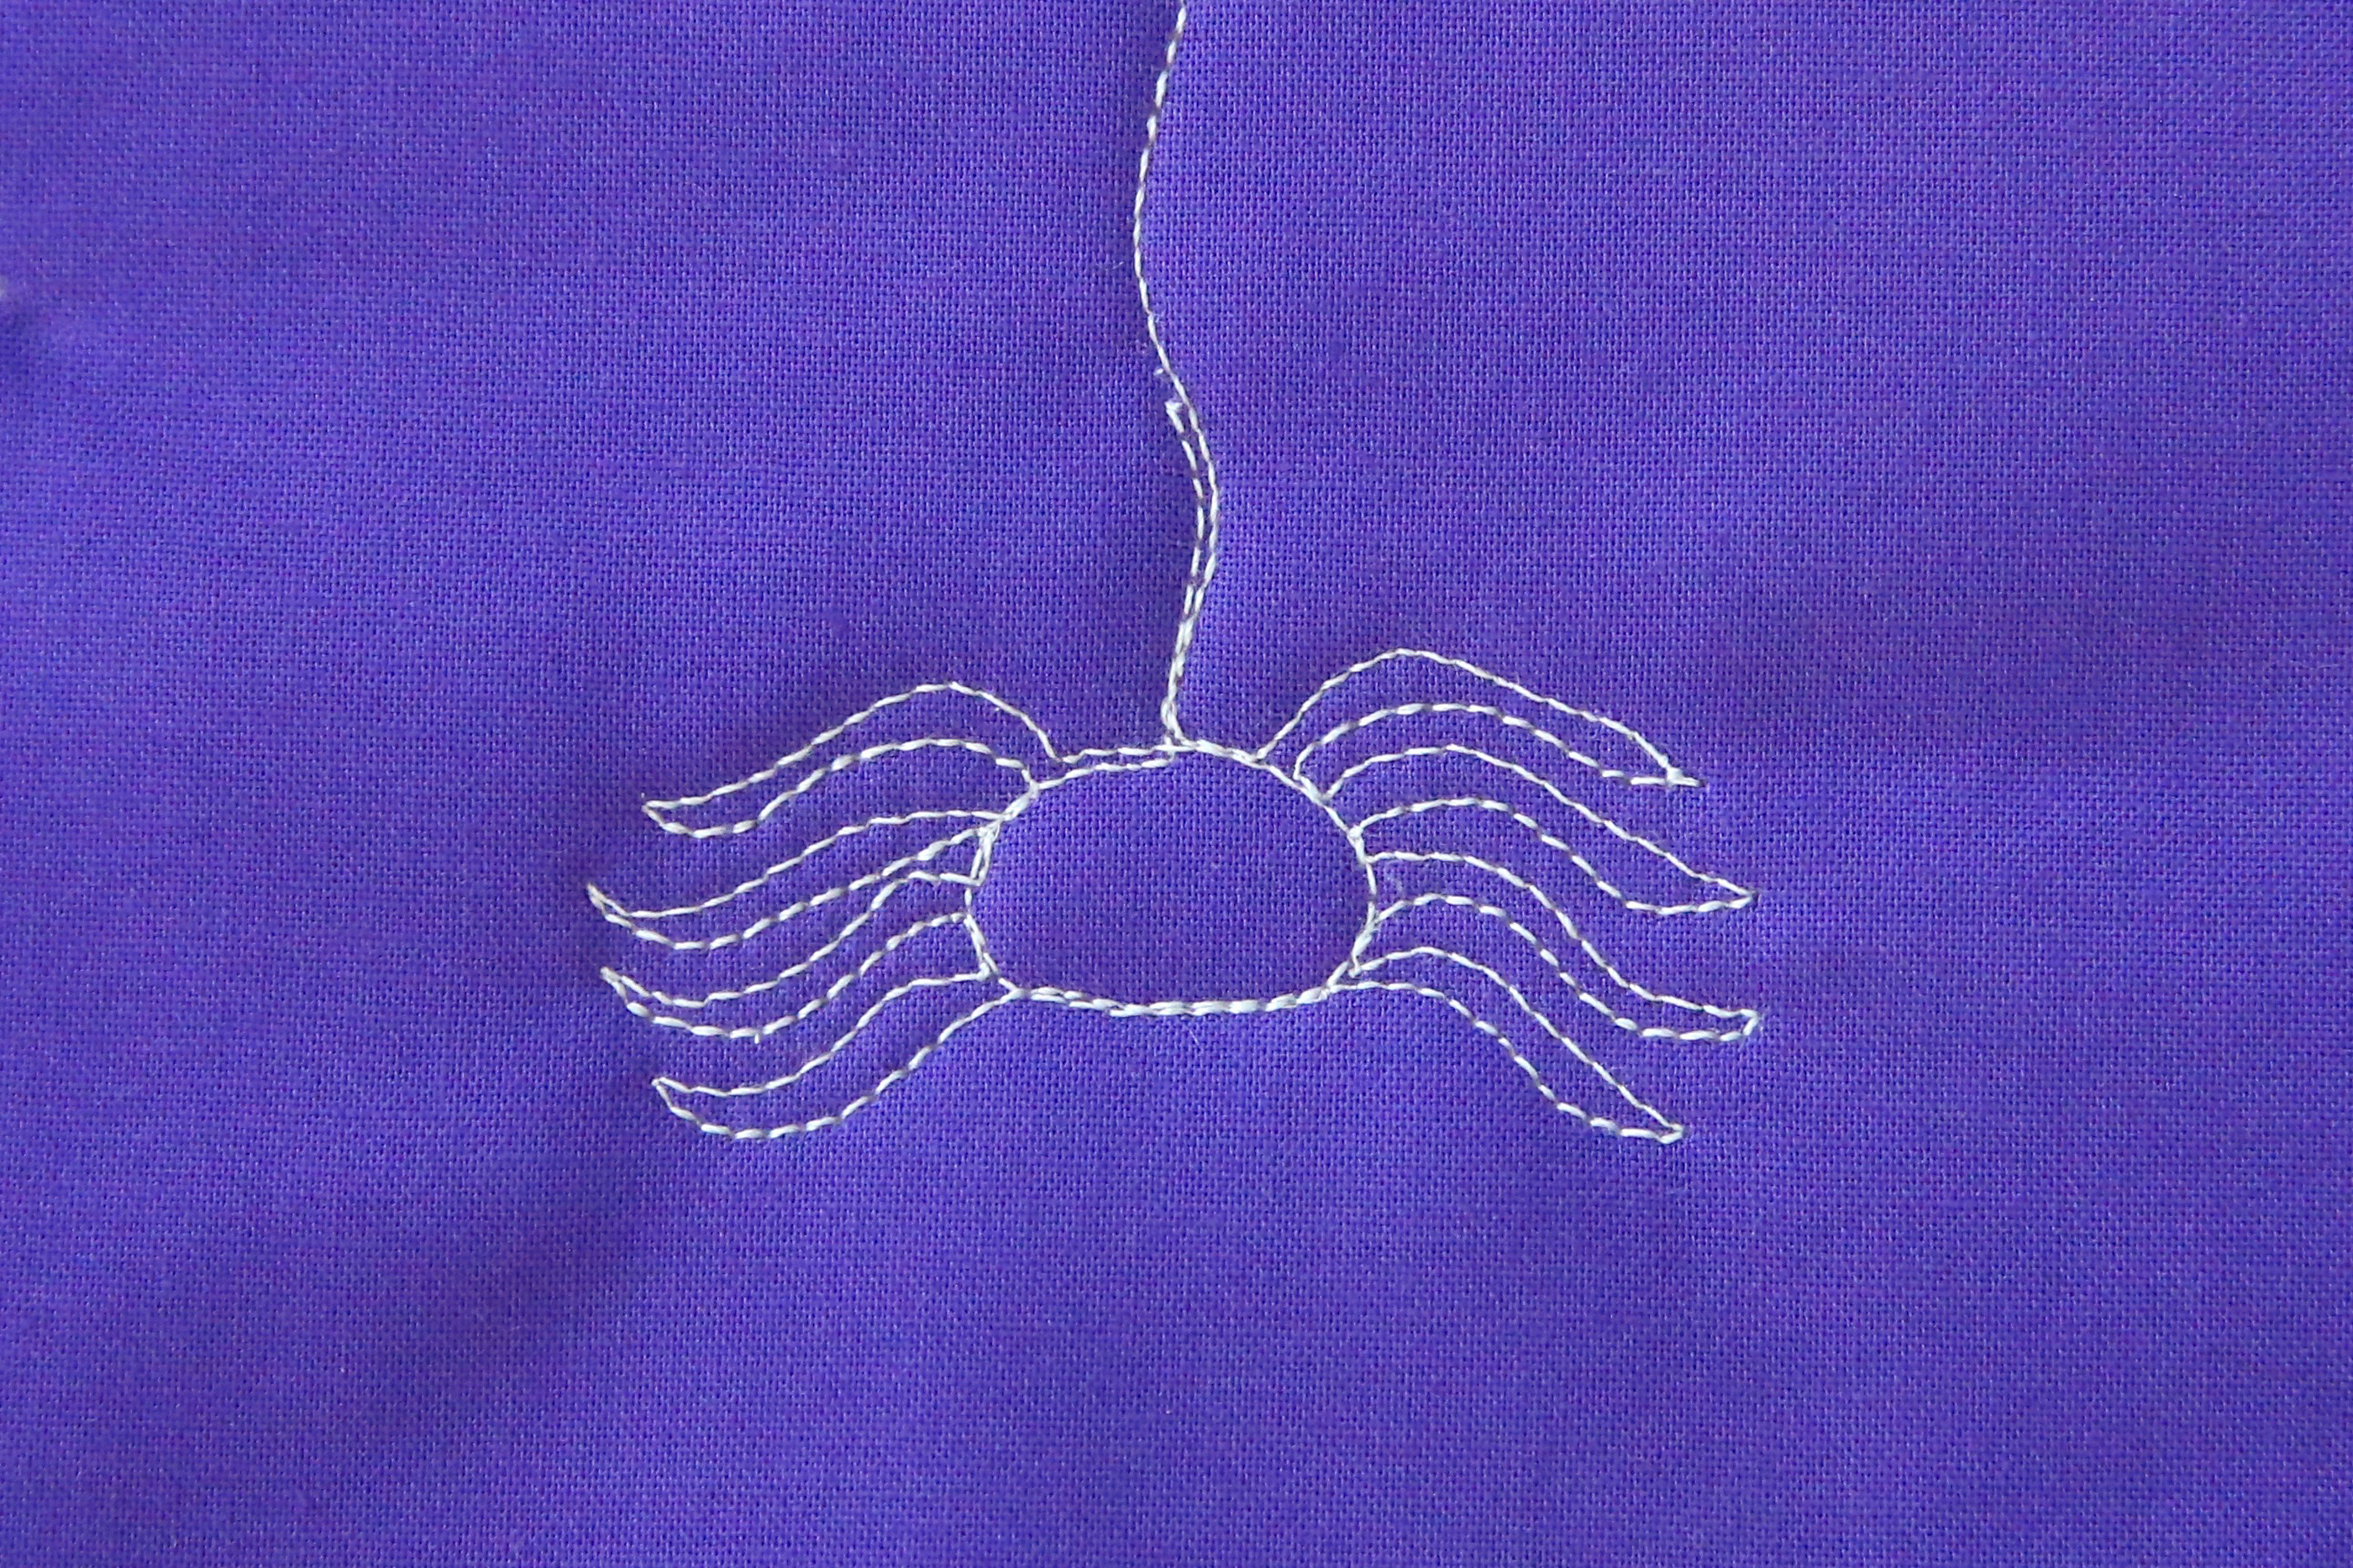
Complete the Spooky Spider by stitching legs on the right side.
Free-motion Quilting Tip
While a spider has eight legs, you don’t have to stitch all eight to create a pattern that is easily identified as a spider. You might find it easier to stitch three legs on each side!
About Spiders and Quilts
You don’t have to wait for Halloween to add a spider to your quilt. Spiders and spider webs are an ancient symbol of good luck and were very popular with Victorian crazy quilters.
You’ll have better luck stitching The spooky spider and her web if you doodle the motif several times first! Doodling helps create muscle memory and helps you stitch the motif smoothly!
For more Halloween quilting tips and tutorials, visit my website!
Used Products

What you might also like


3 comments on “How to Free-motion Quilt a Spider Web”
-
-
This was just in time for me. Needed to add a few webs to juice up a wall hanging!
-
I am going to put a spider web on the trick or treat bag with glow in the dark thread! 🕷️
Leave a Reply
You must be logged in to post a comment.

This was so fun to make. Thank you for your clear instructions and the videos!