Upcycle a Denim Jacket with Patchwork & Lace Embellishments
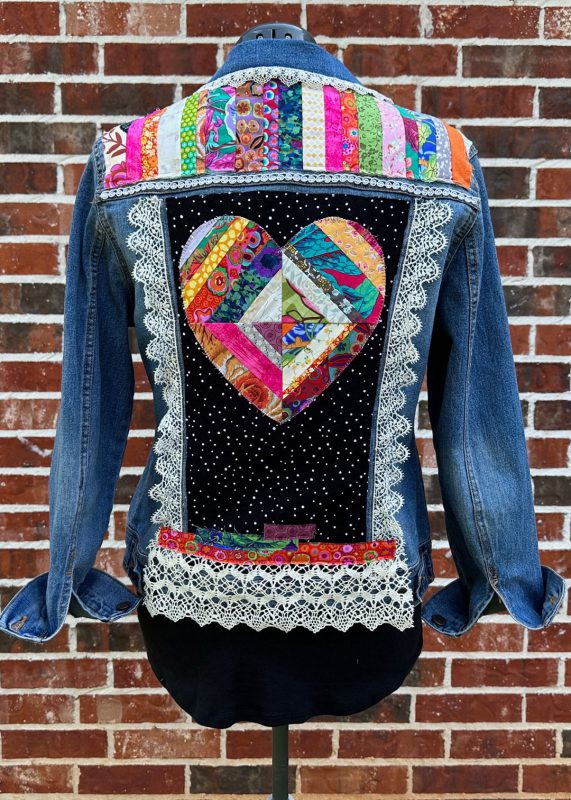
Show off your artistic side when you create this one-of-a-kind boho-inspired denim jacket. Whether you’re an experienced quilter or new to the art, this project will have you wanting to upcycle all the jackets you can find! Plus, it’s a great scrap-buster project, which means every jacket you make will be unique. Create one for yourself and one (or more!) as a gift.
Hello everyone! It’s Sharon from Sharon Sews and I’m going to show you how to turn a plain denim jacket into a work of art with a simple quilt technique, combined with lace and trim. You can connect with me on YouTube, Instagram and my blog, where I share sewing tips, projects, reviews, and fashion sewing ideas.
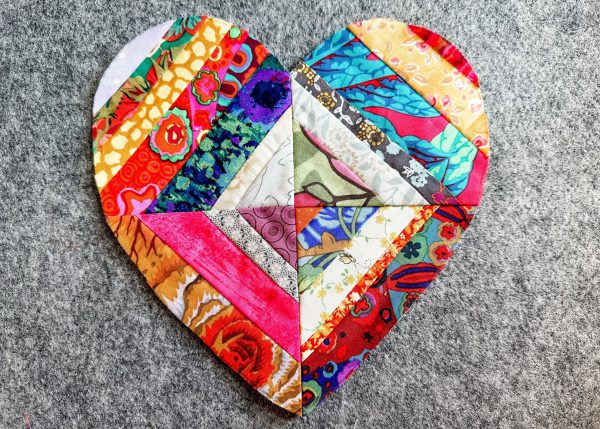
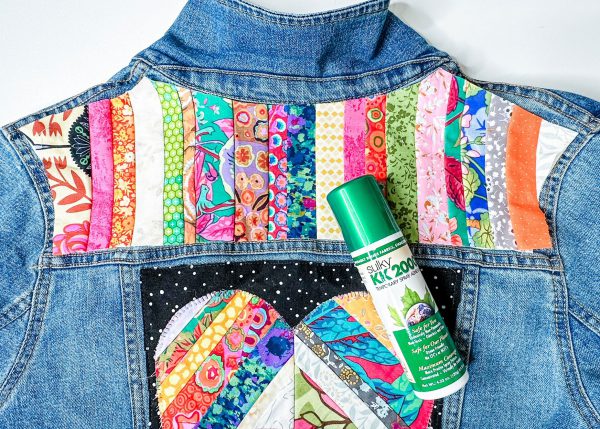
The center back of this jacket features a heart created using a scrappy string quilt technique. The same technique is used to embellish the yoke. The finishing touch is adding a variety of laces and trims to frame the heart.
Materials and Supplies Needed
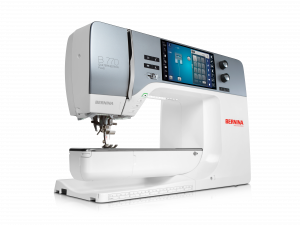
- Sewing Machine – I used my BERNINA 770 QE PLUS
- Purchased Jean Jacket – New or Thrifted
- Foundation fabric – 1/4 yard ( I used a lightweight muslin as it is completely hidden)
- Cotton fabric – 11″ X 17″ piece or enough to cover the back panel of the jacket
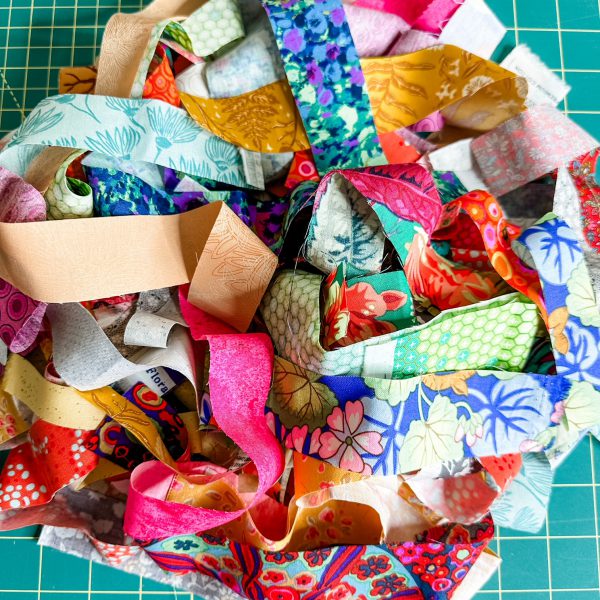
- Assorted cotton fabric strips (I used scraps from my stash)
- Assorted trim and lace pieces
- Thread
- Rotary cutter and cutting mat
- Ruler
- Temporary adhesive spray
- Erasable fabric marker
- Wood pressing tool or iron and ironing board
- Heart template (free download)
- Basic sewing supplies
Note: All seam allowances are 1/4″ unless otherwise noted.
Add Fabric to the Jacket Back
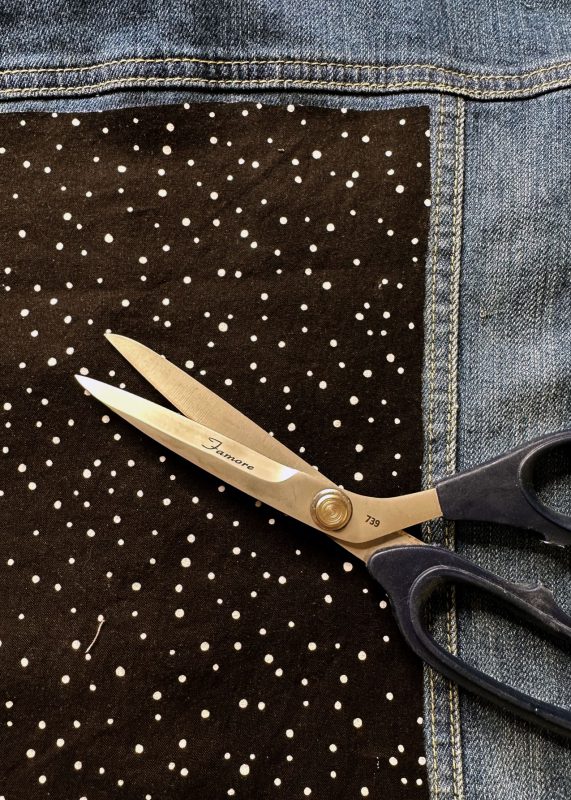
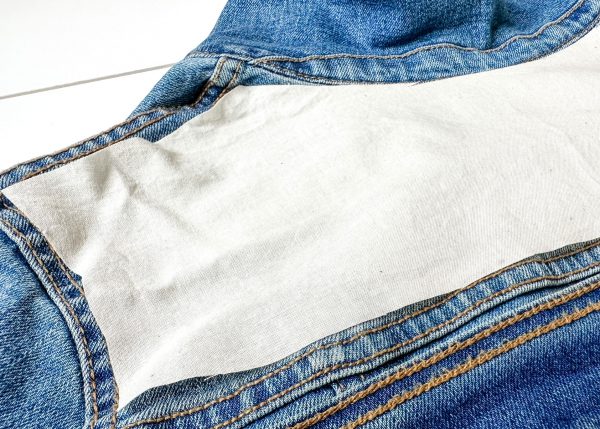
Place the denim jacket on a flat work surface and measure the back panel (the area between the yoke, hem and side back edges). Cut a piece of fabric large enough to fit and position the fabric right side up. Pin in place.
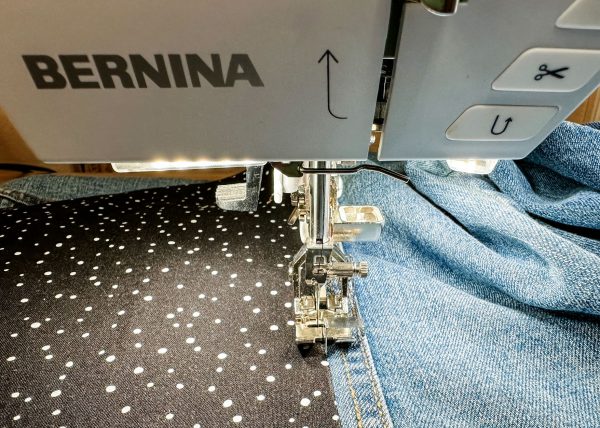
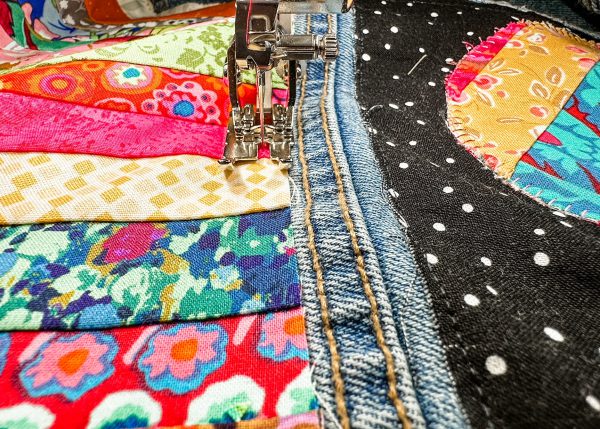
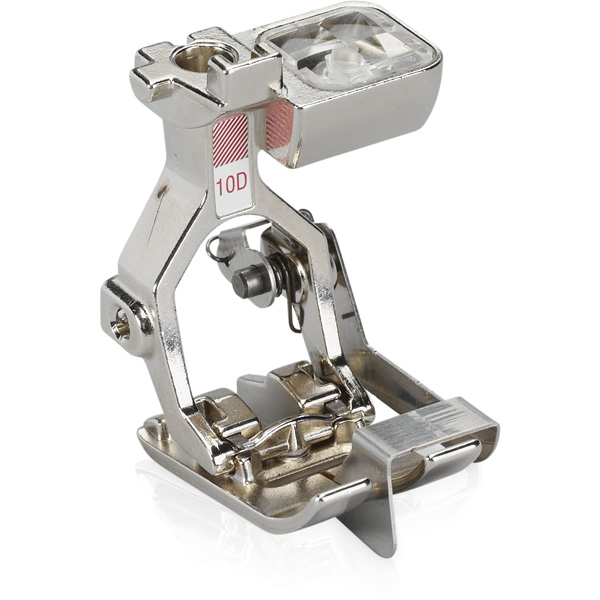
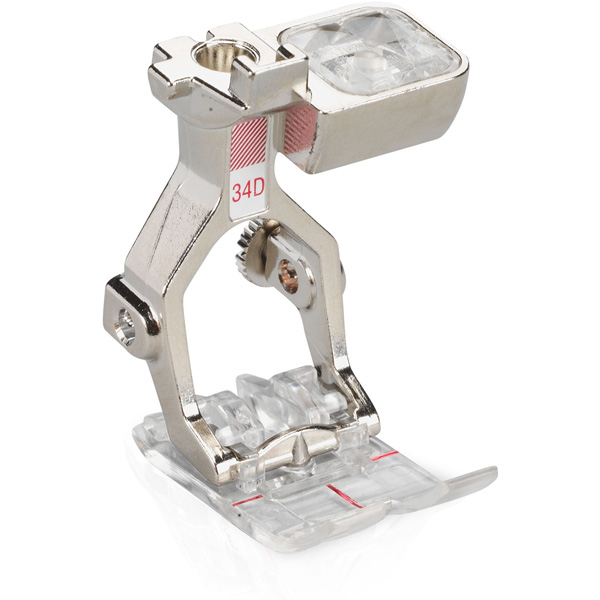
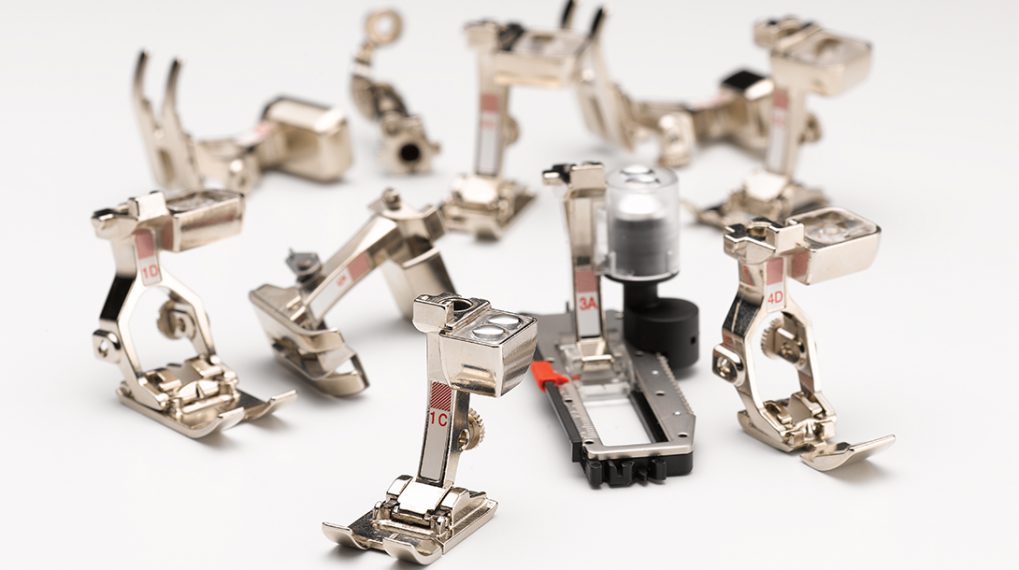
Use the Edgestitch Foot 10D to stitch around all four edges of the fabric panel. The 10D foot helps achieve perfectly straight seams.
Set the jacket aside.
Prepare the Fabric Strips
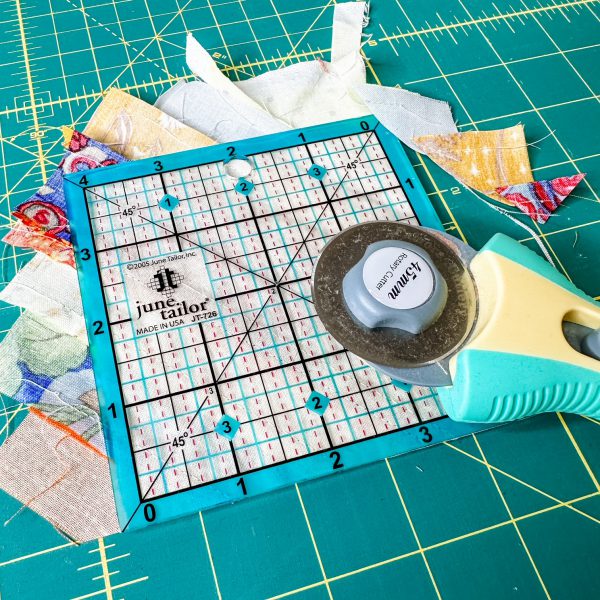
Using a rotary cutter and cutting mat, cut an assortment of fabric strips ranging from 3/4” to 2” (width) by 7” (length), approximately 50 total.
Place a pile of strips next to the sewing machine and pick one at random to add to the block. Alternately, arrange assorted strips until you are pleased with the look.
Create the String Quilt Block for the Heart
Add fabric strips to foundation fabric
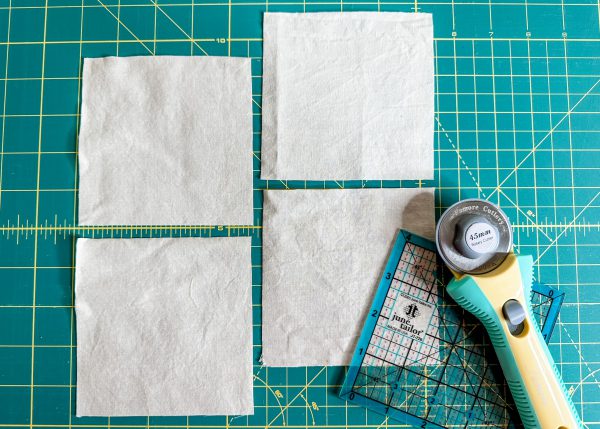
Cut four foundation squares each measuring 4” x 4”.
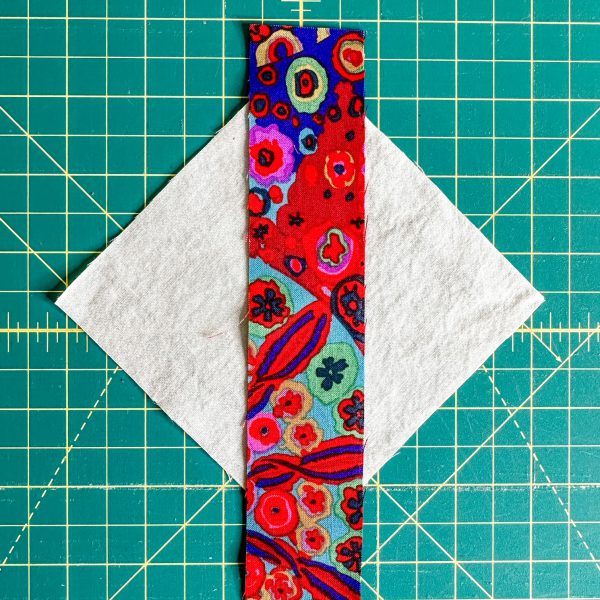
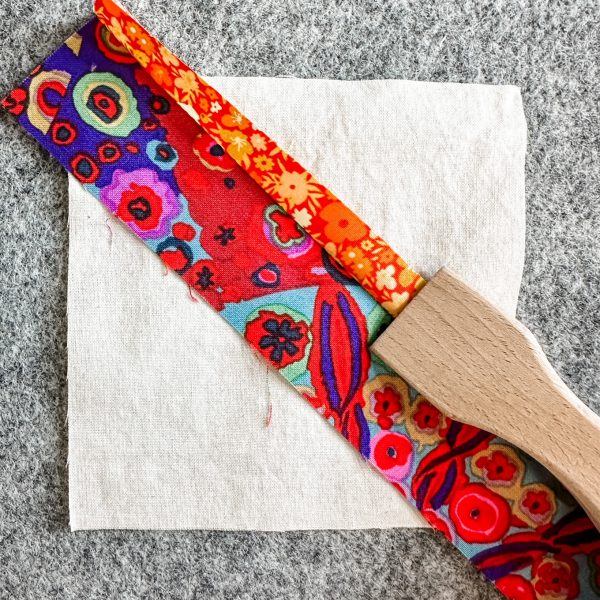
Set one foundation square on point. Select a fabric strip and place it right-side up along the center of the foundation square.
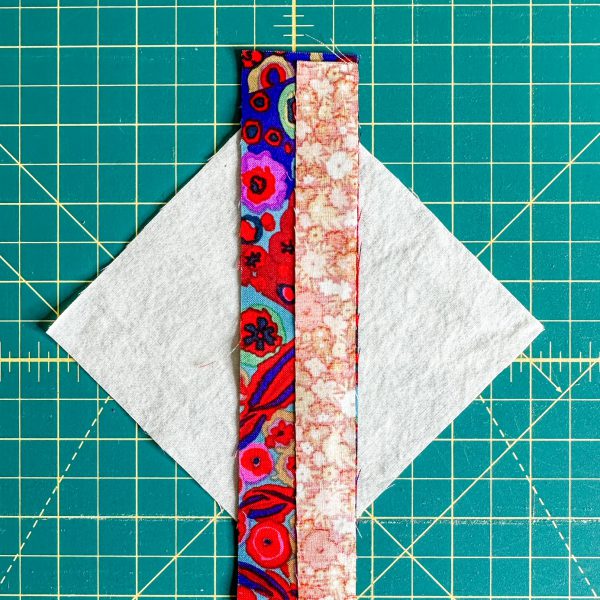
Choose another fabric strip. Place this one right side down on the center strip matching the fabric edge.
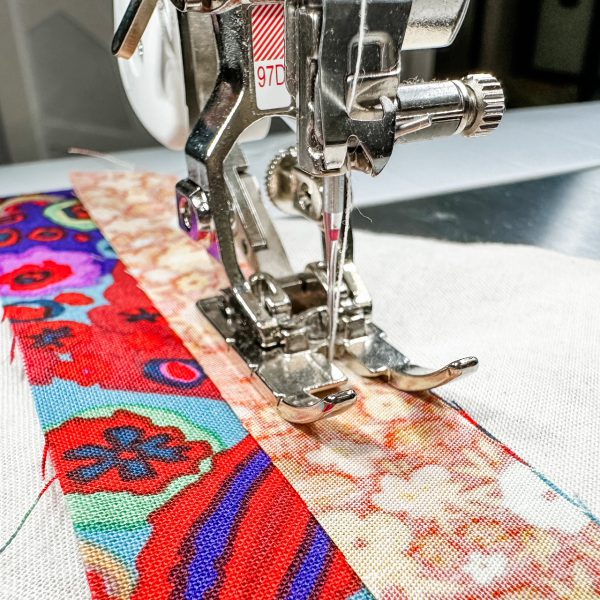
Sew together using a 1/4” seam allowance. The 97D foot is designed for straight-stitching and is great for sewing an accurate 1/4 ” seam allowance.
Flip the fabric over and lightly press with a wood pressing tool or an iron.
Choose another fabric strip, place it right side down matching raw edges, sew together using a 1/4” seam allowance, flip over and press. Continue adding fabric strips until the entire foundation piece is covered.
Turn over the completed square. Using the foundation fabric as a guideline, trim away the excess fabric.
Repeat for the remaining three squares.
Sew the Blocks Together
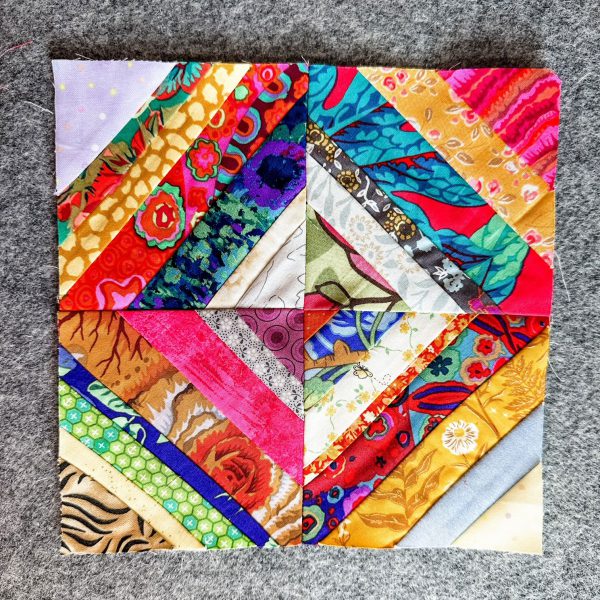
Arrange the four squares in the order they will be sewn together. Please two squares right sides together. Stitch using a 1/4″ seam allowance. Press the seam open.
Repeat until all four squares are sewn together.
Trace and Cut Out the Heart
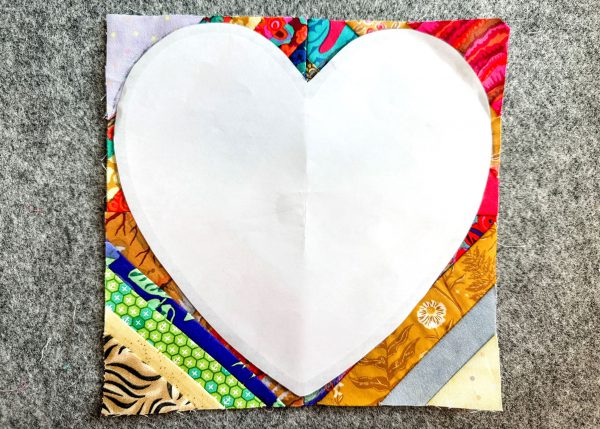
Download, print, and cut out the heart template.
Place the heart template over the scrappy string block positioning it so the center of the block is at (or close to) the center of the heart. Trace around the heart with chalk or an erasable fabric marker.
Remove the template and cut along the marked line.
Machine Applique the Heart to the Jacket
Position the denim jacket on a flat work surface with the back side (with the fabric panel) facing up. Place the heart right side up on top of the fabric panel with the top edges of heart about 1″ from the top of the panel. Use pins or temporary adhesive spray to hold in place.
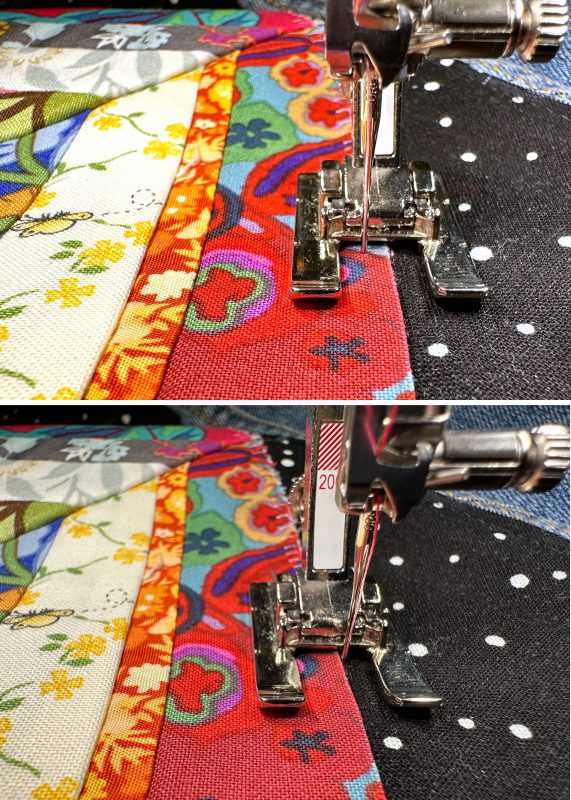
Thread your machine with a coordinating thread to appliqué the heart. I used a variegated thread in shades of pink for the applique. I used a light blue thread in the bobbin so the stitching would blend on the inside of the denim jacket.
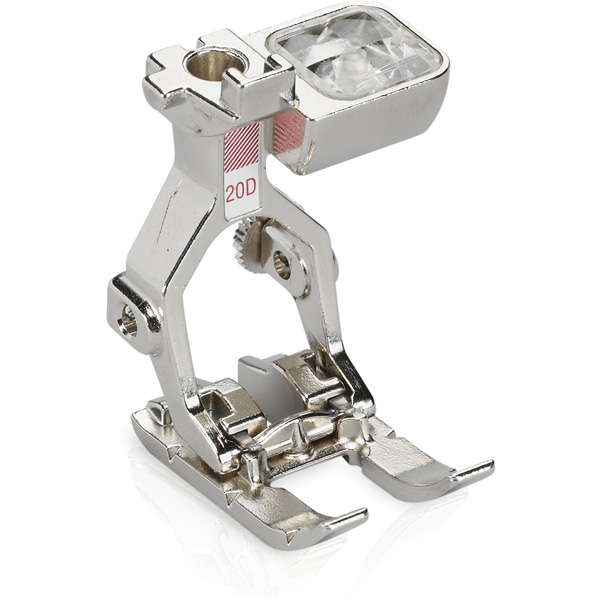
Put on an open-toe appliqué foot. I used the BERNINA Open Embroidery Foot #20C. The wide opening at the front allowed me to easily see my stitching area.
Set your machine for a blanket stitch. On the BERNINA 770 QE PLUS, I used stitch number 1309 from the Quilting Stitches menu, with the width and length set to 3.0 mm.
Tip: Experiment on a sample piece of fabric first to determine the exact width and length to use on your machine before you begin to appliqué the heart. Because the heart is being appliqued to two layers of fabric, one being denim, there is no need to add stabilizer.
Starting and ending at the top vee of the heart, slowly stitch around the heart. Make sure the left swing of the needle is on the heart and the right swing is on the jacket.
Create and Add the String Quilt to the Back Yoke
Cut a piece of muslin fabric the shape of the back yoke. This will be the foundation piece for the string quilting.
Using the remaining fabric strips, add to the foundation yoke fabric in the same way you created the blocks for the heart.
Beginning at the center of the yoke, place one fabric strip right side up. Place another fabric strip right side down on the center strip matching the fabric edge. Stitch using a 1/4″ seam allowance, flip the fabric over and lightly press. Repeat the steps until the entire yoke foundation is covered.
Using the foundation fabric as a guideline, trim away the excess fabric.
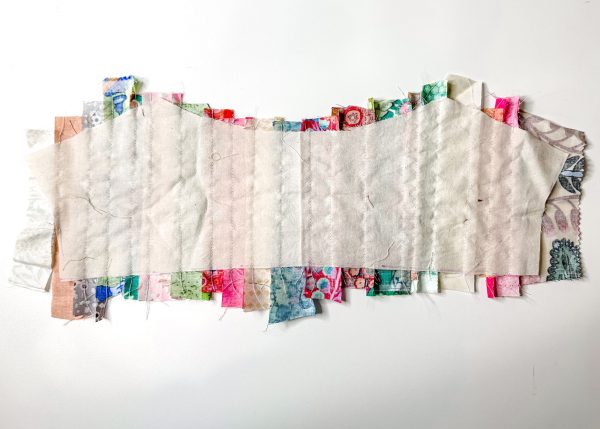 Use pins or a temporary adhesive spray to place the yoke right side up on the jacket yoke.
Stitch in place 1/4″ from all of the edges.
Note: All of the edges are left raw and if you prefer you can turn under 1/4″ to the wrong side before stitching in place.
Add Lace and Trim to the Jacket
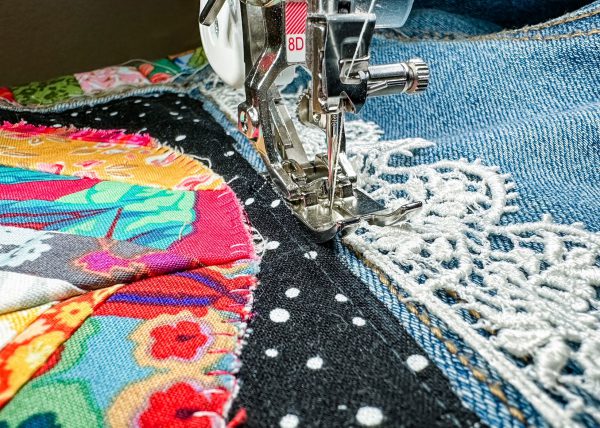
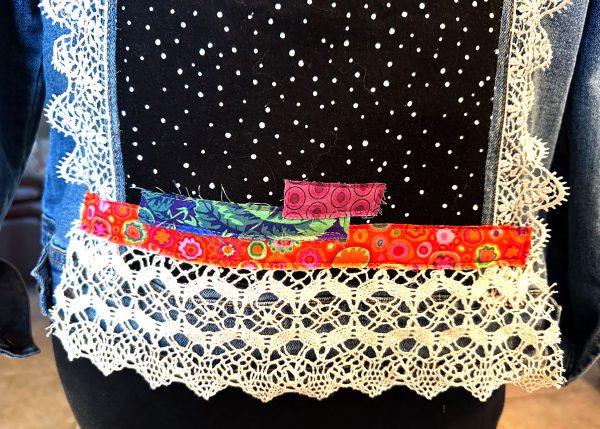
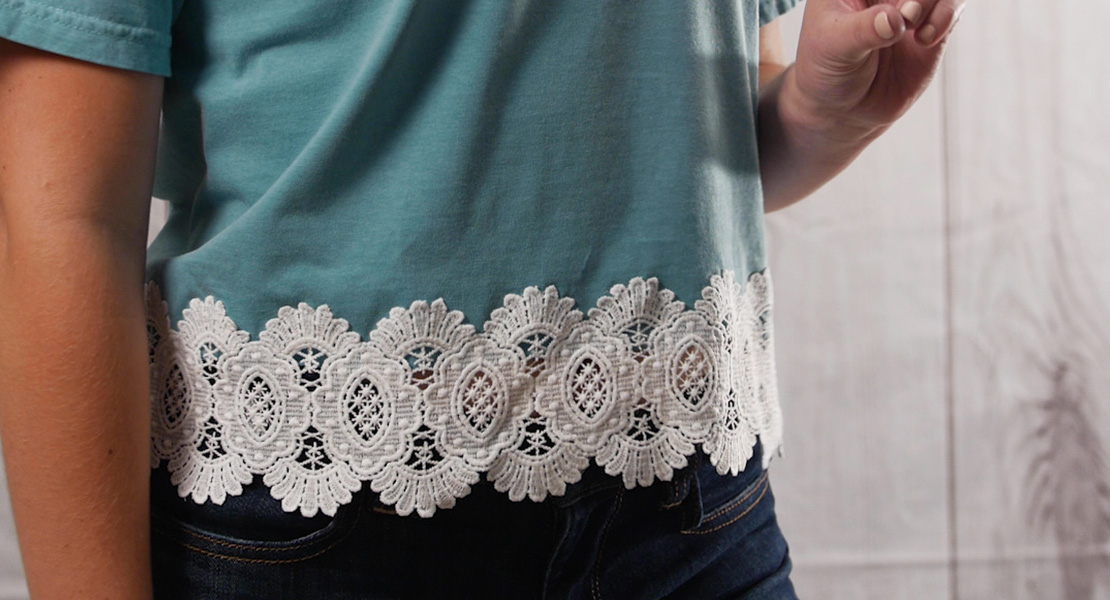
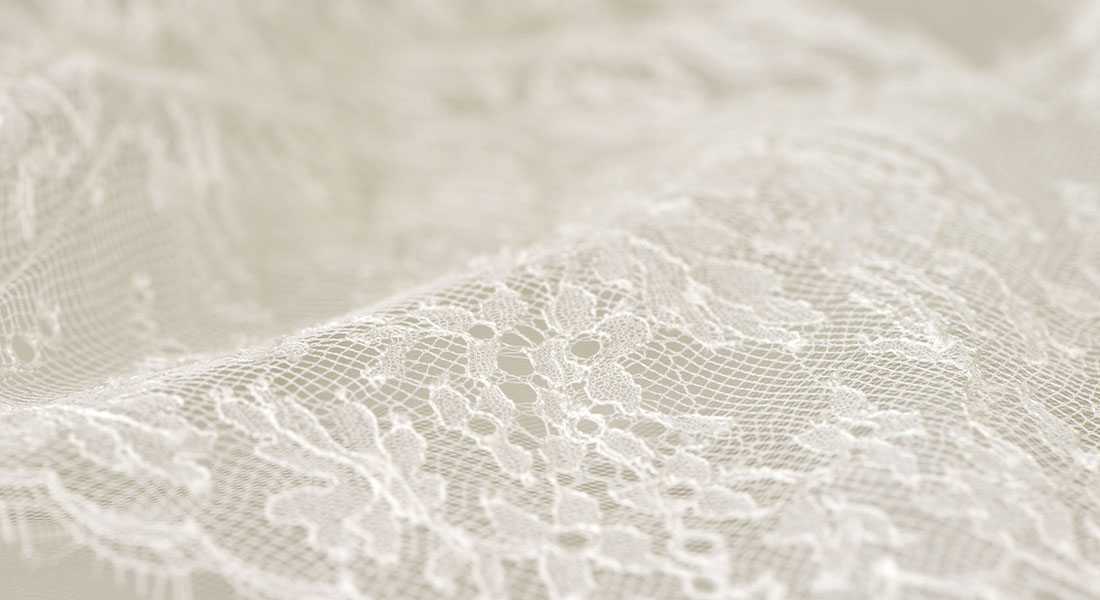
Now it’s time time to have fun with lace, trim, and fabric scraps to complete the boho look. Place lace and/or trim along each panel seam on the jacket back, along the back yoke seam, along the edge of the collar, and at the bottom of the fabric panel. Pin, then stitch in place.
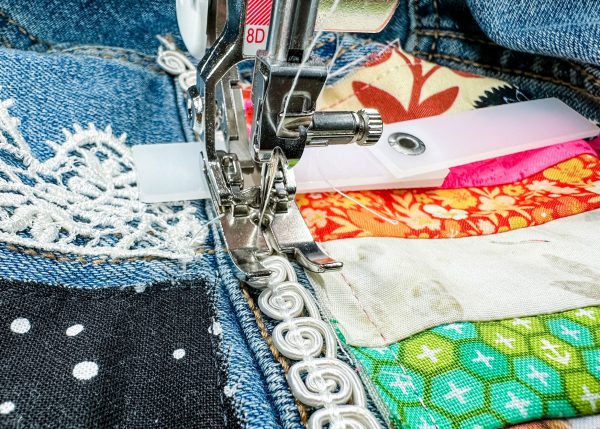
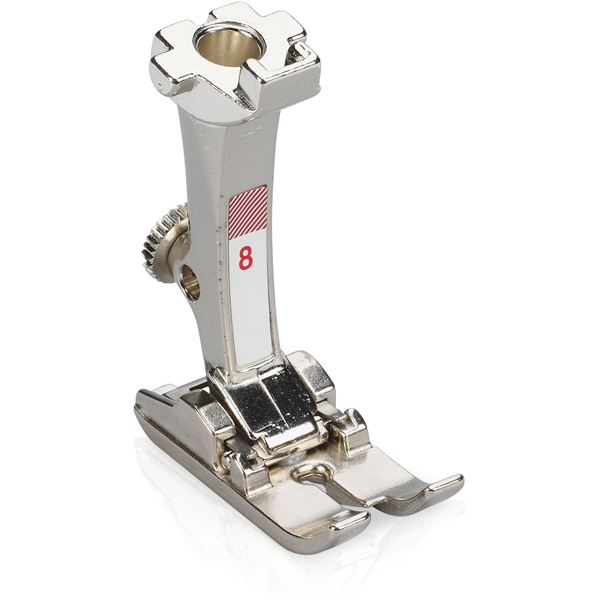
To help stitch over the thick seams I used the Jeans Foot 8D.
If you sew over intersecting seams, use the height compensating tool as it helps to keep the stitches even when sewing through thick or bulky layers of fabric.
Take three strips of fabric and arrange them over the bottom piece of lace. Stitch in place around all four edges using the Edgestitch Foot 10D.
Done! You might discover creating the scrappy string quilt accents are a bit addictive and you’ll want to embellish another jean jacket. Whether you create one, two, or a dozen, be sure to share your creations with me!
Now please excuse me while I grab some more fabric scraps and lace to embellish another denim jacket!
