Using and Programming Your Machine’s Presets
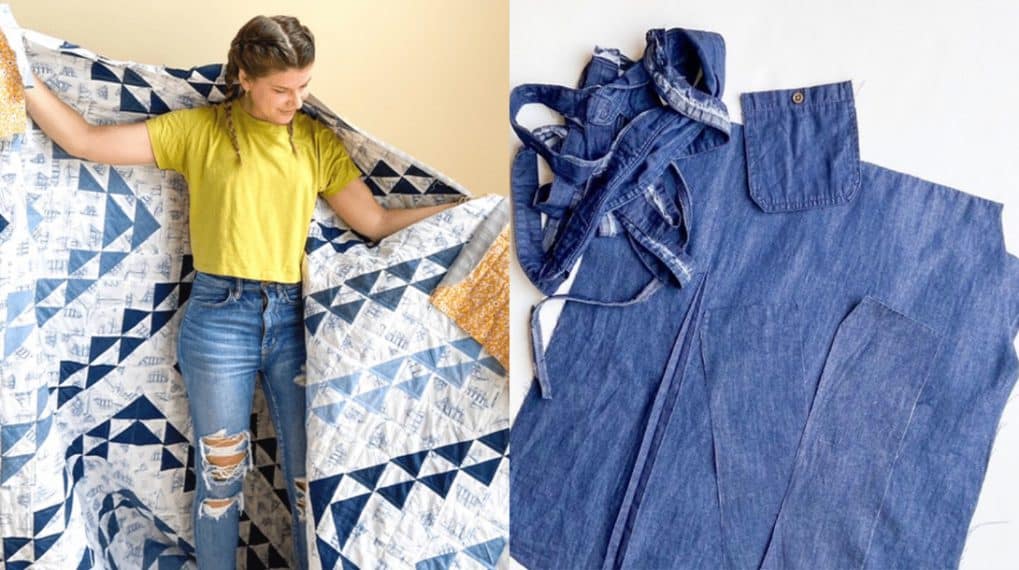
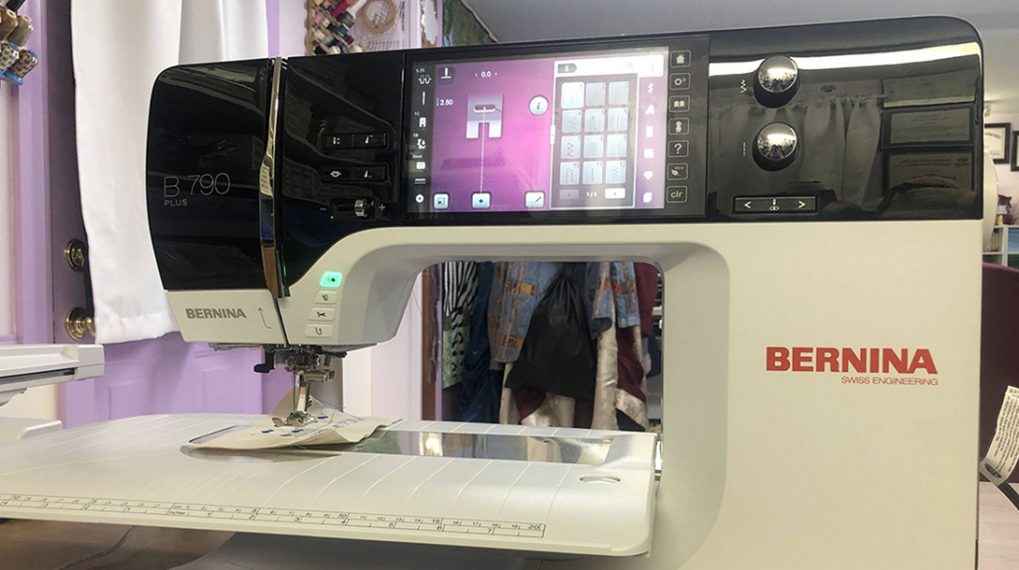
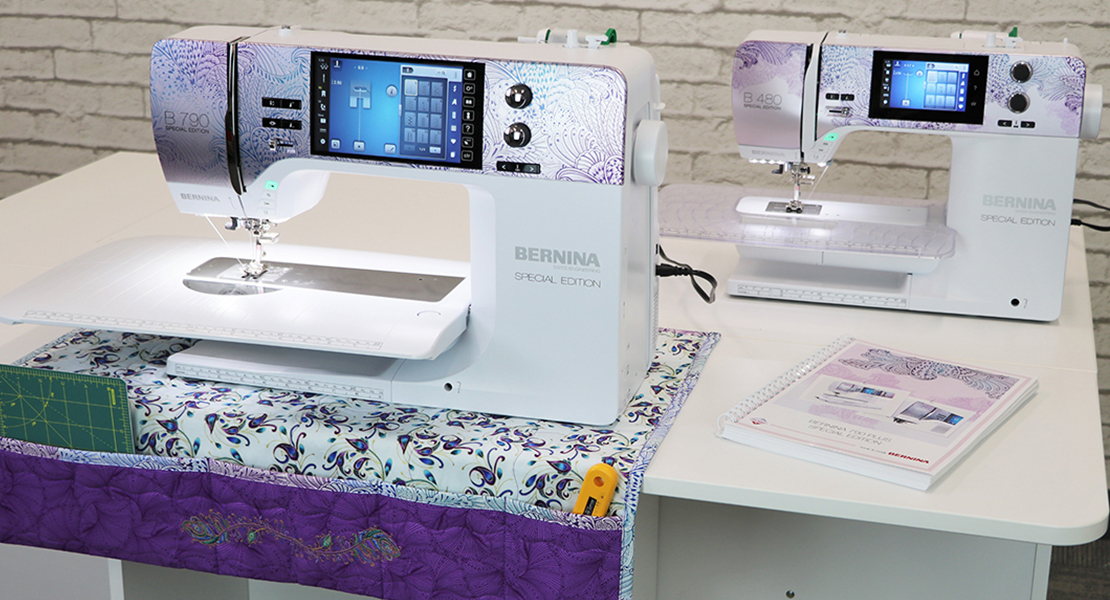
One of the things I love best about my new BERNINA 790 PLUS is the ability to easily change and save my preferences for different stitches by using and programming my machine’s presets. I do a lot of different kinds of sewing, between garments and quilts, and I am constantly switching back and forth not just between stitch types, but the settings on the individual stitches themselves. When using different types of materials, sometimes you need to do a little experimenting to find the perfect stitch length/width.
With my old machine, I was constantly making notes to remind me of what setting I had used on a particular project and then promptly losing said notes. They would get buried under other projects or picked up and placed someplace safe, never to be seen again. With the personal program on the B 790 PLUS, this is no longer a problem. I can save all my changes in a variety of helpful ways. In this blog post, I’m going to talk about how to change your presets, save them temporarily or permanently, and even how to save all the different stitches you may use for a project in one convenient place.
Altering Stitches
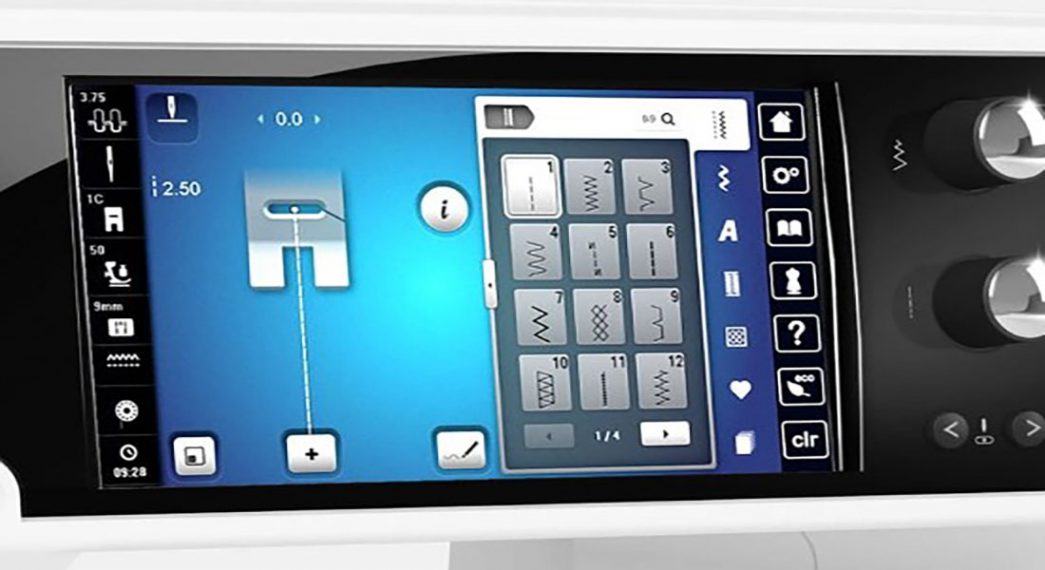
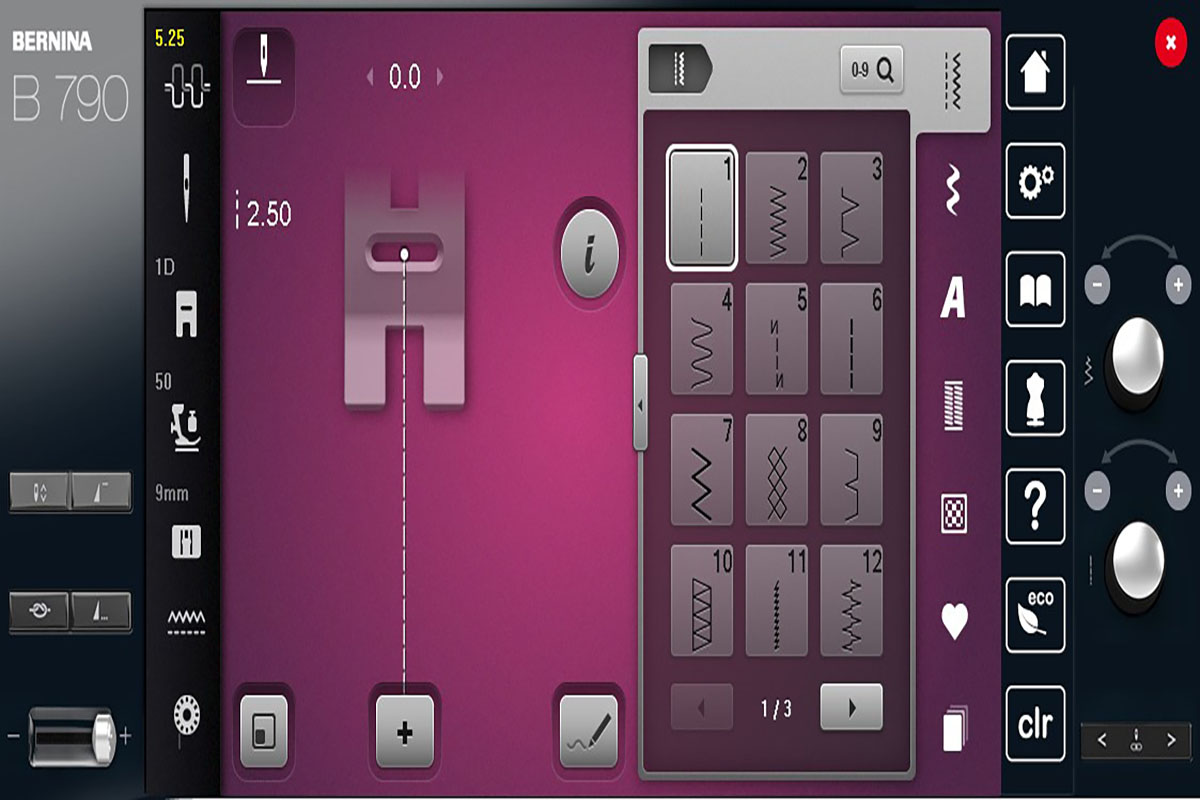
You can easily alter the presets of any of the stitches available on your machine. First, select your desired stitch. After the stitch is selected, you can adjust the stitch width, length, or both. This can be done in one of two ways. The first is by touching the stitch length, or width, value on the screen and then tapping the plus or minus buttons to change the length or width. The second is by use of the dials to the right of the display. The top button changes the width and the bottom the length. The dials work best for large adjustments and the display for fine-tuning.
Temporarily Alter Memory
There are two ways to alter the stitch memory. The first is temporary. This handy feature allows you to change the settings on a stitch, switch over to a different stitch, and then return to the first stitch without having to change your settings again. The stitch settings will be maintained until you manually change them, hit the CLR button, or turn off the machine. Use this feature when you want to change a stich’s settings for a quick project but aren’t planning to use them frequently.
Permanently Alter Stitch Memory
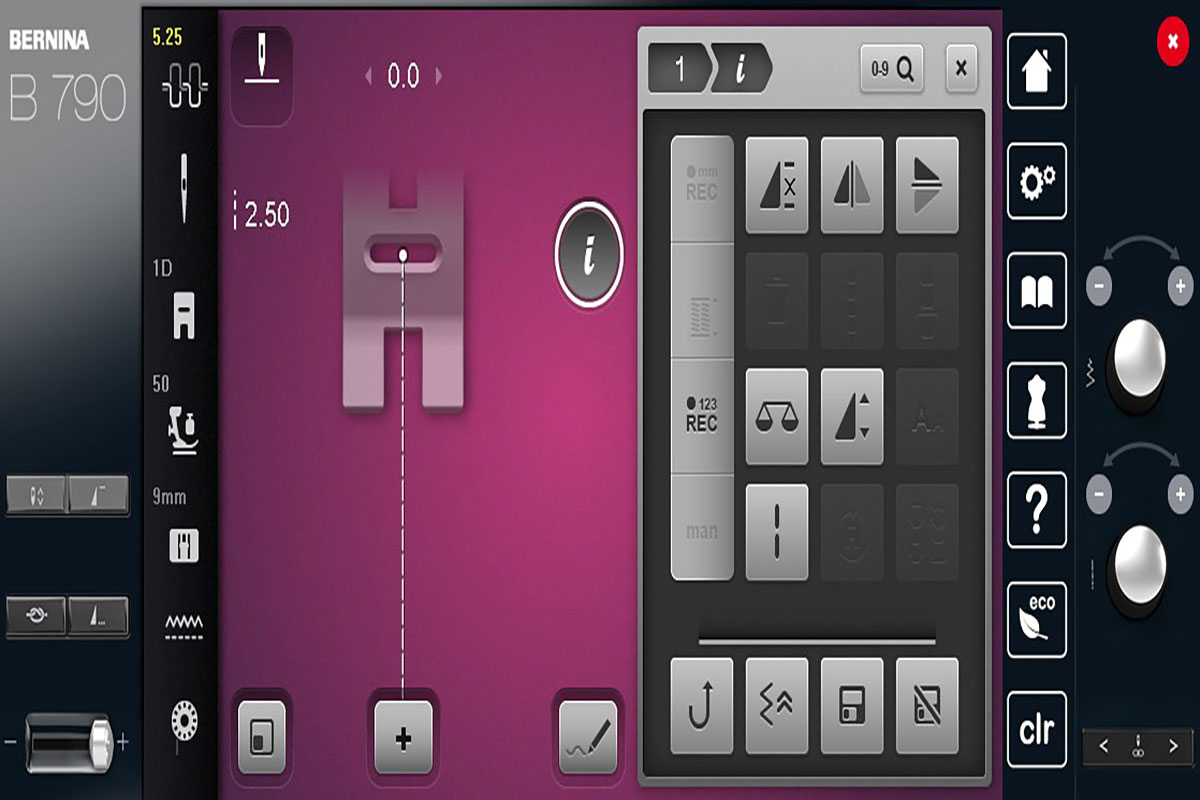
The second way to alter the stitch memory is permanent. To permanently alter the stitch memory, select a stitch and then select the “i” menu. In the “i” menu, select the Save Stitch Setting Permanently icon. (It looks like a floppy disc). Unlike temporary alterations, these settings remain in effect even after the machine is turned off. You can tell that a stitch is permanently altered because of the yellow outline around the “i” icon. Don’t worry if you change your mind later, you can always reverse this process. Simply select the altered stitch and then touch the Reset Stitch to Factory Settings icon. The stitch will revert to its original settings.
Saving Stitches in Personal Program
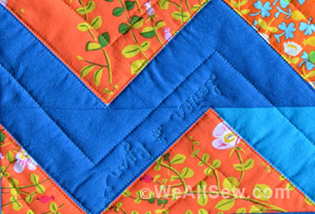
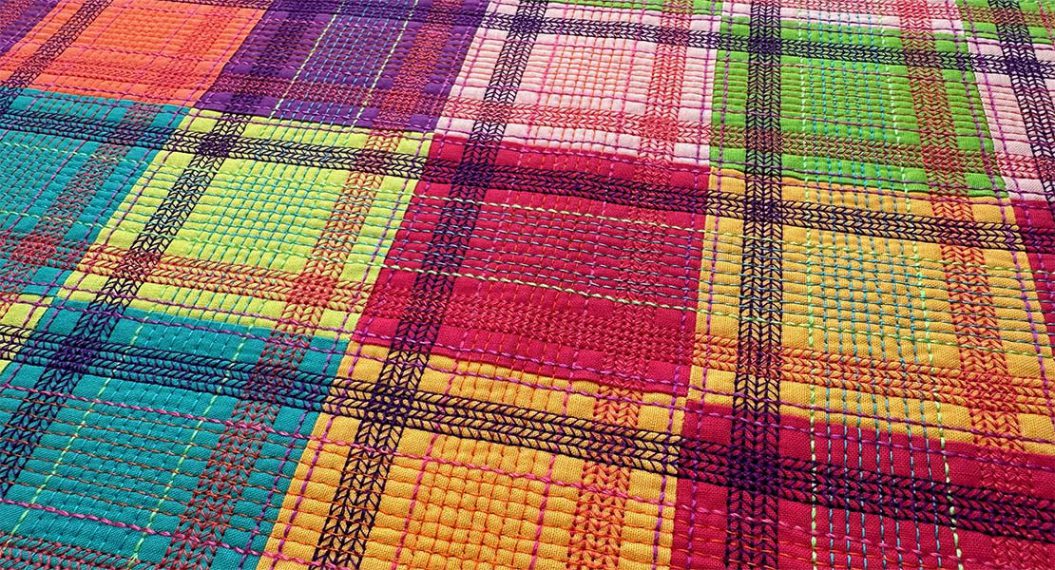
While both temporarily and permanently altering stitches can be useful, you may find that you want to switch back and forth between stitch settings without having to reset the temporary or permanent memory. This is easily done by saving stitches in the personal program. I use a straight stitch (#1) somewhere on everything I sew, but the stitch length varies dramatically. I prefer different stitch lengths for different types of fabrics, basting, paper piecing, and even topstitching. Rather than try to remember my exact settings when switching between projects, I can now save them to my personal program.
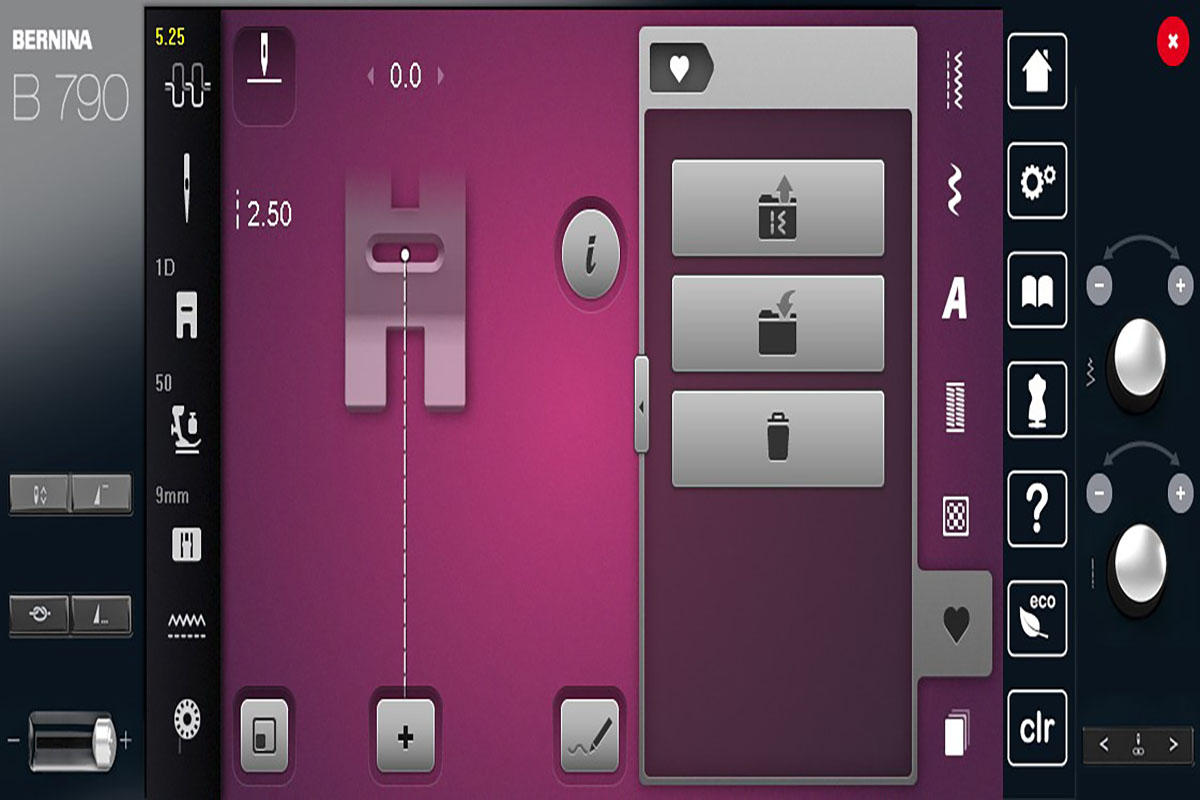
After I have set my desired stitch settings, I simply touch the Personal Program icon (the heart). When this opens, select the Save Stitch Icon. (This is the folder with an arrow going in). From here, select one of the four Personal Program Folders. The selected stitch will have a yellow border around it. You can either select the highlighted stitch to save or touch the green check box, to add the stitch to the Personal Folder. You can put multiple stitches in a folder.
To retrieve the preset stitch, simply go to the Personal Program and select the file folder with the arrow pointing out. Select the folder you saved the stitch in and select the stitch you want to use. Your settings are saved until you delete them. Turning the machine off has no effect on the changed setting, but the stitches need to be accessed through the Personal Program, not the general stitch menu.
I put my changes to various quilting stitches in the first folder. I use the other folders for whatever garment project I’m currently working on. This makes it easy to keep track of where to find the stitches I need when they’re needed.
Memory Buttonholes
Being able to save presets is not limited to regular stitching. You can also use it to save buttonholes that you use over and over. Multiple buttonholes may also be stored in the Personal Program to be retrieved as needed. I recently made a vintage overshirt with 48 buttonholes and this would have been really handy.
To use this feature, sew your first buttonhole. Next, select the Personal Program menu and press the Save icon. Select one of the folders and either touch the buttonhole to be saved or select the green check box. When you are ready to use the buttonhole stitch, simply go to the folder you saved it in, touch the desired stitch and you are ready to sew.
For a great tutorial on how to Customize Buttonholes, check out this blog post by Haley Grzych.
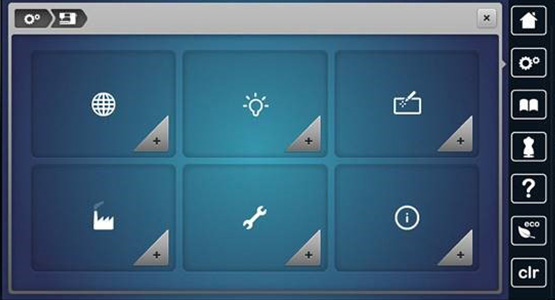
Security Program-Needle
This last feature isn’t so much a preset as a way to keep your machine safe and help you remember needle information. You should change your needle every 8 hours of stitching or earlier if needed. A surprisingly large number of “mechanical” issues or damage to fabric are actually related to bent, damaged, or incorrect needle type or size.
Your machine can help you choose the correct needle via the creative consultant and remember it by using the Needle Security Program. When you first start sewing and select your foot and desired stitch, don’t forget to select the correct needle too.
Touch the needle icon on the far left of the display screen. A green check or yellow star will show you the best needle choice. Touch the highlighted needle to select it. Next, touch the needle with the bow and the “i” at the end of the needle display. Touch the type and size of your needle, as recommended in the Creative Consultant, for your type of fabric and thread. Thicker threads need larger needles and vice versa. The machine will store this information until you change it.

I’m having sew much fun learning all the new and amazing features of my BERNINA 790 PLUS. I hope this series has helped take some of the fear out of upgrading or using a new machine. Make sure to follow the We All Sew blog if you don’t already to continue to learn more about your machine and all the incredible things you can make with it.