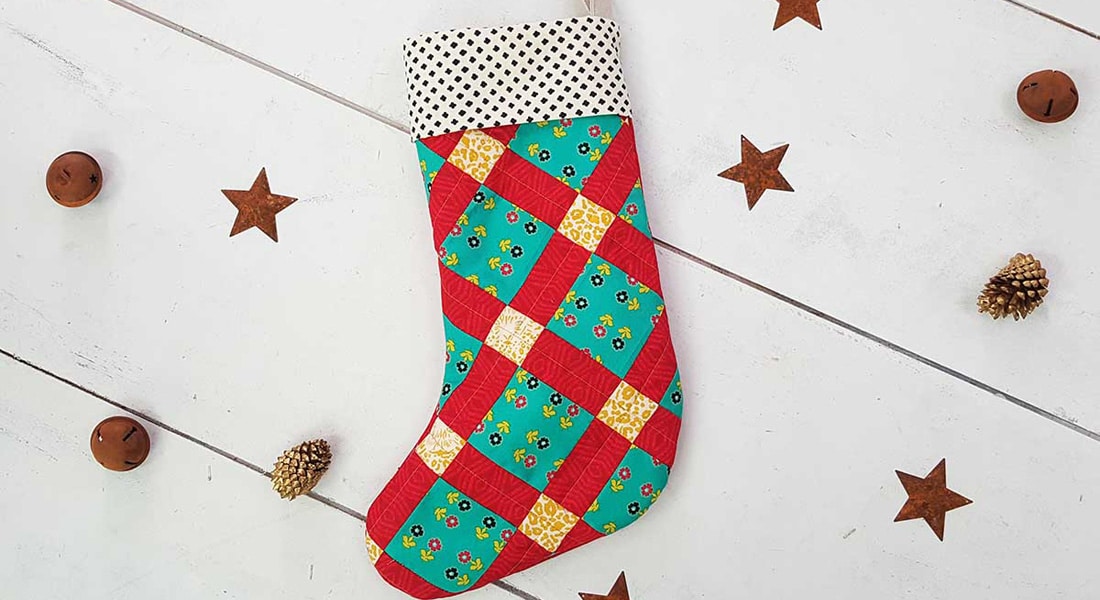
Machine-embroidered Christmas Stocking, Part 2: Embroider the Cuff
Hi, I’m Kate from Tough Kitten Crafts! I empower sewists to transform from frustrated to fearless with machine embroidery via online education and fun tutorials, like these cute and quick machine embroidered Christmas stockings.
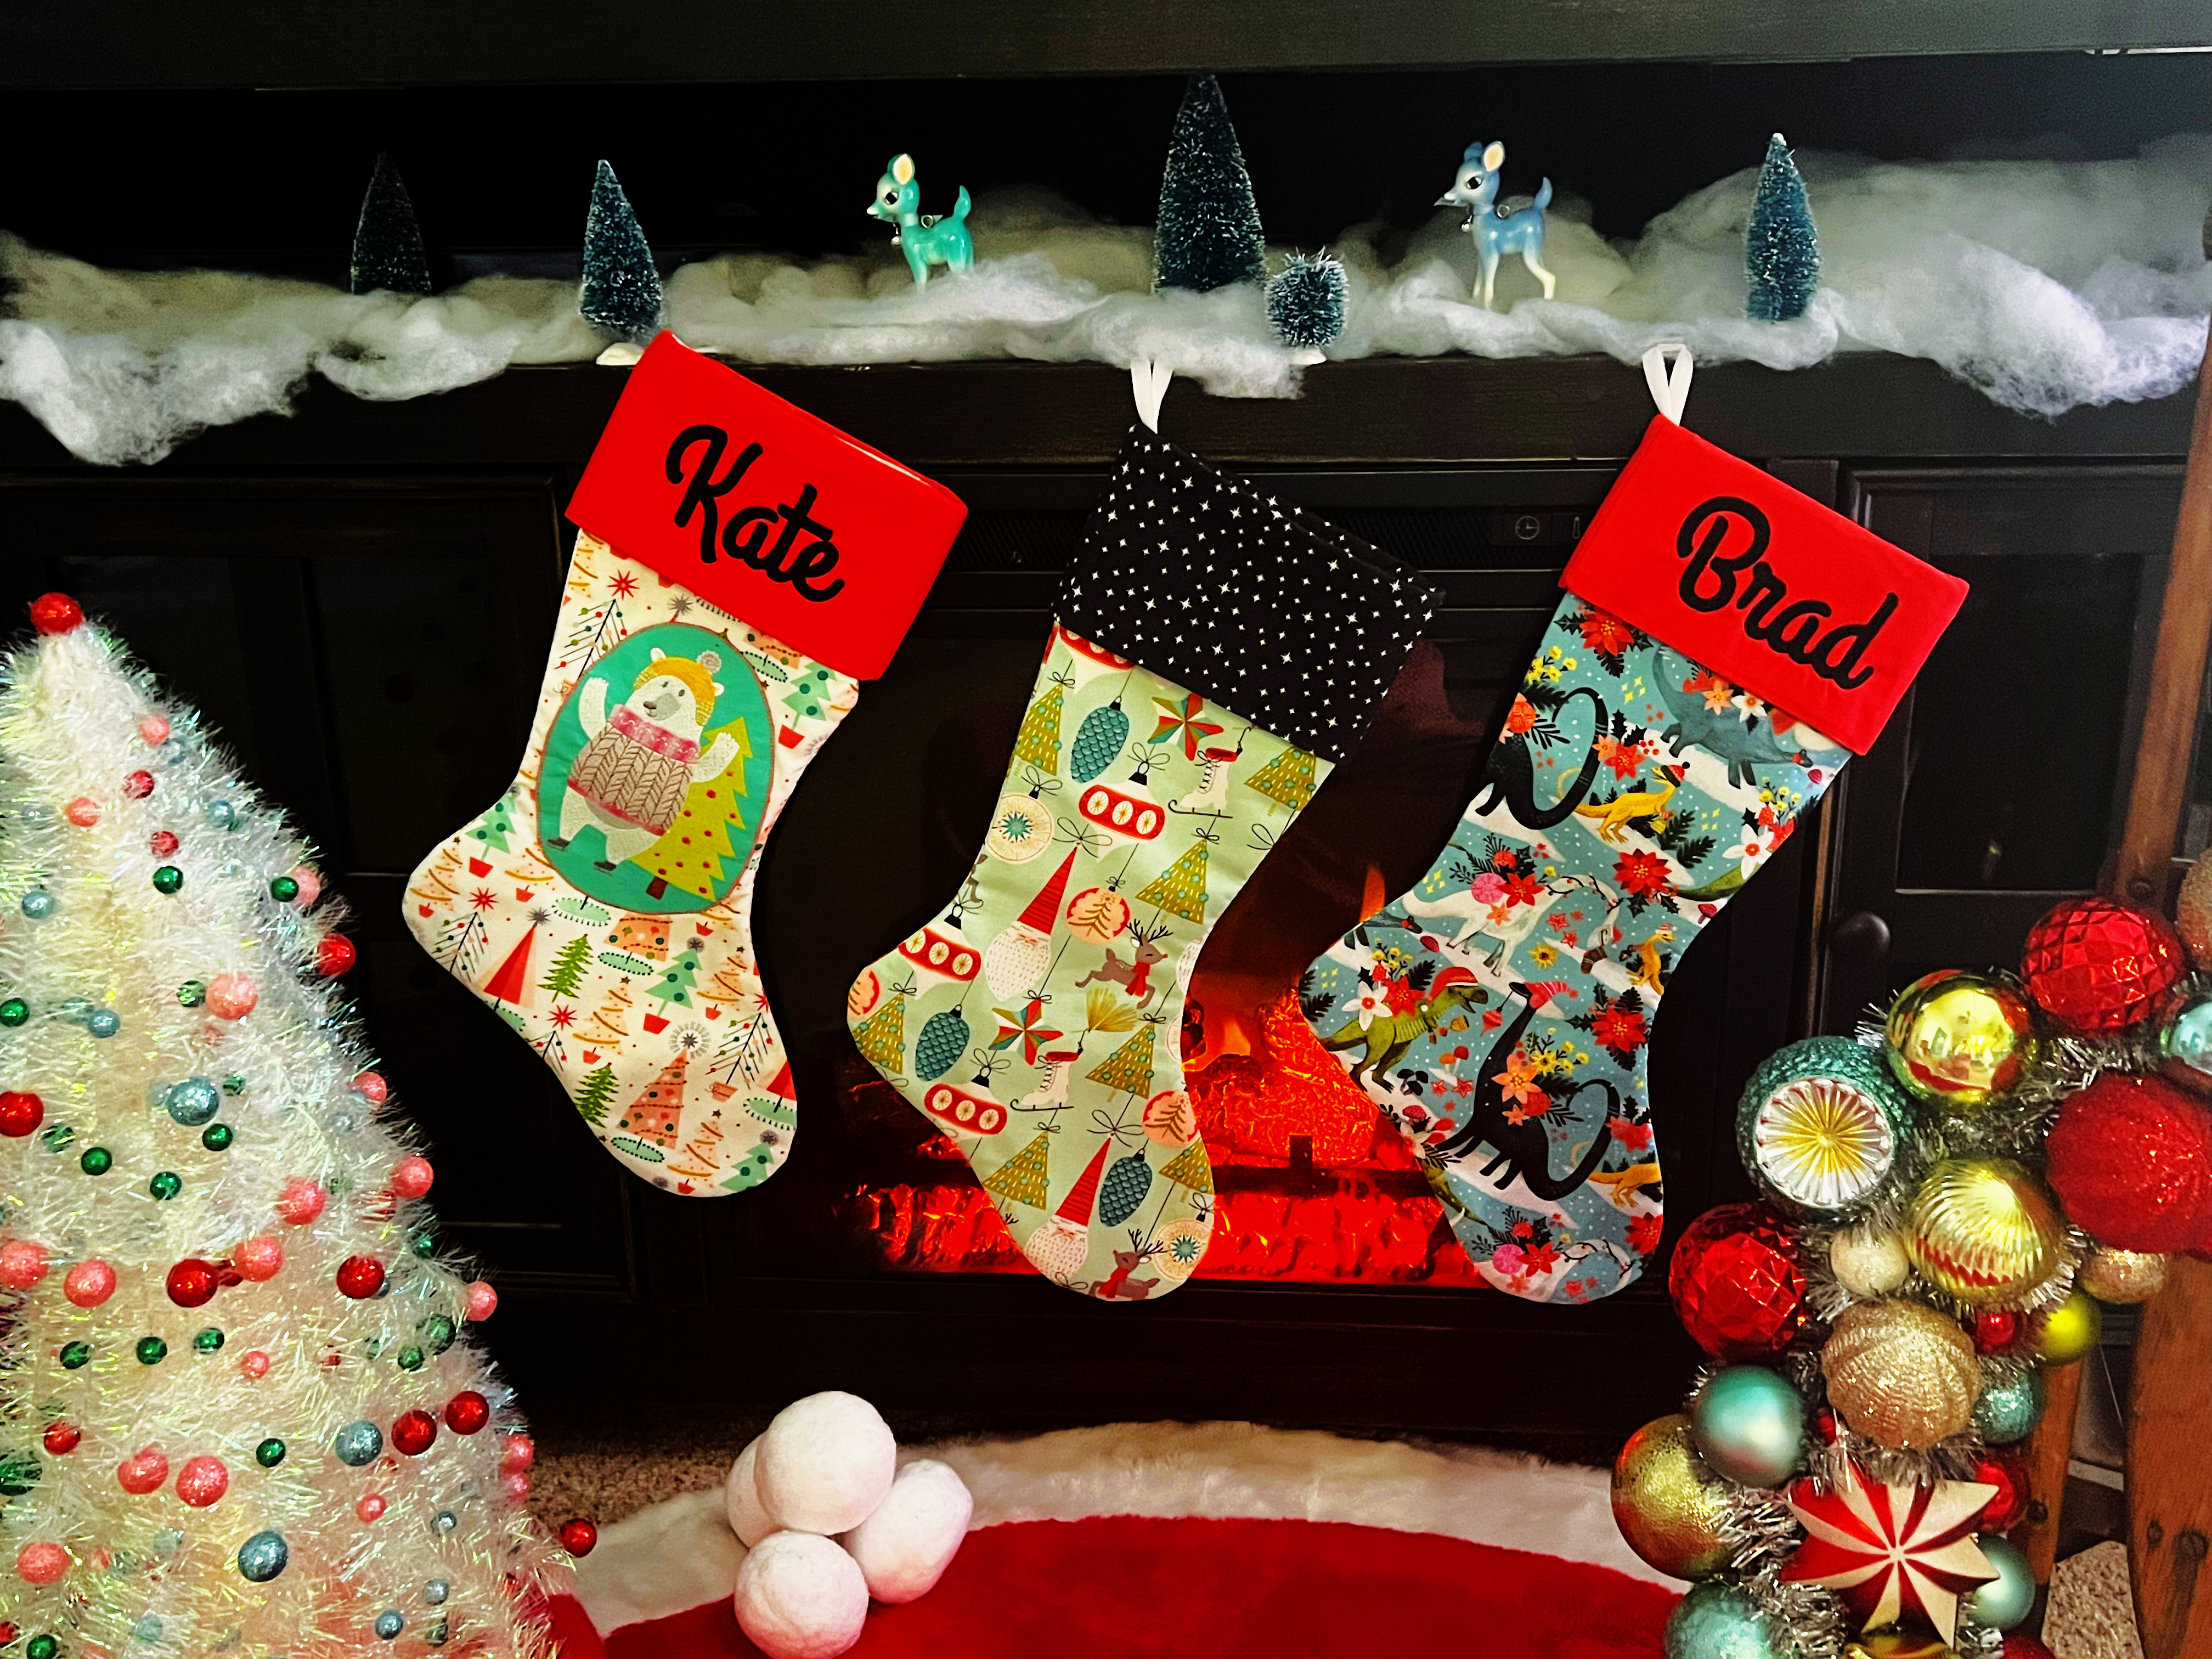
In this three-part series, I am going to teach you how to sew an adorable Christmas stocking and personalize it with machine embroidery!
Machine Embroidered Christmas Stocking Series
- Part 1: Learn to sew this adorable stocking.
- Part 2: (This post!) Add an embroidered name to the cuff.
- Part 3: How to embroider a cameo for your stocking.
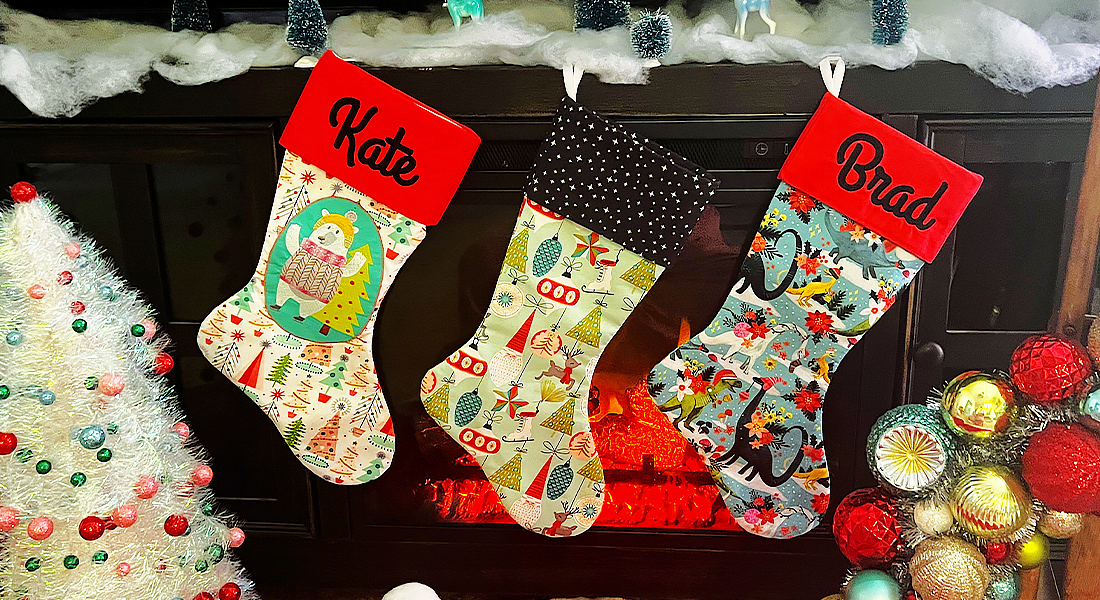
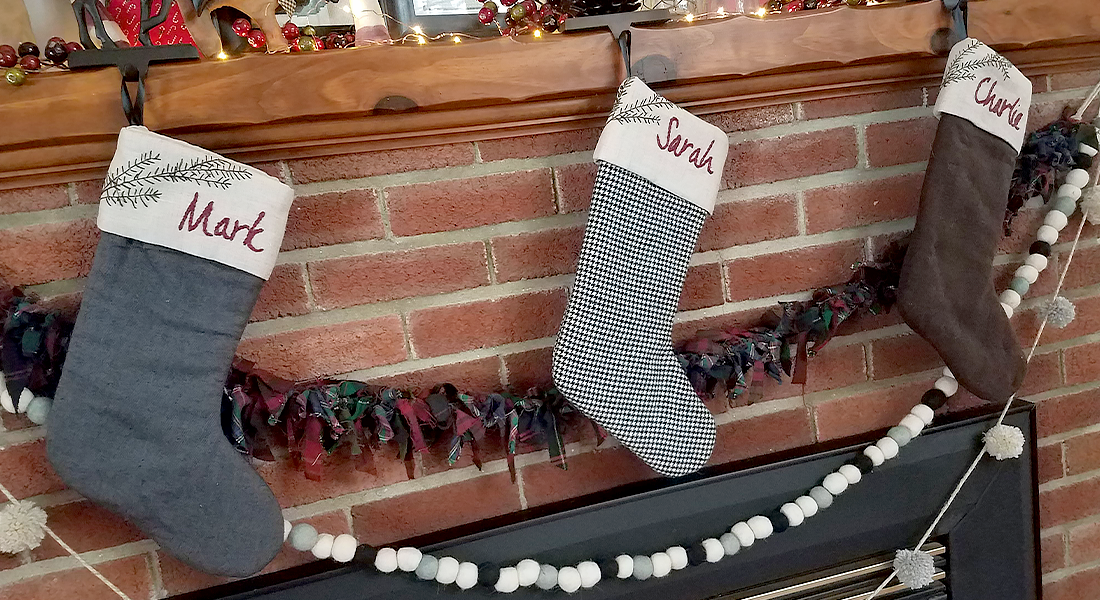
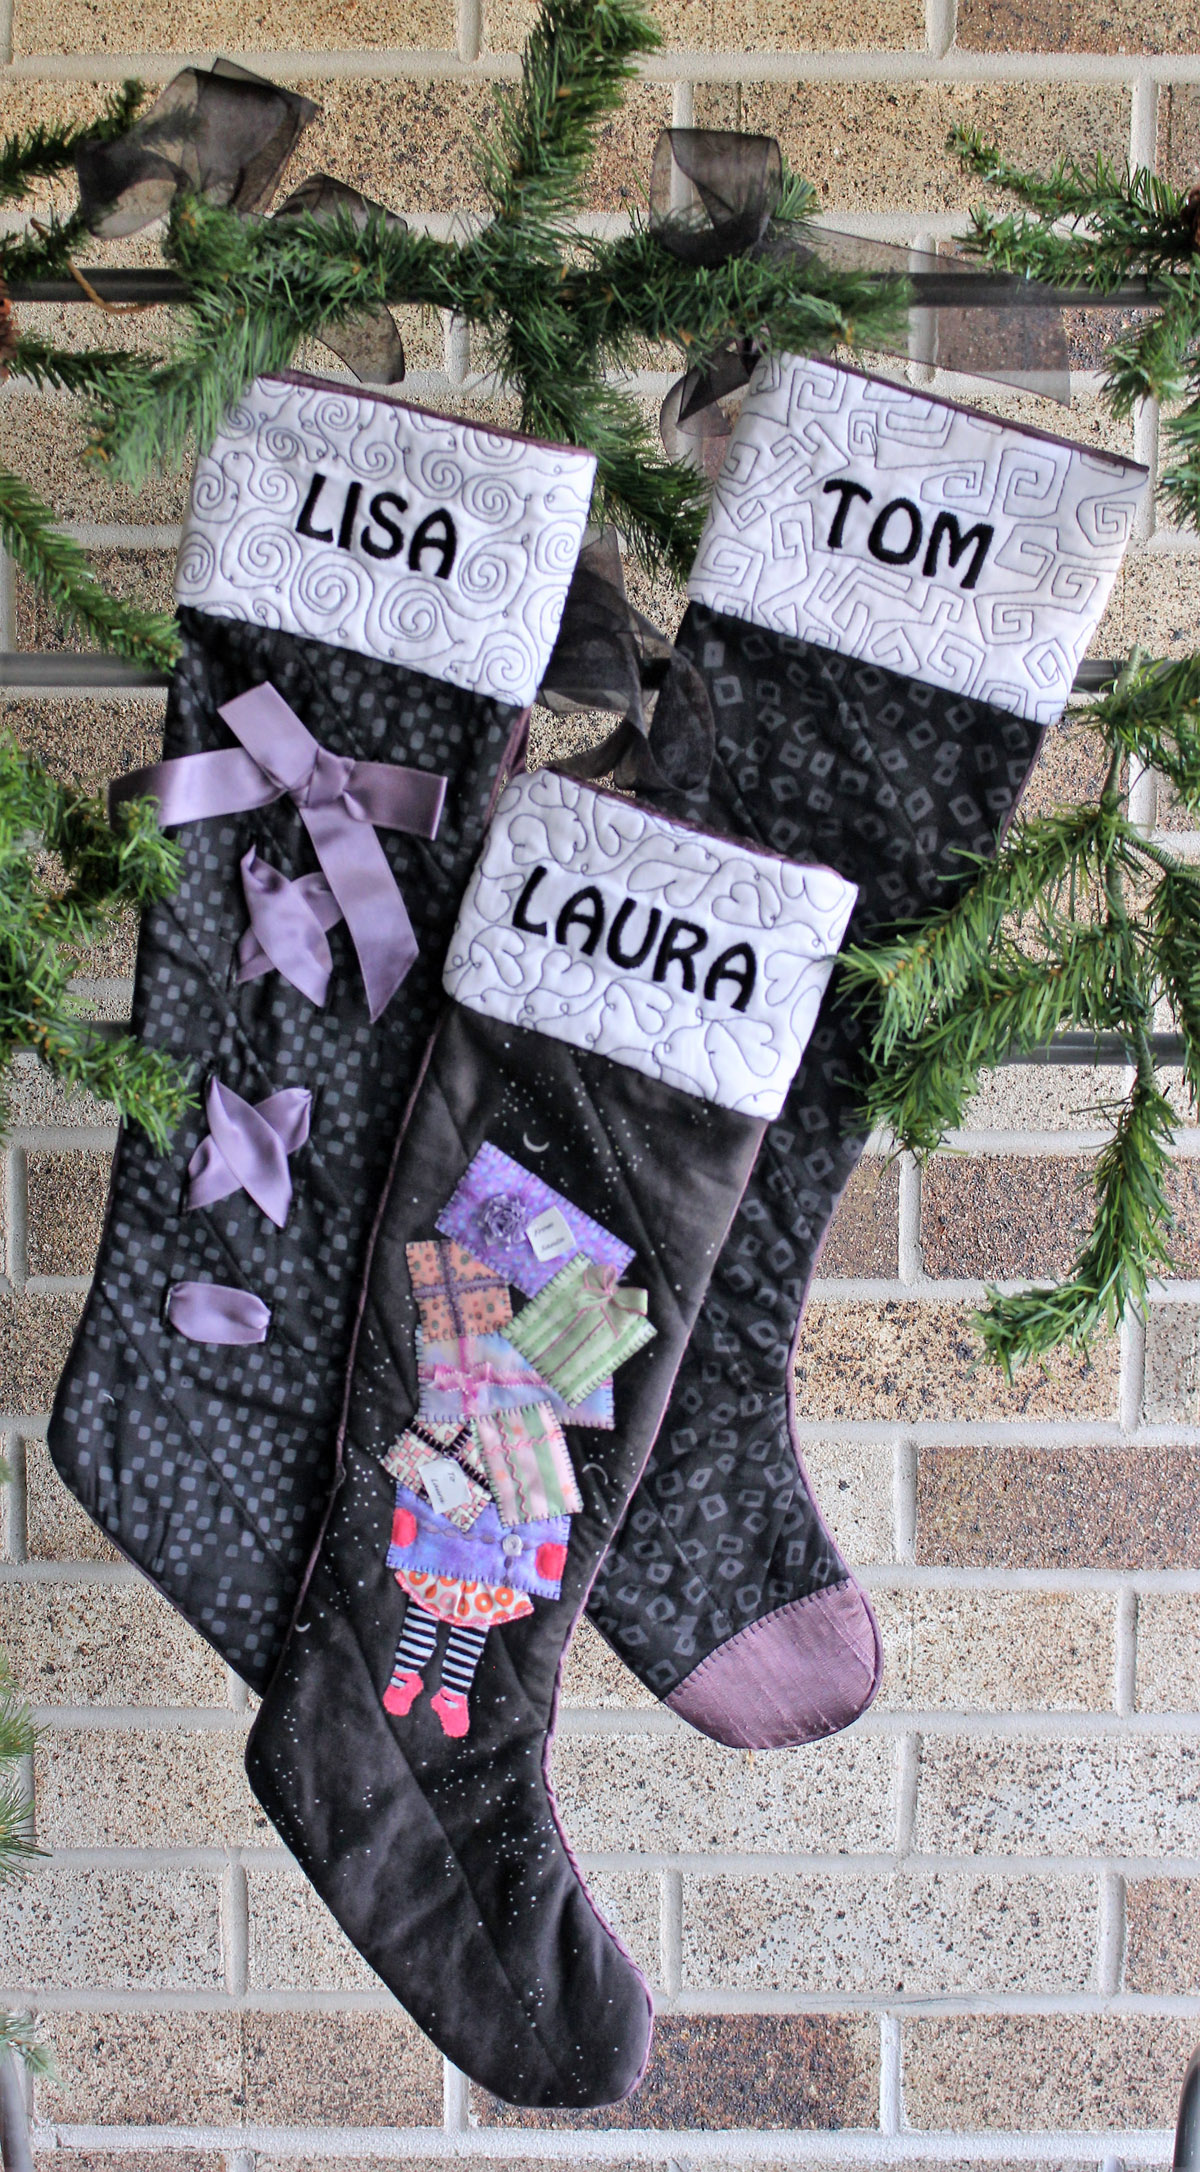
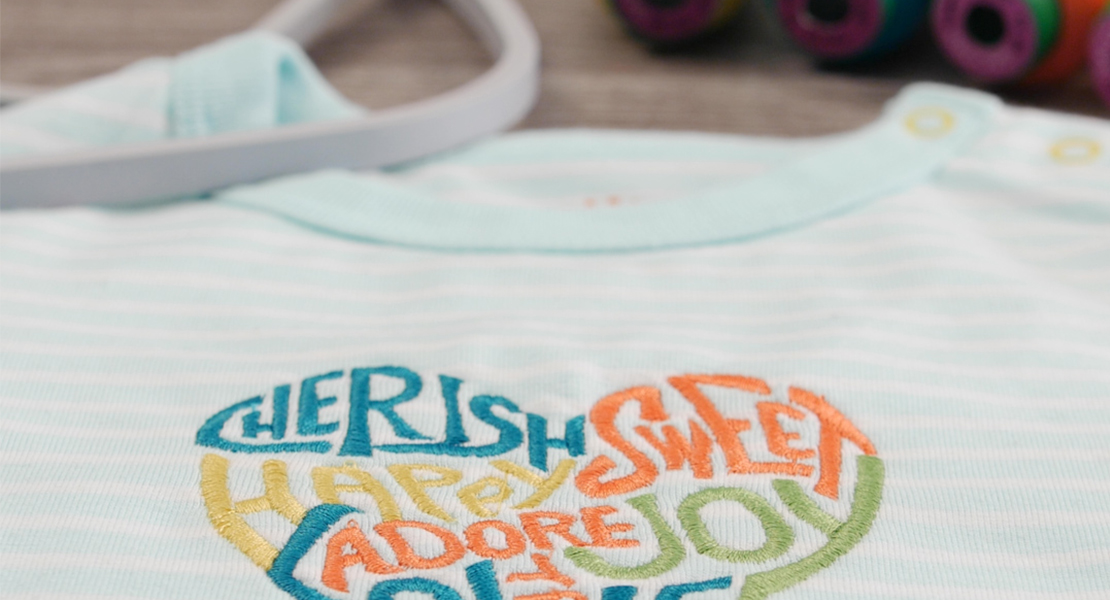
This stocking makes up really fast, even with the embroidery, so you can have new, personalized stockings for the whole family in no time.
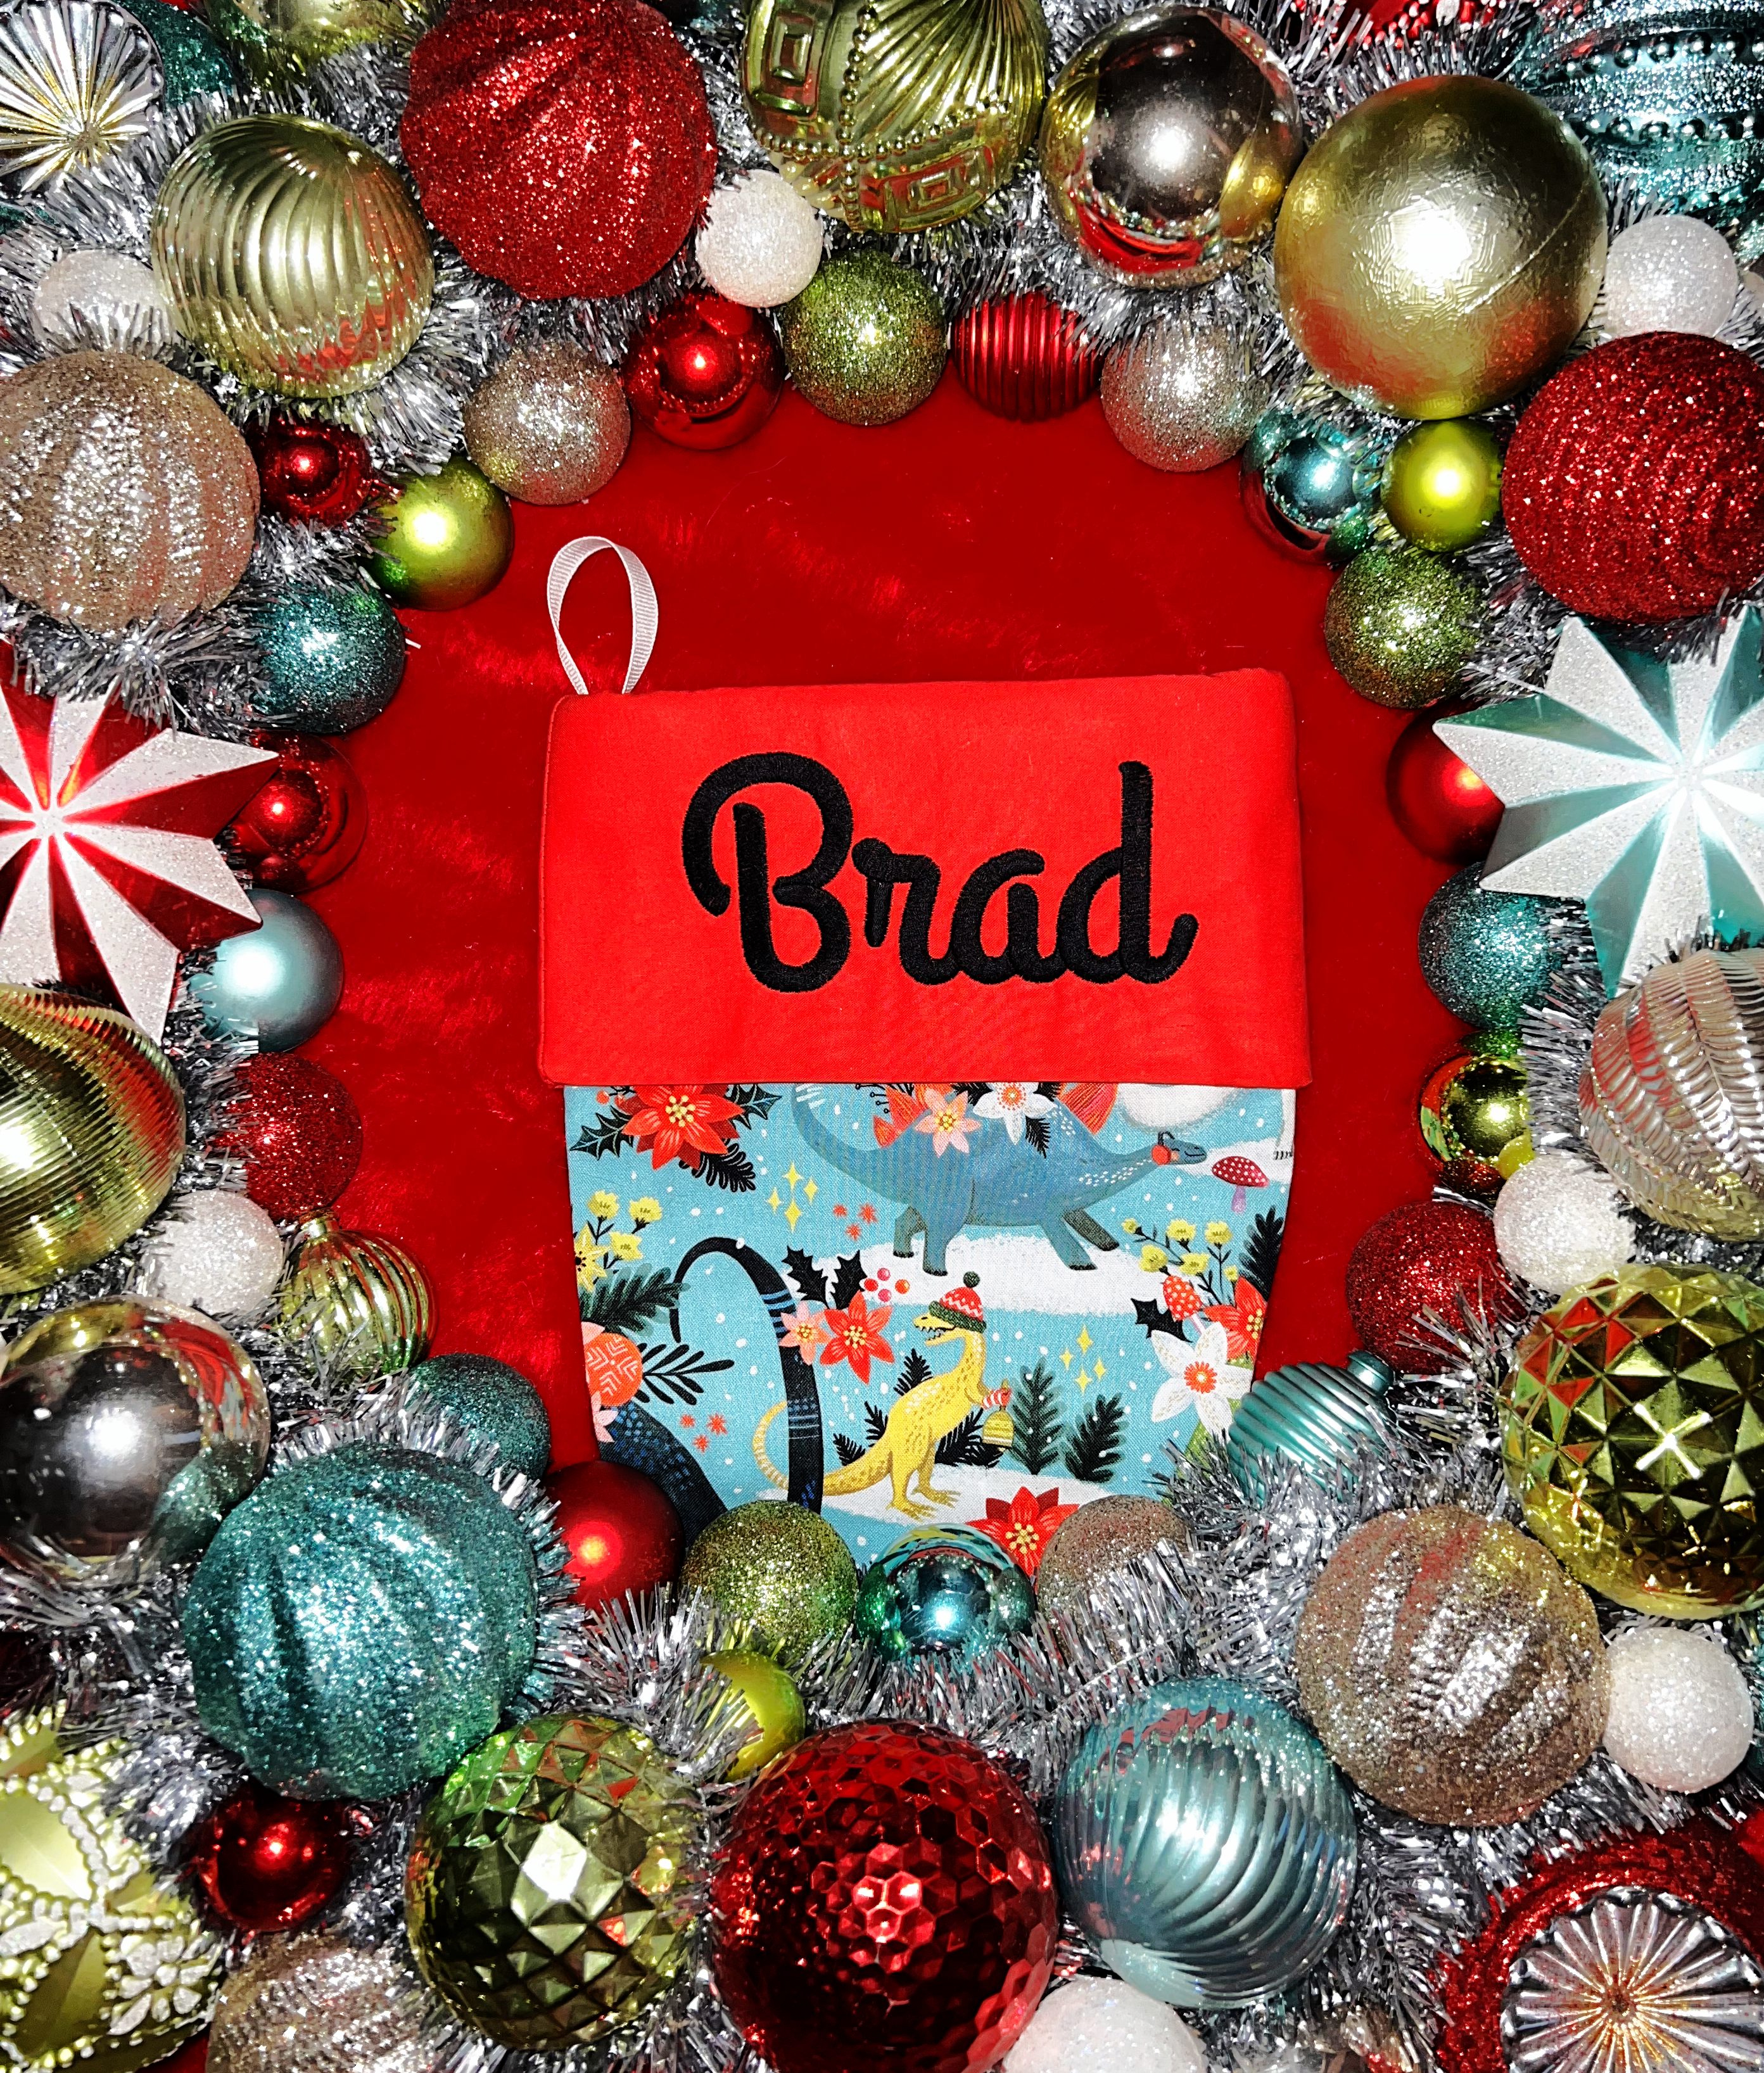
In the last post, you learned how to sew your stocking, and this week I want to show you a fun modification for your stockings: Personalized cuffs!
I will be showing you how to make the names in Toolbox but you can also use the alphabets in your BERNINA to create the cuff names. Check out my Embroidery with Word Art Tutorial to learn how to write words/names and edit them in your machine.
Okay! Let’s do this!
You will need all the supplies from the Christmas Stocking Tutorial.
Additional Supplies Needed to Embroider the Cuff
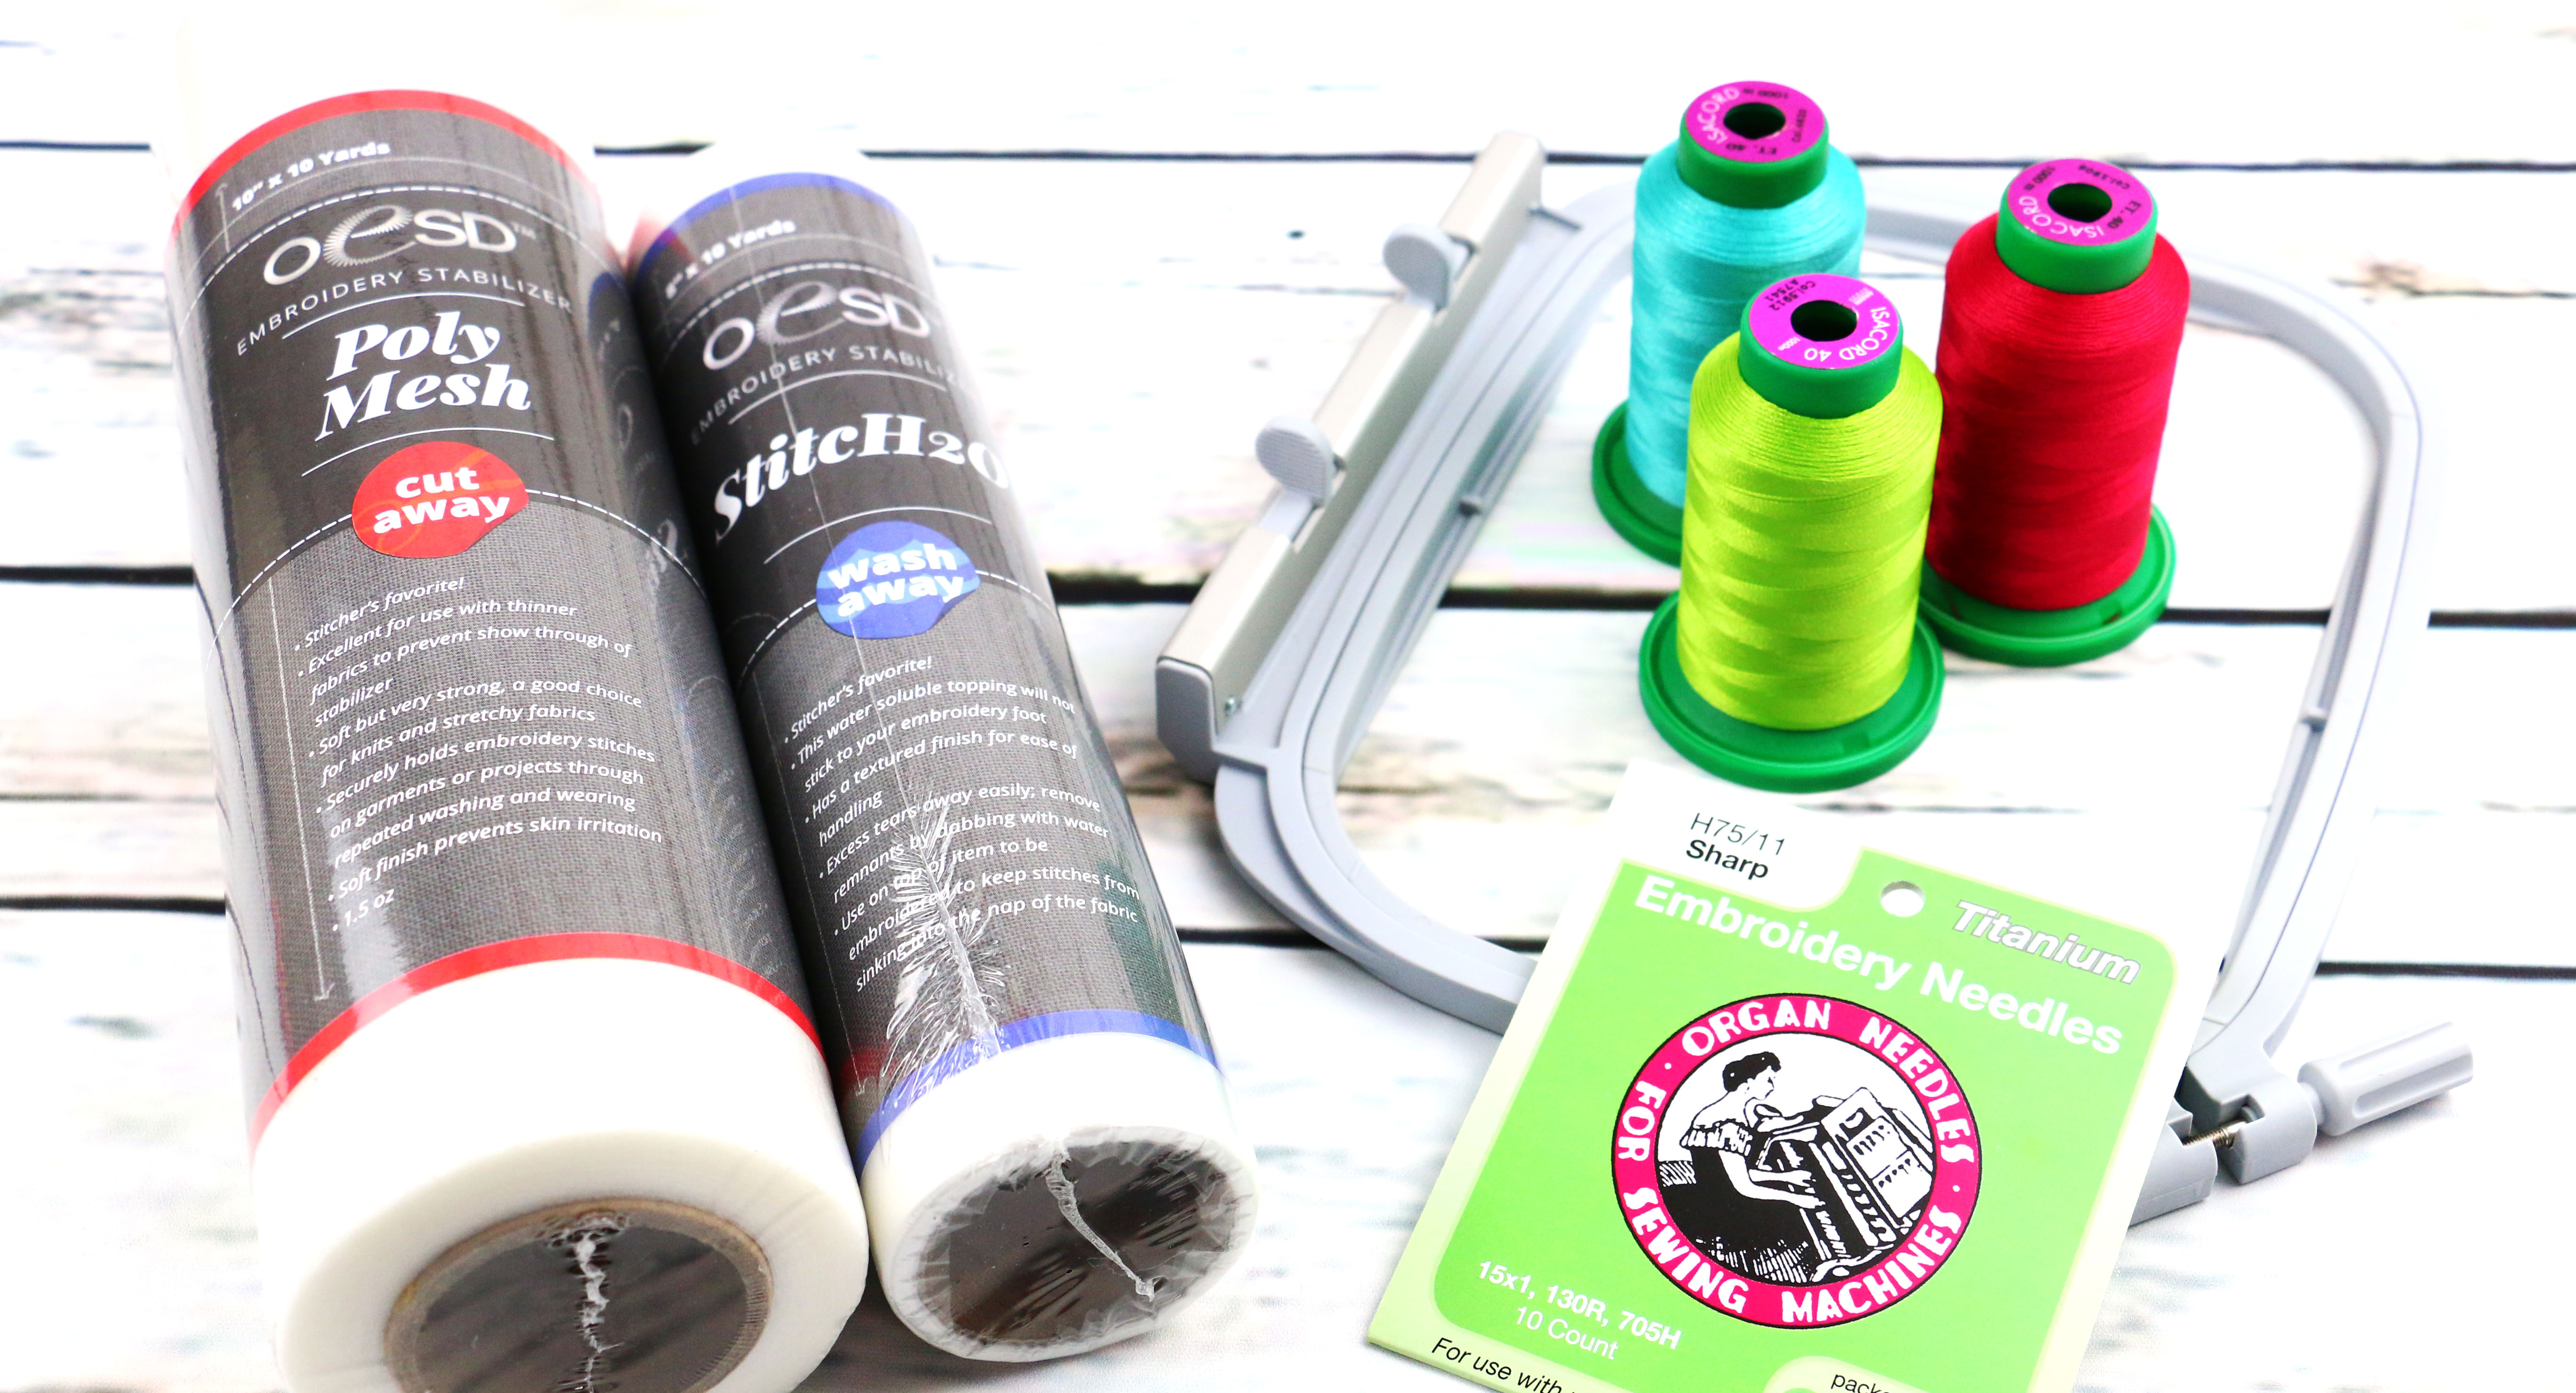
- 75/11 Embroidery Needle
- Drop-Shaped Embroidery Foot #26
- Large Oval Hoop
- OESD StabilStick Cut Away
- OESD Fuse and Fleece
- Embroidery Thread
- BERNINA Toolbox Lettering Basic, Lettering or Full Version
Before we start this tutorial you’ll want to do steps 1-3 of the Christmas Stocking tutorial.
Steps to Embroider the Stocking Cuff
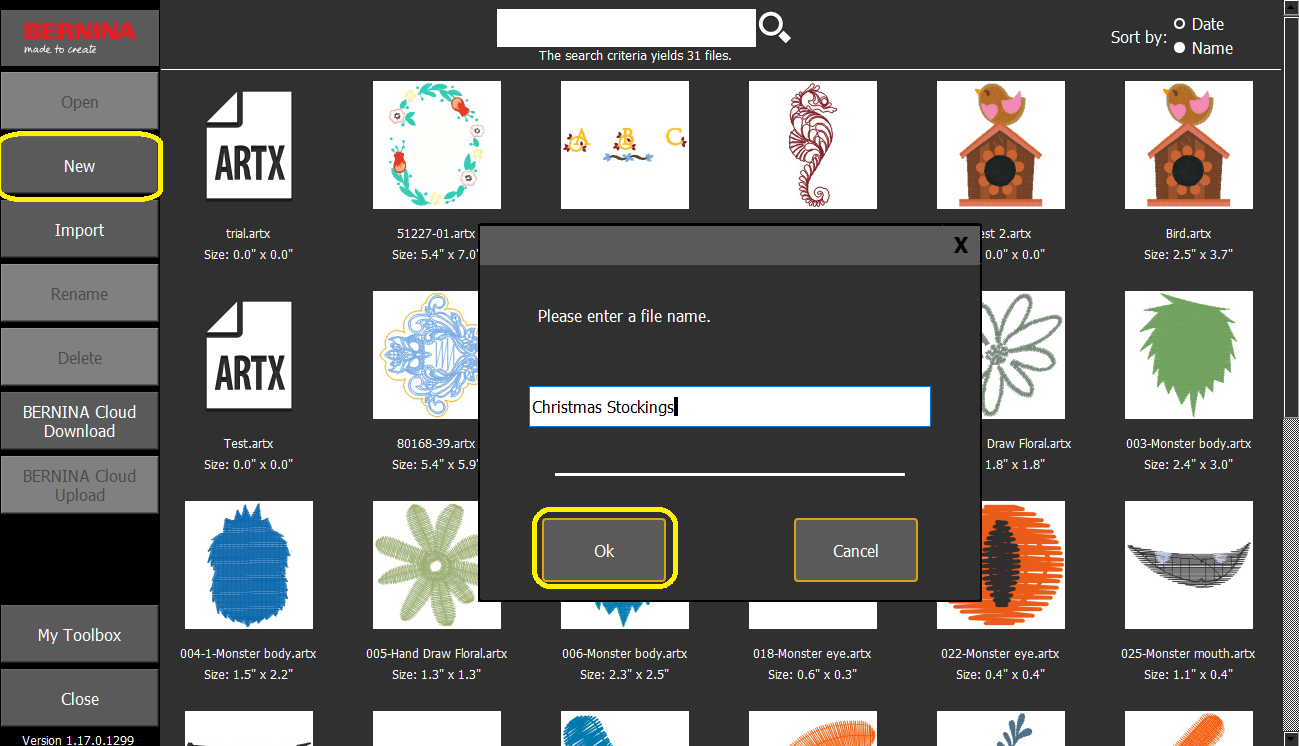
1. On your computer. open up Toolbox and create a new design.
2. Tap the icon of the eye and set up your workspace by telling it the machine brand, machine series, hoop and foot.

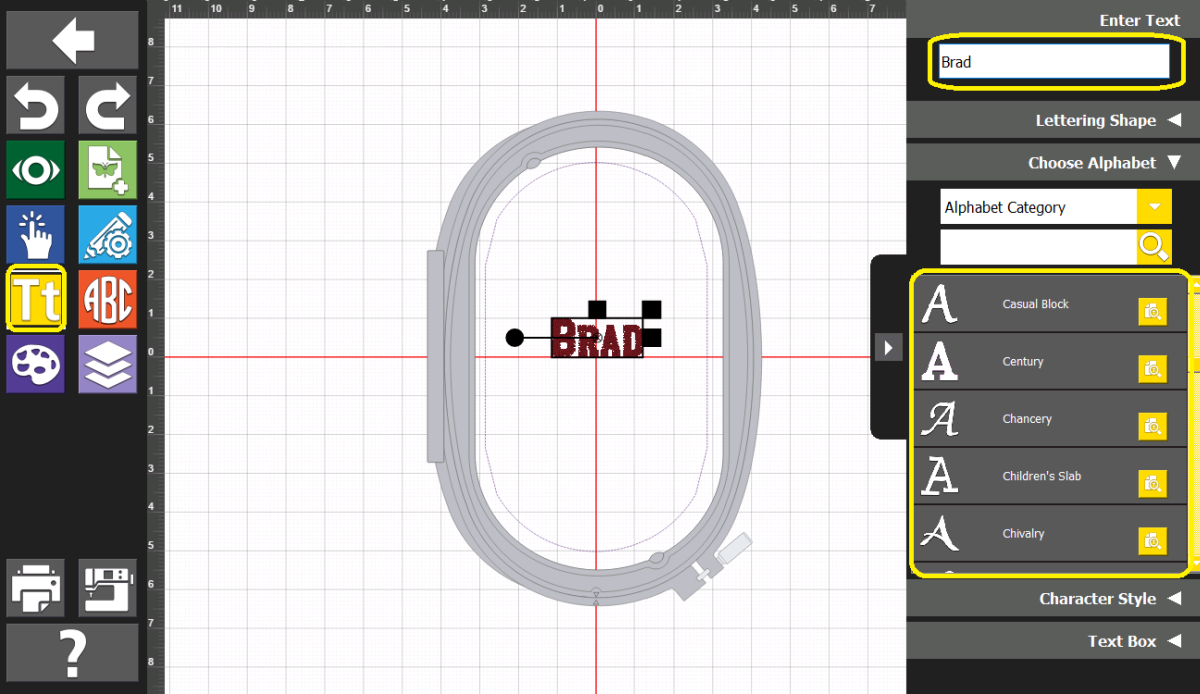
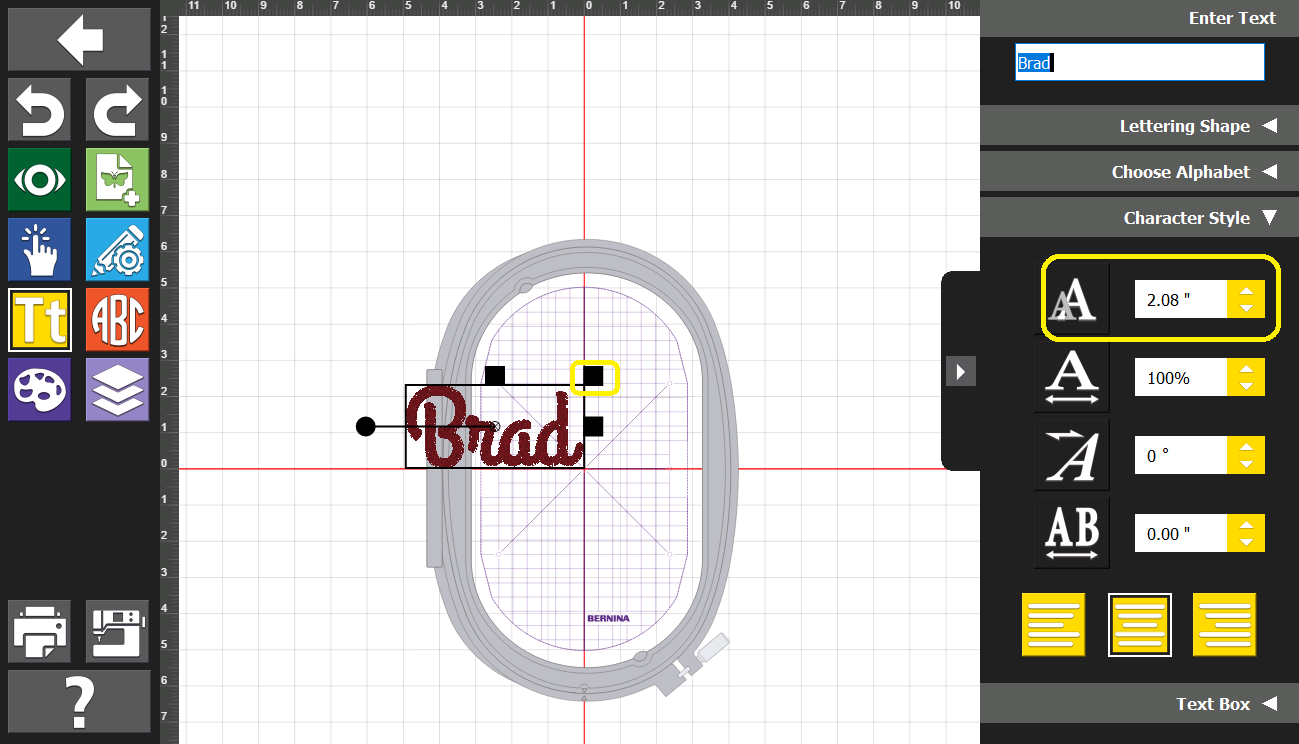
3. Tap the lettering icon to the left of the screen. In the top right of the screen, you can type the name you’d like to add and hit “Enter”. From there you can test out alphabets you like under the “choose alphabet” tab.
I chose the “Diner” font.
4. Under the “Character Style” tab you can choose the height of your font. The front of the cuff is roughly 4″ x 7″ so I was looking to keep the design under 3″ x 5″. I used the grid on the screen to measure how big the design is.
You can use the handle at the top right of the design to resize or choose the font size on the size of the screen.
5. Use the circle to the left of the design to rotate your lettering to 90 degrees.
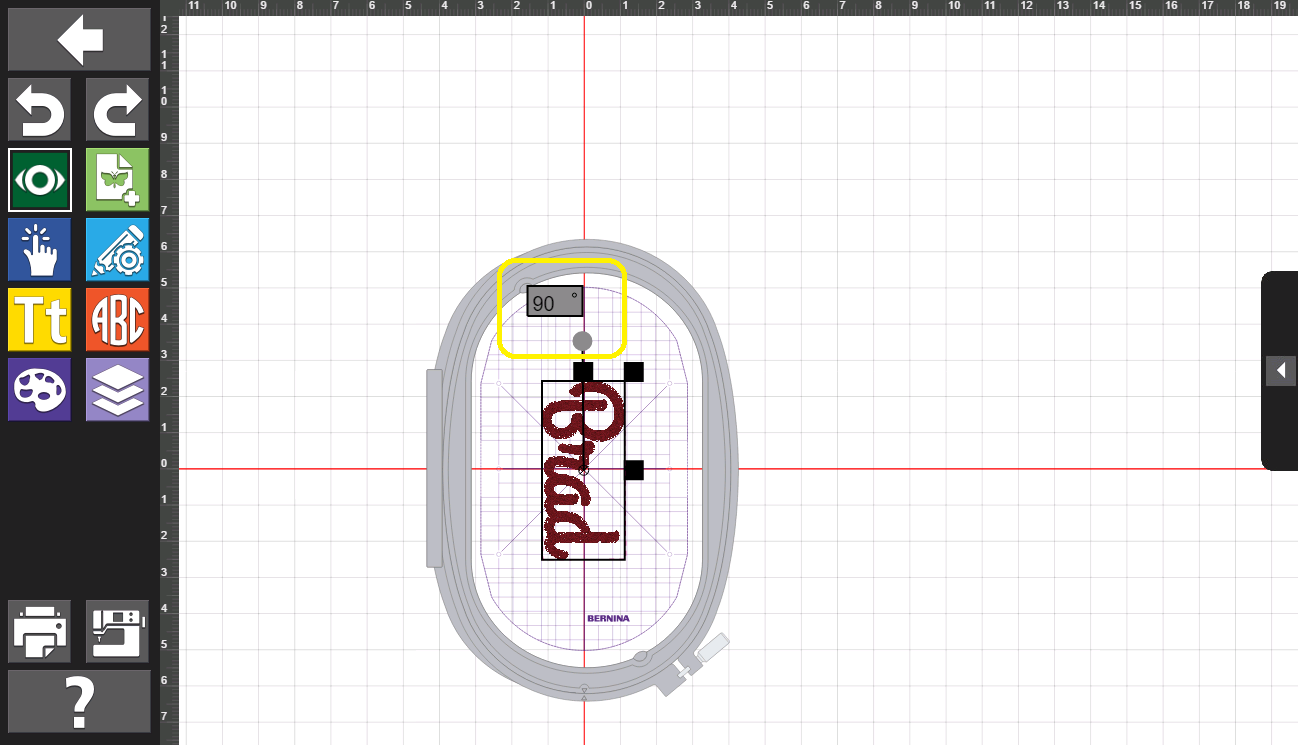
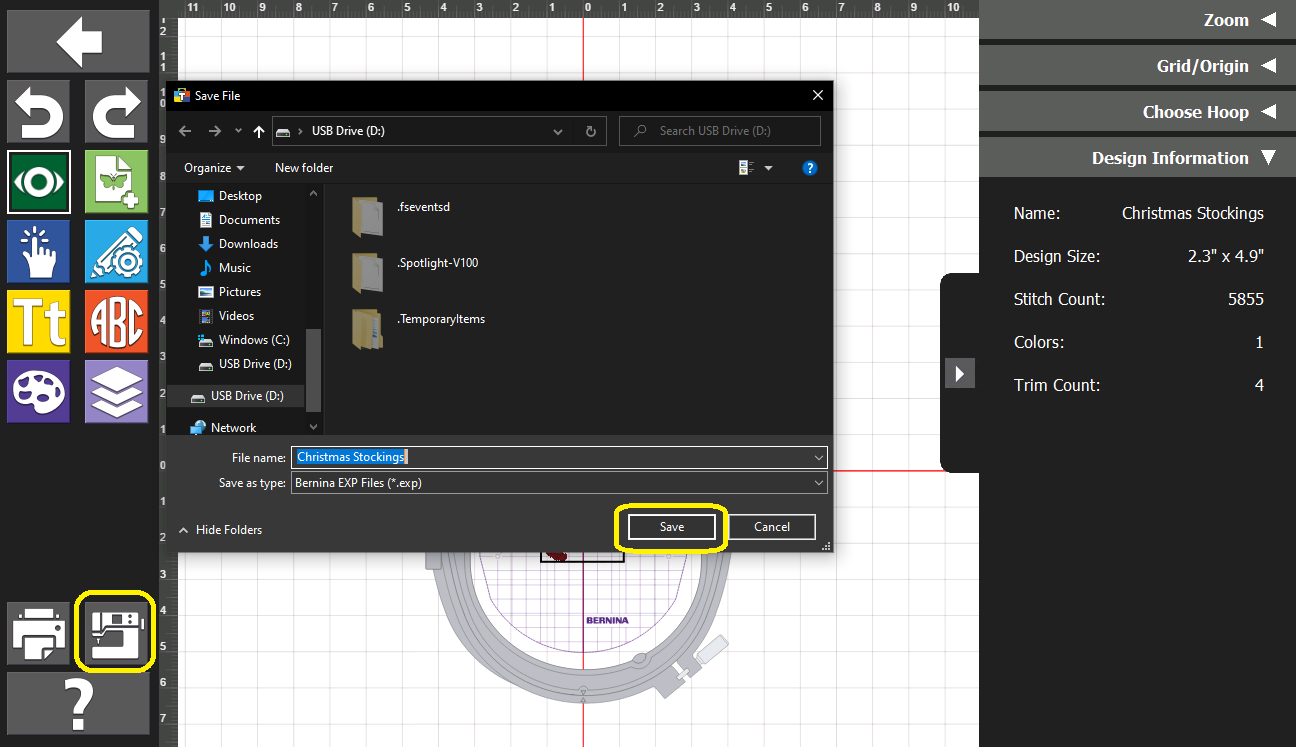
6. You can head back over to the view icon and choose the design information to check the size. You can resize if you need to.

7. Once you’re ready, tap the machine icon in the bottom left of the screen and save your design to your USB stick.
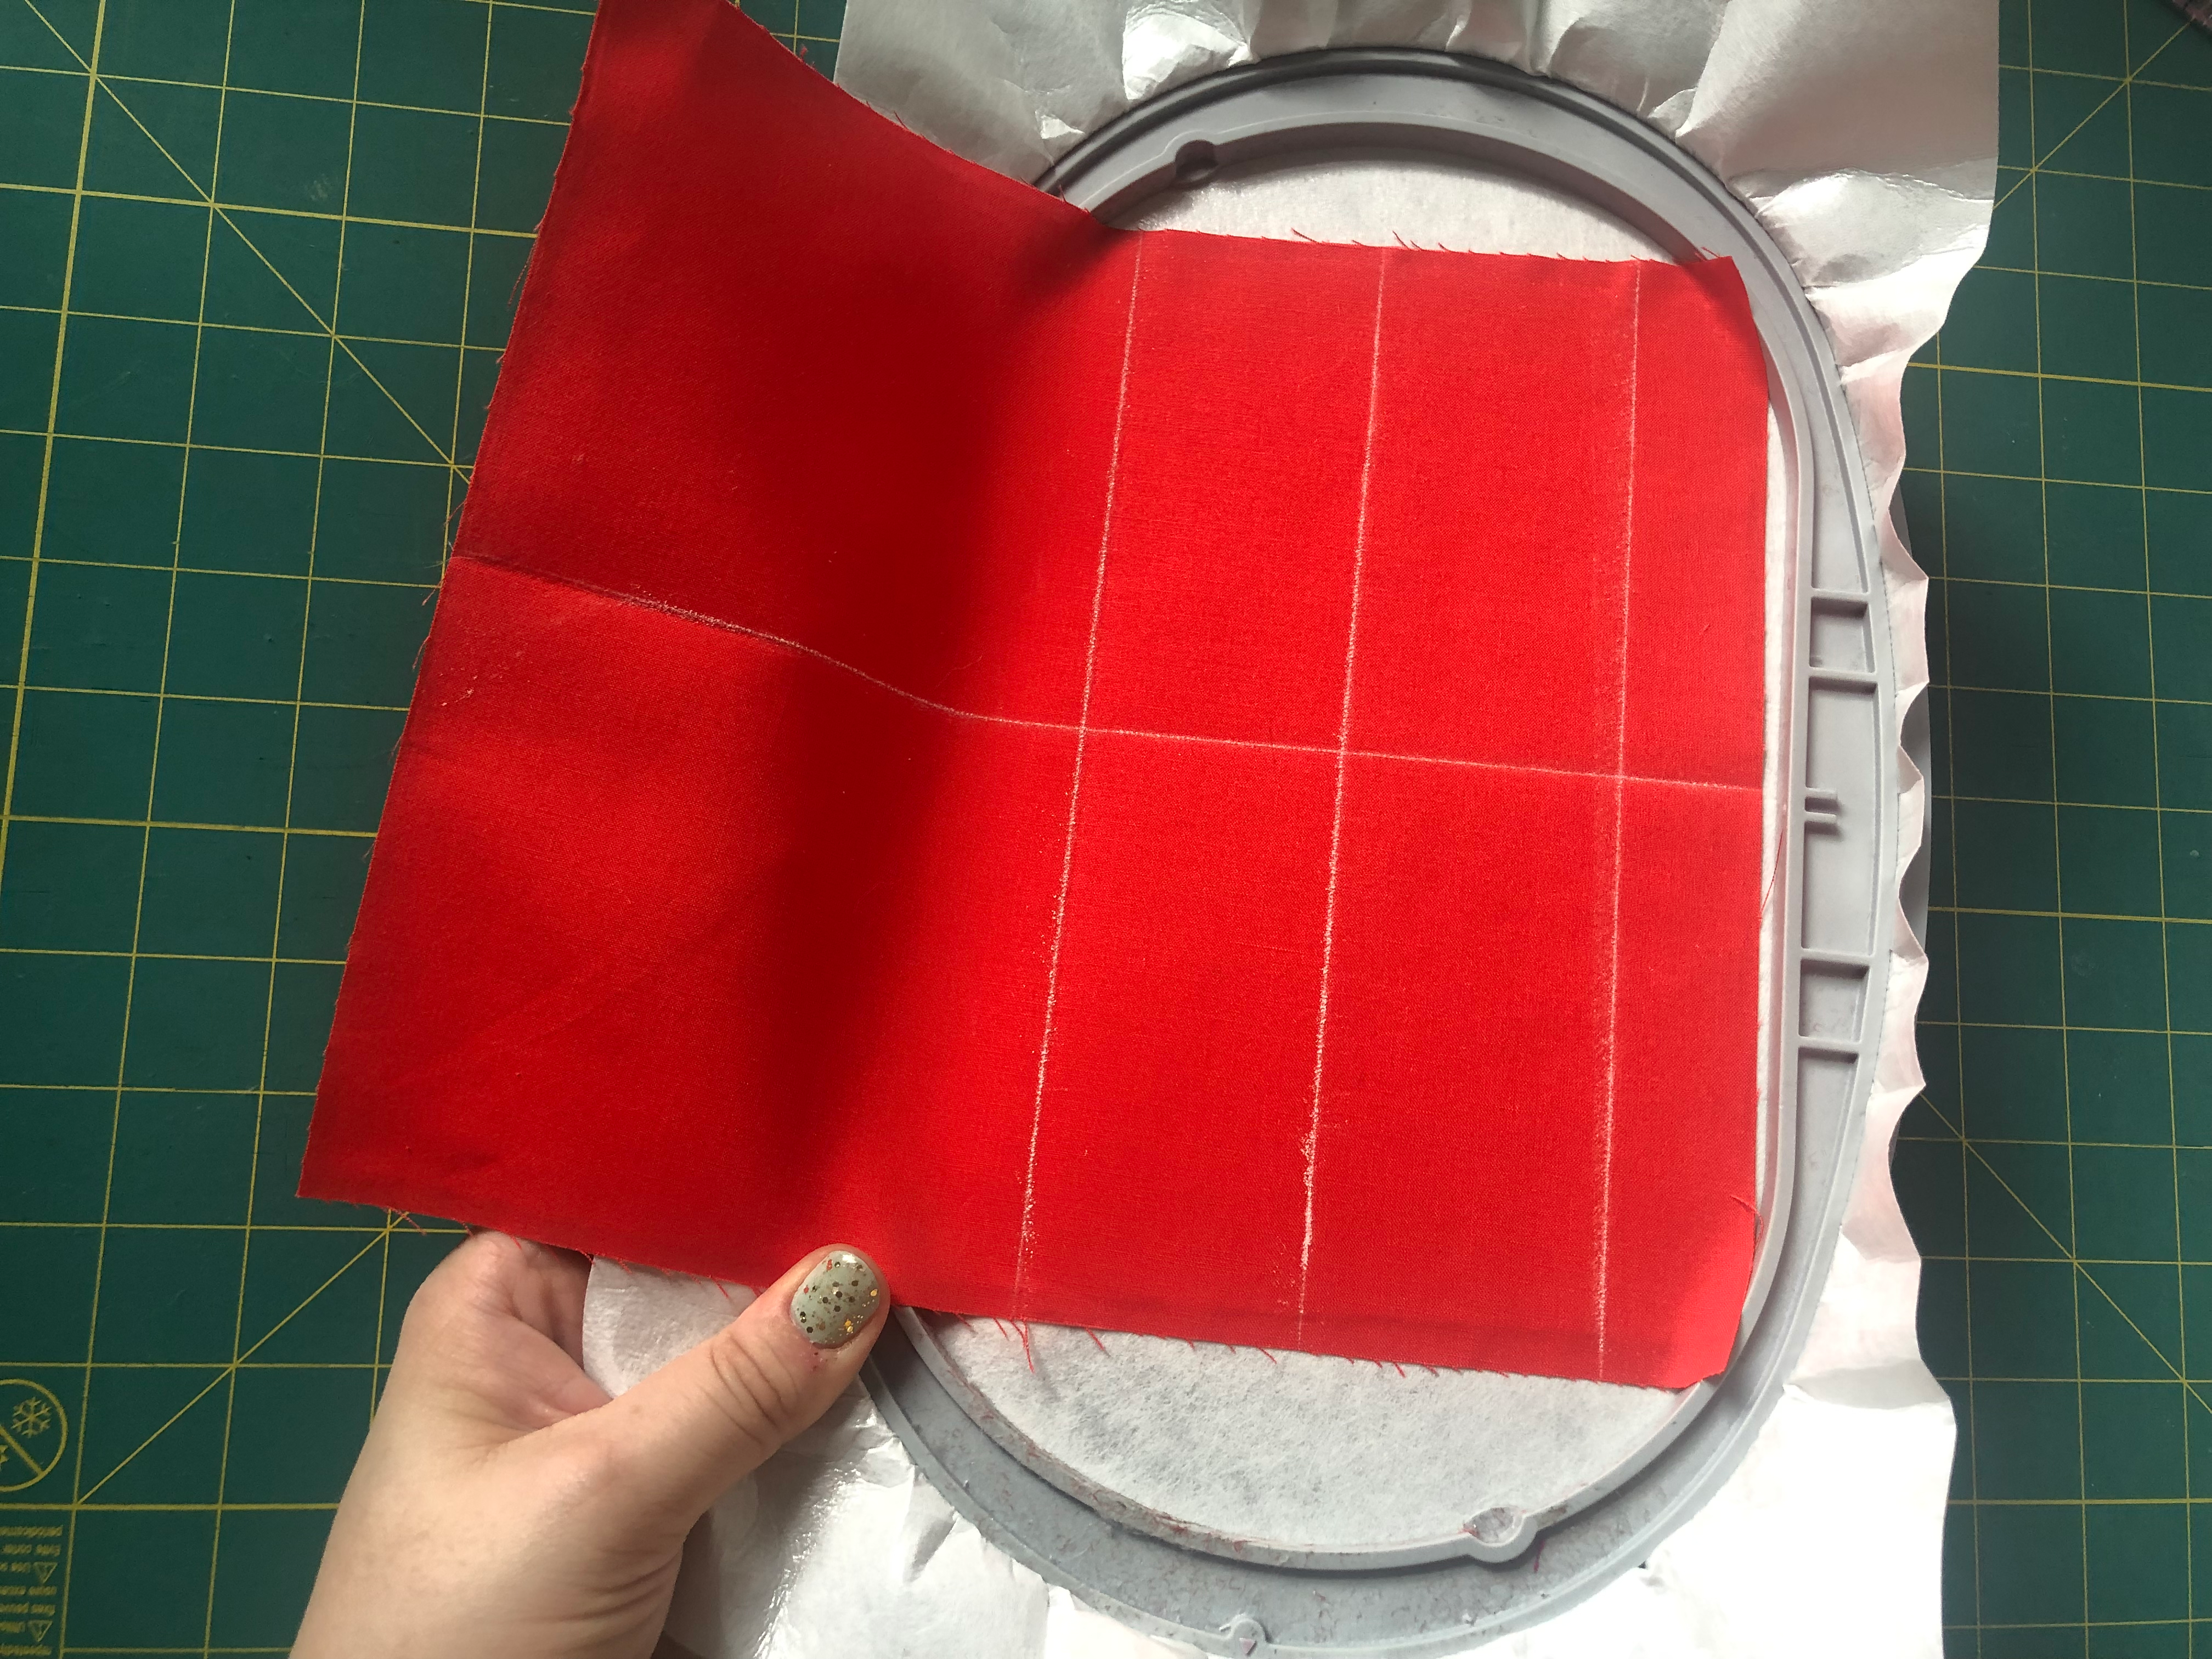
8. With one piece of your cuff fabric, right side up, mark the center horizontally and vertically. From there mark one inch down from the short side of the fabric (either side), then two inches from that line. This line is the center of the cuff horizontally, we will use this line and the one vertical line to center our design.

9. Hoop the StabilStick Cut Away by cutting a piece of stabilizer to fit the hoop. Peel away the paper backing and hoop the stabilizer by itself, sticky side up.

10. Cut a piece of fusible fleece 1/4″ smaller than your marked area. You can make it the full size of the cuff, like your fusible woven, but it may be bulky in the turning portion. Fuse it to the back of your fabric and fusible woven.
11. Place the cuff, right sides up, centering your vertical and horizontal lines as best as you can (don’t fuss! We will make it perfect with our machine!) Smooth out your fabric, making sure it’s well stuck to the adhesive stabilizer, there are no bubbles and your fabric is pulled or out of shape in any way. You want your fabric flat and “at rest,” meaning the fibers are not pulled taught or twisted.
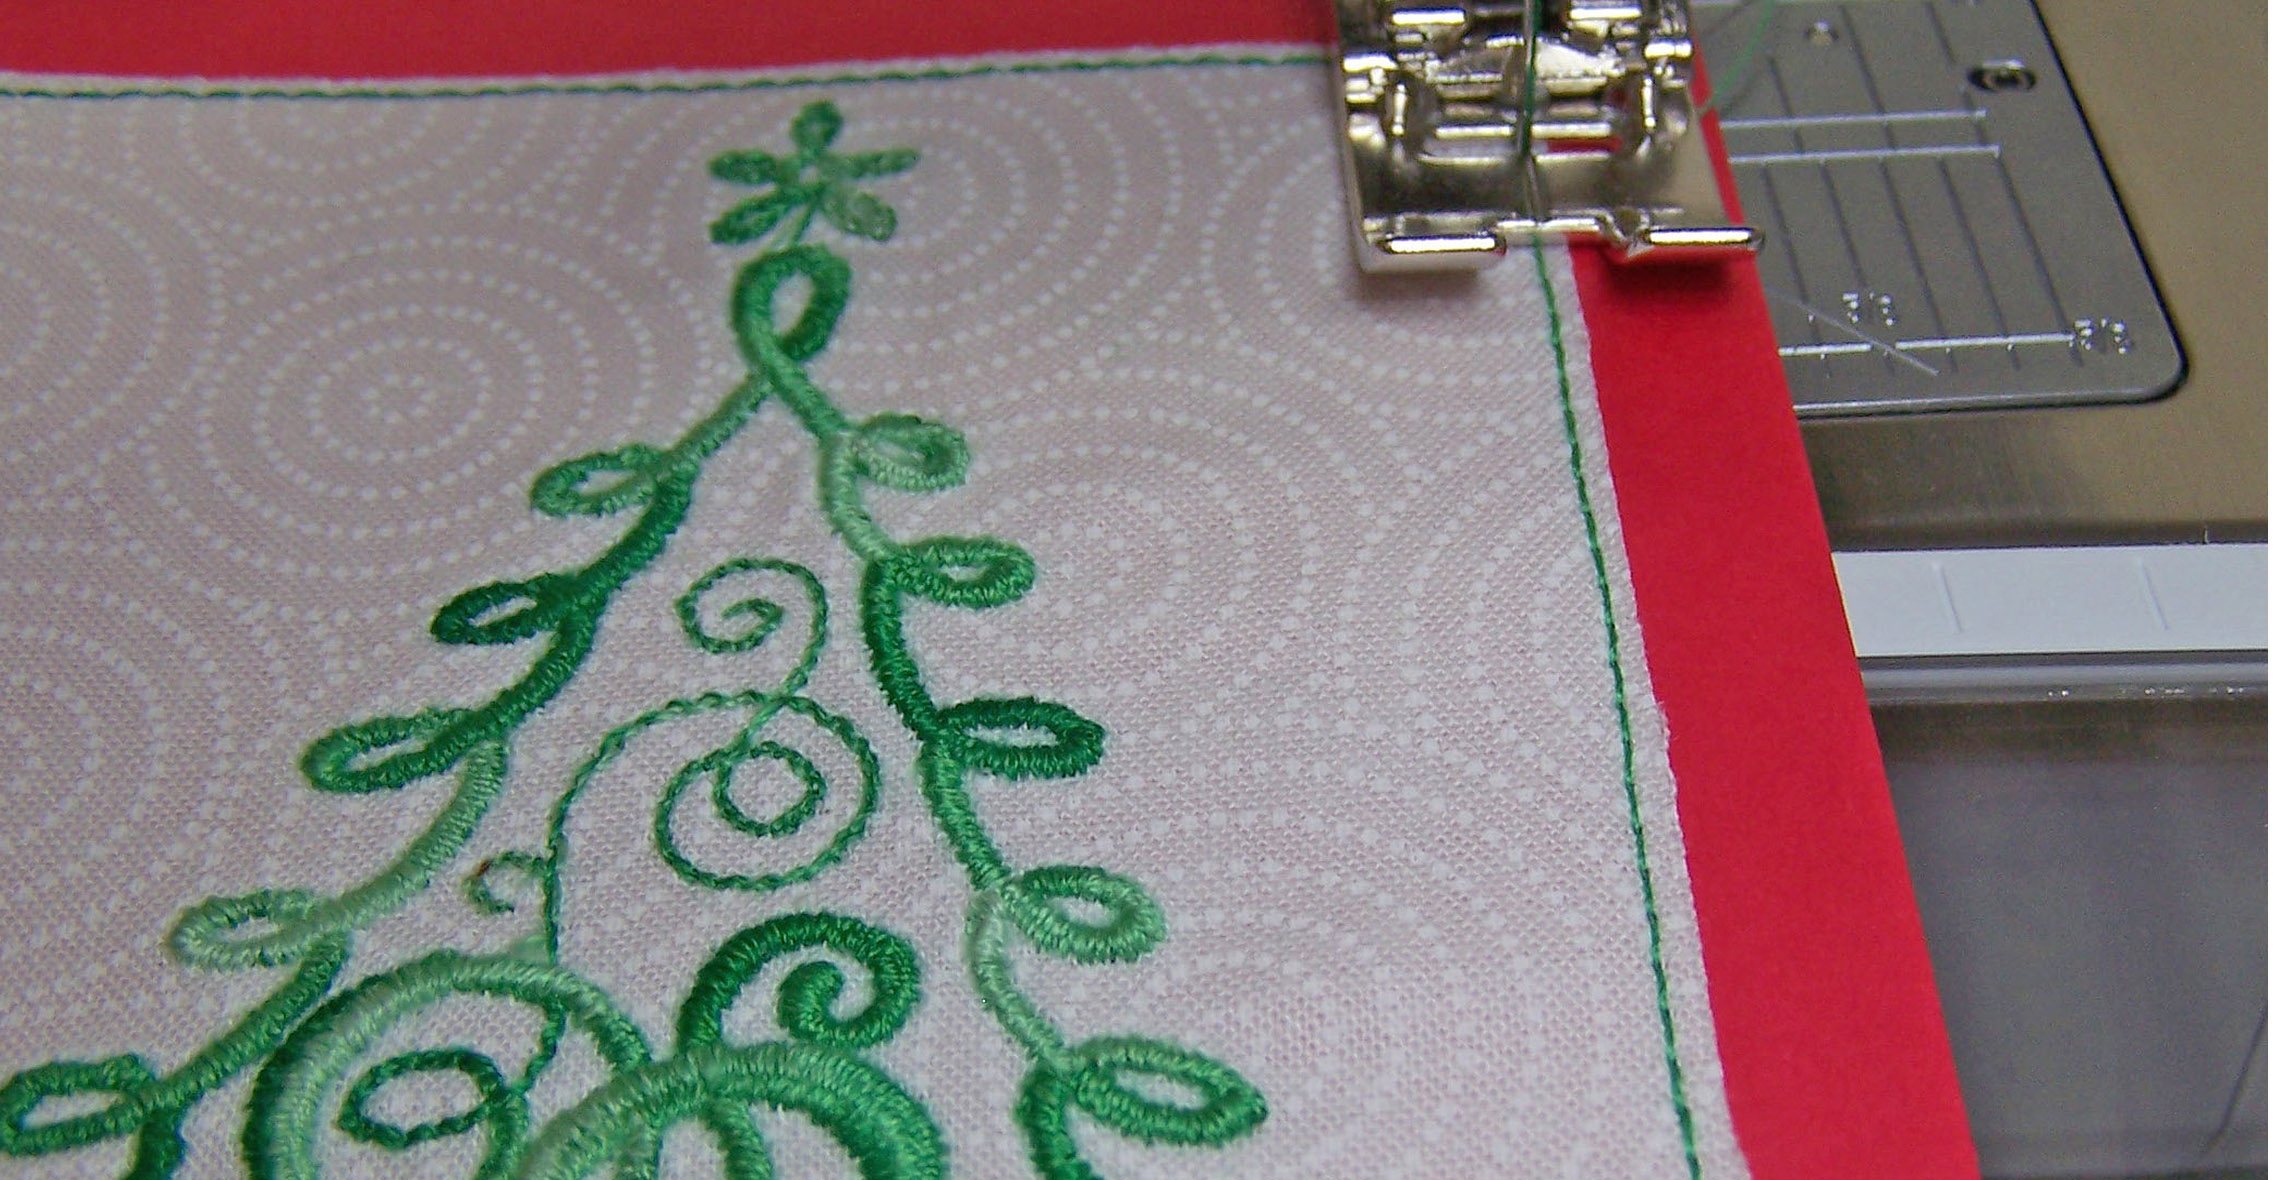
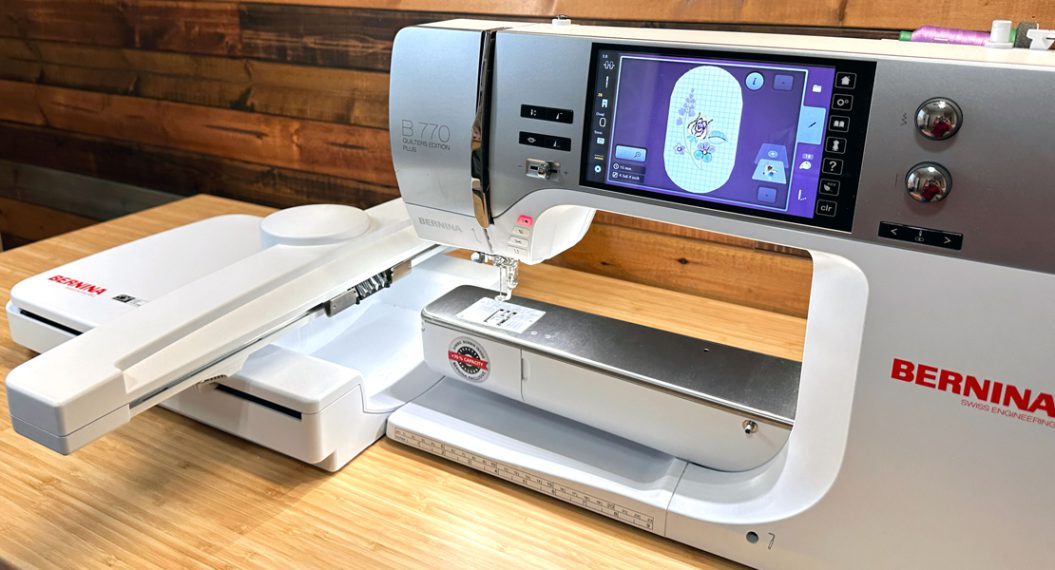
12. Bring up your design on the machine. Using Pinpoint Placement, center the name on the cuff. I used the center point and the top center point to ensure it was rotated correctly.
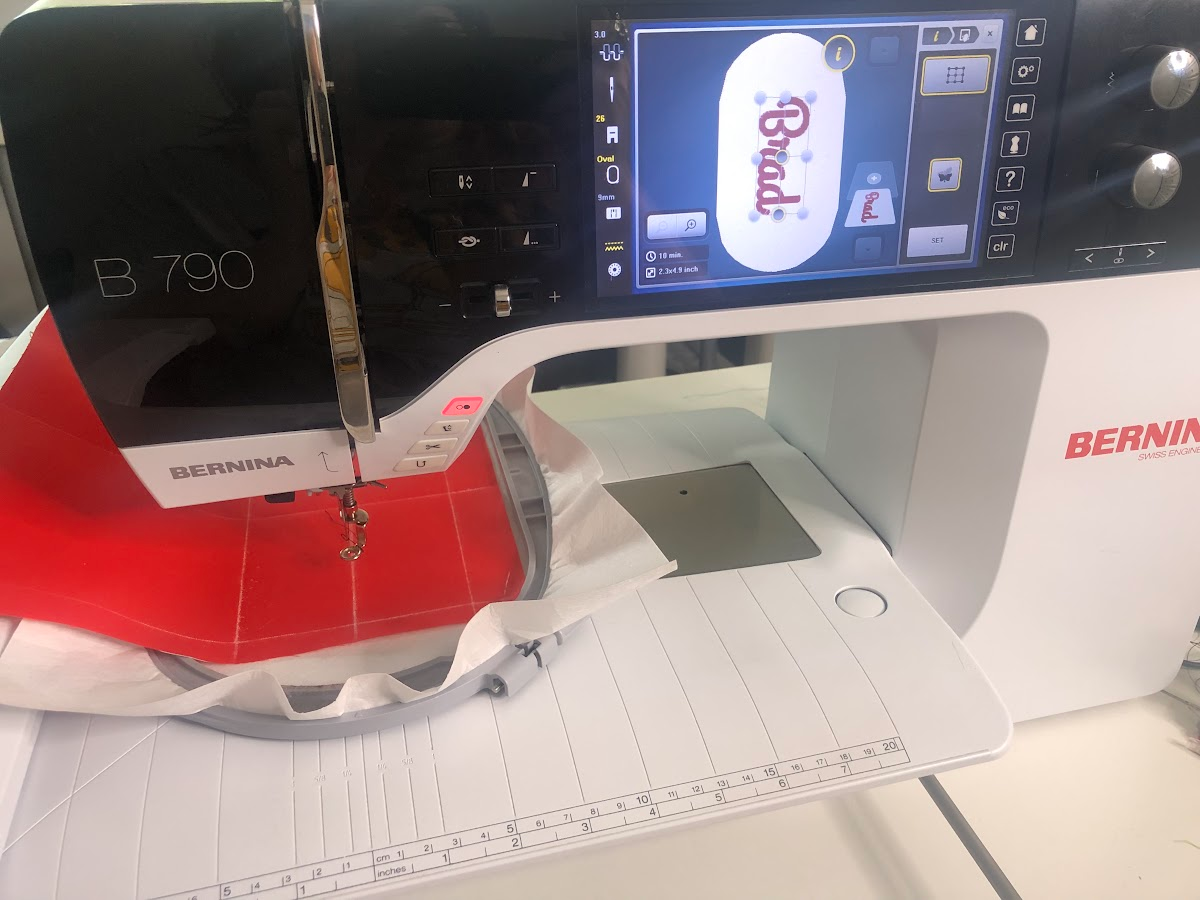
13. Before stitching, select the basting box icon then stitch out the design. (Keen-eyed readers will notice I totally forgot my basting box at first. Don’t be like me! Remember that basting box!)

14. Once finished turn it over to clip the basting box stitches, then remove the basting box.
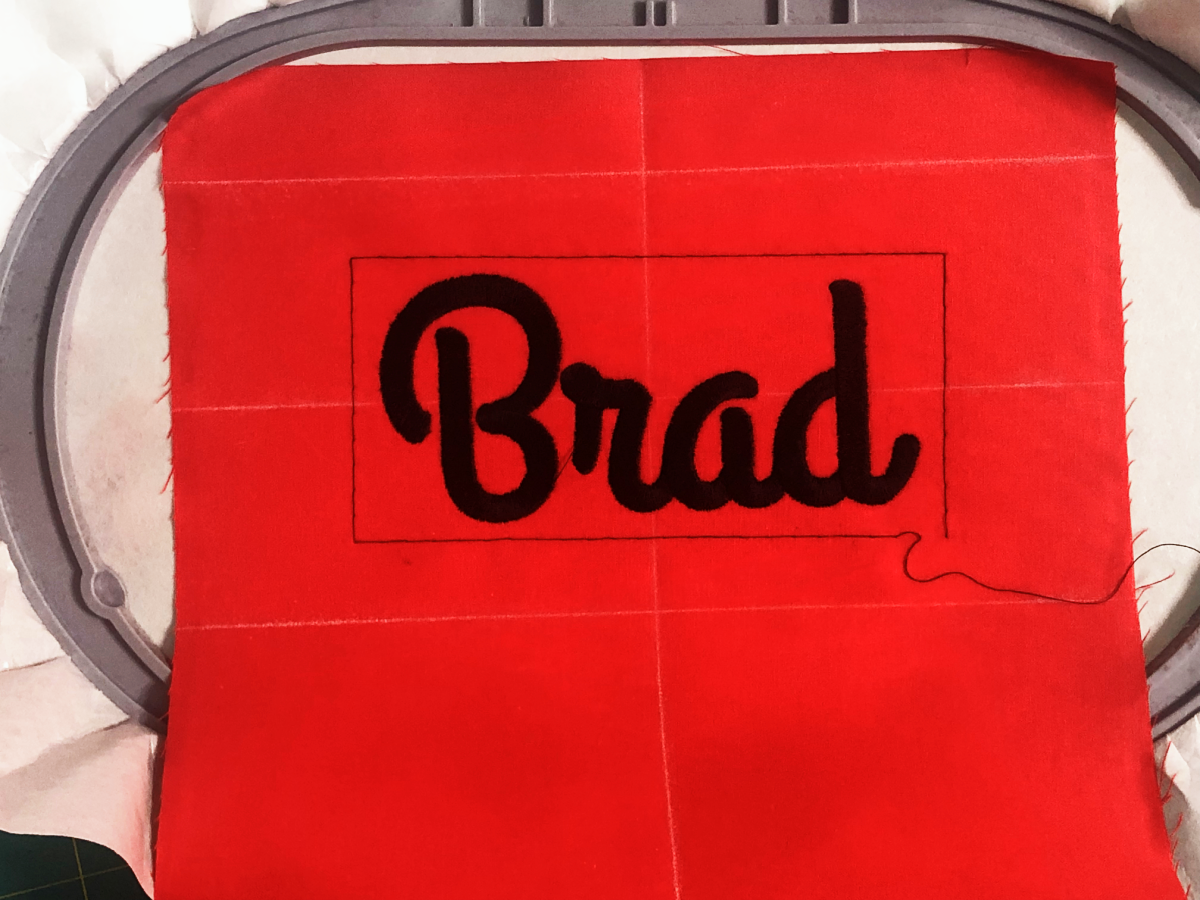
15. Unhoop your fabric and stabilizer. Cut away the stabilizer at the edges of your fabric, keeping most of your stabilizer intact and not visible from the front.
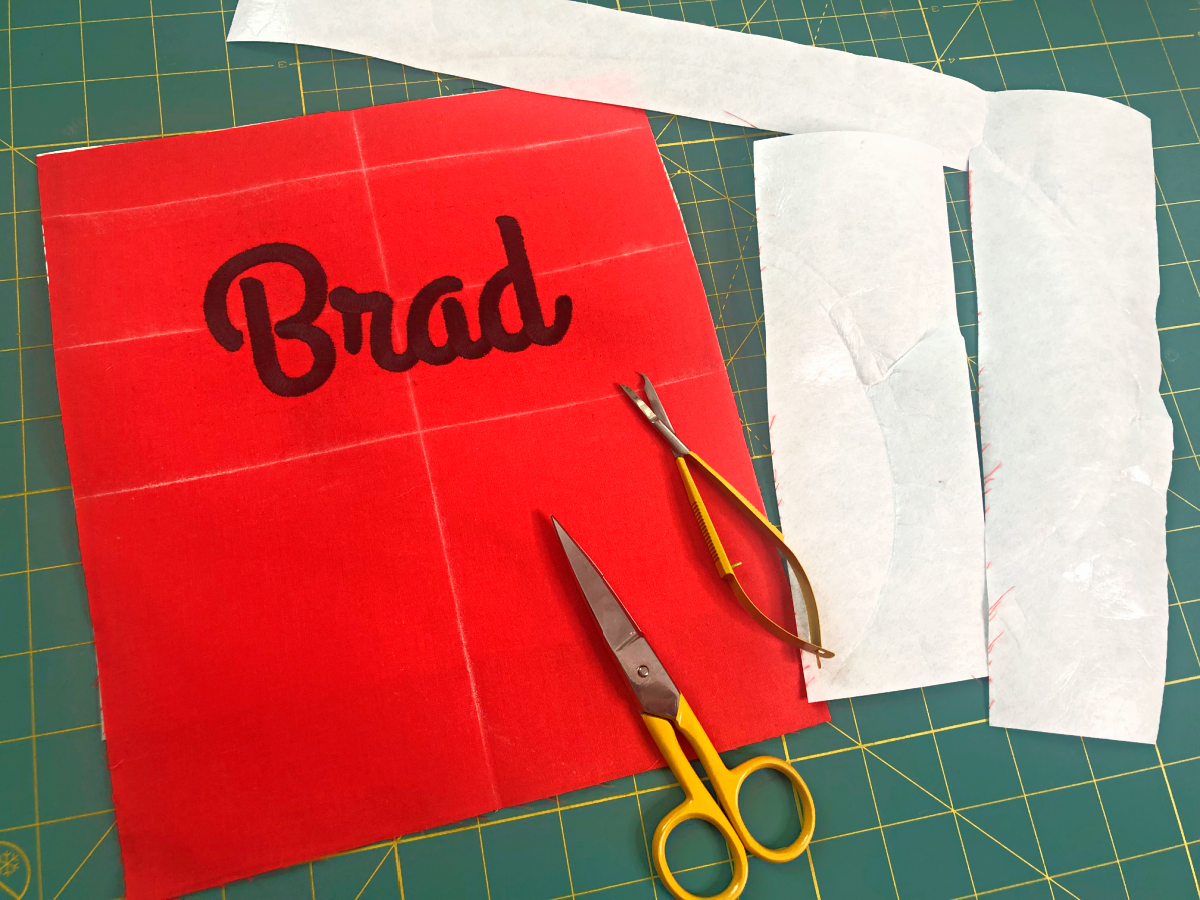
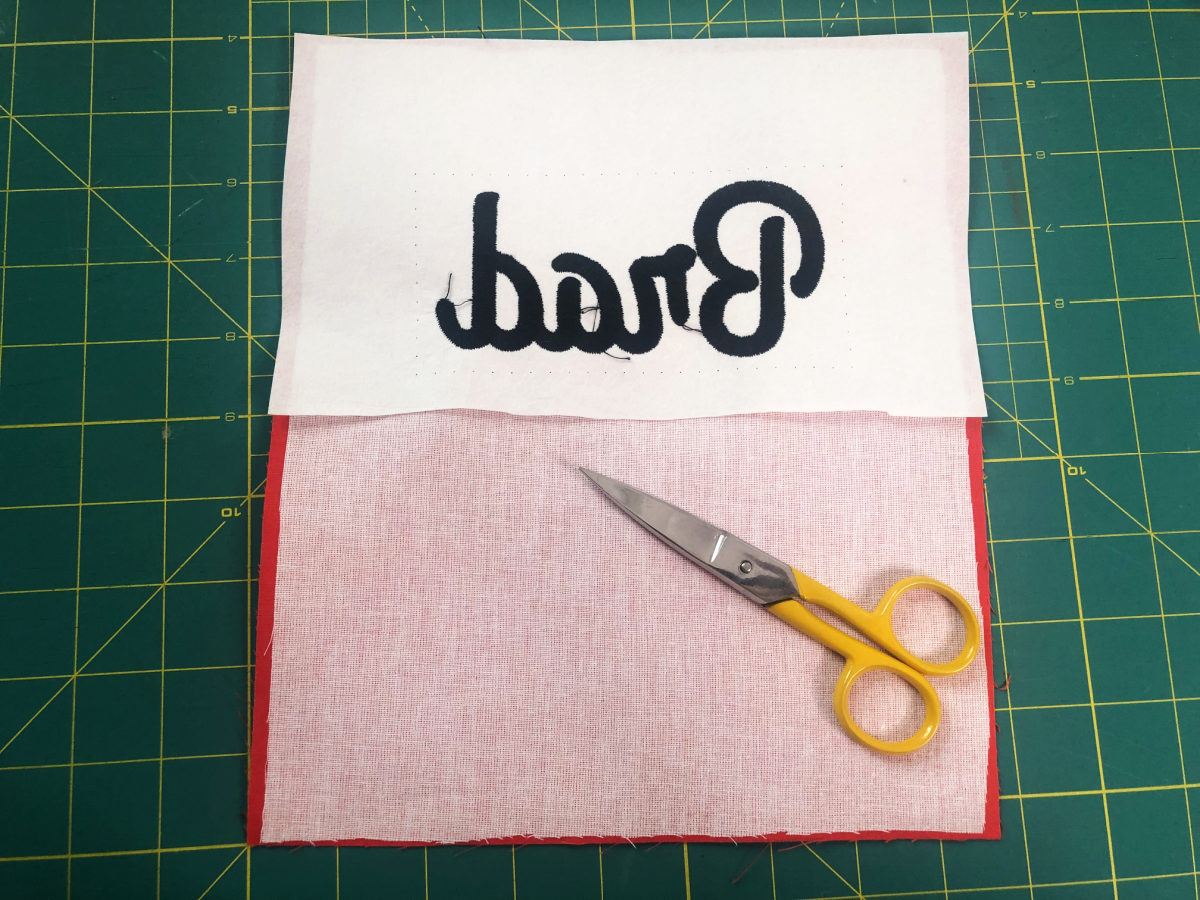
16. Cut away the stabilizer from the centerline down. This will ensure your cuff looks great but the fold won’t be too bulky. Leave the rest of the stabilizer in your project, as pictured.
You’re ready to finish your stocking! Go back to the Christmas Stocking Tutorial and complete the rest of the steps to finish your Christmas stocking!
Note about stocking assembly:
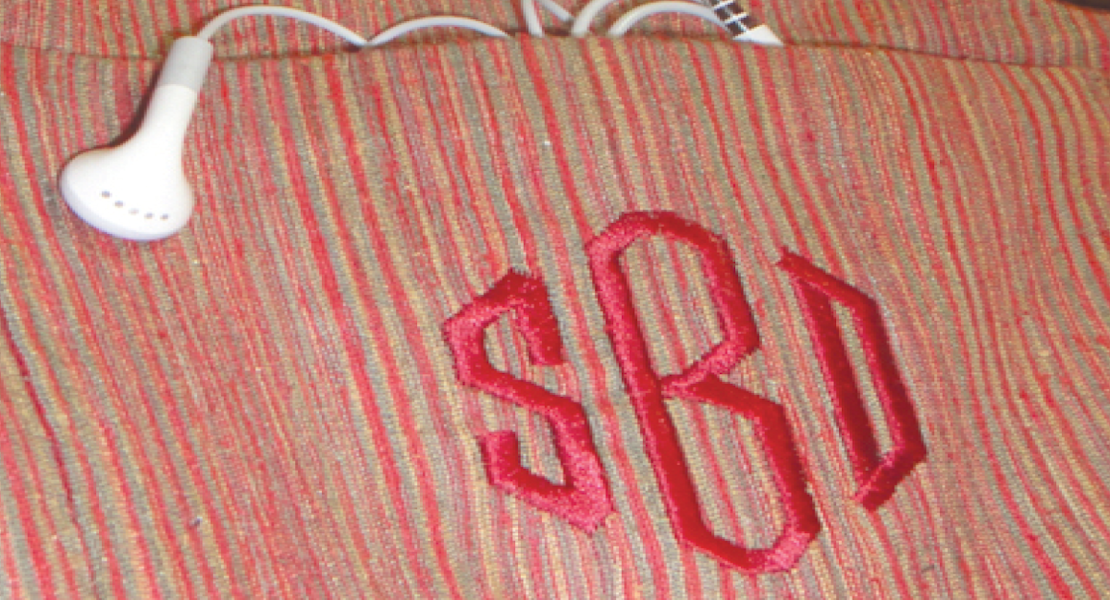
When putting your cuff on your stocking you will want your cuff folded with the right side out. You will then place it inside your stocking with the right sides together, facing the front of the stocking. This will ensure your name is right side up, and right side out after turning.

Don’t forget to tag @ToughKittenCrafts and @BERNINAUSA when you share your stockings on Instagram! We’d love to see what you make!
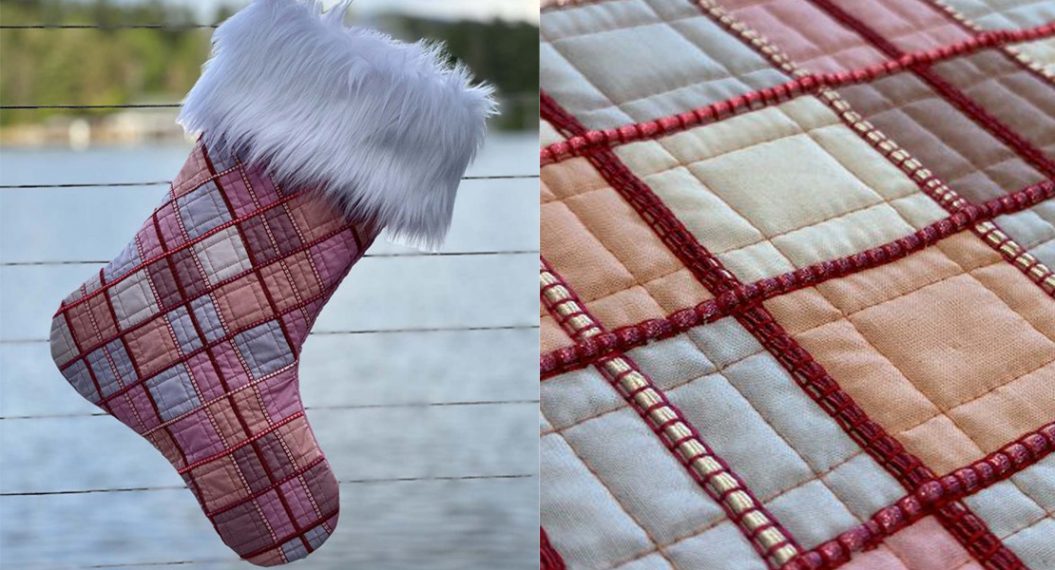
Head over to to the Tough Kitten Crafts blog for more Christmas Stocking pattern hacks, including how to use knapped fabric like Minky for the cuff, and how to add toe and heel accents to your stocking!

I also have a 5 part blog series called Machine Embroidery for Beginners that is wrapping up next week, where I cover everything from machine recommendations to how to download and organize designs to stabilizer basics! This series has been so much fun and there’s even more information on the Tough Kitten Crafts Instagram.
What names are you adding to your cuff?
What colors did you choose for your cuff and collar?
Comment below and tell me about your Christmas stocking plans!