How to Sew an Easy Valance Curtain
Updating your home décor is a fun way to add personality to the space you live in, and window treatments are a big part of decorating. Whether you move often (been there) or just like a change of pace (done that), it’s not always easy finding the “just right” color and style for your home. Hiring a decorator can sometimes be out-of-budget, too. So join me today as I walk you through the steps of creating a basic custom valance for YOUR favorite window. When you see how easy it is, you will be on the road (again) to your favorite fabric store to get the supplies for more window treatments!
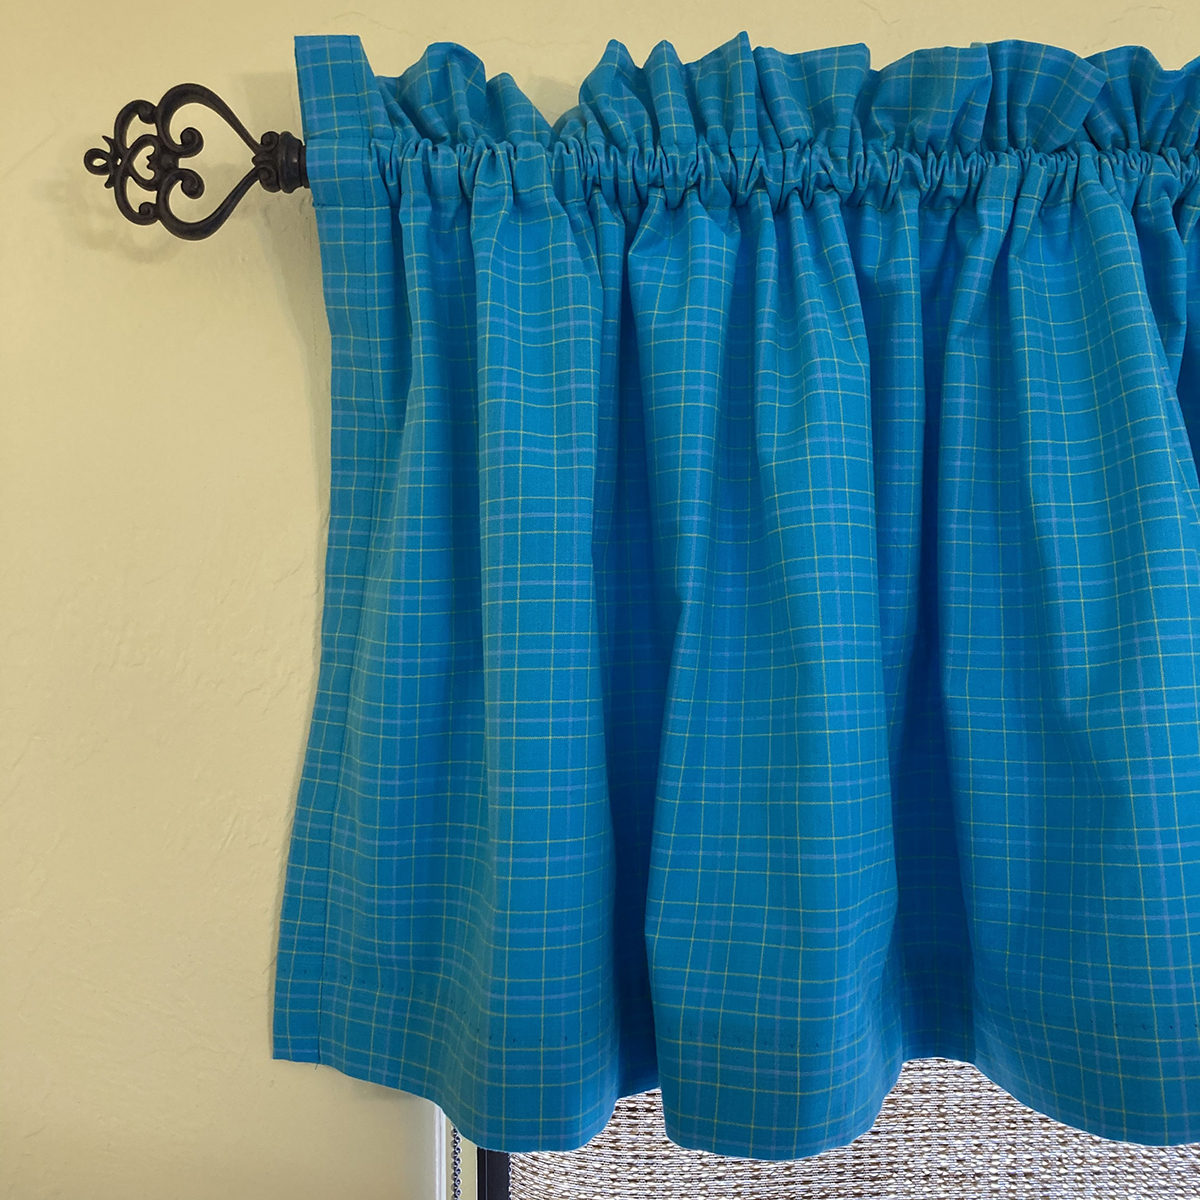
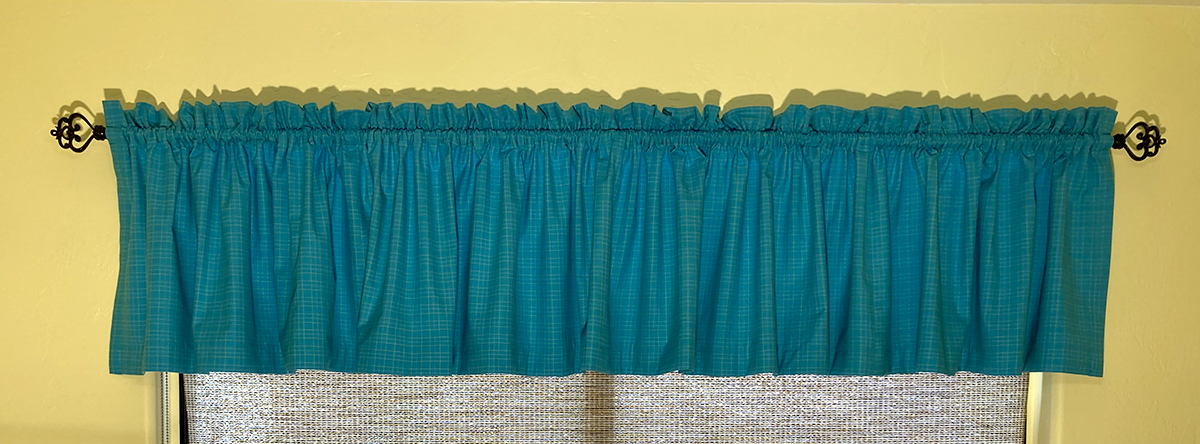
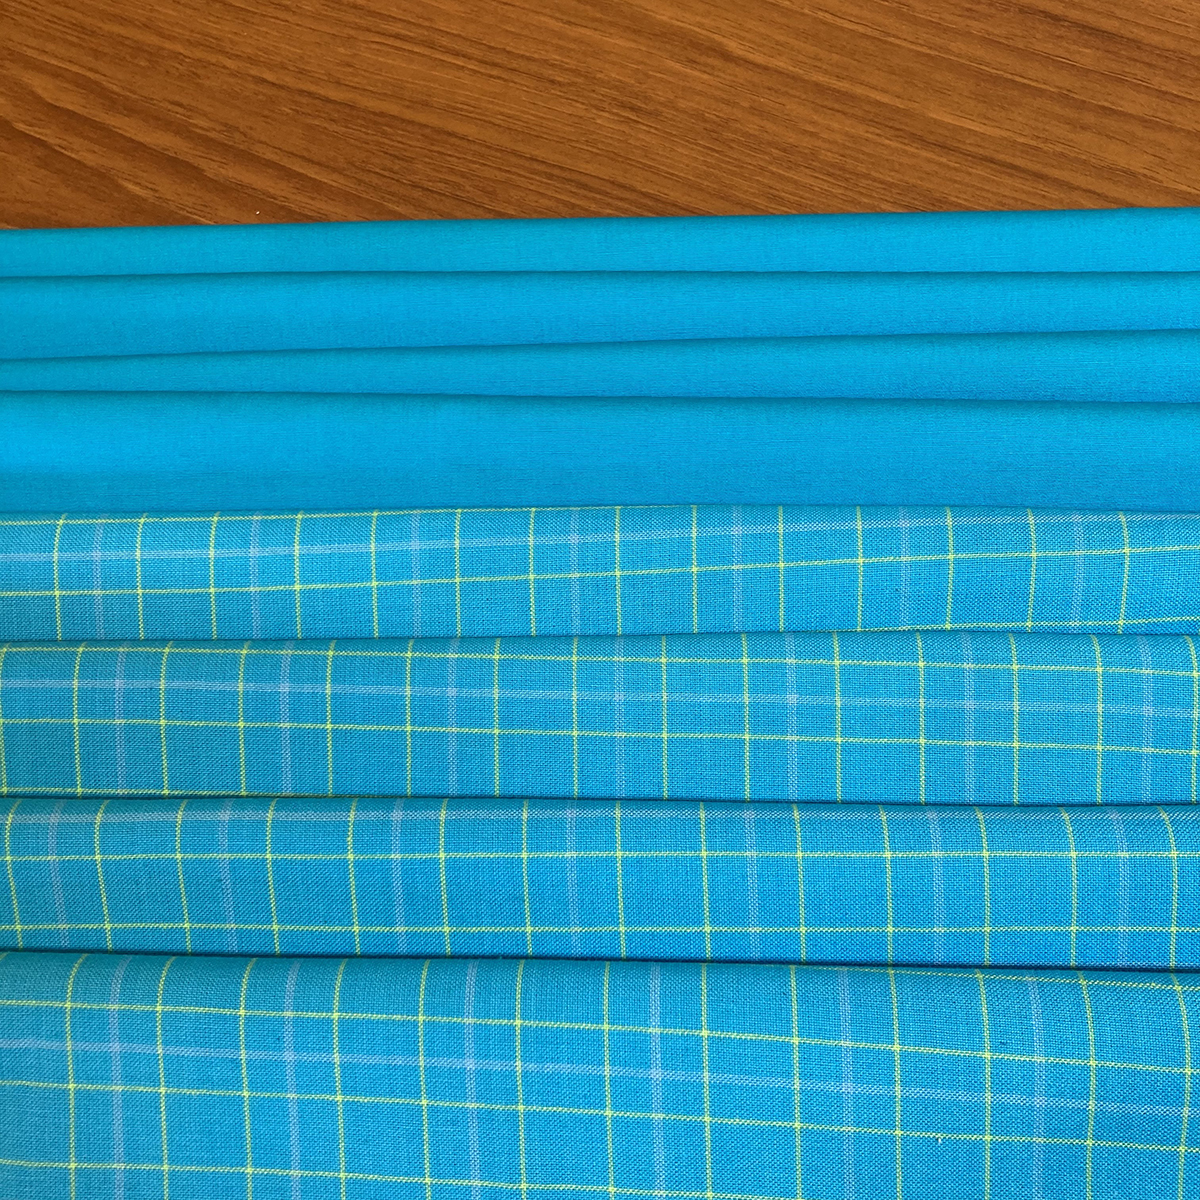
I had decided that it was time to update the valance on the window in my sewing room. A large part of that decision was because I found this beautiful fabric, Double Plaid Aqua, in the Warp and Weft 2 Collection by Modern Quilt Studio at Benartex.

So let’s get started.
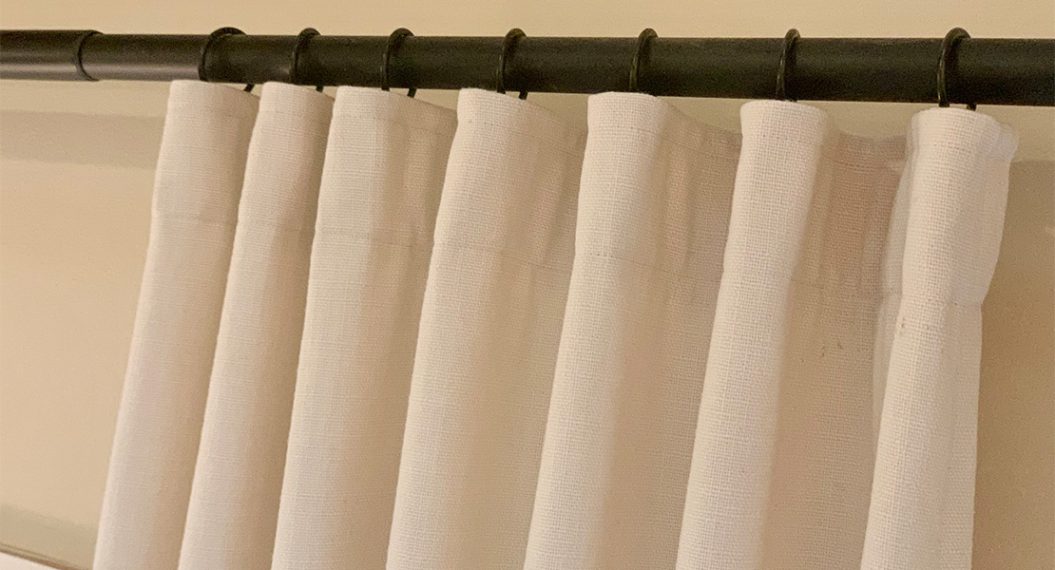
What IS a valance? It is a top window treatment that can be used all by itself or placed over other draperies. You can make it out of a wide variety of fabrics, from sheer laces to heavyweight decorator fabrics. Because not a whole lot of fabric is used, it is a less expensive option for decorating a window. A lining can be added, which makes the valance more durable, adds extra body, supports side hems and headings, and reduces the visibility of seams. I’m using medium-weight cotton, so I’m going to add a lining. I think it gives a more professional finish, too. If you are making your valance out of sheer or lightweight fabric, you can skip this step.
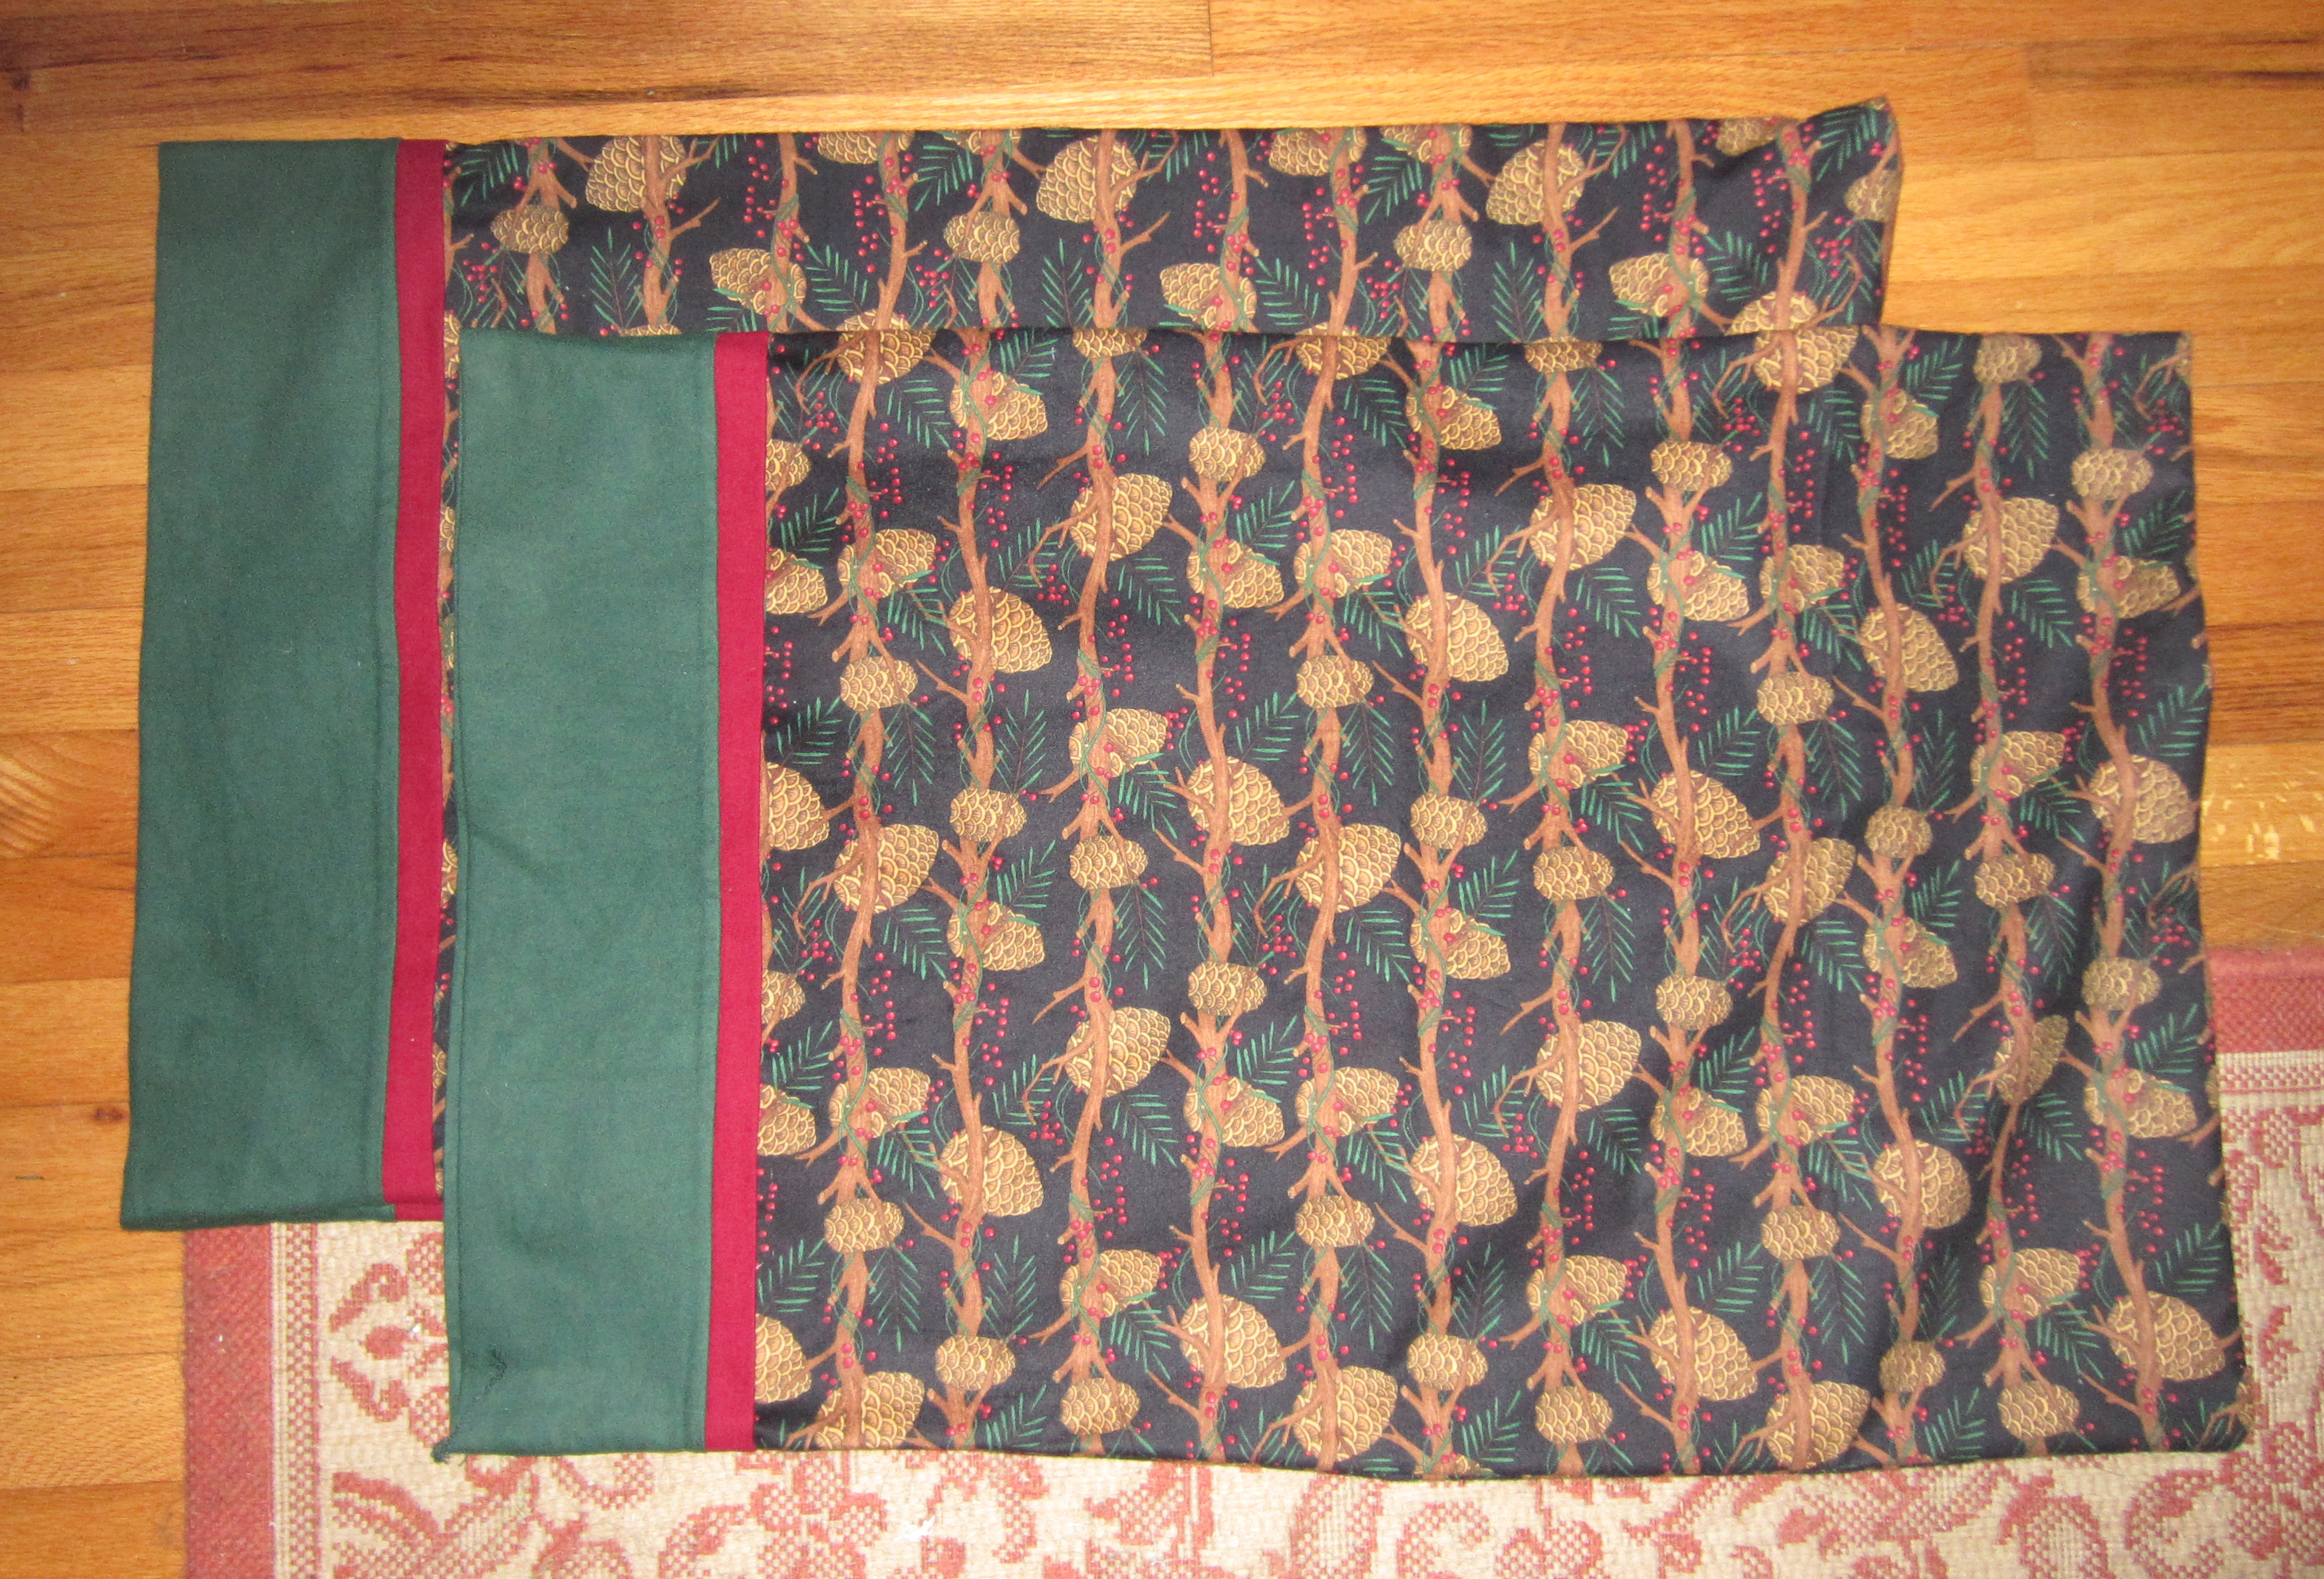
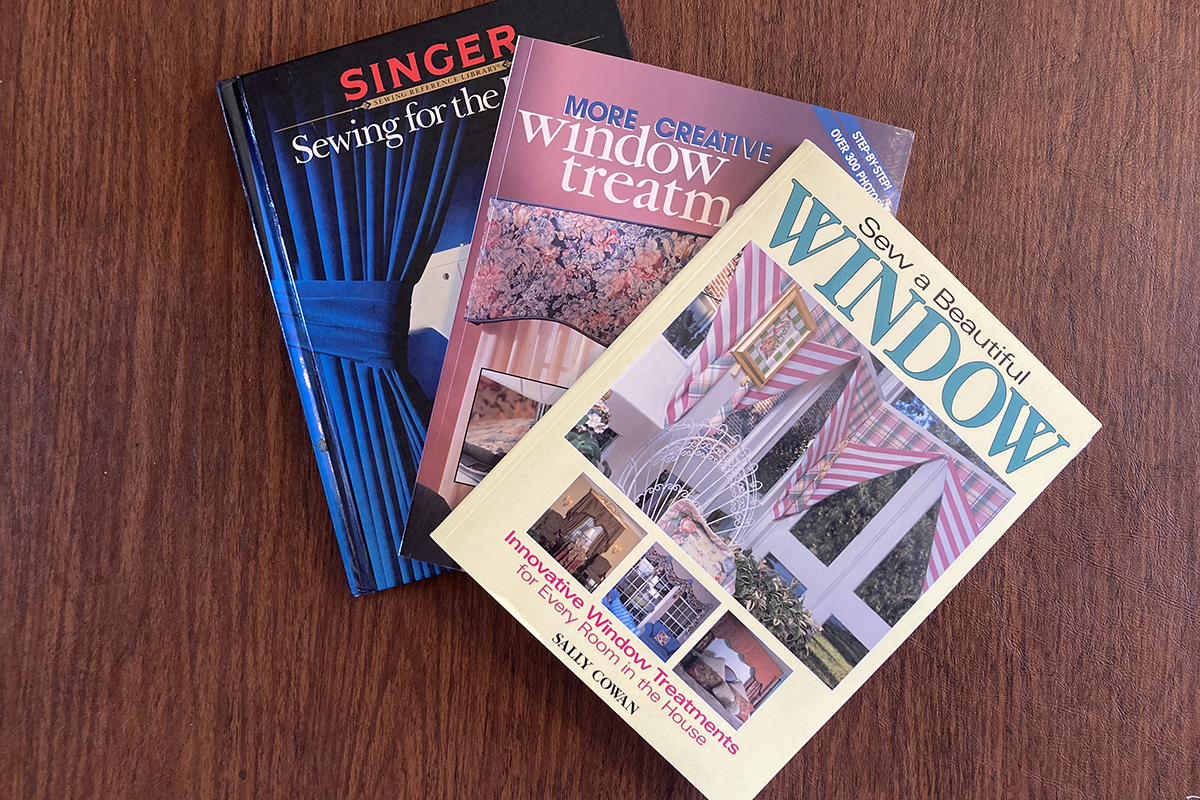
There are many resources available for making valances and curtains. When I first started making my own curtains, I began collecting books on the subject. While the fabrics and colors may be dated now, the basics of measuring and sewing are still the same. Check out the decorating section of your favorite fabric store, book store and even the library. The internet also offers endless possibilities. Here are some books from my personal library. The most important thing is to make the valance the way YOU like it. So finished lengths are just suggestions. You may find it helpful to take a picture of your window and print out a few copies. Then sketch in different styles and sizes of valances to help plan what you are going to make.
Supplies to Sew a Valance Curtain
(NOTE: Don’t buy your fabric until you have done some math. Don’t worry it’s easy!)
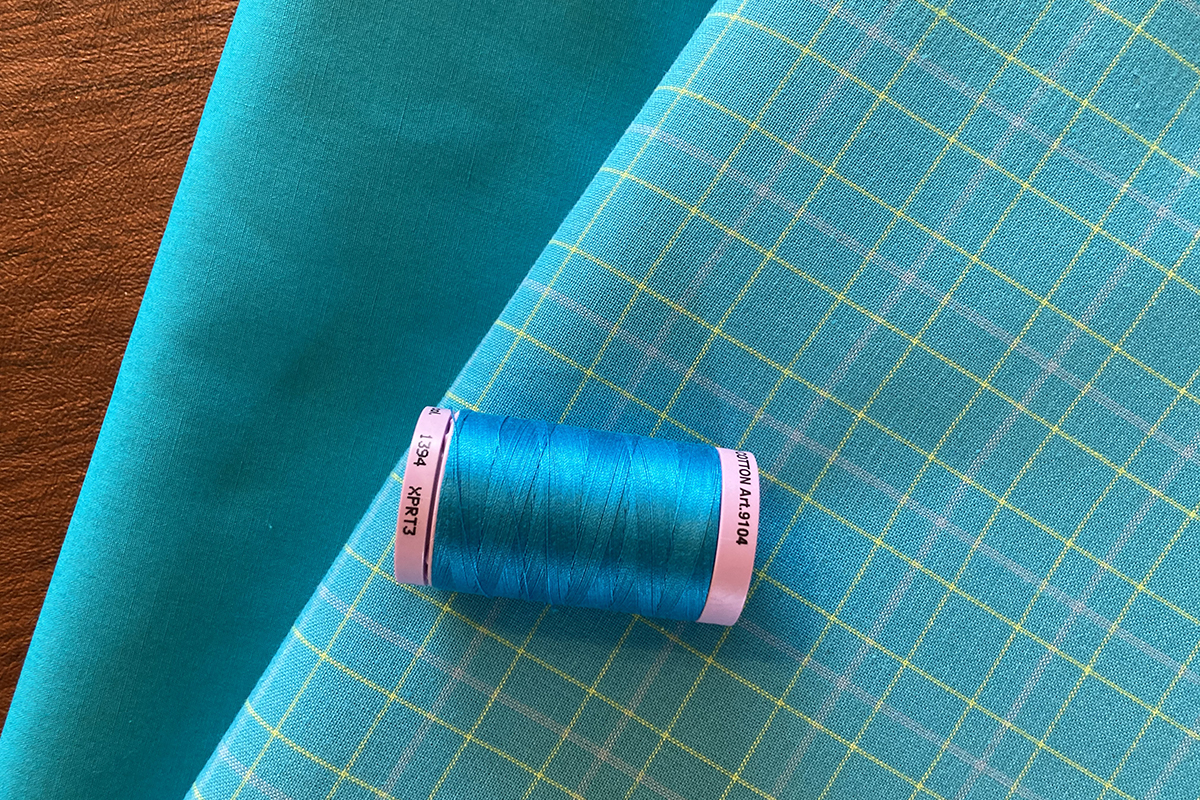
- Main fabric of choice for valance (I used Aqua Double Plaid from the Warp and Weft 2 Collection by Modern Quilt Studio at Benartex)
- Solid fabric for lining (I used Turquoise from the Superior Solids Collection at Benartex)
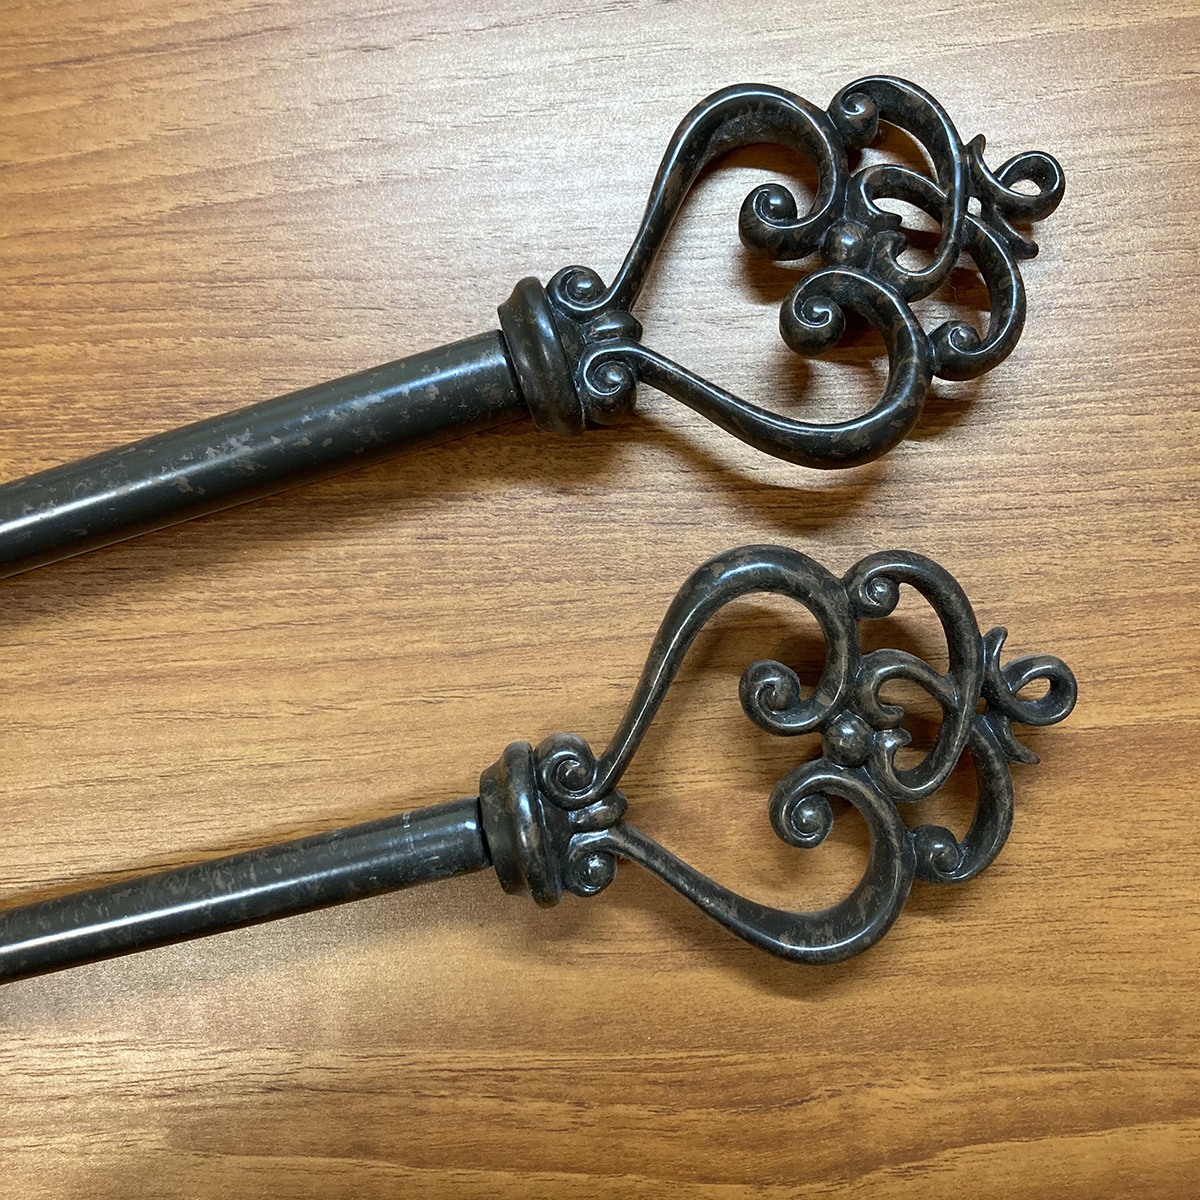
- Rod and brackets (there are many fun choices out there!)
- Thread to match fabrics (Mettler 50 wt Silk Finish Cotton was my choice)
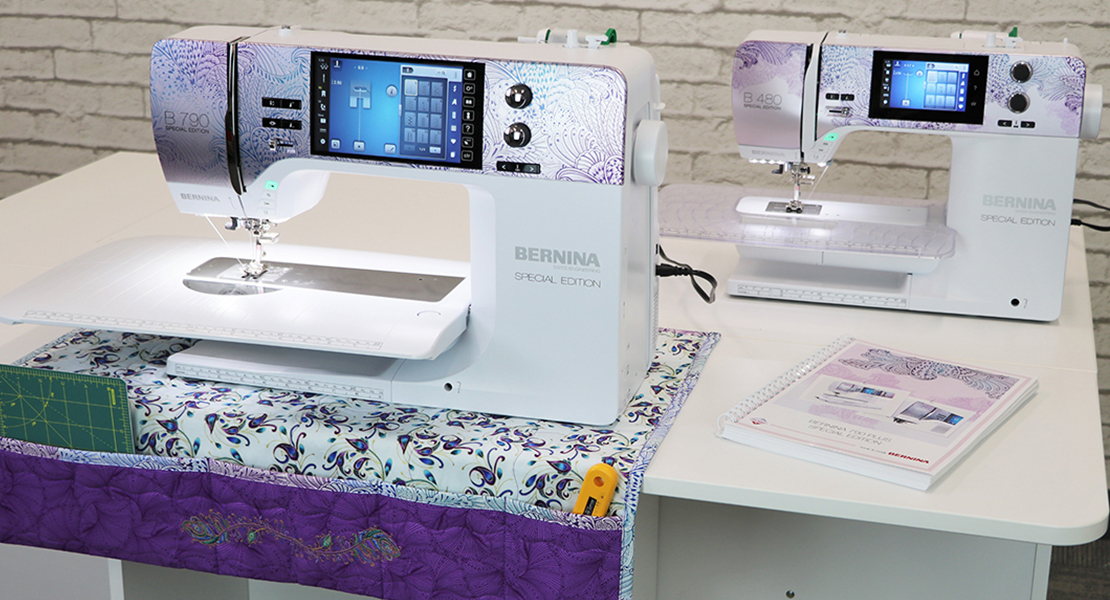
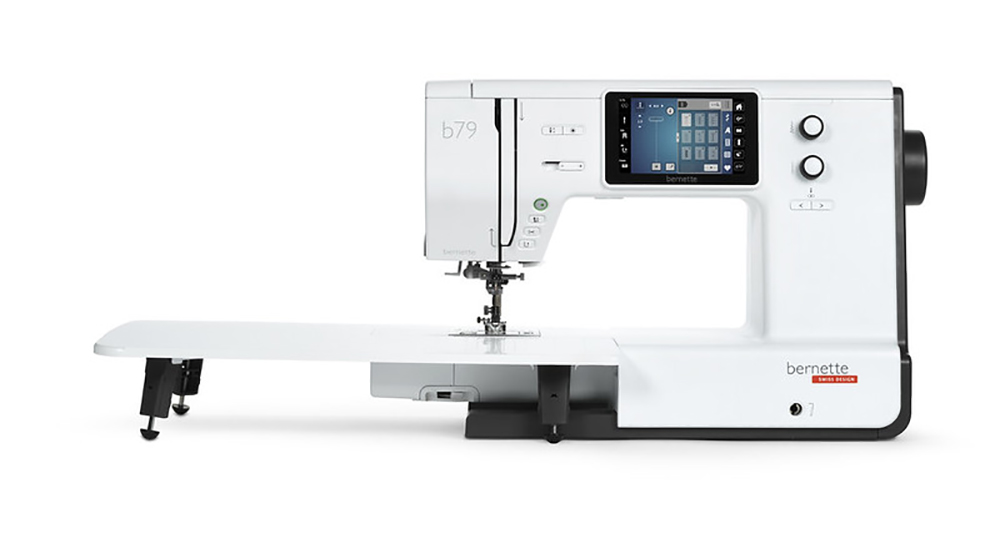
- bernette 79 sewing and embroidery machine with included feet and accessories
- Needle appropriate for your fabric weight
- Basic sewing supplies
- Tape measure
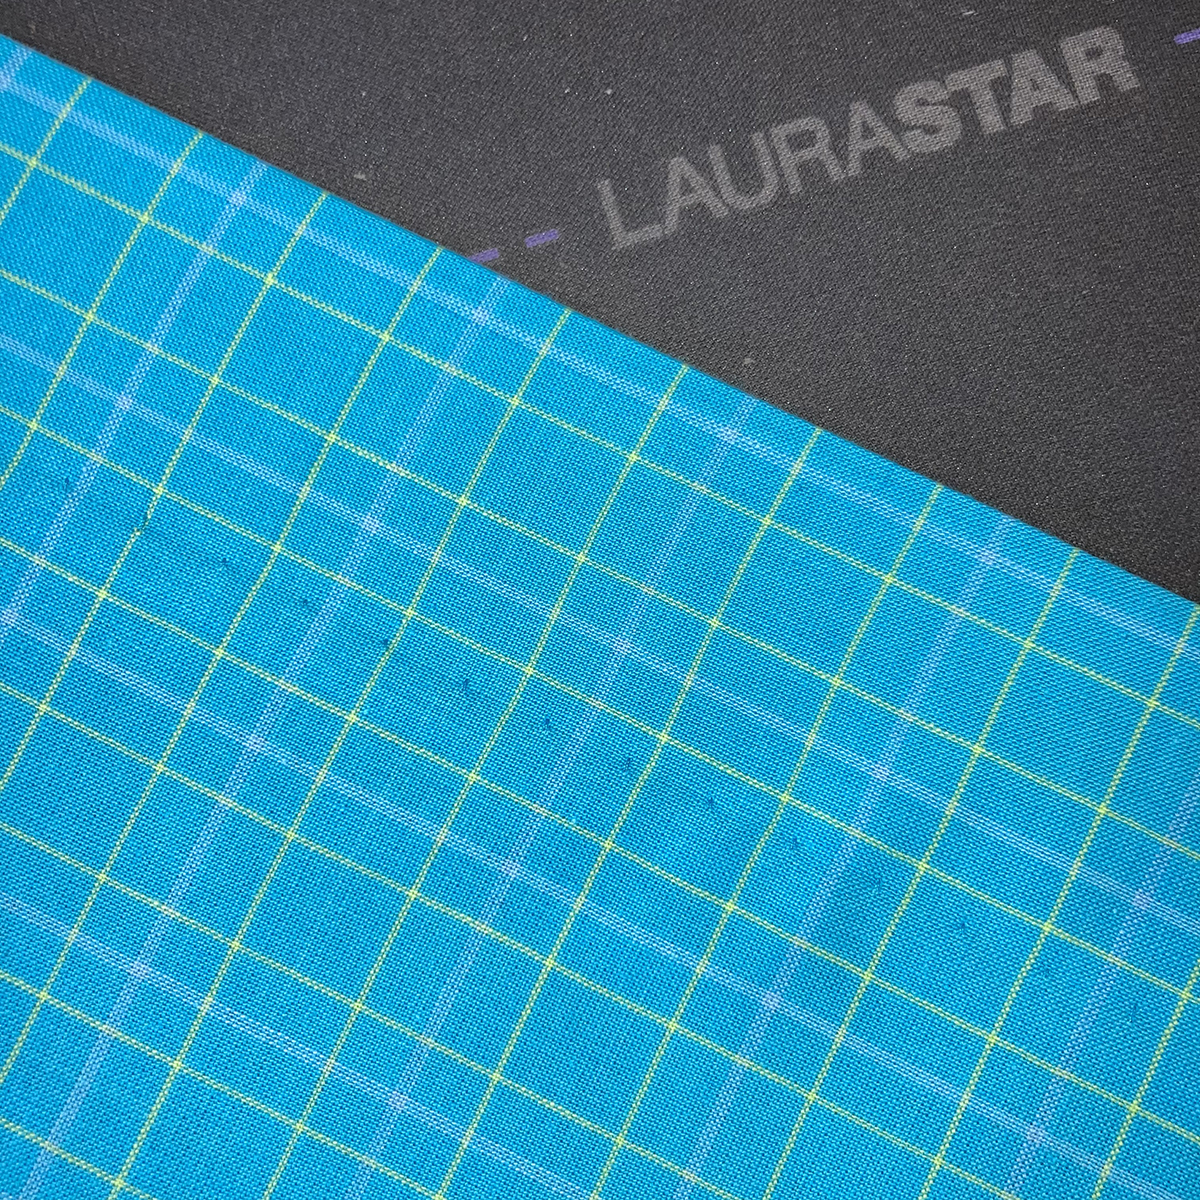
- Iron and ironing board (Laurstar is my favorite!)
- Calculator, paper, and pencil
Seam allowances are ½” unless otherwise noted
A Note About Pre-washing
Some decorator fabrics are meant for dry-clean only, while others are washable, such as cotton. Check the label on the bolt. If you plan to wash your valance periodically (such as in a kitchen or bathroom), you may want to choose washable fabrics and pre-wash them before starting to sew.
Measuring
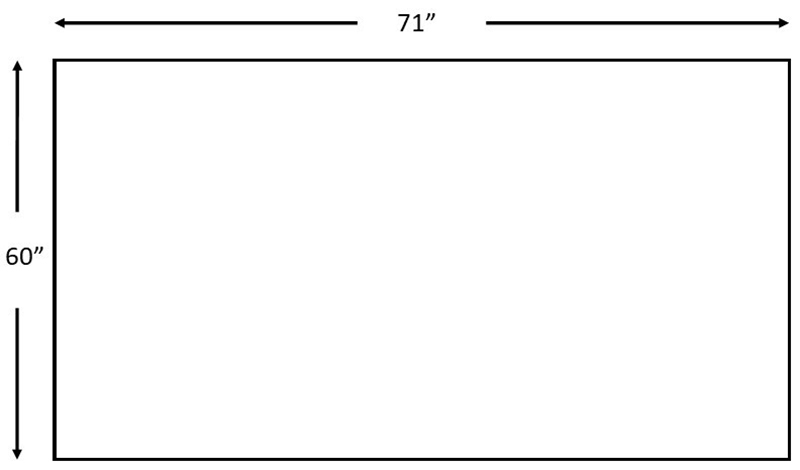
Measure the height and width of your window. Mine is 71” wide and 60” tall. I measured the “frame” around my window, not the actual window pane itself.
I have a decorative rod that I am going to reuse. It is installed about 2” above the top of my window and the side brackets are 2” to the outside, so the edges of my valance will go beyond the sides of the window.
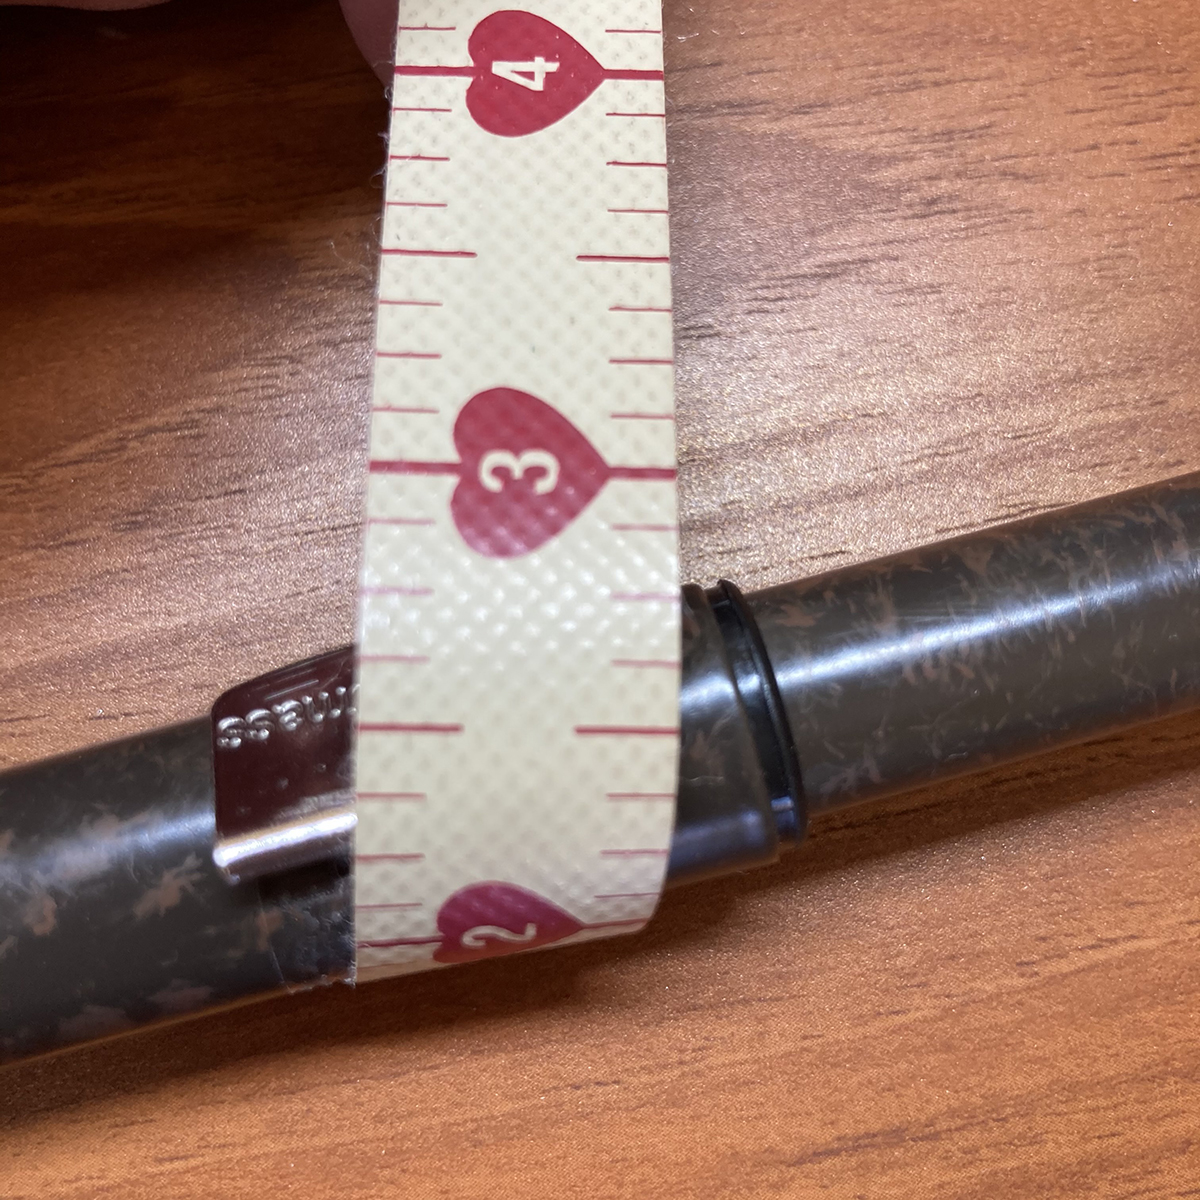
The rod pocket is the part of the valance where the rod will go. To determine the size of this, measure around the widest part of the rod. Mine is 2 ¼”. Add ½” for ease and then divide by 2. The math looks like this: (2 ¼” + ½”) ÷ 2 = 1.375. To make things easier, I rounded this number up to 1 ½” for my rod pocket.
My old valance was 18” in height below the rod. I am still happy with that, so my new one will also be 18”. What is the standard? Well…that varies. One source I read said one fourth plus 1” of the window height. Another source said 15”. And yet another said between 15” and 17”. It can depend on the height of the ceiling and the size of the room, too. For my big window, I certainly didn’t want a skinny-minny piece of fabric at the top. 18” was perfect for me. I’m also going to add a 2” header (a gathered edge above the top of the rod).
Fullness (or amount of gathering) can vary depending upon the weight of your fabric and the desired end result. Sheer fabrics work well with a fullness of 2 ½ to 3 times the length of the rod. Medium and heavier weight fabrics do better with 2 to 2 ½ times the length of the rod. It all boils down to how you want it to look! I’m going with 2 times the length of my rod.
The next 3 steps involve some math. These steps will determine how much fabric to buy, so they are very important! But it’s not hard, so don’t fret! You will need to do calculations for your main fabric and your lining fabric.
Click here for a downloadable PDF chart for figuring the yardage as shown below.
Step 1: Fabric Widths
This step determines the number of widths of fabric (WOF) you will need. I’m showing you MY measurements and then giving you a spot for yours.
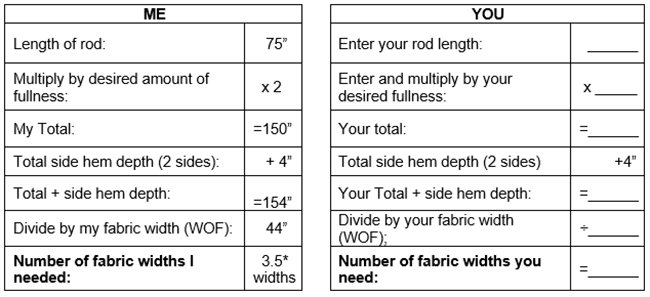
I rounded up to 4. There will be seam allowances between the panels and my medium weight fabric will be fine with a little more fullness. There is also the added benefit that whole numbers are a lot easier to work with!
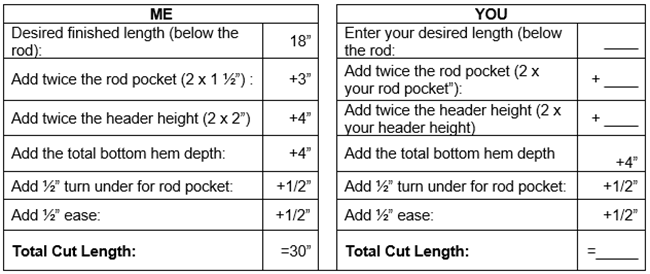
Step 2: Cut Length
This step determines how long you will be cutting your widths of fabric. (This is from side to side, NOT selvedge to selvedge.)
Step 3: Yardage
This step will tell you how much fabric you need to buy.
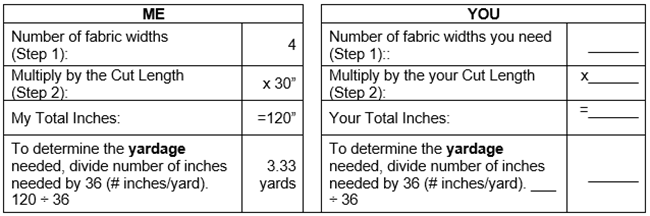
3 1/2 yards of 44” wide main fabric is needed to make my valance. (I rounded up since I’m happier buying just a little more than just a little less.)
That wasn’t so hard, was it?
Repeat the math steps above for your lining fabric. However, in Step 2, subtract 3” from the Total Cut Length. So for mine, I will cut the lining 27”, which is 3” shorter than the main fabric. When I hem the lining, it will be a 1” double-fold hem. Because the lining is shorter, it will not show below the main fabric when finished.
My math says I need 3 yards of lining fabric.

Cutting Your Fabric
- Fold your main fabric, lining up the selvage edges, and cut the number of fabric widths calculated in Step 1 at the length you calculated in Step 2. I cut 4 widths, each 30” wide. Trim the selvedges.
- Repeat with your lining fabric, remembering that it is 3” shorter. I cut 4 widths, each 27” wide. Trim the selvages.
Sewing the Valance
- Sew the main widths of fabrics together along the short edges, right sides together, with a ½” seam allowance. I used the Zigzag foot for Dual Feed (DA) and the seam guide. Press open. You should have one LONG piece of your main fabric.

- Repeat this step with your lining.
- Then I used the Overlock Foot for Dual Feed (DI) and the Vari Overlock Stitch #3 to overcast the edges.

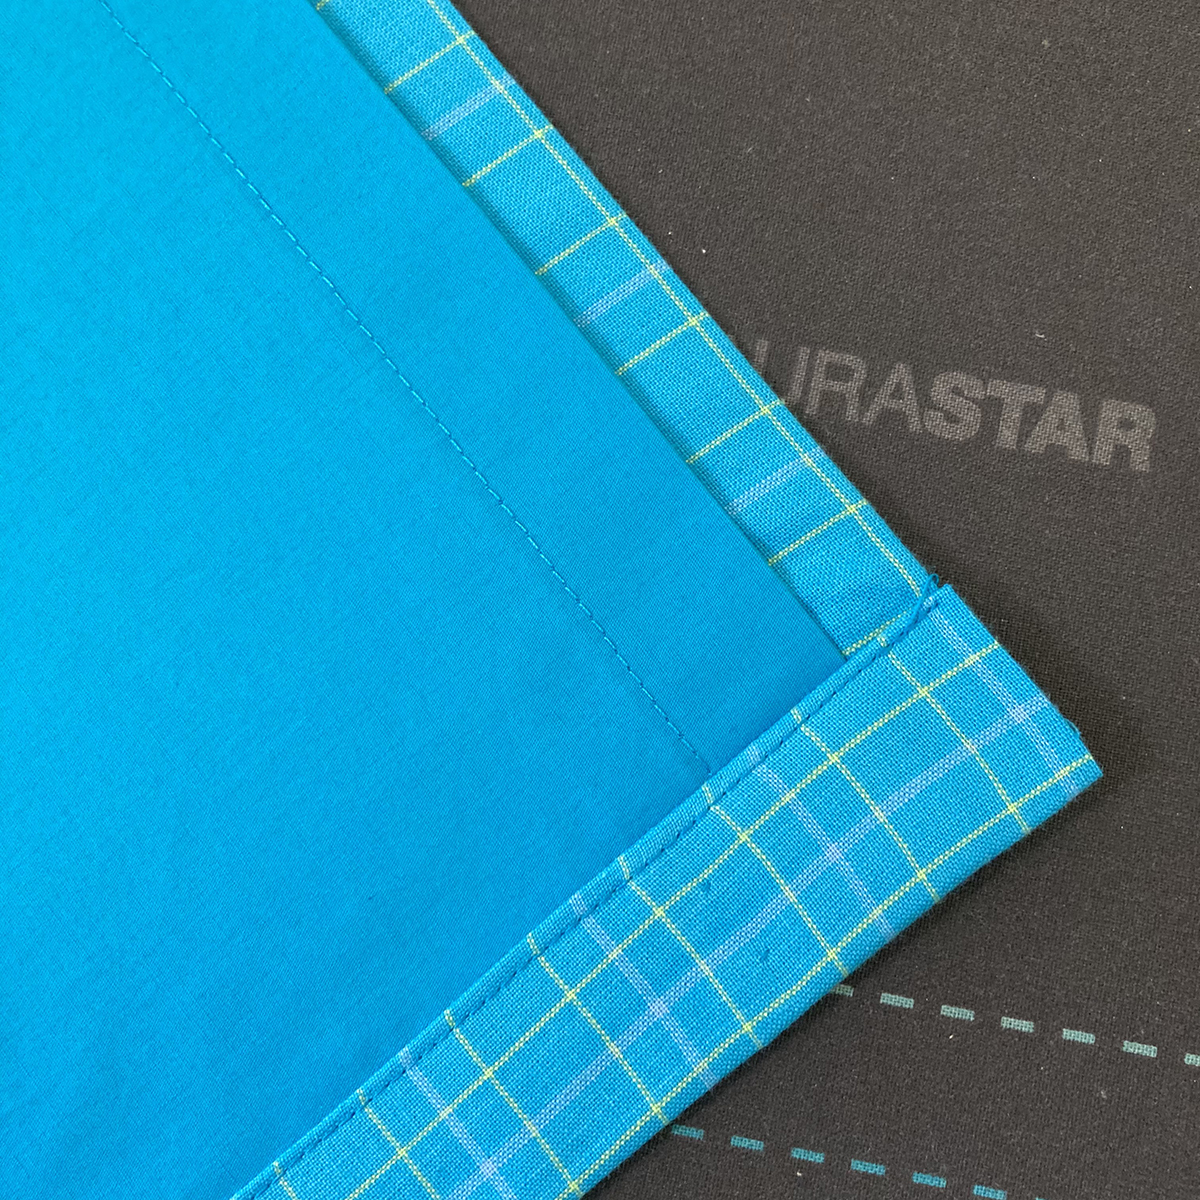
- Along one long edge of the main fabric press a 4” hem to the wrong side. Then open the hem and press the raw edge just shy of the first pressed fold. By not placing the fabric right to the fold you will have a flatter and neater finish.
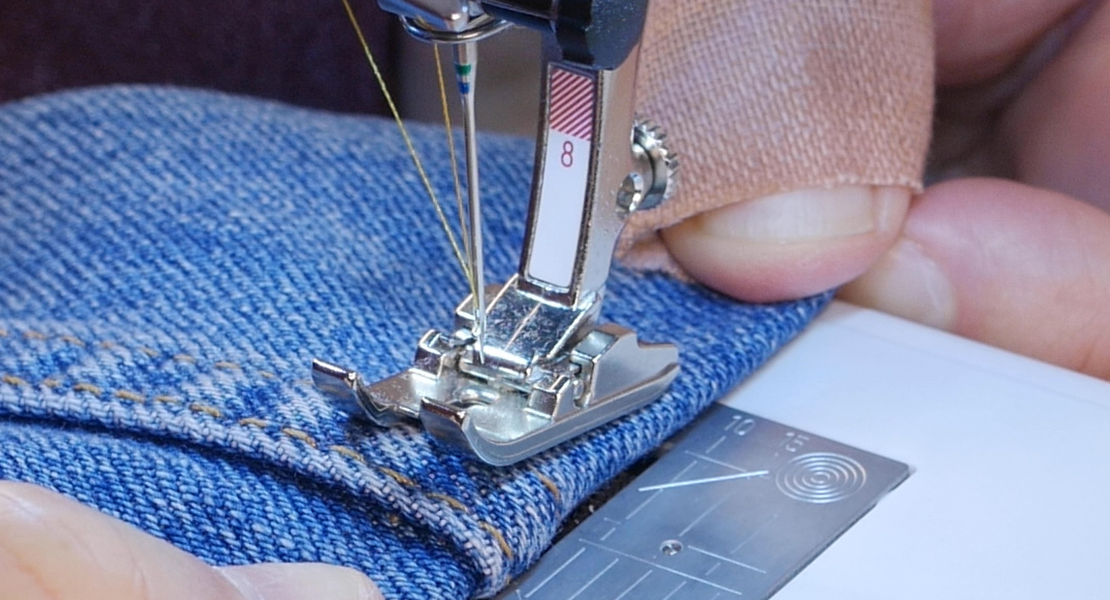
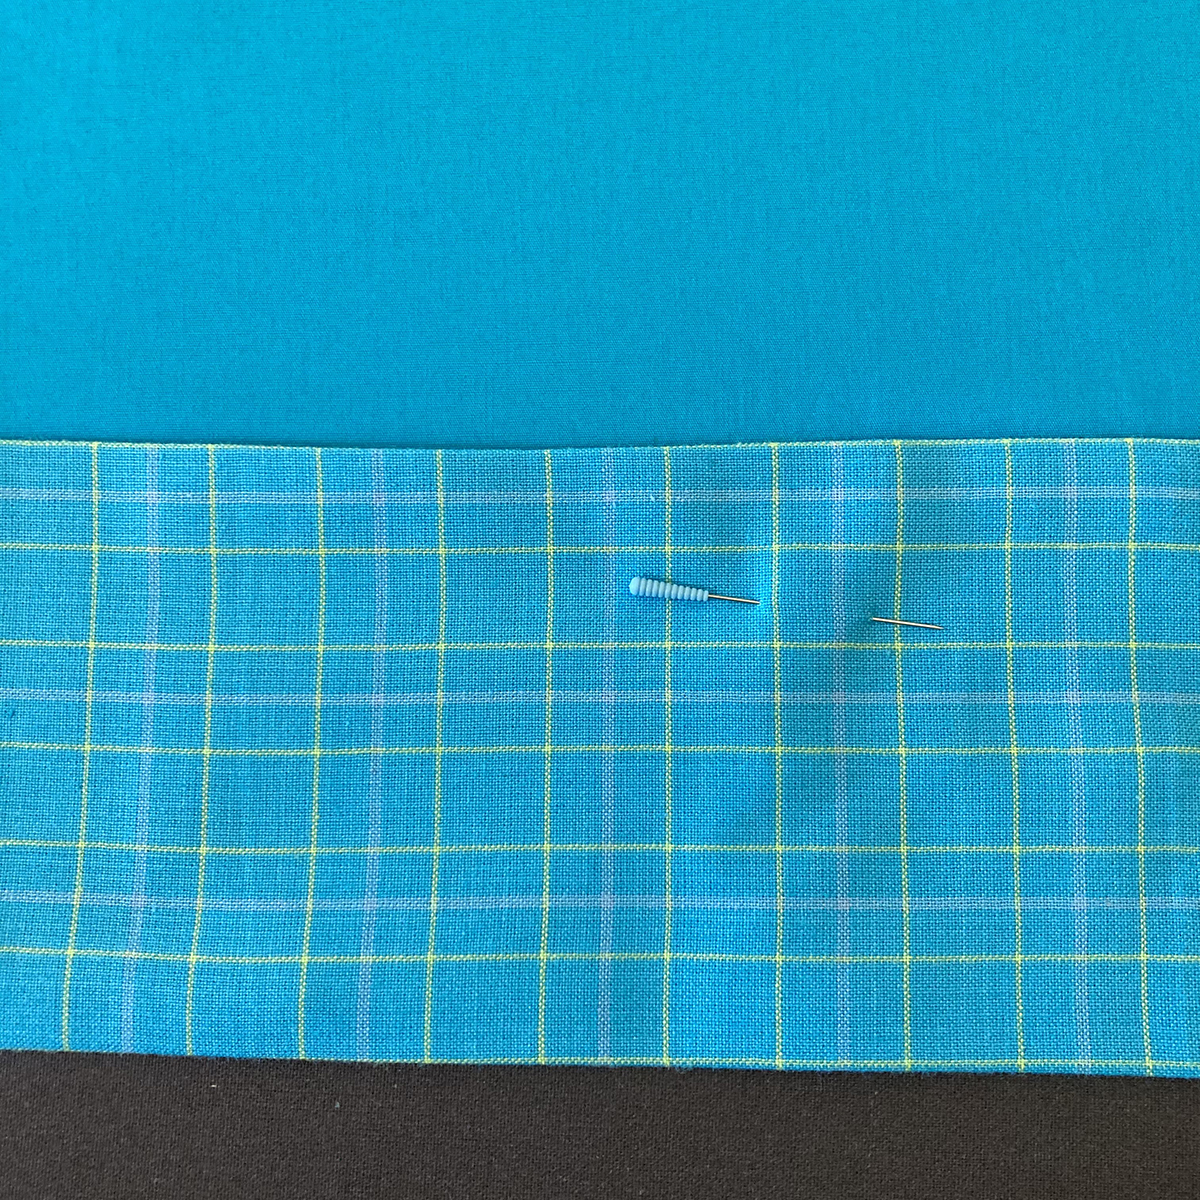
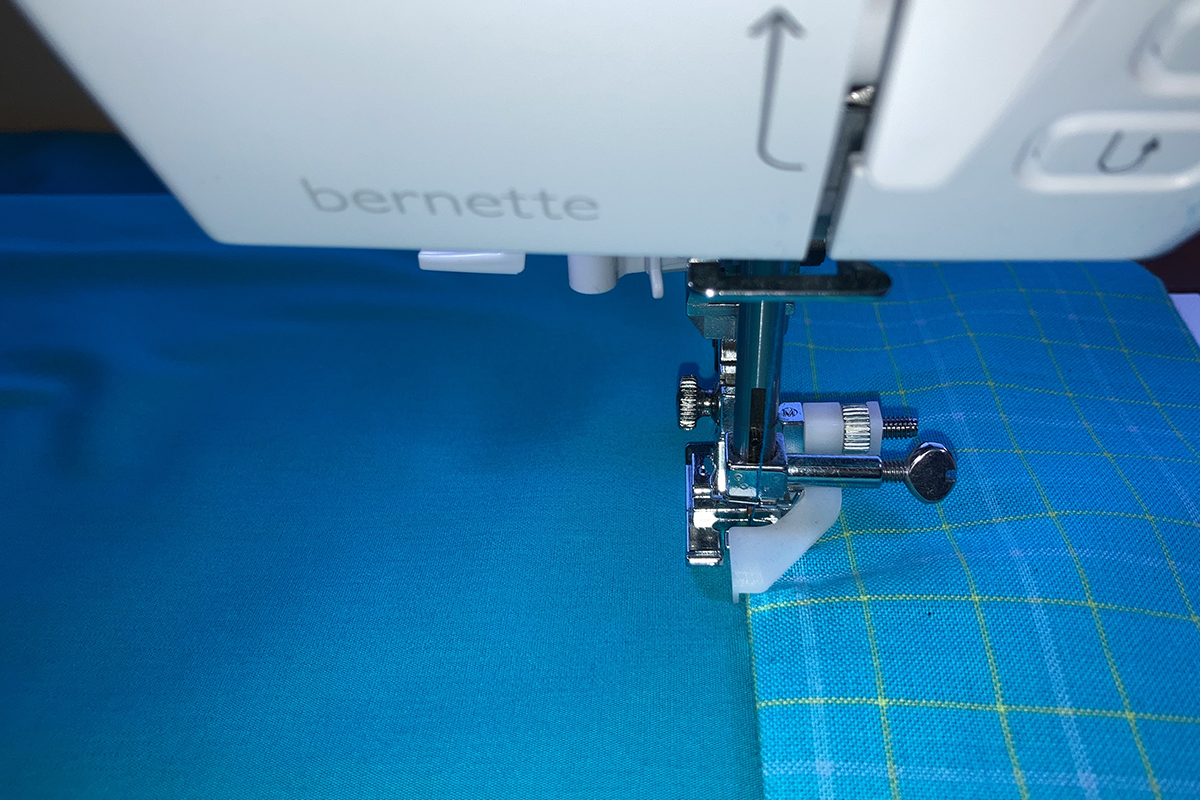
- Pin this double-fold hem in place. Place the fabric with the hem up and the right side of the valance down. Then fold the hem toward the right side of the fabric so that about 1/4″ of the folded edge of the hem is exposed. Select the Blindhem Stitch #9. Use the Blindstitch foot for Dual Feed (DM) to sew a blindhem along the bottom of the main fabric.
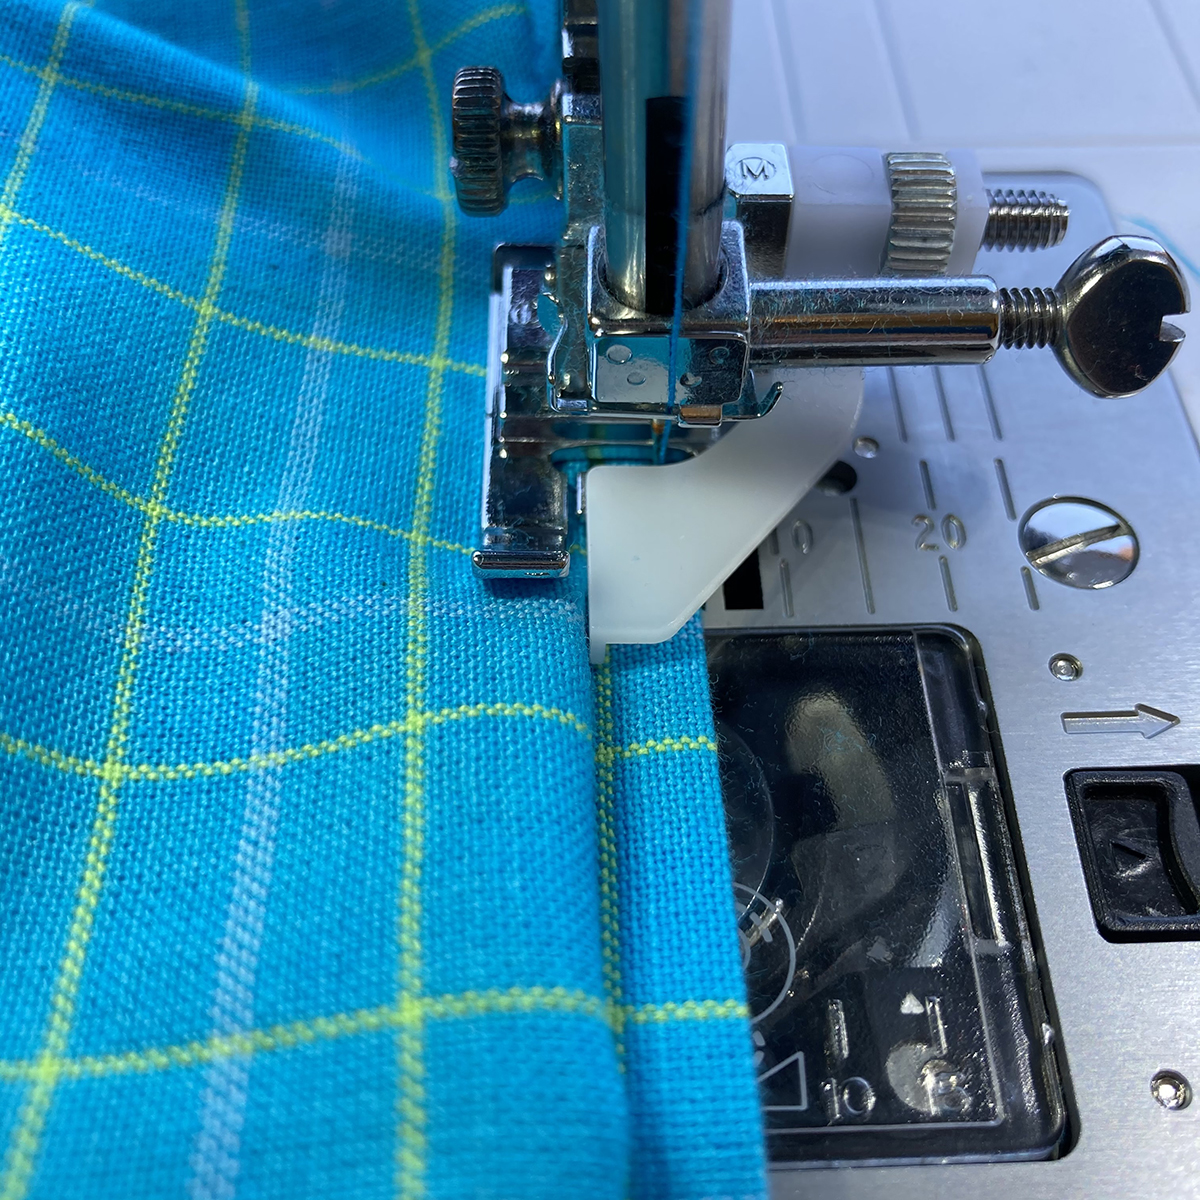
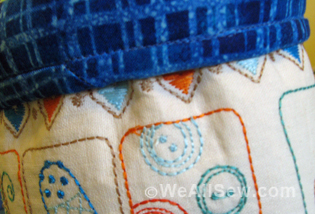
NOTE: For more information on how to create a blindhem, refer to the WeAllSew blog post “Sew a Blind Hem with Blindstitch Foot #5”. Although I used a different foot for my bernette 79 sewing machine, the steps to create the blindstitched hem are the same.
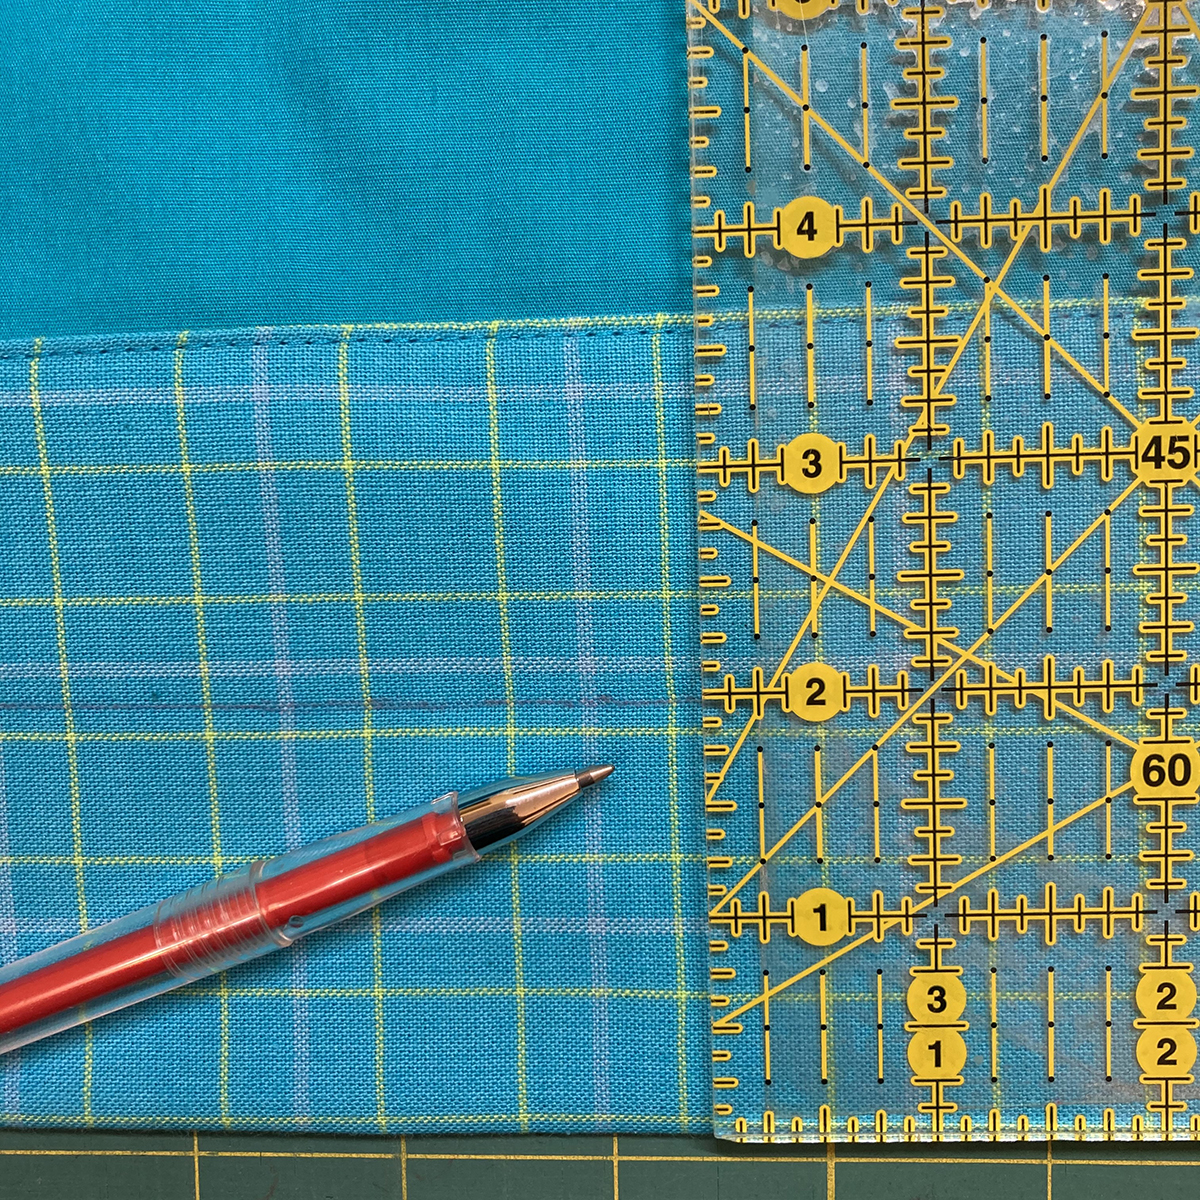
The finished hem is 2”. I love how the blindhem leaves an almost invisible stitch on the right side of the fabric. (Note: You can adjust the width of your blindhem so that the needle JUST stitches into the fold on the left.)
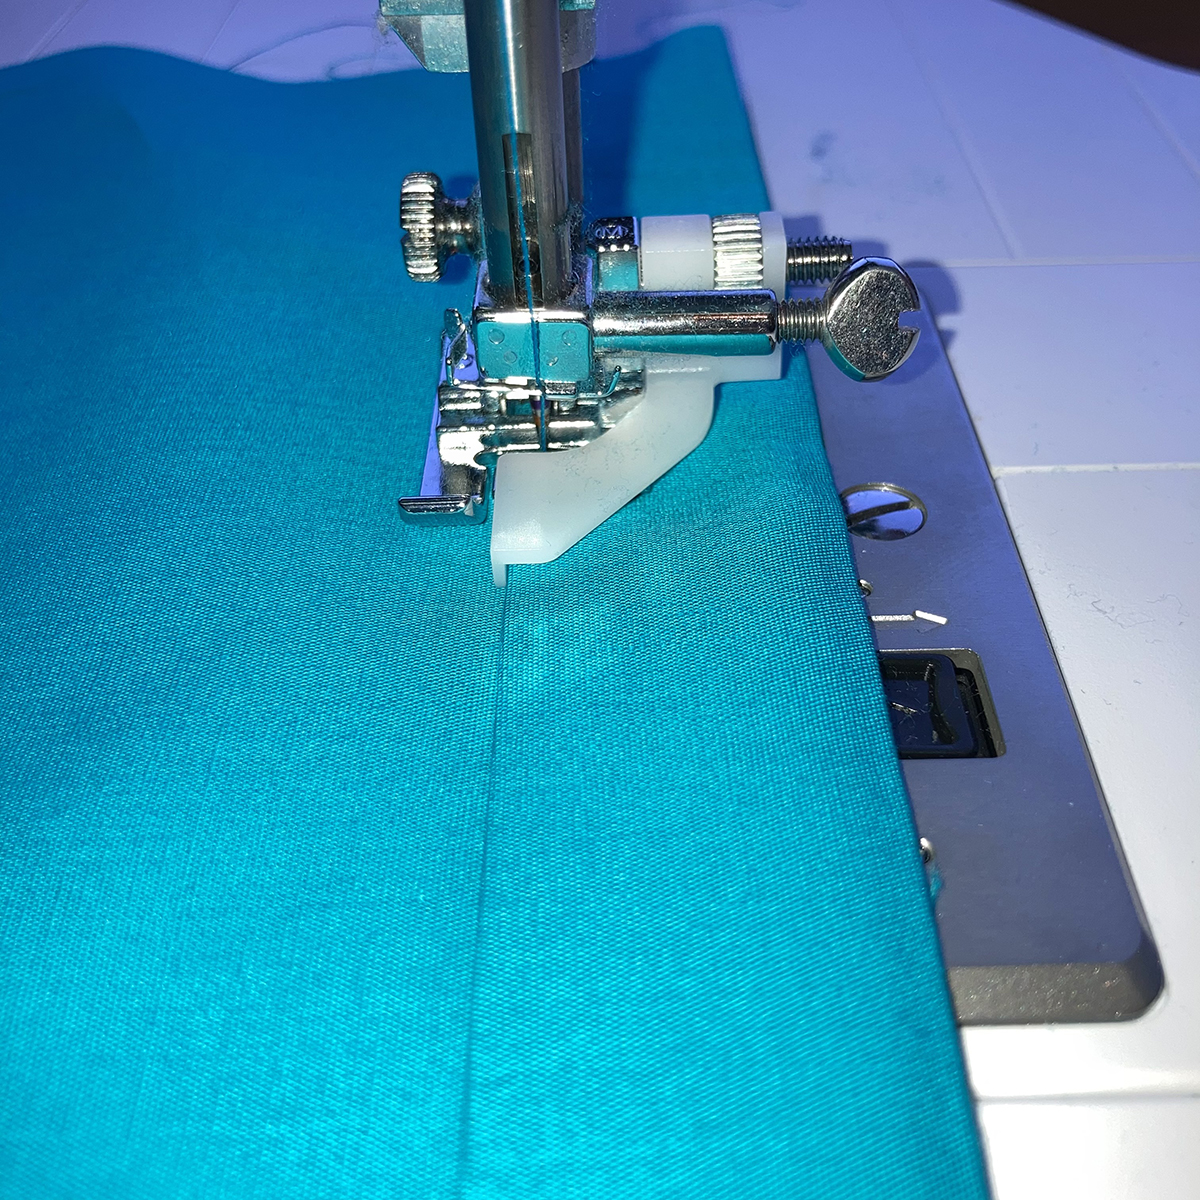
- For the lining, I used the same foot, but created a regular topstitched hem instead of a blindhem. Press a 2” hem on one long edge of the lining; then open the hem and press the raw edge almost to the fold. Then press the folded hem. Using the same foot as above, edgestitch along the pressed-up fold. I increased the stitch length to 3.0 and moved the needle to the right 3 positions. The finished hem is 1”.
- From this point on, the main fabric and lining fabric will be handled together as one. Place the fabrics wrong sides together and match the top raw edges and the raw edges on one side and pin. Increase your straight stitch length to 5.0 and baste together close to the edge using the Zigzag foot for Dual Feed (DA). Check the other short side. Trim so that the lining and main fabrics are even. Baste.
- Press a double fold 1” hem on each side, first pressing in 2” and then pressing the raw edge almost to fold. Change the stitch length to 3.0 and reduce the Presser Foot Pressure to 30 (fine-tune as needed for your fabrics). Using the Blindstitch foot for Dual Feed (DM), edgestitch both sides of the valance.
- Press under ½” to the lining side along the unhemmed long edge.
- Then, measuring from the pressed fold line, press under an amount equal to the heading plus the rod pocket depth. In my case, this is 3 ½”. Pin.
- Edge stitch with a stitch length of 3.0 through all layers along the pressed under fold.
- Measure down from the top fold the amount of the heading (2” for me), and mark on the wrong side of the heading. Double-check that your rod pocket space is correct (the distance between the two lines). If it is too small, adjust the marked line. My rod pocket space is 1 ½”.
- It is a good idea to pin all of the layers to prevent fabric shifting.
- Stitch along the marked line.
I should note that my valance is REALLY long! Instead of marking the entire length, I set my seam guide up at 2” and presto…ready to sew!

Finishing the Valance
You are just about done! Insert your rod into the pocket and hang over your window. How do you like your custom valance? I LOVE mine!
Now that you know how easy they are to sew, you can decorate every window in your living space!