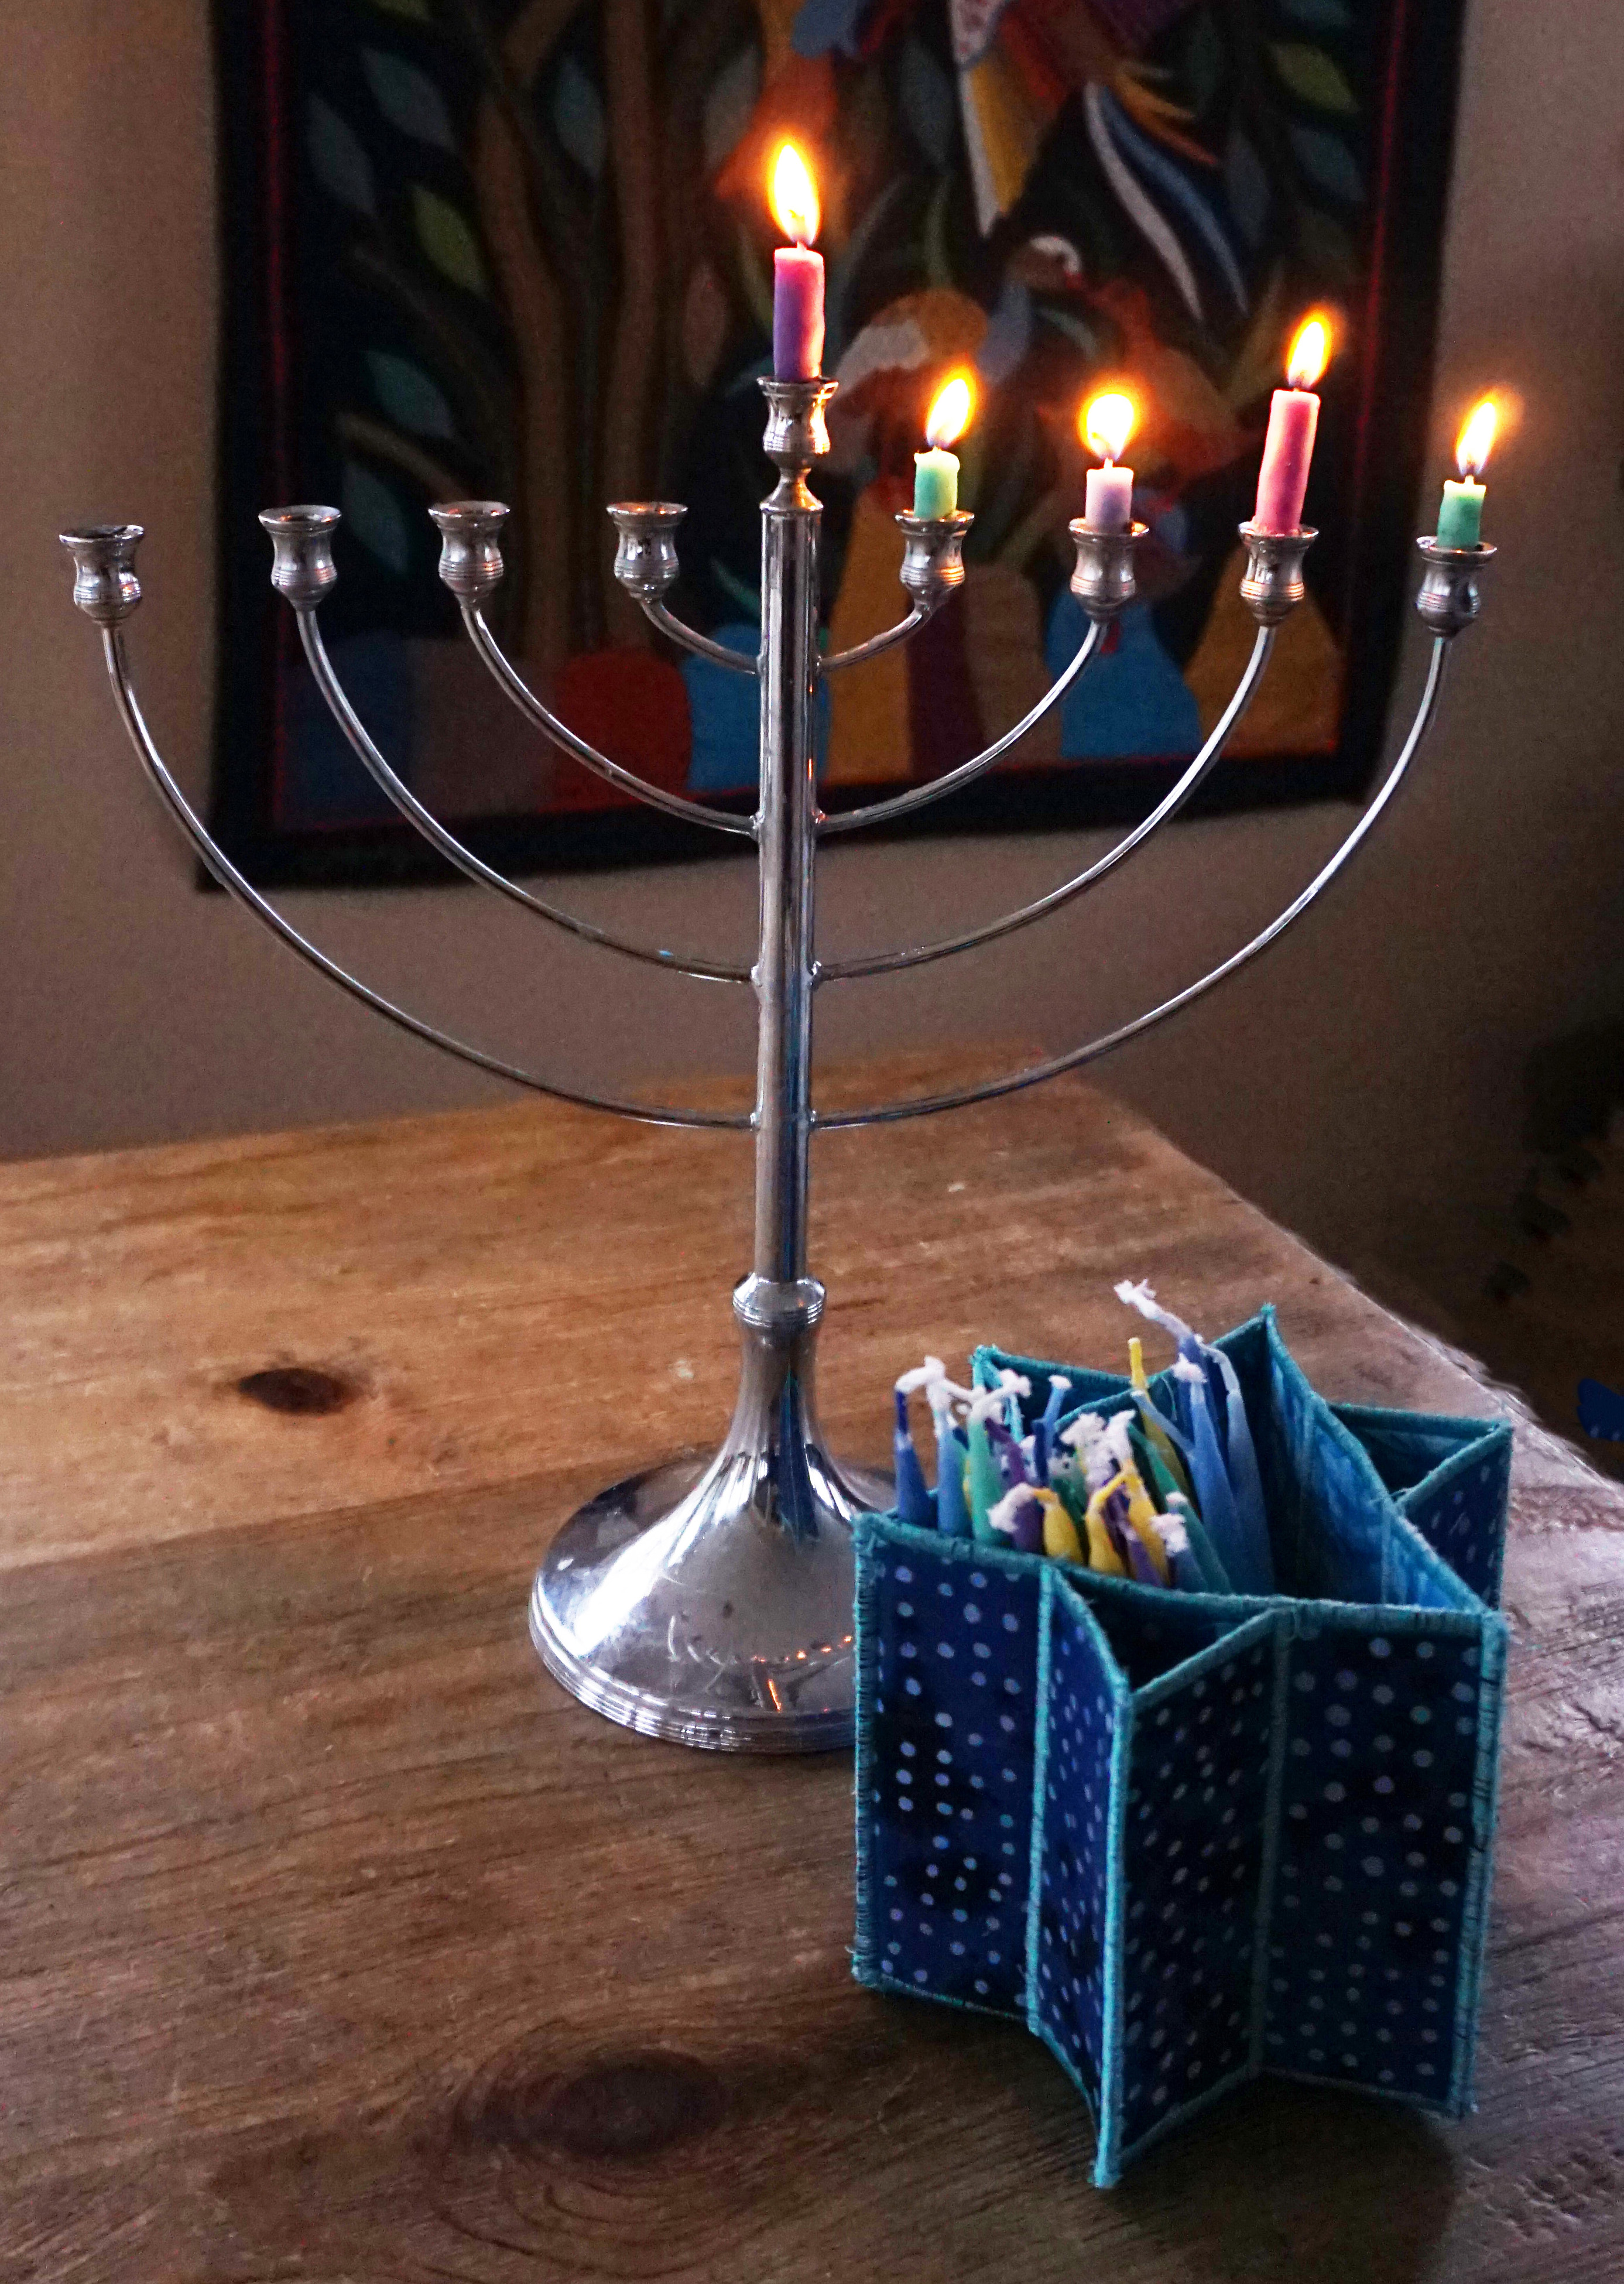
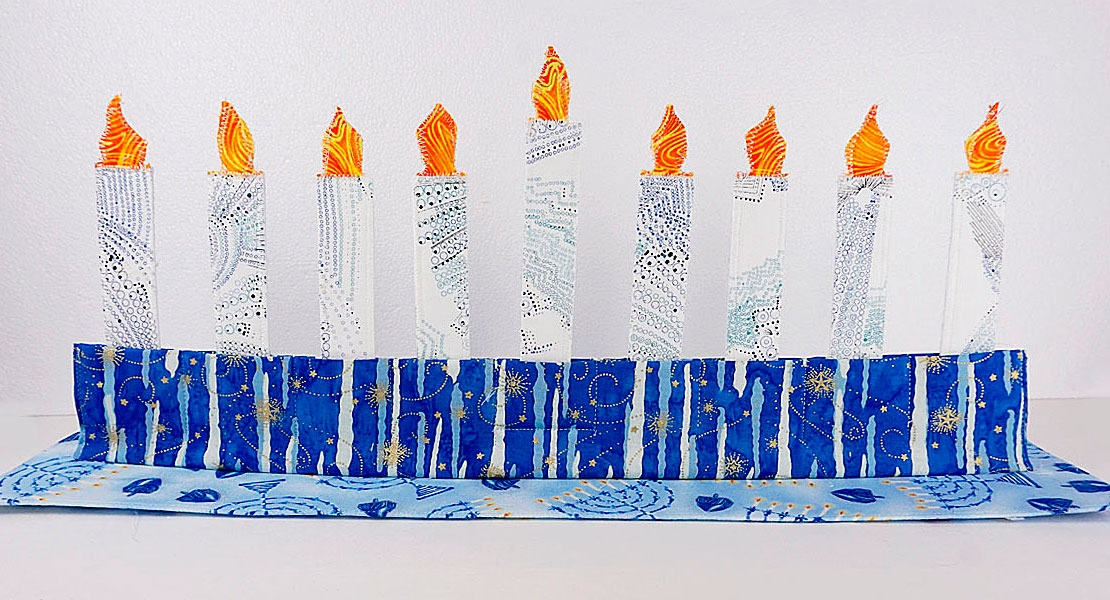
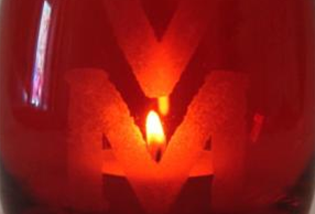
Hanukkah Star of David Shaped Candle Box
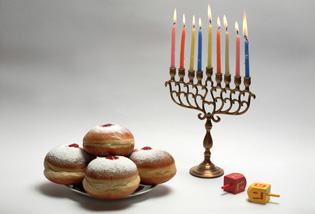
Hanukah is the festival of lights and we light candles in the menorah for eight consecutive nights. That means there are lots of candles for those eight nights and I wanted a pretty container in which to keep them. This is an easy to make fabric box in the shape of a Star of David. It makes a great gift—I know, because the prototype for this article was snapped up before I finished photographing it!
Materials to Create a Hanukkah Star David Candle Box
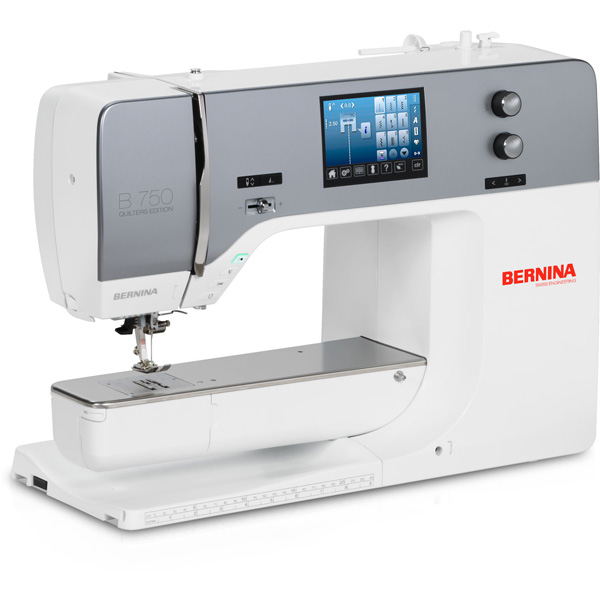
- sewing machine. I sew on a BERNINA 750 QE
- BERNINA Reverse Pattern foot #1D
- cotton fabric
- matching thread
- heavy weight fusible stabilizer (like fast2fuse heavy or timtex)
- rotary cutter
- ruler
Start with two fabrics, one for the outside of your box and one for the inside. I have chosen a dark blue for the outside and a turquoise for the inside. You will need a piece of each approximately 21 inches x 4 ½ inches (a quarter yard of each fabric would be fine but the size and shape can be any configuration —fat quarters would also be more than enough fabric) and a piece of heavy weight fusible stabilizer (like fast2fuse heavy or timtex) the same size. Regardless of the size and shape of your fabric pieces, both fabrics and the fusible you choose need to be the same size and shape.
Fuse the two fabrics to the stabilizer, one on either side, right sides out, so the stabilizer is sandwiched between them. It is important to follow the specific instructions for the stabilizer product you are using, as they vary slightly.
Once they are fused and cooled, cut the following shapes:
Three rectangles each 4 inches x 4 ½ inches.
One rectangle 4 inches x 9 inches.
One triangle 4 ½ inches on each side (I made a template by drawing a 4 ½ inch square on a piece of card stock with my rotary ruler, then drew a line straight up from the center bottom to the top. From each bottom corner I measured 4 ½ inches up to where the ruler met the center line.)

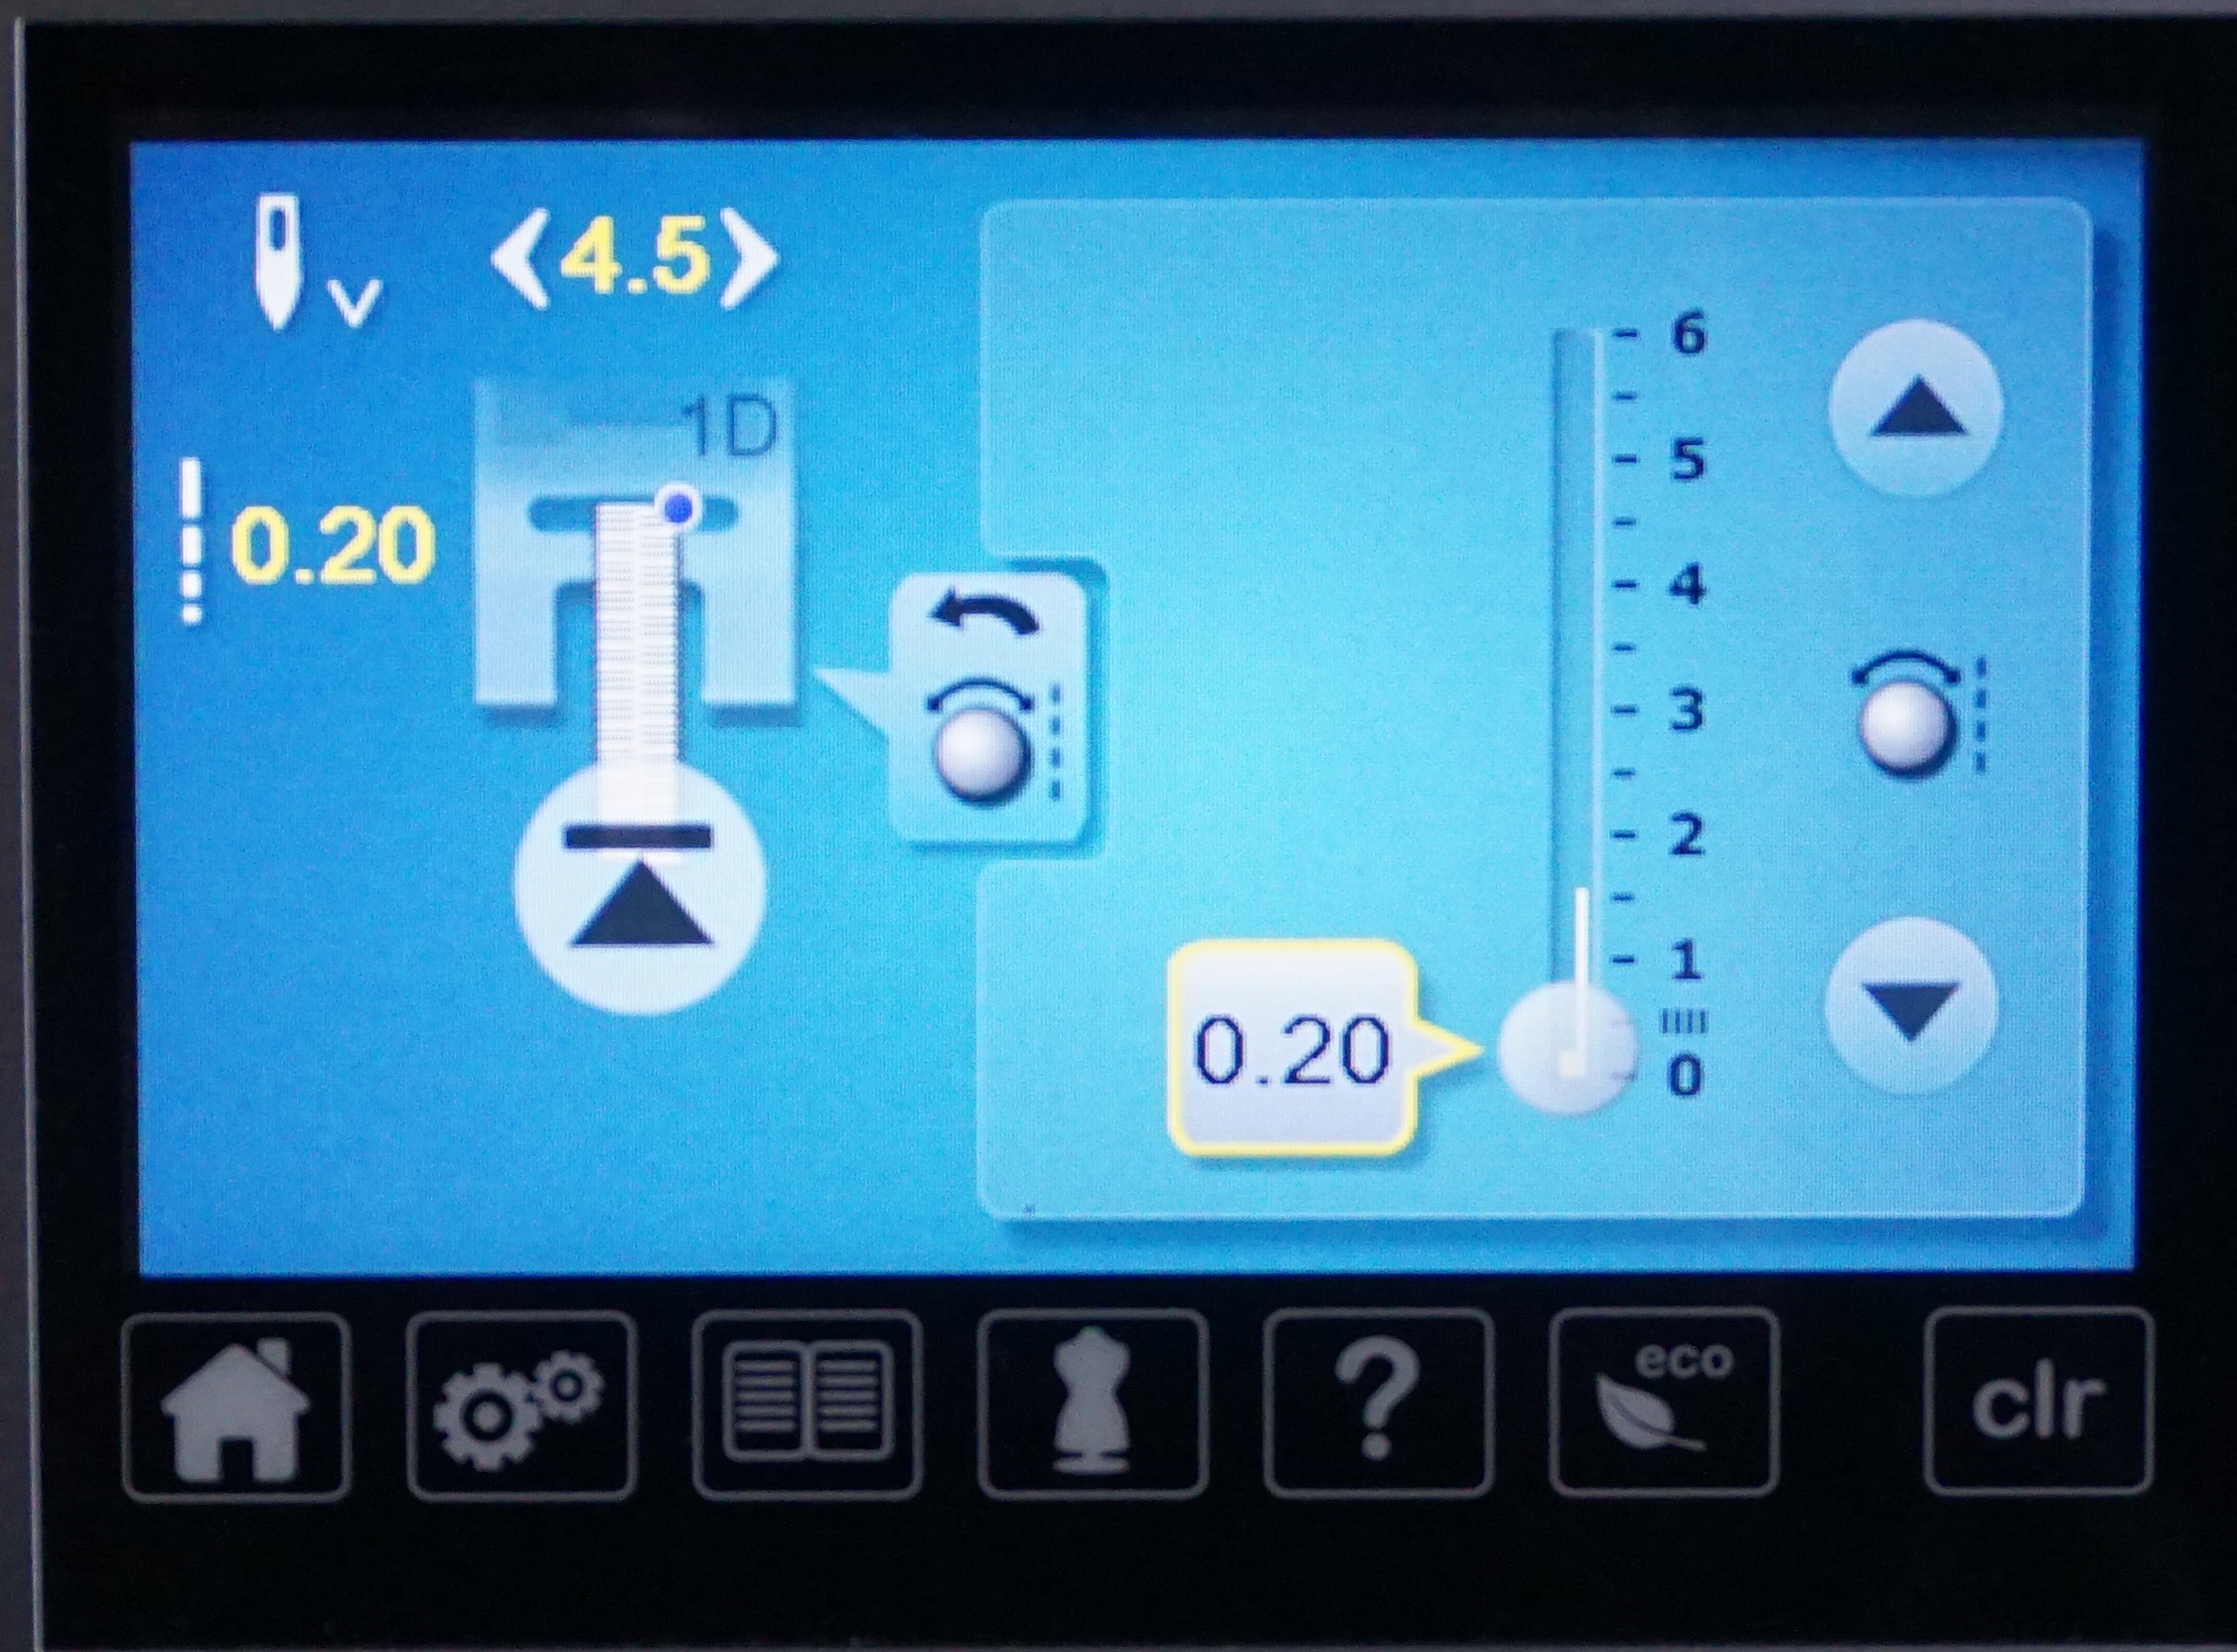
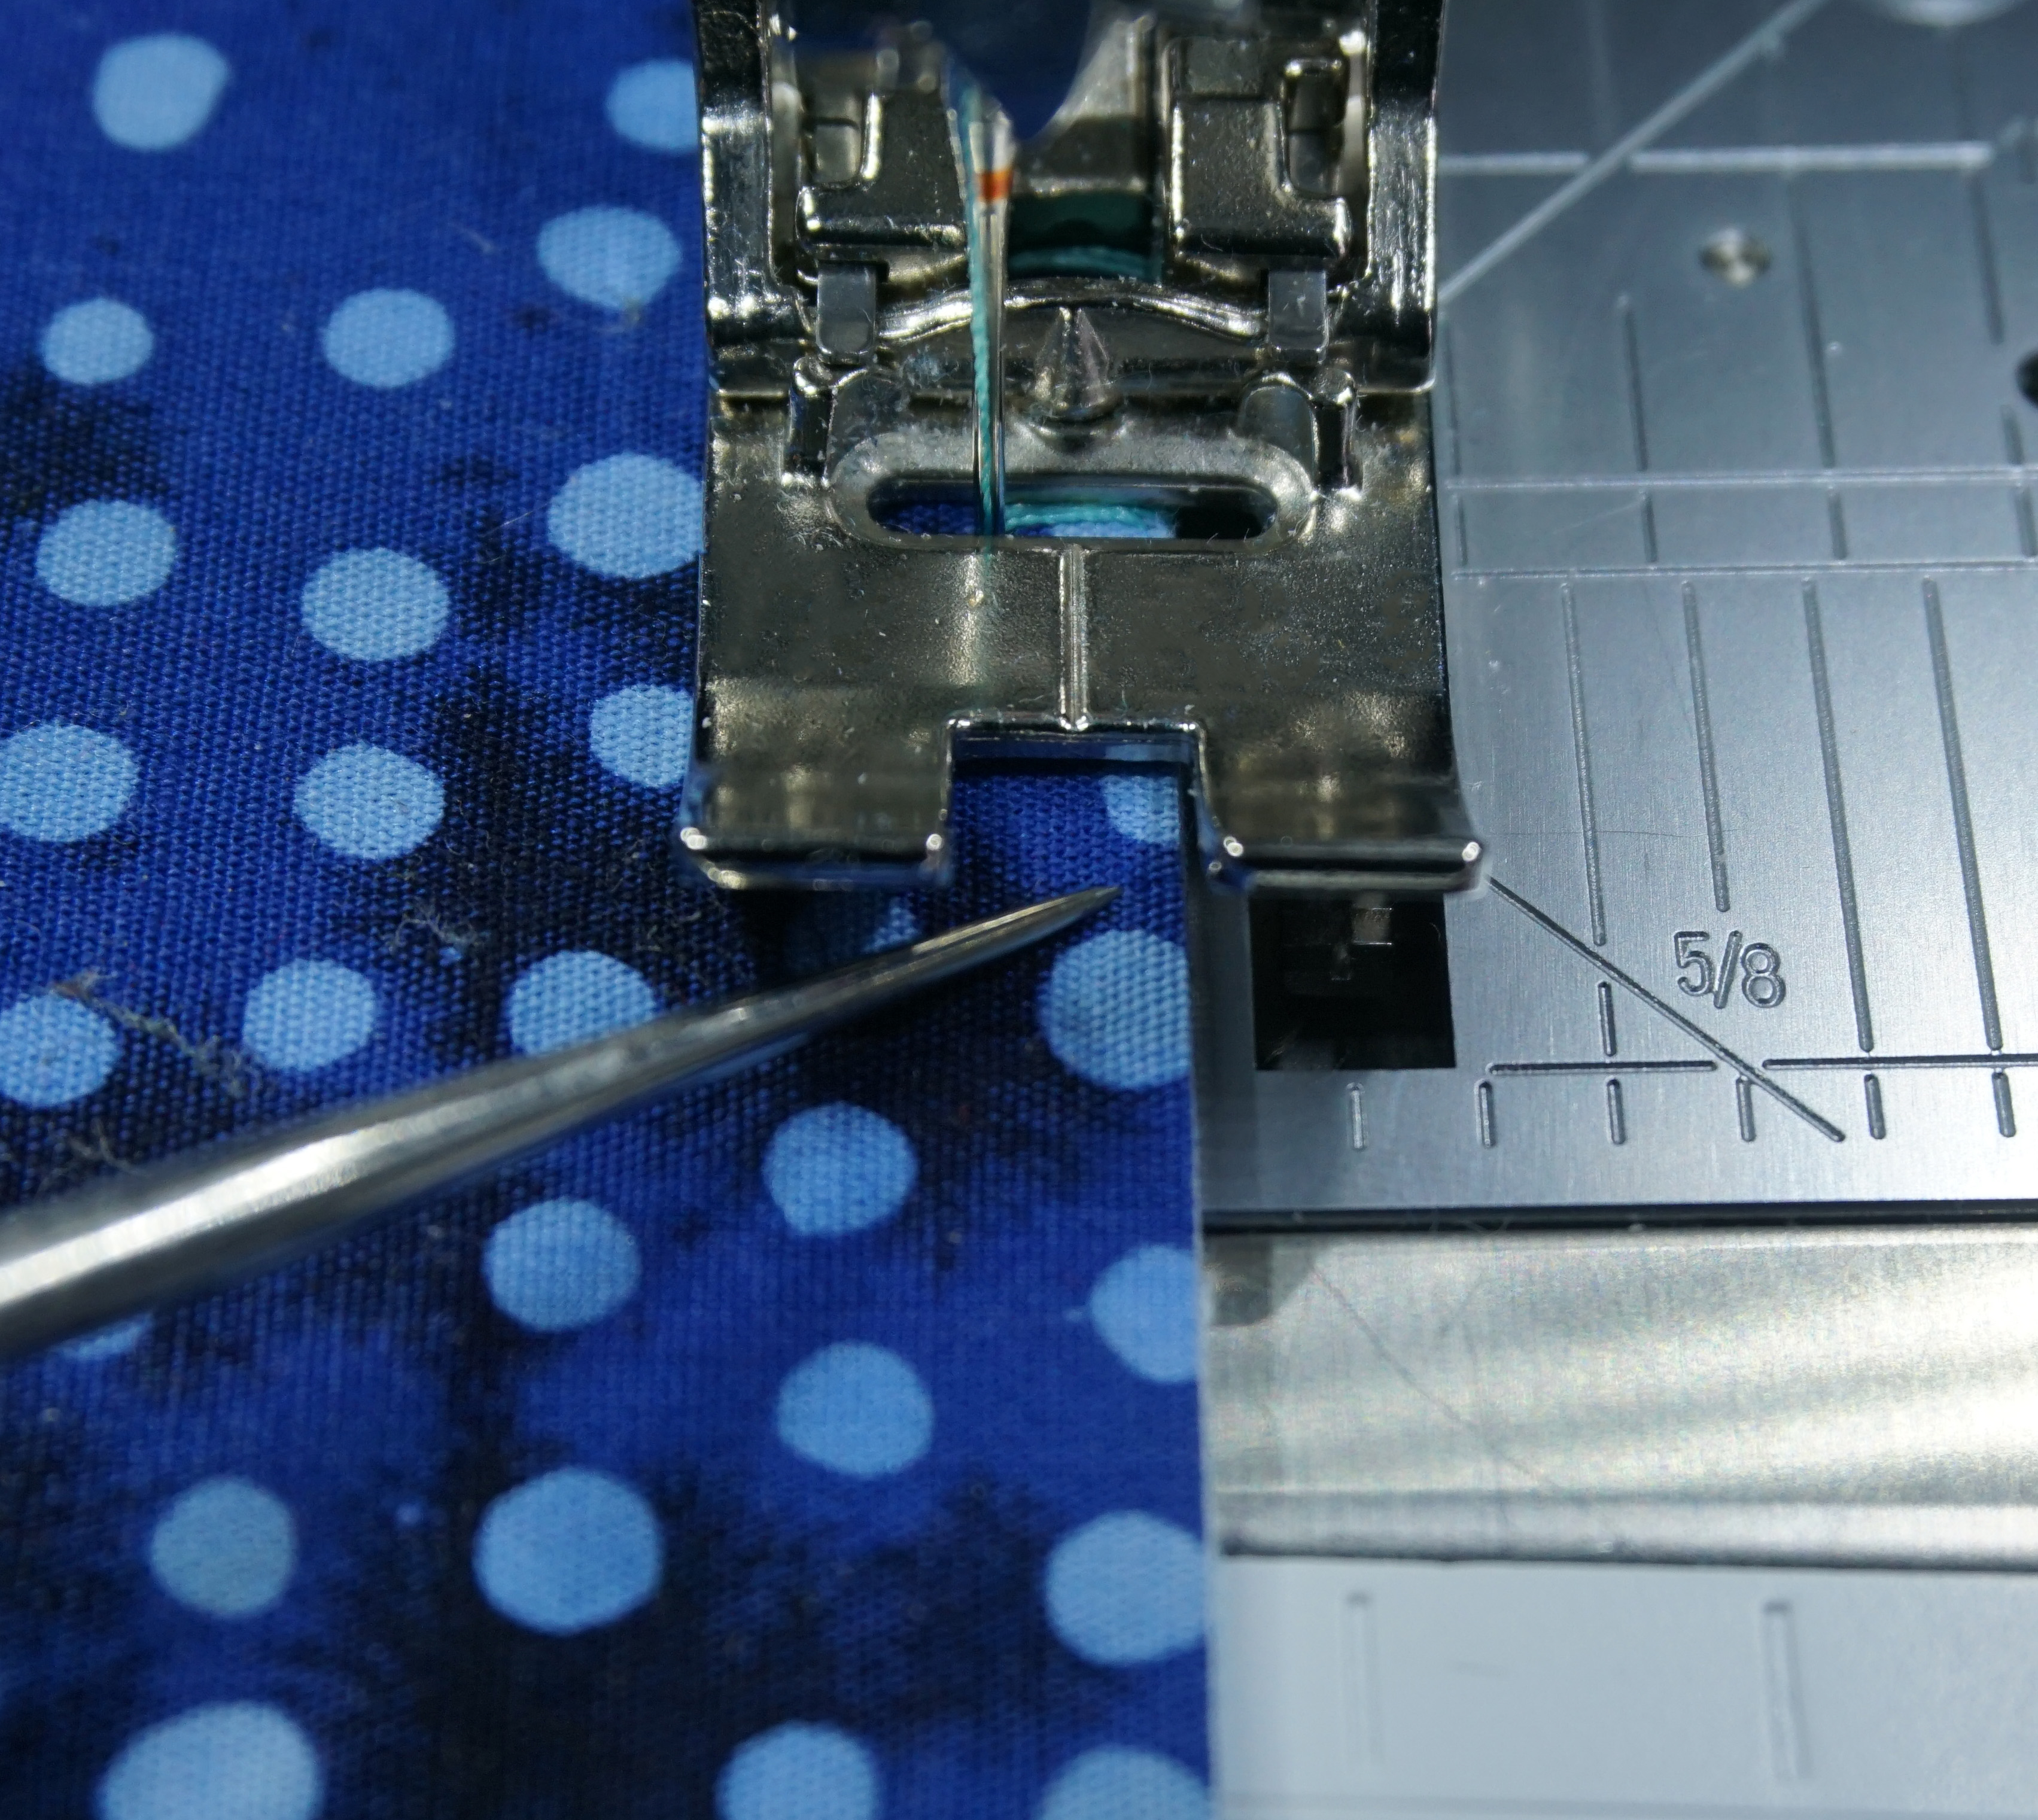
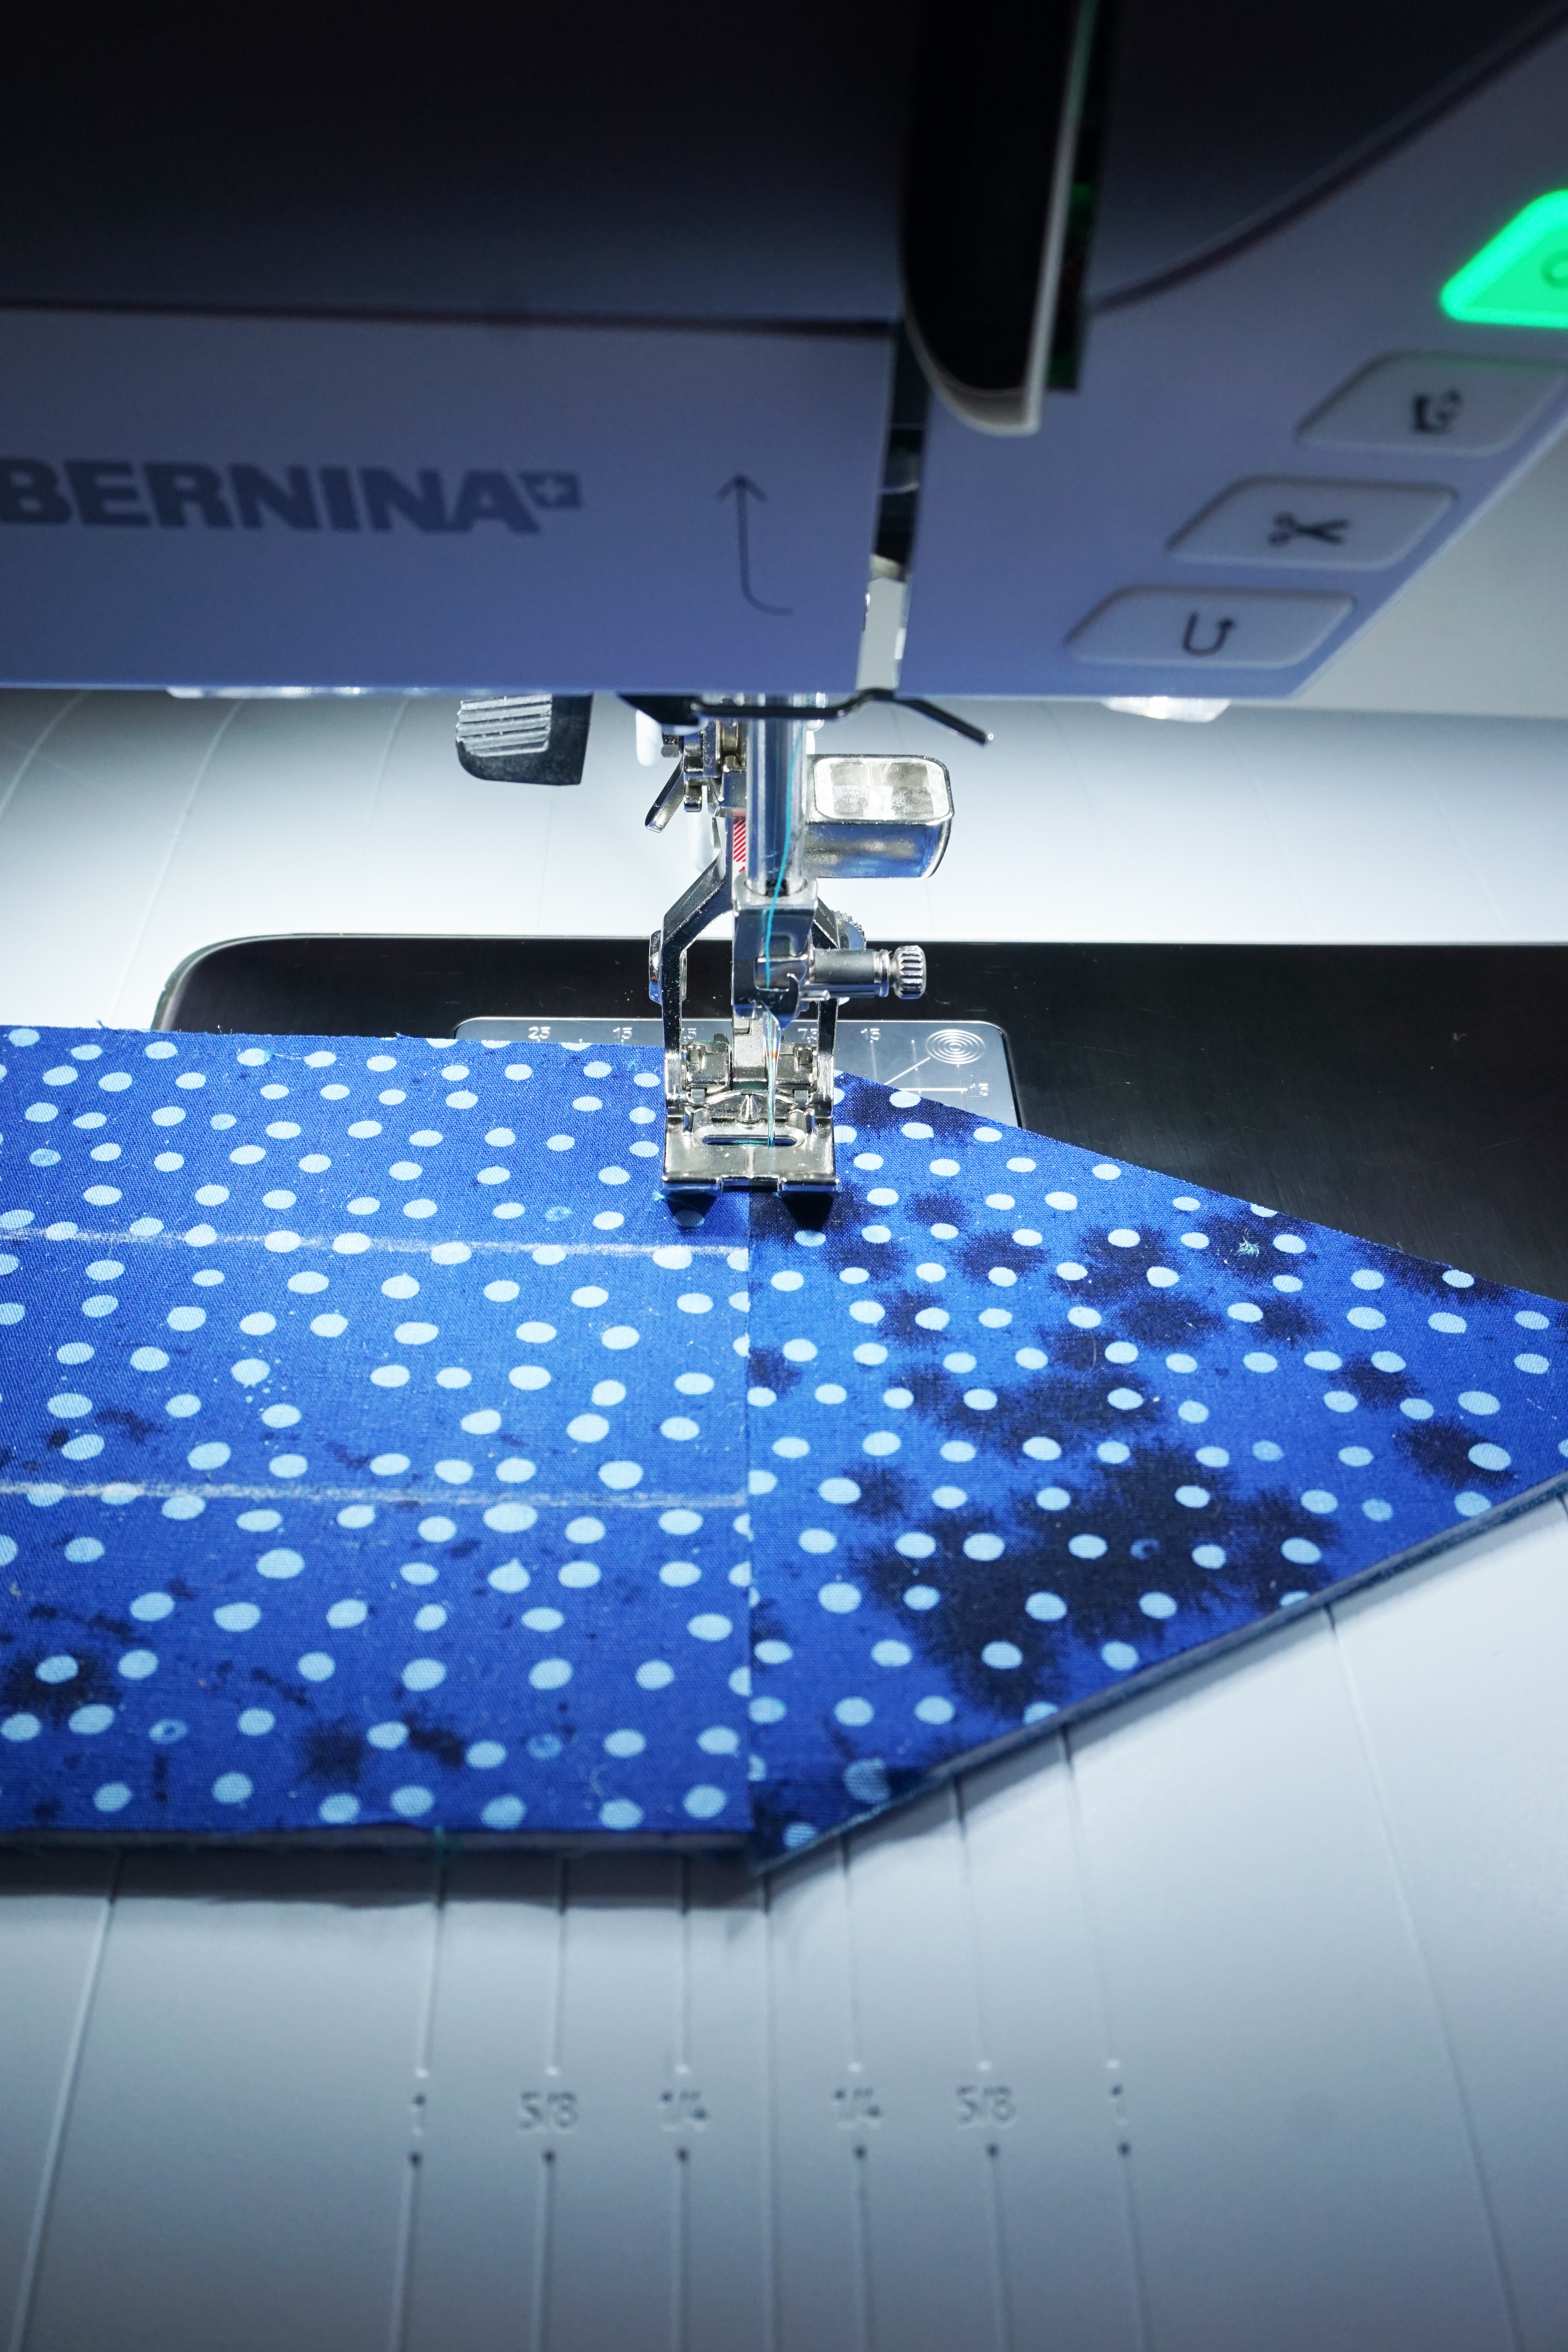
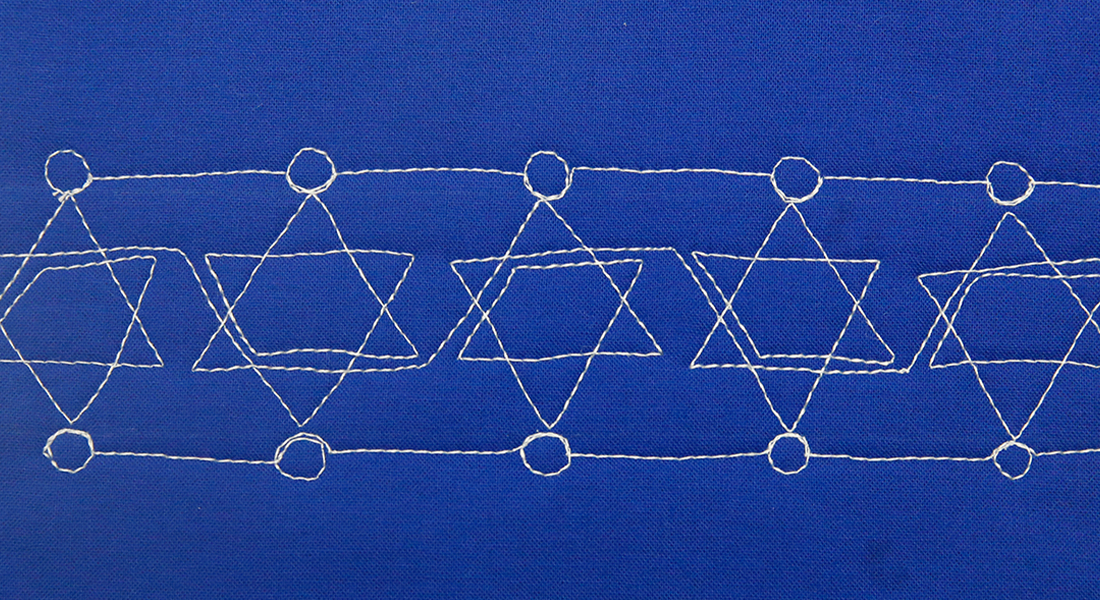
Now that the pieces are cut, use a satin stitch to encase the raw edges of both of the long sides of the 9 inch rectangle and one long side of each of the other rectangles. On my BERNINA 750 I use a zig zag stitch that is set at 4.5 wide and .20 long.
If your thread is much lighter than your front fabric, you may want to go over the stitch line twice to fill it in, I was happy with the way it looked with only one pass. Make sure the inside edge of the #1D foot aligns with the edge of the fabric, that will insure your satin stitch line is straight.

Using a rotary cutter and ruler, now cut the 9 inch x 4 inch piece into six strips each measuring 4 inches x 1 ½ inches.

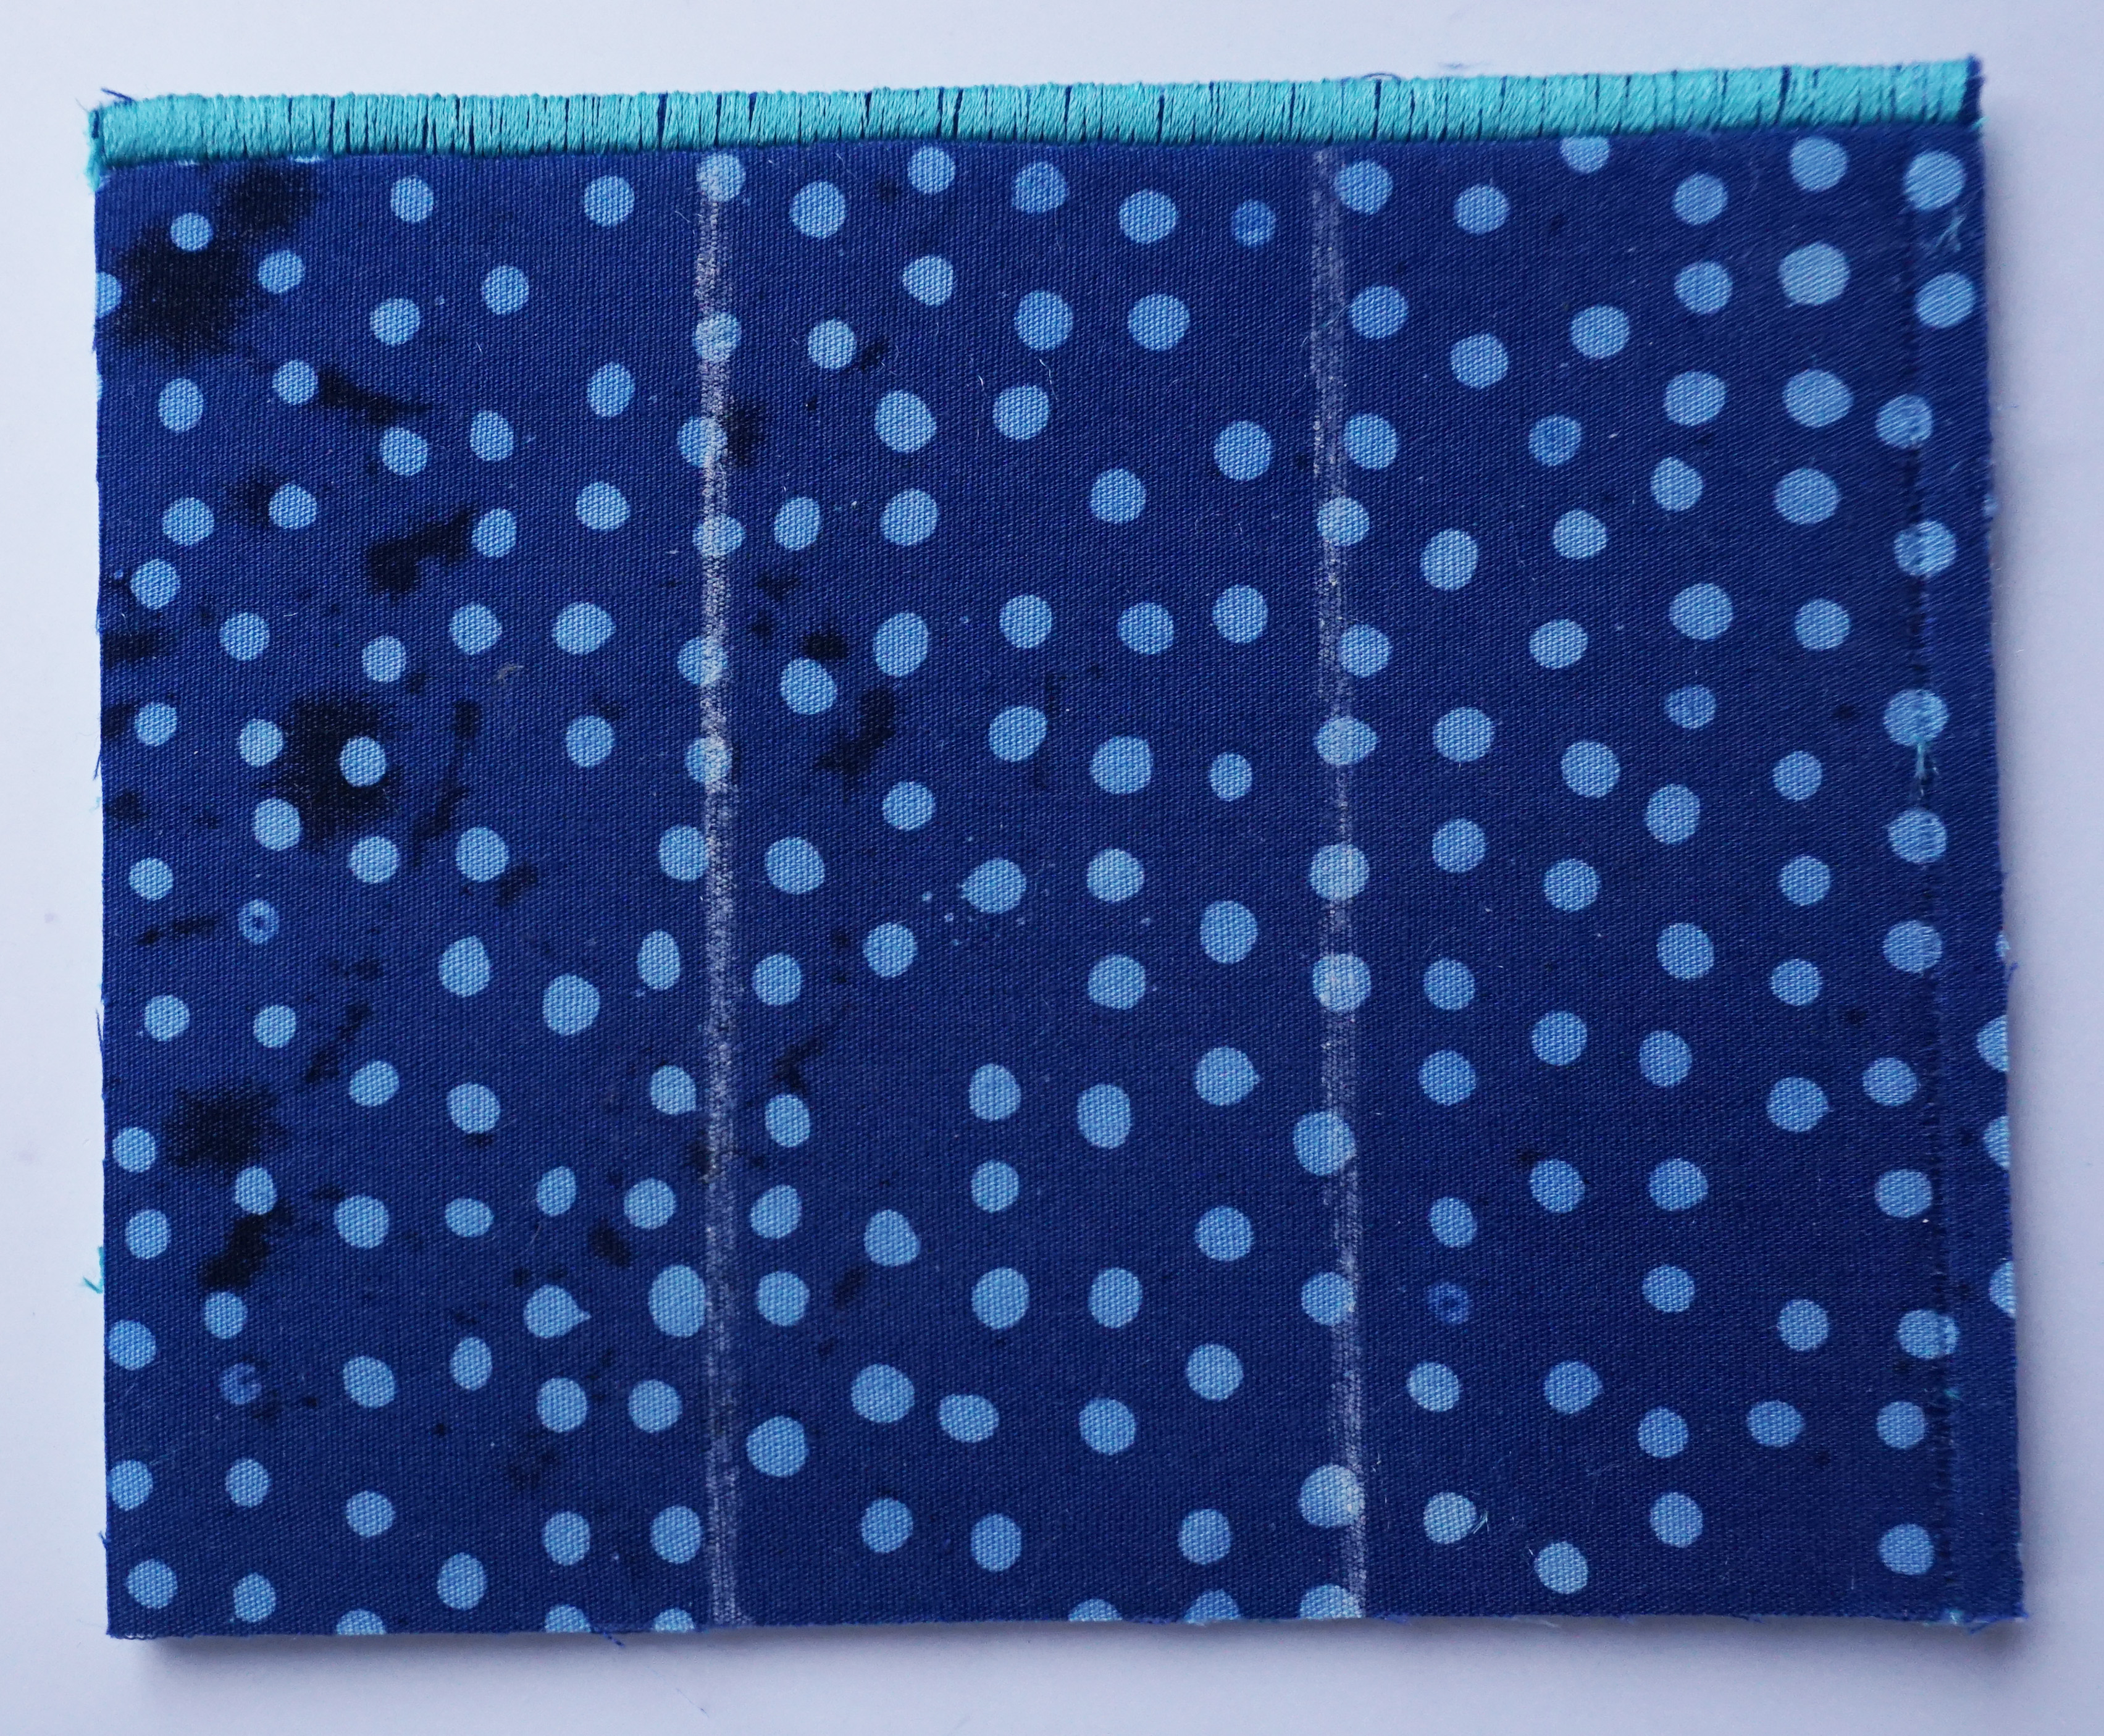
On each of the three smaller rectangles, make two lines using either a mechanical pencil or tailor’s chalk 1 ½ inches in from the outside edges. This will divide the rectangle into three equal sections, each 1 ½ inches.
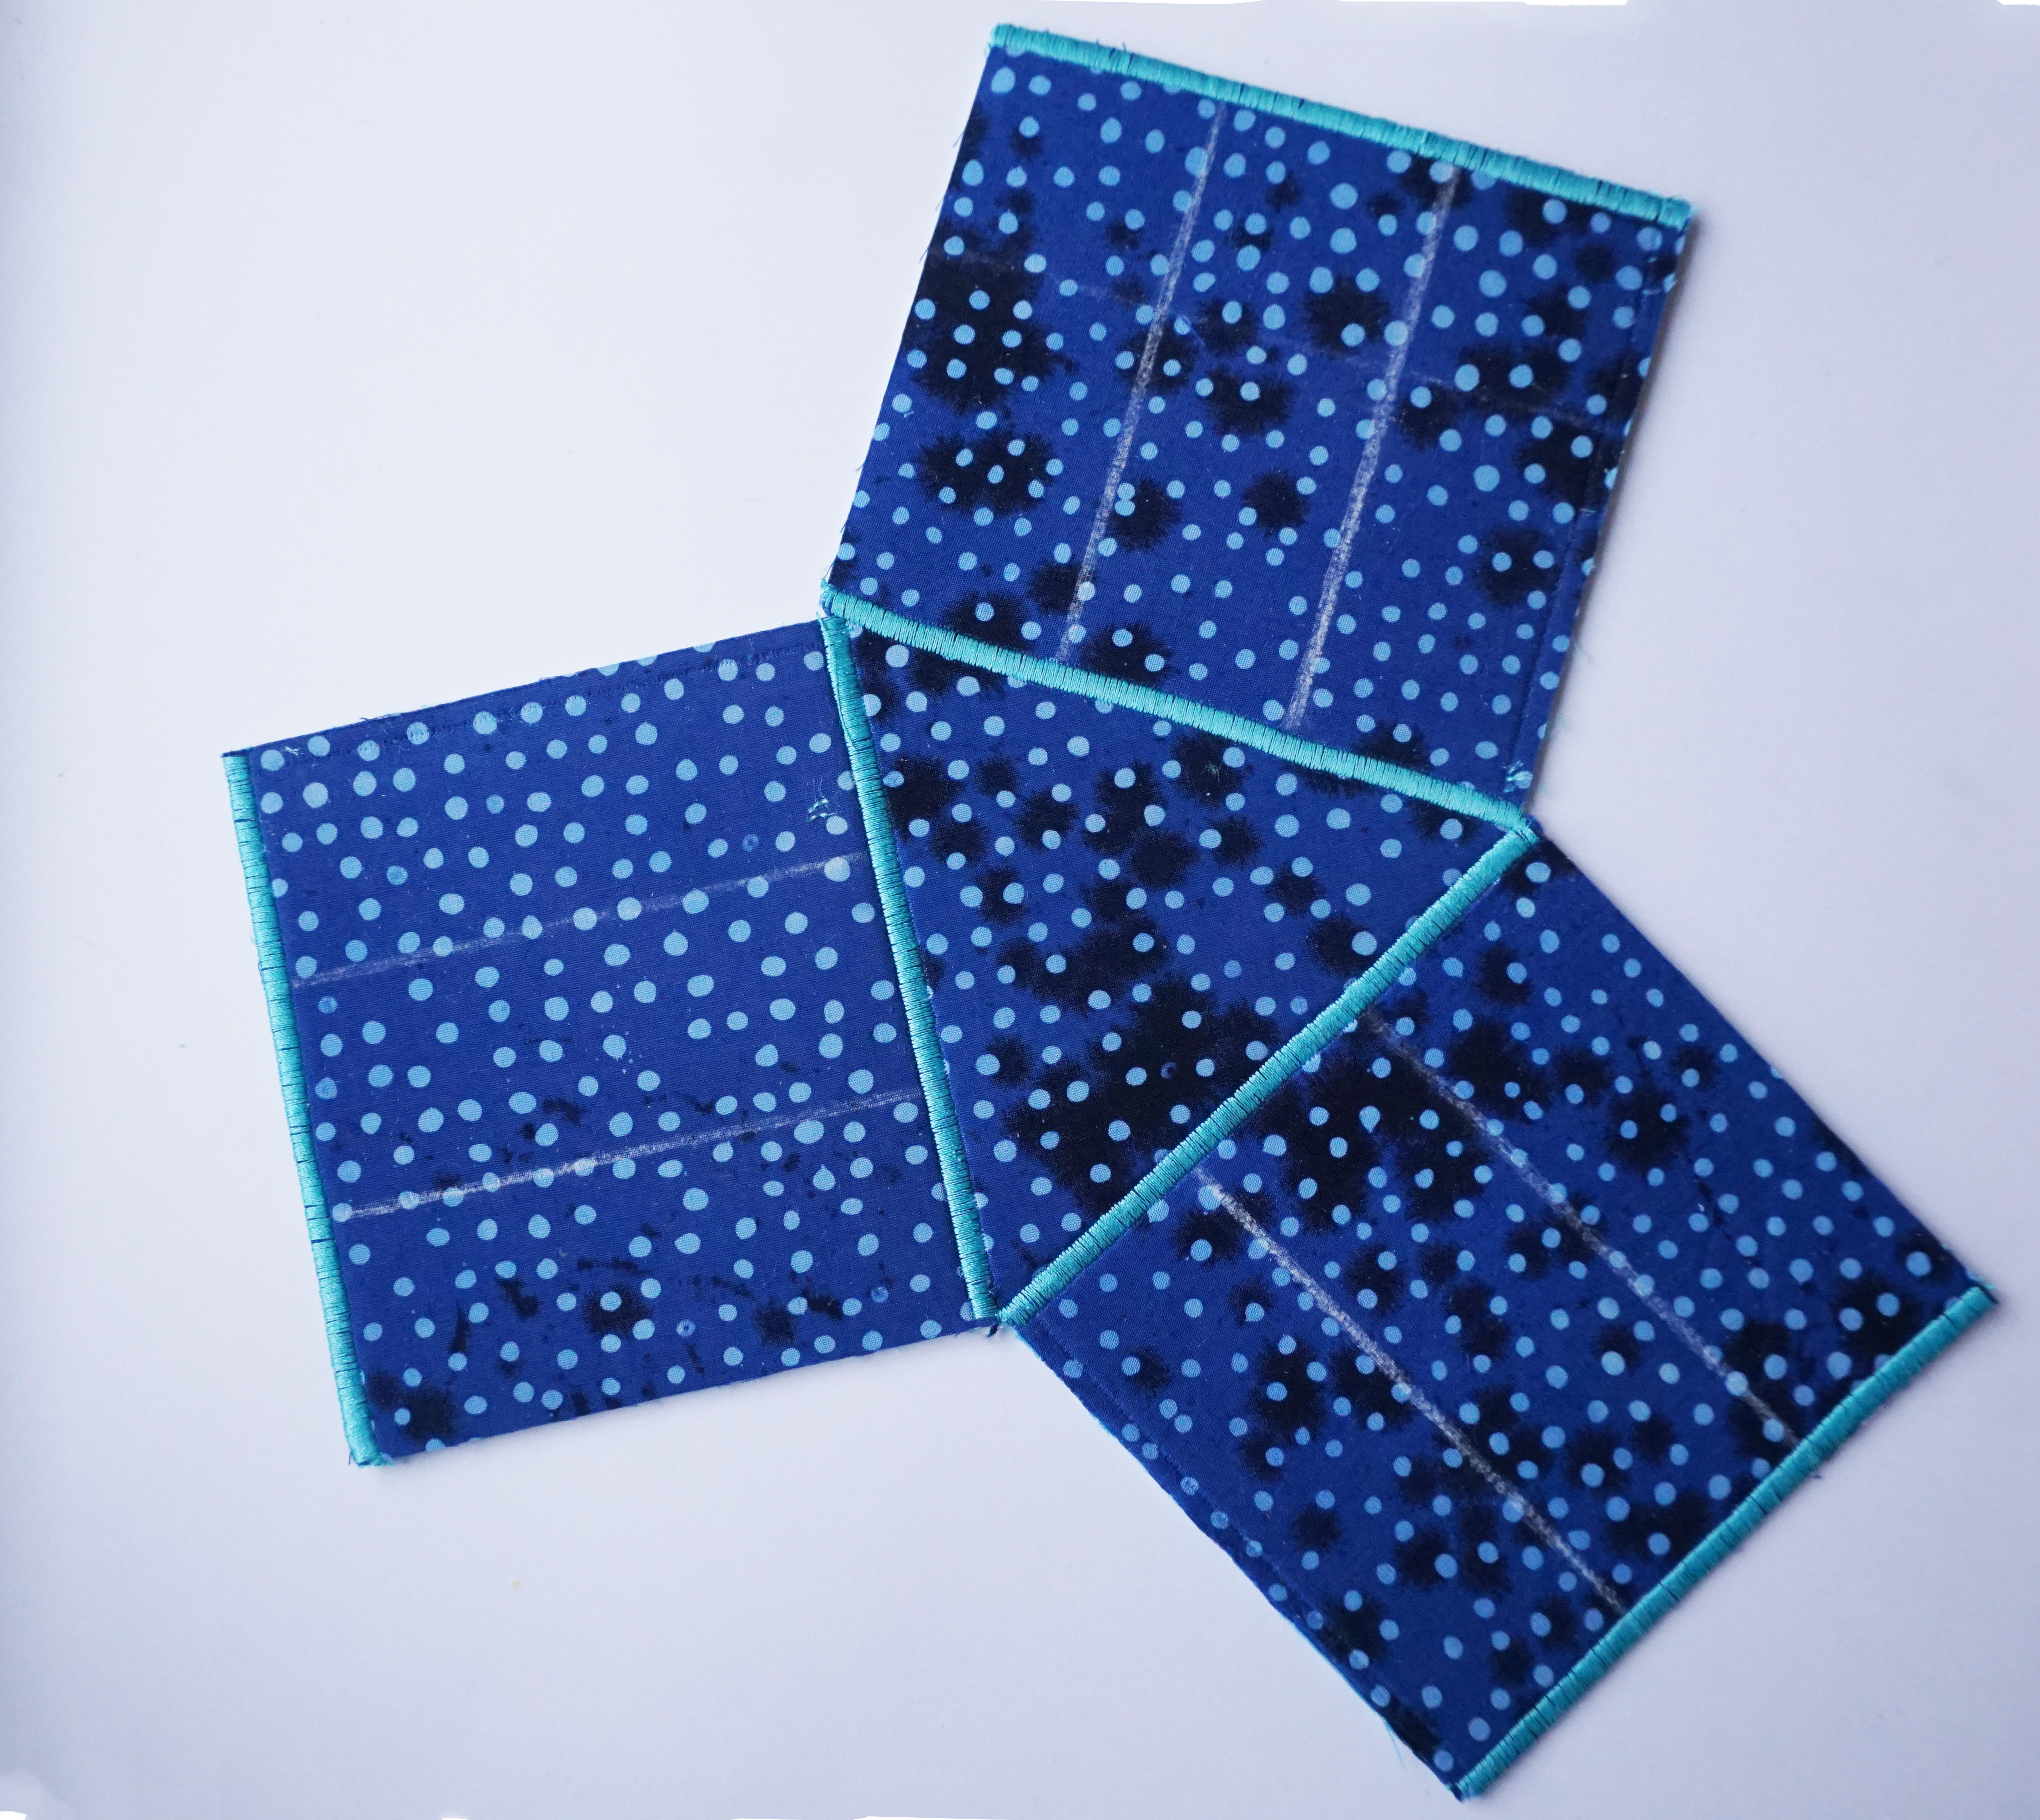
Place the triangle right side up in your sewing machine and use the same satin stitch to attach a rectangle, one raw edge butted up to one side of the triangle. This time, align the center mark on the foot with the line where the raw edges where meet.
Sew one section to the triangle and then attach the other two in the same way.
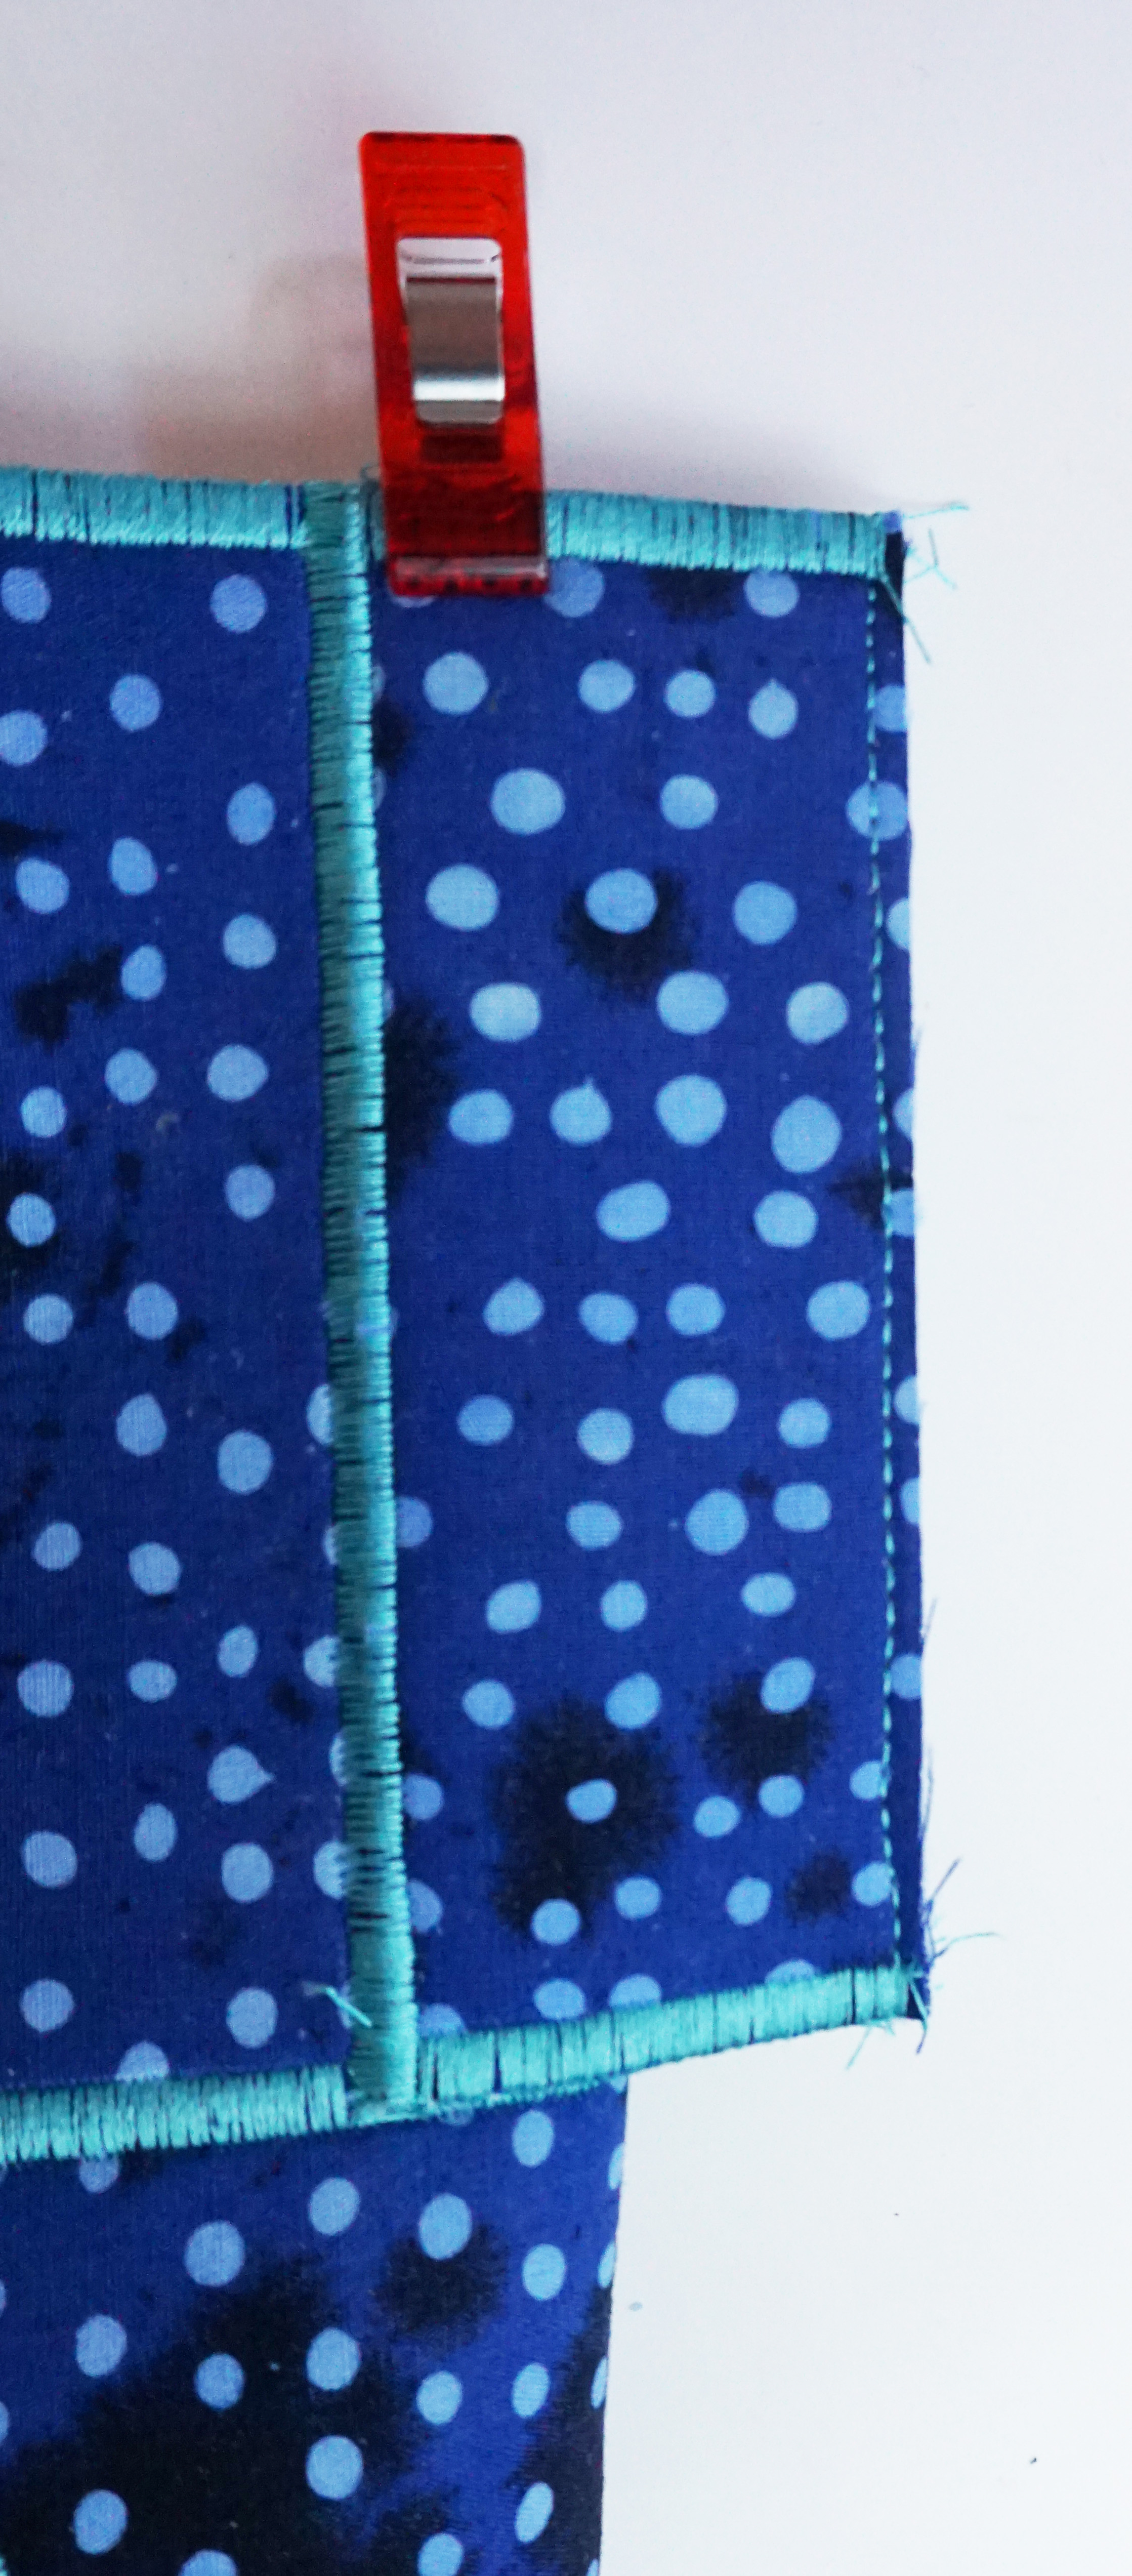
Take one of the strips and position it so it sits right between the chalk lines on one of the rectangles. Make sure it is right side facing up, the rectangle is right side facing up, and the top and bottom edges with the satin stitching are all lined up. I find these little binding clips helpful in holding everything in place, since this is all too thick for a pin.
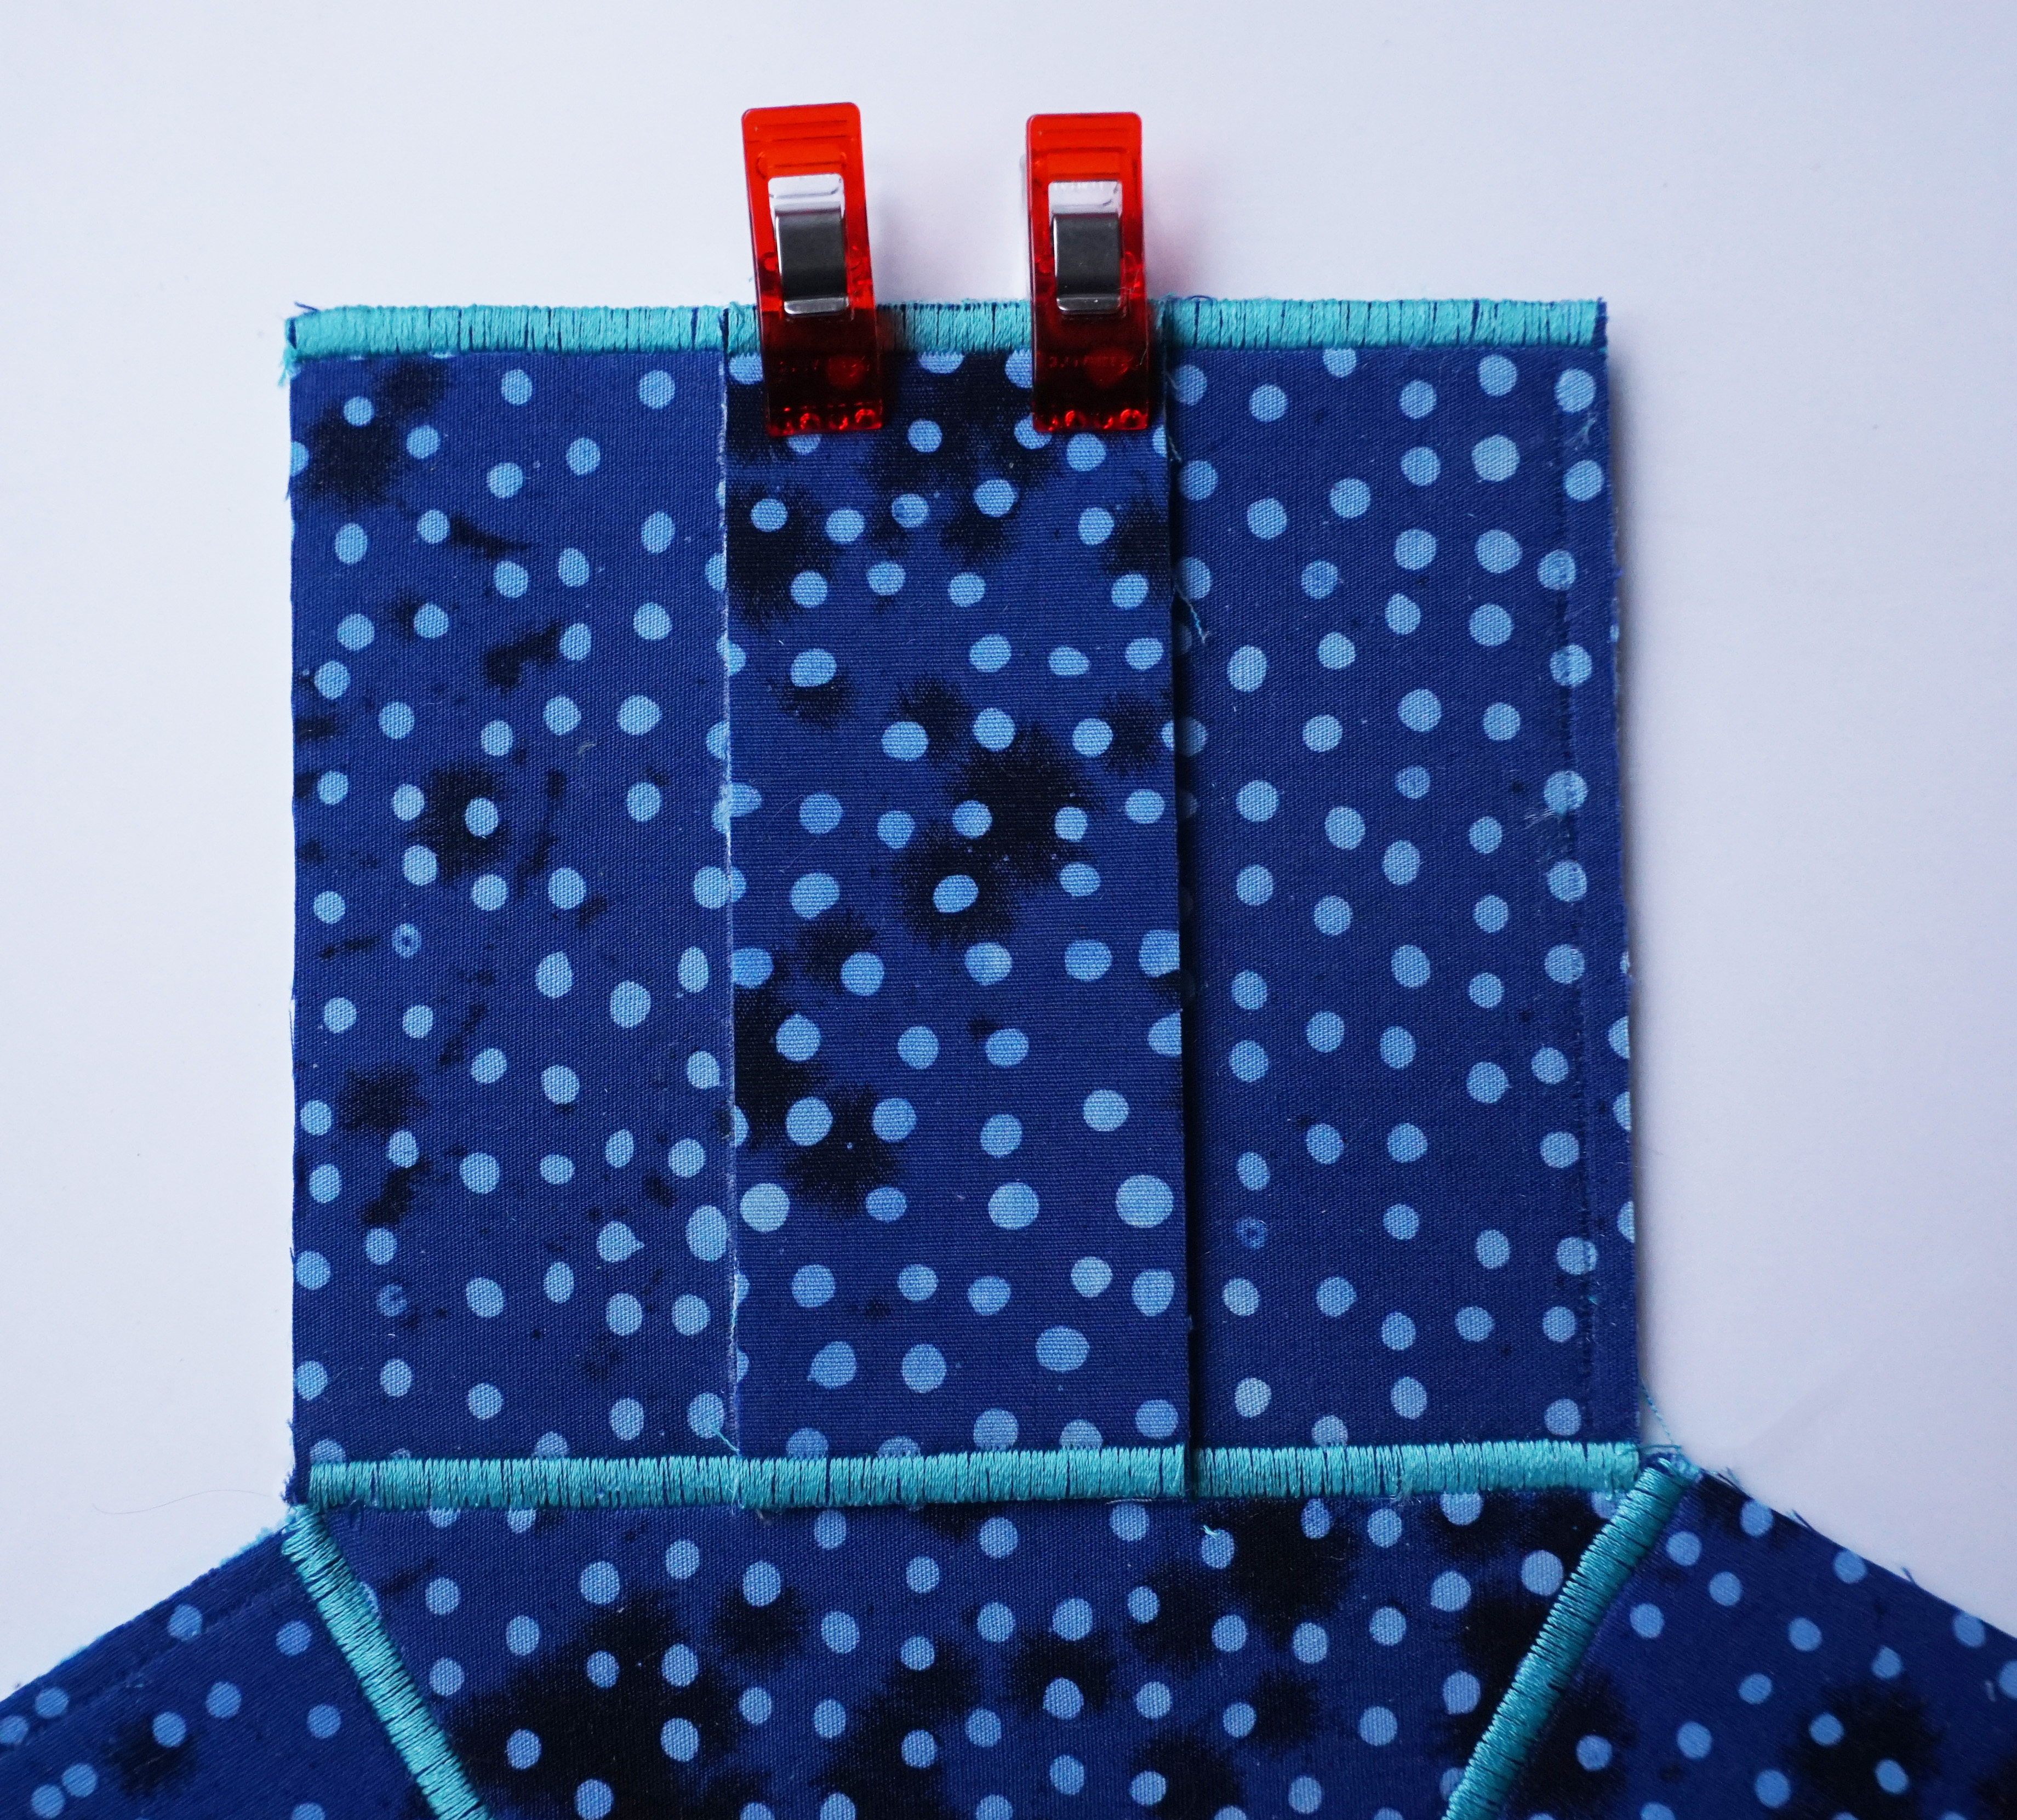
With the center line of the foot aligned with the edge of the strip, sew the right side of the strip to the rectangle with the satin stitch. Flip it out of the way and do the same on the other marked line with another strip. This should fit nicely nestled next to the first sewn strip, but again, make sure the tops and bottoms are matching. Sew this one the same way you did the first.
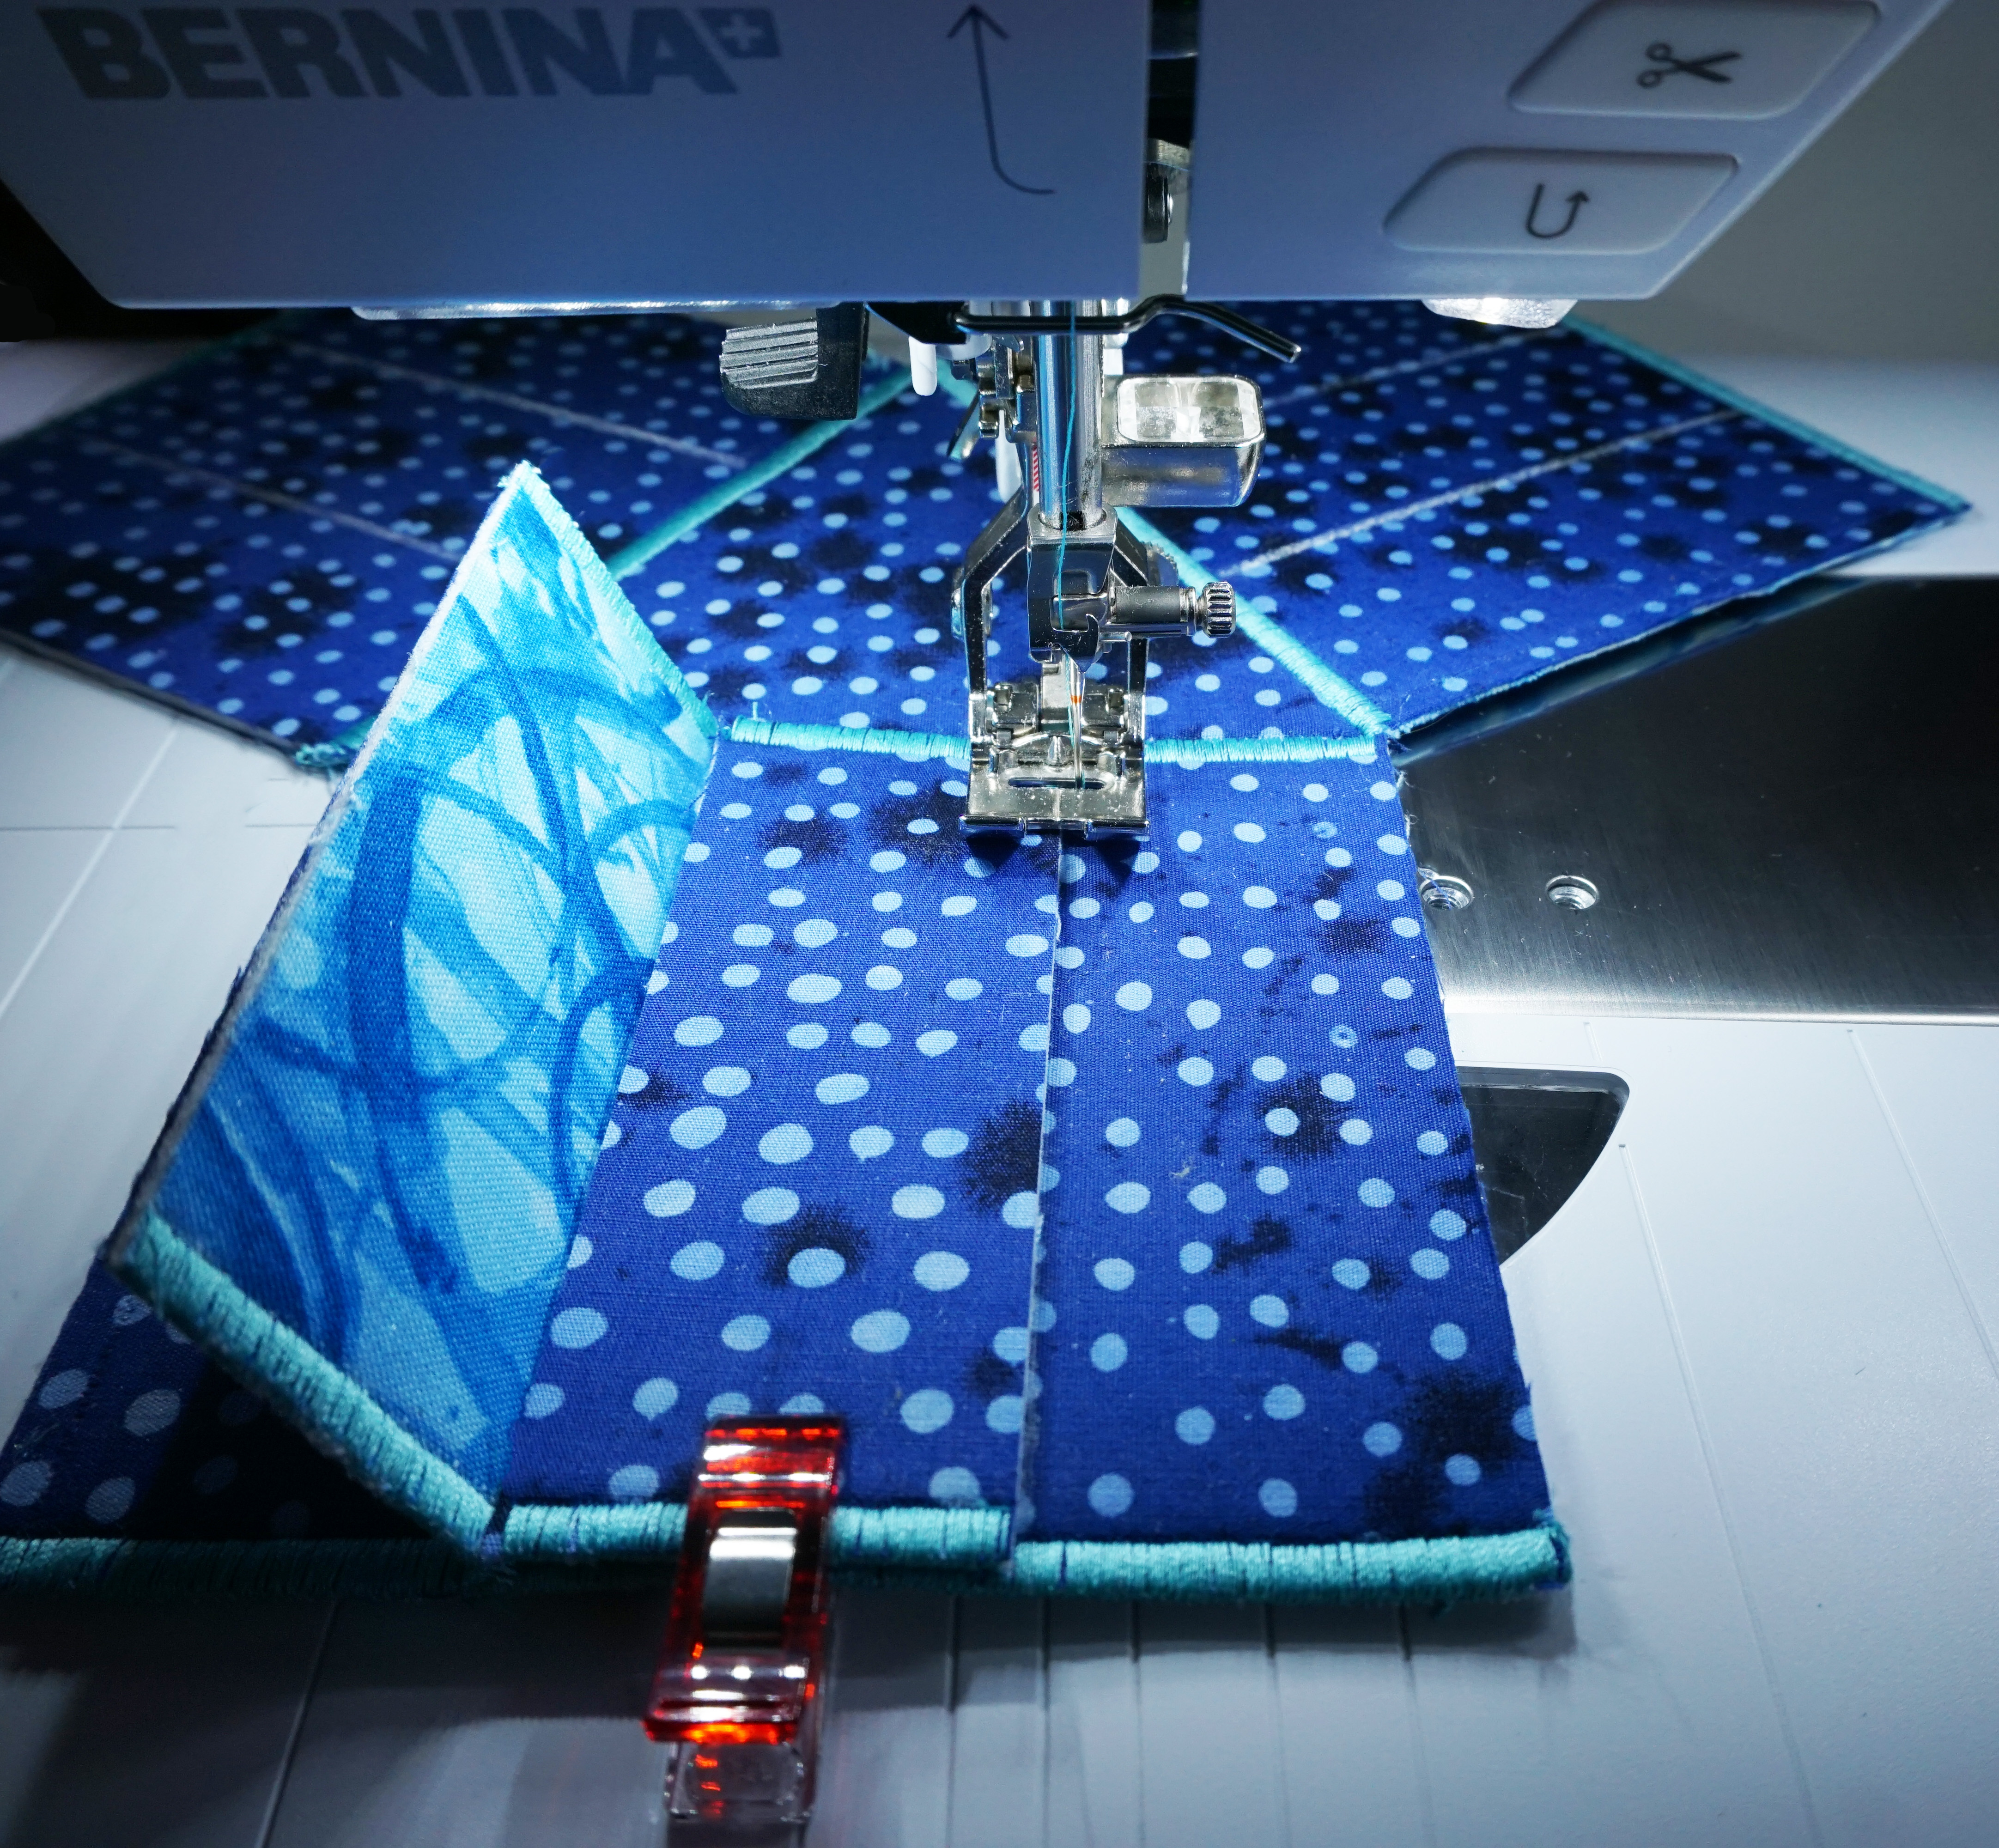
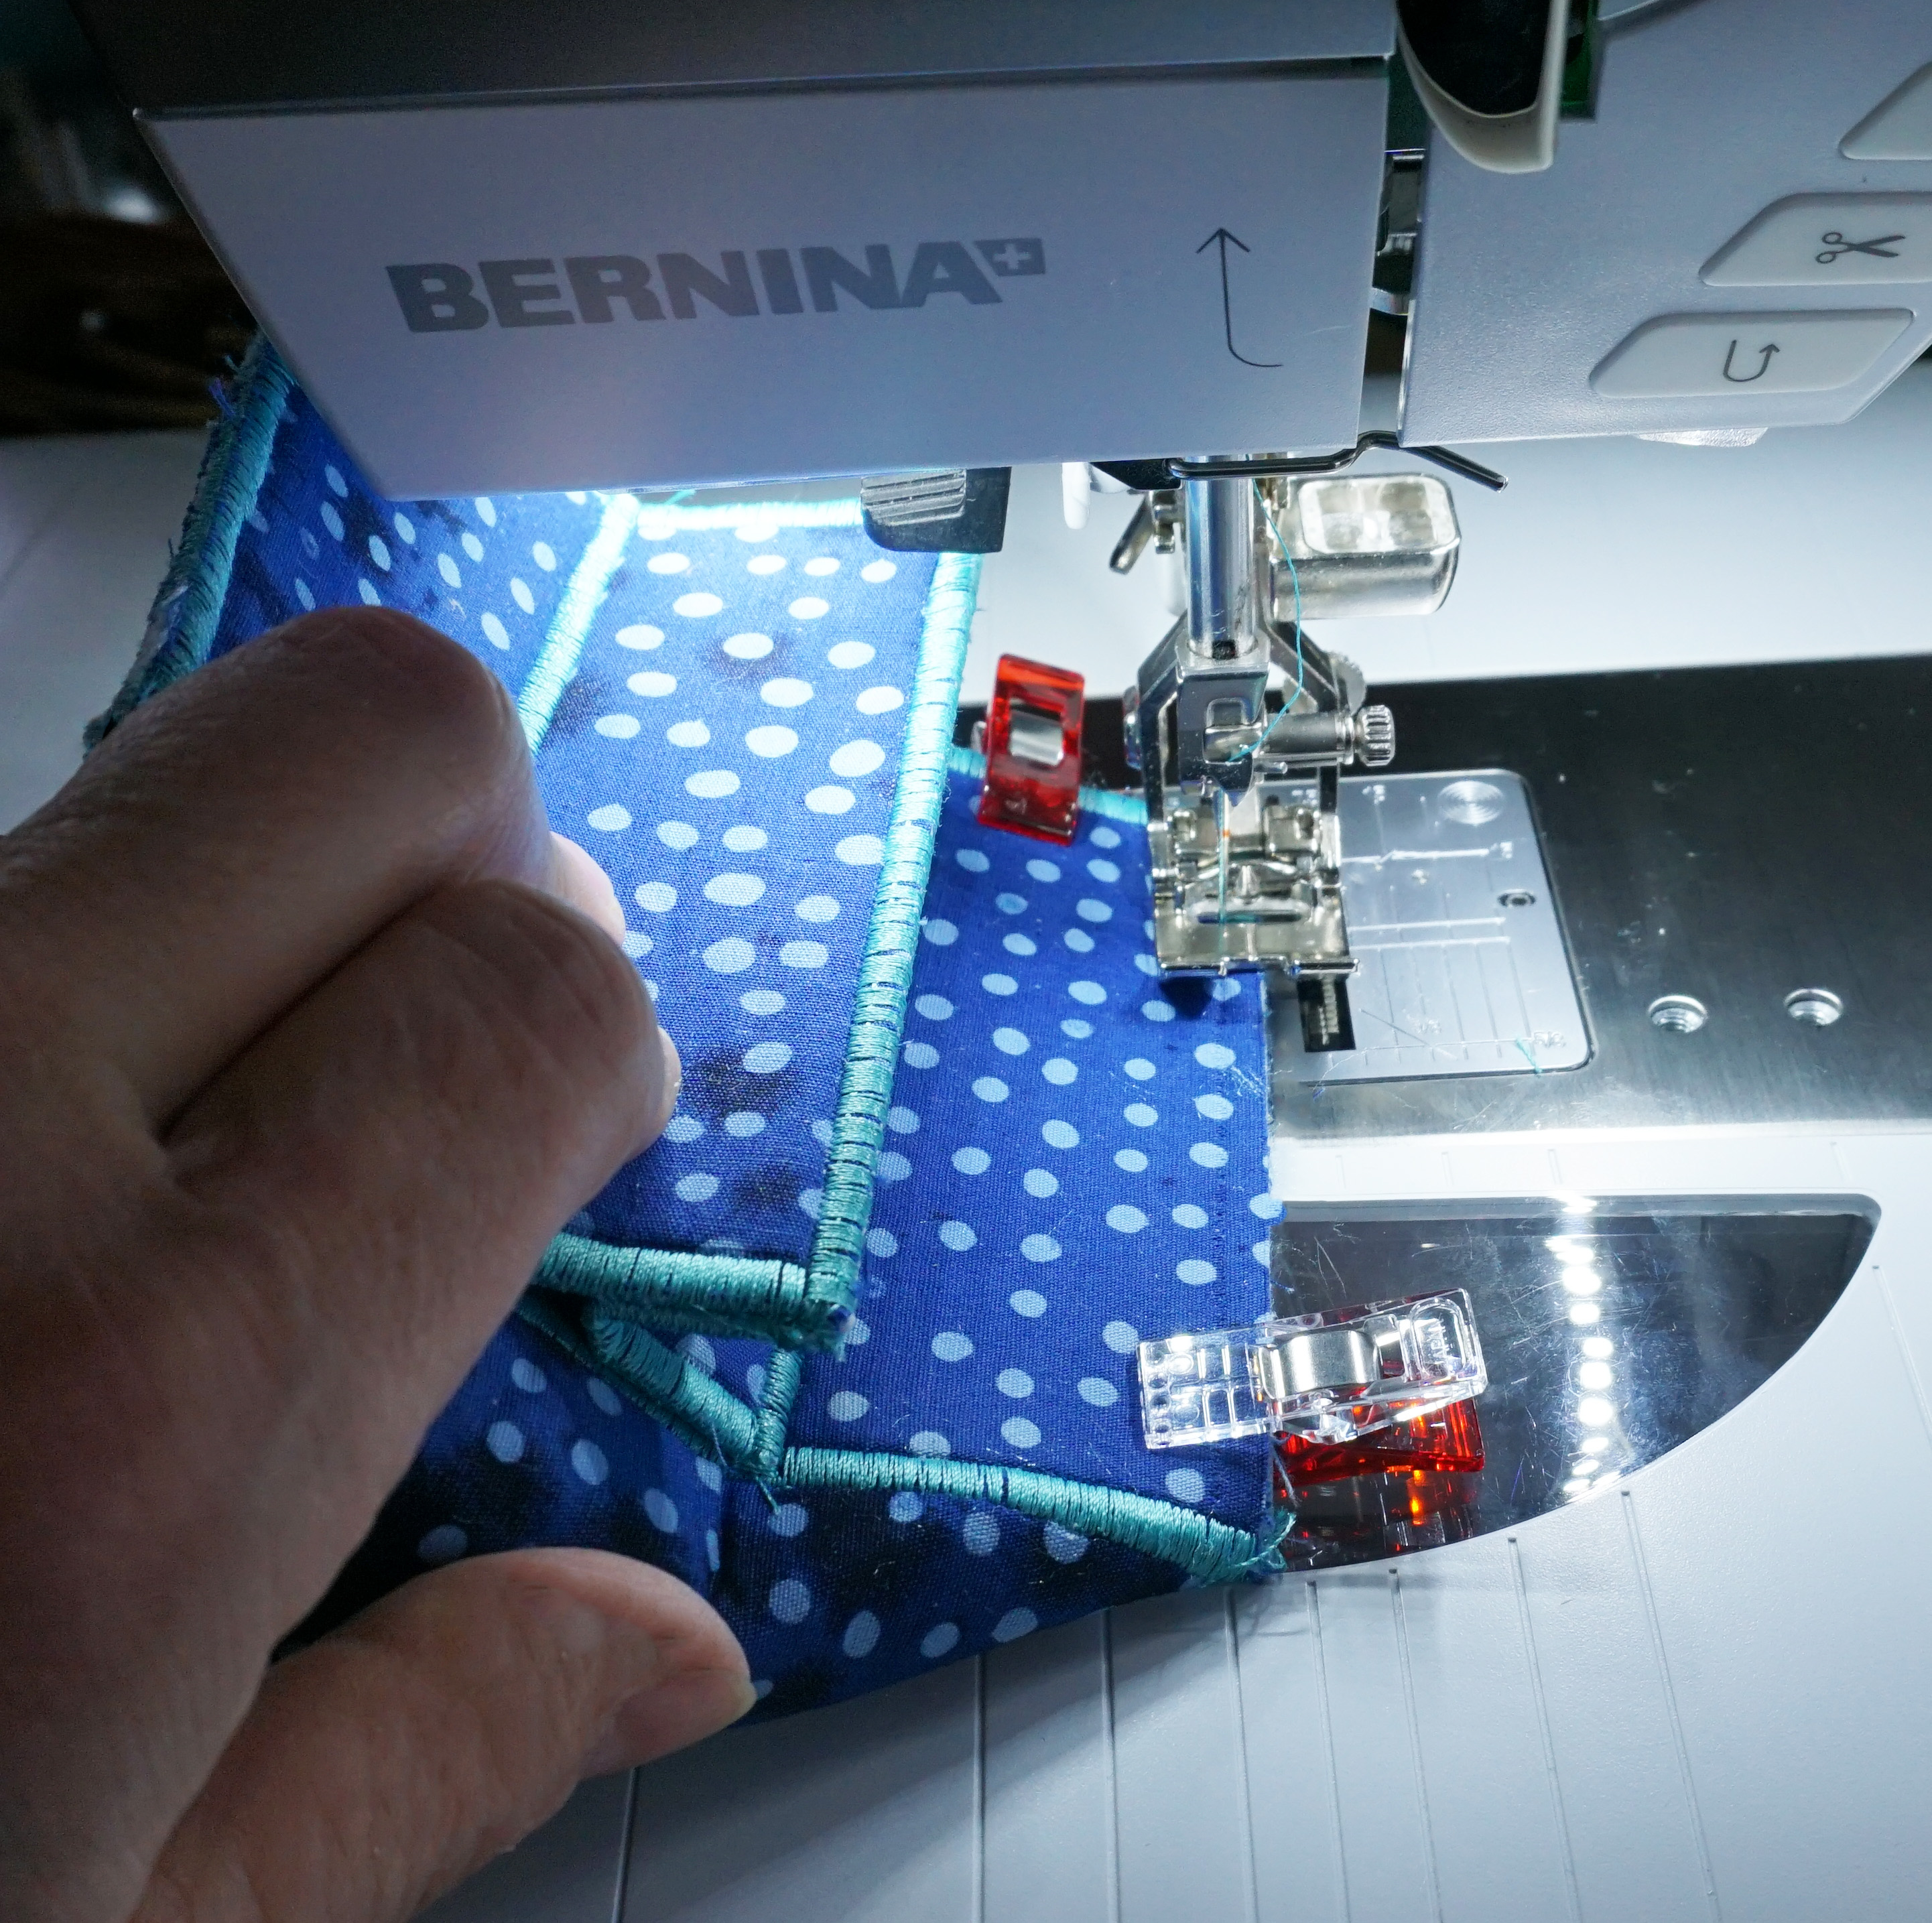
Gently manipulate the section so you can line up the raw edges of the two strips with wrong sides together. Again, a binding pin will help hold this in place. I find it easiest to sew a straight line of stitching as close to the edge as possible just to hold everything together before I do the satin stitch.
The great news is my BERNINA 750 remembers the setting for the zig zag stitch even when I toggle back and forth to the straight stitch so I don’t have to reset every time I switch back to the zig zag.
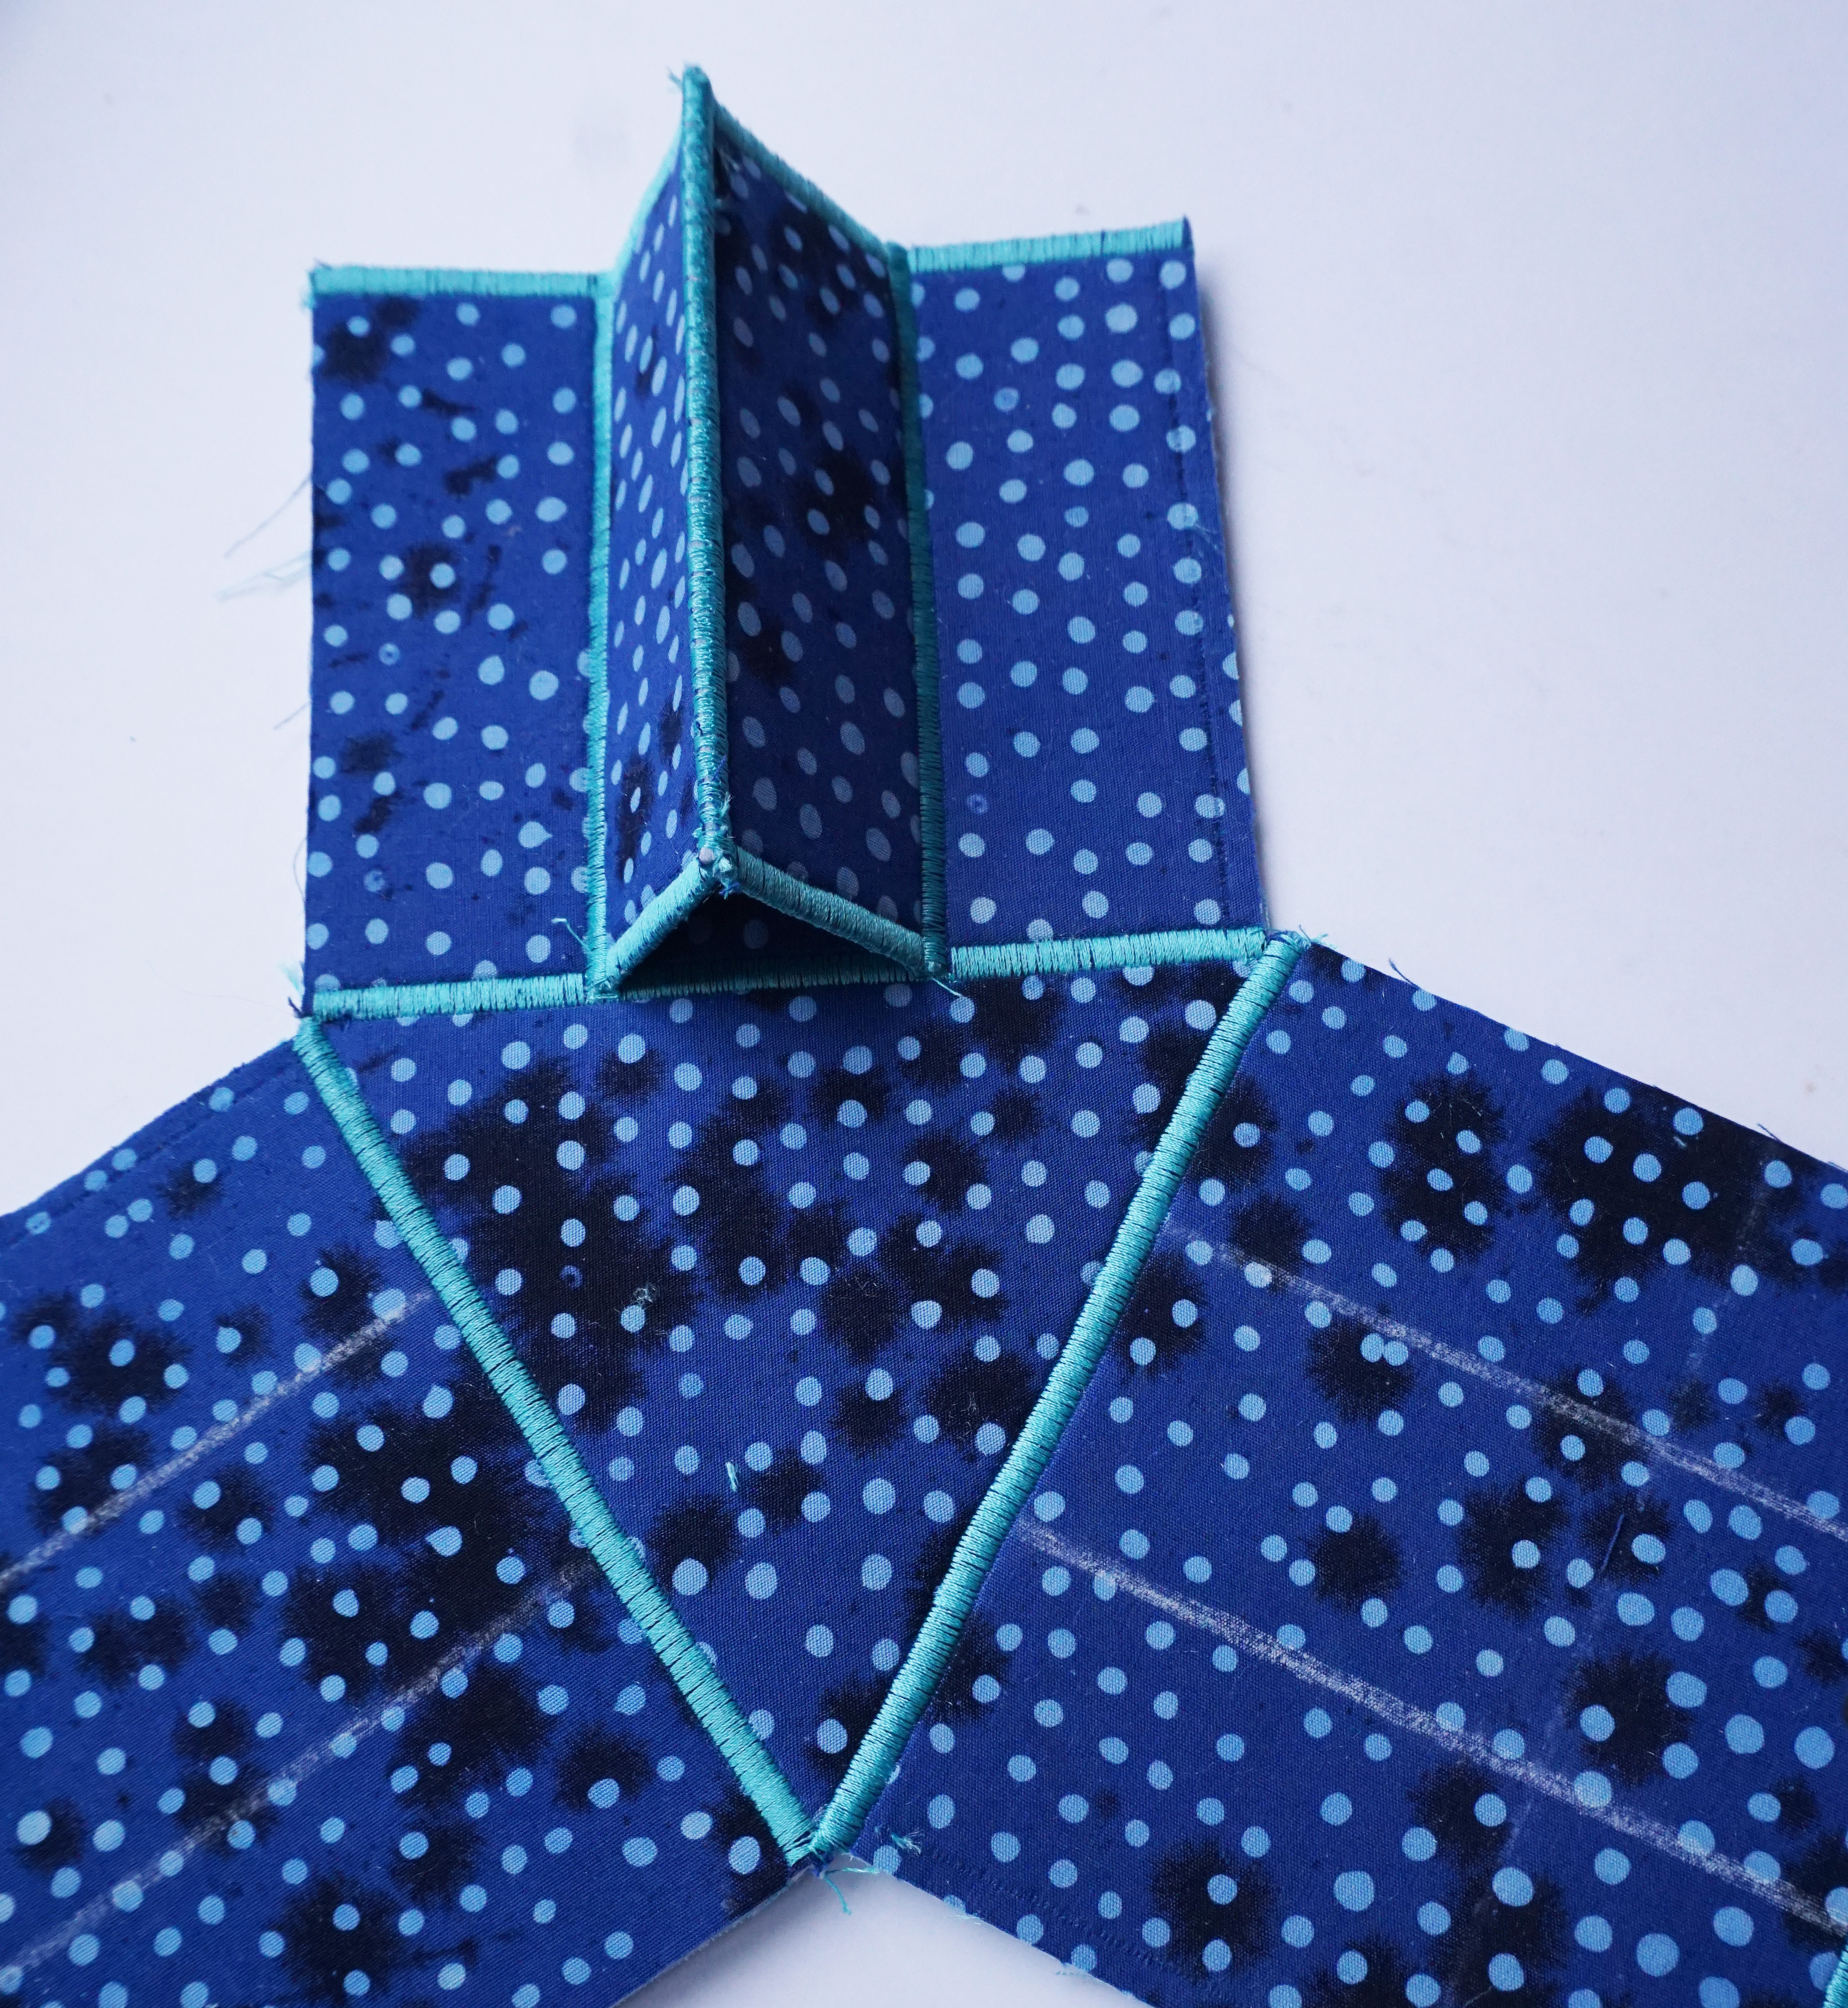
Sew the satin stitch edge and repeat this step for the other strips and rectangles.
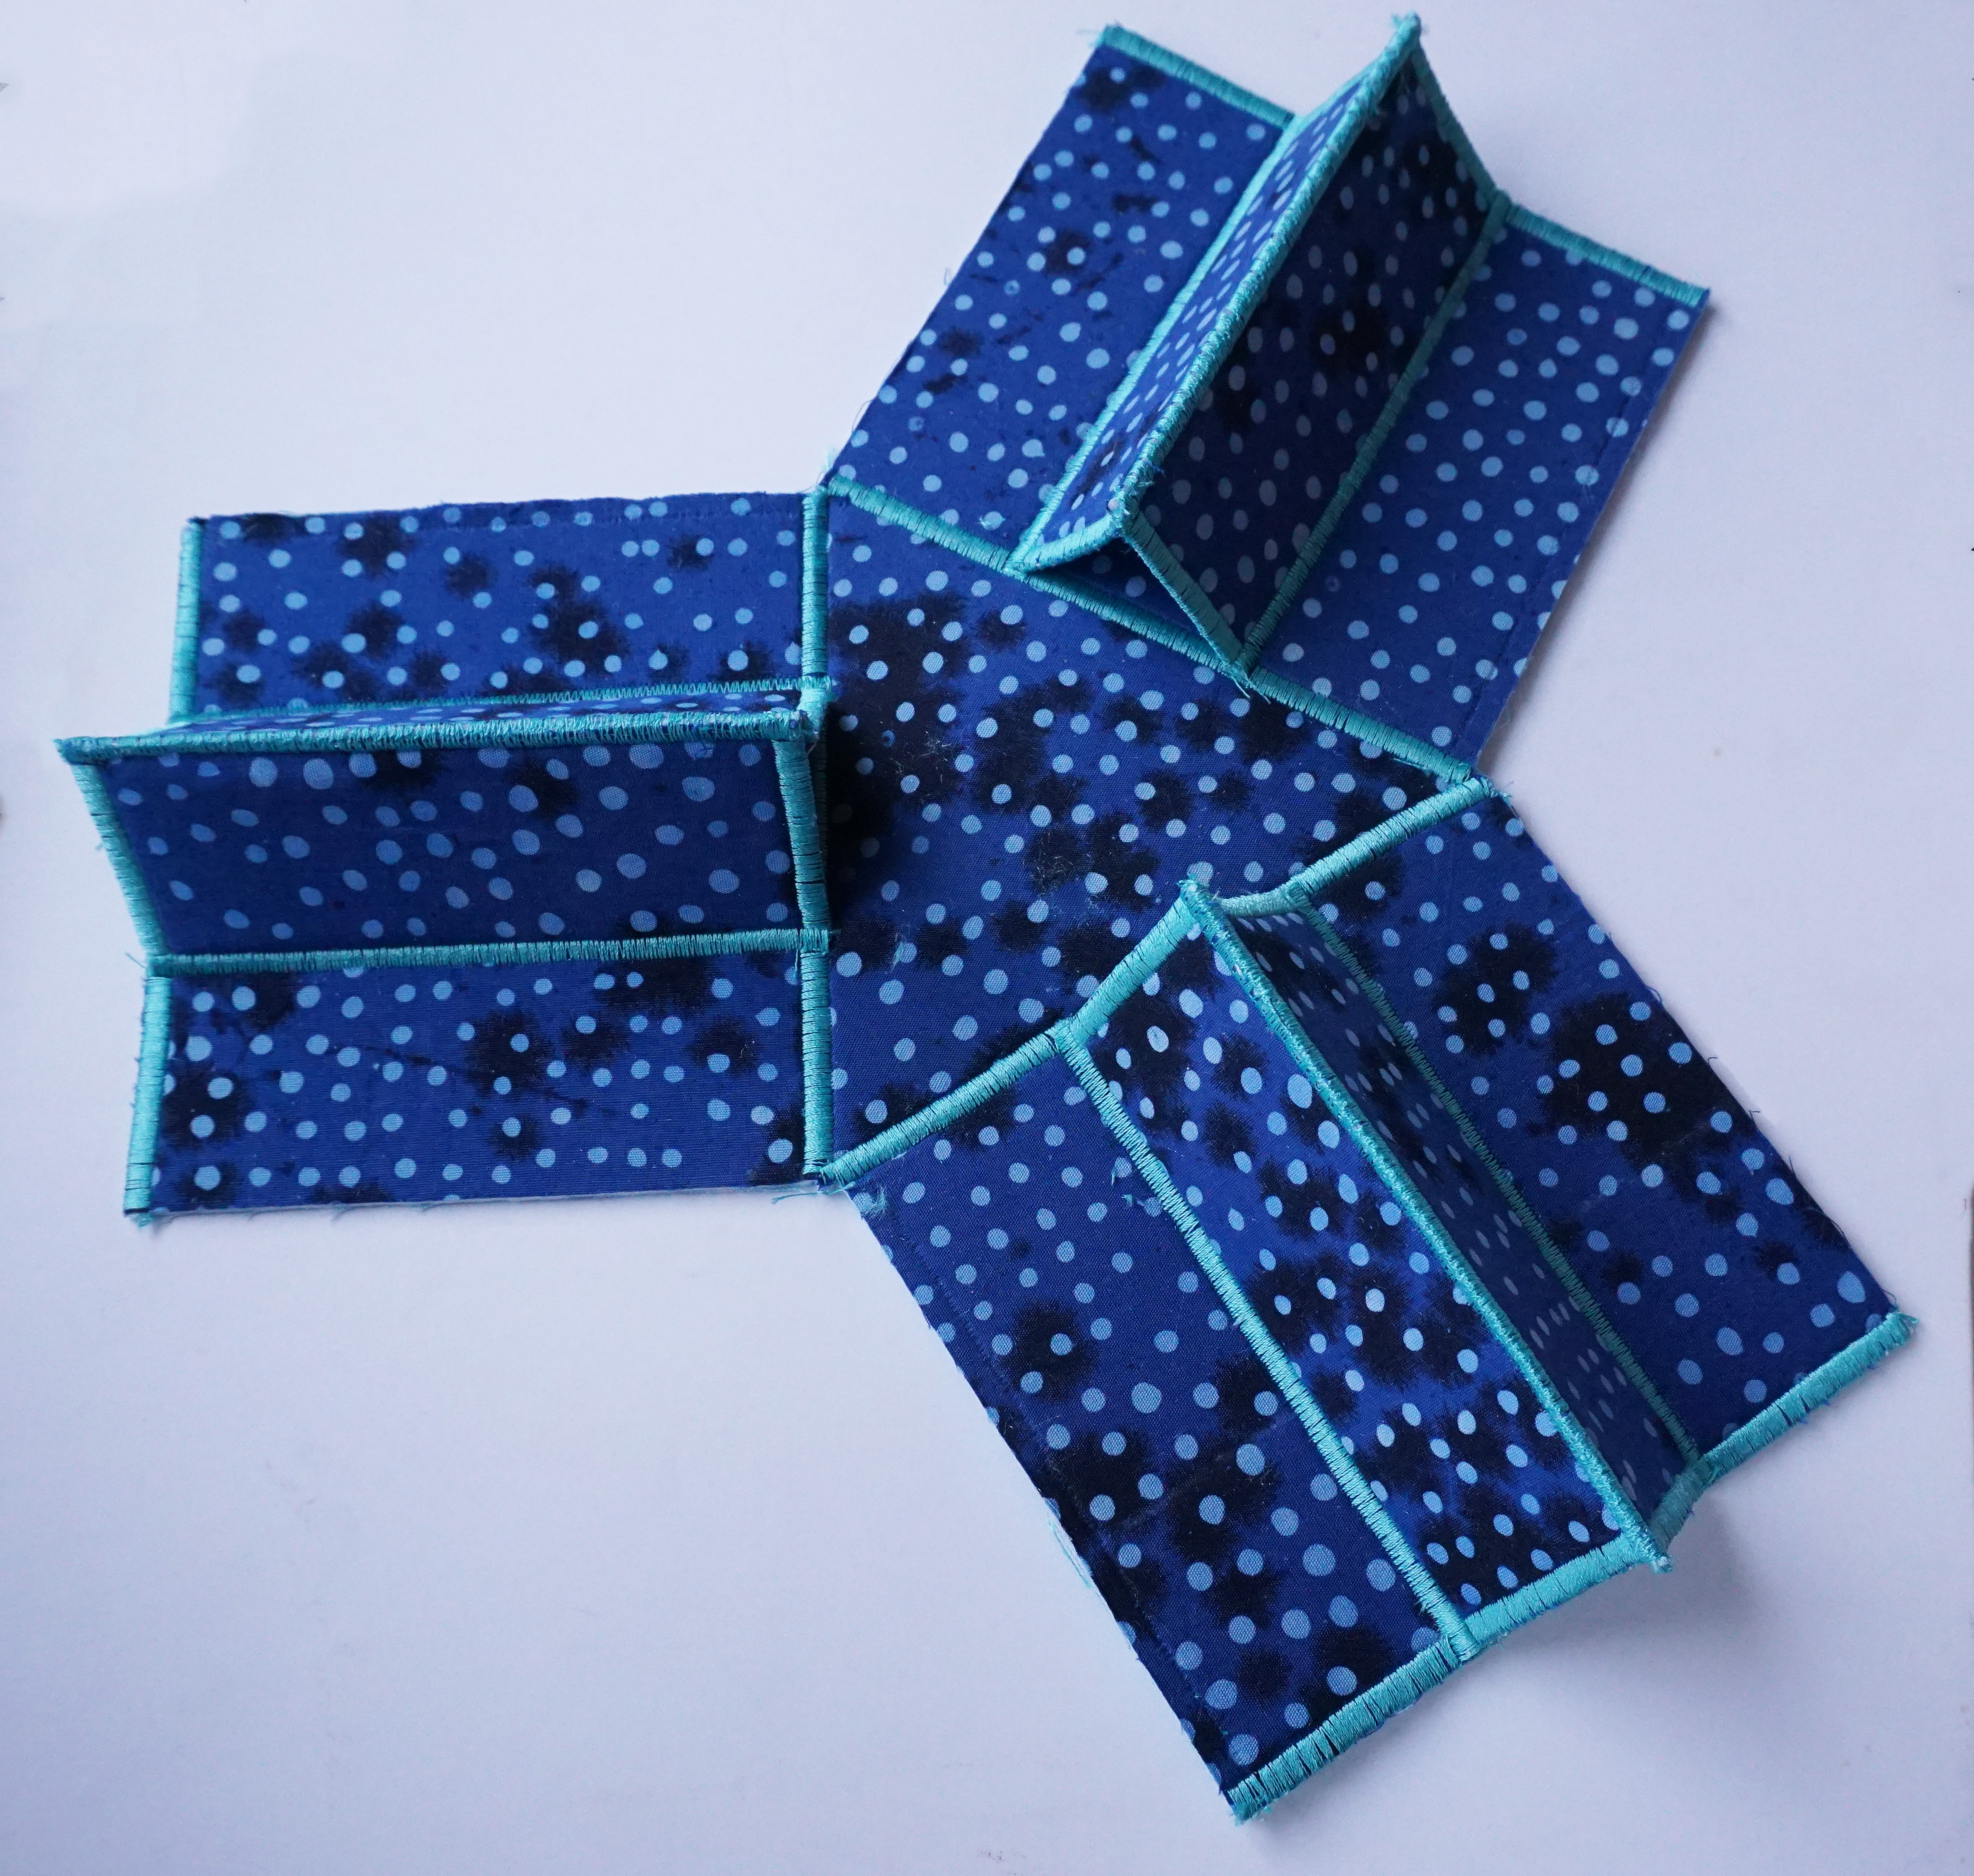
I bet you can see where I am going now, right?
You can now connect the three sides of the box by gently bringing two adjoining sides together, wrong sides together and lining up the top and bottom. I find I don’t need to do the straight stitch here first, but if you feel it is helpful, do the line of stitching to hold them in place before doing your satin stitch. Finish the other two sides and you are done.
All the bending and folding may have made your stabilizer a little wonky, just message it back into shape with your fingers.
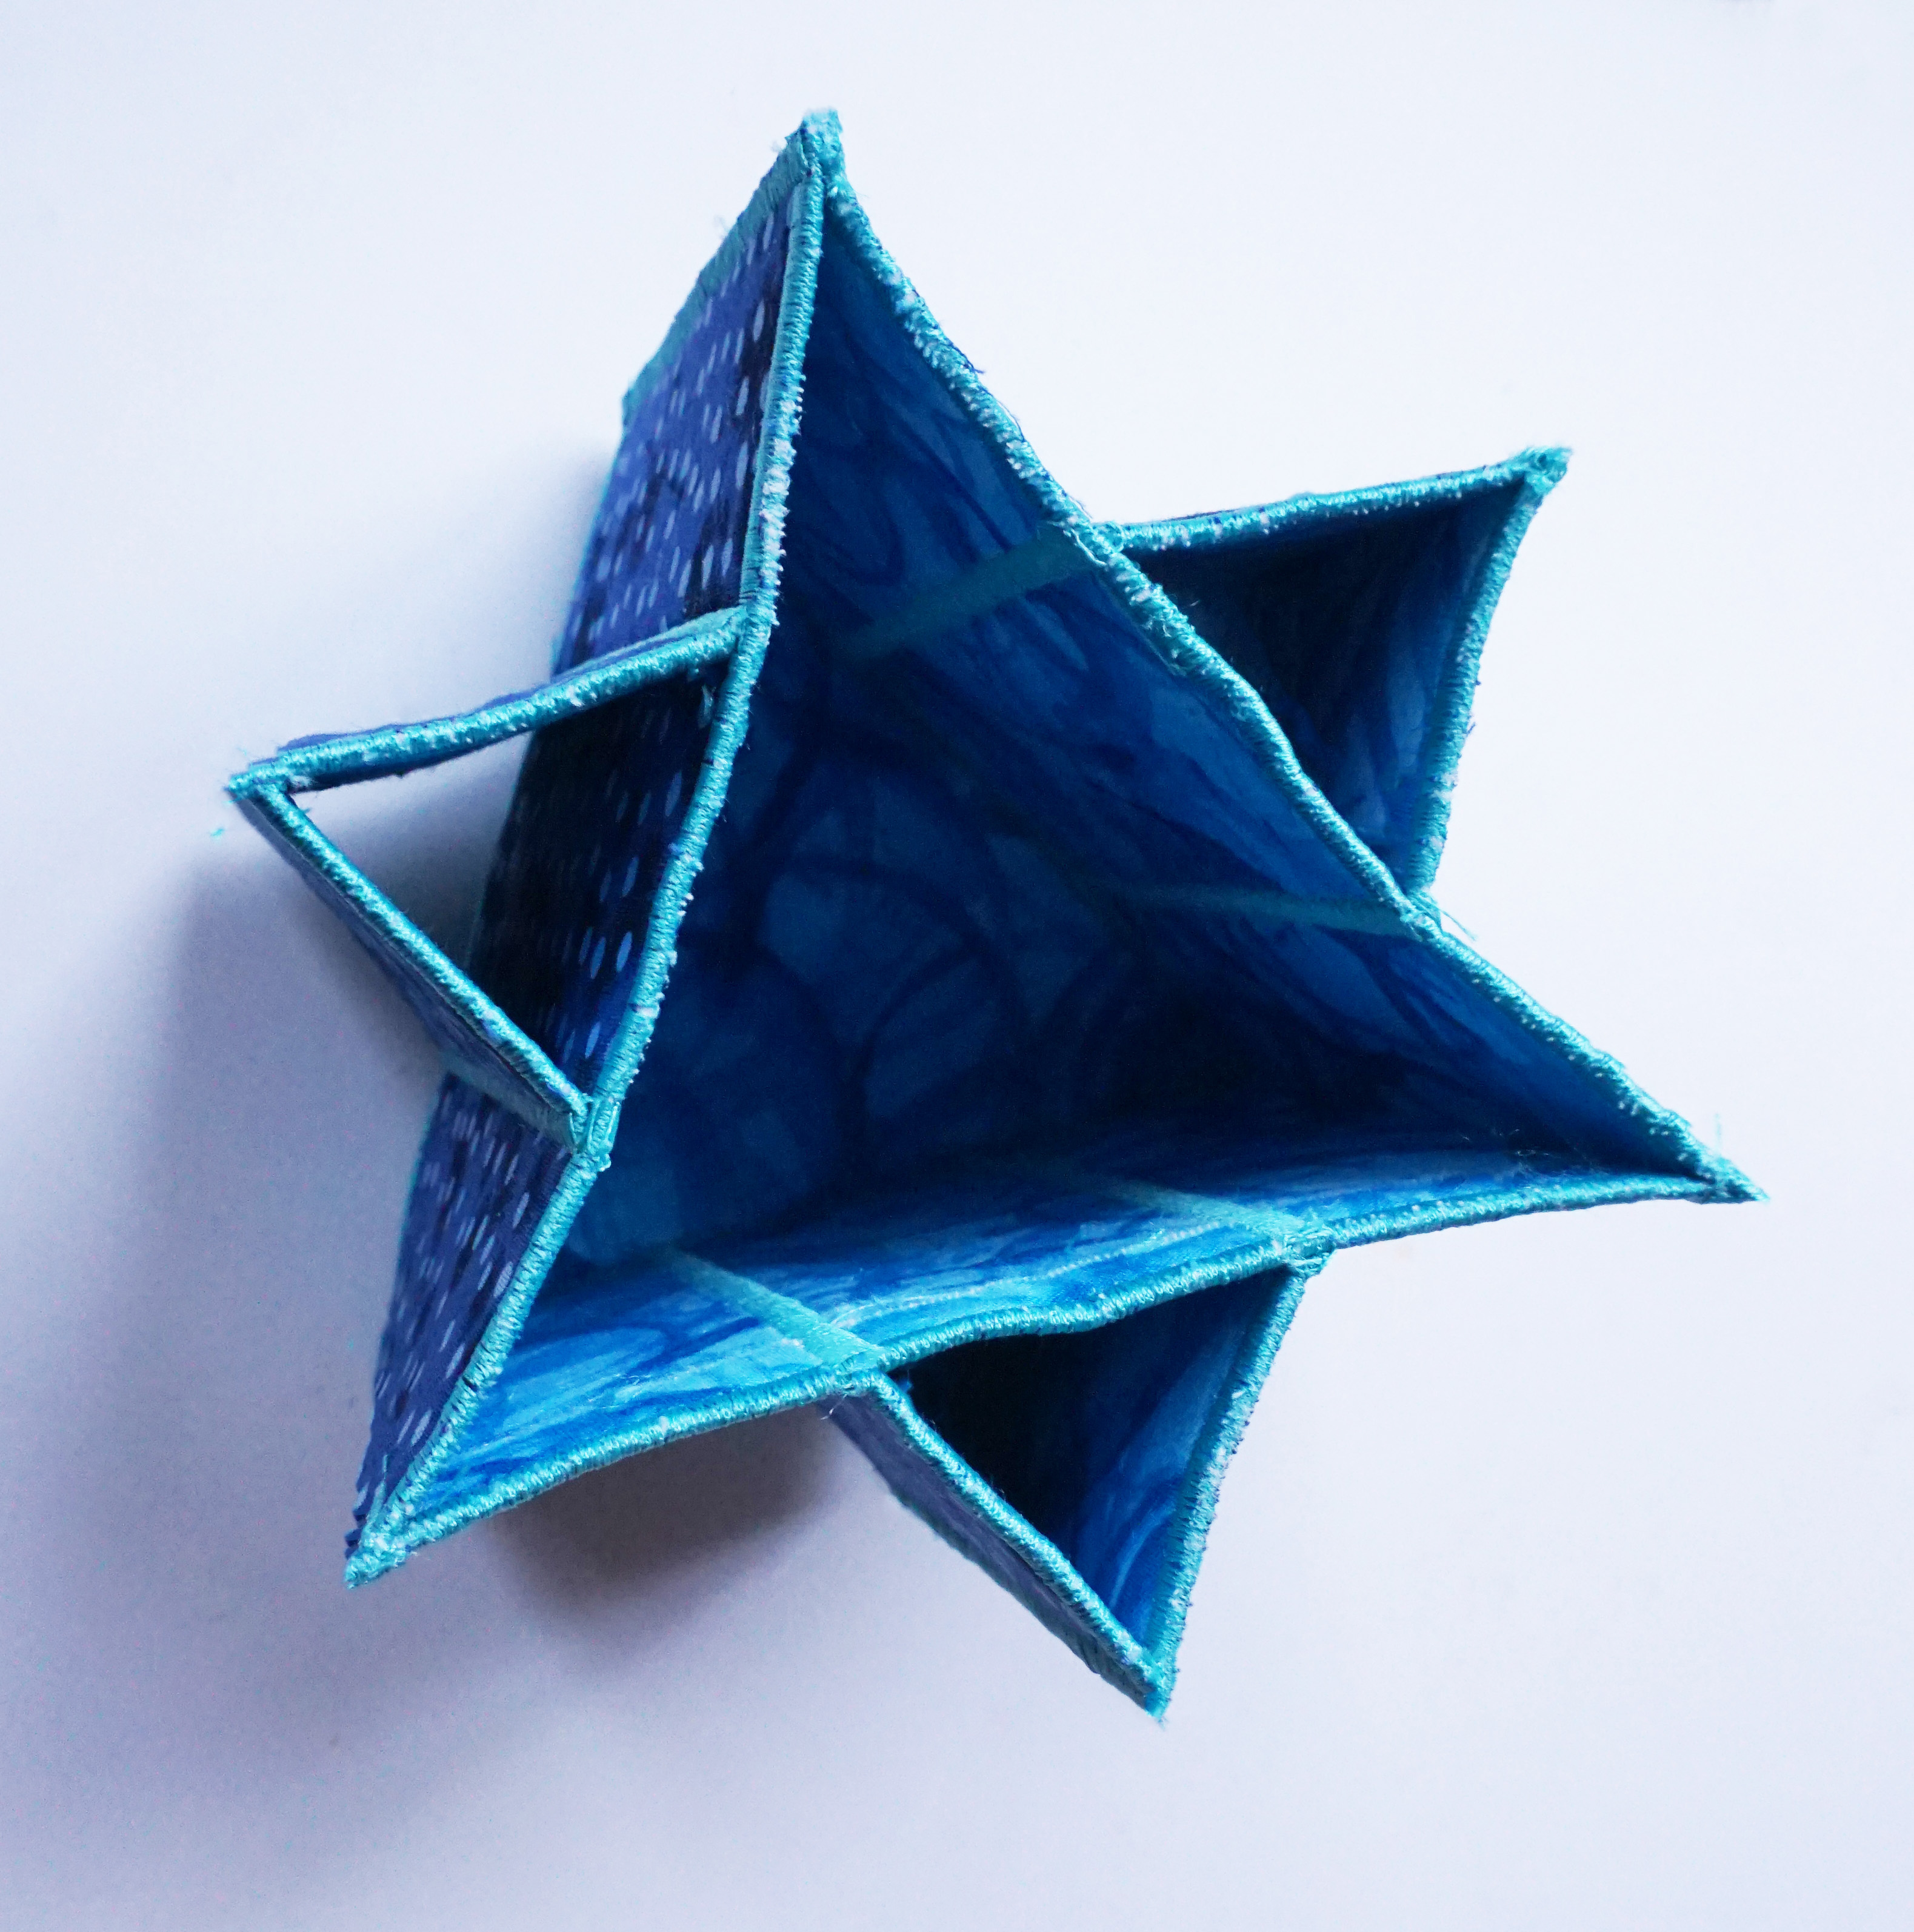
Fill with candles and you are ready to go. Happy Hanukkah!

Used Products

What you might also like


One comment on “Hanukkah Star of David Shaped Candle Box”
Leave a Reply
You must be logged in to post a comment.

I love it, I have a dear Jewish friend who has just moved from Wales to the other side of the UK, so I cant wait to make this and send to her. Thank Jan