Glow in the Dark Halloween Ghosties
GLOWING GHOSTIES

When I discovered there was such a thing as “glow in the dark thread” for domestic sewing, I knew some creative projects would appear in my future. Halloween is the perfect time to sew up whimsical decorations, trick or treat totes and costume elements with glow in the dark thread.
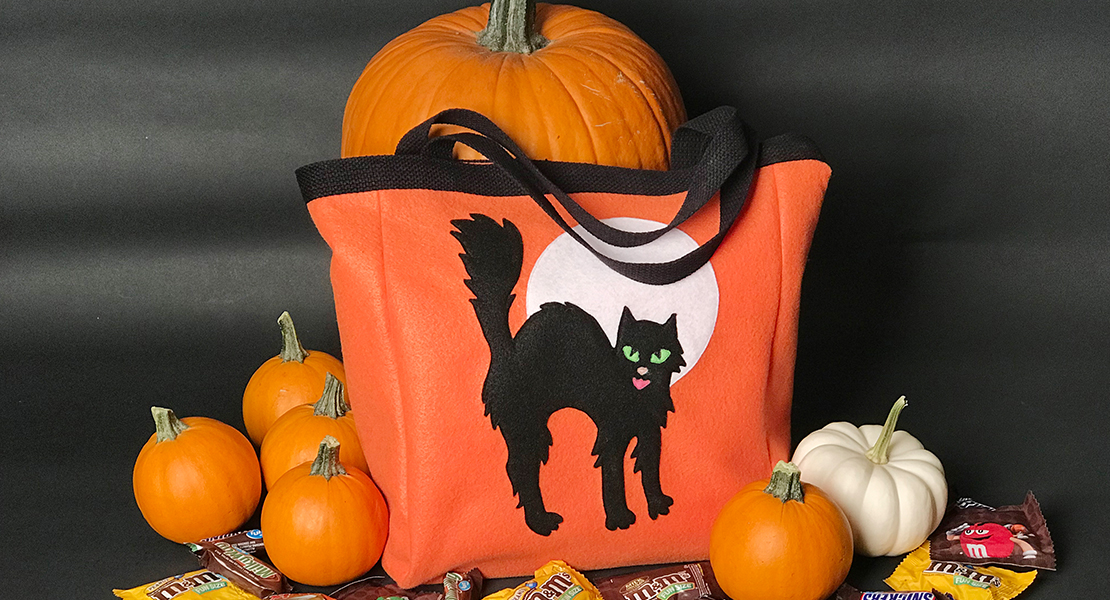
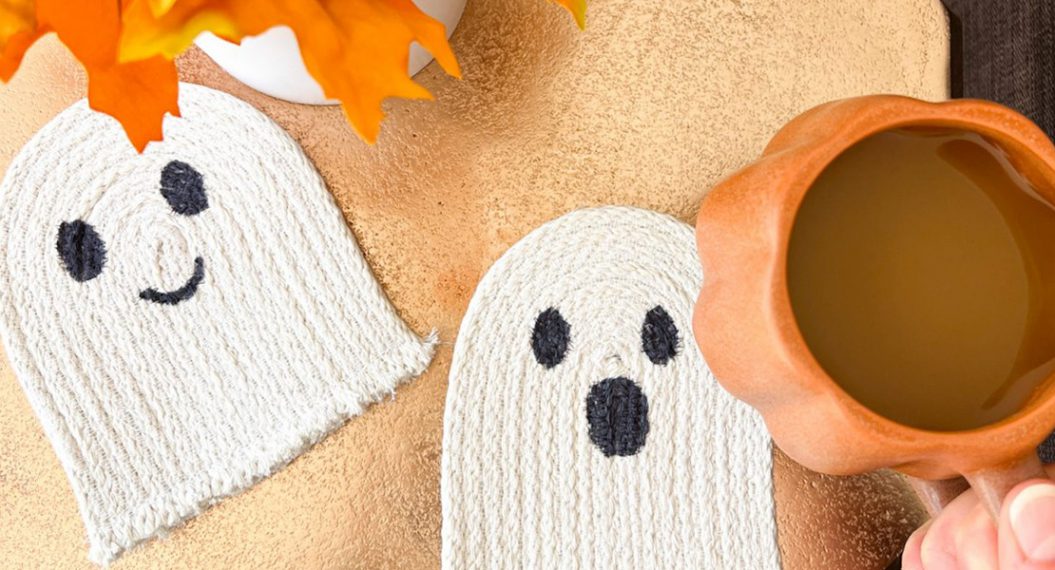
“Glowing Ghosties” is a fresh, fun idea to use the special thread along with a variety of the numerous decorative stitches on your machine. “Ghosties” can be used as a door decoration, party favors, as an applique on sweatshirts or costumes, or simply attaching to the front of a fabric trick or treat bag. The super simple pattern included in this tutorial guarantees instant success and ease of completion. You’ll find yourself whipping up several to celebrate a spooky-fun, friendly Halloween occasion.
Materials to Create a Glow-in-the-dark Ghostie
- 9″ x 12″ piece of white cotton fabric for each Ghostie
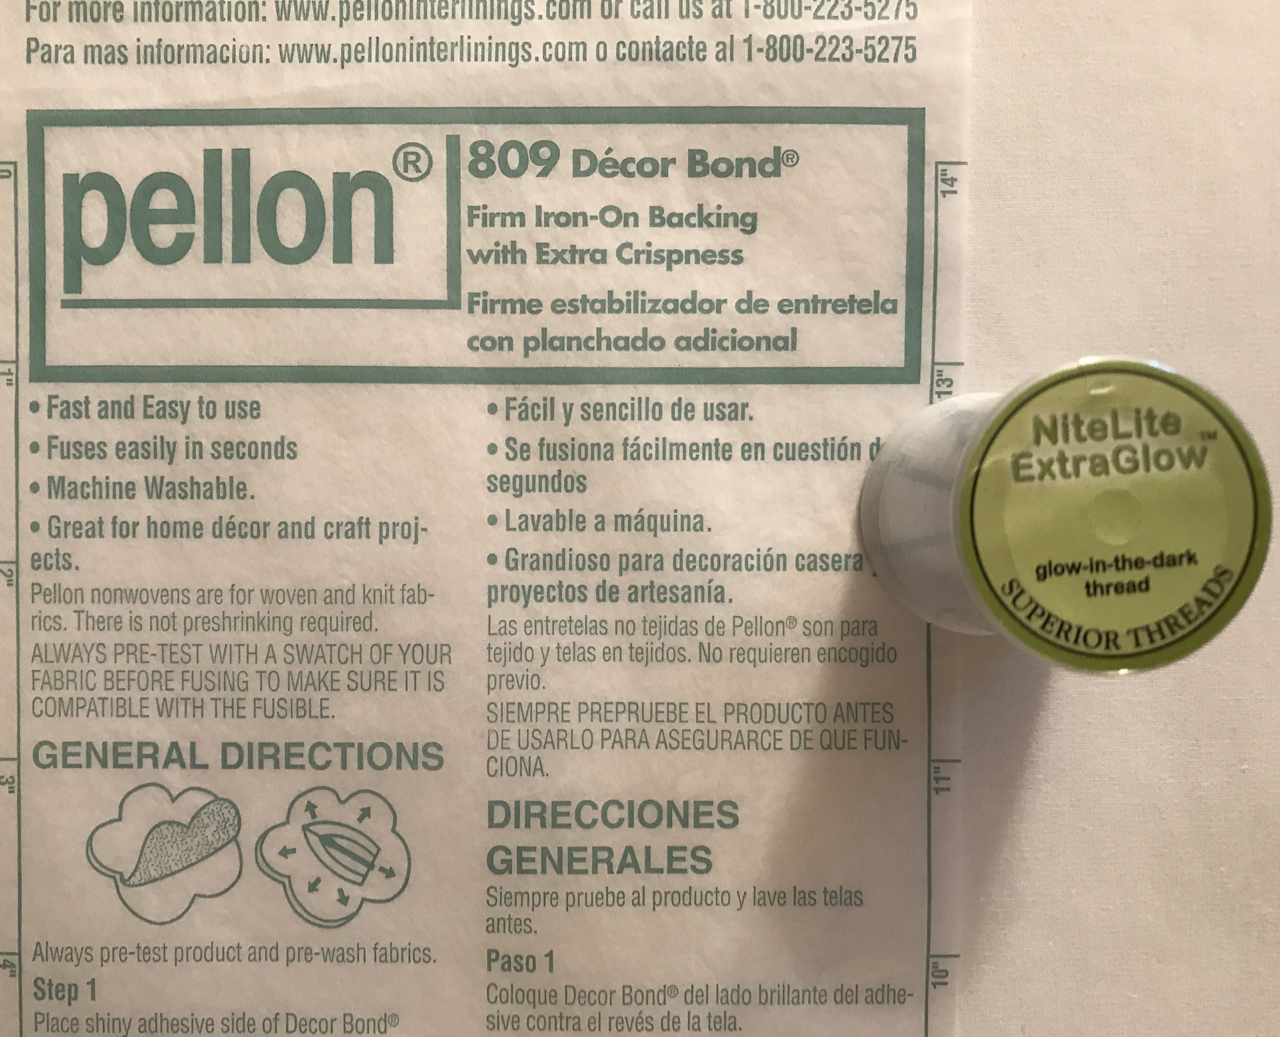
- Superior NiteLite ExtraGlow Polyester Glow In The Dark Thread
- Black Sharpie marker
- Heavy interfacing or stabilizer- I used Pellon 809 DÉCOR BOND
- Ghostie Pattern
- Sharp scissors- for cutting out ghost
- Embroidery floss for hanging
- Black light or regular flashlight
- 20D Embroidery foot (or whatever foot your machine uses for decorative stitching)
- Bobbin filled with Glow thread
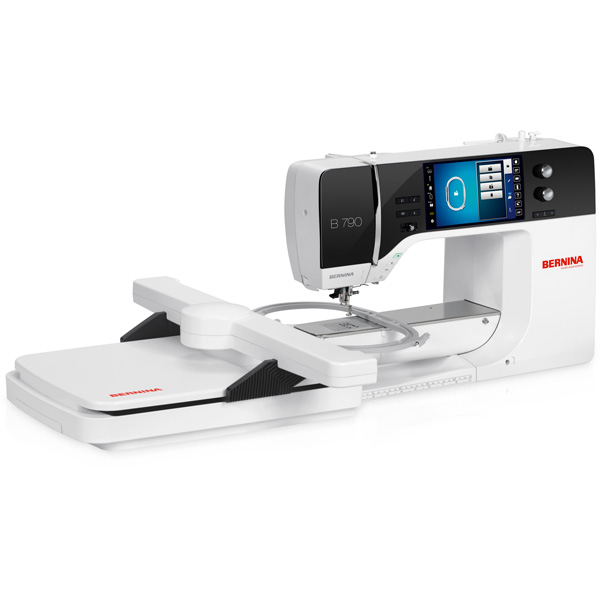
- Sewing machine- I use my BERNINA 790
STEP ONE
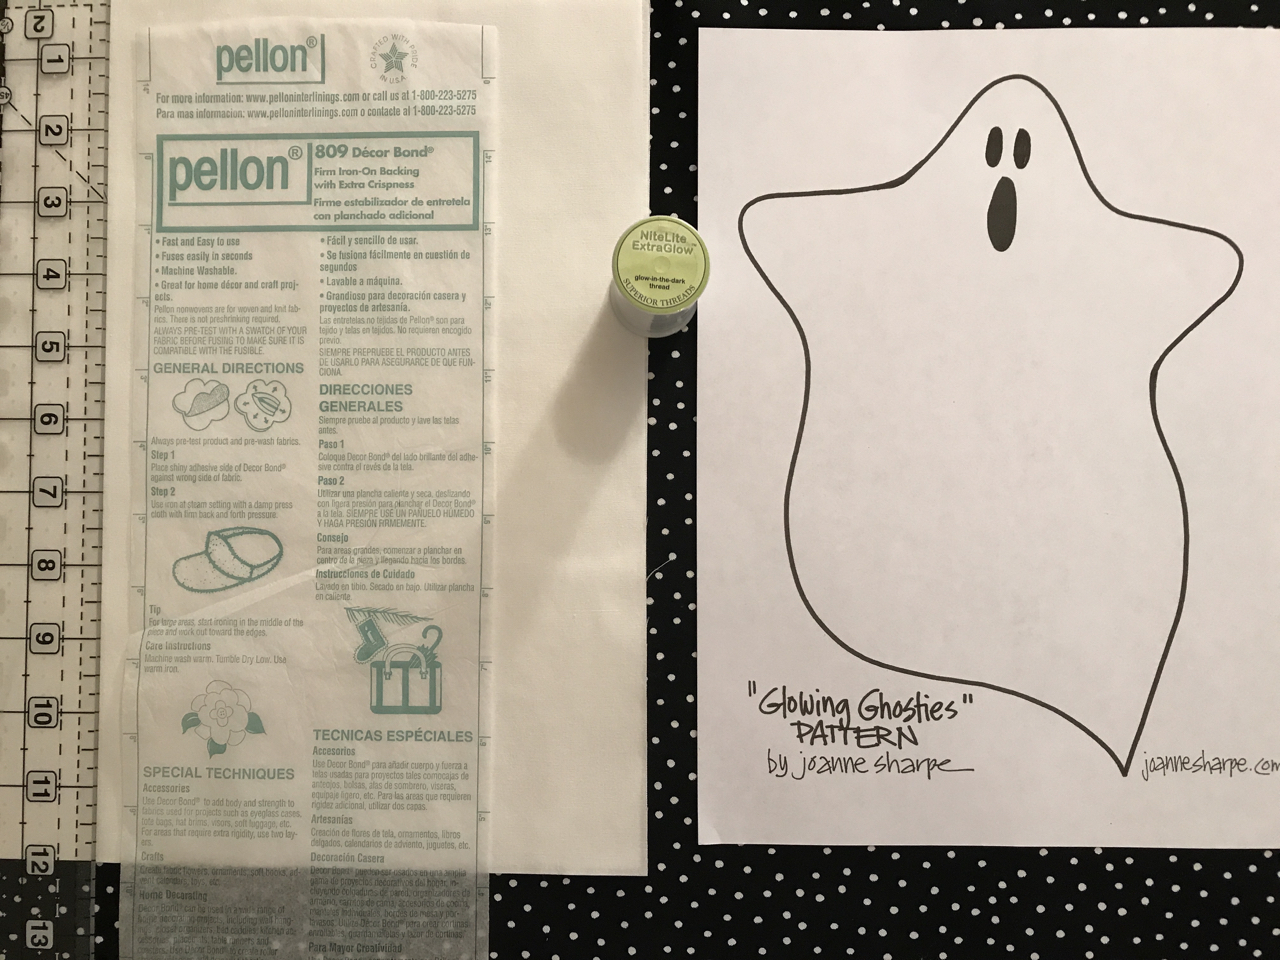
Print out the pdf “Glowing Ghosties” pattern included.
STEP TWO
Assemble a quilt sandwich 9″ x 12″ white cotton fabric with the interfacing in the middle. Fill a bobbin with the Glow in the Dark Thread.
STEP THREE
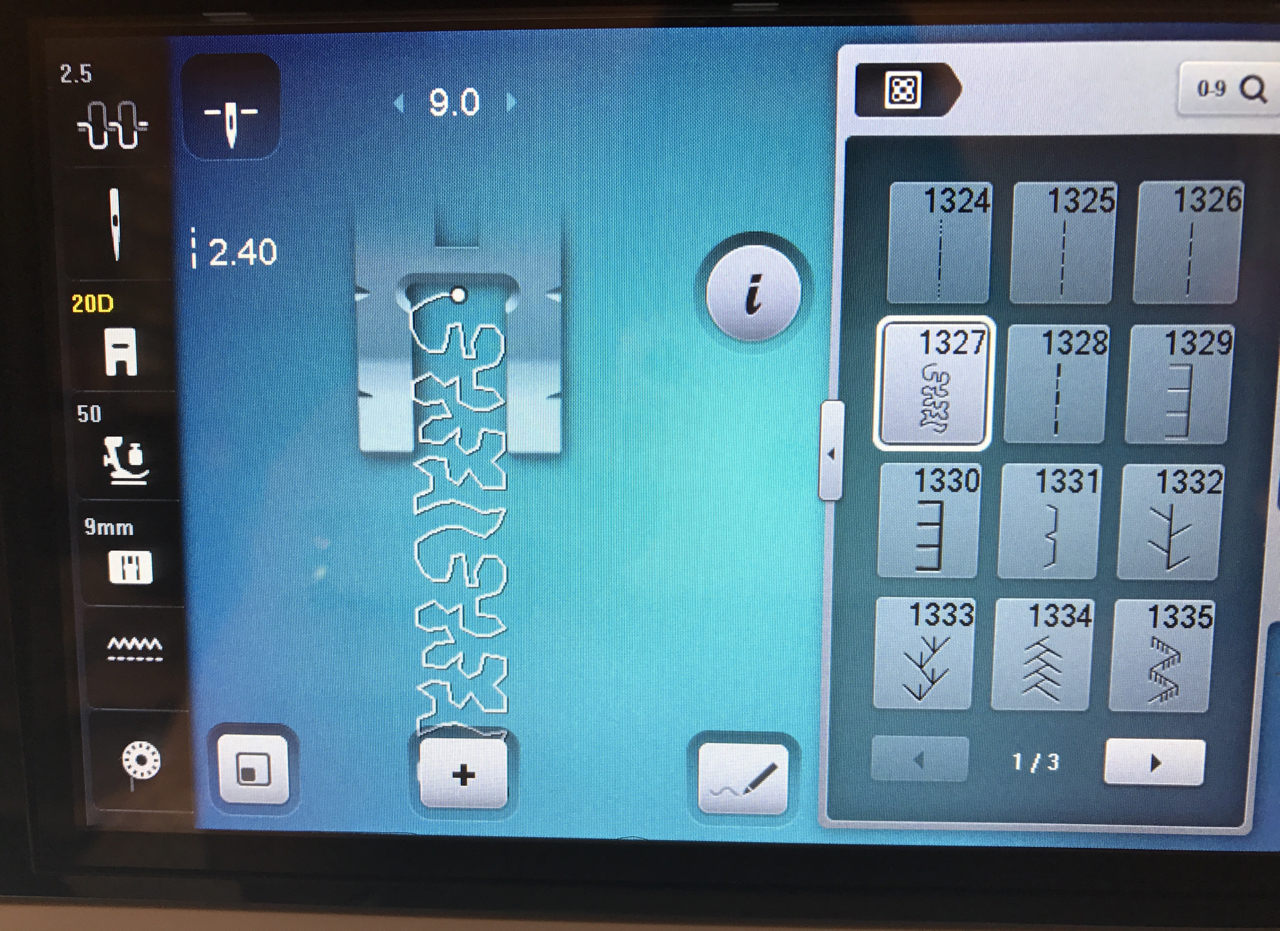
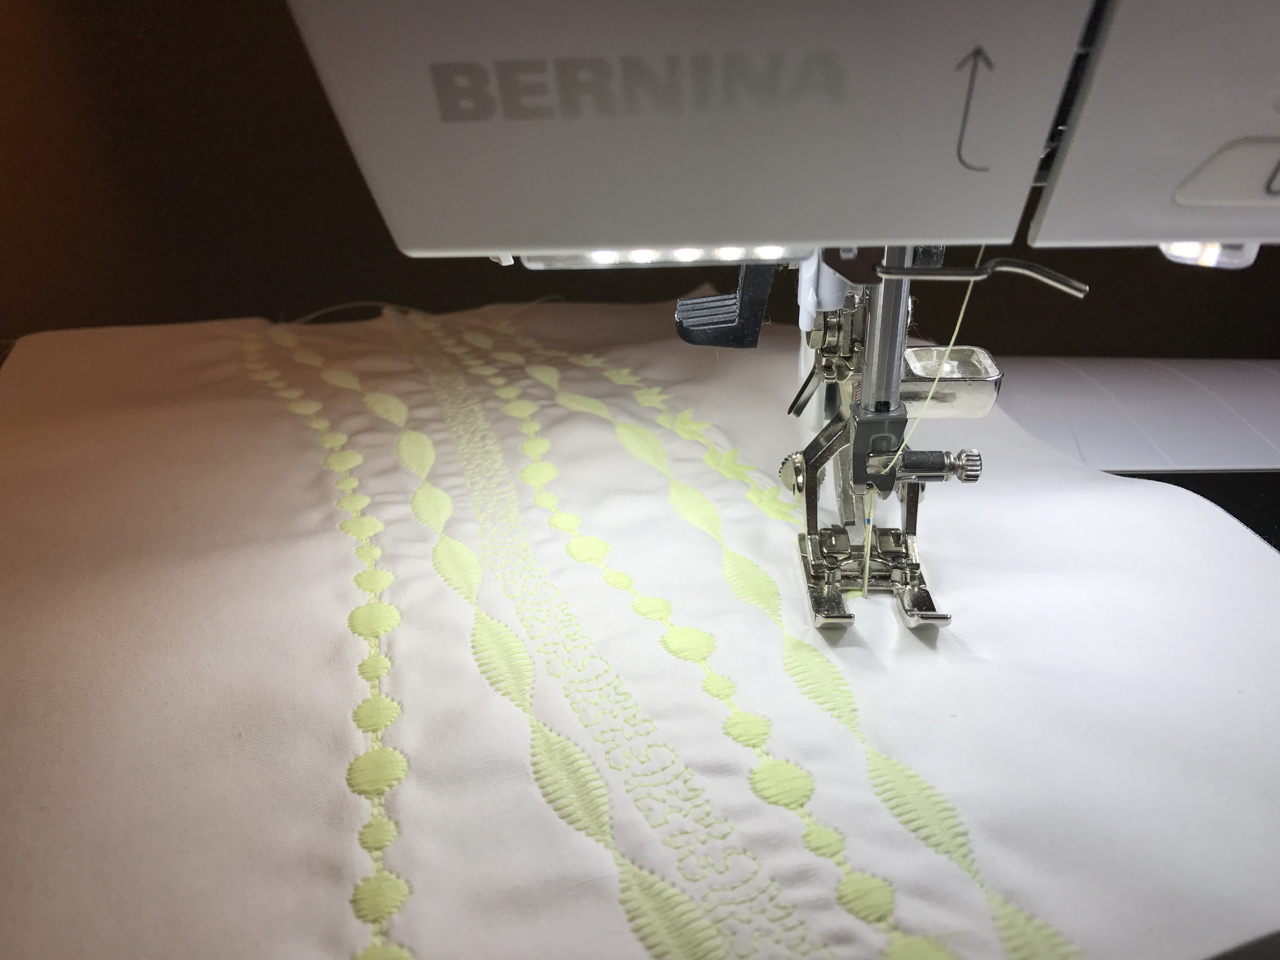
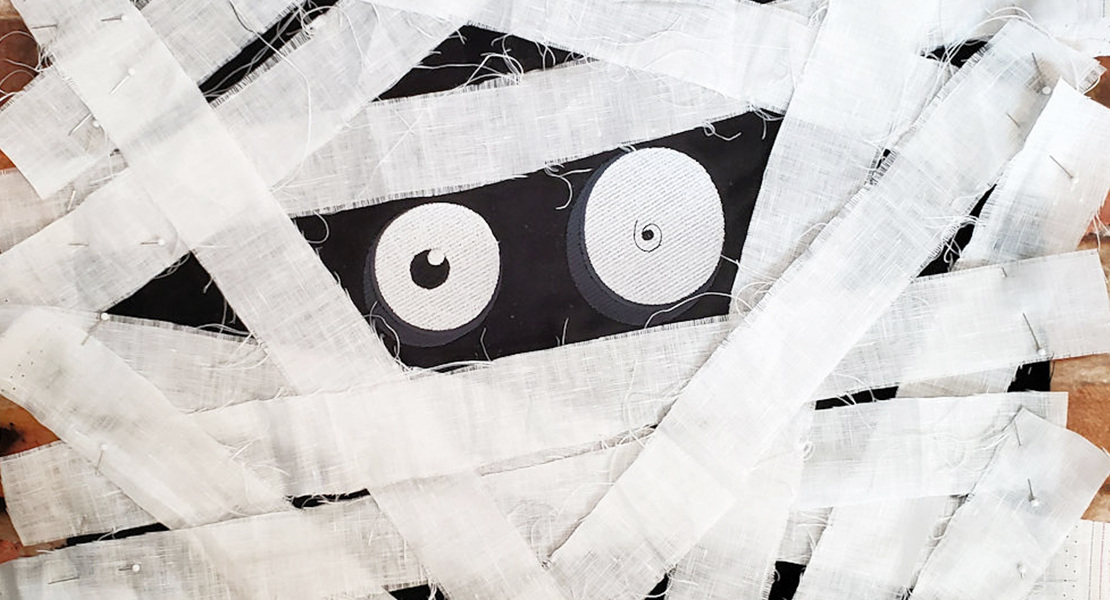
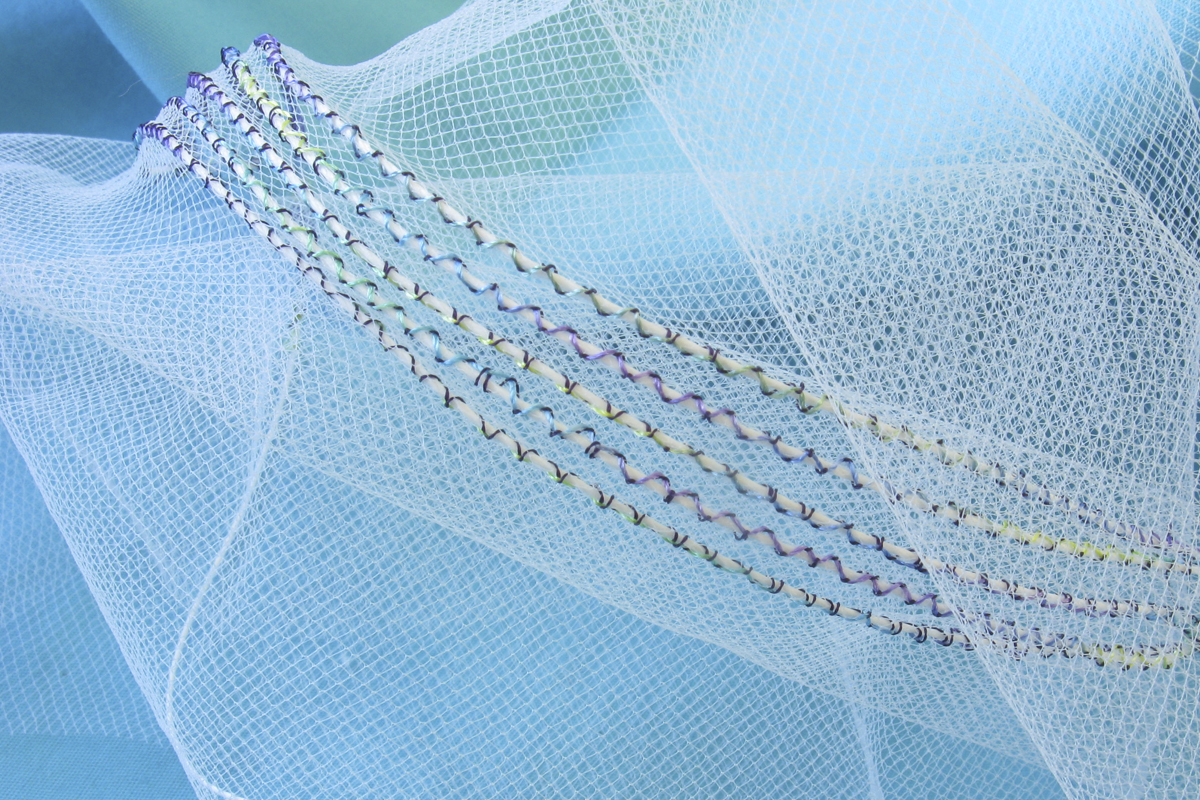
Just sew! Start at the top and sew down the center of the 9″ x 12″ piece and sewing multiple vertical lines of heavy, assorted decorative stitches. Repeat, adding stitches until the surface is filled. The greater variation of stitches gives the ghost more interest with dense filler that will cast the greatest “glow” in the dark.
STEP FOUR
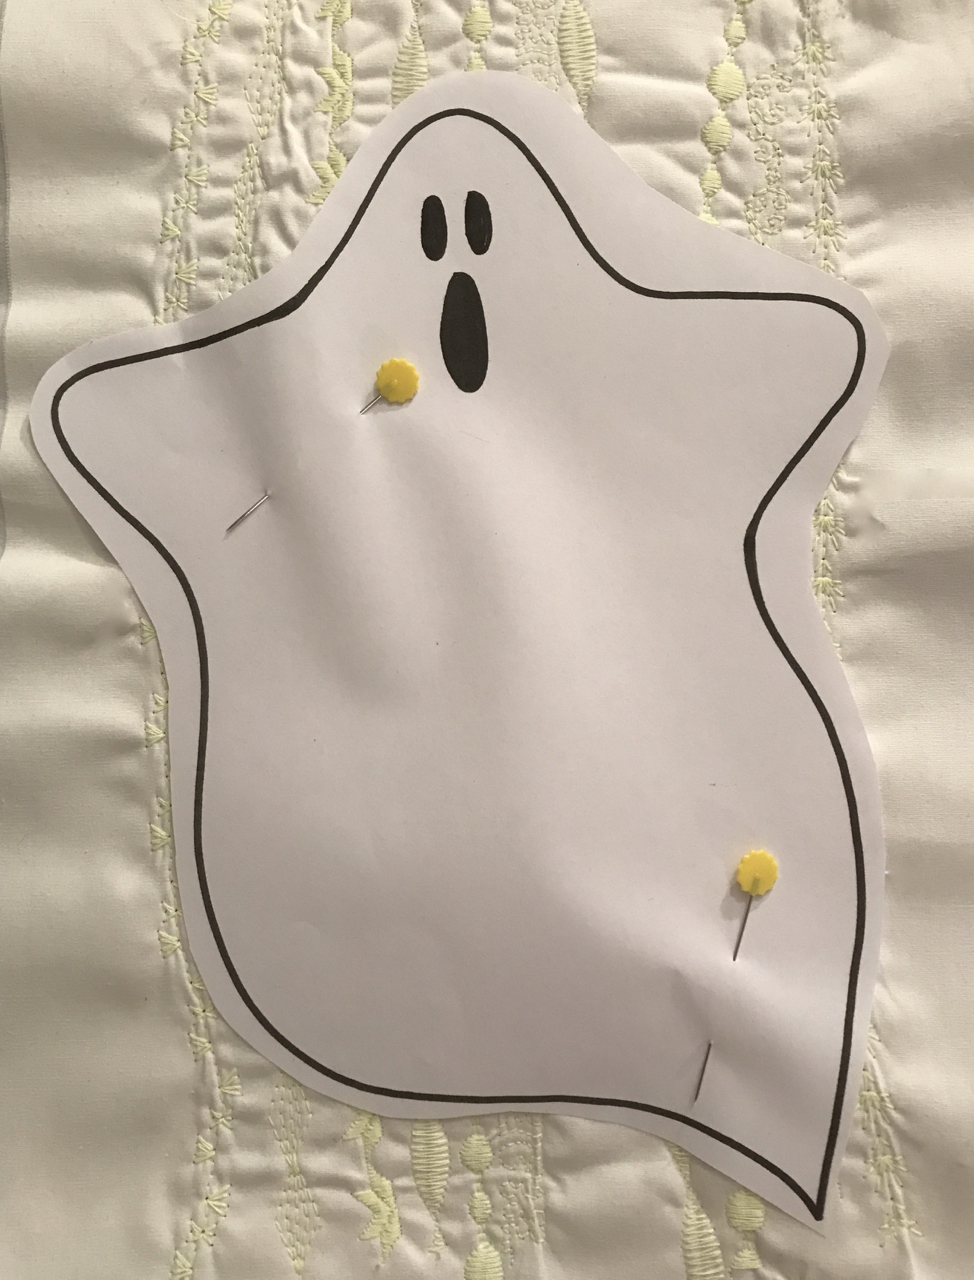
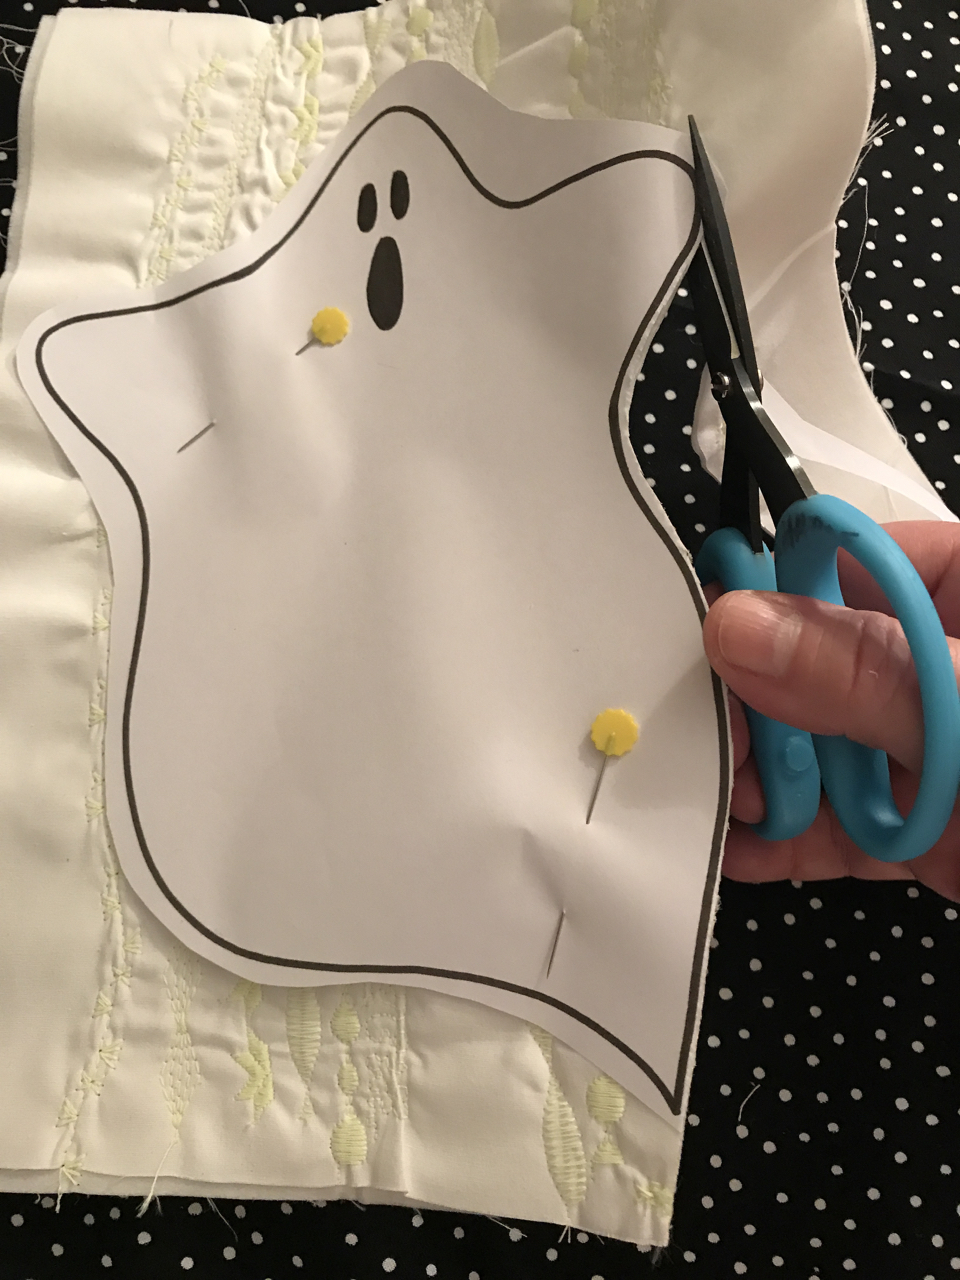
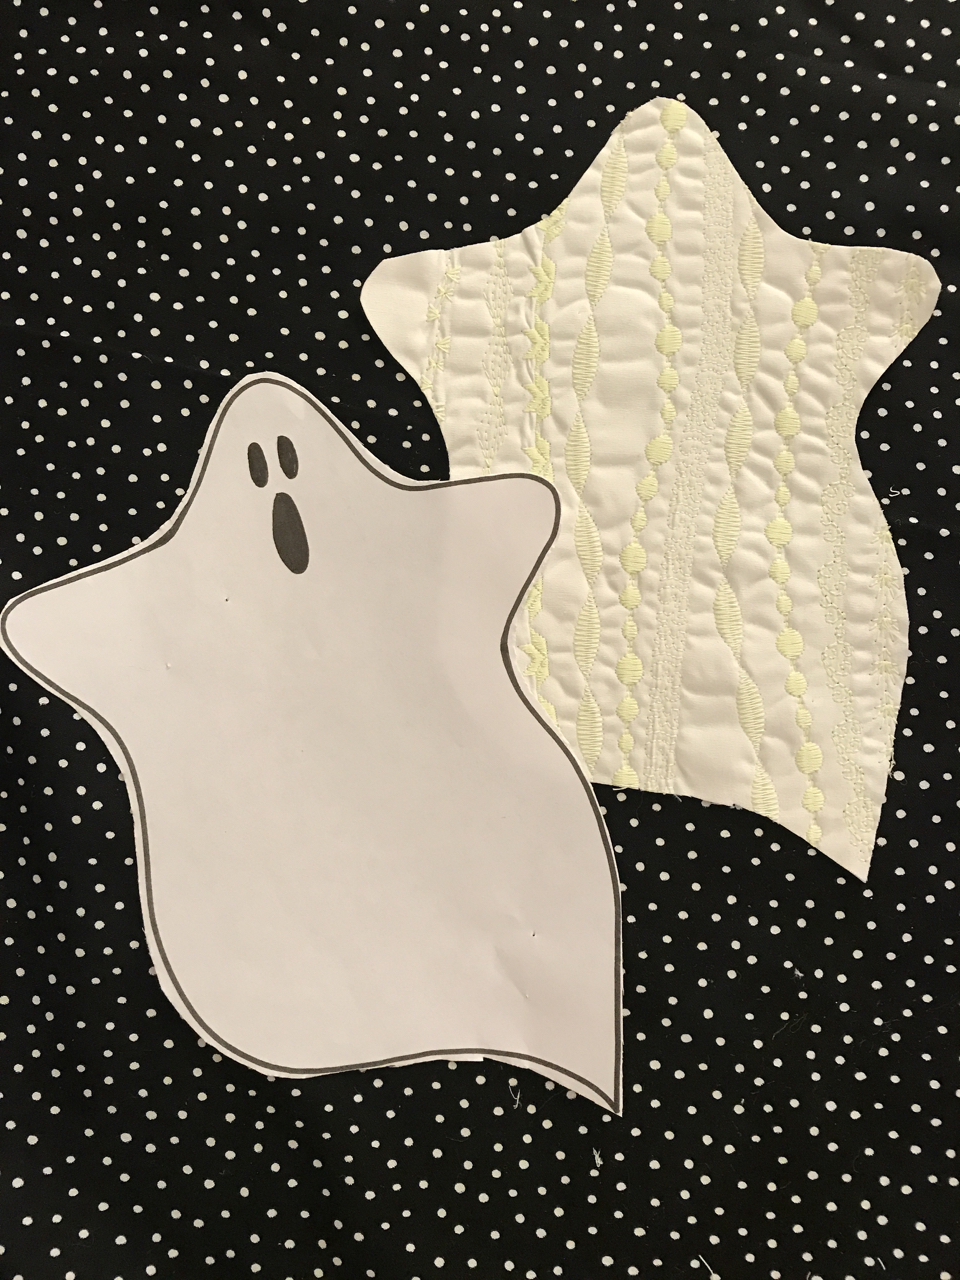
Cut out the “Ghostie” silhouette from the pattern and pin onto the heavily sewn sandwich. Cut around the edge revealing the shape of the ghost with a raw edge. With a black Sharpie marker draw three circles at the head of the shape for the eyes and open mouth.
STEP FIVE
If hanging as a decoration, attach a desired length of floss to top or side. Or, if using as an embellishment simply appliqué onto desired items.
STEP SIX
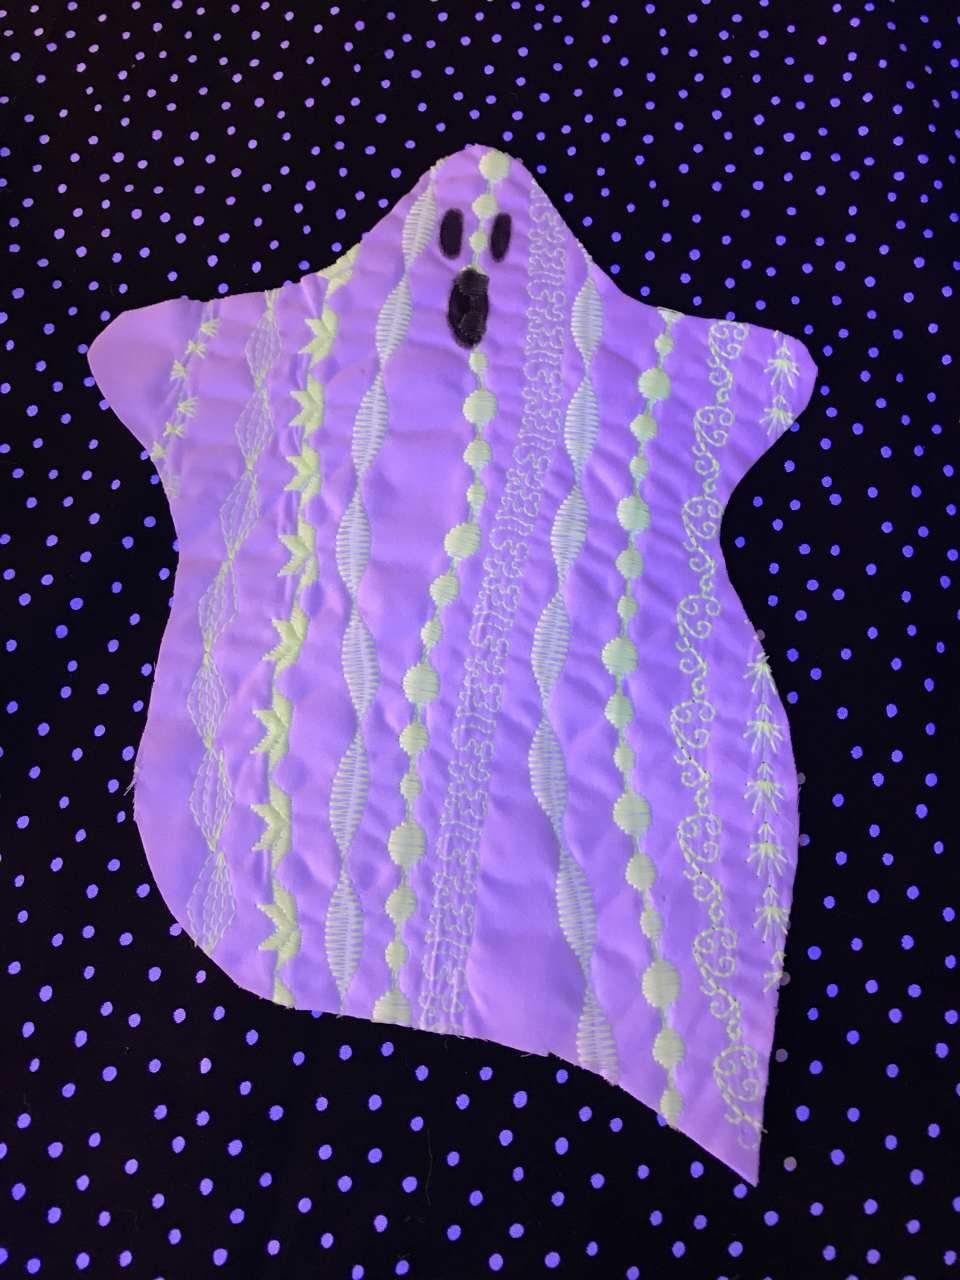
Light it up! The thread needs to be “activated” by light to glow, by simply placing the piece close to a lamp or flashlight for a few minutes. Try using a black light flashlight (inexpensive and easy to find at this time of year) for extra drama and brightness.
“Glowing Ghosties” will sure to be a hit as your special Halloween decorations, favors or embellishments on your favorite garment or tote bag.
Yours Joanne Sharpe of Joannesharpe.com