Card Basket Variation Block and Free-Motion Quilting
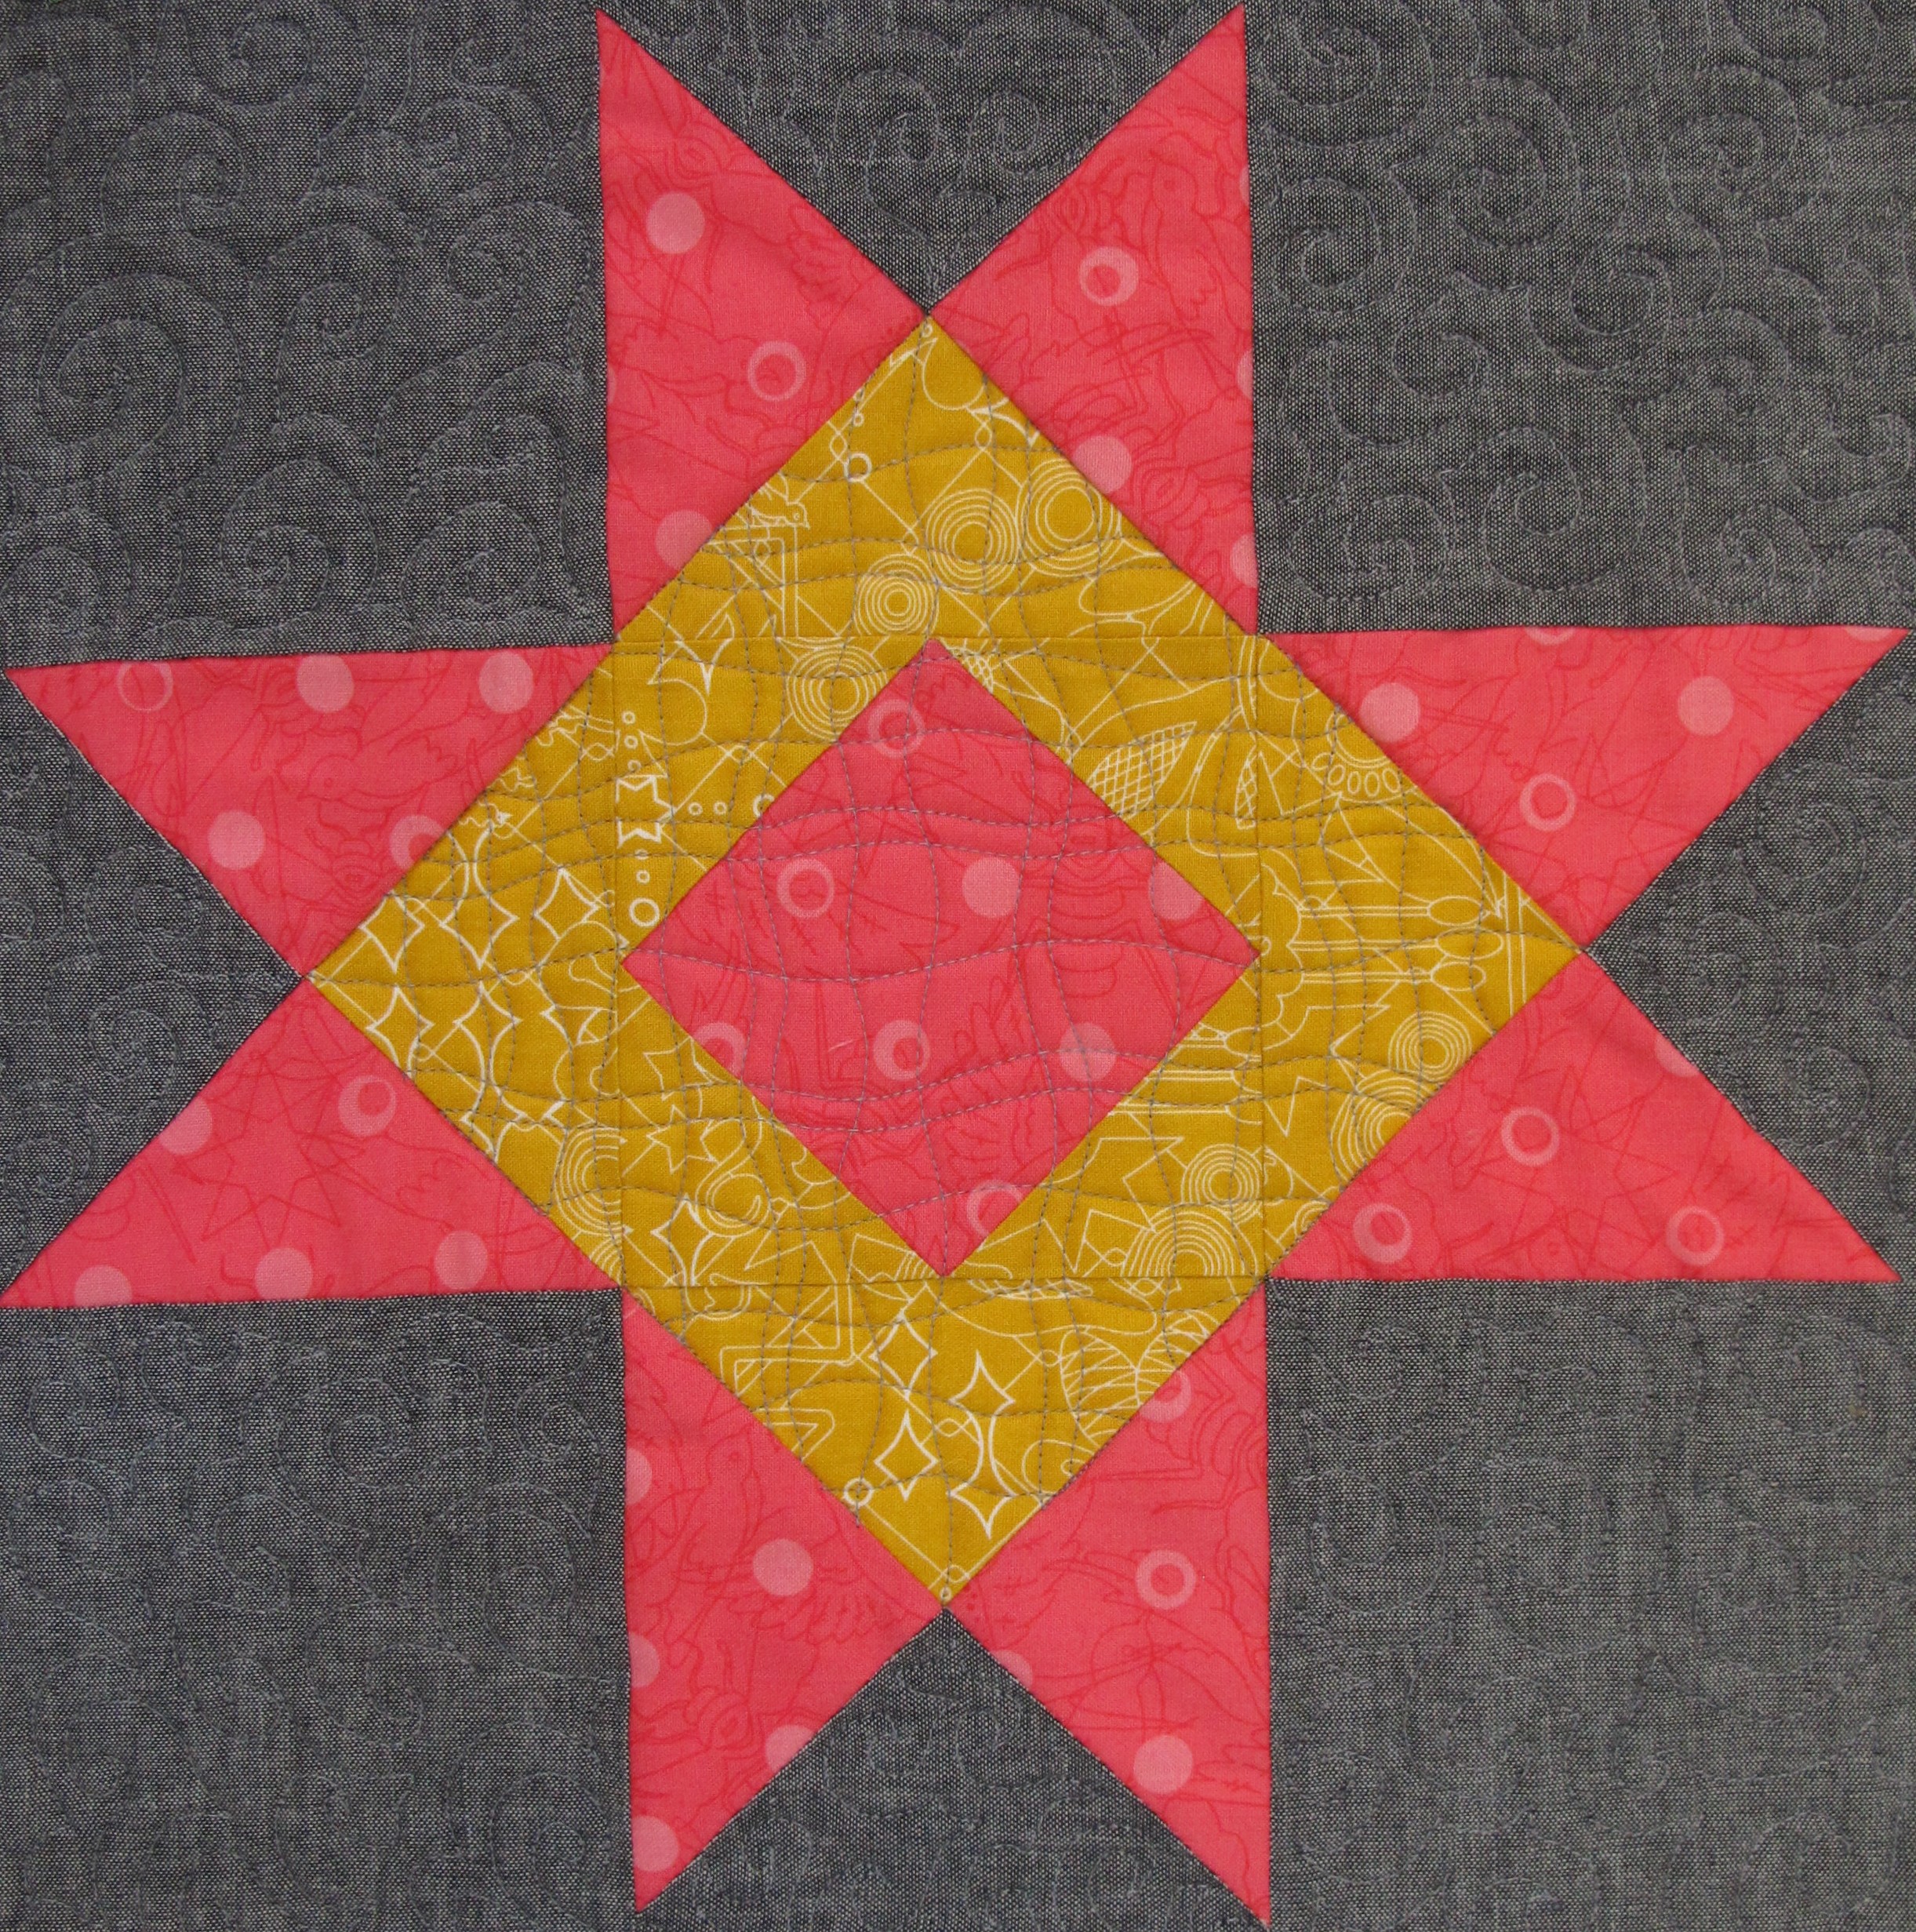
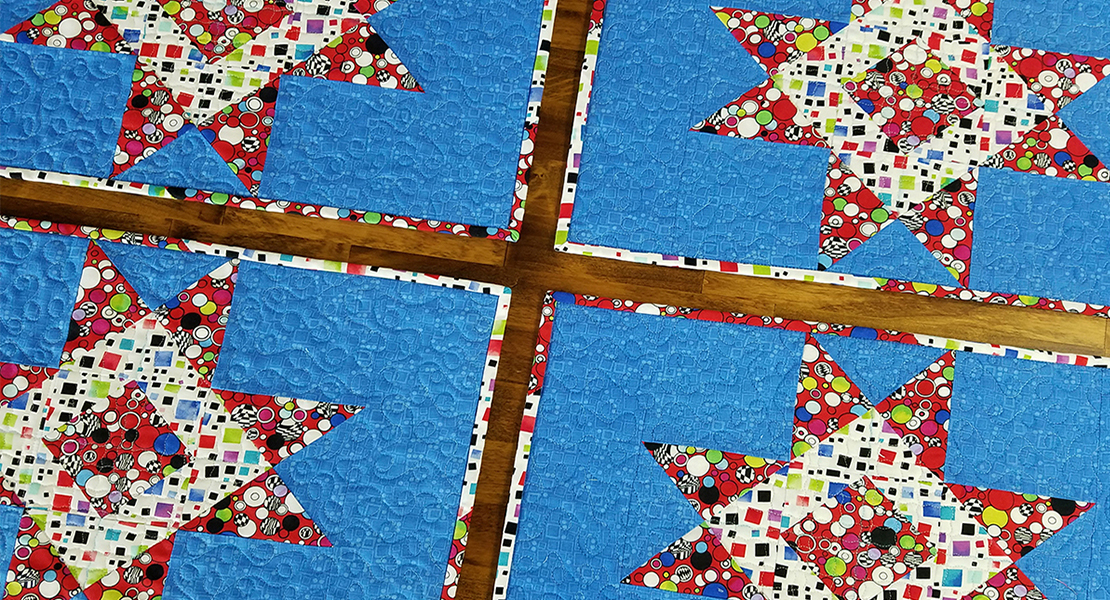
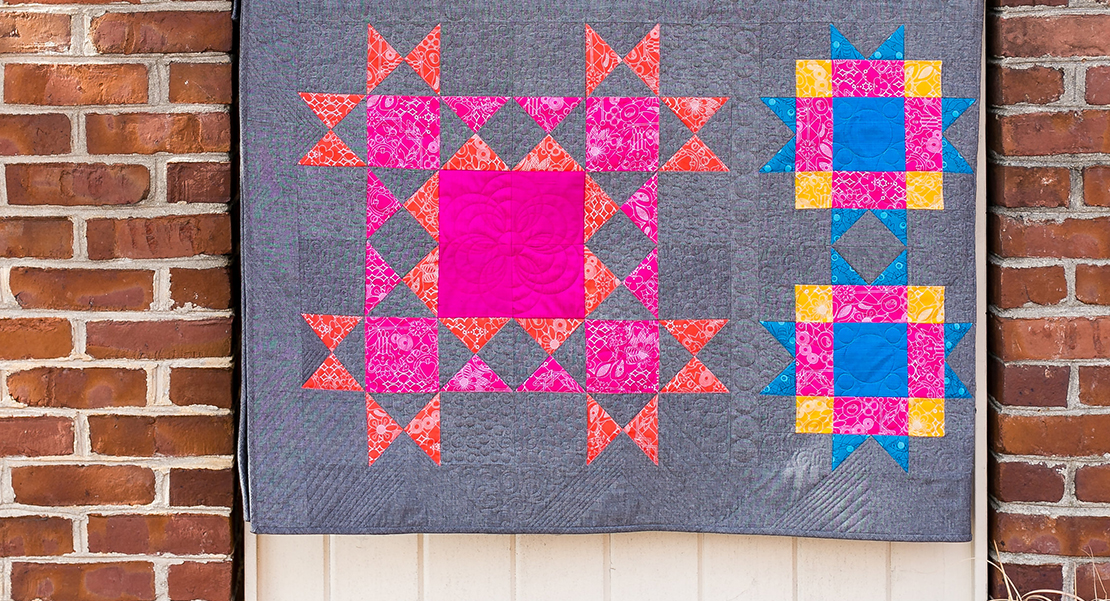
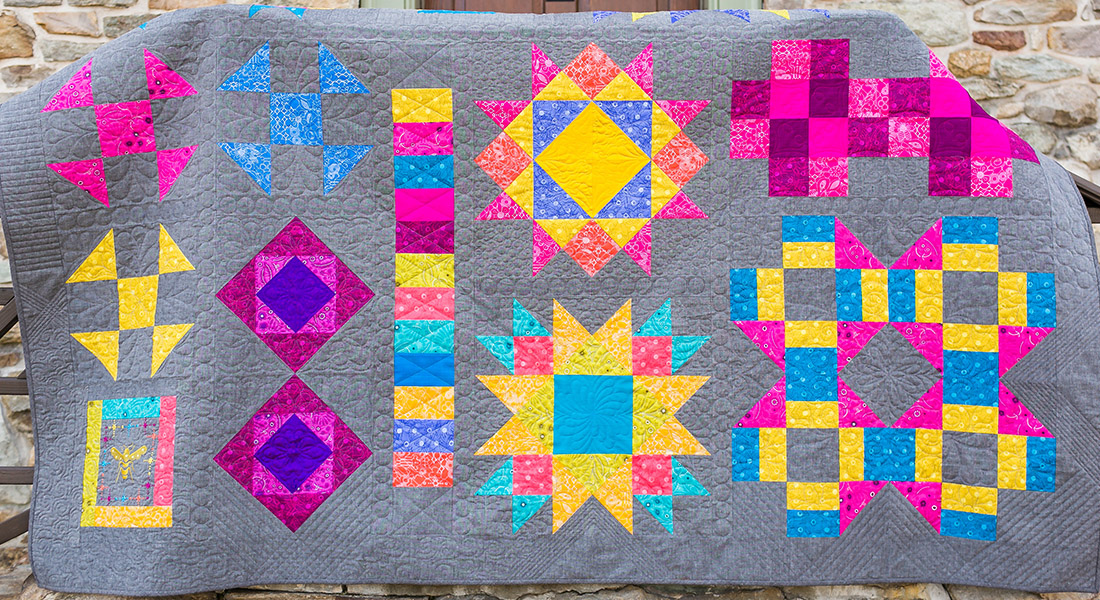
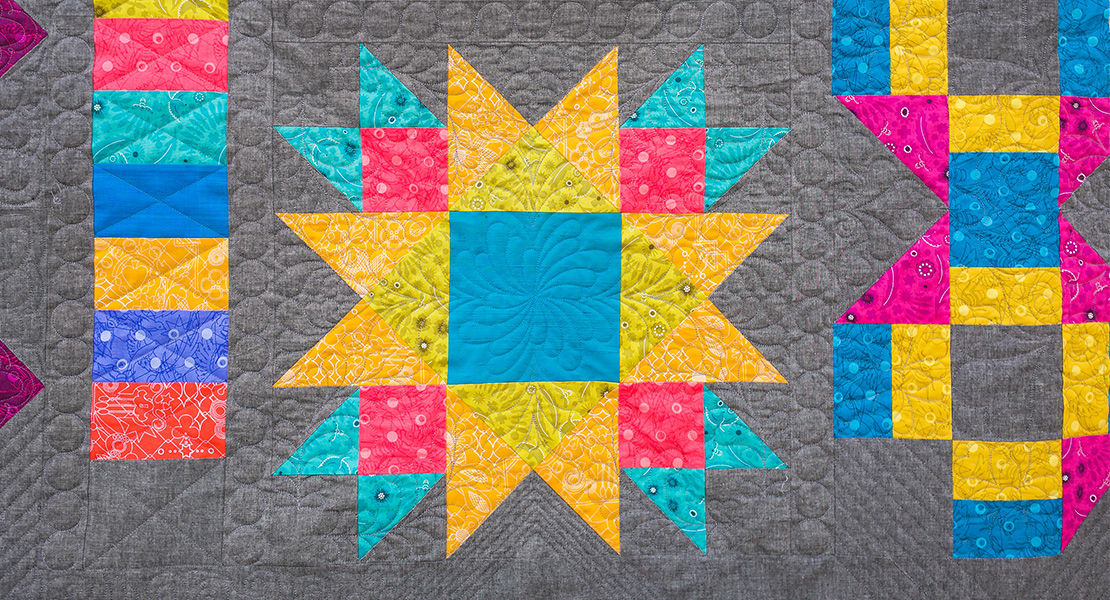
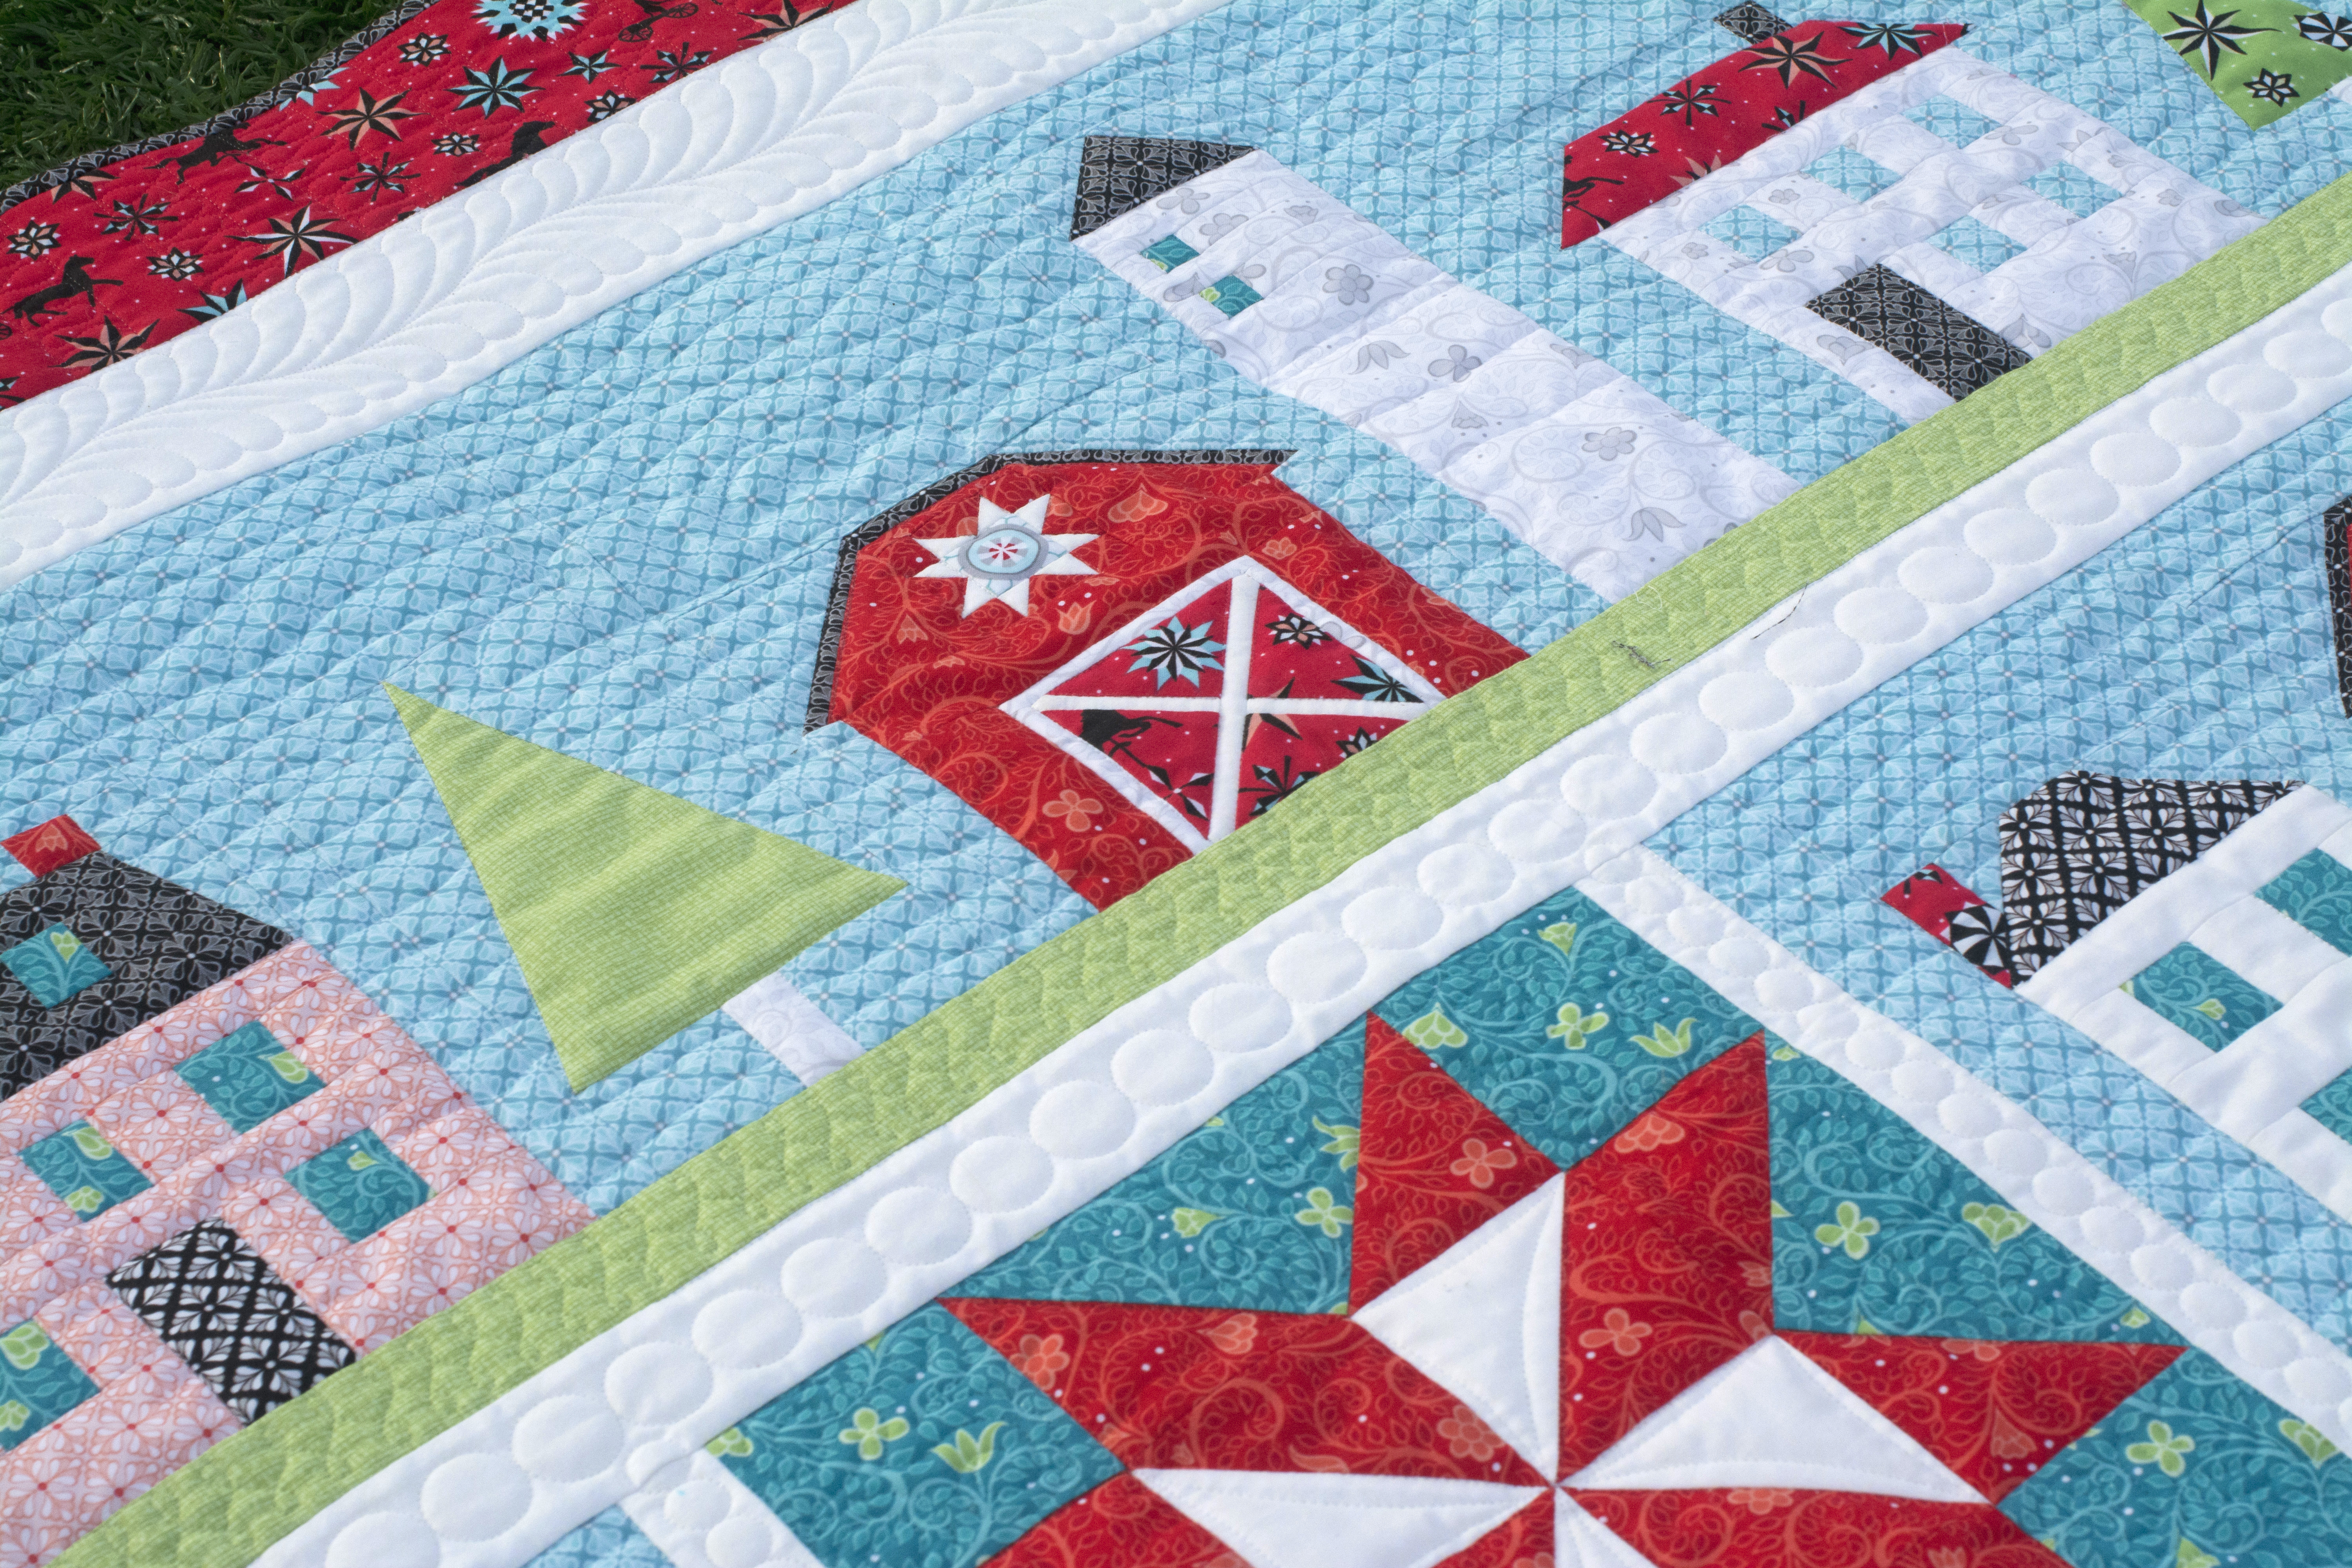
Welcome to Block 5 of the BERNINA’s Block of the Month Series. This month we will create a Card Basket Variation Block. We will make three of the same 12″ block and set them aside until we are ready to add the sashing and to put the final quilt together. Below is a picture of how the blocks will look when the entire quilt is finished.
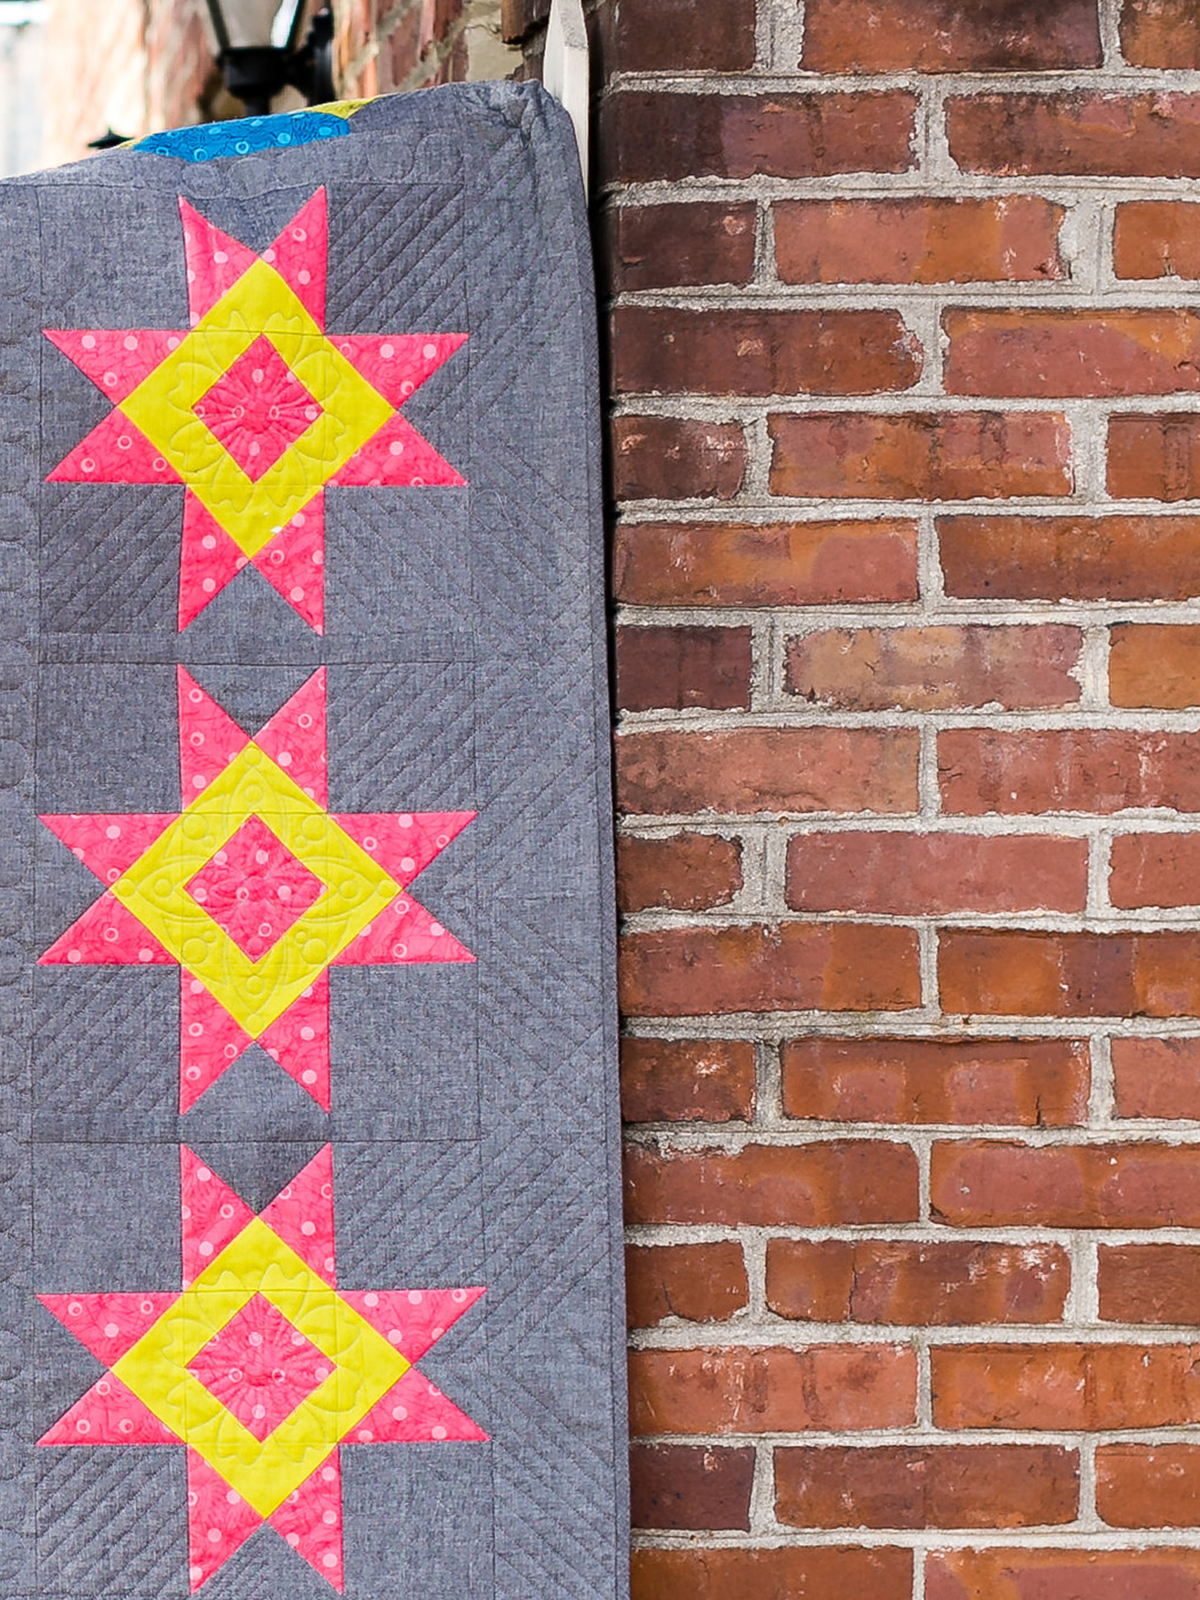
NOTE: The quilting I used in the finished quilt is a bit different than what I will show you today in our quilting lesson.
Fabric
If you are buying fabric for each block on a monthly basis, you will need three fabrics for this block; a yellow, a pink and the gray background fabric.
Please see more details about fabric requirements here. You will follow the Alternate Cutting Instructions below if you are cutting from a kit.
Please also download the BERNINA Block Party Fabric Chart.
If you are using the Sun Print 2017 Andover fabric line by Alison Glass, the specific colors are listed in bold:
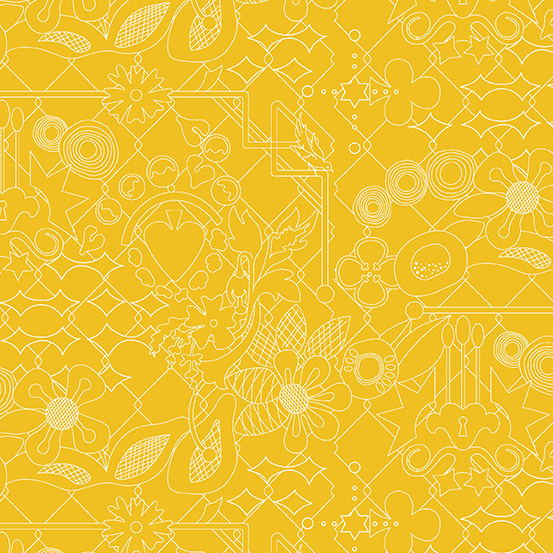
Fabric A Yellow A-8482-Y 1/4 Yard
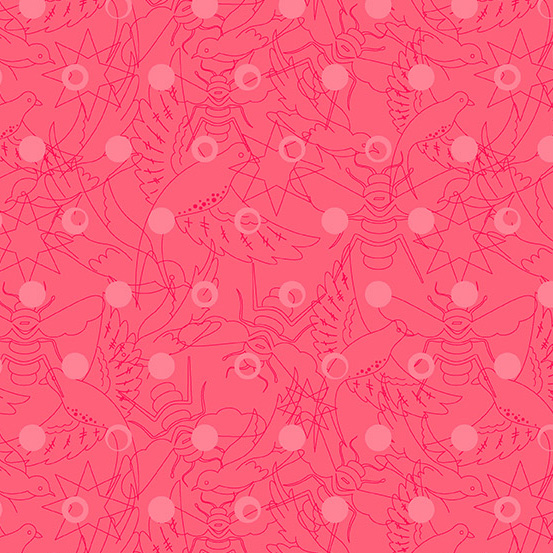
Fabric B Pink A-8484-E 1/4 Yard
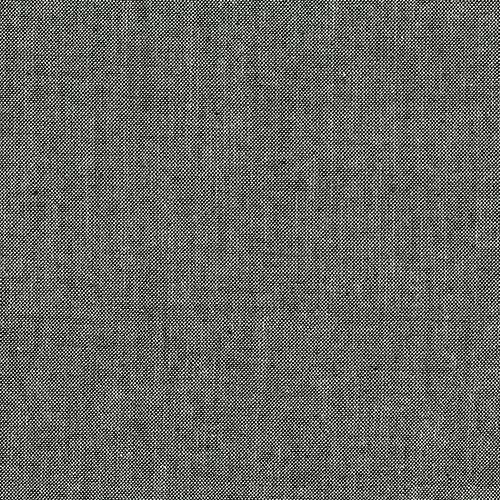
Fabric C Gray A-C-Black 1/4 Yard
Materials to Create a Card Basket Variation Block :
BERNINA Patchwork Foot #37/37D or #57/57D or #97/97D
OR one of the following free-motion feet:
Echo Quilting and Cutwork Foot #44
Free-Motion Embroidery Foot #24
Cutting Instructions
Fabric A:
Cut 3 Squares 5 1/4″; cut in quarters diagonally making 12 triangles
Cut 12 Squares 2 1/2″
Fabric B:
Cut 6 Squares 5 1/4″; cut in quarters diagonally making 24 triangles
Cut 3 Squares 4 1/2″
Fabric C:
Cut 12 Squares 4 1/2″
Cut 3 Squares 5 1/4″; cut in quarters diagonally making 12 triangles
Alternate Cutting Instructions if Cutting from Kit
Fabric A:
Cut a 7 1/2″ strip. Cut the 3-5 1/4″ squares from the wide strip. The 27″ remaining of the
7 1/2″ strip will be used later.
Cut a 2 1/2″ strip; cut 12 squares. Thirteen inches of the strip will remain.
Fabric B:
Cut a 5 1/4″ strip from fabric B. Cut 6 squares.
After cutting the 6 squares, cut the remaining strip 4 ½” wide. Cut three 4 ½” squares.
Fabric C:
Cut a 4 1/2″ strip. Then cut nine 4 ½” squares.
Cut a 5 1/4″ strip. Cut three 5 ¼” squares, and then three 4 1/2″ squares from this strip.
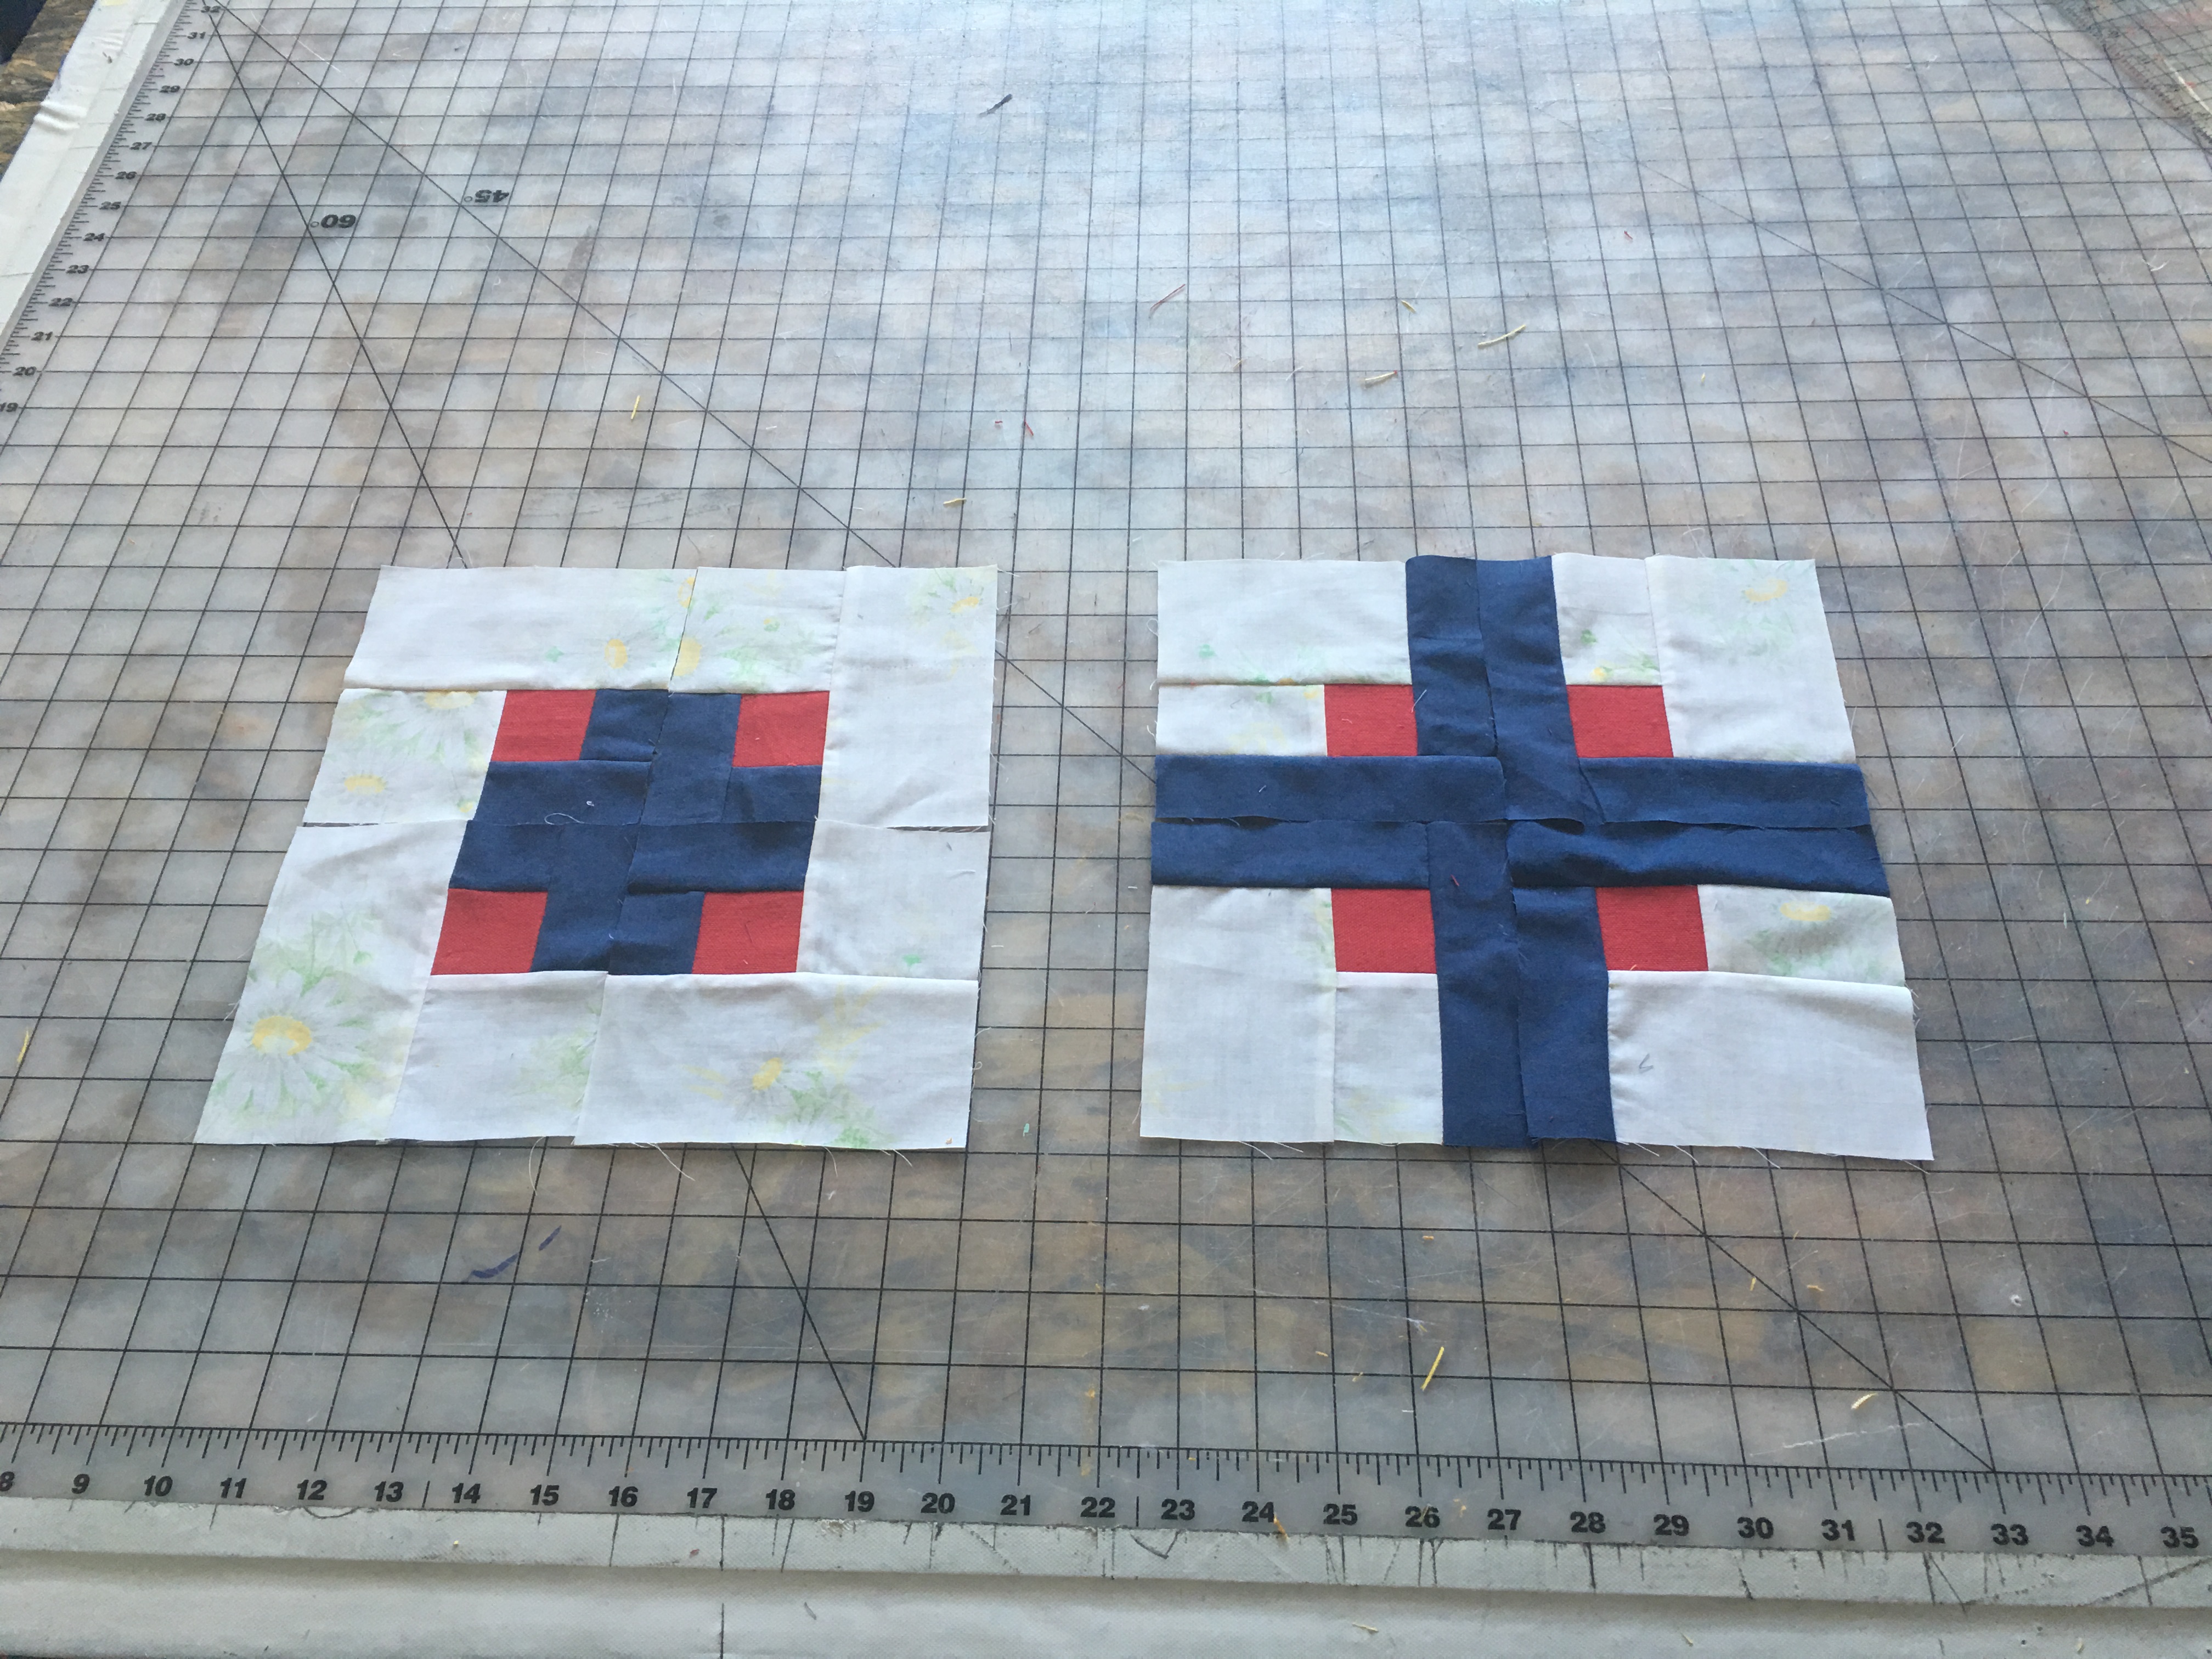
Piecing the Blocks
For each block:
Create the Quarter Square Triangle unit:
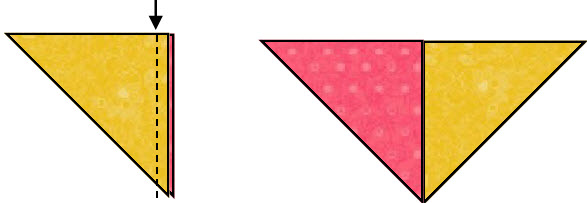
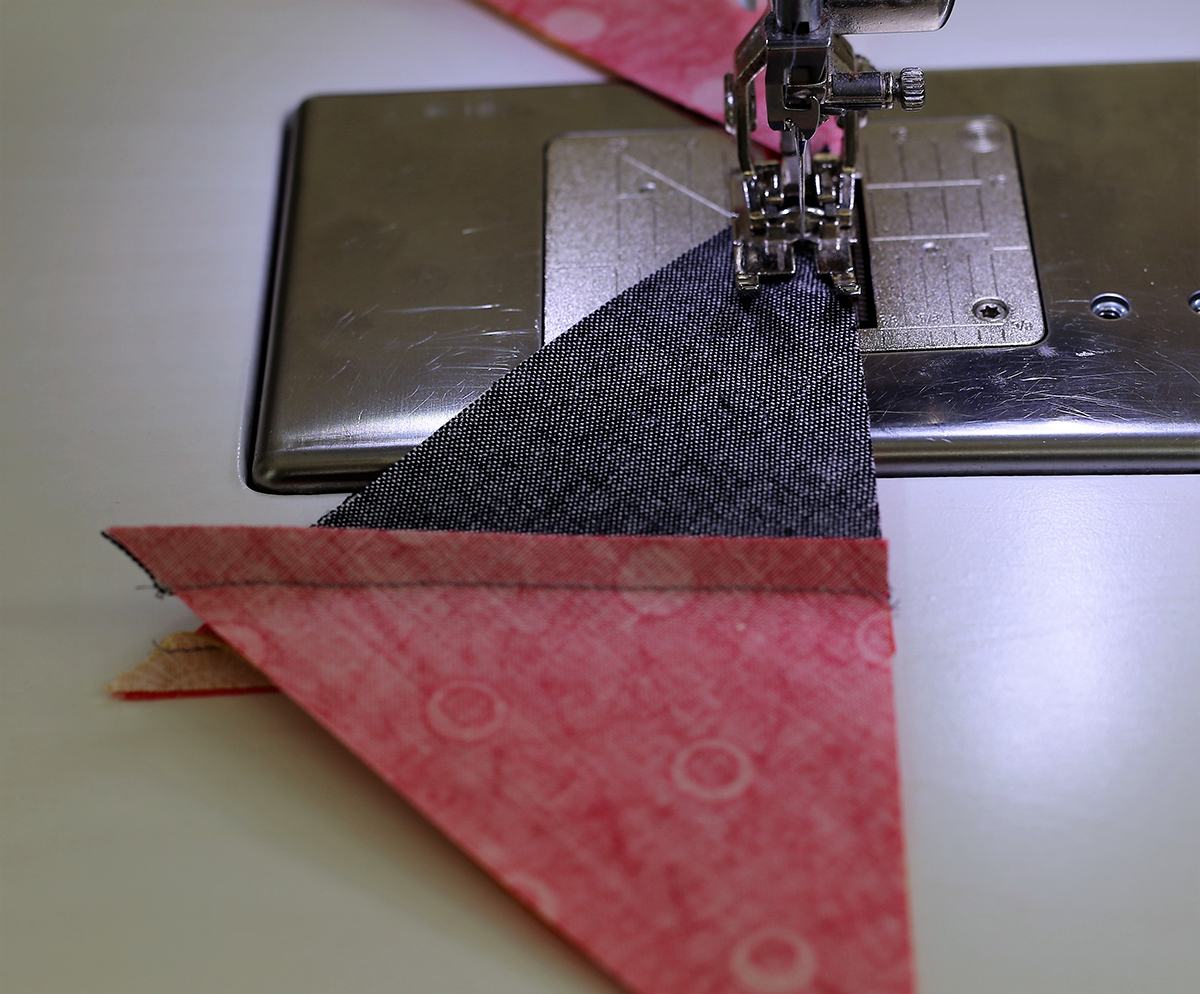
Seam a Fabric A triangle to a Fabric B triangle, beginning on the straight edge. Repeat to create 4 triangle units.
Always seam with the yellow triangle on top.
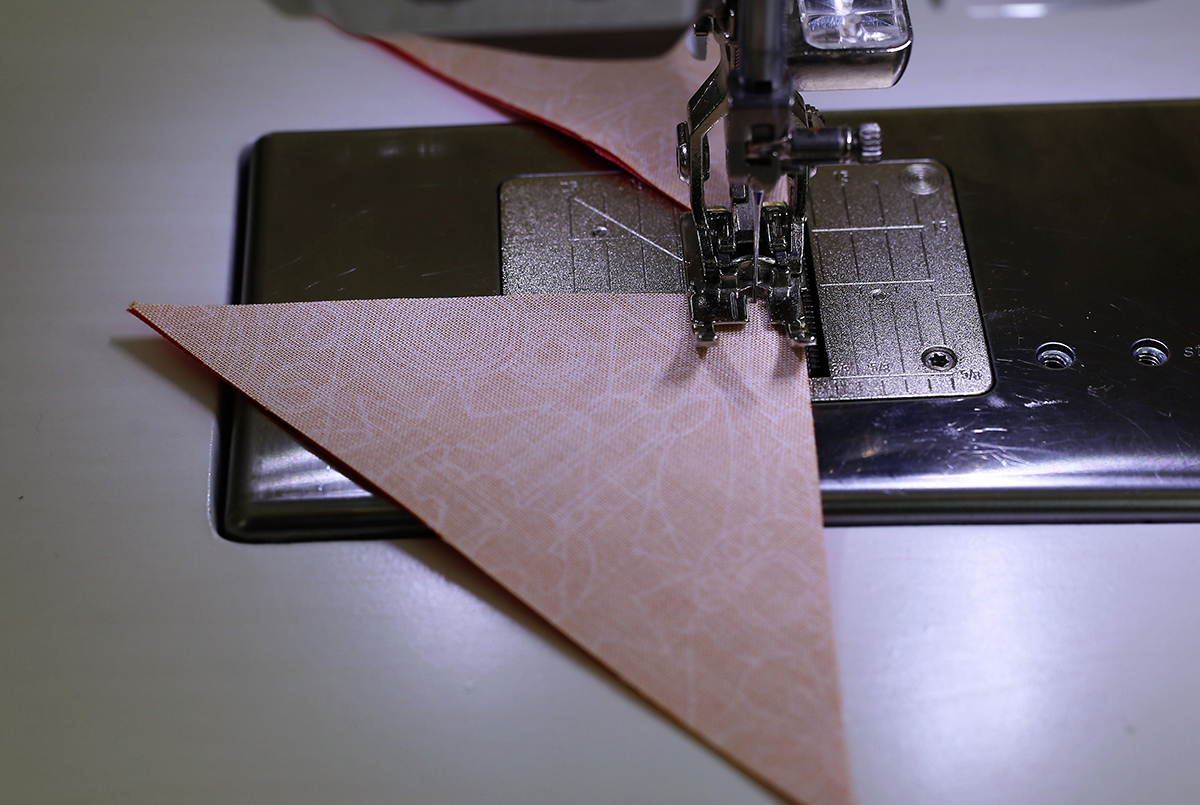
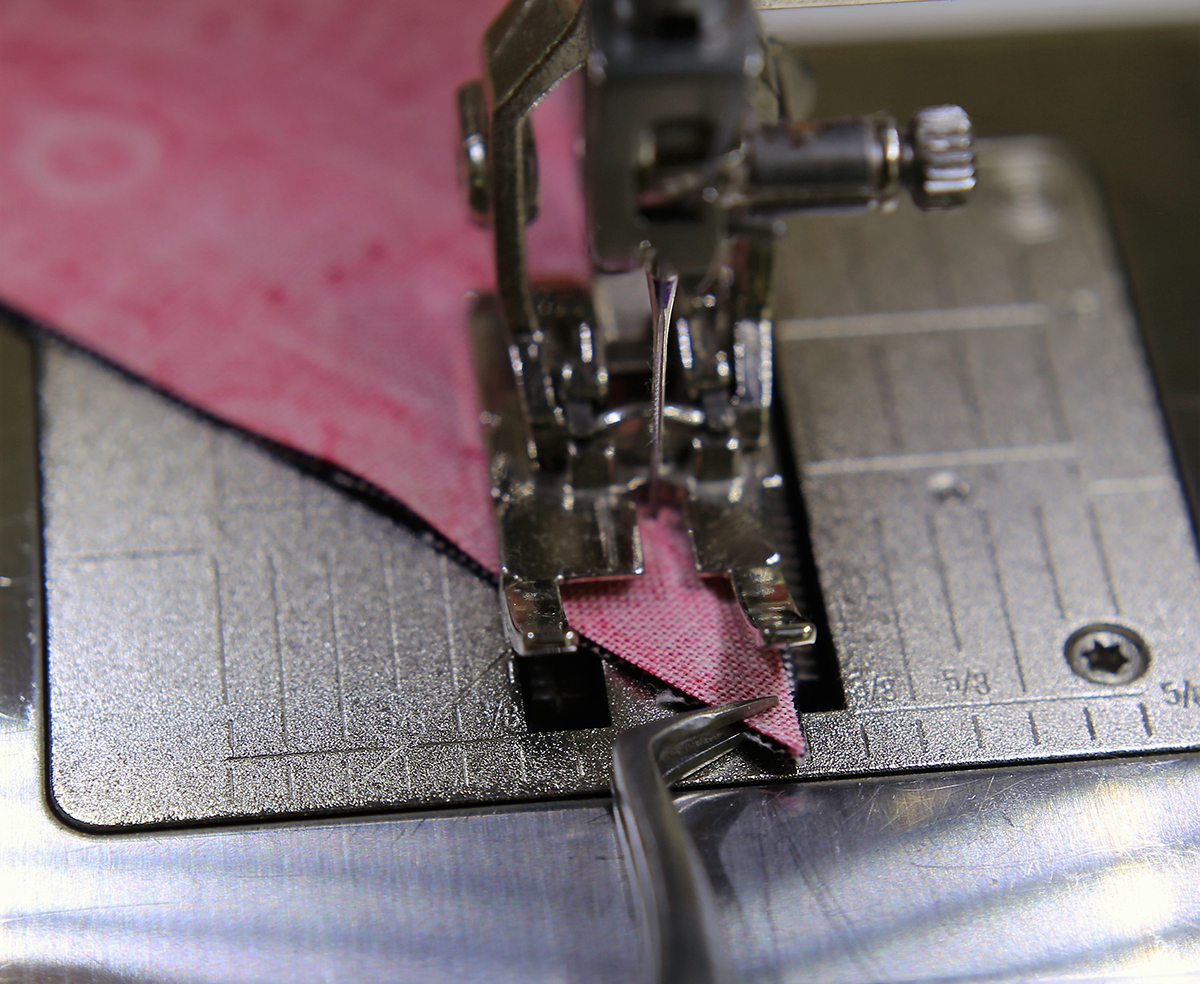
If the points of the triangles seem to scoot out from under the foot, hold them together with a tweezers and guide them under the foot.
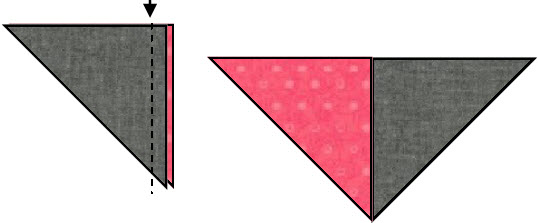
Seam a Fabric C triangle to a Fabric B triangle, beginning on the straight edge. Repeat to create 4 triangle units.
Always seam with the gray background on top.
Press seams toward the yellow and the gray.
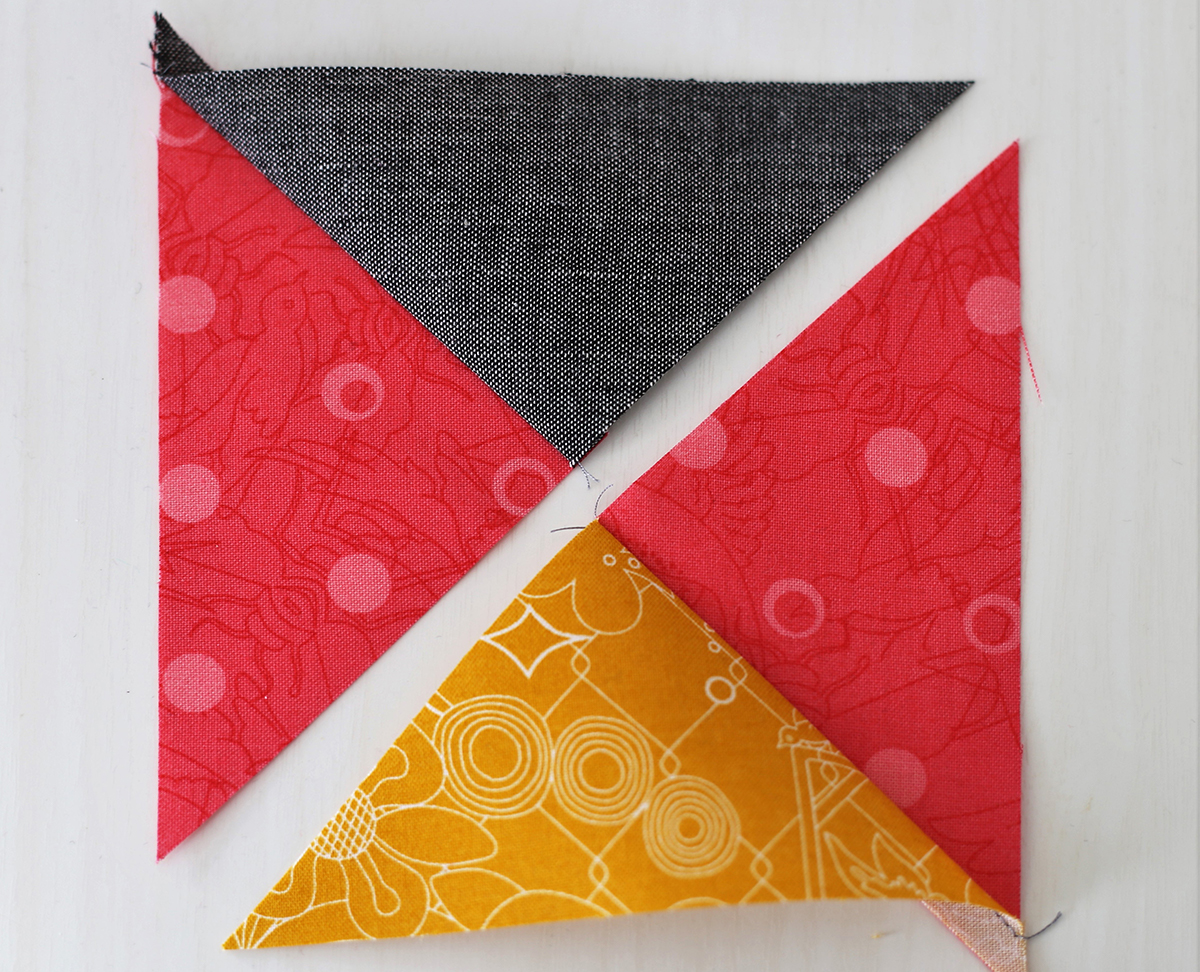
Seam the two different triangle sets together to create a square.
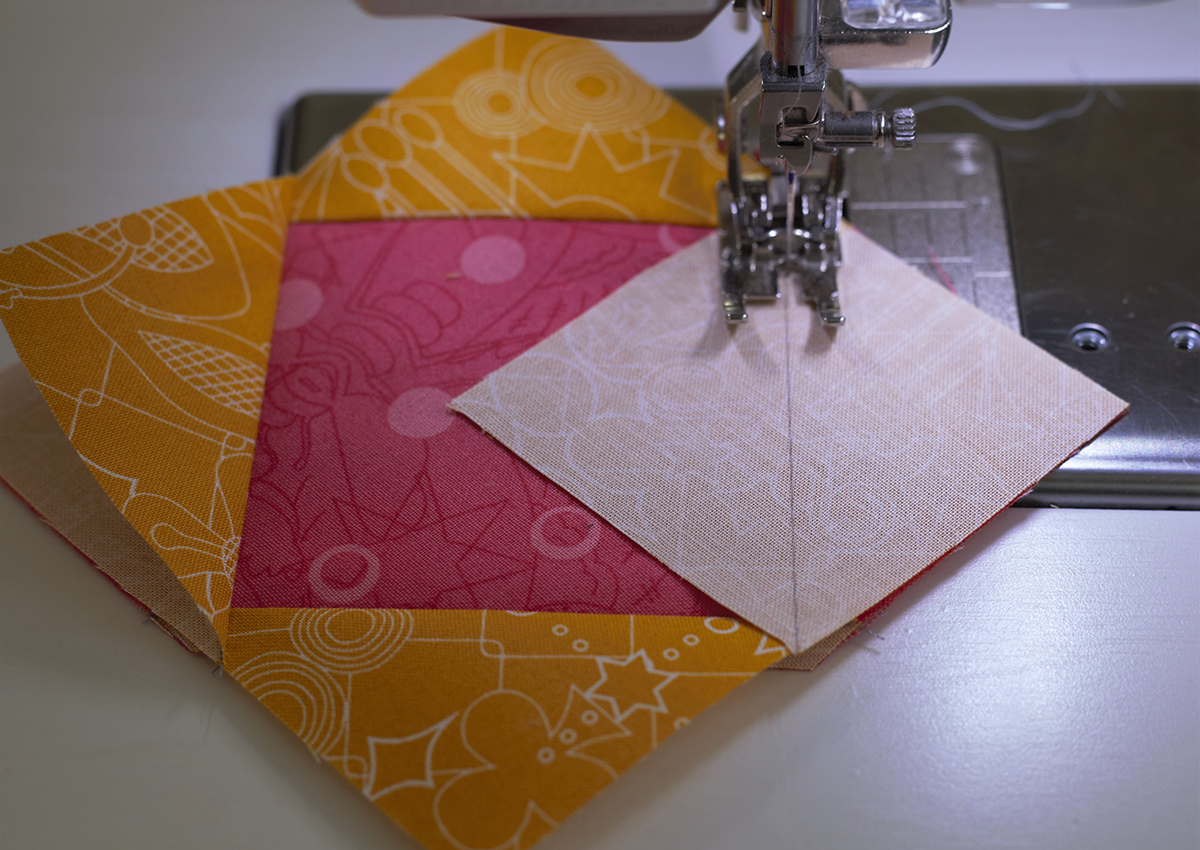
Create the Center Square
Draw a diagonal line on the wrong side of 4 small Fabric A squares.
Place a square on each corner of the pink center square and sew on the diagonal line. Trim the excess to 1/4″. Repeat for all four sides.
Finishing the block
Seam together a 4 1/2″ Fabric C square to a quarter square triangle unit.
Seam another 4 1/2″ Fabric C square to the other side. Make 2 units.
Take note as to the orientation of the center pieced square in the picture below. Always sew down the pink side.
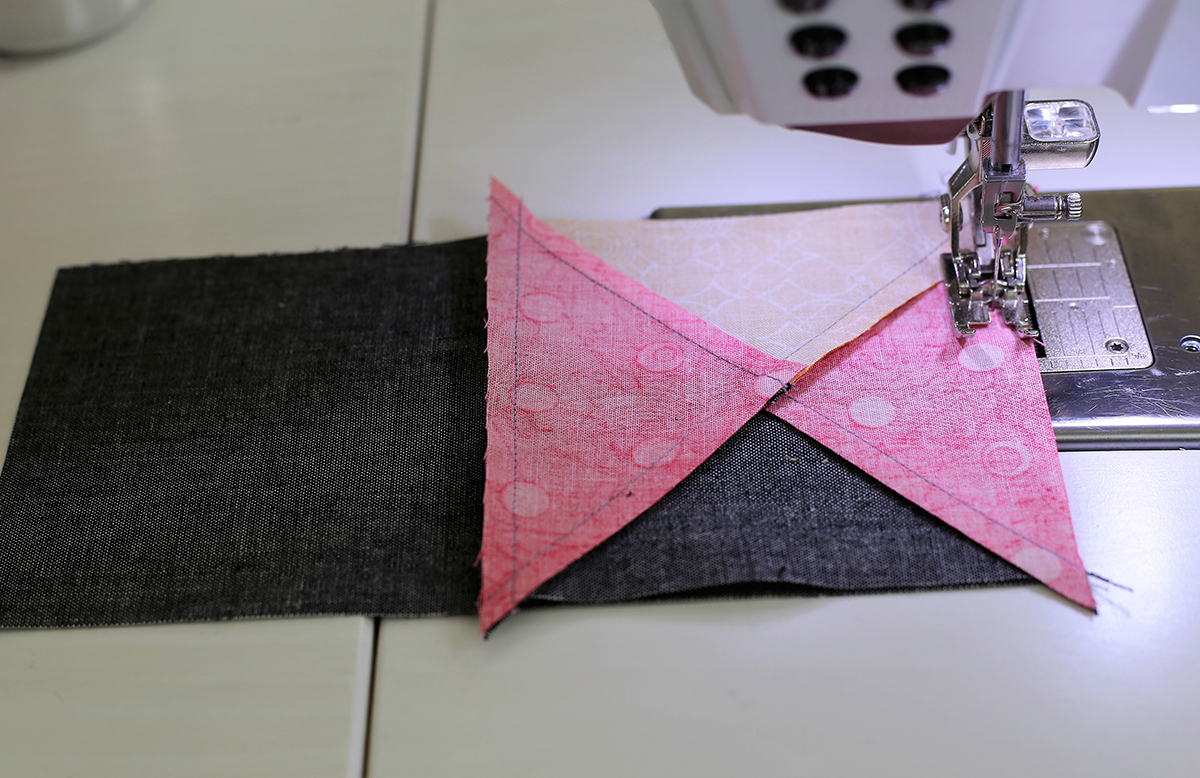
Seam together the center square in between two quarter square triangle units as shown in the center row below.
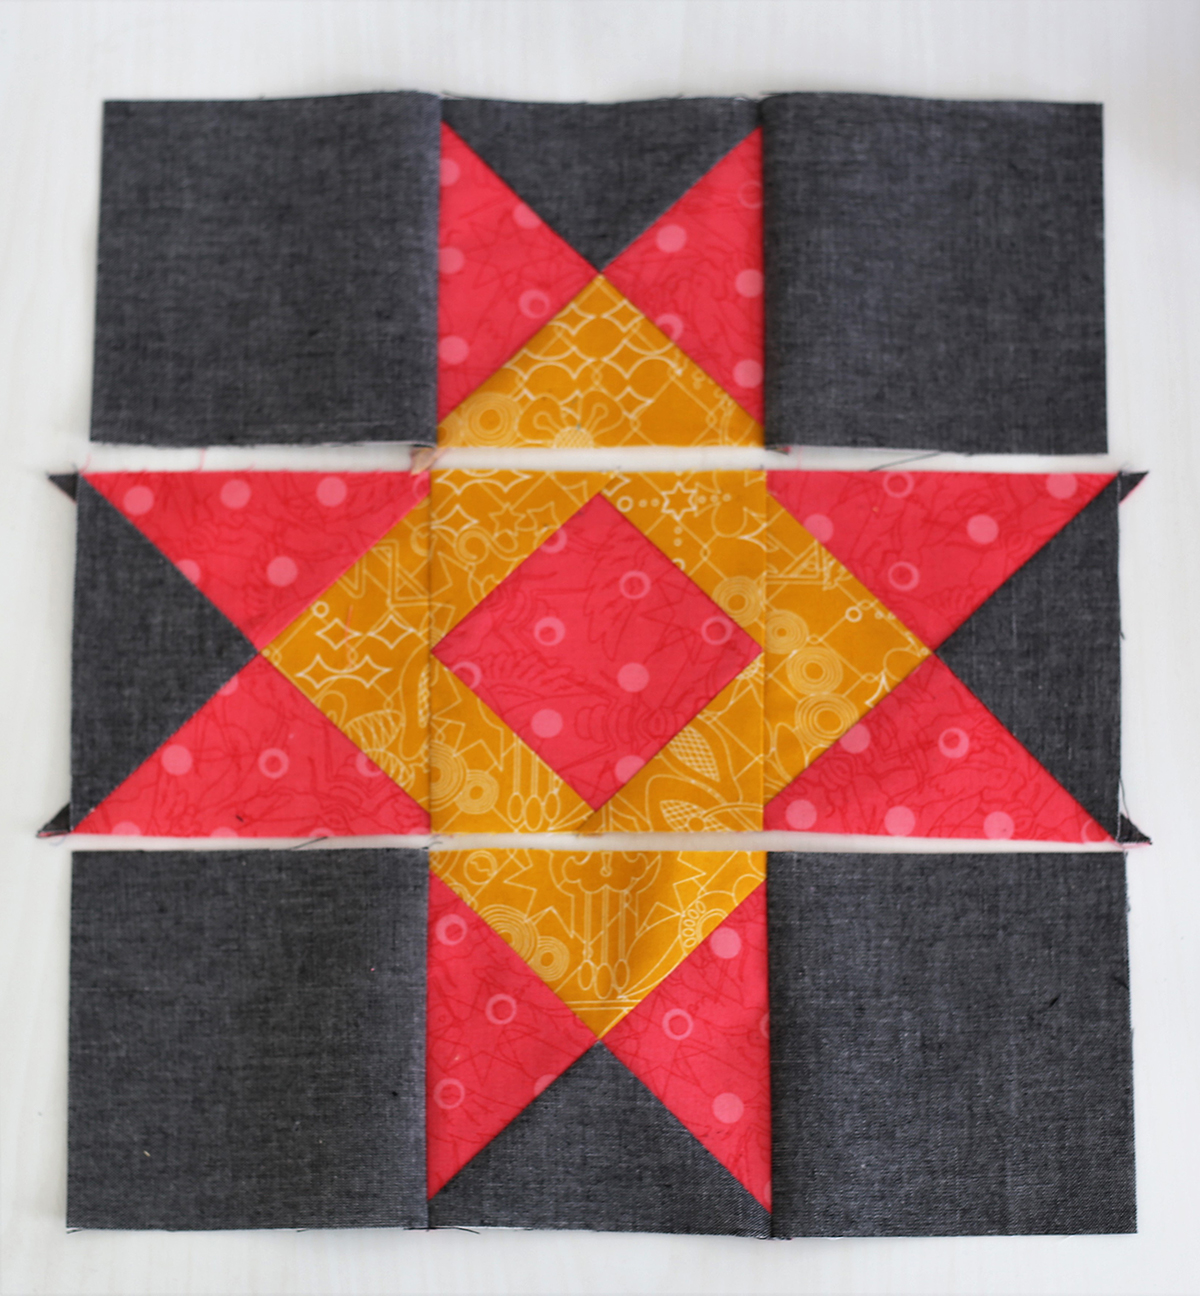
Stitch together the three rows to create a block. Repeat all the steps to make three blocks.
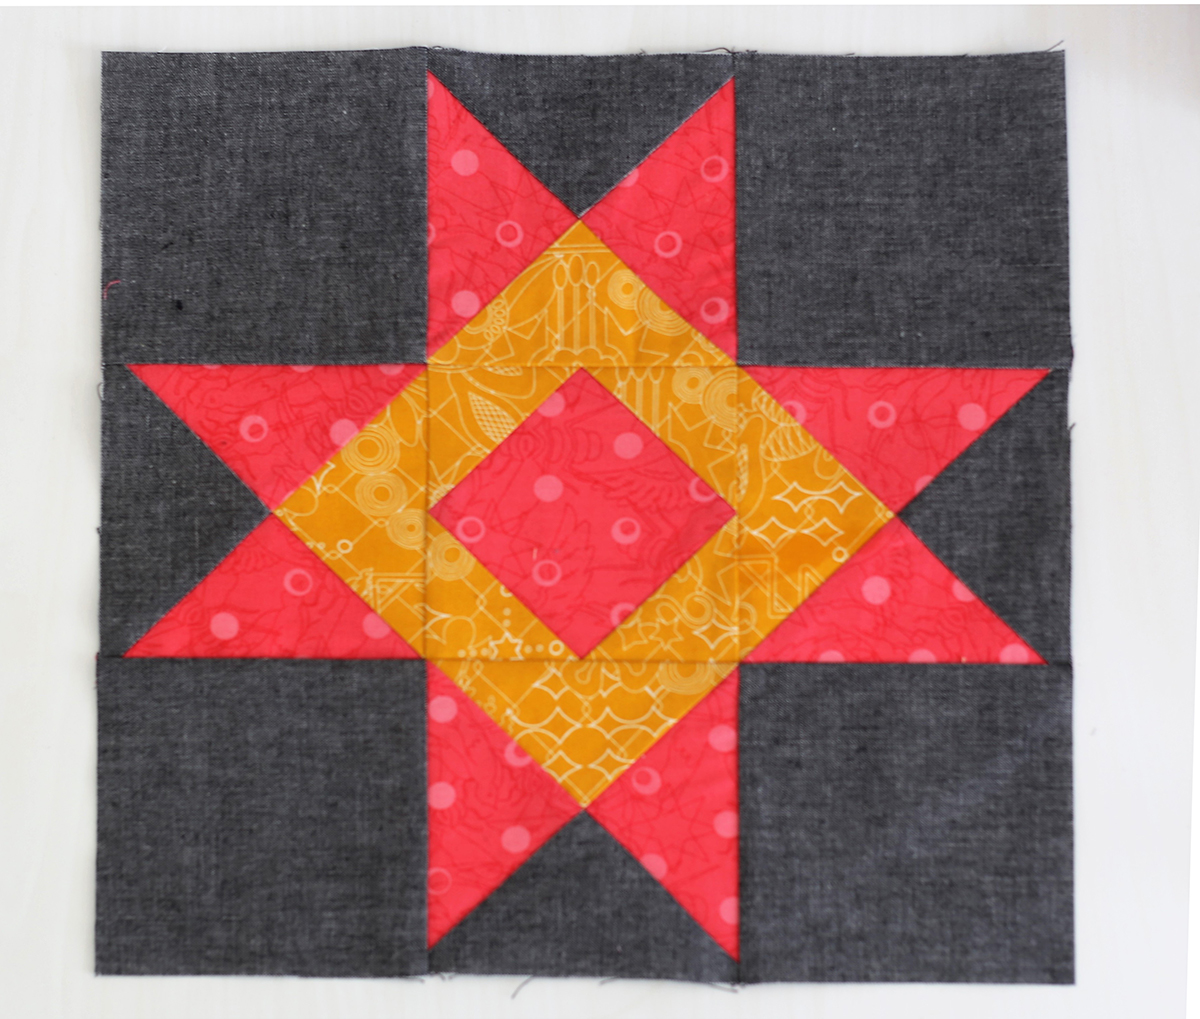
Set aside these three blocks for now if you are making the entire quilt. The entire quilt top will be pieced together before the final quilting of the layers is done.
Each month I give you instructions for a different quilting technique. Experiment with the techniques and when it comes time for the final quilting you will be ready to decide which quilting techniques you like best.
Also, join Denise Jones this month. She has a fabulous project using these three blocks and the techniques in the quilting lesson. Her next project will post on August 21st.
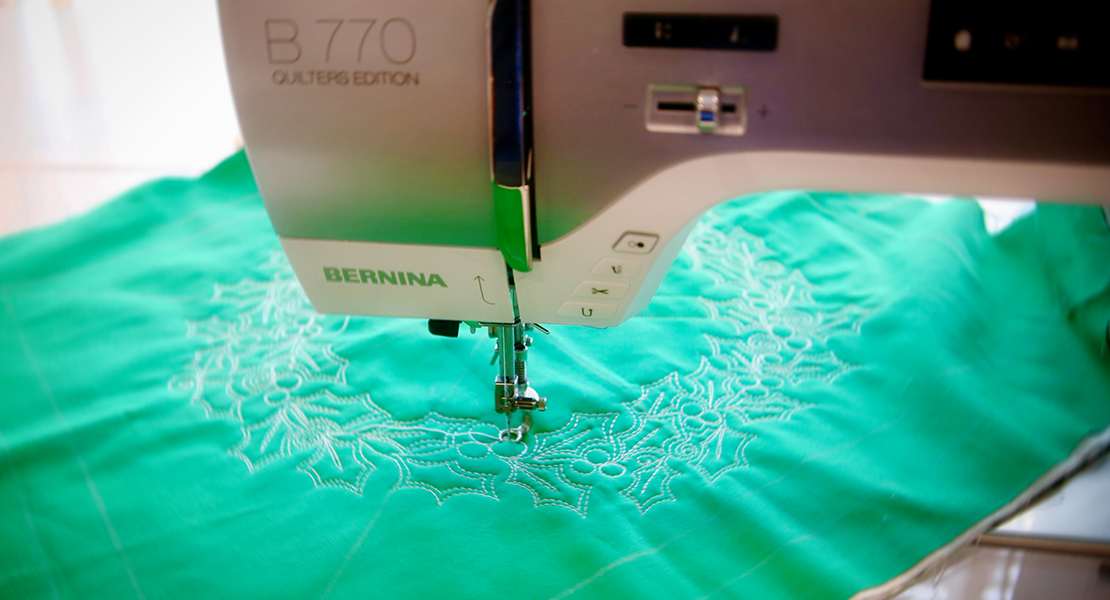
Free-motion Quilting: A Quilting Lesson
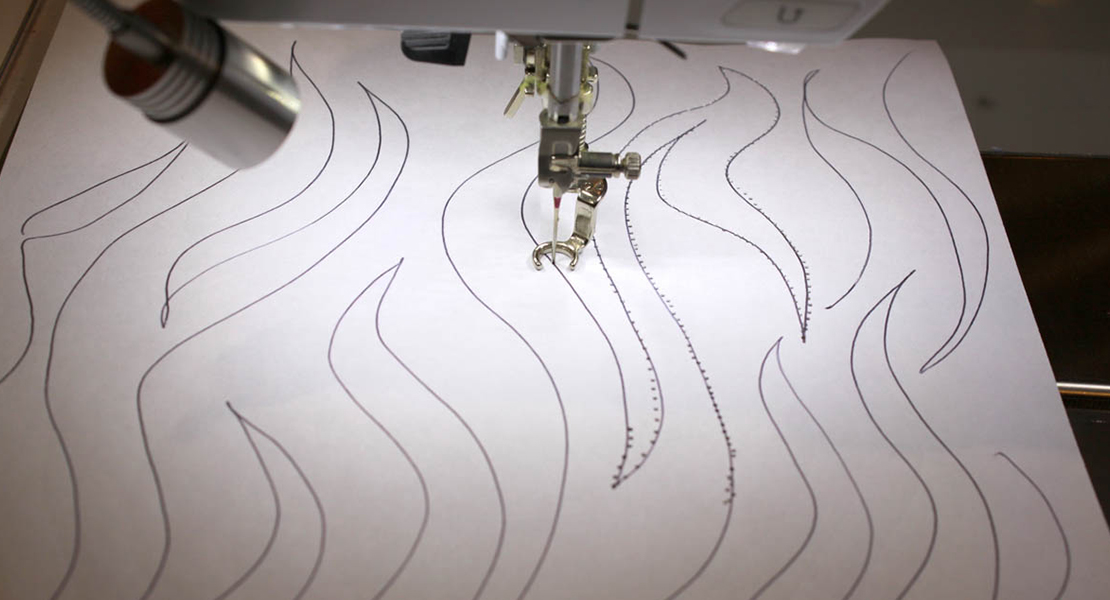
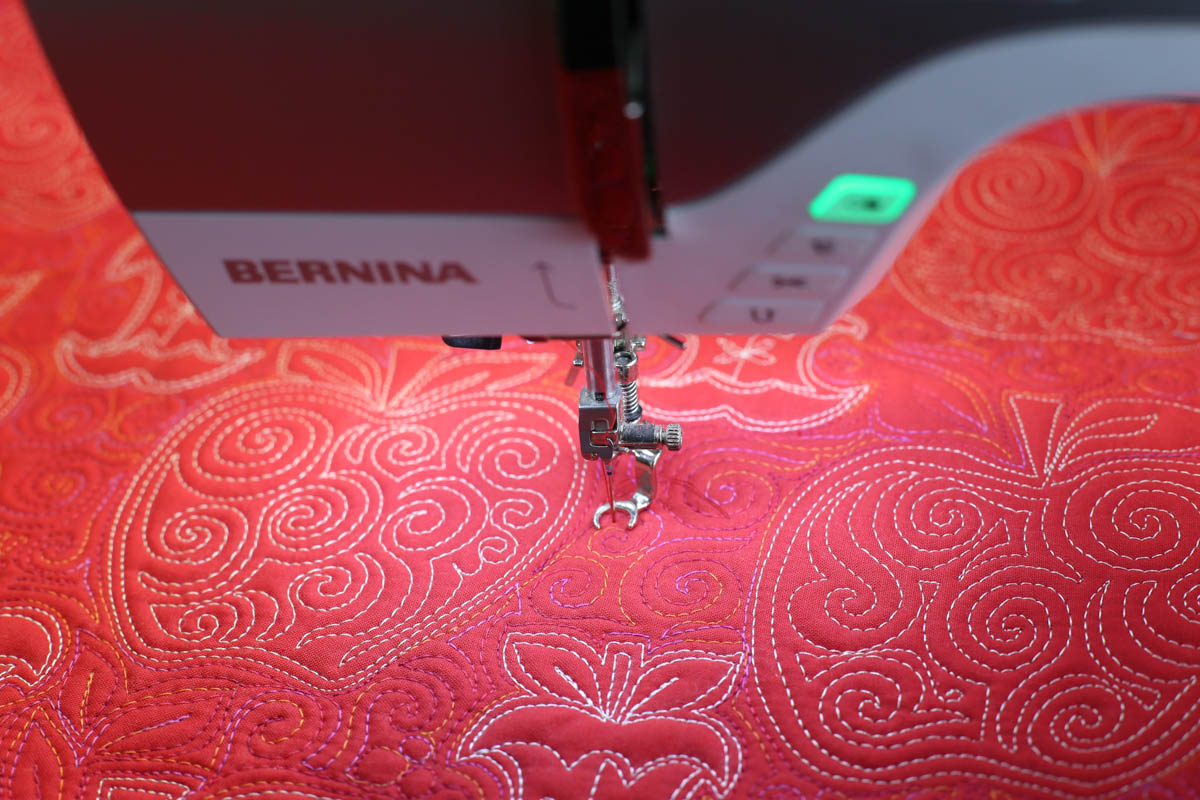
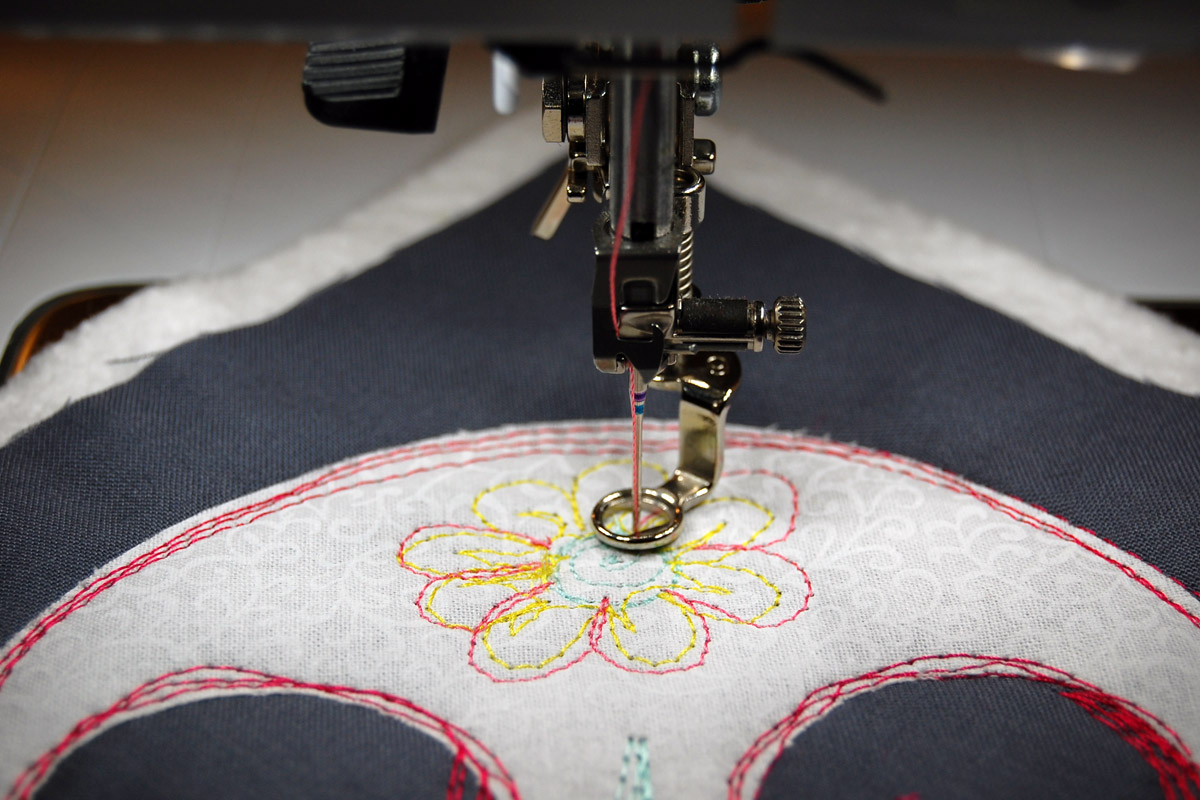
This month’s quilting lesson will be for free-motion quilting. With free-motion stitching, the feed dogs should be lowered. You will be manually moving the fabric and controlling the direction and the length of the stitches.
I will be working with the BERNINA Stitch Regulator. This foot helps to keep the stitch length even and consistent as you move the fabric. If you are a beginner, you may find that this foot will give you the confidence to try many free-motion techniques. If you are more experienced, the BERNINA Stitch Regulator offers the added security of consistent stitch length may give you the confidence you need to try even more challenging projects.
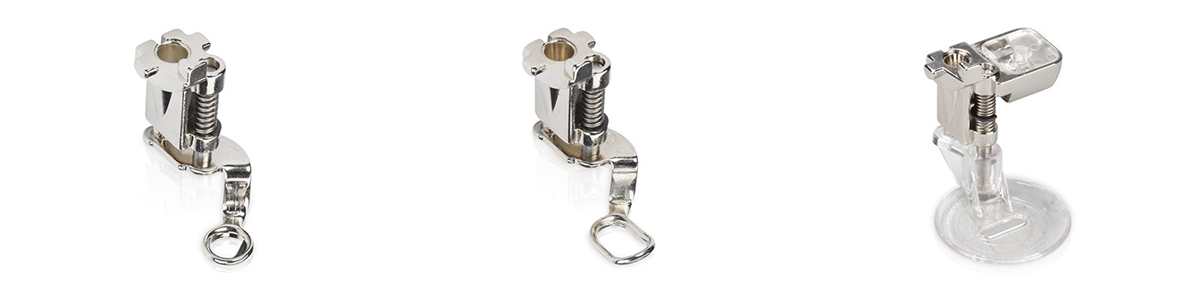
If you do not have a Stitch Regulator, any free motion foot will work. Here are three you might try.
Darning Foot #9 Embroidery Foot #15 Echo Quilting and Cutwork Foot #44
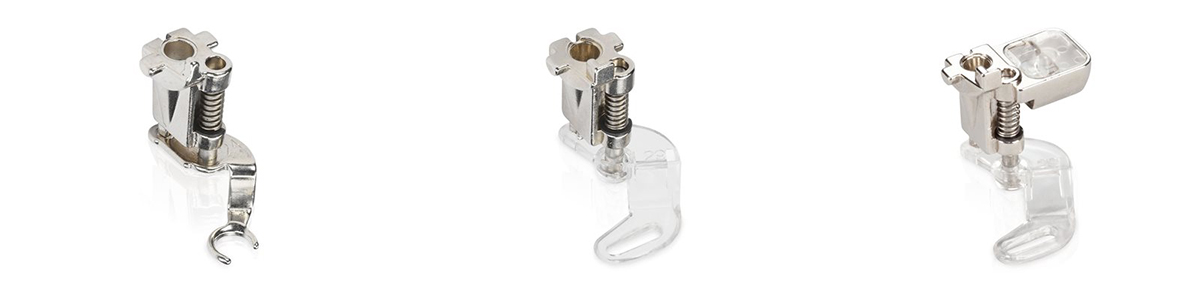
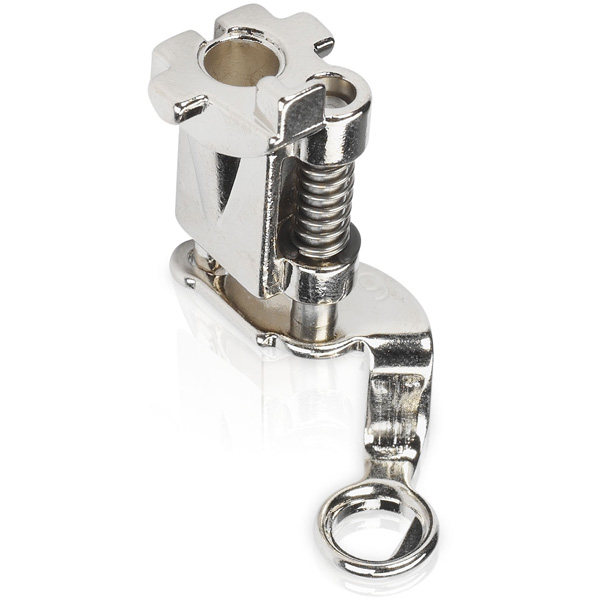
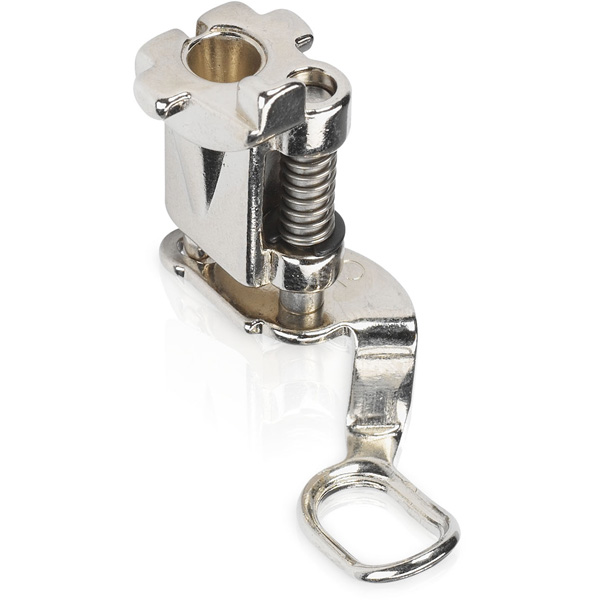
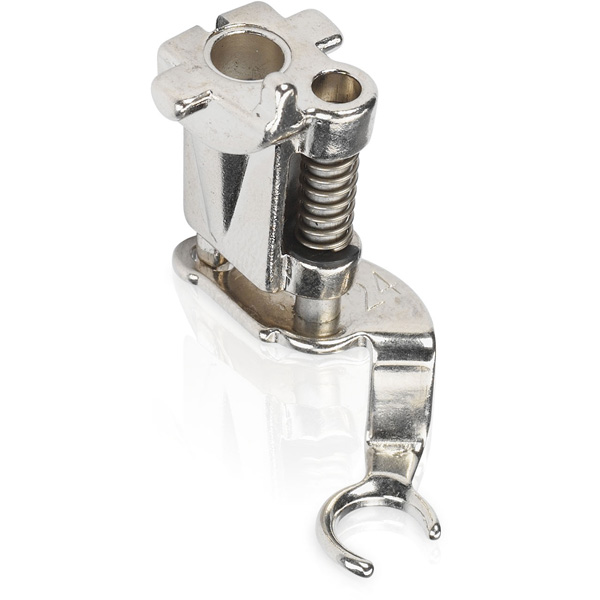
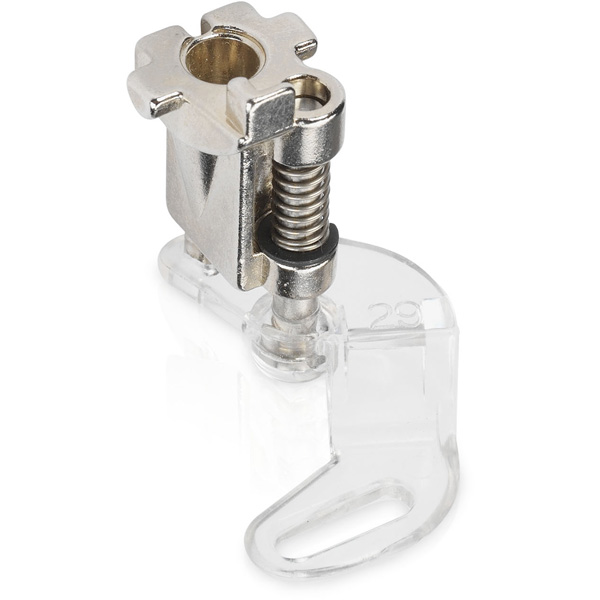
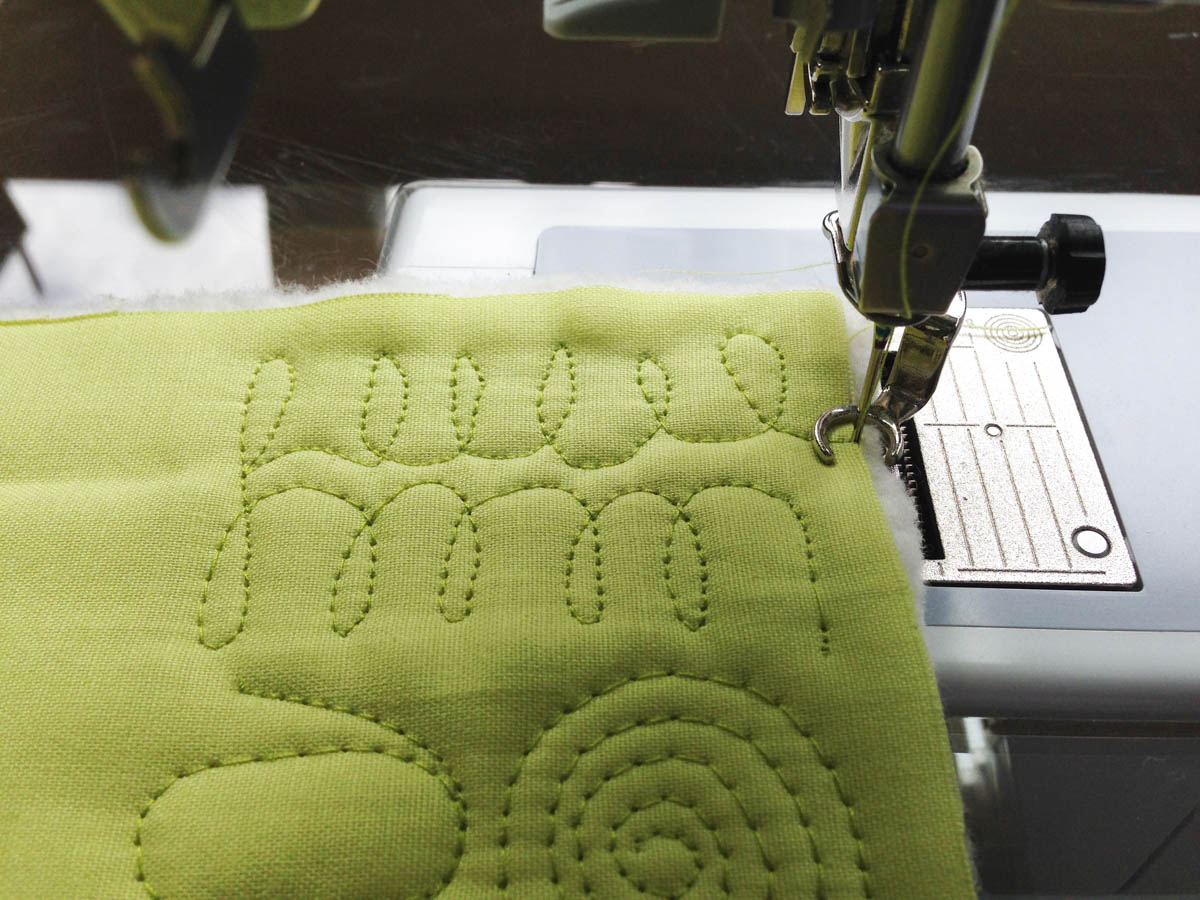
My favorite free-motion foot to use is Free-Motion Embroidery Foot #24 because it gives me the most visibility when stitching. Quilting Foot #29/29C will also give you more visibility. (Insert Pics #11 to #17)
Free-Motion Embroidery Foot #24 Quilting Foot #29 Quilting Foot #29C (for 9mm machines)
So let’s attach the BERNINA Stitch Regulator or the free-motion foot of your choice and get started. Remember to BREATHE when you are doing free motion work!!!
If you are using the BERNINA Stitch Regulator, you will want to attach the soul of your choice. The open sole is my favorite!
For how-to information for the Stitch Regulator, download the Just Quilt It – eBook: BERNINA Stitch Regulator or watch the BERNINA Quilting – Tool Tip – Understanding the BERNINA Stitch Regulator. Here you will learn about BSR Modes 1 and 2, stitch length, tension, and other valuable information.
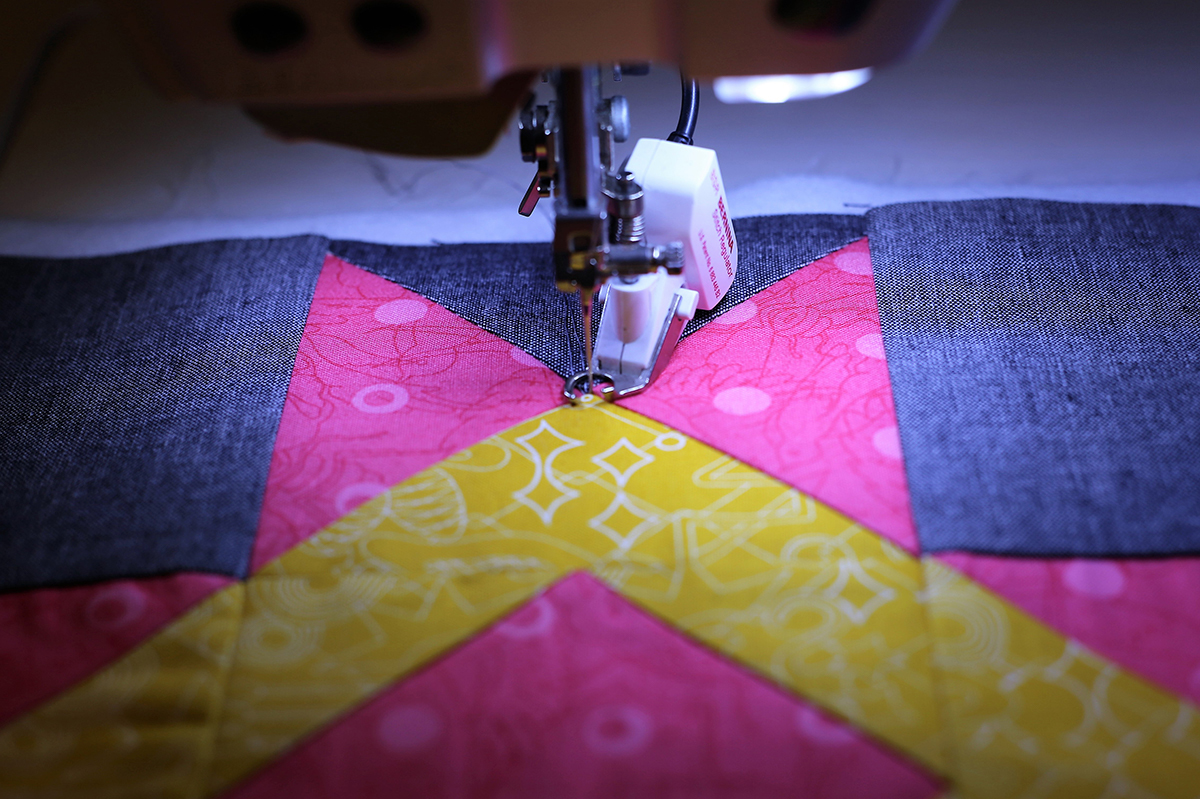
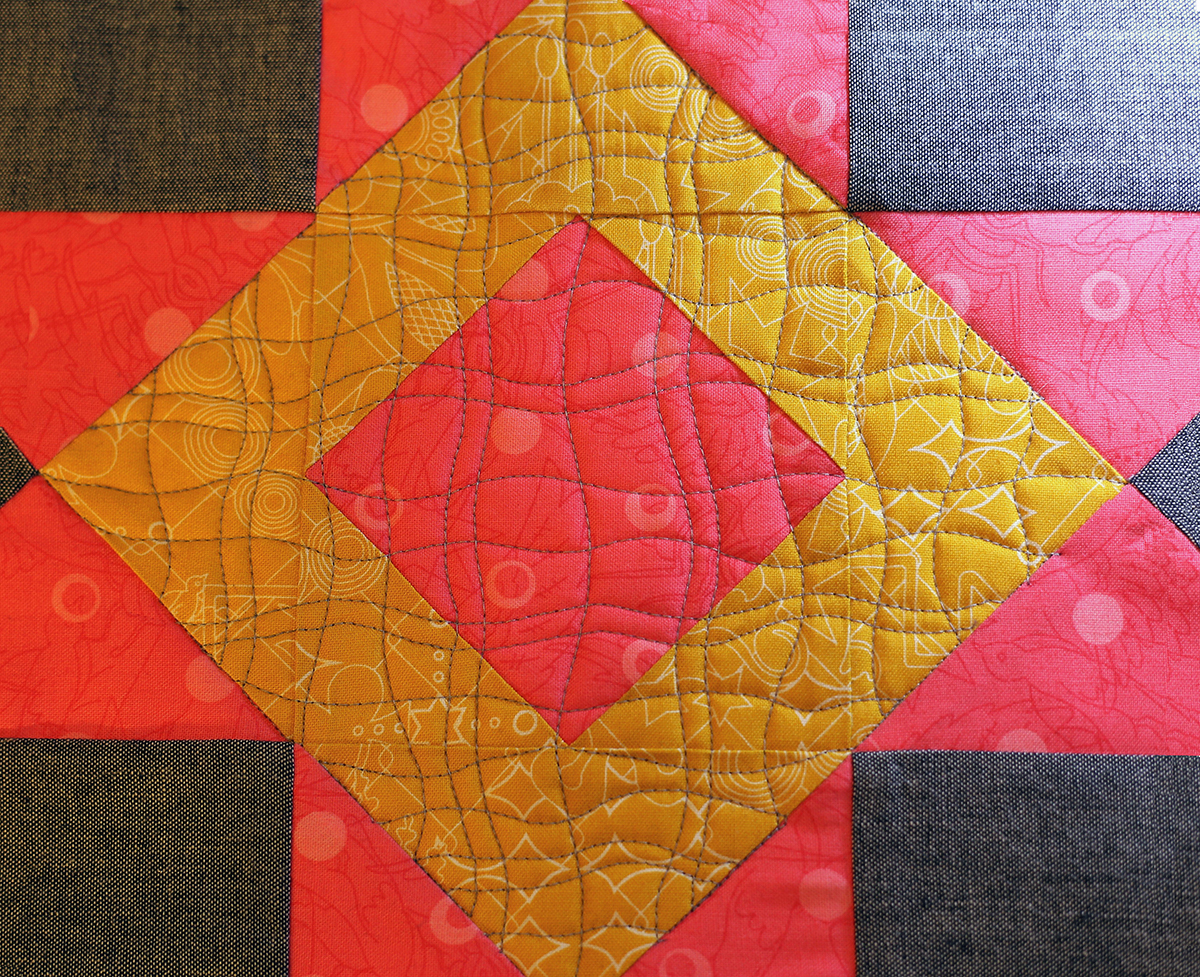
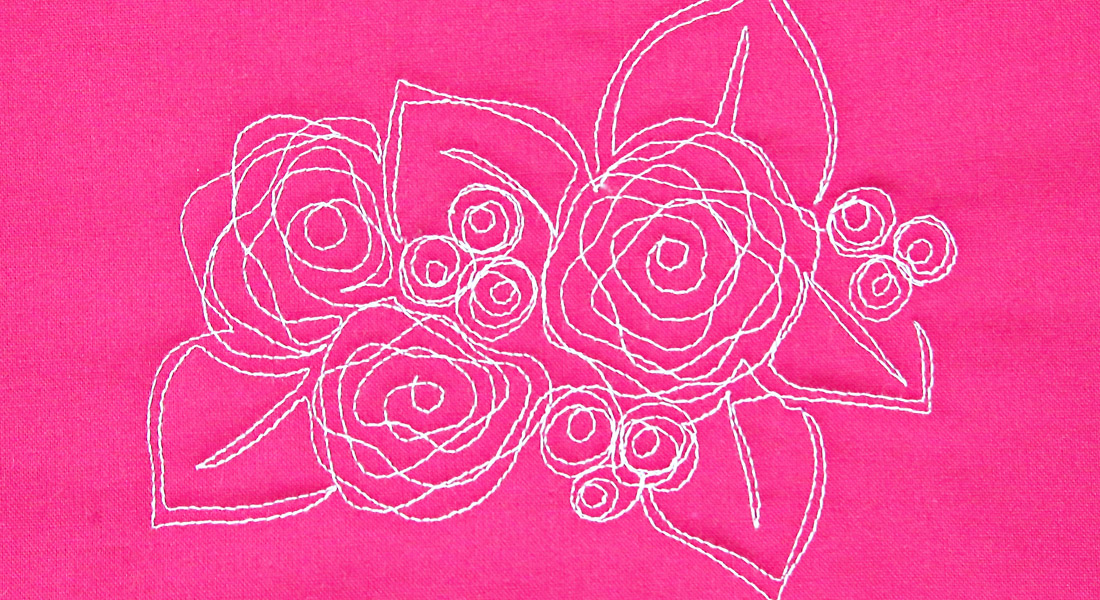
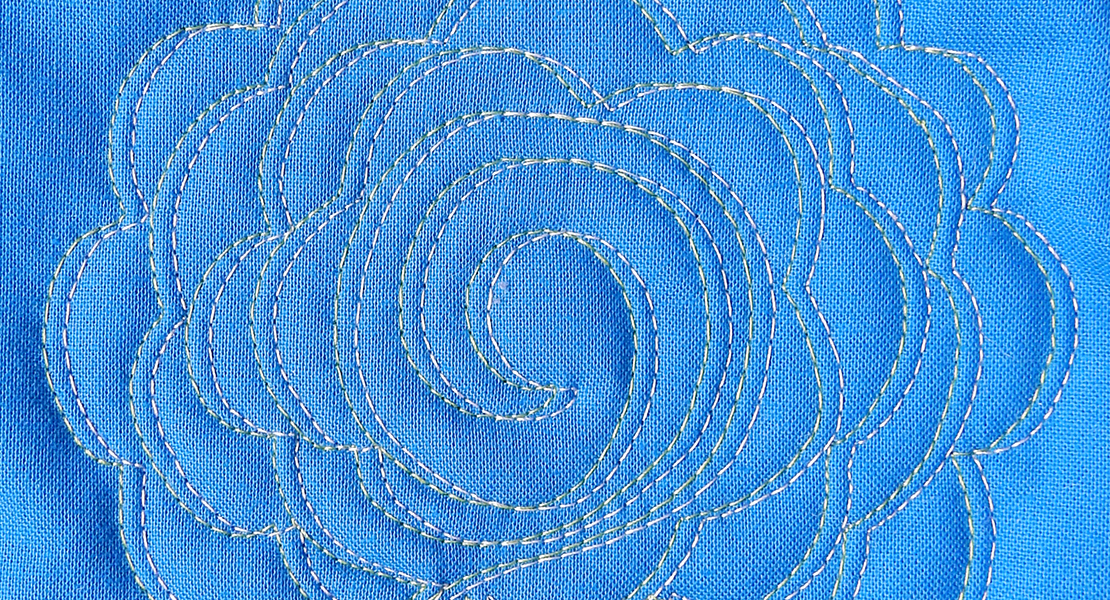
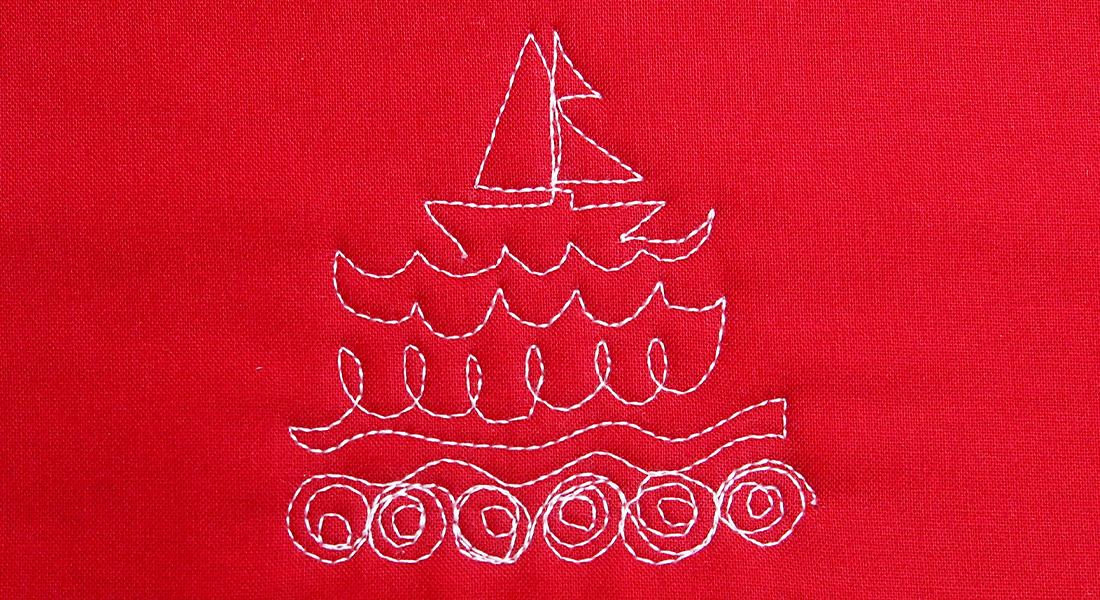
After layering your block with batting and backing, begin at the point of the yellow square border by pulling up your bobbin thread. Stitch a gentle wavy line from this point to the opposite diagonal point of the yellow square.
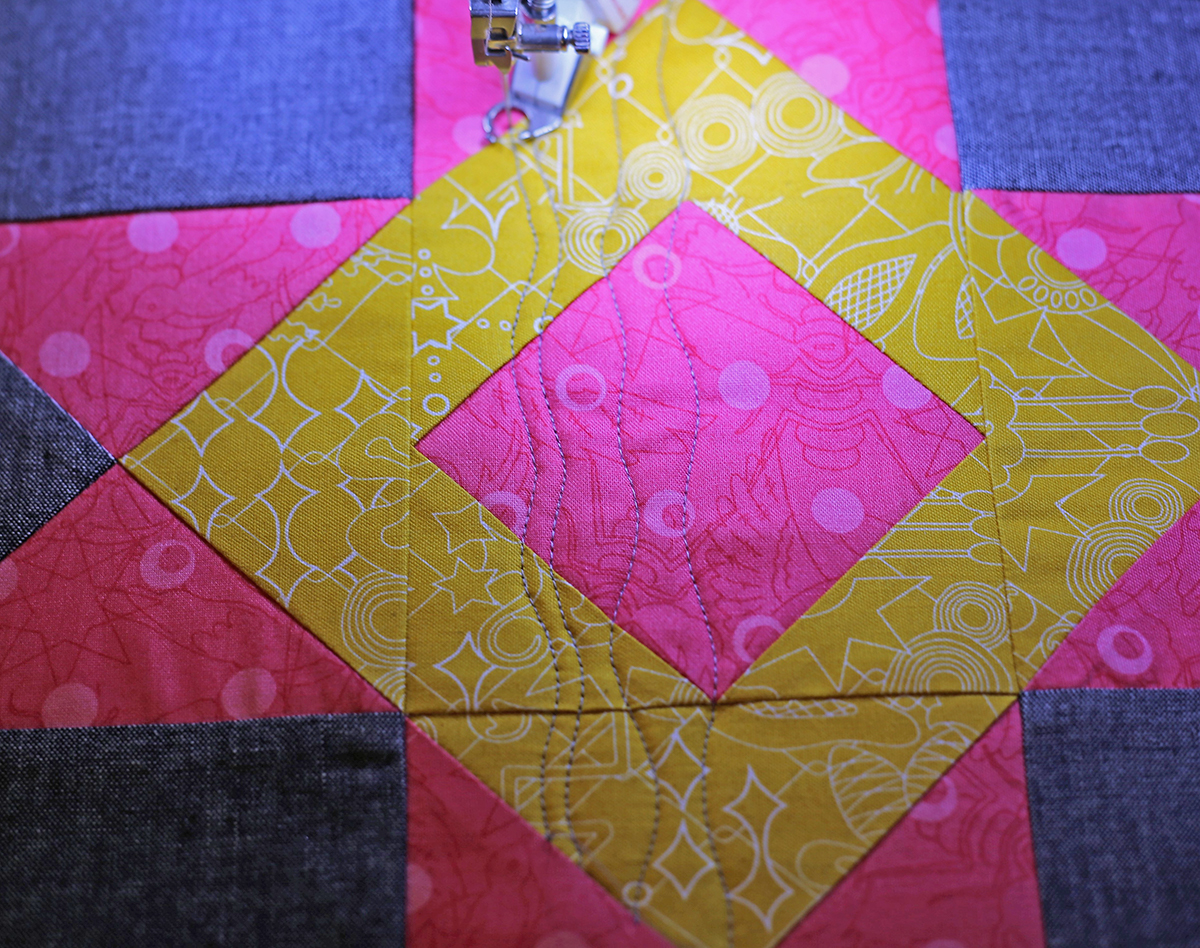
Continue to stitch gentle wavy lines to both sides of the first line.
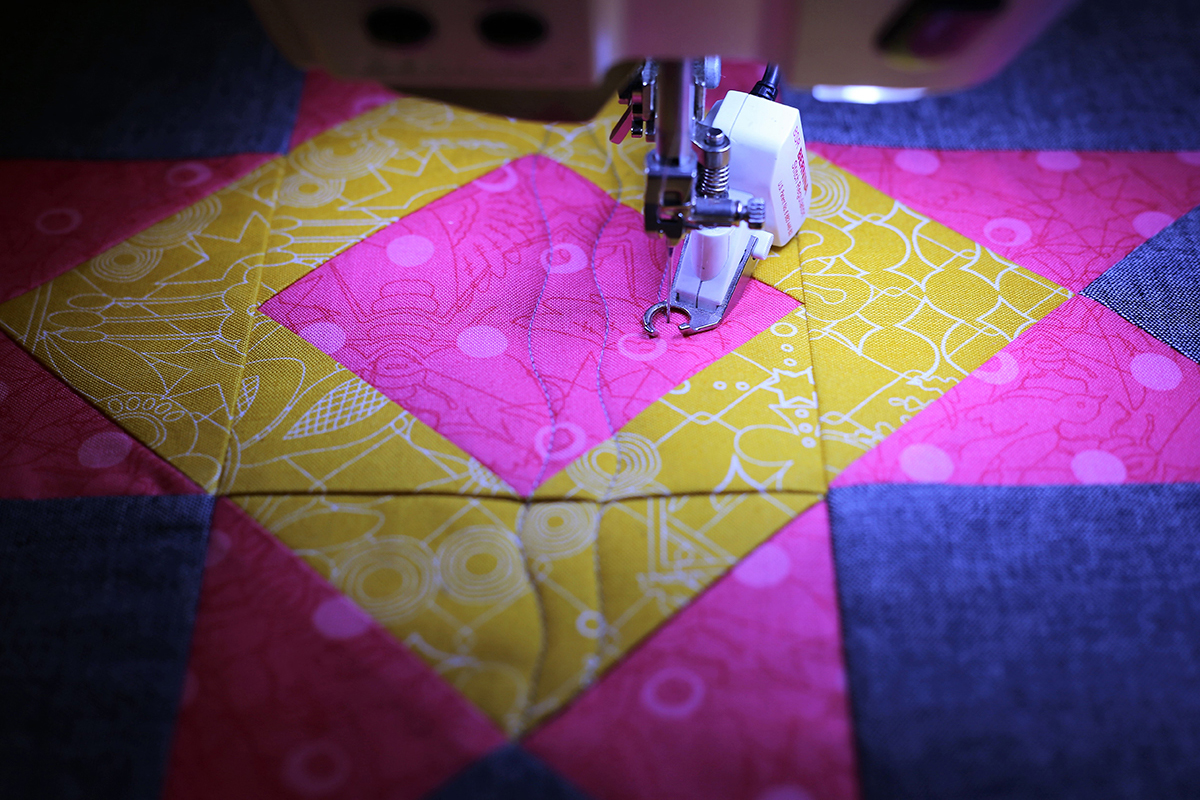
You may wish to occasionally echo a line to add interest.
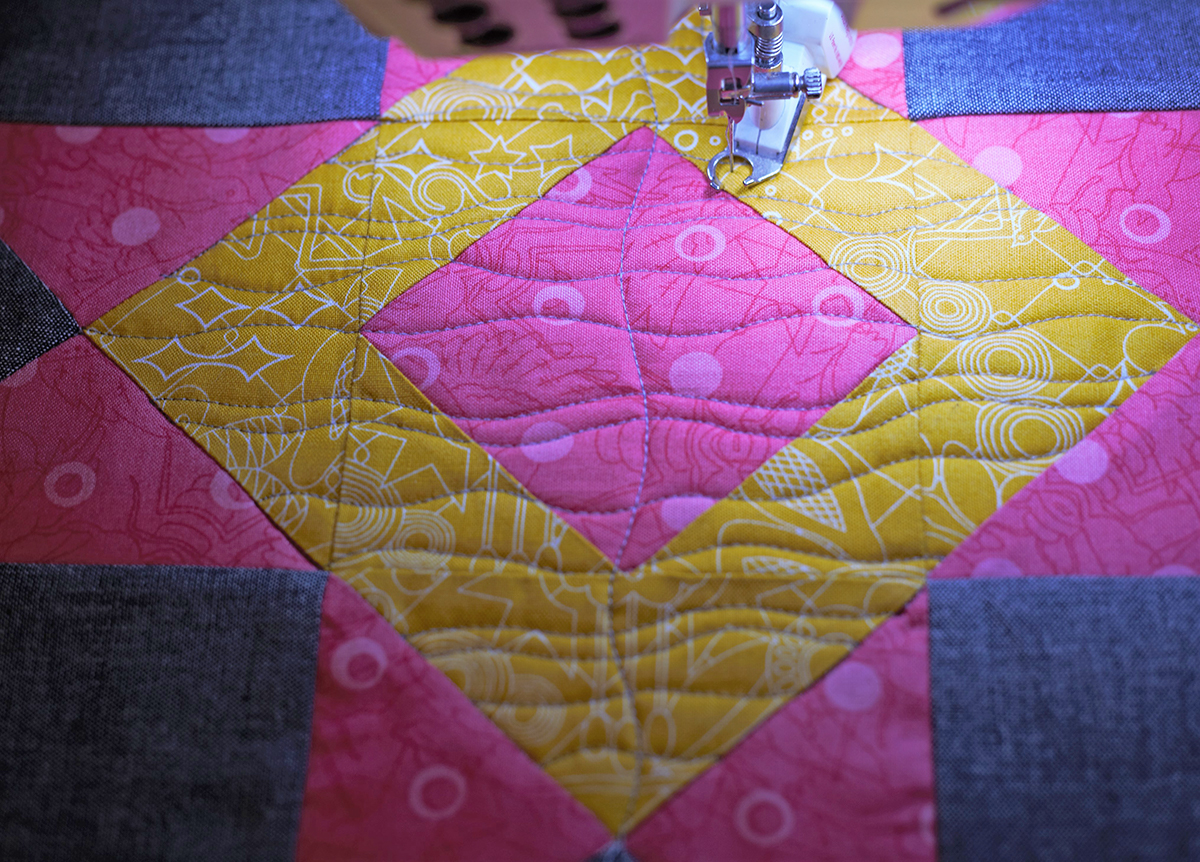
When you have successfully quilted the center as shown, rotate the quilt crosswise and stitch in the same area forming a “free-motion plaid”. Try not to turn the block as you are stitching the wavy lines. Experiment by moving the block in a back and forth direction, as well as up and down. These two directions are the beginnings of all over free-motion.
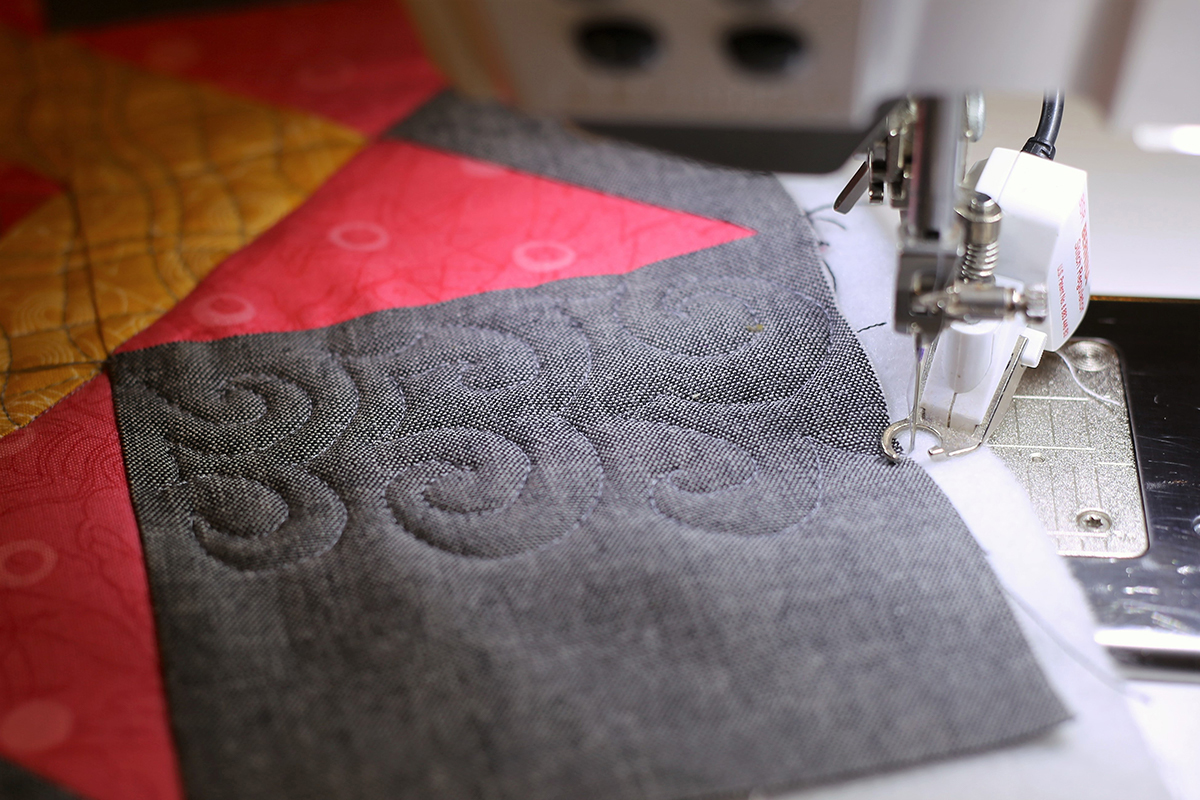
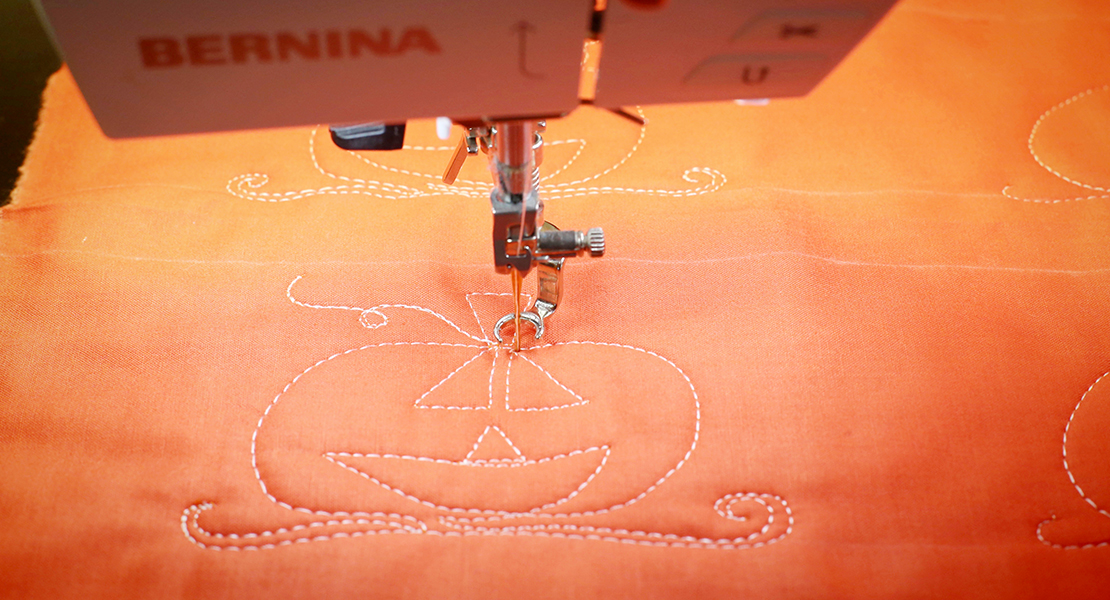
When the center is complete, we will move on to the gray areas of the block.
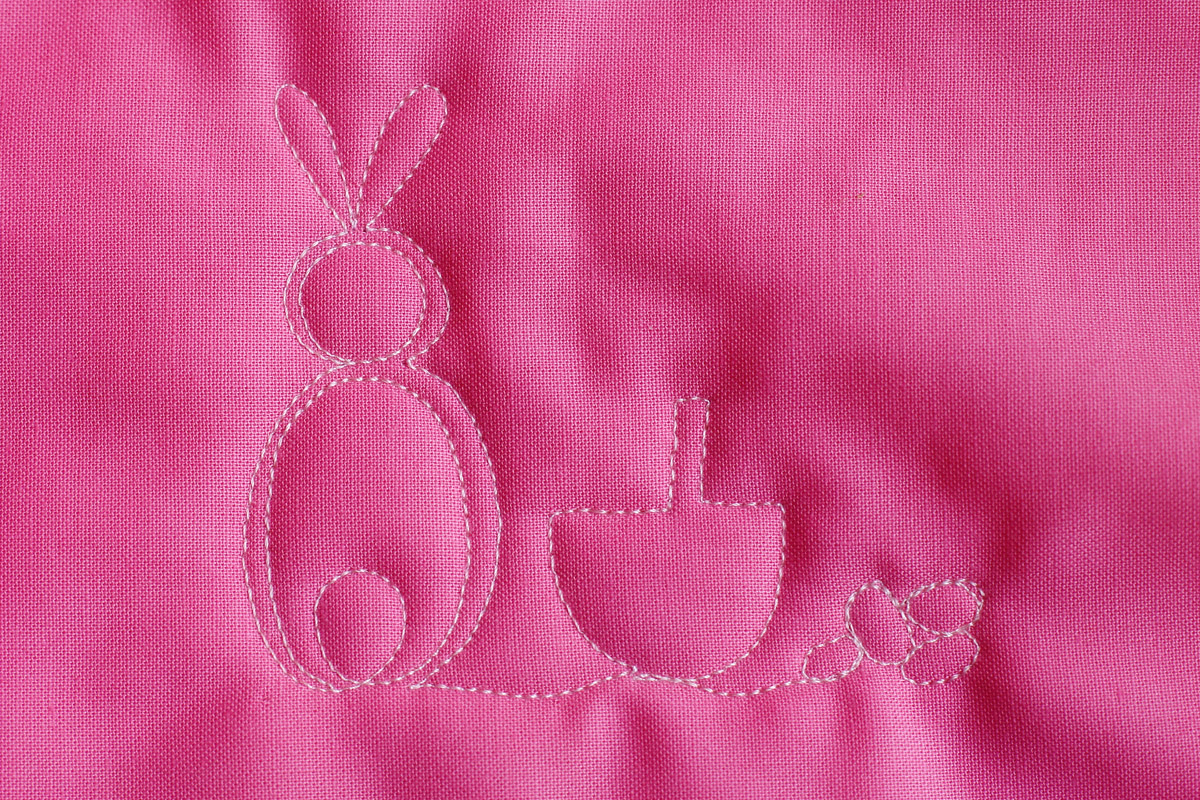
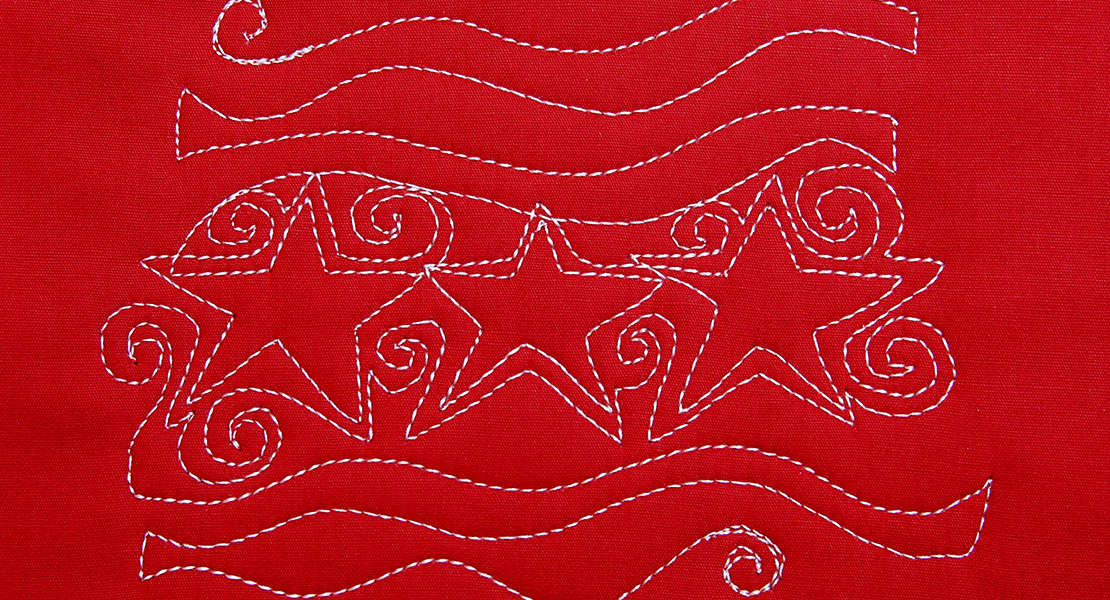
The gray areas of the block can be quilted with any free-motion design of your choice. You may do a simple all over stipple or add your own style to it. Experiment and have fun.
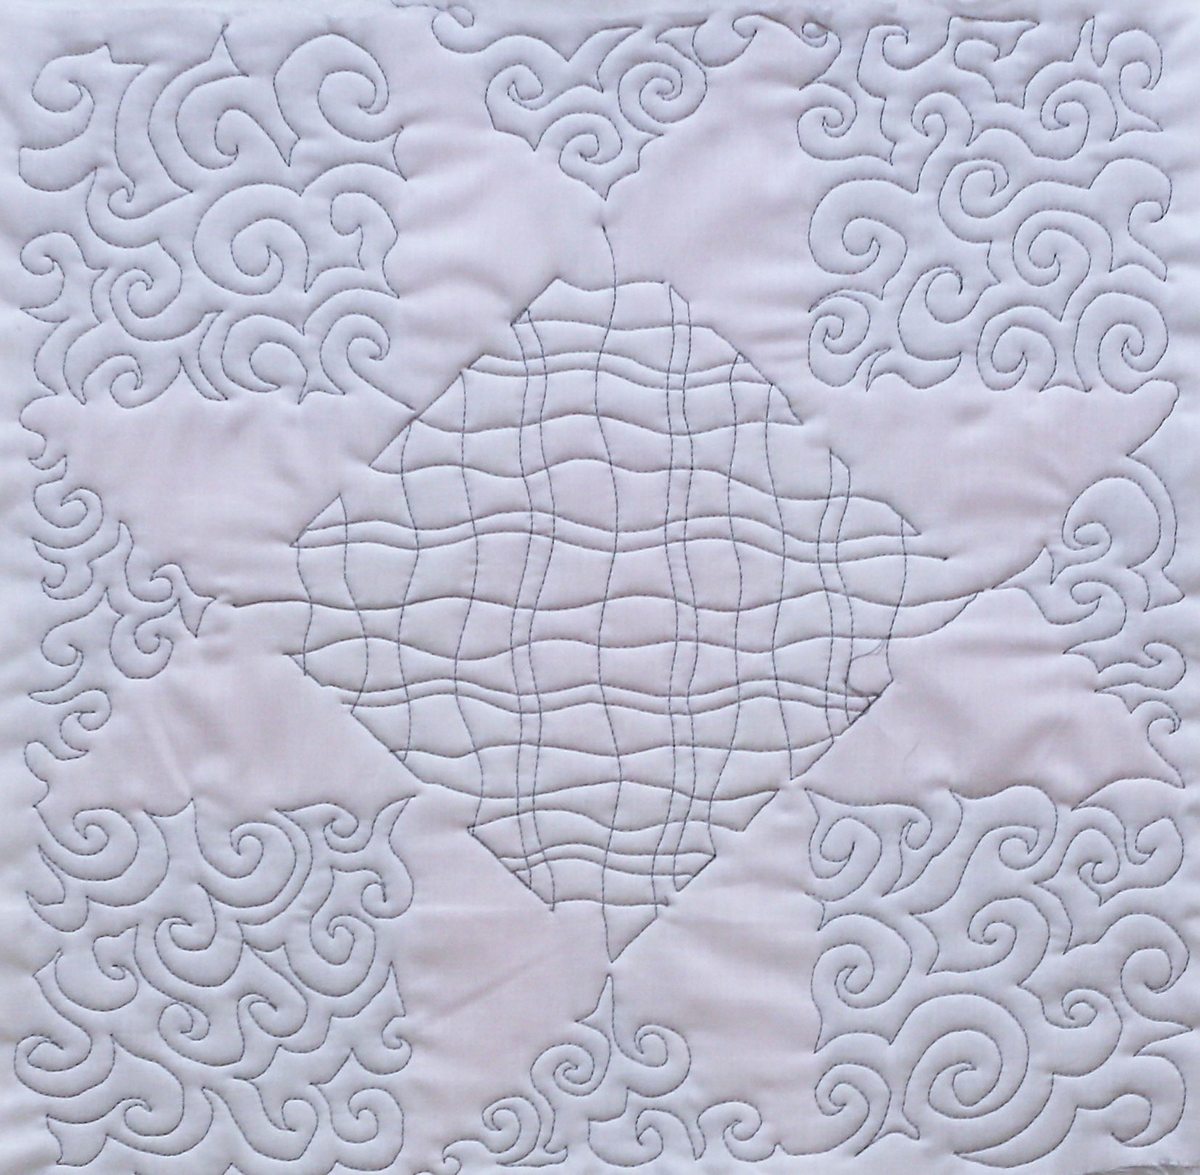
Here is a picture of the back of my block so you will be better able to see the quilting.
When it comes to free-motion quilting, you will need to practice to gain confidence. You also need to remember to breathe and R-E-L-A-X!
Tutorial List of the BERNINA Block of the Month Series
Block 1: Antique Mosaic Block
Block 2: Shoofly Block
Block 3: Square in a Square Block
Block 4: Magic Circle
Block 5: Card Basket Variation Block
Block 6: Ohio Star Variation Block
Block 7: Maple Star Block
Block 8: Grecian Square Block
Block 9: Union Square Block
Block 10: A Girl’s Favorite
Used Products

What you might also like

2 comments on “Card Basket Variation Block and Free-Motion Quilting”
-
-
I modified the colors to make a table runner for my sister-in-law, who is hosting a mini-family reunion at her home in St Joseph Missouri to view the Great American Solar Eclipse August 21. I think it looks just like a full solar eclipse! I’d send a photo, but I don’t know how to attach it to the comment.
Leave a Reply
You must be logged in to post a comment.

The colors are just stunning!! Going to play catch up with the blocks from this series.