How to Sew a Bike Basket Liner
I’ve been thinking about this quote, “When was the last time (you) felt truly light, joyous and—yes—creative in (your) skin?” from Elizabeth Gilbert’s book Big Magic a lot lately. This is the busiest season of the year for my work and times when I feel light and joyous don’t happen as often I’d like. I’m NOT complaining, this is the life I choose for myself and I’m grateful every single day that I’m a creative entrepreneur BUT I’m also looking forward to some time off to be present and truly appreciate the fruits of my labors.
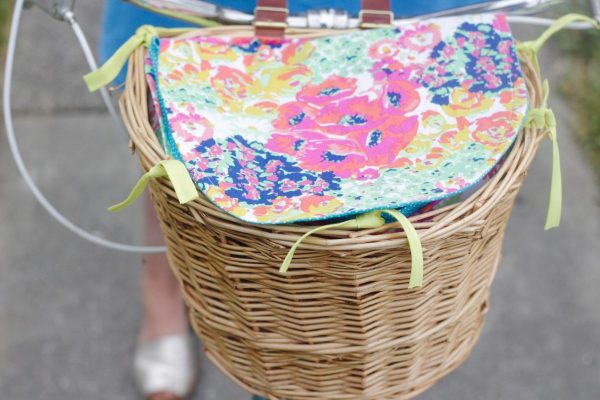
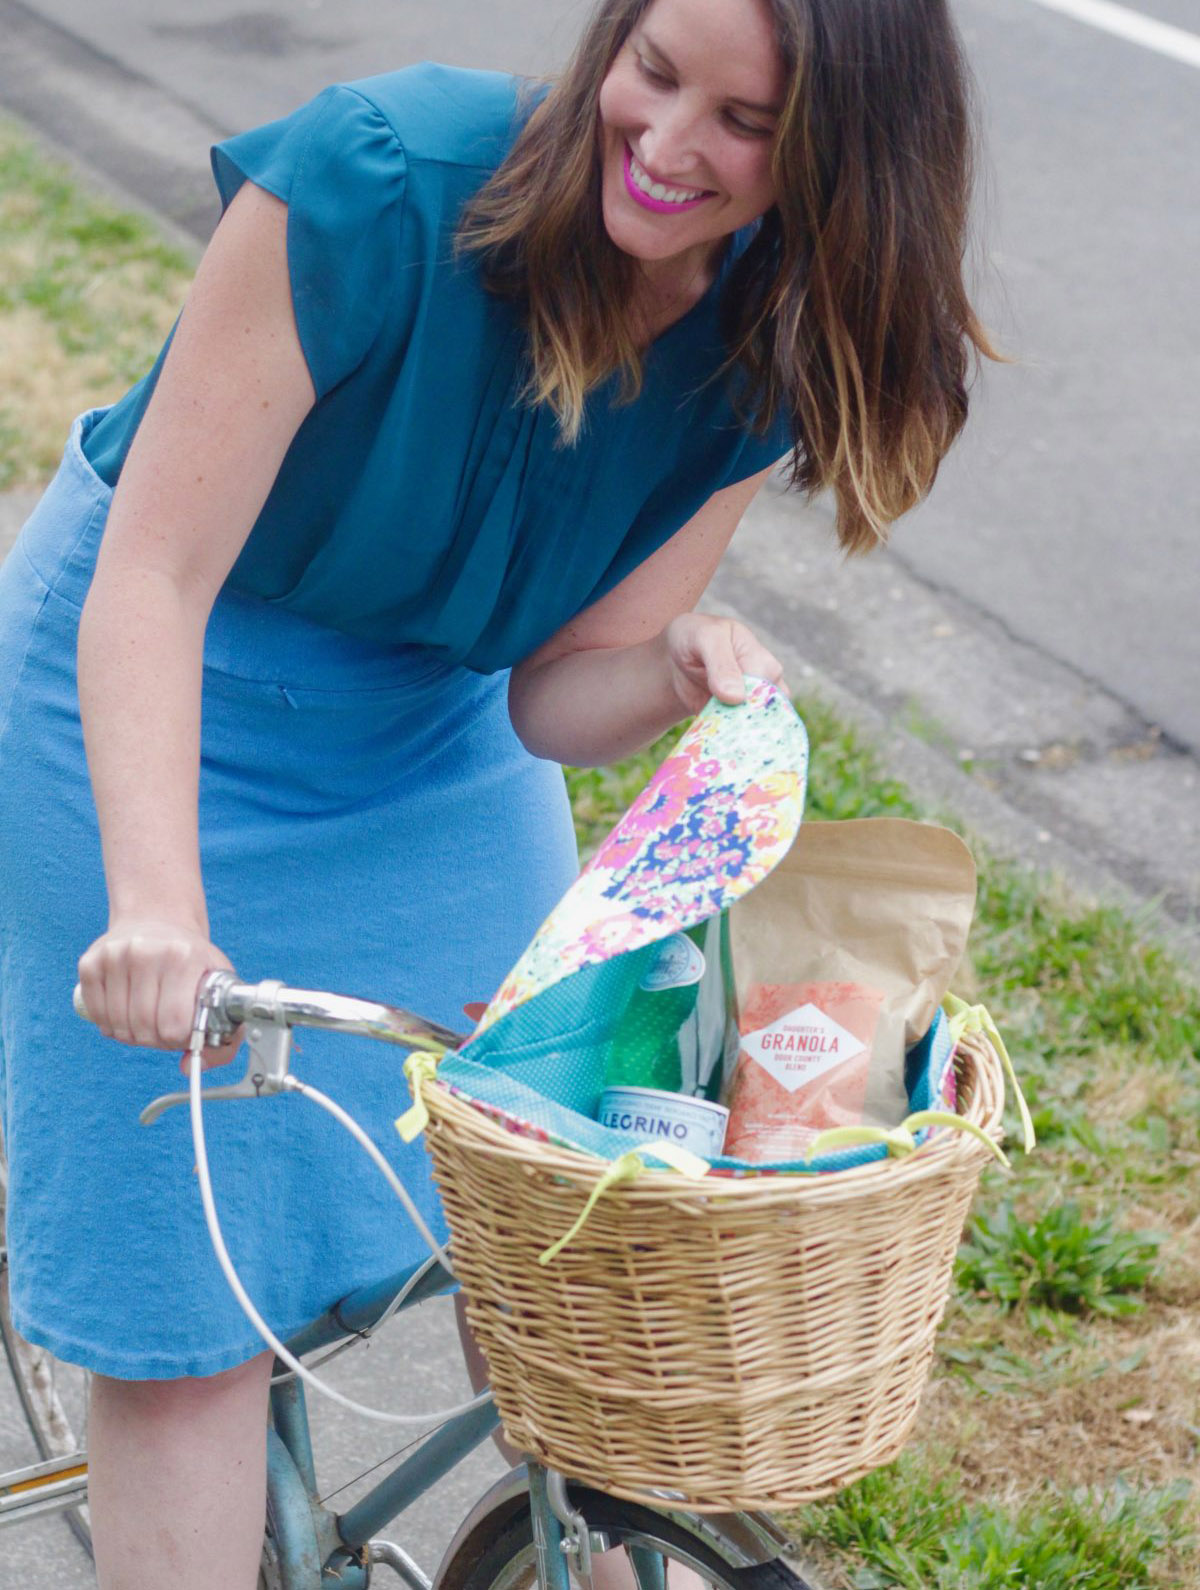
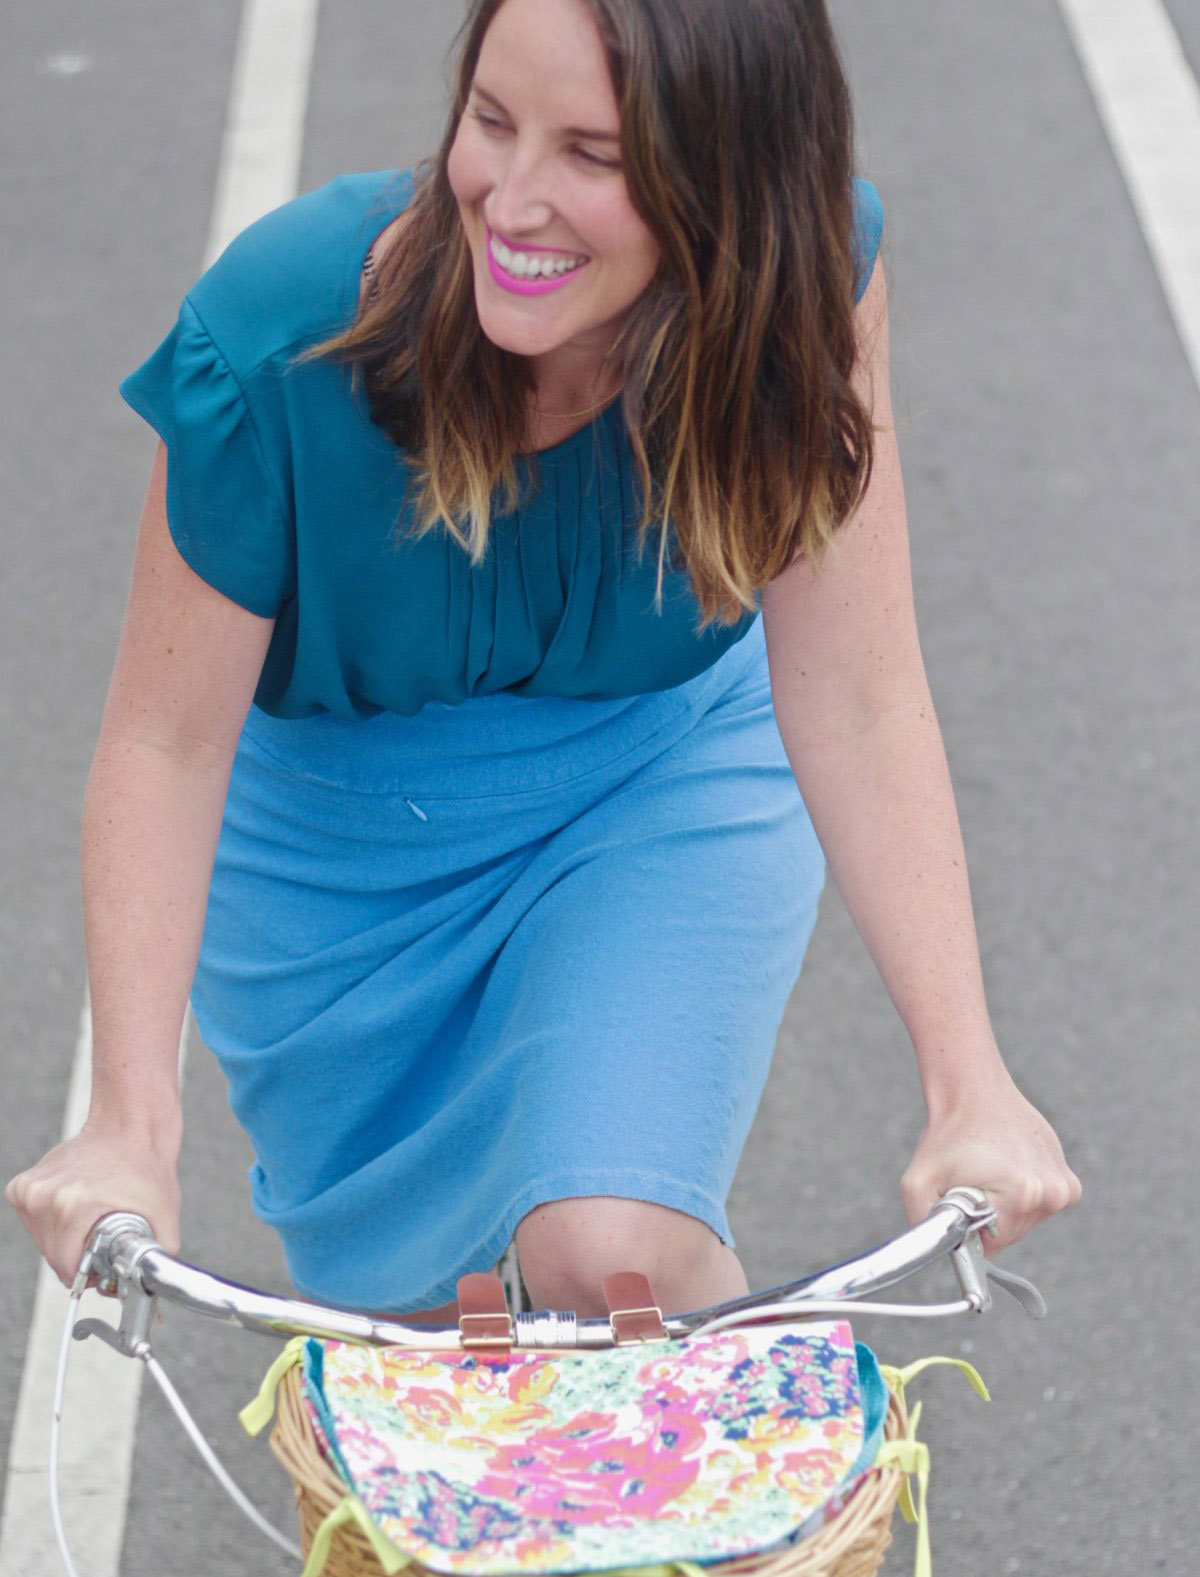
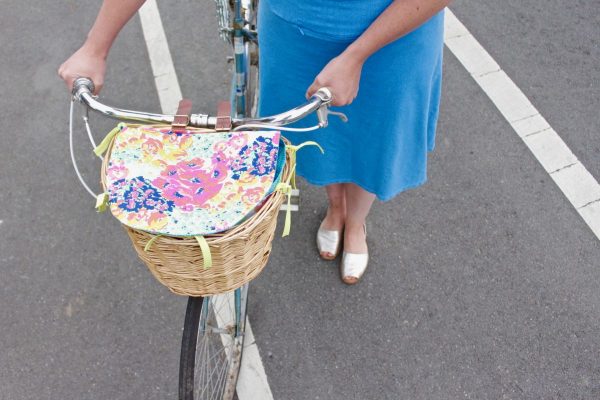
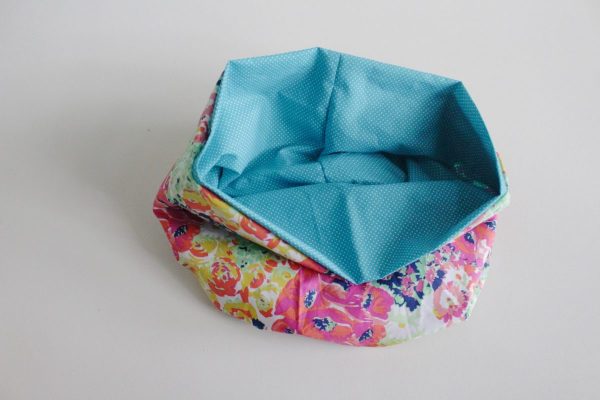
Even now during my busiest time of year I try my best to make time for things that make me feel connected and present. One of those things is riding my bicycle. Being on my bike and pedaling quickly up a hill and feeling my heart race and then coasting down and feeling the wind rush over my skin…it’s incredible. As an adult I went for years without riding a bike and when I bought a second-hand one and fixed it up last year, I rode it several times a week. Running errands on my bike feels like an adventure (in the car, it feels like a chore). My bike is pretty classic looking but it was missing one thing…a basket! I love this basket I bought BUT I wanted to not only keep my items secure but also add a little craftiness and color. So, I sewed this custom bike basket liner in a spring floral fabric. I hope this DIY inspires you to deck out your own bike for summer rides so you too can feel not only light and joyous in your own skin but hopefully get that same rush of awesomeness (even if you’re just riding to the grocery store).
The measurements below are for this bike basket that I purchased. Since there are so many different types of baskets with different dimensions, I created this tutorial to be an inspiration for you to create a liner that fits your basket so please see the notes below about adjusting measurements.
All seam allowances are 3/8 inch.
Materials to Make a Bike Basket Liner
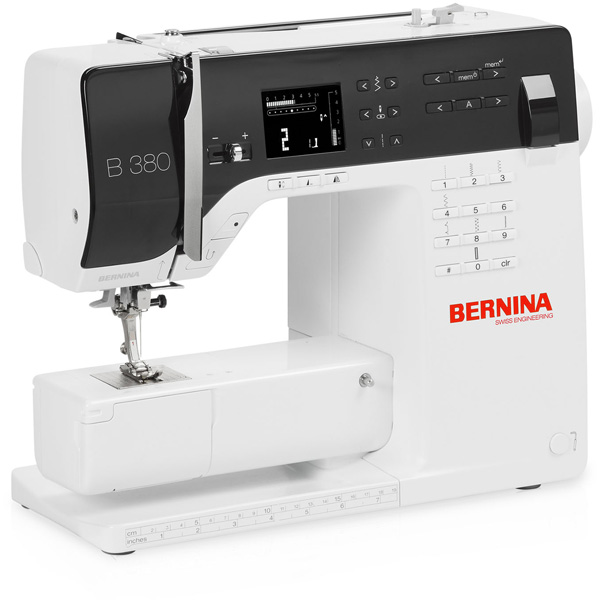
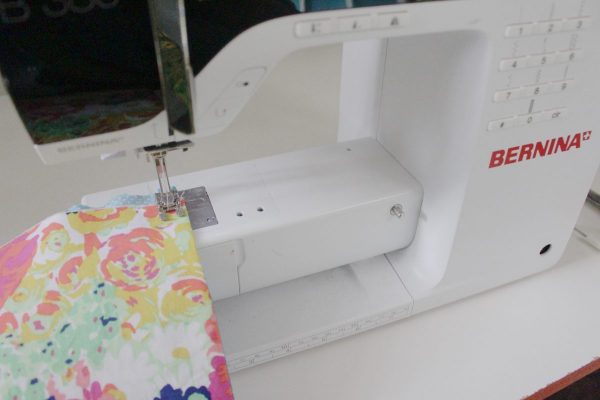
- Sewing machine (I used my BERNINA 380)
- Open embroidery foot #20
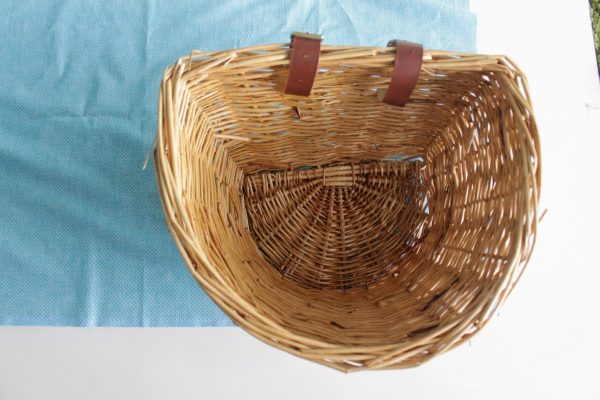
- Bike basket (This is the one I bought but you can sew a liner for any size or basket shape, you’ll just need to adjust the measurements. The measurements below fit this basket.
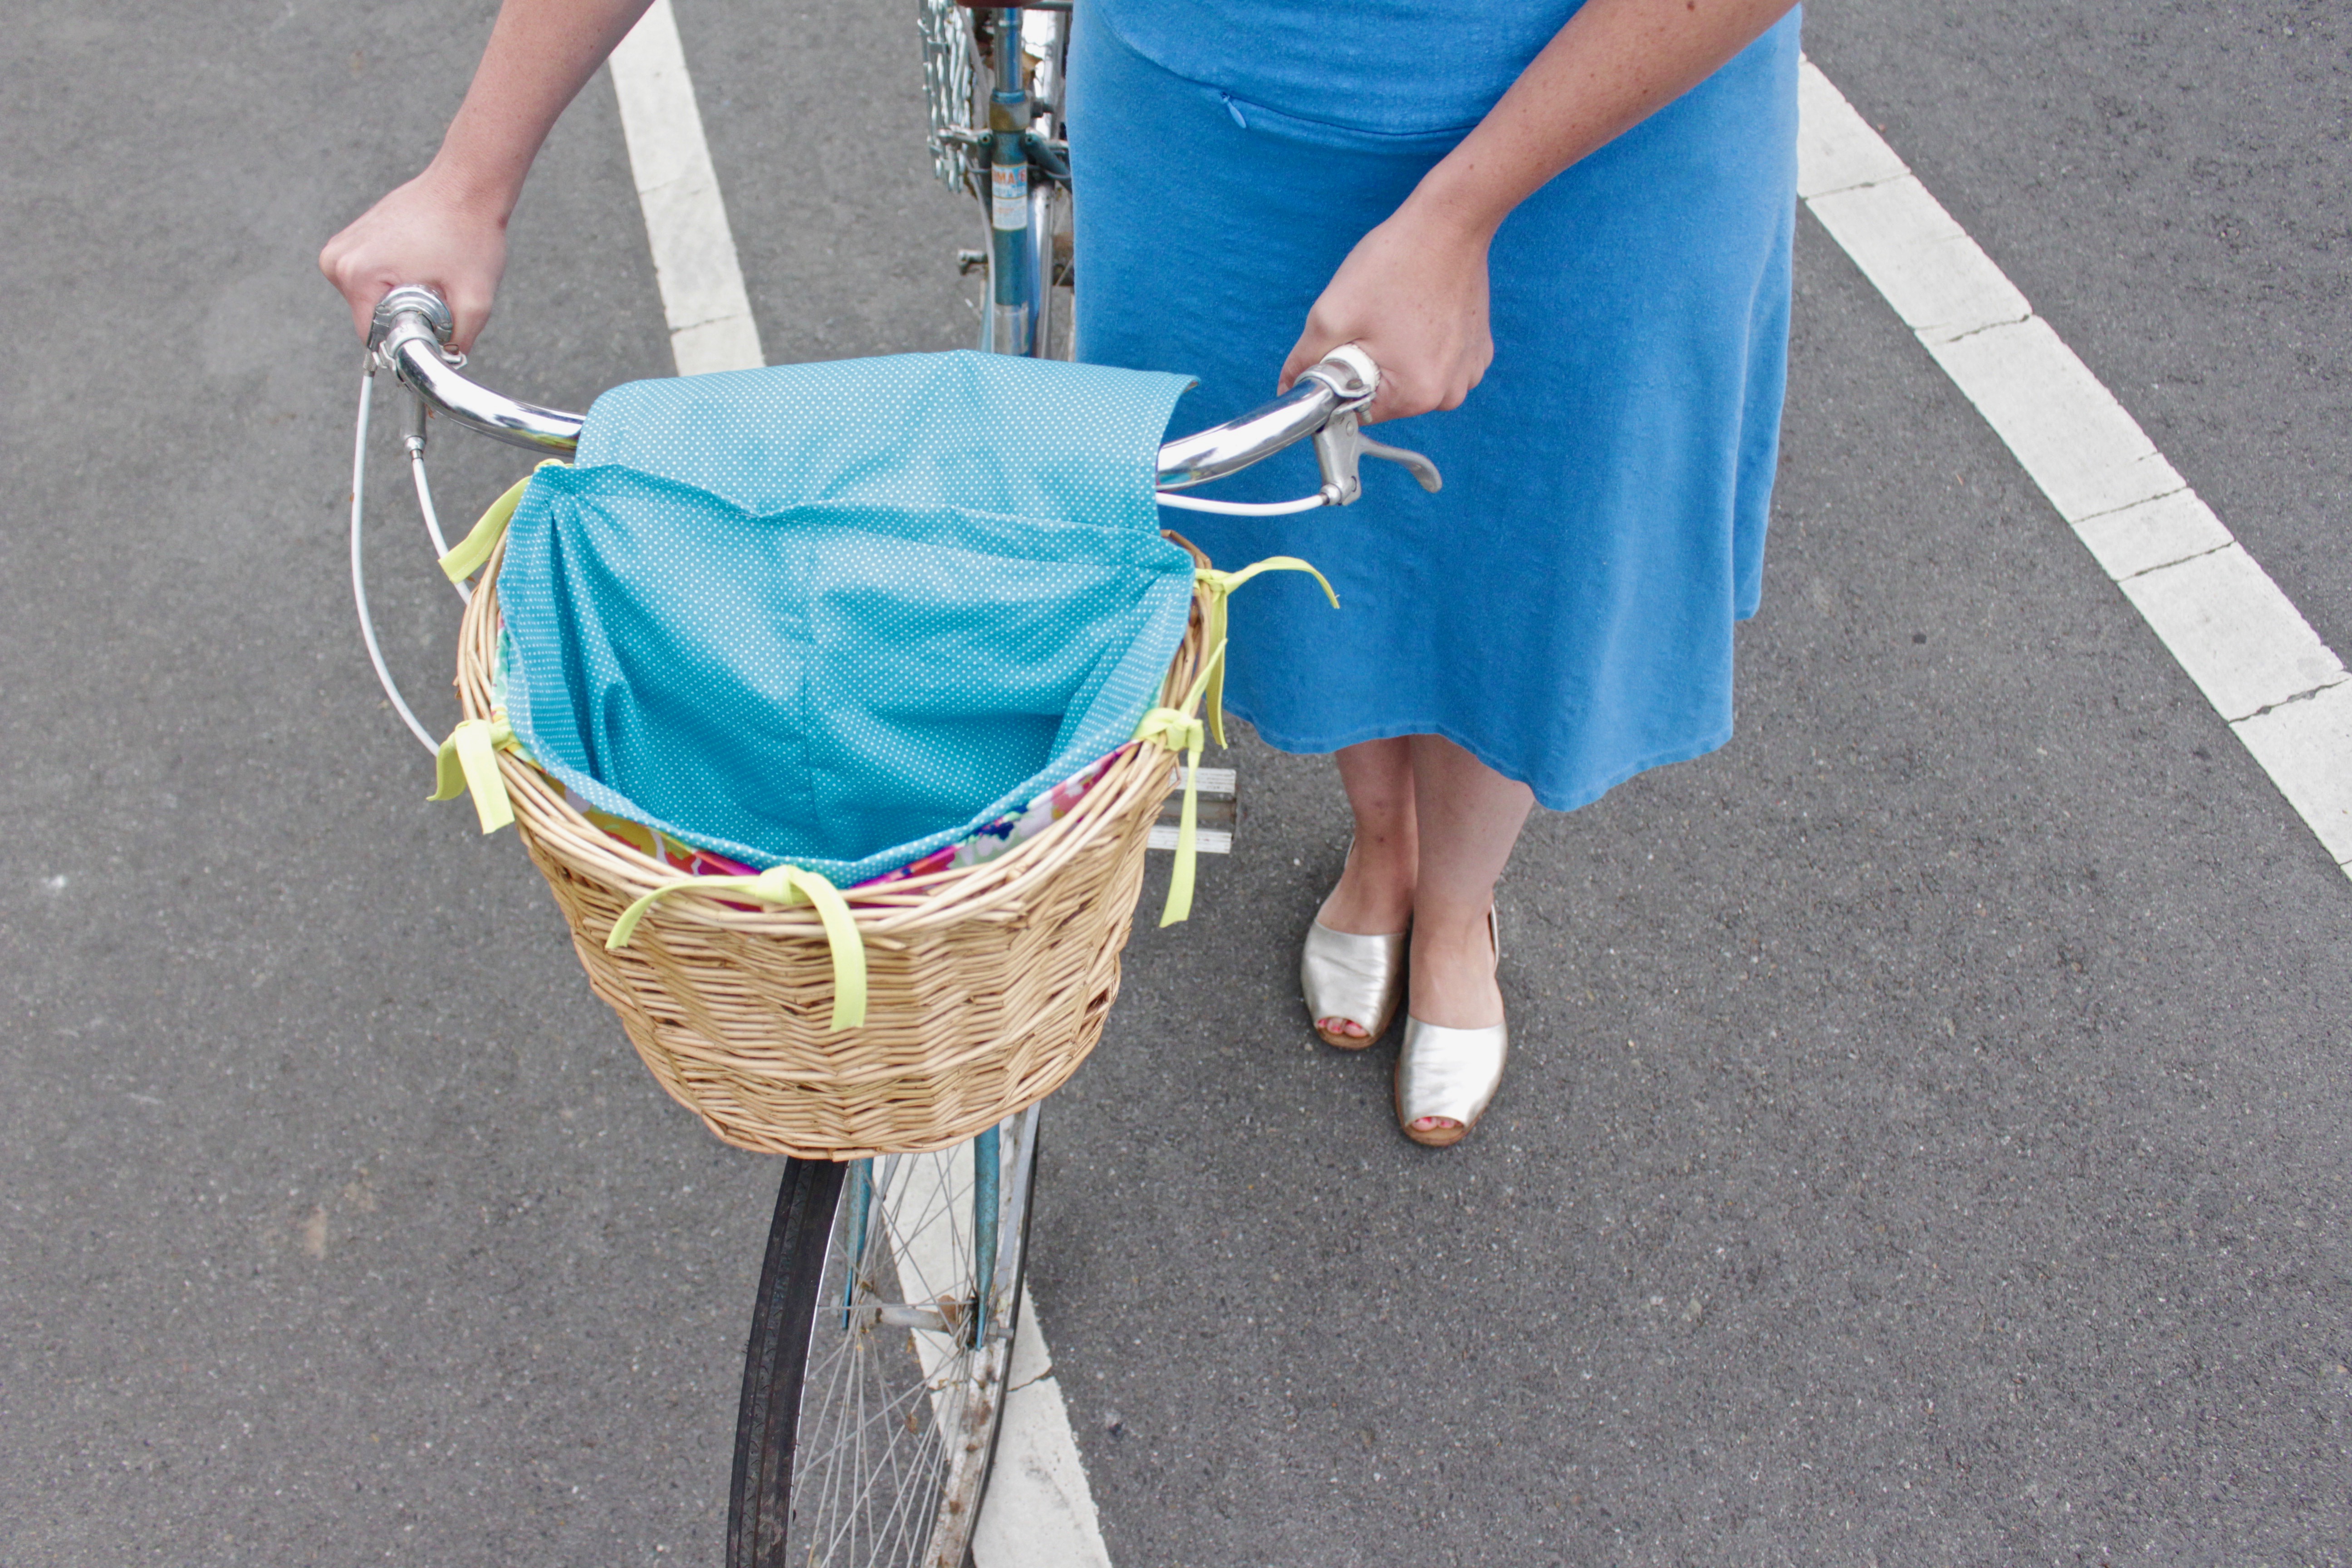
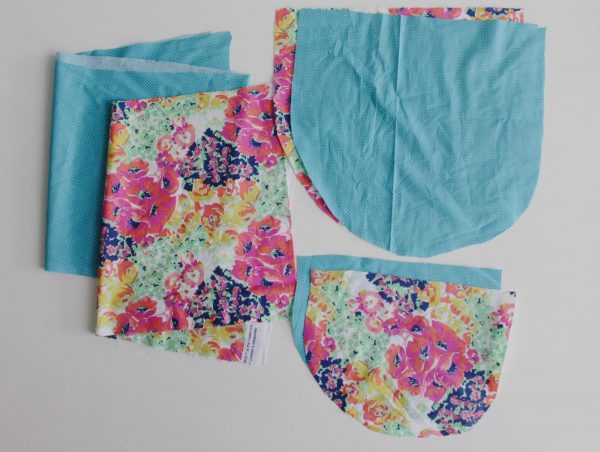
- Interior fabric: (blue and white polka dots in the photos)
-1 piece that’s about 40″ x 12″ (This will be the fabric for the inside sides of the liner.)
-1 piece that’s a half circle – 12″ across the straight line and 9″ from the middle of the straight line to the middle if the curve. (This will be the fabric for the bottom (inside) of the liner.)
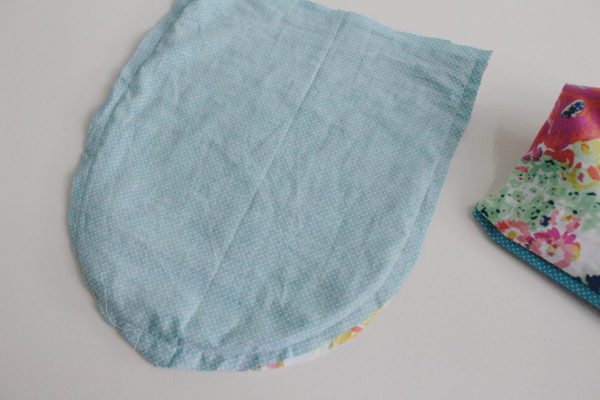
-1 piece that’s a half circle – 15″ across the straight line and 14″ from the middle of the straight line to the middle of the curve. (This will be for the flap/cover (inside) lining.)
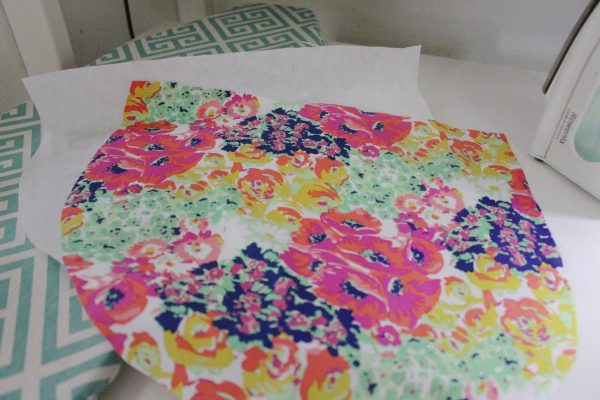
- Exterior fabric: (floral in the photos)
-1 piece that’s about 40″ x 12″. (This will be the fabric for the outside sides of the liner)
-1 piece that’s a half circle —2″ across the straight line and 9″ from the middle of the straight line to the middle if the curve. (This will be the fabric for the (outside) bottom of the liner)
-1 piece that’s a half circle—5″ across the straight line and 14″ from the middle of the straight line to the middle of the curve. (This will be for the outside flap/cover lining.)
- 2 yards of extra wide double fold bias tape
- Thread to match your fabric
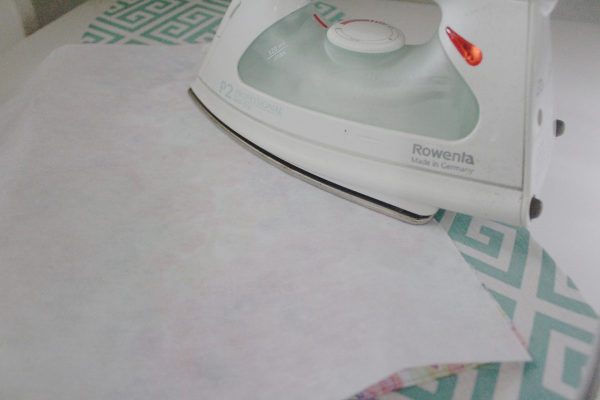
- Heavyweight fusible interfacing—15″ across the straight line and 14″ from the middle of the straight line to the middle of the curve. (This will be ironed onto the outside flap/cover lining.)
- Iron and ironing board
- Pins
- Scissors
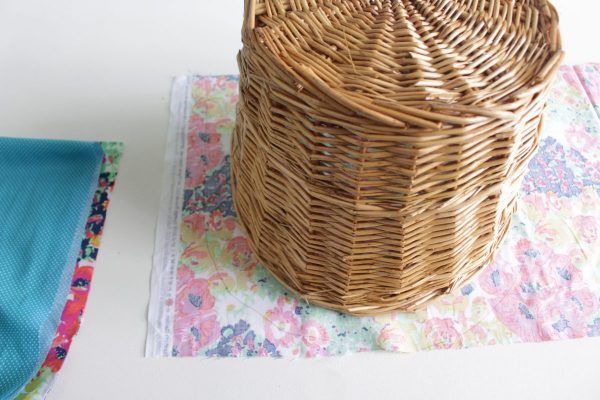
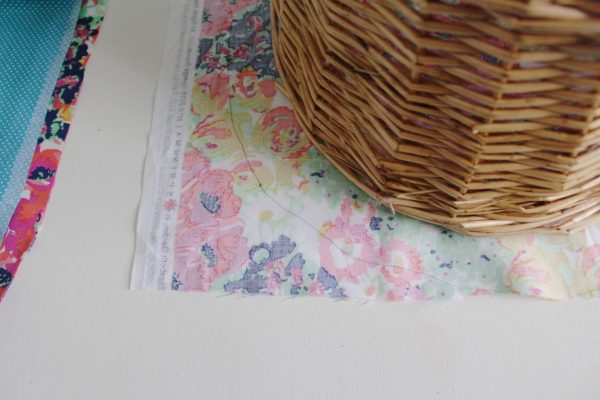
If you purchase the same size bike basket as I did, then follow the measurements above. If your bike basket is a different size then you’ll need to place your basket on top of your fabric and trace around the edges. I traced about 1″ from the edge of the basket to include room for the seam allowances.
Instructions to Sew a Bike Basket Liner
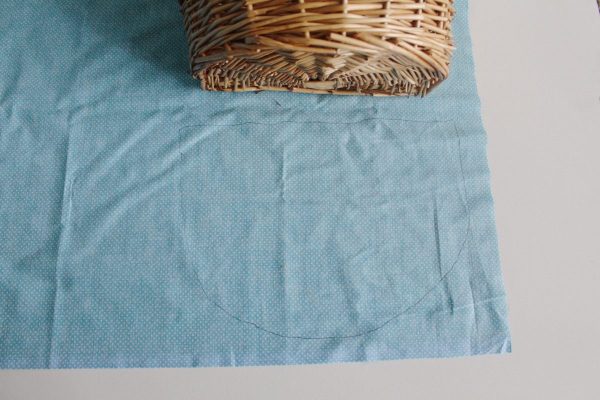
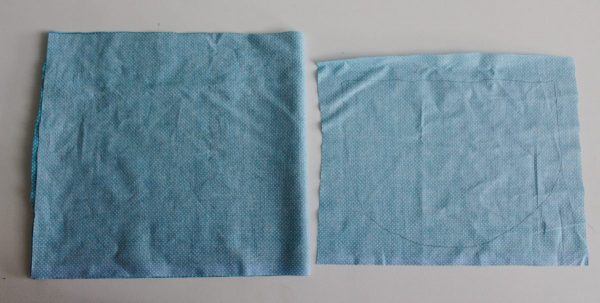
1. Set the bottom of your basket on top of the lining fabric and trace/mark around the shape of the bottom about 1″ from the edge of the basket.
2. Measure around the inside of your basket and cut a piece of fabric that is long enough to go around all the sides and add about 3-4″ to the top to allow for folding it over.
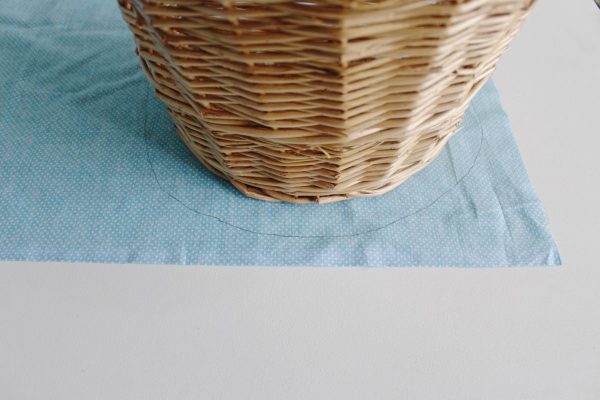
3. Set the top of your basket on your fabric and trace/mark around the shape about 1″ from the edge of the basket.
4. Repeat steps 1-3 for the outside fabric. Now, you should have two pieces for the top, two for the bottom and two for the sides (one piece for each area is your outside fabric and one piece for each area is your inside fabric).
5. Sew the bottom half circle of the lining to long fabric piece (the inside piece). Start with the middle of the round edge in the middle of the long piece of fabric and sew along one side until you get to the middle of the straight side. The repeat, starting in the middle of the other side of the curved edge until you almost meet where ended when you sewed the first side.

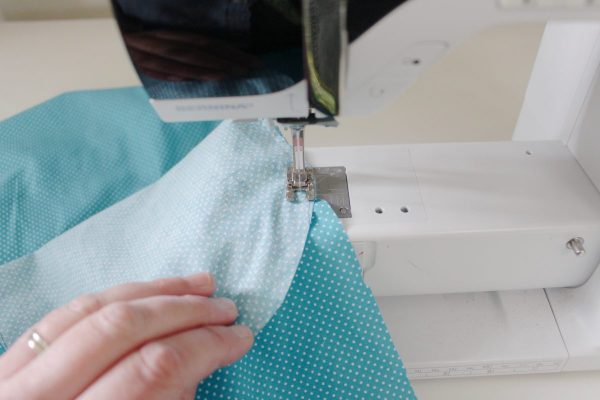
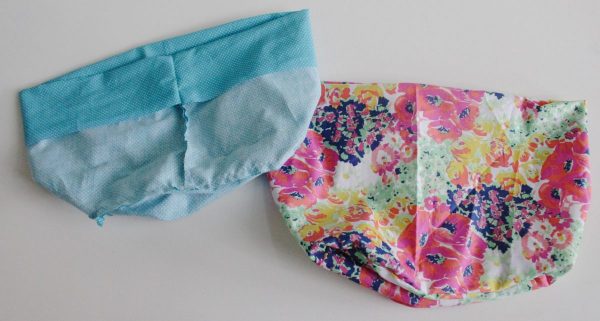
6. Bring the two unsewn sides of the long piece of fabric together and sew a seam so that the side piece is the same length as the base of the bottom piece. Stitch the last open area of the side and the bottom together. Now the inside piece for your lining is done!
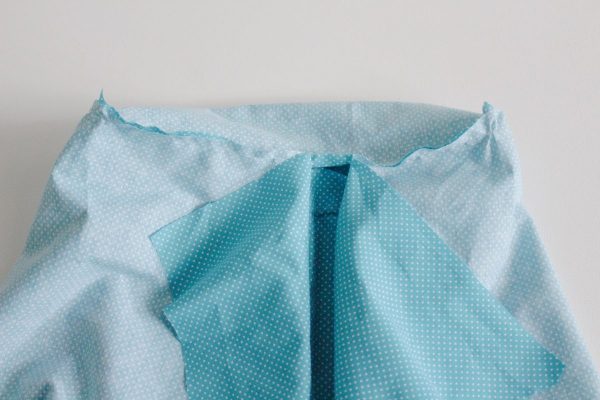
7. Repeat steps 5-6 for the outside (floral) top and bottom fabrics.
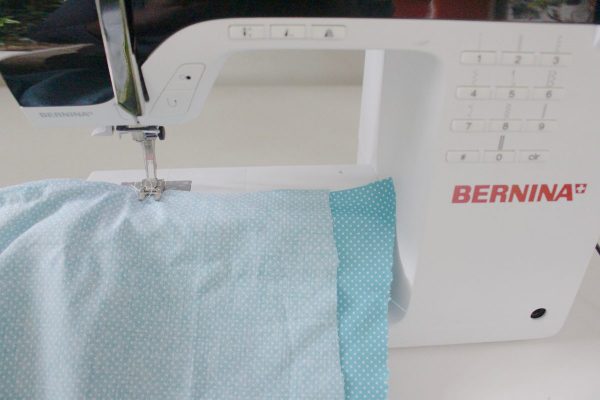
8. Turn the outside (floral) part of the liner right side out but keep the lining wrong side out. Place the inner lining inside the outside lining. The wrong sides of both bags will be facing each other.
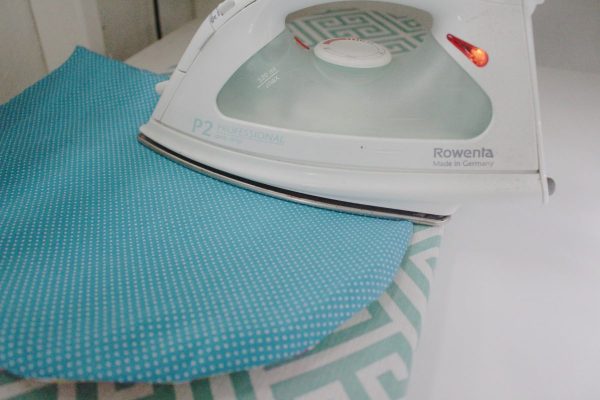
9. Now to create the cover/flap. Iron the interfacing onto to outside (floral) piece of fabric.
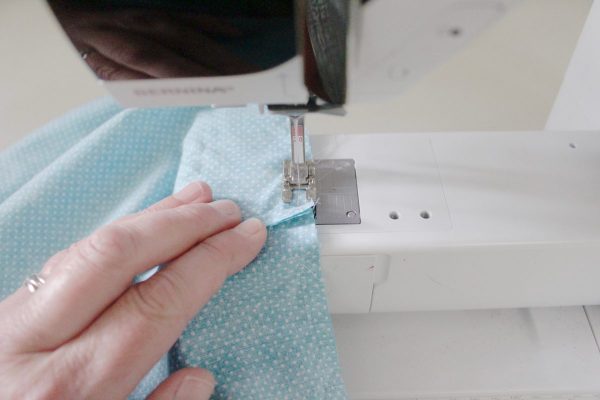
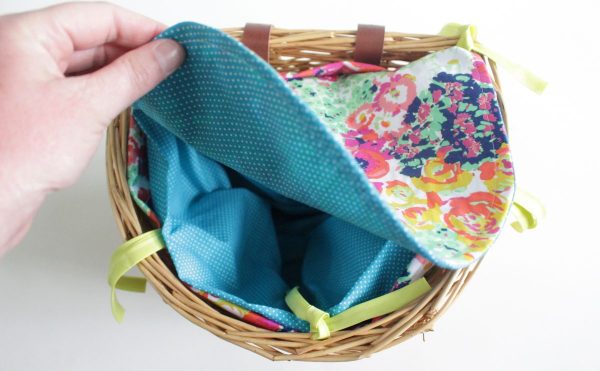
10. Sew the inside flap fabric to the outside flap fabric around the curved edge.
11. Iron the flap.
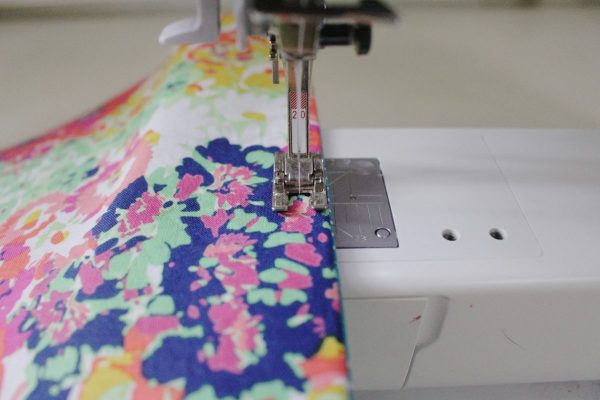
12. Topstitch around the edge of the flap to keep it in place.
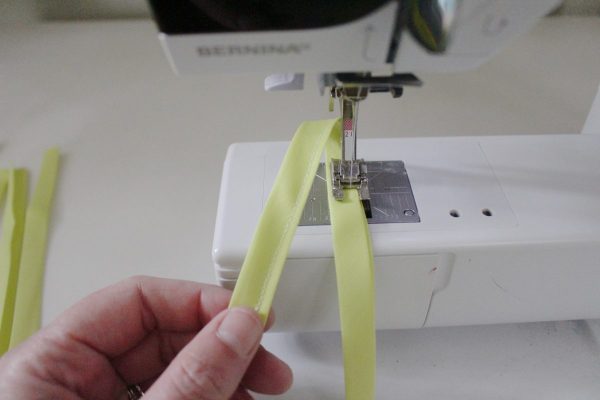
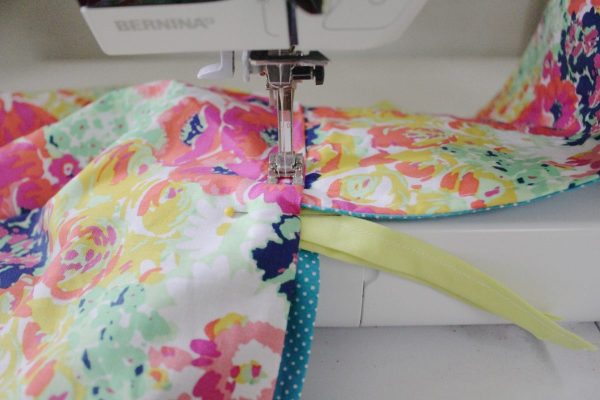
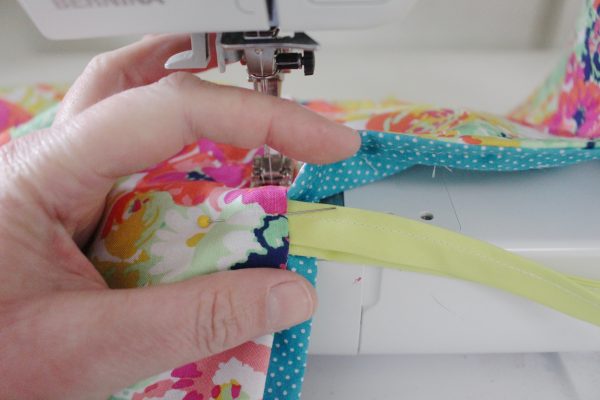
13. Cut five 6″ pieces of the bias tape. These will be the straps that hold the liner to the basket.
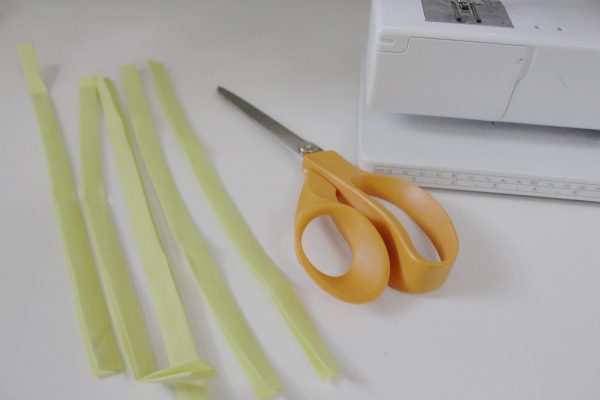
14. Sew the open edge of the bias tape together.
15. Place the five ties in between the inside liner and outside liner fabric and pin them in place. You may want to place the liner in the basket to decide where the best places are for the ties.
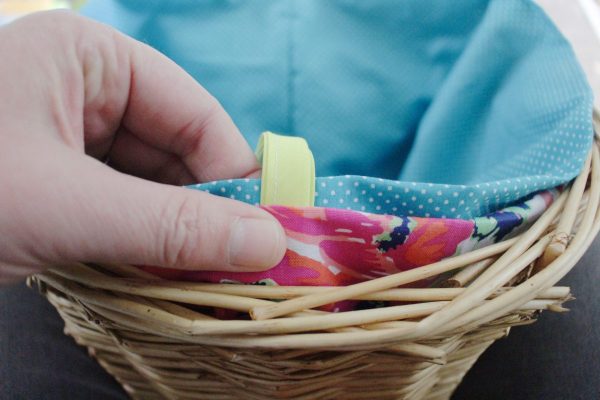
16. Slip the flap in between the inside liner and outside and pin it in place.

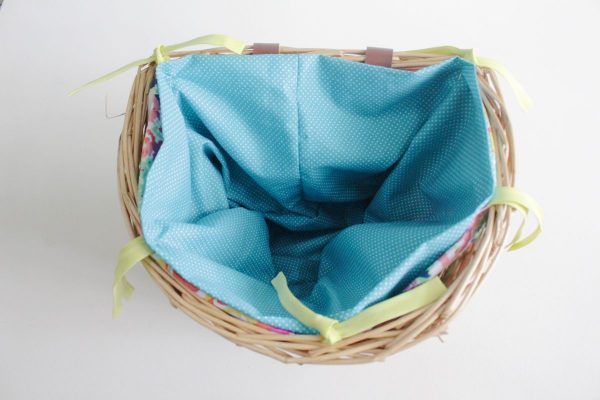
17. Sew all the pieces (inside liner, outside liner, ties and flap together at the top making sure that none of the pieces move as you sew.
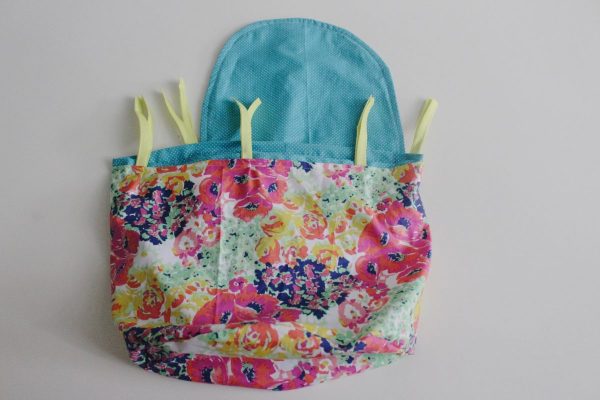
18. Place the liner inside your basket and tie the straps to the basket to keep it in place.