Diagonal Pintucks Tutorial
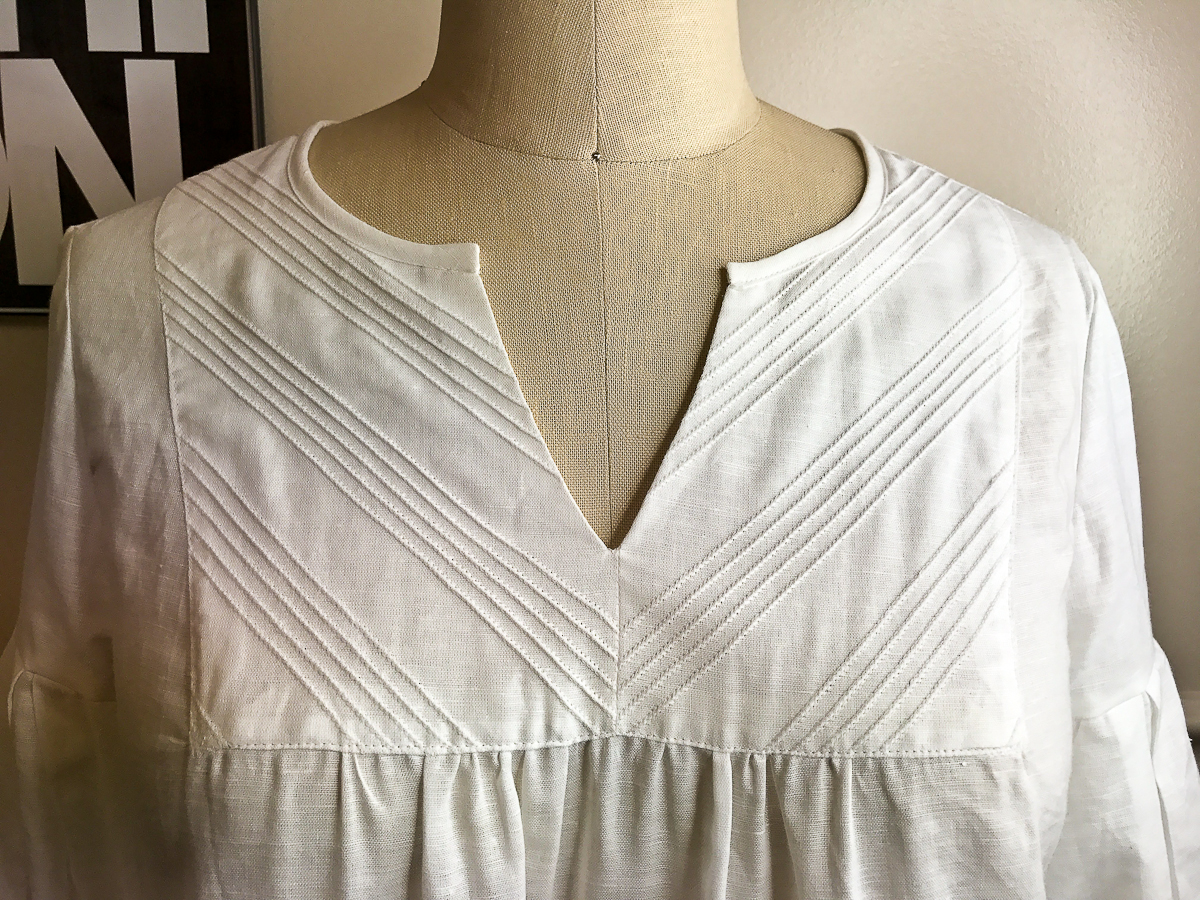
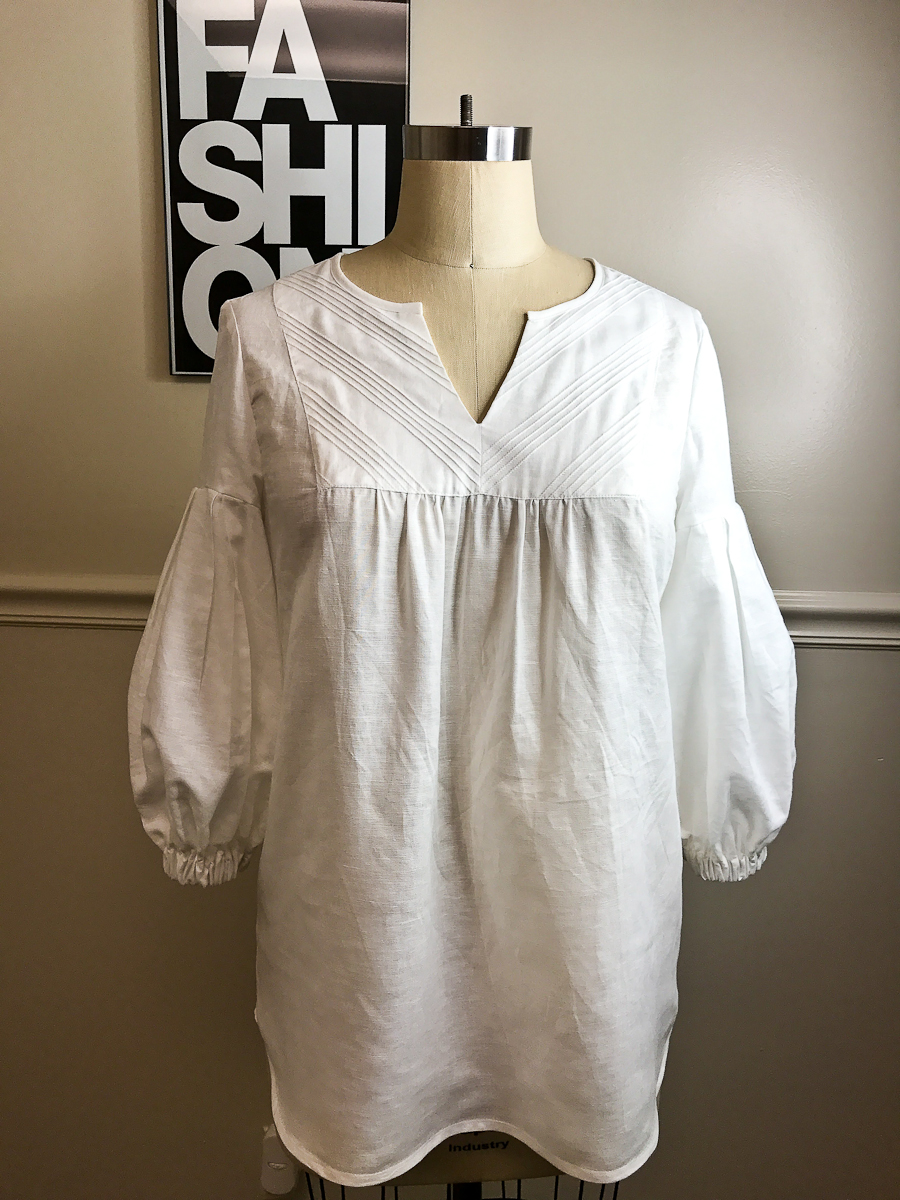
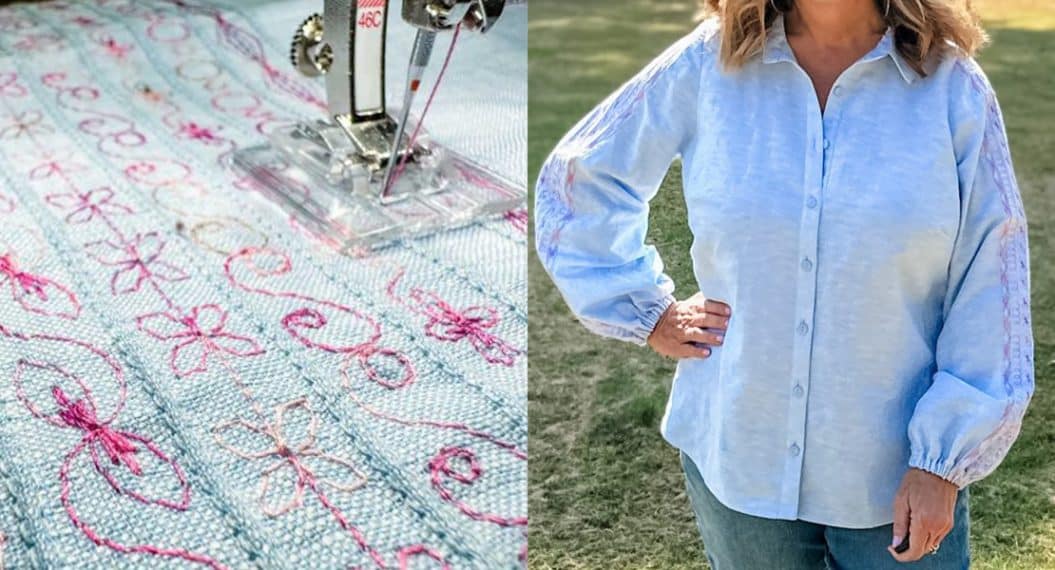
I’m always looking for new and creative ways to embellish my hand-sewn wardrobe. For this particular garment, I decided to go with diagonal pintucks. I wanted a cool, breezy linen tunic for spring, but I wanted to give it a little bit of pizzazz. Instead of just going with basic vertical pintucks, I created diagonal pintucks that meet in the middle creating a chevron design.
Materials to Make Diagonal Pintucks
- Sewing Machine (I use a BERNINA 350 PE)
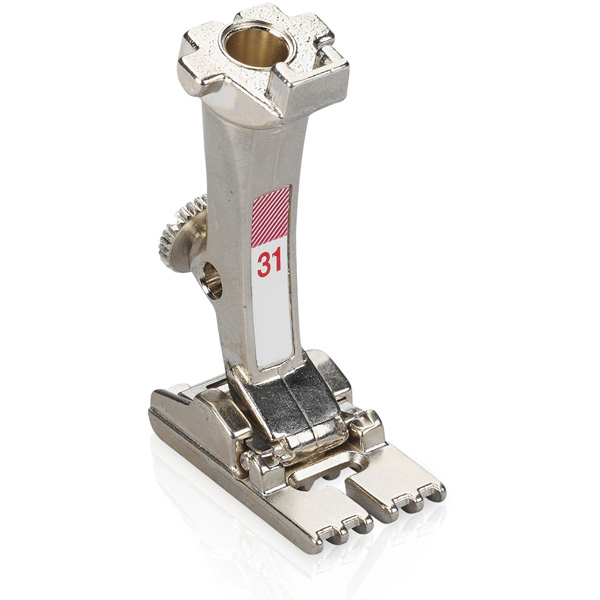
- BERNINA 5-Groove Pintuck Foot #31
- Twin Needle (2.5 or 3.0 for the 5-Groove Pintuck Foot)
- Fabric
- Thread
- Ruler
- Favorite Marking Tool
- Rotary Cutter and Cutting Mat
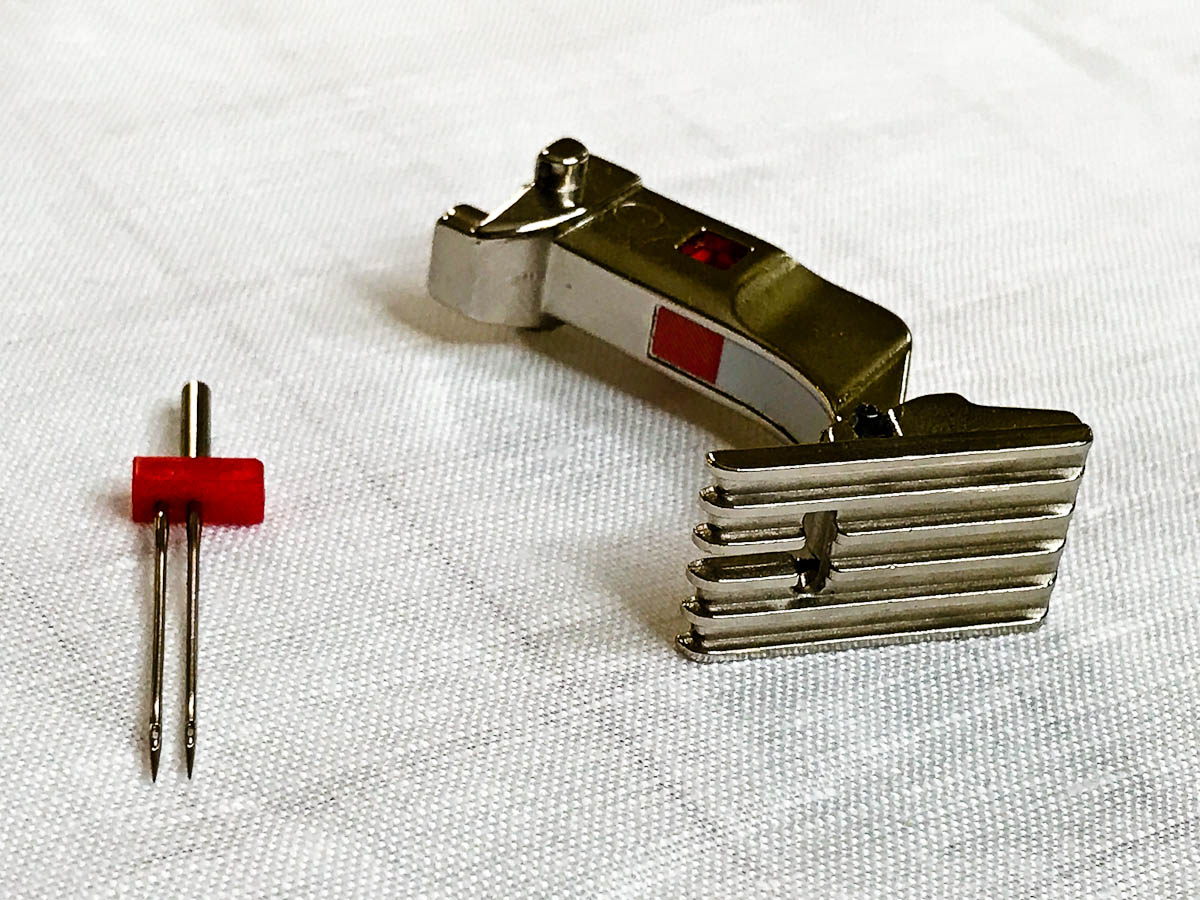
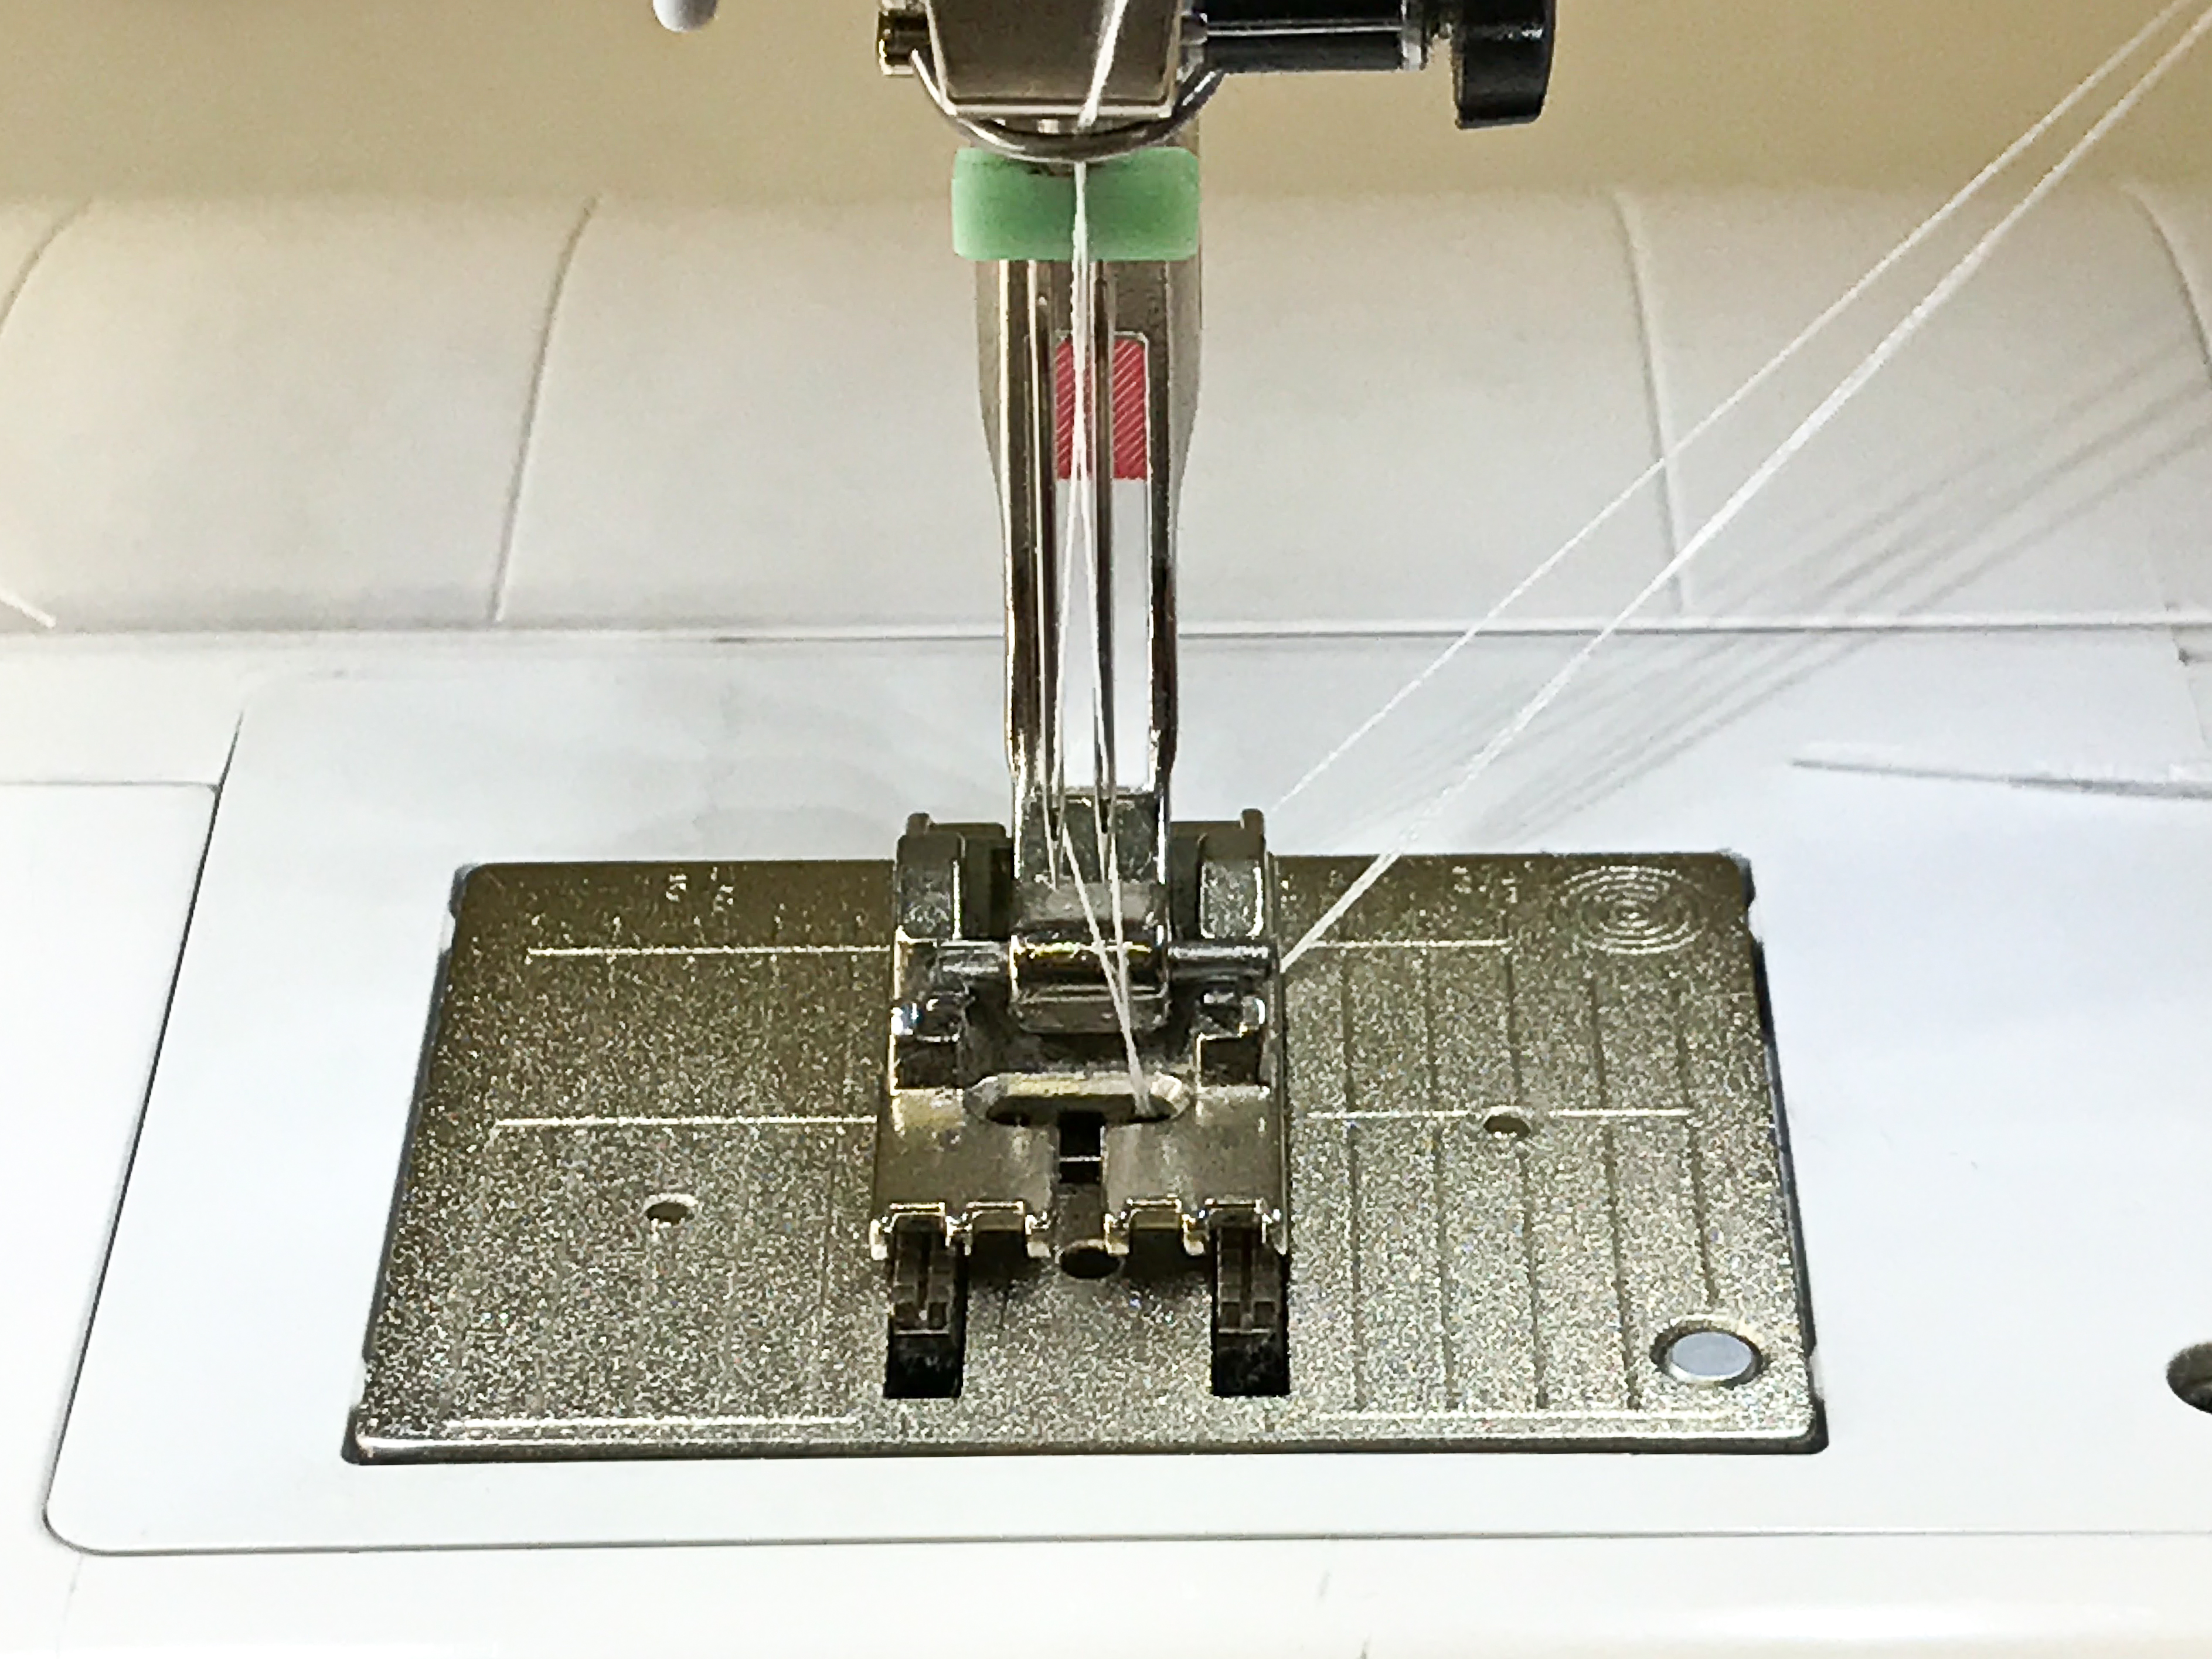
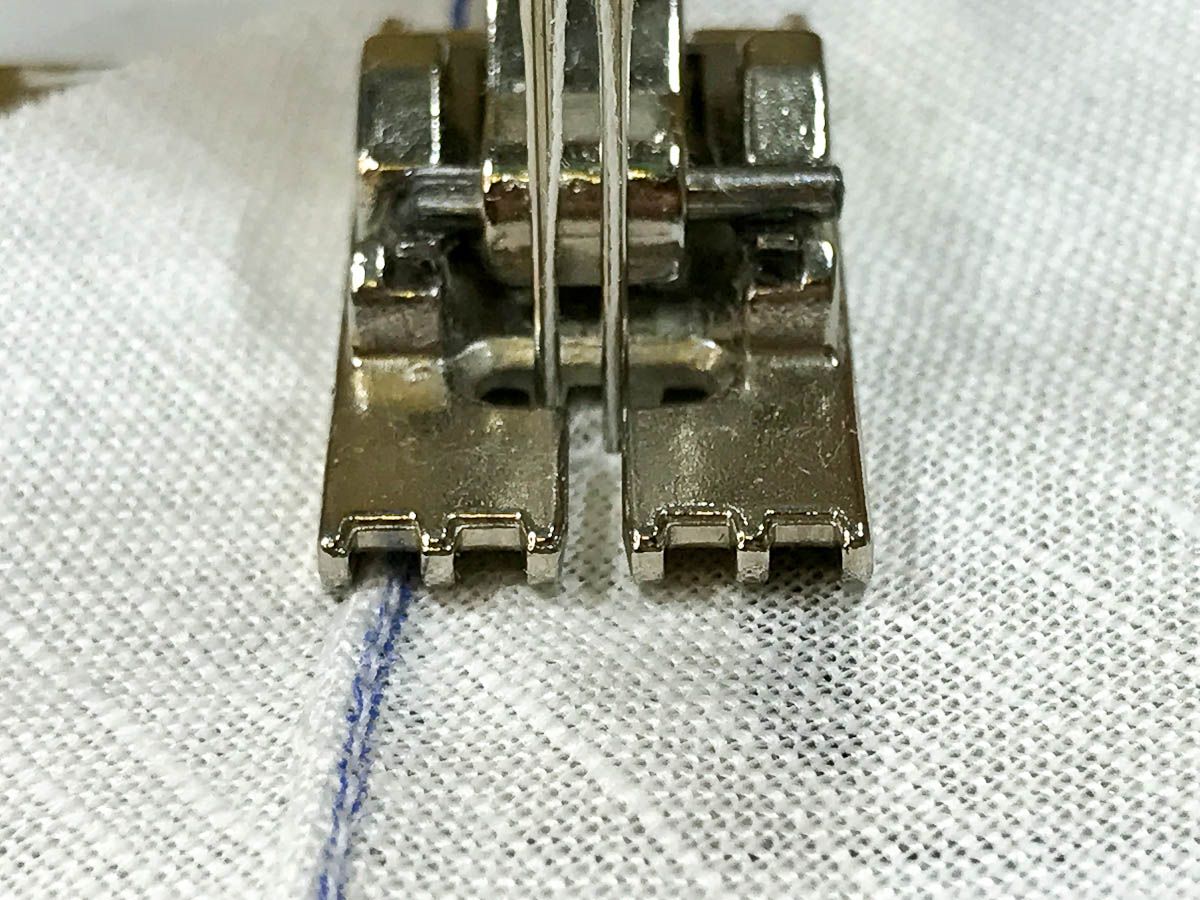
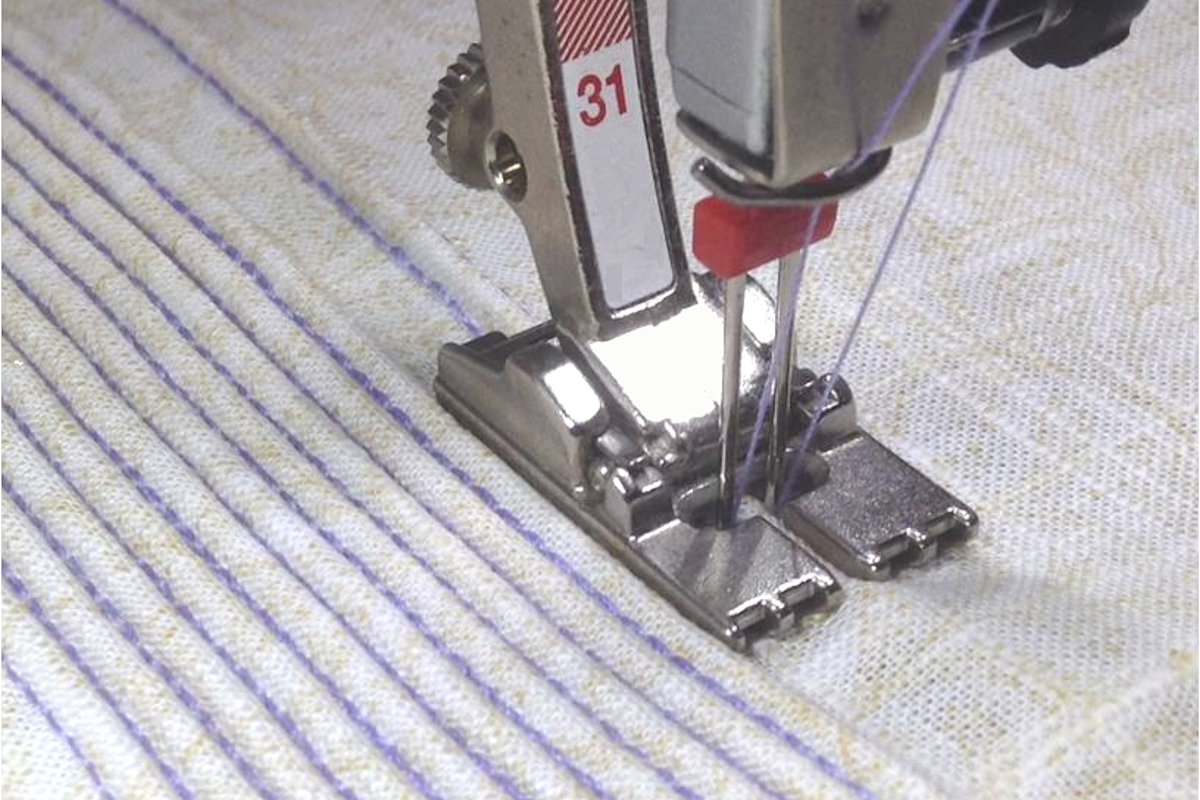
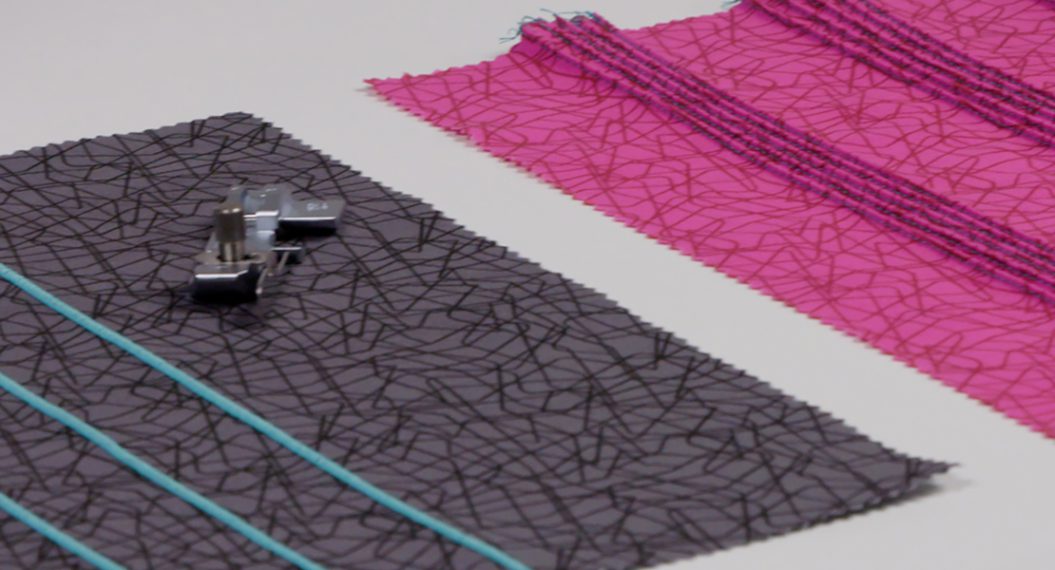
The pintuck foot has evenly spaced grooves, designed to create evenly spaced raised pintucks while sewing with a twin needle.
How to Thread a Twin Needle
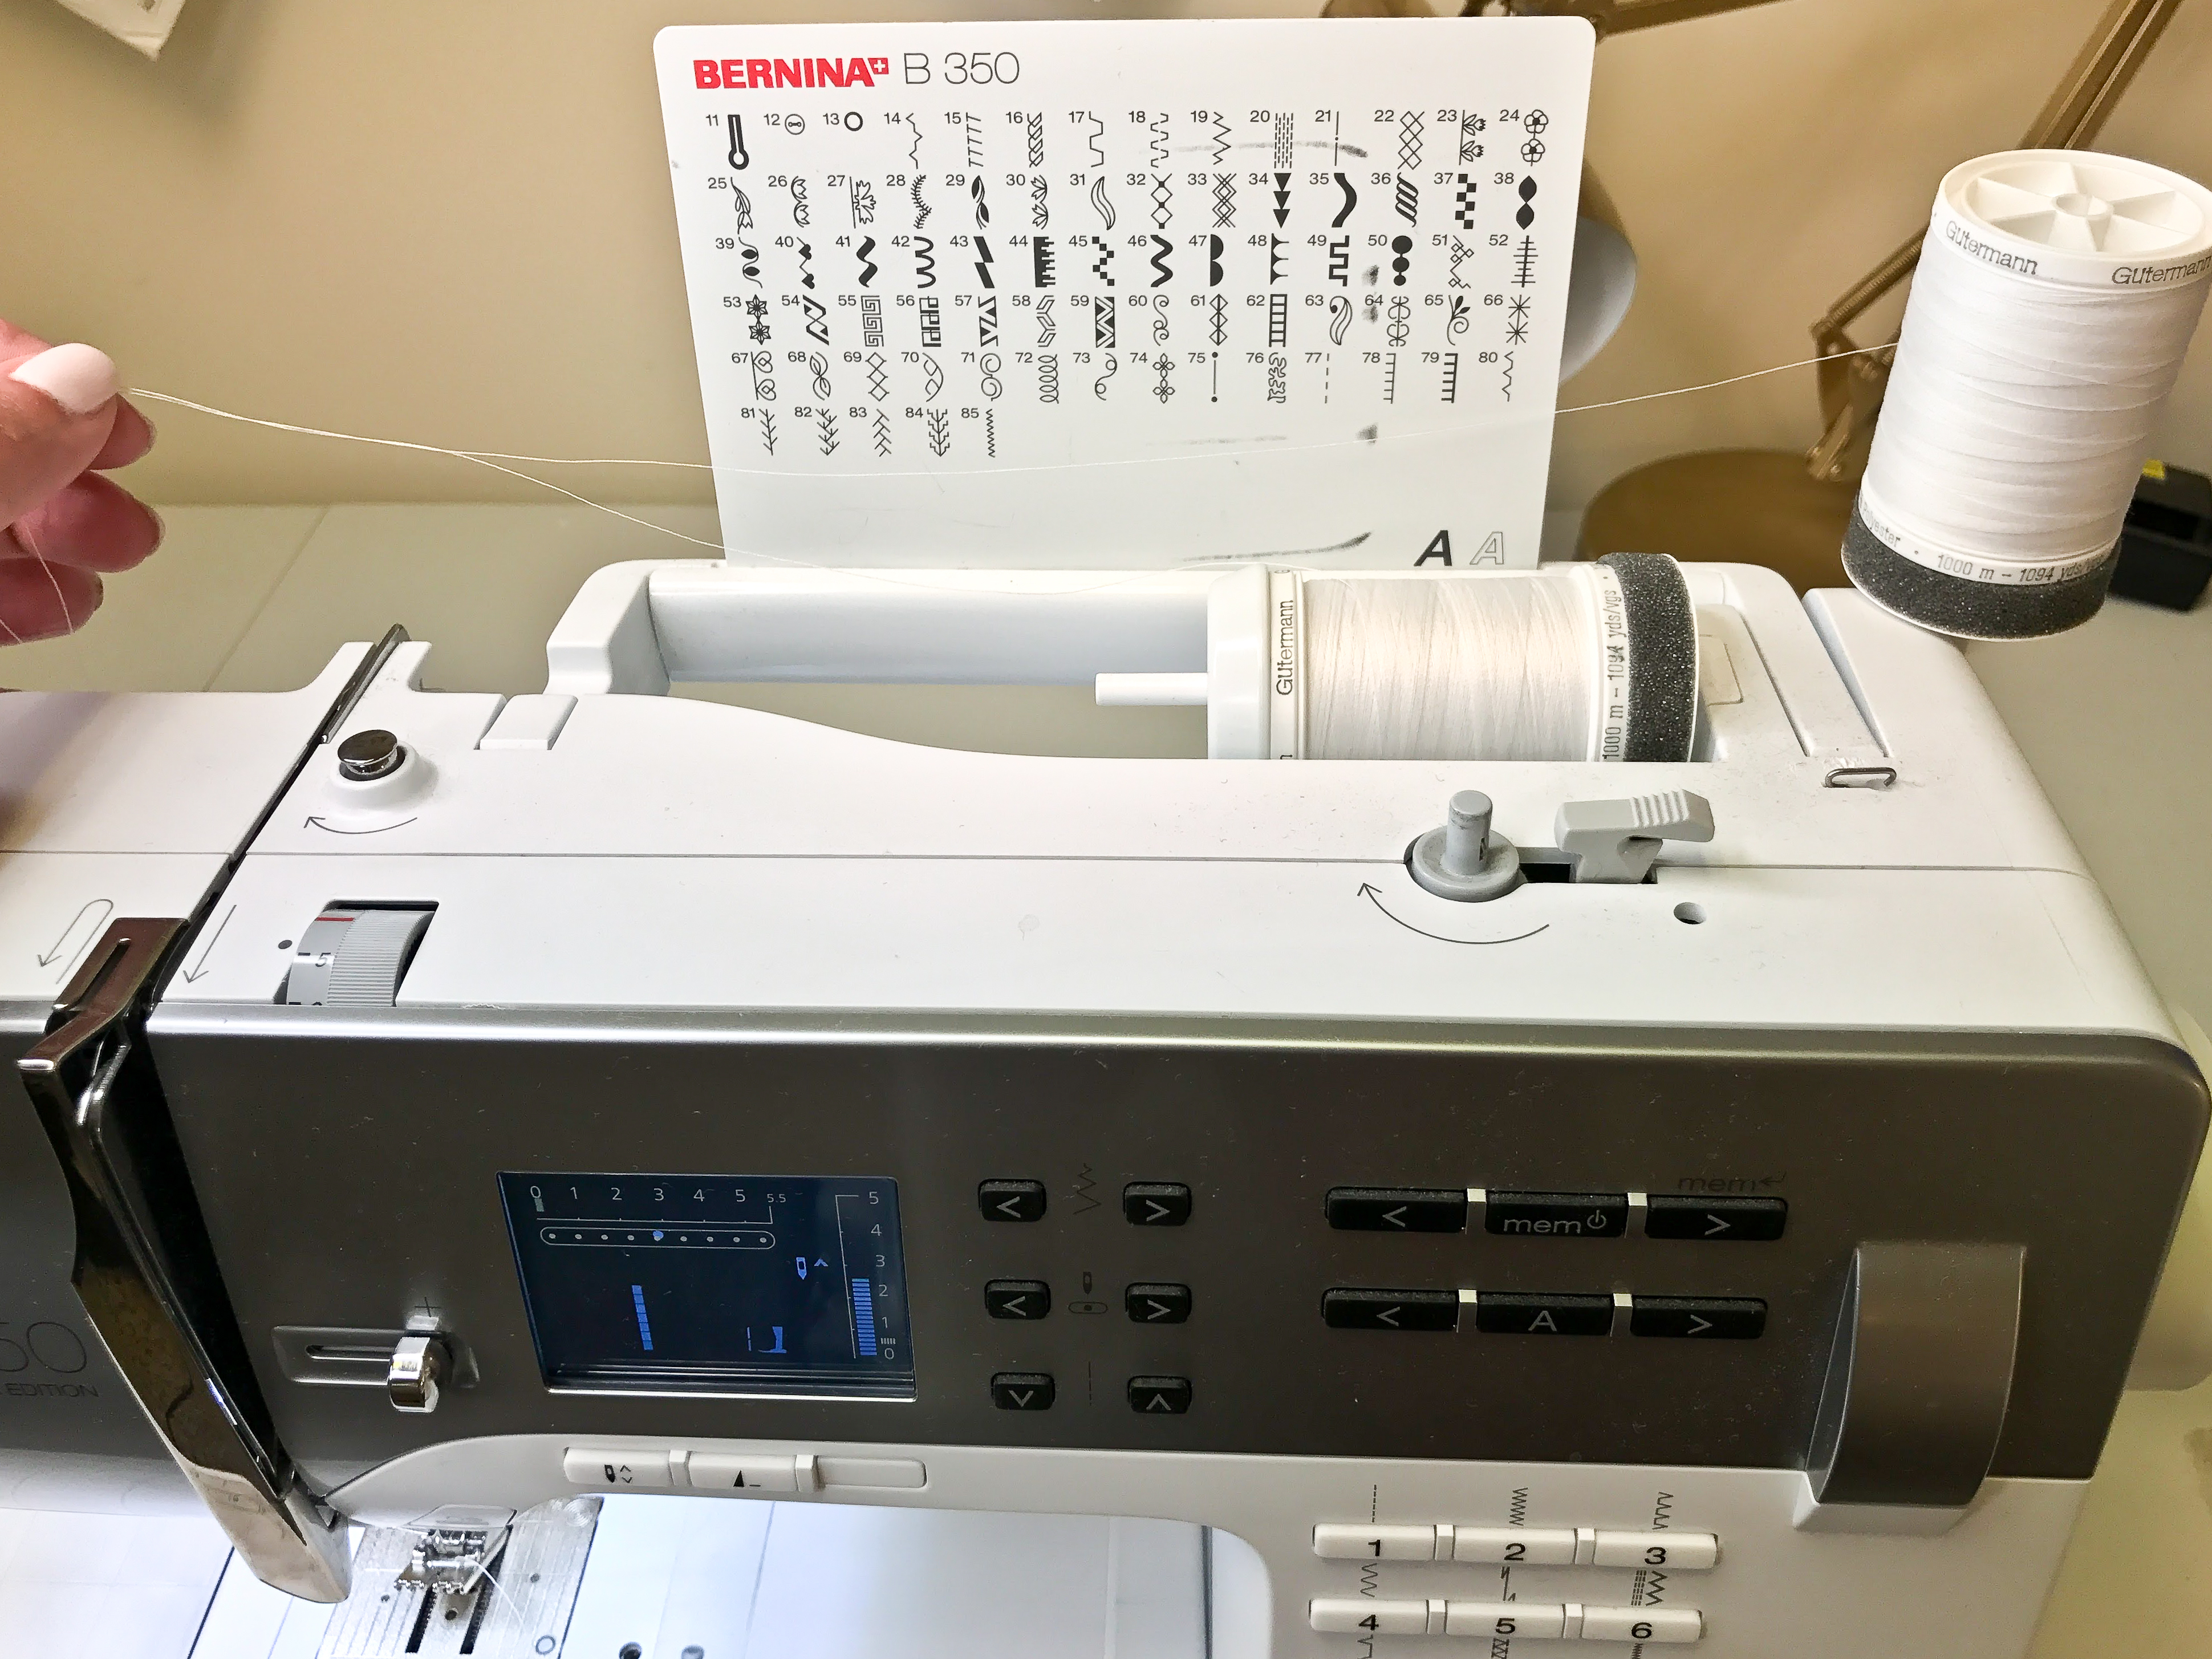
To thread your machine, place a thread spool on the horizontal spool pin and another on the vertical spoon pin.
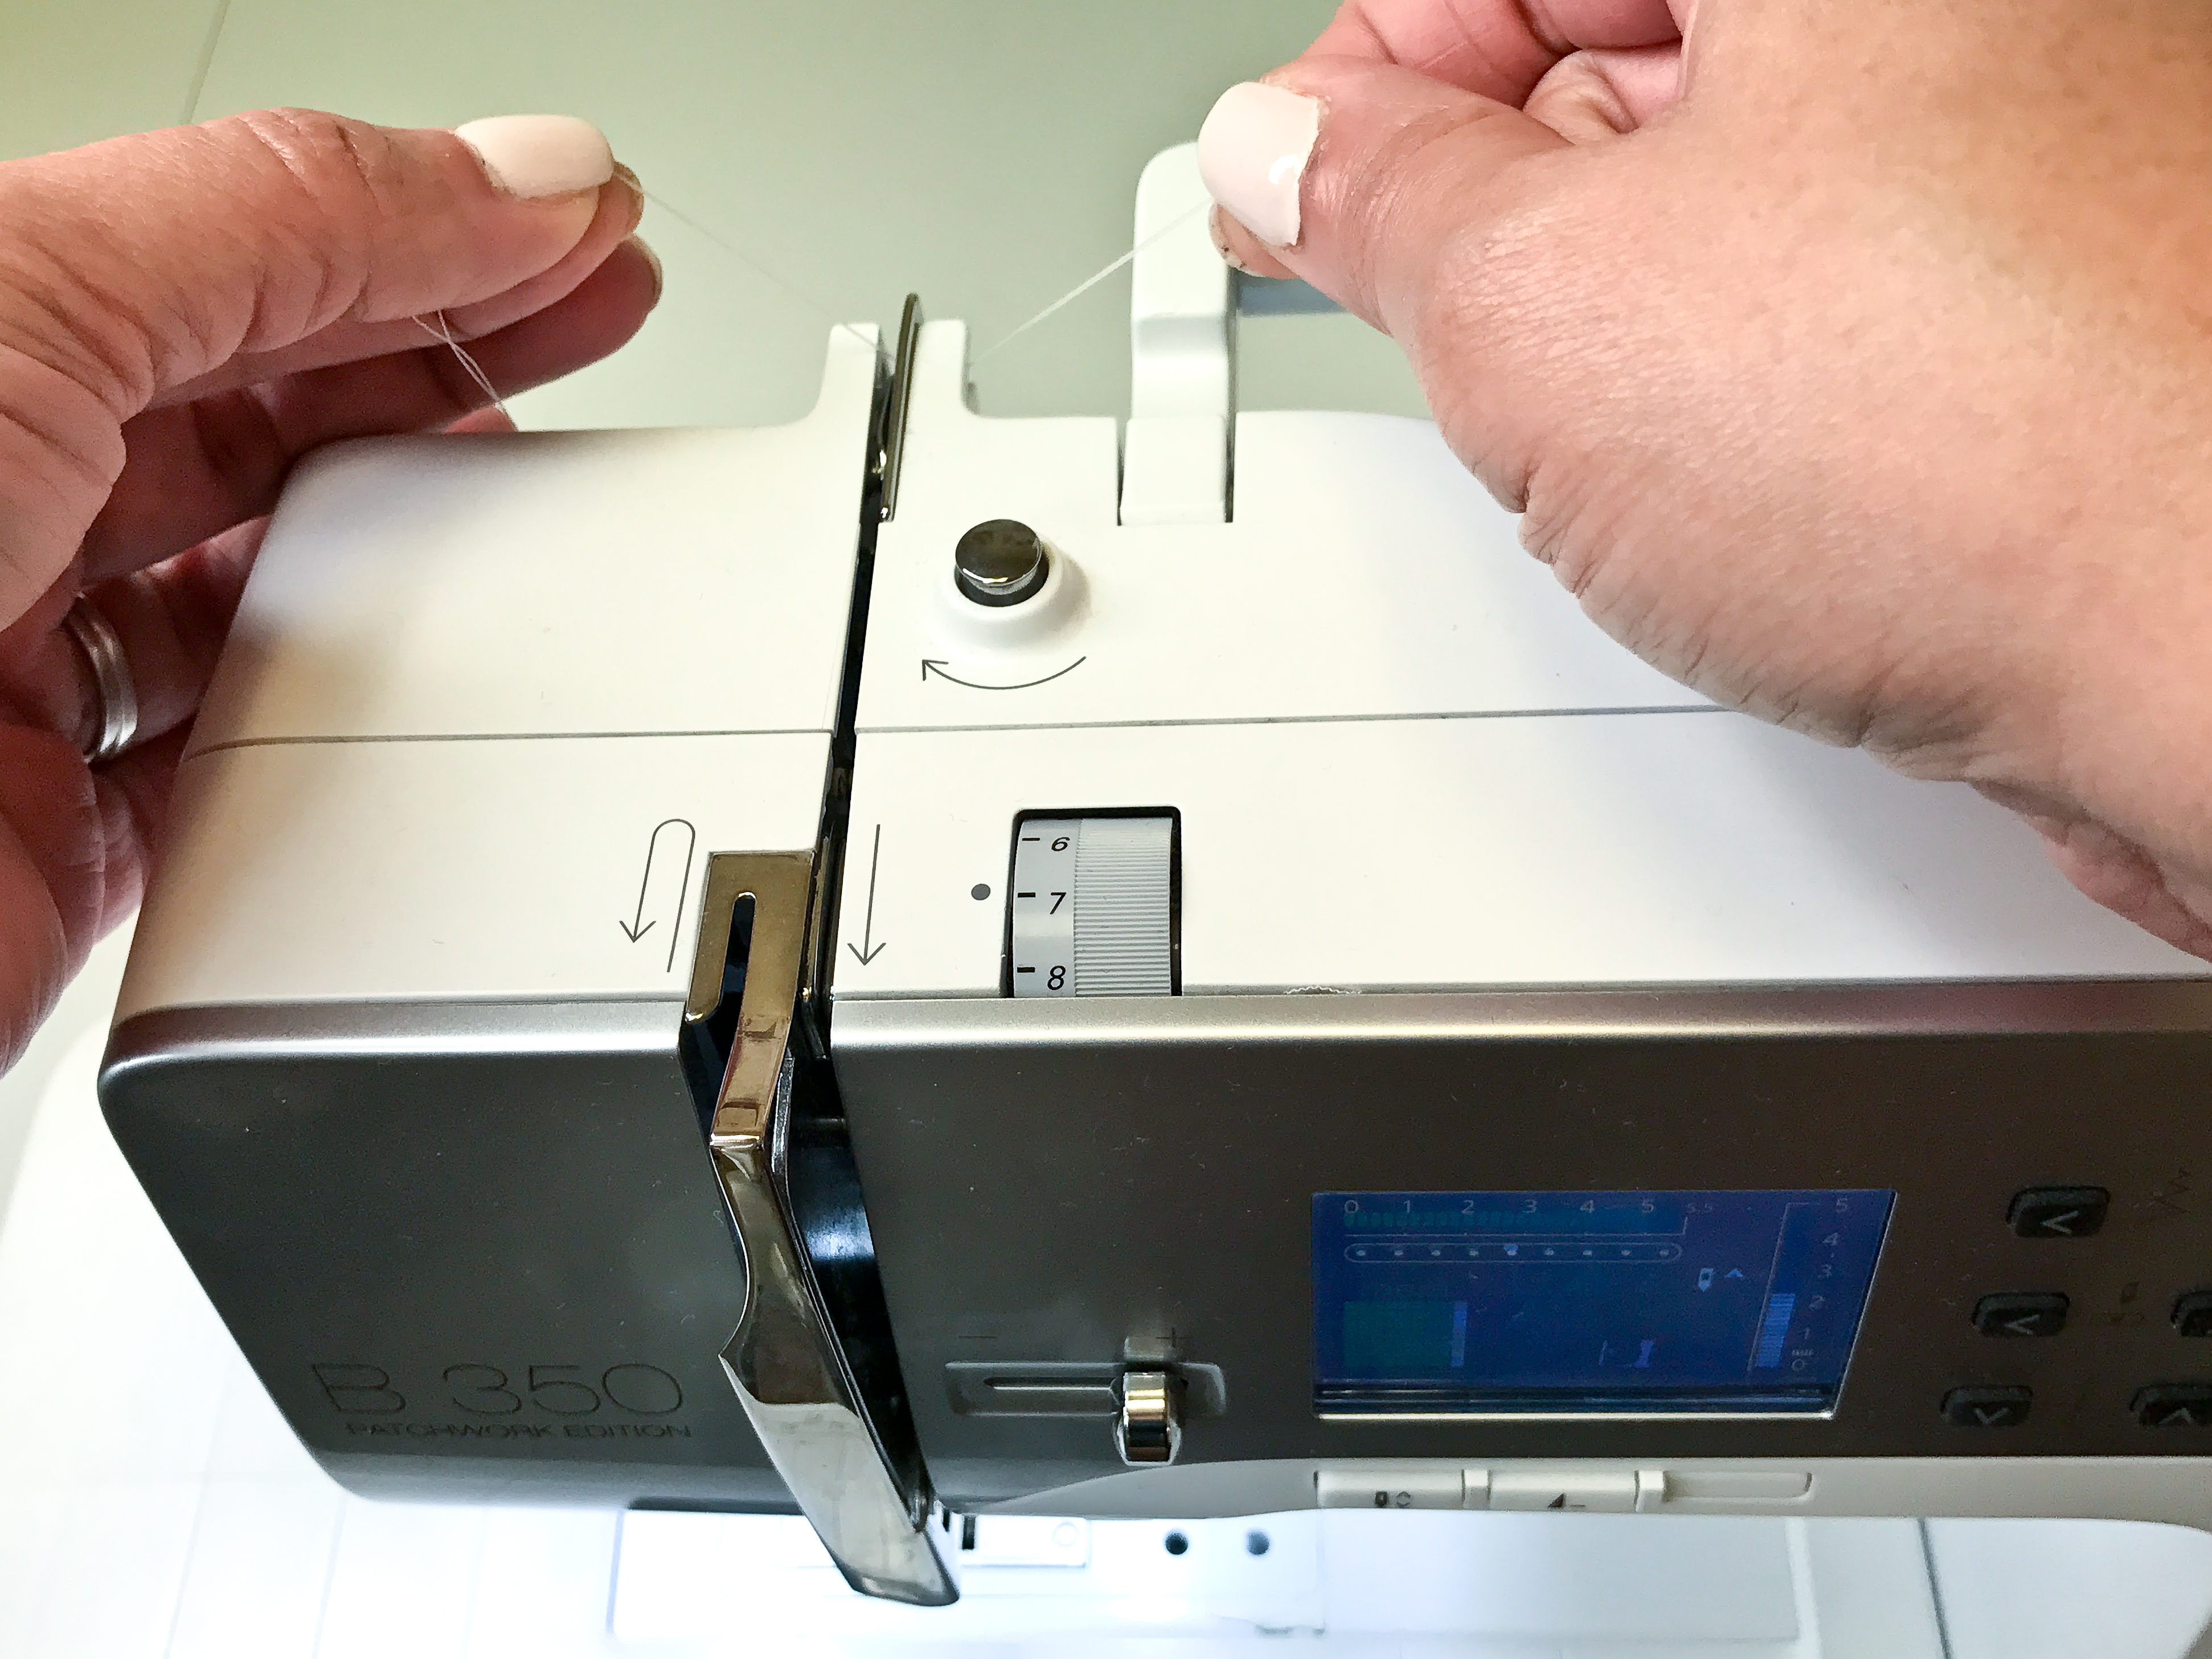
Guide both threads to the front in the slit.
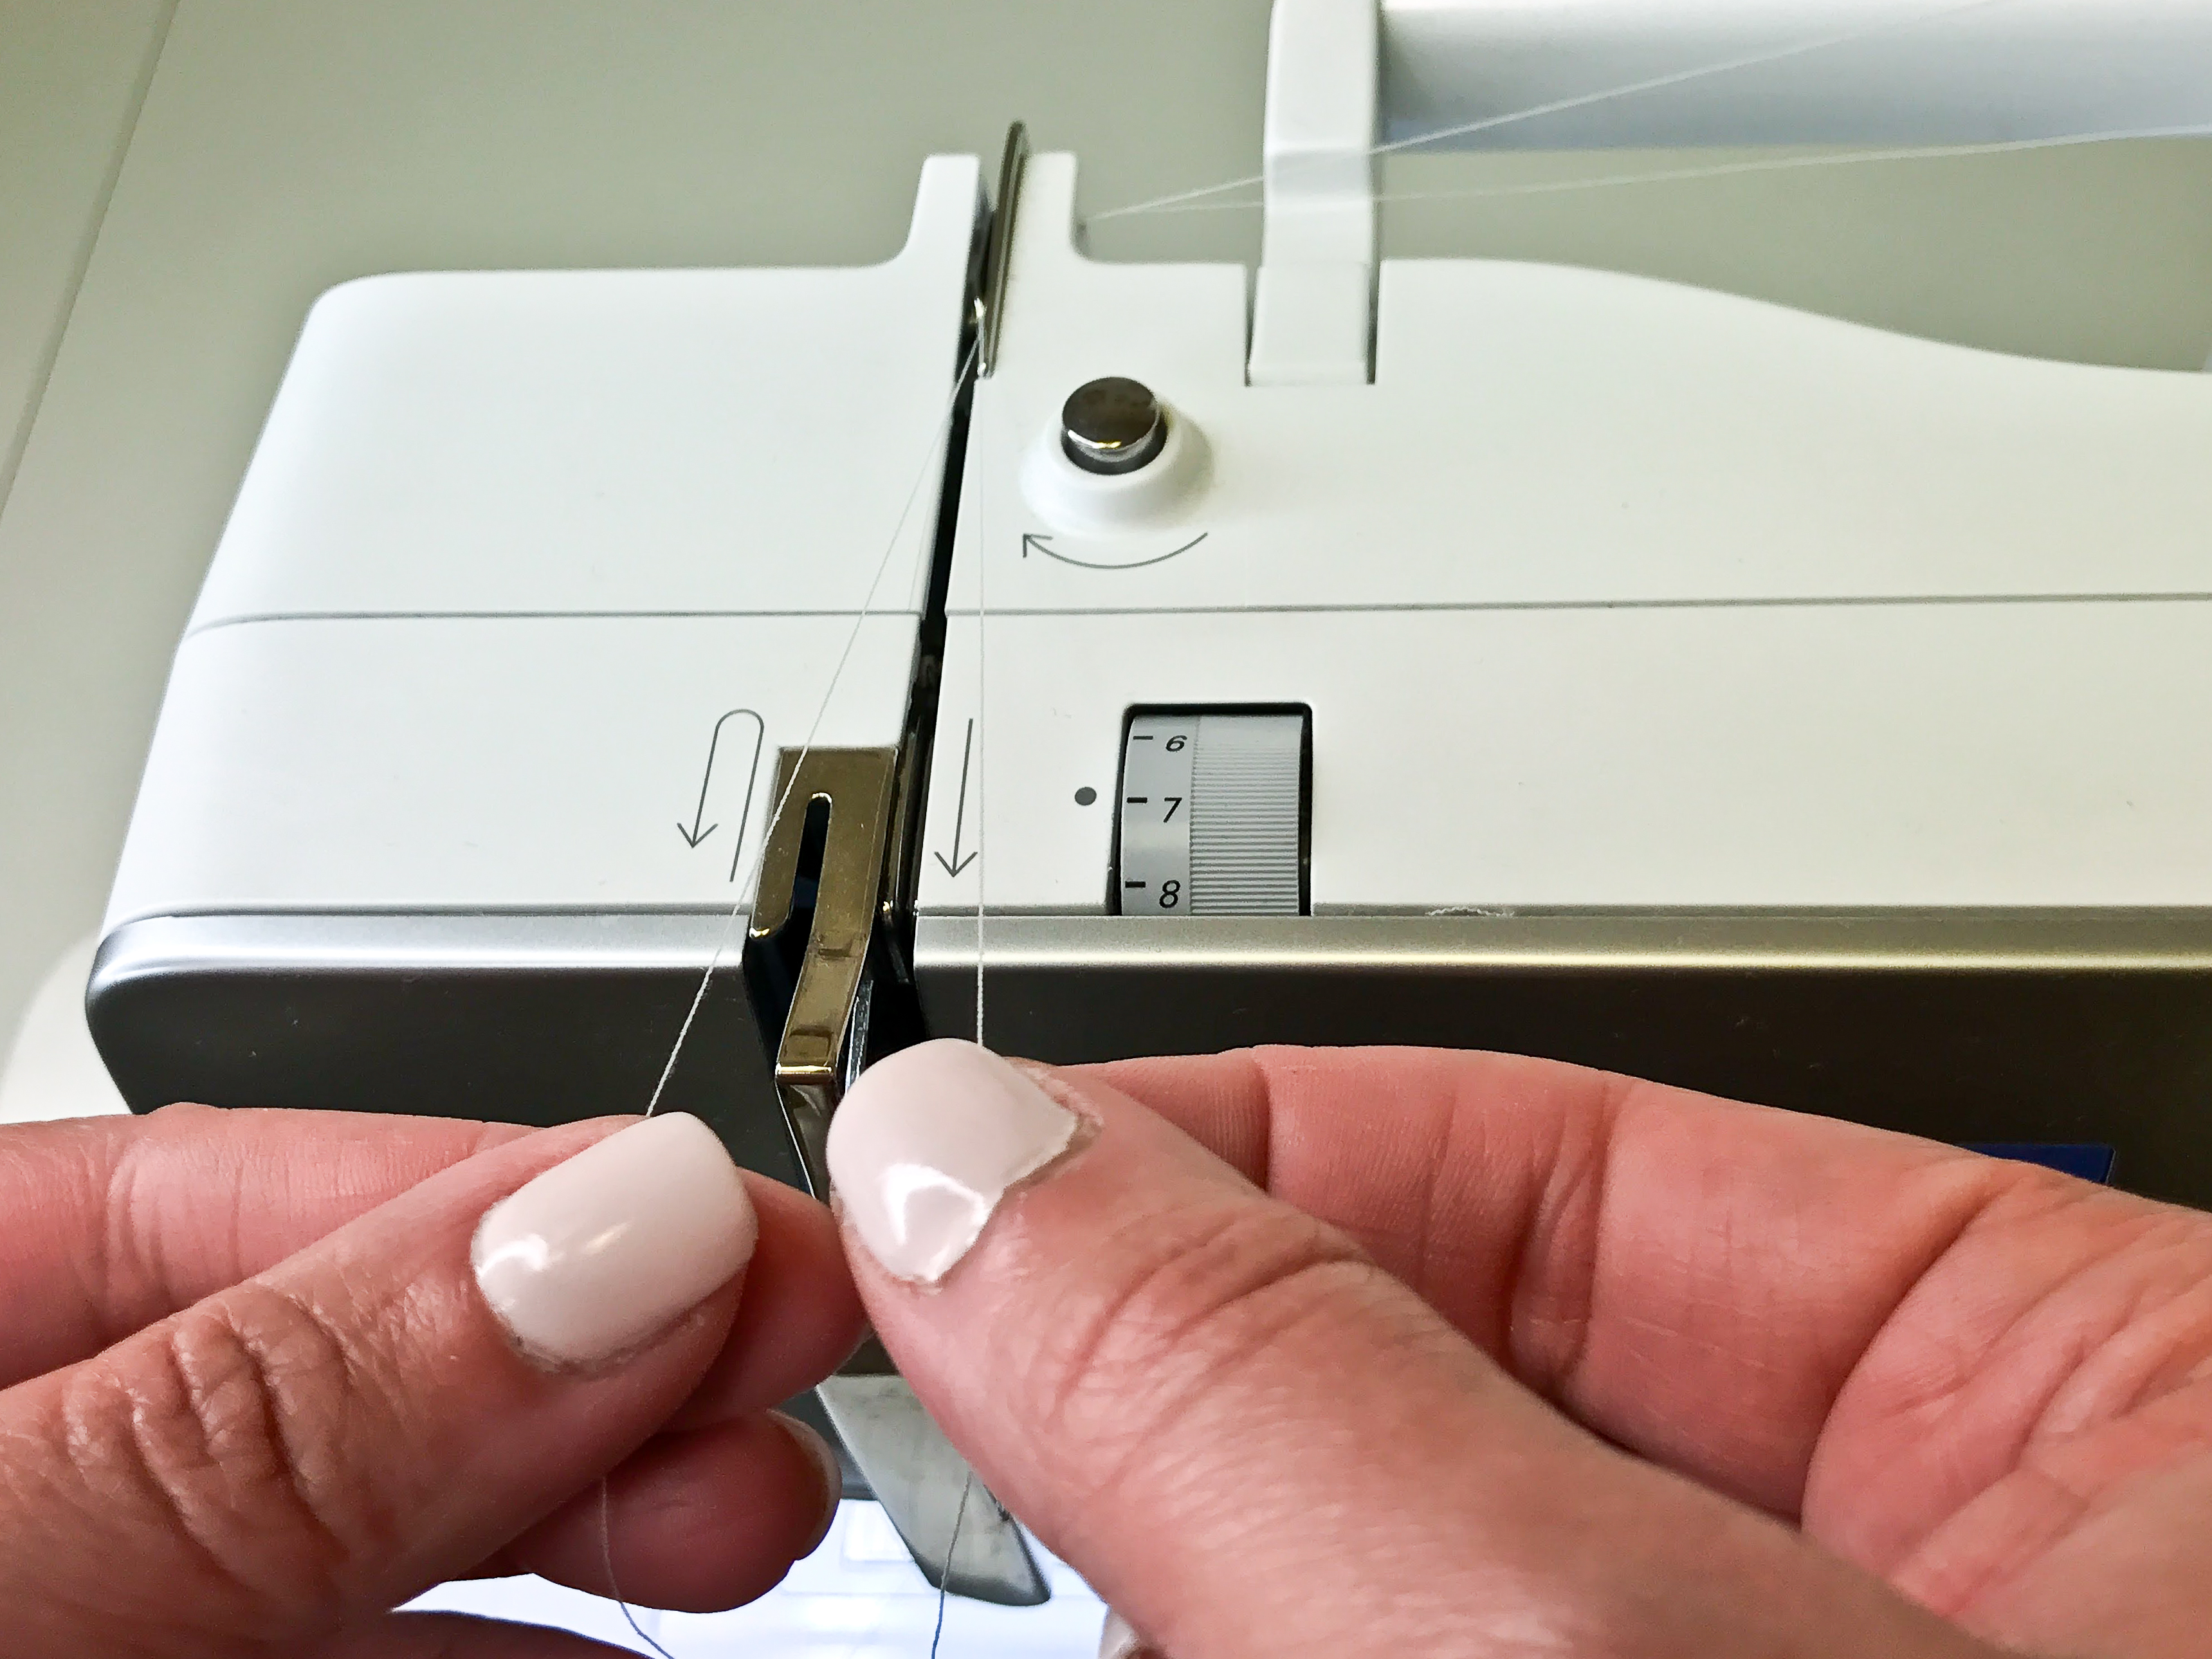
Separate the threads and pass one thread on each side of the tension disc.

The tension disc is the little piece of metal right in the middle.
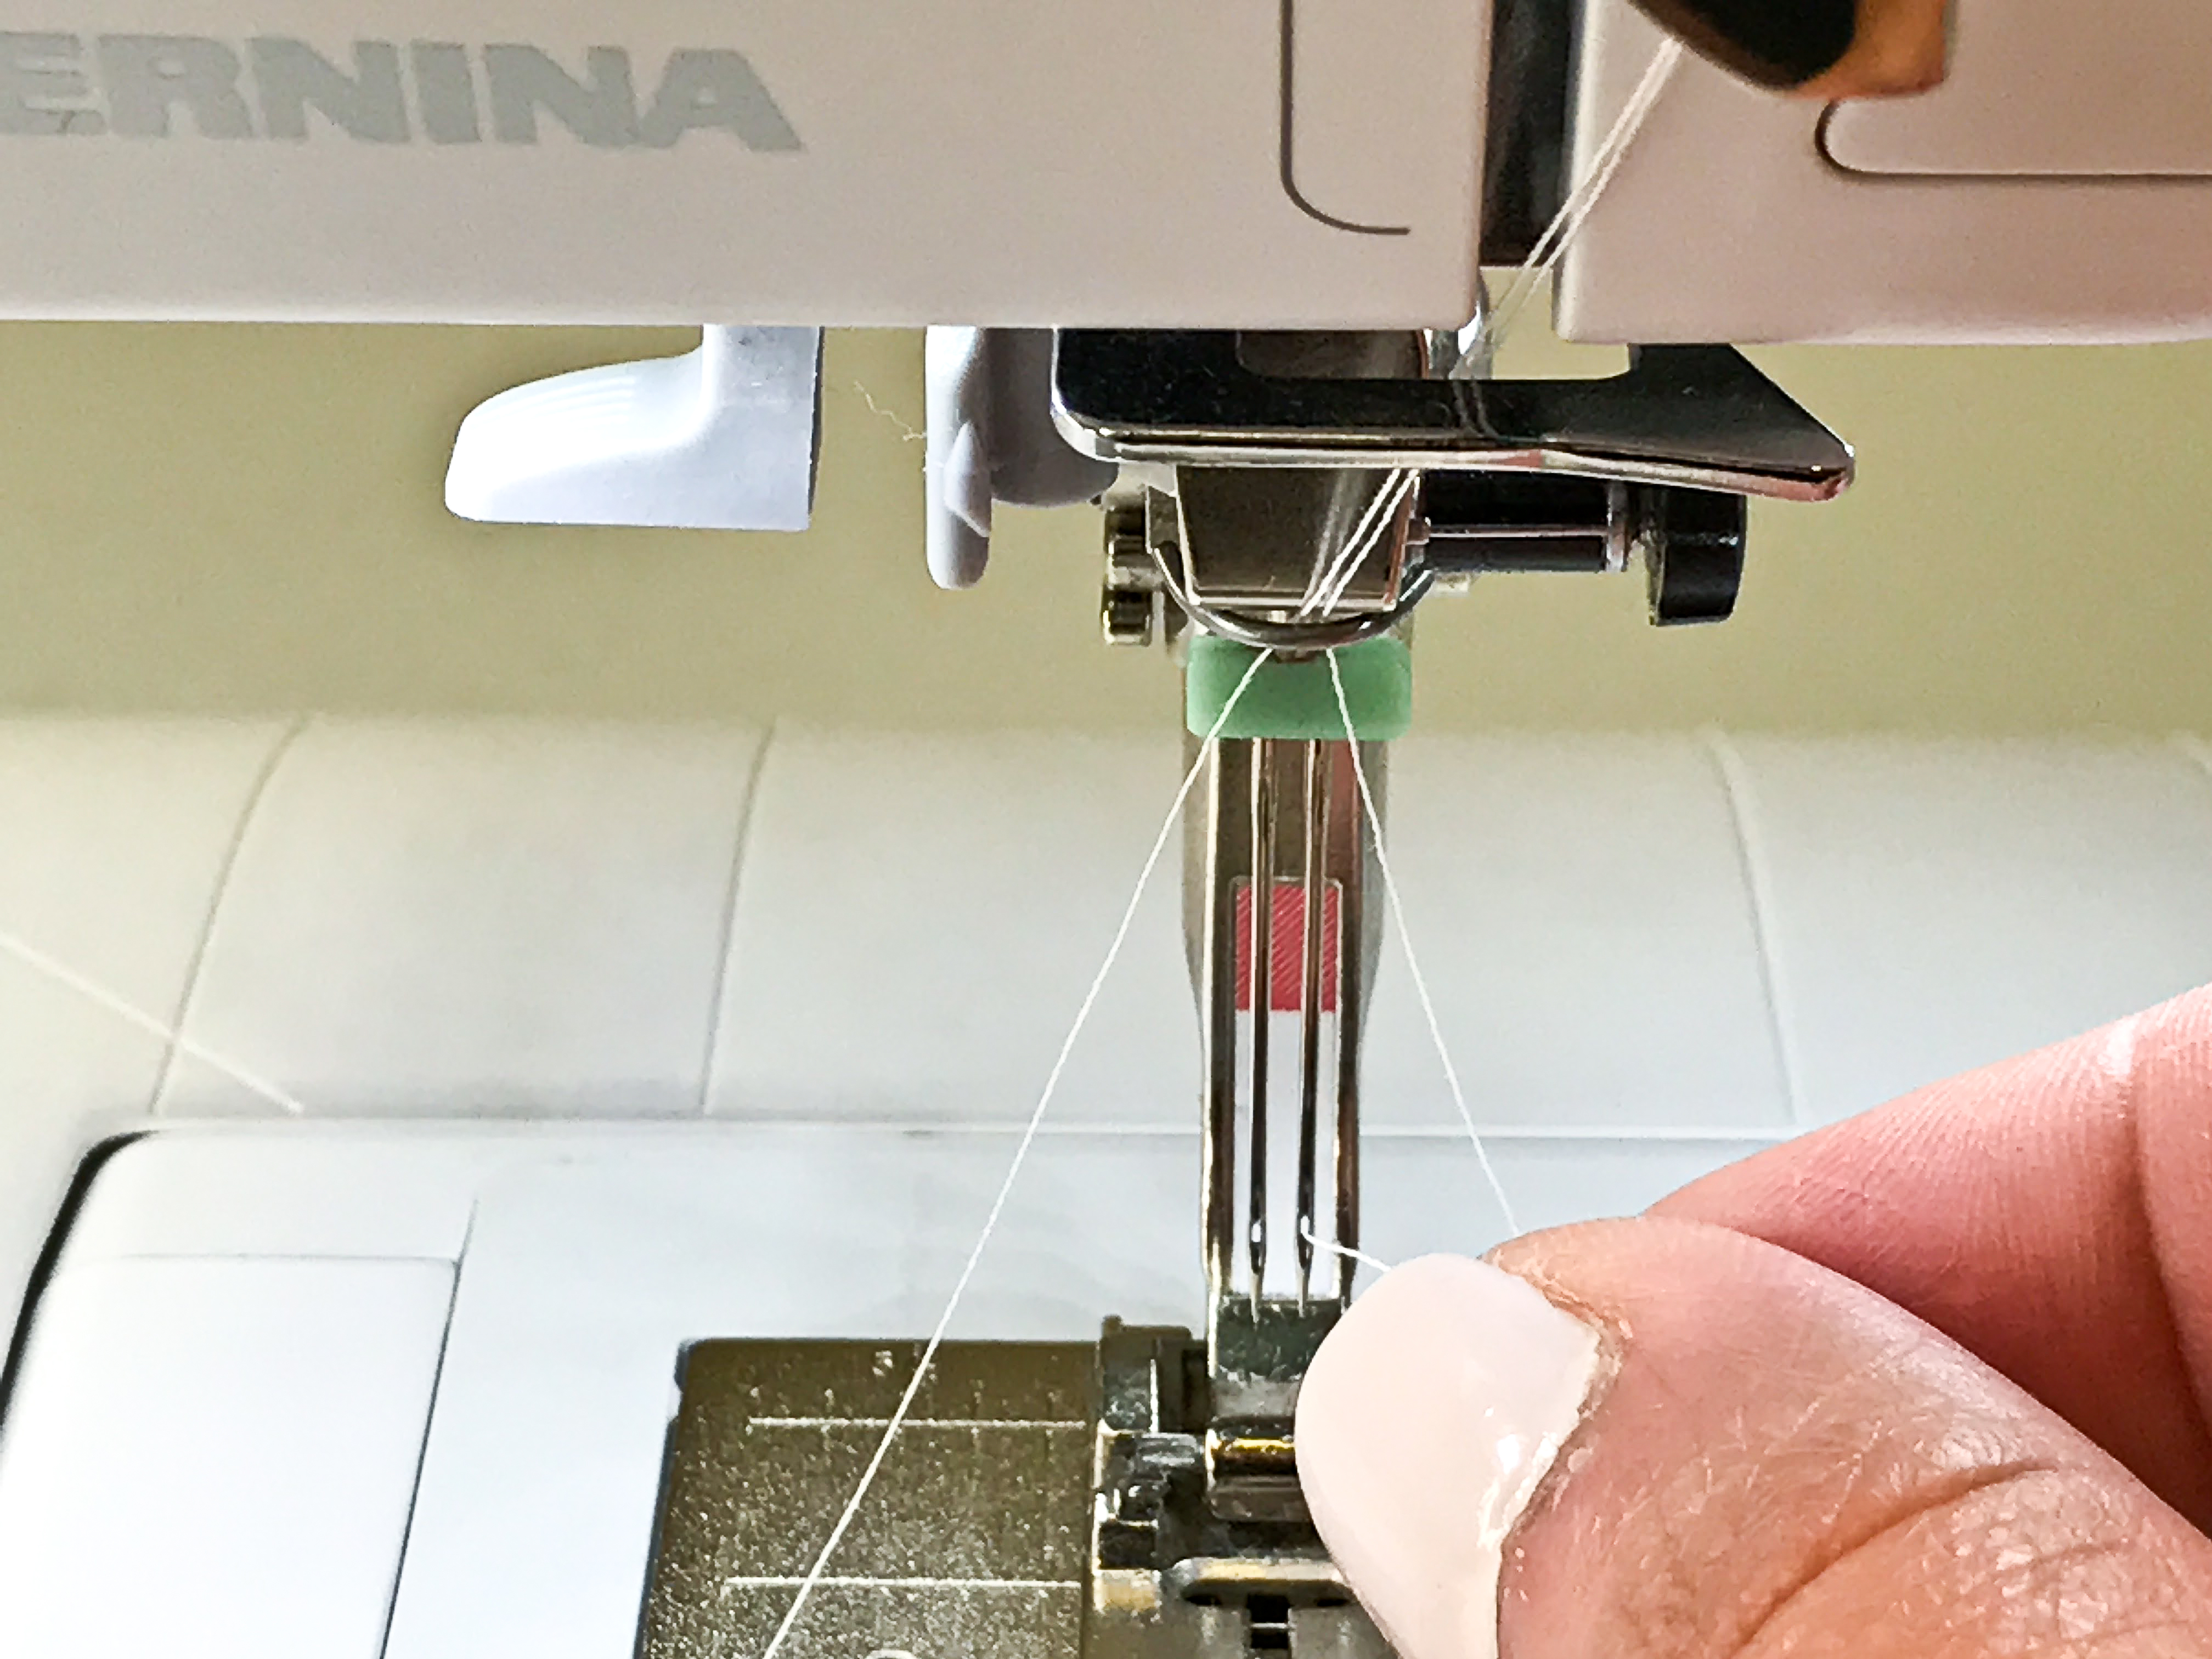
Continue threading normally. But you’ll have to manually thread each needle because you can not use the auto threader with twin needles.
Thread your bobbin as normal. And you’re ready to sew.
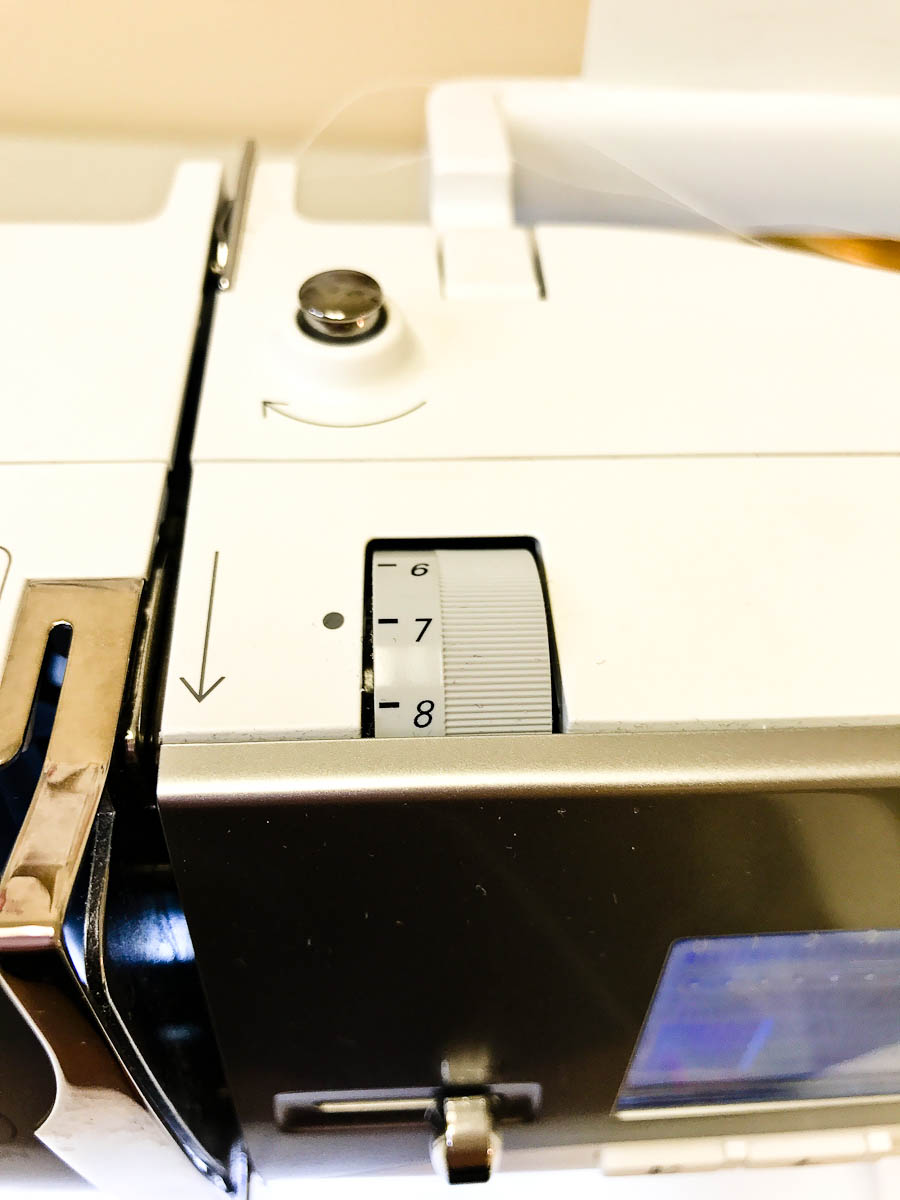
Once you thread your machine with your twin needle, you have to make sure that you have the correct tension. The goal is to create a tunneling effect. I found that 7.0 worked best for my stitching. You want your pintucks to be raised. But if the tension is too tight, you’ll create puckering. Make sure to practice before using your fabric!
How to Sew Diagonal Pintucks with the Pintuck Foot
Creating pintucks will shrink your fabric. So I cut out block pieces of fabric to create my diagonal pintucks before cutting out my sewing pattern pieces.
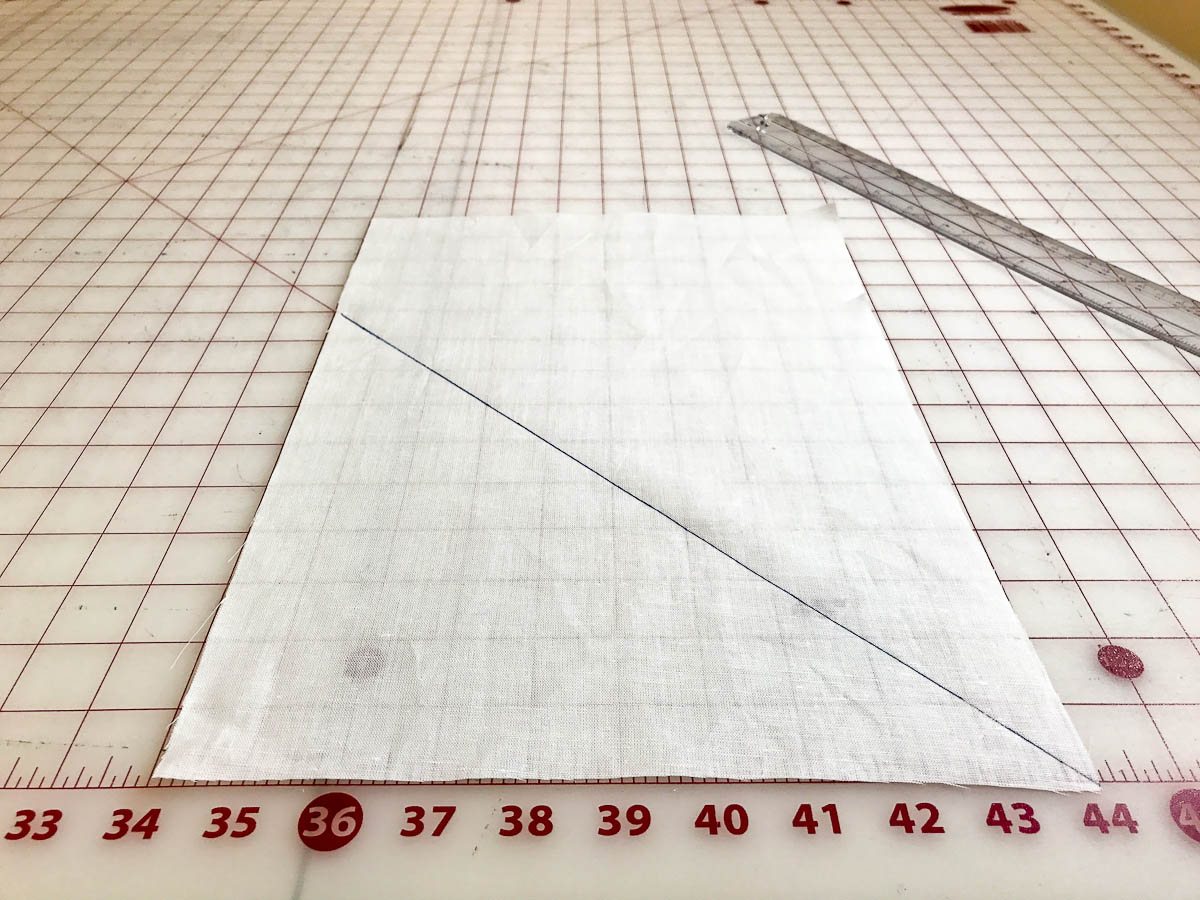
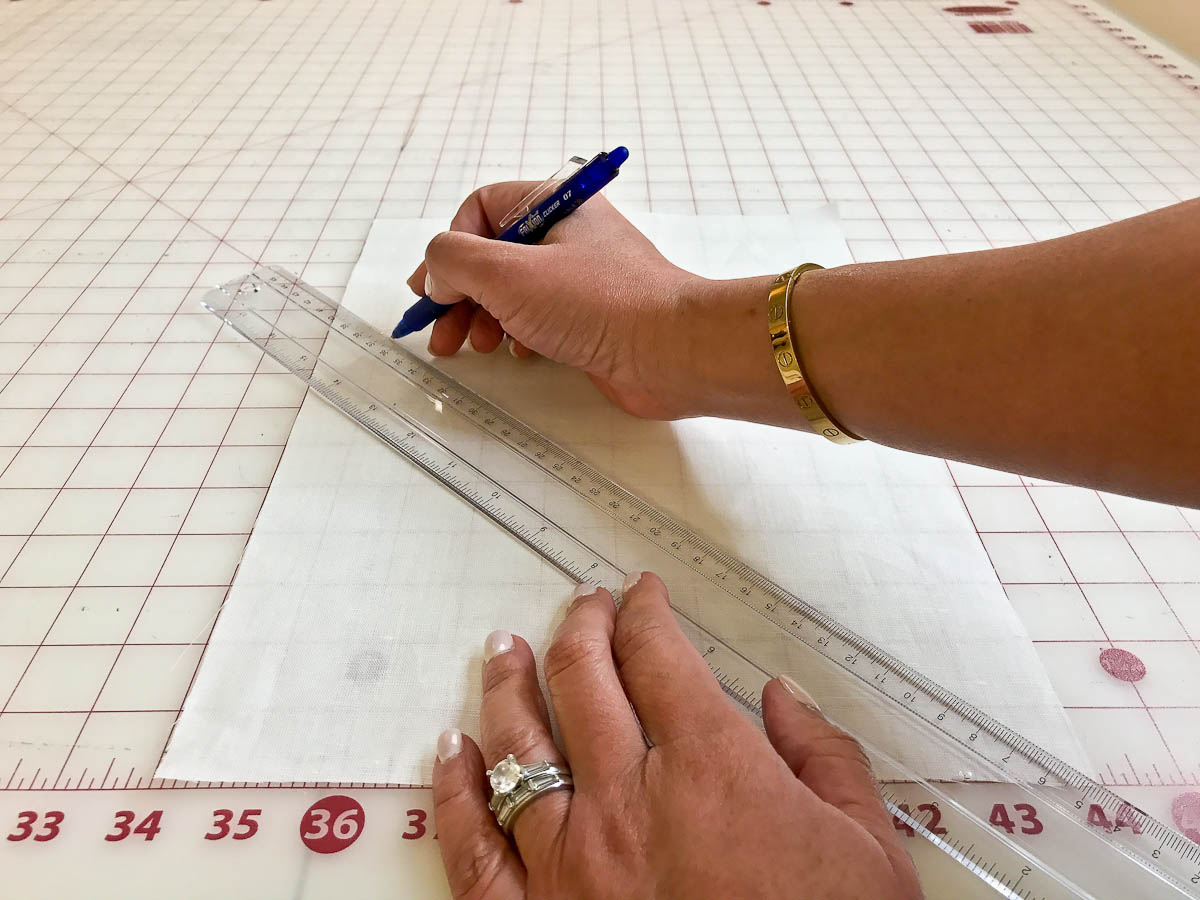
Using my ruler, my favorite marking tool and the 45 degree guide on my cutting mat, I created a guideline for my first diagonal pintuck.
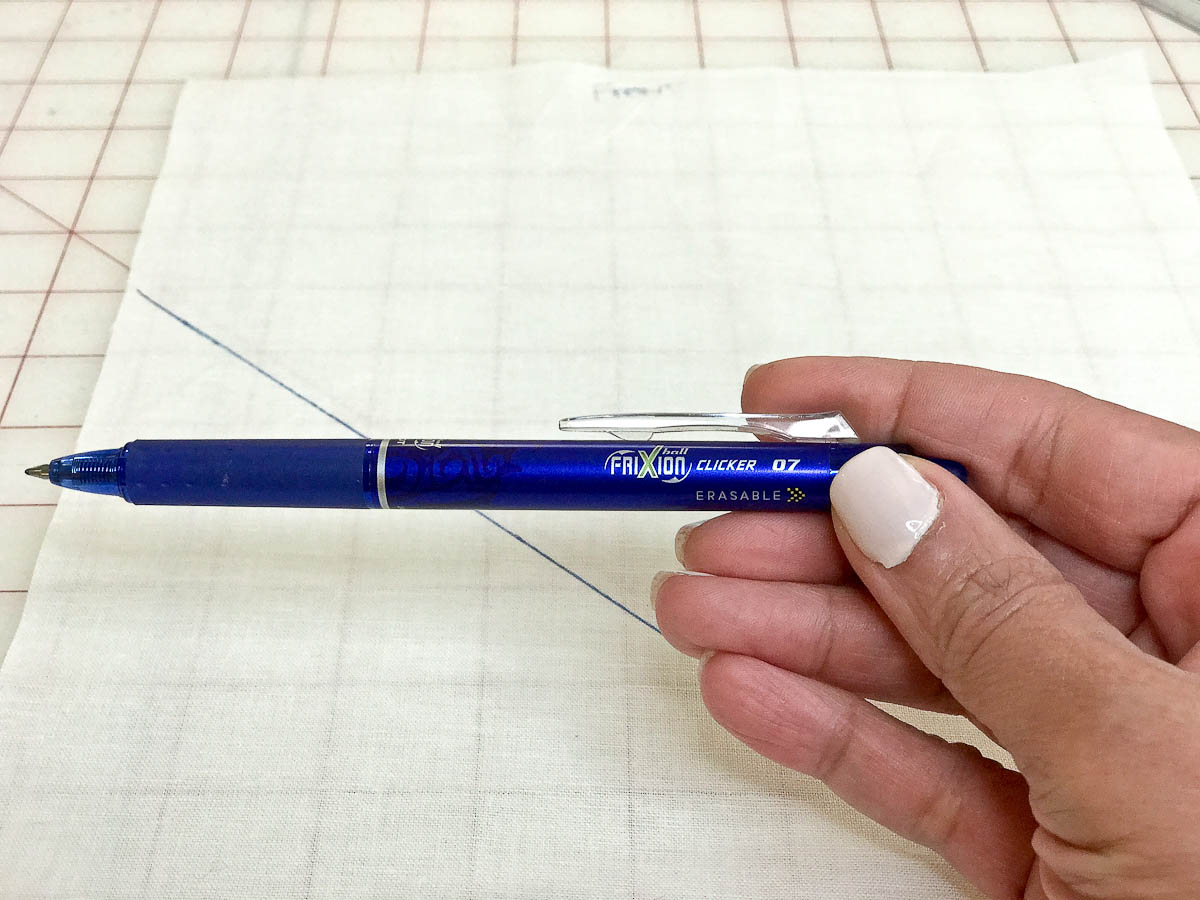
I’m using Frixion Erasable Pen and the ink disappears when heat is applied.
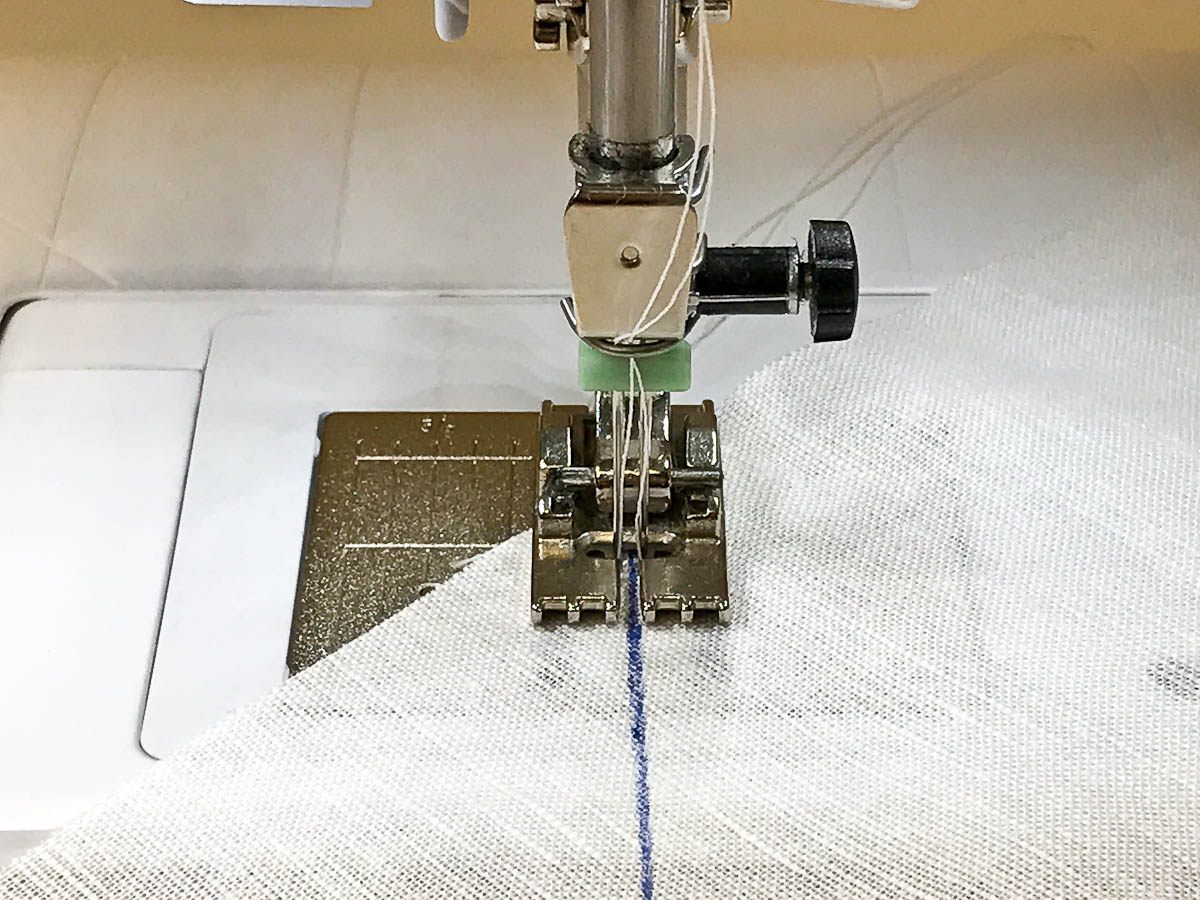
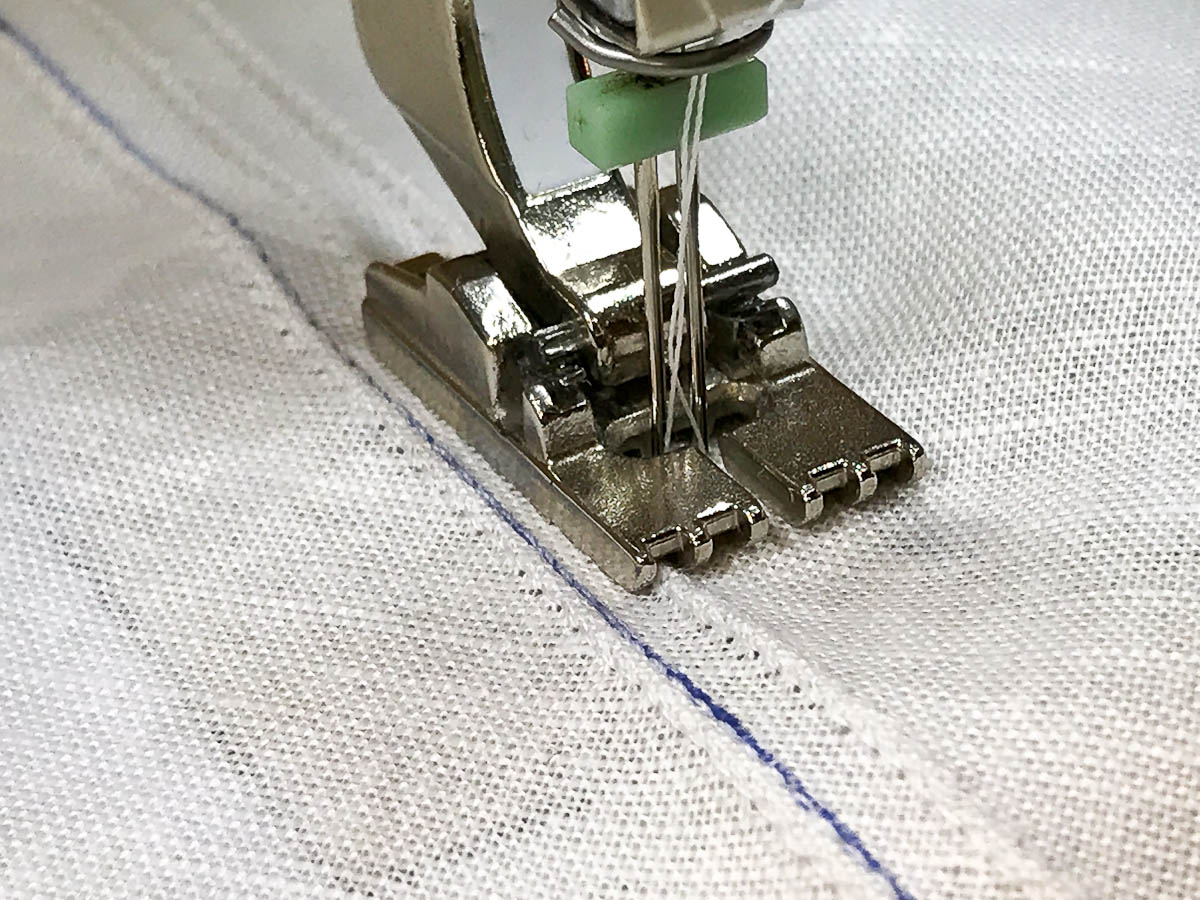
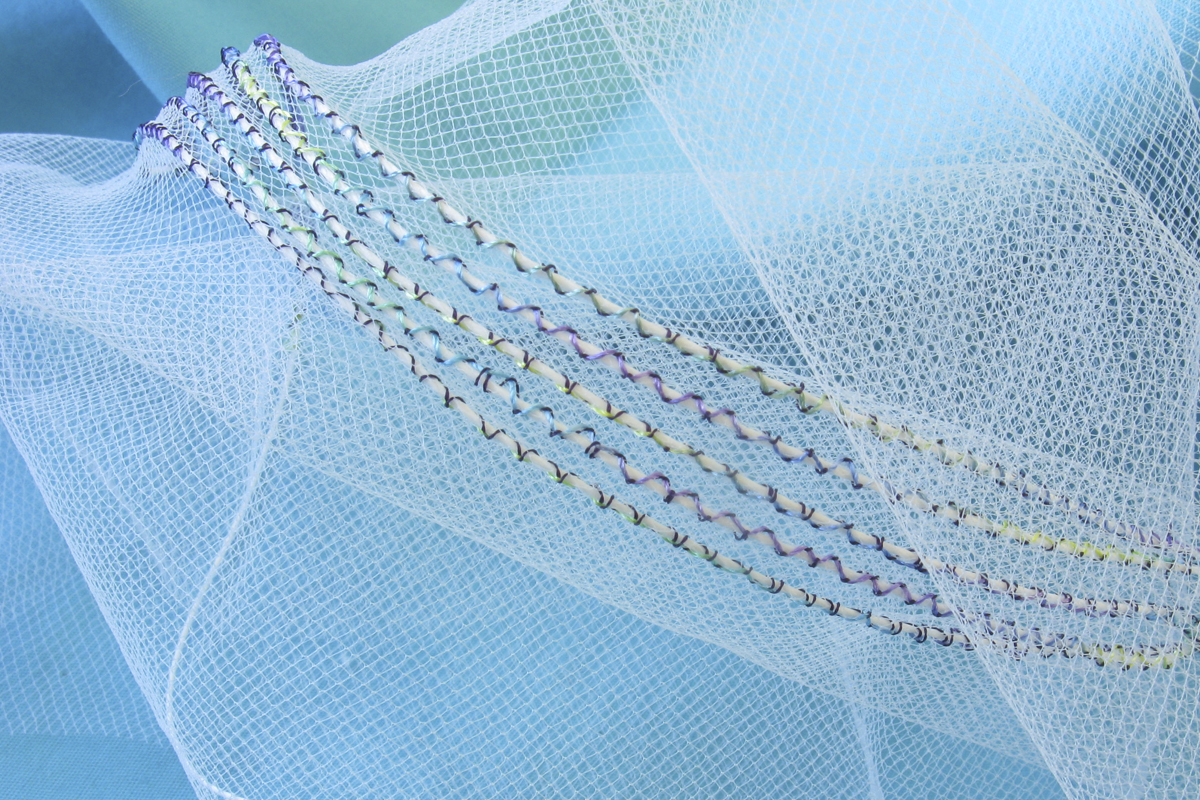
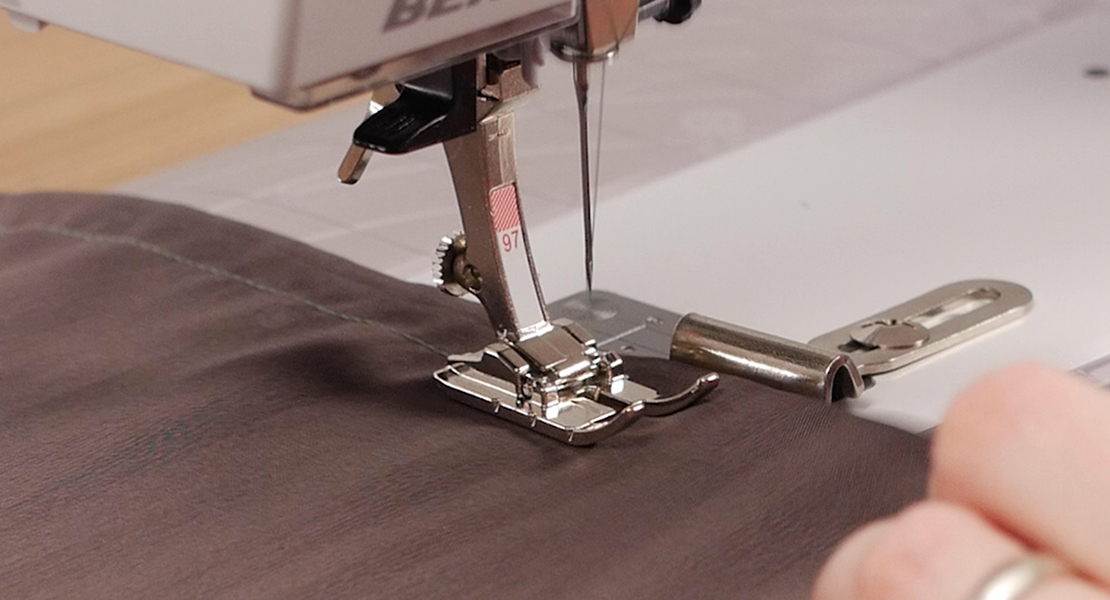
To create your first pintuck, stitch the line you created by keeping it centered through the middle of the foot and the twin needles.
Your next step is to decide on your pintuck spacing. To sew your next pintuck, make sure the groove is positioned over the first one and sew the next one. this will create perfect evenly spaced pintucks.
Repeat to create your design.
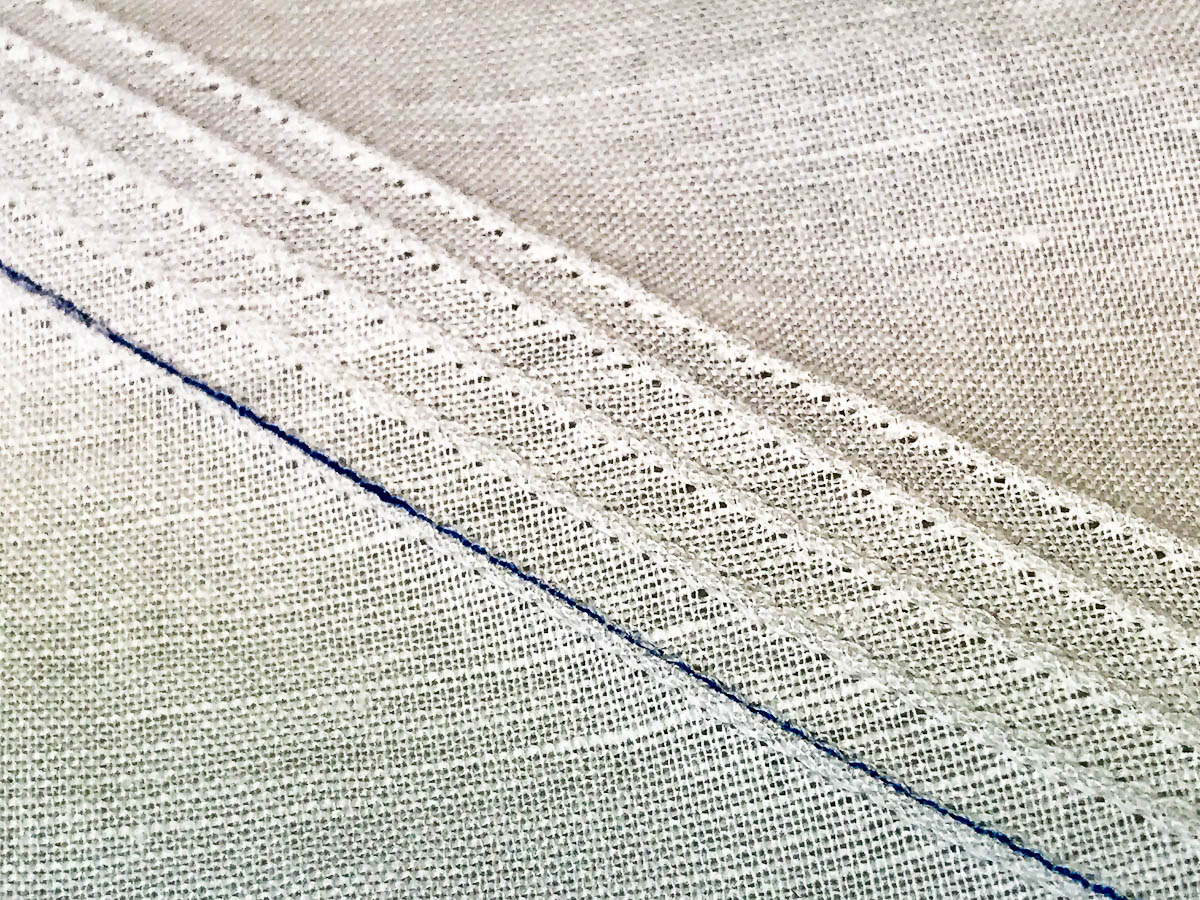
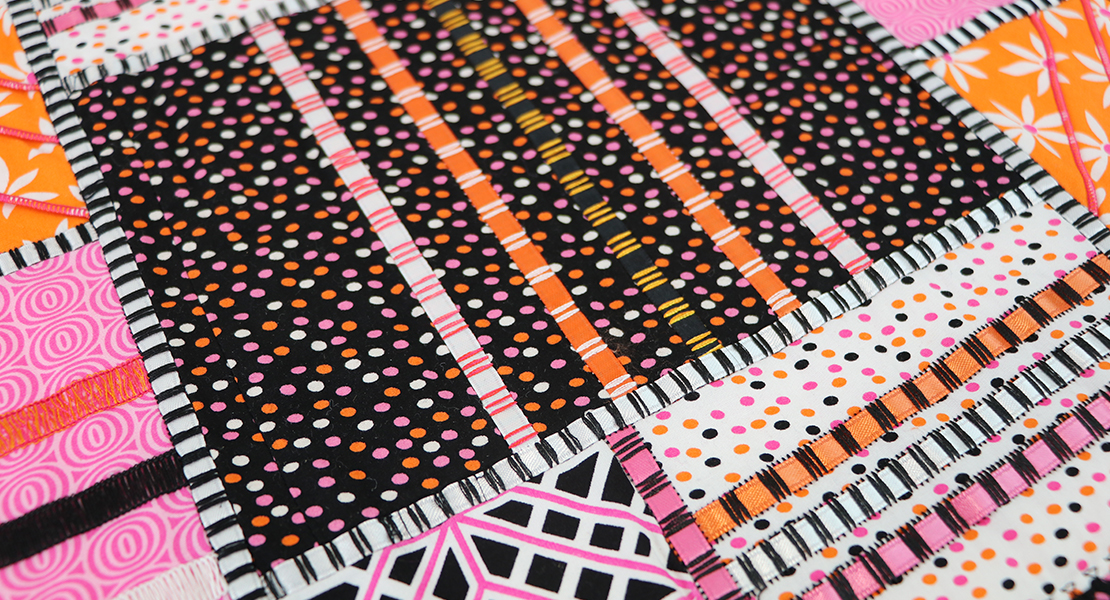
For mine, I made 5 pintucks, left a one-inch space and created 5 more. I repeated for the entirety of the piece of fabric.
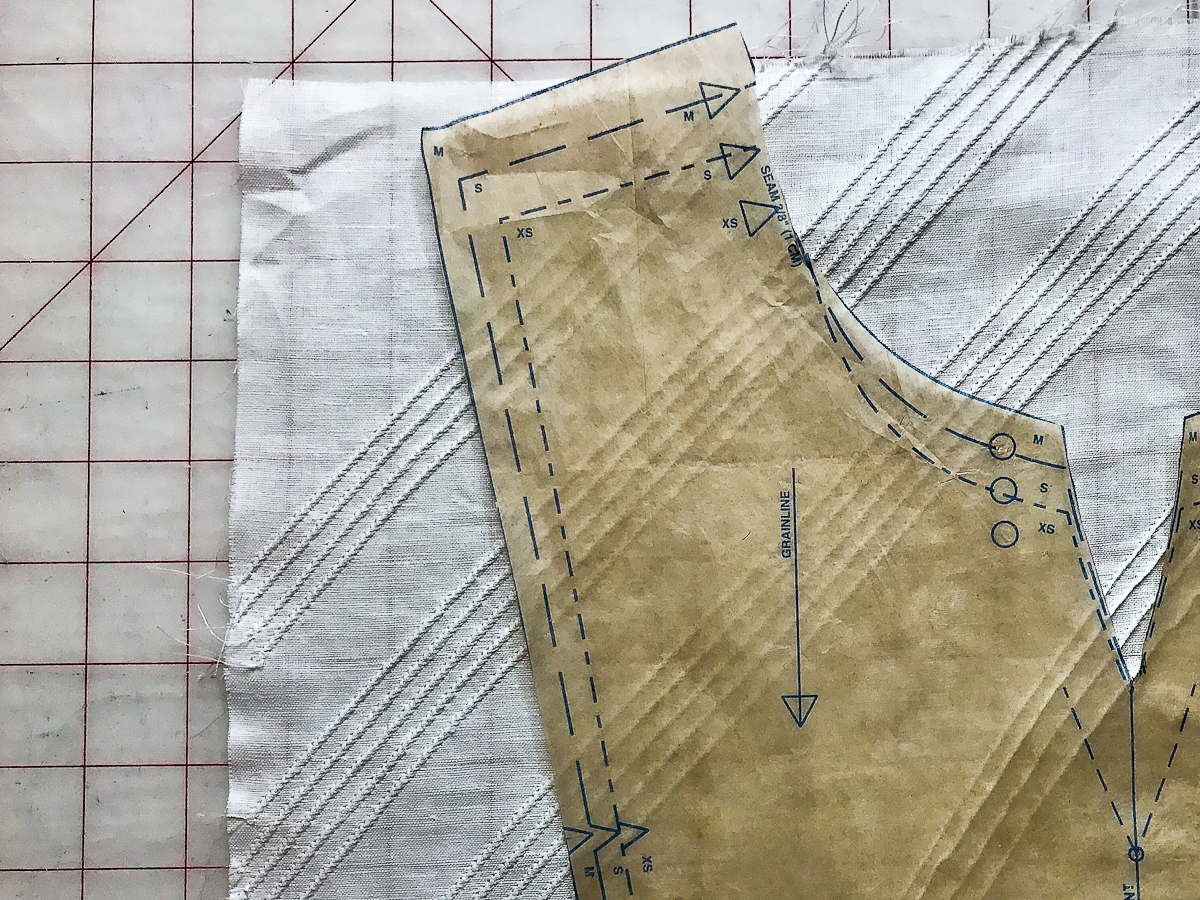
I pressed my fabric block and then I was able to cut out my pattern piece.
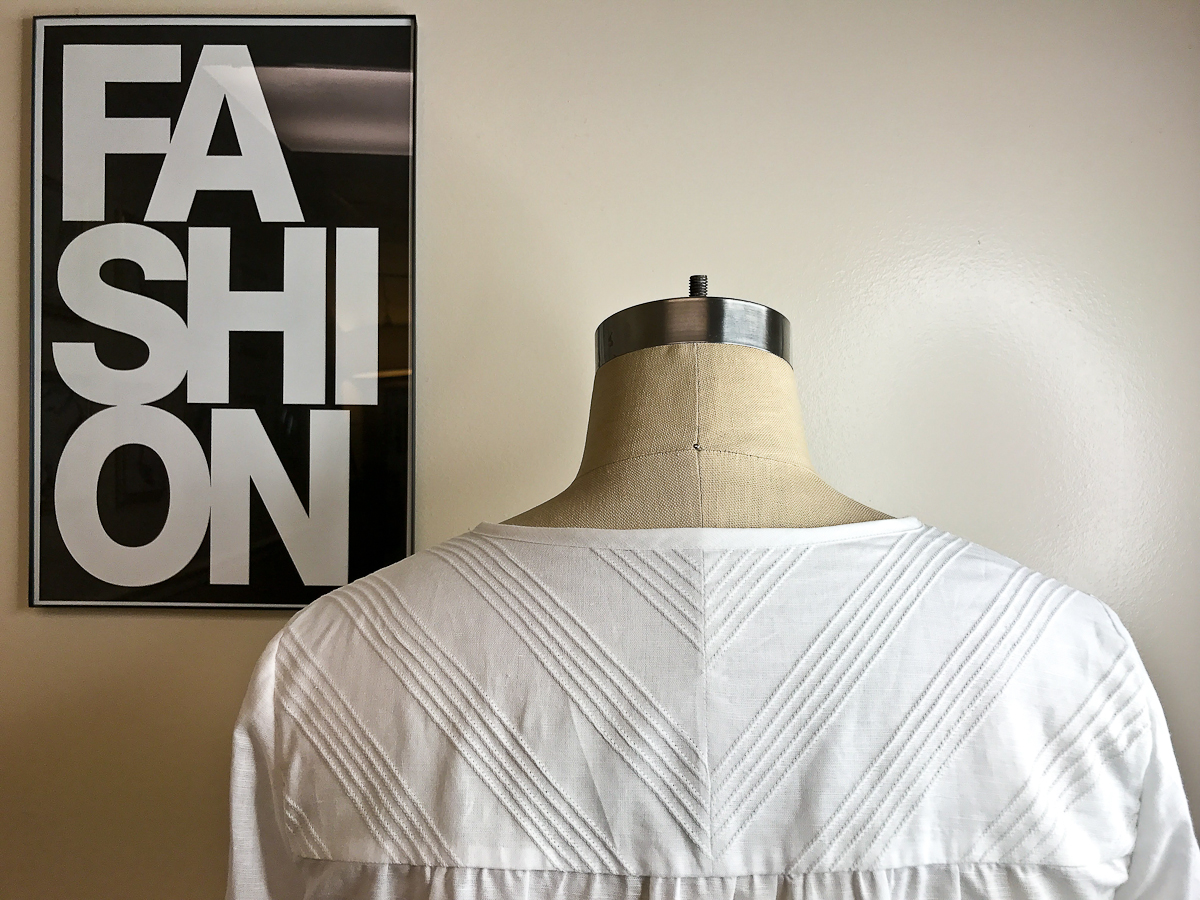
I used the diagonal pintuck design for the front and back yokes for my tunic.
Once you become comfortable with the foot and master your tension settings, the possibilities with pintuck designs are unlimited!
Used Products

What you might also like

11 comments on “Diagonal Pintucks Tutorial”
-
-
Thank you Beth!
-
-
Thank you! This is very inspirational. May I ask what tunic this is? I find it enormously appealing. This is my missing summer garment, definitely.
-
It’s McCall’s 7284. Thank you Anne!
-
-
Beautiful! What kind of fabric did you use? Looks like handkerchief linen, correct? How did you prevent the bias of the fabric from stretching?
-
It is definitely tissue weight linen. I had no trouble with stretching. Thank you!
-
-
Thank you. Very inspiring.
I just want to warn you about my negative experience with the Frixion pen, that you use. It can stain the fabric/leave ghost mark. Frixion pens are not meant to be used on fabric.
https://quiltskipper.com/2015/08/frixion-pens-all-you-need-to-know-
This article was written exactly years ago. I’ve never had a problem with them. I love them and use them on fabric daily.
-
-
I went straight out today and bought white lightweight linen. I really like this. My question is, do you need the 5 grove pin tuck foot? I have #35; which has two groves. Would that work?
Thanks.
-
Hello dillie2008, The BERNINA Presser Foot #35 is designed for stitching invisible zippers. The two grooves are shaped differently and are intended to hold the coils of the zipper so you can stitch very close to them. It is not a pintuck foot, so therefore it will not work for this technique.
-
-
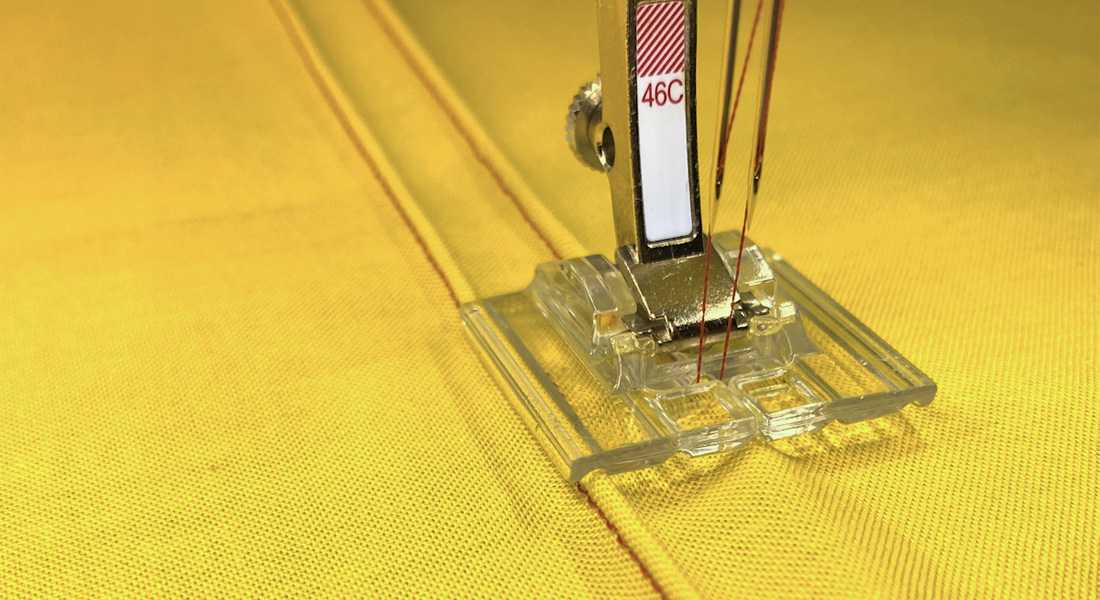
thanks this is helpful. But I bought foot 46C (for my new B590) thinking it was a “universal” pintuck foot. It does NOT look like it will make those pintucks in your tutorial. Am I missing something?
Leave a Reply
You must be logged in to post a comment.

Erica, this is GORGEOUS!!!! I love the subtle texture the pintucks create, so nice for a solid fabric.