Couching Fibers Along, Part One
Grüezi mitenand! Hello BERNINA Q . . . Quilters?!
Here is BERNINA Ambassador Carolina Asmussen, from Carolina Asmussen Designs.
It’s been a while and I’m really glad to be back. This time I would like to invite you to join a very special project, the Couching Fibers Along.
What makes the Couching Fibers Along so special?
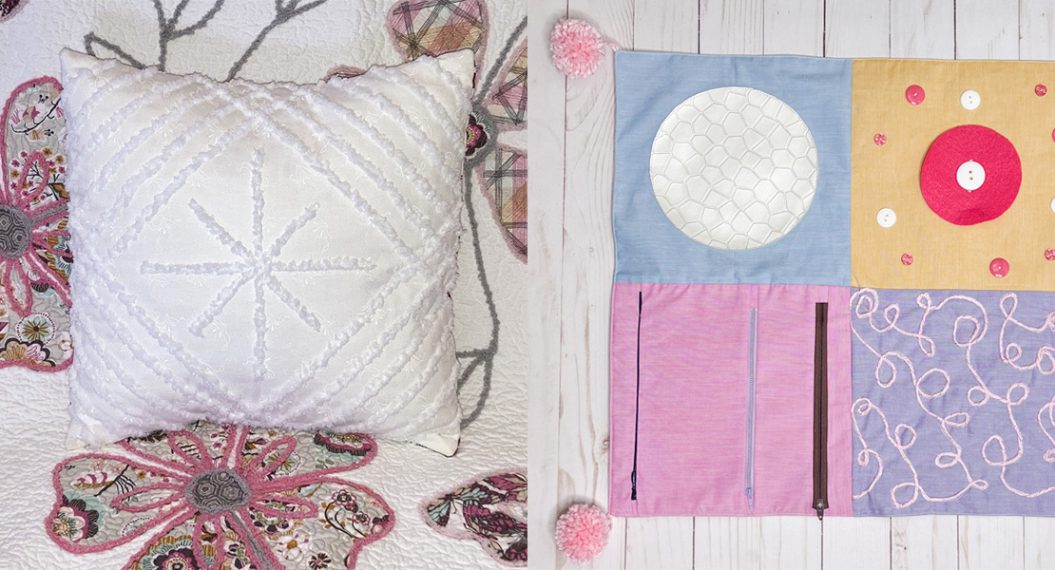
I don’t know if you remember, but this is not the first time I talk about free-motion couching fibers here. Last year, we did a Fiber Couching Cushion Cover. It was a very cool home decor project. We used the couching fibers technique to outline a leaves design.
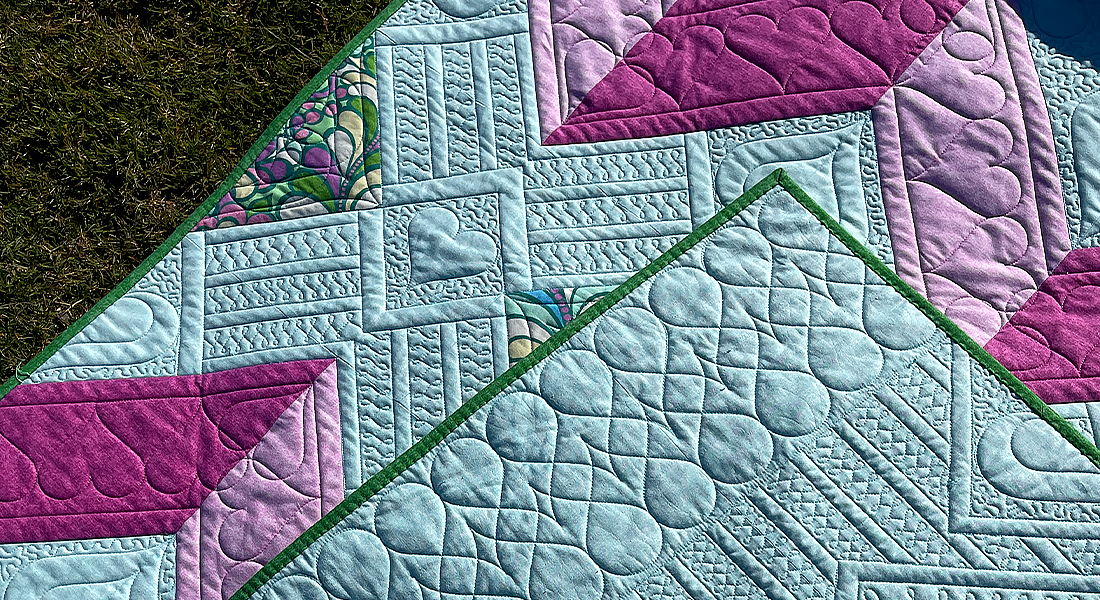
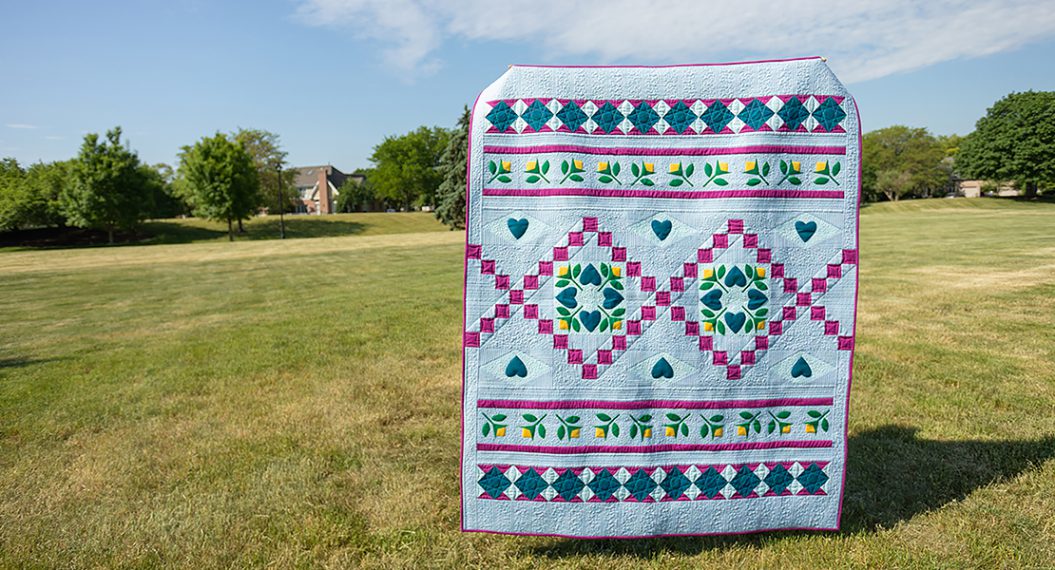
I can bet you also saw couching fibers multiple times being used to highlight details or some specific areas of a quilt.
So, you are probably asking yourself “What makes this Couching Fibers Along so special?”
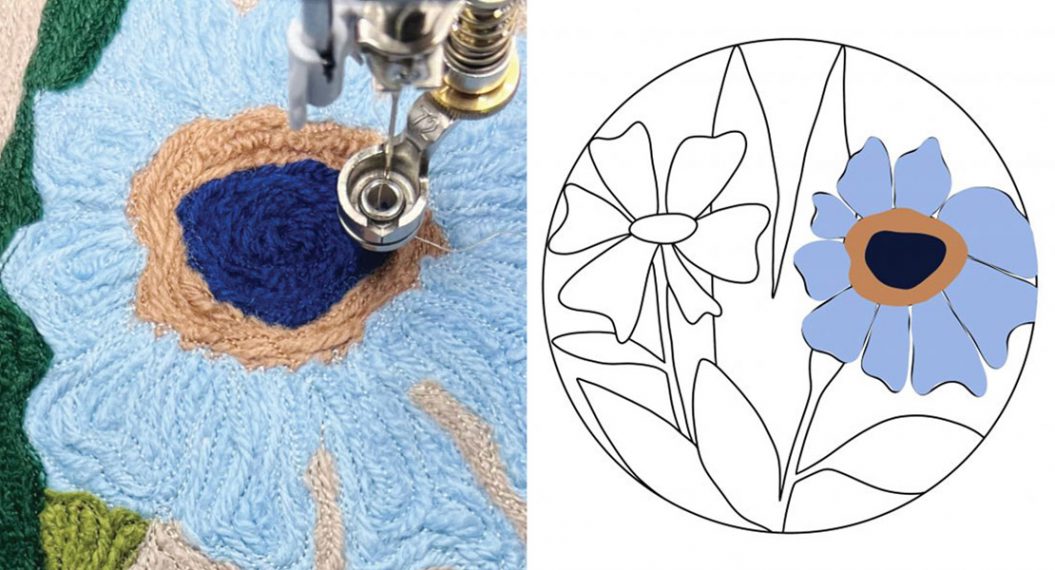
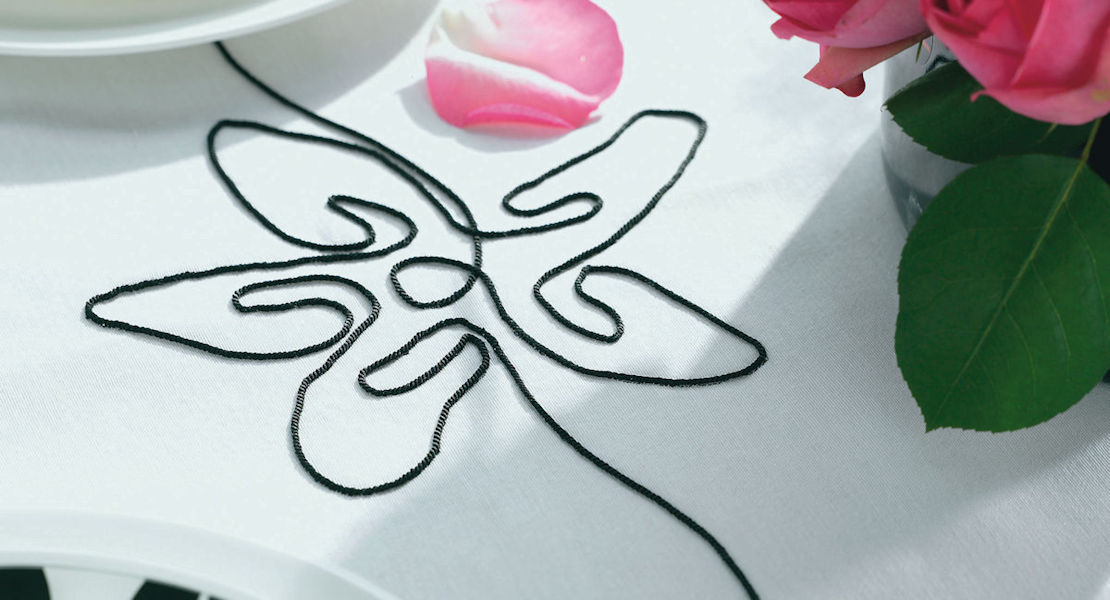
Besides being one of a kind free-motion quilting along project, this time we will be using couching fibers as an overall design. It means that we will use the fibers to cover the entire surface design from our mini quilt sandwich.
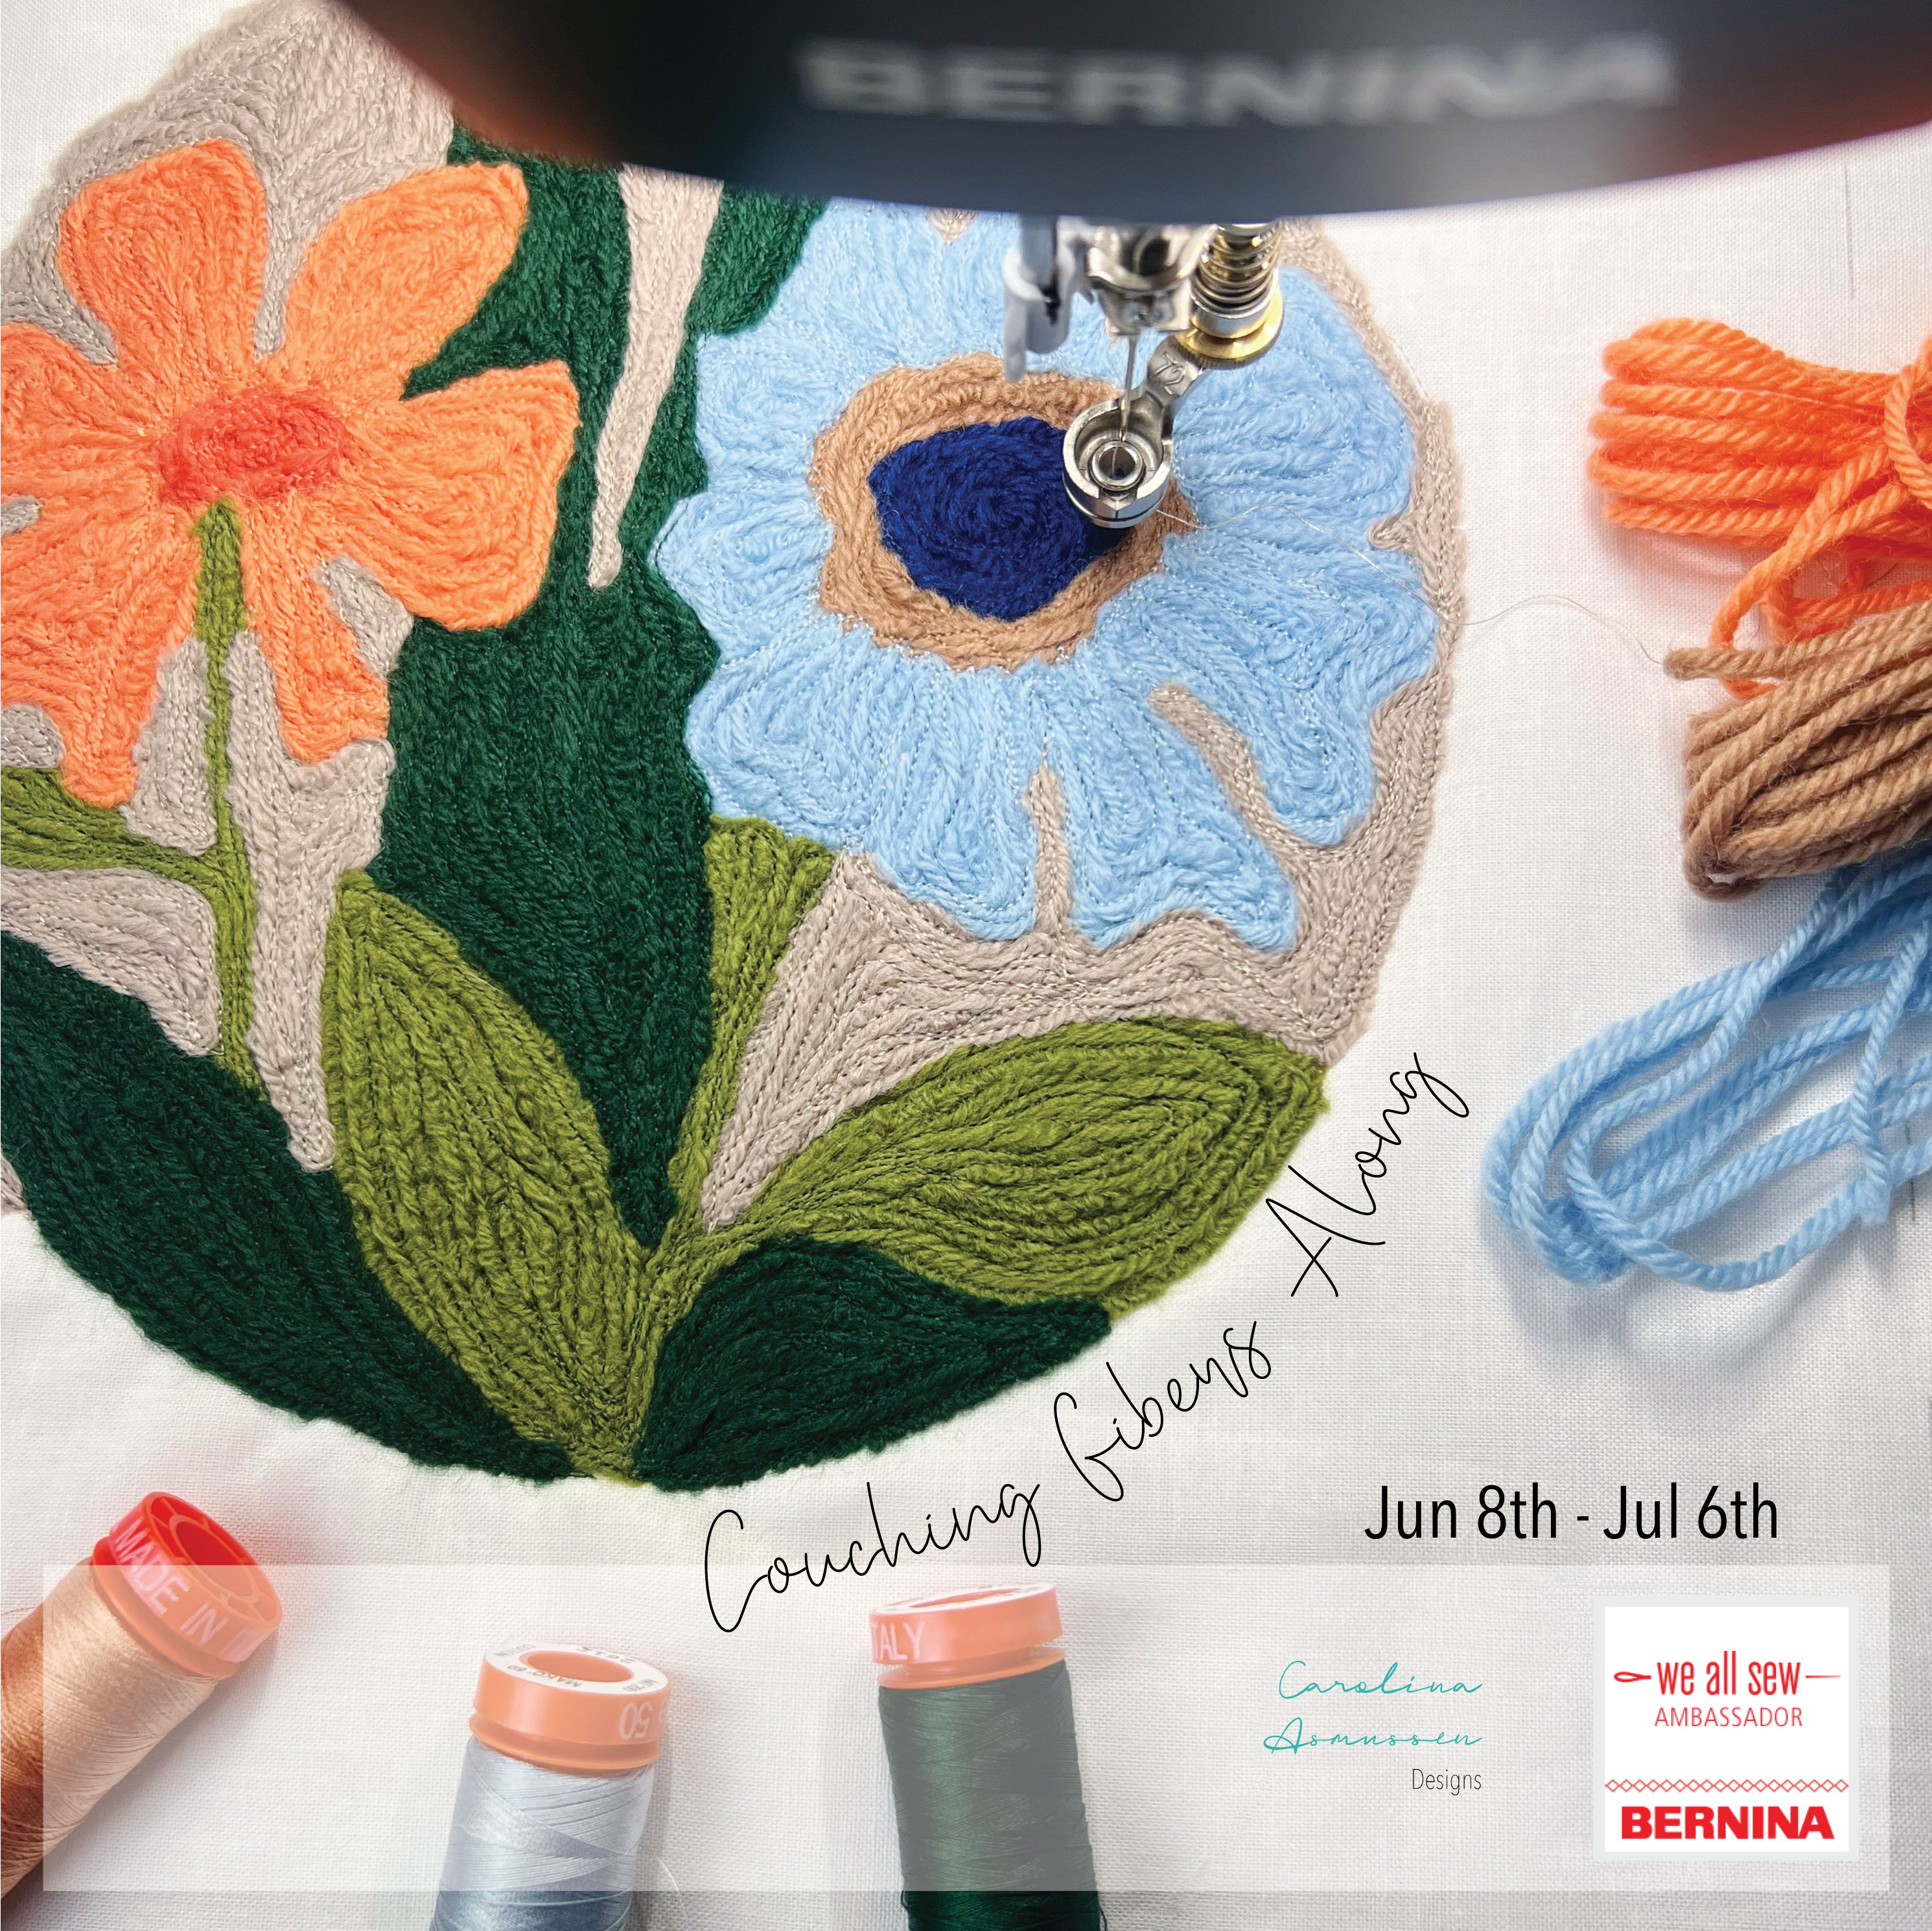
At the end, the result is very similar to other types of crafts like tapestry, tufting or punch needle.
Since I mentioned those techniques, the biggest advantages of using free-motion quilting to couching fibers with your BERNINA domestic sewing machine or Q Series longarm are:
- Time saving.
- Precision
- Cleaner result.
In all the techniques mentioned above, after finishing the stitching part, there is a last step like trimming the fibers in the top of the work or securing the fibers with glue on the backside of the work.
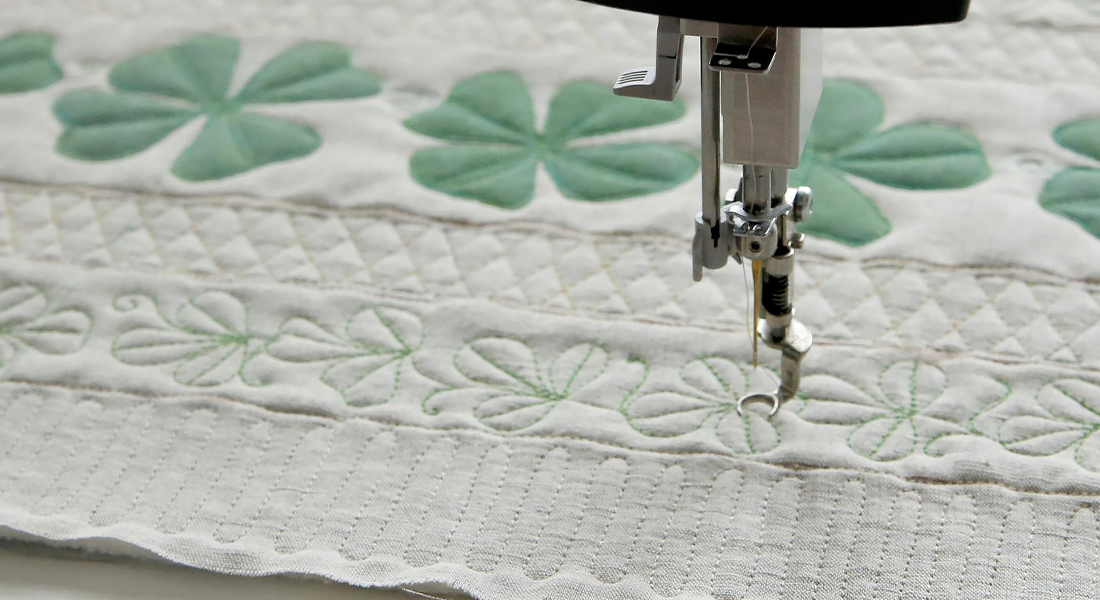
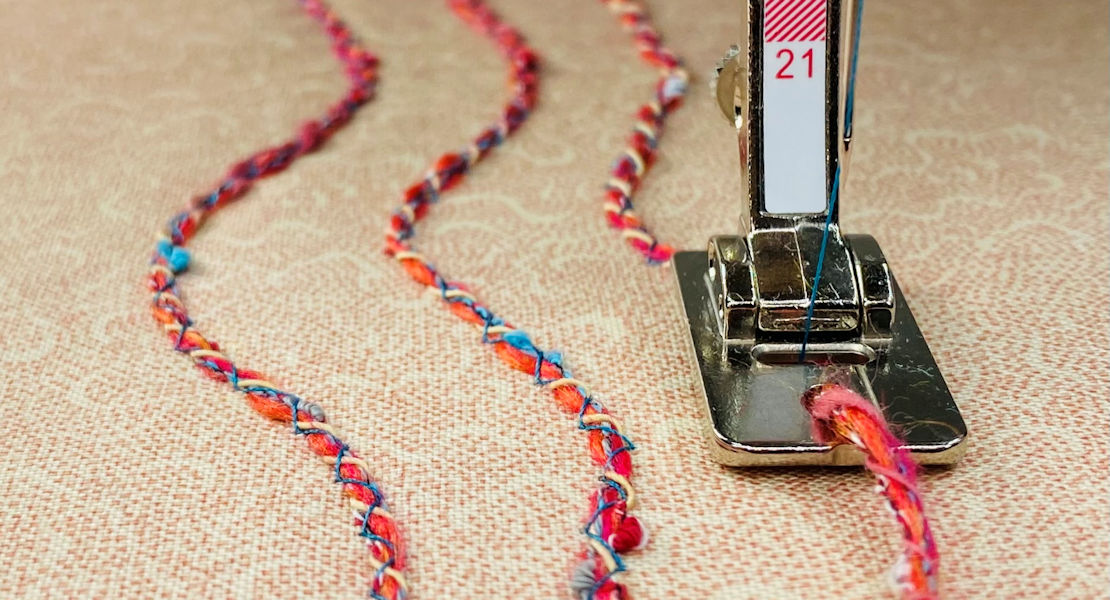
When we are free-motion couching, we are gliding the fibers on the top of our work. We are not stitching with the fibers in any moment, so the fibers are never passing through the quilt sandwich. All the time we are using regular sewing thread to stitch, like we do during a normal quilting process.
Which machine can I use?
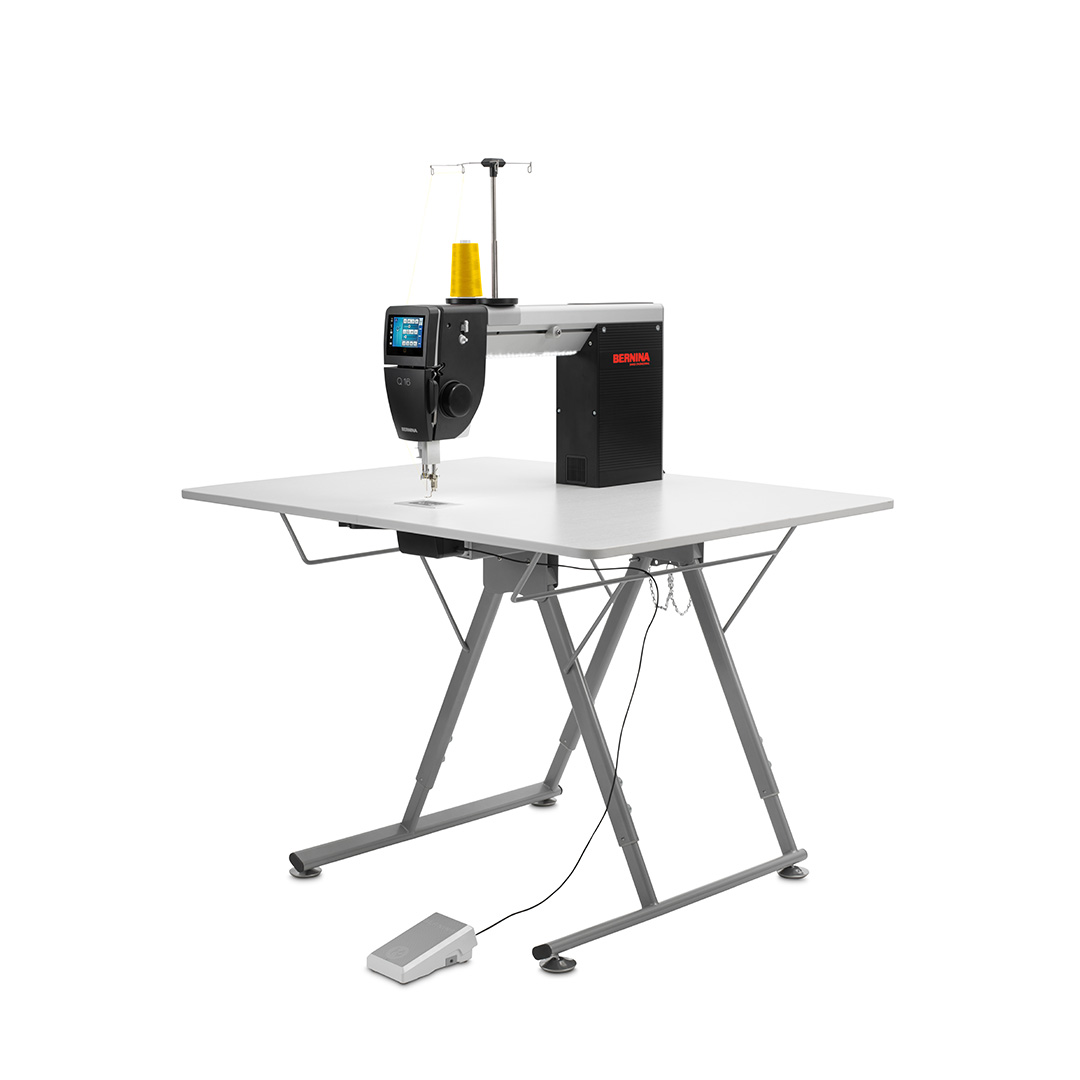
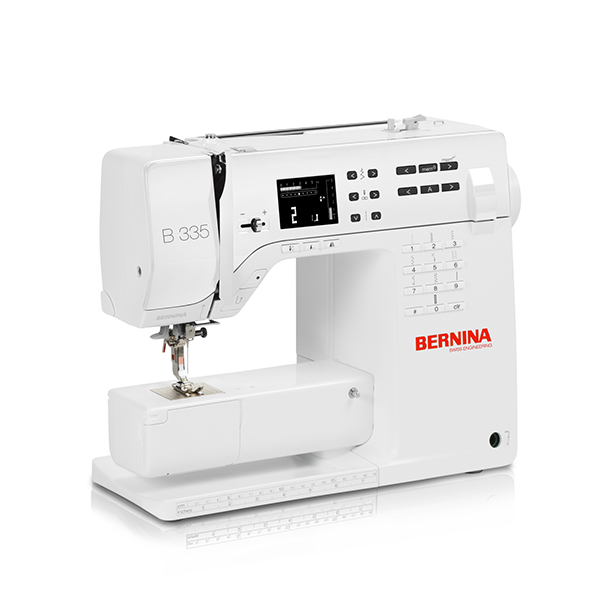
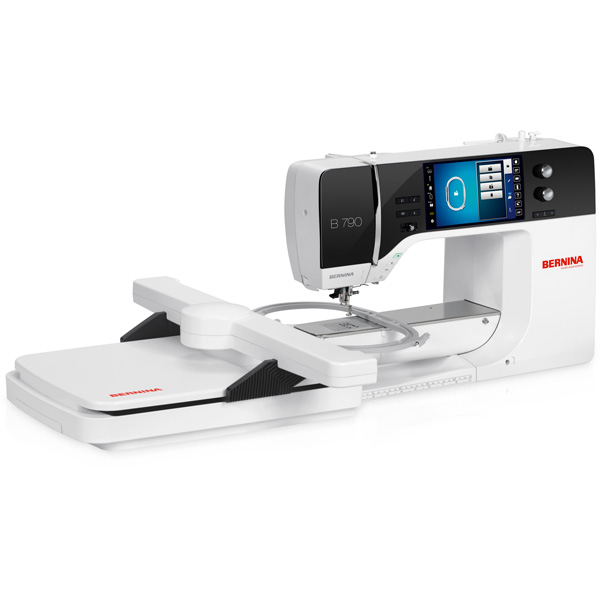
In my opinion, the variety of BERNINA machines that we can use for this project is also something really special. As you probably saw on the invitation video, you can use from a BERNINA 3 Series to a BERNINA 8 Series and all the BERNINA Q Series longarm Sit-down models or frames because the Adjustable Ruler Foot #72 with the couching inserts is suitable for all of them.
This is something pretty amazing and only BERNINA can provide it.
Couching Fibers Along – Week 1
I hope at this point I already convinced you to join the fun for the next 5 weeks!
This week our goal is to gather all the materials and prepare the sample project to start officially stitching next week.
Materials
I prepared some files that need to be downloaded and don’t forget to print 100% scale.

- (1) 15″ x 15″ piece of white cotton fabric to transfer the sample design
- (1) 15″ x 15″ piece of batting (I was using Hobbs Heirloom Premium 80/20 Cotton/Poly blend)
- (1) 15″ x 15″ piece of neutral color cotton fabric for the backing
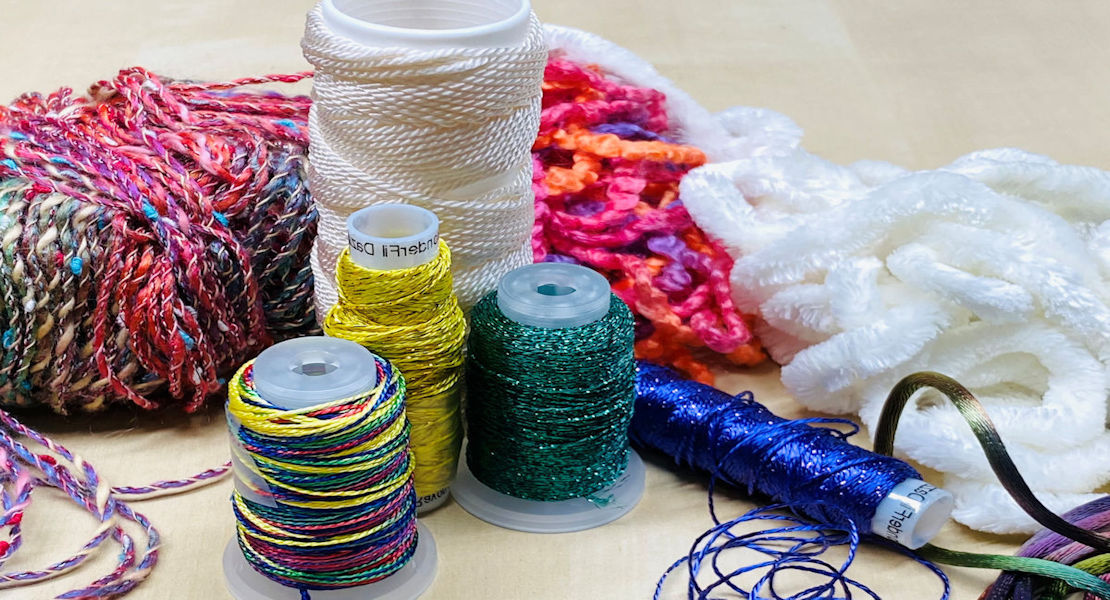
- DMC Tapestry Wool in colors: 7301, 7465, 7799, 7125, 7214, 7364, two units in 7347 and two units in 7509
- Aurifil 50wt thread in colors: 2784, 2340, 2715, 2225, 2215, 5016, 4026, and 5011
*I know that some of you like also Mettler Silk-Finish Cotton 50wt and it is also very easy to find in your BERNINA Dealer location, so I’m also sharing coordinated colors in case you want to use that instead of Aurifil thread. But you don’t need both!
- in case you prefer to work with Mettler Silk-Finish Cotton 50wt: 0825, 0280, 1525, 1288, 1522, 0882, 0757, 1227
- BERNINA Adjustable Ruler Foot #72 and couching inserts
- (8) BERNINA empty bobbins (one bobbin for each color)
- Superior Threads Titanium Coated Topstitch Neddles size 80/12
- hand sewing needle
- 8″ embroidery bambu hoop (opttional, in case you want to hang your final work on the wall)
- Water Soluble Fabric Marker, to transfer the template design to the white fabric
If you are like one of my students and want to get the entire kit material with the printed fabric panel, I have some kits available on my website.
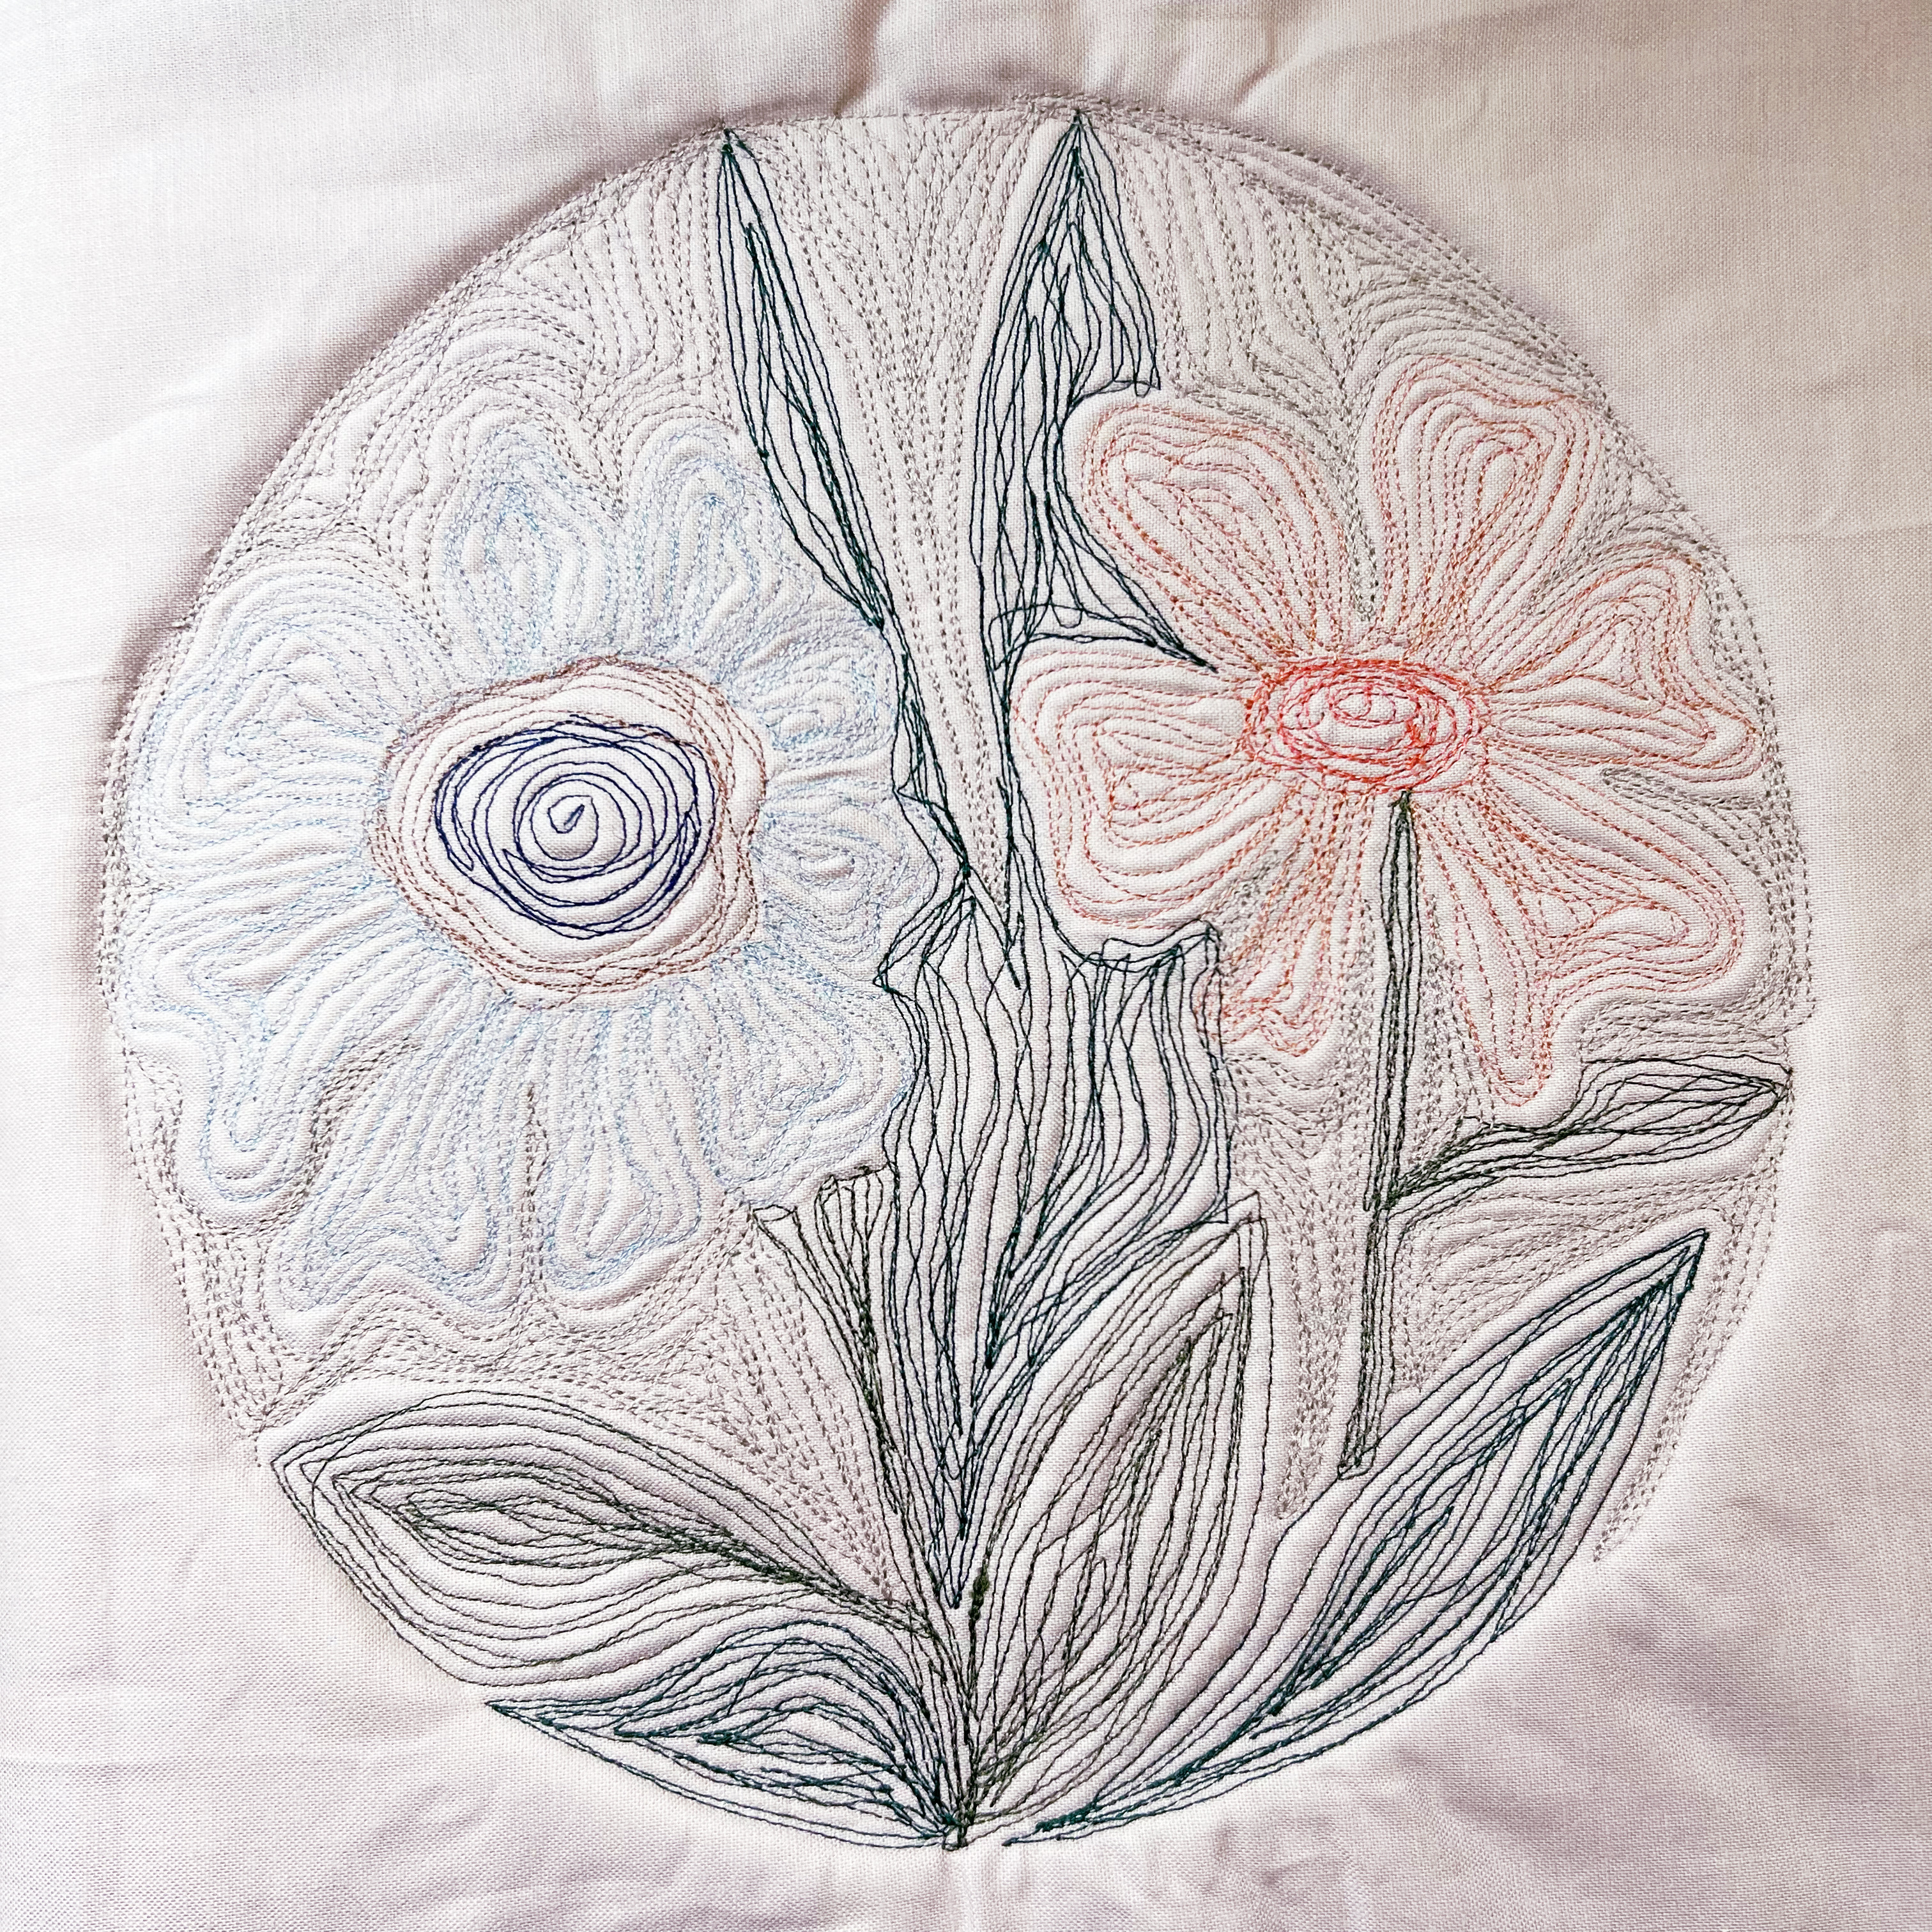
Preparing the Top Fabric
After downloading and printing the Couching Fibers Along template, you need to transfer the design to the white cotton fabric.
I used an A3 size led light pad to transfer the design to the fabric. But you can tape the paper templates to a glass window or door and it will work just fine too! Don’t forget to use water soluble fabric markers to trace the design into the fabric.
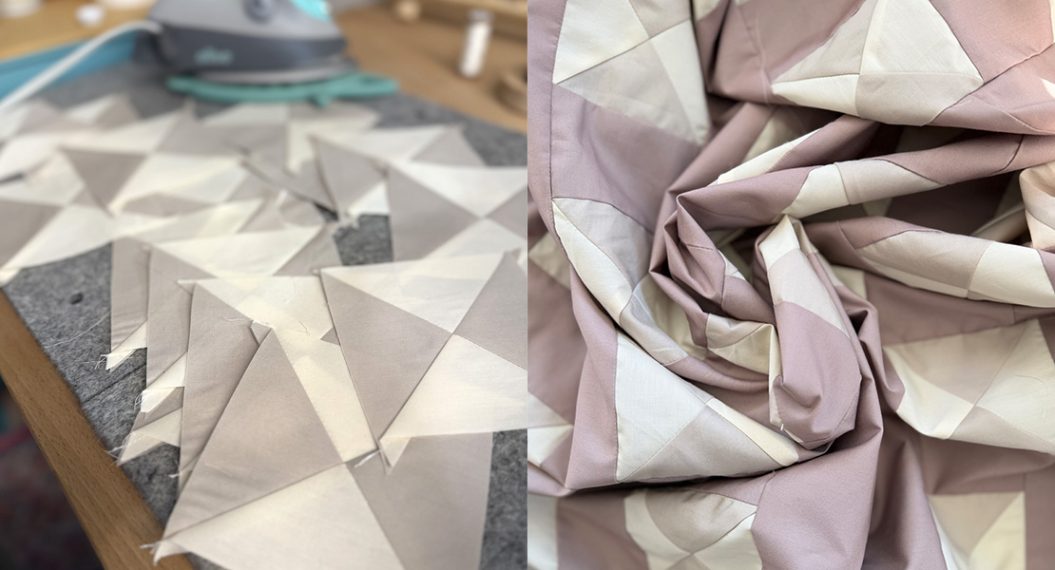
How to Make the Quilt Sandwich
First lay the backing fabric wrong side facing you. I was working with a white solid fabric so, both sides are the same. Align the batting piece on the top of the backing fabric. Align the white top fabric with the traced design facing you and use your hands to make sure that everything is flat.
Next Step…
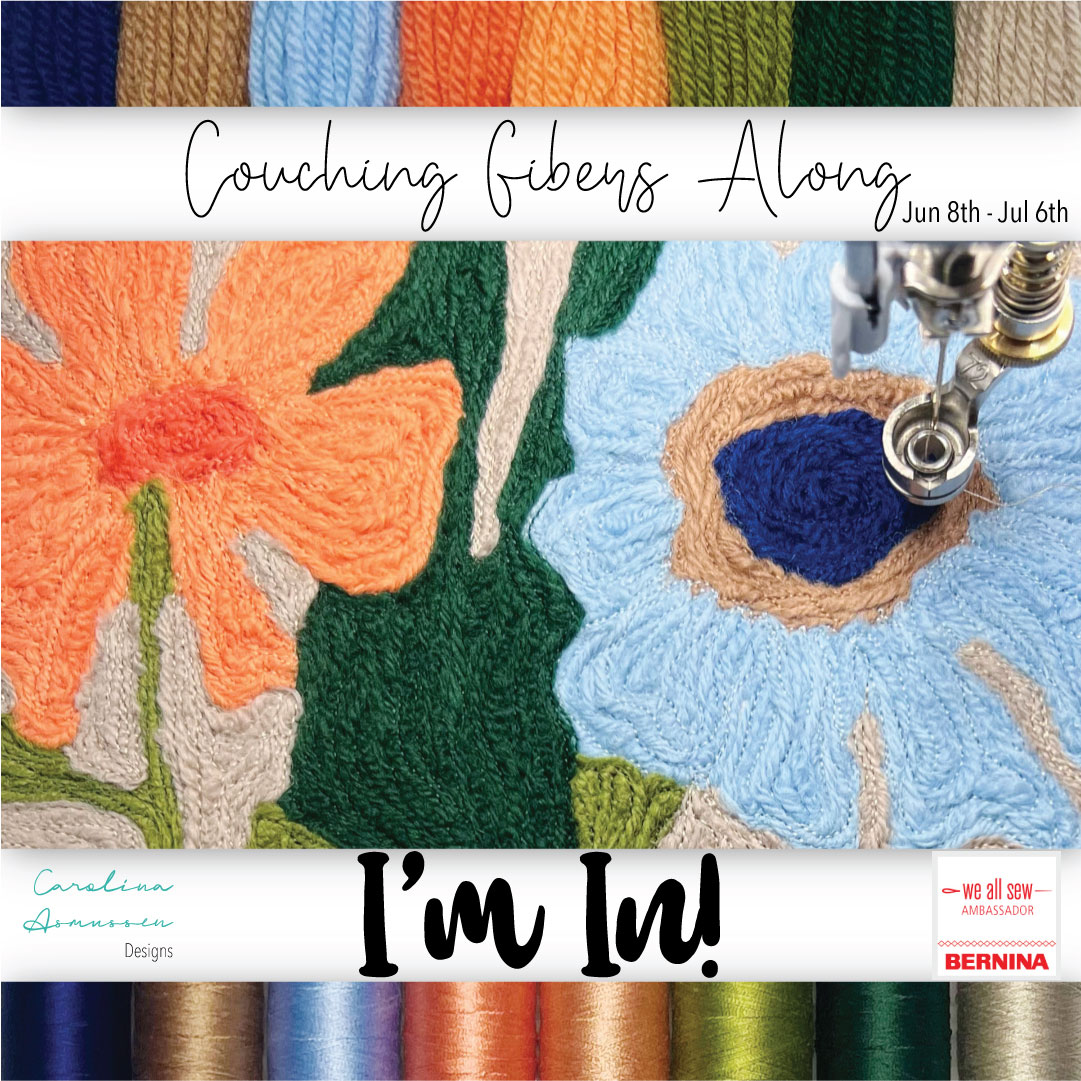
Don’t forget to save the “Couching Fibers Along – I’M IN” image badge below and share in all your social media with the #couchingfibersalong hashtag. We will love to follow your progress!
Now that we are almost set with the preparations, don’t forget to clean and oil your machine.
See you next week!
Uf Widerluege!
Used Products


What you might also like


11 comments on “Couching Fibers Along, Part One”
-
-
No. For this project the DMC Tapestry Wool will be the right one.
-
-
I am really looking forward to this series as I have had multiple couching feet for some time but have rarely used. I love putting more texture on fabric, and of course this will be
using the Bernina feet!-
This is great! For sure you will have a lot of fun with the Couching Fibers Along!
-
-
This looks like fun! I need a cover for one of my machines and this will be a wonderful design to do that!
-
Great idea! It will be beautiful!
-
-
When is the next video? Also what is the finished size of the project. Thanks in advance!
-
The videos will be released weekly, until July 6th. The finished size is 8″ circle.
-
-
I am wondering if I don’t have the preprinted panel will the lack of color under fiber matter?
-
Not having the pre printed fabric shouldn’t affect the final result. For this project we are really covering the entire design with the fiber. If you miss any area you should come back and stitch that again. You can check the video to learn how to cover the missing areas!
-
-
I’m late to the party but really want to do this fun project. How do I get a kit with all the materials? are they still available? Thank You
Leave a Reply
You must be logged in to post a comment.

Is the DMC Embroidery Floss the same or close to use on this project? Thanks.