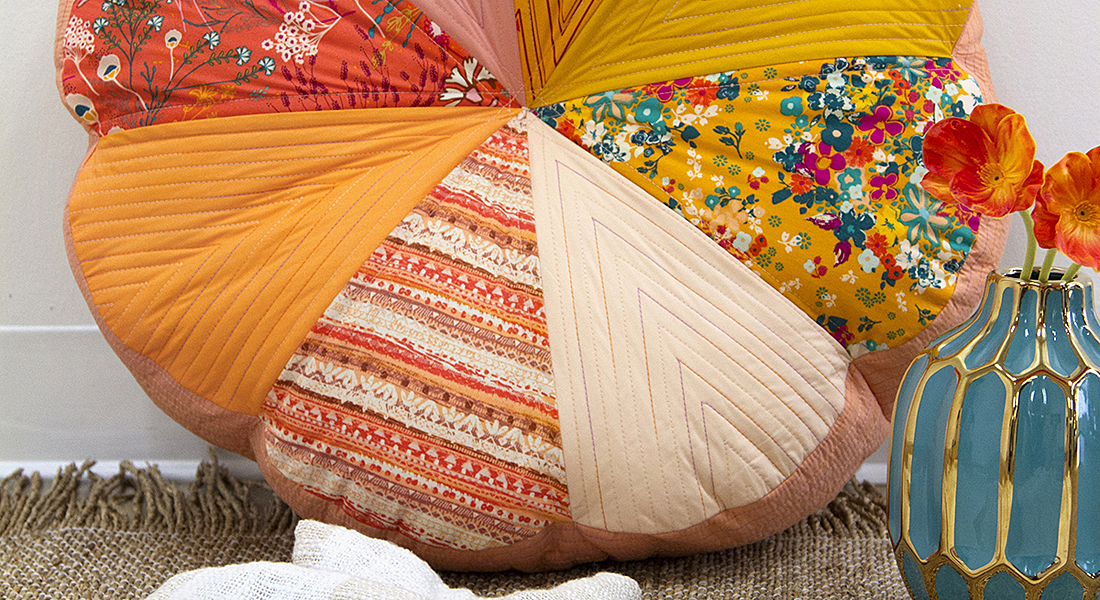
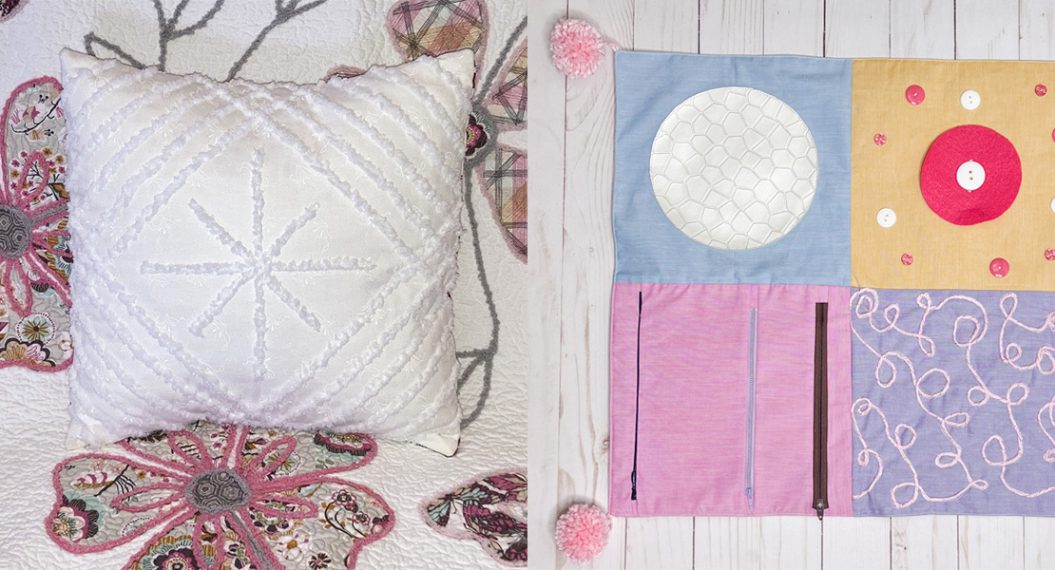
Fiber Couching Cushion Cover Tutorial
Grüezi mitenand! Hello BERNINA Q . . . Quilters?!
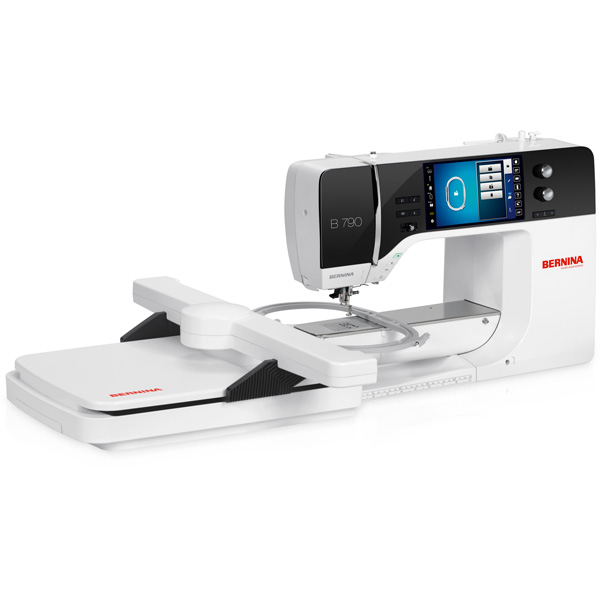
Here is Carolina Asmussen from the BERNINA Ambassador Class of 2021 and of course, my BERNINA Q 20 Sit-down model.
New year, new technique, and this post is about fiber couching! Are you ready?
The first time I saw this technique in person was in 2015. I traveled from Switzerland to Houston to attend the Festival and check my quilt “Origami Stars” at the exhibition. I remember that the technique was a great hit in the vendor mall and to me, it was simply magical.
Some Background
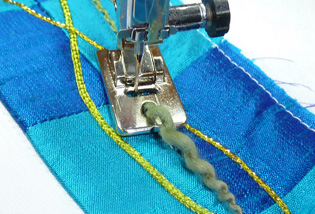
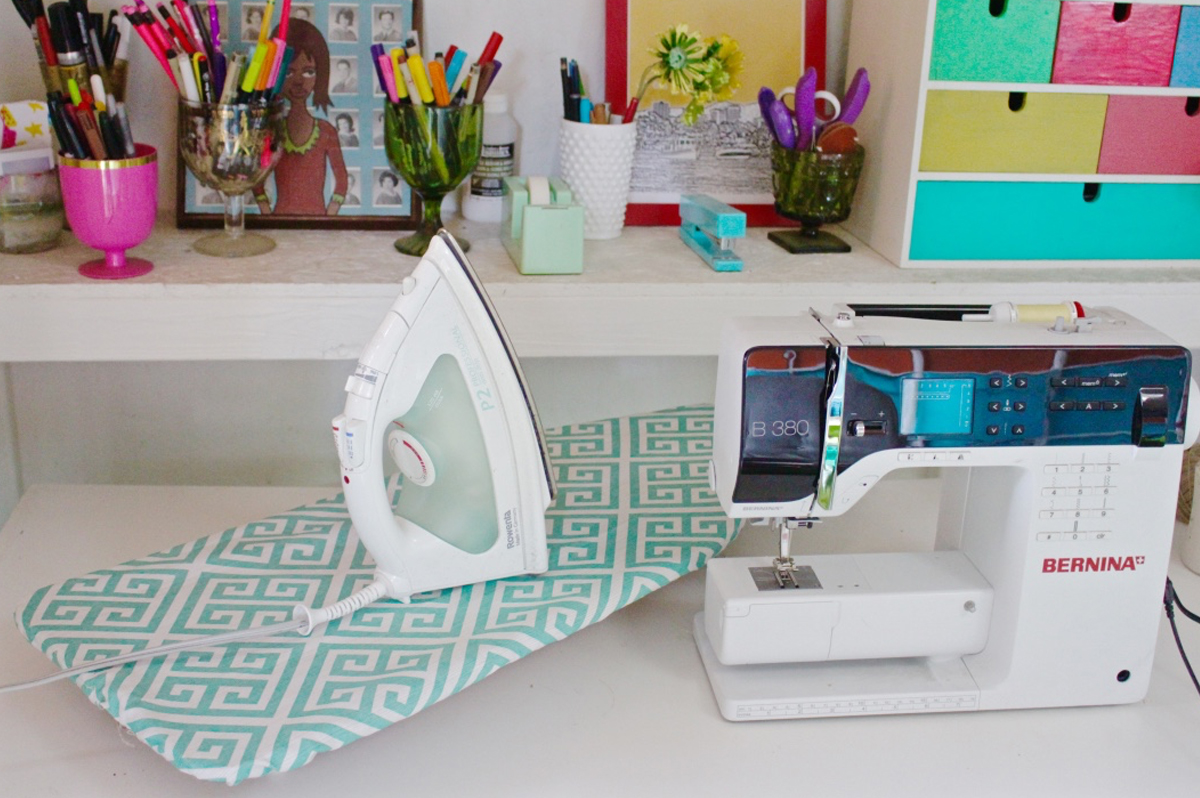
Couching work or fiber couching is a technique of guiding a fiber on the surface of the quilt sandwich while stitching. It’s a great alternative to add some special texture to a project. You can work with different types of fibers and also thicknesses. You can do fiber couching by hand, using a sewing machine and today we will be doing it with the BERNINA Q20 Sit-down model.
For this tutorial, we are using BERNINA Adjustable Ruler Foot #72 with the couching inserts. BERNINA has many different options of feet and accessories for couching work. You can check the most updated guide for this technique by watching the webinar from BERNINA Educator Denise Jones, “How to Add Texture to Your Quilting“.
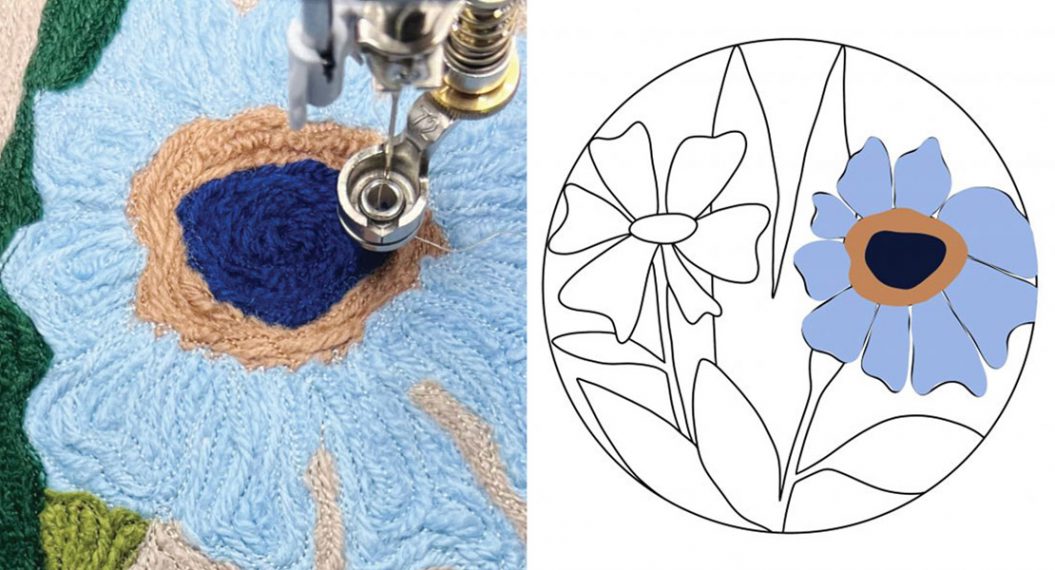
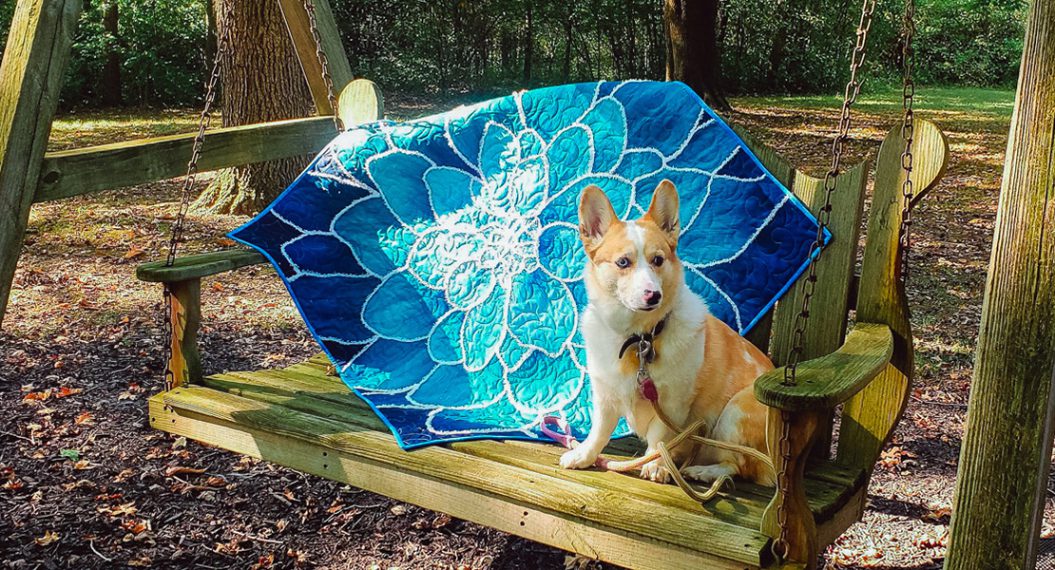
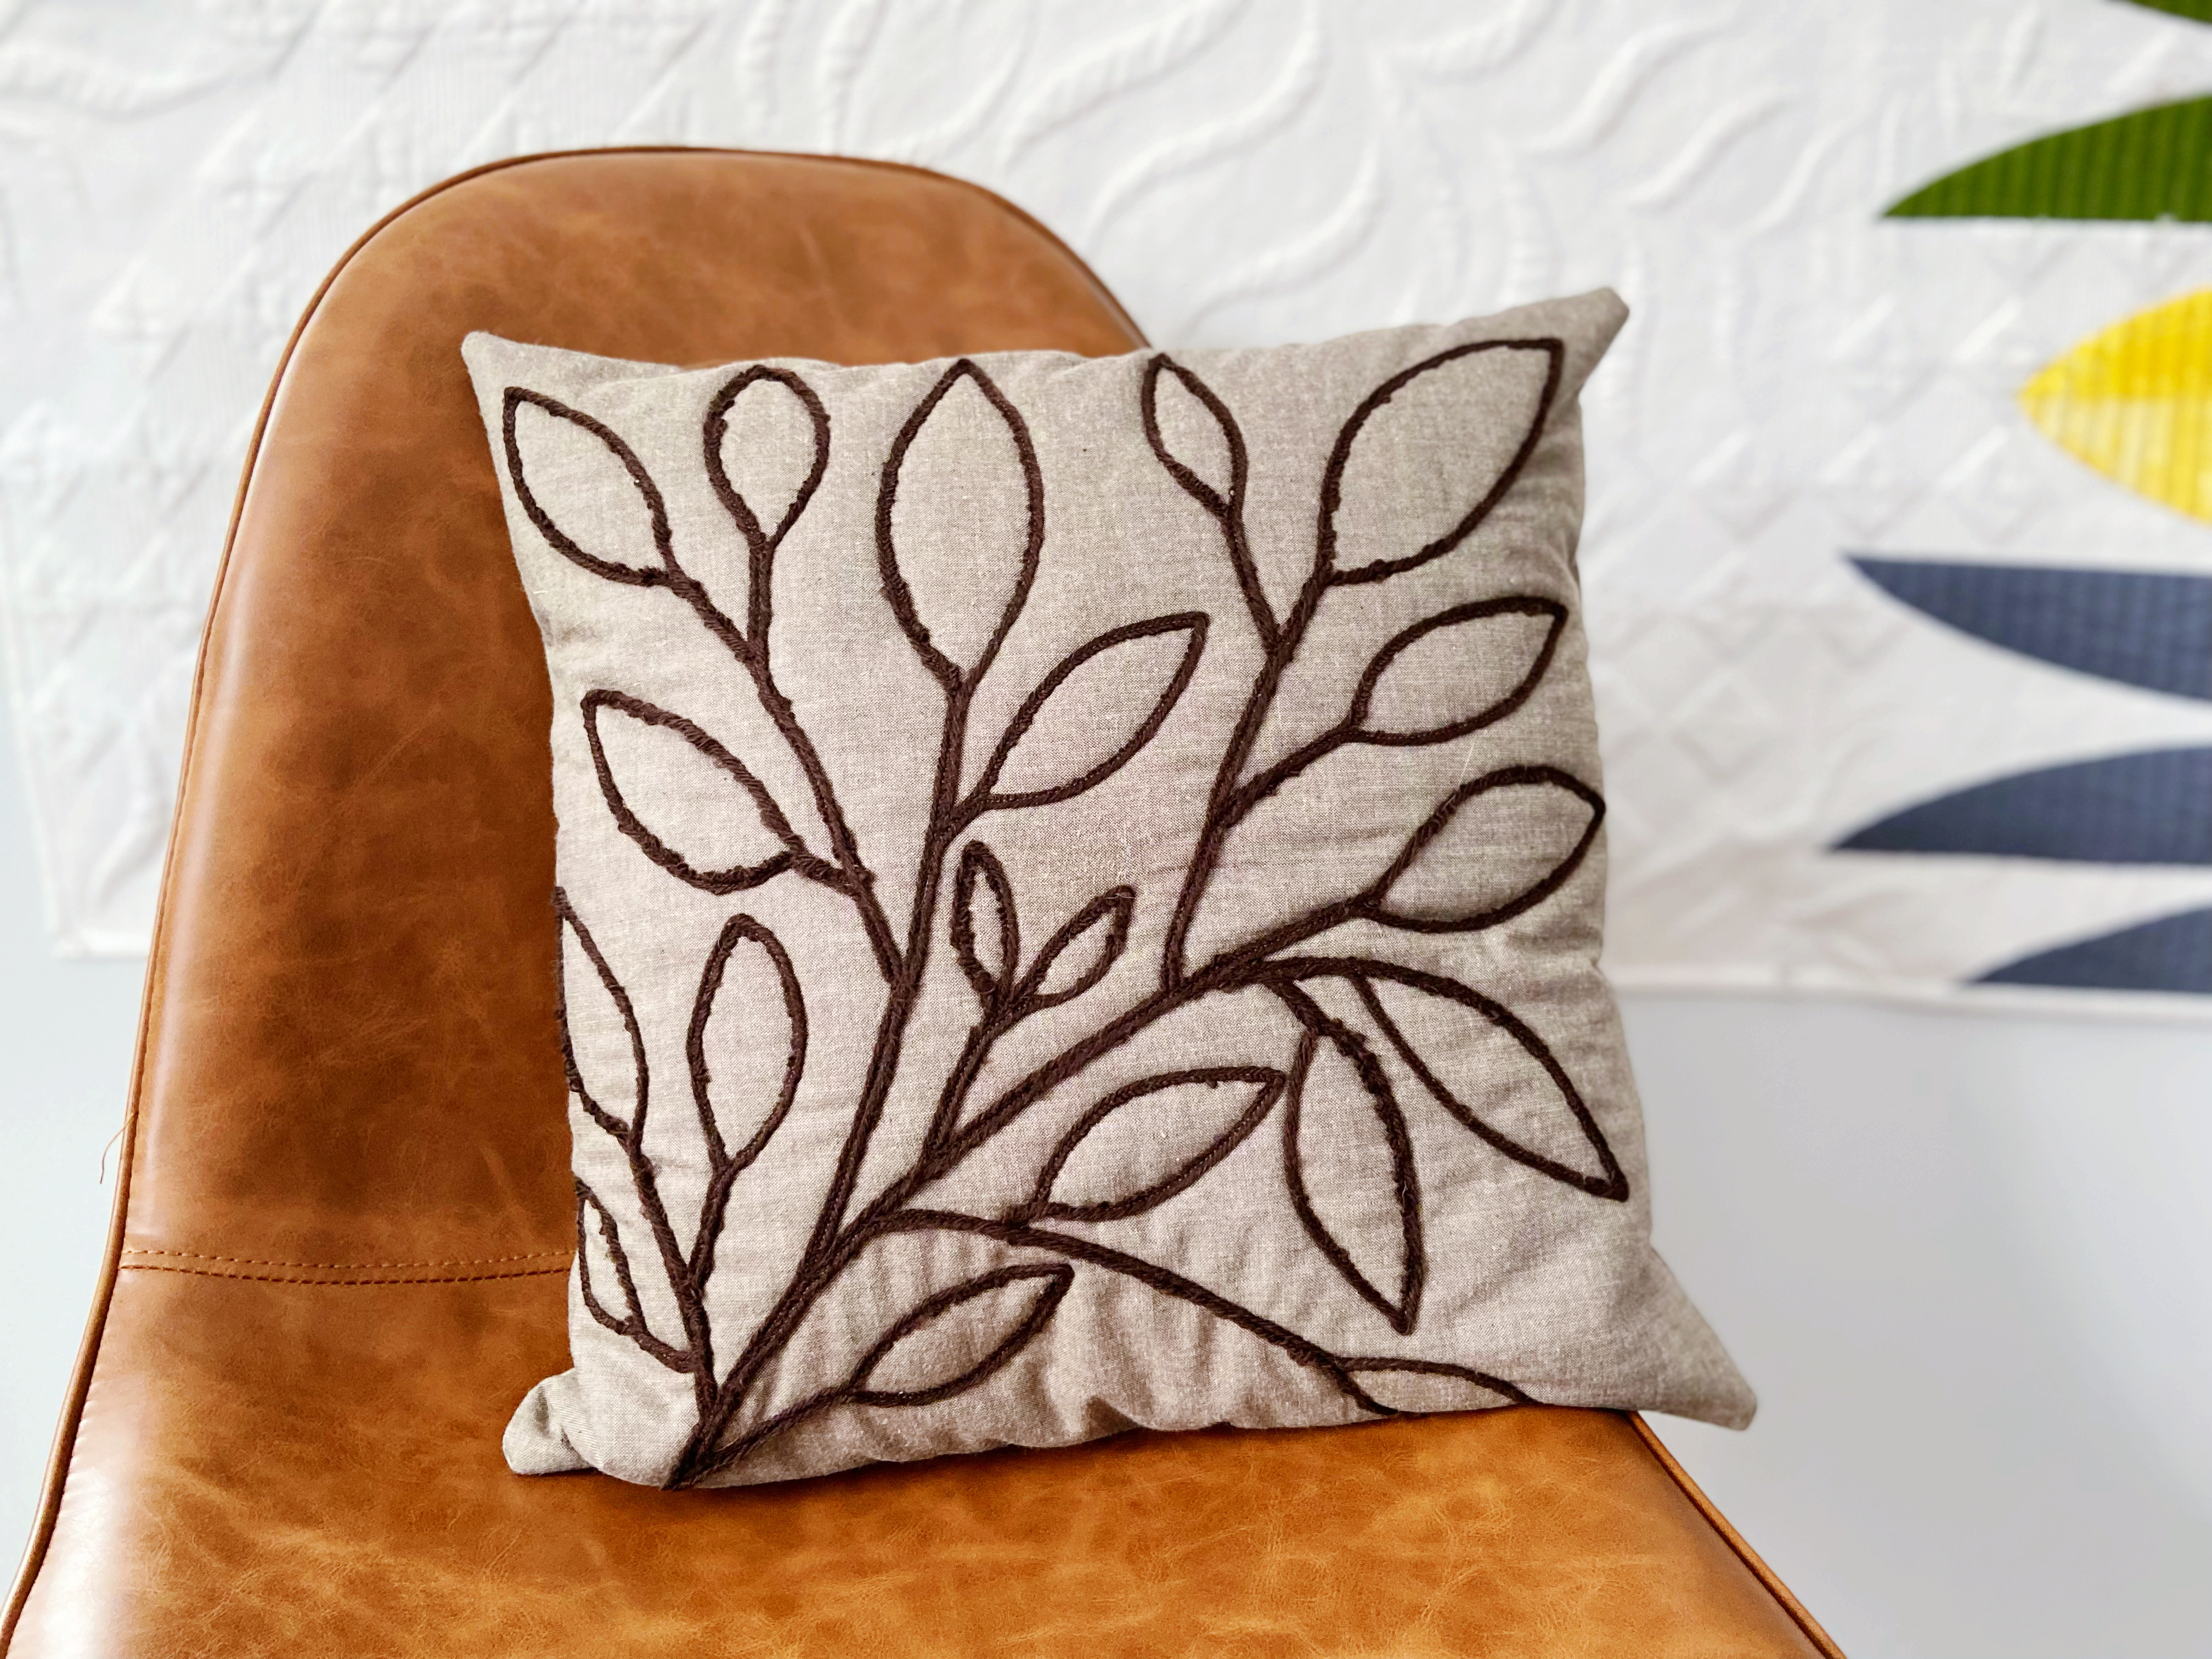
Before we start with our project, I would like to show some examples of couching work. The images below are highlights from my show quilt “Inside my Bubbles” which was part of the International Quilt Festival in Houston, 2018.
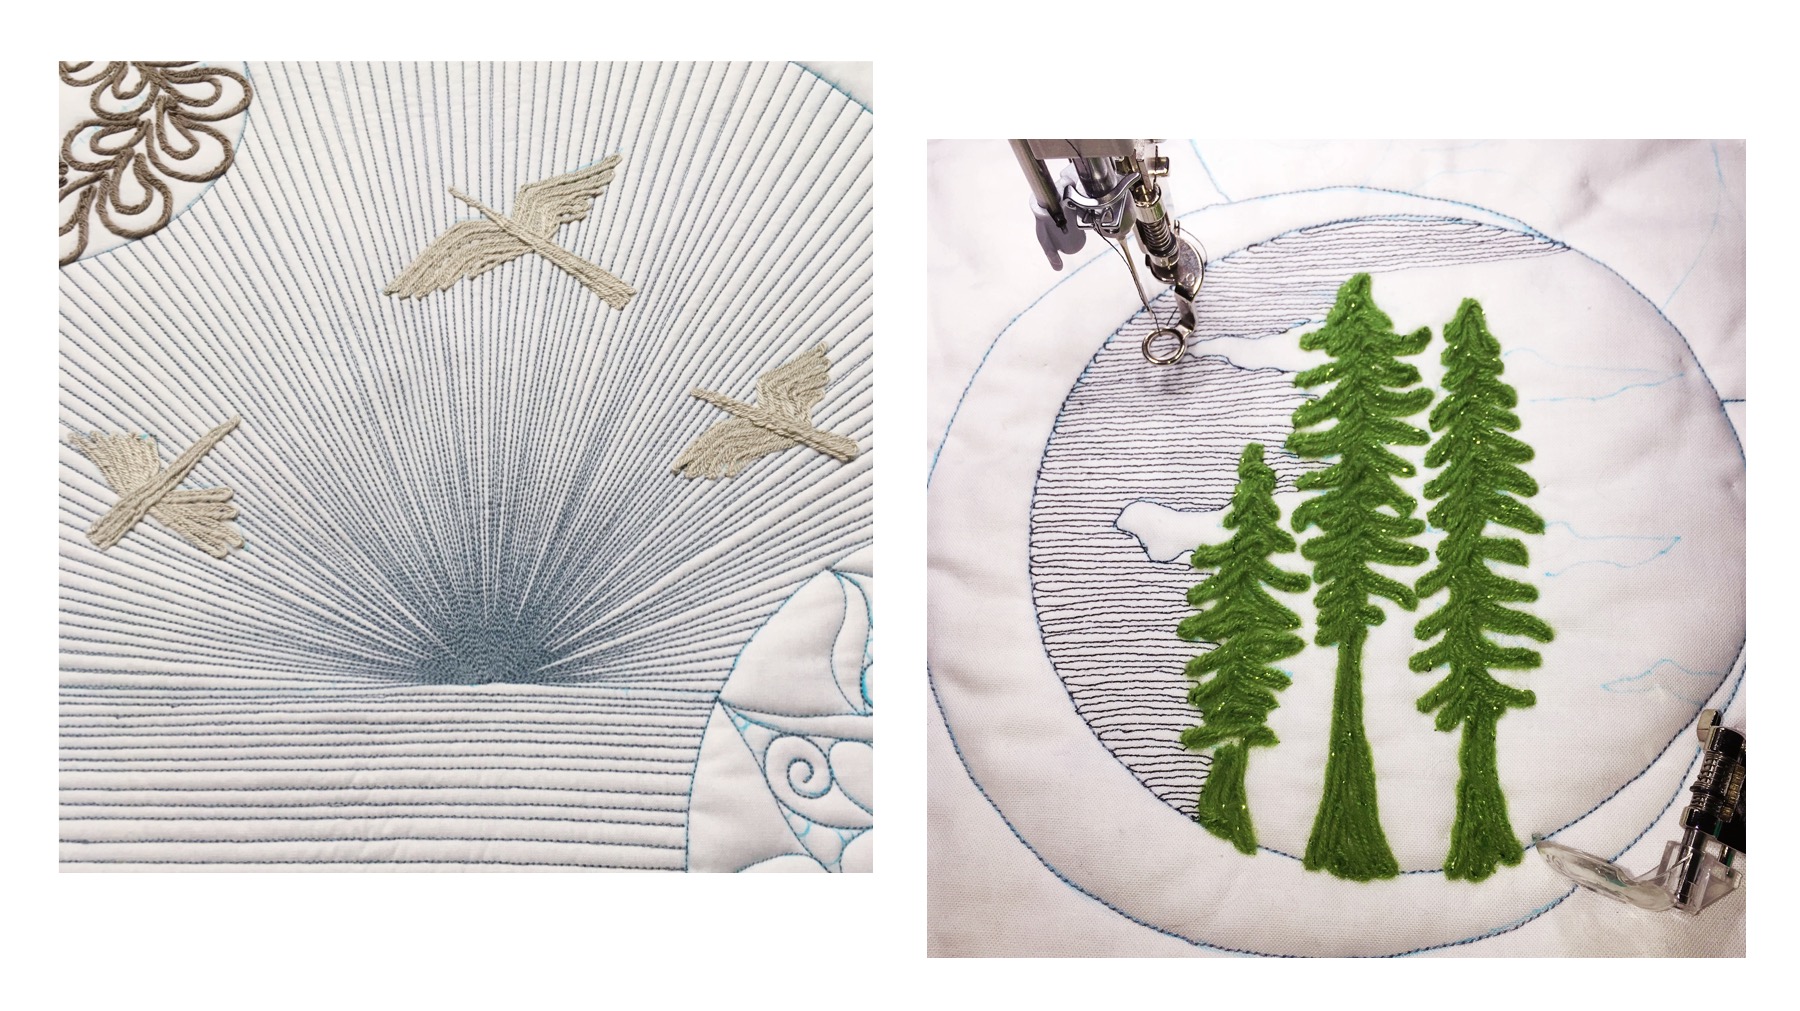
You can also use this technique to highlight specific details from a project and not just for edge-to-edge quilting situations. You can mix with ruler work and some very dense free motion quilting . . . as you can see, the possibilities are infinite!
Fiber Couching Cushion Cover
So now, let’s talk about our project! See the materials we will need to add fiber couching a 16″ square cushion cover.
Materials
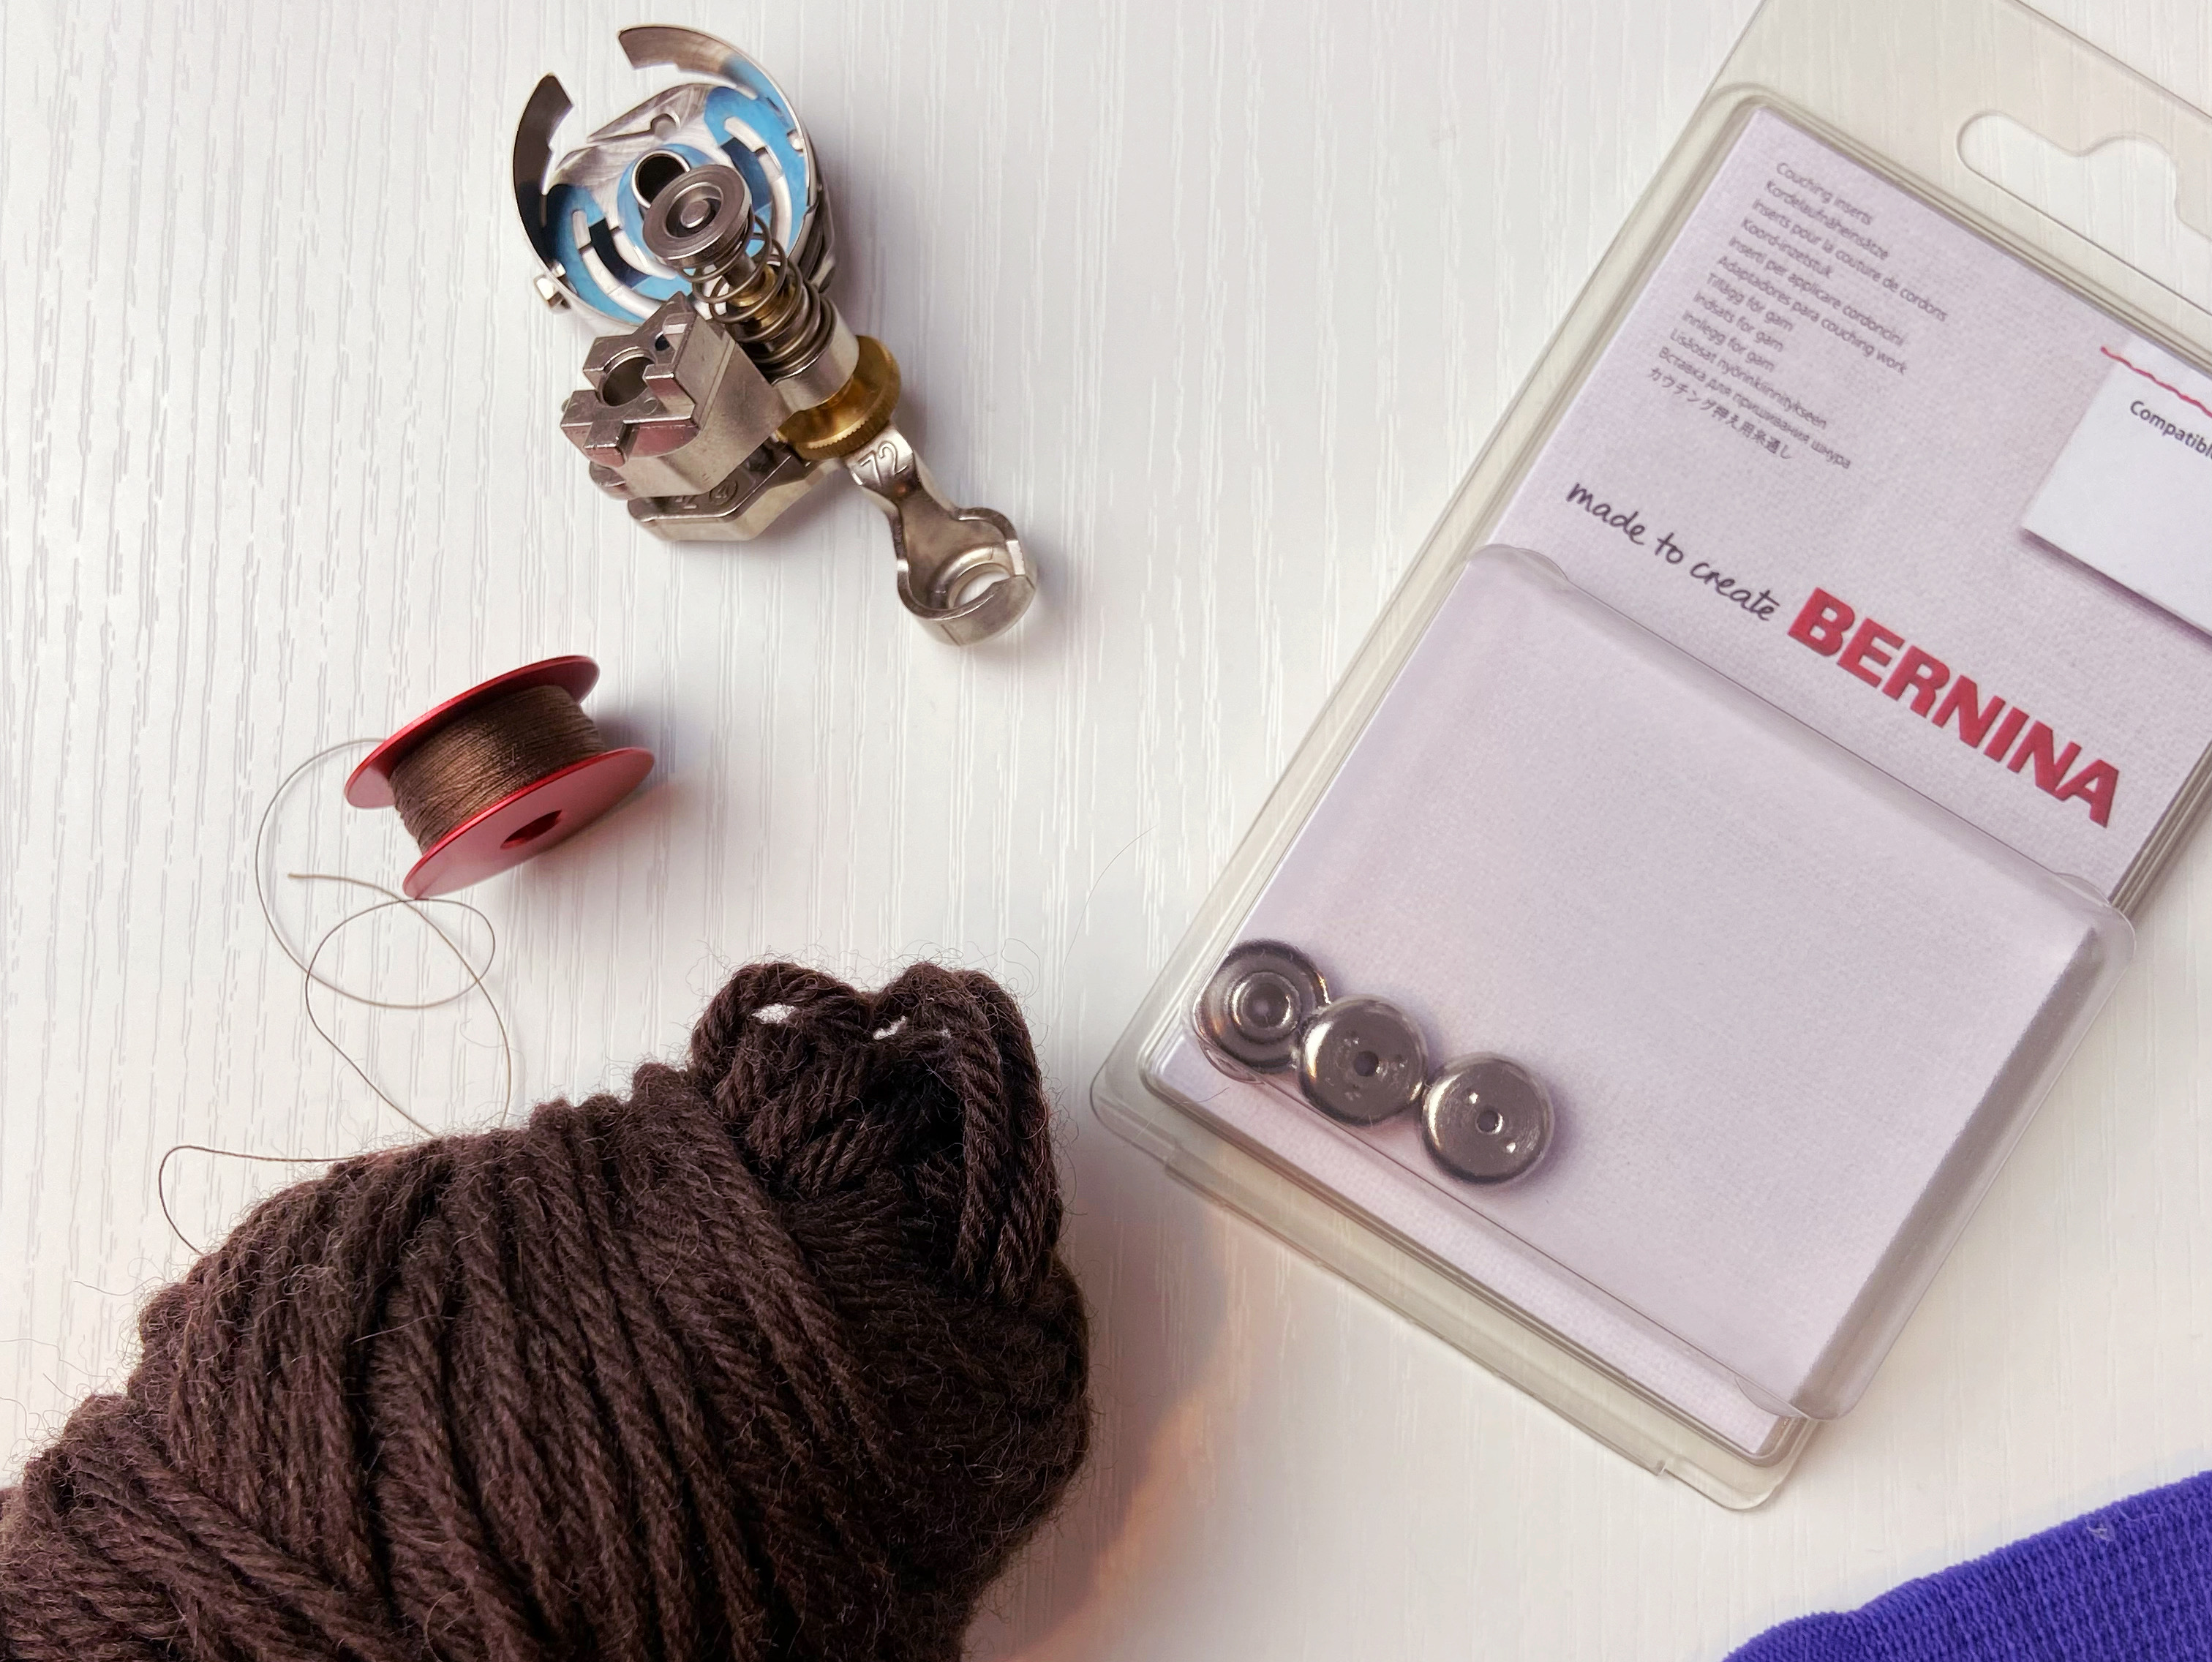
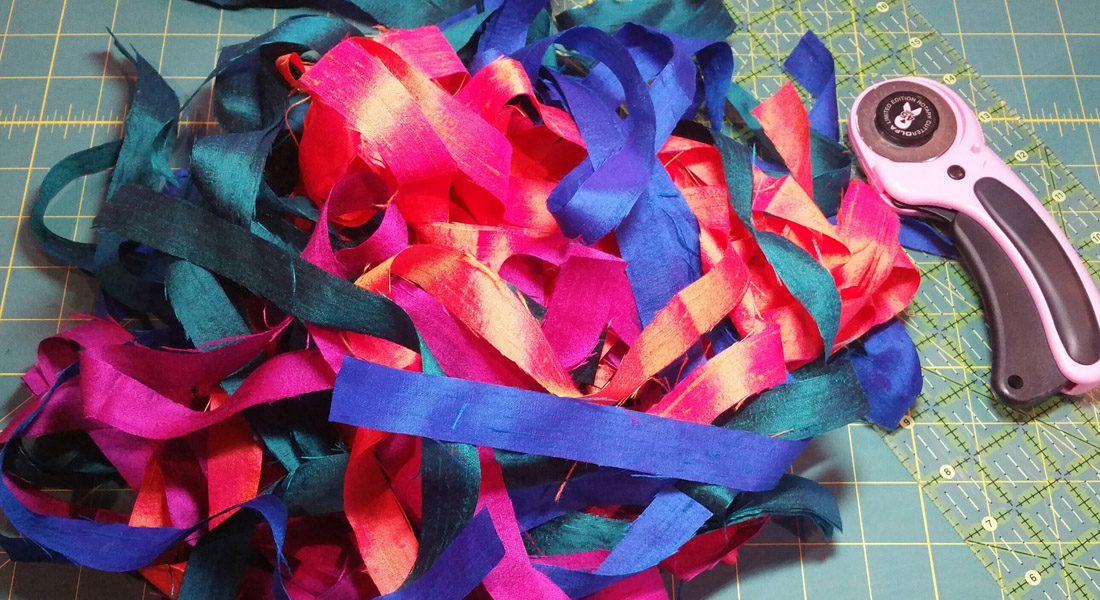
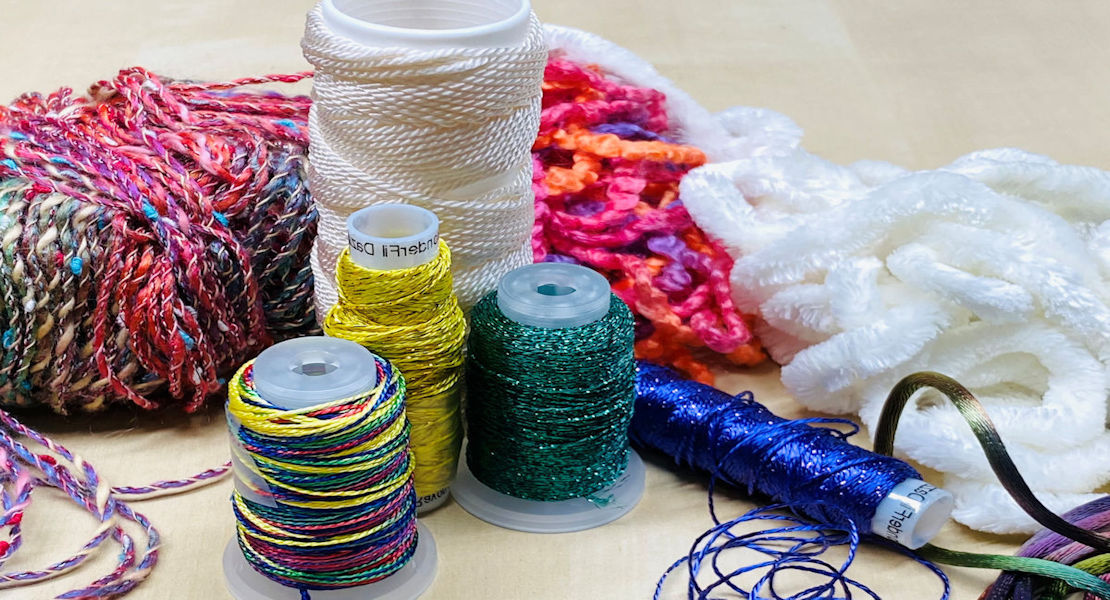
As I mentioned before, we will need the BERNINA Adjustable Ruler Foot #72 with the couching inserts. The inserts come in three different sizes and we will use the insert with the bigger hole in the center. Matching color thread with the yarn is also important for a better finish. Here we will use Mettler Cotton-Silk Finish in 50wt. The yarn is a merino to be used with a 5-6 US knit needle size, for you to have an idea of the thickness.
We will work with a continuous line overall design, but starting and finishing from the same point. One of the challenges of couching work is how to “hide” your start and finish point, and in this case, both will be under the cushion cover seam allowance.

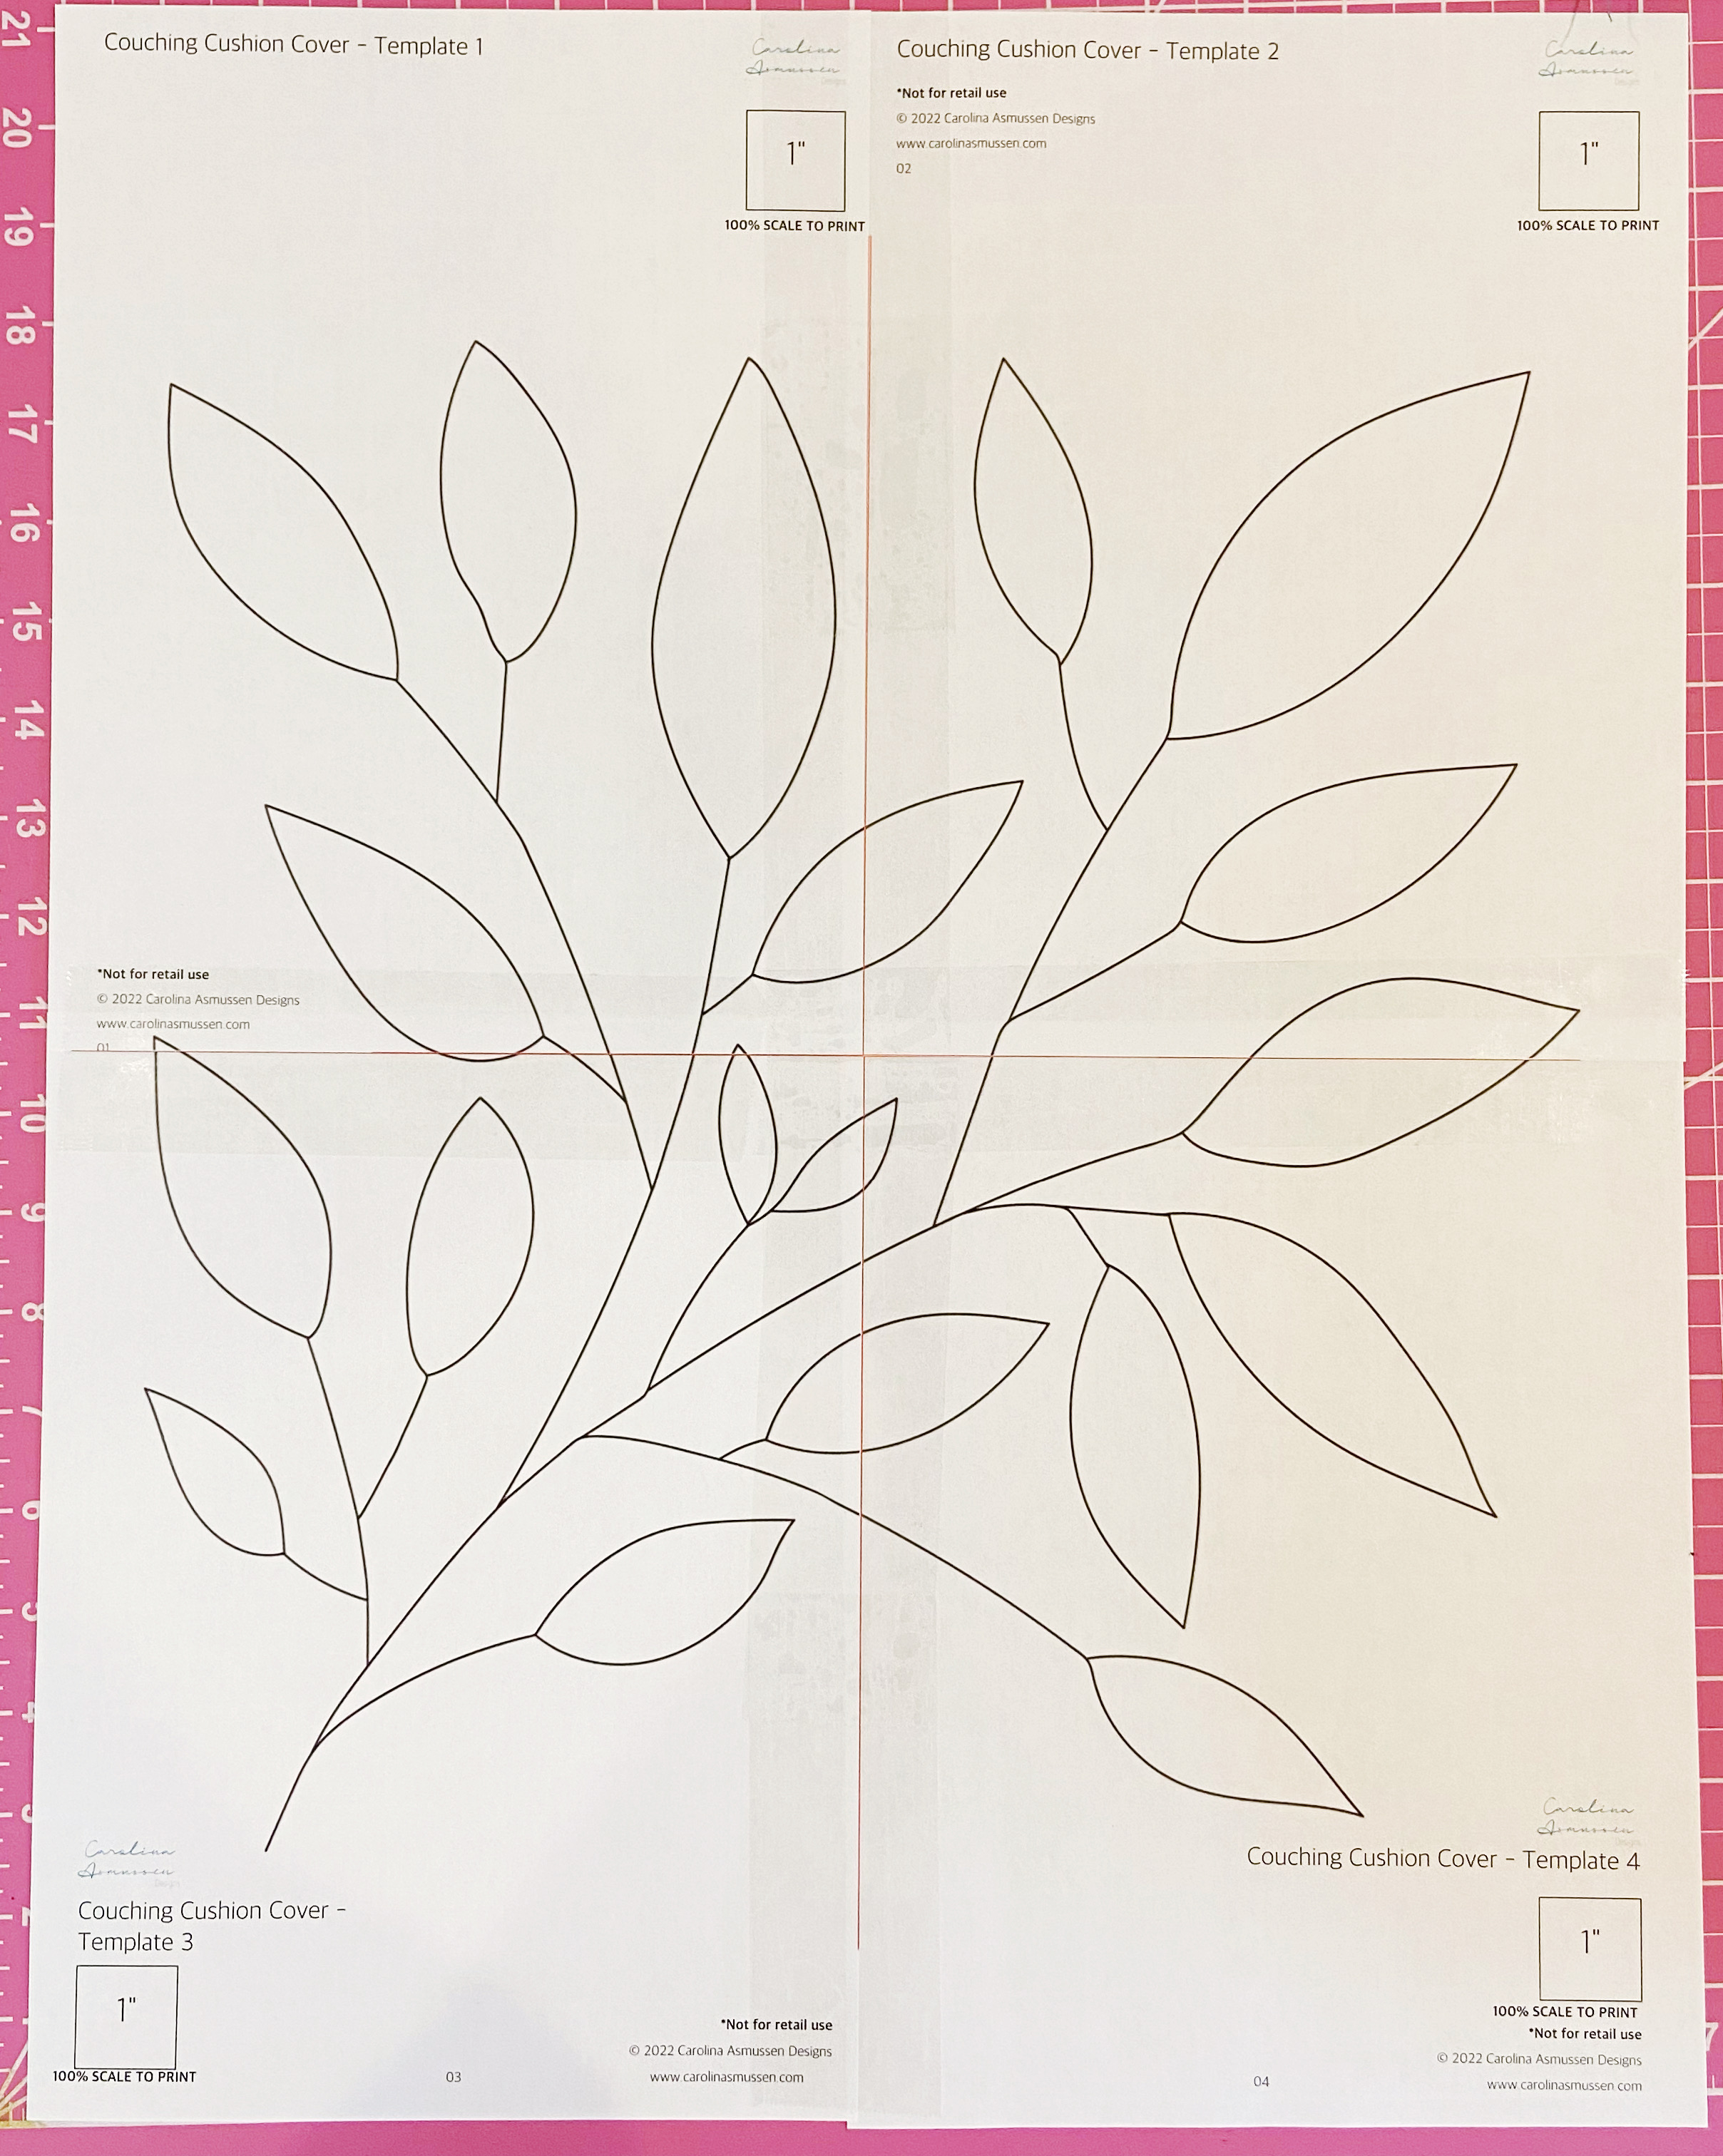
Download the Fiber Couching Cushion Cover Template PDF. Don’t forget to scale 100% to print the 4 pages. Use the red lines to cut the paper and check the image below as a guide to tape the templates together:
We will also need:
- (3) fat quarters 18″ x 22″ of chambray in light brown
- (1) 18″ x 22″ piece of batting
- (1) 18″ x 22″ piece of backing fabric
- (2) 16 1/2″ x 14″ of light fusible interfacing (for the back pieces of the envelope cushion cover)
- 16″ square cushion form
- Basting spray or pins
- Water-soluble fabric marker
How to Transfer the Design to the Fabric
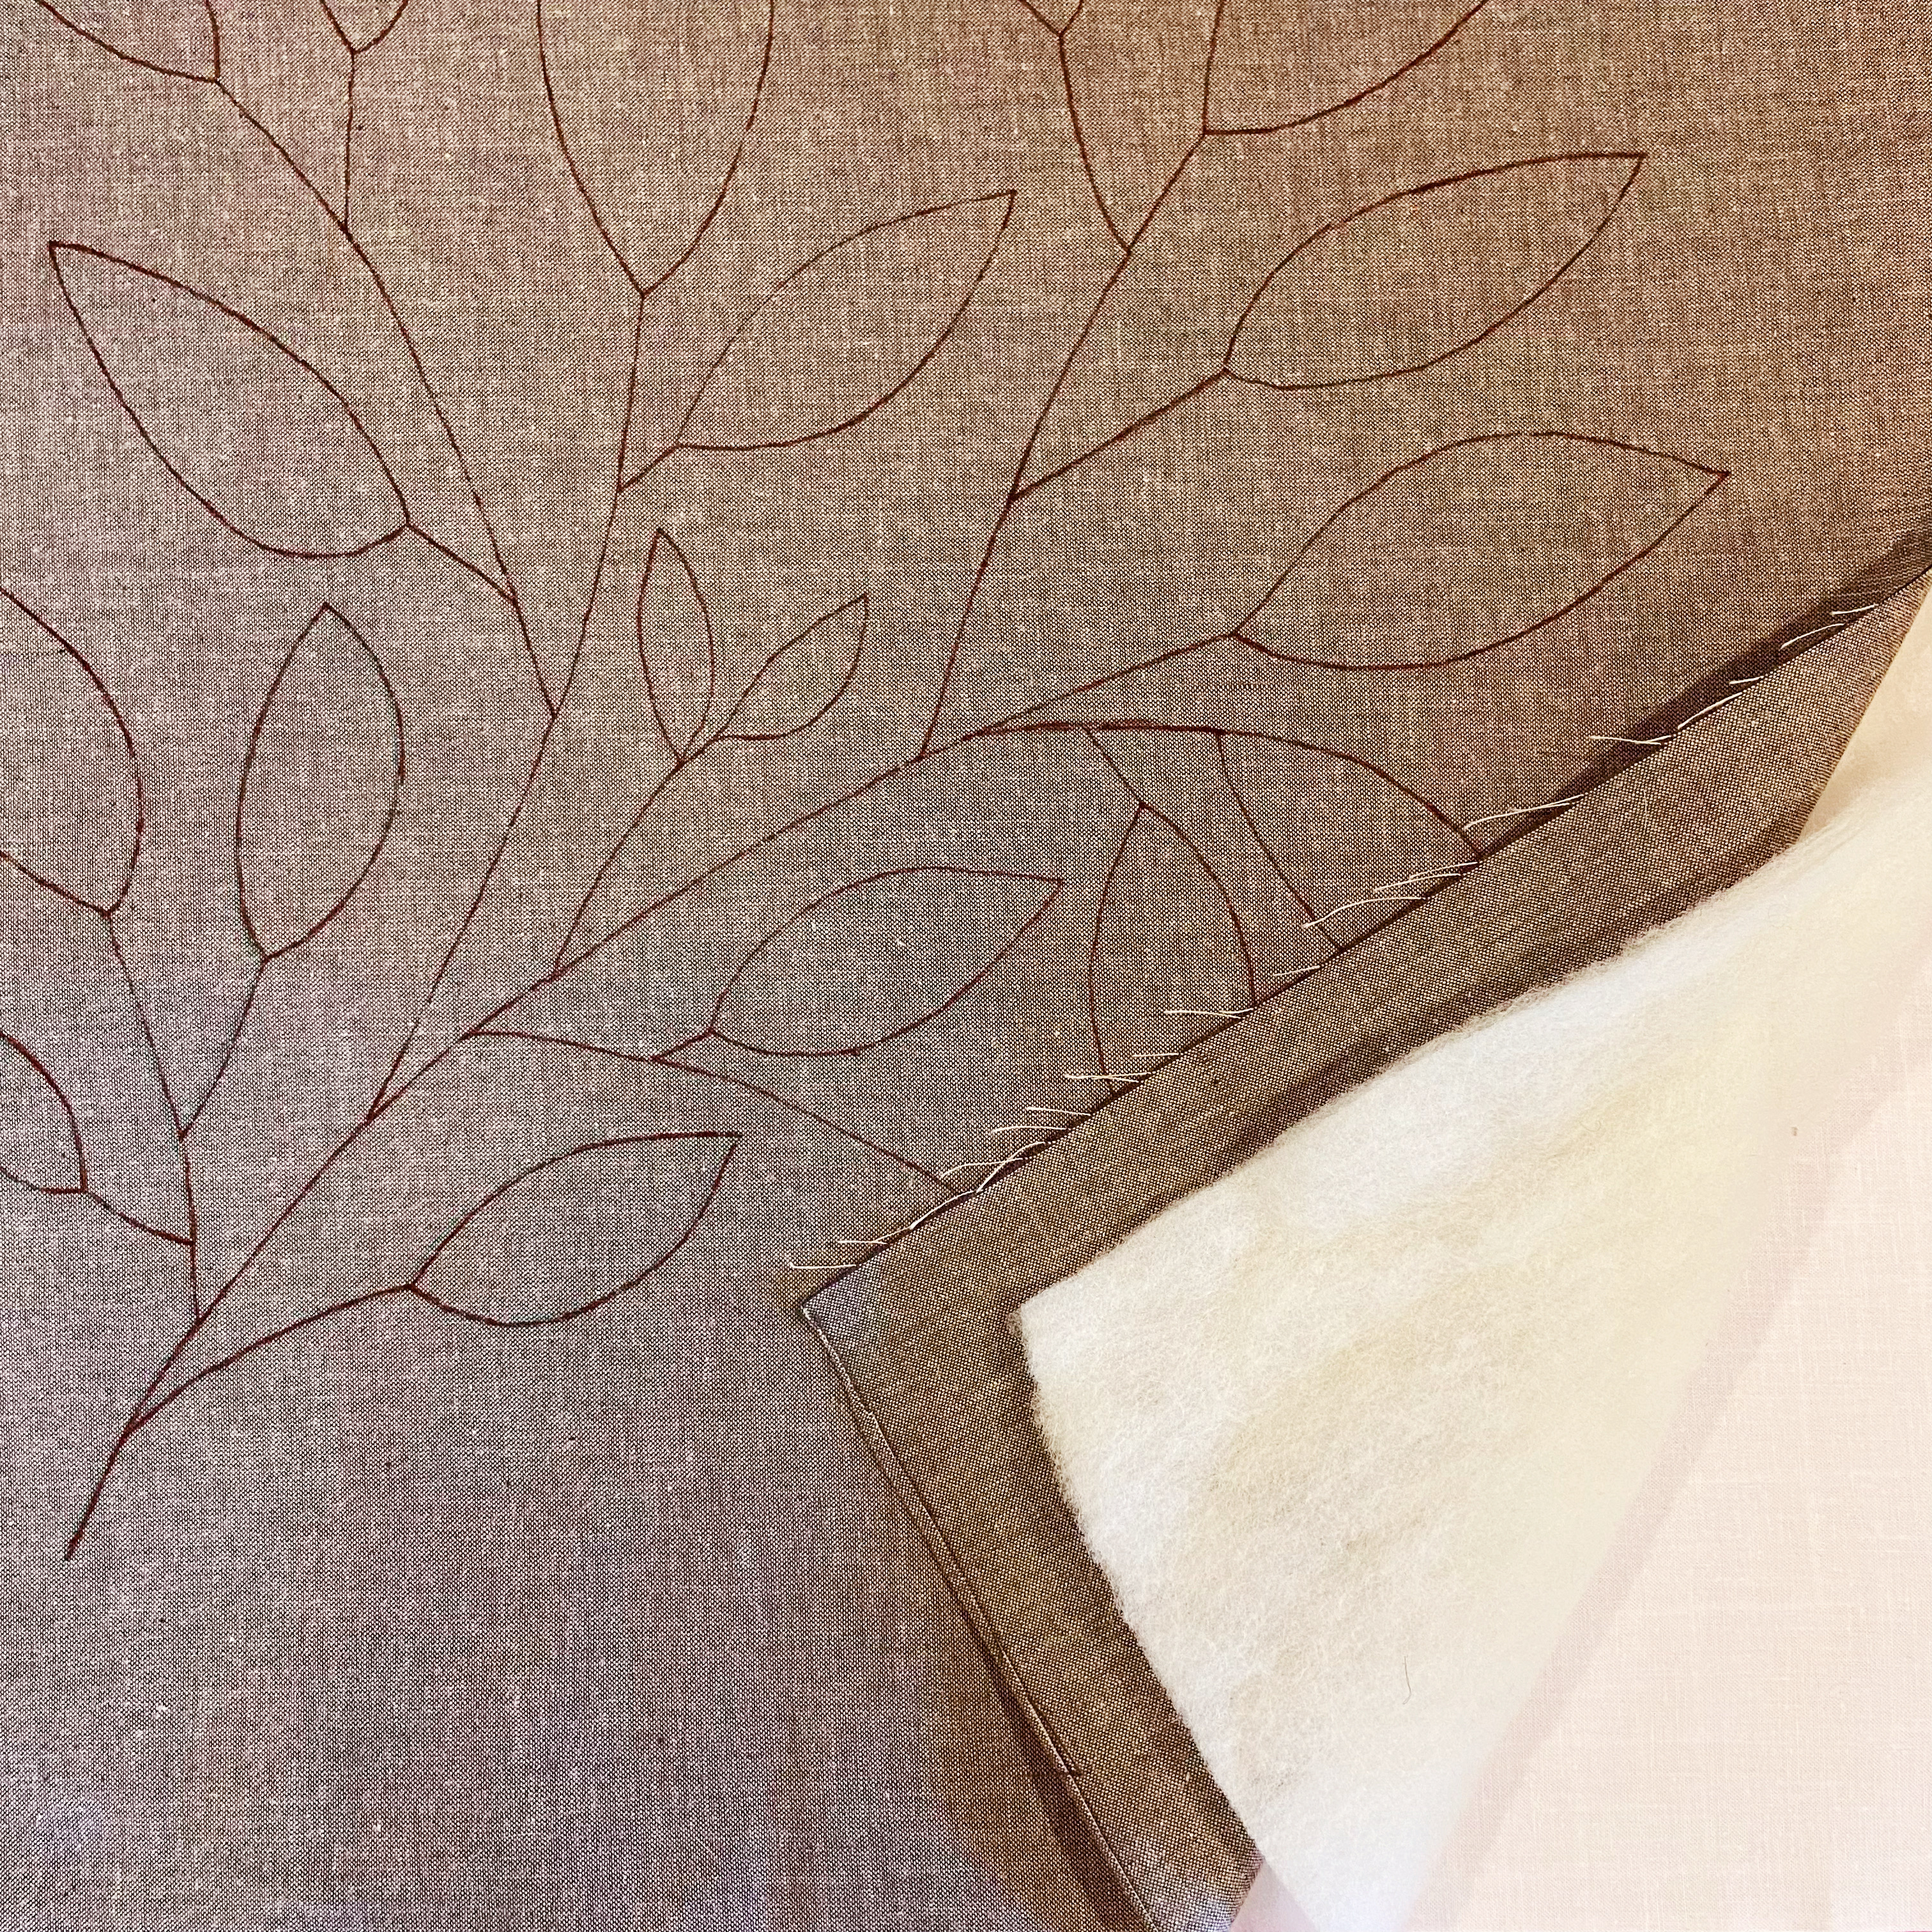
I used an A3 size led light pad to transfer the design to the fabric. But you can tape the paper templates to a glass window or door and it will work just fine too! Don’t forget to use water soluble fabric markers to trace the design into the fabric.
How to Make the Quilt Sandwich
First lay the backing fabric wrong side facing you. I was working with a white solid fabric so, both sides are the same. Apply basting spray. Align the batting piece on the top of the backing fabric. Apply basting spray on the top of the batting piece. Align the chambray piece with the traced design facing you and use your hands to make sure that everything is flat.
Fiber Couching the Cushion Cover Leaves Design
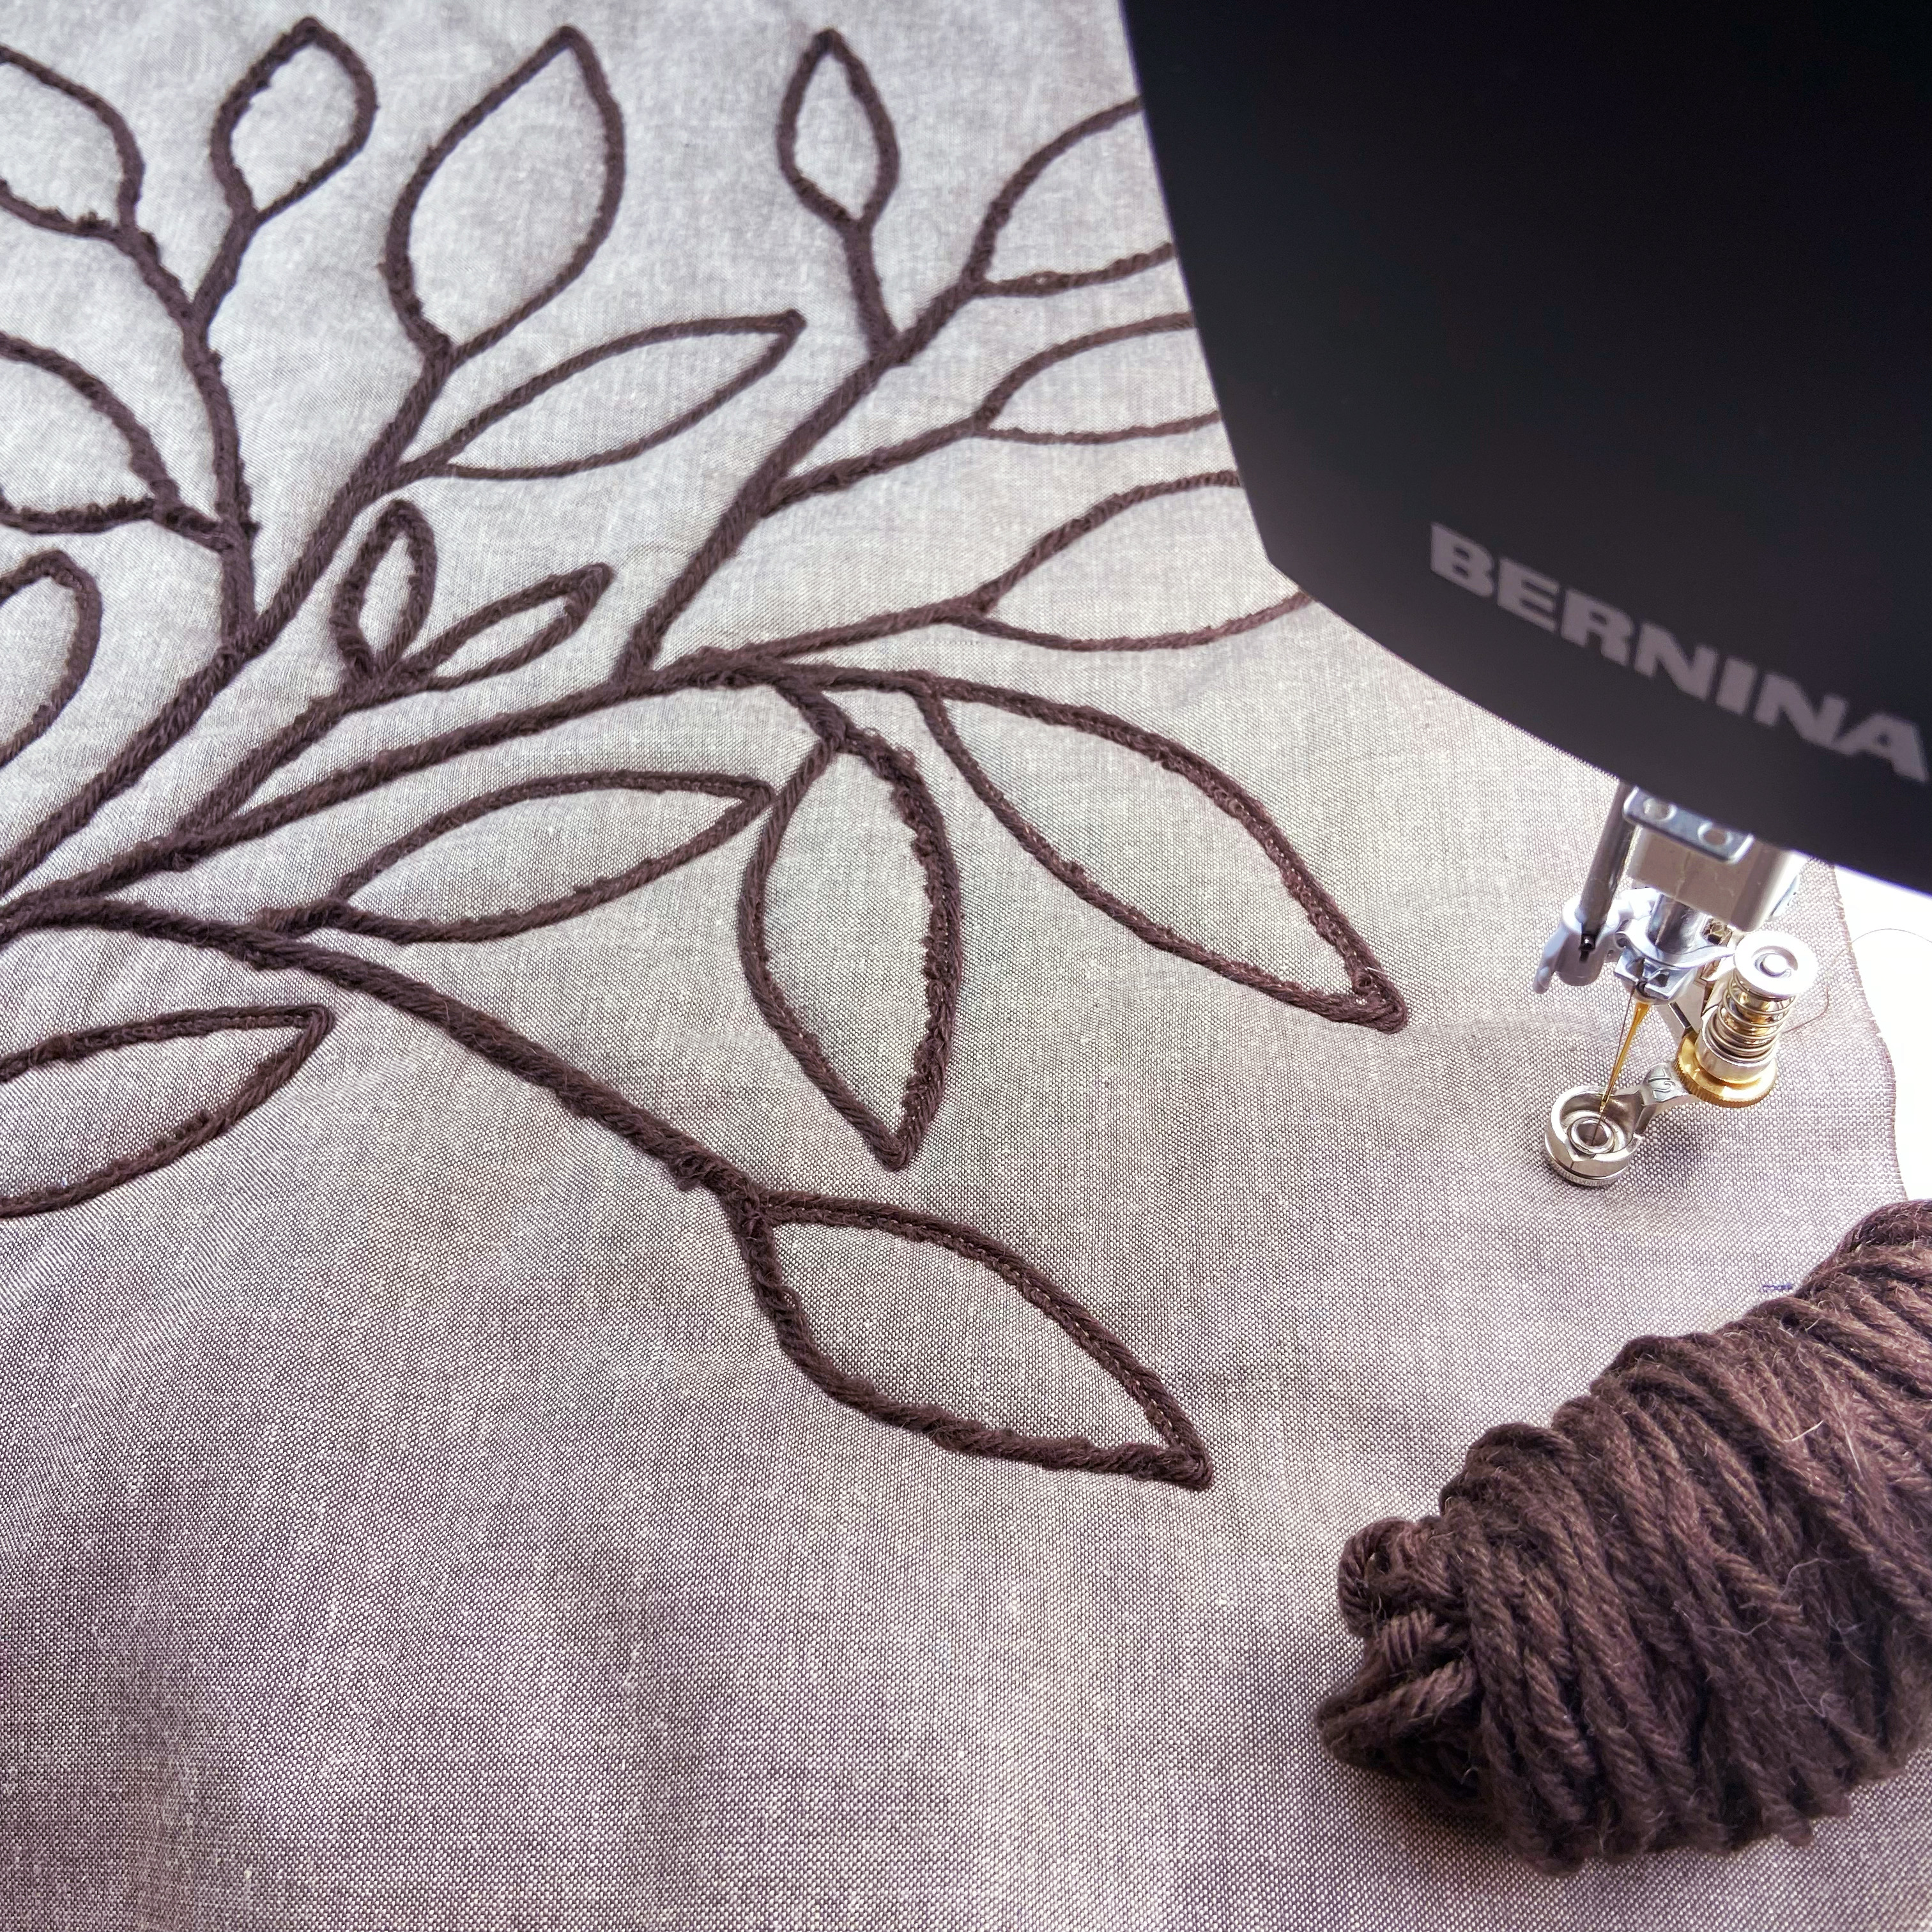
As I mentioned before, we will be quilting all the designs using a continuous yarn. So before we start to quilt, I made a little video simulation of our “quilting plan”.
And now that we know our way from start to finish it’s time to act! Check out the video below for the fiber couching tutorial.
How to Finish the Fiber Couching Cushion Cover (Envelope Method)
Centralize the quilted design and square the quilt sandwich to a 16 1/2″ square piece.
Cut the other two chambray fat quarters in two pieces of 16 1/2″ x 14″. Apply the light interfacing on the wrong side of the pieces. Fold one of the 16 1/2″ ends 1″ to the wrong side and press. Fold a 1″ again and press. Top stitch 1/4″ from the folded edge with a sewing machine. Repeat the same process to the other 16 1/2″ x 14″ piece.
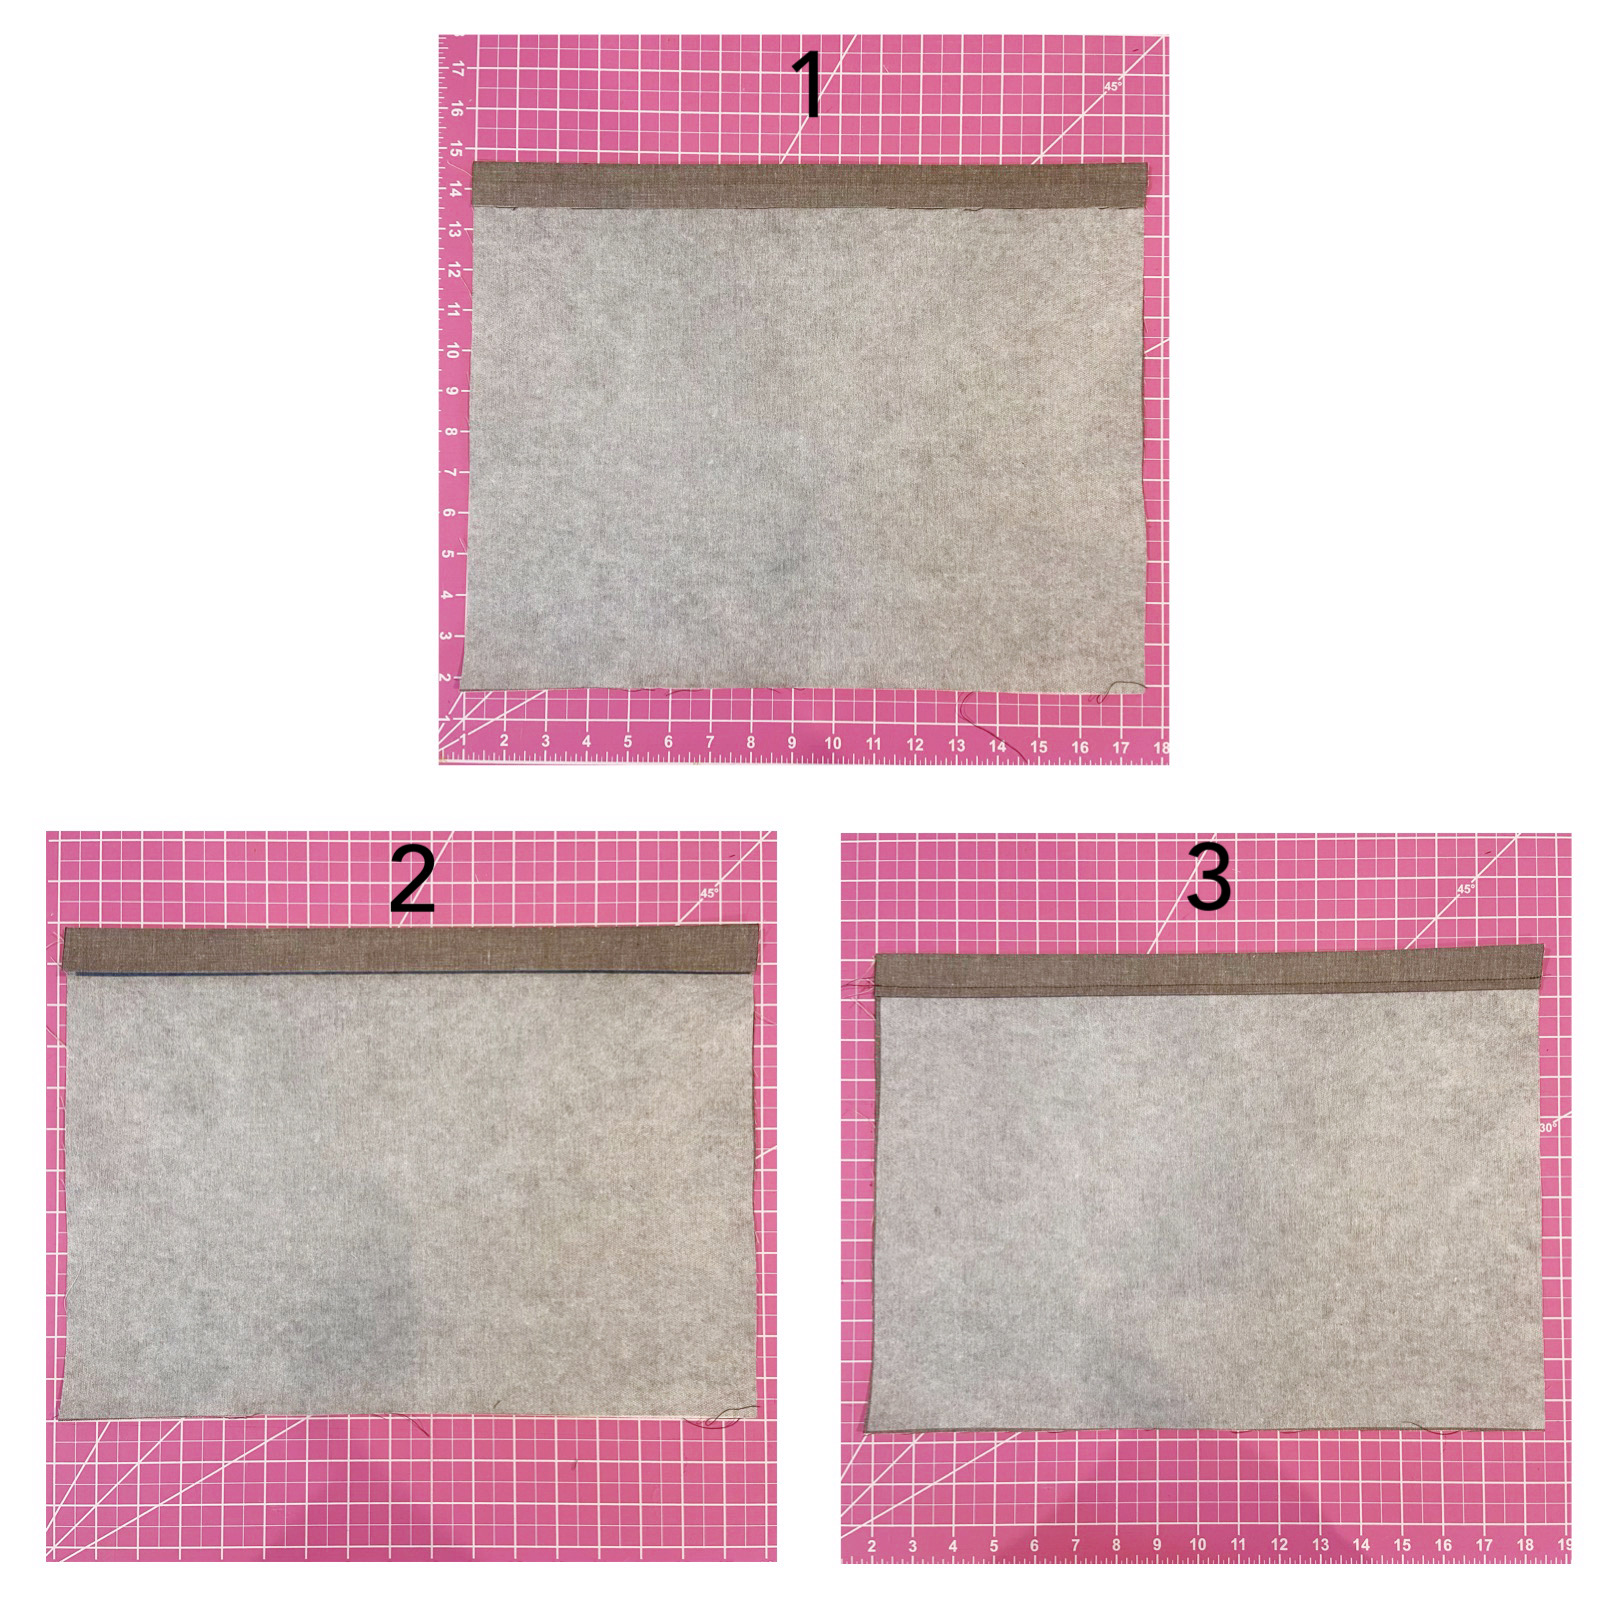 Lay the 16 1/2″ square with the design facing you. Align half piece of the back with the interfacing side facing you and the top of the 16 1/2″ square. Align the other half piece of the back with the interfacing side facing you and the bottom of the 16 1/2″ square. Follow the step by step images below:
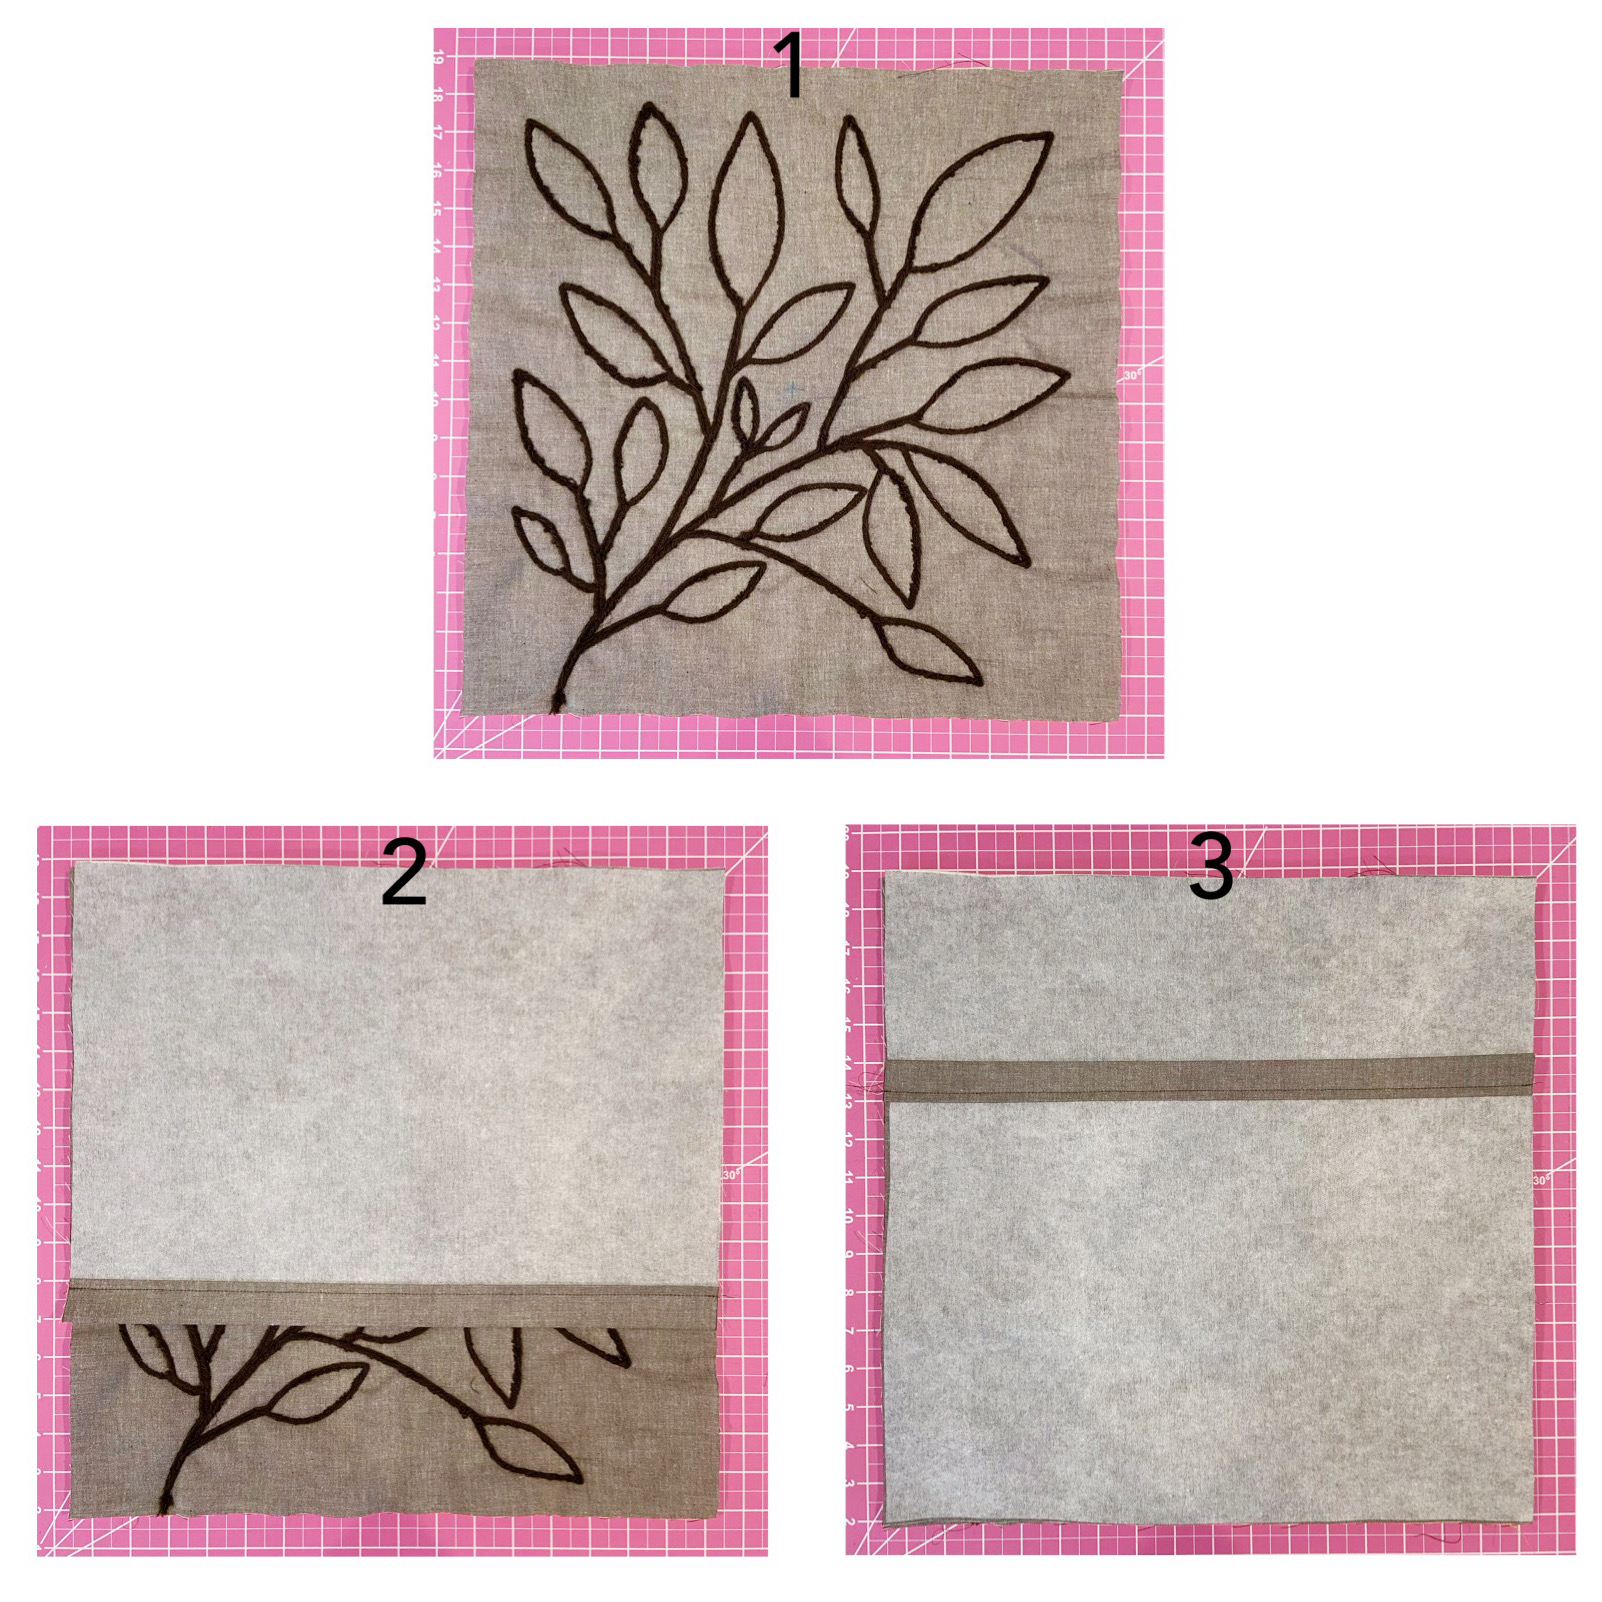
Secure with clips or pins and sew 1/4″ from the edge around the entire square. Carefully clip the corners and turn the cushion cover inside out. Insert the cushion form inside and “fertig”, you are DONE!
Don’t forget to share your Fiber Couching Cushion Cover version using #weallsew on social media and with the BERNINA Community. We would love to see your work!
Uf Widerluege! (See you soon)