Easy-Peasy Freezer Paper Piecing
As a former art and home economics teacher, I strive for accurate piecing and flexibility with design. Freezer Paper Piecing allows for success with both these elements when creating art quilts, modern quilts or traditional designs. Simple blocks, intricate designs and curves can be done with complete accuracy.
Traditional foundation paper piecing can be very tedious as the paper must be torn or picked out of every seam. Removal of the paper can distort or remove some stitches. A freezer paper template is folded back then stitched next to the fold rather than through the paper.
If you are new to foundation paper piecing, there is a wealth of YouTube tutorials available. The basics of traditional paper piecing apply to freezer paper piecing.
I’m excited to share this art quilt pattern and tutorial with you. Let’s get started.

Materials for Freezer Paper Piecing
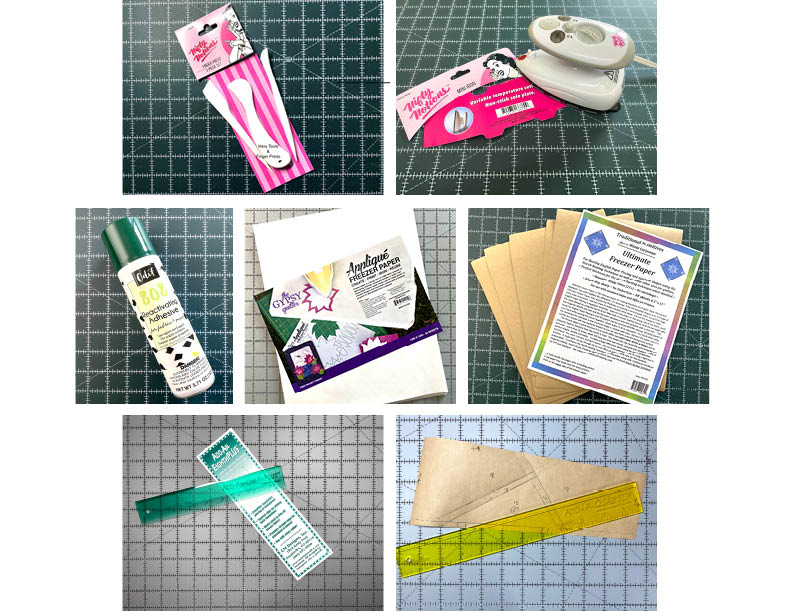
- • Hera Tool
- • Finger Press Tool
- • Iron – a mini iron works best as you can press on section of freezer paper at a time.
- • Odif 808 Reactivating Adhesive – can be used in place of freezer paper or to reactivate overused freezer paper. Ask for it at your local quilt shop.
- • Freezer Paper – many varieties including, Traditional Primitives brown paper, Gypsy Quilter Appliqué Freezer Paper or Traditional grocery store brand.
- • Add-An-Eight Plus and Add-A-Fourth Rulers
- • Basic Sewing Supplies
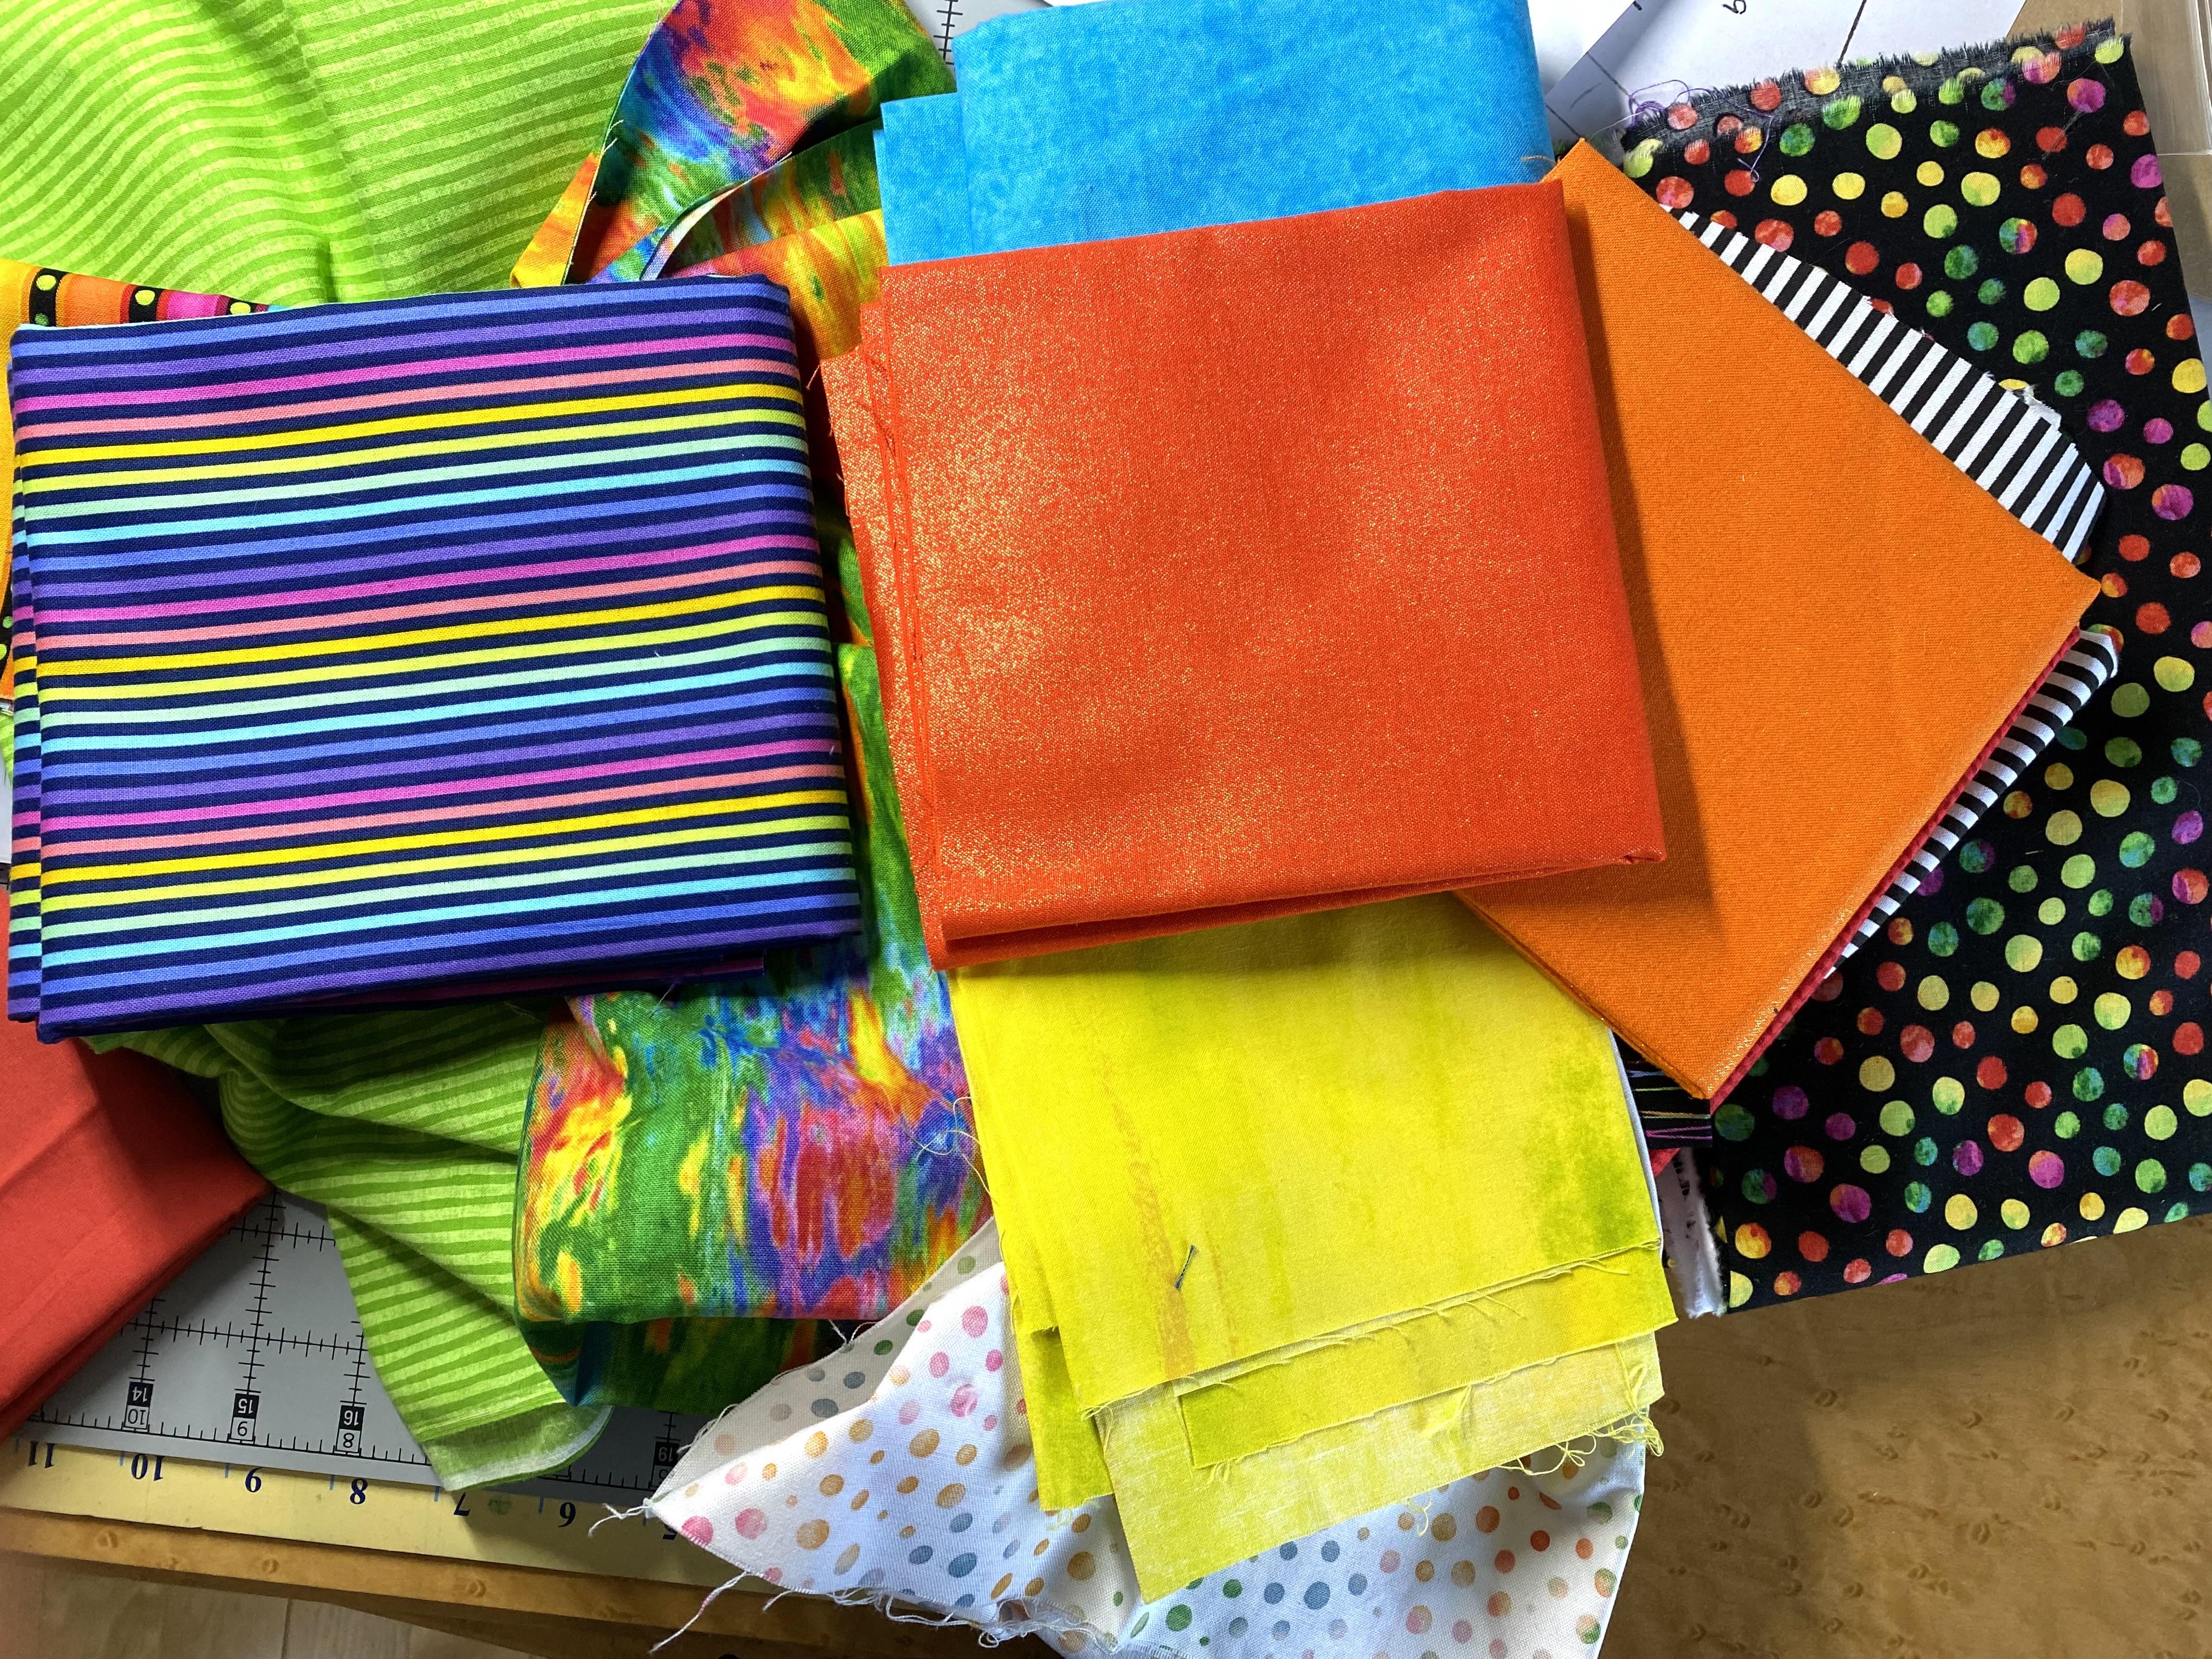
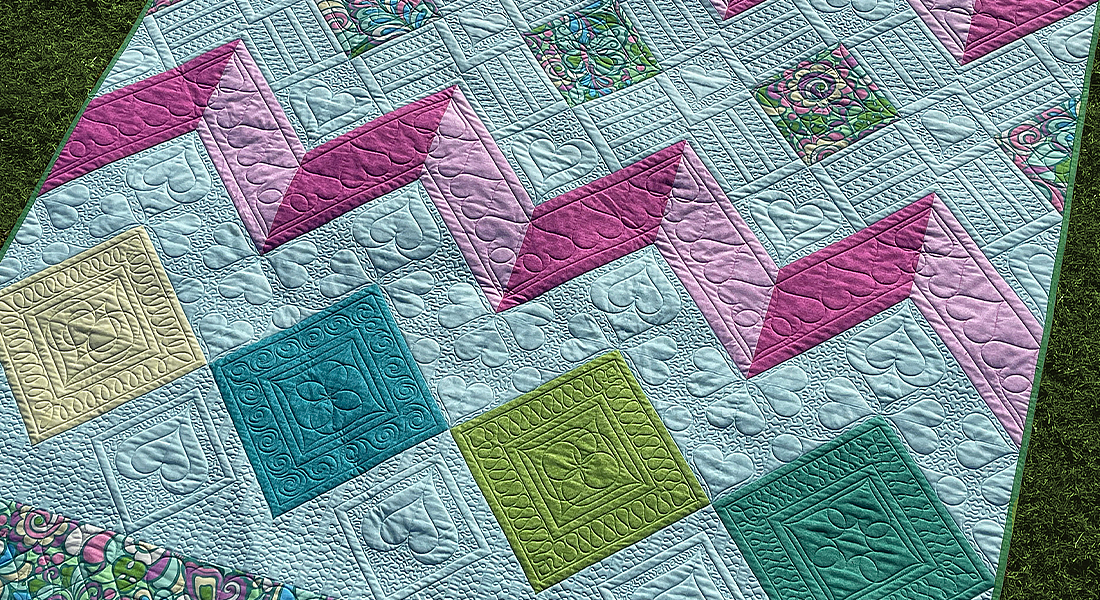
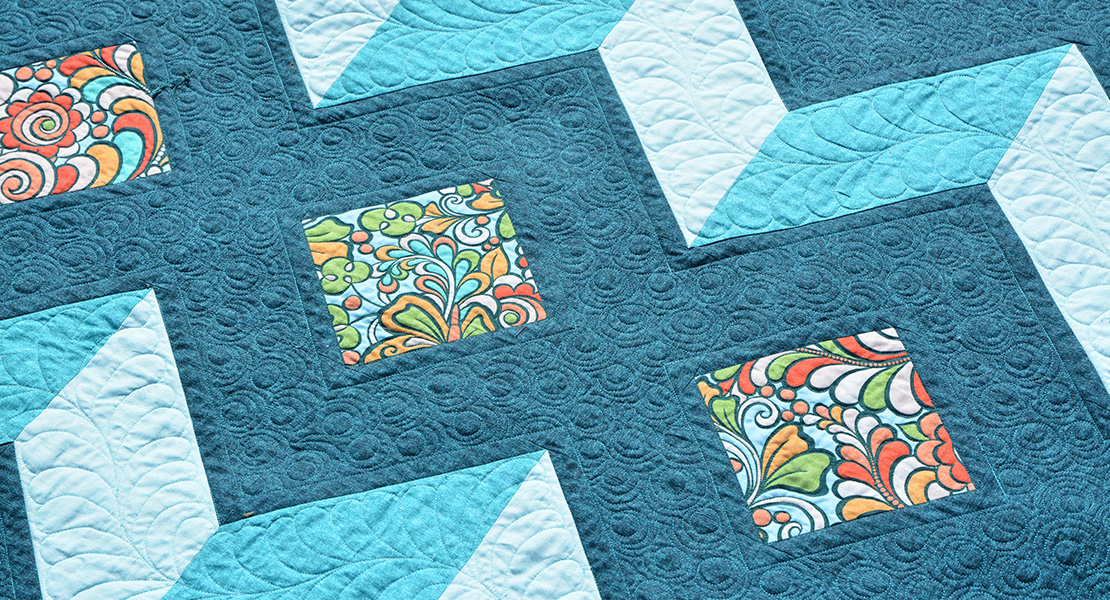
Fabric Selection
Transferring Design To Freezer Paper
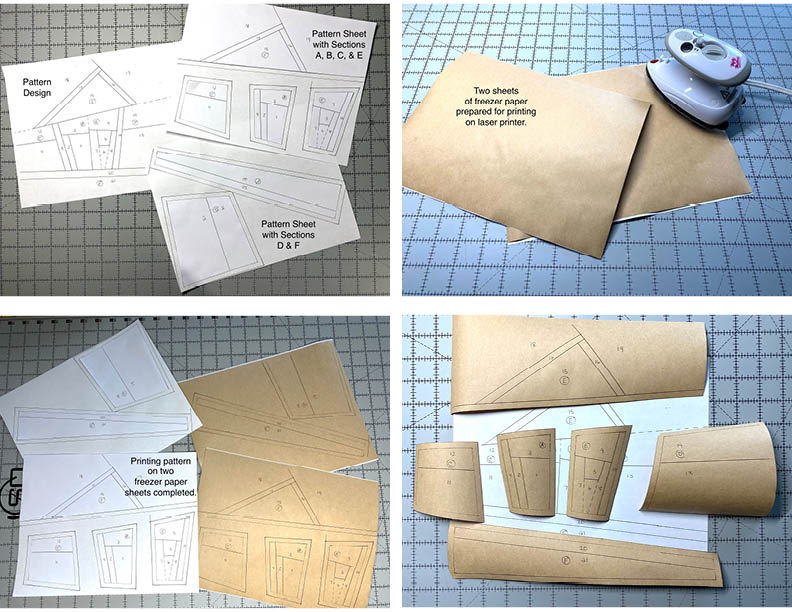
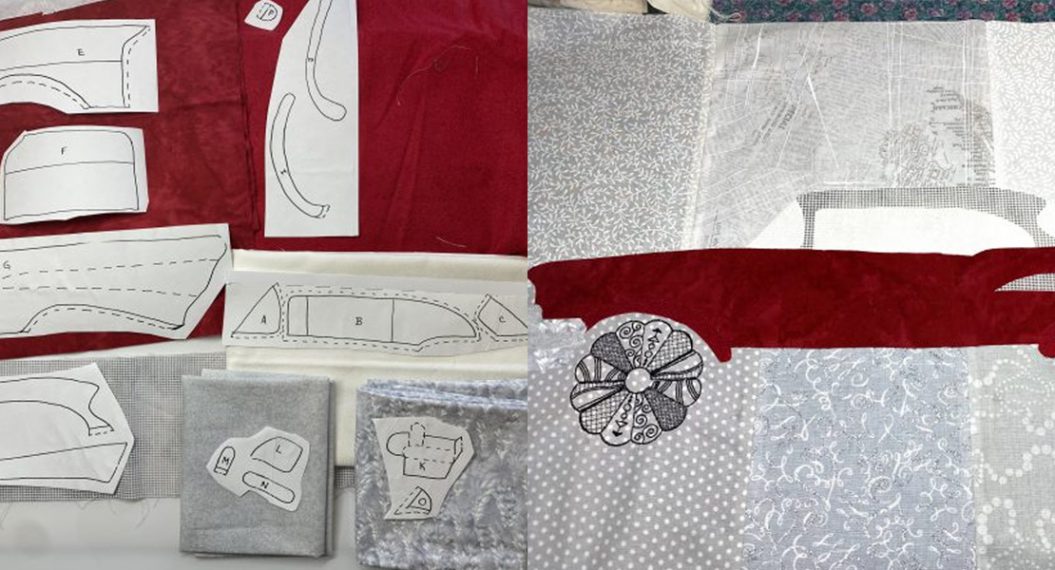
This design is divided into six sections with 1/4 inch seam allowance added to the outside edges. Sections A, B, C and E are on one sheet and sections D and F are on the second pattern. Both sheets need to be transferred to the freezer paper.
The pattern or design is drawn or printed on the DULL SIDE of the freezer paper. (not the shiny side) Here are three techniques that can be used for transferring.
- Traced on using a light table or window
- Printed with an Ink Jet Printer. Cut paper to size that fits your printer. Many quilter freezer papers come in this size.
- Print with Laser Printer. This requires extra preparation as laser printers generate heat during the printing process which will melt the shiny side of freezer paper. Iron freezer paper to printer paper before inserting into printer’s paper tray.
My printer is a laser and I have safely sent many sheets of freezer paper through it. Bond the freezer paper to a sheet of printer paper with a warm iron. Print both pattern sheets and cut out the six sections. NOTE: Add 1/4 inch seam allowance to the top and both sides of Section E. The limitations of the paper didn’t allow space on the pattern.
Scoring Pattern for Easy Fold Lines
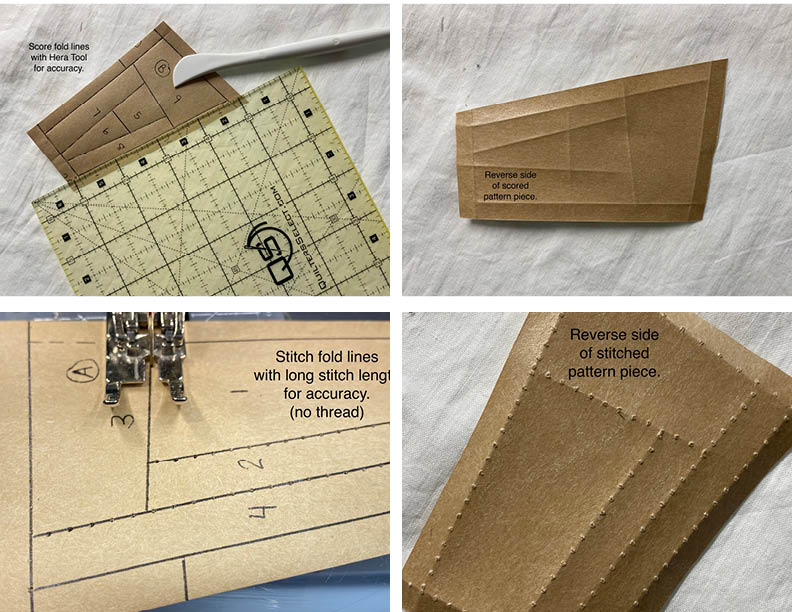
The freezer paper pattern folds more easily and accurately during construction if all lines are scored. These are my two favorite techniques for scoring the lines.
- Hera Tool and Ruler
Place a ruler accurately on each line then use the rounded edge of the Hera Marking Tool to score. Fold on the lines.
2. Machine Stitched Lines
Remove the thread from your machine, set the stitch length at 4 and stitch the lines accurately. Fold on the lines.
Constructing Sections
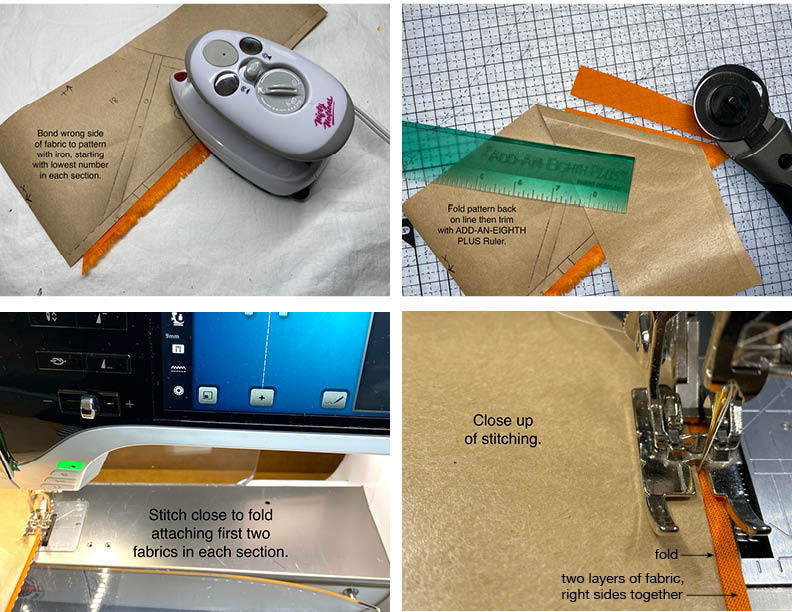
- Select a fabric for section A, #1. Press the pattern to the wrong side of the fabric allowing the fabric to extend past the fold lines by at least 1/4 inch.
- Fold freezer paper back between #1 & #2.
- Using the Add-An-Eighth Ruler, trim fabric along fold to 1/8 inch. NOTE: The 1/8inch ruler works well for small projects. If you feel more comfortable with a larger seam allowance, substitute the Add-A-Fourth Ruler.
- Select a fabric for section A, #2. Place fabric #1 & #2 right sides together aligning edges.
- Stitch close to fold with regular stitch.
Pressing
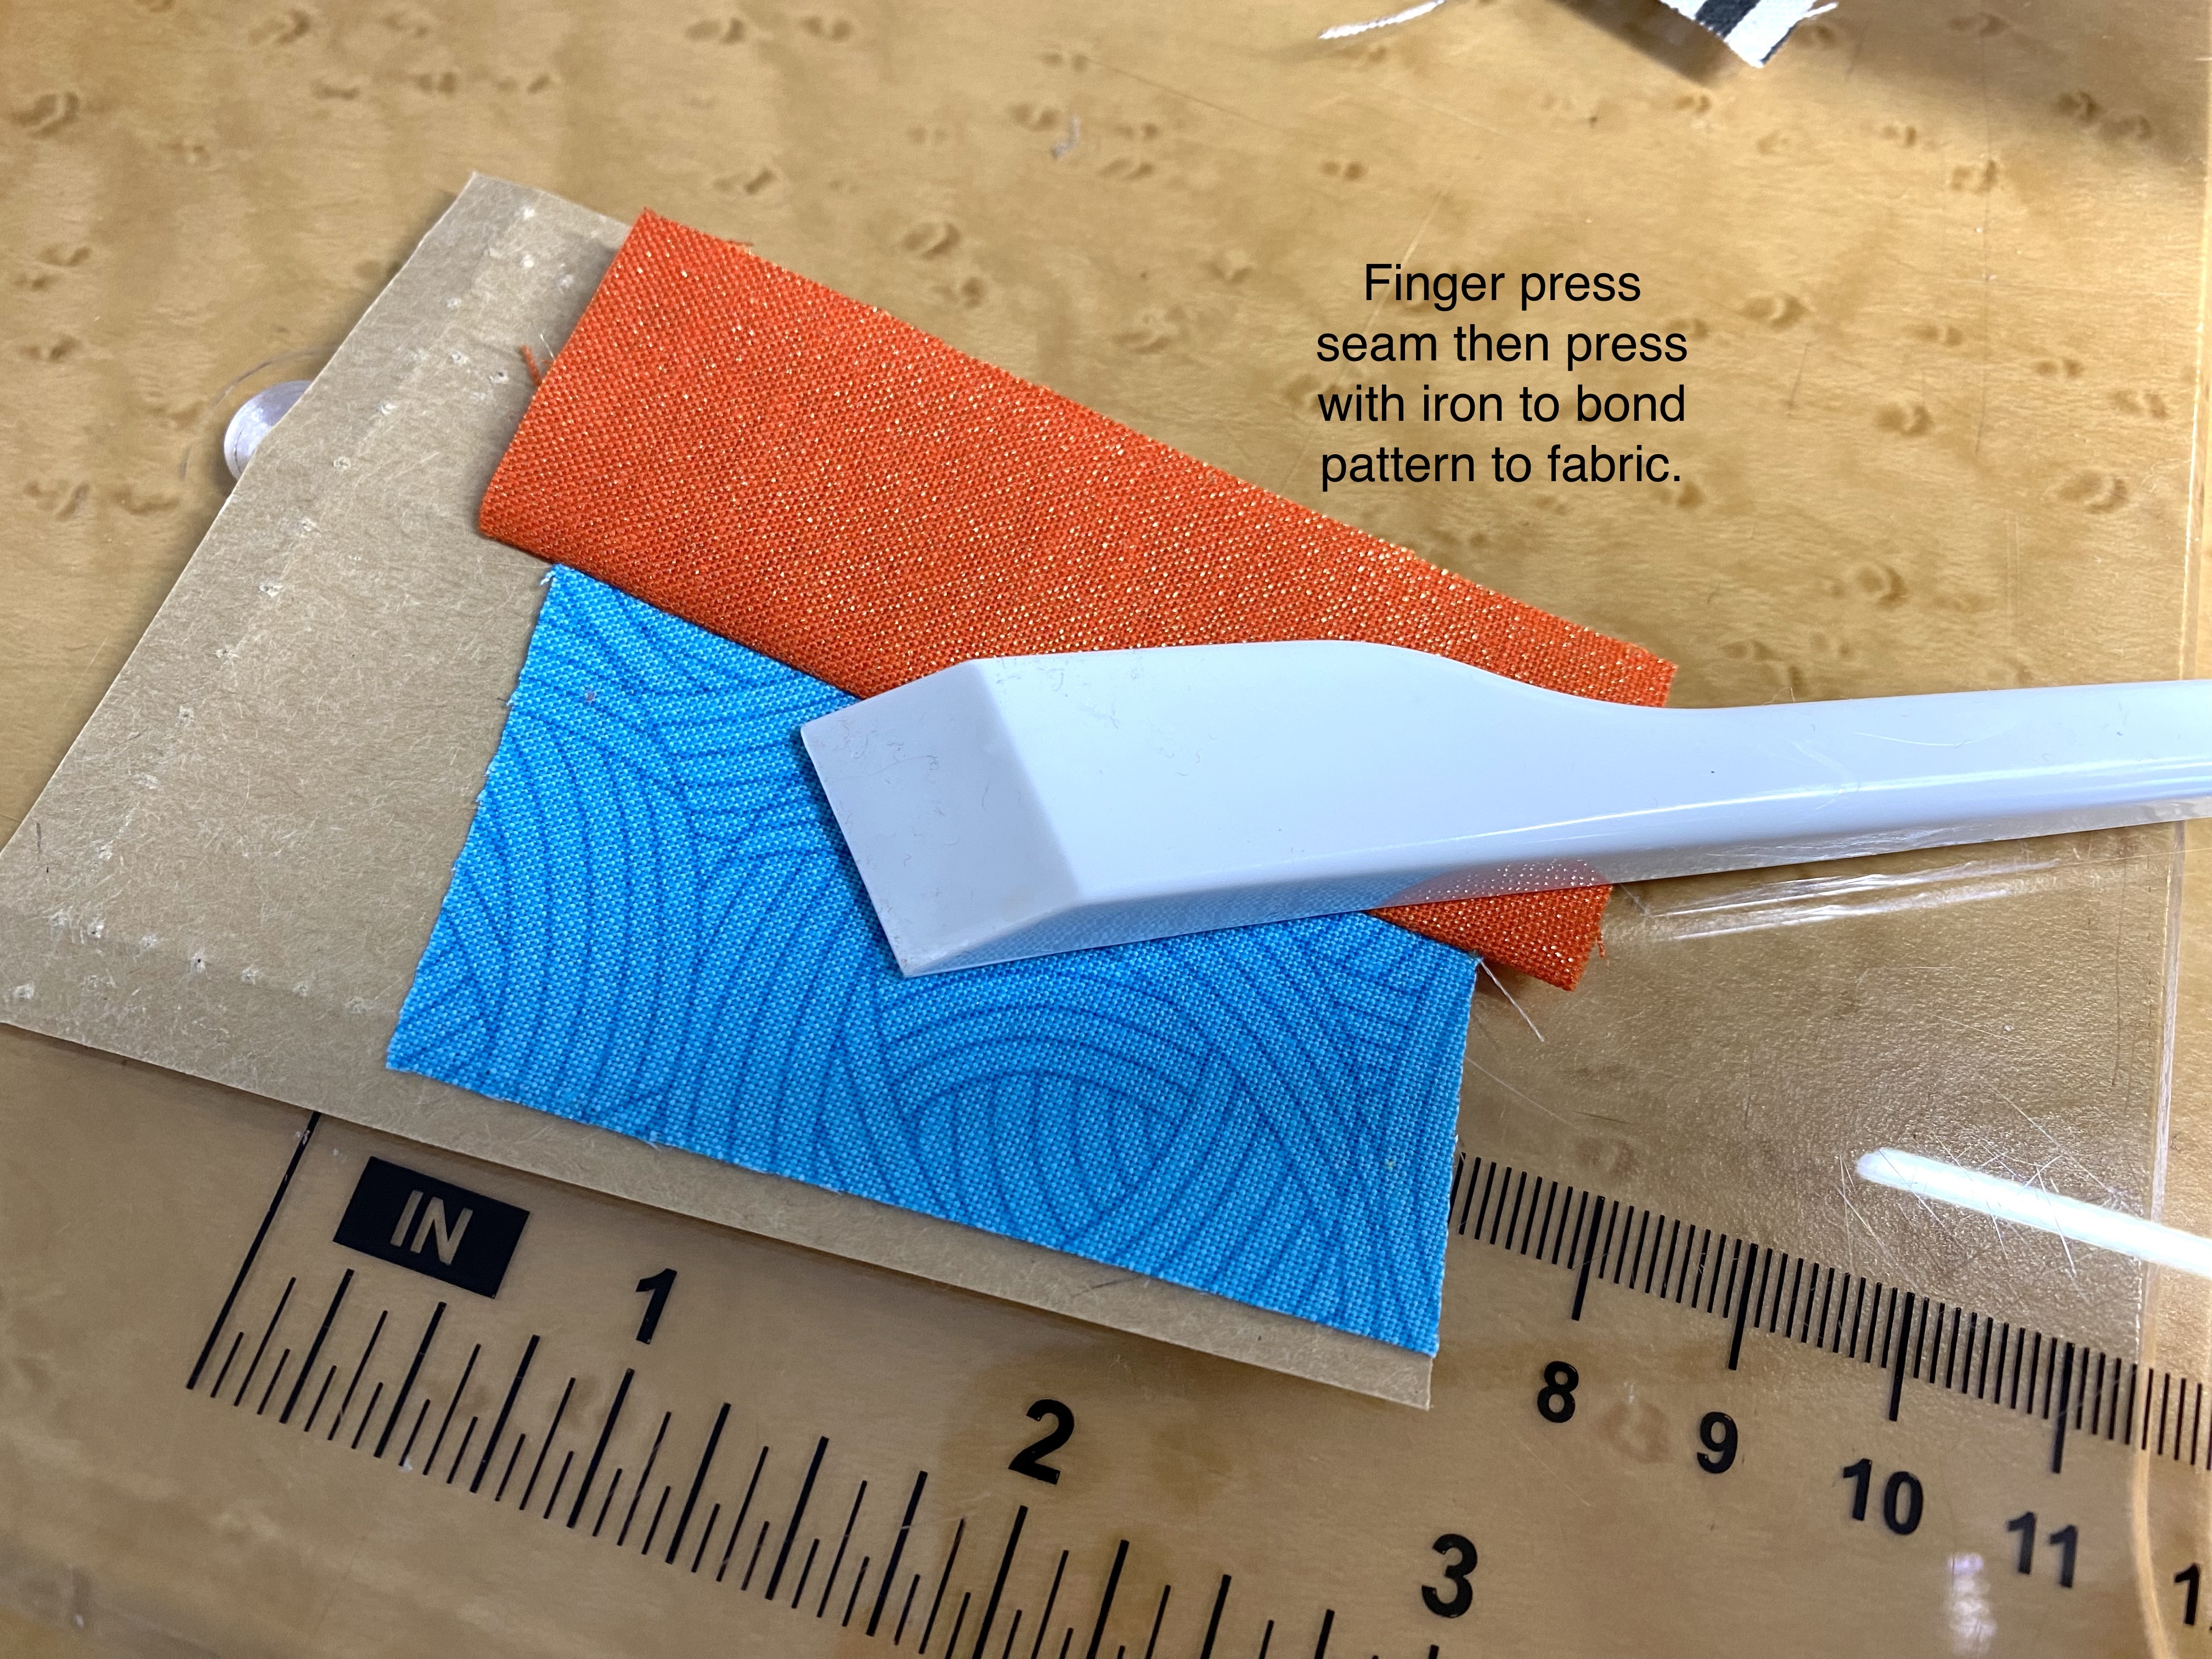
- Finger press #2 back along seam line using your finger or a finger pressing tool.
- Then press with iron to bond fabric to pattern.
- Repeat above steps with fabric #3.
- Continue until section is complete.
- With ruler and rotary cutter trim each section on outer lines.
Joining Sections
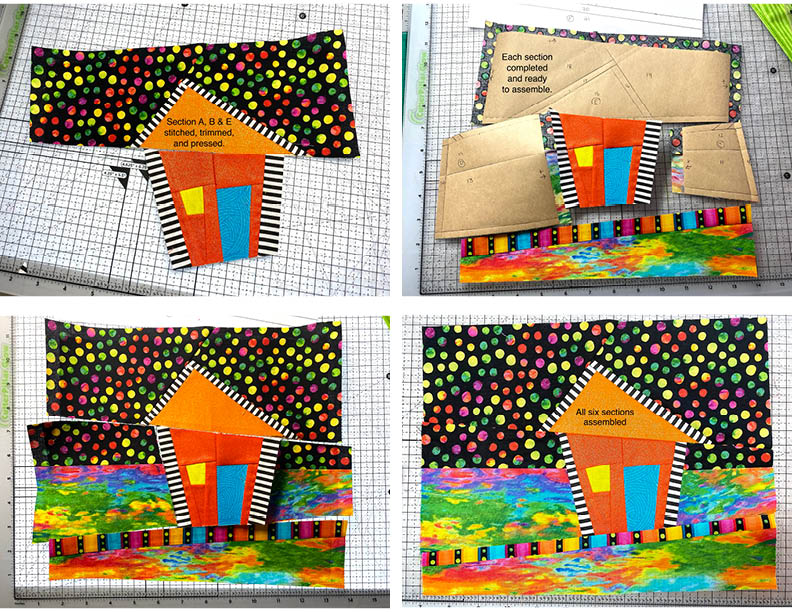
- Remove pattern from section A & B. Stitch these two sections together with a 1/4inch seam allowance.
- Press seam open.
- Continue stitching sections together in ABC order.
Optional Borders
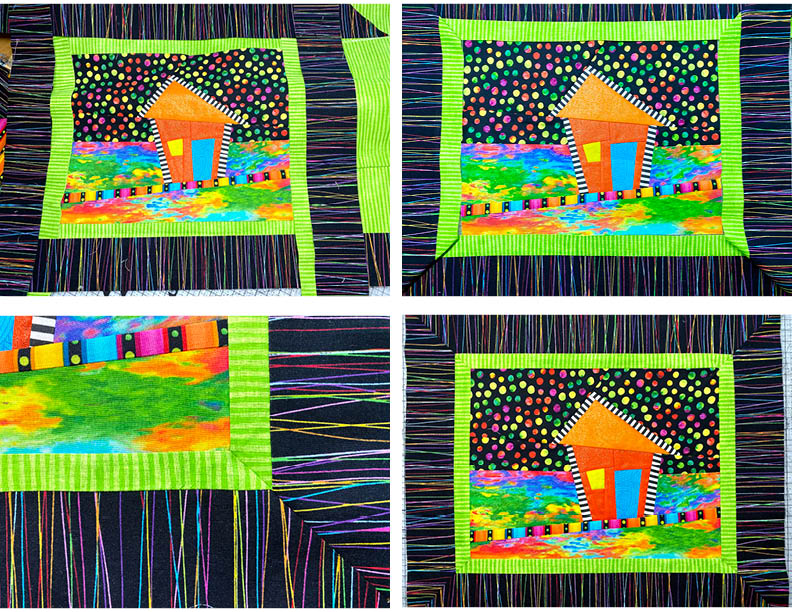
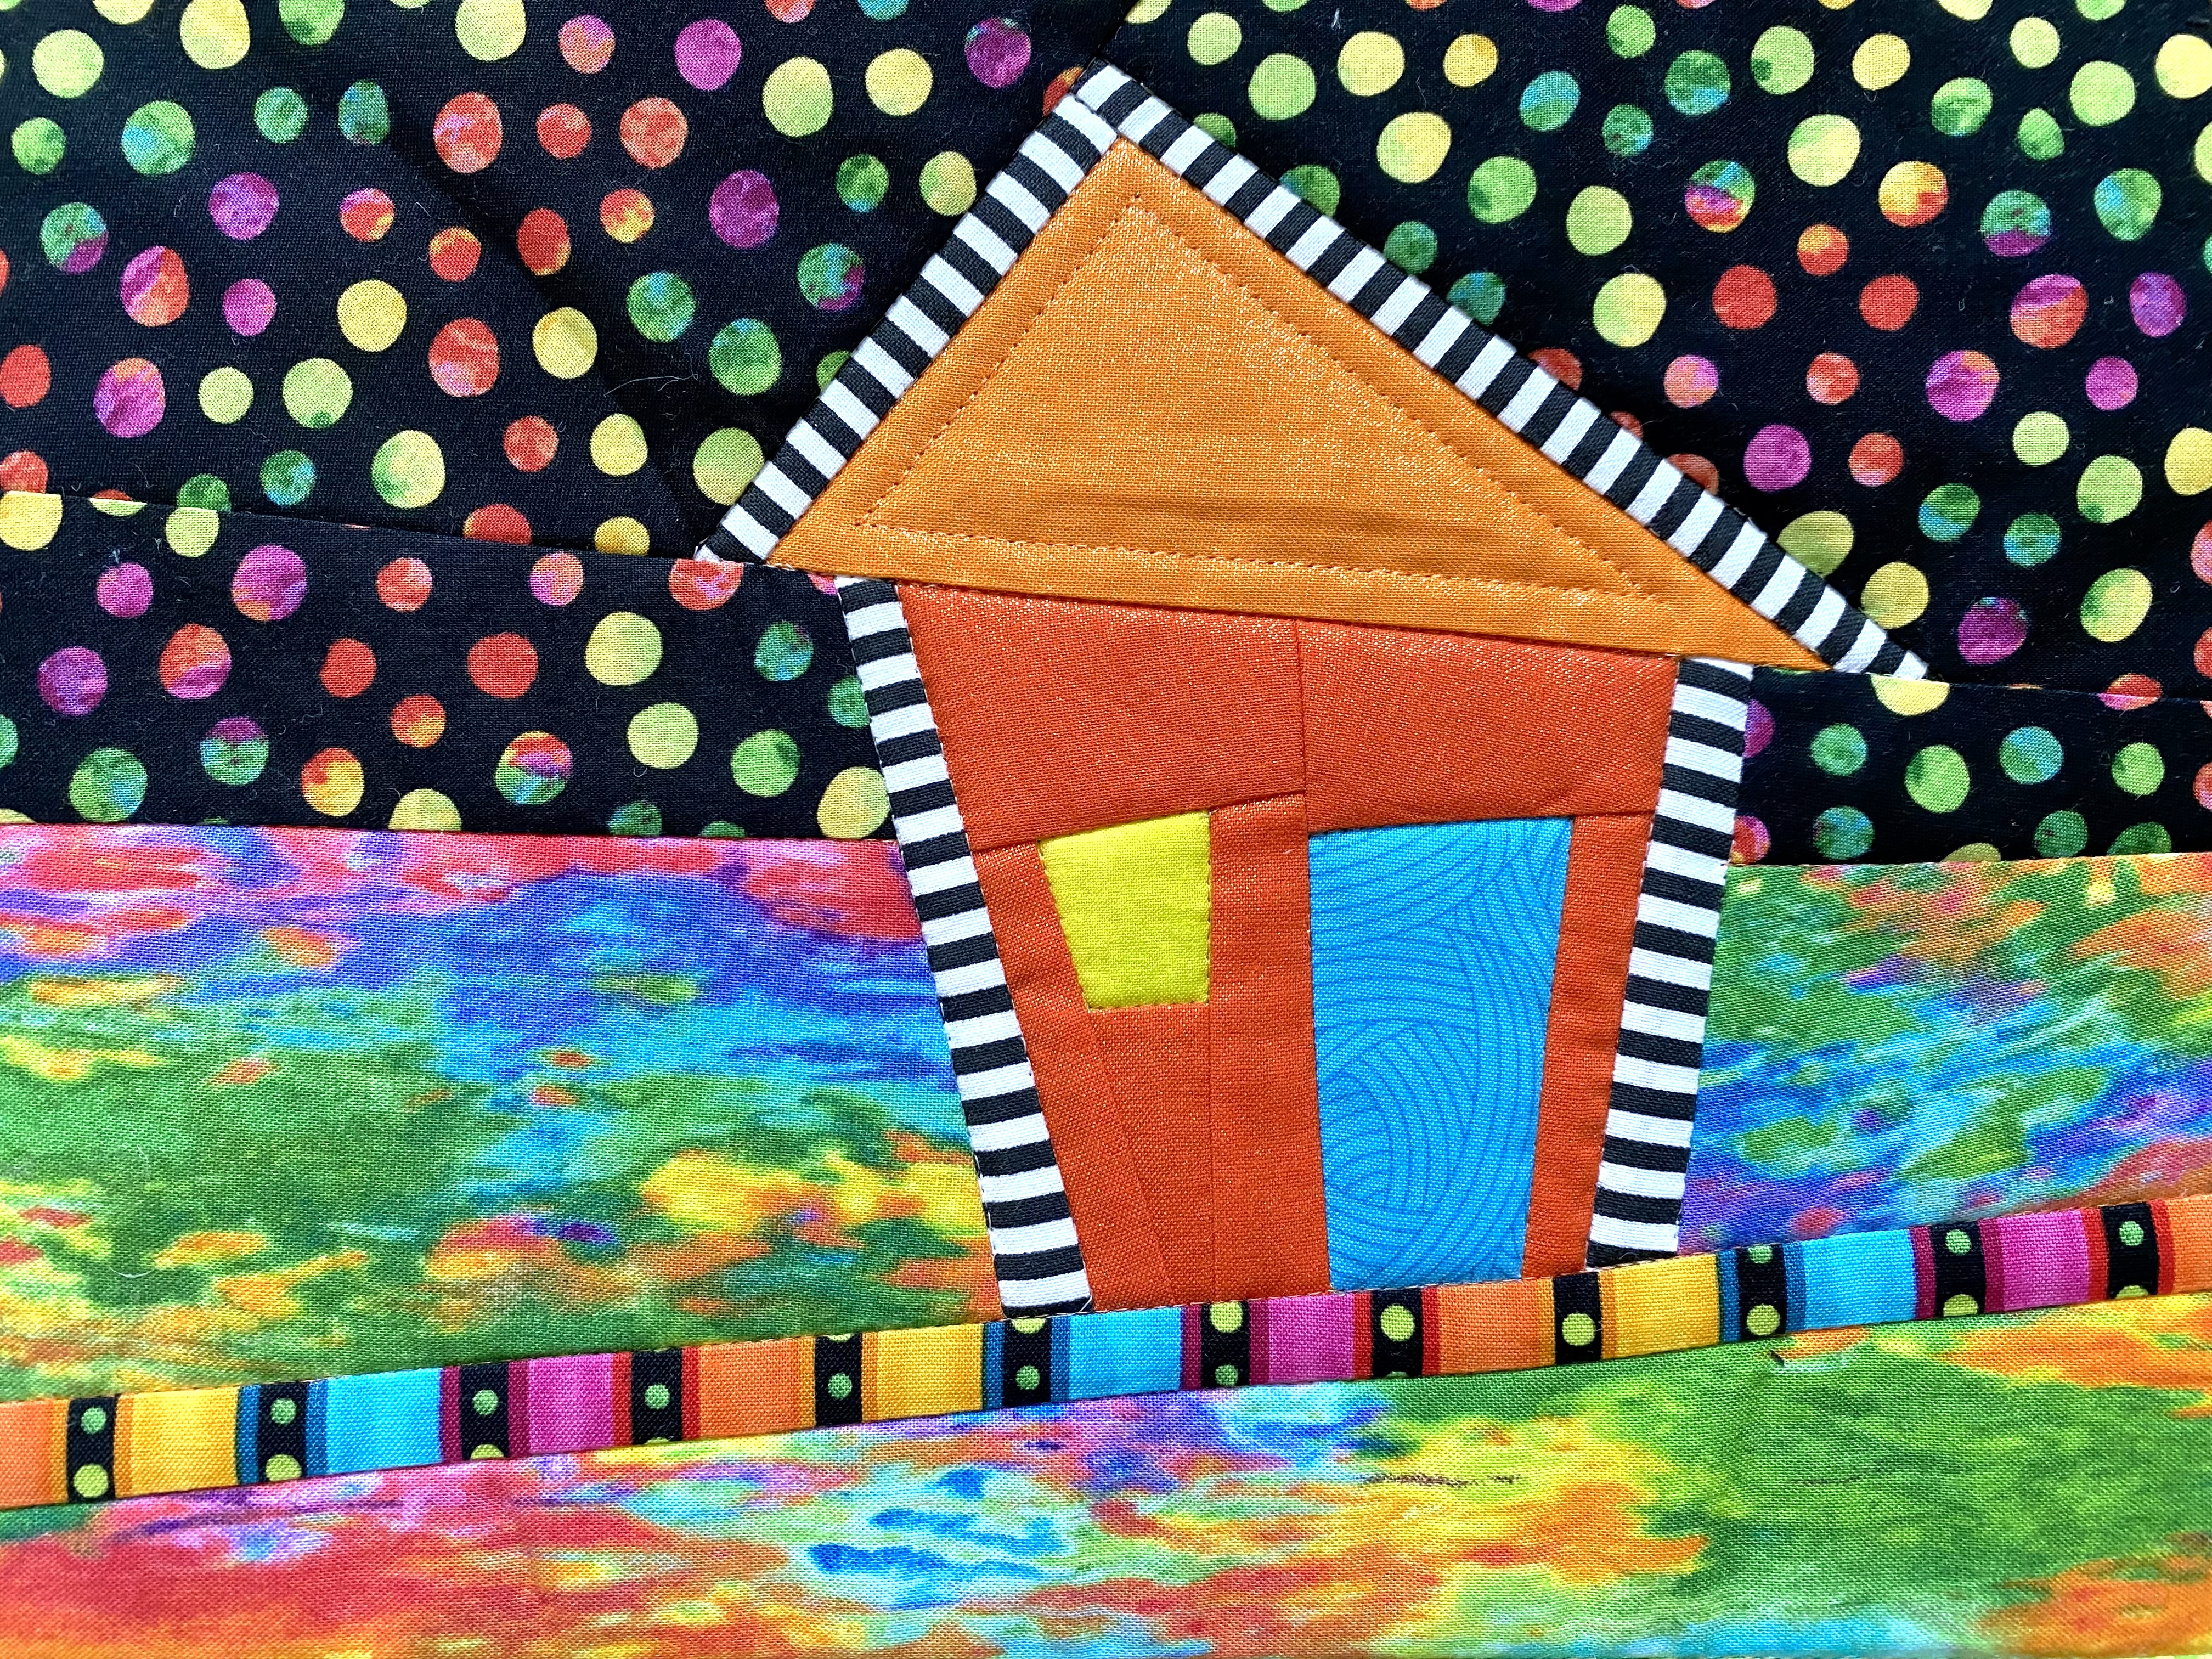
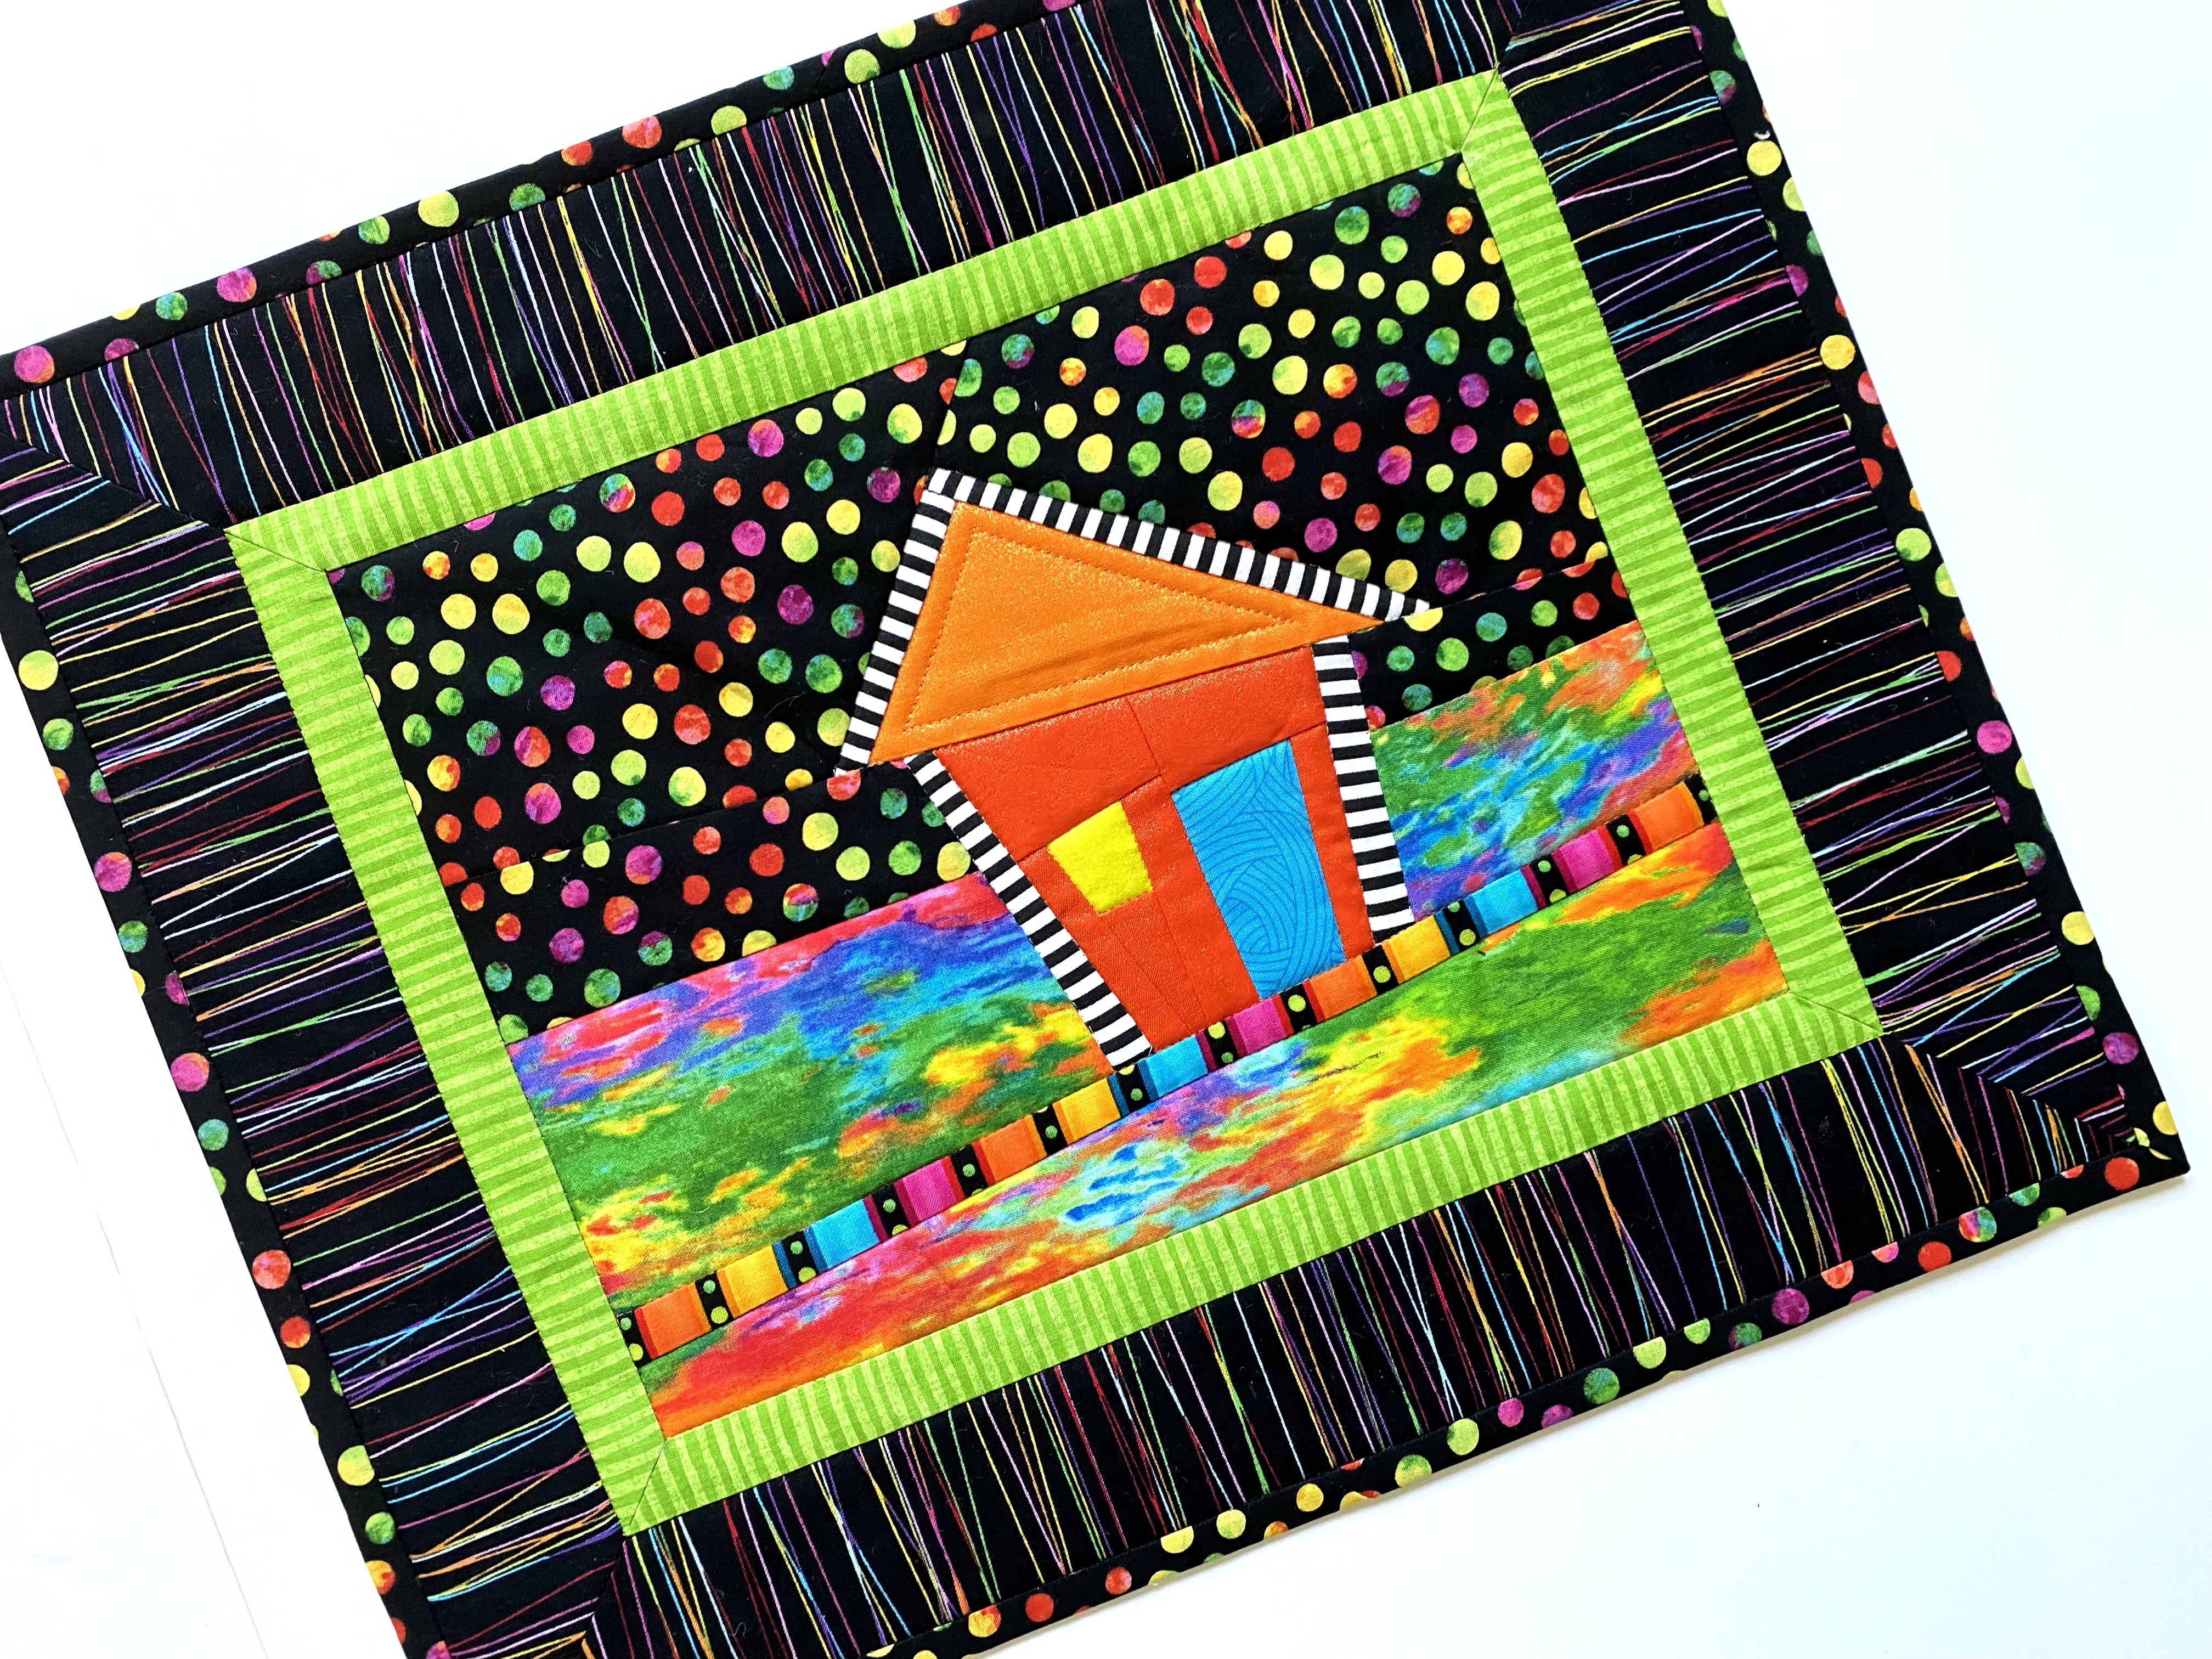
Crooked Little House can be quilted and bound at this point, sewn into a larger quilting project or borders can be added. I opted to add borders to incorporate more of my collection of stripes.
The inner green border is cut at 1-1/4 inch to finish at 3/4 inch. The outer black striped border is cut at 2-1/2 inches to finish at 2 inches. After auditioning colors and sizes of borders, I decided to miter the corners to create a frame. I’m always delighted with mitered corners match perfectly!
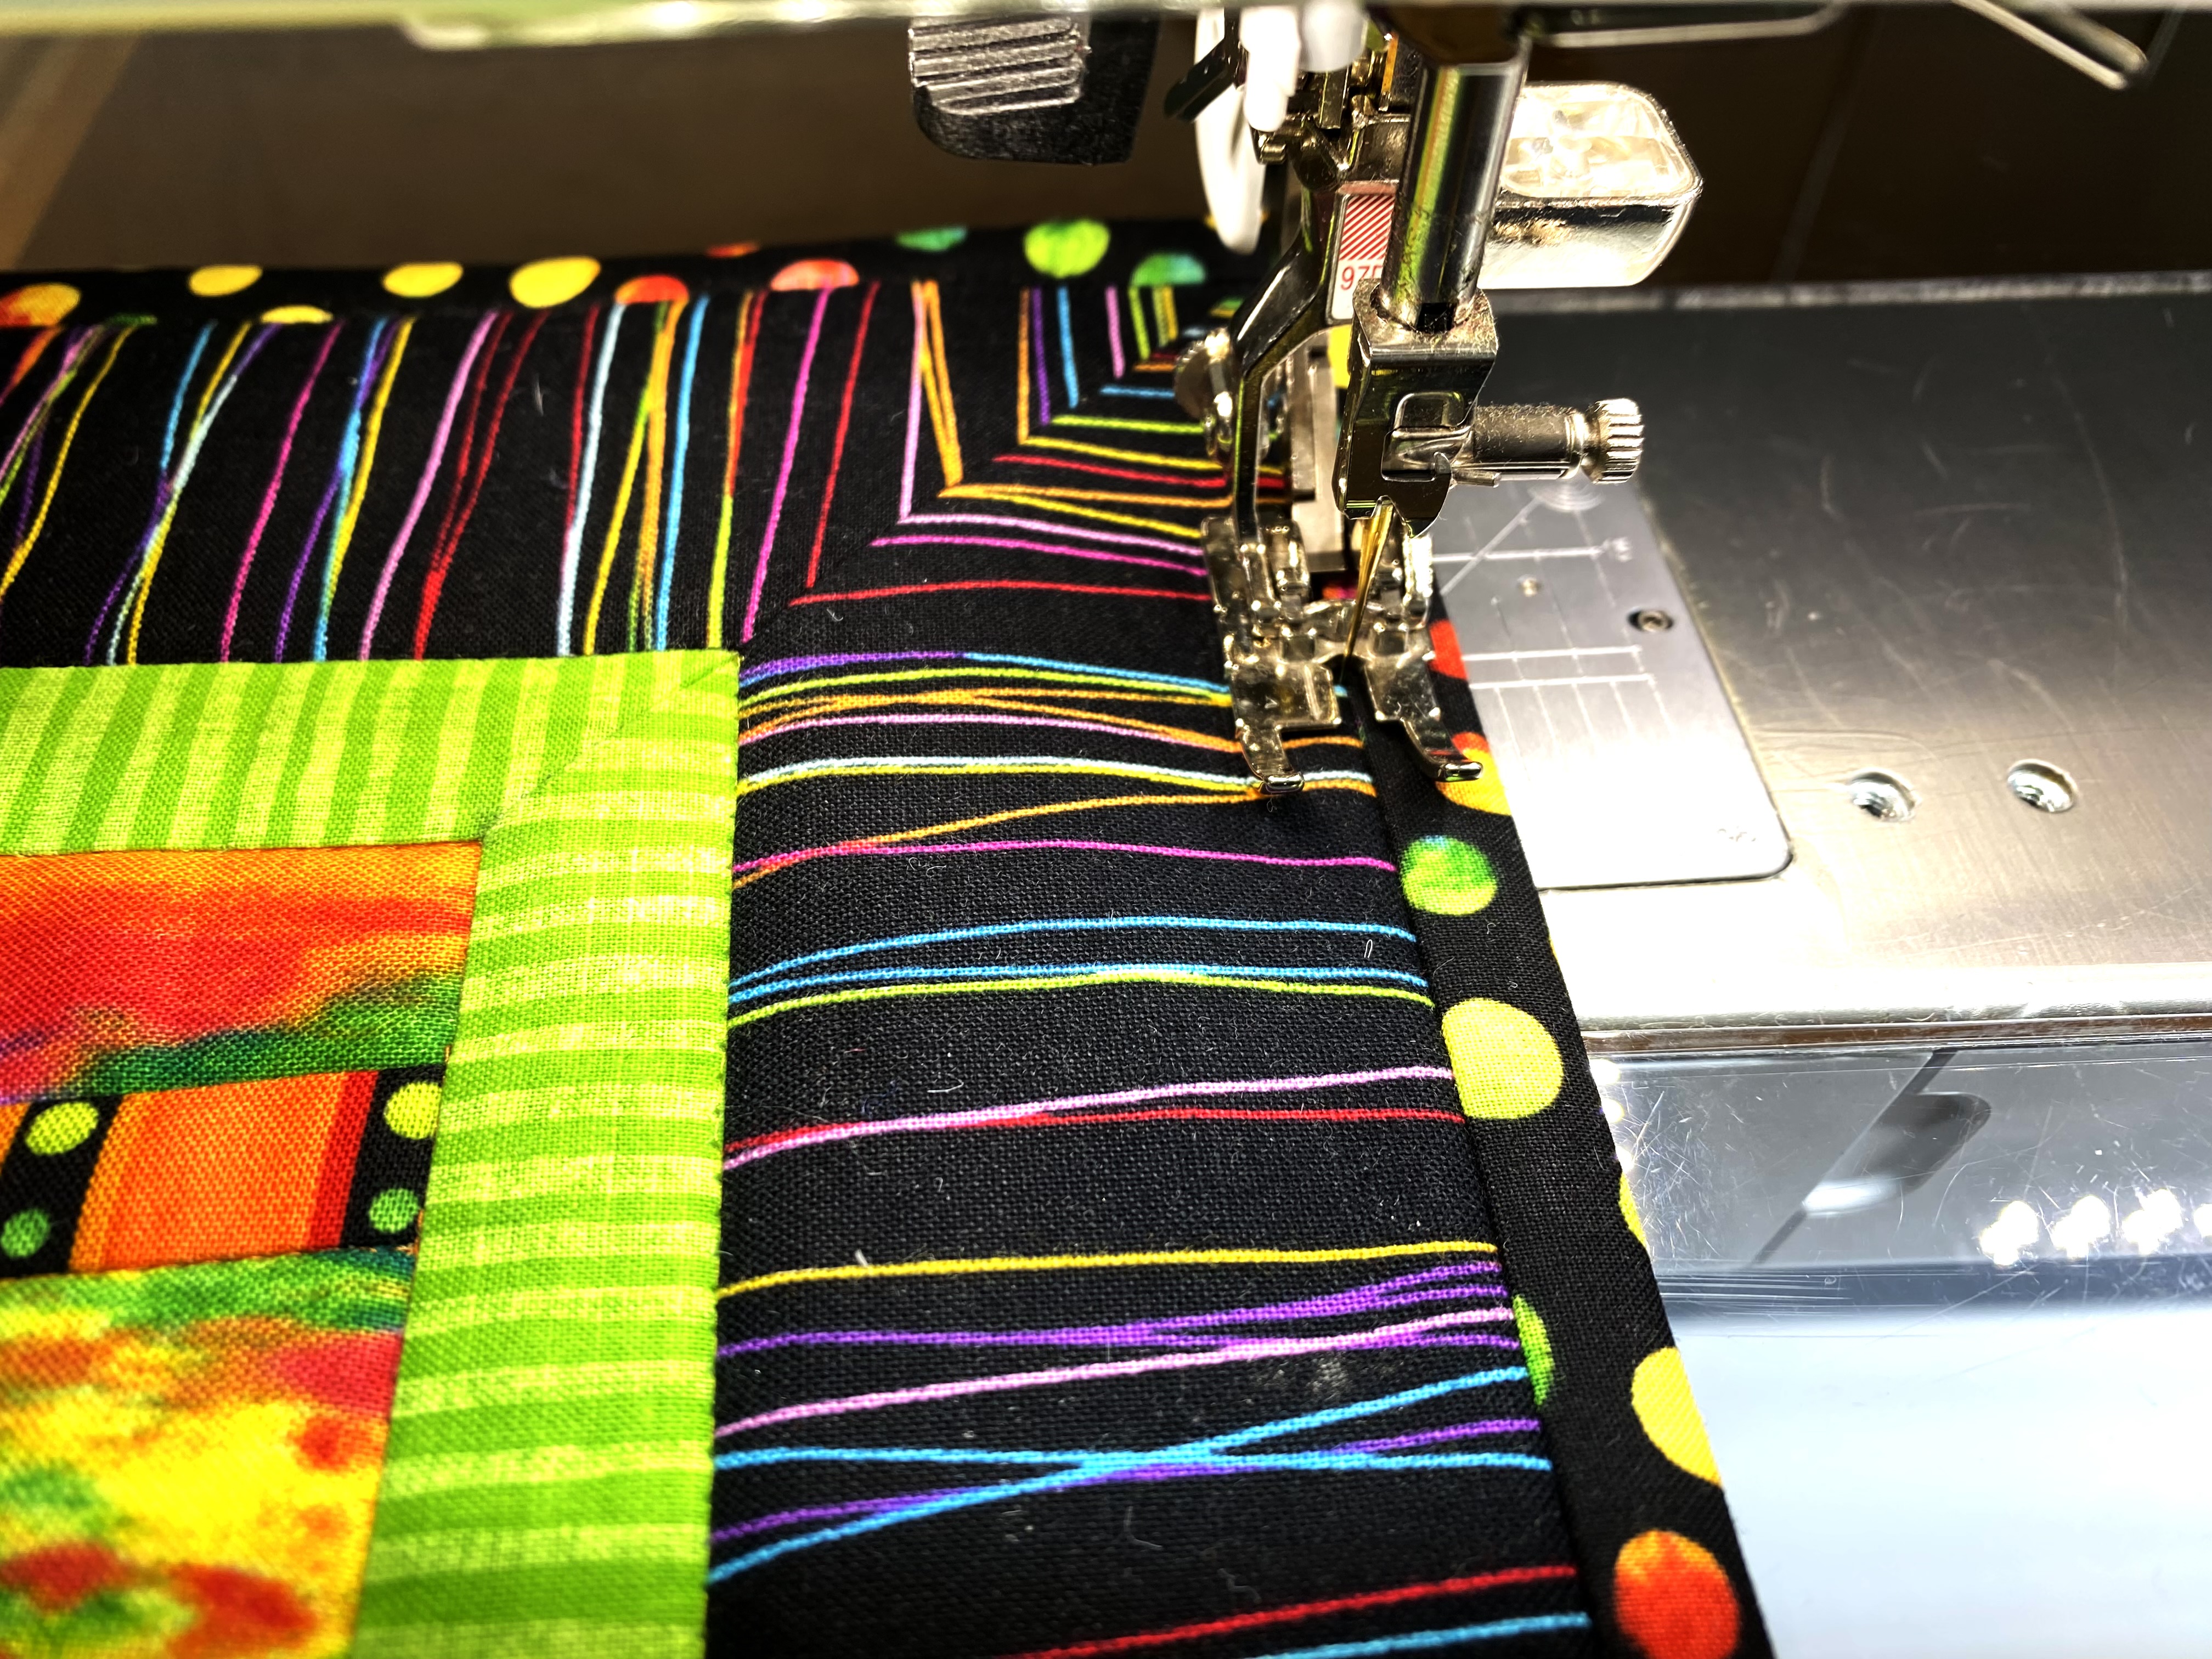
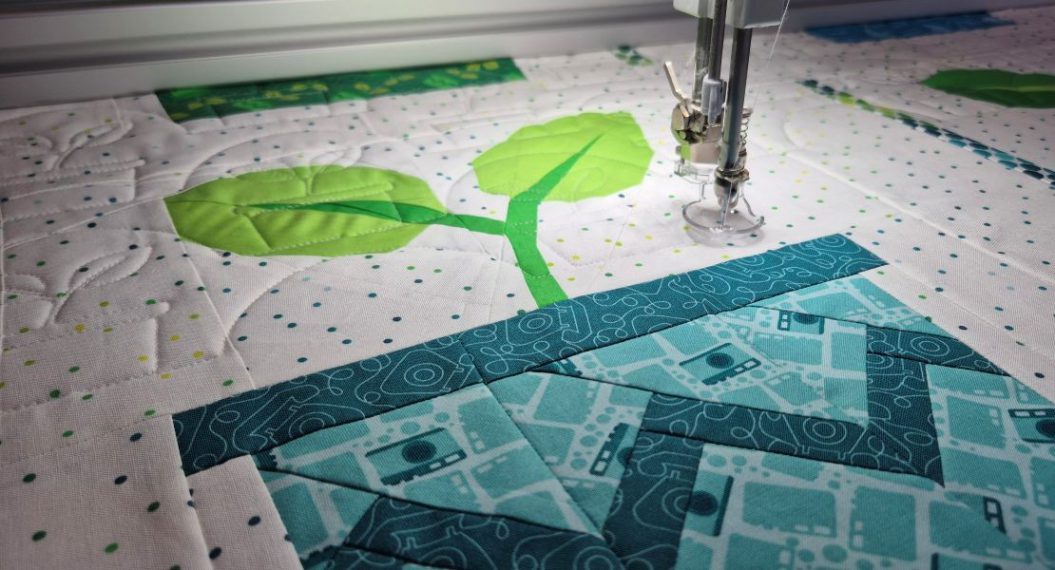
Quilting Crooked Little House
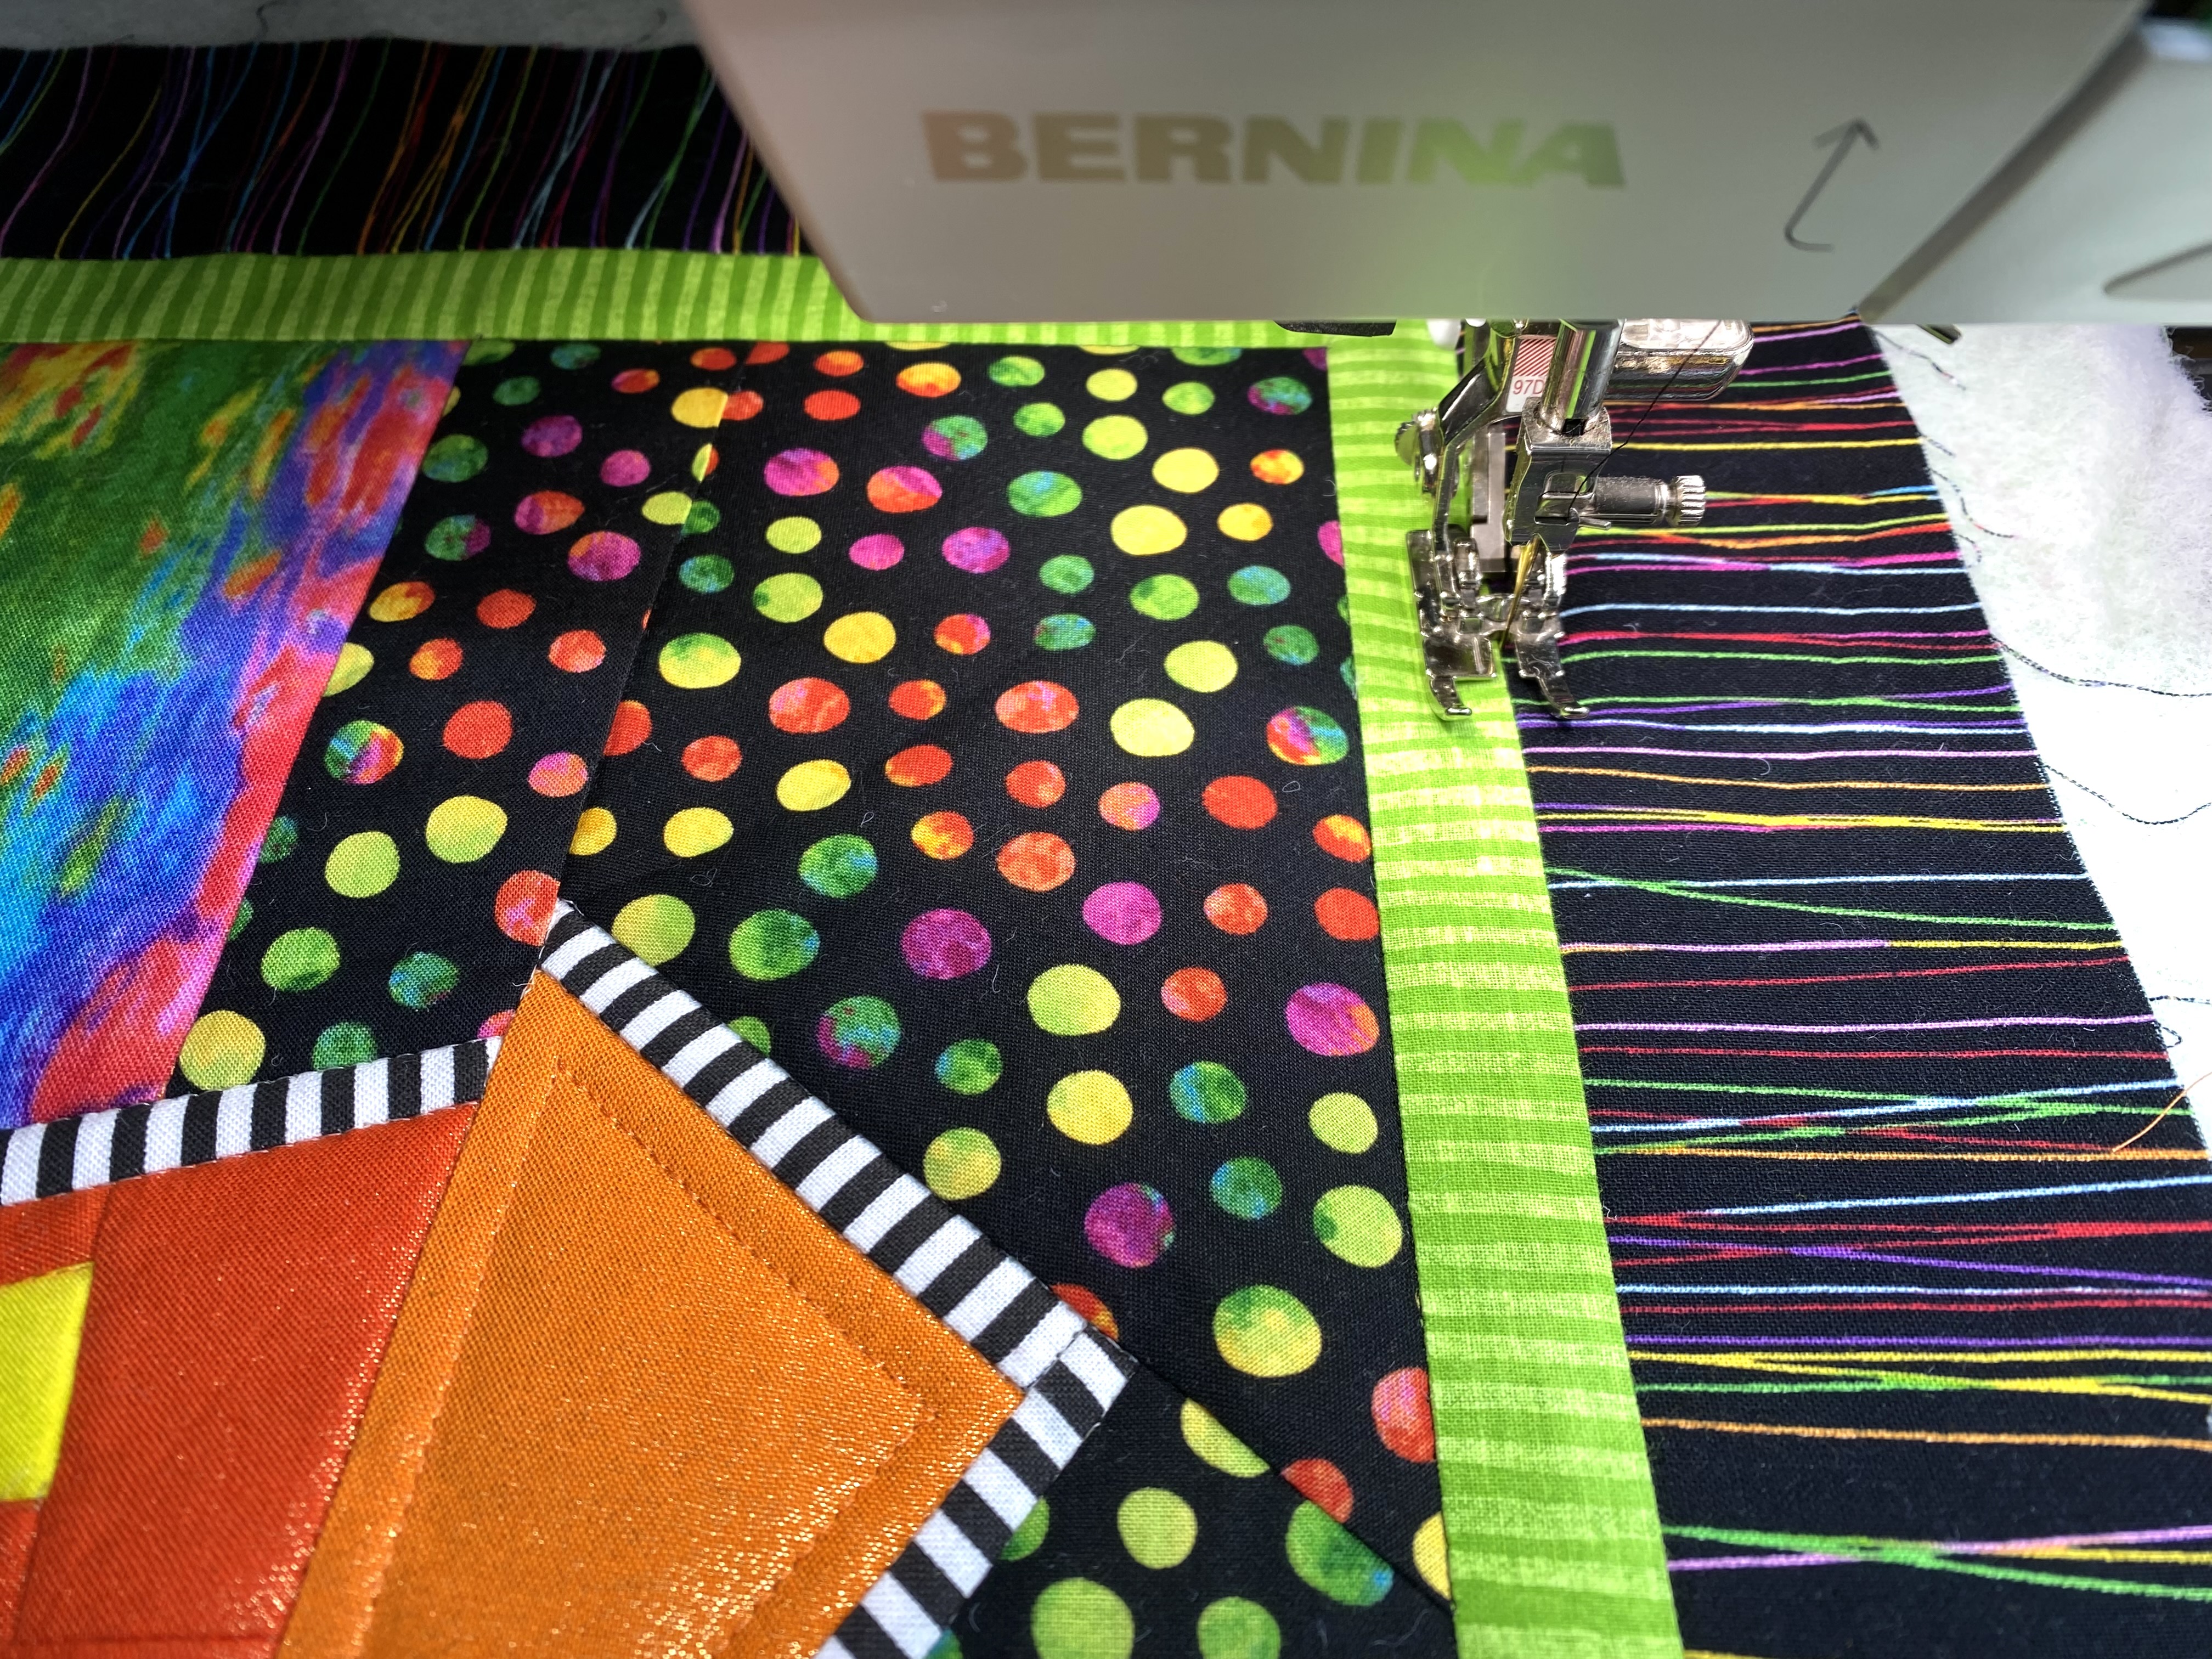
Quilting is completed on the BERNINA 790 Plus. The quilt sandwich consists of a backing fabric, Hobbs 80/20 Cotton Blend batting and the quilt top. The sandwich is stabilized for quilting with scraps of MistyFuse webbing.
There is so much going on with the vibrant colors, geometric stripes and odd angles this project called for quiet quilting. All quilting was stitch in the ditch except for the very peak of the house. The 97D dual feed foot allows me to see the needle strike exactly in the ditch on each stitch. The Edgestitch Foot #10 is also ideal for this process also as its special guide blade helps you sew a perfectly straight seam.
Binding the Crooked Little House
A repeat of the colorful dotted fabric was the perfect choice for the binding. This is a single-fold binding cut 1-5/8’ wide. It is one layer of fabric laid face down on the front of the quilt top, lined up with the raw edges, machine stitched. The raw edge is pressed in, then turned to the back and pressed again. It is machine stitched in the ditch from the right side.
Completed Crooked Little House Freezer Pieced Art Quilt
Used Products


What you might also like


2 comments on “Easy-Peasy Freezer Paper Piecing”
-
-
Hi Tonih
Thanks for your questions. Apologies for not including the overall dimensions of the art quilt. The art quilt without borders is the size of a letter-sized paper – 8-1/2 inches by 11 inches. I just clicked on the pattern download and it appears to be at an angle. Email me at [email protected] with CROOKED HOUSE in the subject line. I will send the pattern to you.
-
Leave a Reply
You must be logged in to post a comment.

I really liked the crooked little house art quilt with paper piecing but I have a question about section E. there are no dimensions as compared to the other sections and I couldn’t find total dimensions. have I missed something in the pattern? I am familiar with paper piecing but usually there are lines and dimensions for each section. thank you.