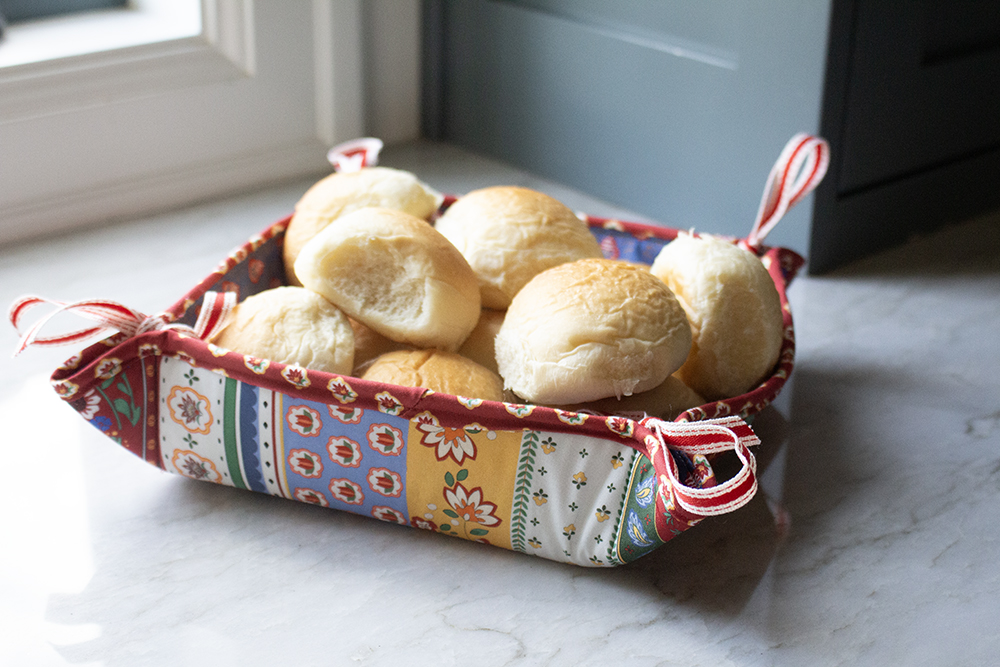
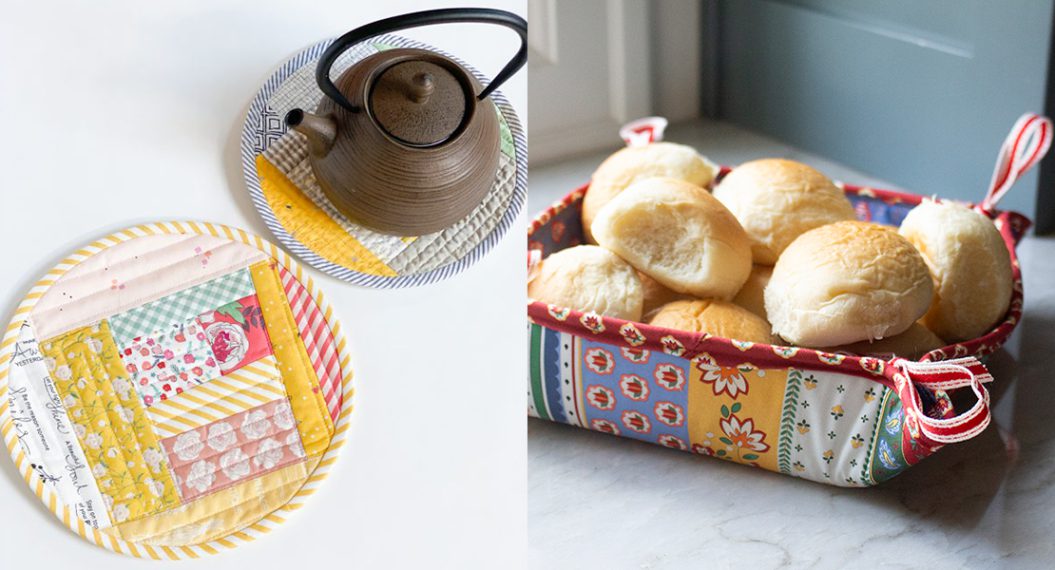
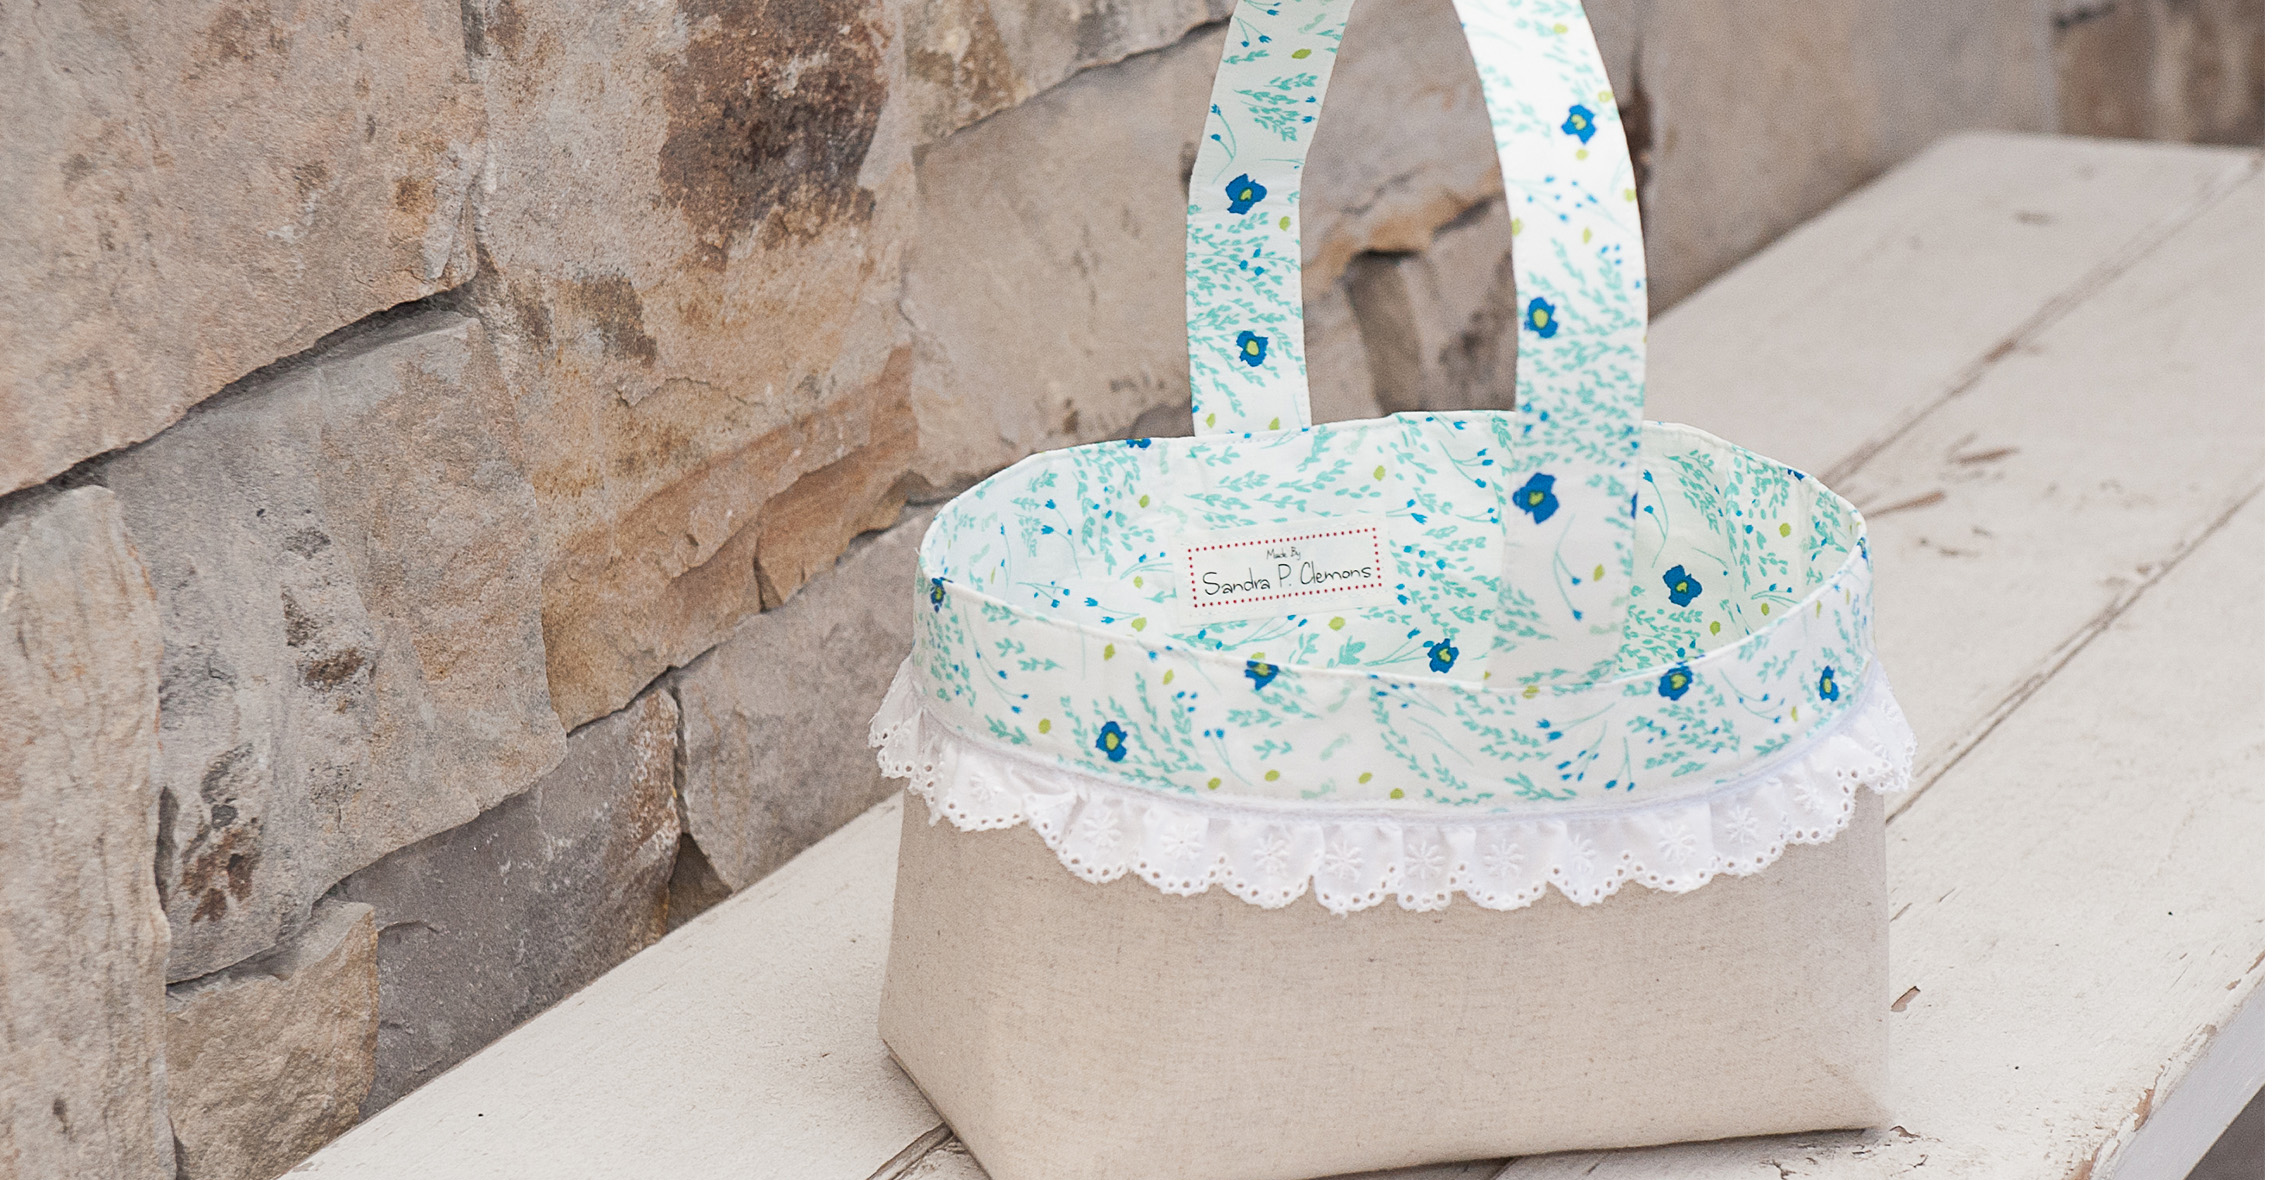
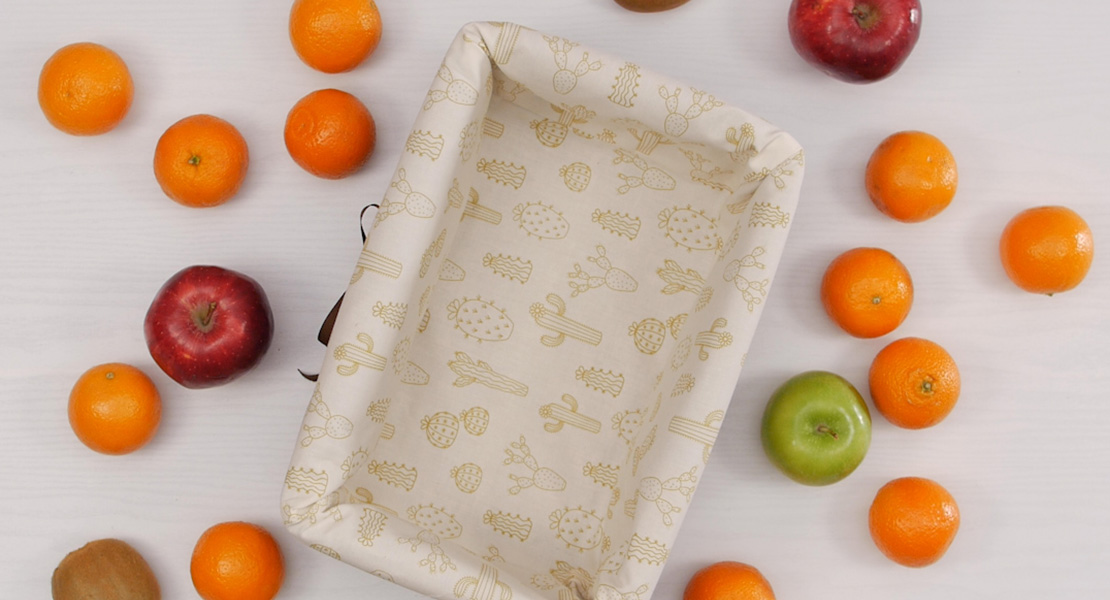
Beginner Bread Basket
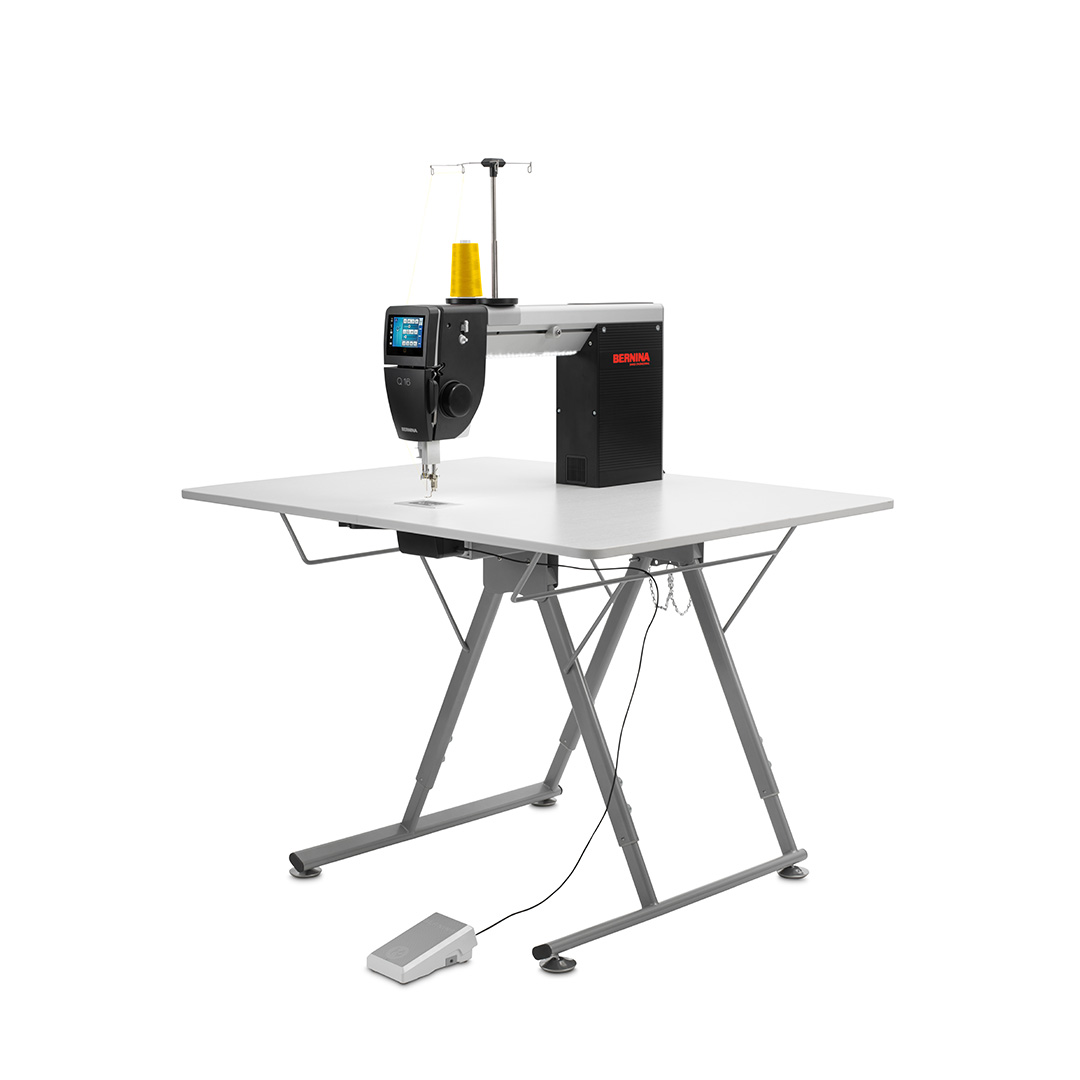
Several years ago I purchased a darling bread serving basket in France, and I’ve used it more times than I can count. The only trouble with it is that it has stiff plastic in it, so I’m hesitant to stick it in the microwave. I wanted to replicate this useful pastry basket so that I can gift it and also have one or two for myself. But I decided to make it just a little more functional– washable and microwaveable! Furthermore, I discovered that this little project is an excellent way to practice quilting with rulers on my BERNINA Q 16 machine! I hope you’ll enjoy making this beginner-friendly quilted pastry basket!
Supplies
- You’ll need three fat quarters. I recommend finding a good striped fabric to help make quilting EASY! (You can find this stripe and the coordinating fabrics on my website, CollageQuilter.com).
- 13″ square of thin but stiff batting for the project.
- 72″ of ribbon for the corners.
Cutting
- From two of the coordinating fat quarters (including the stripe), cut two 13″ x 13″ squares for the body of the basket.
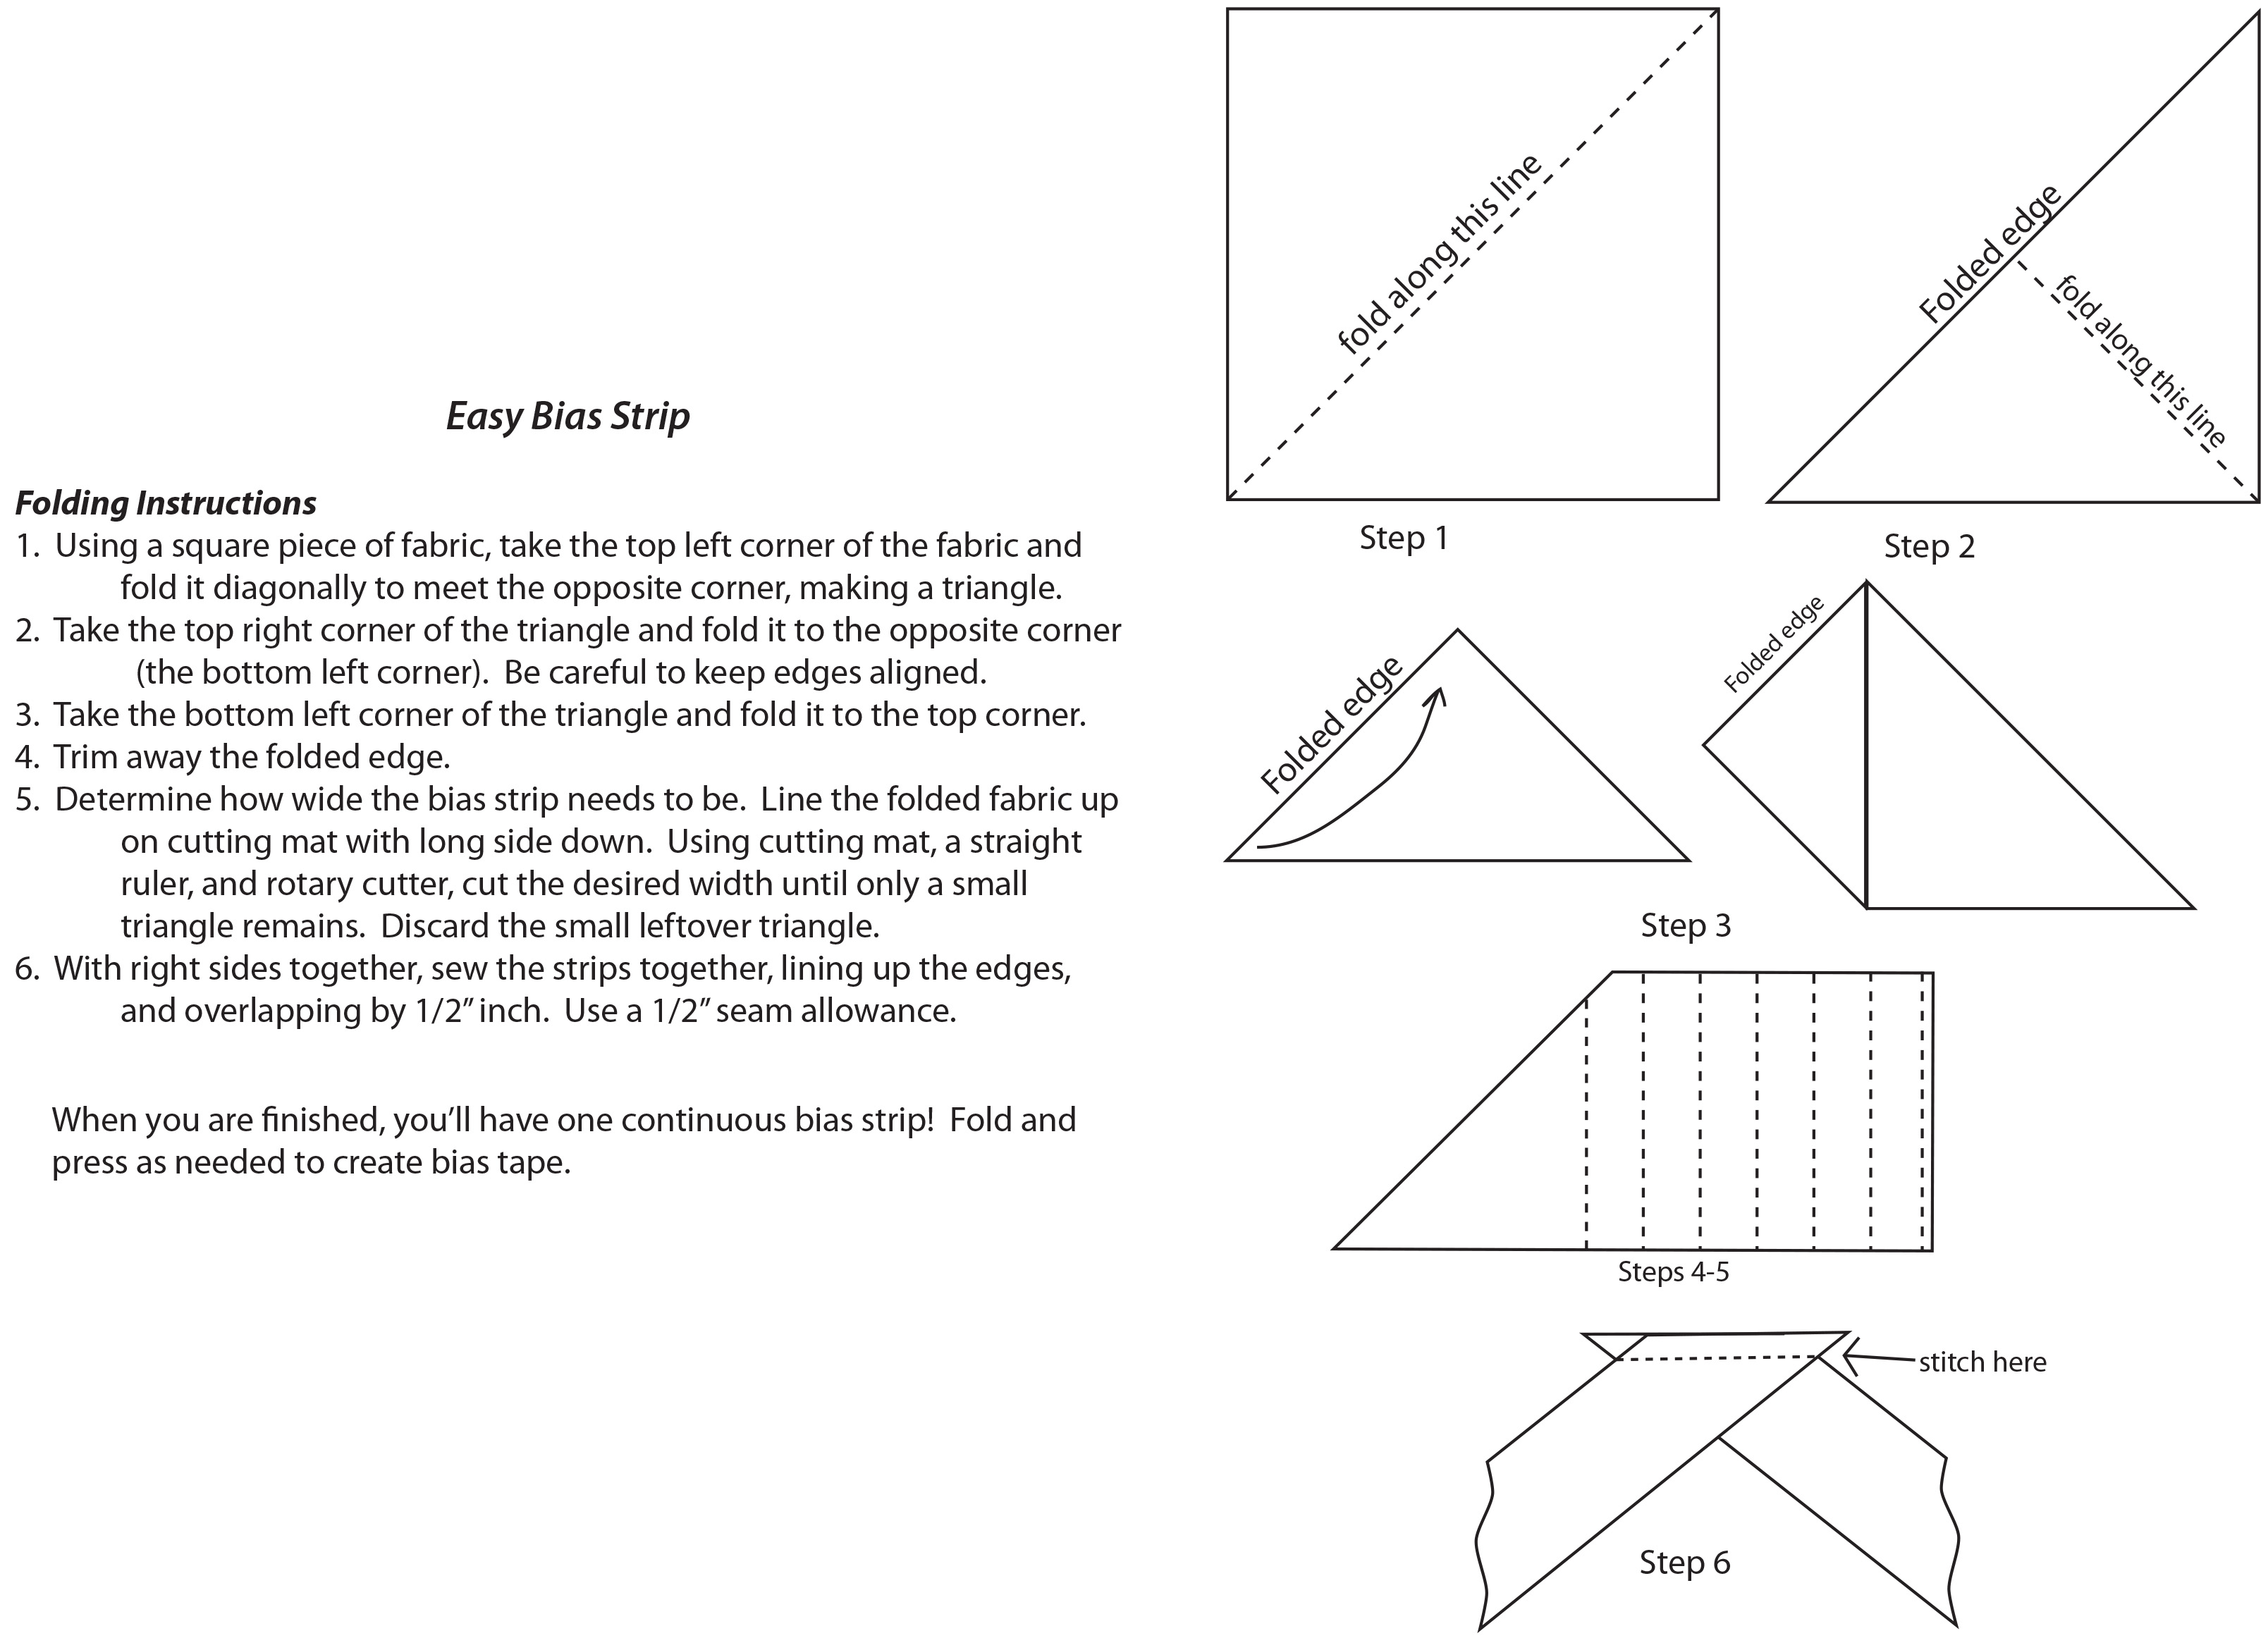
- With the remaining fat quarter, create a continuous strip of 1/4″ bias binding (instructions attached).
- Cut eight 9″ pieces of ribbon.
Quilting
- Mark an 8″ square in the center of the striped fabric.
- Make a quilt sandwich with two 13″ squares and batting.
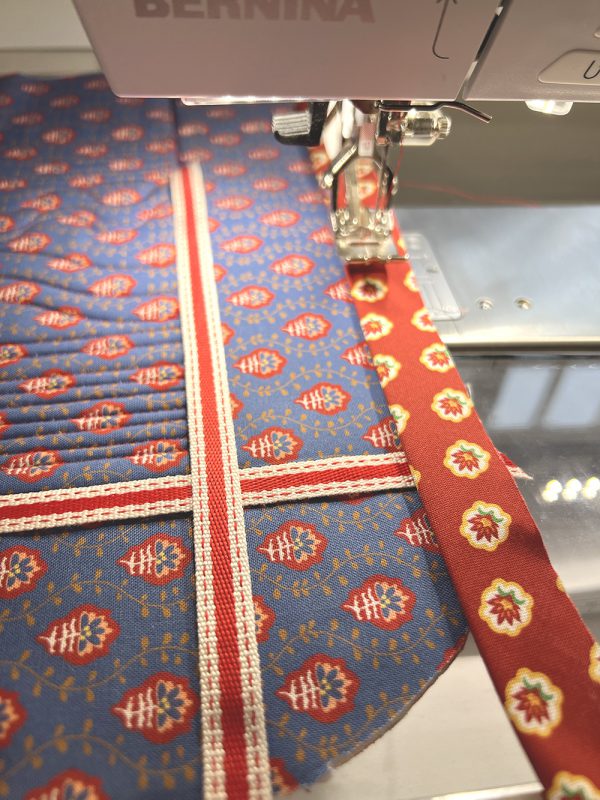
- Using the BERNINA Mini Straight Line ruler and the ruler foot on your Q 16 machine, stitch around this square and to the edges of the basket. I LOVED using this ruler because the 1/4″ notch at the end helps be to line up perfectly straight lines and helps me know precisely where to stop stitching.
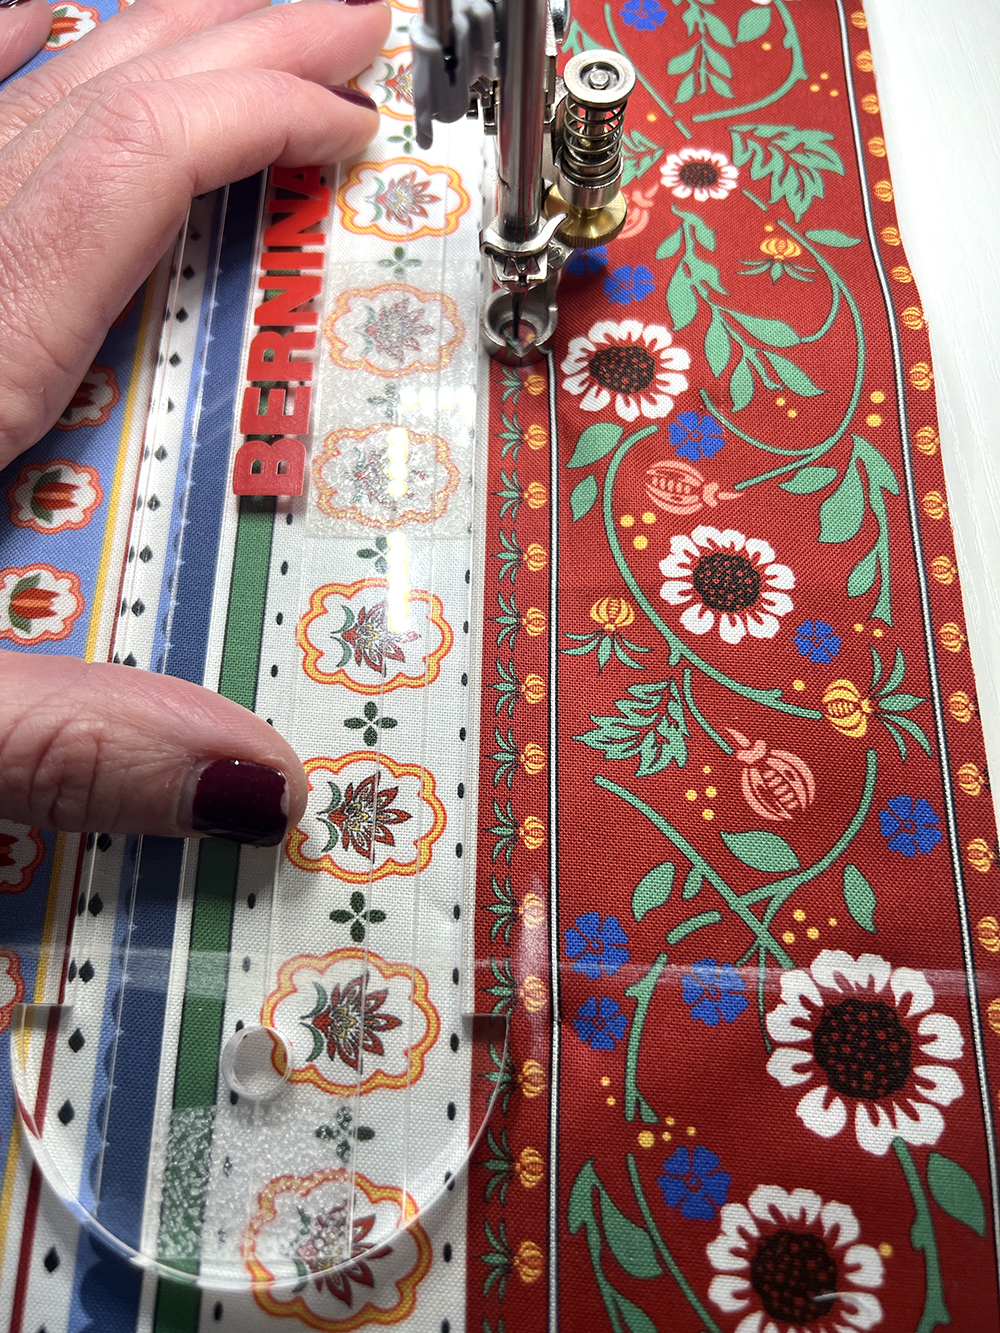
- Quilt the center of this 8″ square, this becomes the bottom of the basket. As you can see, the stripe is especially helpful to line up rulers and practice creating different shapes!
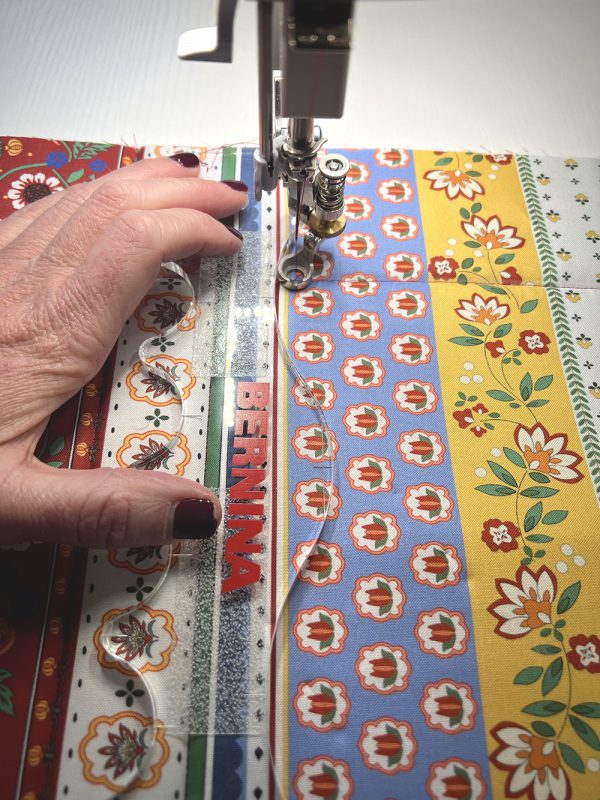

- Quilt as much as much as you’d like (the more quilting the better).
Finish the Basket
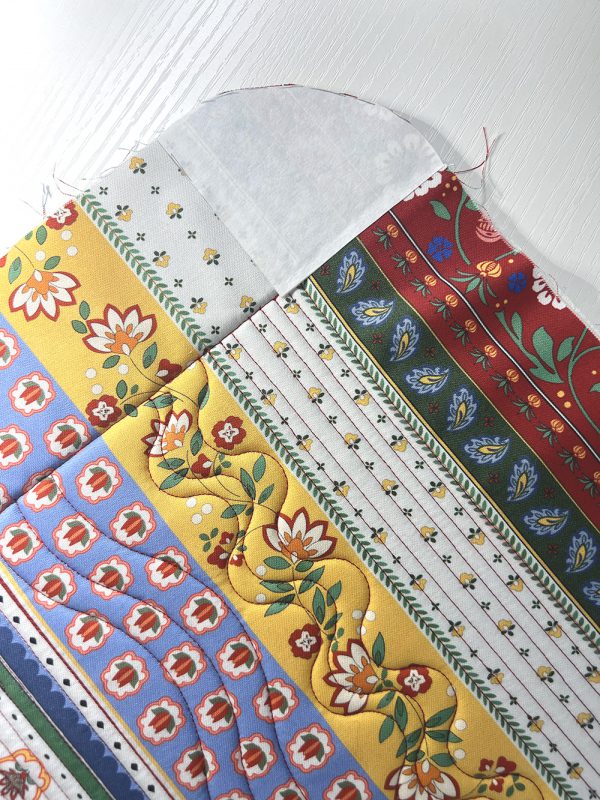
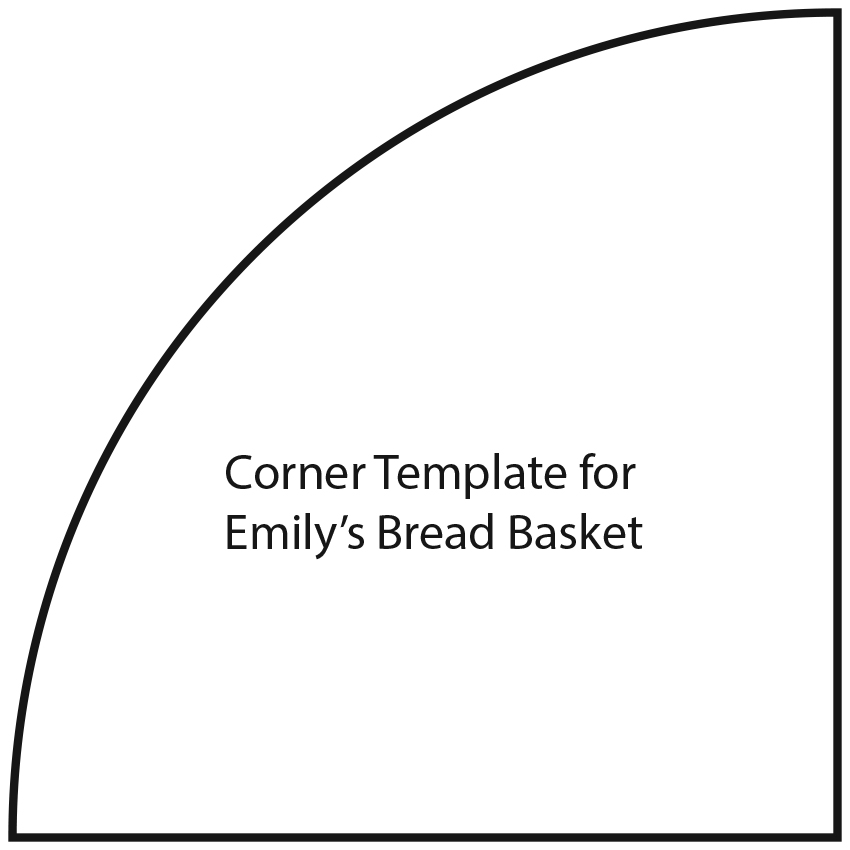
- Trace the provided corner template onto freezer paper, then use it to round the corners as shown.
- Line up the ribbon pieces in each corner (two per corner). The ribbon pieces should lay towards the inside of the basket.
- Apply the bias binding across the top of the basket, being certain to catch the ribbon pieces in the seam.
![]()
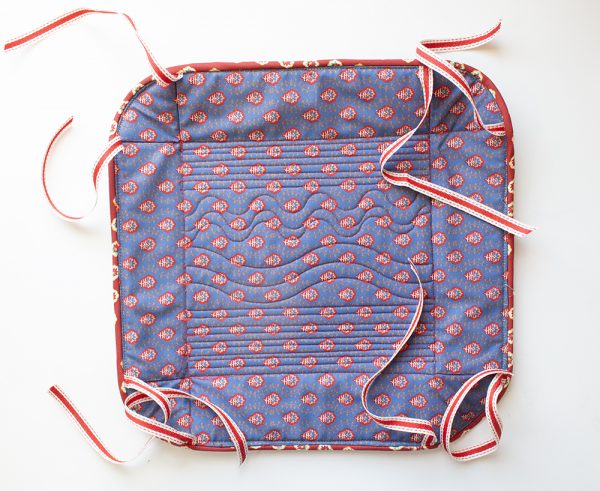
- Tie the ribbons together in each corner to fold up the corners of the basket.
Now you have a bread or pastry basket which is reversible, washable and microwavable. And you’ve had a chance to practice using rulers with your BERNINA Q 16! Enjoy!
Used Products

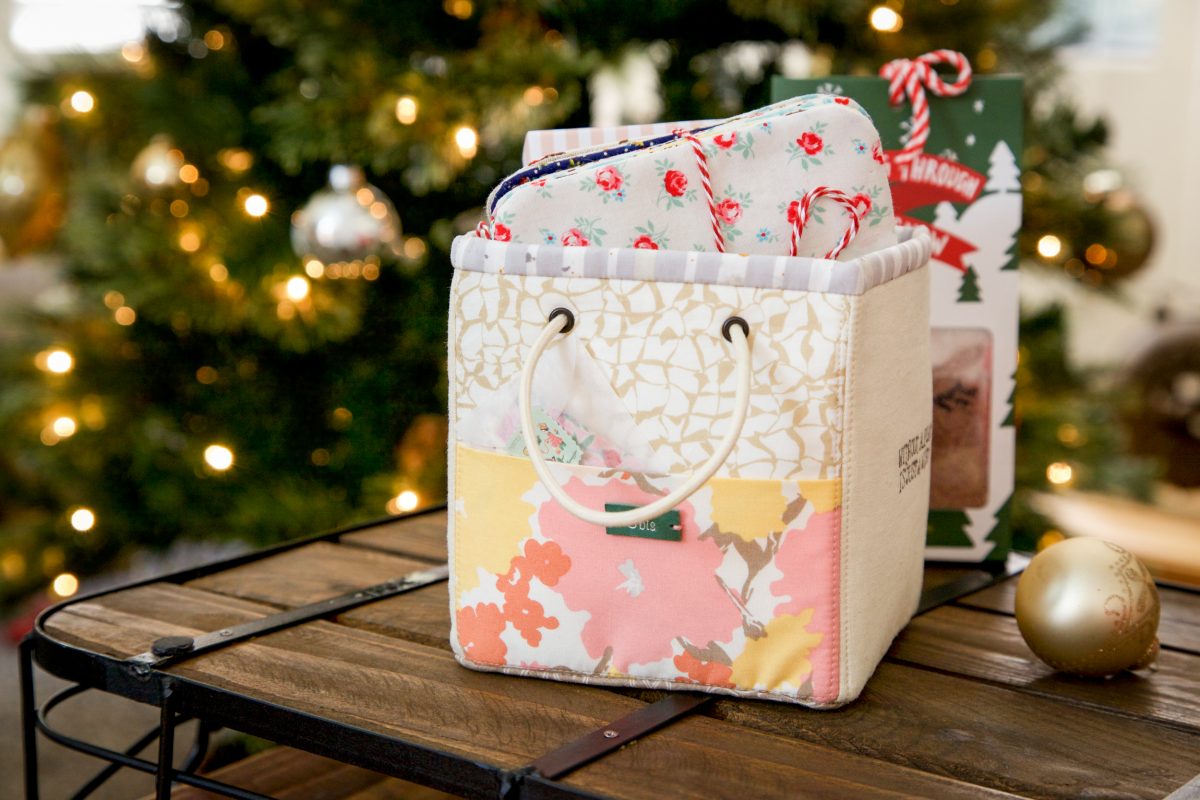
What you might also like


3 comments on “Beginner Bread Basket”
-
-
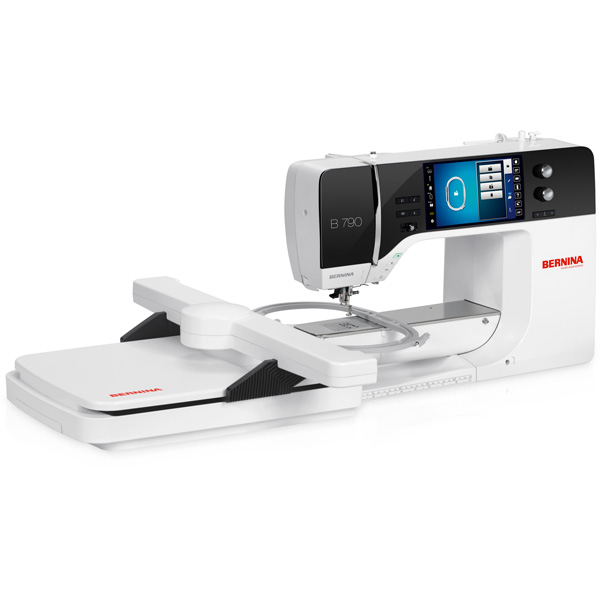
Embroidery on my 790+
-
I would like to make a quilt.
Leave a Reply
You must be logged in to post a comment.

I want to learn how to freehand quilt. I love to sew