WeAllSew Coats! Lined Coat Sew Along, Part Three: Lining the Coat
Thanks for joining me for the third and final part of this lined coat sew along! We’re almost there! It’s time to sew our coat linings and line our coat shell. By the end of this post, you’ll have a coat to wear all season long and for years to come. I’m excited to see the progress you’ve made with this #weallsewcoats sew along!
Remember that you can check out this post if you are unsure of some garment sewing terms. This post outlines them all and what they mean, so it’s a good glossary!
And, in case you missed the previous posts:
We All Sew Coats! Sew Along Outline
Part One: Fabric and Inspiration
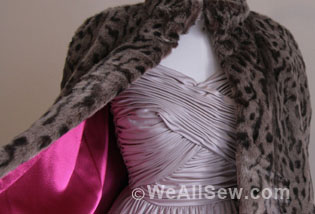
In this post, we discussed coating fabrics, lining fabrics, coat notions, and some pattern inspiration. Make sure you check it out if you haven’t yet!
Part Two: Sewing the Coat Shell
In this post, we went through sewing the outer shell of the coat. Make sure you complete this before sewing your lining!
Part Three: Lining the Coat (That’s this post!)
This final post will focus on sewing the coat lining and lining our coats. I’ll walk you through bagging the lining and give you tips for sewing slippery lining fabrics. At the end, you’ll have a coat to wear for many seasons to come!
Tips for Sewing Lining Fabrics
When sewing the lining fabric, you’ll likely want to use a smaller needle than you used for the coat’s outer shell. This might require switching needles between steps, but you can always test the needle with your lining fabric to be sure. I also like to use dual feed, if possible, when sewing the lining to help keep the layers of that slippery fabric together. Using a straight stitch plate when possible will also help to make sure your fabric doesn’t get sucked into the bobbin. Sewing the lining is really similar to sewing the outer, so just test your stitches on some scrap fabric and you’ll be good to go! You can also use Creative Consultant like we did in the last post to get settings for sewing lining fabrics.
Assemble the Lining Back
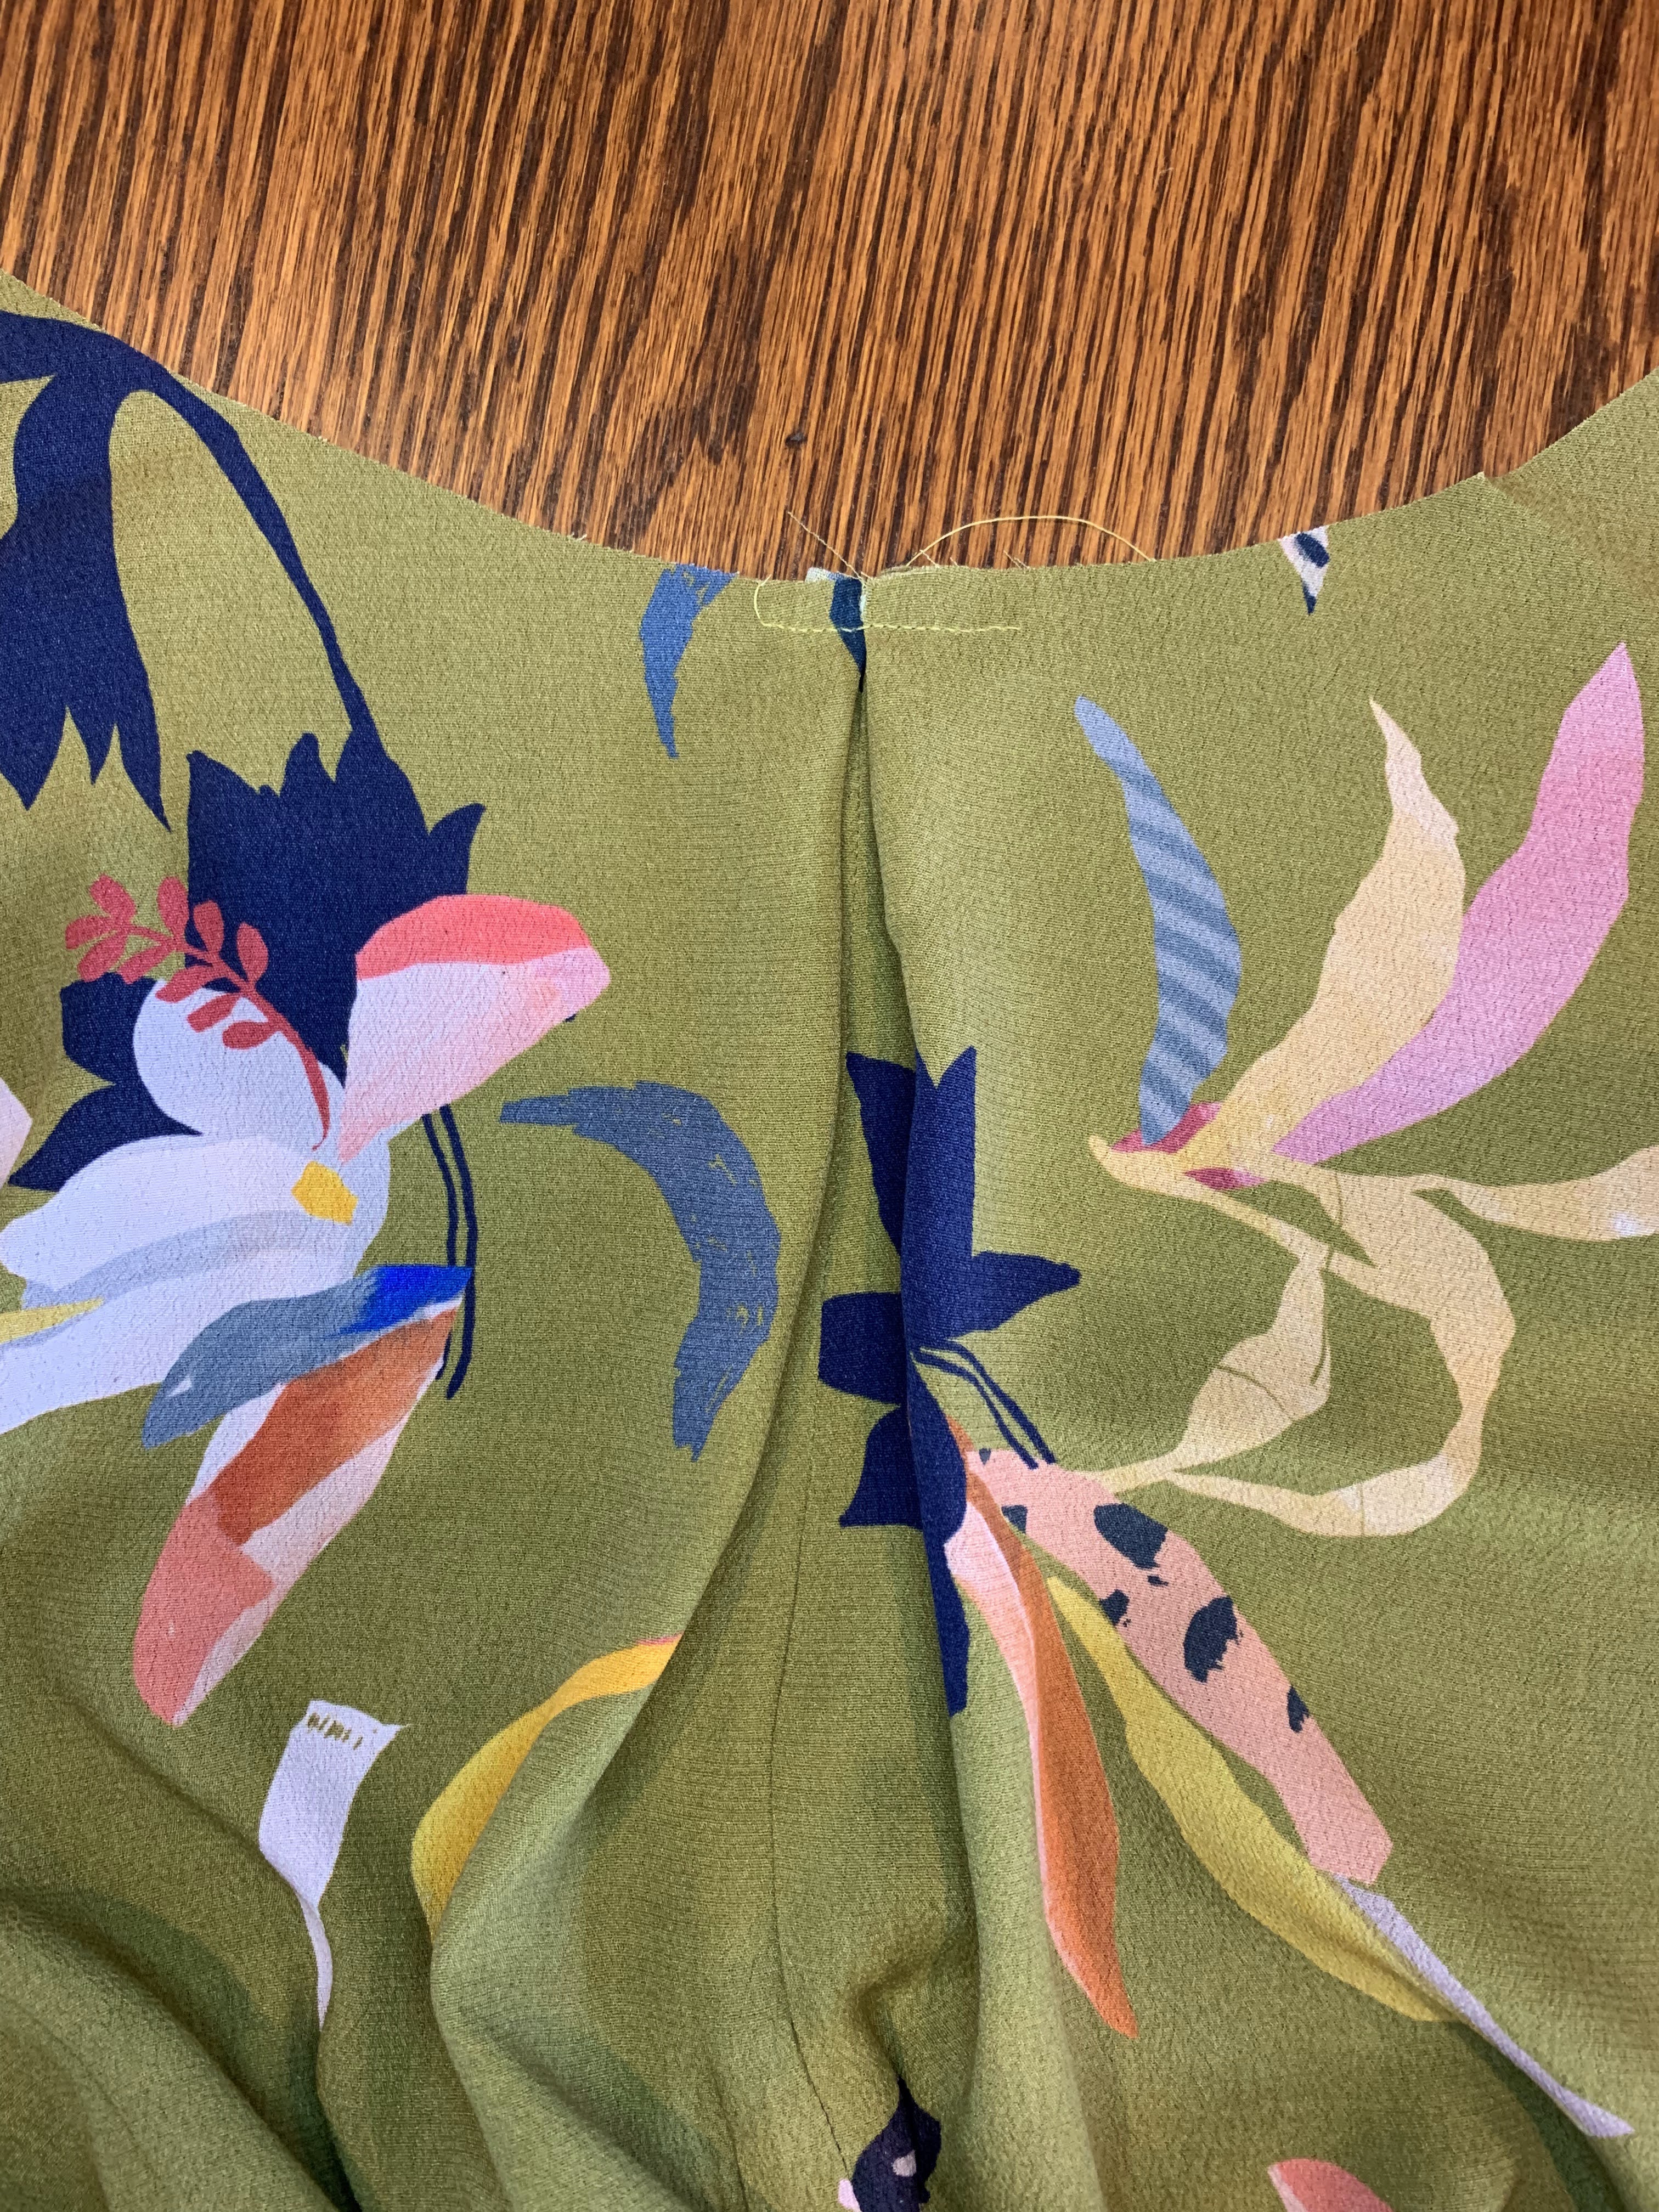
When sewing the lining back, you might have two pieces rather than one cut on the fold. The back center seam may also be slightly curved to give you a little more room in your finished coat. Start by sewing the back pieces along the center back seam. Some of this seam may be left open to leave a hole to turn the lining. Check with your pattern to see where this is recommended. You then might have to insert a pleat along the center back. Due to this, fold the fabric to meet the notches indicated on your pattern and baste the pleat together within the seam allowance.
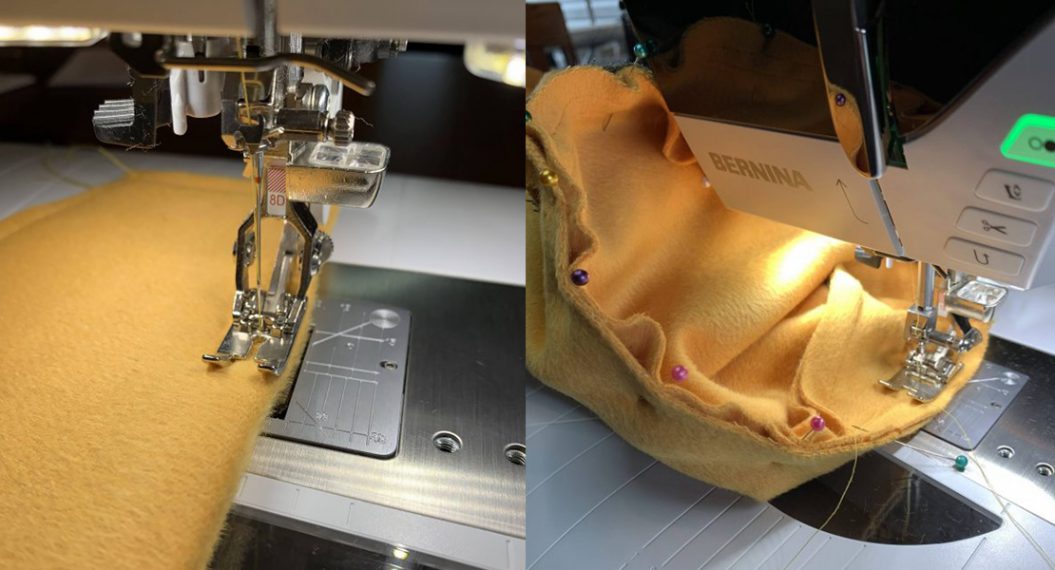
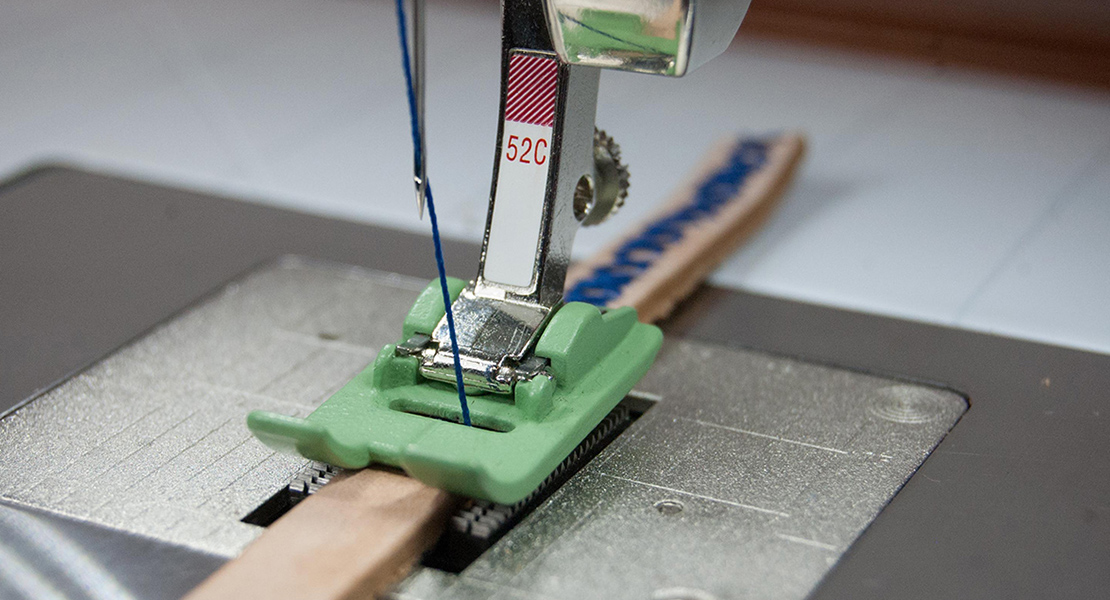
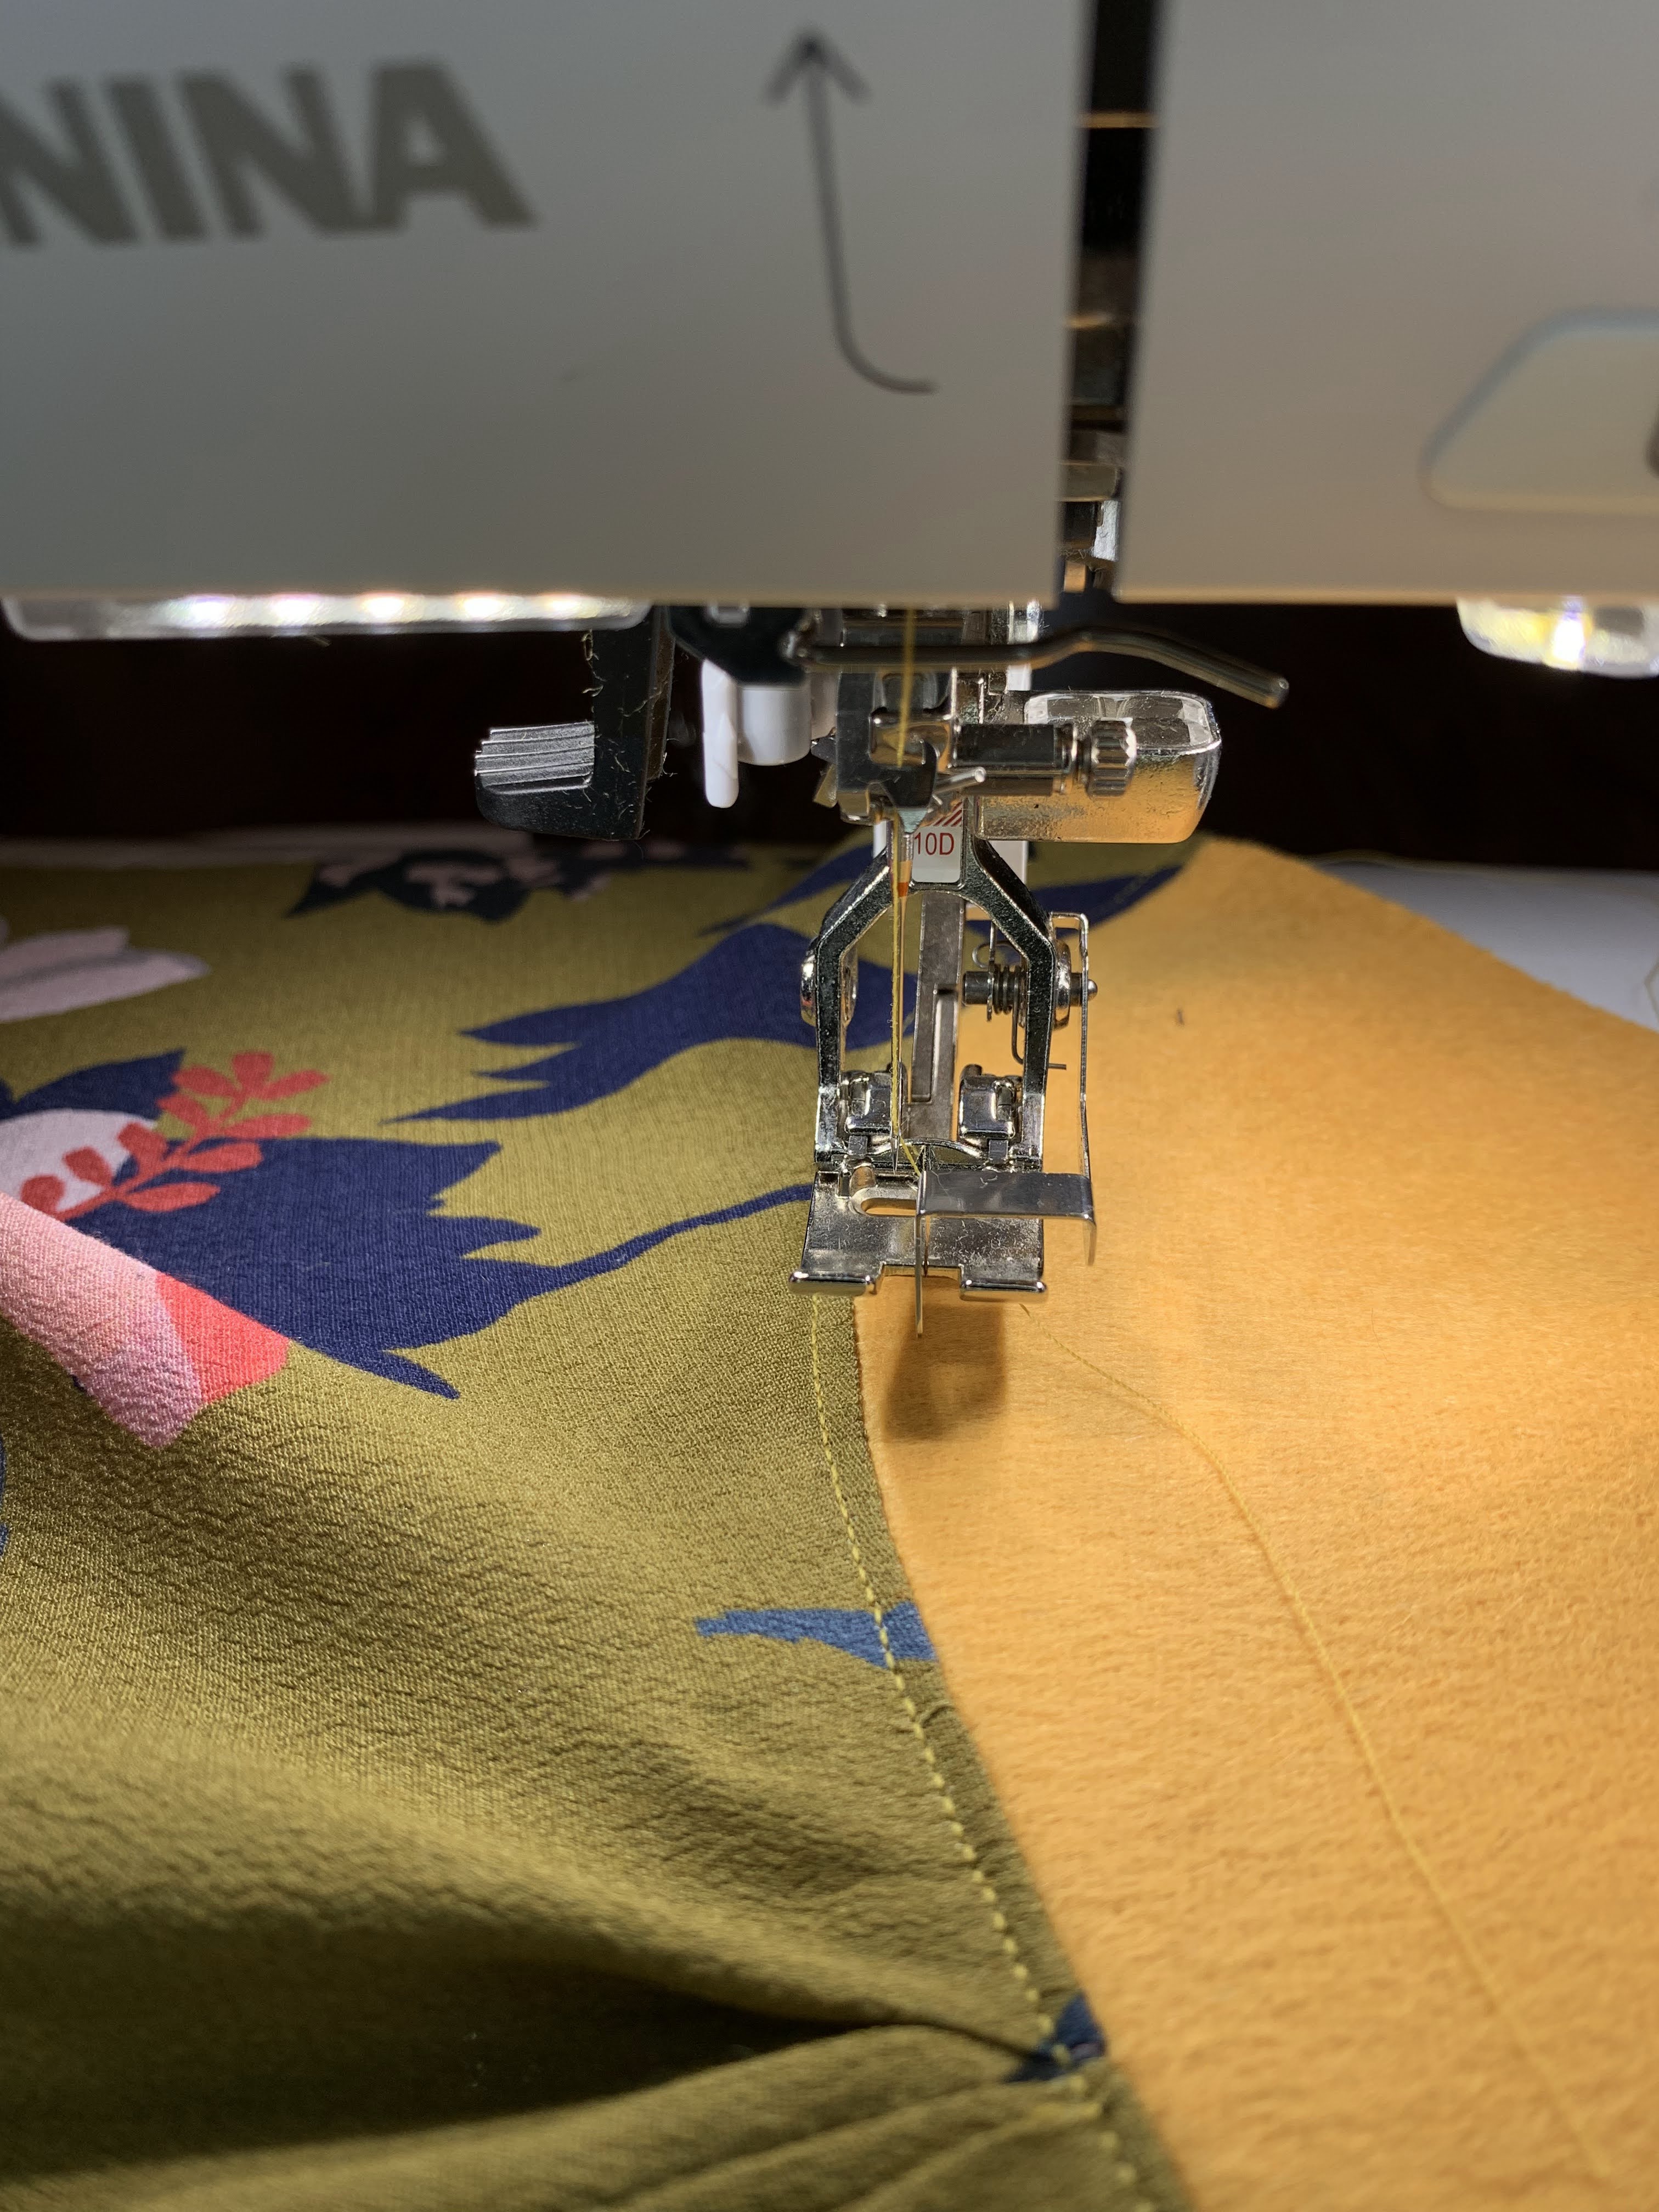
Attach the back neck facing piece to finish off the top of the back lining. This will have a curve to it, so take your time pinning and sewing. When finished, you’ll edge stitch along the seam line. I like to use Edgestitch Foot #10D for this. I line the bar up with the seam line and move the need over to the side I want to sew on.
Assemble the Lining Front
Assemble the lining front piece by attaching the front facing to the lining piece. You also may have to sew a dart or a princess seam, depending on your pattern. Make sure you pay attention here because many patterns won’t have you sew the whole way to the bottom of this seam.
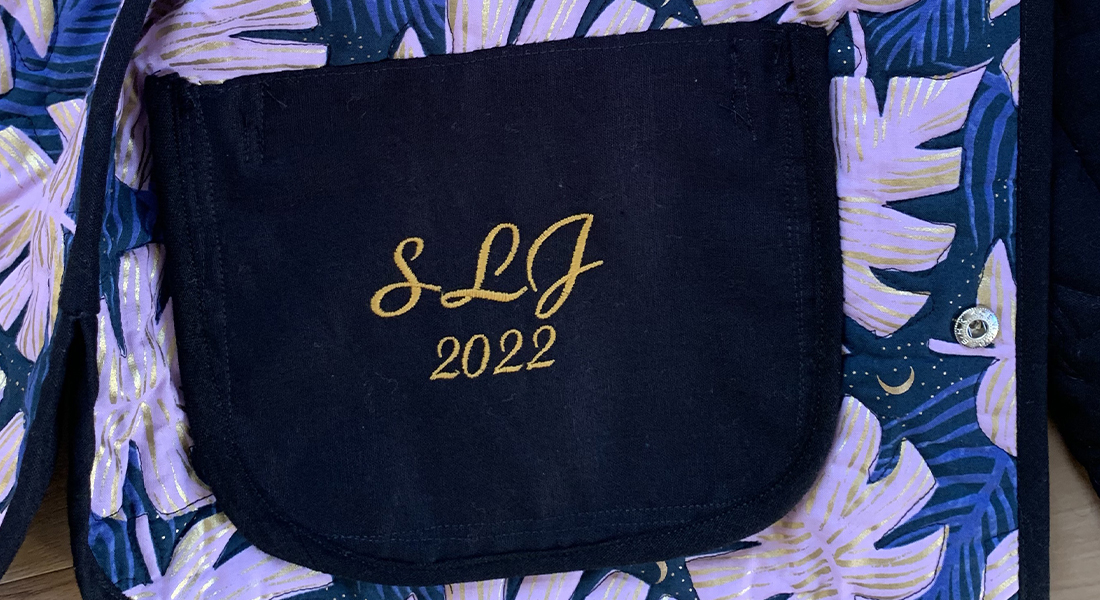
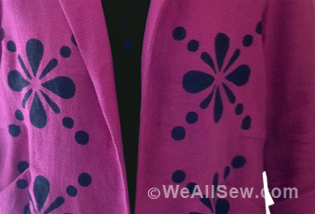
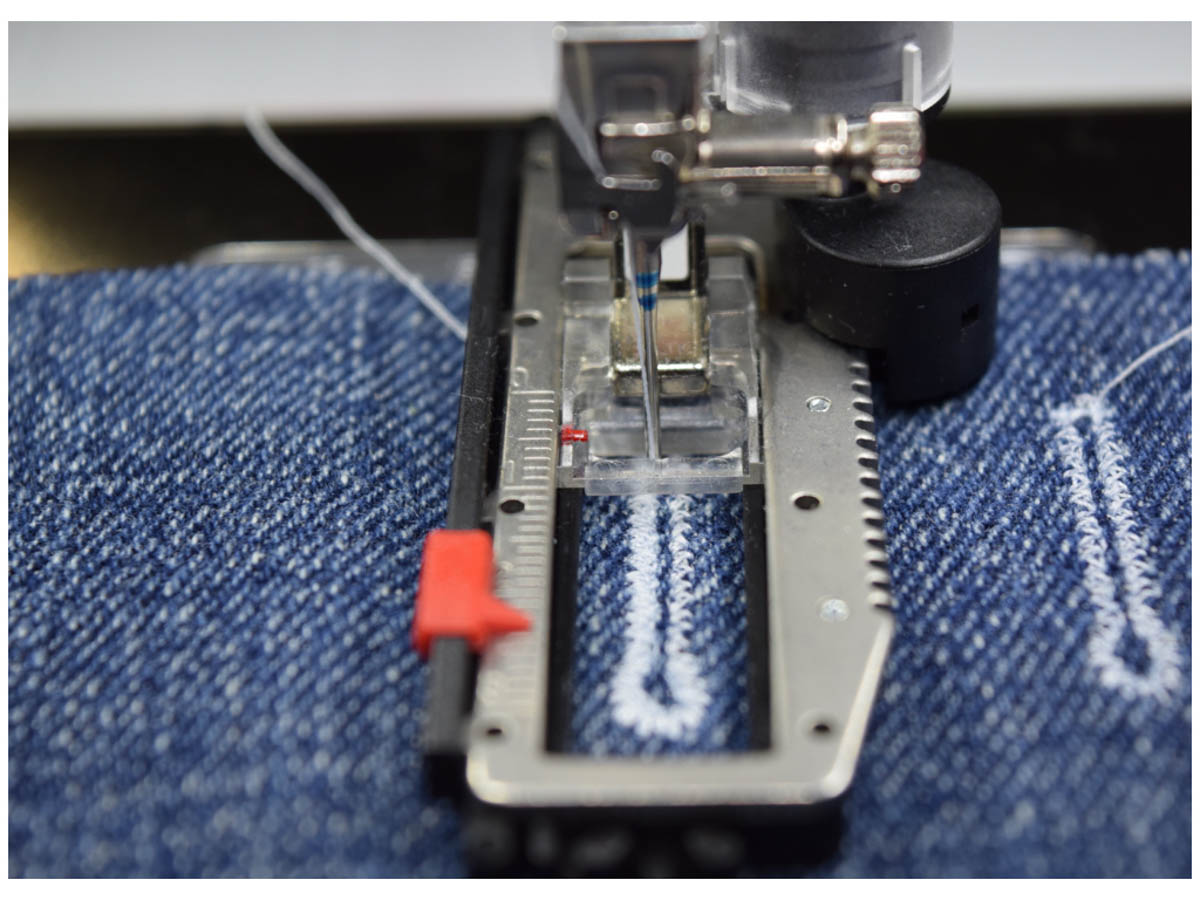
The front facing is a great place to personalize your coat. You can use machine embroidery to add your initials and the date like I did here to add a personal touch!
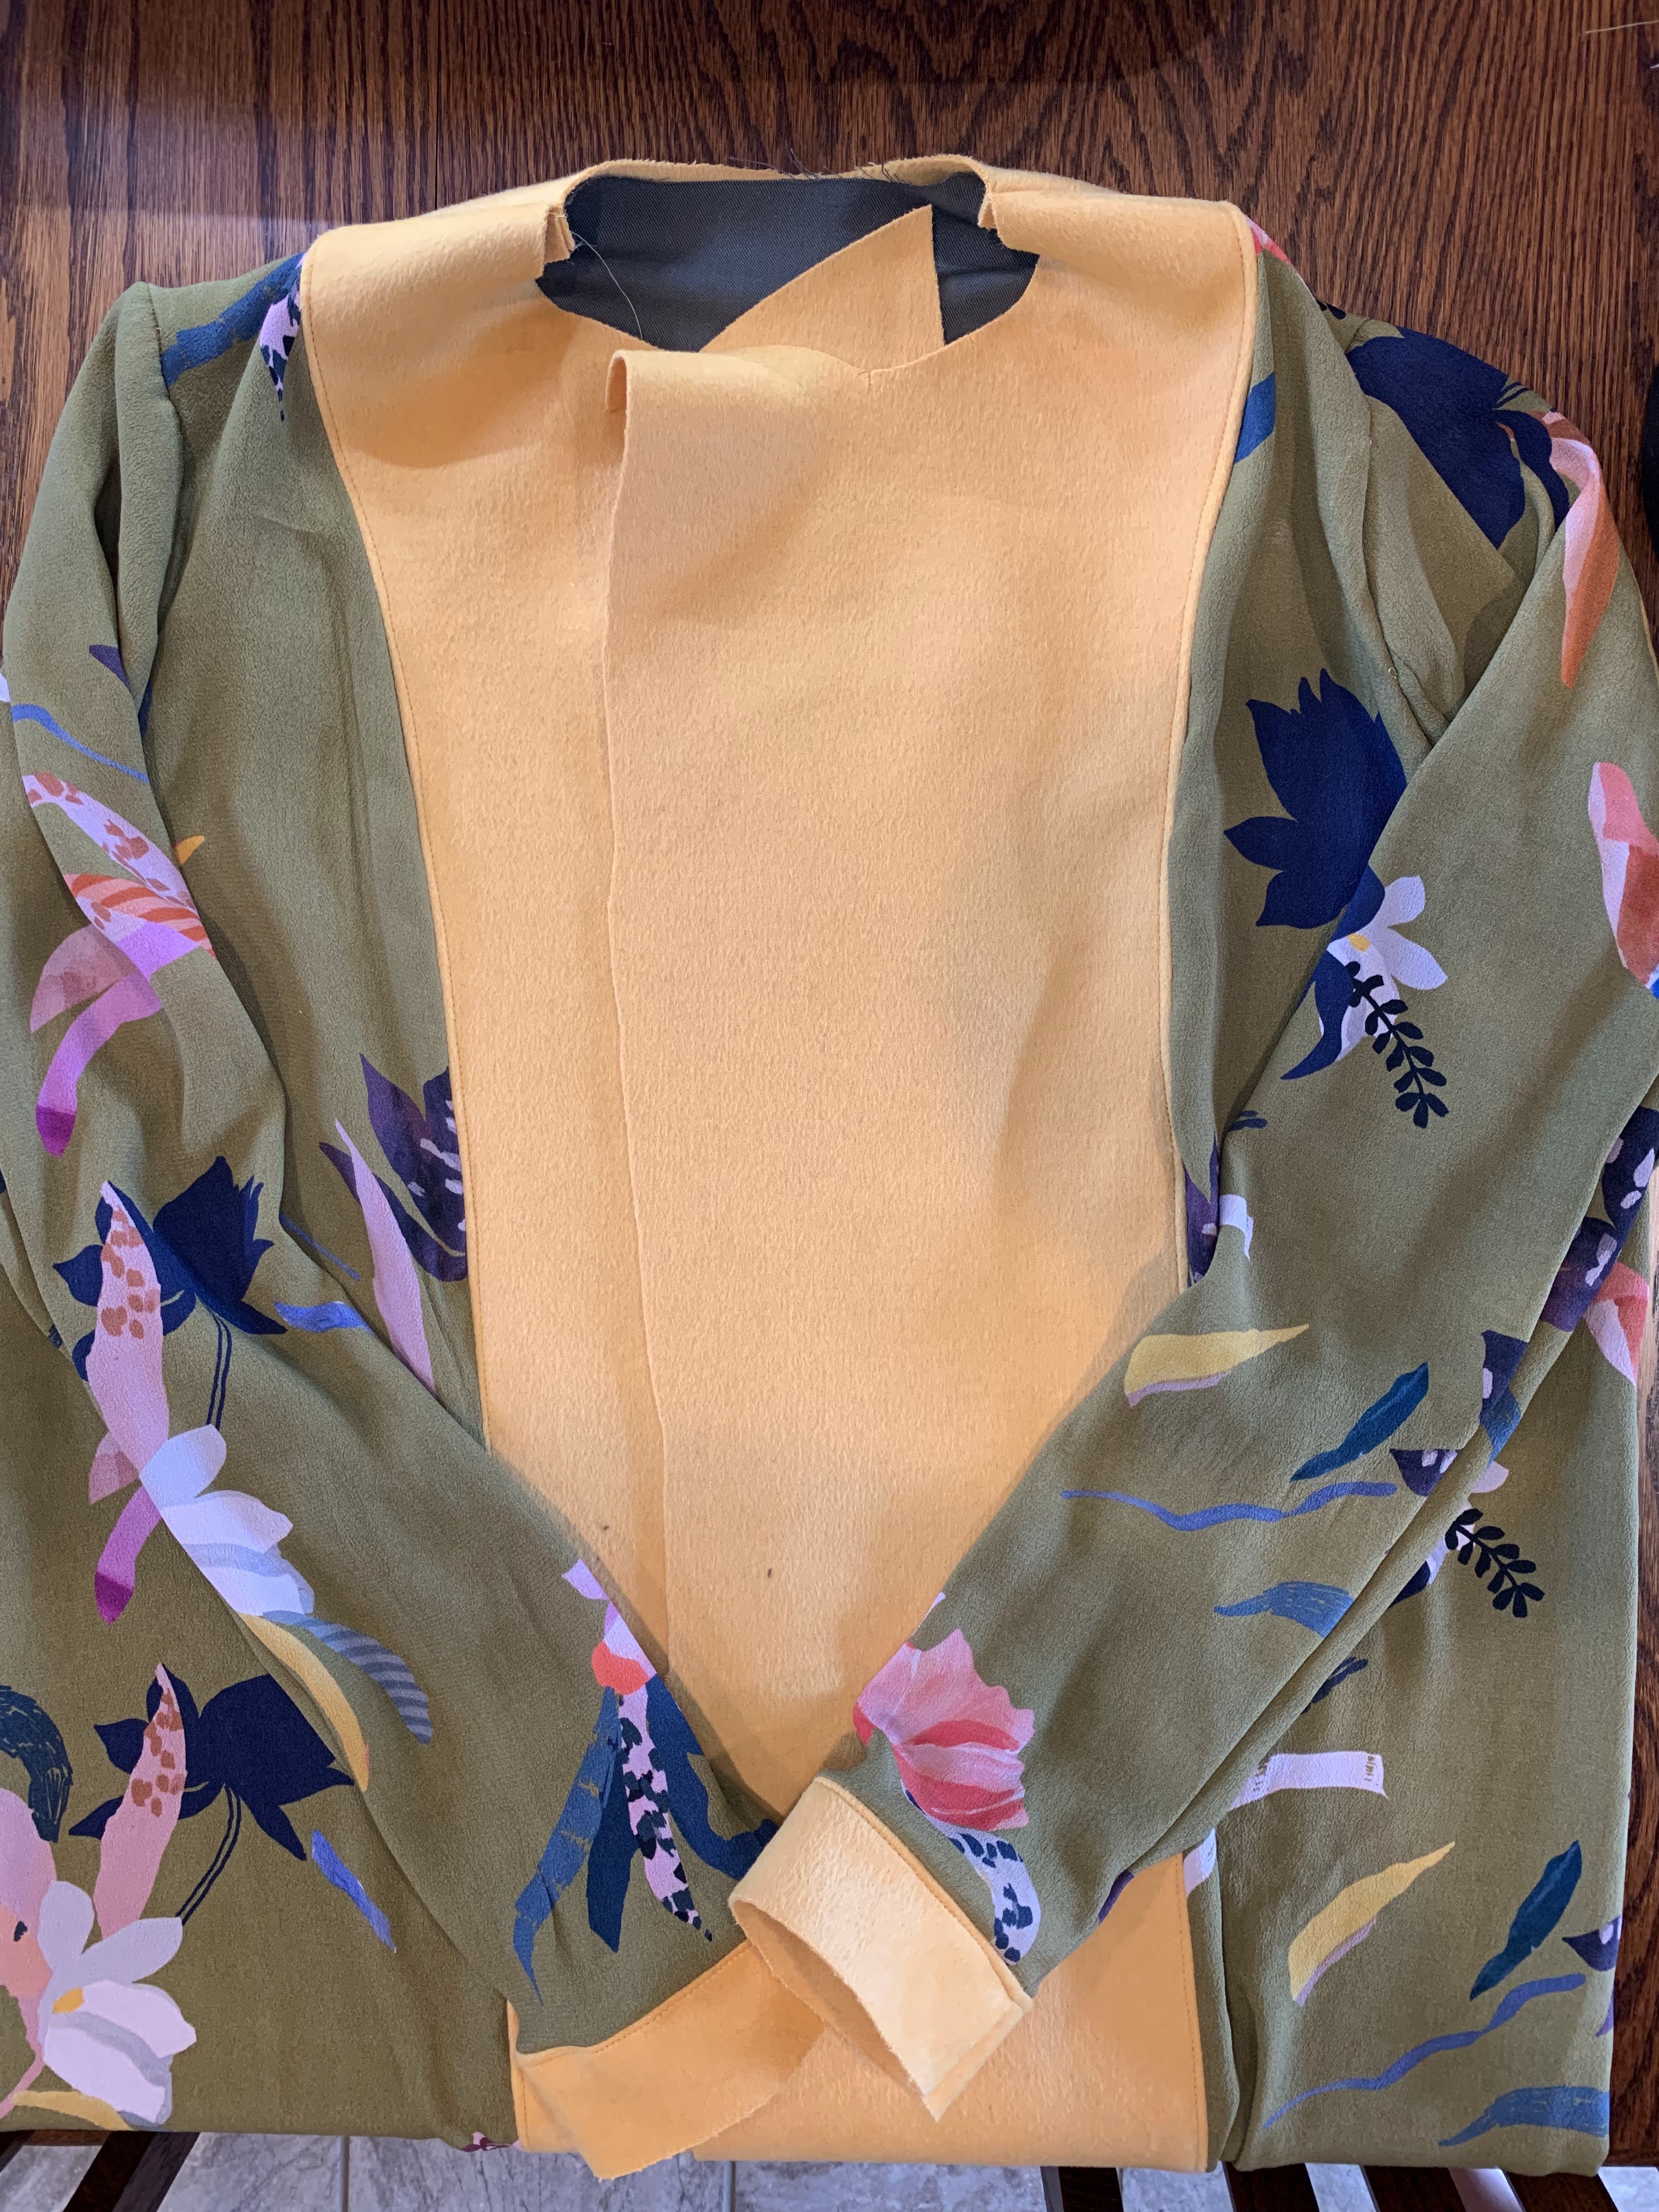
Assemble the Lining
Finish assembling the lining the same way you did the coat outer by sewing the shoulder seams and side seams. You’ll then insert your sleeves the same way you did with the coat outer.
Your pattern may also have hem facing pieces to attach to the coat hem and/or sleeve lining. These just get sewn in place and then under stitched. Some patterns have pieces like this and some do not.
When finished, you’ll have a coat lining that looks something like this:
Lining the Coat Shell
Now it’s time to attach the lining to the coat shell! These steps can seem a little strange if you haven’t done them before, but trust the process! You’ll start by sewing the lining to the coat shell with the right sides together along all of the outer edges. You can start at one side of the front and work your way up the coat, along the neckline, and down the other front side. You’ll also want to stitch along the hem to attach the bottom of the lining to the bottom of the coat shell. This will attach all of the coat pieces except for the sleeves.
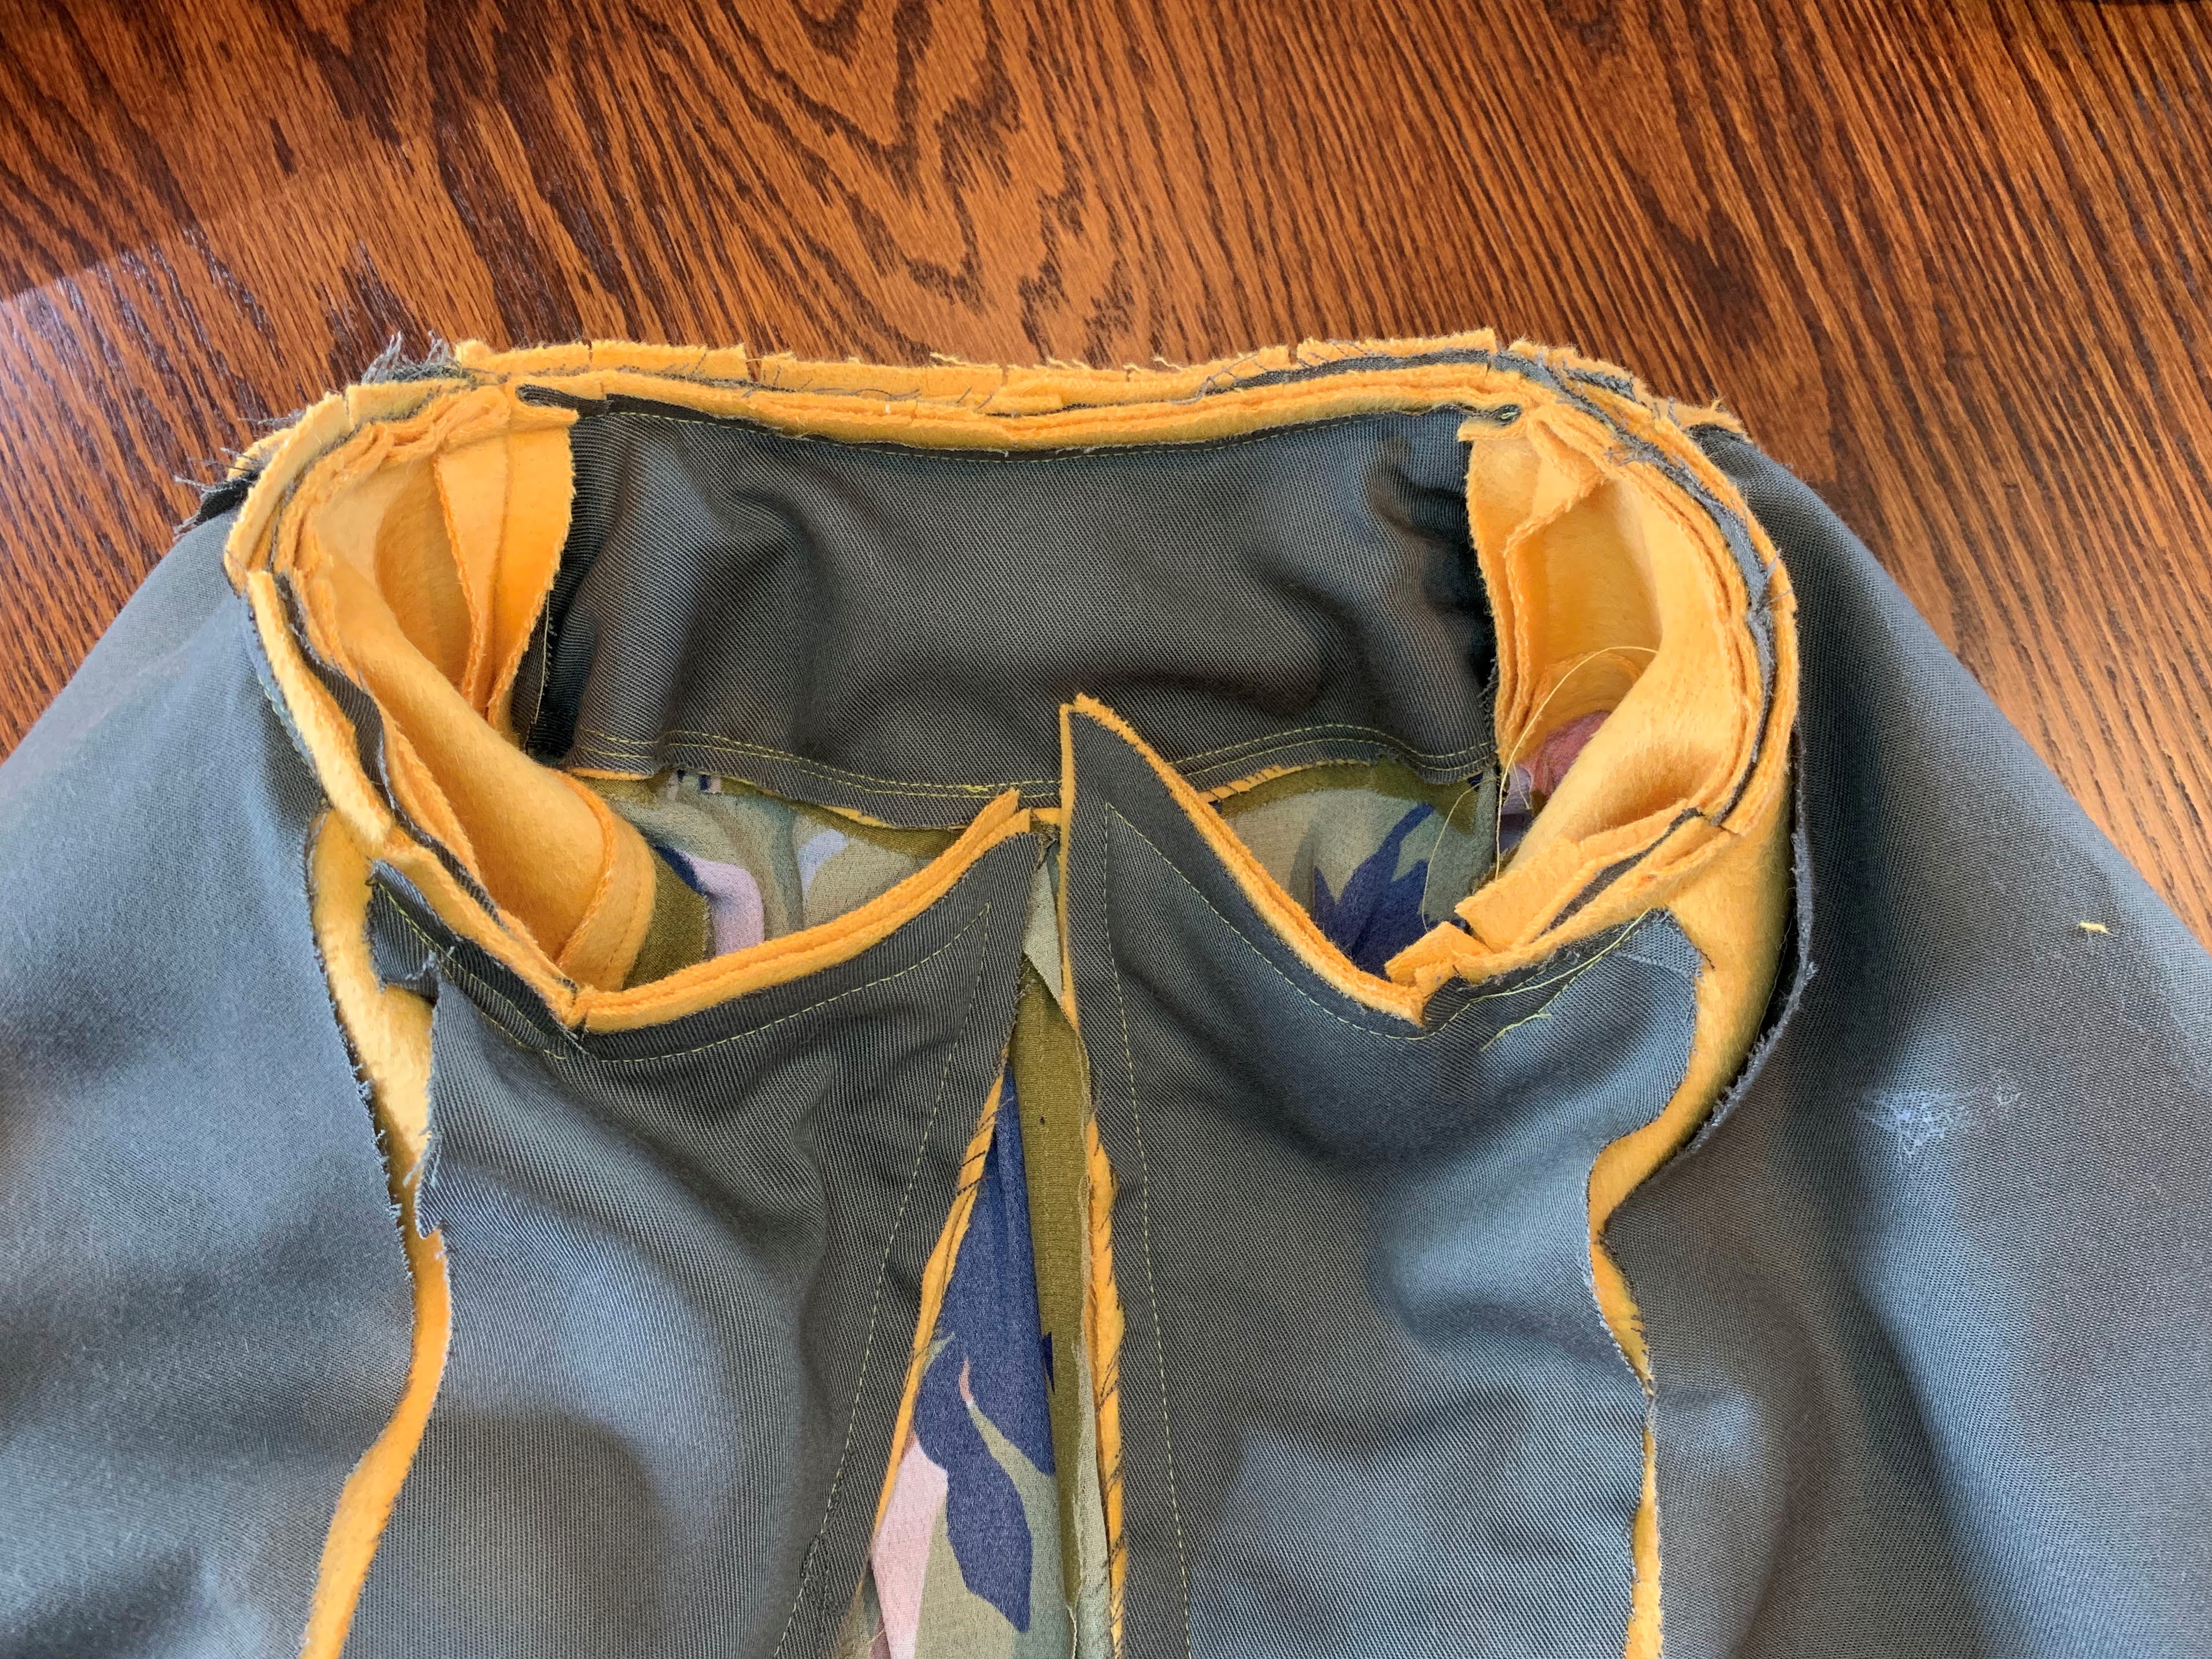
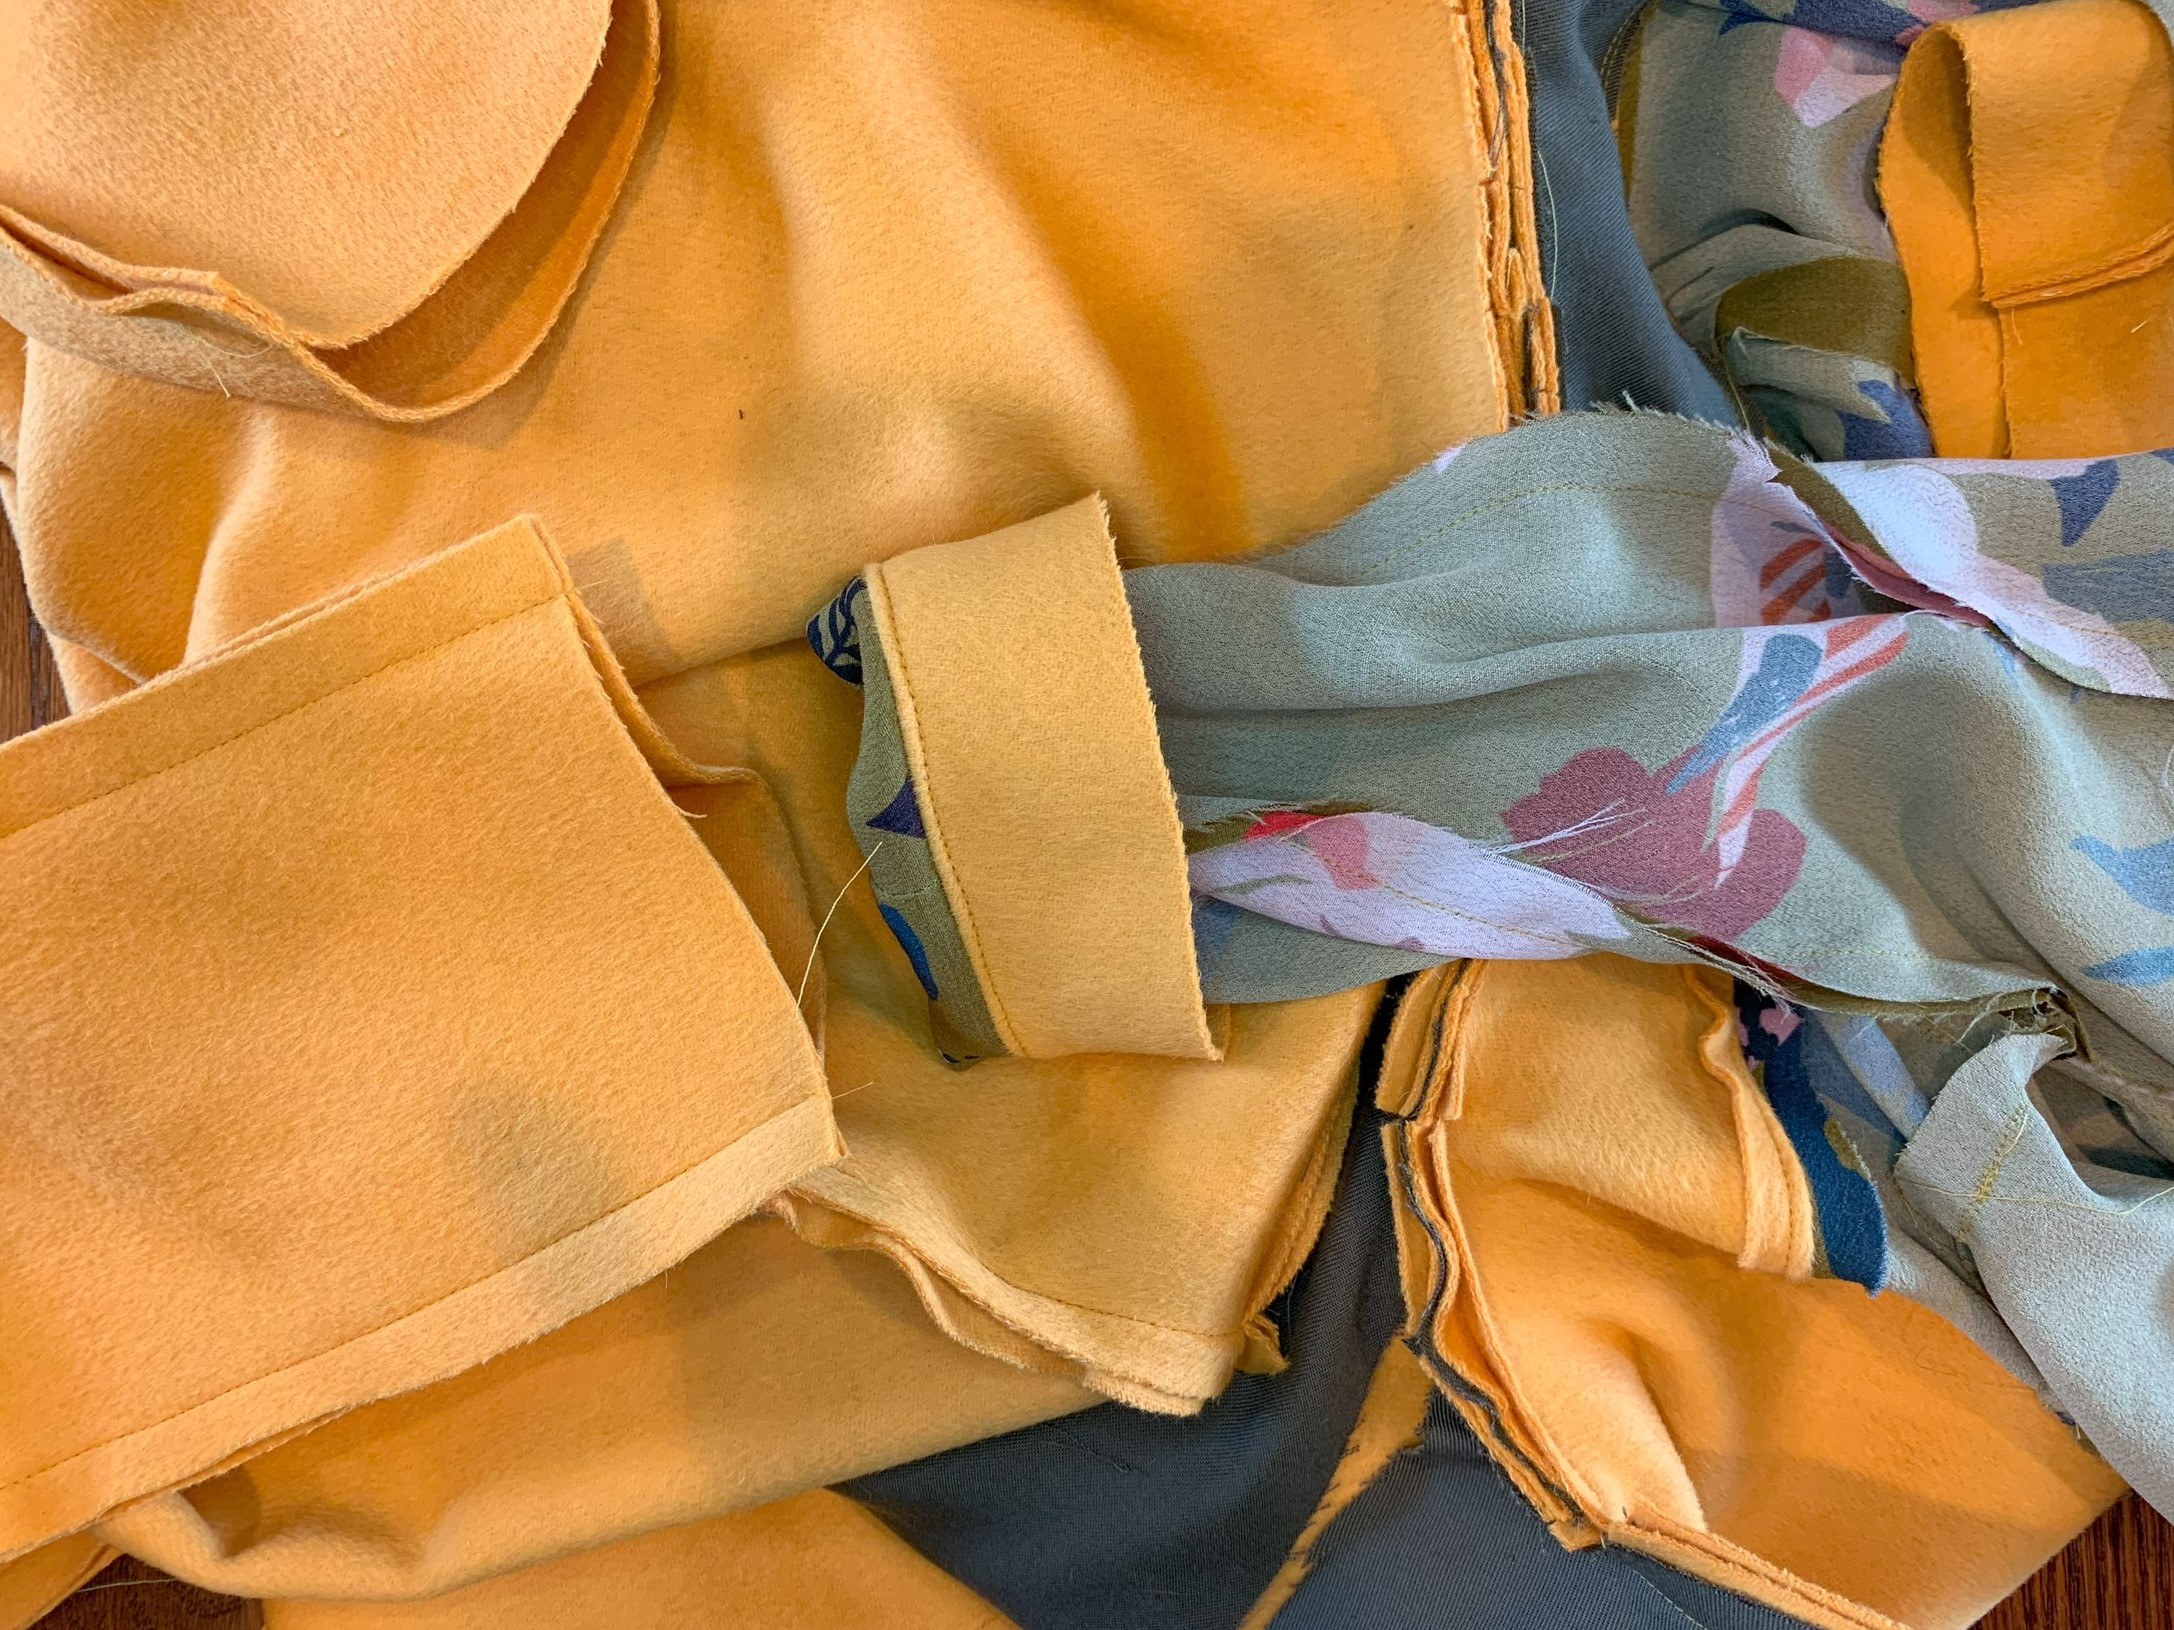
You can line up the sleeves in two ways. The simplest way would be to put your coat on and safety pin the sleeve lining to the coat shell along the hem. This will just make sure the sleeves don’t get twisted. You can also lay the coat out so that the sleeves are all facing away from each other like this:
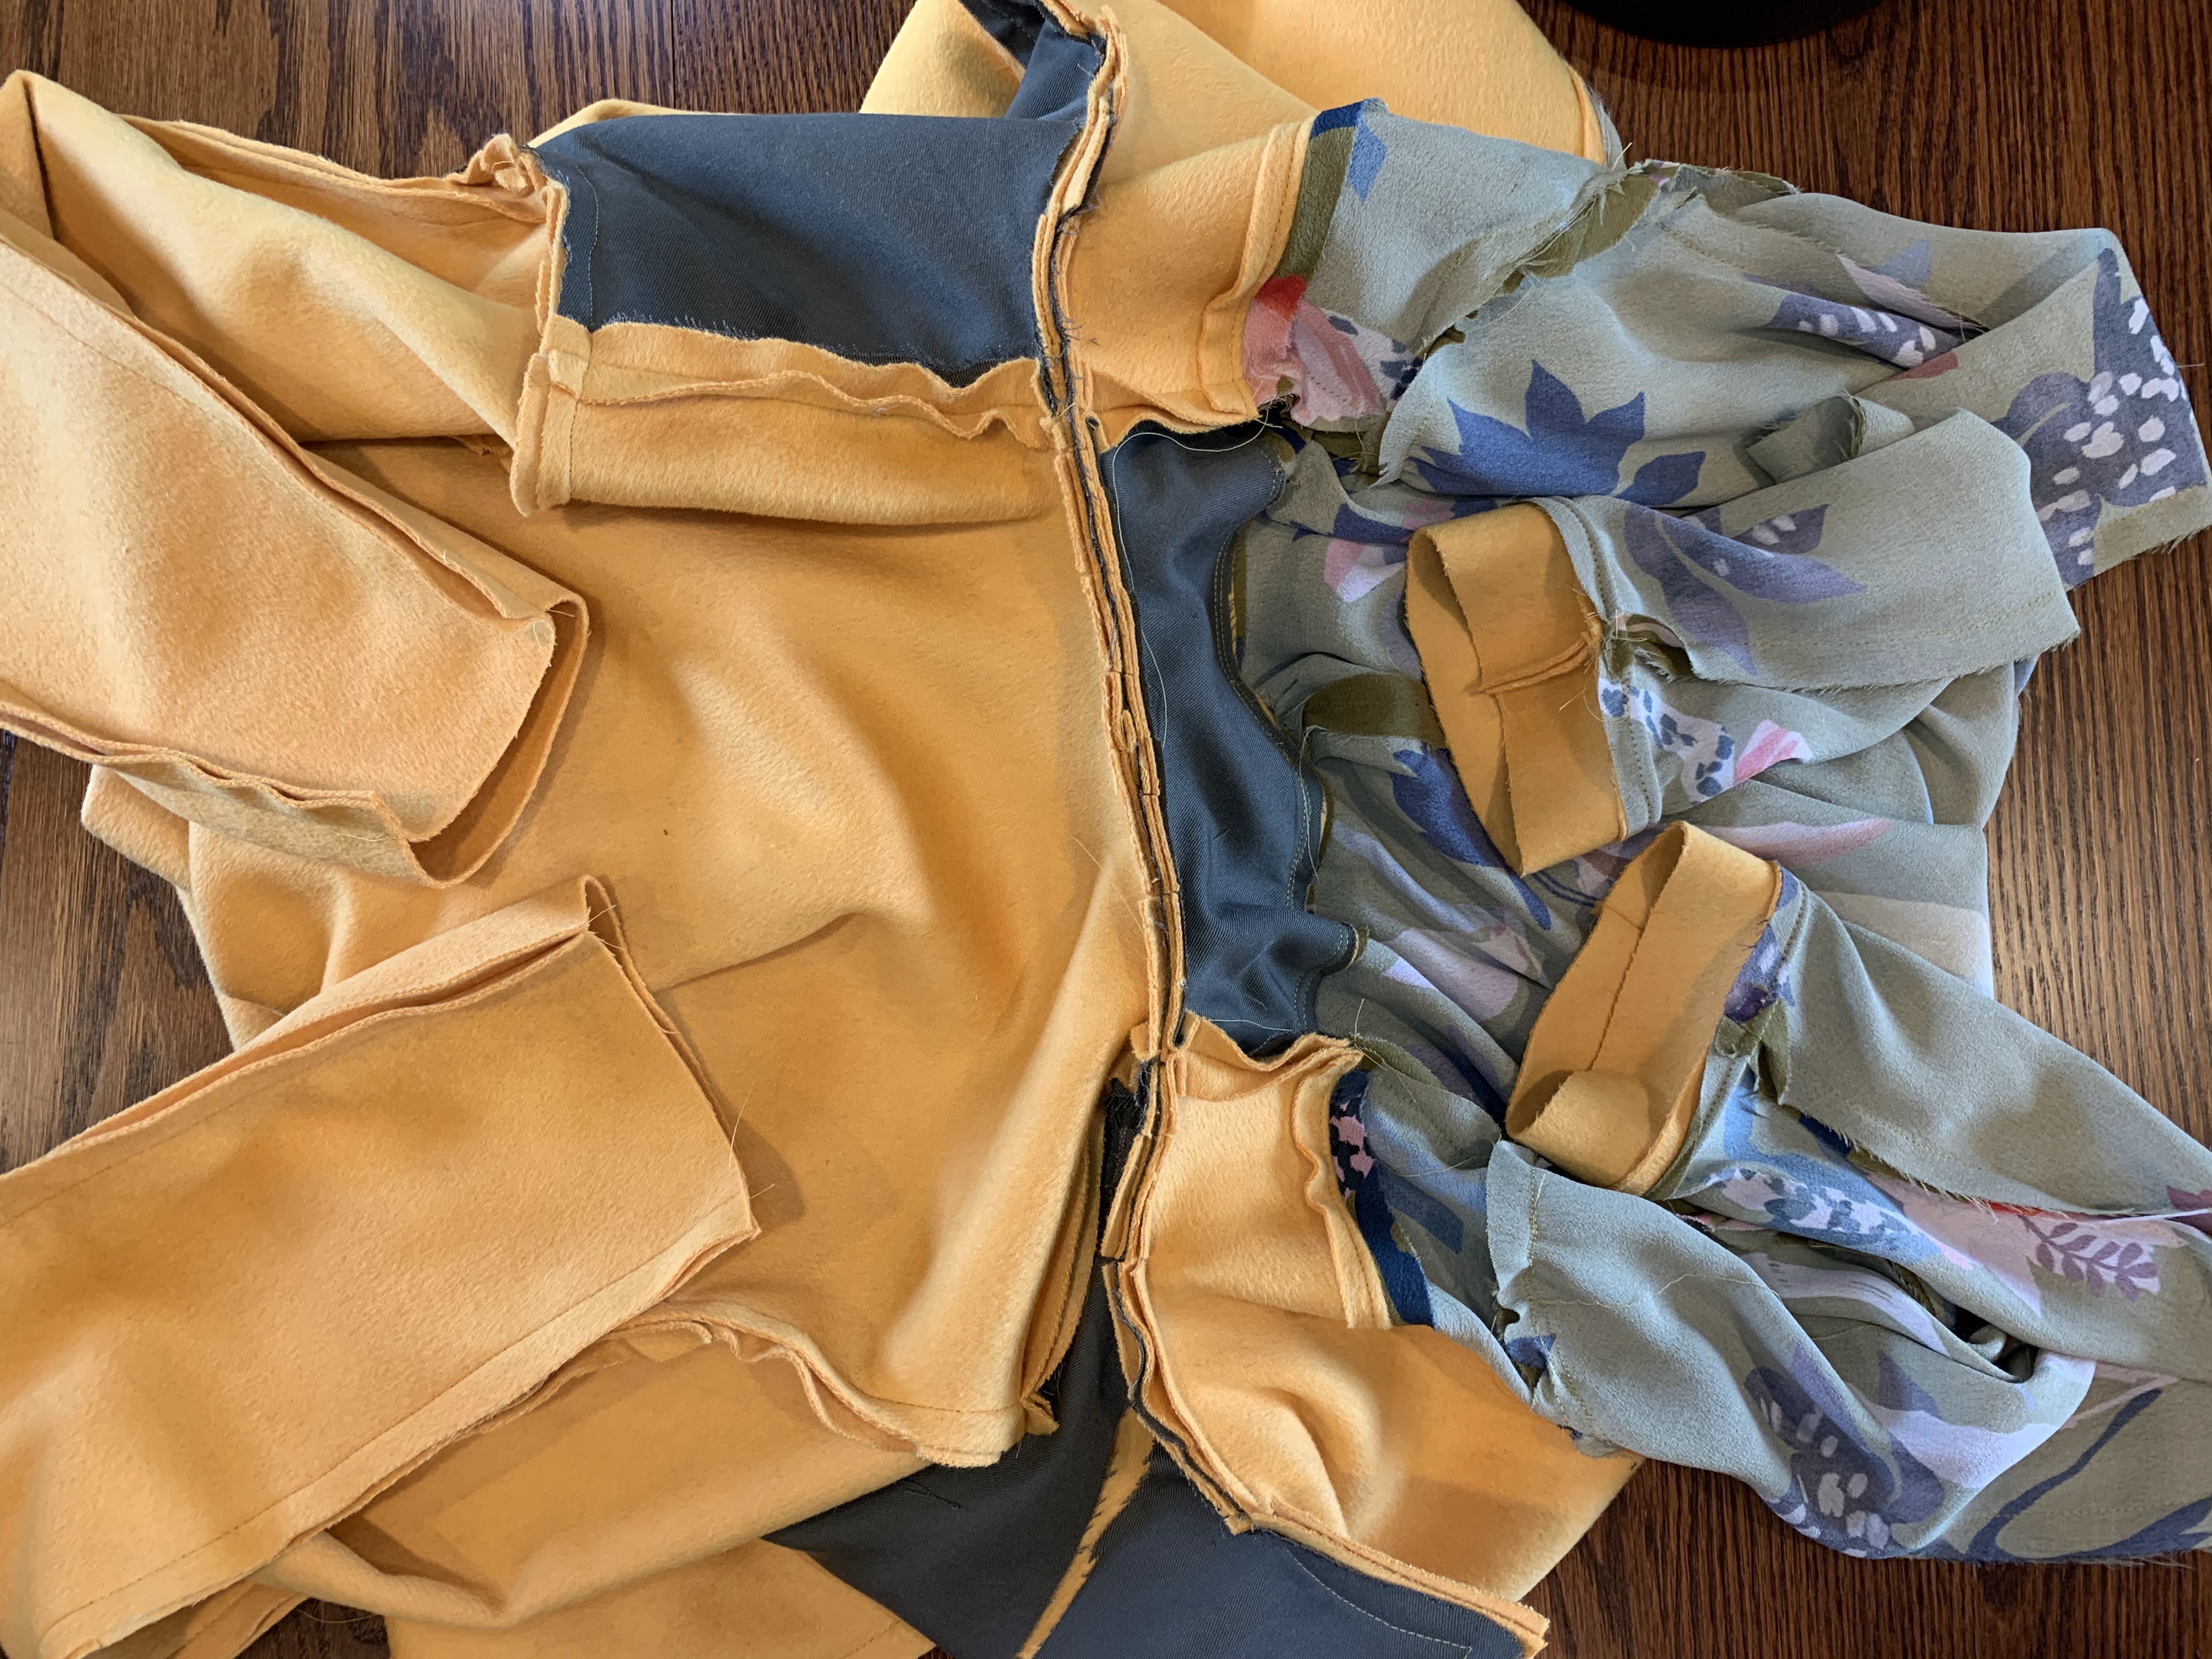
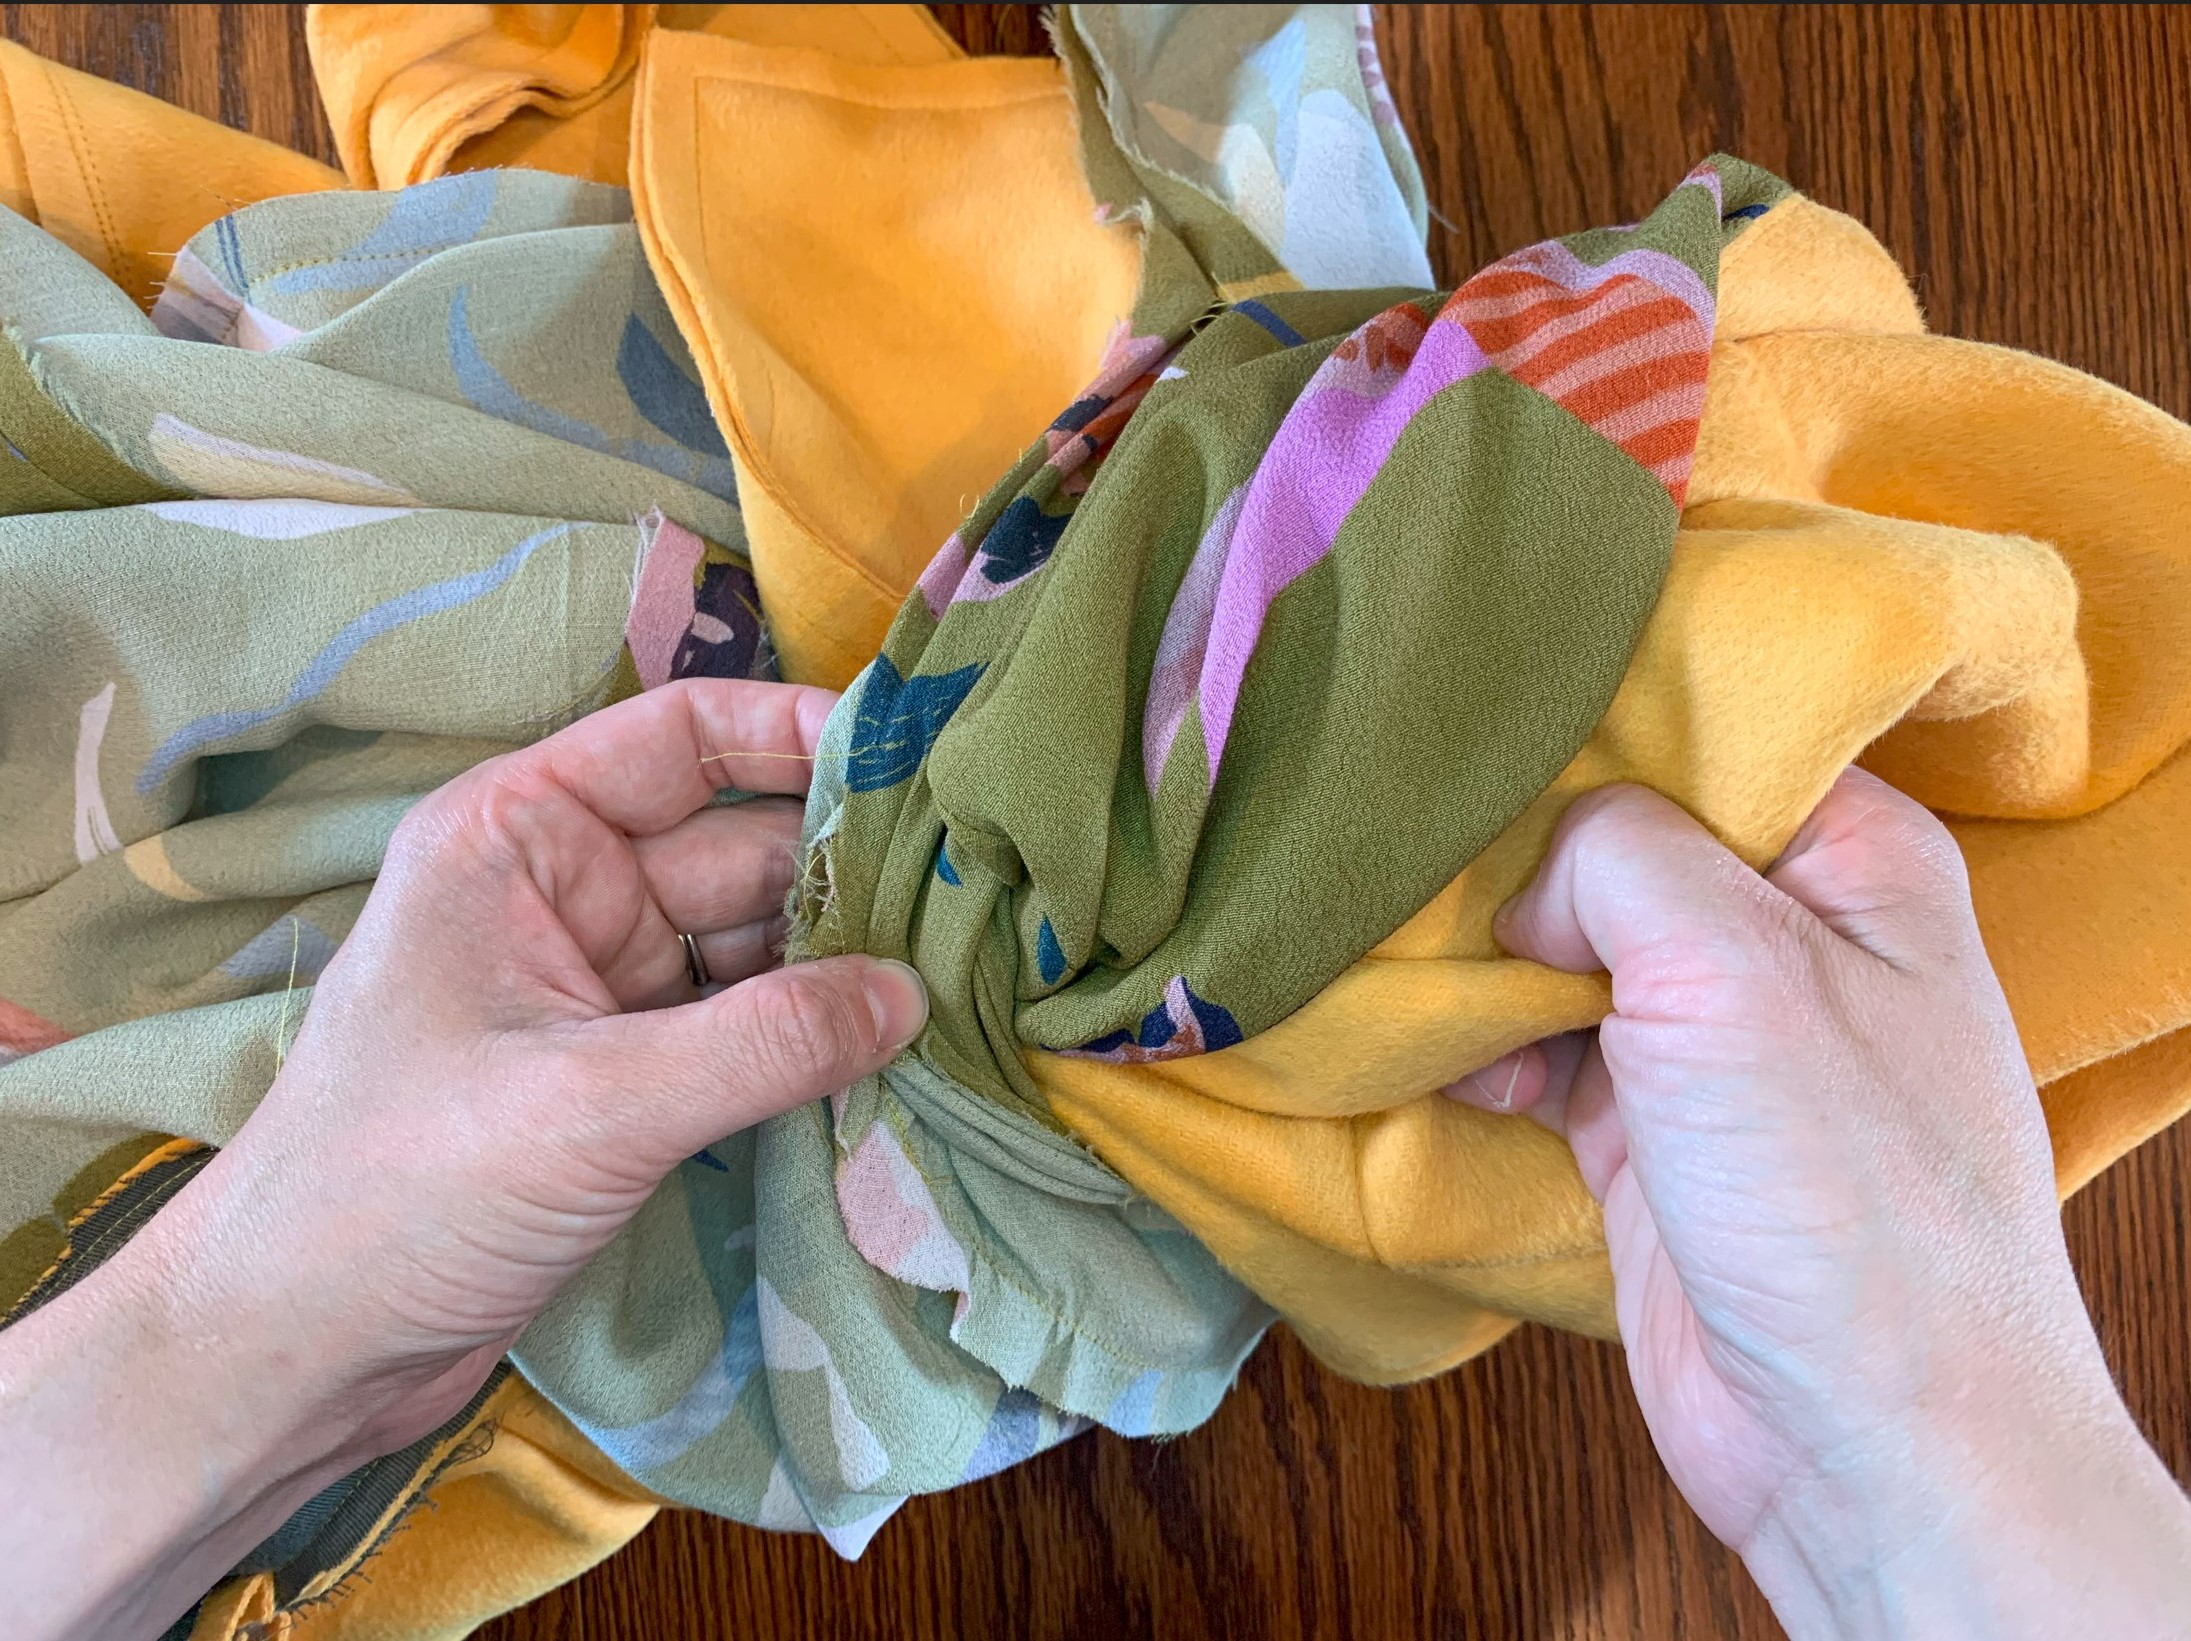
No matter what way you lined up your sleeves, you’ll want to then turn the lining sleeve hem up, exposing the right side, and insert it into the coat shell, as if they are shaking hands. Pin the hem of the sleeve lining to the hem of the coat sleeve so the right sides are together. This will seem incorrect, but it will work out just fine!
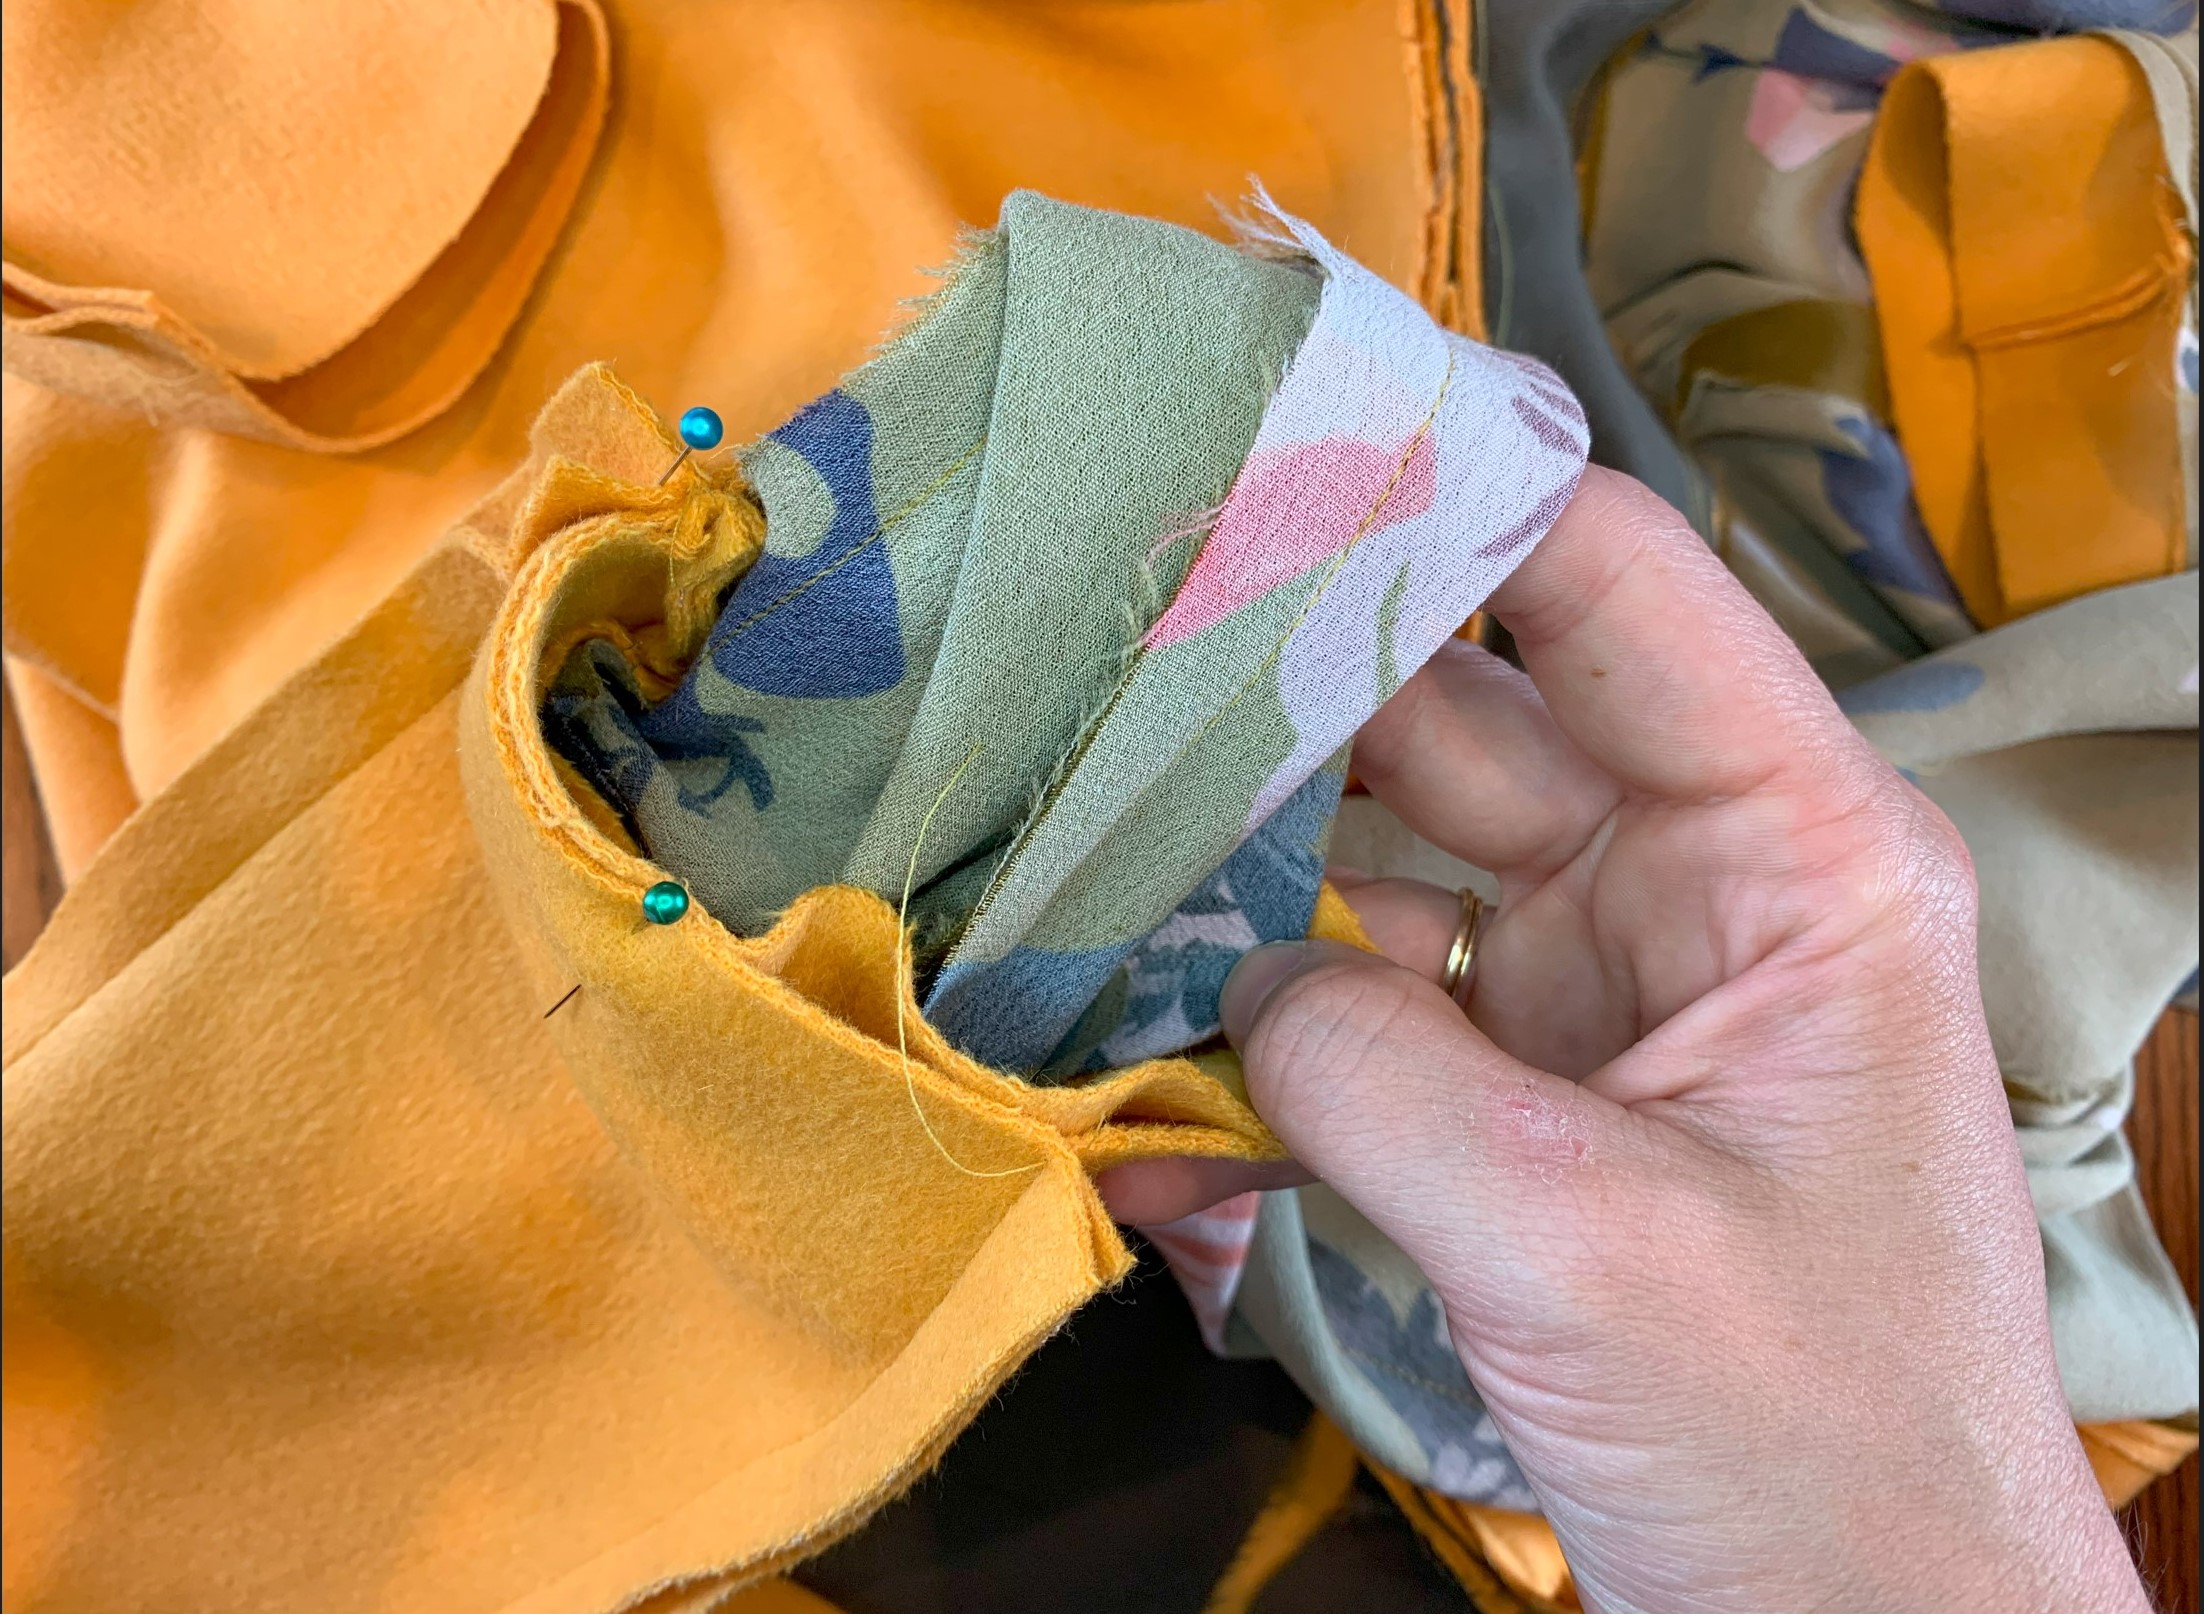
Sew the lining sleeve to the coat sleeve along the hemline. Be careful to only catch the hem line in your stitching. I like to sew this with the sleeve lining up and I don’t put it around my free arm.
Finishing Your Coat
Turn your coat right side out through the hole left in the lining. Do this slowly so that you don’t pop any stitches. After the coat is right side out give it a good press and make sure everything looks good and that the sleeves aren’t twisted.
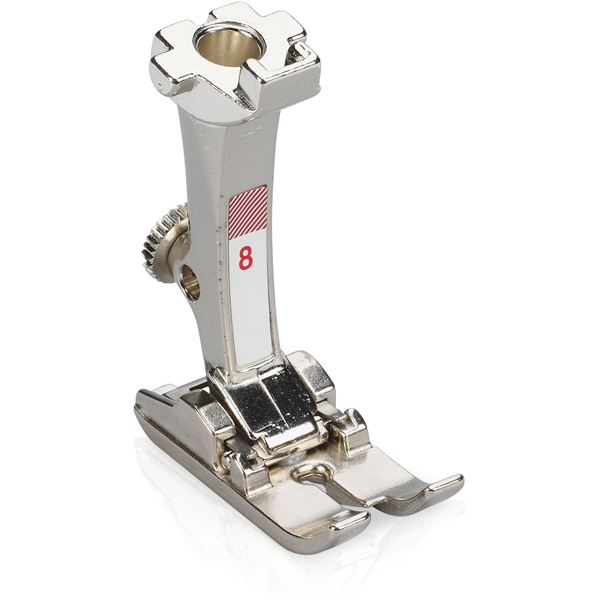
At this point you can topstitch around the coat parameter and hem if desired, this will help keep the lining in place. I like to use the Jeans Foot #8D for this in order to go over those bulky seams.
Hand stitch the hole left in your lining closed. You may also have little holes where your lining meets the coat at the front hem – those can be hand stitched closed too!
At this point, if your coat has buttonholes, you’ll need to add those. Use Creative Consultant to get those buttonhole settings just right! Finally, attach any snaps or buttons, give your coat a final press, and we’re all done!
Make sure you share your final coat using #weallsewcoats and post any questions in the comments. I cannot wait to see what you create!