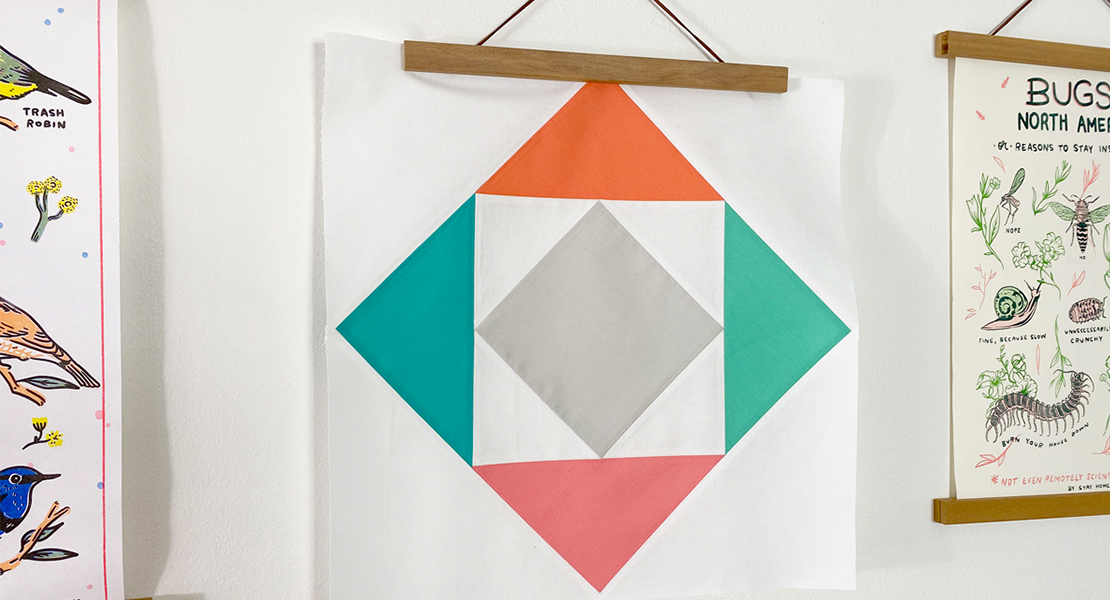
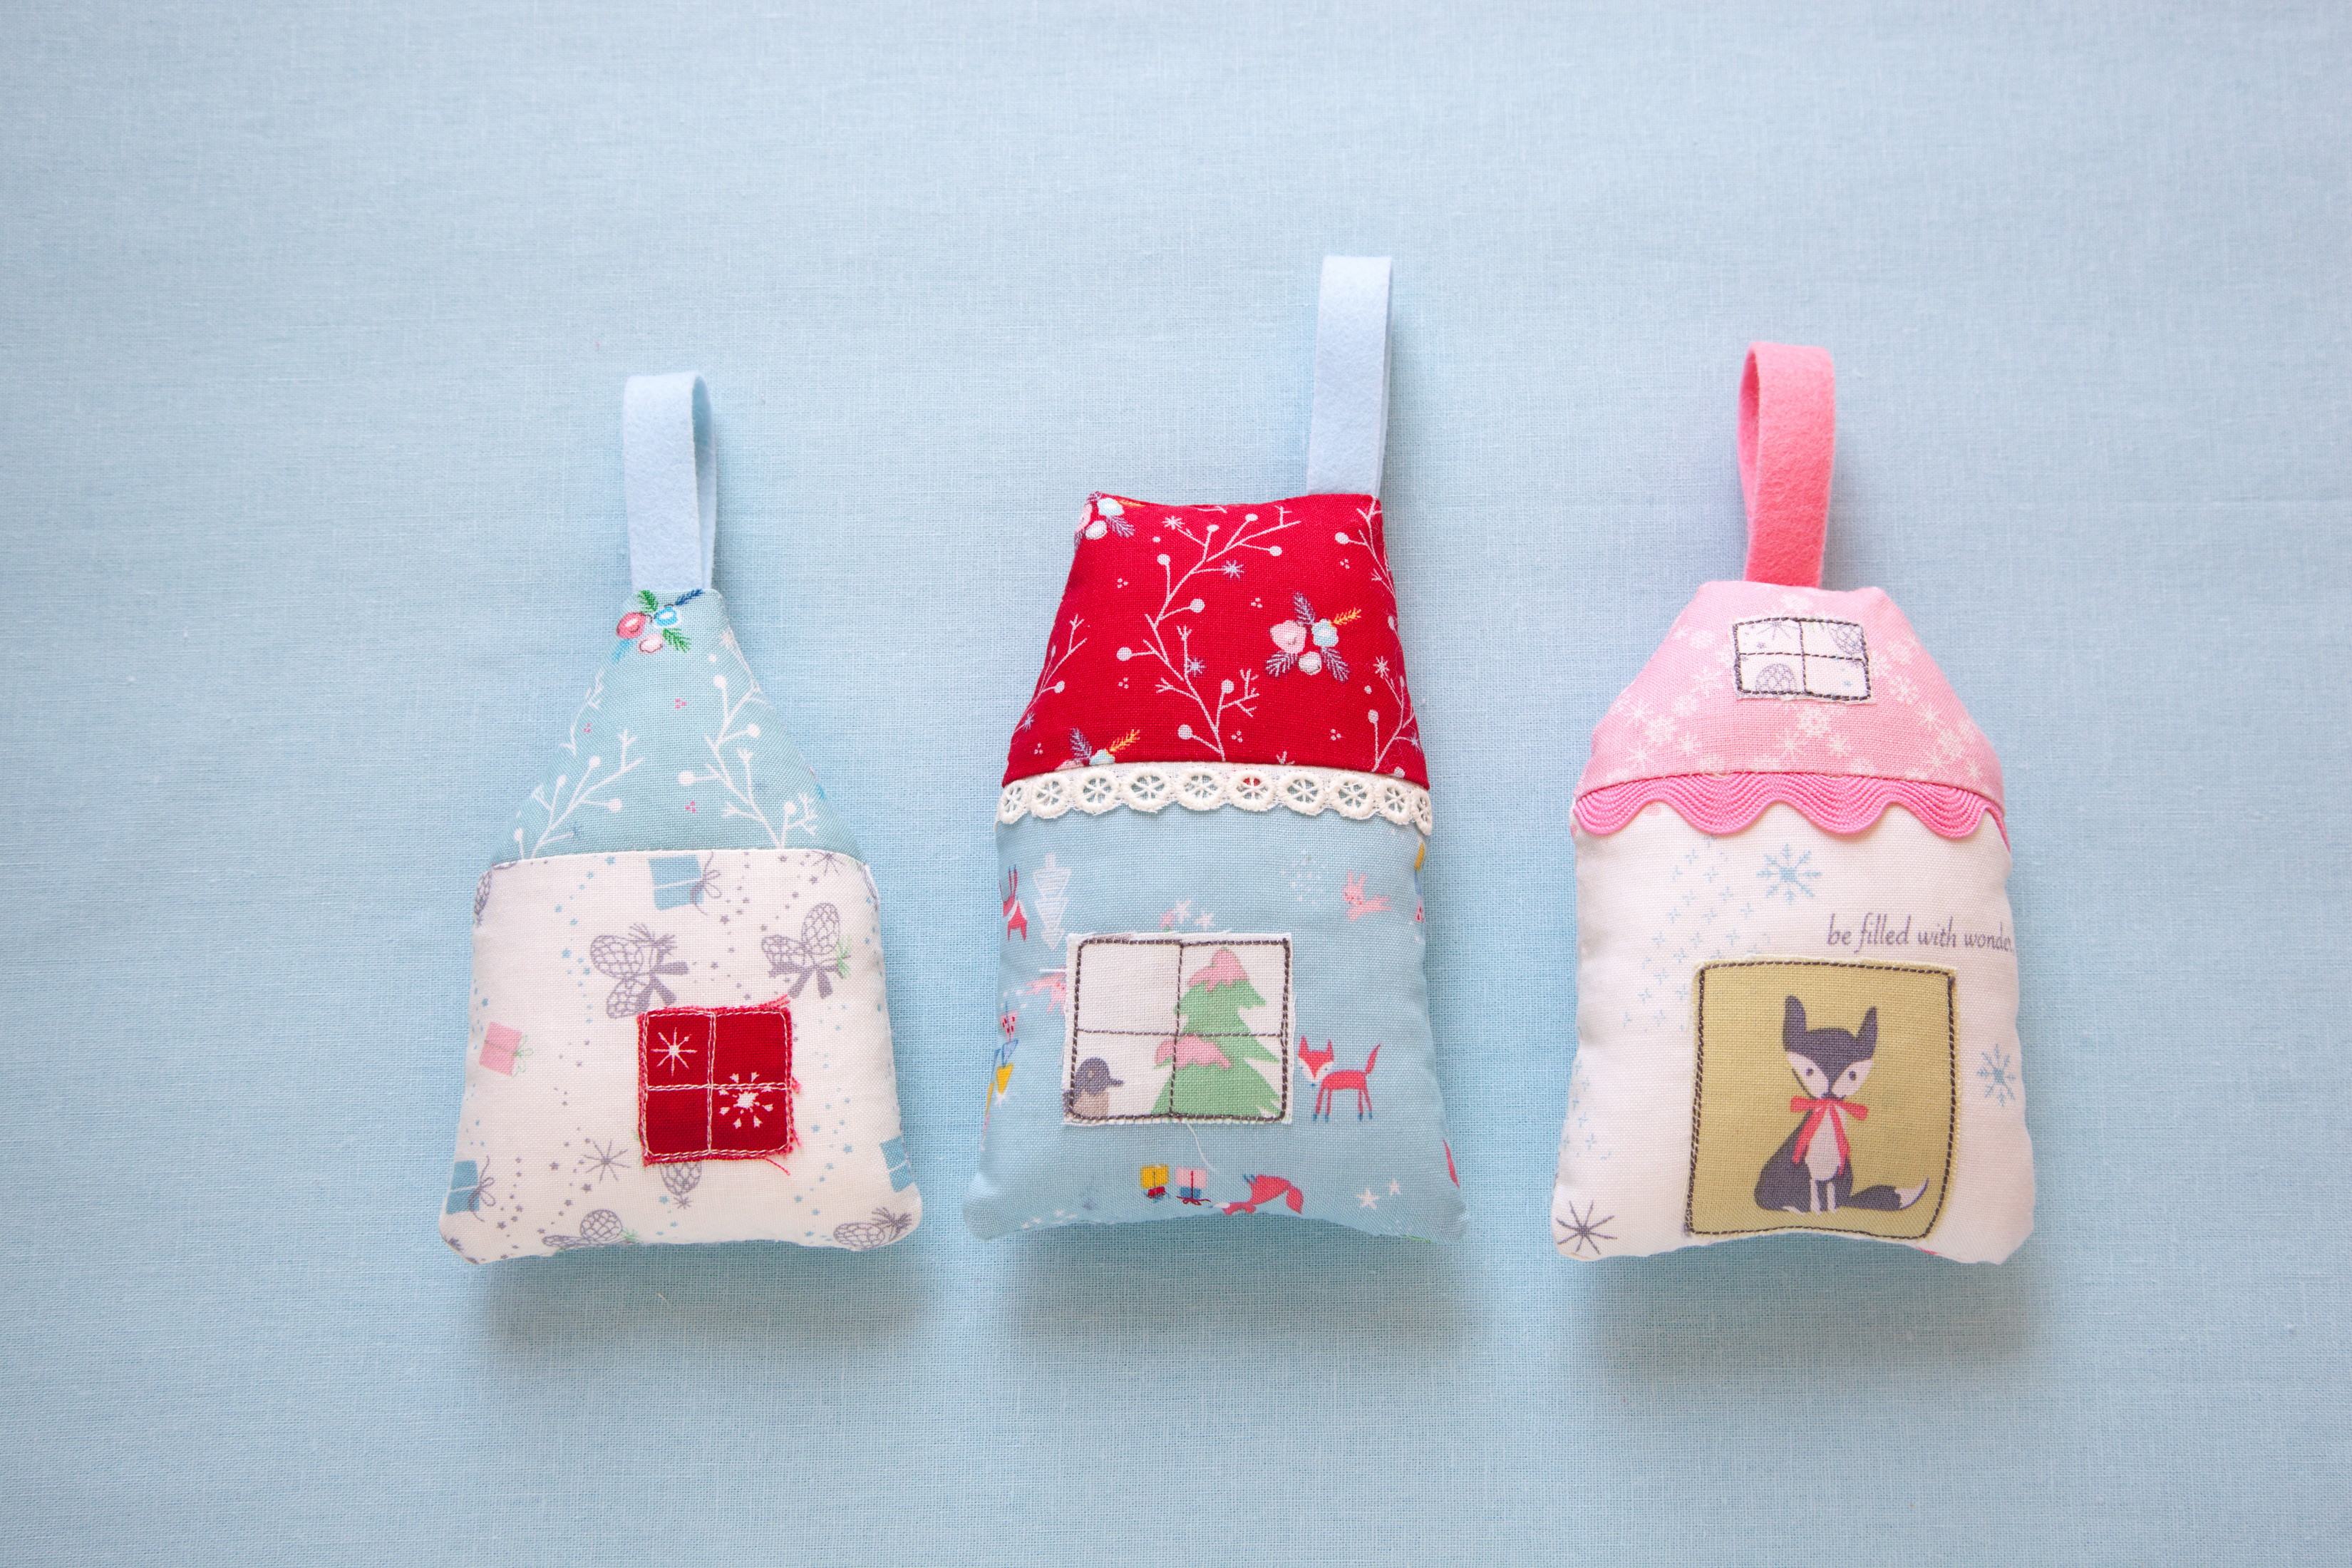
In Remembrance Farm House Quilt Block Part I
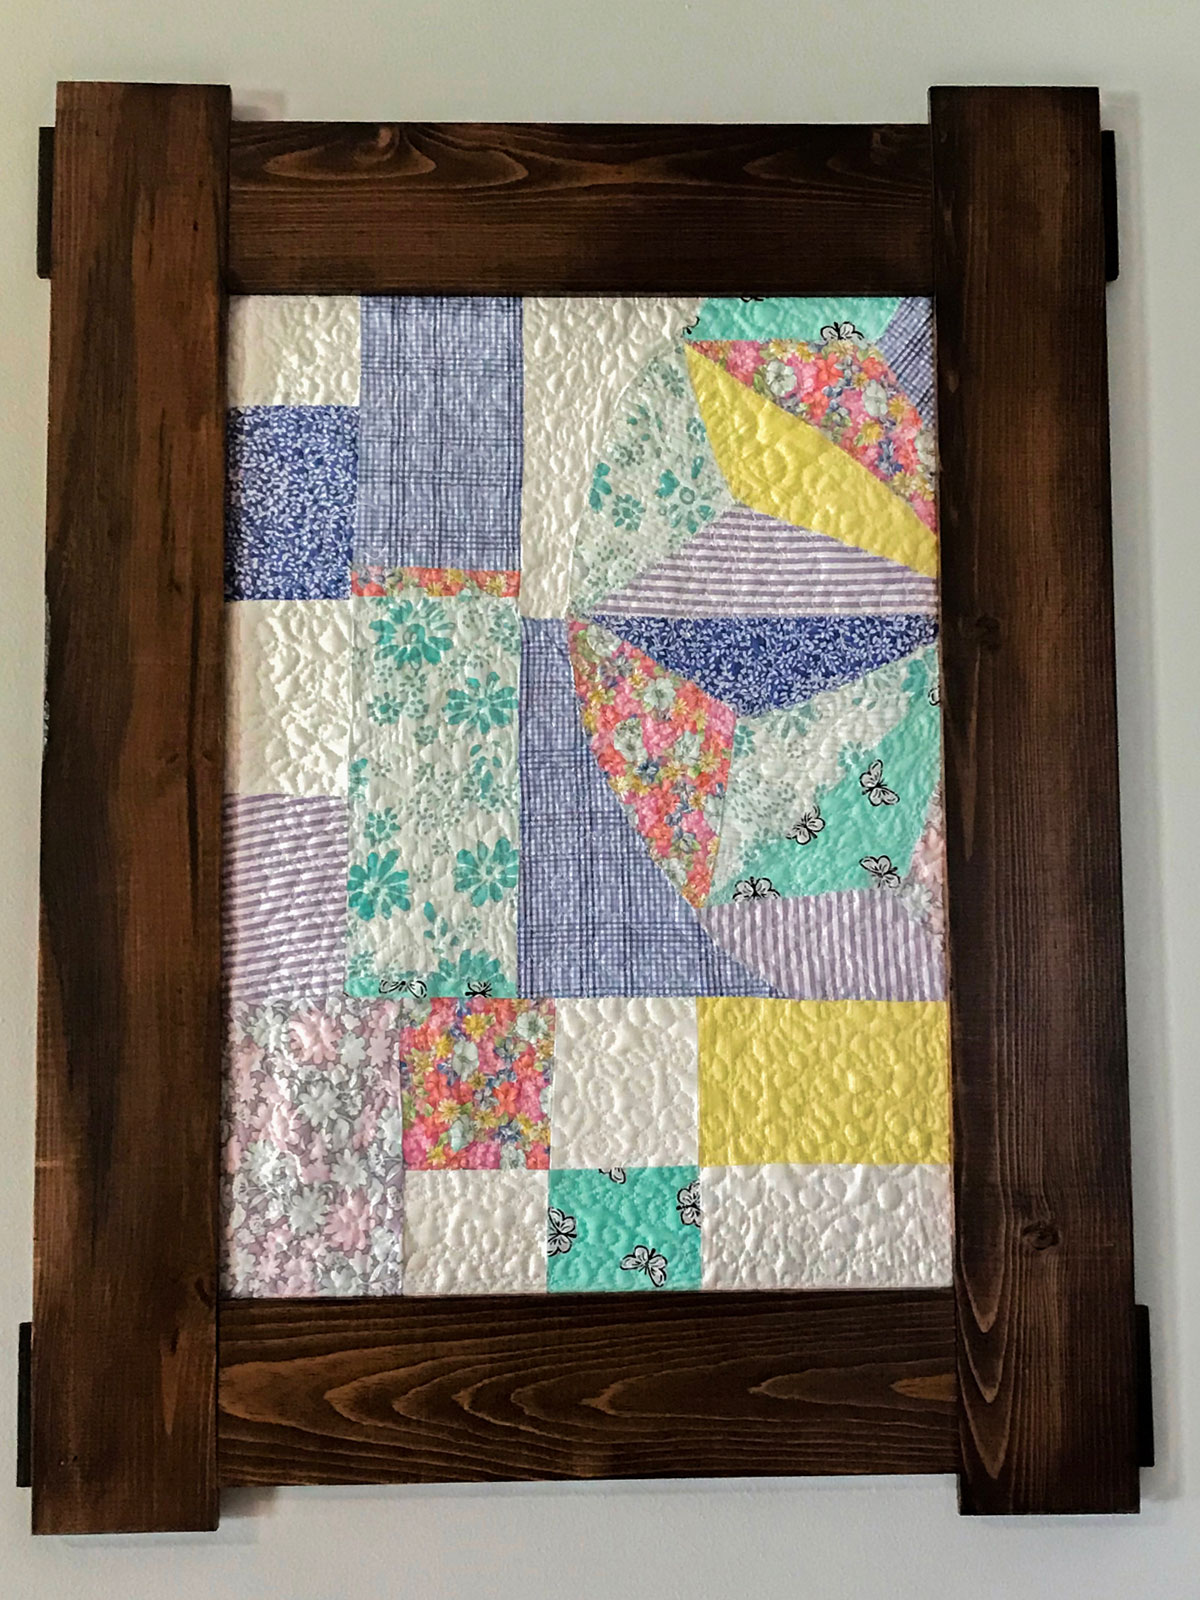
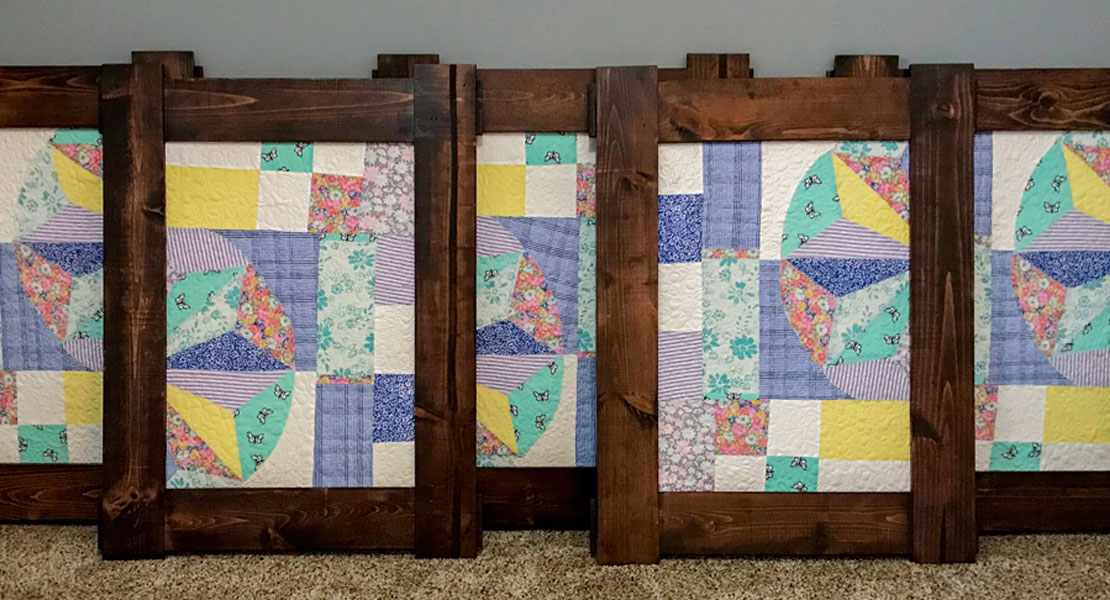
My friend Jenny asked me to create something that she could remember her mom by, and that she could surprise her Dad and siblings with. We talked about the project, and she asked if I would make 5 quilt blocks that could be framed by her husband.
Materials to Make a Remembrance Quilt Block
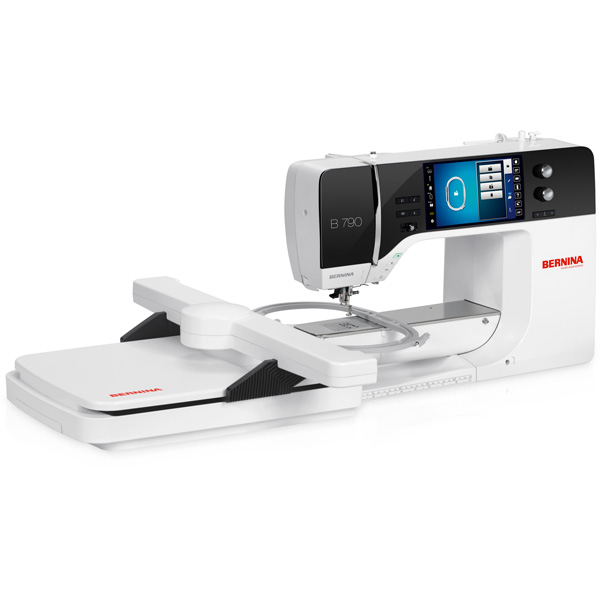
- BERNINA 790 Plus
- Patchwork foot #97D
- Reverse pattern foot #1D
- Articles of clothing (total amount depends on the size of clothing, I used 7 pieces for this project)
- 3/4 yard of White Fabric
- Cutting Mat
- Rotary Cutter
- Illustrator or Drawing Grid Pad
- 505 Spray Adhesive
- Iron / Pressing Mat
- Scissors
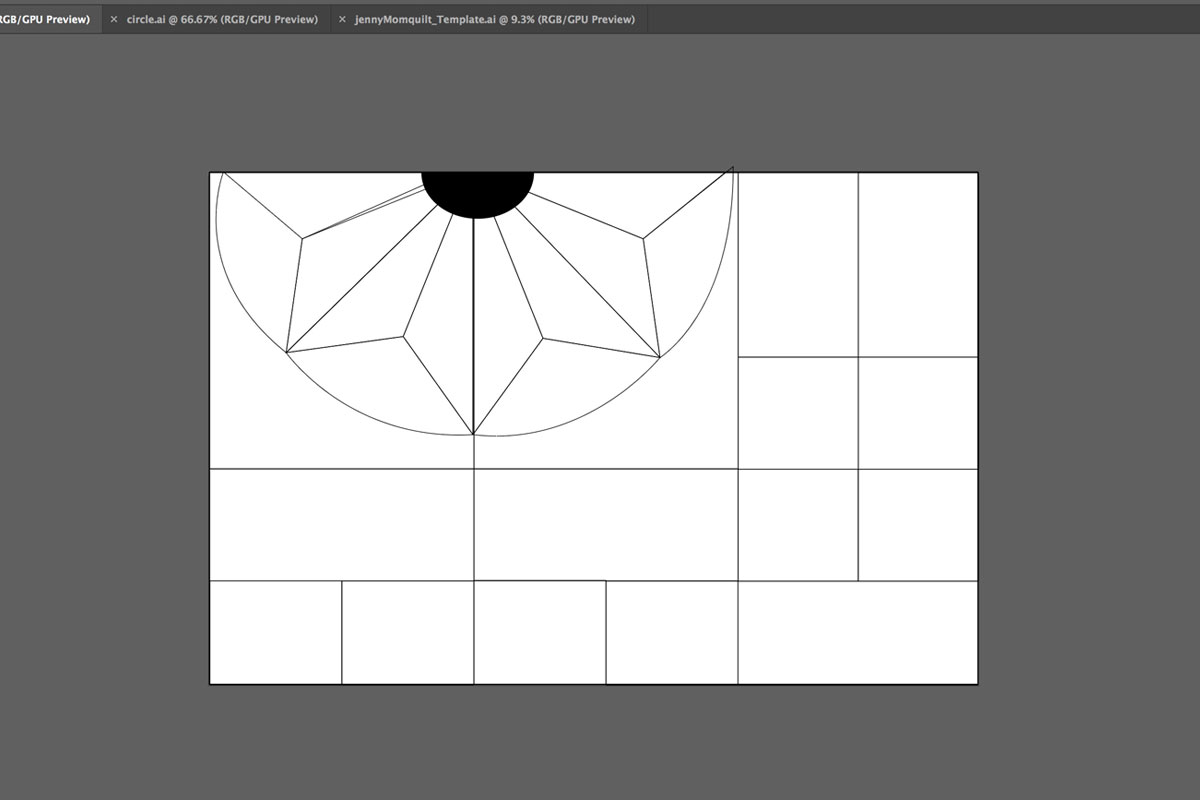
- Download the Dresden Plate and Half Circle Template (template updated 1/15/2019)
Cutting instructions are for one quilted framed quilt block. If you want to do more, you will need to add to your white fabric. Seven shirts should suffice depending on the size of the quilt. These shirts were L to XL in size. I barely had enough to finish all five quilt blocks.
When we first talked about the project, I had to draw out something in illustrator for something that she would love. I measured out 24” x 16” art board and started to sketch out until she approved the layout. After she approved the image below, I was able to add my .25 inch seam to what needed to be cut out.
I prepared her clothes by washing them.
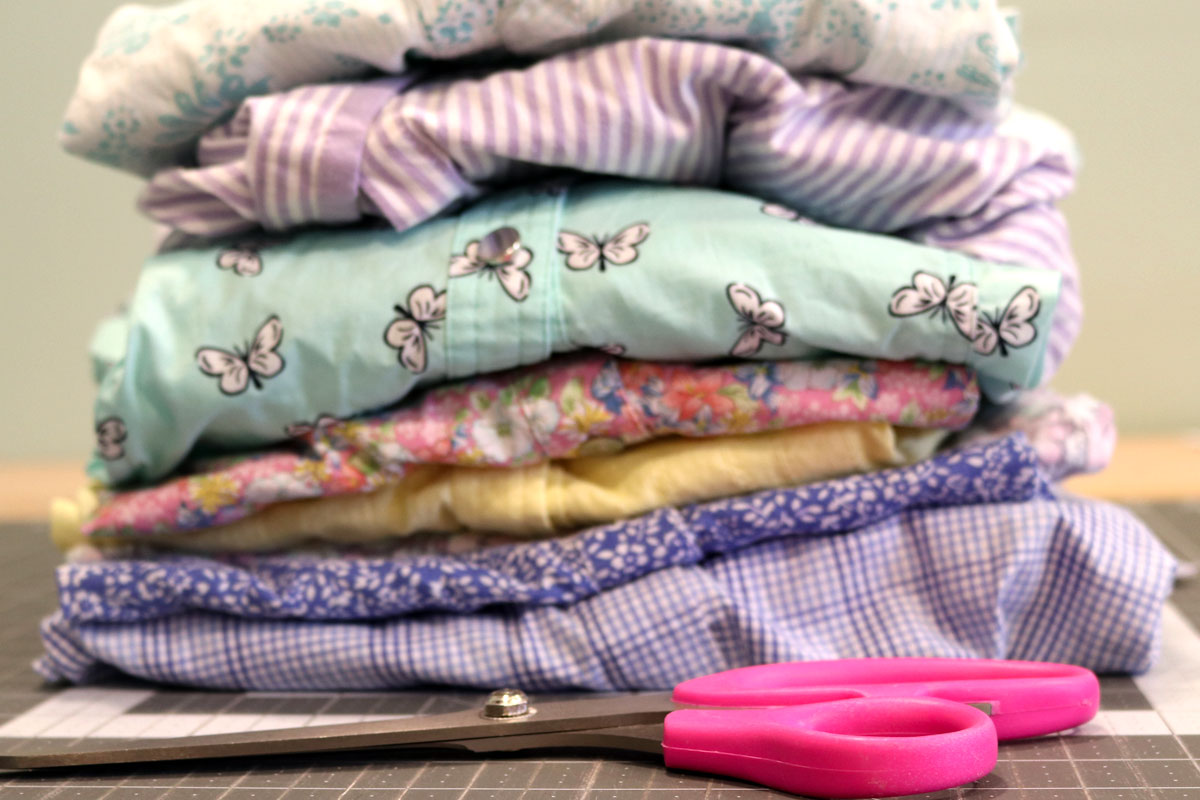
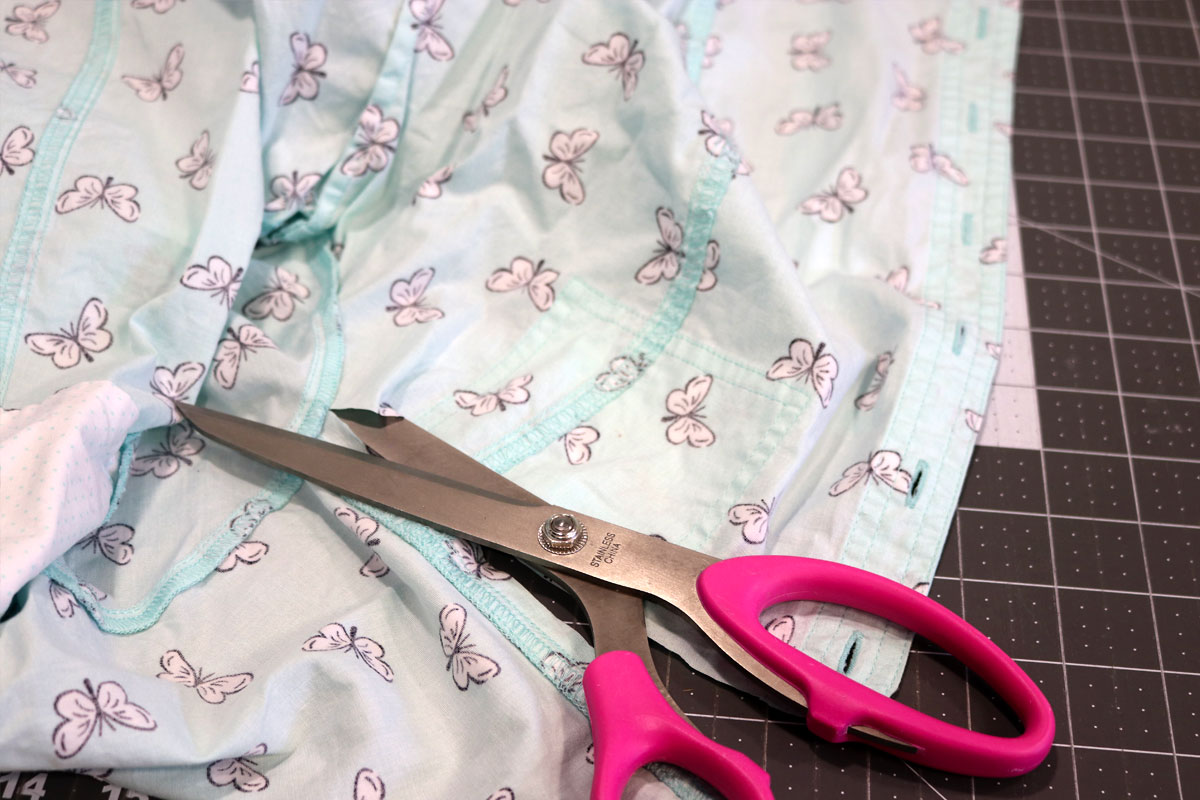
Then I started to cut the clothes by cutting down each seam and getting rid of those. I cut out all the pockets and saved that for a later project. Remember to remove all buttons by cutting down that seam. Then cut out all the seams of the shirts. Be sure, to remove all cuffs, and to be careful to cut around the arms. You basically want as much fabric as you can work with. I had one pair of knit pants that I removed all seams and waistband.
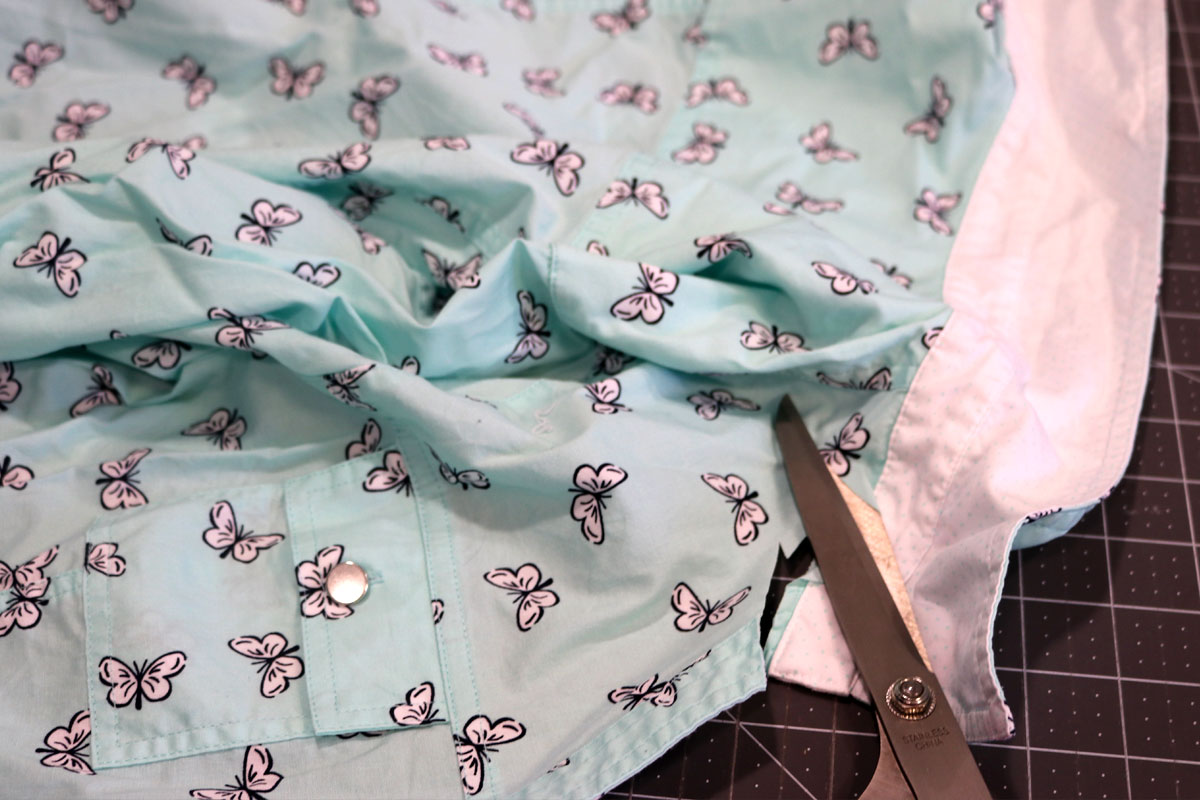
I started each article of clothing by ironing them. My first tip, after working with knit pants, I would have added Stabilizer SF101 to the back, to stop from stretching as much.
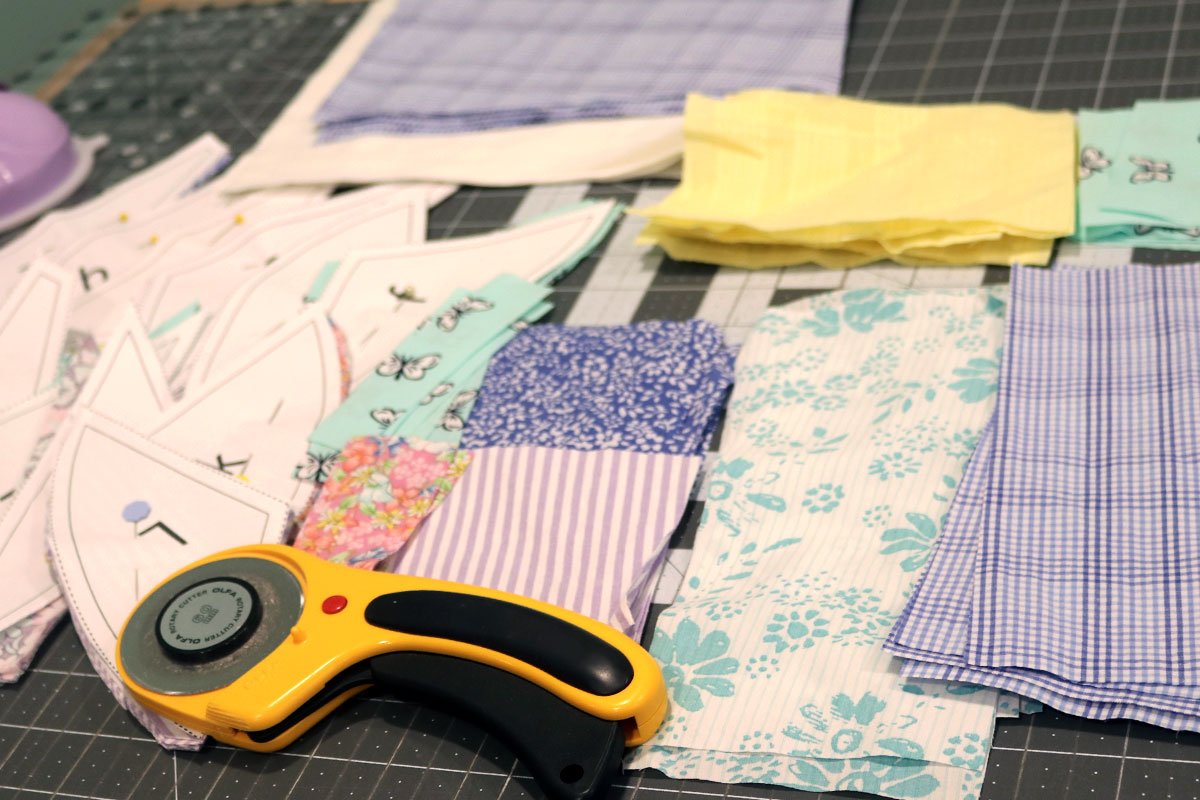
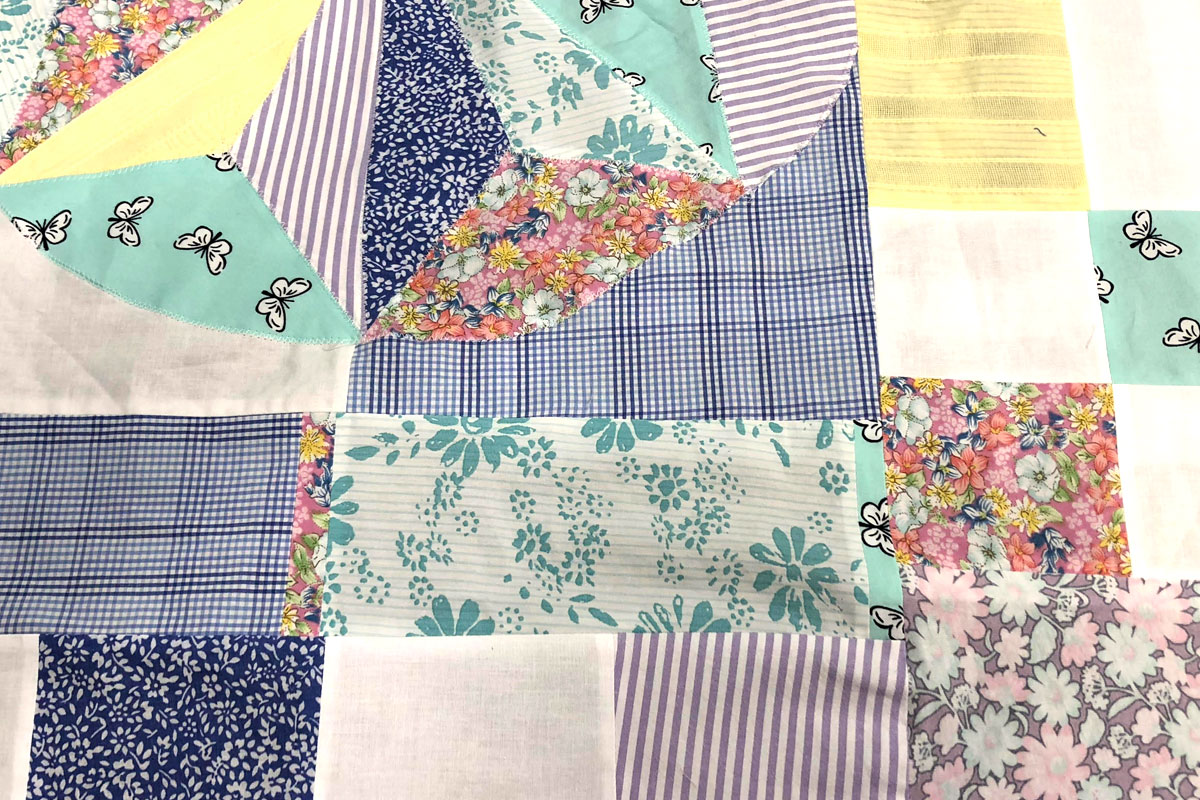
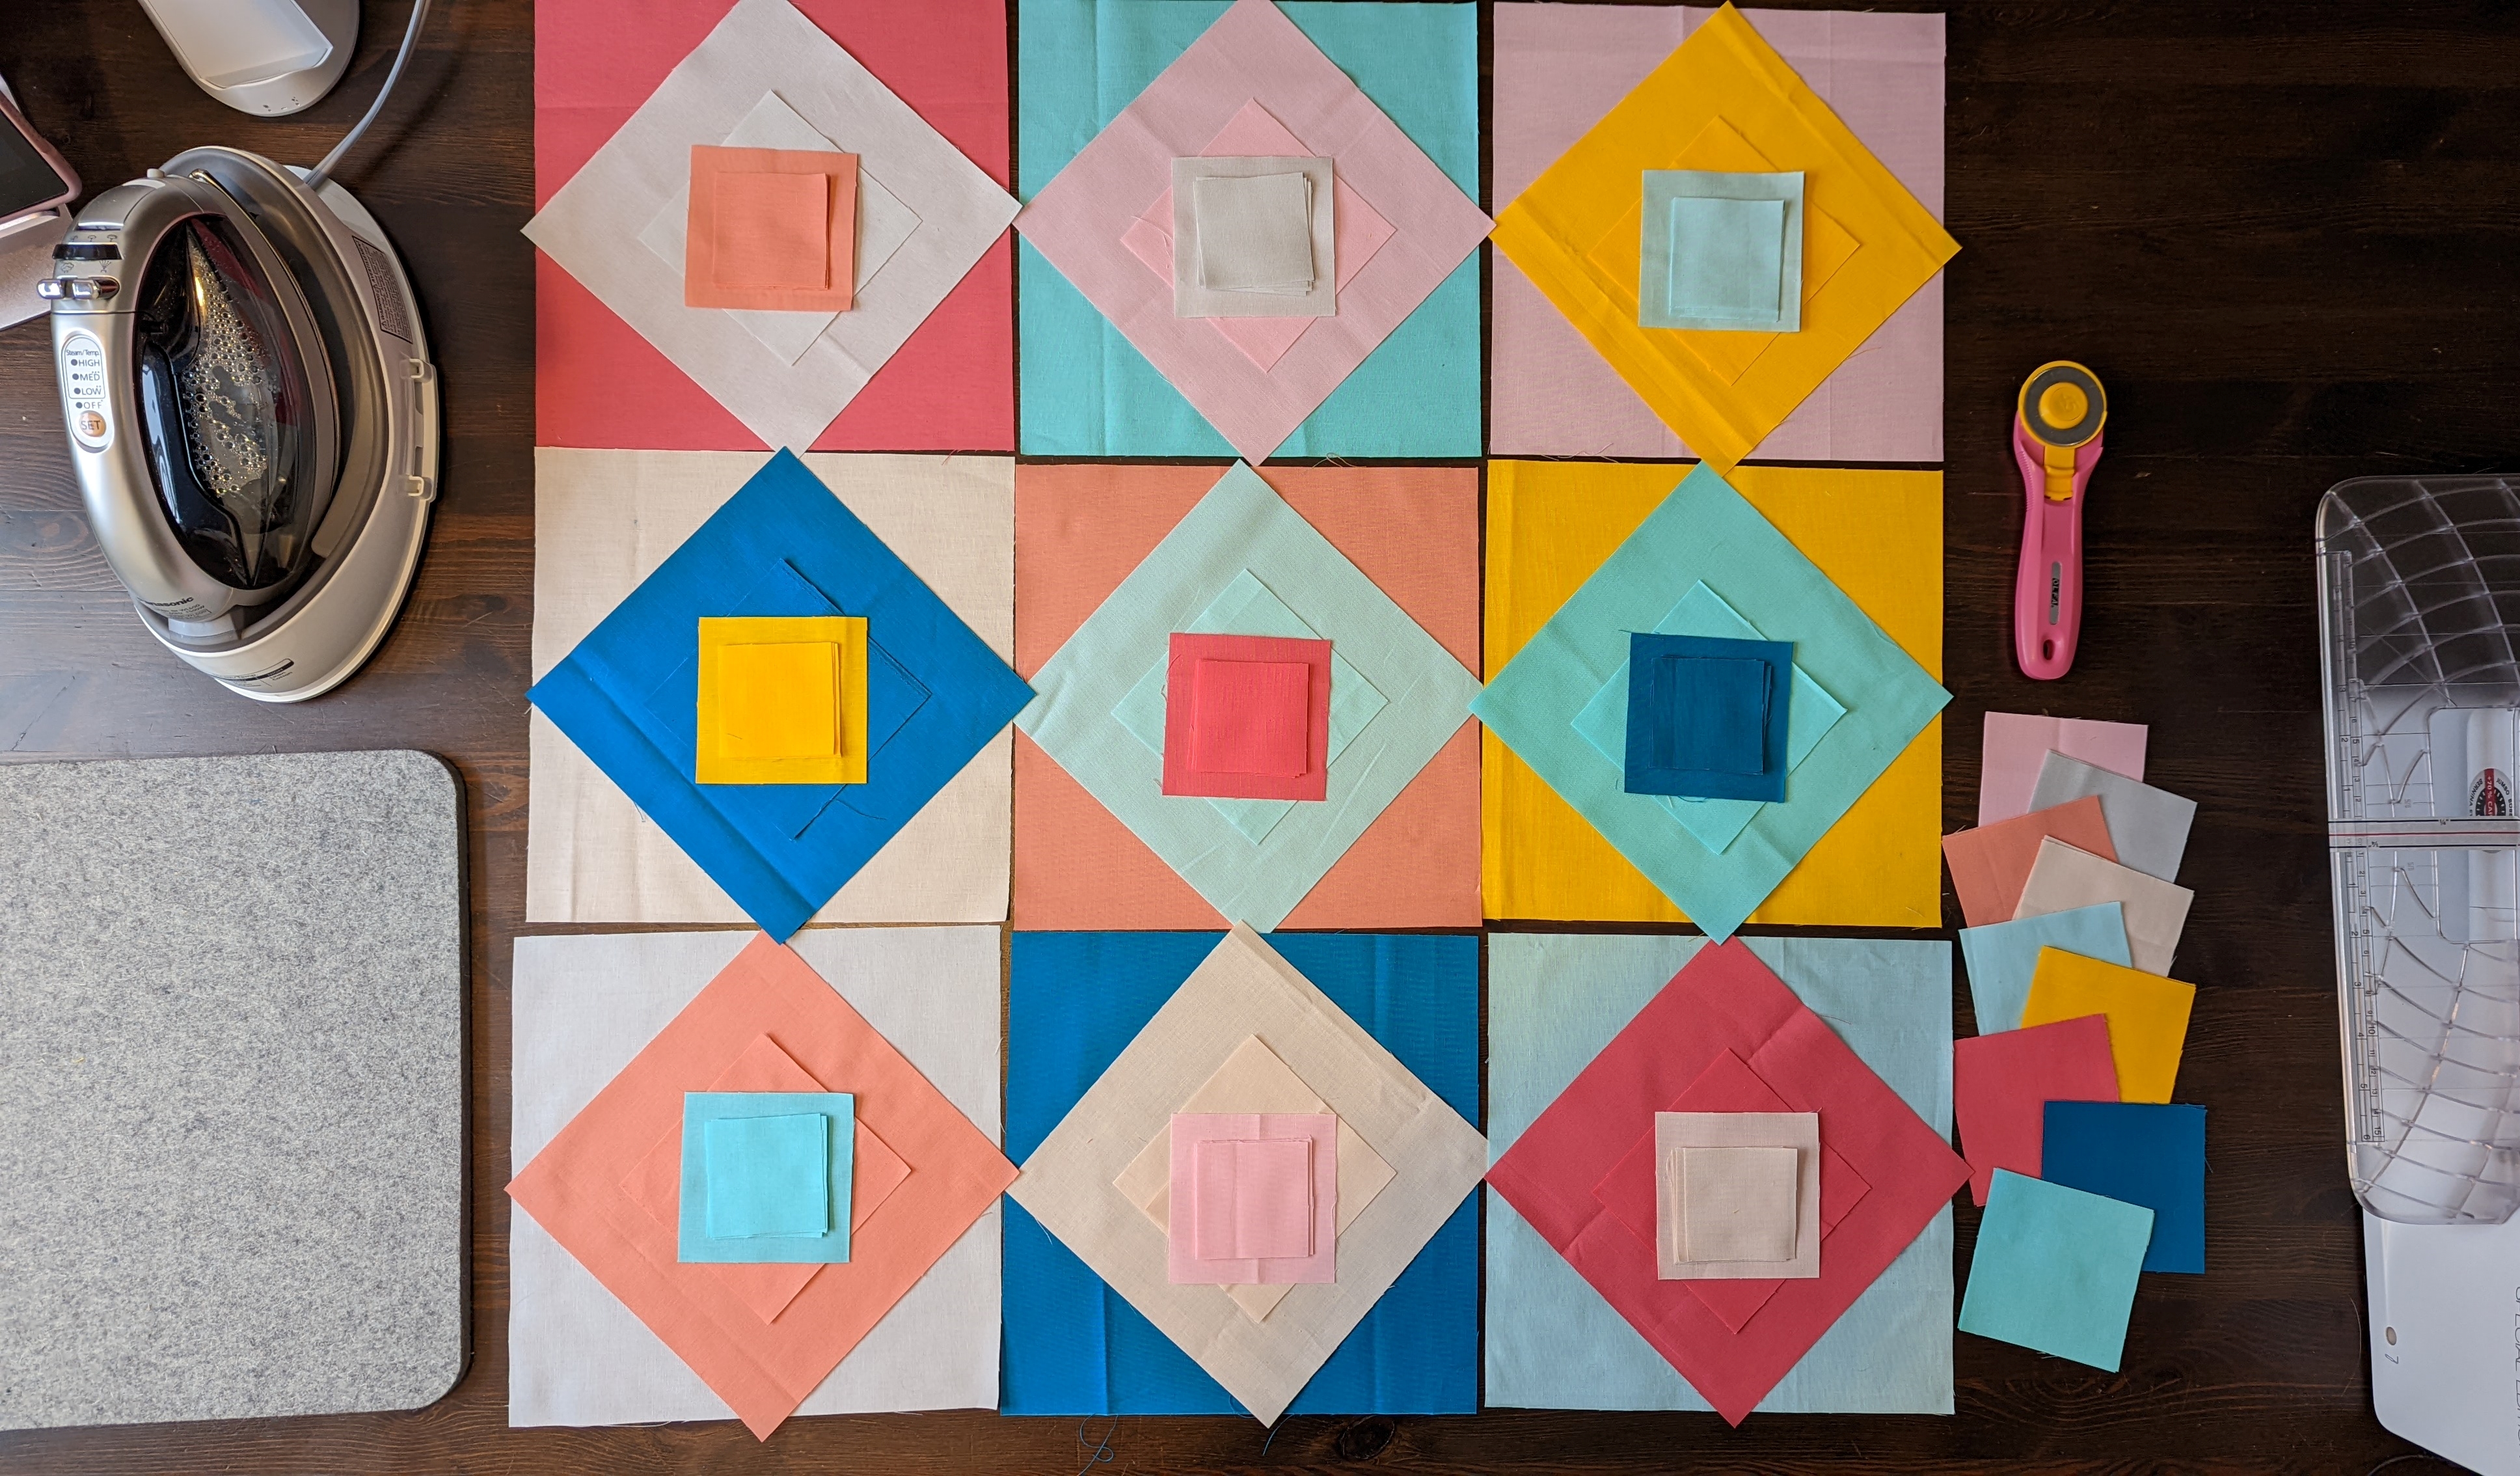
The fun part is deciding where the fabric placement goes for each block!
Now the fun part is to decide where to use the limited amount of fabric so they were all the same. Measure each piece of article to decide what you have for yardage. At this point, I decided to use only a little bit of the knit piece since the other fabric was a little stretchy, from the material of the polyester clothes.
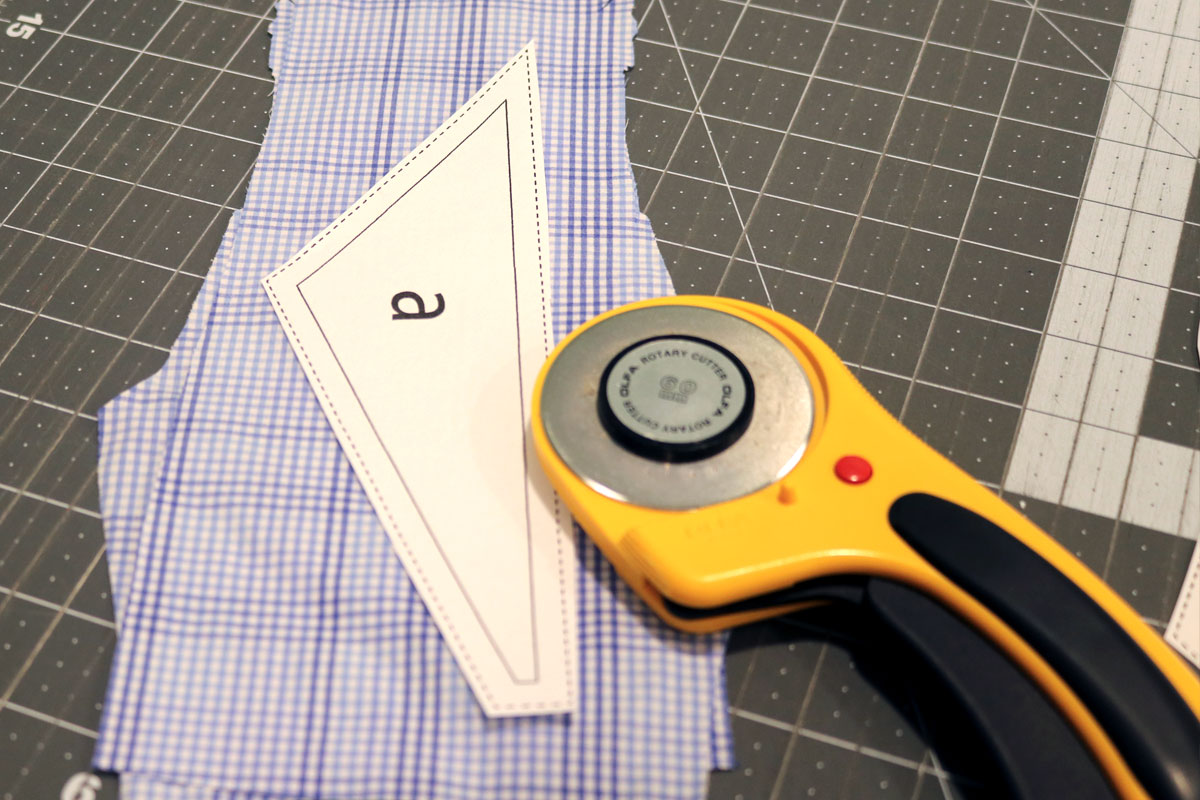
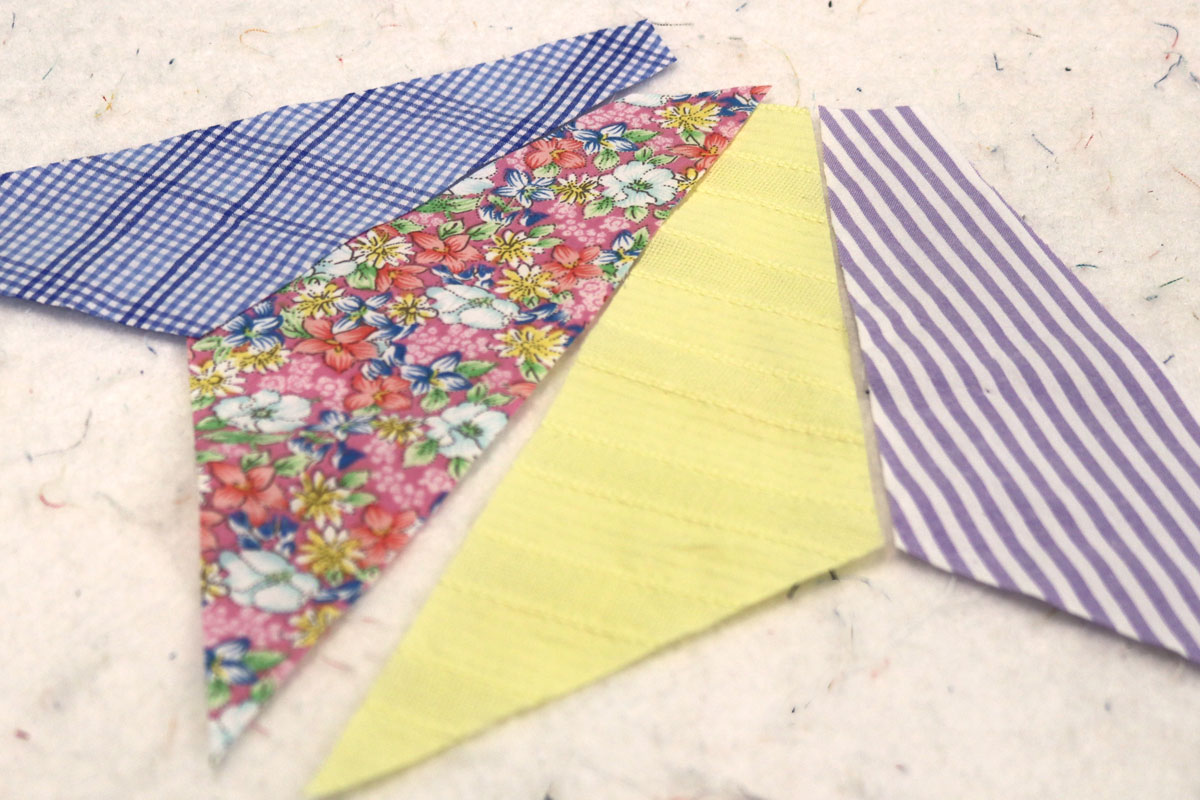
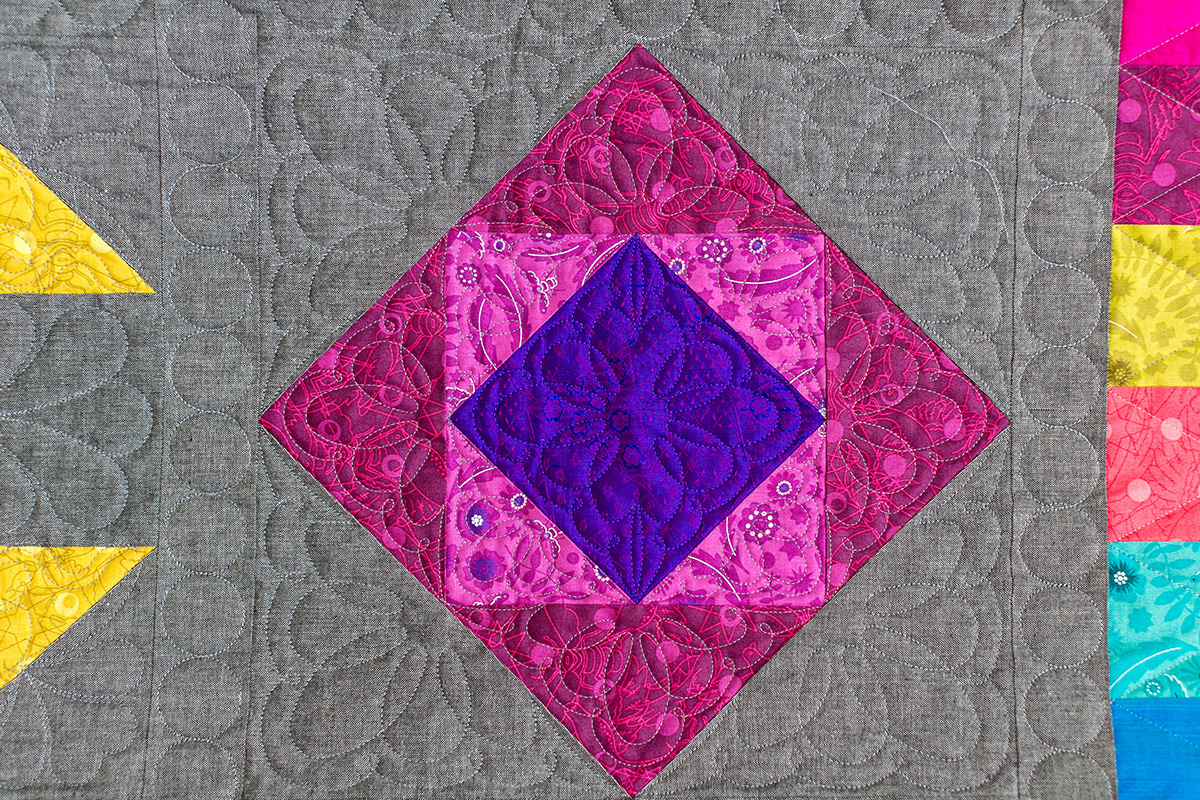
I decided to start with my Dresden blocks that had the curve. Please see the material list for the Dresden and Half Circle Template. Half circle measures around 4” x 2”. And Dresden blocks vary in size. Please download templates with the 1/4” seam allowance added.
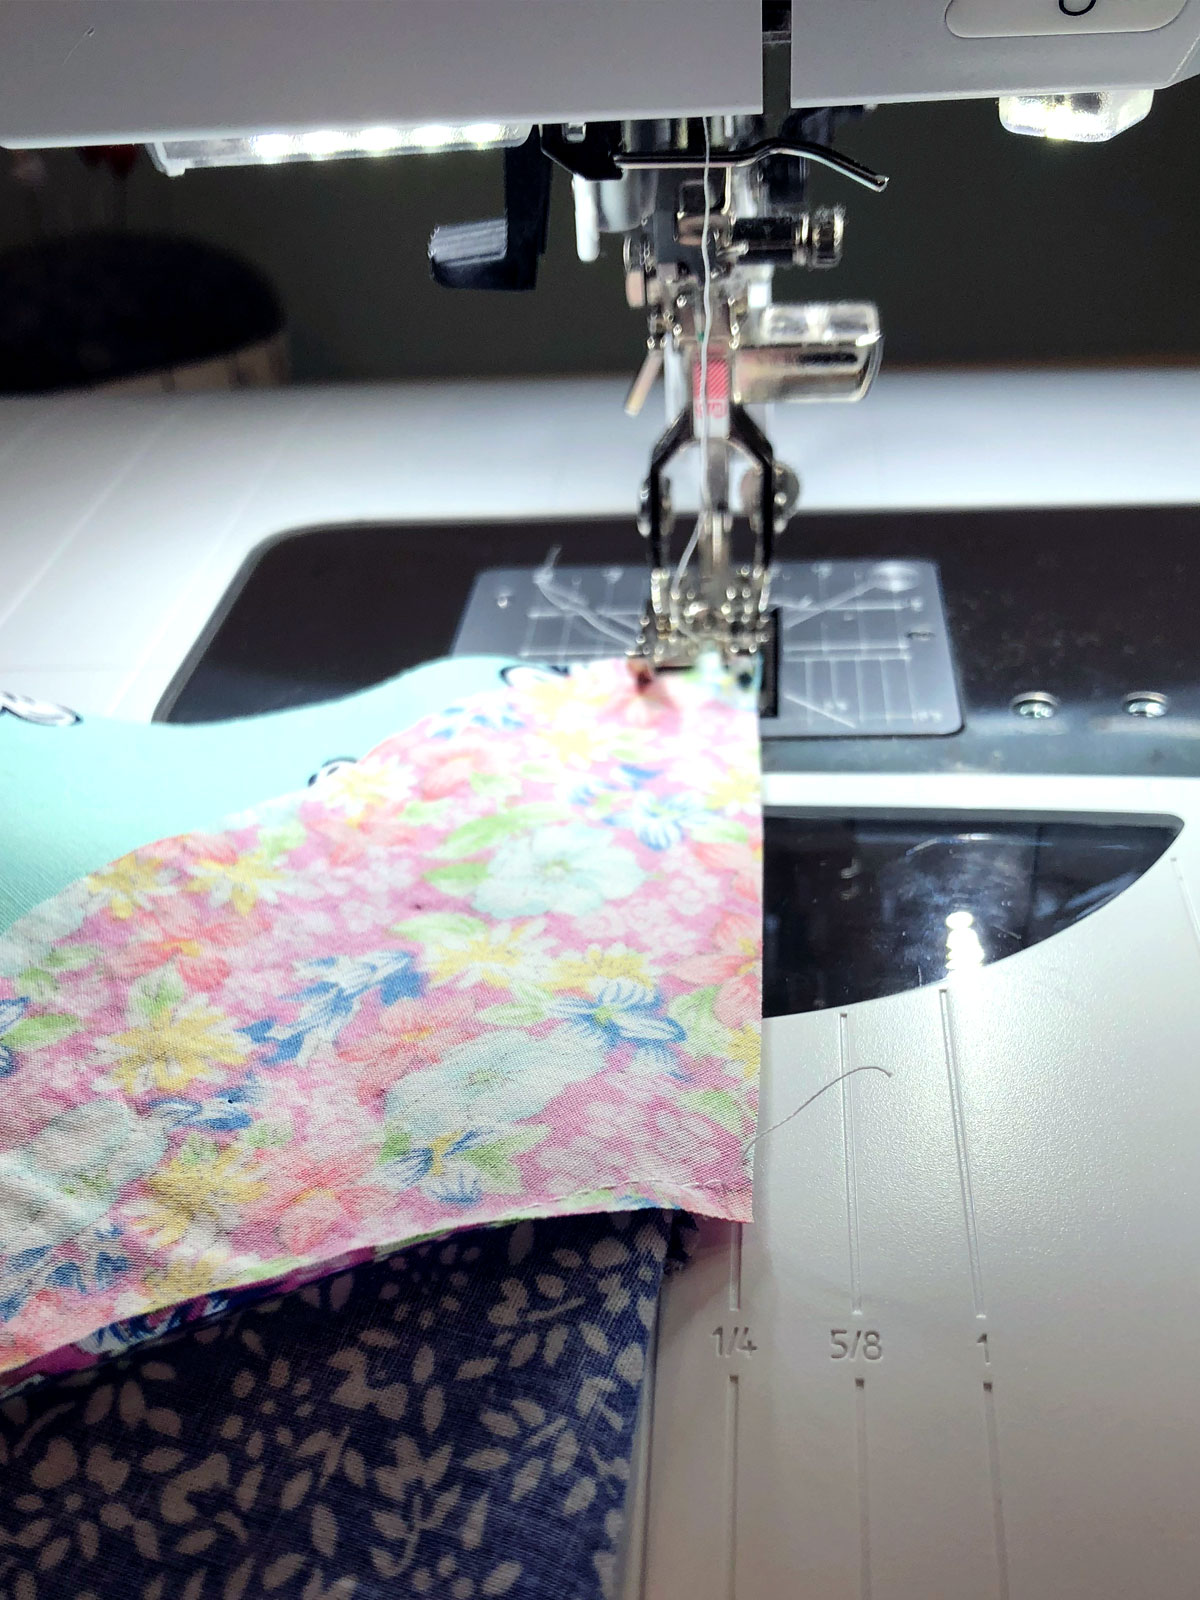
You can either sew with paper english paper piecing, but instead, I sewed them on the machine. Starting with the first set, I sewed all Dresden blade sets together and pressed the seams open first.
Then take the first step and sew the half moon starting in blades a, and ending on blades b. Make sure you use the stiletto to help keep your tension smooth and press seams open. Repeat for all blades.
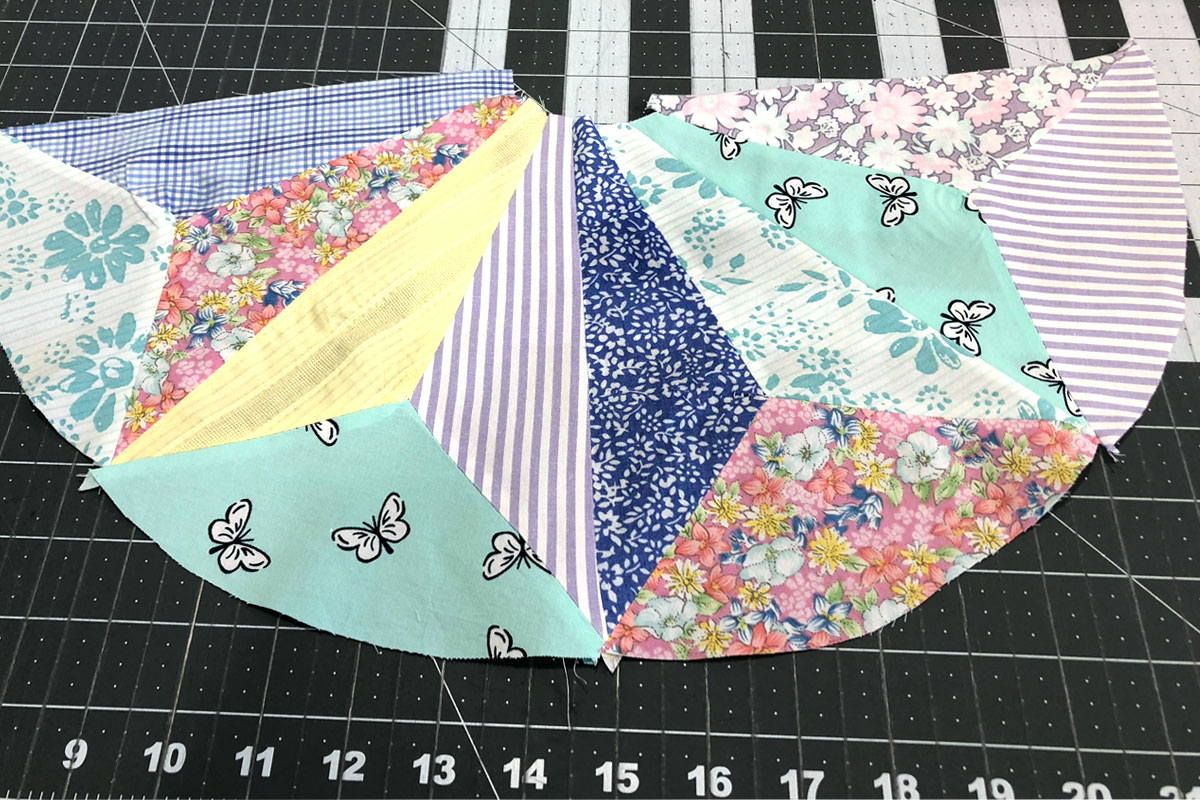
Then sew all blade sets together for each block. Press seam open. You will want to take the first Dresden block and place onto the white background. You can use spray adhesive to hold Dresden block down making sure they match on both sides and top of the white block. Repeat for the second block.
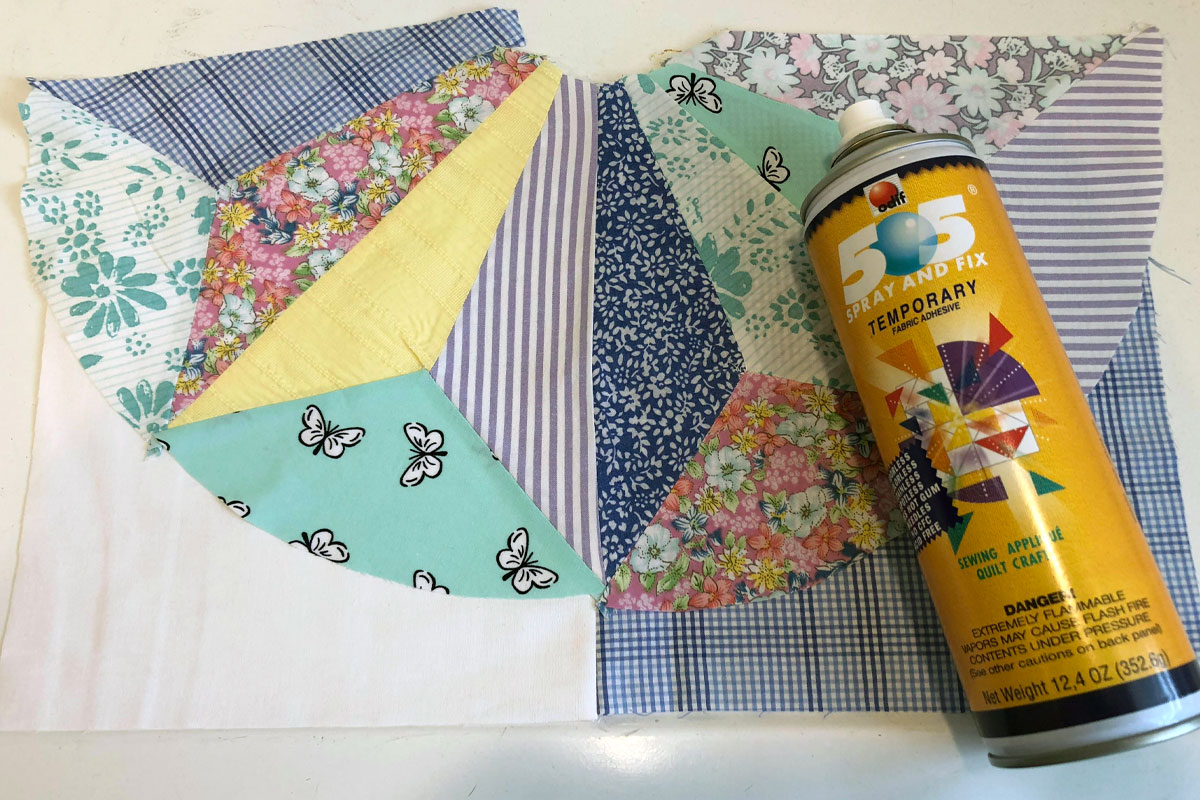
You will use a blanket stitch or zig-zag to stitch down at all seams of the Dresdens. You can use thread to contrast or use a white thread to stitch down your Dresden blades. Repeat on the second Dresden block. Place the second Dresden block on top of first block right sides together. Above all, it should look like a mirror image.
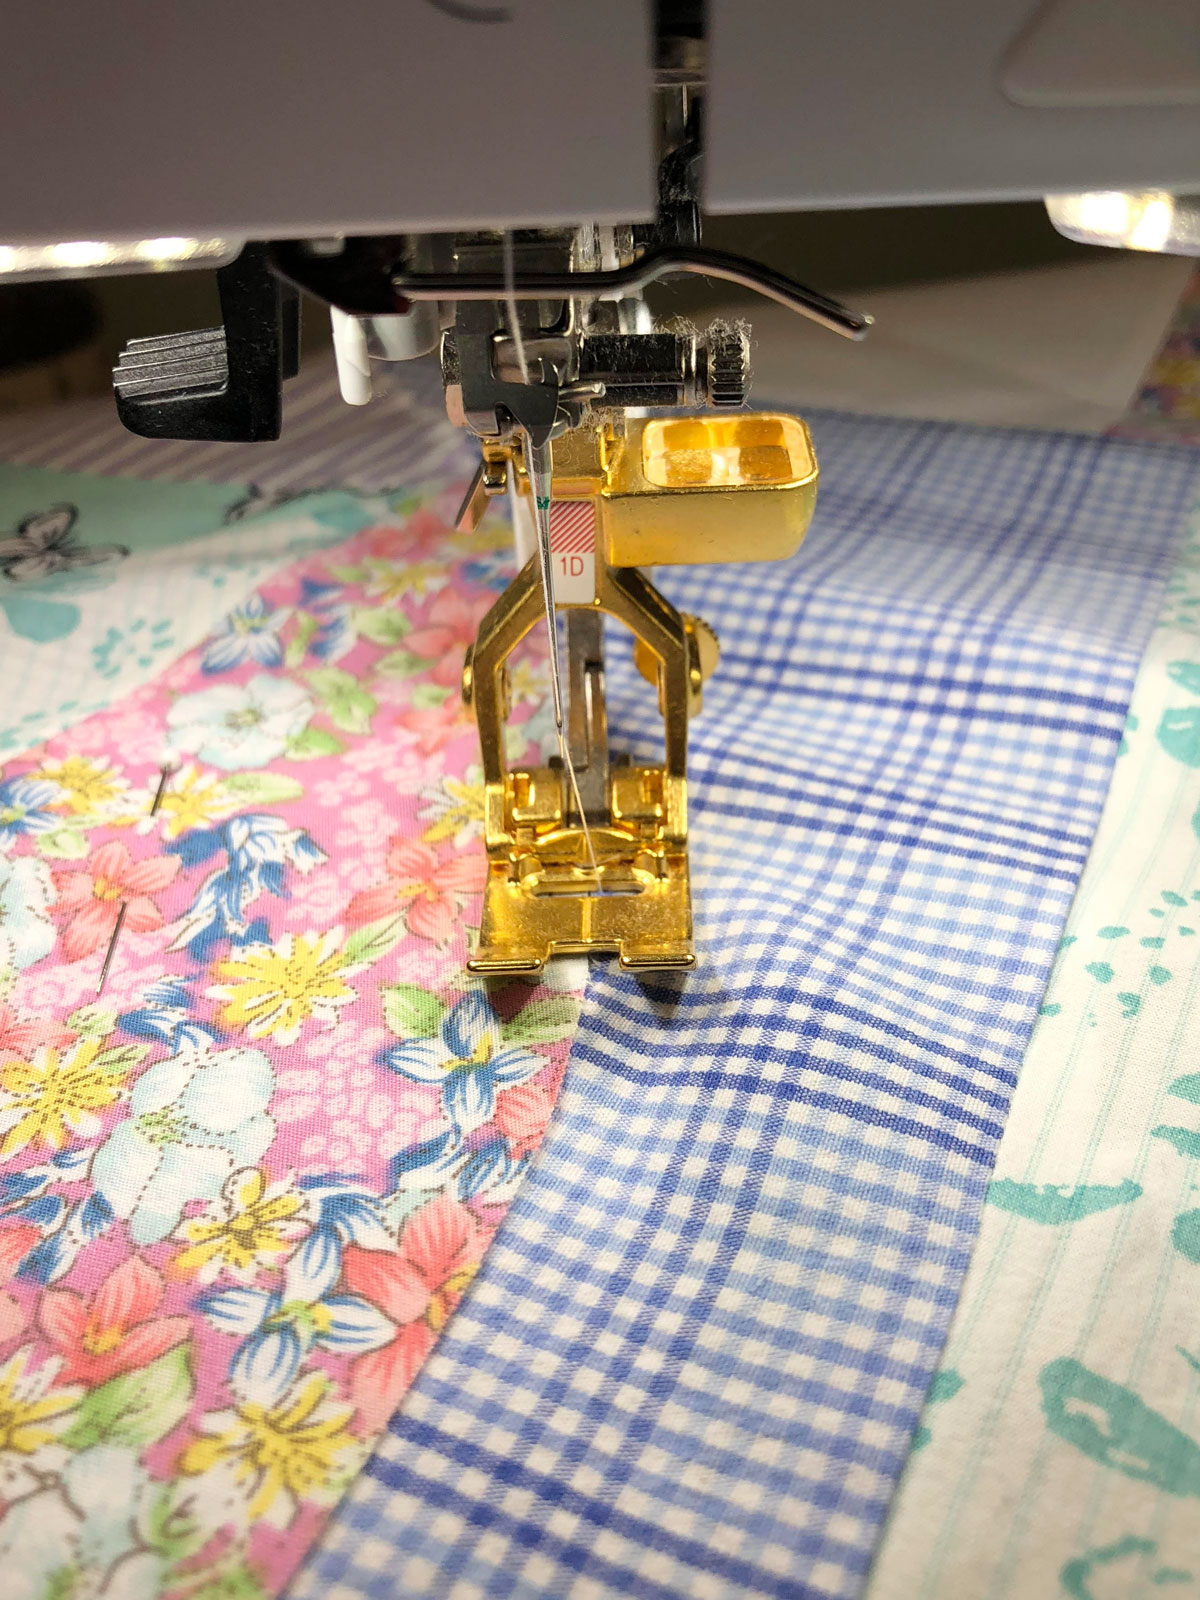
A great tip is to use your 1D foot for appliqueing on your Dresden plate. I use the line in the middle of the foot to continue sewing on the seam.

Tip: If you want to reduce bulk, you can cut out the background fabric of the Dresden plates. Be careful to not cut into the Dresden plate itself. I pinch the background fabric and separate from the Dresden plate. I make a tiny slit and start to cut around the fabric. After I would press with starch.

You will now make the lower patchwork bottom blocks.
8.25” x 3.75”, cut two blocks out of different clothes
.5” x 3.75”, cut two blocks out of different clothes
4.5” x 3.5”, cut two blocks out of different clothes
4.5” x 3.5”, cut two blocks out of white material
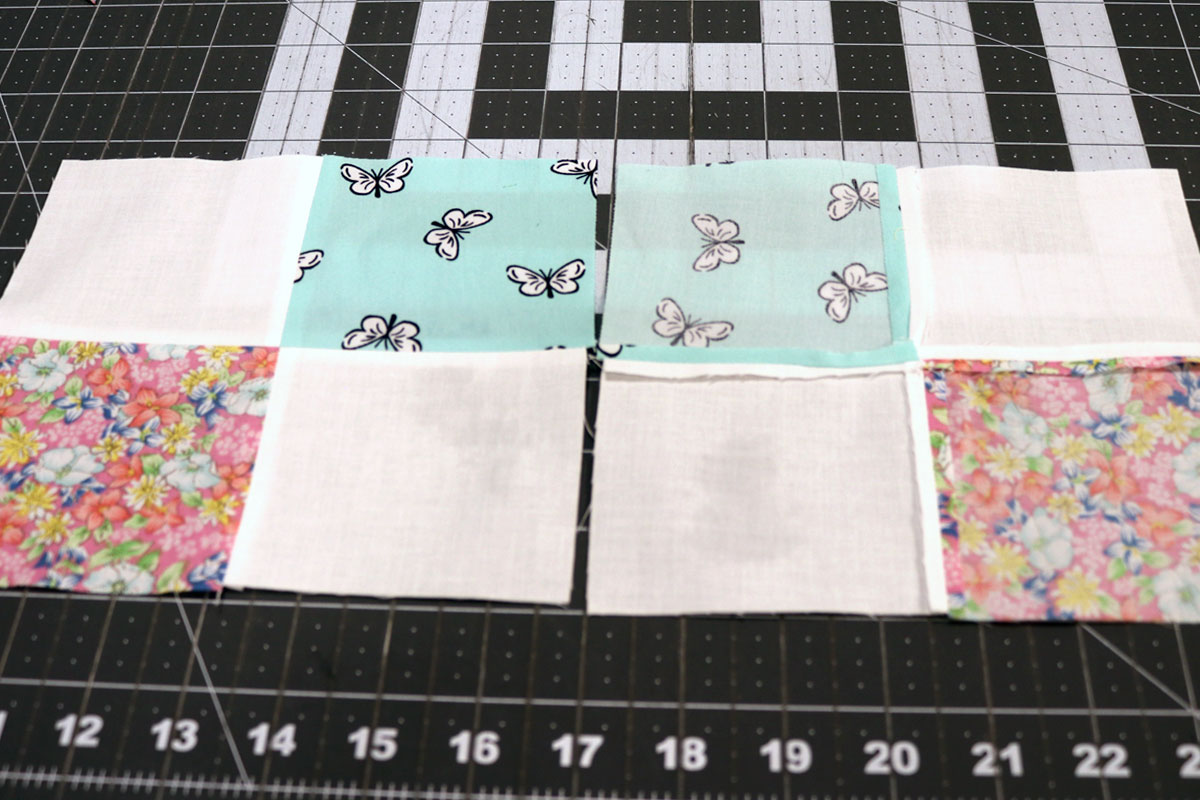
You will continue to take the 8.25” x 3.75” and one .5” x 3.75” blocks. Sew down the short end. Press open. Repeat for the second block. I like to keep my contrast away from alike fabric in the Dresden’s underneath each other. Sew 4.5” x 3.5” white block with one different clothing block. Sew on the short side, and press open. Repeat for the second block. Now take the first completed block and second completed block and sew down the lengthwise. Press seams open. Repeat for the second block.
Now take the two block and sew down the short side, right sides together. Press seams open. Place the block on top of the bottom of the Dresden block, right sides together and sew lengthwise down the seam. Press seams open.
For the side blocks:
4” x 6”, cut one white block
4” x 6”, cut one block out of different clothes
4” x 3.75”, cut two white blocks
4” x 3.75”, cut two blocks out of different clothes
Take your white block and clothes block, place right sides together and sew down lengthwise. Press seam open.

You will want to sew this like a patchwork. Sew one white to each of the clothing blocks. Press seams open. Repeat for the second block. Sew each block with the white side opposite. Place right sides together and sew lengthwise on the block. Press seams open.
Cut you’re knit to be 7.5” x 4”. Place your stabilizer on the back of the fabric, to help keep the fabric stiff while sewing your blocks together. I cut the knit a little longer for quilting and finishing.
Come back and I will share with you some tips on how to finish your block.
Used Products


What you might also like


9 comments on “In Remembrance Farm House Quilt Block Part I”
-
-
I feel the very same way!
-
-
I had saved scraps from when I sewed for my daughter so when she had my granddaughter, I made a quilt for her usinging the scraps from clothes I had made for my daughter. My daughter was delighted as the scraps recalled so many memories.
-
It is so fun to use clothes in a fun way to remember those fond memories! Thanks for sharing!
-
-
Shari is so talented and did such a wonderful job on this special project for me and my family – so many memories of my mom. I appreciate the time and love she spent on this. I know these quilt blocks will be cherished for many years to come. Thank you again Shari!
-
Jenny, I loved doing this for you! You are an amazing women and so was your mom!
-
-
These templates are not correct. There is no correct e or f. And the e,f,g,h look like 1,2,3,4.
-
vhalgren, Let me take a look at the template and I will see if we need to have it reloaded. Best!
-
vhalgren, We are uploading the new template. Thank you for catching my human error! Hope you have fun making this project.
Leave a Reply
You must be logged in to post a comment.

How very special.