Cosplay! Shinobu (Demon Slayer), improving a pre-made costume

Description
Hello! This is my first post, so I want to share a small cosplay upgrade I did on a pre-bought Kocho Shinobu (Demon Slayer) cosplay. This entire project was done on my Bernina 770 QE using mostly the 10D foot and topstitching needles!
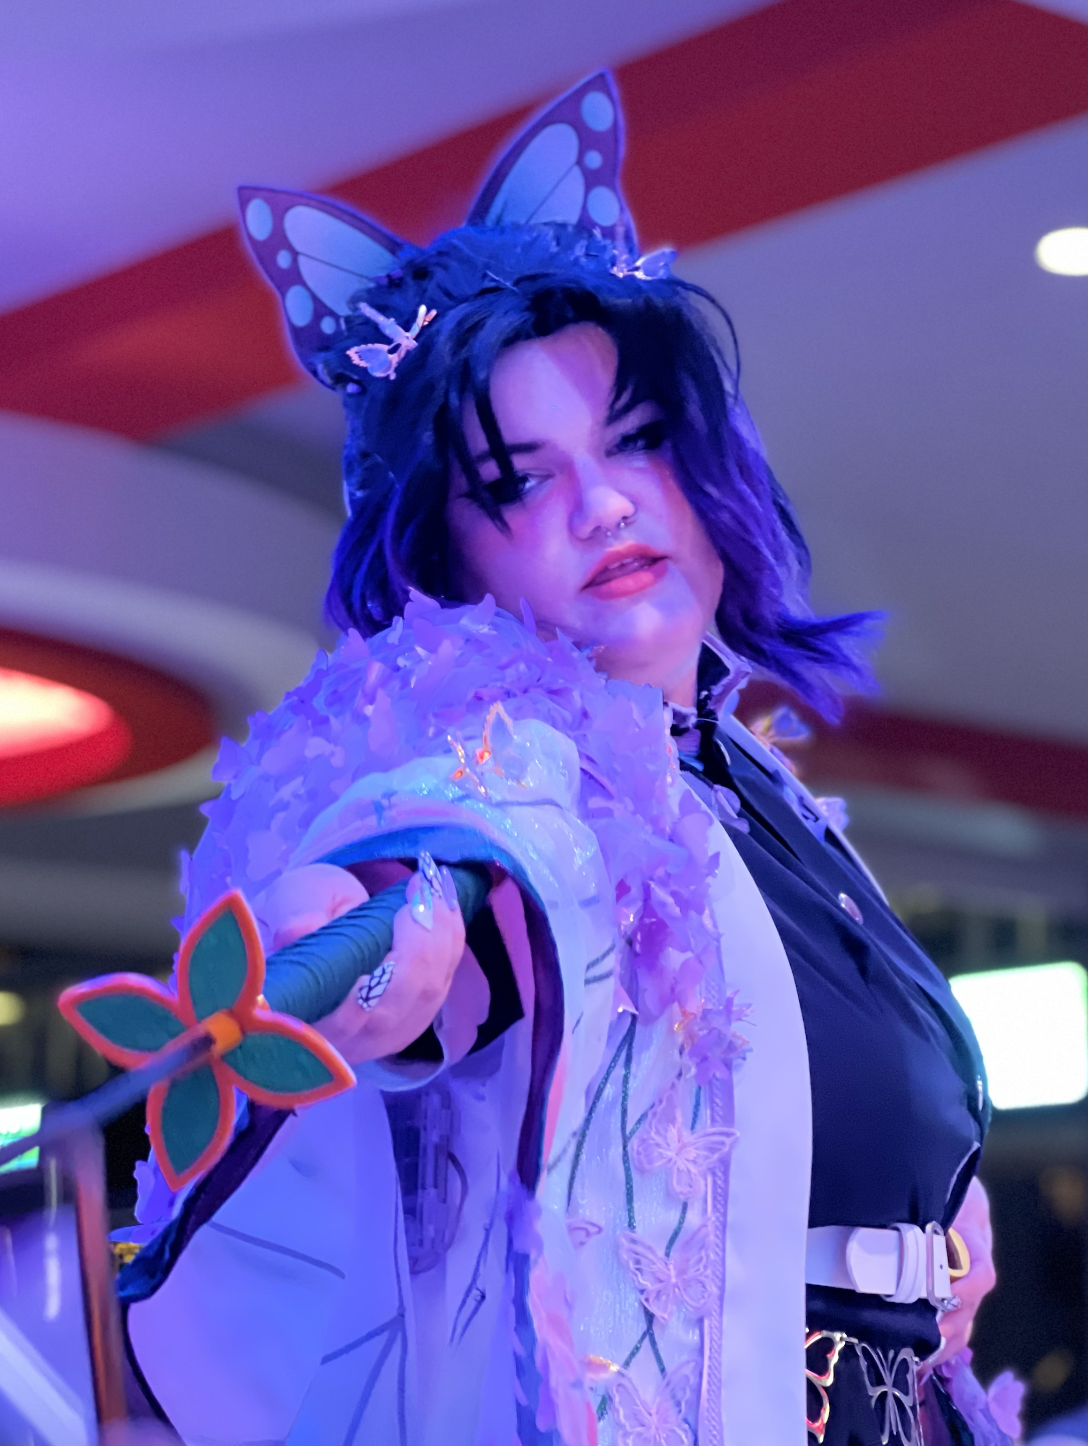
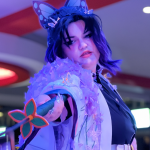
For the black base outfit– this was the easiest part– all I did was take in the shirt by narrowing the sleeves and bringing it in to accentuate my waist with darts in the front. In addition, I removed the grey edge on the collar and replaced it with purple bias tape, and did the same with the mock-pocket on the front of the shirt. I added a few silk butterflies to cover where I made small mistakes and to bring in the butterflies on the haori onto the uniform as well. When I have more time (I did this during a fairly busy semester of school), I would like to remake the base outfit in a dark purple to match what Shinobu has in the anime. I adjusted the belt slightly by cutting it apart in the back and joining it back together with elastic. Because it was covered by the haori, I wasn’t worried about this showing. The large butterfly clipped to the back of my hair came with the costume, though I have a digitized embroidery file to make a new clip that will include iridescent thread. I’ll post an update when I make that!
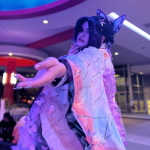
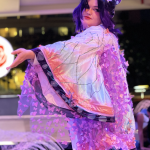
My favorite part of making this cosplay was the haori. Though I usually cosplay characters based on how much I like them, this one was purely a “wow, this would be a great sewing project” kind of cosplay. I was inspired by Shinobu’s position as the insect hashira as well as the animations and figures of her insect breathing fight techniques with the glowing swarm of butterflies behind her. Because Shinobu is a pretty common cosplay at the anime conventions I attend, I wanted to make this costume stand out in any way that I could. I love this costume so much, and I think that it was a great way to elevate a store-bought costume to make it into something really special. I kept getting stopped for pictures, and someone even asked me where I bought the finished upgraded haori! In the future, I hope to do a similar project on Tomioka Giyuu’s haori.
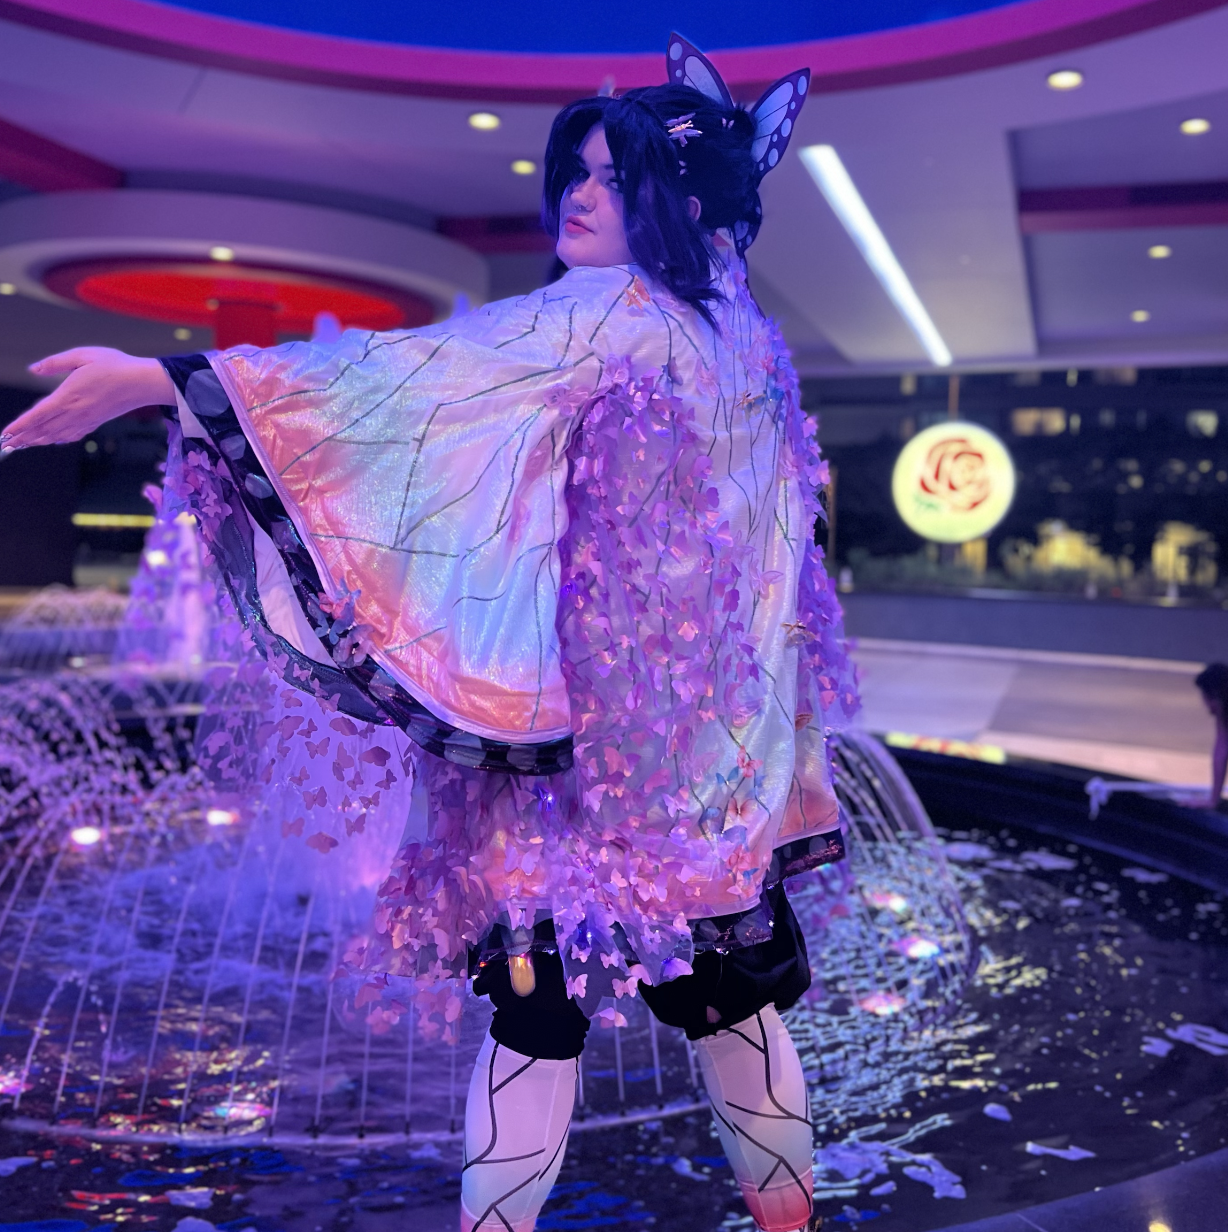
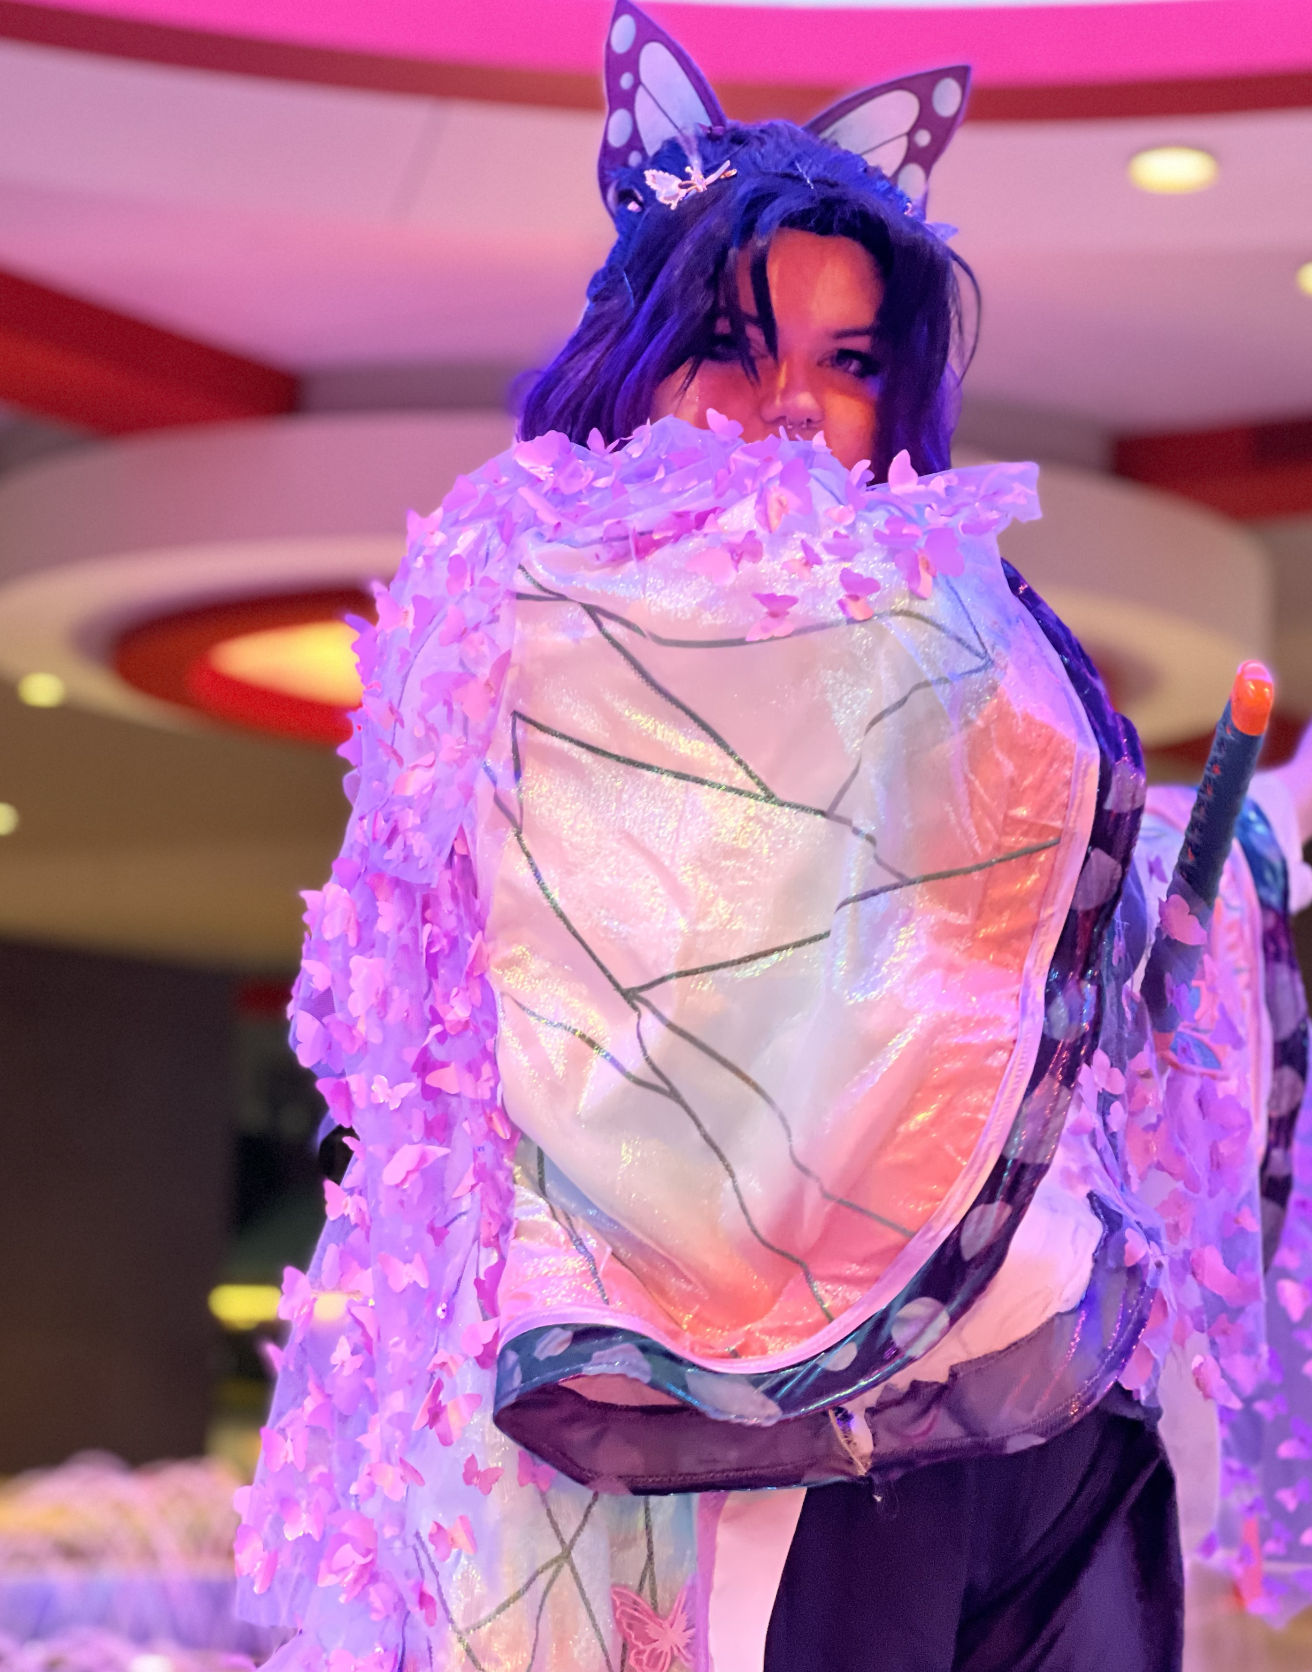
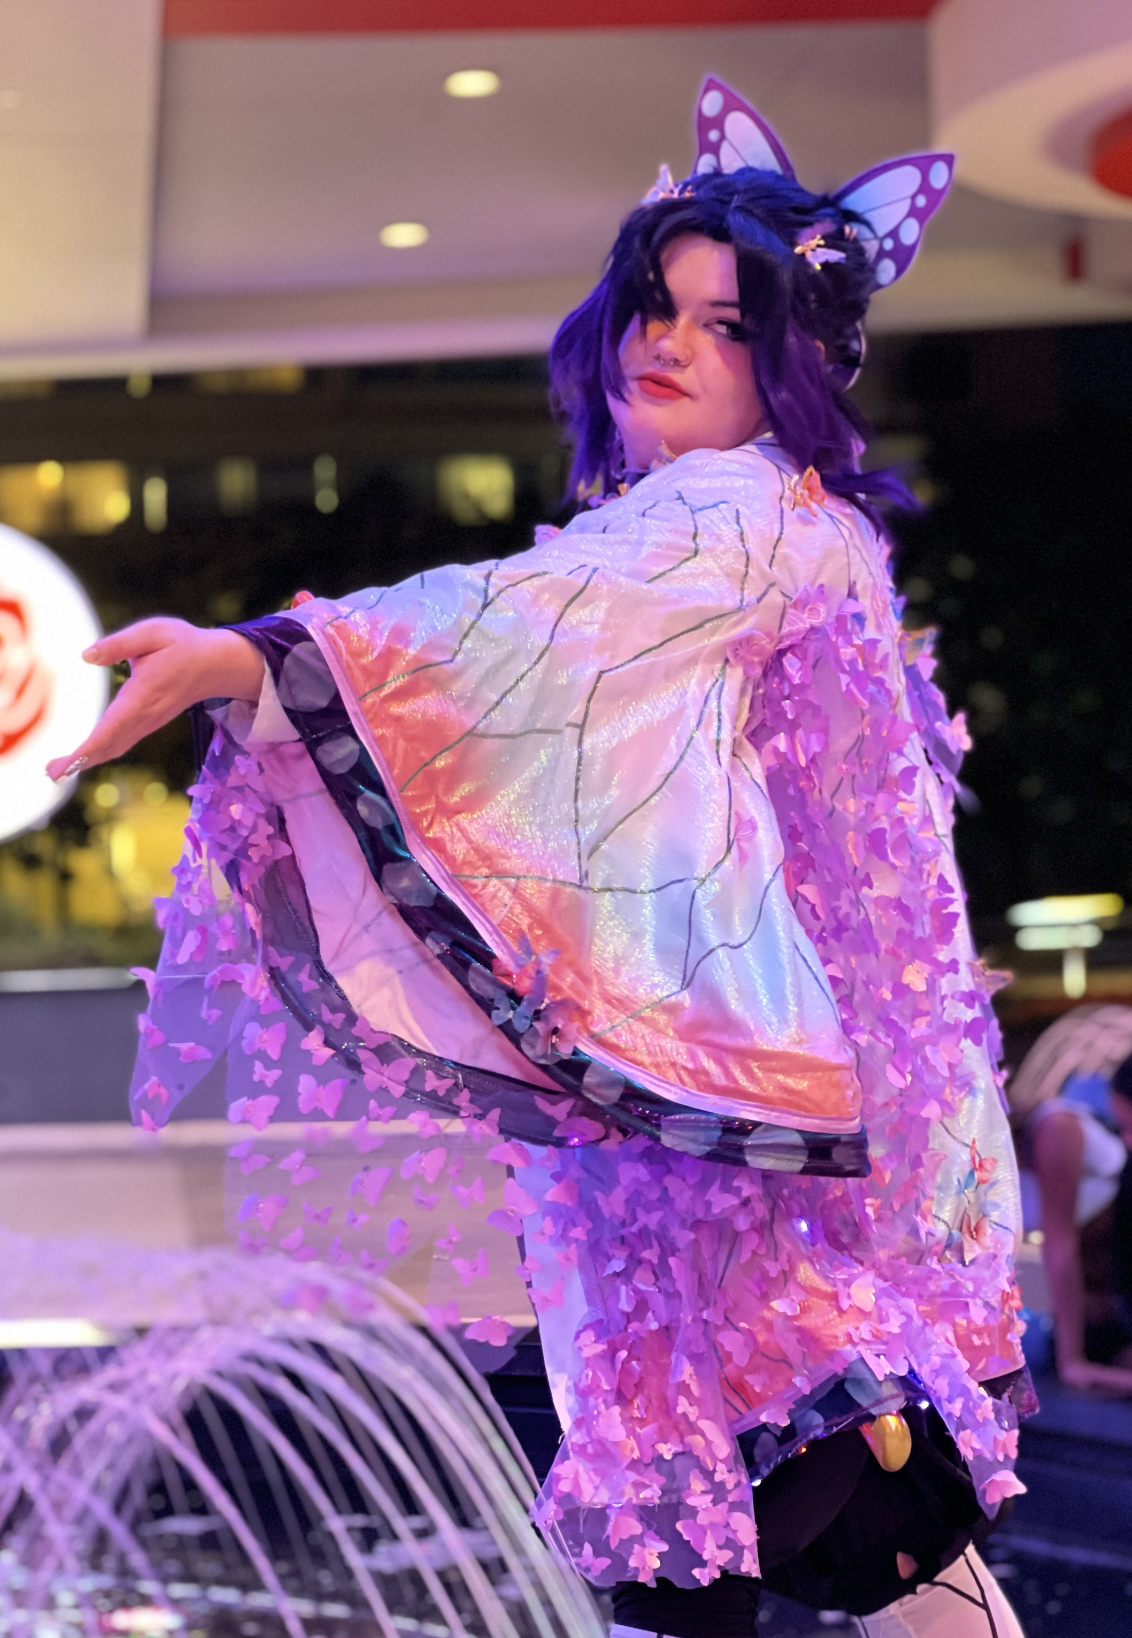
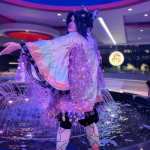
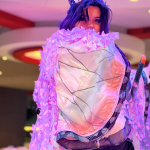
I started by taking an iridescent organza fabric and making a duplicate of the haori that came with the costume by tracing the original haori onto the organza and reconstructing it as best I could. I ended up with a haori made out of the sheer organza, which I then put over the original haori and attached by doing tight, narrow zig-zag stitches following the black lines printed on the haori to create an effect similar to insect wings. After this, I created strips of a darker color-shifting organza and attached those where the raw edge of the lighter organza ended on the sleeves and bottom of the haori. After sewing the top of that down, I added in 4″ horse hair lace to the sleeves and bottom of the haori. I had never done this before, but I really like the body that it gave to the haori, especially in the sleeves. If you plan on cosplaying any character from Demon Slayer, this is one upgrade that you need to do, in my opinion! It changes the whole look of the haori and makes it look so much more put together. The sleeves and bottom appeared so full and moved really nicely, creating an almost animated looking effect. After doing this, I finished attaching the darker organza and covered where the two fabrics met with a light purple satin bias binding using a decorative flower stitch.
I was almost content to stop there, but, I found an amazing fabric on etsy that mimicked the look of swarming butterflies, so I cut pieces (pretty randomly) and gathered them before attaching them to the armpits, sleeves, shoulders, and body of the haori in a way that made it look like they were flying around and toward me. If you decide to do this, I definitely recommend including some on the openings of the sleeve as well as having one side of butterflies concentrated toward the top, and the other to the bottom– which are both things that I did that I felt made the look seem complete. I also only sewed down the butterflies at the top of each bunch of them so they could move in the breeze as I walked, which was another very nice touch!
After this, I carefully hand-sewed in lights and hid the power box in one of the sleeve and attached small swarms of silk and embroidered (purchased) butterflies elsewhere on the haori to blend the fabric in (my idea here was to make it look like the butterflies were gathering on different parts of the body, so having the individual butterflies created a lot of movement). When I went back to adjust this costume for Anime Midwest 2022, I added more butterflies and also made moving butterflies by hot gluing silk butterflied to the wings of butterfly clips with wiggling wings! This created a super cool effect and looking at the costume now, I think the movement of the wings adds a whole new level to the costume.
I’ve included some pictures to show the look of the whole costume, as well as some that show how the haori looked with all my modifications! I hope you enjoyed reading this, and if you have any questions, I’d love to answer them!
2 comments on “Cosplay! Shinobu (Demon Slayer), improving a pre-made costume”
-
-
Thank you so much! Since this one was mostly just going through and improving a base outfit I already bought, it was a huuuuge process of trial and error, but a really enjoyable one! I also keep pinterest boards of inspiration, combing through etsy for interesting fabric and trims, as well as looking at a lot of pictures of the character I want to cosplay as I decide what I want to do. I also consider the personality of the character, their likes and dislikes, etc. so the costume really embodies them as best as I can make it. The design of this outfit was actually mostly inspired by a figure of Shinobu flying with a trail of butterflies carrying her!
-
Leave a Reply
You must be logged in to post a comment.


Beautiful outfit! Looks complicated! How do you figure out how to do these cosplay outfits without a pattern or instructions?